There’s something effortlessly magnetic about a curly bun. It sits on the head with a kind of confident chaos that straight-hair buns simply can’t replicate — all that texture, volume, and bounce coiled into one look that somehow manages to be both polished and undone at the same time.
The thing is, curly-haired people have a unique advantage when it comes to buns. While straight-haired folks are fighting with bobby pins and teasing combs to manufacture volume, those with curls are working with natural structure that holds shape, grips itself, and creates dimension without much effort at all. A curly bun isn’t just a hairstyle — it’s your texture doing the heavy lifting.
But “just throw it up” doesn’t always land the way you want it to. Curly buns require a bit more intentionality than people often expect — the right products, the right placement, the right technique for your specific curl pattern. Whether you’re rocking tight coils, loose waves, or somewhere beautifully in between, there’s a curly bun style that flatters your face, suits your occasion, and works with your hair instead of against it.
Below are 10 curly bun hairstyles worth knowing — from low-key everyday options to styles that deserve their own moment at a formal event. Each one comes with real technique, not just a pretty description.
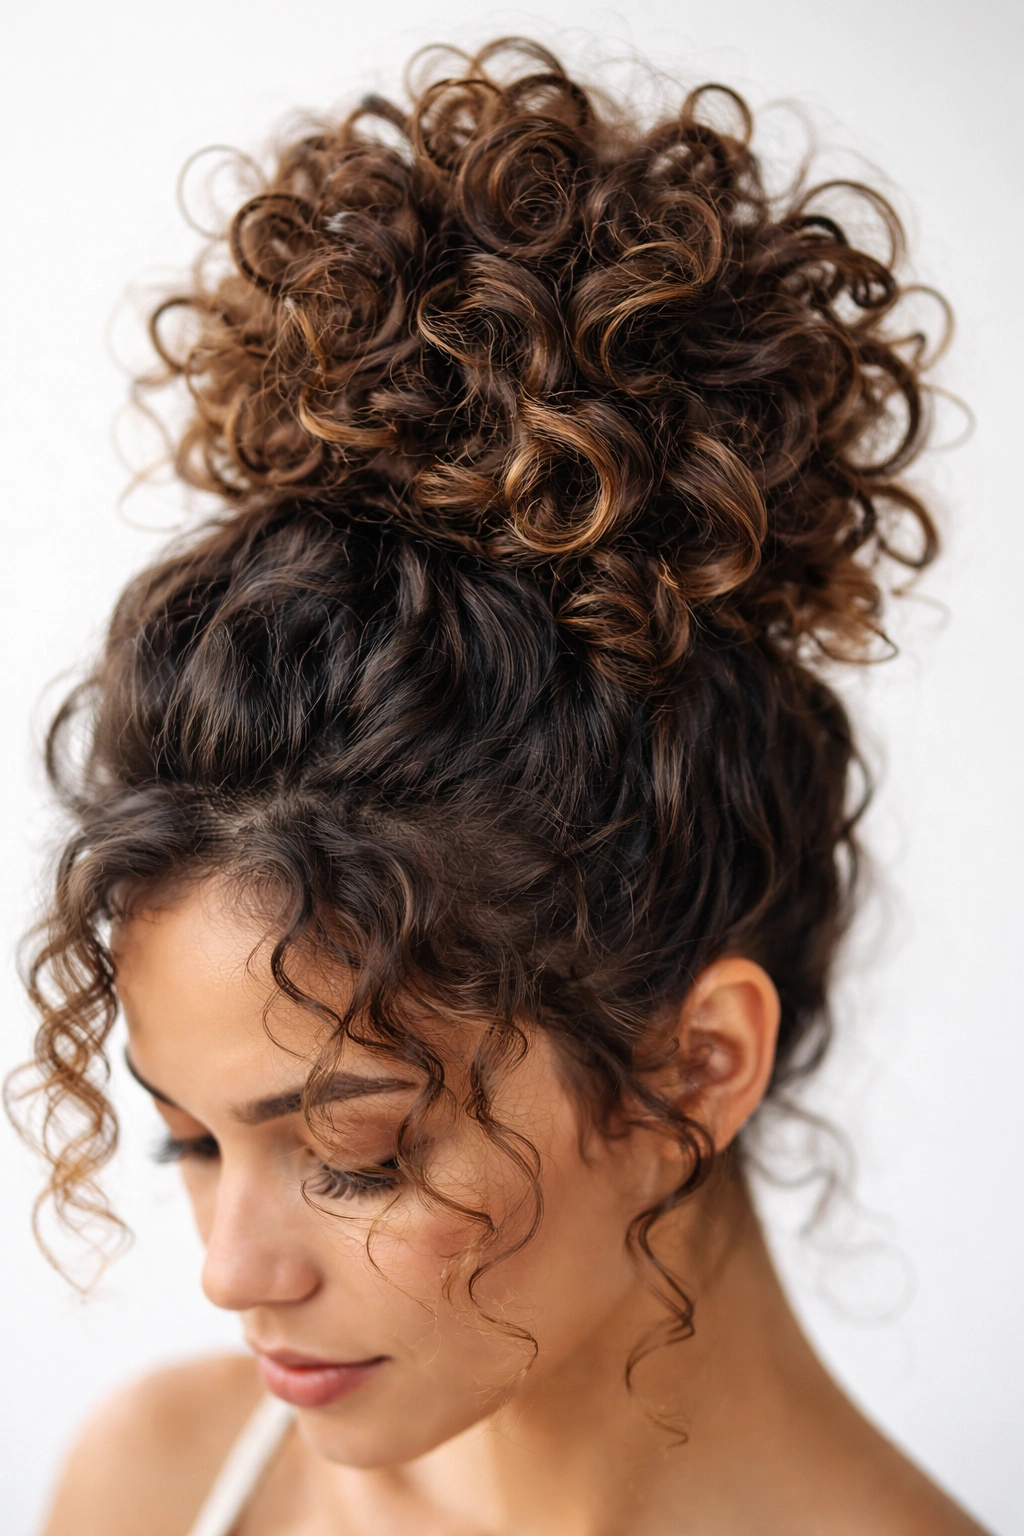
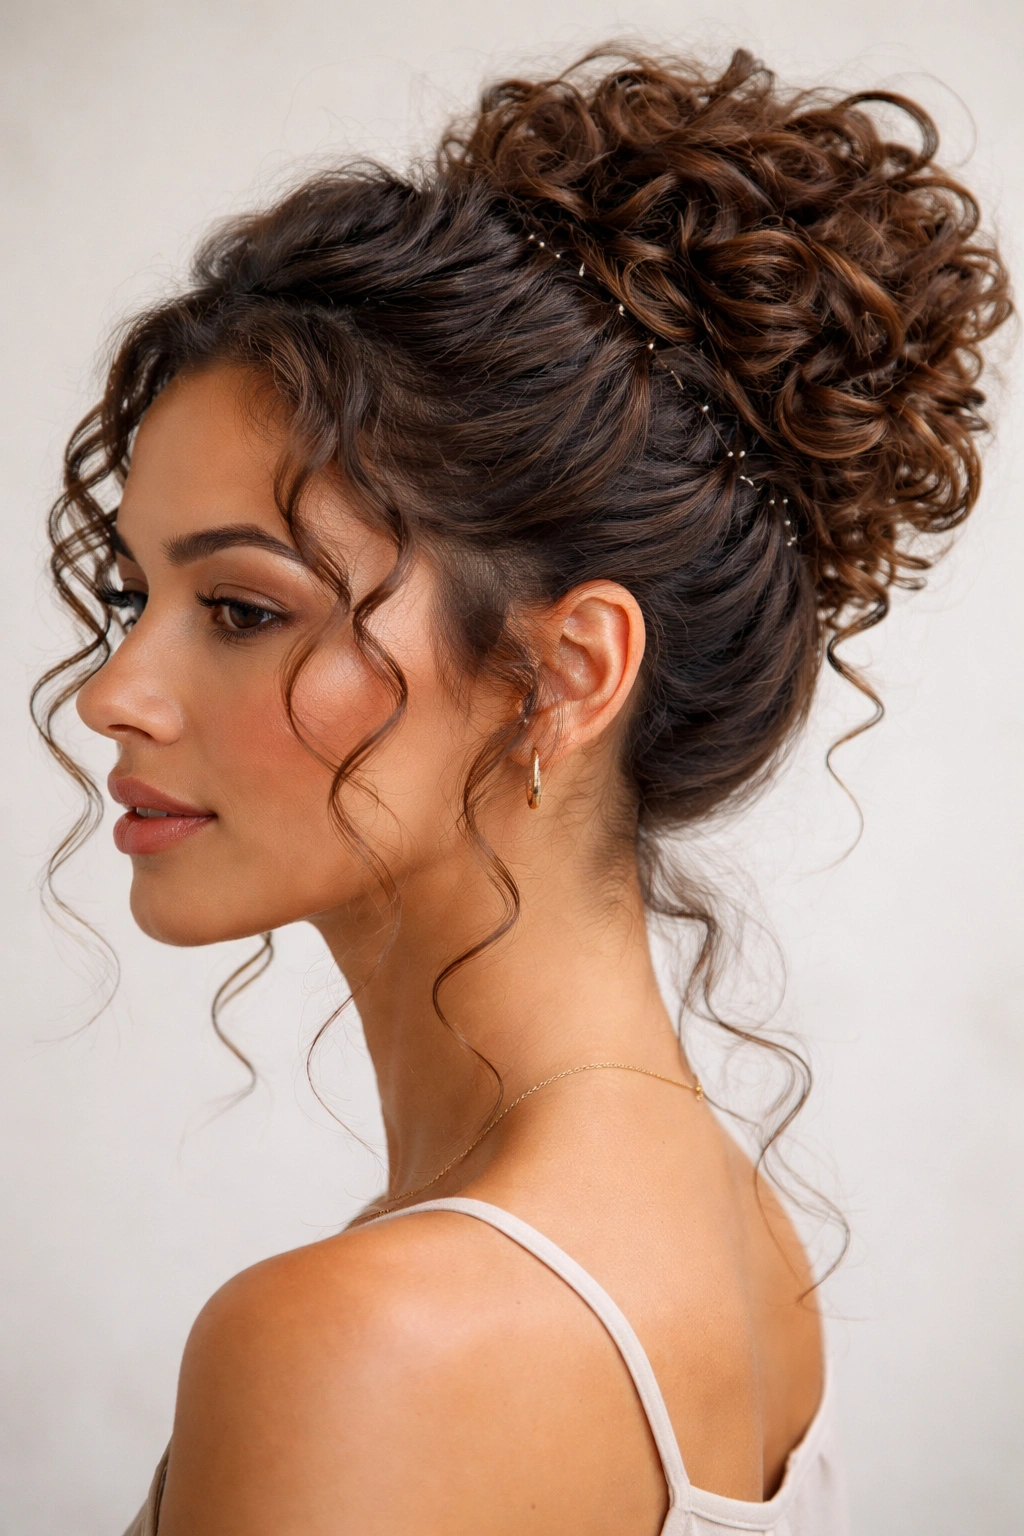
1. The High Messy Curly Bun
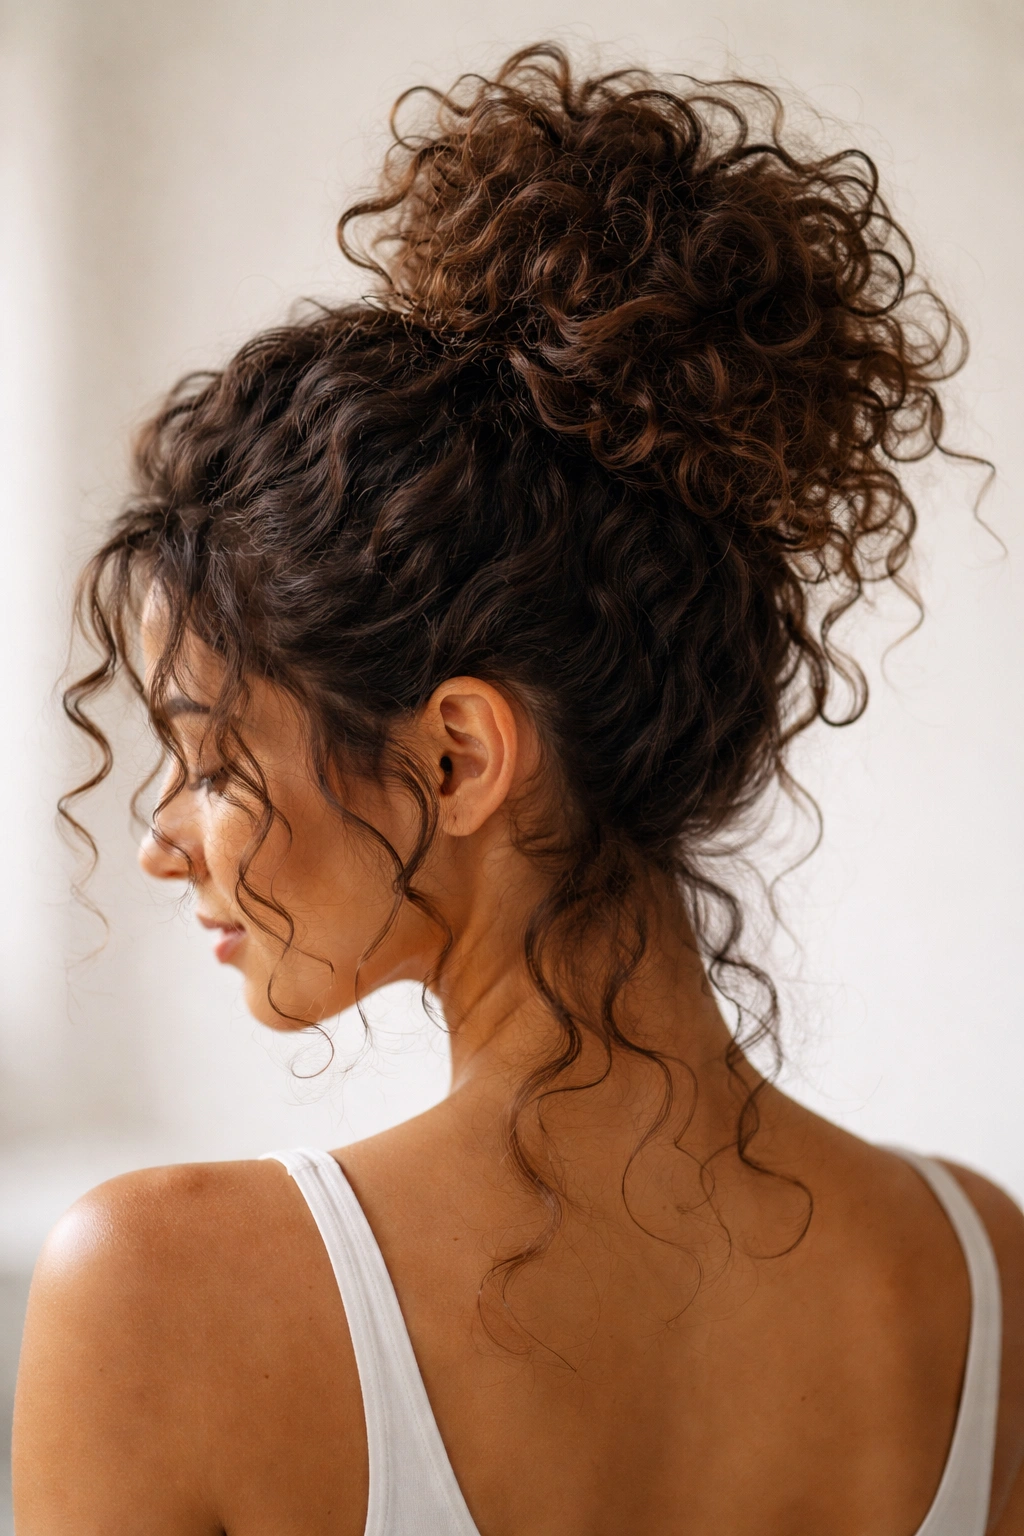
The high messy curly bun is probably the most recognized silhouette in the curly hair world, and for good reason. Perched at the crown of the head with curls tumbling out in every direction, it manages to look both casual and curated — the kind of style that makes it seem like you spent ten minutes on your hair when you actually spent two.
Why This Style Works for Curly Hair
The messiness isn’t accidental — it’s the curls themselves that create it naturally, and that’s the whole point. Because curly hair has built-in volume and spring, a high bun doesn’t lie flat or look deflated the way it might on straight hair. The strands coil back onto themselves, creating that coveted piecey, dimensional look without needing a single drop of texturizing spray.
It also works brilliantly as a second-day style. Curls that feel too stretched out or undefined on day two often come alive when gathered high on the head — the looser texture actually adds softness and movement to the bun.
How to Nail the Technique
- Flip your head upside down and gather all your hair at the crown — this creates more volume and lift at the roots than gathering it right-side up
- Secure with a spiral hair coil or a scrunchie, not a standard elastic, which can cause breakage and dents in curly hair
- Pull the band only halfway through on the last pass so the hair folds into itself rather than pulling completely through
- Use your fingers (never a fine-tooth comb) to gently loosen a few curls around the base and at the front hairline
- Set with a light-hold flexible hairspray rather than anything stiff, so curls retain movement
Pro tip: If your bun looks too tidy, it’s not messy enough. Pull 4-5 individual curls free around the face and at the nape — that’s what gives this style its signature relaxed energy.
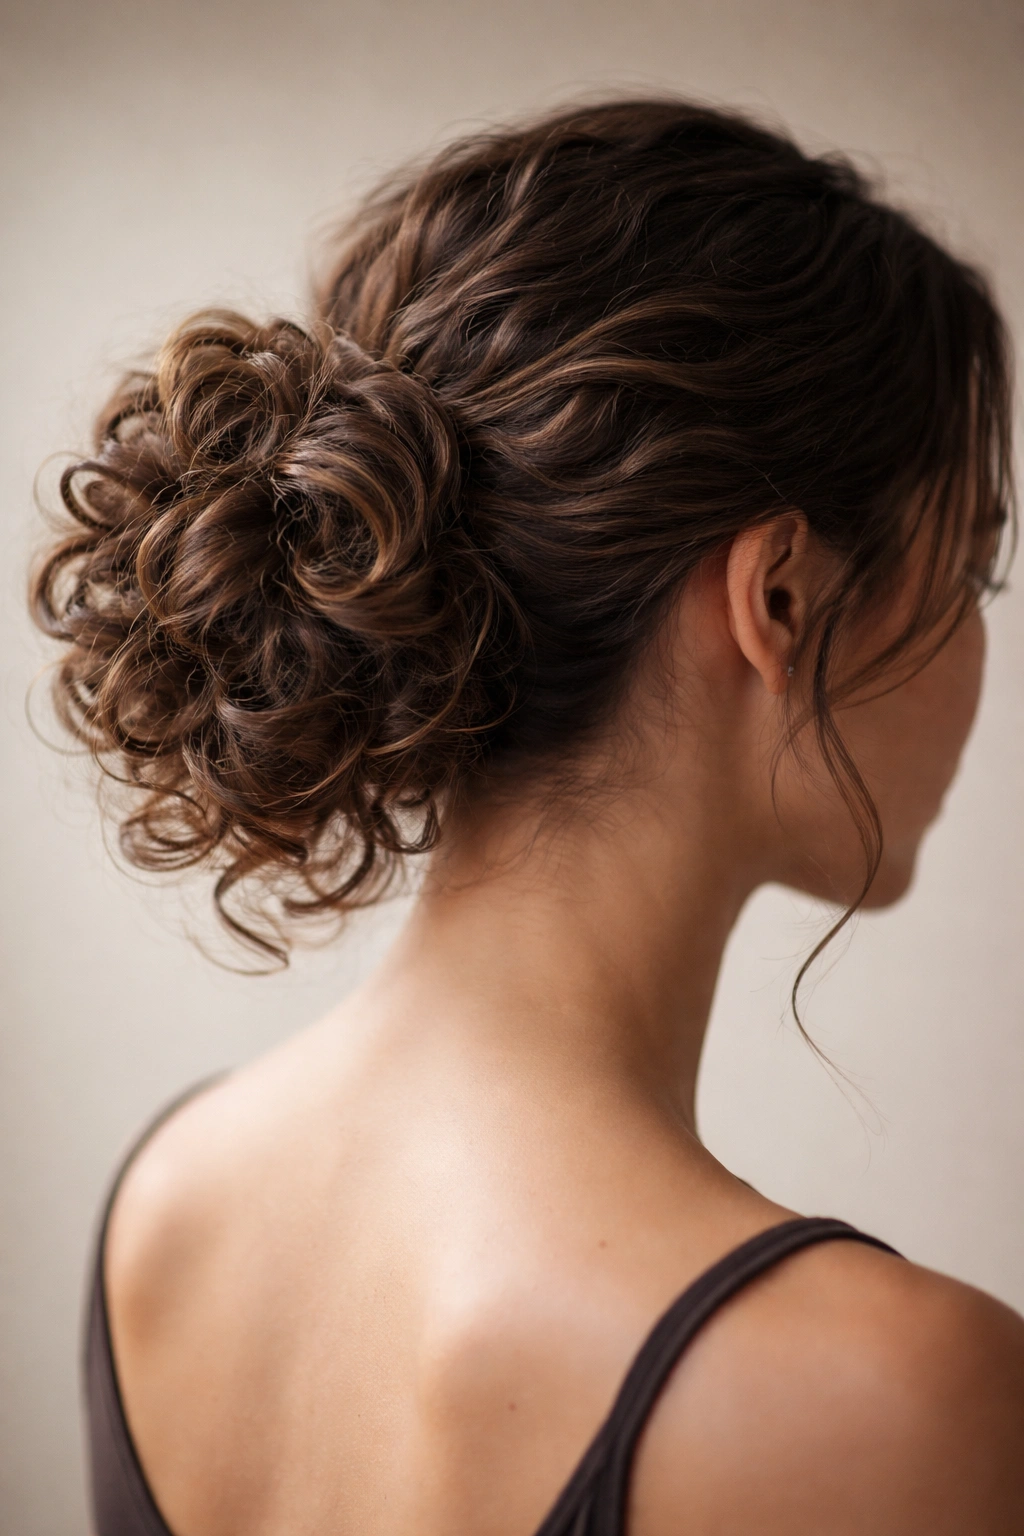
2. The Low Curly Chignon

The low curly chignon takes the casual energy of a basic bun and adds a quiet sophistication to it. Sitting at the nape of the neck, it elongates the neck, frames the face beautifully, and works across a wide range of occasions — from a professional meeting to a garden wedding.
What Sets the Chignon Apart from a Basic Bun
A chignon is more intentional in its construction. Rather than gathering everything into a single elastic and letting the ends fall where they may, a chignon involves twisting or tucking the hair into a more controlled shape. For curly hair, this means working with sections rather than treating all the hair as one mass.
The low placement is particularly flattering on round or heart-shaped faces because it draws the eye downward and adds vertical length to the face’s overall silhouette. It also plays nicely with curls because gravity gives the bun a natural fullness without the whole thing expanding upward and outward the way high buns sometimes do.
Styling Steps and Product Notes
- Apply a medium-hold curl cream to damp or refreshed hair before you begin, so curls stay defined through the styling process
- Part the hair down the center and create two loose sections; twist each one toward the back and pin them into place where they meet, then tuck and secure the ends underneath
- Use flat bobby pins in your hair color to keep everything discreet
- Leave a few face-framing curls loose at the temples — this softens the formality and keeps the look from feeling too severe
Worth knowing: The low chignon holds better on second or third-day curls than on freshly washed hair. Clean curls are often too slippery to stay put in this kind of tucked style.
3. The Half-Up Curly Bun
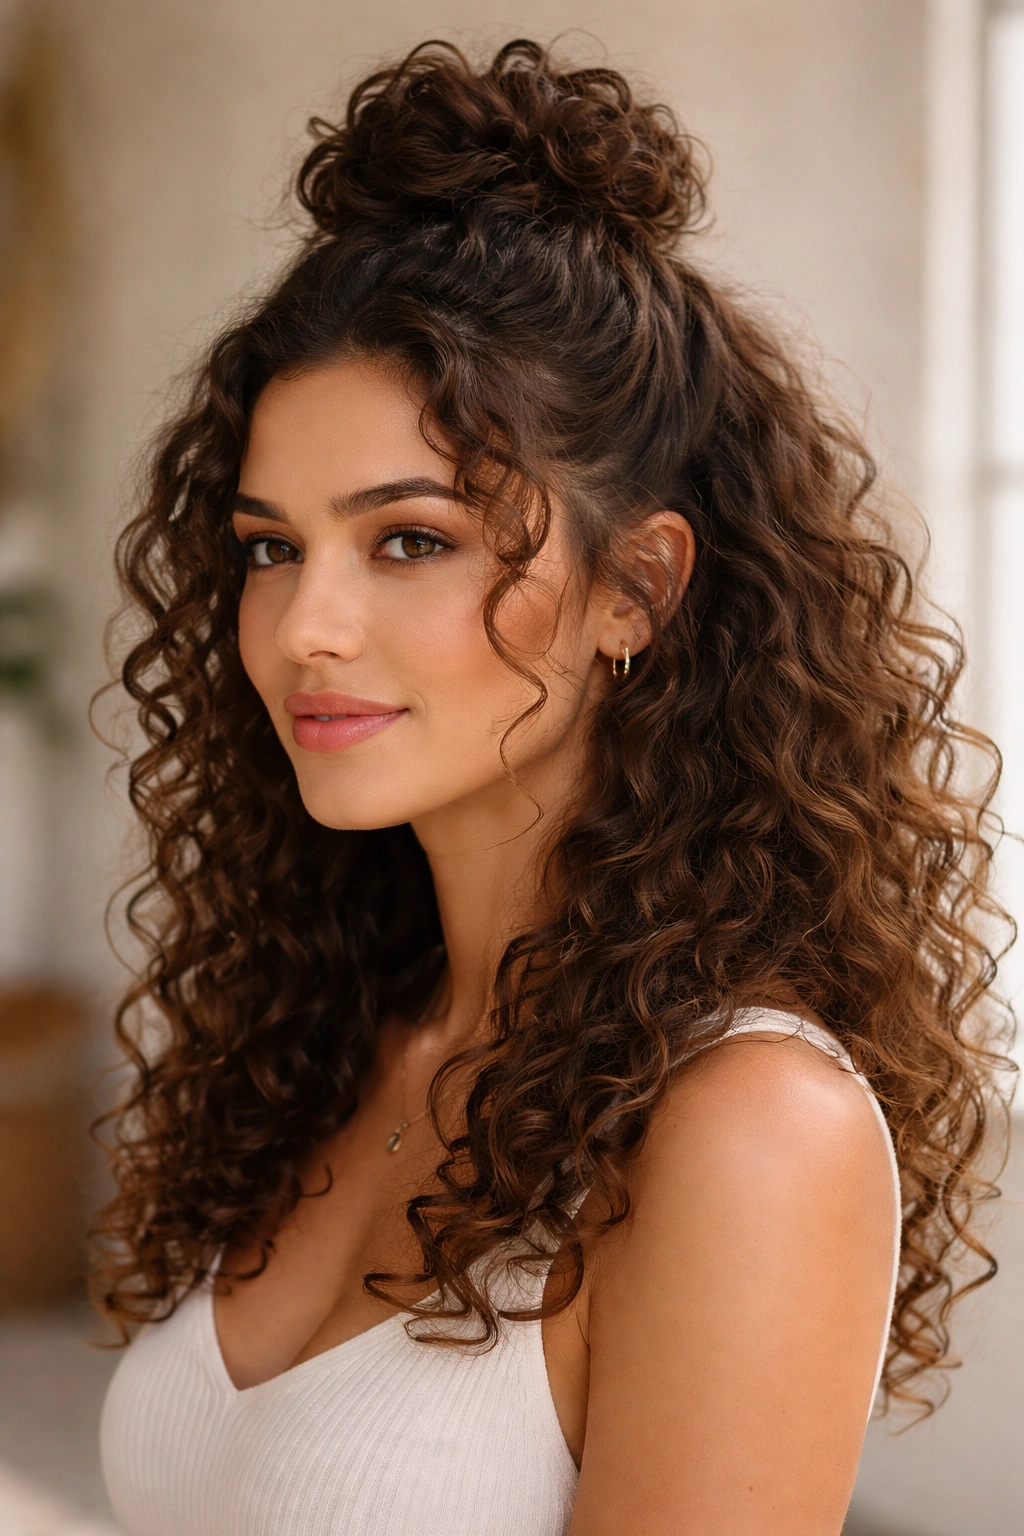
Not ready to commit to a full updo? The half-up curly bun gives you the best of both worlds — some hair up, some hair down, maximum texture on display. It’s one of the most wearable styles on this list precisely because it suits almost every curl type, hair length, and face shape.
The Versatility That Makes This a Daily Go-To
The half-up bun works because it doesn’t require length minimums. Even those with medium-length curly hair can usually pull off a small bun at the crown while the rest of the curls fall freely. And because only the top section is being manipulated, the integrity of your curl pattern at the back and sides stays intact — which means less disruption to your styling routine overall.
It’s also endlessly adjustable. A tighter, higher bun at the top section reads as polished and put-together. A loose, low half-up bun with tendrils framing the face reads as effortlessly romantic. Same fundamental structure, completely different mood.
Getting the Right Placement and Proportion
- Take the top section of hair — from temple to temple and back to the crown — and gather it loosely
- The bun should sit just above the crown, not too far back (which looks dated) and not right at the very top (which can look like a palm tree)
- Secure with a scrunchie and deliberately loosen the bun by gently tugging at the sides so it has some width and airiness
- Leave curls around the face and temples completely free, and shake them out gently with your fingers
- A small amount of curl refresher spray on the free-falling curls keeps them from going flat during the day
Pro tip: If the top half of your hair is significantly looser in curl pattern than the bottom, do a quick finger-curl on the bun section while scrunching in a little curl defining cream — it’ll blend the textures better.
4. The Double Curly Space Buns
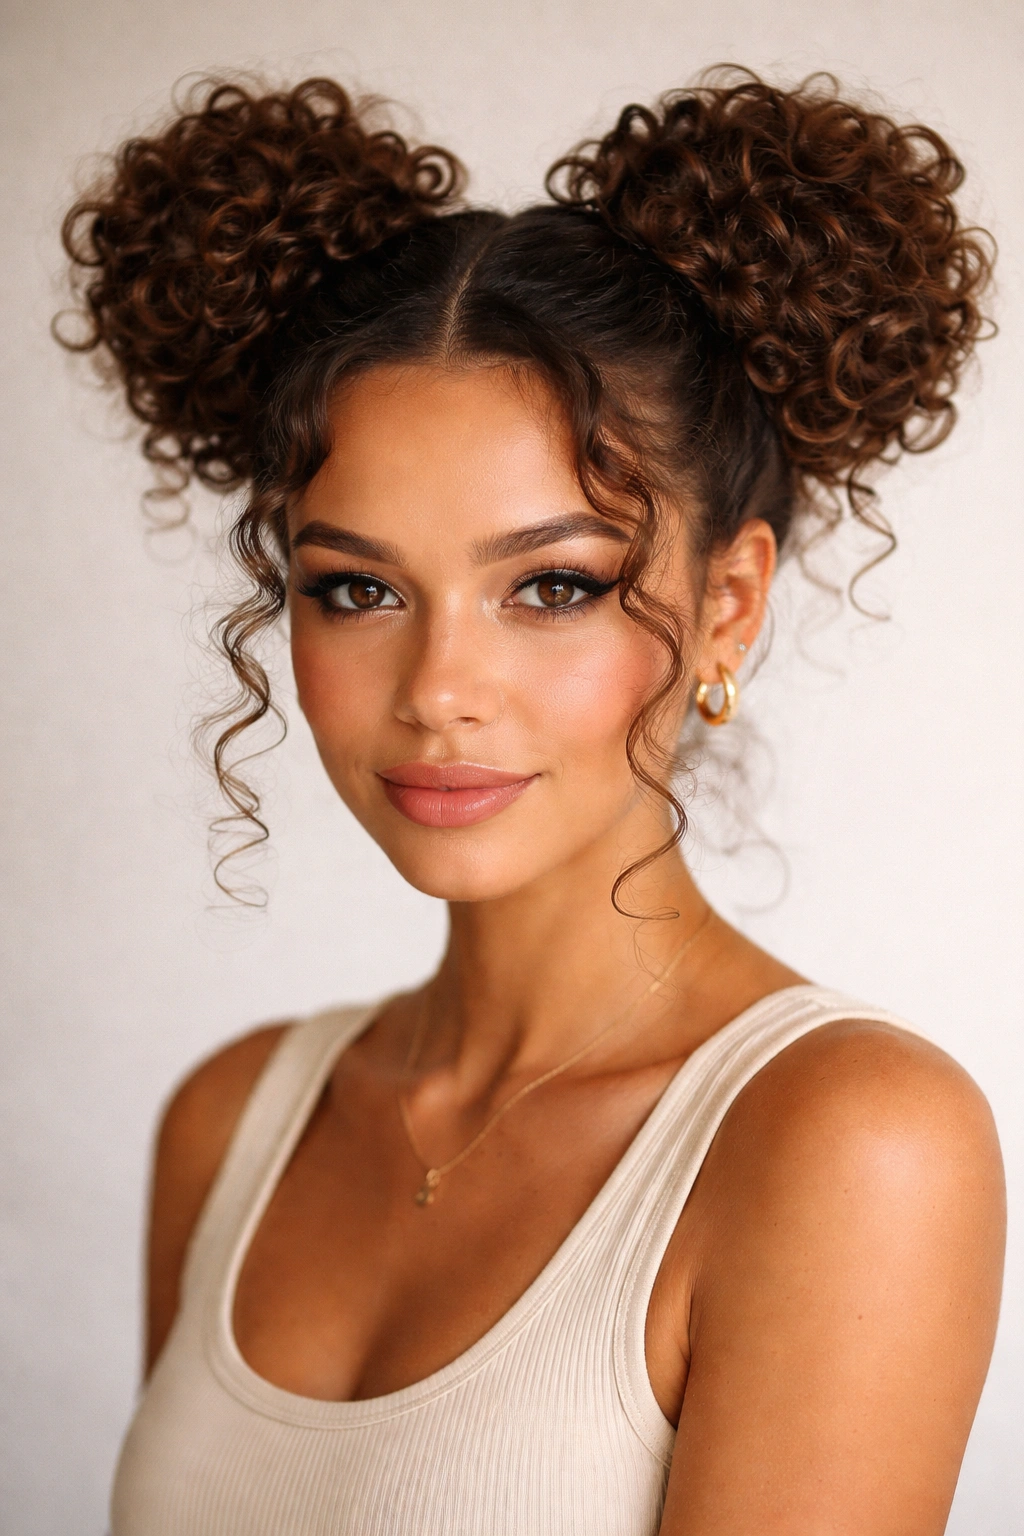
Space buns have never fully gone out of fashion because they keep reinventing themselves — and on curly hair, they hit different. Two symmetrical buns sitting above the ears on either side of the head, filled with coiled, bouncy curls, create a playful, eye-catching look that reads as effortlessly cool.
Why Curls Make Space Buns Exceptional
On straight hair, space buns often look a bit flat and uniform. On curly hair, each bun becomes a small sculpture — full, rounded, and three-dimensional. The curl texture also means the buns hold their shape naturally without needing a ton of product or excessive pinning.
This is also a style that photographs beautifully. The symmetry of two buns against a curly frame, with curls at the nape and hairline peeking out, creates a dynamic, editorial-looking silhouette that works particularly well on looser curl patterns (2C to 3B) because of the volume and definition those textures carry.
Creating Balanced, Even Space Buns
- Part the hair precisely down the center from forehead to nape — a rat-tail comb is helpful here even on curly hair, used only along the part itself
- Gather each side into a high ponytail and secure before forming the bun
- Twist each ponytail loosely and wrap it around the base of its own elastic, pinning as you go with U-shaped pins that grip curly textures better than bobby pins
- Pull individual curls free from each bun to soften the silhouette
- The two buns don’t have to be identical in size or shape — on curly hair, slight asymmetry adds to the charm
Pro tip: Mist each bun lightly with water mixed with a few drops of leave-in conditioner to reactivate the curls’ spring if they’ve lost definition during styling.
5. The Braided Curly Bun
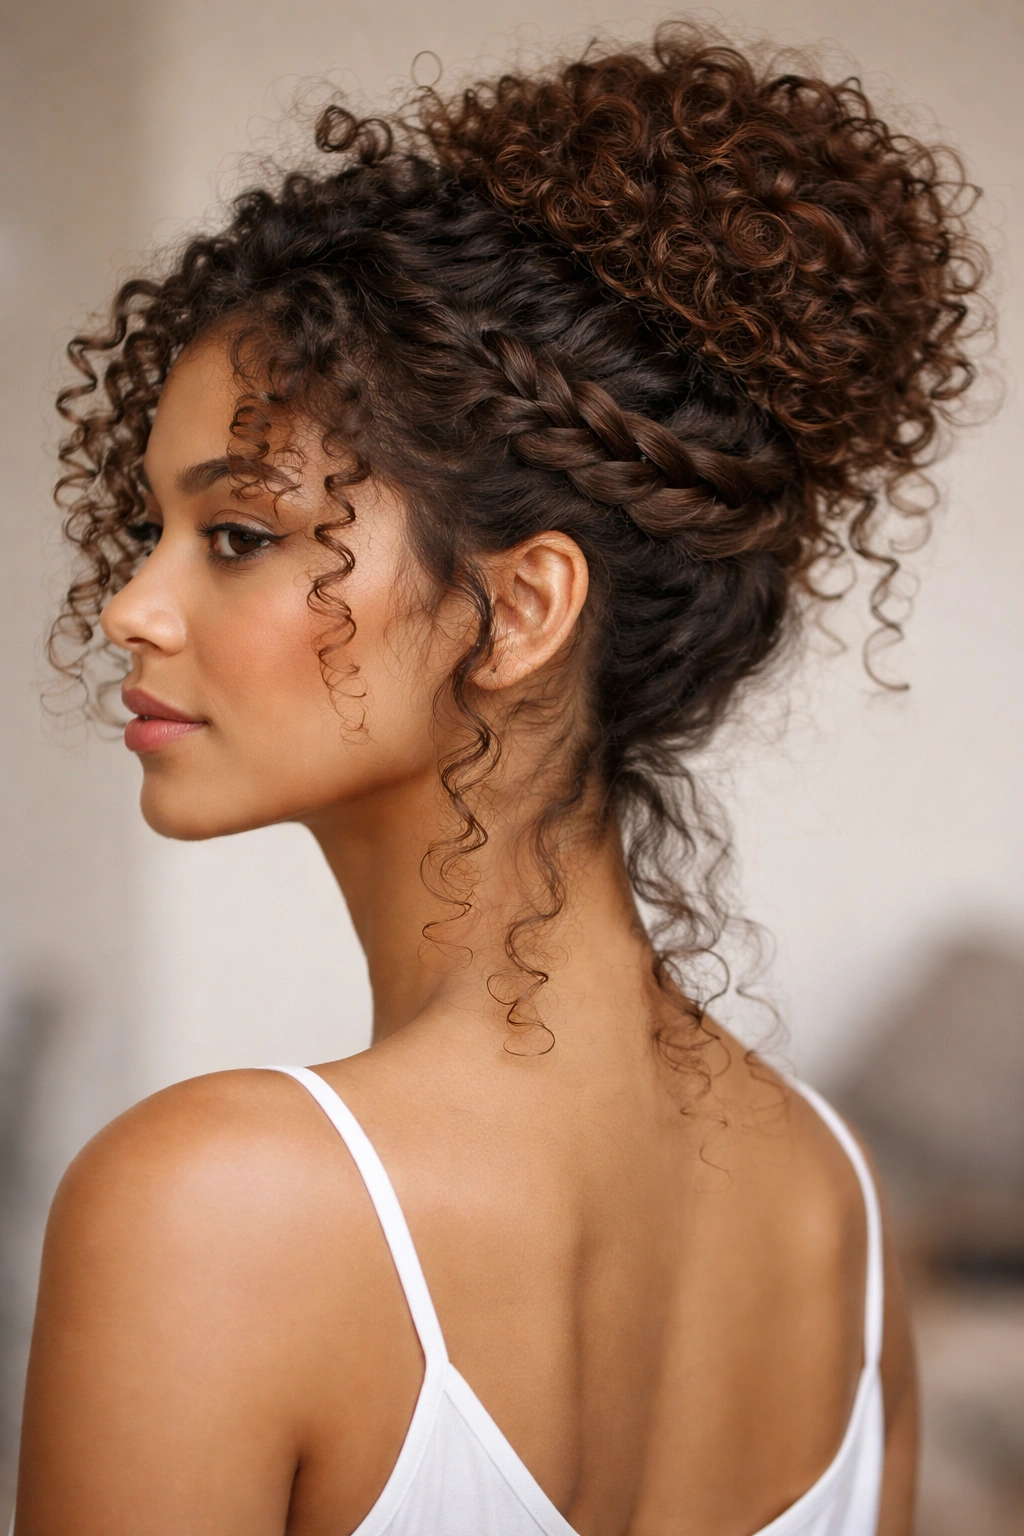
Combining a braid with a bun takes a basic updo into more intentional, detailed territory. The braid — whether it wraps around the base of the bun, feeds into it, or frames the hairline — adds structure and visual interest that makes this style feel genuinely special.
How the Braid Elevates the Curly Bun
The contrast between the geometric pattern of a braid and the organic texture of a curly bun is what makes this combination so compelling visually. Your eye travels between the two elements — the defined structure of the braid, the soft wildness of the curls — and that contrast is exactly what makes it look intentional rather than accidental.
A cornrow feeding into a high bun creates a sleek, structured base that makes the curly bun look even more voluminous by contrast. A loose French braid wrapped around the circumference of a bun, on the other hand, creates something more romantic and bohemian.
Braid Variations to Try with Your Bun
- Halo braid base: French braid around the hairline from ear to ear, then gather the remaining hair into a high curly bun above the braid
- Feed-in base braid: Cornrow from the front hairline straight back to the nape, then gather all remaining hair — including the end of the braid — into a puff or bun at the crown
- Wrapped braid: Create the curly bun first, then take a small section from behind one ear, braid it loosely, and wrap it around the base of the bun, pinning at the other side
Worth knowing: The braided curly bun is one of the most protective styles on this list — it keeps the majority of your hair’s length gathered and tucked, reducing exposure to friction and breakage.
6. The Natural Curly Puff Bun
The puff bun is the natural hair community’s contribution to the bun canon, and it’s one of the most beautiful ways to showcase the full density and volume of tightly coiled or kinky-curly textures. Think of it as a bun that hasn’t been pulled or tucked tight — it blooms outward from the elastic, creating a rounded, cloud-like silhouette.
Understanding What Makes a Puff a Puff
The difference between a puff and a standard bun comes down to intention. A standard bun winds the hair tightly around itself to create a compact shape. A puff bun allows the curl pattern to expand freely above and around the elastic, so the finished look is full, rounded, and organic. The elastic isn’t really holding a shaped bun — it’s anchoring a volume of curls that then do whatever they naturally want to do.
This works best on 3C, 4A, 4B, and 4C textures because those curl patterns have the density and spring to maintain the rounded silhouette without collapsing. On looser textures, the puff can fall flat without some help from a diffuser or light-hold product.
Building Maximum Volume in a Puff Bun
- Stretch the hair very gently before gathering — a light blowout on the roots with a diffuser or a brief banding stretch (without heat) creates more volume in the puff
- Use a satin-lined hair tie or a coil-free elastic to avoid snagging at the hairline
- After securing, use your fingers to gently pull the puff outward from the center, expanding its circumference
- Smooth the edges and hairline with a soft bristle brush and a small amount of edge control gel
- A shine oil misted lightly over the entire puff brings the curls to life without weighing them down
Pro tip: If the puff keeps slumping, try crossing two elastic bands in an X formation at the base rather than using a single band — it gives the hair more structure and support.
7. The Side-Swept Curly Bun
An off-center bun changes everything about how a style reads on the face. The side-swept curly bun — gathered and secured just behind one ear, slightly low and to the side rather than centered at the back — creates a softness and asymmetry that flatters almost every face shape, particularly oval, square, and longer face shapes.
Why the Off-Center Placement Works So Well
A centered low bun is elegant, but it can sometimes read as overly formal or plain. Moving the bun to the side introduces asymmetry, which the eye finds more interesting and dynamic. It also exposes one side of the neck and jawline while keeping the other side partially framed by curls, creating a playful contrast.
On curly hair, this style has the added advantage of looking lush and full even on shorter lengths — because curls compress and then expand when gathered, even collar-length curly hair can produce a surprisingly substantial side bun.
Technique for a Flattering Side Bun
- Decide which side you want the bun on, then gently sweep all the hair in that direction, gathering it loosely just below and behind the ear on the chosen side
- Don’t pull it too tight — the side bun looks best when it’s slightly loose and relaxed, with curls escaping naturally around its edges
- Secure with a fabric-covered elastic or scrunchie, then twist the gathered hair loosely and pin into a soft oval or rounded shape
- Leave a few curls free along the opposite hairline for softness and balance
- A small decorative pin or pearl clip placed at the base of the bun elevates this style for more polished occasions
Pro tip: The side bun actually works better when the hair isn’t washed the same day — freshly washed curls can be too slippery and light to hold the gathered position securely.
8. The Twisted Curly Updo Bun
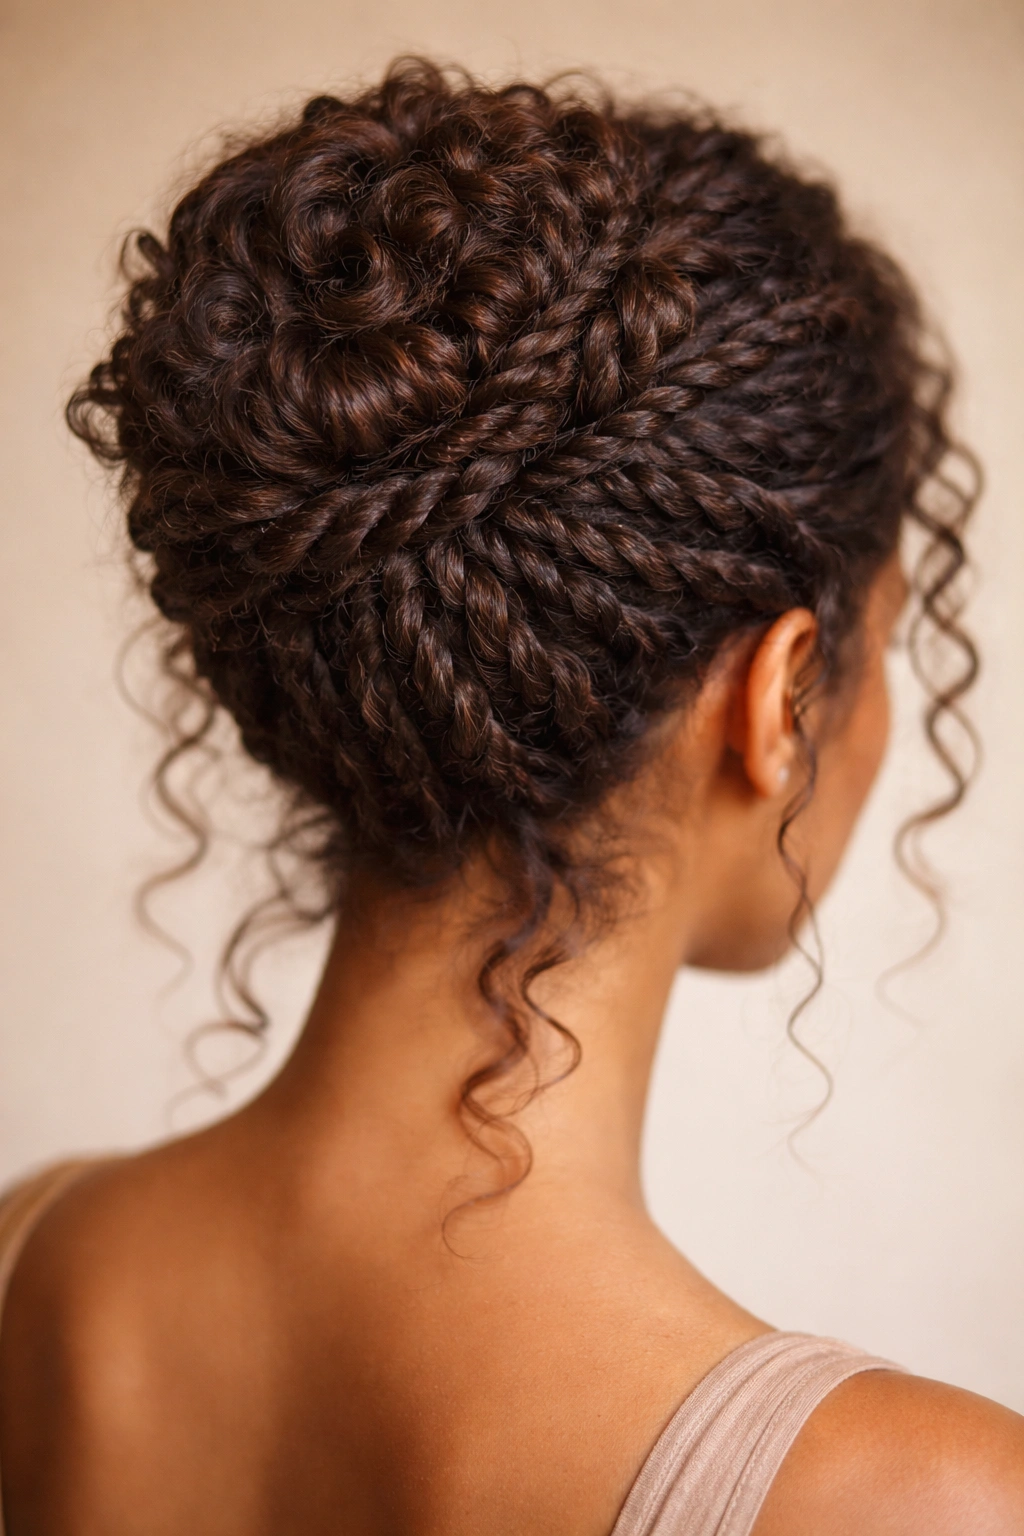
Two-strand twists are a beloved staple in the curly and natural hair world, and when you use them as the foundation of an updo, the result is stunning. The twisted curly updo bun combines the graphic beauty of twists with the elegance of a gathered style, creating a look that works beautifully for everything from a workplace presentation to a black-tie event.
The Twist-Out Bun vs. The Twisted Updo — Knowing the Difference
A twist-out bun starts with hair that’s already been twisted, unraveled, and allowed to form that characteristic s-shaped wave pattern — then the unraveled hair is gathered into a bun. The twisted updo, on the other hand, uses the twists themselves as architectural elements in the style, so the individual twists are visible and intentional parts of the finished look.
The second approach takes more time but produces a more distinctive, detailed result. Each twist adds a textural layer to the updo that you simply can’t get by gathering untwisted curls.
Building the Twisted Updo Step by Step
- Start with freshly moisturized hair and section it into 8-12 two-strand twists; the size of the twists determines the final texture (smaller twists create more intricate detail)
- Once all twists are complete, gather them at the nape or crown and begin coiling and pinning them into a layered, stacked bun
- Alternate the direction of each twist as you pin — some clockwise, some counterclockwise — so the bun has depth and dimension
- Leave the ends of some twists free to add softness to the silhouette, or tuck all ends neatly under for a cleaner finish
Worth knowing: Twists can be secured in advance and slept on overnight with a satin bonnet; the next morning’s updo will have even better texture and hold than if styled immediately.
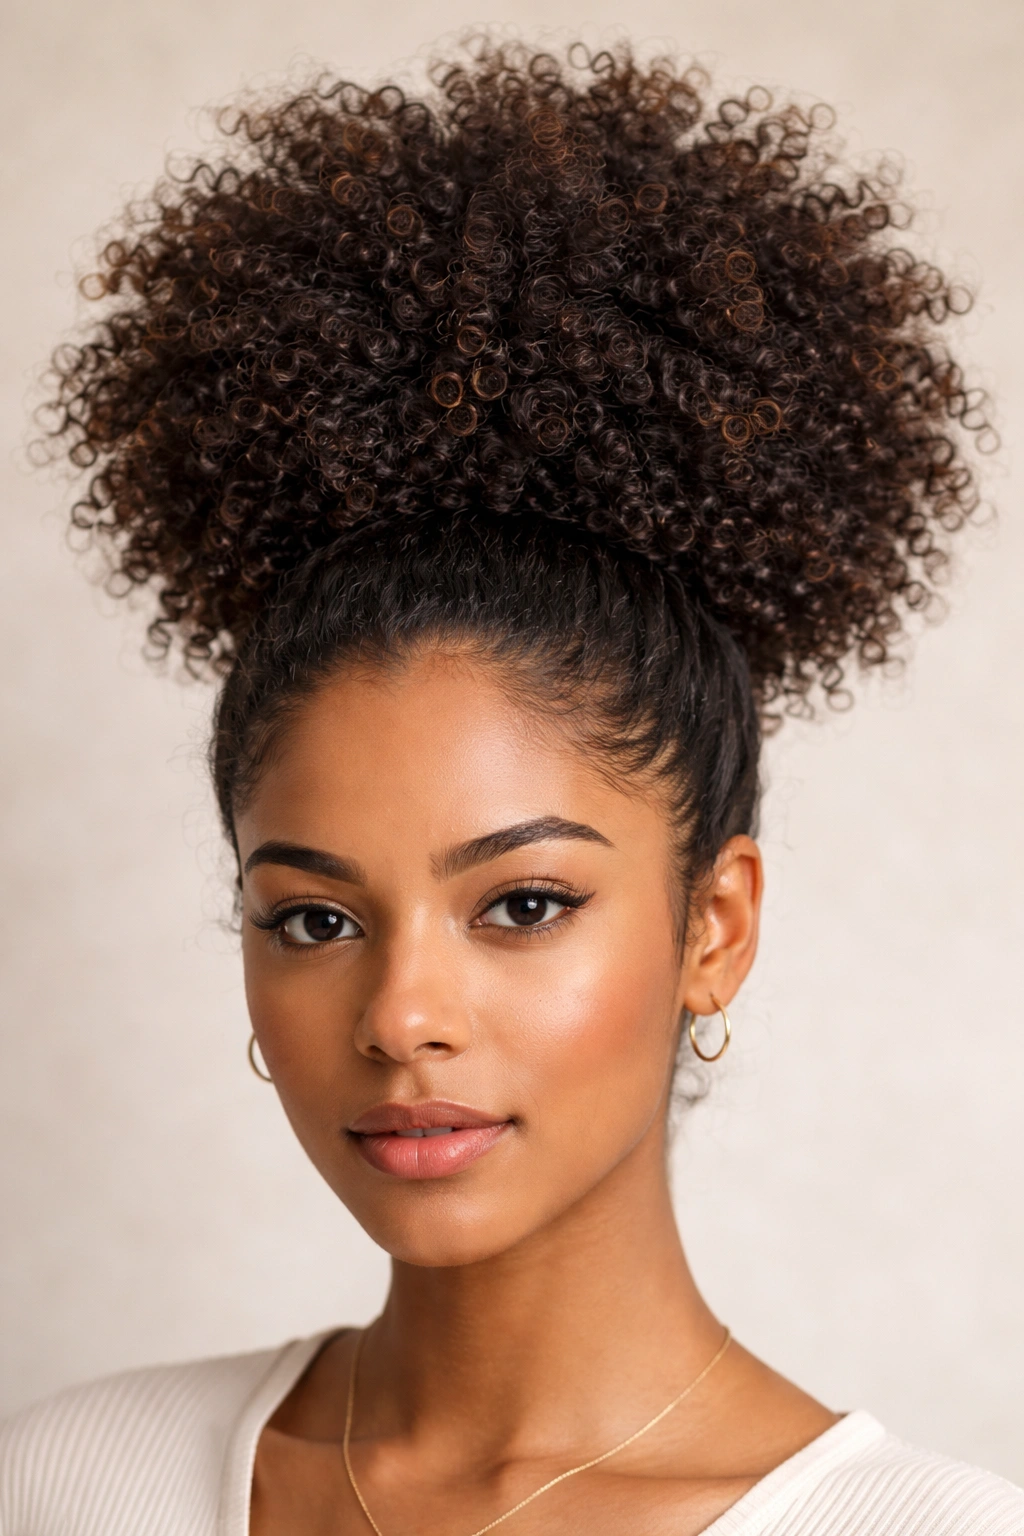
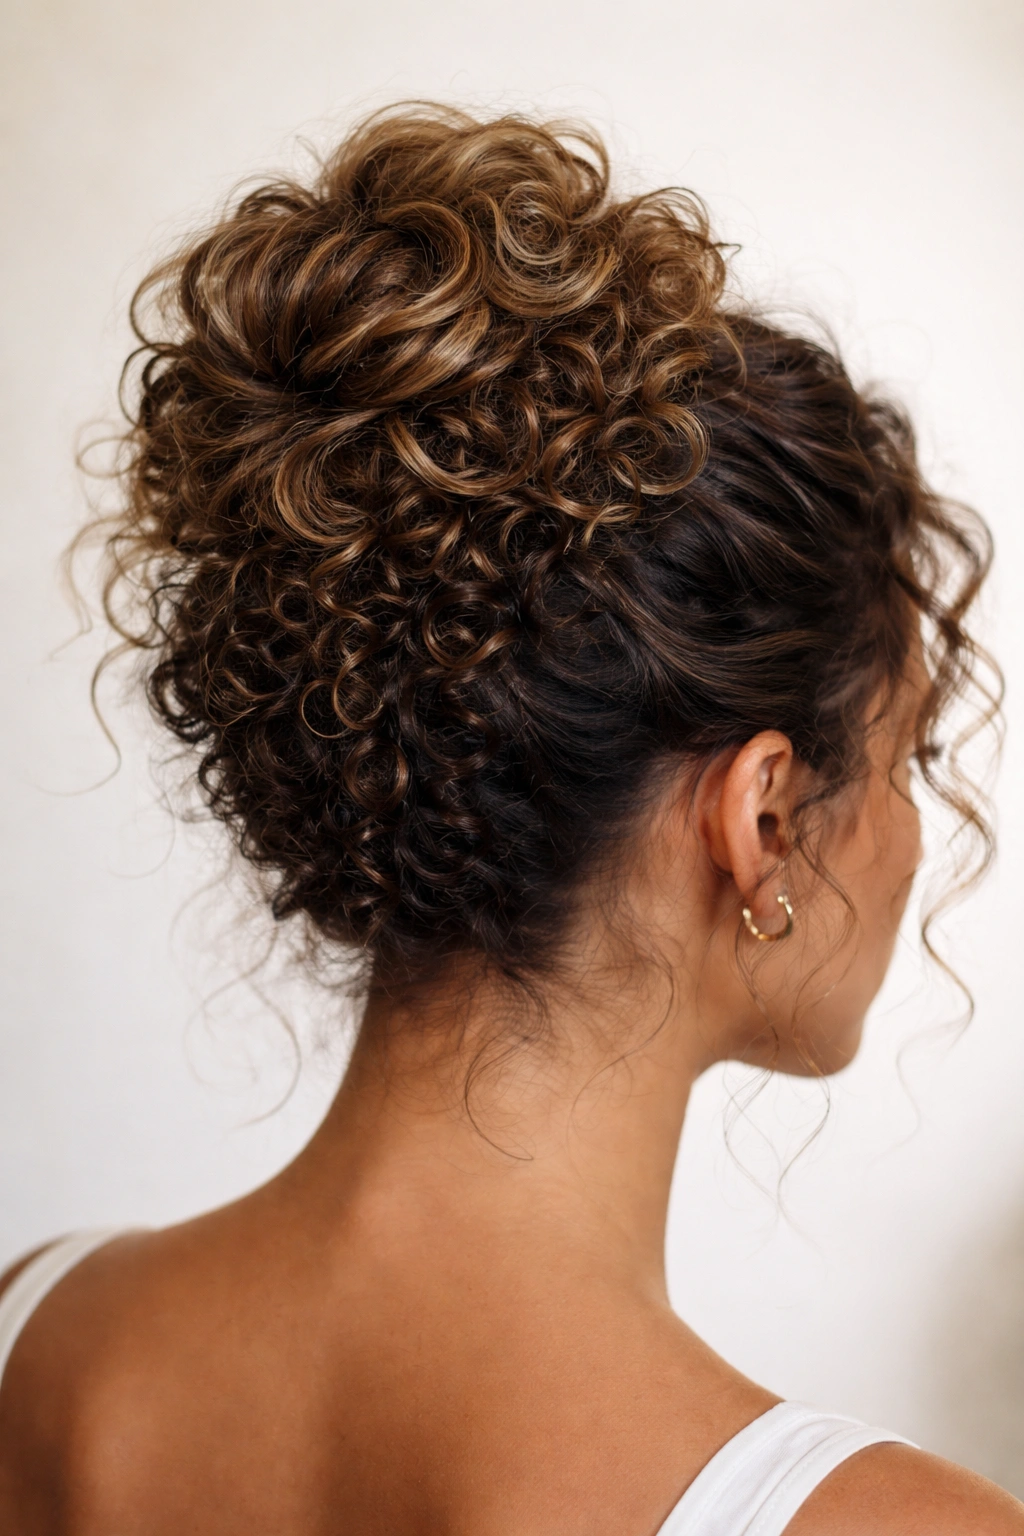
9. The Pineapple Bun
If you live in the curly hair community, you already know the pineapple. Originally developed as a way to protect curls while sleeping, the pineapple — a high, loose gathering of all the hair at the very top of the head — has become a full-on style in its own right, and a wildly flattering one at that.
How the Pineapple Became a Standalone Style
The genius of the pineapple is its height and drama. Because all the hair is gathered at the very crown and allowed to cascade over the elastic, it creates a fountain-like silhouette of curls that’s simultaneously fun and striking. Worn high, it adds visual height and length to the face; the downward cascade of curls frames the forehead beautifully.
It’s also one of the most curl-protective of all bun styles, since the hair is gathered loosely (never pulled tight) and the curls experience minimal manipulation. For anyone trying to maintain curl definition across multiple days without re-wetting, the pineapple bun is a foundational technique.
Perfecting the Pineapple Bun
- Tilt your head forward and let all your curls fall downward toward the floor; gather them loosely at the absolute crown of the head and secure with a very loose satin scrunchie — it needs to be gentle enough not to flatten the curls at the base
- The gathering should feel loose and airy, not tight; if it’s pulling at the roots, it’s too tight
- Once secured, gently shake the curls so they distribute evenly around the elastic; pull the front curls forward slightly so they frame the forehead
- For maximum volume, very gently tug the gathered section outward from the elastic to expand the silhouette
- Add a couple of small decorative clips or pins to the base for a more finished, deliberate look
Pro tip: The pineapple bun on refreshed second-day or third-day curls looks even better than on fresh wash-day hair — the curls have more memory and hold their own shape without product assistance.
10. The Pinned Curly Bun with Face-Framing Tendrils
This is the curly bun that photographs the best, flatters the widest range of face shapes, and signals the most styling intention. The structure of a pinned bun — constructed curl by curl, loop by loop, rather than wrapped around a central elastic — paired with deliberately placed tendrils at the temples and nape, creates something that looks genuinely artful.
Why Tendrils Make Such a Significant Difference
Face-framing tendrils are the detail that separates a bun that looks “thrown up” from one that looks styled. Those few curls left loose at the temples, cheekbones, and nape soften the transition between the gathered hair and the face, creating a halo of soft texture that flatters essentially every face shape.
For square faces, curls at the temples soften the corners of the forehead. For round faces, longer tendrils at the sides of the neck draw the eye downward and add elongation. For oblong faces, fuller tendrils at the sides create the appearance of width. There’s a tendril configuration that works for every face, and the flexibility of curly hair makes it easy to place them exactly where you want them.
Constructing the Pinned Bun
- Gather the hair loosely at the nape or mid-back of the head and hold it in one hand, then begin taking small sections and pinning them into place with U-shaped pins rather than winding everything around an elastic
- Layer pins across the base of the bun in alternating directions — this is what gives a pinned bun its structural stability
- As the bun takes shape, deliberately pull 2-3 curls free at each temple and one or two at the nape
- Use a curl-defining cream or light gel on those freed tendrils to encourage them to coil rather than frizz
- A few spritzs of a glycerin-based curl refresher on the tendrils right before you leave will bring out their definition and shine
Pro tip: Apply a small amount of edge control or hair gel only to the hairline and the pulled tendrils — not to the bun itself. The bun should look natural and textured; only the framing pieces benefit from extra definition.
Products That Make Every Curly Bun Better
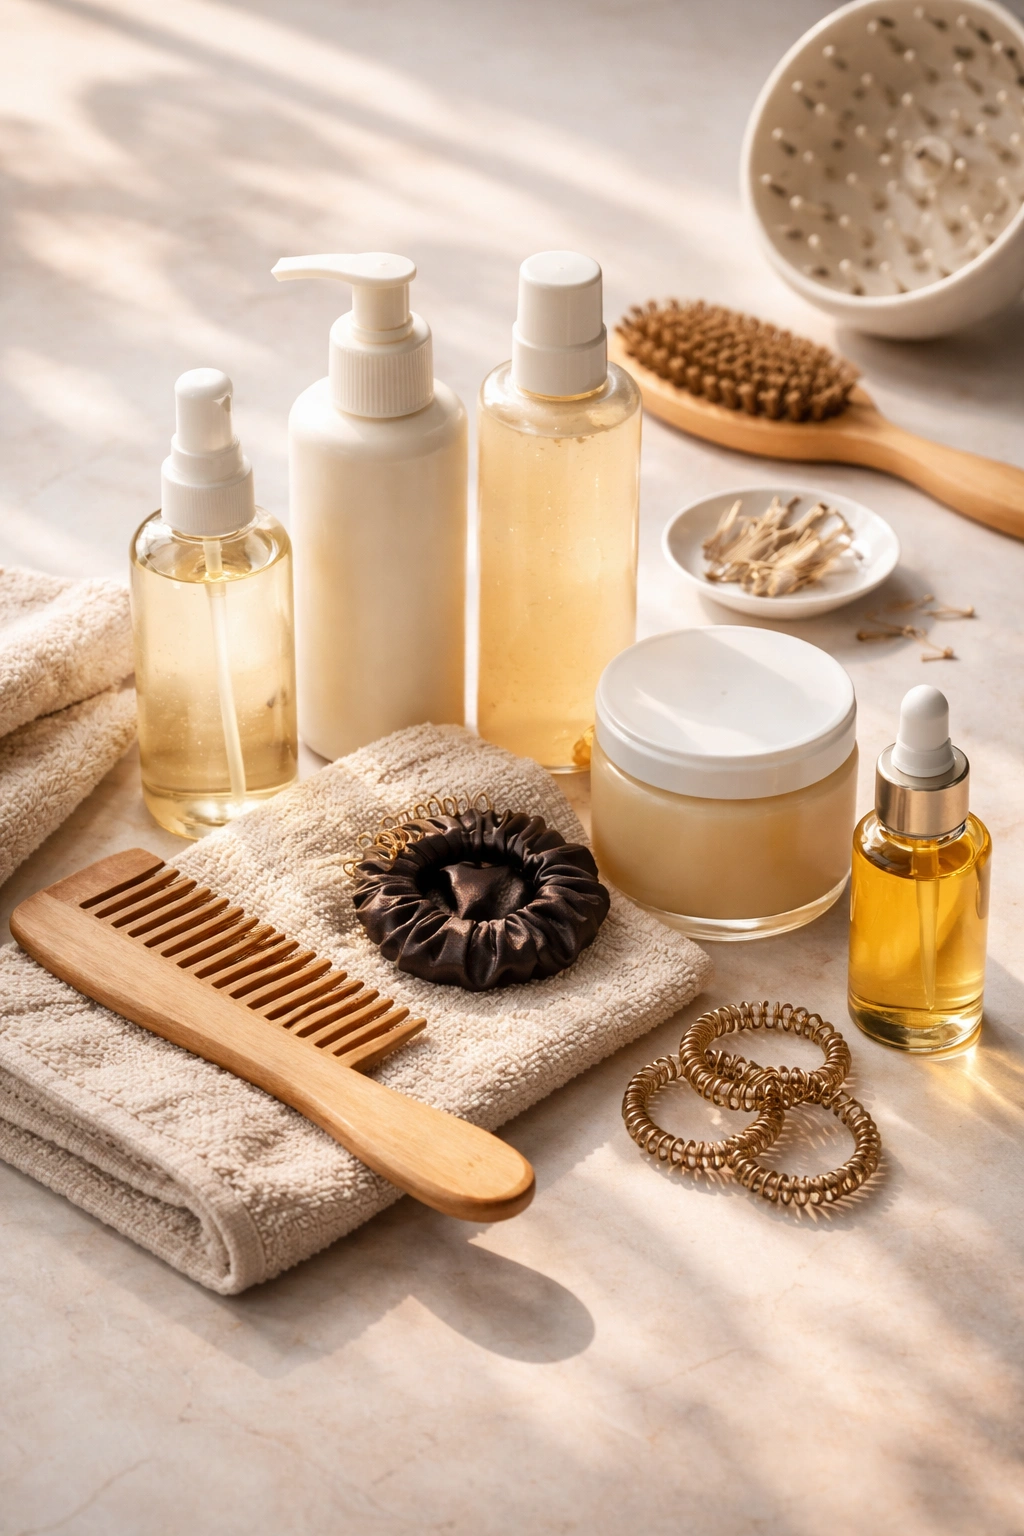
Curly buns live and die by product selection. The goal is almost always the same: enough hold to keep the style together through the day, enough moisture to prevent frizz, and enough flexibility so the curls still move rather than crunching into place.
The Core Product Categories Worth Knowing
A leave-in conditioner applied to damp hair before any styling ensures curls are moisturized enough to hold their shape without reaching for water every hour. Look for water-based leave-ins with ingredients like aloe vera, glycerin, or shea butter.
A curl cream or defining gel applied over the leave-in before gathering the hair into any style helps the curl pattern stay coherent once it’s secured. Medium-hold gels work well for tight buns; creams work better for the softer, looser styles like pineapples and messy buns.
Satin scrunchies and spiral hair coils deserve a permanent spot in your styling routine. Standard elastic hair ties cause unnecessary stress and breakage at the hair shaft, particularly at the point of contact. Satin-covered or coil-style alternatives hold firmly without creating those telltale dents and without snapping individual strands.
Quick Styling Tips for Better Hold All Day
- Moisturize hair before styling — dry curls lose their elasticity and break rather than stretch when gathered
- Avoid touching the bun repeatedly throughout the day; each time you adjust it, you’re introducing more frizz
- A silk or satin pillowcase, or a satin bonnet at night, preserves the bun’s shape overnight when you want to wear the same style on consecutive days
- Bobby pins grip better when they’re slightly bent — run your finger down the pin to create a subtle curve before inserting it
Matching Your Bun Style to Your Curl Pattern
Not every bun works equally well on every curl pattern, and being honest about that saves a lot of frustration. The relationship between curl type and bun style matters more than most styling guides acknowledge.
Curl Patterns 2A Through 3A (Loose Waves to Ringlets)
These curl patterns are naturally less dense and have a harder time maintaining tight buns that stay full. Looser, airier buns work better — the half-up bun, the high messy bun, and the side-swept bun are particularly flattering. A light-hold mousse or curl cream is essential for definition; without it, loose wave patterns can fall flat inside a bun.
Curl Patterns 3B Through 3C (Ringlets to Corkscrew Curls)
This is arguably the sweet spot for curly bun styling. Enough density to create volume, enough definition to maintain visible curl texture within the style, and enough flexibility to work across styles ranging from tidy chignons to playful space buns. Most of the styles on this list were designed with this texture range in mind.
Curl Patterns 4A Through 4C (Coils to Tight Kinks)
The puff bun and the twisted updo bun are specifically designed to work beautifully on these tightly coiled patterns. The pineapple also performs exceptionally well. The key for these textures is moisture — coily and kinky hair naturally loses moisture faster than looser patterns, so pre-styling moisture layering (leave-in, oil, cream in that order) is the foundation of any successful style.
Accessories That Elevate a Curly Bun
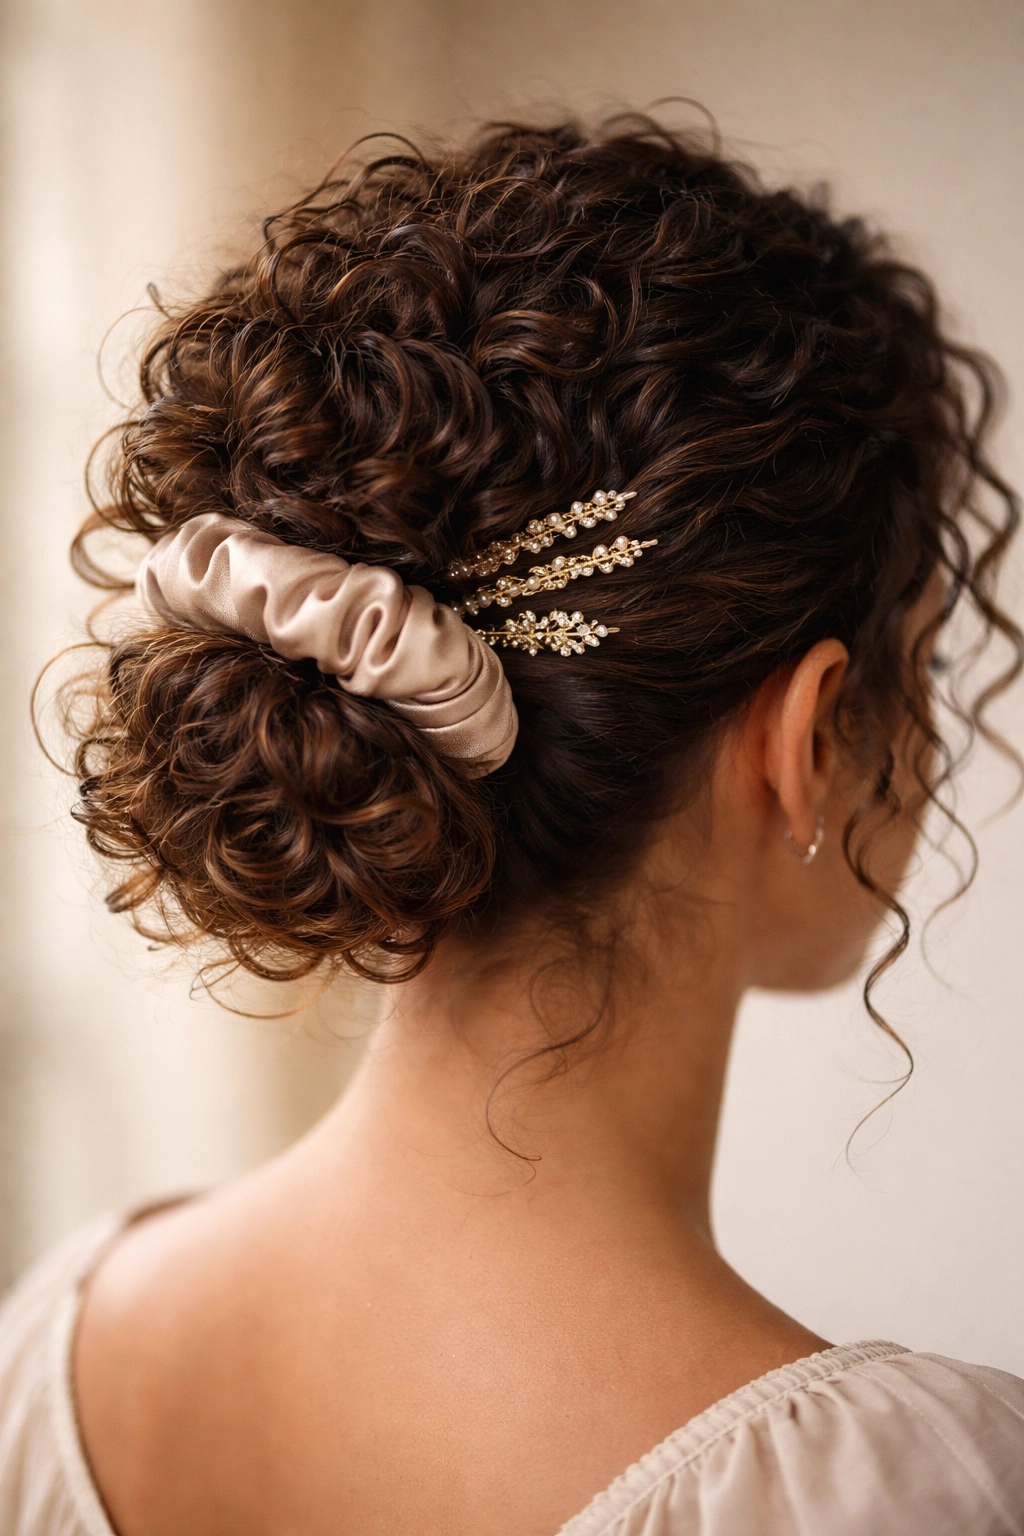
The right accessory transforms a basic curly bun into a complete style. Curly hair’s natural volume and texture means that accessories actually stay in place more effectively than on straight hair — curls grip pins, combs, and clips in a way that fine, slippery hair simply doesn’t.
Scrunchies in silk, satin, or velvet add color, pattern, and texture to the style without causing damage — wearing the scrunchie as a visible element rather than hiding it is a great choice on casual and creative styles like the messy bun or space buns.
Decorative hair pins — from minimalist gold bar pins to floral or jeweled picks — work beautifully when placed at the base of a bun or scattered across the surface of the curls. The irregular surface of a curly bun makes it easy to push a decorative pin in at an angle so it stays put without any additional securing.
Hair combs and banana clips can anchor the base of a side bun or low chignon with both function and elegance — and on thick, curly hair, these grips hold far more securely than they do on straight hair.
Headbands — whether a simple fabric band or a padded headband — work beautifully with any of the half-up or puff bun styles to smooth the hairline while letting the main body of the bun take center stage.
Final Thoughts
Curly buns are one of those rare categories where having more texture, more volume, and more personality in your hair is the advantage — not the obstacle. The styles on this list work because they’re designed around what curly hair actually does naturally, rather than trying to force it into shapes that belong to straight-hair tradition.
Start with whichever style from this list feels closest to what you already do on automatic, then refine the technique. Once you’ve nailed the messy bun or the half-up on your specific curl pattern, the other styles become easier to approach — you’ll start to understand how your curls behave when gathered, how much hold your products deliver, and exactly which placement flatters your face most.
One thing that separates people who are happy with their curly buns from those who aren’t: the tools. Invest in a few good satin scrunchies, a pack of U-shaped pins, and a decent curl-defining cream. Those three things will change your results more dramatically than any technique adjustment.
The best curly bun is the one that feels like yours — specific to your curl pattern, your face, your occasion, and your tolerance for spending time in front of the mirror. Pick one style, commit to understanding it completely, and build from there.