The side part has made an undeniable comeback in the world of hair styling—and for good reason. When executed thoughtfully with curly hair, a side part creates dimension, frames the face beautifully, and adds an intentional polish that reads as effortlessly put-together. But here’s the thing about styling curly hair with a side part: it’s not as simple as brushing your hair to one side and calling it a day. Curls have their own logic, their own directional preferences, and their own way of either cooperating with or completely rejecting a side-part arrangement depending on how you approach it.
The magic happens when you work with your curl pattern rather than against it. A well-executed side-part style on curly hair should enhance your natural texture, add volume exactly where you want it, and actually make your styling routine easier—not harder. Whether your curls are tight coils, loose waves, or anything in between, there’s a side-part hairstyle that will make you look intentional and polished without requiring you to fight your hair every morning.
The styles in this guide range from everyday wearable options to special-occasion looks, all designed specifically for people who are working with a curl pattern and want the visual interest and face-framing that a side part provides. Each one includes concrete technique details, product recommendations where they matter, and real-world advice about what actually works when you’re styling curly hair.
1. Soft Waves with Side Part
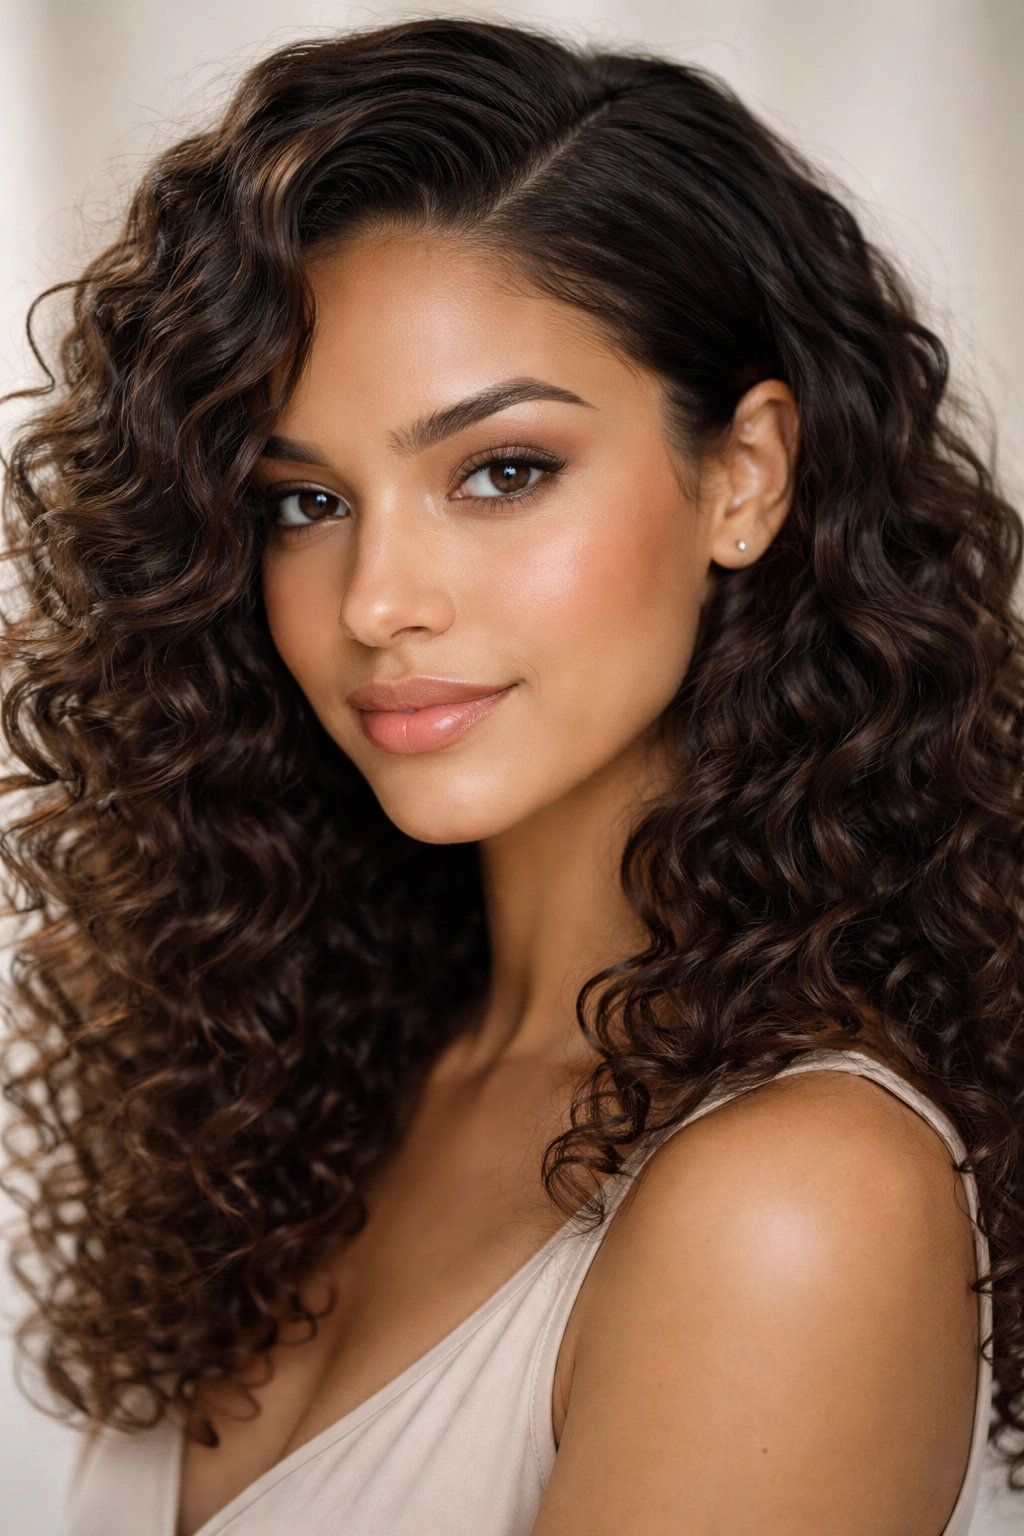
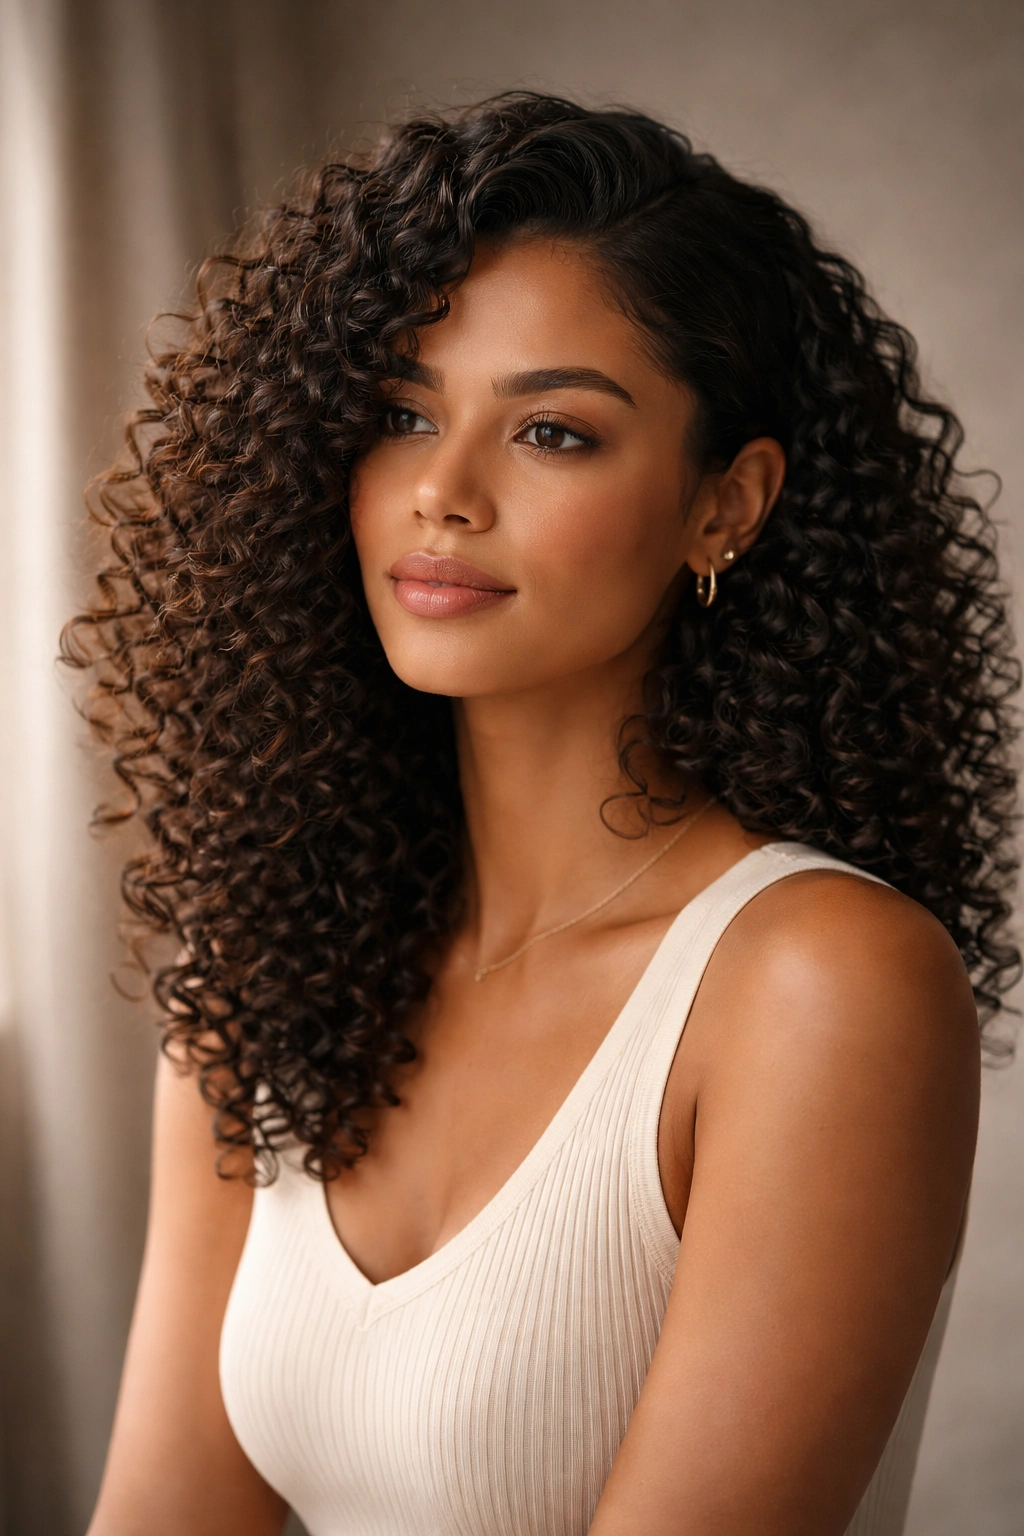
This is the most versatile and beginner-friendly side-part style for curly hair—one that works whether your curls are natural or enhanced with styling products. Soft waves with a side part create a romantic, intentionally tousled look that reads polished but never overdone. The key difference between this and just having curly hair with a side part is the intentional shaping and definition you’re adding through proper technique and product placement.
How Curl Definition Creates the Right Effect
Soft waves with a side part work because they allow individual curl strands to catch light differently on each side of the part. When you’re working with a deep side part, the curls on one side fall toward your face while the curls on the other side have more volume moving away from your head. This contrast is what makes the style visually interesting rather than simply looking like you parted your hair to one side.
The waves should feel loose and relaxed, not stringy or crunchy. You’re aiming for a texture where your curls have shape and definition but still move naturally when you walk. This means the curl clumps should be visible but soft—not tight ringlets, not limp strands, but a happy middle ground.
Step-by-Step Styling Process
Start with damp hair—not soaking wet, not completely dry, but that perfect state where your curls are responsive to product but have enough moisture to hold a style. Apply your leave-in conditioner first, scrunching it in with an upward motion to encourage curl formation. Follow with a curl-defining cream or gel, applying it section by section as you work through your hair, concentrating the product on the mid-lengths and ends rather than your scalp area.
Create your side part by drawing a clean line from your hairline back toward your crown, making it deeper than you think you want it initially—parts that seem too deep when you’re styling often settle into the perfect proportion once your hair dries. Use a rattail comb or the pointed end of a teasing brush to make this line clean and defined.
Pro tip: Apply a bit of extra styling product along the part line itself—this helps keep the partition sharp throughout the day and prevents your curls from drifting back toward your natural part pattern.
Scrunch your hair gently but firmly with your hands or a microfiber towel to encourage wave formation, then either air-dry or use a diffuser attachment on your blow dryer set to low heat. If you’re diffusing, cup your curls in the diffuser cradle and hold it there for a few seconds before releasing—this prevents your waves from getting stretched or disrupted.
Quick Facts About This Style
- Works on all curl types from loose waves to tight curls
- Requires 15-20 minutes of styling time, including drying
- Lasts 2-3 days with proper refreshing between wears
- Best for everyday wear, casual outings, and relaxed work environments
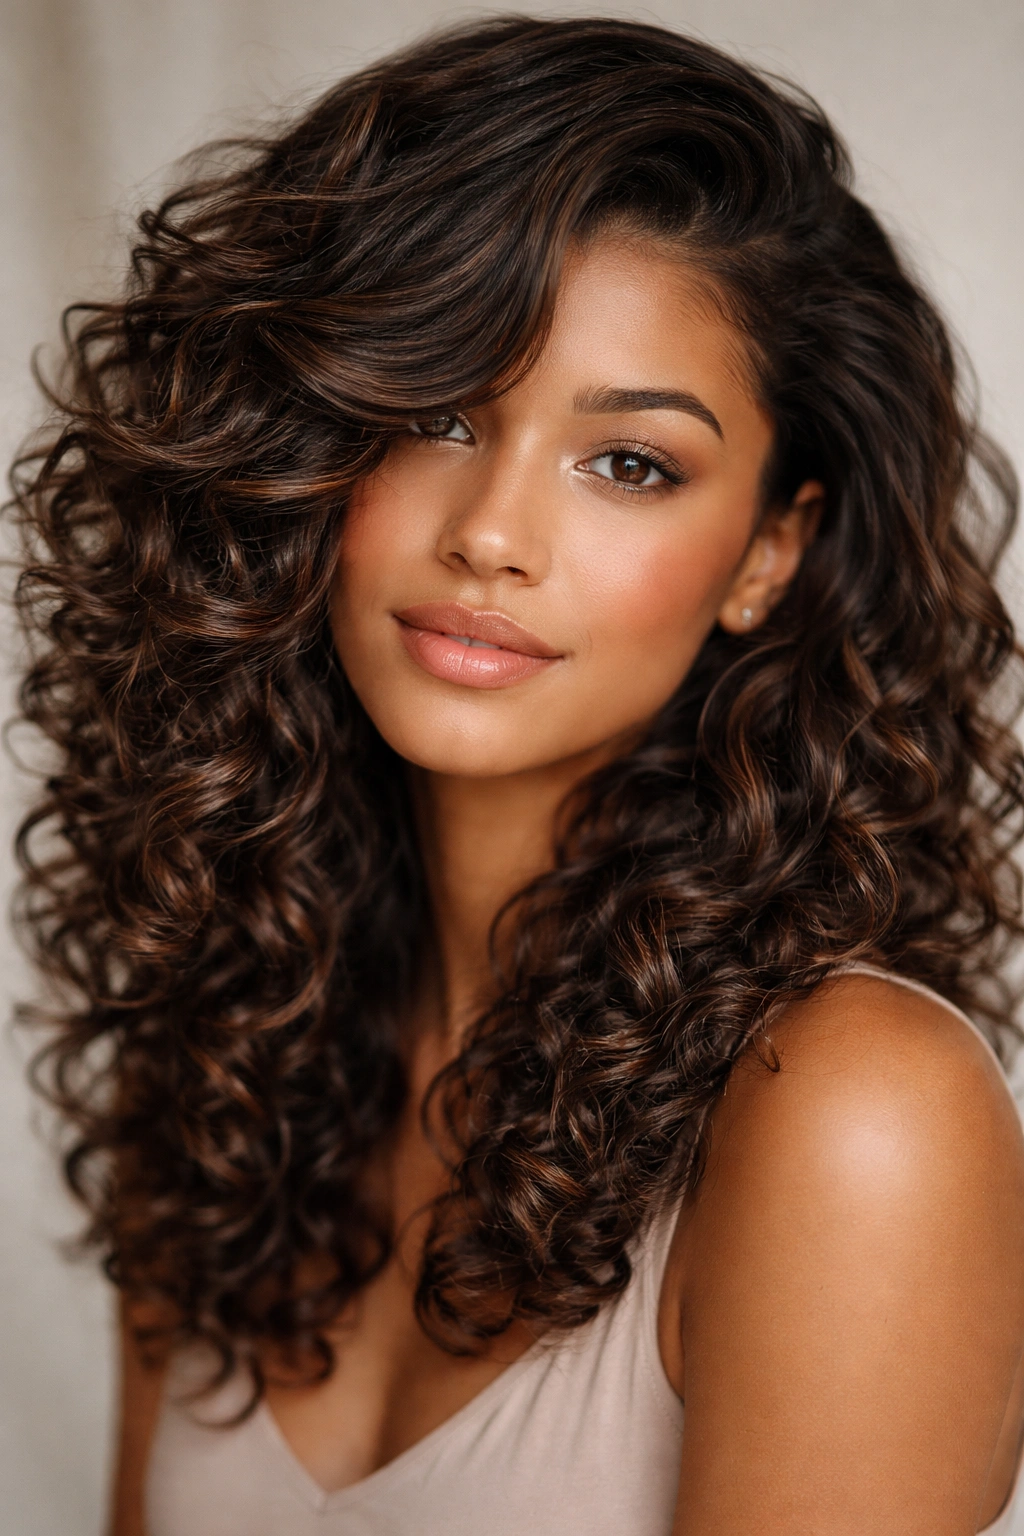
2. Defined Curls with Deep Side Part
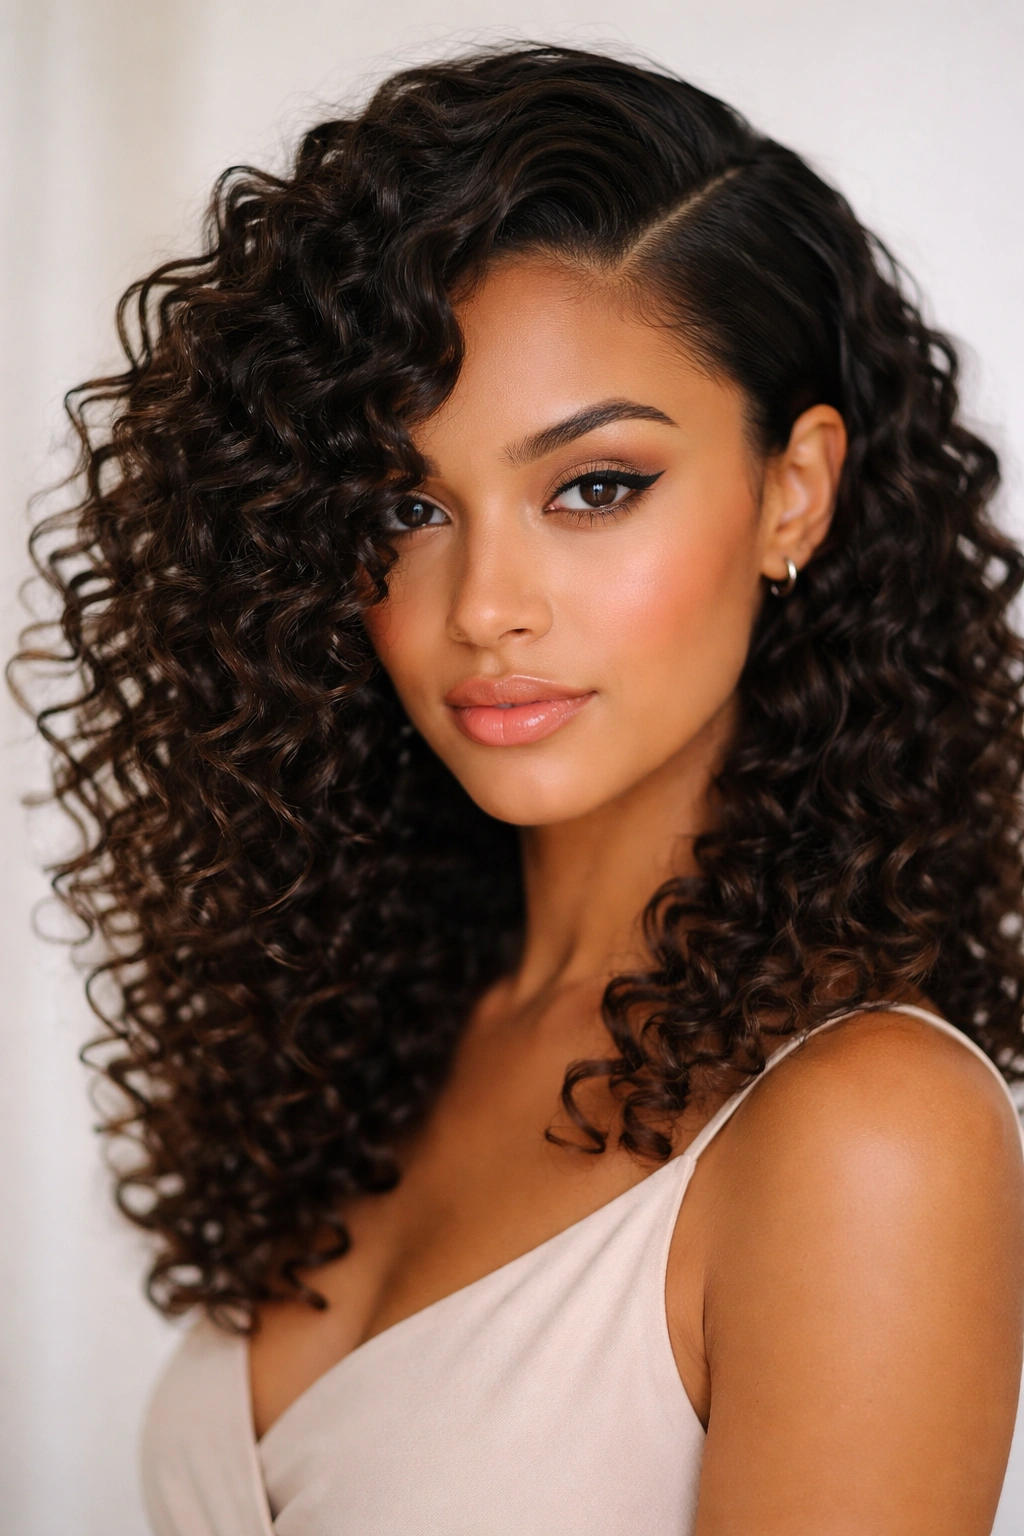
If soft waves feel too loose and unstructured for your taste, defined curls with a deep side part offer a more deliberate, polished aesthetic. This style emphasizes individual curl clumps and creates a look that reads as intentionally styled rather than naturally textured. The deep side part amplifies the definition by creating strong visual contrast between the fuller volume on one side and the flatter, more sleek section on the other.
The Role of Precision in Curl Definition
Defined curls require a different product approach than soft waves. Instead of a lightweight cream, you’ll typically want a medium-to-strong hold gel or a curl-defining butter that has enough structure to separate and hold individual curl clumps throughout the day. The side part becomes even more important here because the part line itself creates a visual anchor that makes your defined curls look intentional rather than accidental.
The depth of your side part matters more with this style. A super-deep side part—parted all the way back toward your temple—creates a dramatic look that works best on curly hair that has enough density to handle the volume shift. A moderate side part, parted roughly one-third to one-half of the way across your head, feels more balanced and is easier to maintain over multiple days.
Product Application for Maximum Hold
Apply your styling product to very wet hair, not just damp hair. Dripping-wet curls will absorb more product and hold it more effectively than partially dried curls. Section your hair into 4-6 quadrants (the side-parted section should be one of these quadrants), and apply product to each section methodically. This prevents you from either under-applying product in some sections or over-applying in others.
Use a praying-hands method with your hands, comb method with a wide-tooth comb, or a squish-to-condish technique with a curl cream—the exact application method matters less than consistency and thorough saturation. Once you’ve applied your product, use a microfiber towel or cotton t-shirt to scrunch and encourage your curls to form distinct clumps rather than one blended mass of curl.
Worth knowing: If your defined curls feel crunchy or stiff once they’ve dried, you applied too much product or too strong of a hold. Make a mental note to reduce the amount next time—more product doesn’t equal better results when you’re working with curly hair.
Quick Facts About This Style
- Emphasizes individual curl strands and creates textural interest
- Requires medium-to-strong hold product for all-day support
- Lasts 3-4 days with minimal refreshing
- Best for environments where a more polished, intentional appearance is desired
3. Half-Up Half-Down with Side-Parted Crown
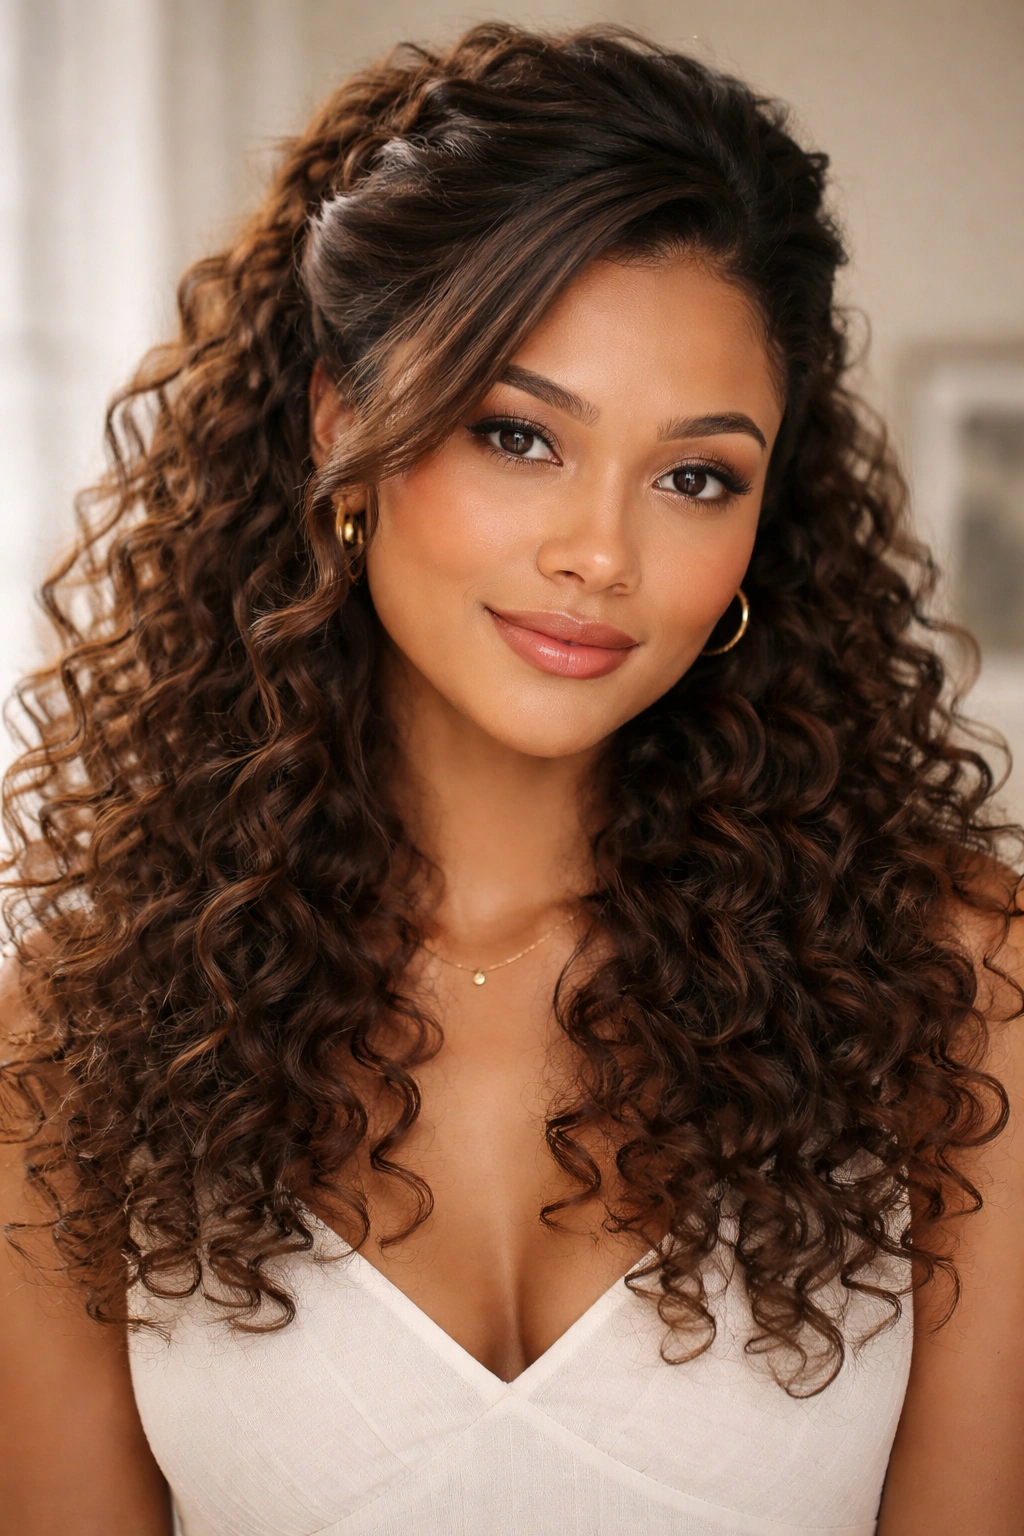
This style splits the difference between wearing all your curly hair down and pulling it all back, creating a silhouette that’s both voluminous and intentionally structured. The side-parted crown adds an elegant element that elevates this beyond a simple half-up arrangement—it draws attention to your hairline and face shape while the gathered section at the back of your head provides a polished focal point.
Why This Style Works for Curly Hair Specifically
A regular half-up style on straight hair creates a smooth, polished transition between the up and down sections. With curly hair, that transition becomes textural and interesting—your curls frame your face on the sides while the upper portion is gathered away, and this combination creates more dimension than either a fully-up or fully-down style would provide. The side part in the crown area becomes a design feature rather than just a hair division.
The volume distribution is crucial here. You want enough hair down around your face to maintain curl texture and dimension, but enough hair gathered up to create a noticeable anchor point at the back of your head. This typically means you’re gathering hair from roughly the crown area back, leaving the front and side sections free to fall in curls.
Execution Details That Make the Difference
Start with fully dry, fully styled curls—this style actually works better if your curls have already set for a full day than if you’re styling it fresh from the shower. Your curls will be bouncier and more likely to hold their shape when gathered. Create your side part in the crown area, making it deeper than you would for a straight side part because you want the visual impact to be clear even with the upper section of hair gathered.
Gather the hair at the back of your head using a section from ear-to-ear across the crown, and secure it with a hair elastic or clip. Some people prefer a small clip for an understated look, while others prefer a larger claw clip for a more obvious focal point. The gathered section should feel intentional and placed, not haphazard or slipping.
For extra polish, you can gently smooth the gathered section using a small amount of smoothing cream or serum—this prevents flyaways while keeping the gathered curl definition intact. Alternatively, you can wrap a small curl section around the elastic to hide it completely, creating a seamless transition.
Pro tip: Use a clear or color-matched elastic rather than one that contrasts with your hair, because you’re not trying to draw attention to the gathered section itself—you want the focal point to be the crown area and the curls framing your face.
Quick Facts About This Style
- Requires fully styled, dry curls for best results
- Works on all curl types and densities
- Takes 5-10 minutes to execute once curls are styled
- Lasts a full day and into the next day without refreshing
- Flatters all face shapes by framing the face while adding volume at the crown
4. Sleek Ponytail with Side Part
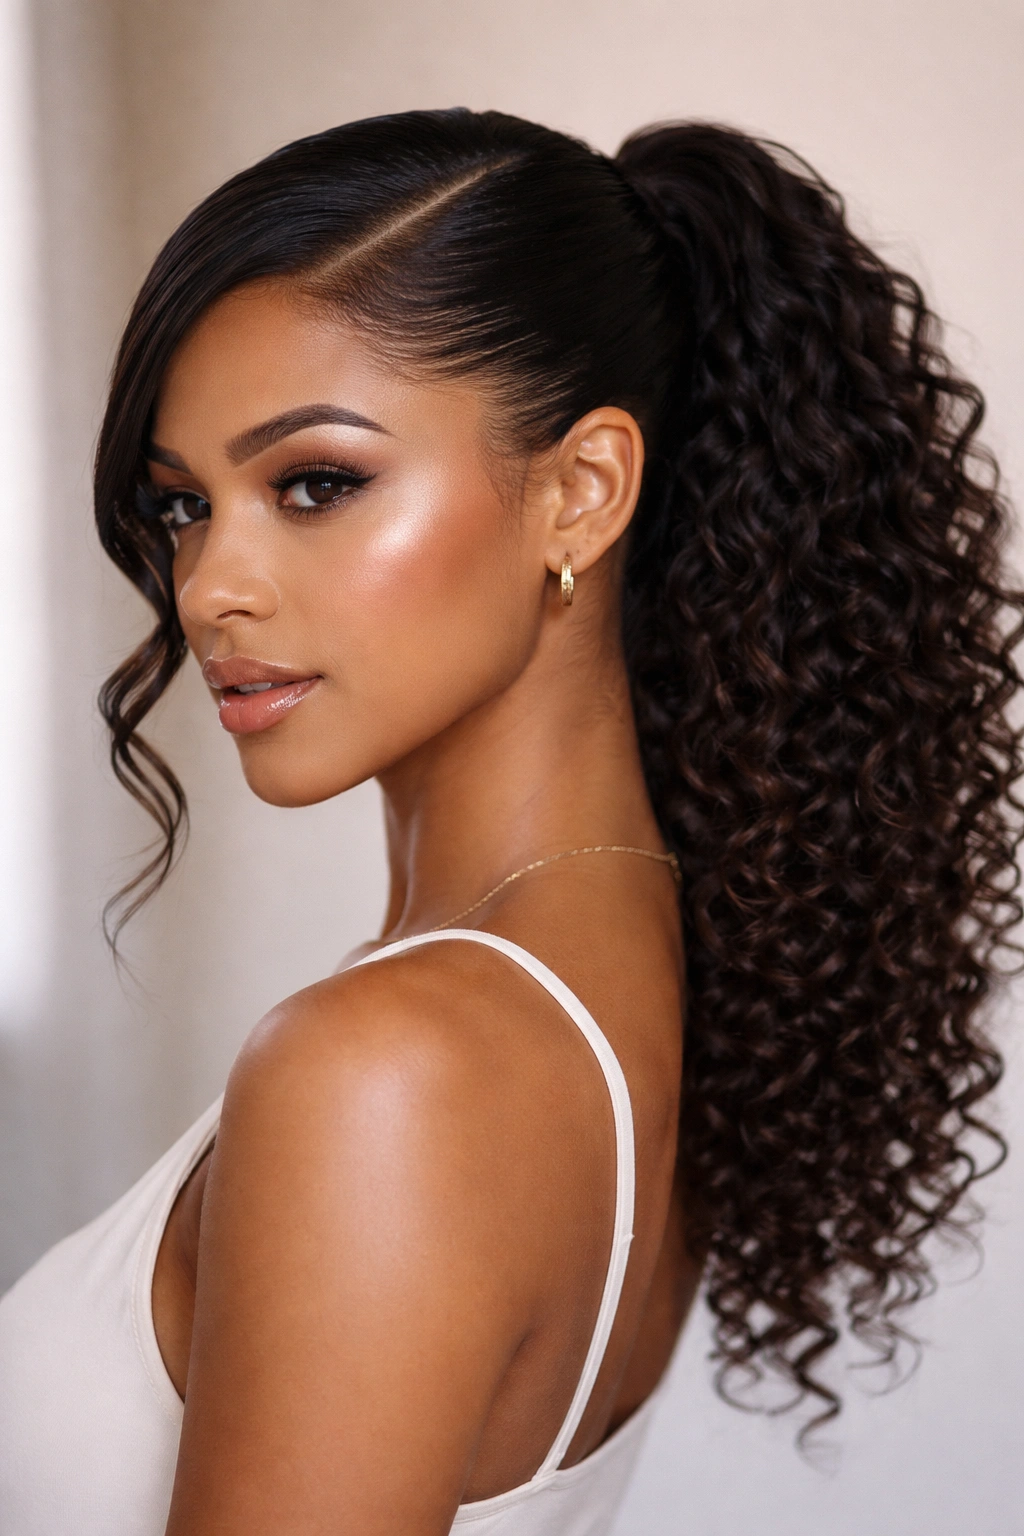
A sleek ponytail with a side part bridges the gap between polished and casual—it’s professional enough for work environments while still showcasing your actual curl texture rather than fighting it with heat and chemicals. The side part adds sophistication to what might otherwise read as a basic practical style, and it draws attention to your face shape and hairline.
Creating a Truly Sleek Ponytail with Curly Hair
“Sleek” on curly hair doesn’t mean flat and lifeless—it means smooth, gathered, and controlled, with your natural curl texture still visible in the ponytail itself. You’re not trying to make your hair straight or artificially smooth; you’re simply creating a clean, finished appearance where the curls are gathered together rather than scattered around your head.
The side part should be dramatic and intentional. A sleek ponytail with a subtle center or barely-off-center part reads as accidental, but a deep side part with a sleek ponytail reads as a deliberate styling choice. The part can go all the way back to your ear, or even toward your temple, depending on your face shape and personal preference.
The Right Products and Technique
Start by applying a smoothing serum or anti-frizz cream to your fully dry, styled curls. This gives your curls definition while controlling flyaways and creating that sleek-but-still-textured appearance. Apply it sparingly—you’re not trying to coat your hair, just add a light layer of control.
Use a fine-tooth comb or a slicker brush to smooth your hair back toward your gathering point, following the natural direction your curls want to move. If you’re pulling your hair into a high ponytail at the back of your head, use the brush to smooth the hair on both sides of the side part as you gather it. If you’re creating a lower, side ponytail, you might brush more intensively on the smaller side of the part and less on the larger side to create visual interest.
Gather your hair at whatever height feels right to you—a high ponytail at the crown, a mid-height at the nape of your neck, or even a side ponytail gathered behind one ear. Secure it with a sturdy elastic that won’t slip, then gently pull a small piece of hair from the elastic and wrap it around the base to hide the elastic and create a finished appearance.
Worth knowing: If your curls fight against being smoothed, you can lightly mist your hair with water before smoothing and gathering it—the added moisture makes your curls more pliable and easier to work with without requiring heat styling.
Quick Facts About This Style
- Works best on fully dry, previously styled curls
- Requires 5-15 minutes depending on how sleek you want the effect
- Professional enough for most work environments
- Lasts a full day without needing refreshment
- The side part is the key detail that prevents this from looking basic
5. Braided Side Part with Curls
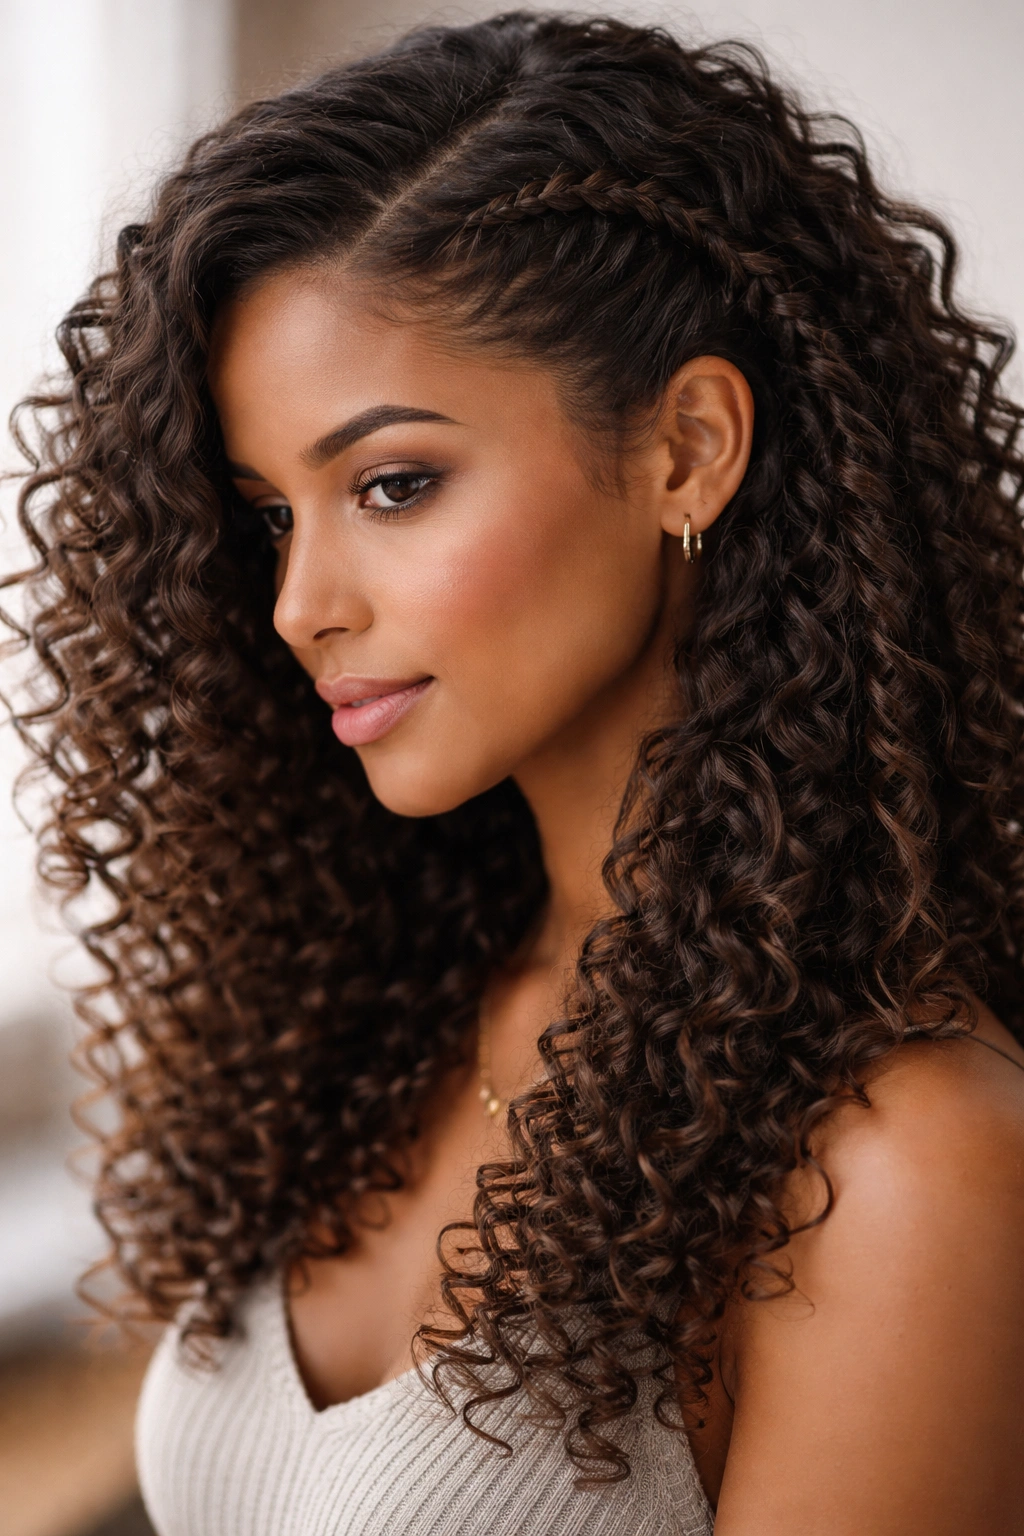
A braid running from your side part down toward the nape of your neck is pure elegance—it combines the texture of braiding with the natural curl pattern you already have, creating a style that’s both intentional and effortlessly beautiful. The braid doesn’t need to be elaborate; a simple three-strand braid or a Dutch braid works perfectly, especially because you’re not trying to make it the focal point so much as an accent to your actual curls.
Why Braiding Works with Curly Hair
When you braid curly hair, the braid itself becomes textured and interesting in a way that straight-hair braids aren’t. Your curl clumps create visual interest within the braid itself, and when you finish braiding and gently pull the sections to loosen the braid slightly, it develops a romantic, textured quality that reads as bohemian without being precious.
The braid works best when it starts at or very near your side part line, running from your forehead area back toward the nape of your neck on one side of your head. This creates a visual line that emphasizes the side part while your curls continue to flow freely on the other side. You’re creating an asymmetrical balance—structure on one side, texture on the other.
Braiding Technique for Textured Hair
Start with fully dry or almost-fully dry curls, because wet braids will loosen dramatically as your curls dry and shrink. If your curls are prone to frizz, lightly mist them with a light hold spray before you begin. Section out a piece of hair from your side part area, roughly 1.5 to 2 inches wide, starting at your hairline.
Begin your braid at the hairline, using the simple three-strand method or a Dutch braid if you want a more defined braid. As you braid, you can incorporate more hair as you go (creating a braid that gets thicker as it goes back) or keep the braid at the same thickness throughout. For curly hair, keeping a consistent thickness often looks better because it doesn’t create too much visual weight in one section.
Once you’ve braided all the way down to the nape of your neck or wherever you want the braid to end, secure it with a small elastic that matches your hair color. Then—and this is the key step—very gently pull the sections of the braid to loosen it and make it fluffier. Pull carefully on each section running along the length of the braid, and you’ll see it expand and develop texture.
Pro tip: If your braid feels too tight once it’s done, you can wrap small curl pieces around the elastic to hide it, just like with the half-up style, creating a completely seamless transition.
Quick Facts About This Style
- Takes 10-15 minutes to execute
- Works on all curl types from loose waves to tight coils
- The braid should look intentional but not pristine—slightly loose texture is the goal
- Lasts 2-3 days and can be refreshed with a bit of water and a gentle rebraiding
- Creates a romantic, bohemian aesthetic that works for casual and semi-formal occasions
6. Textured Bob with Side Part
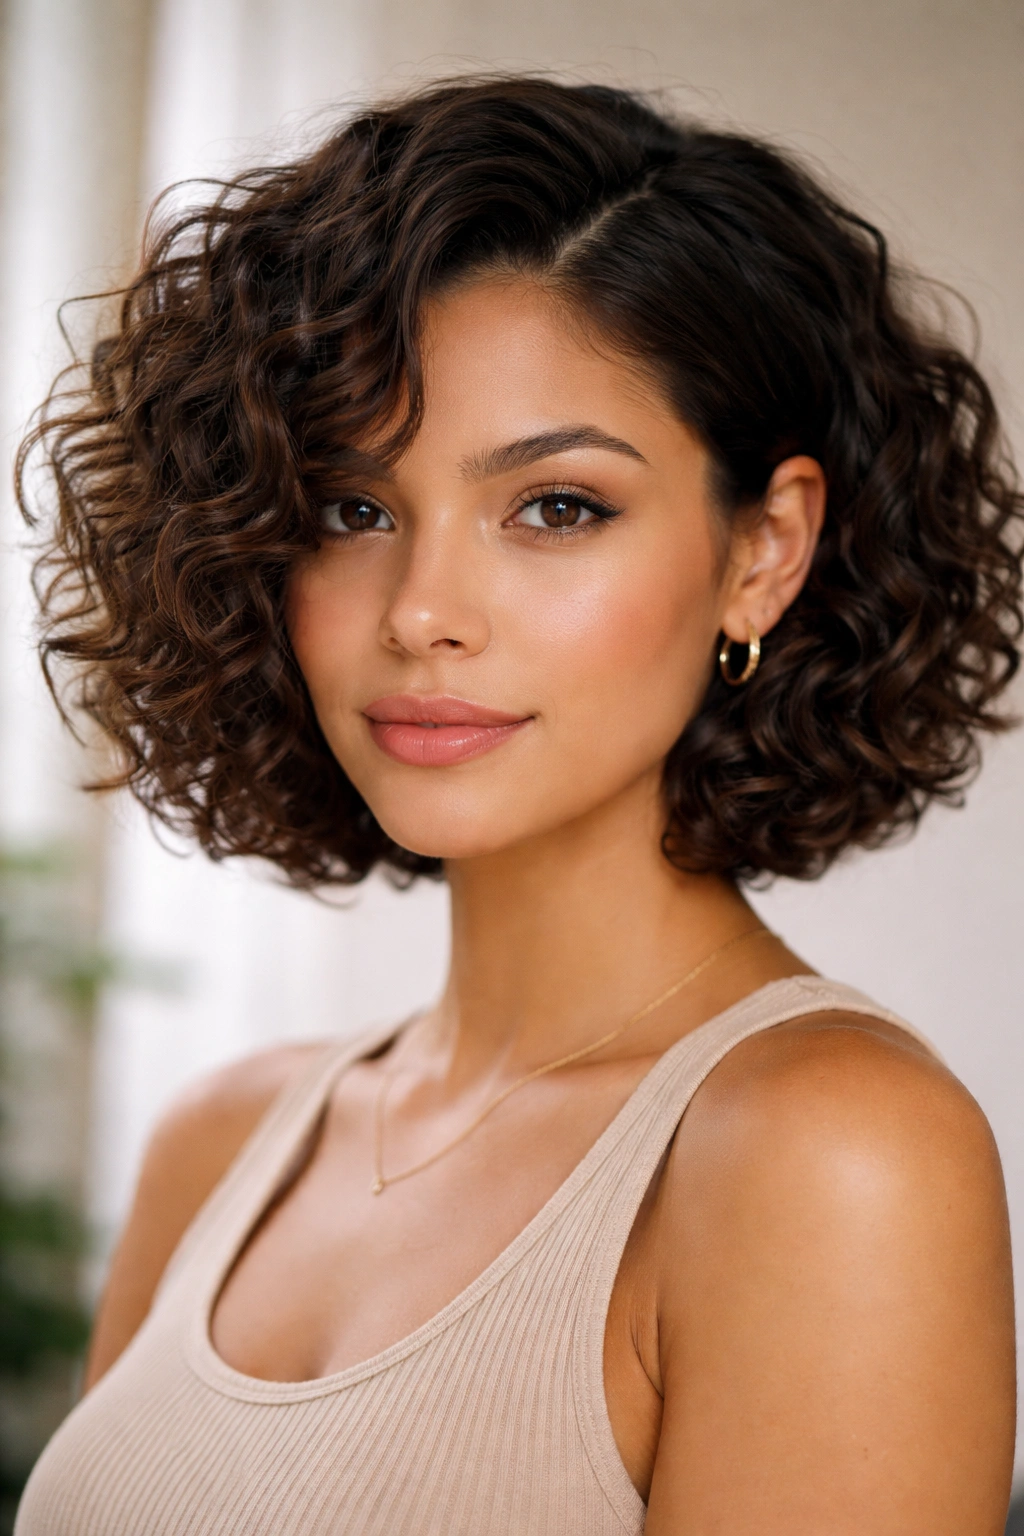
A curly bob is one of the most transformative haircuts for curly-haired people, and when you style it with a side part, it instantly becomes more directional and sophisticated. The side part prevents a bob from reading as basic or overly rounded—instead, it creates movement and prevents the style from looking too geometric or uniform. Your curls have room to express their actual pattern while the side part provides intentional structure.
How Length Affects the Side-Part Bob
A bob that hits around chin length works best with a side part because there’s enough hair to show texture and movement without being so short that the part overwhelms the style. Shorter bobs, hitting above the chin, can work with a side part but require even more deliberate styling to avoid looking too sharp or severe. Longer bobs, hitting below the chin, give you more flexibility because the weight of the longer hair naturally creates some direction and movement.
The side part should follow your natural hair growth pattern if possible, or create an intentional contrast if you’re going for a more dramatic effect. A side-parted bob often looks best when the larger side of the part is on the side that naturally has more volume, though some people prefer to create contrast by putting the larger side on the side that naturally falls flatter.
Styling Your Curly Bob
Start with clean, damp hair and apply your usual styling products—leave-in conditioner, curl cream or gel. Work the product through in sections, making sure you’re encouraging curl formation rather than creating frizz. If your bob is shorter, you might want a slightly stronger hold product because shorter hair sometimes needs more structure to maintain a shape.
Create your side part using a comb, making it deeper than you think you need—bobs can look like they have less hair volume than longer styles, so a more dramatic part helps balance the overall proportions. Once you’ve created your part, style your curls as you normally would, either air-drying or using a diffuser.
The beauty of a textured bob with a side part is that it actually looks better the more movement your curls have. You’re not trying for geometric precision; you’re trying for shape and direction. If your curls are slightly asymmetrical or some sections are bouncier than others, that adds to the overall appeal rather than detracting from it.
Worth knowing: Textured bobs require regular trims—every 4-6 weeks—to maintain their shape and keep your curls looking intentional rather than grown-out and scraggly. The side part will start to look less intentional as your hair grows if you don’t maintain the cut.
Quick Facts About This Style
- Best on bobs between chin-length and shoulder-length
- Works on all curl types but shows definition best on medium-density curls
- Takes 10-20 minutes to style, depending on your curl pattern and desired definition
- Requires regular trims to maintain the shape
- Lasts 1-2 days before needing refreshment
- Creates a modern, intentional aesthetic that works for most environments
7. Side-Swept Layers
This style takes advantage of layering to create movement and dimension, with the side part directing those layers in one flowing direction. When a curly-haired person has intentional layers, a side part becomes the perfect styling tool to show them off. The layers catch light differently on each side of the part, creating a sense of motion and intentional styling that feels both polished and effortlessly textured.
The Science of Layers and Side Parts
Layers create shorter strands at the top of your head and longer strands underneath, which means on one side of a side part, you’ll have a concentration of shorter, bouncier layers, while the other side will have more weight and flow. This natural asymmetry is what makes the side-part styling so effective—you’re not trying to create a uniform style but instead leveraging the built-in directional nature of layers.
The side part should align loosely with where your layers transition, or at least not fight against the natural direction your layers want to move. If your layers are cut in a way that your hair naturally wants to flip toward one side, your side part should follow that same direction rather than work against it.
Styling Side-Swept Layers
Apply your styling products to damp hair, working section by section through your layers. Make sure you’re applying product all the way to the shorter layers near your crown, because those are the hairs that need the most support to maintain their shape throughout the day. Those shorter layers can look thin or scraggly without proper definition.
Create your side part, then as your hair dries, you can gently encourage your layers to sweep in the direction you want them to go. If you’re using a diffuser, angle it so the airflow pushes your layers in the direction of the side part rather than fighting against it. Your layers should feel like they’re flowing rather than sticking up or out perpendicular to your head.
Once your hair is dry, you can use your fingers to separate and define individual curl clumps, or use a light touch of a curl-defining cream to add extra texture. The goal is for your layers to be visible as distinct sections rather than blending into one mass—this is what creates the sense of movement and intentional styling.
Pro tip: Side-swept layers look better slightly tousled than perfectly smooth—if you find yourself trying to make every layer sit perfectly in place, you’re working against the style’s natural aesthetic. A bit of beautiful chaos is the point.
Quick Facts About This Style
- Requires a good layered haircut to look intentional
- Works best on medium-to-loose curl patterns where layers are visible
- Takes 15-25 minutes to style as hair dries
- Lasts 2-3 days with minimal refreshing
- Requires trims every 6-8 weeks to maintain layer definition
- Creates a modern, movement-oriented aesthetic
8. Curly Updo with Side Part
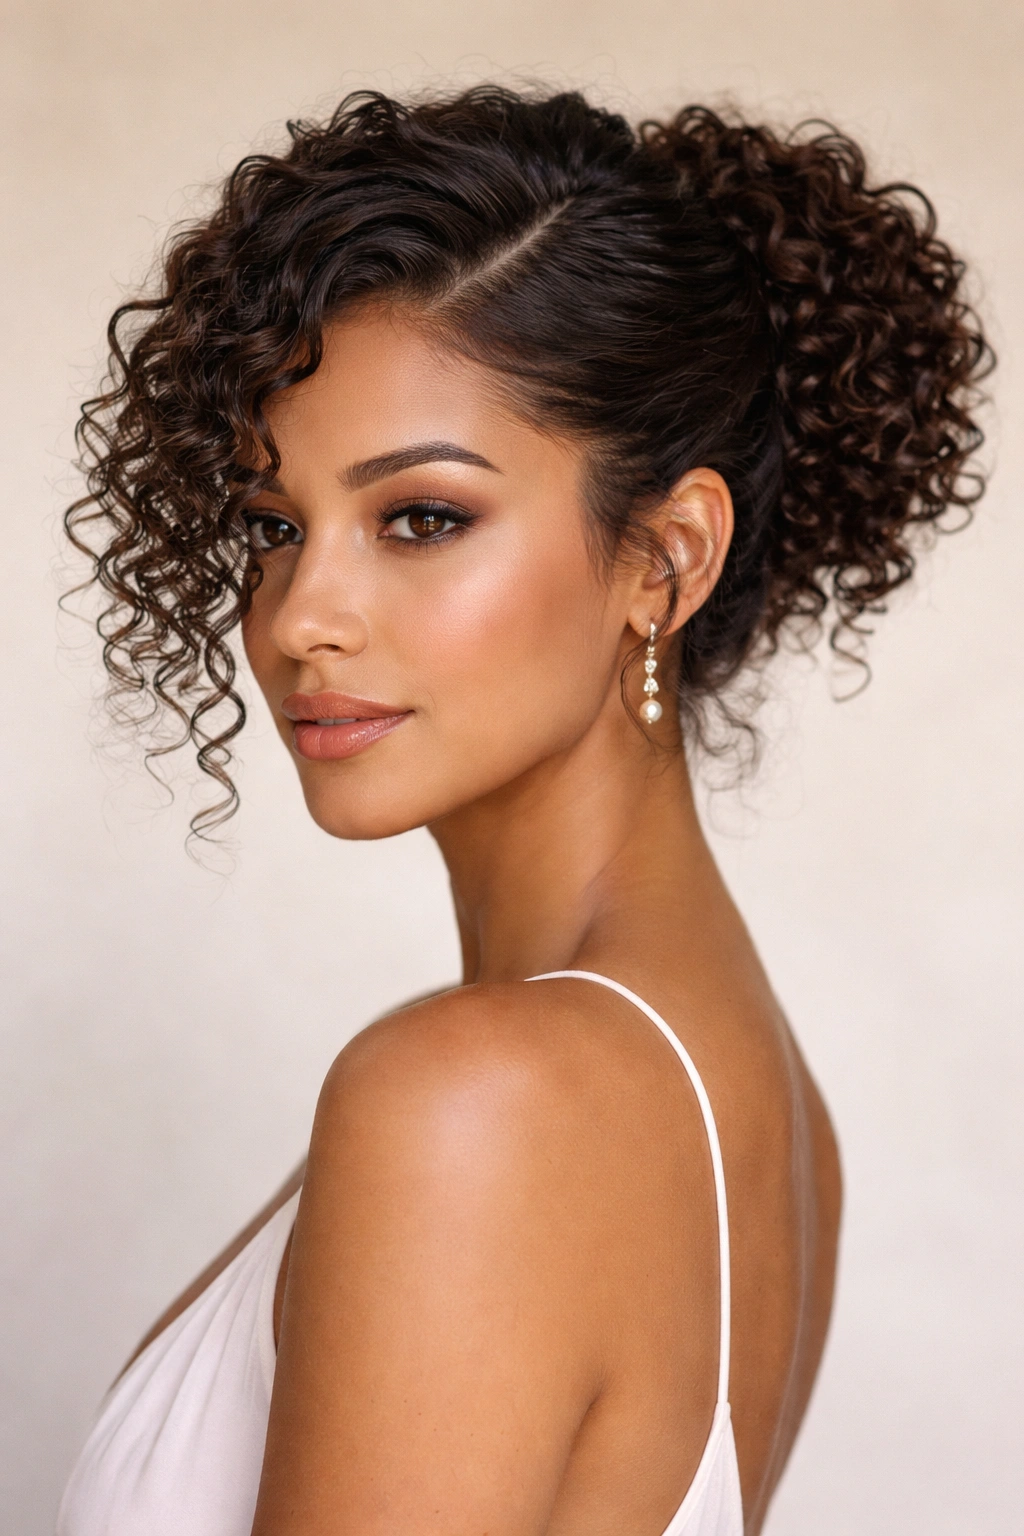
An updo with a side part is the dressiest option on this list—it’s appropriate for weddings, formal events, special occasions, or any situation where you want to create an elevated, polished look that still showcases your actual curl texture rather than forcing your hair into smoothness. The side part in an updo serves as an elegant design detail that adds sophistication rather than just a practical way to manage your hair.
Creating Dimension in a Curly Updo
The side part in a curly updo works best when you gather your hair in a way that emphasizes the partition line, rather than making it disappear. This might mean gathering your hair into a ponytail at the base of your skull, or into a twisted or braided updo that leaves the crown area visible. The point is that the side part should be visible and intentional, not hidden under the gathered sections.
Your curls should remain defined and textured even once they’re gathered—this is not the time to smooth everything into a sleek bun. Instead, you’re working with the natural curl pattern you already have, gathering the curls together, and then allowing them to maintain their shape. A curly updo has more volume and dimension than a straight-hair updo, which is exactly what makes it visually interesting.
Building Your Curly Updo
Start with fully dry, fully styled curls. Dampen them very slightly with a water spray if they’ve lost some texture since the morning, then apply a light hold product to help everything stay in place. Create your dramatic side part, then gather your curls into whatever updo configuration you want—a high ponytail gathered into a twisted bun, a low side ponytail coiled at the base of your skull, a series of braids woven together, or even a loose, romantic updo where you’re just twisting and pinning sections.
The key is using enough bobby pins or clips to secure everything without making your updo feel too tight or pulled. Your curls should still have bounce and movement even once they’re pinned up. If everything feels smooth and flat, you’ve either used too much product or pinned too tightly—adjust and try again.
Consider adding decorative elements—a pretty clip, a delicate headpiece, or even just leaving a few smaller curl pieces loose around your face for a romantic touch. These details don’t just look beautiful; they also help soften the overall appearance and prevent your updo from looking too severe or severe.
Worth knowing: If you’re wearing your curly updo for a significant amount of time—several hours at a wedding or event—do a test run first. Style your updo in the morning, go about your day, and see how it holds by evening. This tells you if you need more product, more pins, or a different securing method before the actual event.
Quick Facts About This Style
- Requires fully styled, fully dry curls for best results
- Takes 20-30 minutes to execute depending on updo complexity
- Works on all curl types but shows best definition on medium-density curls
- Lasts an entire day and into the evening without major refreshing needed
- Creates an elegant, formal aesthetic appropriate for special occasions
- The side part adds sophistication and prevents the updo from looking too uniform
Final Thoughts
A side part transforms curly hair styling from simply managing texture into creating intentional, directional style. The side part isn’t about fighting your curls or trying to make them look like something they’re not—it’s about using the natural asymmetry and movement of your curl pattern to create a finished, polished appearance that still honors your actual hair texture.
The eight styles here represent a range of options from everyday casual to special-occasion formal, all designed specifically for curly hair and all benefiting from that intentional side-part placement. The style you choose depends on your curl pattern, your lifestyle, and what kind of aesthetic you’re trying to achieve, but the underlying principle is the same: work with your curls, not against them, and let the side part be a design feature rather than an accident.
The best curly hairstyle is always the one you’ll actually maintain and style consistently. If you’re someone who loves the idea of an elaborate updo but rarely has time for it, the soft waves with a side part might be a better investment of your energy. If you have a cut with beautiful layers and you want to show them off, the side-swept layers approach will serve you better. Choose the style that fits your reality, your hair pattern, and your personal aesthetic—and then commit to the styling techniques that make it work. That’s when a side part on curly hair stops being just a hairstyle and becomes a signature.