Frizz and curls go together like an unwanted pair, but the truth is that most curl-related frizz comes down to one thing: how you’re styling and managing your curls, not your hair’s natural state. The right hairstyle can actually work with your hair’s texture instead of against it, sealing in moisture, encouraging curl definition, and making frizz virtually disappear. The key is choosing styles that respect your curl pattern, create low manipulation, and use techniques and products that lock moisture into each strand rather than letting it escape.
If you’ve been fighting your frizz with flat irons and silicone serums, you might be surprised how much better your curls look when you lean into what they naturally want to do. The hairstyles that work best for frizzy curly hair aren’t complicated or time-consuming — many of them are actually faster than traditional straightening routines. More importantly, they’re gentle on your hair, which means you’re building healthier curls over time instead of damaging them further.
The difference between a frizzy, undefined curl day and a smooth, bouncy, defined curl day often comes down to technique and understanding how moisture moves through your curls. When you use the right styling method, your curls hold together as a cohesive whole rather than separating into individual frizzy strands. This isn’t about fighting your natural texture — it’s about working with it strategically.
1. The Pineapple Method for Overnight Curls
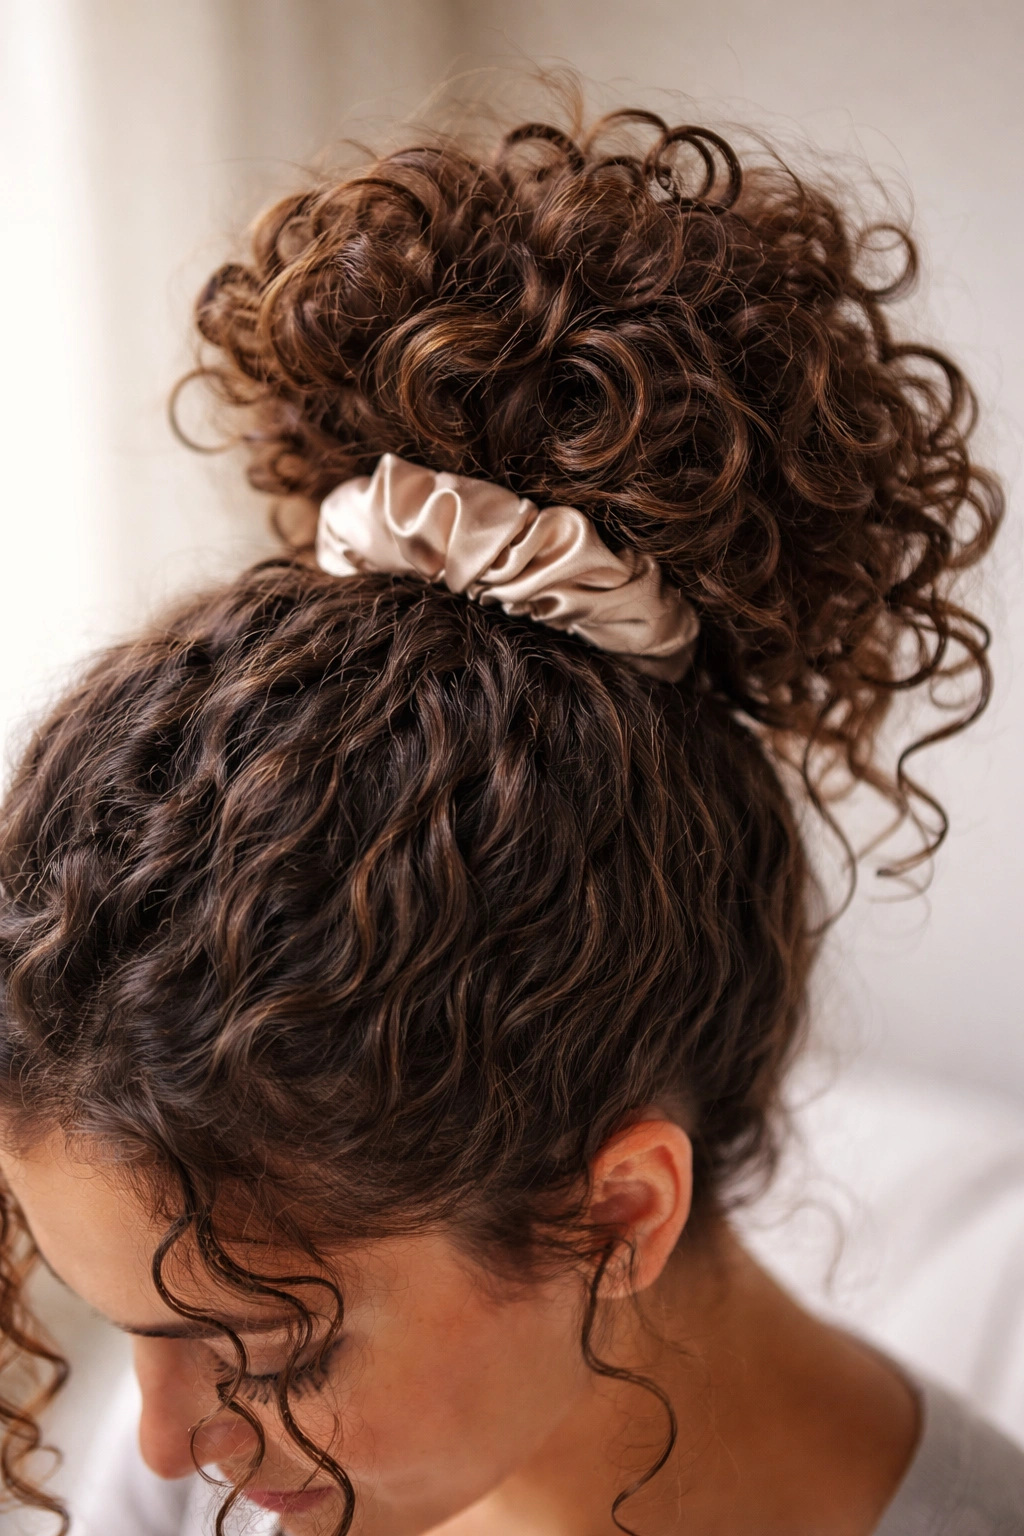
The pineapple method is the gold standard for protecting curl definition overnight, and it’s the simplest technique on this list. Instead of letting your curls flatten against your pillow as you sleep, you gather them on top of your head in a loose, high ponytail using a soft scrunchie, creating a shape that resembles a pineapple. When you wake up, your curls have maintained their shape and structure, and frizz is dramatically reduced because your curls haven’t been rubbed against the pillowcase.
Why It Works So Well for Frizzy Curls
The pineapple method prevents the friction and moisture loss that happens when curls rub against a pillowcase throughout the night. Your curls stay grouped together in their original pattern instead of separating and getting bent at odd angles. This means you wake up with curls that are already mostly defined, requiring minimal restyling and fewer product applications — which means less frizz and fewer opportunities for humidity to undo your work.
How to Do It Right
- Use a soft silk or satin scrunchie rather than a tight elastic that creates a crease — the gentler you are on your curls while they sleep, the better your definition will be when you wake up
- Gather your curls loosely on top of your head, making sure the ponytail sits high enough that it doesn’t flatten the curls underneath
- If you’re worried about curls getting crushed by the weight of the ponytail itself, use a very loose grip — you’re aiming for protection, not a tight hold
- Sleep on a silk or satin pillowcase if possible, which creates even less friction than cotton
- In the morning, gently remove the scrunchie and use your fingers to separate and fluff the curls back to their original state
- Spritz lightly with a curl refresher spray if needed, but often the curls spring back beautifully without additional product
2. The Twist-Out Style
A twist-out is exactly what it sounds like: you twist sections of wet or damp hair together, allow them to dry, and then untwist them to reveal beautifully defined, voluminous curls with virtually no frizz. This technique works because the twist holds your curls in a consistent pattern as they dry, and the untwisting motion creates maximum definition without creating separate, frizzy strands. The result is smooth, cohesive curls that look intentional and polished.
Why Twist-Outs Control Frizz
When you twist hair while it’s wet, you’re essentially creating a mold that your curl pattern follows as it dries. The two strands twisted together hold moisture evenly, and as they dry, they lock into a defined pattern. When you untwist, your curls emerge as smooth, bouncy spirals rather than individual frizzy strands separated from their neighbors. The twists also create a natural compression that seals the cuticle layer of your hair, reducing frizz at the source.
How to Create the Perfect Twist-Out
- Start with freshly washed, soaking wet hair — the wetter your hair is when you begin twisting, the more defined your twist-out will be
- Apply your leave-in conditioner and styling cream or gel to each section as you work through your hair
- Take a section about 2 inches wide and divide it into two equal strands, then twist them tightly around each other from root to tip, working slowly and deliberately
- Continue twisting every section of your hair, working methodically so all twists are roughly the same thickness and tightness
- Allow the twists to dry completely — either air dry for 6-12 hours or use a low-heat blow dryer attachment for speed — never untwist damp hair, or your curls will frizz
- Gently untwist each section, separating the curl from root to tip with care
- Avoid touching or manipulating the curls too much once they’re untwisted; the less you handle them, the smoother they’ll look
3. The Braid-Out for Maximum Definition
A braid-out works on the same principle as a twist-out but creates an even tighter, more defined curl pattern because braids hold the hair more securely than twists. By braiding sections of damp hair and allowing them to dry completely, you create a beautiful wavy or curly texture with incredibly smooth, frizz-free curls. Braid-outs tend to hold their definition longer than twist-outs because the braiding pattern creates a more permanent memory in the hair.
Why Braids Beat Frizz Better Than Most Methods
Braids create compression throughout the entire length of each section of hair, which means frizz isn’t just controlled at the surface — it’s prevented throughout the entire strand. The three-strand weave compacts hair tightly enough that moisture stays sealed in, and the defined wave pattern that emerges means each curl is clearly separated from the others with no fuzzy in-between strands. Braids also create a natural cast that holds shape for days, making braid-outs one of the longest-lasting protective styling methods.
Step-by-Step Braid-Out Instructions
- Section freshly washed, dripping-wet hair into 6-10 sections (depending on your desired wave tightness — fewer, thicker braids create loose waves; more, thinner braids create tighter curls)
- Apply leave-in conditioner and curl-defining cream or gel to each section thoroughly
- Braid each section tightly from root to tip, keeping consistent tension throughout — loose braids will create loose waves, tight braids will create tight curls
- Allow braids to air-dry completely (8-24 hours depending on hair thickness) or use a low-heat blow dryer
- Unravel each braid gently, working slowly from the end toward the root
- Once all braids are unraveled, avoid touching your hair for the first few hours — this allows the curl pattern to fully set
- Separate waves and curls with your fingers if needed, but resist the urge to comb or brush, which creates frizz
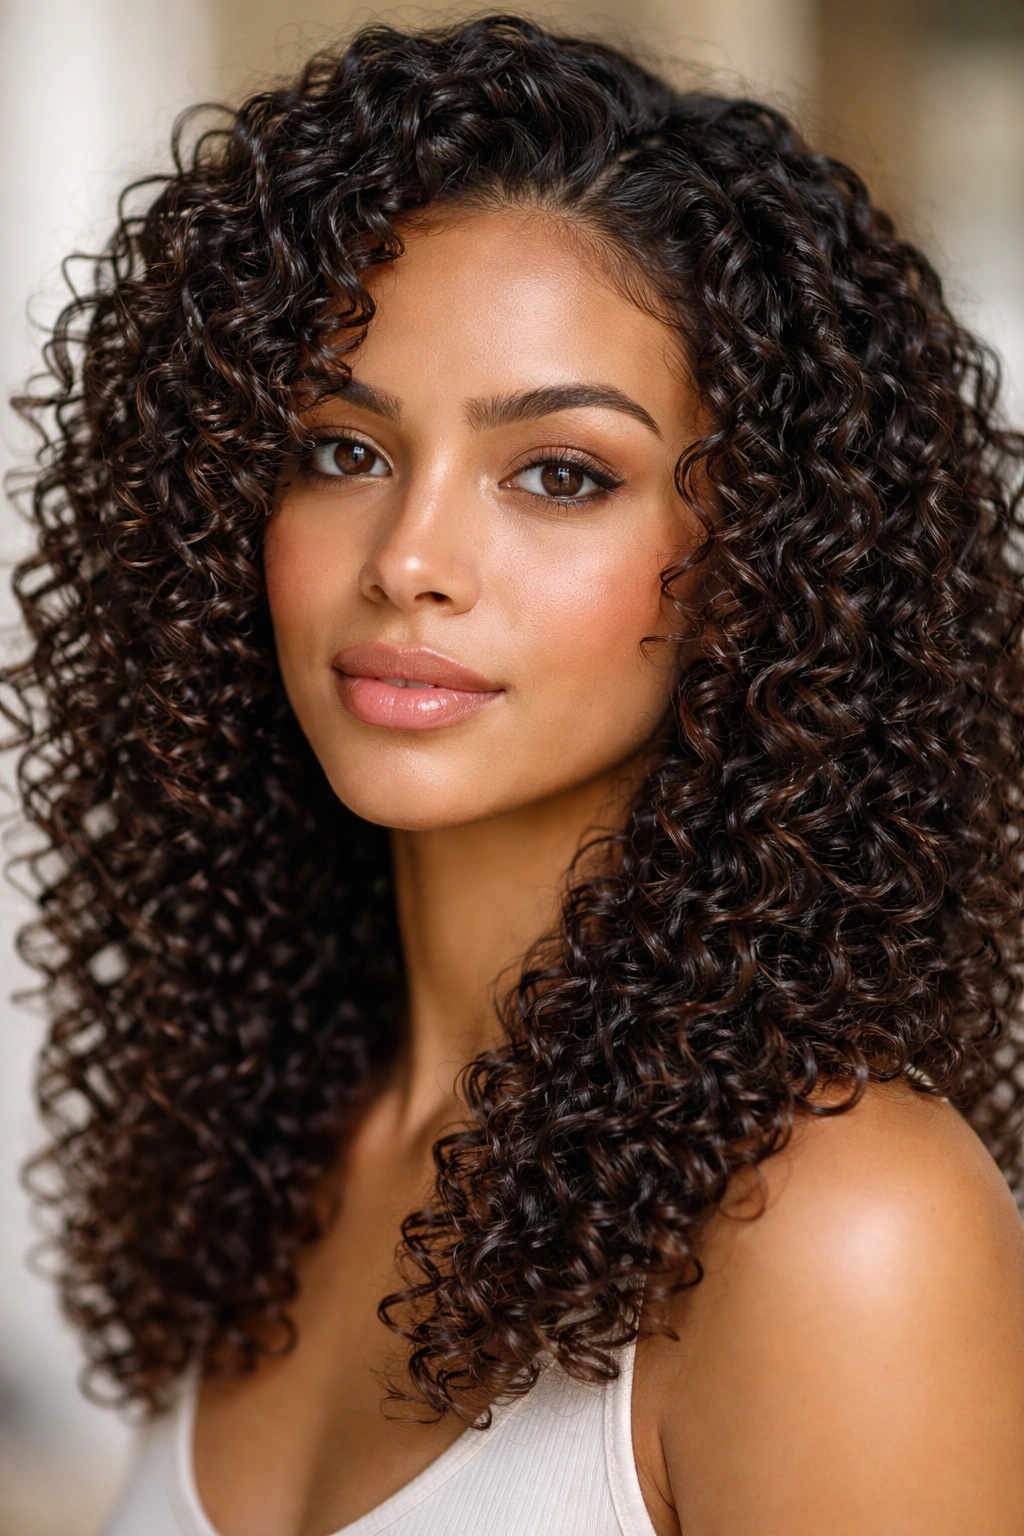
4. The Wash-and-Go Curl Style
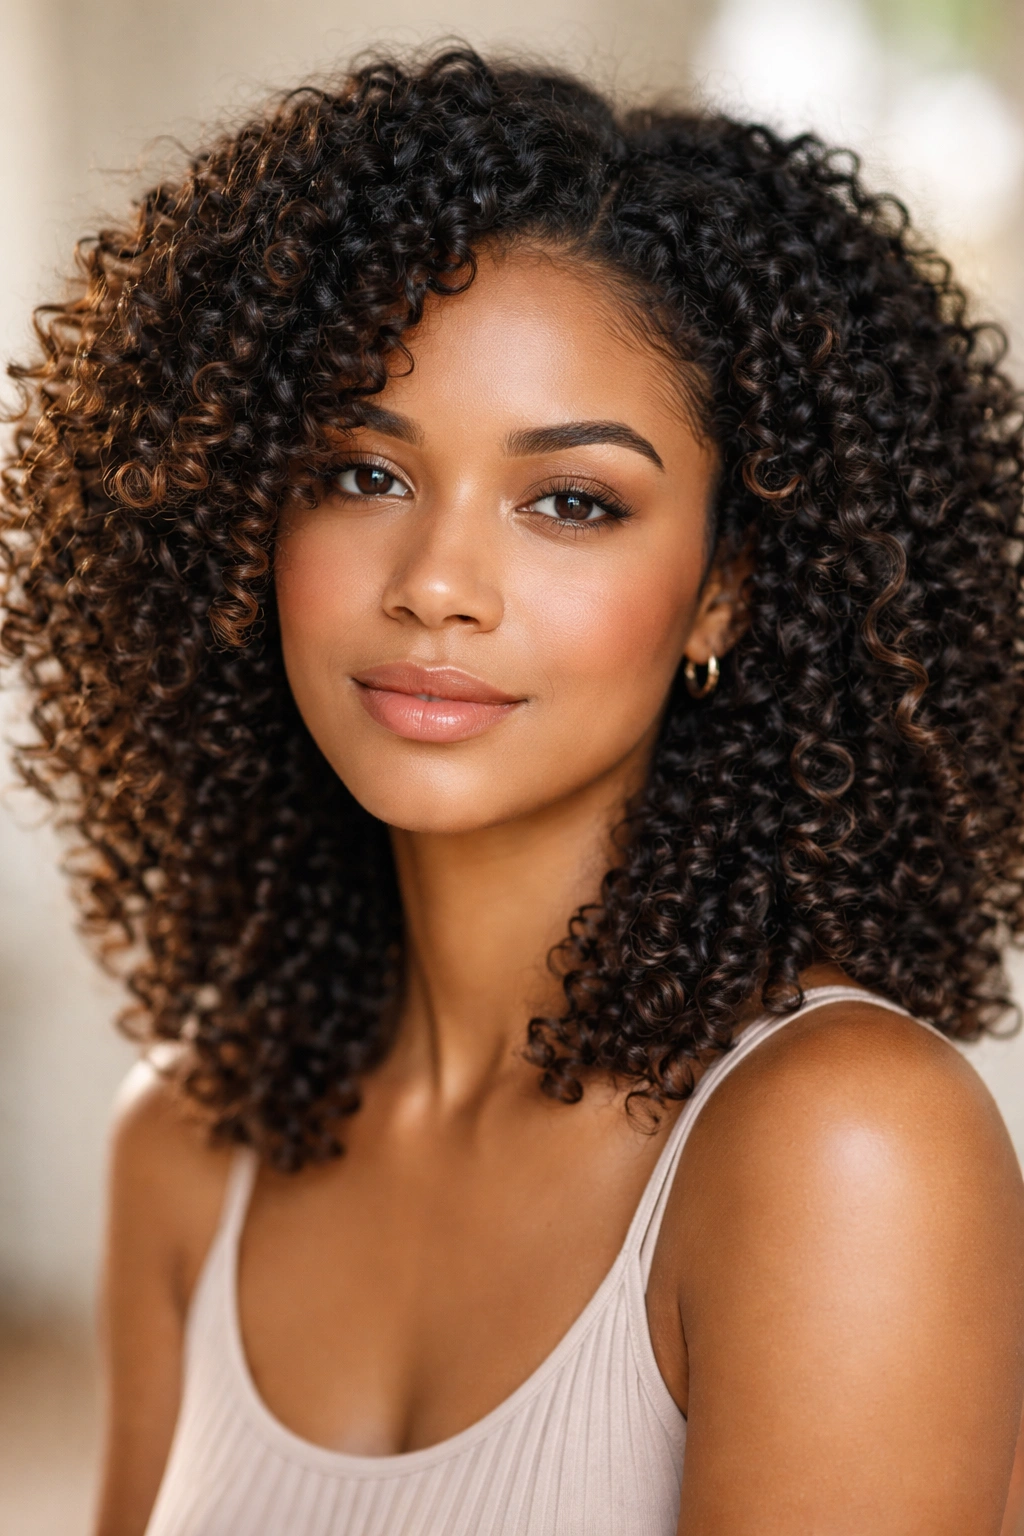
The wash-and-go is the most time-efficient style on this list: you wash your hair, apply product, and let your curls air-dry in their natural pattern without any additional styling, braiding, or twisting. This works best for people with naturally springy curls that separate well on their own, and it requires the right product combination and hydration level to keep frizz at bay. When done right, a wash-and-go can look intentional, defined, and polished with minimal effort.
Why Wash-and-Gos Can Be Frizz-Free
The fewer times you manipulate your hair, the less opportunity you create for frizz to develop. A wash-and-go eliminates the manipulation that comes with twisting, braiding, or brush styling. Instead, your curl pattern sets directly from wet hair using product to define and hold the curls in their natural position. The key is using a product that’s heavy enough to weigh frizzy strands down and create definition, but not so heavy that it causes buildup or makes curls look limp.
The Wash-and-Go Product Formula
- Shampoo or cleanse with a gentle, sulfate-free formula that doesn’t strip moisture
- Apply a rich leave-in conditioner while hair is still dripping wet — this base layer is crucial for frizz control
- Add a curl-defining gel or cream on top, working it through your hair in a praying hands or scrunching motion
- Some people layer two products — a lighter-hold cream under a firmer gel — for maximum definition and frizz control
- Avoid combing through wet hair; instead, use your fingers or a wide-tooth comb to distribute product and encourage curl clumping
- Allow hair to air-dry completely without disturbing it — the longer you avoid touching it while it dries, the less frizz will develop
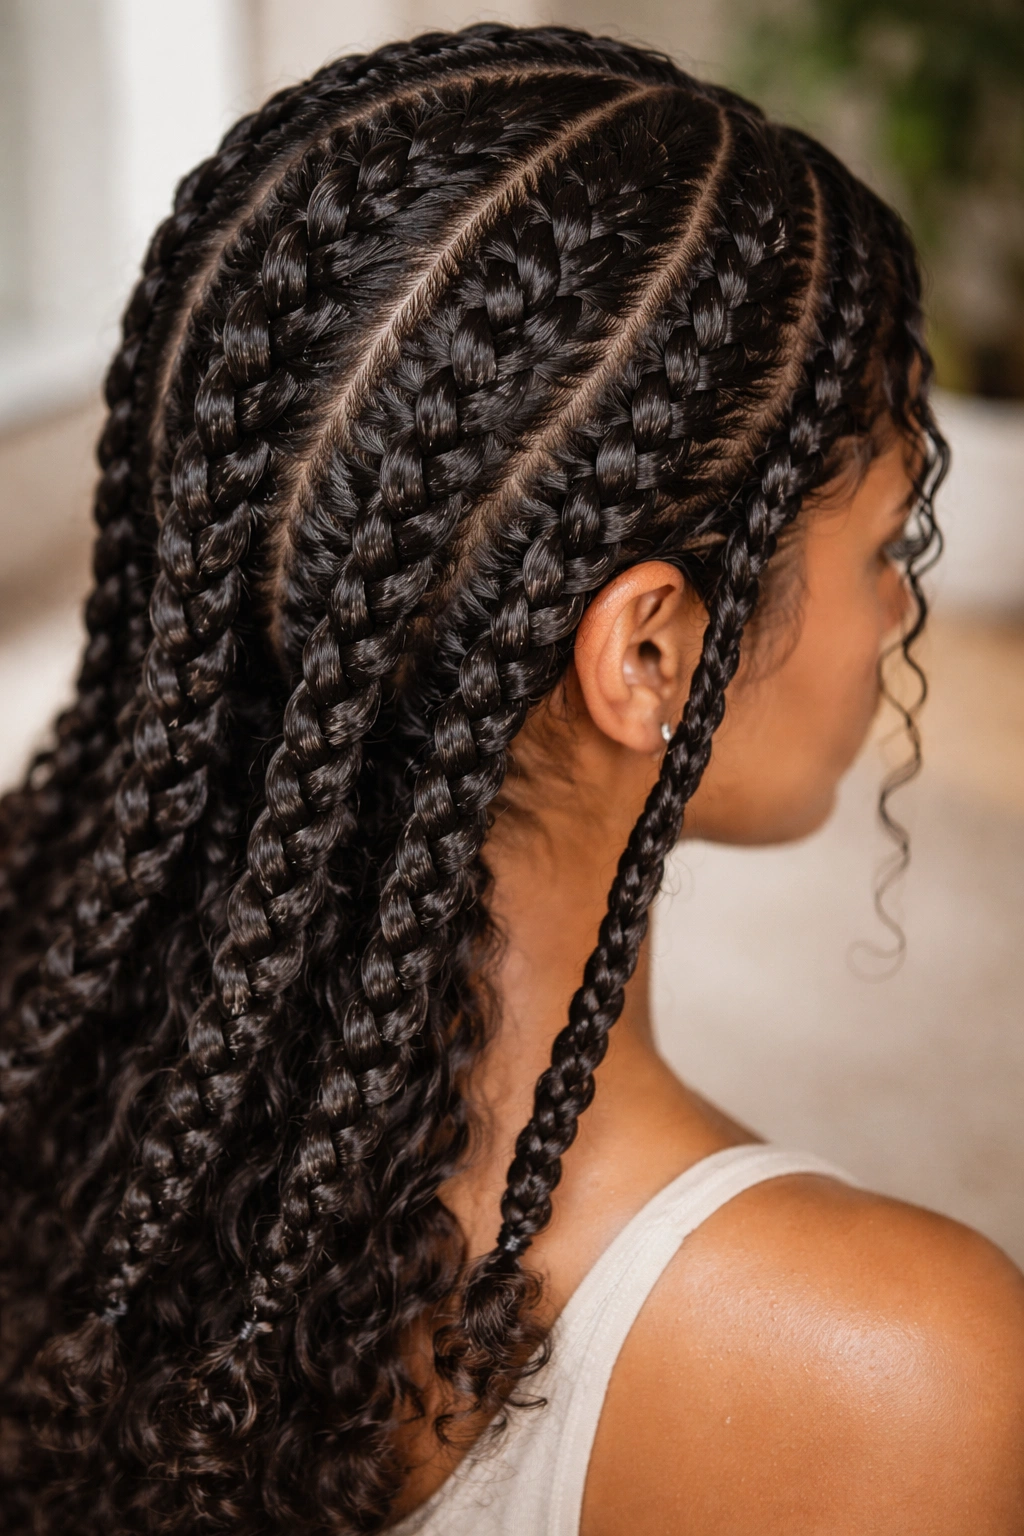
5. Protective Braids and Twists for Low Manipulation
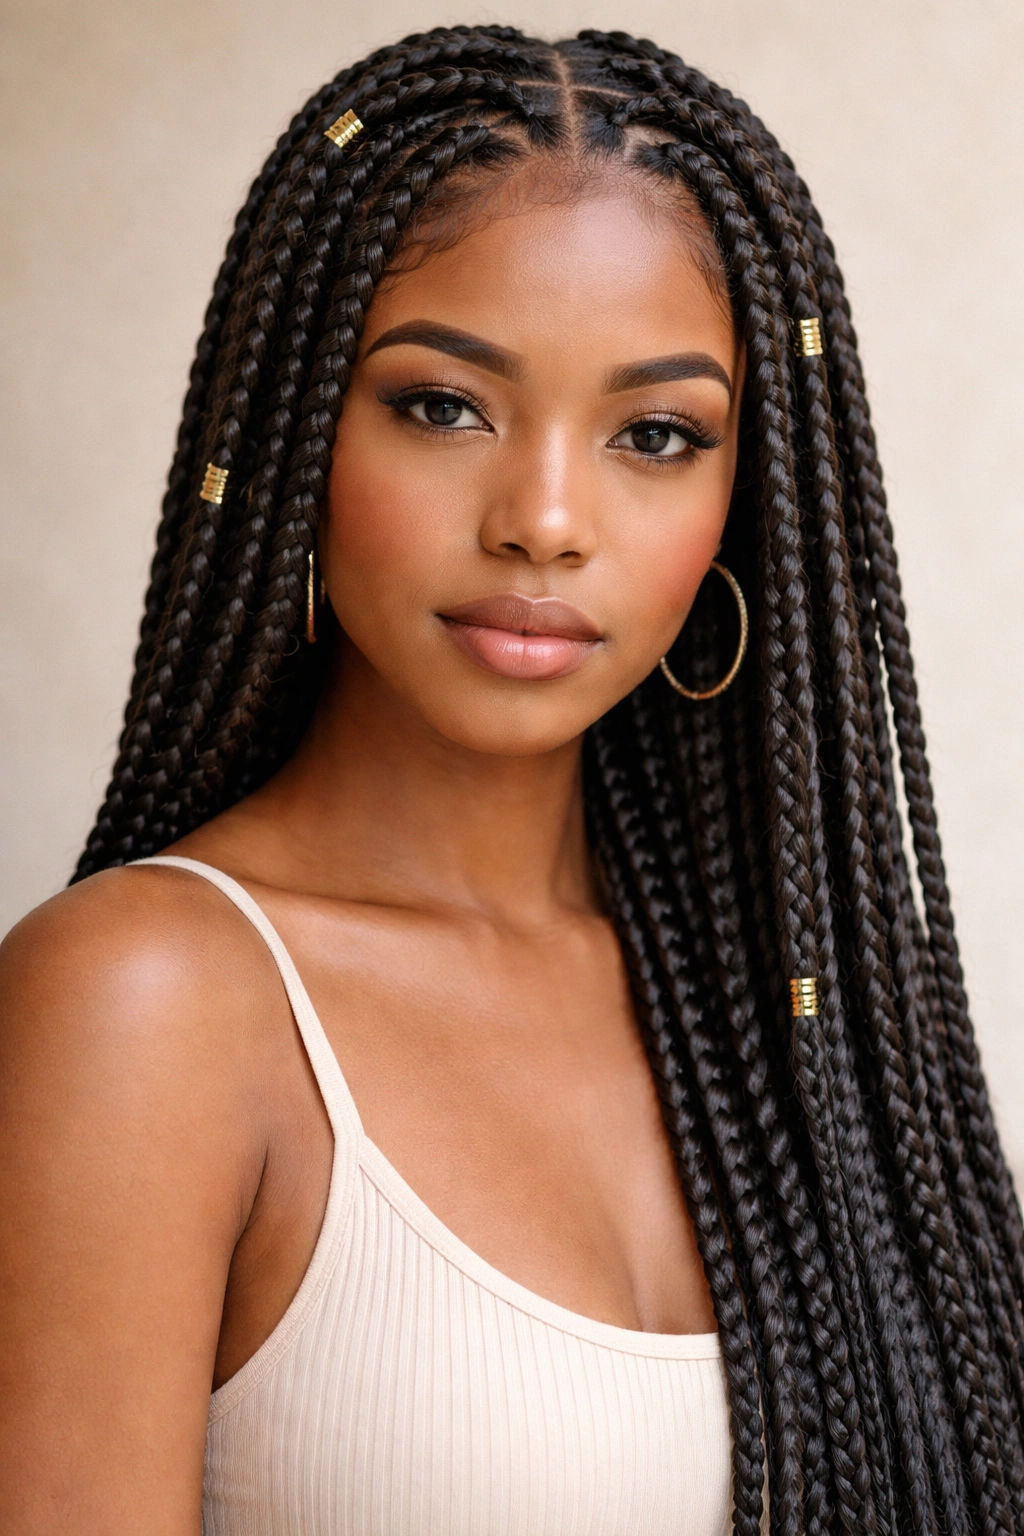
Protective braids are a category of styles that includes box braids, cornrows, crochet braids, and locs — essentially any braided or twisted protective style that keeps your hair in a contained state while still allowing styling flexibility. These styles keep your hair in a low-manipulation state, meaning you’re not touching your curls daily, brushing them, or exposing them to friction. This dramatically reduces frizz while also protecting your hair from daily wear and tear.
Why Protective Styles Eliminate Frizz at Its Source
Frizz often develops because of repeated manipulation, humidity exposure, and friction against clothing or pillows. Protective styles eliminate most of these variables by keeping your hair contained and undisturbed. When your curls aren’t being touched, combed, or exposed to friction, they maintain their moisture balance and structural integrity far better. You can also wear protective styles for weeks at a time, which means you’re giving your curls an extended break from daily styling while maintaining a polished appearance.
Choosing the Right Protective Style for Your Hair
- Box braids and cornrows are low-maintenance once installed and can last 4-8 weeks depending on hair growth and care
- Crochet braids offer versatility — you can change the look by swapping in different braid types or colors without braiding your natural hair every time
- Two-strand twists are faster to install than braids and can be undone and restyled more easily if you want to change your look frequently
- Keep braids moisturized by spritzing with a lightweight water-based spray every few days — dry protective styles lead to frizz at the roots
- Avoid sleeping with braids pulled too tightly or bunched in ways that create tension — protect your edges and scalp by using a bonnet or scarf
6. Defined Curls With a Gel-Based Styling Approach
This hairstyle focuses on creating maximum definition through strategic product use and application technique. Instead of letting curls clump together naturally, you use a firm-hold gel and specific application methods to encourage individual curls to stay separated and defined throughout the day. The result is curls that look bouncy, intentional, and frizz-free because each curl is locked in place by the gel’s hold.
How Gel Creates Definition and Controls Frizz
A good curl gel contains polymers that form a cast around your curls as it dries, holding each curl in its desired shape while also sealing the cuticle layer of your hair. This dual action keeps frizz strands from escaping and creating that fuzzy halo effect. The key is using a gel that’s strong enough to hold but flexible enough that it doesn’t feel crunchy or stiff when you move. The gel needs to be applied in a way that encourages curl clumping — basically getting individual curls to stick together as one unit rather than separating into frizzy wisps.
The Gel-and-Praying-Hands Application Method
- Apply a strong-hold gel to sections of damp hair using the praying hands method: rub the gel between your palms, then press your hands together with a section of hair between them
- Smooth your hands down the length of the curl, sealing cuticles and encouraging curl clumping
- Use a squishing motion rather than rubbing — gently scrunch the curl upward against gravity to encourage it to coil tighter
- Work through all sections systematically, then allow hair to air-dry completely without touching
- Once dry, gently break the gel cast by scrunching your curls from bottom to top, which removes the stiff feeling while maintaining definition
- Your curls should feel soft, bouncy, and defined — if they feel crunchy, you’ve used too much gel or haven’t softened the cast enough
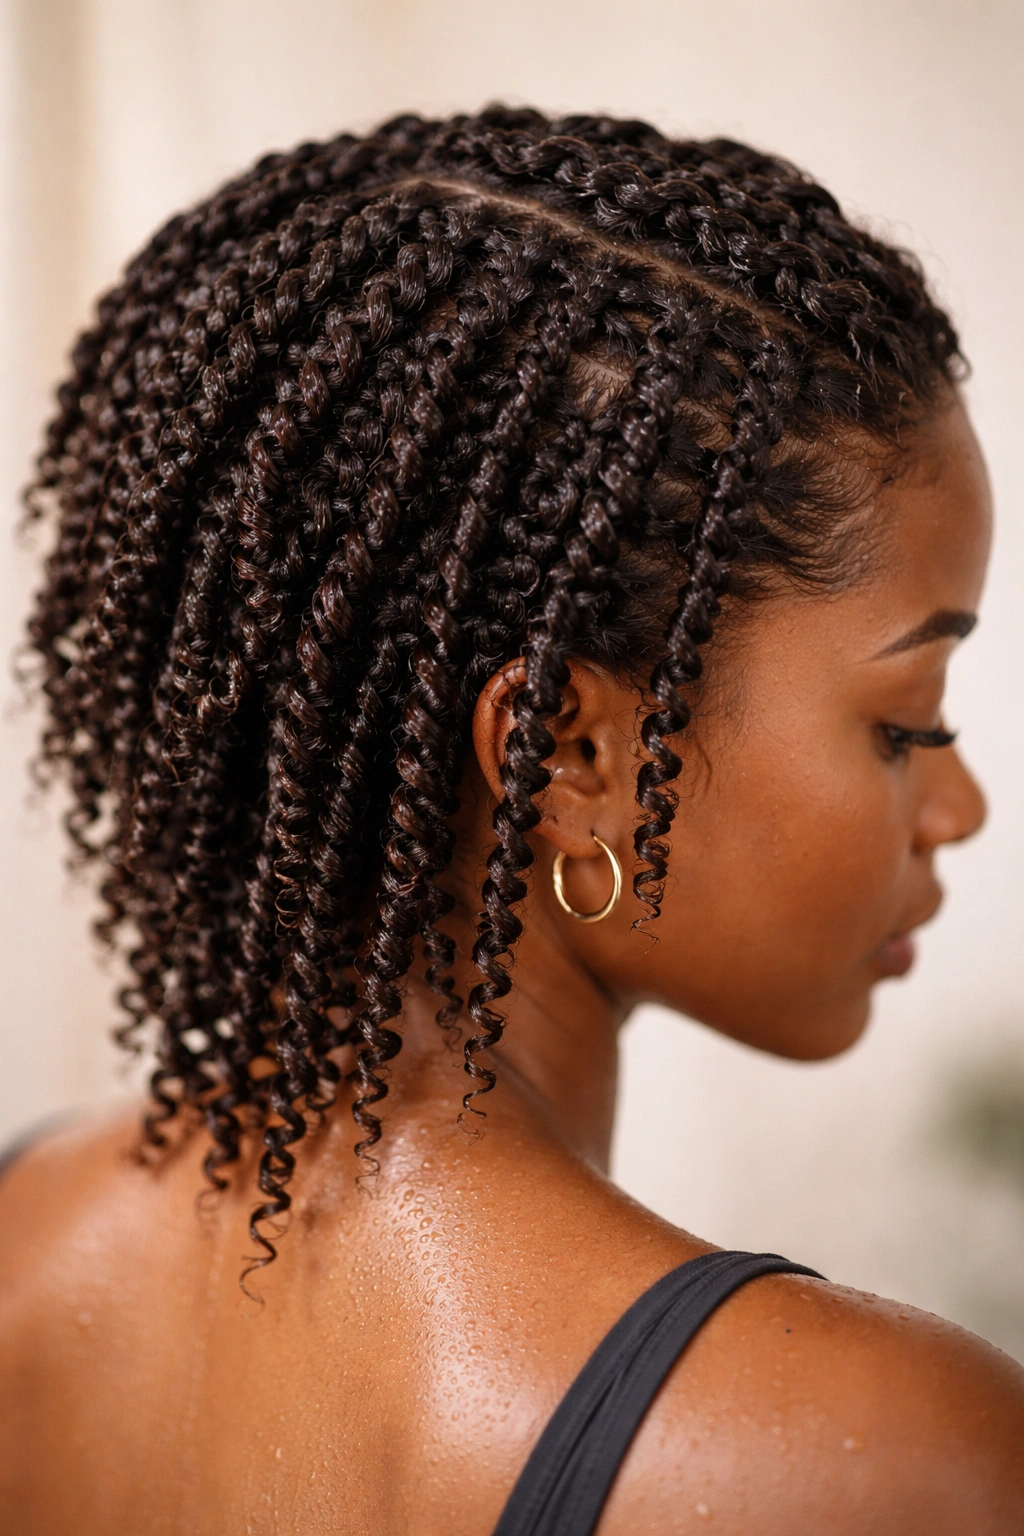
7. Two-Strand Twists as a Wear-Able Protective Style
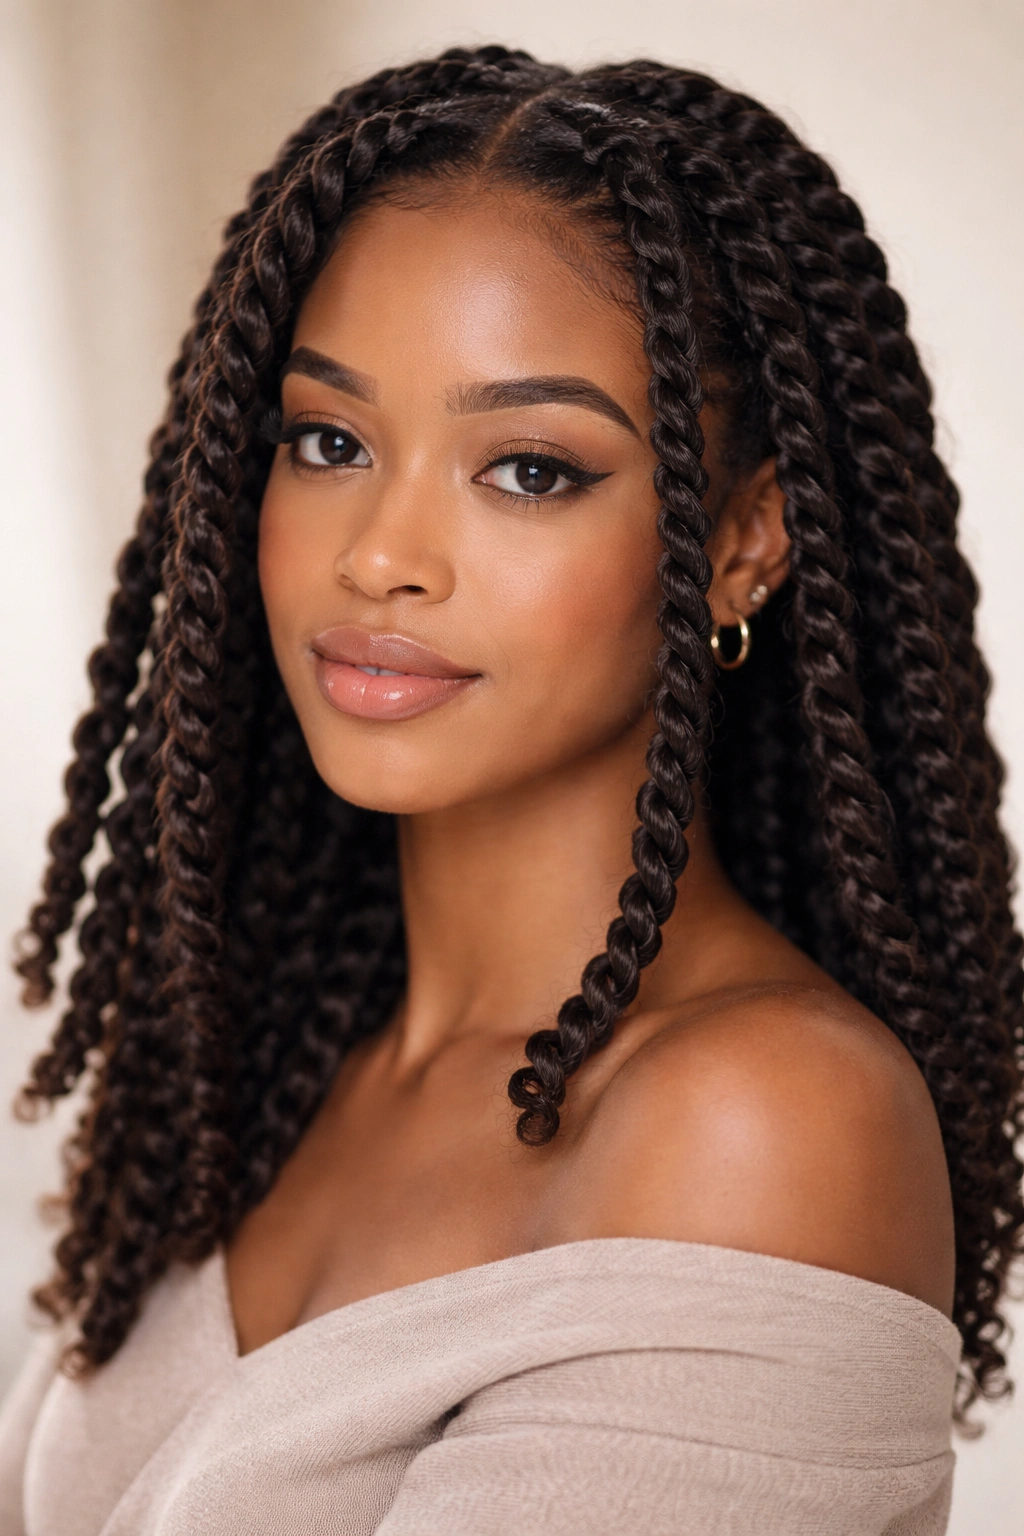
Two-strand twists are thicker, looser twists created by wrapping two sections of hair around each other, then securing them and allowing them to dry. Unlike traditional twist-outs where you untwist after drying, two-strand twists are a wear-able style you can show off for weeks. They look polished and intentional, require minimal daily styling, and create a beautiful texture that showcases your curl pattern without any frizz.
Why Two-Strand Twists Prevent Frizz While Looking Intentional
Two-strand twists compress your curl pattern into a defined spiral that’s much more compact and controlled than loose curls. Because the twists are continuously wrapped around each other rather than separated, there’s no opportunity for individual strands to escape and create frizz. The twists also create a natural moisture seal, keeping hydration locked into your hair. At the same time, the twists are aesthetically finished, so you don’t need to untwist them for styling — you can wear them straight away.
Installing and Maintaining Healthy Two-Strand Twists
- Start with clean, well-moisturized hair — applying a deep conditioning treatment before twisting ensures your hair can handle the style without drying out
- Section hair into manageable pieces and apply a light cream or gel to each section
- Take two strands and twist them around each other from root to tip, keeping tension even throughout
- Don’t twist too tightly — tension alopecia is a real risk with protective styles, so twist snugly but not painfully
- Twists can be worn loose and curly or set on larger rods and allowed to dry for a different texture
- Maintain twists by spritzing with a lightweight moisturizing spray every 2-3 days
- Wash twists gently in sections rather than loosening them, which preserves the style for longer wear
- Remove twists after 4-6 weeks to prevent excessive buildup or matting at the roots
8. The Scrunchy High-Pony or Half-Up Curl Style
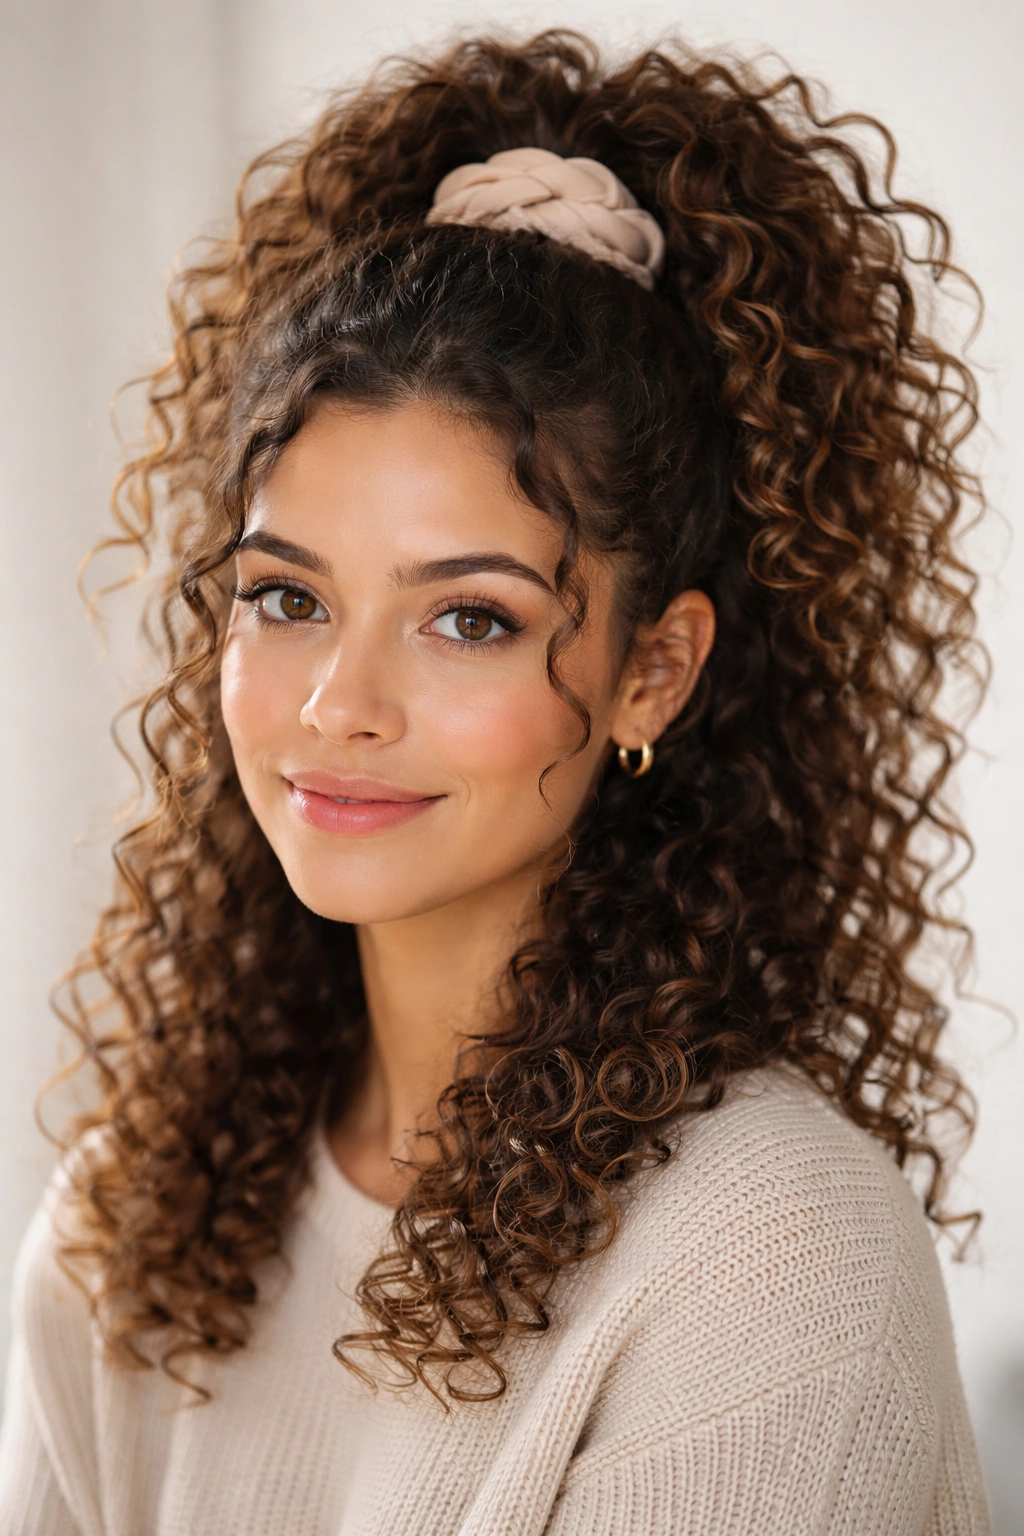
A scrunchy high-pony is a casual, modern style that gathers your curls on top of your head with a soft hair tie, creating an effortless, voluminous look. Unlike a pineapple, which is meant for sleeping, a scrunchy pony is a wear-able daytime style that shows off the texture and volume of your curls while keeping them contained and under control. A half-up style uses the same principle but only gathers the top half of your hair, creating a more relaxed, undone aesthetic.
How This Style Controls Frizz While Looking Intentional
By gathering curls at the crown or the back of your head, you create definition where your curls clump together while allowing the bulk of your curls to move freely and show off their pattern. The key to frizz control is using a soft, gentle hair tie that doesn’t crease or damage your curls, and not pulling too tightly, which breaks curls and creates flyaways. The curls remain intact and defined because they’re held in one spot, and the undone aesthetic makes any slight frizz look intentional rather than unkempt.
Styling Tips for Scrunchy Ponies and Half-Ups
- Refresh your curls with a light spray of curl refresher or water-based styling spray before gathering them
- Use a silk or satin scrunchie rather than a standard elastic — it causes far less friction and breakage
- Gather curls loosely; the goal is definition through grouping, not compression through tightness
- For a high-pony, gather curls on top of your head; for a half-up style, gather just the top two-thirds
- If you want extra definition, apply a small amount of gel or styling cream to the gathered section before securing
- Use a boar bristle brush to gently smooth the gathered section, which encourages curl clumping without creating frizz
- Leave face-framing pieces down for a soft, intentional look that looks refined rather than pulled
9. The Coil Method for Tight, Defined Curls
The coil method is a precise styling technique where you twist or coil small sections of damp hair around your finger or a small rod, then secure them and allow them to dry. Each tiny coil dries into a perfect spiral, and when you remove the coils, you’re left with incredibly defined, tight curls that have zero frizz because each curl has been molded into shape. This style works exceptionally well for naturally tight curl patterns and creates the most defined, polished-looking curls possible.
Why Coils Create Absolutely Frizz-Free Results
Coils are the most controlled styling method available because you’re literally molding each curl into its desired shape while hair is wet. As the hair dries, it sets into that exact shape with maximum definition and minimal frizz. The tight spiral of a coil compresses each strand, sealing cuticles and preventing any moisture escape or frizz development. Because each coil is independent, you have complete control over curl size and definition, and the results are consistent throughout your hair.
The Finger-Coiling Process
- Start with freshly washed, soaking-wet hair and apply a leave-in conditioner and light styling gel throughout
- Take a small section of hair (roughly ½ inch wide) and wrap it tightly around your index finger from root to tip
- Hold the coil in place for a few seconds to ensure it’s set, then gently slide your finger out, leaving the coil intact
- Use a bobby pin or flexible rod to secure the coil in place while it dries — you can air-dry or use a low-heat blow dryer
- Continue coiling every section of your hair, working methodically and keeping coils the same size for consistency
- Allow coils to dry completely (minimum 4-6 hours for air-drying) before removing pins
- Gently unwind each coil starting at the root, and your curls will be perfectly defined spirals with no frizz
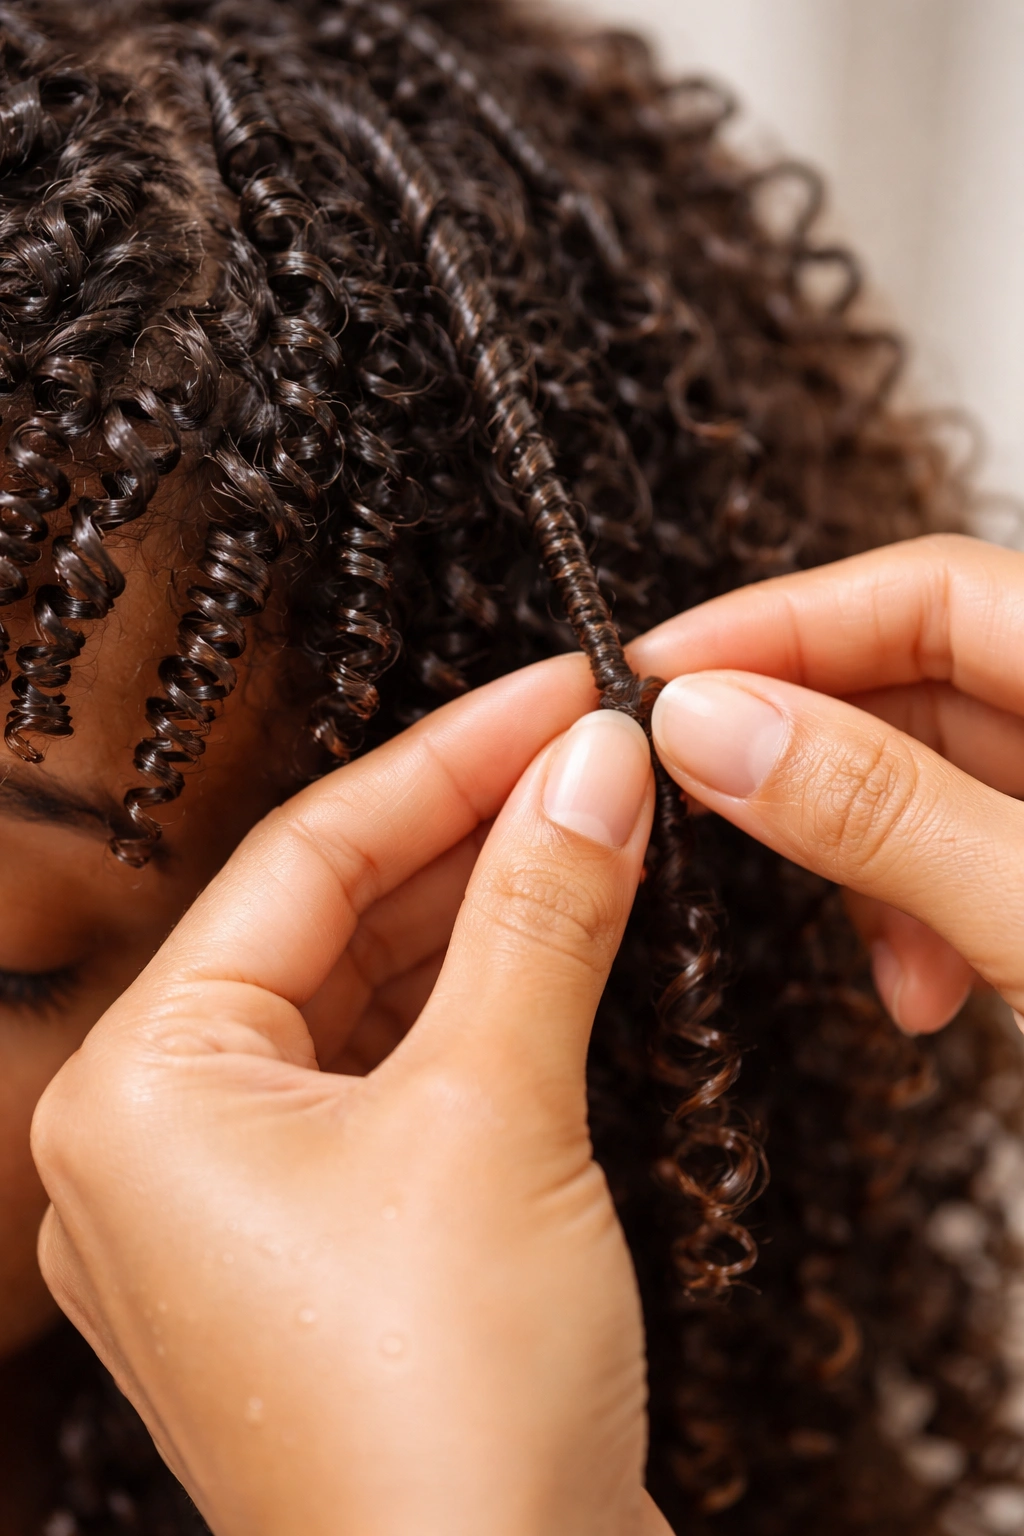
10. Bantu Knots for Stretched Curl Definition
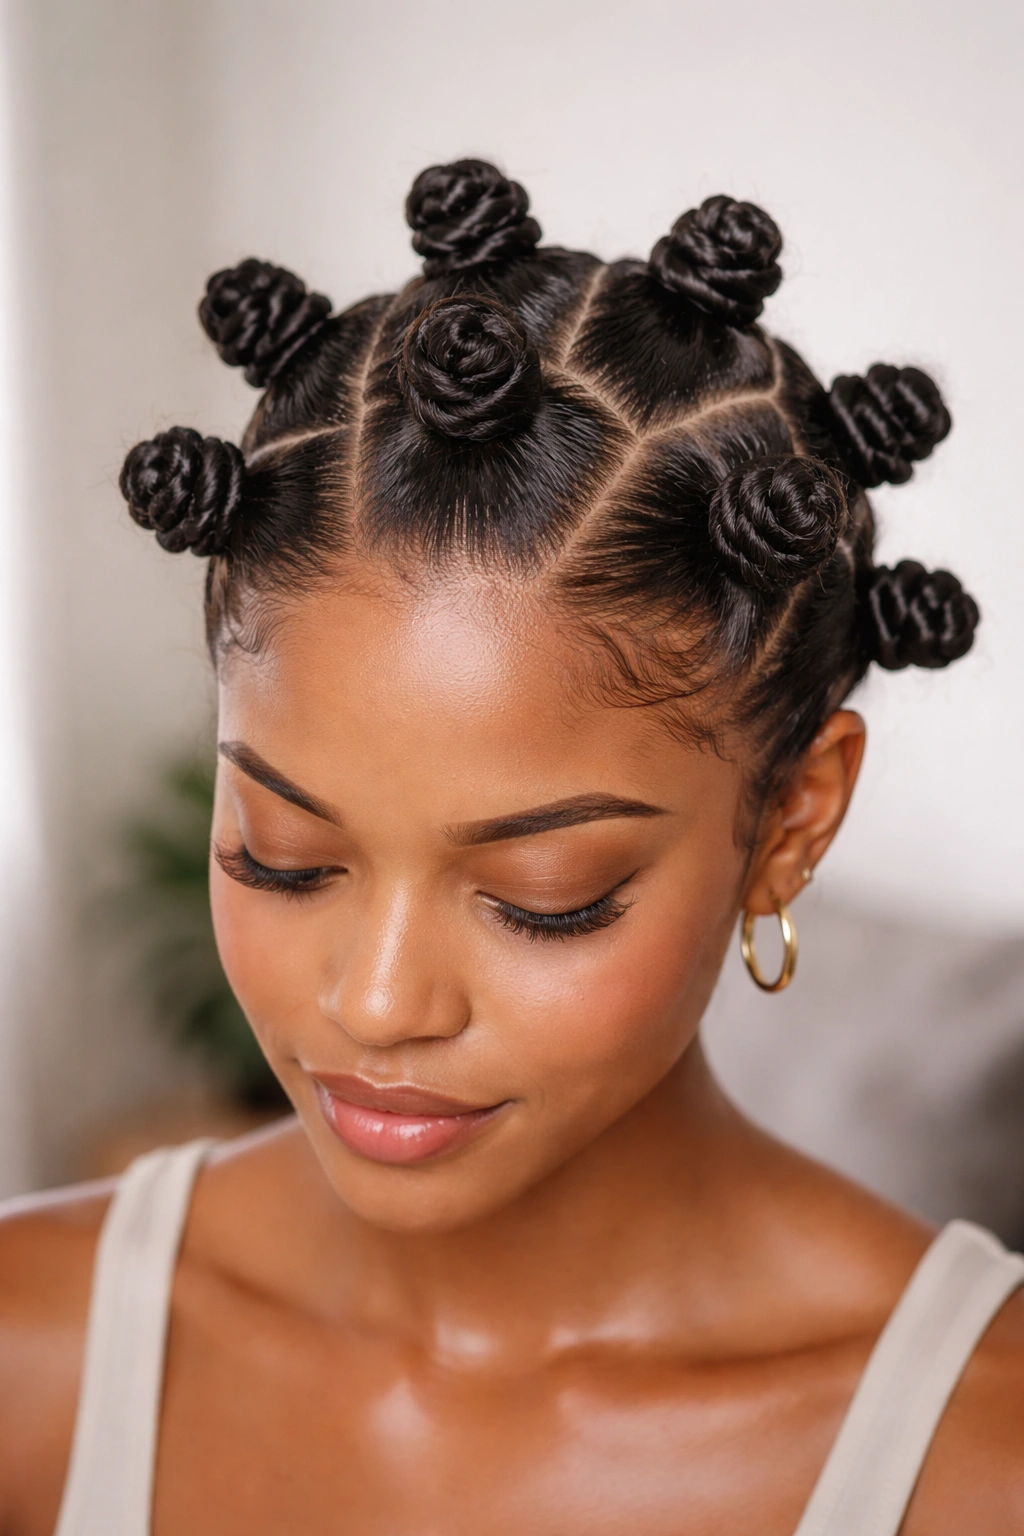
Bantu knots are a traditional African styling technique where sections of hair are twisted and then coiled into knots on top of the scalp. Once dry, you can wear them as-is for a polished protective style, or you can unwind them to reveal beautifully stretched, voluminous curls with defined wave patterns and zero frizz. This style is incredibly versatile because it works as both a protective style and as a stretching method for curls.
How Bantu Knots Create Definition Without Frizz
The twisting and coiling action used to create Bantu knots compresses and molds your curl pattern, and the knots themselves act as a cast that holds curls in a specific shape as they dry. When you unwind the knots, your curls are longer, more stretched out, and more defined than they were originally. The combination of compression and stretching creates a curl pattern that’s smooth, glossy, and completely frizz-free because individual strands are held together in their twisted pattern even after the knots are undone.
Creating and Styling Bantu Knots
- Work with clean, damp hair and apply a light styling cream or gel throughout
- Section your hair into 8-12 sections depending on your desired knot size and curl definition
- Twist each section tightly from root to tip, then coil the twisted section into a knot shape on top of your head
- Secure knots with bobby pins and allow them to air-dry completely (8-12 hours minimum) — drying time determines how stretched and defined your curls will be
- Gently unwind each knot by uncoiling first, then untwisting slowly from root to tip
- Your curls will be beautifully stretched, defined, and voluminous with incredible curl definition and smoothness
- You can wear Bantu knots as a finished style for 1-2 weeks, or unwind them for a different texture
- Maintain moisture by spritzing knots with a lightweight spray every few days if you’re wearing them long-term
Key Takeaways

The best hairstyle for your frizzy curls isn’t about fighting your natural texture — it’s about choosing a technique that works with your curl pattern to encourage definition, lock in moisture, and minimize manipulation. Each of these ten styles takes a different approach, whether through compression (twists, braids, coils), containment (protective styles), or product-based definition (gel wash-and-gos), but they all share one core principle: controlling frizz comes from respecting your hair’s natural curl pattern and giving it the structure it needs to hold together cohesively.
The most important factor isn’t which style you choose, but how consistently you apply it. Frizz thrives in inconsistency — when you’re sometimes twisting, sometimes flat-ironing, sometimes leaving your hair to air-dry without any hold, your curls never develop the muscle memory to stay defined. Pick a style that fits your lifestyle and schedule, commit to it long enough for your hair to adjust and thrive, and you’ll be amazed at how dramatically your frizz improves.
Start with whichever style appeals to you most and match it to your daily routine: if you have 15 minutes in the morning, a wash-and-go or scrunchy pony works. If you have an hour and want to style once and wear for a week, try two-strand twists or protective braids. If you’re looking for maximum definition, go with a coil method or braid-out. Your curls will thank you with the shine, definition, and frizz-free bounce you’ve been working toward.