Curly hair and weddings can feel like a complicated relationship. You want to look effortlessly elegant alongside the bride, but your curls have their own agenda—they frizz, they shift, they deflate, or they expand into something uncontrollable by mid-reception. The secret isn’t fighting your curls. It’s choosing bridesmaid hairstyles that actually celebrate them, working with your natural texture instead of against it.
The best bridesmaid hairstyles for curly hair don’t pretend your curls aren’t there. They embrace the volume, the movement, and the inherent drama that comes with a head of beautiful curls. The right style will look equally polished in formal wedding photos and casual toasts, won’t require constant touch-ups between the ceremony and reception, and will actually feel comfortable enough to wear for eight or more hours straight.
What makes a hairstyle work for curly-haired bridesmaids? It needs to account for natural movement and texture without depending on poker-straight hair to hold its shape. It should be secured firmly enough that curls stay in place through hugs, dancing, and outdoor breezes, but not so tight that you’re dealing with a tension headache by the reception. The best choices use strategic product application, protective styling techniques, and cuts or arrangements that enhance rather than hide your curl pattern.
Whether you’re wearing your curls loose and tousled, swept to one side, twisted into an updo, or braided into an intricate design, there’s a bridesmaid hairstyle that will make you feel beautiful, confident, and absolutely appropriate for standing next to the bride. Let’s explore ten of the most stunning options for curly-haired bridesmaids.
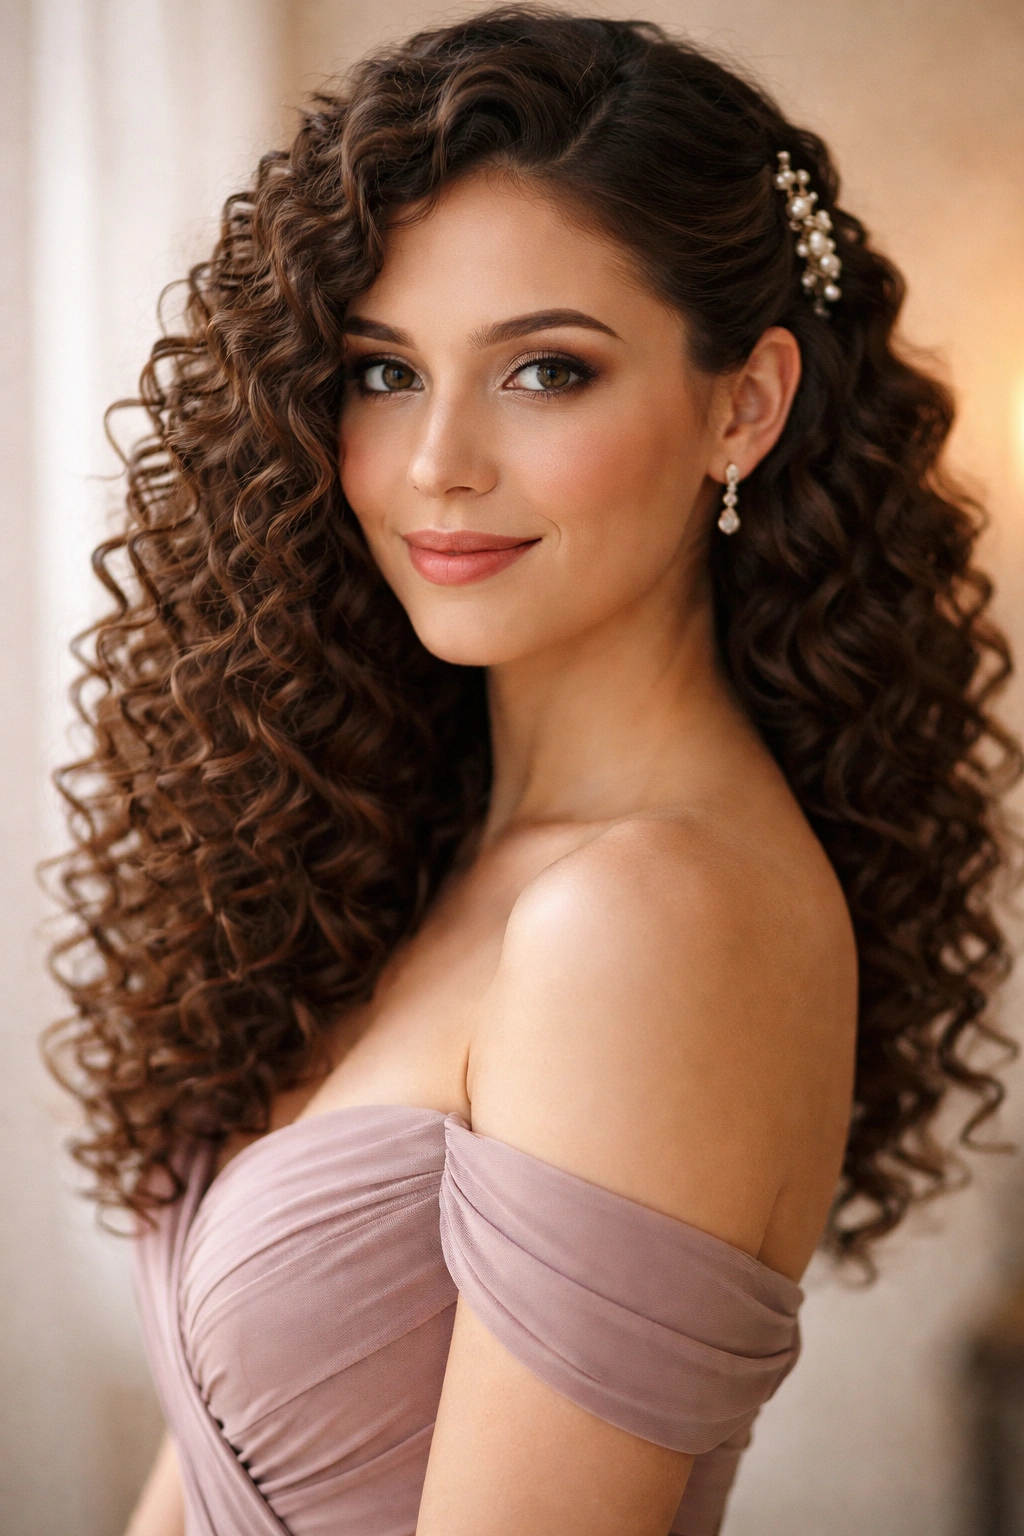
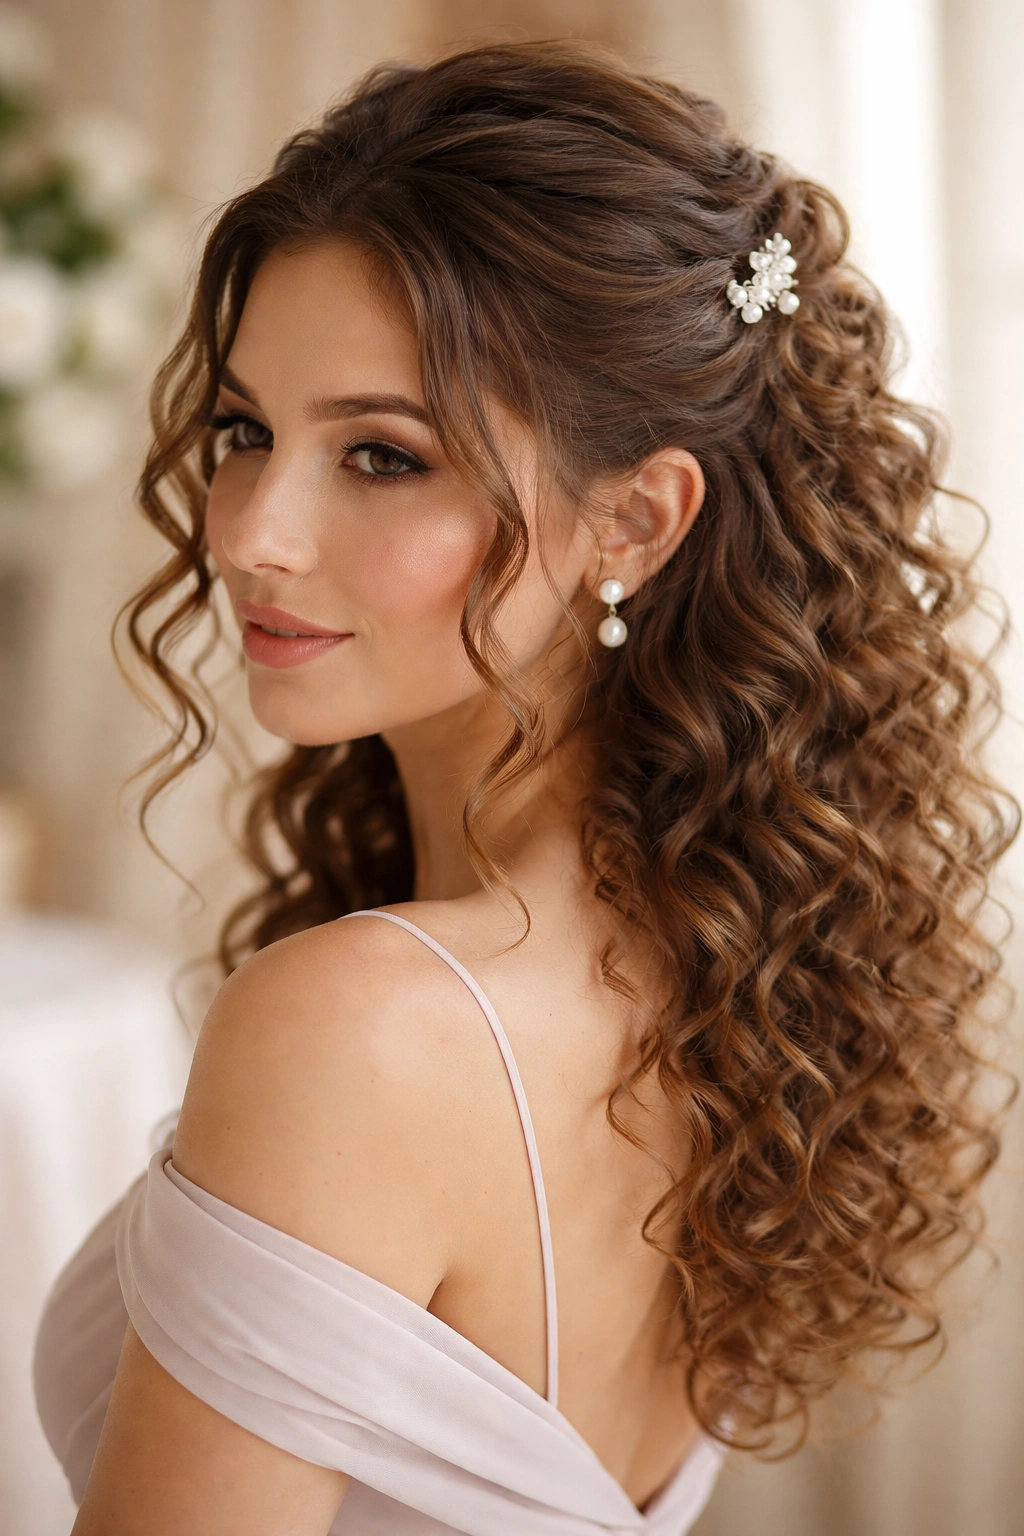
1. The Textured Half-Up Style with Face-Framing Curls
This is the bridesmaid hairstyle that works for almost every curly-haired person, every wedding vibe, and every season. The half-up design keeps hair partially off your face and neck—which matters for comfort and keeping makeup fresh—while letting your best curls do their thing down your back. The face-framing layers that fall loose catch light beautifully in photos and give you that romantic, intentional look without actually requiring a ton of styling effort.
How to Make It Work for Your Curls
Start with clean, damp curls and apply a leave-in conditioner or curl cream throughout your hair. Use a microfiber towel or t-shirt to gently squeeze out excess water, then let your curls air dry or use a diffuser attachment on low heat. Once your curls are completely dry, lightly scrunch them with your fingers to separate and define them. Avoid using a regular brush, which will destroy your curl pattern—use your fingers or a wide-tooth comb instead, only when your curls are wet and covered in product.
The Securing Technique That Actually Holds
Pull the top half of your hair back and secure it with a decorative clip, a pearl-studded bobby pin, or a small elastic wrapped in a silk ribbon that matches your bridesmaid dress. The key is using multiple bobby pins along with the elastic or clip—this distributes the weight and takes pressure off any single point on your scalp. Add a small hair accessory like a delicate comb or pearl pins around the secured section for wedding-appropriate polish. This style naturally accommodates the volume curly hair creates, so you’re not fighting against your texture.
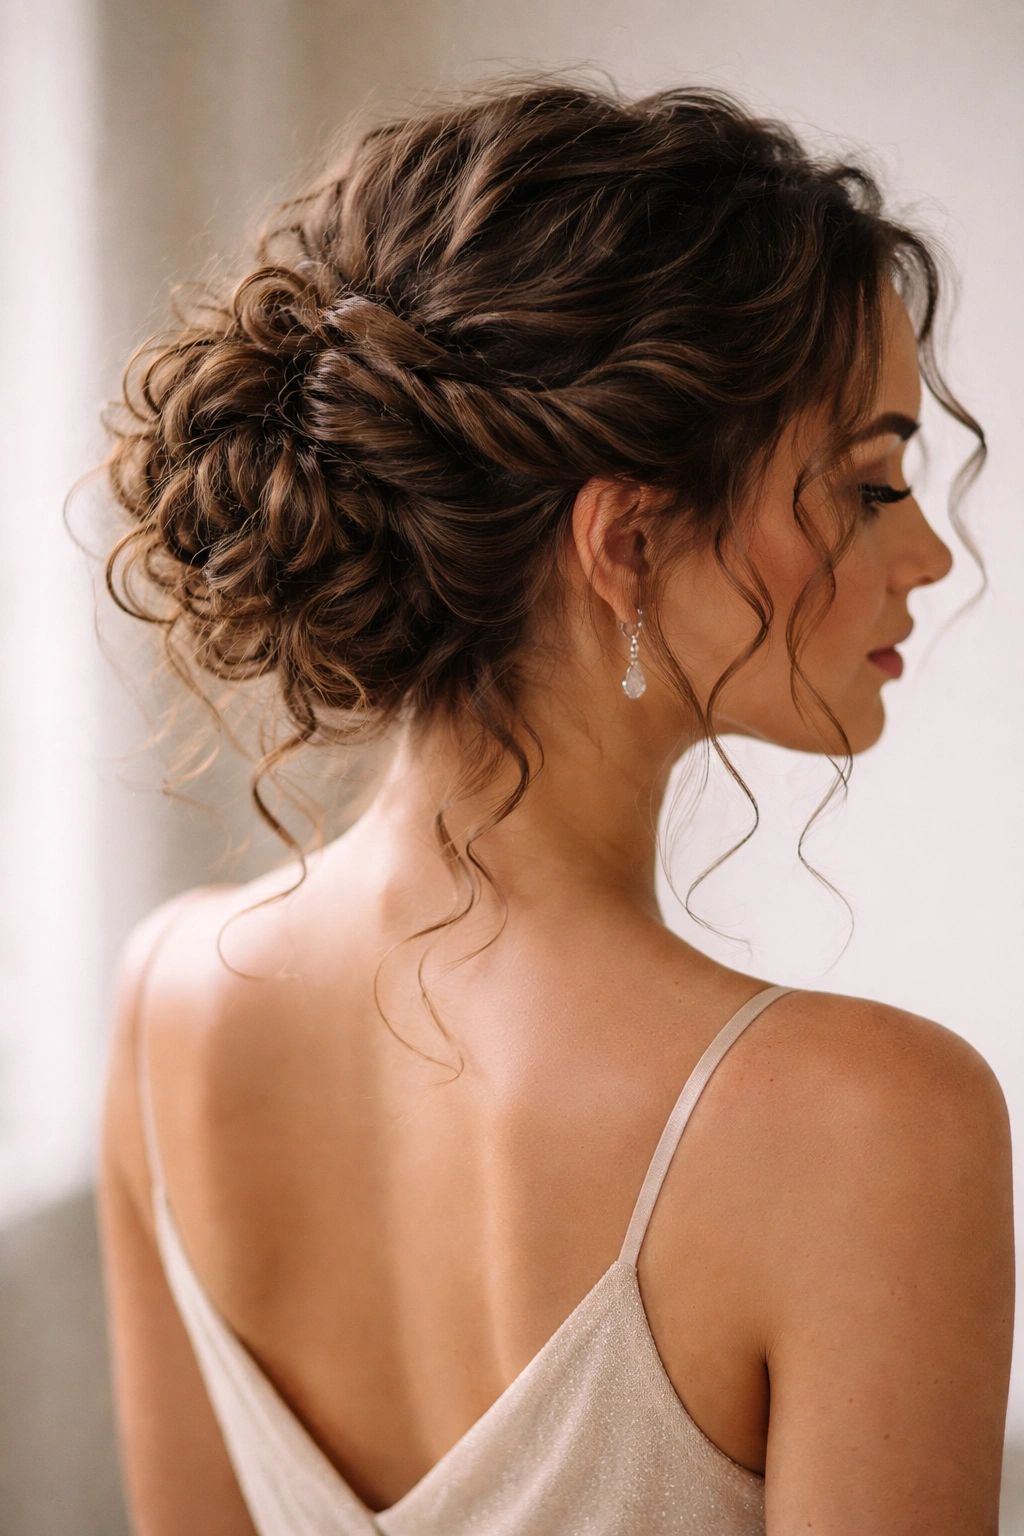
2. The Low Textured Bun with Wispy Face-Framing

A bun sounds formal, but not when you’re working with curly hair. Instead of a sleek, tight bun that requires dead-straight hair, a textured bun celebrates your curls by keeping them voluminous, slightly undone, and genuinely elegant. This style works beautifully for more formal, traditional weddings while still looking modern and effortless. Curly hair naturally gives you that textured, romantic bun aesthetic without any extra effort—the opposite of straight-haired bridesmaids who need to work hard for that undone vibe.
Building the Perfect Curly Bun
With dry, styled curls, gather your hair low at the nape of your neck—not a tight, painful pull, just a gentle gather. Twist or lightly scrunch the gathered section, then coil it into a bun shape and secure it with bobby pins placed strategically throughout the coil, not just at the base. Don’t smooth anything down; you want to preserve the texture and individual curl definition. Pull out a few face-framing tendrils and let them stay slightly frizzy and undone—this is intentional and beautiful on curly hair.
Making It Last Through the Reception
Use a flexible-hold hairspray that won’t make your curls crunchy but will keep the bun intact through movement and humidity. Avoid super-heavy pomades or gels that will weigh your curls down and create a greasy appearance. A light mist of hairspray—not a soaking douse—every hour or so keeps everything in place without damaging your curl pattern. Bring bobby pins in your bridesmaid emergency kit so you can add one or two if needed during the day.
3. The Braided Crown with Loose Curls Flowing Down
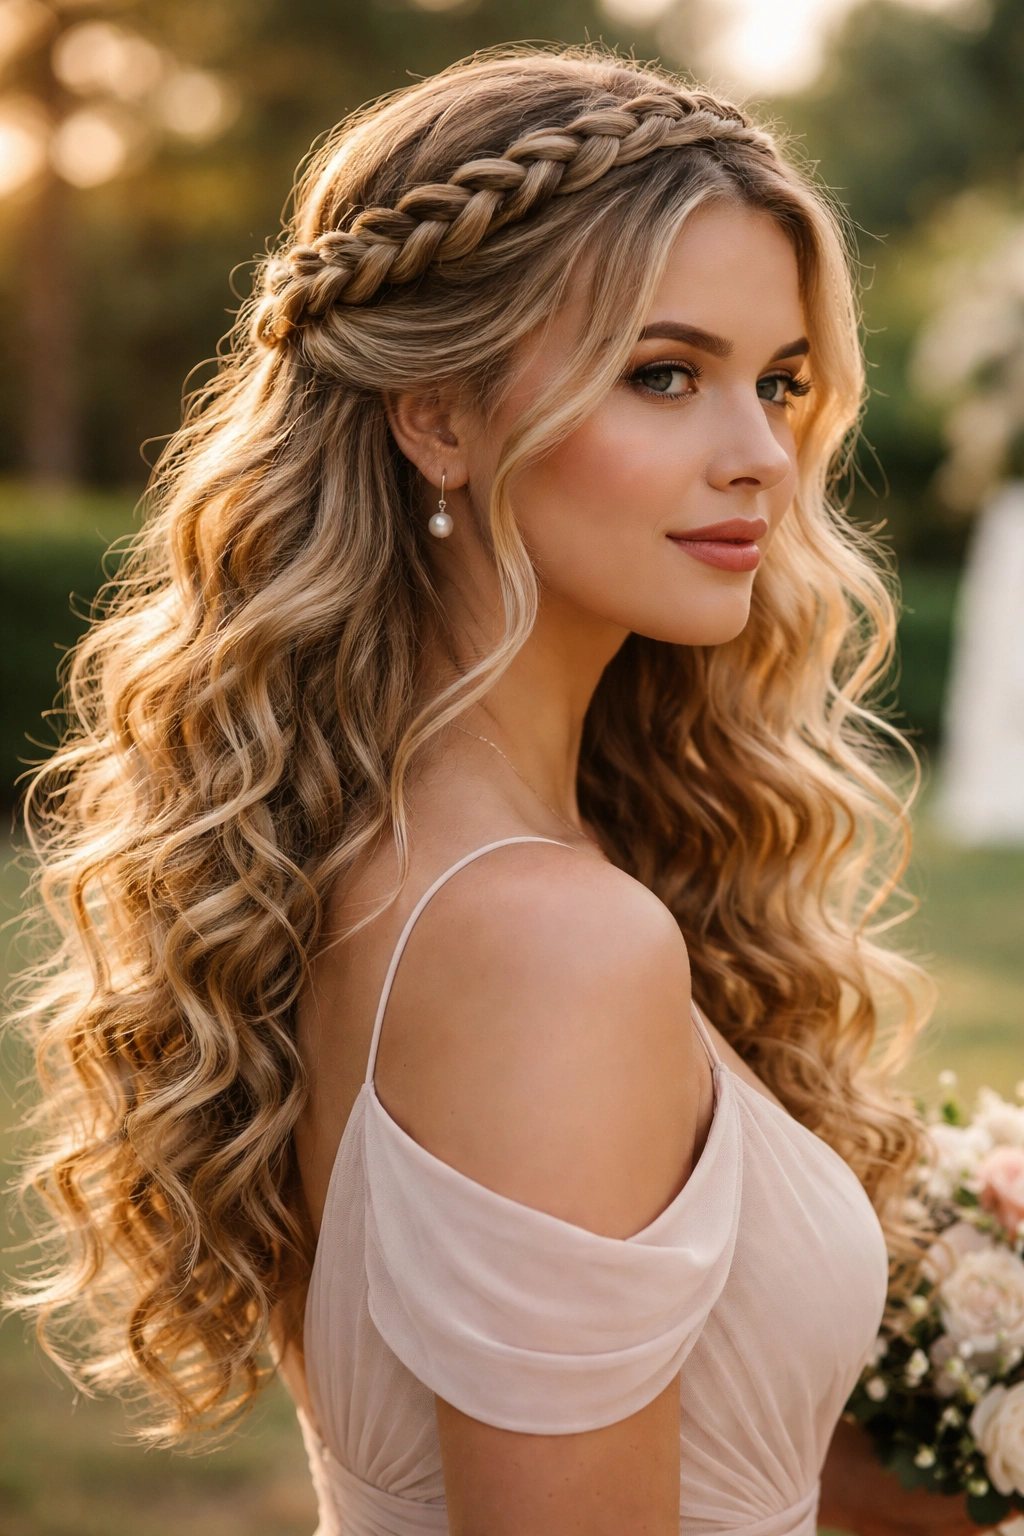
Braids are magic for curly hair because they actually look better when your hair isn’t perfectly smooth. A braid that runs around the crown of your head like a halo creates instant elegance while keeping your hair secured and off your face. This style works for outdoor weddings, garden ceremonies, and any formal event where you want an unmistakably romantic touch. The braid adds structure, the loose curls add movement and texture, and together they create a look that feels both polished and naturally beautiful.
Creating a Braid That Matches Your Curls
Before braiding, apply a curl cream or lightweight oil to your damp hair and allow curls to dry completely. When braiding, you don’t want to pull the braid impossibly tight—let it sit slightly looser than you would with straight hair, which actually makes curly-hair braids look softer and more romantic. Braid three-strand braids, Dutch braids, or French braids depending on your skill level and the formality of the event. As you braid, gently pull the sides of the braid outward slightly to create a fuller, more textured appearance—this works because your curls naturally have volume.
Securing and Finishing the Look
Pin the braid in place at the back or side of your head using bobby pins that match your hair color. Use multiple pins rather than one or two, distributing the weight across your scalp. Mist the braid with light hairspray. You can leave the rest of your hair completely loose and curly, or twist the ends of the braid into a small bun for a slightly more secure, formal look. Either way, the braid structure keeps everything in place while curls still move freely.
4. The Sleek Ponytail with Separated Curl Tendrils
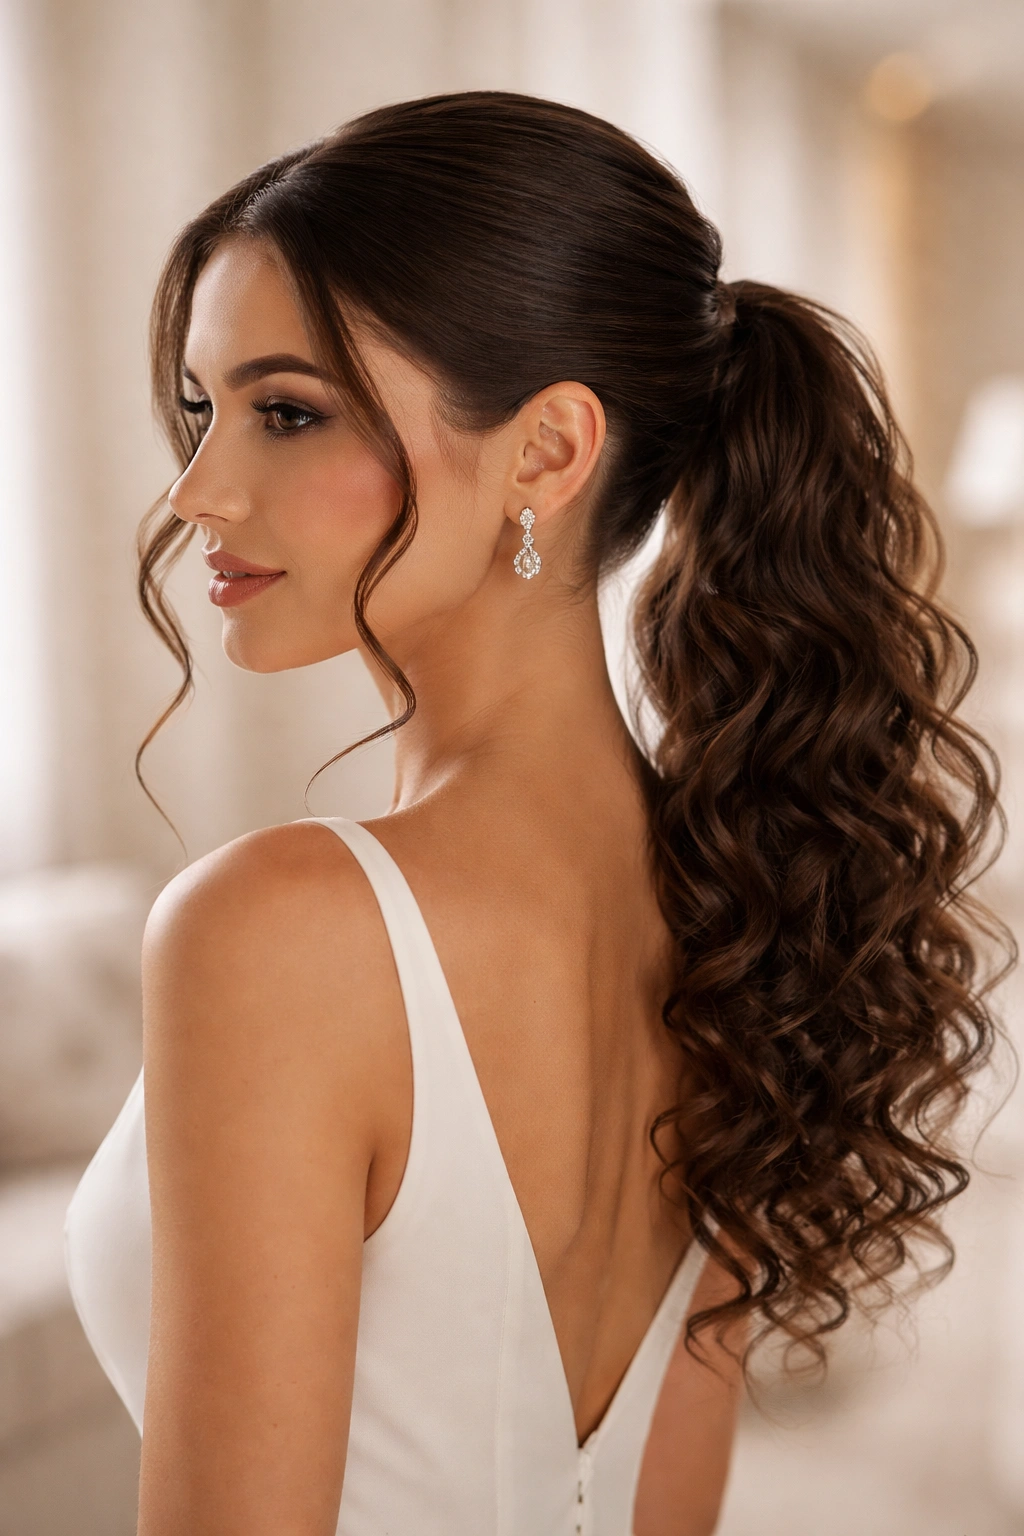
When curly hair is pulled into a sleek, tight ponytail, it looks severe and disconnected from what curly hair does naturally—which is create volume and movement. The solution? A low ponytail where you’ve smoothed the very top section with a smoothing cream, but let the ponytail itself remain as textured and curly as possible. You get the polished look of a secured ponytail with the beauty of your natural curls still visible and moving.
Achieving the Smooth-Top, Curly-Tail Effect
Apply a lightweight smoothing cream or gel to the very top of your hair—about an inch or two down from your roots—and smooth this section down with a paddle brush or your hands. This creates a sleek “helmet” at the crown that looks polished. Gather your hair into a low ponytail at the nape of your neck, but don’t brush or smooth the ponytail itself. The curls in the tail will remain full, textured, and beautiful, creating visual contrast with the sleek top. Secure with an elastic and wrap a small section of hair around the base of the elastic to hide it.
Keeping Everything in Place All Day
The key to this style holding is using the right product on the smooth section—something with medium hold that won’t flake or get sticky. Avoid heavy pomades that leave residue. The ponytail’s curls won’t need much product because curly hair naturally holds its shape when it’s not being actively brushed or combed. Bring a small paddle brush or comb and a light hairspray to the wedding so you can refresh the smooth section if needed between photos and the reception.
5. The Twisted Low Side Style with Defined Curls
This style is pure elegance for curly hair and works for nearly every wedding aesthetic. Instead of pulling hair straight back, you’re twisting sections of hair from one side toward the opposite side, creating a soft diagonal line across the back of your head. Everything stays secured and off one shoulder, but your curls remain completely visible and defined. The twisting technique actually works better with curly hair because the twists grip your curl pattern and stay in place naturally without requiring tight pulling.
The Twisting Technique That Works for Curls
Divide your hair into three or four vertical sections. Starting from one side, take the first section, twist it loosely, and pin it as you work toward the opposite side. Each subsequent section gets twisted and pinned slightly overlapping the previous one, creating a diagonal line of gentle twists. Because you’re working with curls, the twists won’t look smooth and mechanical—they’ll look romantic and intentional. This is exactly what you want.
Curls That Look Intentional, Not Accidental
Before twisting, make sure your curls are completely dry, well-defined with curl cream or leave-in conditioner, and lightly separated if they’ve clumped together. The defined curls create texture within and around the twists. After pinning everything in place, gently tousle and reshape your curls at the back and sides so they frame your face and neck beautifully. A light hairspray keeps the twists secure without weighing down your curls. This style actually improves as the day goes on—the twists relax slightly and your curls settle into an even more romantic appearance.
6. The Pineapple Updo for Maximum Volume
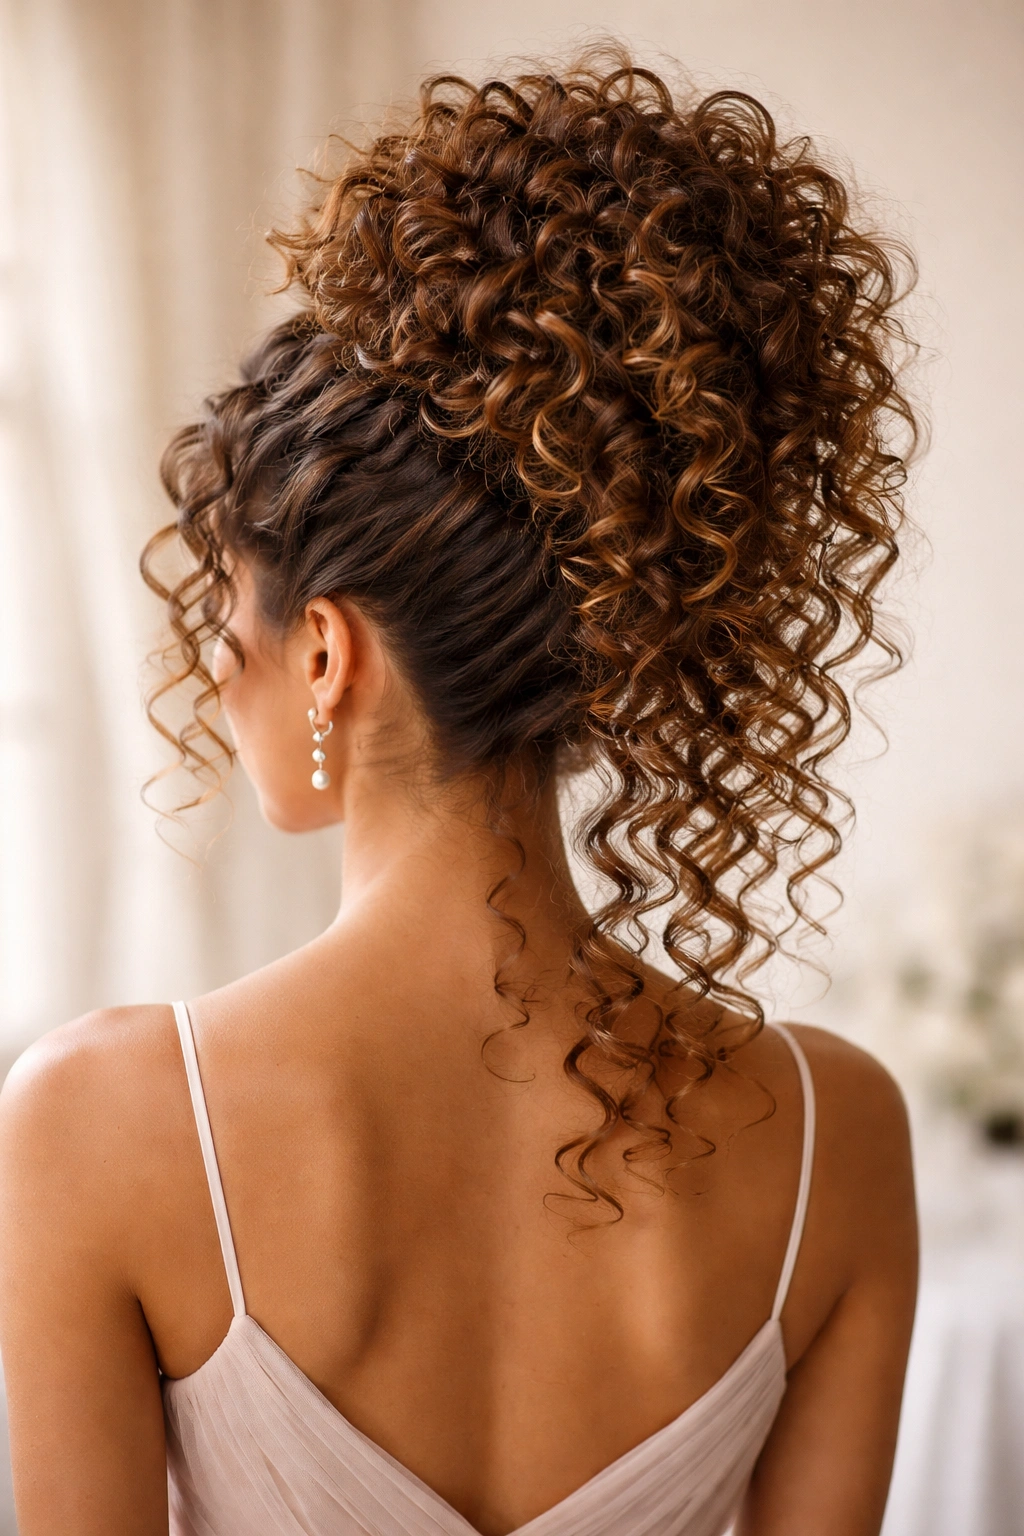
The pineapple technique comes from the curly-hair community and creates a voluminous, romantic updo that celebrates every bit of texture you have. Your curls are gathered high on the crown, allowed to fall and cascade downward, then secured in a way that maintains full volume. The result looks like an upside-down pineapple—hence the name—with curls spilling down the back and sides in the most luxurious, intentional way.
How to Create a Pineapple Updo
Gather your completely dry, styled curls high on the crown of your head—this is much higher than a traditional low bun, roughly at the top of your head. Don’t pull tightly; let the curls stay voluminous. Secure with a silk scrunchie or elastic that matches your hair color. Once secured, the curls below the elastic fall and cascade down, creating natural height and volume. You can leave it as is for a dramatic, romantic look, or gently twist or coil the gathered section and secure it with bobby pins for slightly more polish and structure.
The Product Strategy for All-Day Hold
Because this style depends on volume, not tight control, you want products that define and hold curls in place without weighing them down. Use a curl cream before drying, then a flexible-hold hairspray after styling. Avoid heavy pomades or thick gels that crush curls. A light mist of hairspray keeps everything secure through dancing and movement. The beauty of this style is that even if some curls shift or a few bobby pins come loose, the overall look remains stunning because it’s designed to be textured and full.
7. The Romantic Side Sweep with Secured Curls
Sweeping your curls to one side creates an asymmetrical, romantic vibe that photographs beautifully and feels elegant without being overly formal. One side of your face is fully visible, while the other side is softly framed by voluminous curls. This works for any wedding style, from casual garden ceremonies to black-tie receptions. The asymmetry is particularly flattering for curly hair, which has natural movement and drama that you’re putting to good use here.
Creating the Sweep Without Damaging Curls
Start with completely dry, defined curls. Use your fingers or a wide-tooth comb to gently gather curls from the fuller side of your head toward the opposite side. Don’t comb through and destroy your curl pattern—work gently, separating curls with your fingers. Secure behind one ear or at the nape of your neck using bobby pins, a decorative clip, or a small elastic. The curls should feel like they’re naturally falling to one side, not violently pulled across. Some curls in the swept section will fall out of place, and that’s beautiful—it’s intentional, romantic, and natural-looking.
Securing Everything Without a Headache
Use multiple bobby pins rather than one or two, tucking them into the body of your curls so they’re hidden rather than visible. The pins distribute the weight and prevent tension headaches. Add a small hair accessory like a pearl pin or decorative comb at the secured section for subtle elegance. Mist lightly with hairspray. Because curly hair naturally grips itself, this style holds beautifully all day even with minimal product. The side sweep feels special without requiring any stressful re-pinning during the reception.
8. The Double-Twisted Updo with Tendrils
This style combines the security of an updo with the softness and romance of curly hair, using two gentle twists that spiral into a bun. It’s more sophisticated than a basic bun, requires actual styling effort that the bride will appreciate, but still looks effortlessly beautiful. The tendrils that escape add a touch of softness that keeps the style from feeling too severe or formal.
Building the Double-Twist Structure
Divide your hair into two sections—left and right. Twist the left section loosely and coil it toward the center back of your head, pinning as you go. Repeat with the right section, coiling it to meet the left section. The two coils can twist around each other or sit side-by-side, creating a more dimensional updo than a single twist. Pin everything securely with multiple bobby pins. The twists naturally accommodate your curl pattern, gripping and holding without requiring you to smooth or straighten anything.
Adding Softness and Movement
Pull out a few face-framing curls on either side before you finish securing everything. These tendrils add softness to what could otherwise feel like a tight updo. Lightly scrunch these face-framing pieces and let them sit naturally without product—they should look like they escaped, not like they were deliberately pulled out. Mist the updo with light hairspray. This style actually benefits from a slightly imperfect appearance; your curls naturally create that.
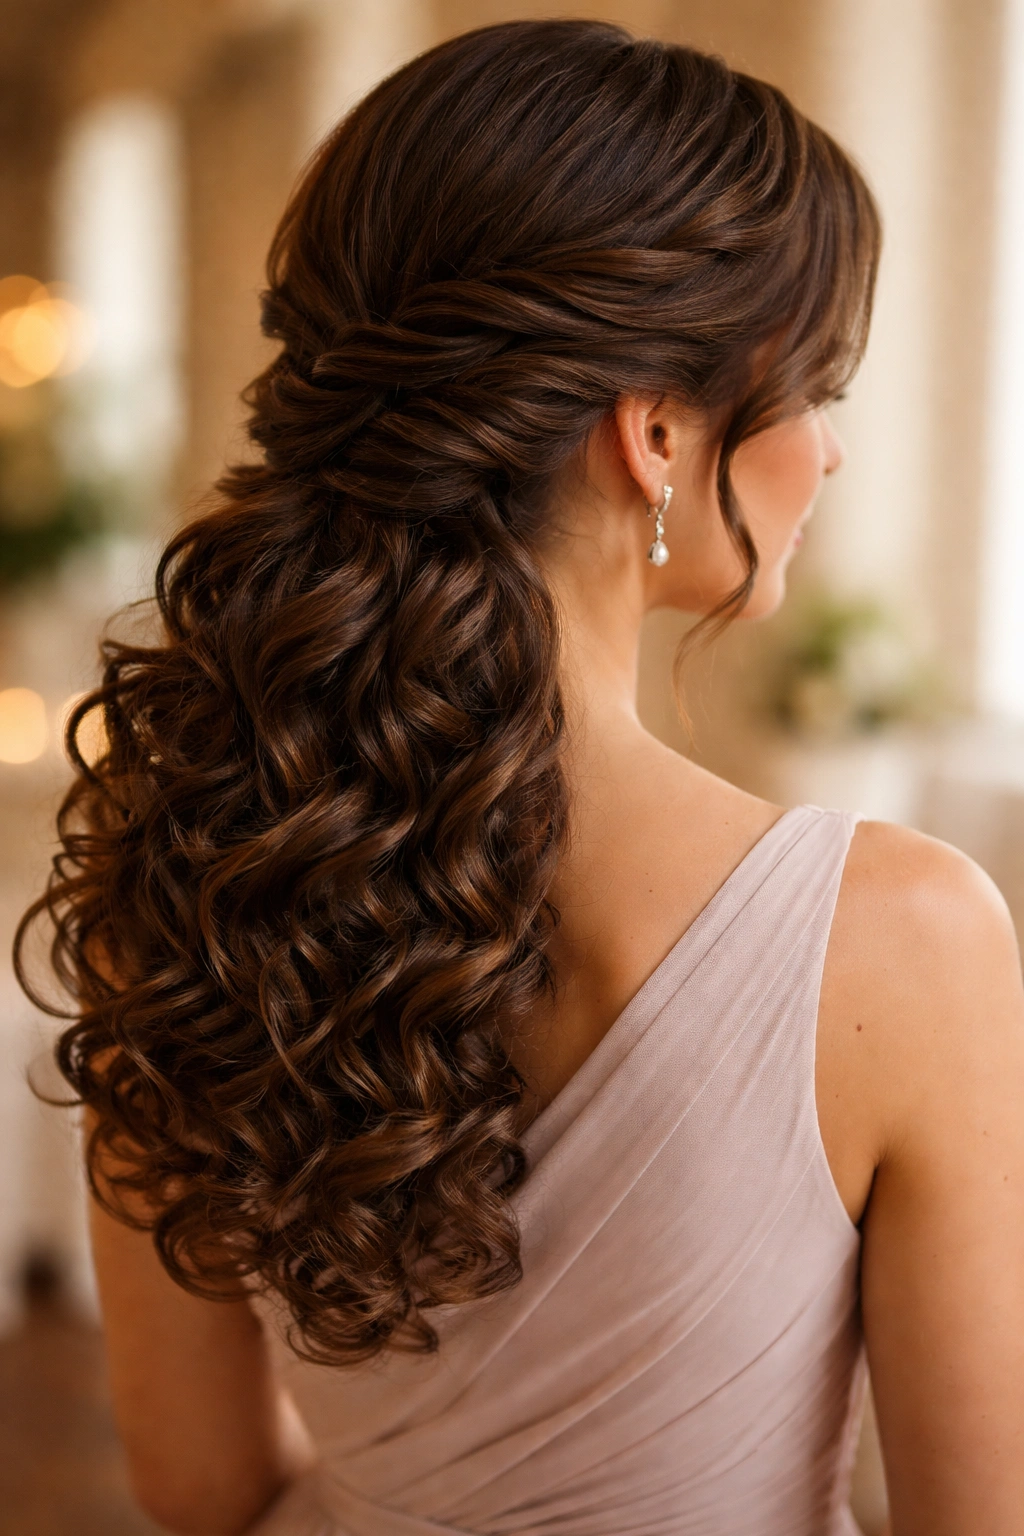
9. The Curly Half-Updo with Low Volume Curls Down
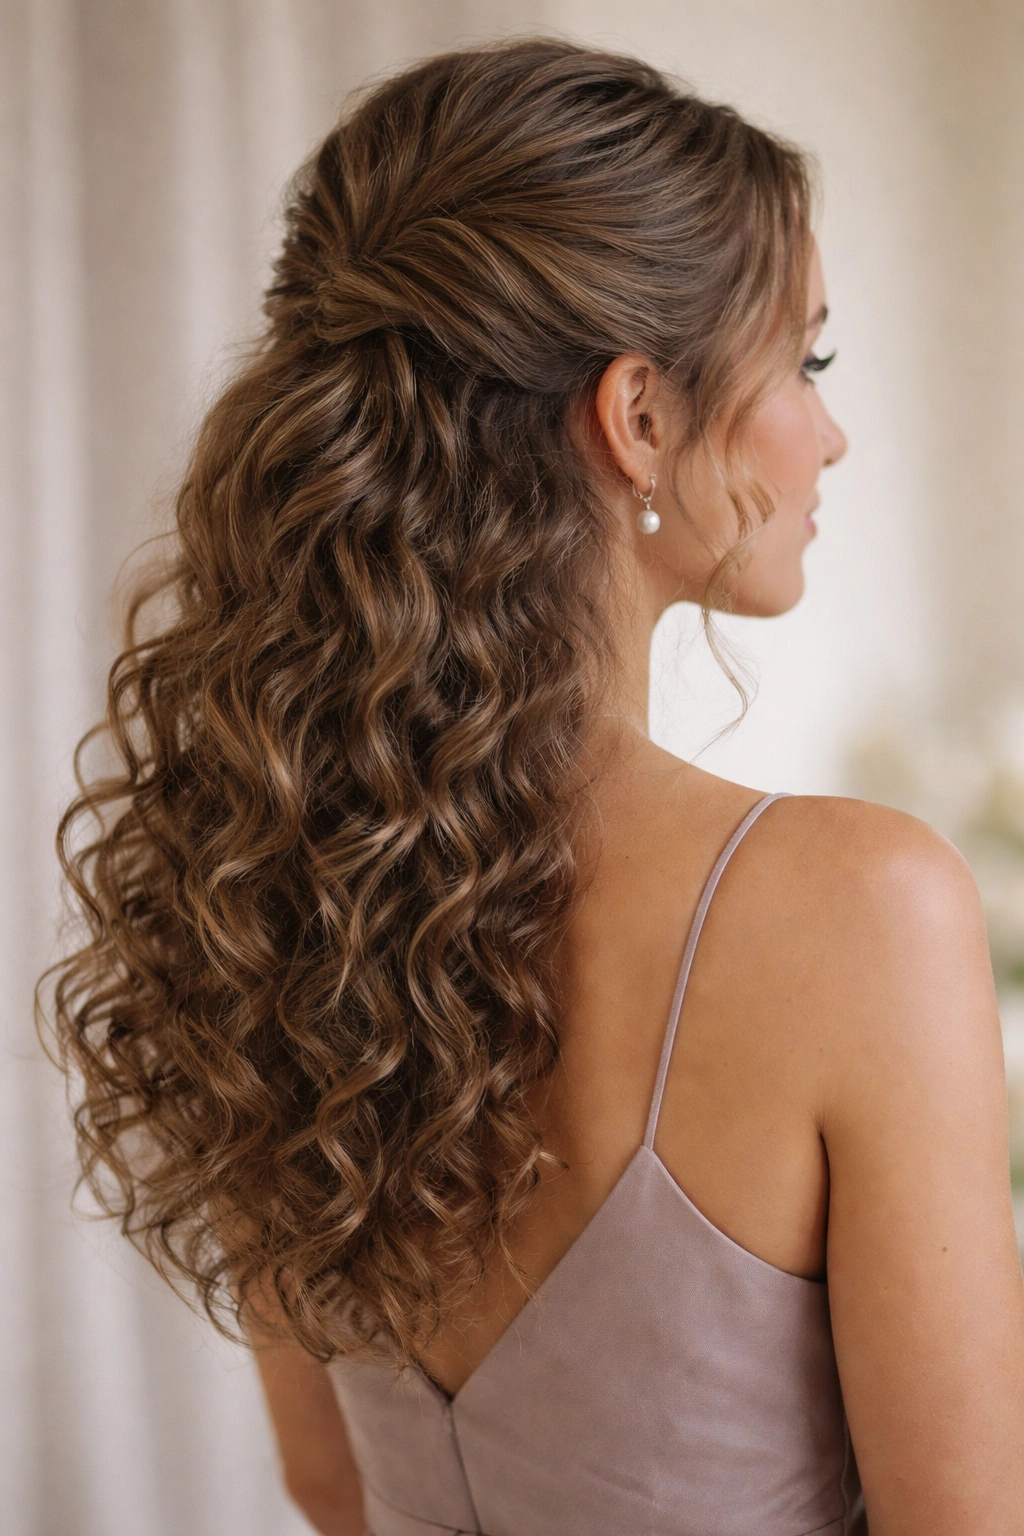
Similar to the textured half-up but arranged slightly differently, this style uses a decorative technique to gather the top half while letting curls flow freely below. Instead of a simple clip or elastic, you might use a French twist, a small three-strand braid, or even a decorative comb to secure the top section. This creates more visual interest and polish while maintaining all the practical benefits of a half-up style.
Variations That Work for Curly Hair
Try these securing techniques: a small three-strand braid that runs horizontally across the back of your head, securing the top half; a shallow French twist of the crown section, pinned at the back; or a decorative comb placed horizontally through the secured section. Each creates different visual interest. The key with all of them is that you’re not pulling tightly or creating tension, just gently gathering and securing with a technique that looks intentional and polished.
Keeping Your Curls Defined and Bouncy
The curls that fall down your back should be as defined and bouncy as possible. Before securing the top section, apply a curl cream or defining gel to damp hair and let it dry completely. Once the top is secured, gently separate any clumped curls with your fingers to maximize definition and volume. A light hairspray keeps everything in place without crunching. The loose curls will move as you walk, sit, and dance—this movement is beautiful and intentional, not sloppy.
10. The Halo Braid with Cascading Curls Behind
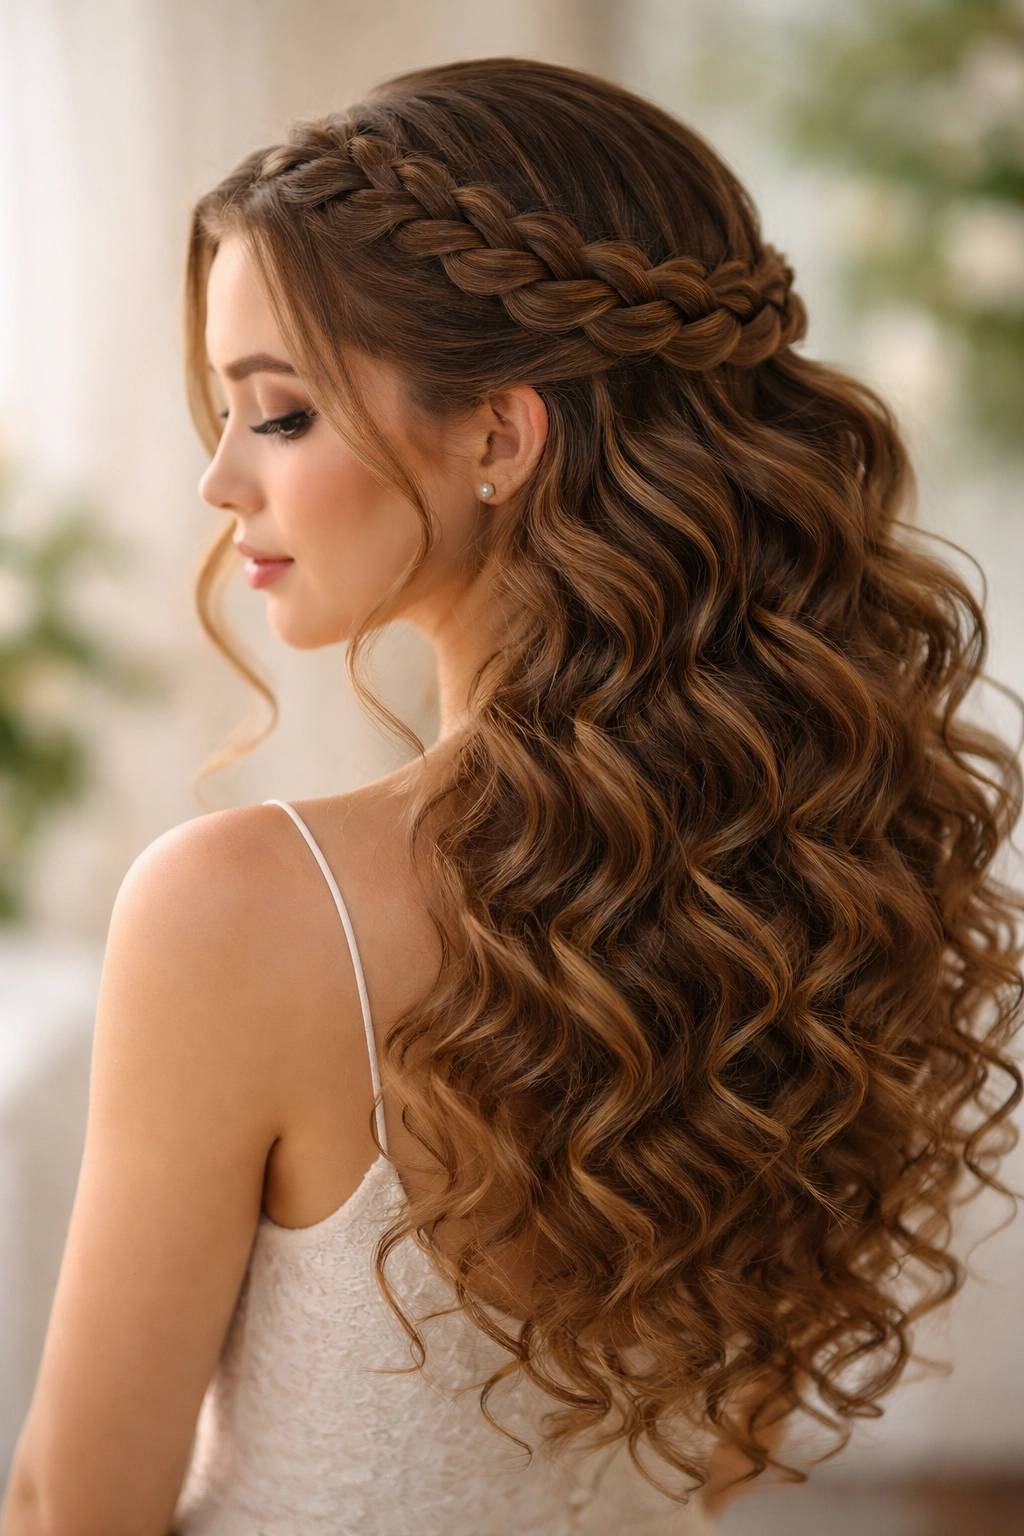
This style creates an actual halo effect by running a braid around the perimeter of your head like a crown. Your curls cascade down the back and sides, framed and beautifully presented by the braid. This is the most romantic, most obviously effort-intensive style in this list, so it’s perfect for formal weddings where you want everyone to see that you genuinely put time into looking beautiful.
Executing a Halo Braid with Curly Hair
This works best with a Dutch braid or a reverse French braid that starts at one ear, travels around the back of the head, and ends at the opposite ear. Dutch braids sit on top of the hair and look fuller, which works beautifully with curly hair. As you braid, intentionally pull the sides of each braid section outward to create fullness and texture—your curls will do this naturally, but emphasizing it makes the braid look richer and more intentional.
The Cascade of Curls and Final Styling
Once your halo braid is complete and pinned securely, all of your remaining hair cascades down the back of your head within the frame of the braid. Make sure these curls are completely dry, well-defined, and separated. Gently scrunch them to maximize volume and definition. They should look full, bouncy, and absolutely intentional. A light mist of hairspray keeps the braid secure without affecting the freedom of movement in your cascading curls. This style photographs beautifully from every angle and feels like luxury.
Final Thoughts
The most stunning bridesmaid hairstyle for curly hair isn’t about fighting your natural texture or trying to transform your curls into something they’re not. It’s about choosing a style that works with what you have, celebrates your curl pattern, and makes you feel genuinely beautiful on someone else’s big day. Whether you prefer your curls loose and flowing, twisted and secured, braided with intention, or gathered into a romantic updo, there’s an option here that will feel perfect.
The secret to any of these styles lasting beautifully through a full day of wedding festivities is preparation. Dry your curls with the right products, secure them thoughtfully with multiple pins rather than fighting them into submission, and use lightweight hairspray rather than heavy formulas that weigh everything down. Your curls are an asset, not a problem to be solved.
Talk to your stylist about which of these styles complements both your hair type and the overall wedding aesthetic. Bring reference photos of the exact style you want. And consider doing a trial run before the actual wedding day so you know exactly how the style will look, how it feels on your scalp, and what adjustments you might want to make. On the wedding day itself, you’ll look effortlessly elegant, feel genuinely comfortable, and have curls that move beautifully whether you’re standing for formal photos or dancing at the reception.