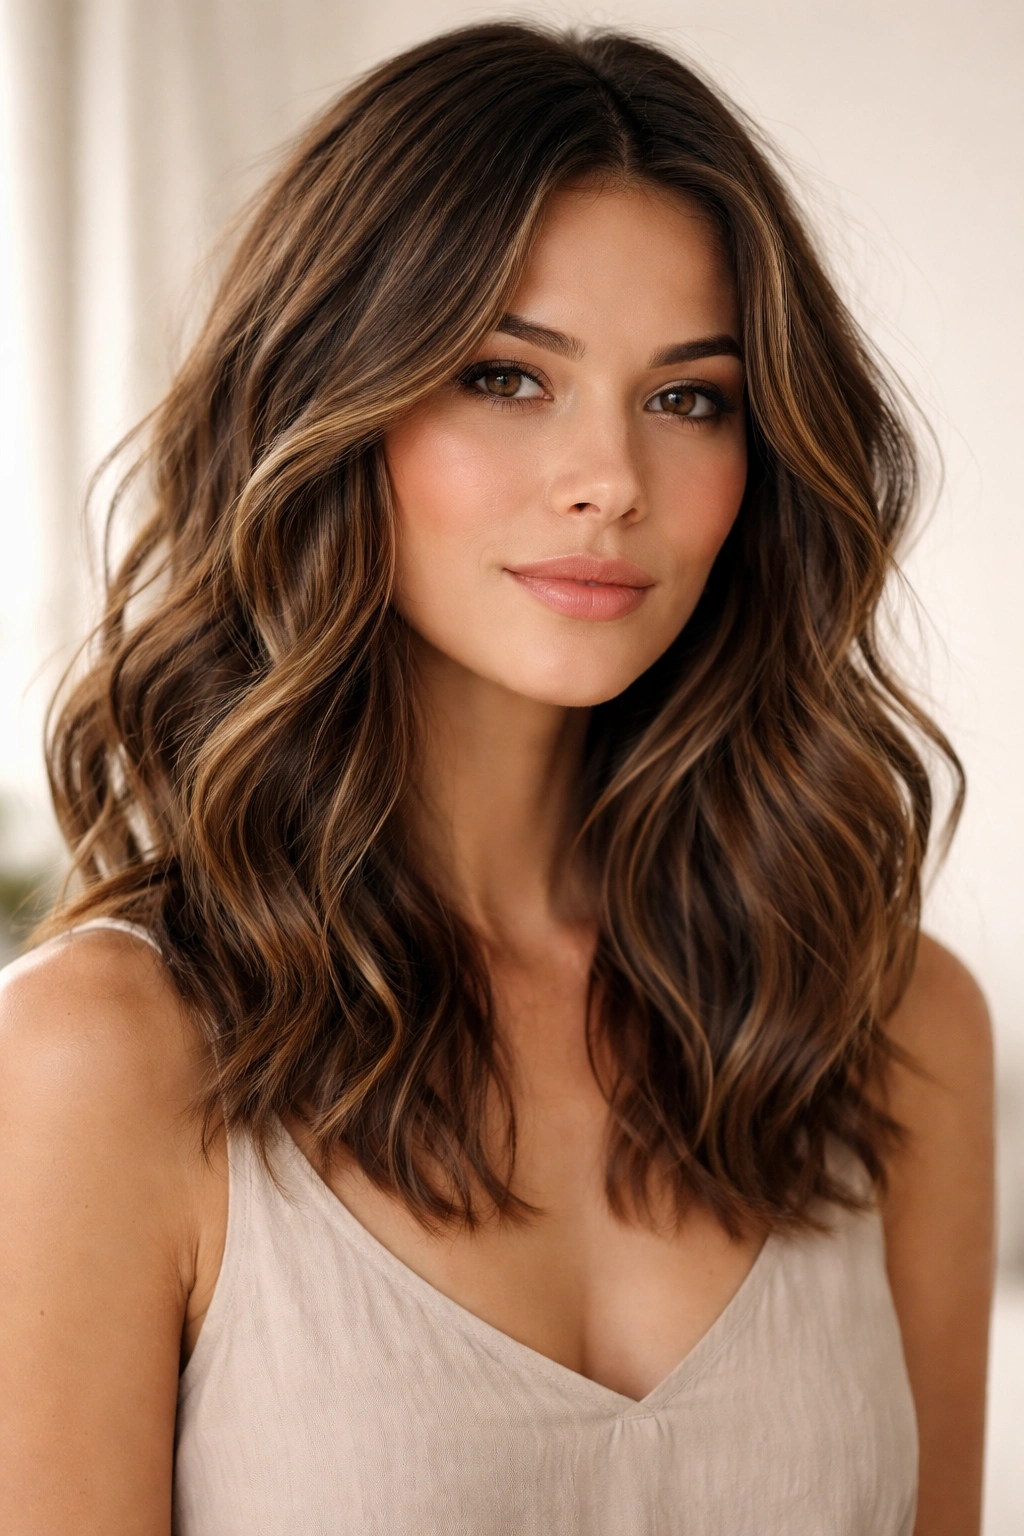
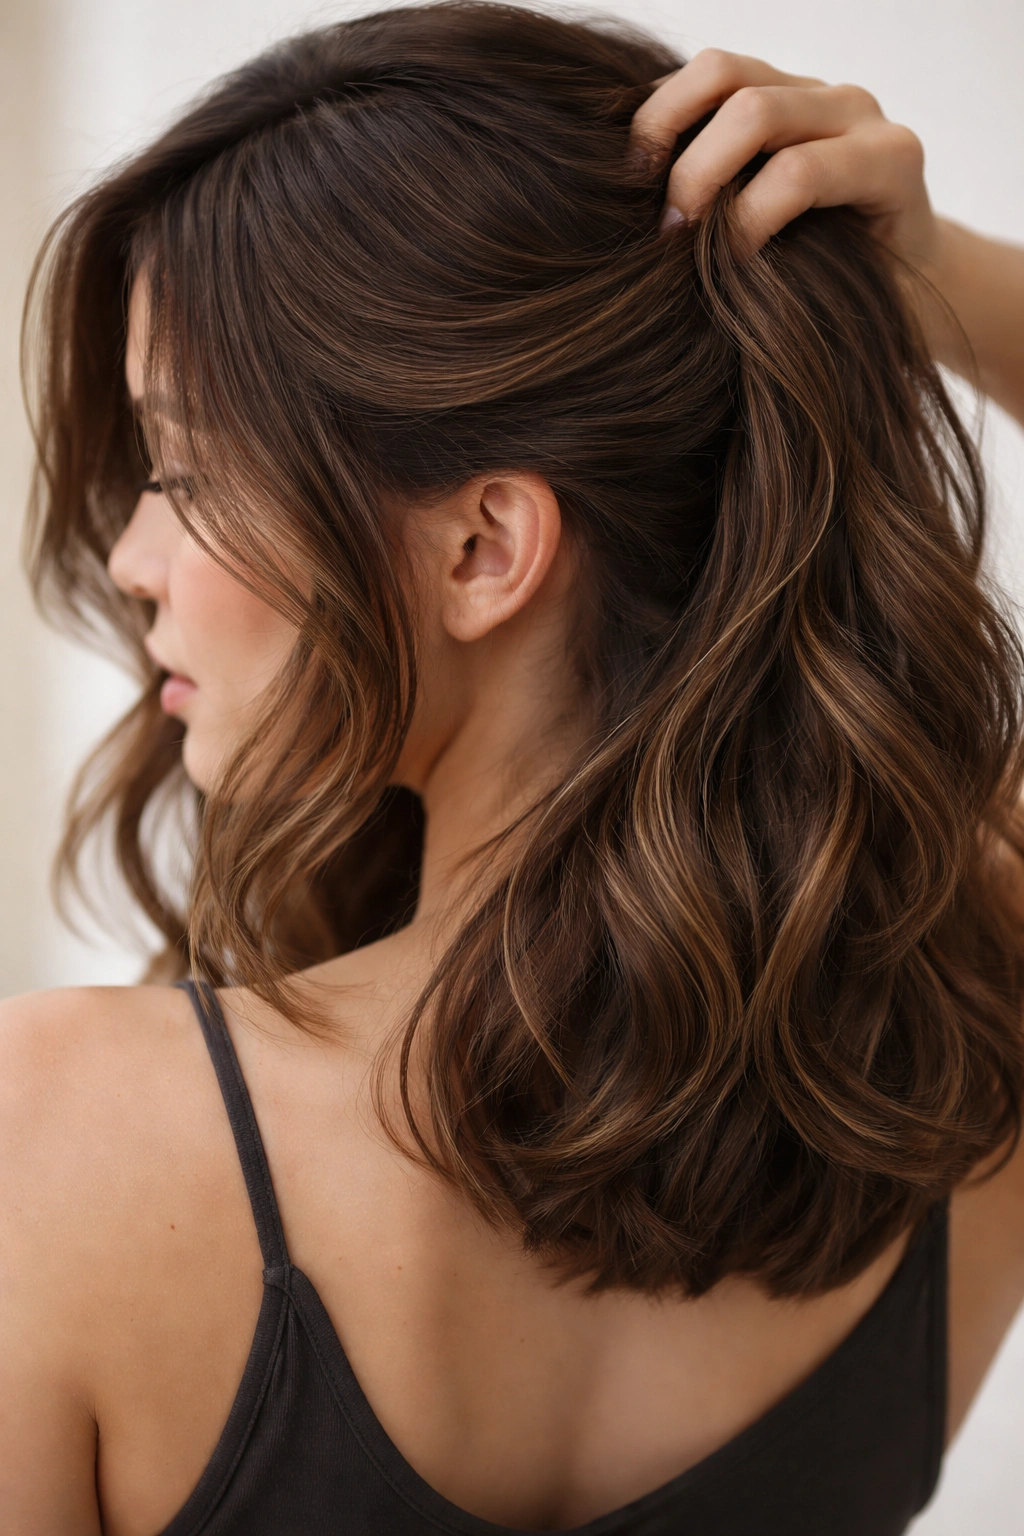
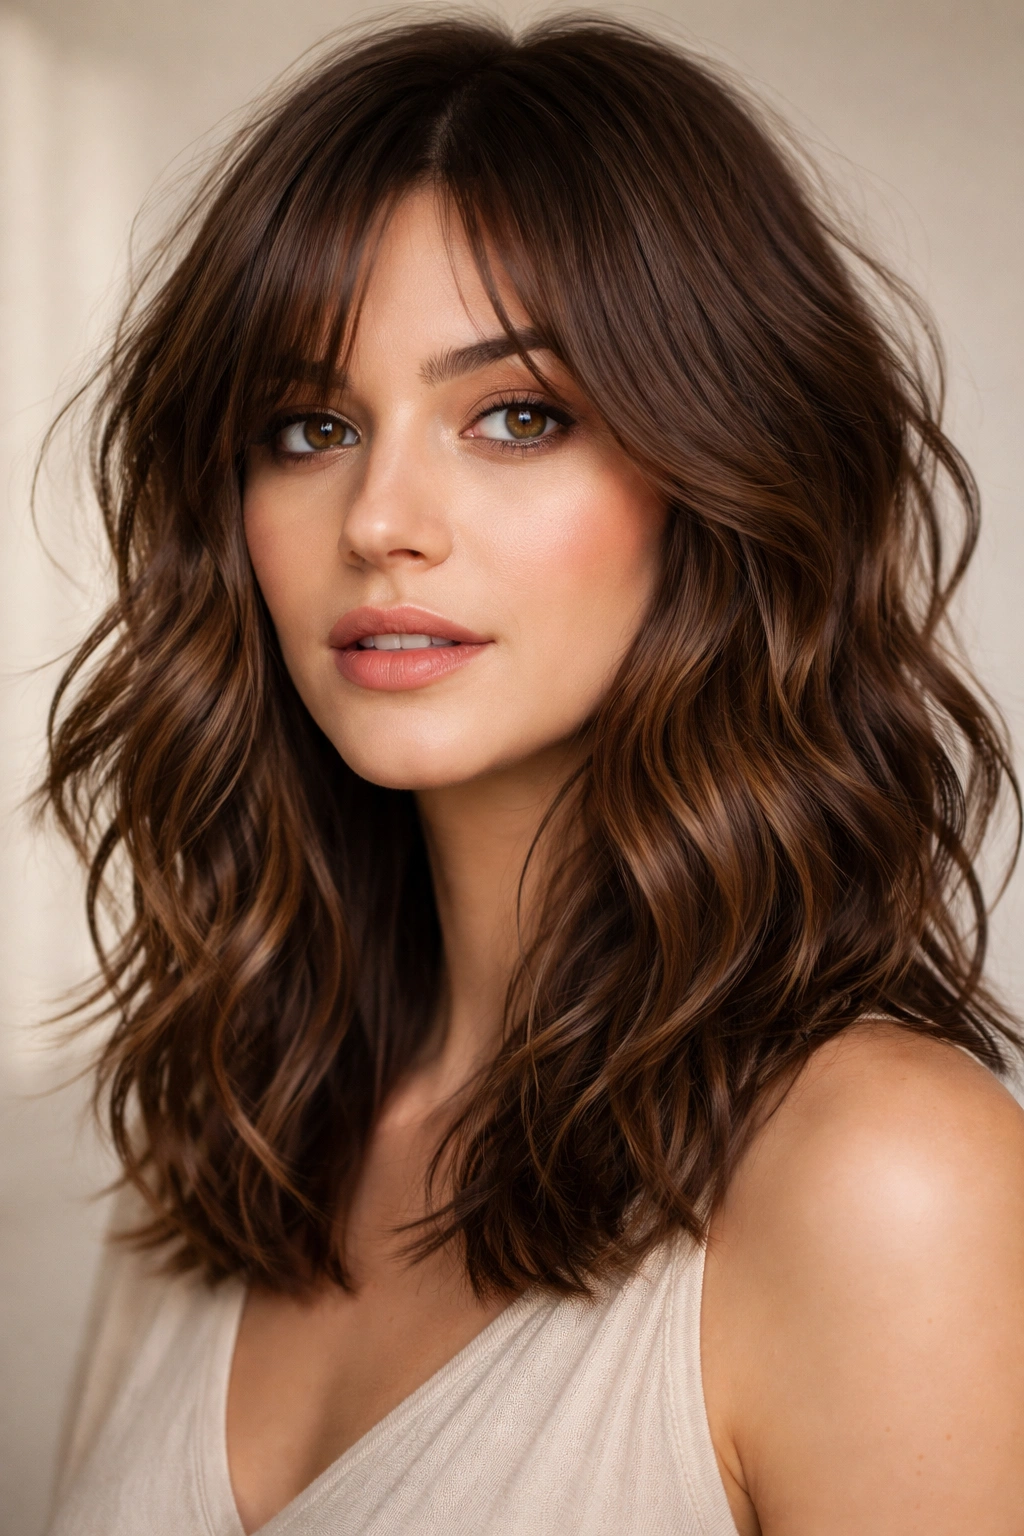
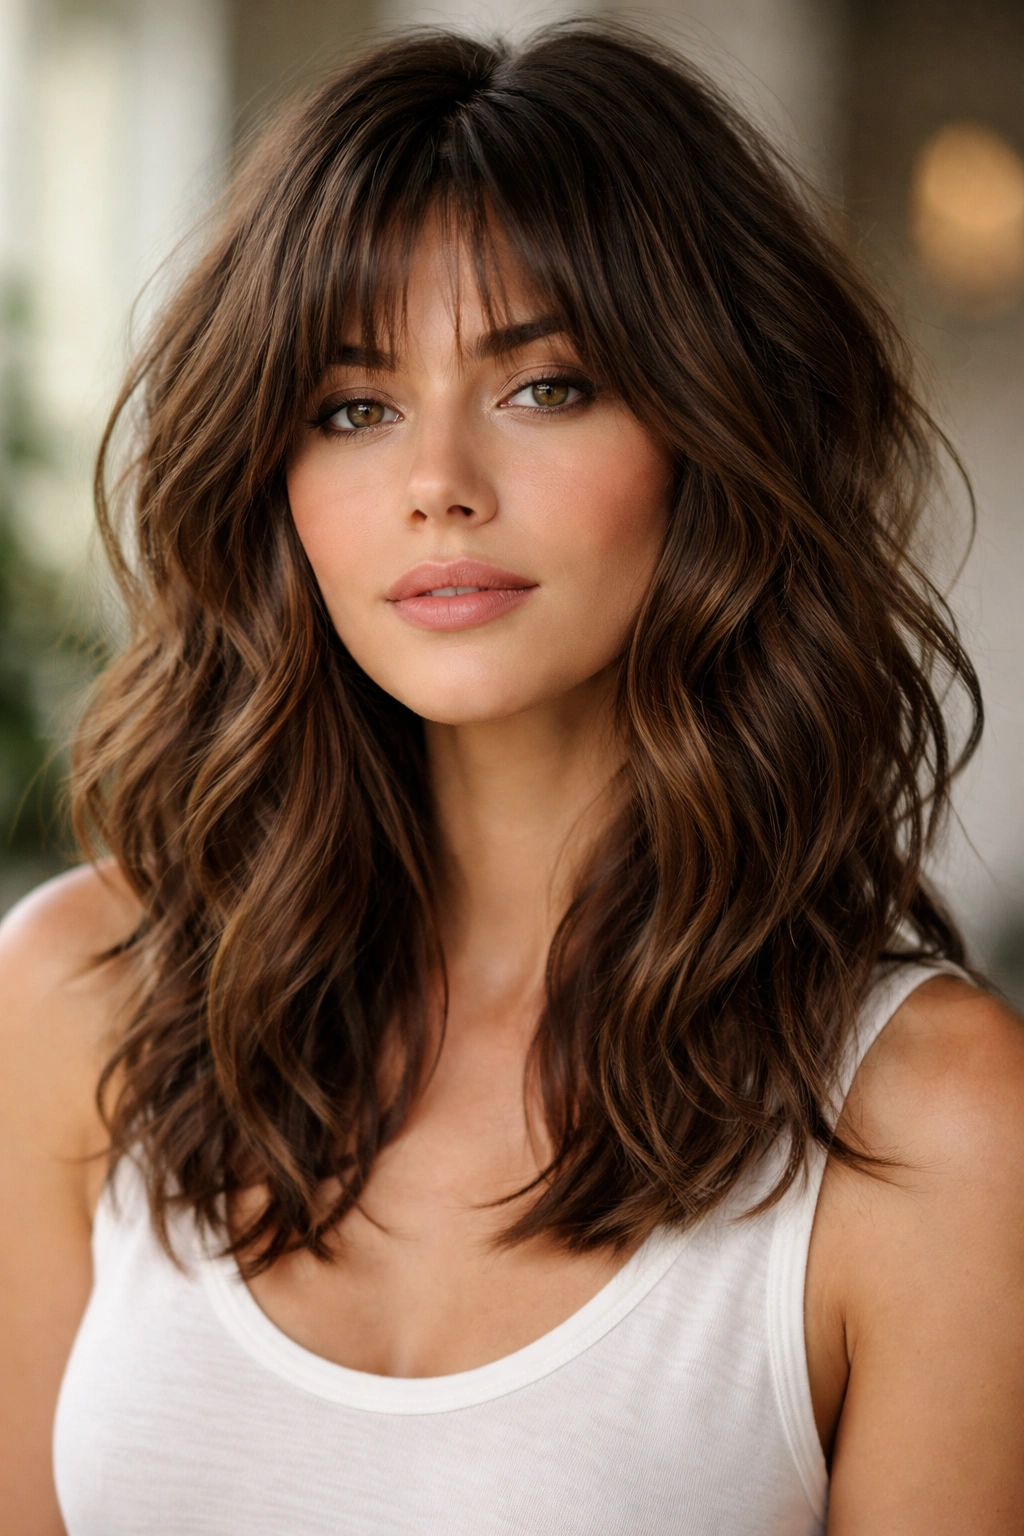
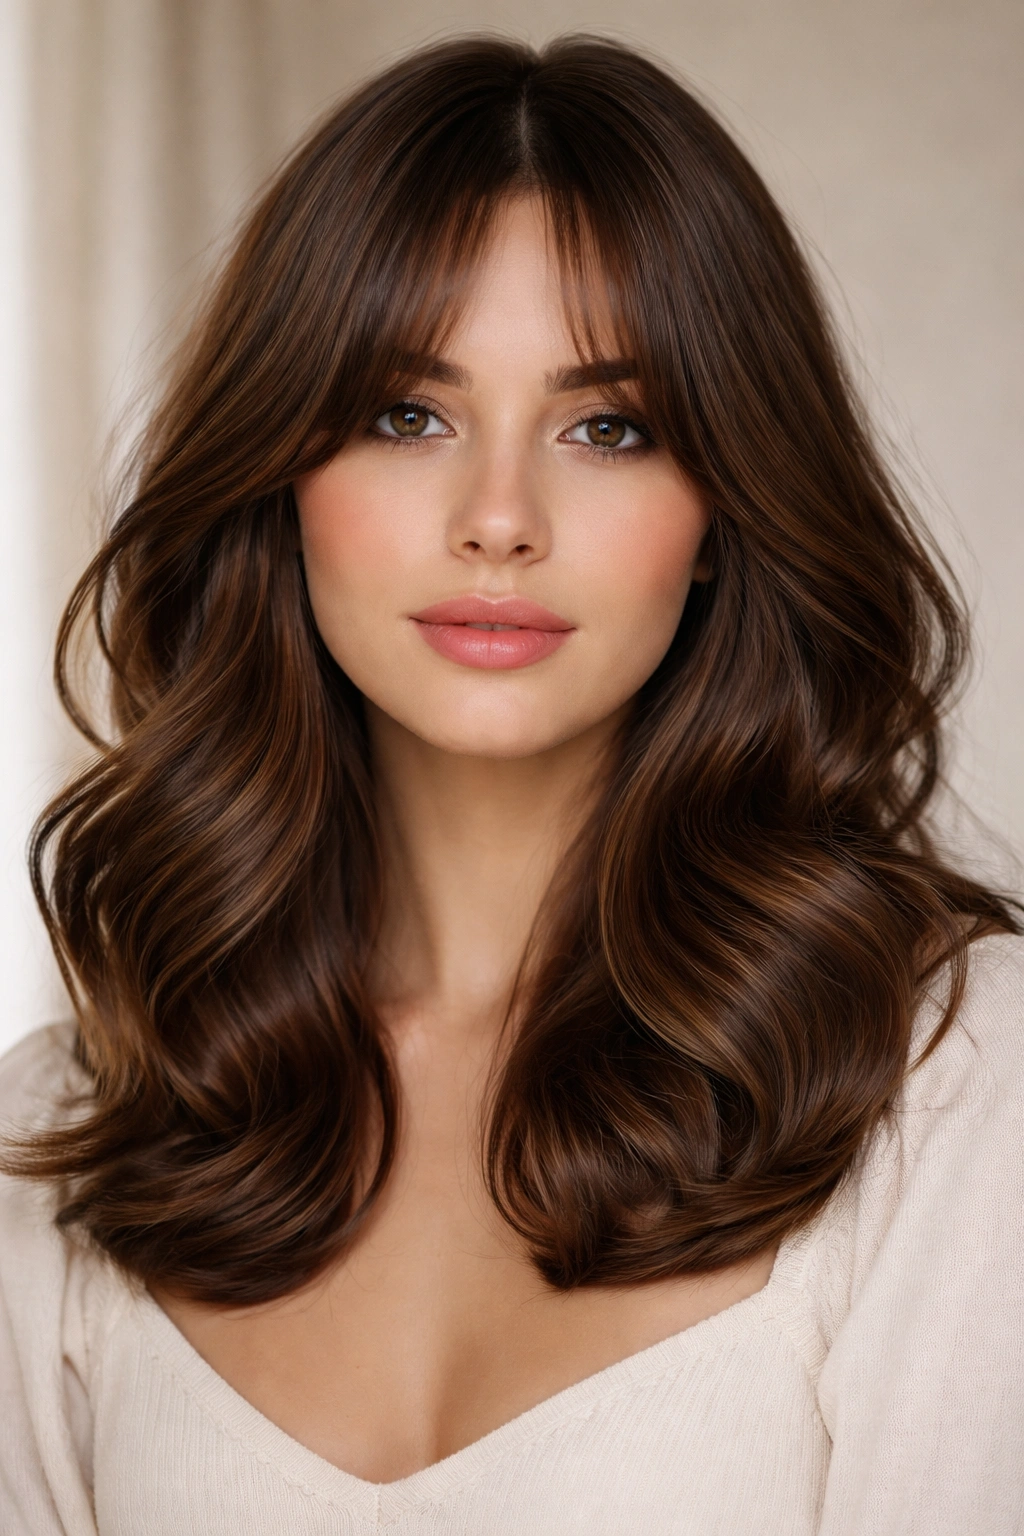
There’s something about shoulder-length brown hair that just works—it’s versatile enough to dress up or down, frames the face beautifully, and sits at that sweet spot where waves actually have room to breathe. Brown is the most forgiving canvas for adding dimension and movement, and when you pair it with shoulder-length waves, you unlock a ton of styling flexibility that longer hair sometimes can’t quite capture. Whether you’re drawn to effortless beachy vibes, textured choppy movement, or soft romantic curves, shoulder-length wavy brown hair offers the perfect foundation.
The beauty of this length is that waves hold their shape longer, style faster than longer hair, and create visual interest without requiring a ton of daily maintenance. Brown shades—from warm caramel to deep chocolate—add depth to waves that might look flat in lighter colors, making even subtle movement look intentional and polished. If you’ve been thinking about cutting your hair or want to see what’s possible with your current length, these ten shoulder-length wavy styles will give you real direction.
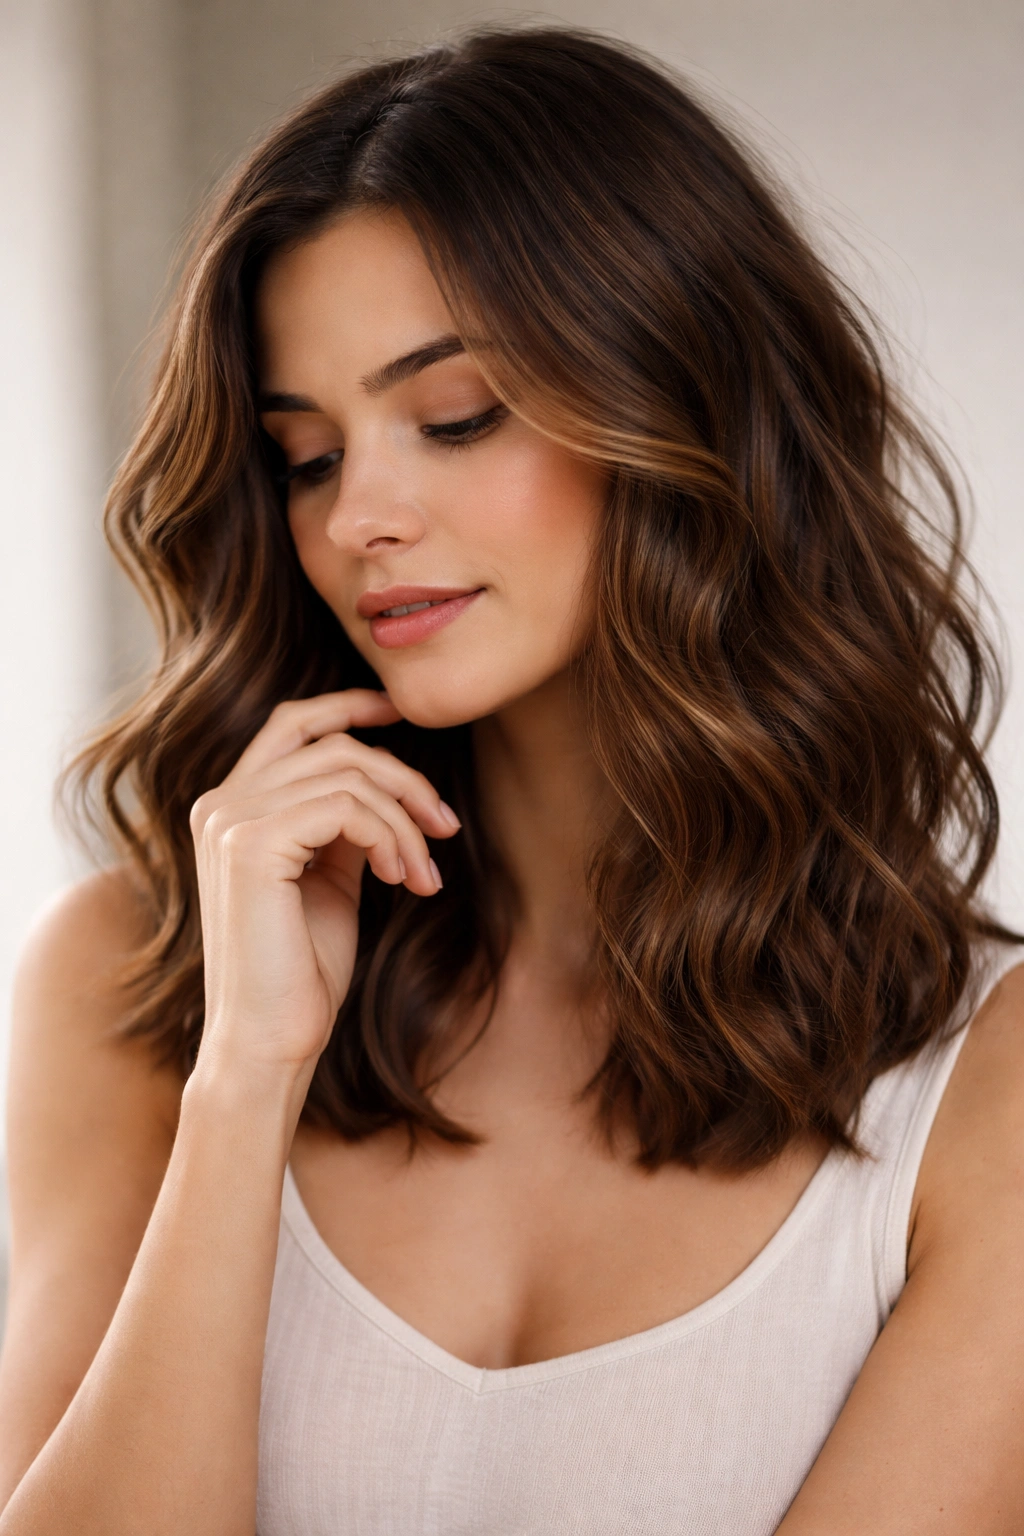
1. Beachy Waves with Subtle Highlights
Beachy waves are the definition of effortless cool, and adding subtle ribbons of lighter brown or caramel through shoulder-length hair amplifies the movement without screaming high-maintenance. This style works because the waves catch light differently across the layers, creating depth that reads as intentional rather than accidental. The highlights don’t have to be dramatic—even very subtle ones placed throughout make waves look more textured and dimensional.
Why This Cut and Color Combination Shines
Beachy waves work beautifully at shoulder length because the hair has just enough weight to hold the wave pattern while still feeling light and touchable. The subtle highlights catch the light as your hair moves, making every wave visible without the commitment of full balayage. This combination feels both current and timeless, working equally well at a casual dinner or a professional setting.
How to Style and Maintain Beachy Waves
- Apply a sea salt spray to damp hair before blow-drying, scrunching upward to encourage wave formation
- Use a 1.5-inch curling iron to wrap sections around the barrel, leaving the ends out for a more relaxed look
- Finger-comb waves apart once cool to create that tousled, undone texture
- Refresh waves on day two with a dry texture spray and gentle finger waves
- Maintain highlights every 12-16 weeks to keep them looking fresh and intentional rather than brassy
Who This Style Really Suits
This look works beautifully if you have medium to thick hair texture, as the highlights need something to play off and waves need enough density to hold shape. If you have fine hair, you might need to adjust by using a lighter hand with styling products and embracing a more relaxed, looser wave pattern. Anyone wanting a style that looks intentional without feeling styled will love how low-maintenance beachy waves actually are once you get the technique down.
Pro styling tip: Apply your sea salt spray while hair is still damp, not soaking wet—the wave pattern will set faster and look more intentional than if you spray completely dry hair.
2. Tousled Waves with Textured Layers
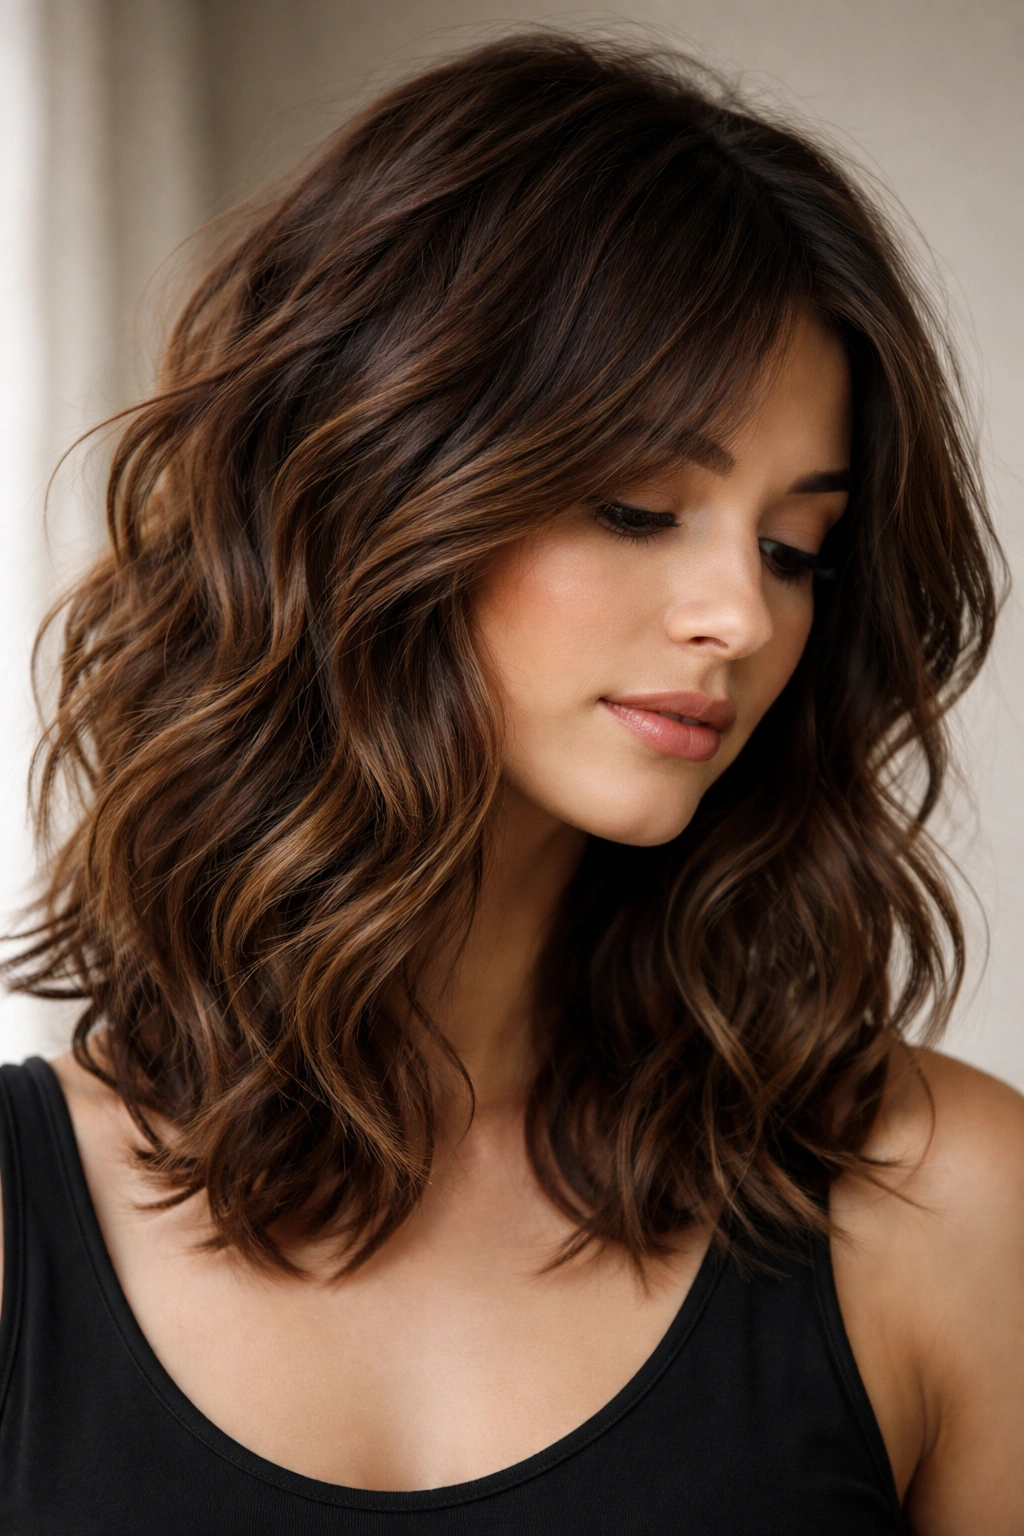
This style leans into that “I didn’t really try but somehow my hair looks amazing” energy, achieved through strategic layering that breaks up the length and encourages natural texture. Textured layers at shoulder length create movement at every angle, making even a quick wave with a curling iron look like you spent thirty minutes styling. Brown hair paired with this approach showcases how layers catch light and create shadow play that makes the whole style feel more dimensional.
How Layers Transform Your Wave Potential
Layers are the secret weapon for making waves look fuller, bouncier, and more textured without adding any product weight. At shoulder length, layers prevent that blunt-edge heaviness that can flatten waves, and instead create points where texture naturally breaks and light bounces. This is why celebrity hairstylists layer shoulder-length wavy cuts so aggressively—the layers are doing half the visual work for you.
Styling Technique for Maximum Texture
- Blow-dry with a round brush to smooth and add volume at the roots
- Section hair into 4-6 quadrants and curl each section randomly—some away from the face, some toward, some twisted—for organic texture
- Use a medium to large barrel (1.5 to 2 inches) for waves that feel loose rather than tight
- Mist with a light texturizing spray while hair is still warm so the texture sets
- Sleep on it gently and refresh the next day with a curling iron and dry texture spray
The Right Face Shape and Hair Type Match
If you have a round or square face, longer textured layers that graze the shoulder create a beautiful lengthening effect. For oval faces, this style is honestly universally flattering—the textured movement works from every angle. Thick, wavy, or curly hair naturally takes to textured layers and will look effortlessly tousled. If your hair is very fine or straight, ask your stylist for layers that build shape without creating too many thin, wispy pieces that might look stringy rather than intentional.
Worth knowing: Textured layers need regular trims every 6-8 weeks to maintain their shape, as layers grow out faster than blunt ends and can start to look shaggy quickly.
3. Face-Framing Waves with Subtle Balayage

This style puts shorter, wavier layers right around your face to draw attention to your features, while maintaining length at the sides and back. Face-framing waves combined with subtle balayage (hand-painted highlights) creates a soft, flattering effect that works on almost every face shape. The balayage here is about enhancing the natural movement—lighter pieces placed where light would naturally hit, darker pieces where shadows fall.
Why Face-Framing Specifically Flatters
Face-framing pieces work by drawing the eye inward and softening the perimeter of your face. When these pieces are wavy, they create movement that’s closer to your features, making your eyes and cheekbones the focal point. Combined with subtle dimensional color, the effect is sophisticated without trying too hard—the style complements your features rather than competing with them.
The Balayage Placement That Matters
- Place lighter pieces around the hairline and throughout the face-framing section for maximum lightness and movement
- Blend the balayage gradually into your base brown color, avoiding harsh lines
- Keep darker, richer tones at the roots and throughout the back for depth and dimension
- Use a warm, honey brown or caramel for lighter pieces to complement true brown base colors
- For cooler brown tones, go with ashier highlights that won’t look brassy against your skin
Creating the Face-Framing Wave
Ask your stylist to cut shorter, choppy layers around your face while keeping the shoulders longer. When you style these waves with a curling iron, focus on the face-framing pieces first, curling them tighter than the back sections so they hold their movement near your face throughout the day. The face-framing waves should graze your cheekbones when straight, falling just slightly forward even when the rest of your hair is pinned back.
Pro tip: When blow-drying, direct the face-framing pieces forward and away from the scalp, as these lighter layers can sometimes appear thinner if dried flat against the head.
4. Shoulder-Length Brown Waves with Side Part

A deep side part completely changes the proportion of a shoulder-length wavy style, creating asymmetry that feels modern and flattering. When paired with consistent waves throughout, a dramatic side part adds sophistication and movement to brown hair, making the style look fuller on one side and more delicate on the other. This approach works beautifully whether your waves are loose and romantic or choppy and textured.
The Visual Magic of a Strategic Side Part
A side part is one of the simplest ways to upgrade shoulder-length waves because it immediately creates direction and intentionality. The waves on the fuller side of the part appear more voluminous, while the smaller side feels elegant and slightly swept. This asymmetry is inherently flattering because few people have perfectly symmetrical faces—a side part works with your natural face shape rather than fighting against it.
How to Perfect Your Side Part and Waves
- Create your side part while hair is still damp, using a fine-tooth comb to establish a clean line
- Blow-dry that parting line first while directing hair away from the scalp on the fuller side
- Curl the fuller side in larger sections (1.5 to 2 inches) for waves that feel voluminous but not tight
- Curl the smaller side in slightly smaller sections for waves that hold longer throughout the day
- Use a root-lifting spray on the fuller side to ensure waves stay lifted rather than collapsing by mid-day
Face Shapes That Love This Style
Round faces benefit from a side part because it creates vertical lines that elongate. Square or rectangular faces should experiment with which side is fuller—generally, placing more volume on the narrower side of your face creates better proportion. Heart-shaped faces often look great with the fuller side of the part on the side of the wider forehead. Oval faces are endlessly flexible with a side part, so feel free to choose based purely on which direction feels better when you’re styling.
Honest note: A side part requires a bit of daily styling commitment—the parting line won’t hold its position without blowing it in each time you wash your hair.
5. Soft, Loose Waves with Middle Part
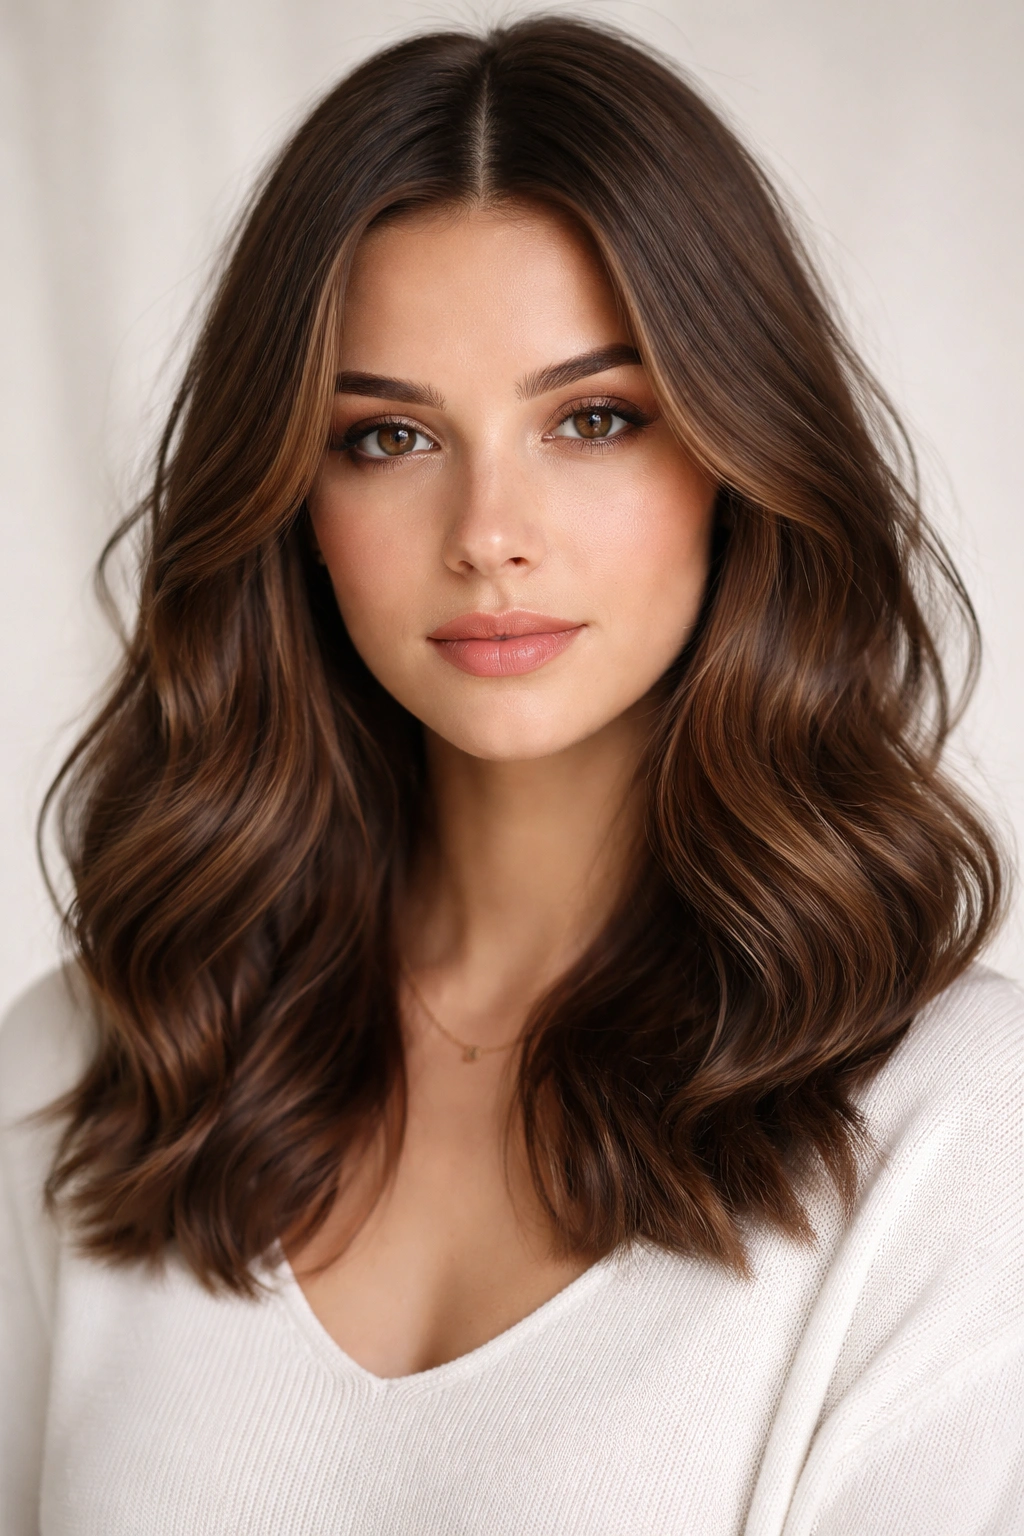
If asymmetrical styling feels like too much personality, soft waves with a middle part deliver sophisticated simplicity that works in nearly any context. A middle part with loosely waved shoulder-length brown hair reads as polished without being overdone, romantic without being fussy, and modern without following a specific trend. This is the hairstyle equivalent of a white button-down—it works because it’s fundamentally flattering.
Why Soft Waves and a Middle Part Are Timeless
A middle part frames both sides of your face equally, and when paired with soft, loose waves rather than tight curls, the effect is elegant rather than dated. Brown hair with soft waves scattered throughout looks dimensional and healthy without requiring dramatic color work. The middle part creates a natural line that draws the eye down your face, enhancing features in a subtle, complimentary way.
Styling Soft Waves for Longevity
- Blow-dry with a paddle brush to smooth the hair and add subtle volume
- Use a large barrel (2 inches or bigger) and wrap hair loosely around the iron without too much tension
- Leave the ends slightly uncurled for a softer finish rather than a complete ringlet
- Allow curls to cool completely (this sets the wave shape) before running your fingers through
- Refresh with a curling iron on day two or three—soft waves fall out faster than textured ones
The Versatility Factor
Soft waves with a middle part work equally well with a professional blazer or a weekend sweater, making this style especially useful if your daily environment changes between formal and casual. The waves are loose enough that they don’t feel pageant-like or overly feminine, but textured enough that your hair doesn’t look completely straight. This is arguably the most universally flattering shoulder-length wavy style because it works on all face shapes and most hair types.
Reality check: Soft, loose waves require curl-setting every few days, so this isn’t the lowest-maintenance option, but the effort-to-payoff ratio is excellent.
6. Voluminous Waves with Layered Texture
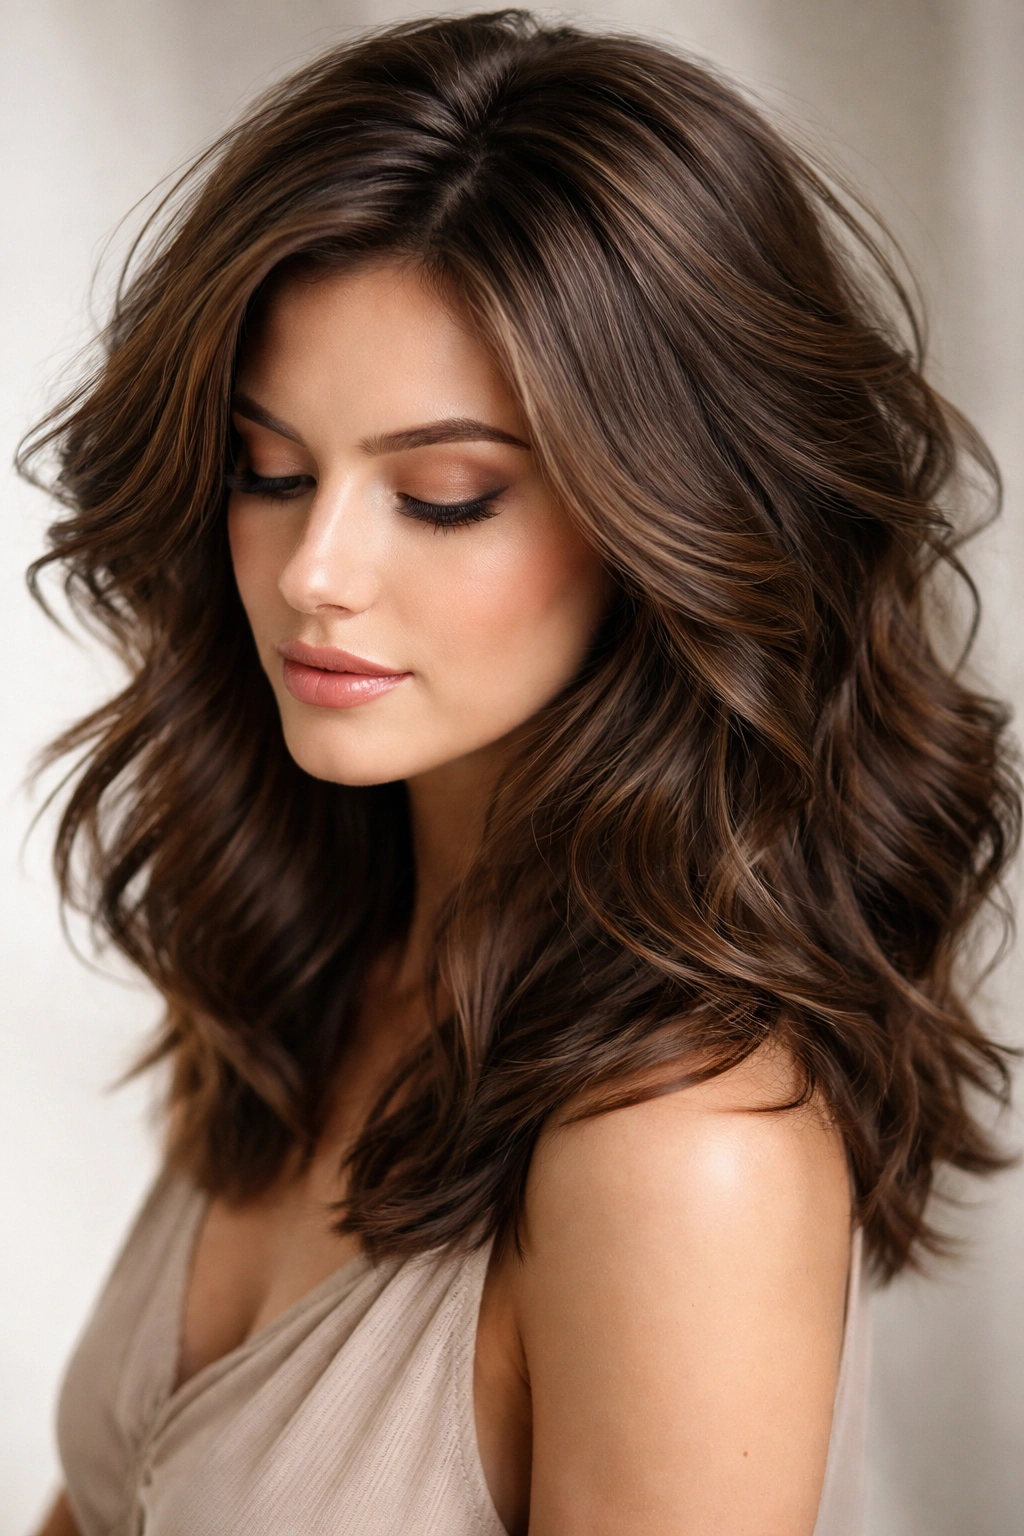
When you want your shoulder-length waves to have serious presence and movement, strategic layering combined with intentional styling creates volume that reads immediately. Voluminous waves aren’t just about tight curls—they’re about layers that create lift at the roots and defined, bouncy movement throughout. Brown hair actually shows volume better than lighter shades because the depth of color makes texture more visible.
Building Volume Into Your Cut
Ask your stylist for choppy layers that start around mid-length (not just at the ends), with particularly aggressive layering around the crown area. These mid-length layers are what create the lift and movement that voluminous waves need—shorter layers just at the ends won’t give you the volume you’re looking for. Textured, choppy layers also catch light differently, making hair appear fuller and more dimensional than blunt-cut alternatives.
The Blow-Dry That Creates Lasting Volume
- Use a root-lifting spray before blow-drying, focusing on the crown and around your part
- Flip your head upside down and blow-dry the roots first, blasting them with a cool shot to set the lift
- Use a round brush and lift each section away from the scalp as you dry
- Once roots are set, flip back up and shape sections using your blow dryer and round brush
- Finish with a cool shot all over to set everything in place
Maintaining Volume Throughout the Day
Voluminous waves drop by evening if they don’t have support, so a light texturizing spray applied mid-day makes a real difference. A tiny bit of dry shampoo at the roots (even on non-wash days) adds grip that helps waves hold their shape longer. If you have fine hair, focus volume on the crown area rather than trying to create it all over—that’s more realistic and looks better proportioned.
Pro tip: Fine or thin hair should skip heavy serums and oils, which weigh down the layers and flatten the volume you’ve worked to create. Stick with lightweight texture sprays and volumizing mousses instead.
7. Effortless Waves with Subtle Undercut Detail
An undercut—shorter layers underneath with longer layers on top—creates hidden dimension that becomes visible when you move or style your hair up. This detail works beautifully under shoulder-length waves, adding a modern edge without being in-your-face bold. The undercut creates separation between your waves, making them appear more textured and intentional, especially in brown hair where the depth can sometimes flatten movement.
What an Undercut Adds to Wavy Hair
An undercut isn’t just about having a hidden shaved section (though some people love that aesthetic). More subtly, it’s about graduating your layers more dramatically underneath so that surface waves sit separately on top, creating texture and movement that read as intentional rather than accidental. This technique gives your stylist room to shape your hair in ways that solid, blunt cuts don’t allow.
Styling to Show Off the Undercut Effect
- Create waves using a curling iron that focuses on the top layers, leaving the undercut beneath relatively smooth
- When you style your hair up in a bun or ponytail, the undercut becomes a design element rather than just shorter underneath layers
- The undercut creates natural separation between wave sections, so your waves won’t look like one solid mass
- You can also show off the undercut by tucking one side behind your ear, creating asymmetrical interest
- The undercut prevents that dense, heavy feeling you sometimes get with shoulder-length hair
Who Wants This Style
If you love the idea of a modern, slightly edgy element but aren’t fully committed to visible buzzed sides, an undercut offers that aesthetic without the daily visibility. It’s perfect if you work in a professional environment but want a little hidden personality in your hair. Anyone with thick hair who’s tired of feeling weighed down will appreciate how an undercut removes density while maintaining length on top.
Maintenance reality: An undercut requires a trim every 4-6 weeks to keep the contrast sharp and prevent the underneath from growing out and blending with your top layers.
8. Choppy Layered Waves with Texture
Choppy layers are the opposite of safe—they’re bold, textured, and require commitment to maintenance and styling, but they look absolutely stunning on shoulder-length brown hair. The layers create multiple breaking points where waves naturally form and fall, so your hair almost styles itself once you understand the shape. This approach works for anyone who likes a bit of edge and doesn’t mind putting in the styling work.
Why Choppy Layers Create Automatic Texture
Choppy layers have varied lengths throughout, creating an intentionally fragmented look rather than a smooth, blended one. When you add waves to choppy layers, the movement becomes obvious because light bounces differently off each layer length. Brown hair shows choppy texture beautifully because the color depth highlights the individual layers rather than creating a flat, one-dimensional appearance.
Styling Choppy Waves for Impact
- Use a medium to large curling iron (1.5 to 2 inches) to curl choppy layers, varying the direction
- Don’t over-brush or you’ll lose the choppiness—instead, finger-comb gently or use a wide-tooth comb
- A texturizing spray applied while hair is warm helps the choppy layers hold their separated appearance
- Sleep on your waves gently (don’t flatten them against your pillow) to maintain texture through the next day
- Refresh with a curling iron rather than doing a full restyle, which maintains the choppy texture better
The Styling Commitment Required
Choppy layers won’t look intentionally textured if you don’t blow-dry and style them regularly. Wearing them air-dried or simply brushed out can read as bed-head rather than intentional if your layers are too short or too choppy. This style works best if you enjoy the styling process and have 15-20 minutes in your morning routine to dedicate to waves. If you’re looking for grab-and-go ease, choppy layers might frustrate you.
Real talk: Choppy layers need a trim every 6-8 weeks to maintain their shape. As they grow out, they start to look shaggy rather than intentionally textured, so factor in regular salon visits to this style choice.
9. Shaggy Shoulder-Length Waves
Shag haircuts are having a major moment, and a shoulder-length shag with wavy brown hair hits that sweet spot of rock-and-roll cool without looking dated. A shag works by creating layers that are more subtle than choppy styles but more deliberate than basic layered cuts, all while encouraging movement and texture. The key difference between a shag and just choppy layers is intention—a shag is designed to move a specific way.
The Shag Structure That Actually Works
A true shag has shorter, textured layers at the crown and throughout the top that gradually blend into longer pieces at the shoulder. The longer pieces at the shoulder (rather than short, choppy pieces throughout) make the style wearable for professional settings while the shorter crown layers add volume and movement. The fade from short to long is key—it should feel gradual, not choppy or segmented.
Styling a Shoulder-Length Shag
- Blow-dry with a round brush to create volume at the crown where the shortest layers sit
- Use a curling iron on just the surface layers if you want defined waves, or scrunch with mousse for a more textured look
- The longer pieces at the shoulder will wave more subtly than the crown layers, creating natural texture graduation
- A light texturizing spray brings out the shag texture without making it look flat
- The shag actually benefits from slightly undone styling—overly polished waves look wrong on this cut
Face Shapes and Hair Types for This Style
If you have a longer face, a shag with shorter crown layers creates width that’s flattering. Round faces benefit from the longer shoulder pieces that create vertical lines. Fine or thin hair actually looks amazing in a shag because the graduated layers create the illusion of volume without requiring dense hair texture. Wavy or curly hair is perfect for a shag because the cut works with your natural texture rather than against it.
Important note: Shags have a specific shape and require a stylist experienced with the cut. An amateur choppy cut isn’t the same thing—ask for a shag specifically and look at reference photos of the style you want.
10. Bouncy Waves with Curtain Bangs
Curtain bangs parted down the middle and paired with bouncy shoulder-length waves create a feminine, approachable aesthetic that works beautifully in brown. The curtain bangs frame your face while the rest of your hair flows into waves at shoulder length, creating dimension and movement that reads as both modern and romantic. This combination offers the best of both worlds—face-framing softness plus the flexibility to style hair up or down.
Why Curtain Bangs Transform Shoulder-Length Waves
Curtain bangs don’t require committing to traditional bangs that grow out awkwardly—they blend into your regular hair as they grow, making them lower-maintenance than traditional fringe. The parted center style is endlessly flattering because it frames both sides of your face equally while drawing focus to your eyes and cheekbones. Paired with bouncy waves, curtain bangs create multiple points of movement and texture, making your entire style feel more dimensional.
The Wave Pattern That Works with Curtain Bangs
- Curl bangs separately with a smaller barrel (1.25 inches) to create defined waves near your face
- Curl the rest of your hair with a larger barrel (1.5 to 2 inches) for waves that bounce without looking overly tight
- Direct bangs away from your face as you curl them so they frame rather than obscure
- Use a volumizing mousse before blow-drying to create bounce that lasts longer
- A light hold hairspray (not heavy) keeps bouncy waves bouncier than a strong hold product would
Who Loves This Look
If you’ve considered bangs but worried about the commitment, curtain bangs offer a compromise that feels like new hair without the regret. Longer face shapes benefit from the face-framing, while rounder faces love how curtain bangs create vertical lines. Anyone who wants softness and movement without edginess will find this style works beautifully. Brown hair shows the bounce in these waves beautifully because the color adds depth to the movement.
Honest detail: Curtain bangs need a subtle trim every 4-6 weeks to keep them shaped correctly, though it’s less intensive than traditional bangs requiring more frequent cuts.
Final Thoughts
Shoulder-length wavy brown hair is genuinely one of the most versatile foundations to work with—the length creates movement possibilities that shorter hair can’t achieve, the waves add texture and dimension, and brown adds depth and forgiveness to styling. Whether you’re drawn to effortless beachy vibes, textured choppy edge, soft romantic waves, or bold shag movement, each of these styles offers something different while maintaining that flattering shoulder length.
The real magic happens when you find a stylist who understands how to cut for waves and texture rather than against it. A good cut for wavy hair is designed to work with your natural movement, not force you to fight your hair every day. Once you have the right cut, styling becomes genuinely easier because the layers and shape do half the work for you.
Pick the style that resonates with your personality and your daily reality. If you love styling and enjoy your morning routine, choppy layers or a shag offer endless visual interest. If you prefer minimal fuss, soft waves with a middle part or beachy waves deliver sophisticated results with less effort. Either way, shoulder-length wavy brown hair is a choice that keeps paying dividends in terms of styling flexibility, manageability, and the compliments you’ll get.