Fine curly hair presents a unique challenge — it’s beautiful, but it’s delicate. The curls might be tightly coiled or gently wavy, but the individual strands tend to be thinner and more prone to breakage, frizz, and dryness than thicker curl patterns. This means styling isn’t just about choosing a look that flatters your face; it’s about choosing a cut and styling technique that actually works with your hair’s natural tendencies rather than against them.
The good news? Fine curly hair can look absolutely stunning when it’s styled and cut with its specific needs in mind. The right hairstyle won’t just enhance your natural texture — it’ll actually make your hair easier to manage, healthier, and more beautiful over time. The key is finding styles that don’t weigh down your curls, that reduce manipulation, and that celebrate the delicate, springy nature of your coils and waves.
If you’ve been struggling to find hairstyles that actually work for fine curly hair, you’re about to discover some game-changing options. These aren’t styles borrowed from thick-haired curly girls that leave you disappointed when you try them. These are thoughtfully chosen cuts and styling techniques that were created specifically to enhance, protect, and celebrate fine, delicate curls.
1. Micro Twists
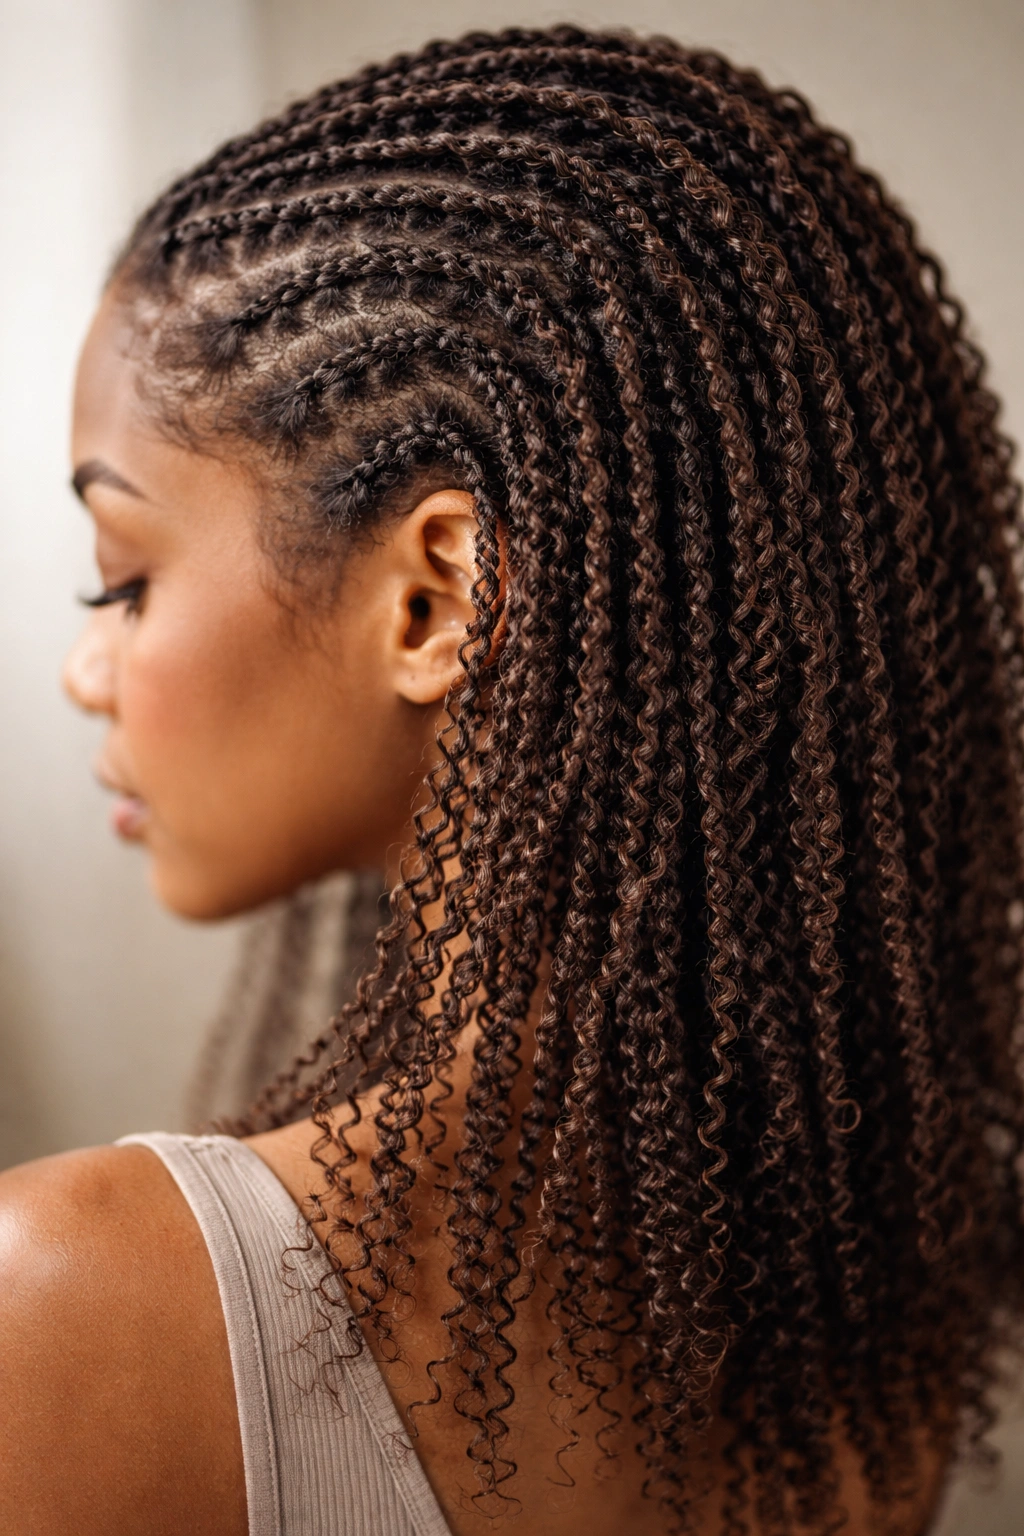
Micro twists are a transformative protective style that works beautifully on fine curly hair. These tiny two-strand twists offer the security of a protective style without the heavy weight that can drag down delicate curls and cause breakage at the roots. Each twist is thin and intricate, creating a detailed, textured look that’s genuinely stunning while keeping your hair tucked away and protected from daily manipulation.
Why They’re Ideal for Fine Curls
The brilliance of micro twists for fine hair is that they distribute the weight evenly across many thin strands rather than concentrating pressure on a few heavier sections. This means your delicate strands get the protection they need without being weighted down or stressed at the root. The style also allows your natural curl pattern to rest and recover while still looking completely intentional and put-together. You’re not forcing your curls into a shape — you’re gently directing them while they grow stronger.
What to Know Before You Start
- Installation time matters: Micro twists typically take 4 to 8 hours to install, depending on hair length and thickness. Consider having them done by a professional, especially if you’re new to the style.
- Moisturizing is crucial: Your twists will last 4 to 8 weeks depending on how well you maintain them. Use a lightweight leave-in conditioner and a hydrating oil on your twists every 3 to 4 days.
- Sleep protection essential: Wrap your twists in a silk or satin bonnet at night to reduce frizz and maintain the definition of each individual twist.
- Nighttime refreshing: If you want to style them different ways throughout the wear, try twisting them around your head, pinning them in a high pony, or creating a side sweep.
Pro tip: Use a very lightweight, moisturizing oil when installing micro twists on fine hair. Coconut oil or heavy butters can accumulate on thin strands and make them look limp — instead, reach for jojoba oil or a light, water-based leave-in conditioner.
2. Textured Pixie Cut
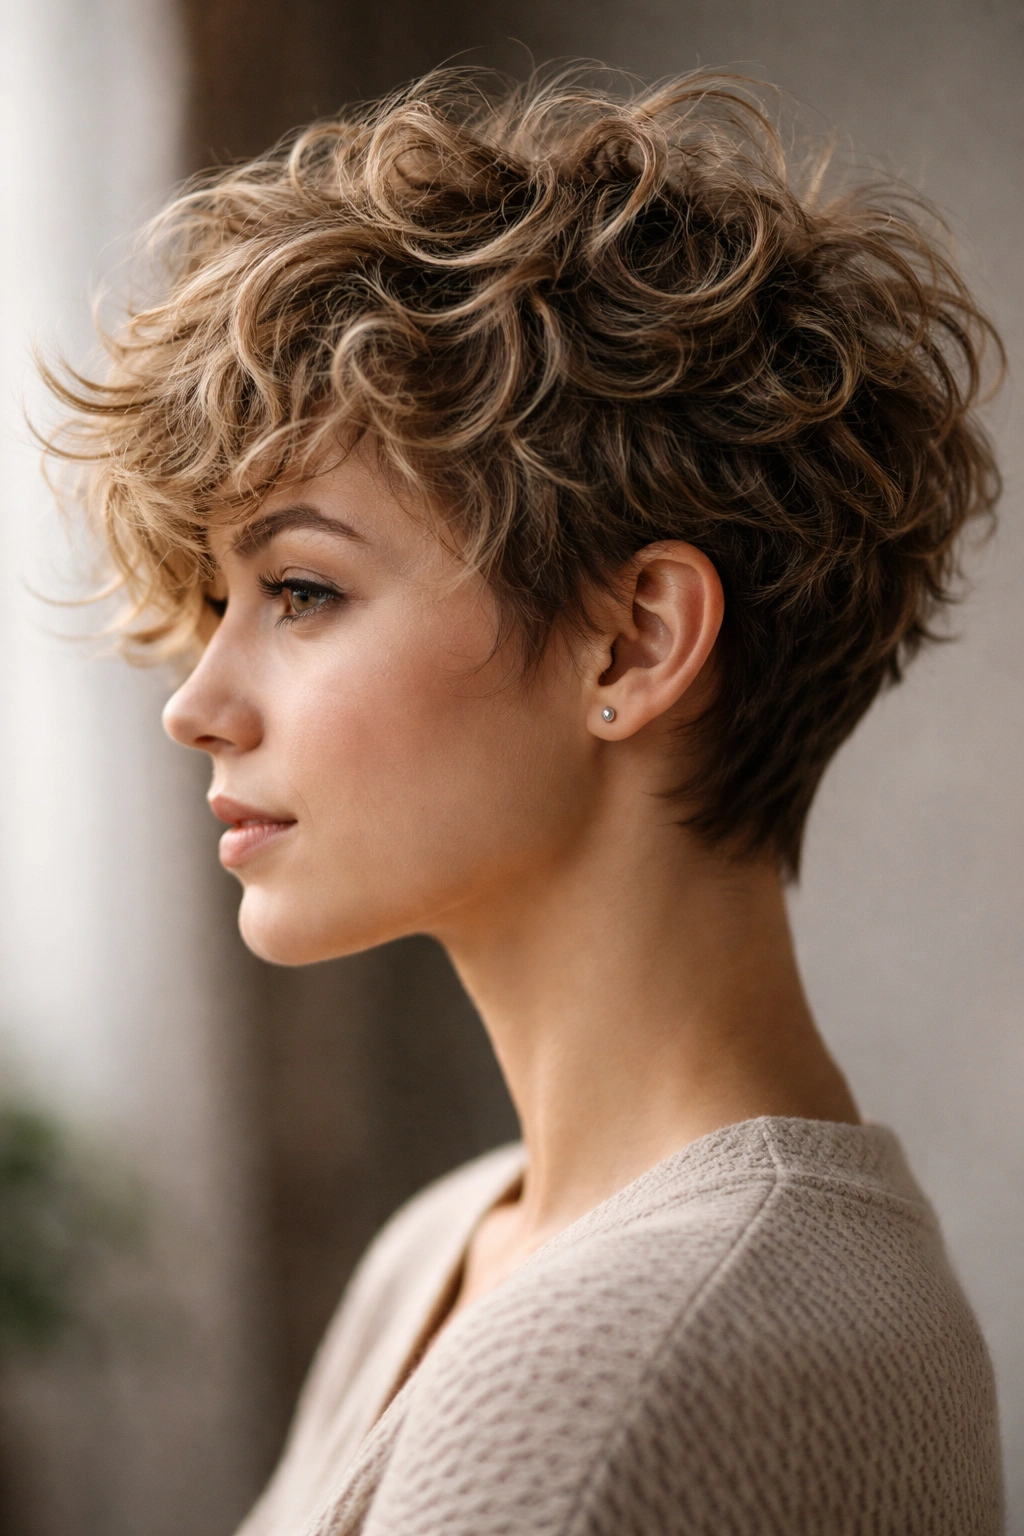
A textured pixie cut is the ultimate low-manipulation style for fine curly hair. Short hair means less weight pulling on your curls, which means they’ll spring up naturally and beautifully. The cut celebrates your natural texture rather than fighting against it, and you’ll spend minimal time styling each morning — just a quick application of leave-in conditioner or a light curl cream, and you’re ready to go.
Why This Cut Enhances Fine Curls
Short cuts work magic on fine curly hair because they remove the weight that flattens curls and creates frizz. A textured pixie, with its varied lengths and intentional choppy layers, gives dimension and movement to delicate curls without requiring you to do anything complicated. The cut actually encourages your curls to pop and show off their natural bounce. You’re not forcing your hair into a shape — you’re simply removing enough length that your natural texture becomes the star.
How to Get the Best Results
- Find a curl-savvy stylist: Not all stylists understand how to cut textured pixies for curly hair. You need someone who cuts curly hair dry so they can see how your curls actually behave and land, rather than cutting straight hair and hoping the curls fall the right way.
- Layer strategically: Ask for varied lengths throughout — shorter on the sides and back, slightly longer on top. This creates movement and prevents the awkward single-length look that can read as shapeless.
- Maintenance trims every 4 to 6 weeks: Short curly cuts grow out faster because the weight pulls the curls down. Regular trims keep the shape fresh and intentional.
- Styling needs are minimal: Most mornings, you’ll just need to spritz your hair with water or a light leave-in conditioner and go. The cut does the heavy lifting.
Worth knowing: A textured pixie can be androgynous and bold, or you can style it more traditionally feminine with side-swept bangs or curves. Talk to your stylist about the vibe you want before the cut begins.
3. Pineapple Updo
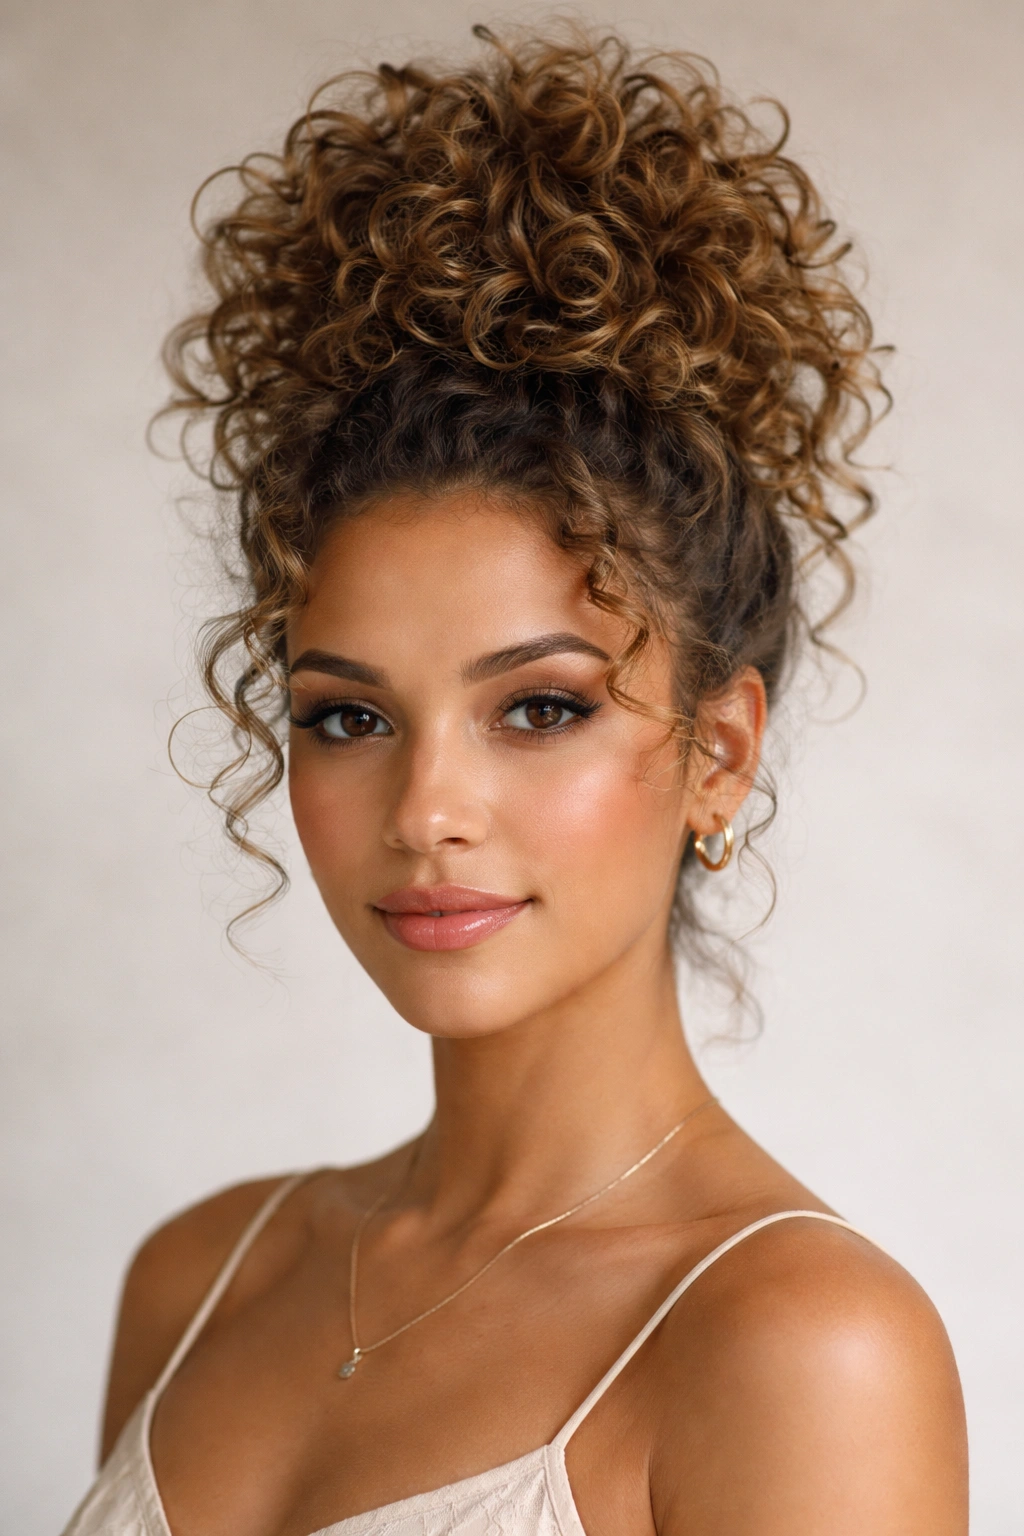
The pineapple updo is a beloved protective style among curly-haired people, and it’s especially smart for fine curls. The idea is simple — you gather your curls loosely at the top of your head in a high pony or bun, which protects the ends of your hair while you sleep or during humid days, but keeps the hair off your face and neck for a polished daytime look.
Why It Works So Well for Fine Hair
The pineapple keeps your curls from being crushed or manipulated while you sleep, which prevents breakage and frizz. For fine hair specifically, it’s genius because it’s not a tight or heavy style — you’re just gently gathering your curls without tension. The loose, intentional arrangement actually looks polished and intentional rather than like a messy afterthought. Your delicate curls are protected without being stressed.
How to Create the Perfect Pineapple
- Use a large silk or satin scrunchie: Regular elastic bands create creases and can snap delicate strands. A silk scrunchie is gentle, doesn’t leave marks, and looks intentional even in a casual style.
- Gather loosely at the crown: Don’t pull tightly — your gathered curls should feel relaxed, with no tension at the roots. You’re collecting them, not securing them with force.
- Let curls flip naturally at the top: The beauty of a pineapple is the way your curls spill out of the gathering point. Don’t try to make it perfectly smooth or contained — the texture is the whole point.
- Customize for the occasion: A pineapple can look casual and beachy for weekends, or you can add a silk wrap or scarf to make it look intentional for work or going out.
Pro tip: If you’re wearing your pineapple during the day (not just at night), you can lightly mist it with a hydrating spray to refresh the curls and prevent frizz by midday.
4. Tapered Natural
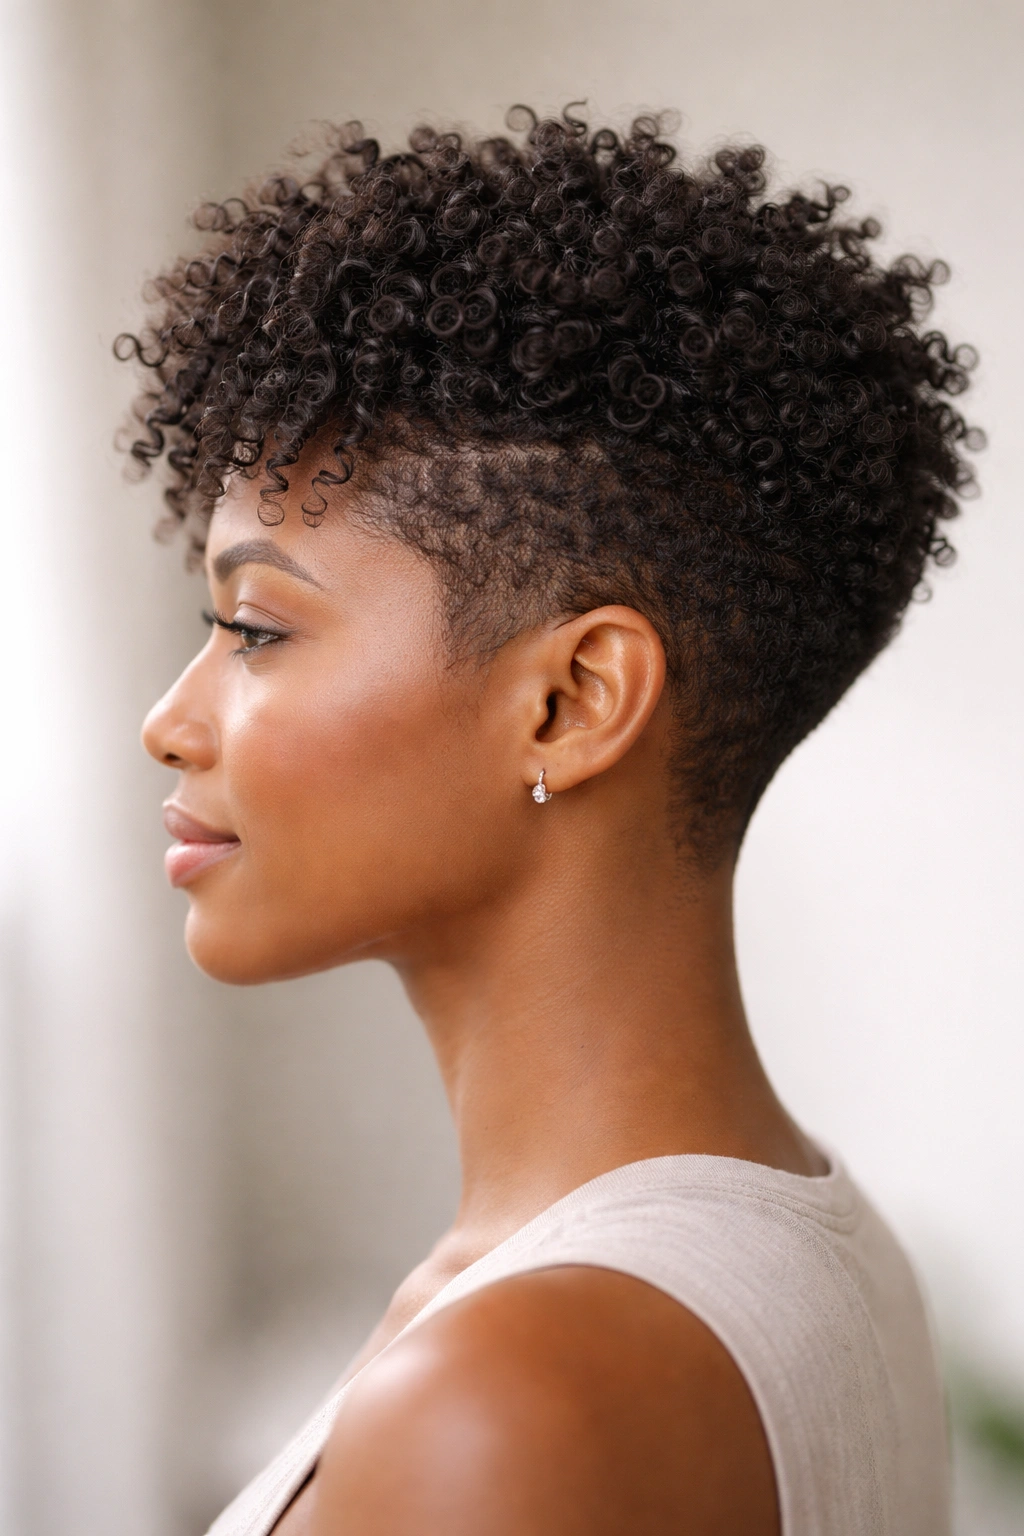
A tapered natural is a shorter, sculpted cut that graduates from longer curls on top to much shorter sides and back. The style is bold, chic, and works beautifully on fine curly hair because the shorter sides don’t show as much scalp (which can happen with very thin hair), while the length on top showcases your natural curl pattern without the weight that would flatten it.
What Makes This Cut Work for Fine Curls
The taper removes excess weight from the sides and back, which means your curls will have better definition and won’t be weighed down by length they can’t support. The longer top shows off your curl pattern at its best, with all the dimension and bounce that fine curly hair can achieve when it’s not carrying too much weight. The cut is inherently low-maintenance — you’re working with your hair’s natural growth pattern and texture, not against it.
Styling Tips for Your Tapered Natural
- Define with cream or gel: Use a lightweight curl-defining cream or a thin gel on the top curls to enhance definition. Apply to soaking-wet hair and let it air dry or use a diffuser.
- Keep sides moisturized: The shorter sides can get dry faster. Apply a lightweight moisturizer to keep them healthy and prevent breakage.
- Refresh with a spray bottle: Between wash days, spritz your curls with water or a curl refresher spray. Your tight curls will plump back up beautifully.
- Trim every 4 to 6 weeks: Like any short cut, a tapered natural needs regular trims to maintain the shape and keep the line clean.
Worth knowing: A tapered natural is incredibly versatile — you can style the top curls in a thousand different ways while keeping the sides clean. Try twist-outs, coil-outs, or just let your natural curl pattern shine.
5. Twist-Out Style
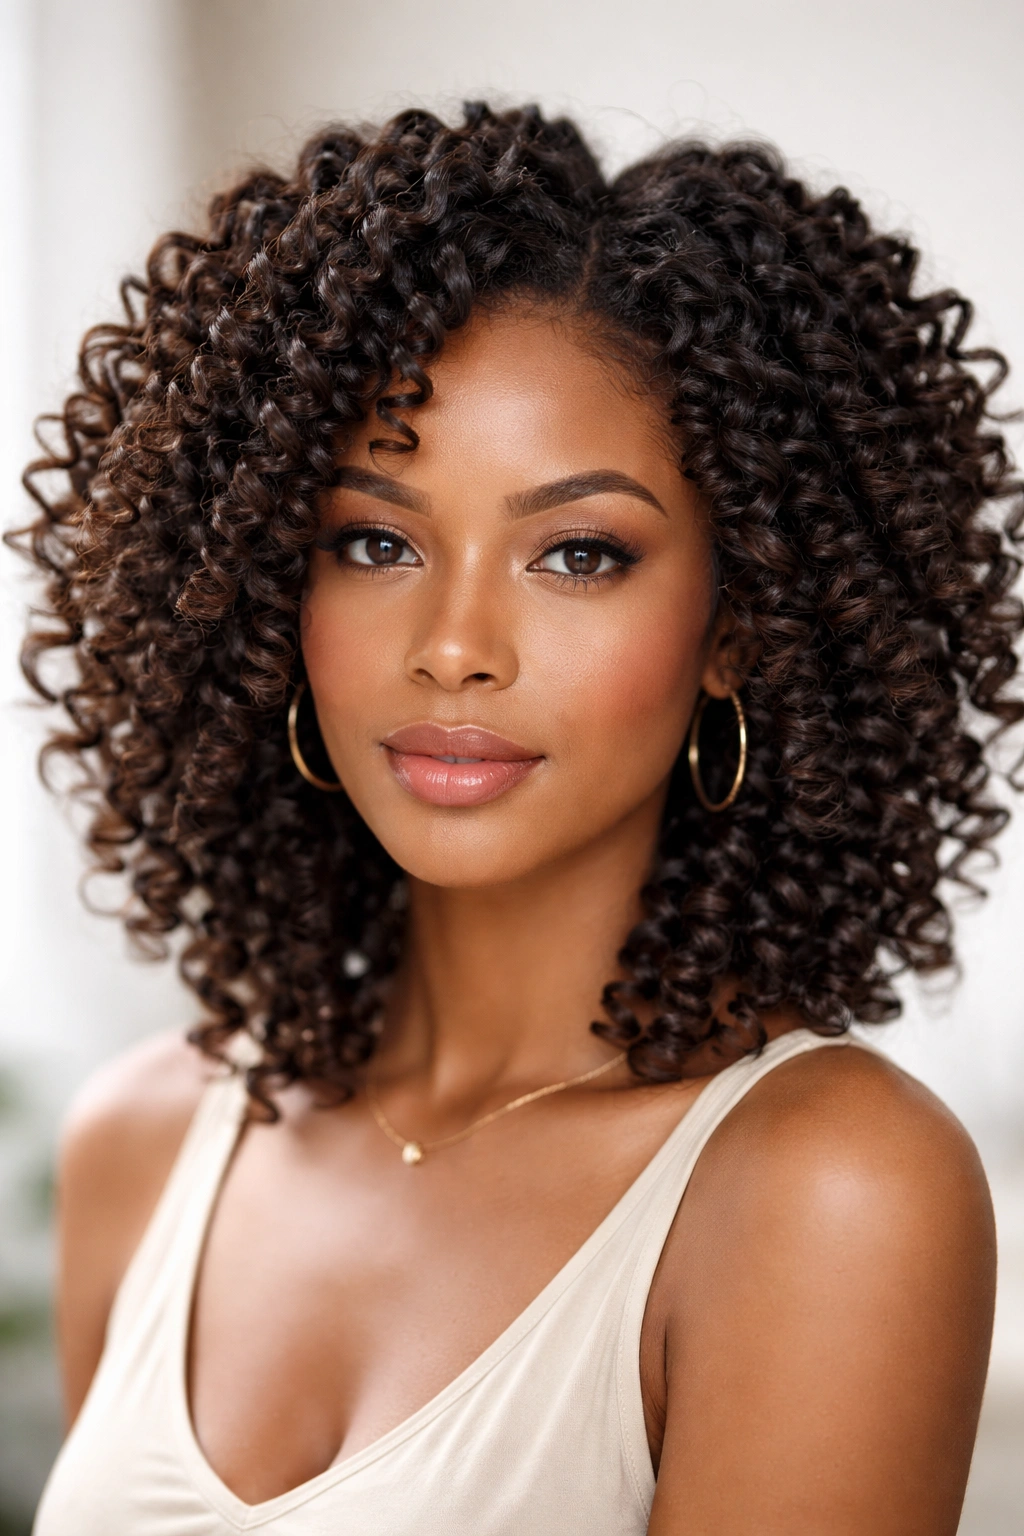
A twist-out is a styling technique where you twist sections of damp hair (usually two-strand twists or flat twists), let them dry completely, and then gently unravel the twists to reveal curls with definition and volume. For fine curly hair, a twist-out creates structured, beautiful curls without the weight and damage of heat styling or chemical treatments.
Why Twist-Outs Are Transformative for Fine Hair
When you create twists and let them set, you’re essentially giving your curls a framework to follow. Fine curly hair sometimes looks limp or undefined if left to dry completely loose — but twists give it structure and springiness without any heat or tension. The unraveled curls have fantastic definition, volume at the roots, and a polished, intentional appearance. You’re not damaging your hair; you’re enhancing what it already wants to do.
How to Create a Beautiful Twist-Out
- Start with soaking-wet hair: After shampooing and conditioning, apply a leave-in conditioner and a curl cream to dripping-wet hair. The products will set better and last longer on truly wet curls.
- Create twists of consistent size: Use two-strand twists if you want looser, more romantic waves, or flat twists (braids) if you want tighter, more defined curls. Keep each twist the same thickness for uniform results.
- Let them dry completely: A twist-out requires patience — your twists need to be completely dry before you unravel them, which usually takes overnight or 12 to 24 hours. This is crucial for fine hair, which needs more time to set.
- Unravel gently: When your twists are completely dry, gently unwind them rather than pulling them apart. The gentler you are, the more defined your curls will be.
Pro tip: Sleep in your twists the night before you plan to unravel them. The extra rest time helps them set even more securely, which means your twist-out will have amazing definition and will last longer.
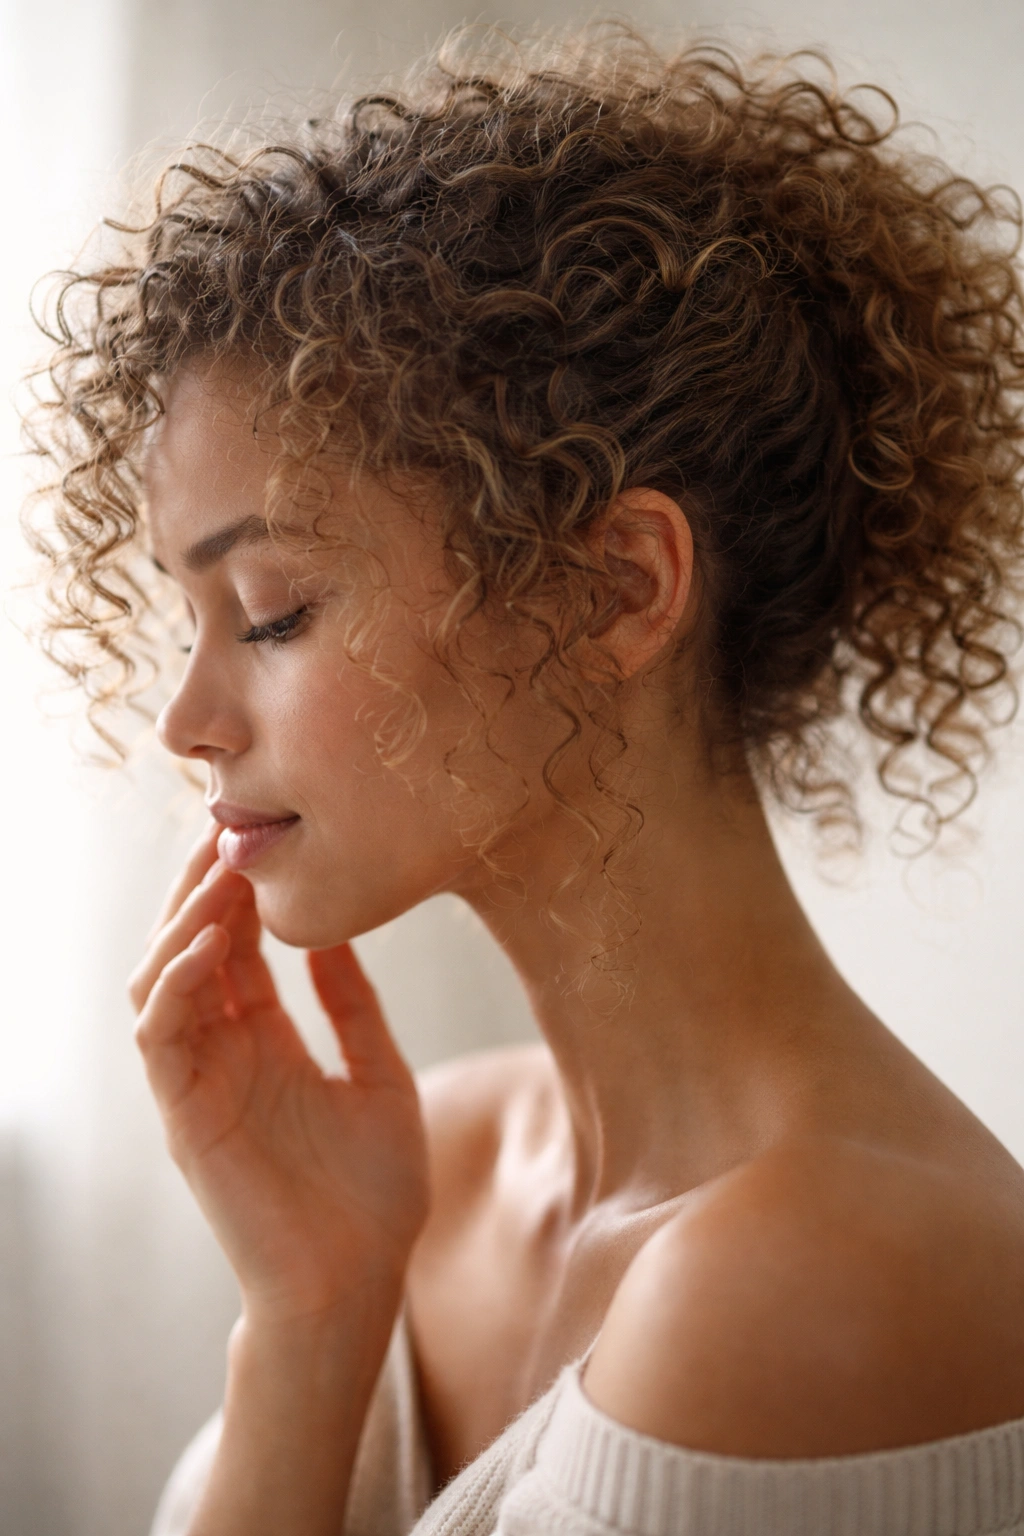
6. Coily Bun
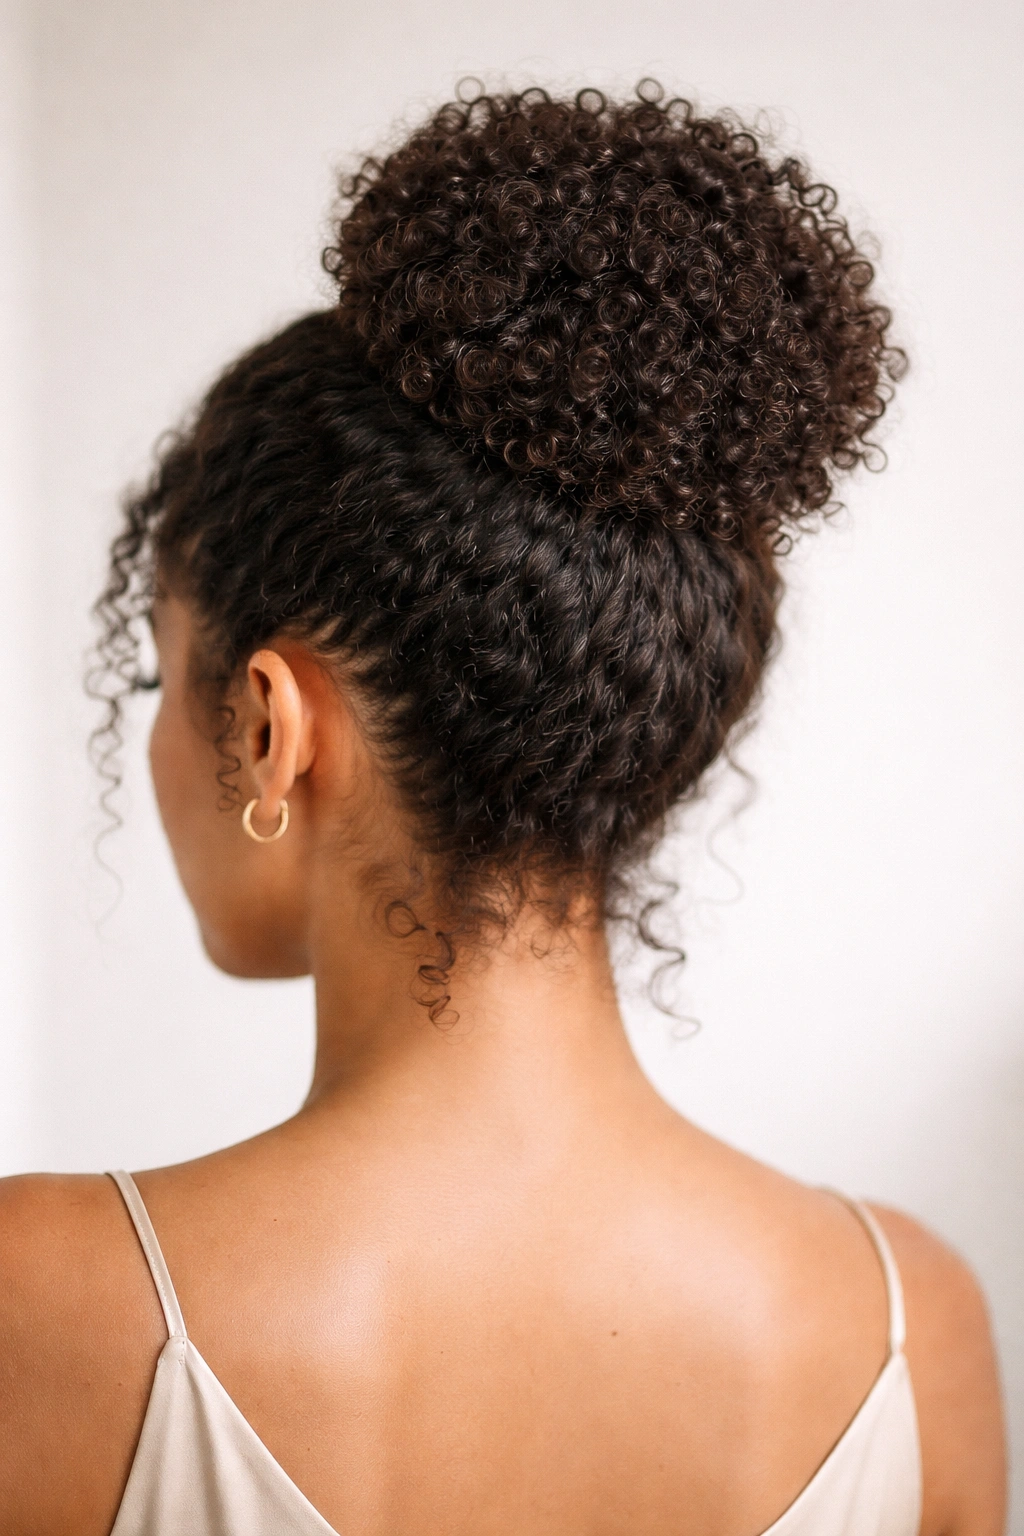
A coily bun is a protective style where you gather your natural curls or coils into a high, mid-height, or low bun and secure it gently. It’s simple, quick, and doesn’t require any braiding or complicated technique — just your curls, a silk scrunchie, and maybe some bobby pins. For fine curly hair, it’s one of the easiest protective styles to do at home and still look polished.
Why a Coily Bun Is Gentle on Fine Strands
The coily bun works because you’re gently gathering your curls without tension or manipulation. Unlike tight buns that pull on your hairline and roots, a loose coily bun lets your hair relax while still being protected. Your delicate strands aren’t being twisted tightly or stretched — they’re just being collected and secured. You get protection without damage, and the style looks intentional rather than lazy.
Creating Your Perfect Coily Bun
- Start with moisturized curls: Apply a leave-in conditioner to your curls before creating your bun. This helps them hold together without frizzing and keeps them hydrated while they’re gathered.
- Flip your head to gather: Start with a head flip to collect all your curls toward the crown, then flip back and secure. This method gathers more hair more easily than trying to gather section by section.
- Use a silk or satin scrunchie: Always. Regular elastics damage fine hair and create creases. A silk scrunchie is gentle and looks infinitely better.
- Adjust for the occasion: A casual, loose coily bun works for the gym or running errands. You can style it tighter and add accessories (a silk wrap, a cute clip, decorative bobby pins) to make it work for work or a night out.
Worth knowing: You don’t need to braid or twist your curls before putting them in a bun — the natural coils hold together on their own when they’re gathered. The simplicity is part of what makes this style so protective and gentle.
7. Finger Coils
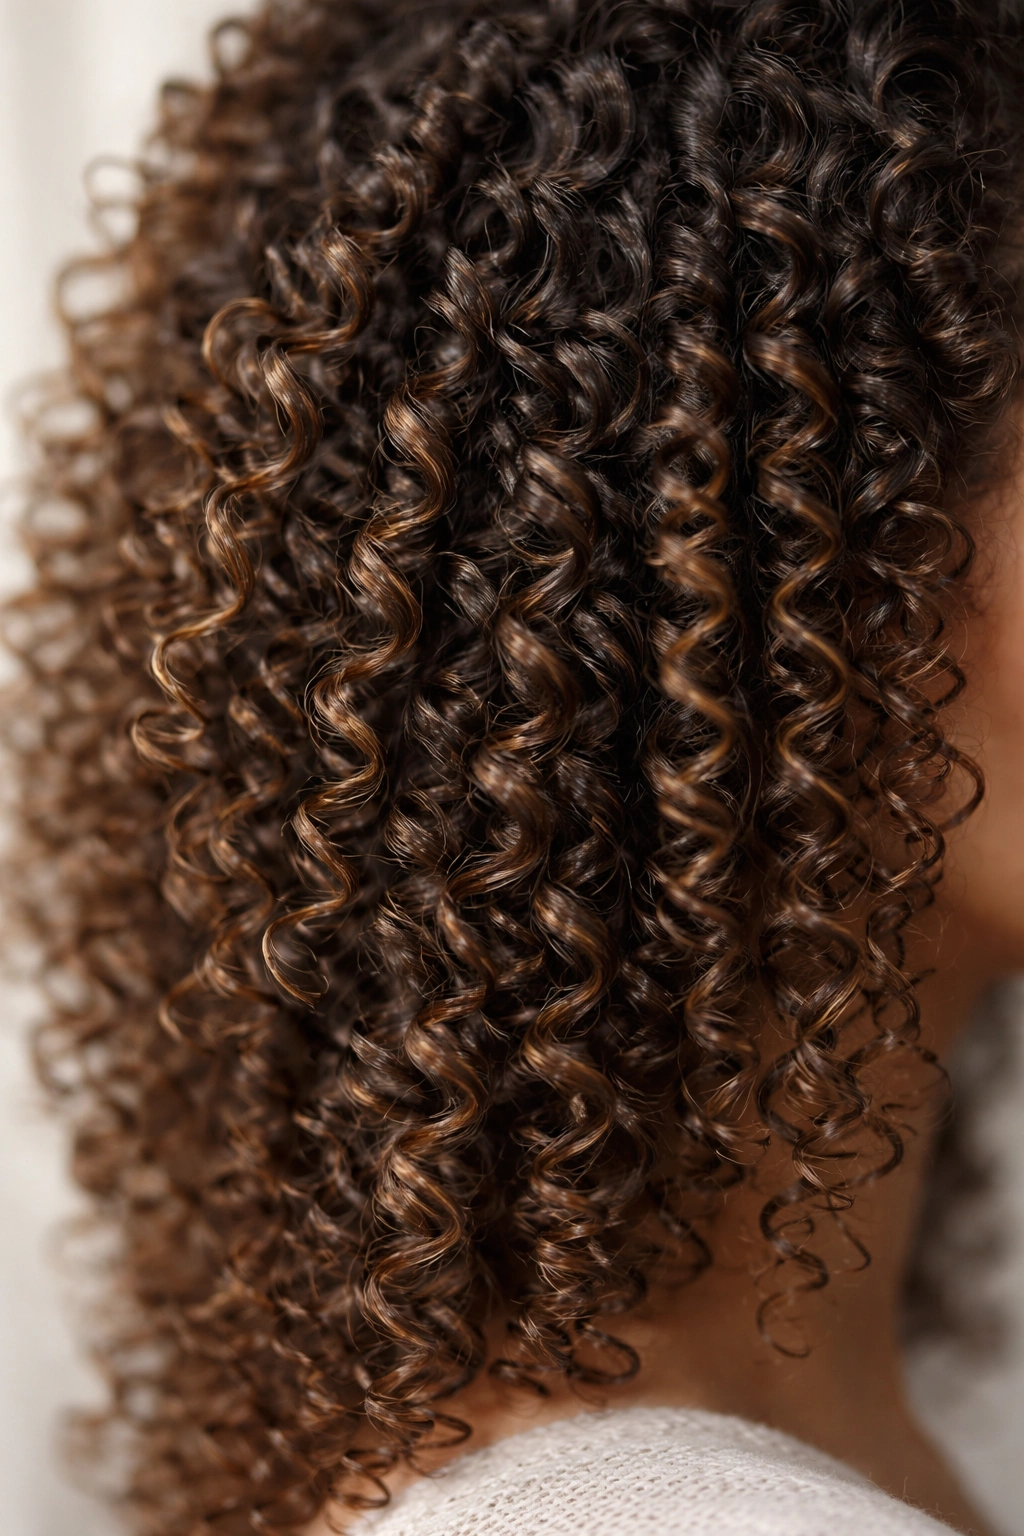
Finger coils are a styling technique where you wrap damp hair around your finger to create defined, springy coils. Unlike two-strand twists, which are more time-consuming and heavy, finger coils are quicker, lighter, and absolutely gorgeous on fine curly hair. When finger coils dry and you release them, you get tight, bouncy spirals with amazing definition and volume.
Why Finger Coils Are Perfect for Fine Curls
Finger coils don’t require any partner hair or tension — you’re just wrapping single strands around your finger, which means there’s zero stress on delicate roots. The coils themselves are thin and springy, which suits fine hair perfectly because they don’t weigh your curls down. The resulting style has incredible definition and texture without being heavy or manipulative. You’re creating structure while being incredibly gentle.
The Finger Coil Process Step-by-Step
- Apply products to soaking-wet hair: Use a leave-in conditioner and a lightweight curl cream or gel. Apply to completely wet hair so the products spread evenly and help the coils set.
- Section your hair: Divide your hair into manageable sections — maybe 8 to 12 sections depending on density. Larger sections mean faster work but looser coils; smaller sections take longer but give tighter definition.
- Wrap around your index or middle finger: Take a section of hair and wrap it around your finger, starting at the roots and spiraling down. Keep tension light — you’re guiding, not pulling. Slide your finger out gently, leaving the coil in place.
- Air dry or diffuse: Finger coils need to dry completely before you touch them. Overnight air drying is ideal, or you can use a diffuser on low heat for faster results.
- Release and fluff: Once completely dry, gently separate the coils to add volume and prevent them from sticking together.
Pro tip: If you have shorter fine curly hair, finger coils are genuinely quicker than installing twists — you can finger coil your entire head in 2 to 3 hours, whereas twists might take 5 to 8 hours.
8. Layered Shag Cut
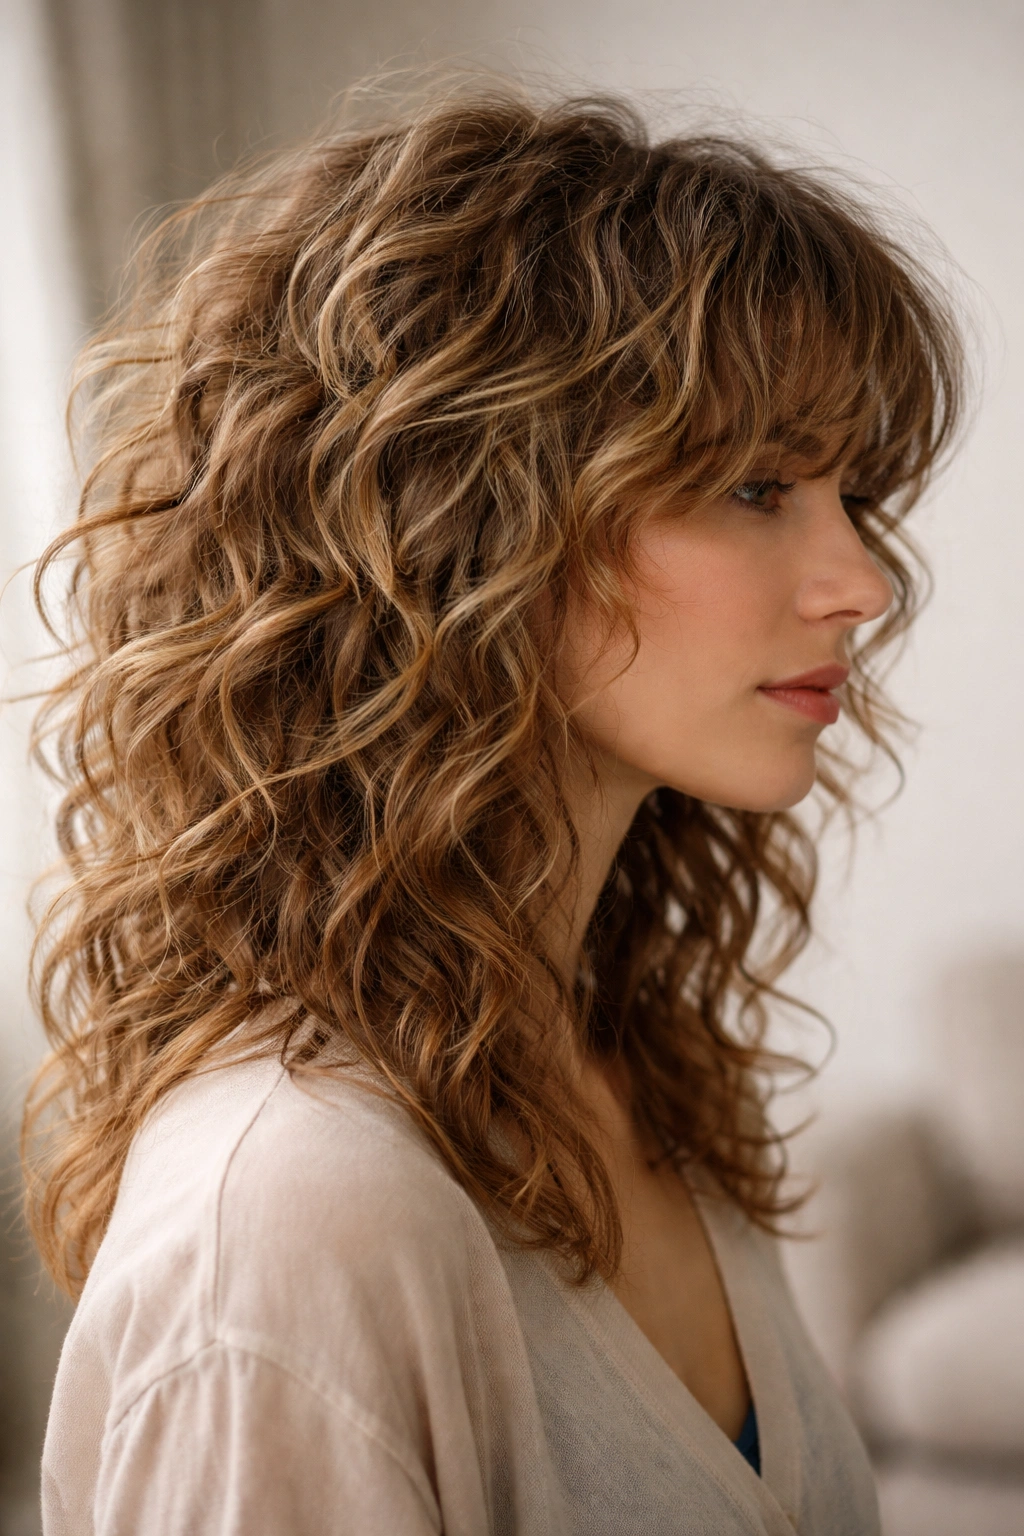
A layered shag cut for curly hair is textured, bouncy, and incredibly flattering. The cut features lots of choppy, varied-length layers throughout that create movement and dimension. When you have fine curly hair, a shag removes excess weight while creating the appearance of fullness through texture and layers. It’s a bold, modern choice that celebrates your natural curl pattern beautifully.
What Makes a Shag Ideal for Fine Curly Hair
Layers are the secret. By cutting different lengths throughout your hair, a shag stylist distributes weight evenly rather than having a heavy bottom that pulls your curls down flat. Each layer of your fine curls gets to showcase its natural bounce and curl pattern. The style is inherently textured and piece-y, which means it looks intentional and styled even when you’re just letting your natural curls do their thing. You get fullness and dimension without bulk.
How to Style and Maintain a Curly Shag
- Ask for lots of layers: When consulting with your stylist, emphasize that you want varied lengths throughout — not just layers at the ends. Layers from your roots create movement and prevent your fine curls from falling flat.
- Define curls with cream or gel: Apply a curl-defining cream or lightweight gel to soaking-wet hair and let it air dry or diffuse. The layers will catch the product and show off definition beautifully.
- Trim every 6 to 8 weeks: Shags can look a bit shaggy (naturally!) as they grow out. Regular trims keep the layered shape intentional.
- Embrace your natural texture: The whole point of a shag is that it works with your curls. You don’t need to blow-dry or straighten — just apply product and let your natural pattern shine.
Worth knowing: A curly shag can look anything from edgy and rock-and-roll to soft and romantic depending on how you style and care for it. The cut is versatile enough to work with many different personal styles.
9. Curly Bob with Layers
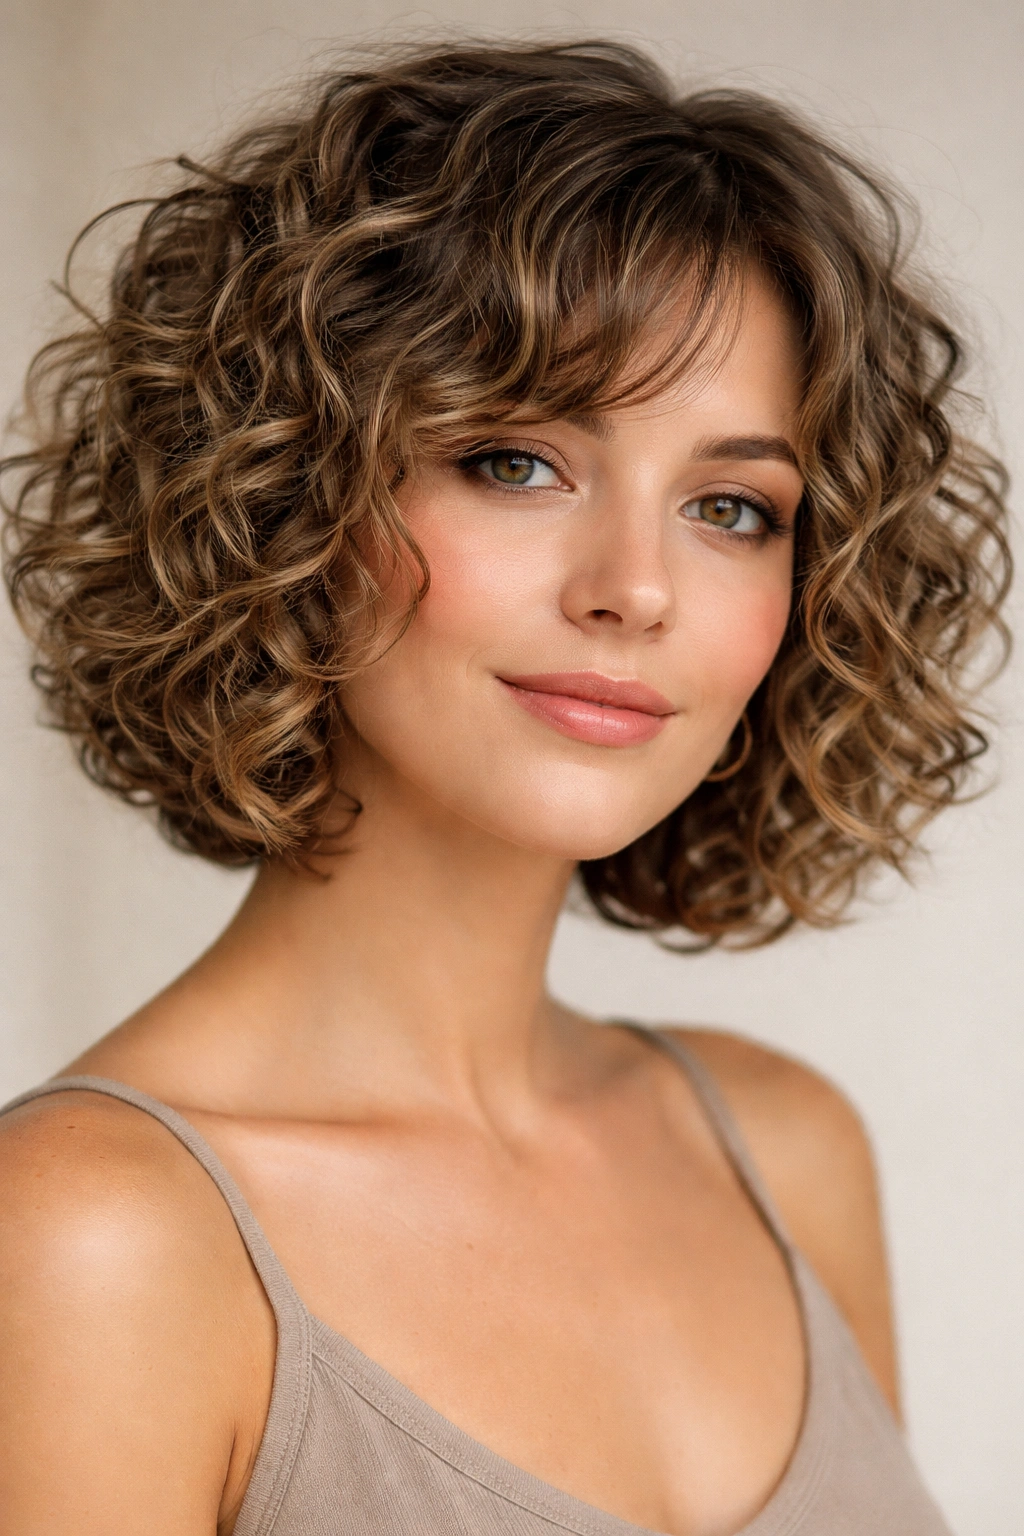
A curly bob is a shorter, shoulder-length or chin-length cut that celebrates your curl pattern while being easy to manage. When you add strategic layers, a curly bob works beautifully on fine hair — the layers distribute weight, create shape, and prevent the style from looking heavy or overly blunt. It’s chic, polished, and surprisingly low-maintenance for how put-together it looks.
Why a Layered Curly Bob Suits Fine Hair
A blunt bob can look heavy and lifeless on fine curly hair because all that weight sits on your delicate strands. But a layered bob is completely different — the layers give your curls room to breathe, bounce, and show their natural pattern. Fine curls in a layered bob look fuller and more defined because each curl gets its own space rather than being pressed together by weight. The shorter length means less weight overall, and the layers mean the weight that does exist is distributed thoughtfully.
Styling Your Curly Bob for Maximum Impact
- Get a dry cut from a curl specialist: Ideally, your stylist will cut your curly bob while your hair is dry (or at least damp) so they can see exactly where your curls fall and land. This prevents the disappointing situation where a wet-cut bob loses all its shape as it dries.
- Define with products: Apply a leave-in conditioner and curl cream to soaking-wet hair, then air dry or diffuse. Your natural curl pattern will create the shape of your bob beautifully.
- Work with your part: Your natural part line will probably influence where your bob sits and how it frames your face. Consider your part when discussing the style with your stylist.
- Maintain with regular trims: A bob needs a trim every 4 to 6 weeks to keep the shape intentional and prevent the ends from looking scraggly as they grow out.
Pro tip: If you want extra definition in your curly bob, try a twist-out or braid-out before styling — the structure from the twists or braids will enhance your natural curl pattern beautifully.
10. Half-Up Crown Braid
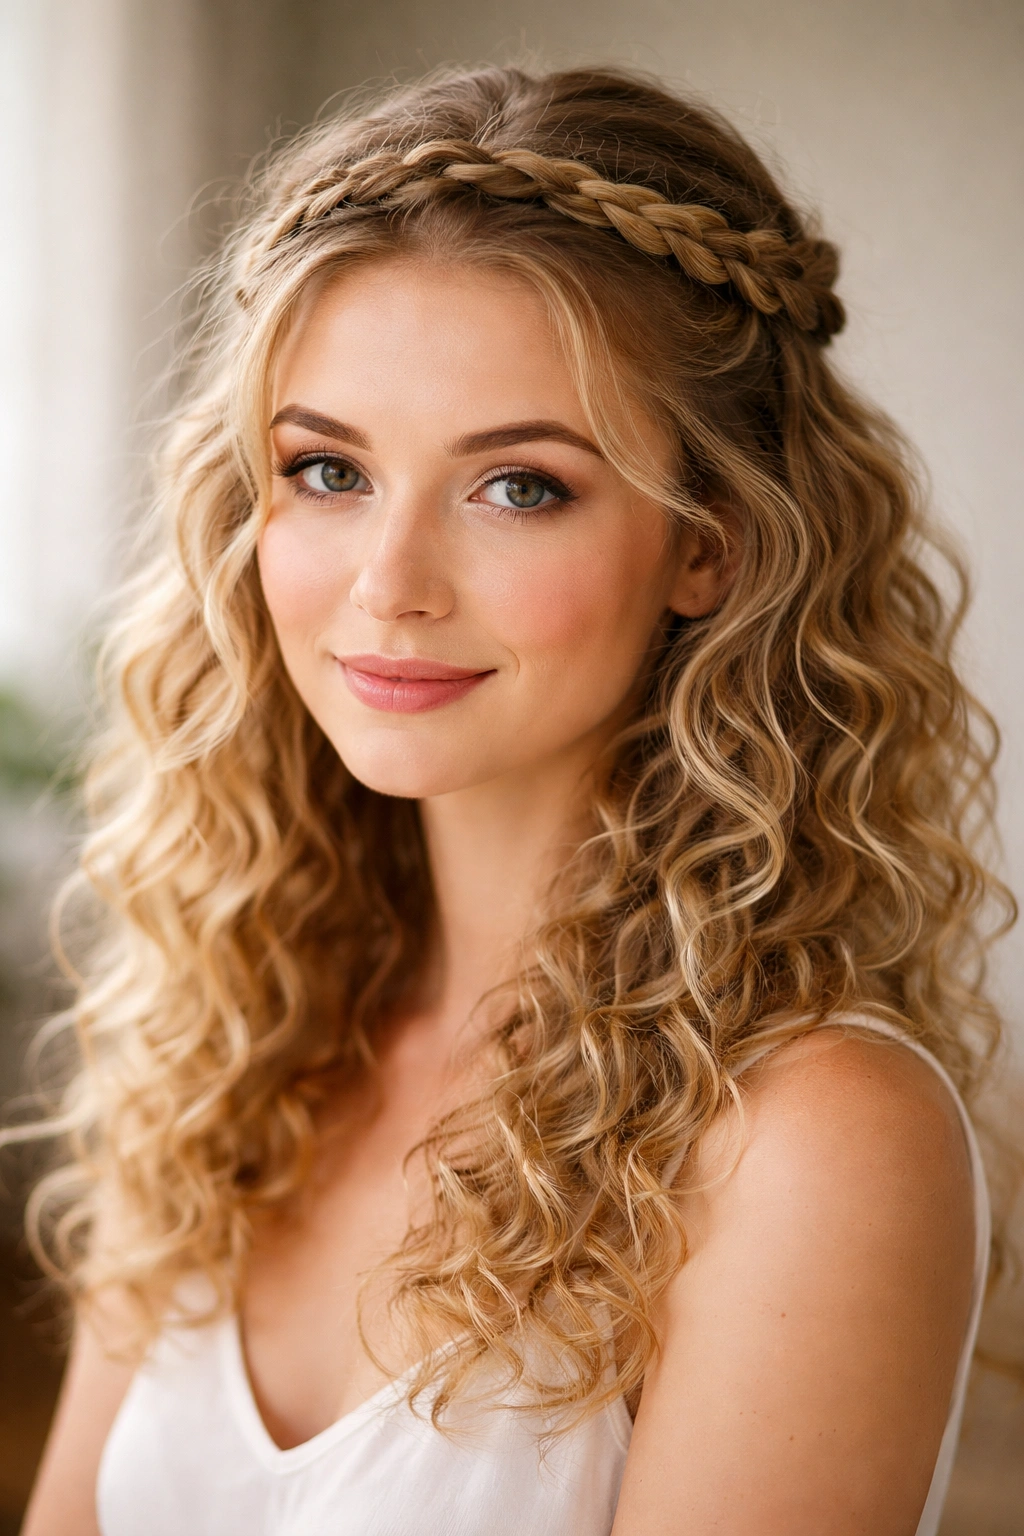
A half-up crown braid is exactly what it sounds like — you braid a section of hair from one side of your head, across the crown to the other side, creating an elegant crown effect while the rest of your curls fall loose below. It’s a protective style that keeps hair back from your face and off your neck while celebrating your curl pattern. For fine curly hair, it’s a beautiful middle ground between completely loose and fully protective.
Why This Style Works for Fine, Delicate Curls
A half-up crown braid protects the hair that’s braided (because it’s not being manipulated all day) while letting your lower curls stay loose and free. For fine hair, this is ideal because you’re not putting weight on your delicate roots with a full bun or ponytail — you’re just gently braiding a single crown section. The braid keeps that section from frizzing or tangling, while the loose curls below can bounce and shine. It’s protective, beautiful, and low-stress for your strands.
Creating Your Crown Braid
- Braid while damp: Start with damp hair that’s already had leave-in conditioner applied. Slightly damp hair braids more easily and holds the braid better than completely dry hair.
- Start on one side, braid across: Begin your braid at the temple on one side, braid across the crown toward the back, and secure at the nape or behind your ear on the other side. Take three sections of hair and create a standard three-strand braid — no need to get fancy.
- Keep the braid loose: Don’t pull tightly as you braid. A loose braid looks elegant and romantic, plus it’s gentler on your delicate strands.
- Secure with bobby pins and a small elastic: Use bobby pins to anchor your braid and a small silk elastic to secure the end. You want it to feel secure without being tight.
- Let curls fall below: The magic happens when your free curls fall below the braided crown. These loose curls should be your natural curl pattern at its best — defined, bouncy, and beautiful.
Pro tip: You can create a crown braid right before bed on slightly damp hair, let it set overnight, and wear it the next day with bouncy, defined curls below. The braid gives you texture and structure while the curls stay fresh and springy.
Final Thoughts
Fine curly hair is genuinely beautiful, and it deserves a hairstyle that honors its texture rather than fights against it. The styles in this guide work because they understand what fine curly hair needs — they’re gentle on delicate strands, they don’t weigh down your natural curl pattern, and they celebrate the bounce and shine that makes curly hair special in the first place.
The most important thing to remember is that fine curly hair thrives with low manipulation and high moisture. Whichever style you choose, pair it with a solid hair-care routine that includes regular moisturizing, protective styling, and gentle handling. Your curls will respond by becoming stronger, shinier, and more resilient over time.
Start with the style that appeals to you most — whether that’s the simplicity of a textured pixie, the protection of micro twists, the versatility of a twist-out, or the elegance of a crown braid. Try it, see how your hair responds, and give it at least a few wears before deciding whether it’s right for you. Your curl pattern is unique, and what works beautifully for someone else might need tweaking for your hair specifically. That’s not a failure — it’s just you learning what your hair loves.