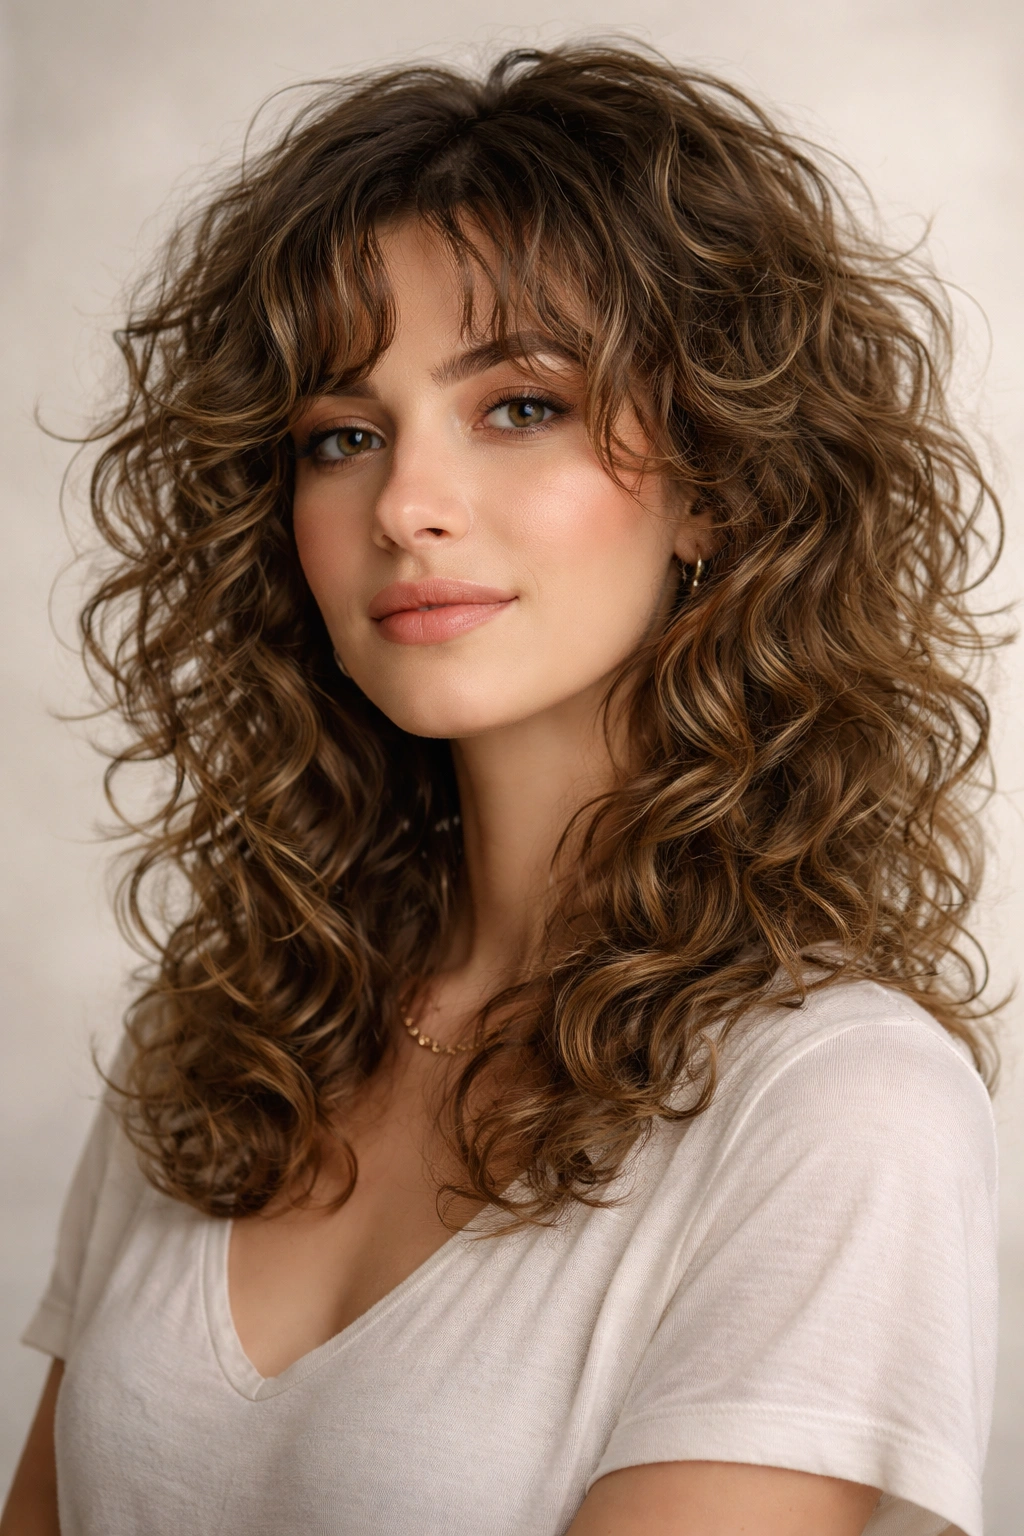
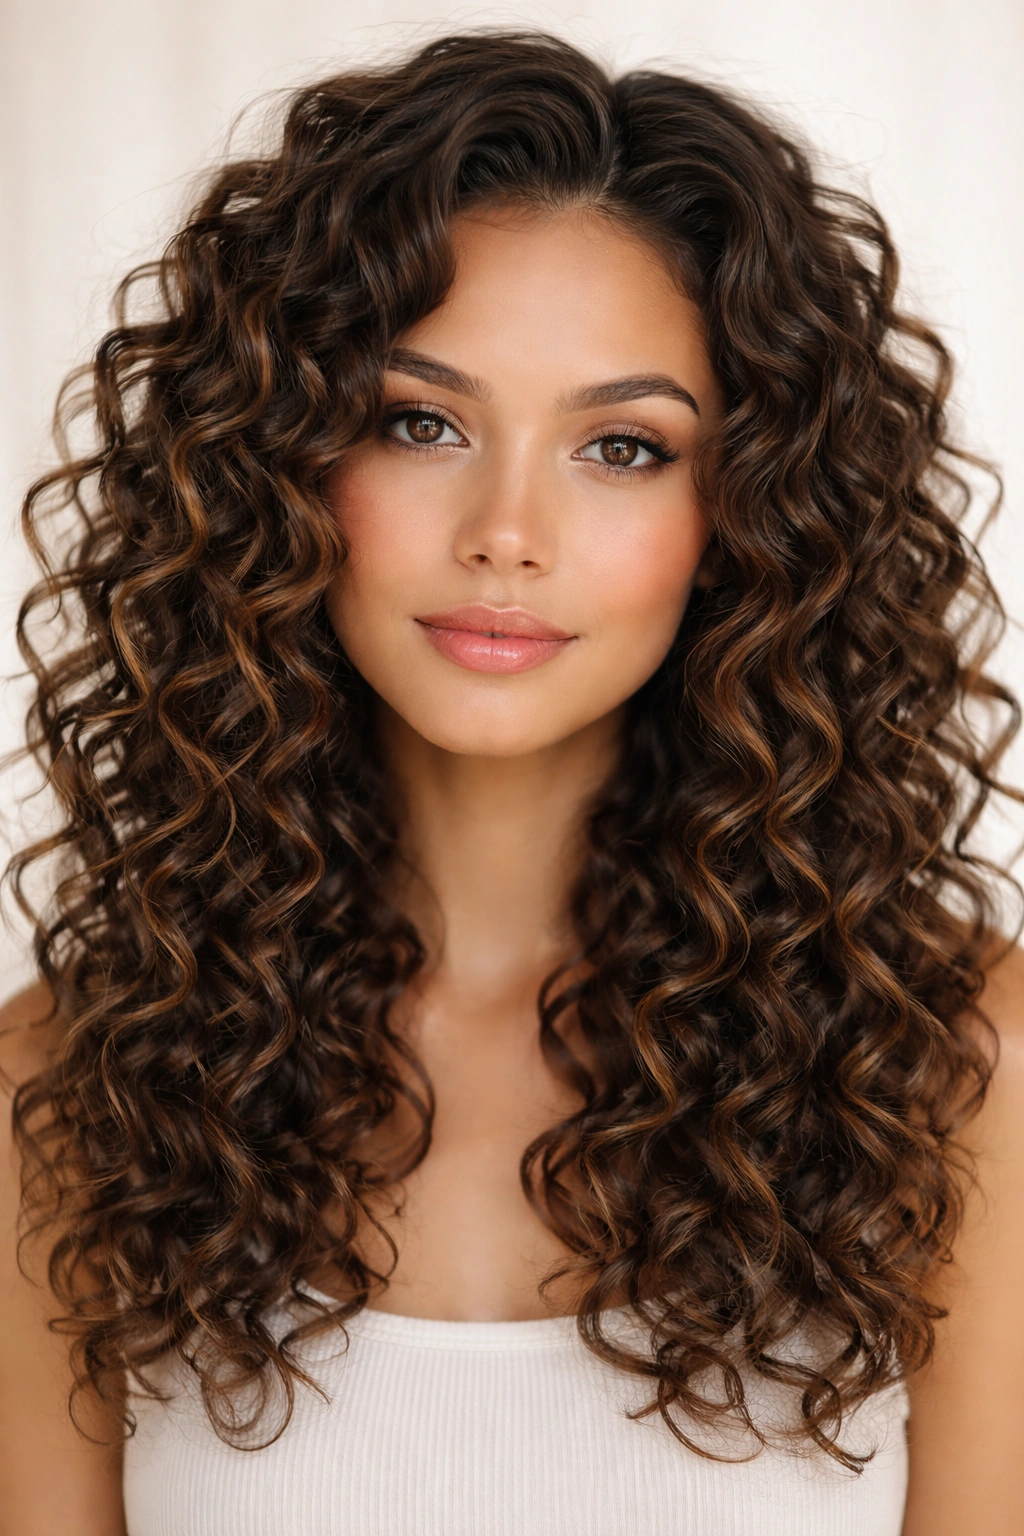
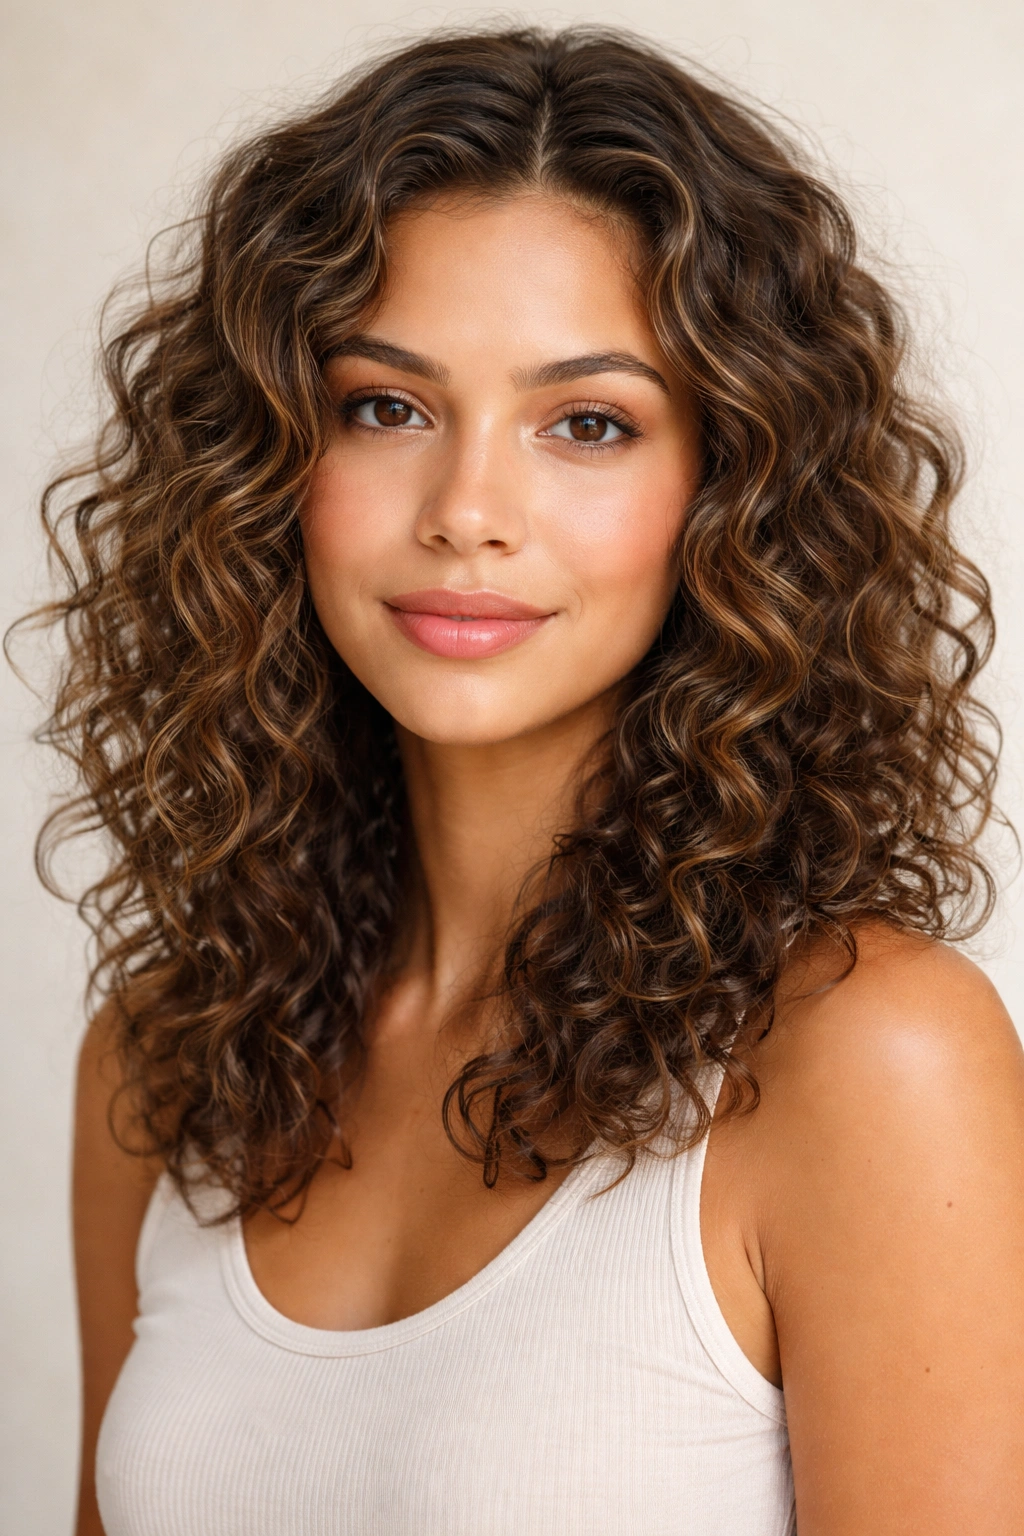
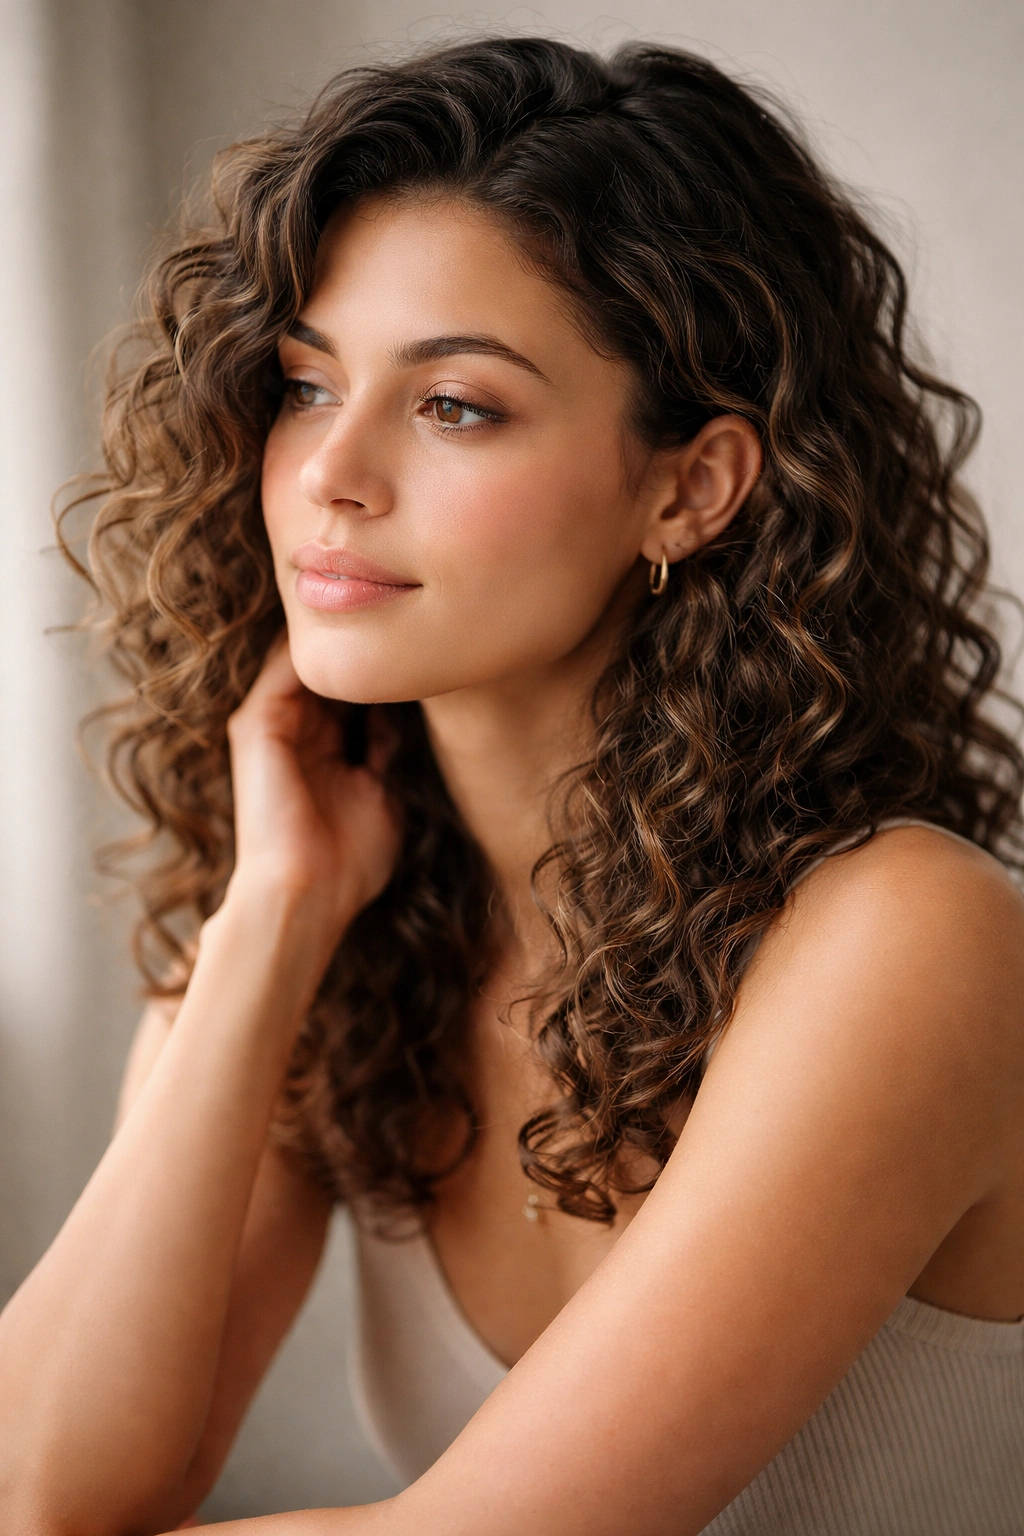
2c curls are a sweet spot—not quite loose waves, but not tight ringlets either. They’re those beautiful, spiraling coils that fall somewhere between carefree and defined, and they respond incredibly well to the right cut and styling approach. The trick is finding hairstyles that actually work with your curl pattern instead of fighting against it, which honestly makes all the difference between a good hair day and a great one.
The challenge most people with 2c hair face is that this curl type gets weighed down easily. Too much product, too many layers in the wrong places, or a cut that doesn’t account for how curls shrink when they dry—and suddenly your waves look limp instead of bouncy. But once you find cuts and styles designed specifically for 2c texture, everything changes. Your curls have more definition, more movement, and require way less daily styling effort to look intentional and polished.
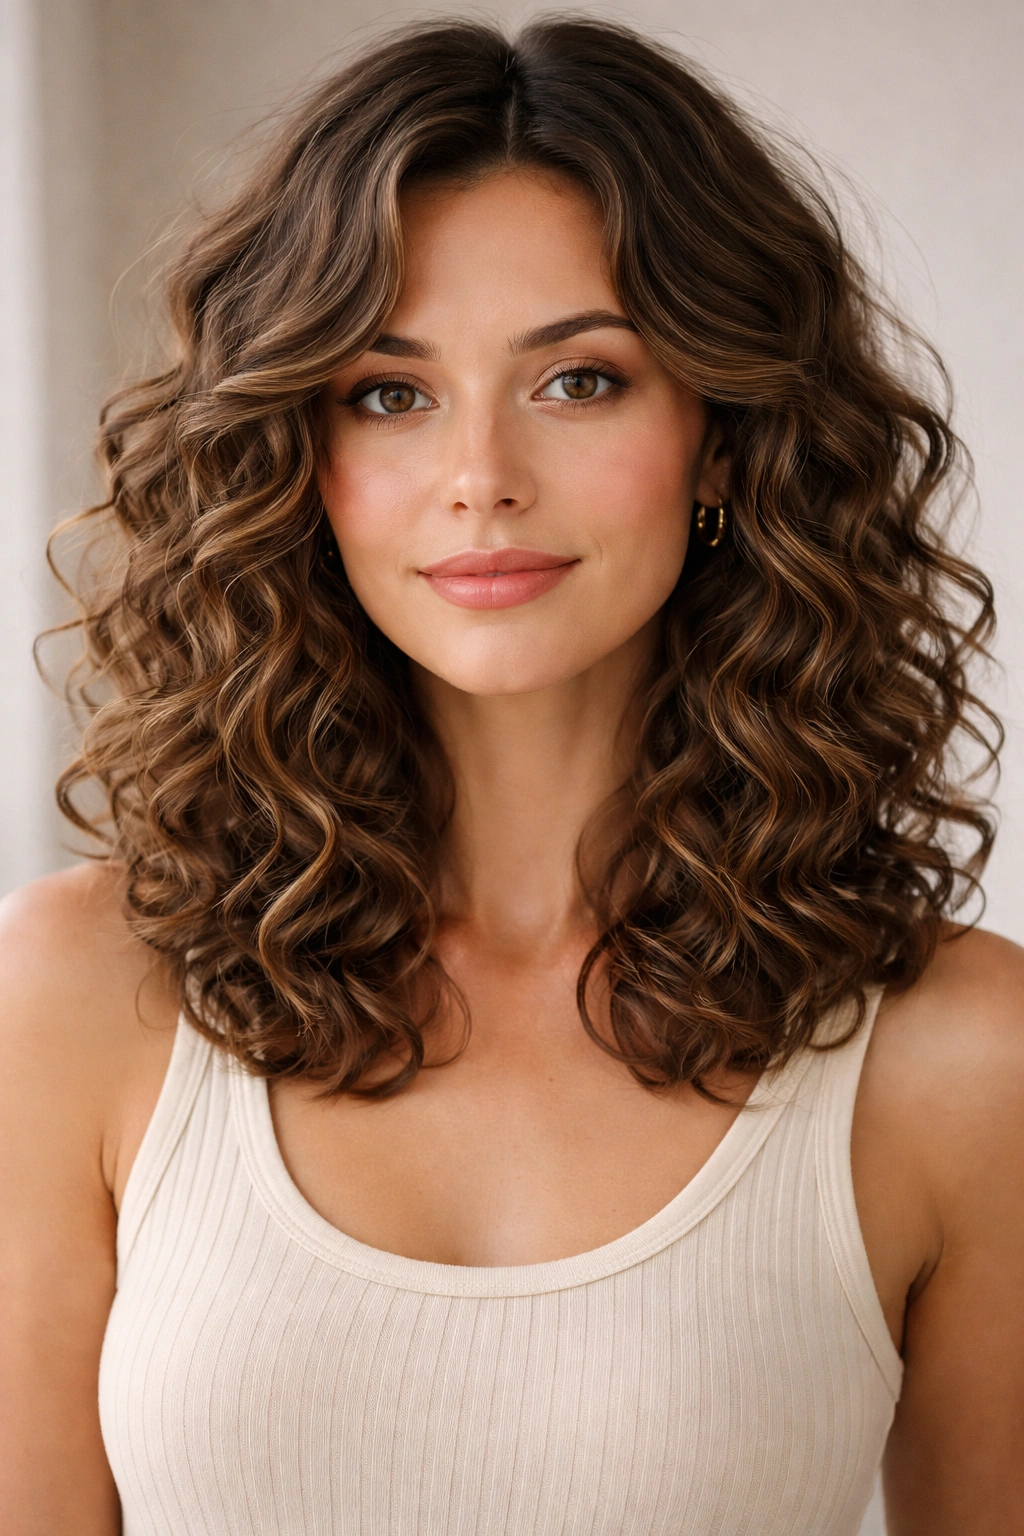
What makes 2c hair special is how versatile it actually is. You can wear it sleek and defined on days when you want that polished look, or you can embrace the natural texture on others. The hairstyles that work best tend to be ones with strategic layering, textured cuts that enhance your natural curl pattern, and styles that let your spirals do their thing without being over-manipulated. Whether you’re looking for an everyday style that’s easy to maintain or something more intentional for special occasions, there’s a cut and style out there that’ll make your 2c curls shine.
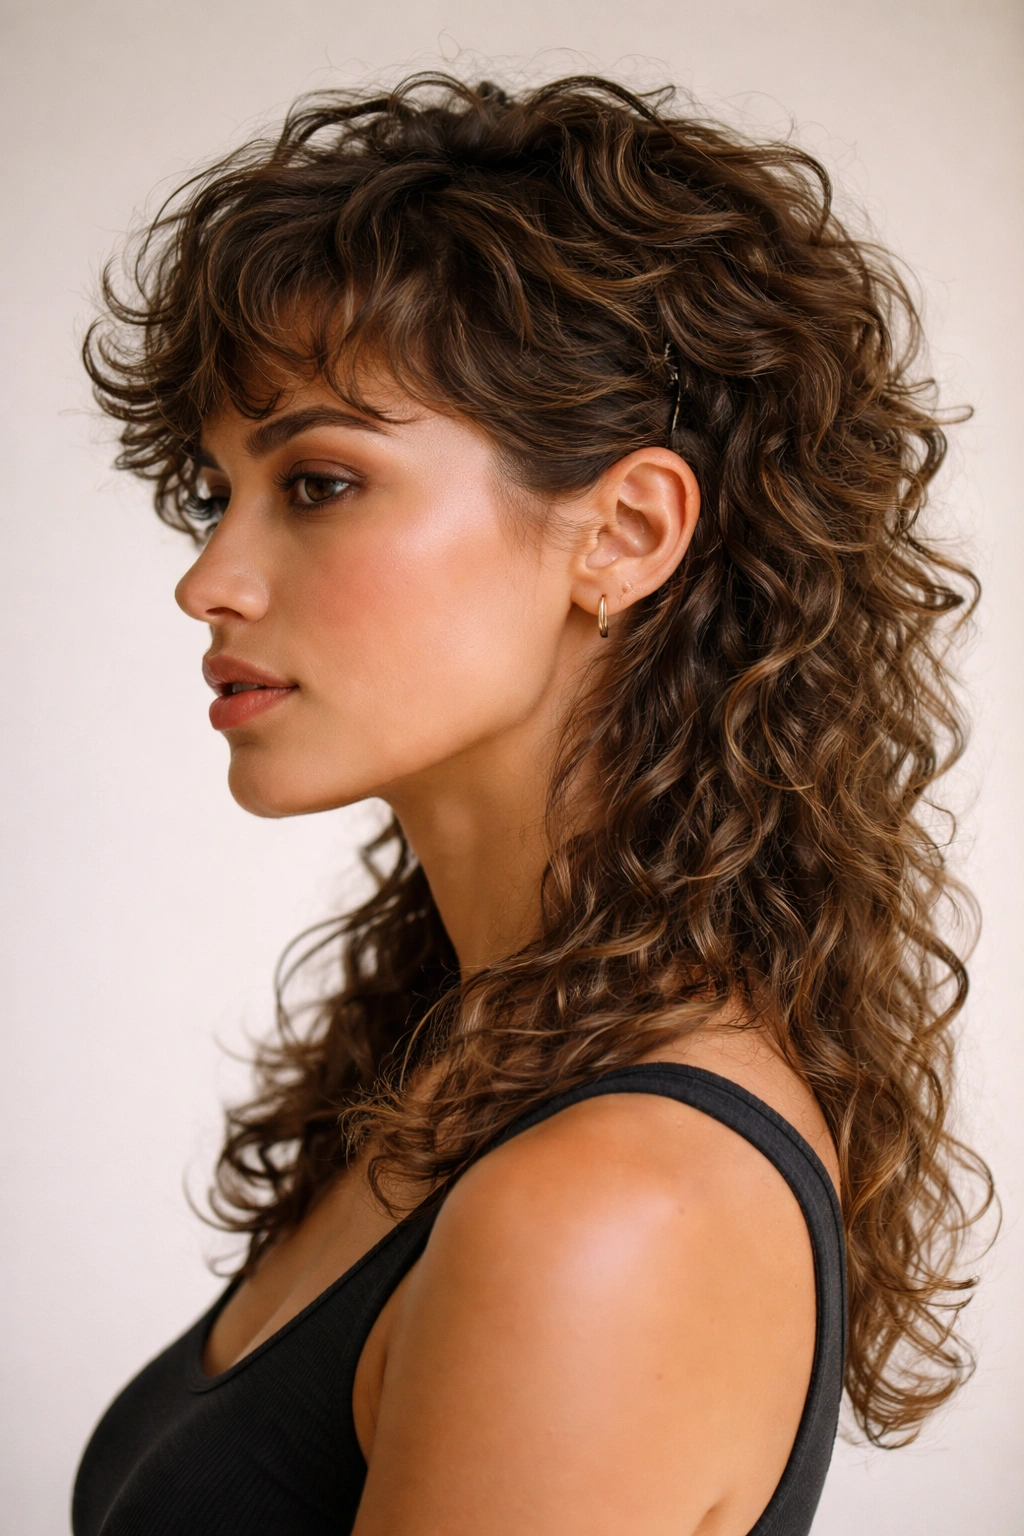
1. The Curly Shag
A textured shag is absolute magic on 2c hair because the choppy layers work with your curl pattern rather than against it. Each layer can move independently, which means your curls bounce and separate naturally instead of clumping into one heavy mass. The shorter layers at the top give you volume and movement right where you need it, while the longer pieces underneath add dimension and flow.
Why This Cut Enhances 2c Curls
A shag works beautifully on 2c hair because the numerous layers break up weight strategically. When you have a single-length cut, all that hair pulls your curls down and makes them look flatter. But with a shag, each section can spring up on its own. The choppy movement also means you get more texture and definition throughout—your curl pattern reads more clearly because the layers create natural separation. Plus, a shag actually looks better when you have a mix of curl sizes and some flyaways, which is exactly what 2c hair tends to do.
How to Style a Curly Shag
- Apply a curl-defining cream or light gel to damp hair, working it in with praying hands or the “scrunching” method
- Diffuse your hair with a diffuser attachment on your blow dryer, cupping sections gently to enhance curl definition
- Flip your head upside down occasionally while diffusing to build volume at the roots
- Once dry, lightly scrunch with your fingers to break up any crunchy gel cast for a softer, more natural look
- Use a lightweight hairspray or curl refresher spray on non-wash days to revive the texture
Pro tip: Ask your stylist specifically for a “choppy shag” rather than a blunt shag—you want those intentional cuts through the layers, not just blunt choppy bangs on top of longer hair.
2. Shoulder-Length Layers
This is the Goldilocks hairstyle for 2c hair—it’s long enough to show off your curl definition without being so long that weight drags everything down. Shoulder-length layers give you the perfect balance of volume, manageability, and that effortless curl appeal. You get enough length to wear your curls down and flowing, but the strategic layers create movement and prevent the dreaded frizz-with-no-shape look.
Why Shoulder Length Works So Well
With 2c curls, length matters because curls shrink when they dry. What looks like bra-strap length when wet might be shoulder-length when dry. Shoulder-length layers sit at the perfect sweet spot where you still have enough surface area for your curls to show their spiral pattern, but you’re not carrying so much weight that everything gets stretched out and loses definition. The layers also create natural face-framing, which is incredibly flattering on round or square face shapes. You get movement without sacrificing the ability to wear your hair up on rough days.
Styling Tips for Shoulder-Length Layers
- Use a microfiber towel or t-shirt to dry your hair gently—regular towels cause frizz and disrupt the curl pattern
- Apply leave-in conditioner while your hair is still dripping wet for maximum moisture
- Use either a cream-based styler or a lightweight gel, depending on how much definition you want
- Diffuse at medium heat to avoid frizz and heat damage that’ll make 2c curls look dull
- Avoid combing or brushing once your curls start setting—scrunch with your fingers instead to encourage coil formation
- Sleep on a silk or satin pillowcase to preserve your curl pattern overnight
Worth knowing: This length is also the easiest to maintain between salon visits. You can go 8-12 weeks between trims, whereas longer or heavily layered cuts might need attention every 6-8 weeks.
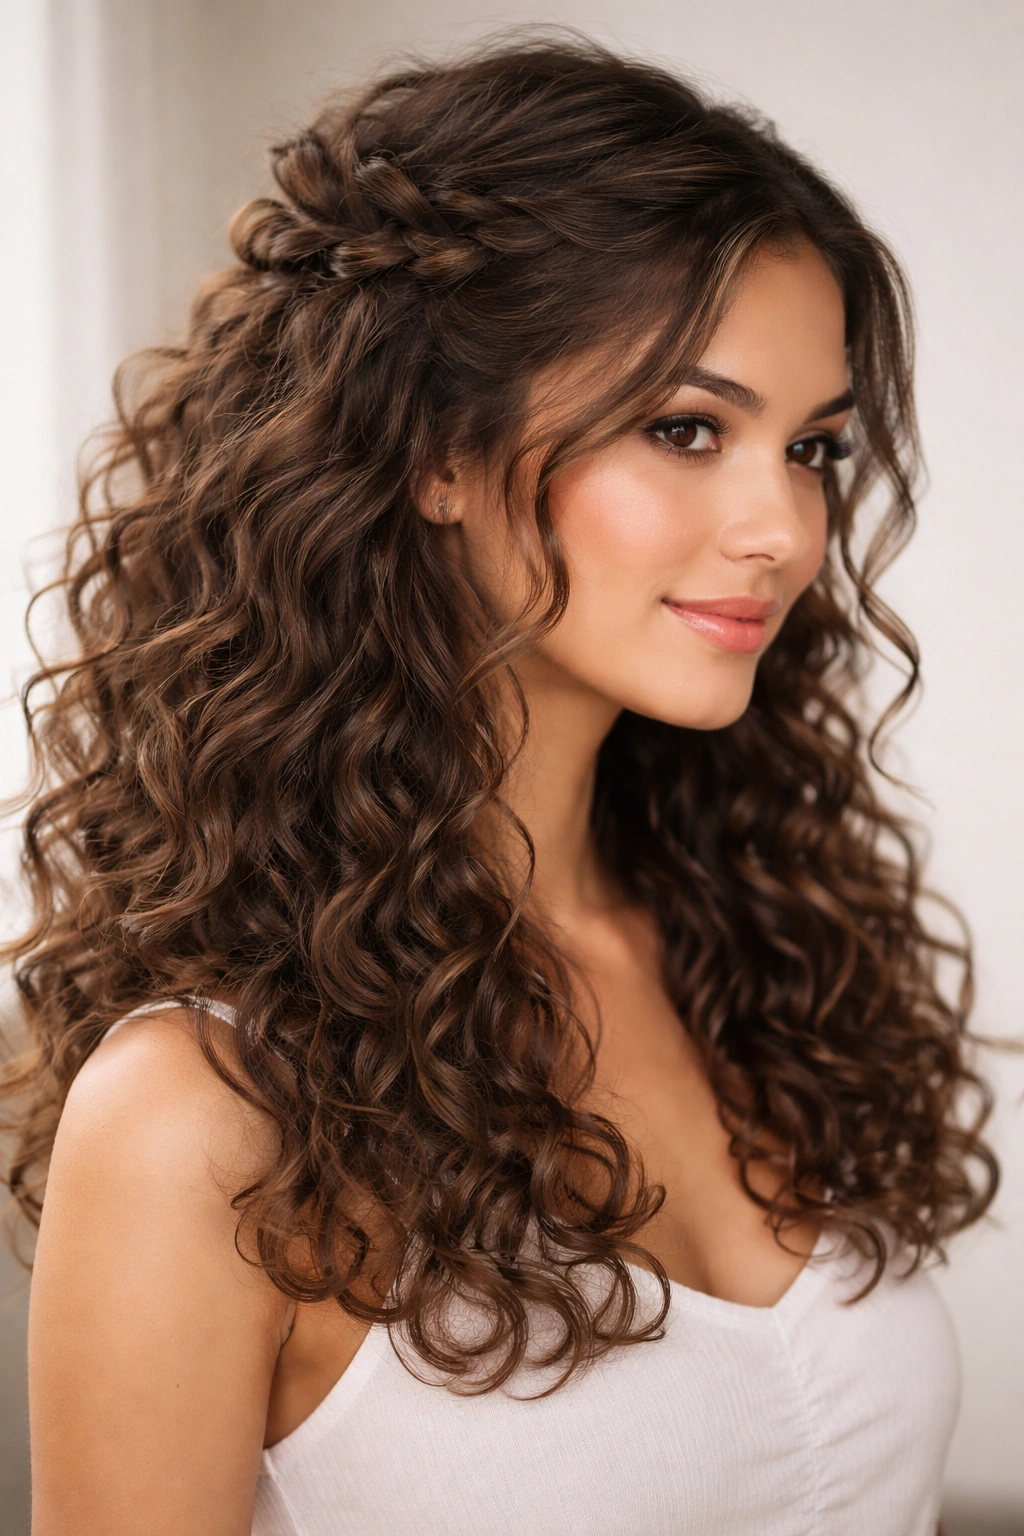
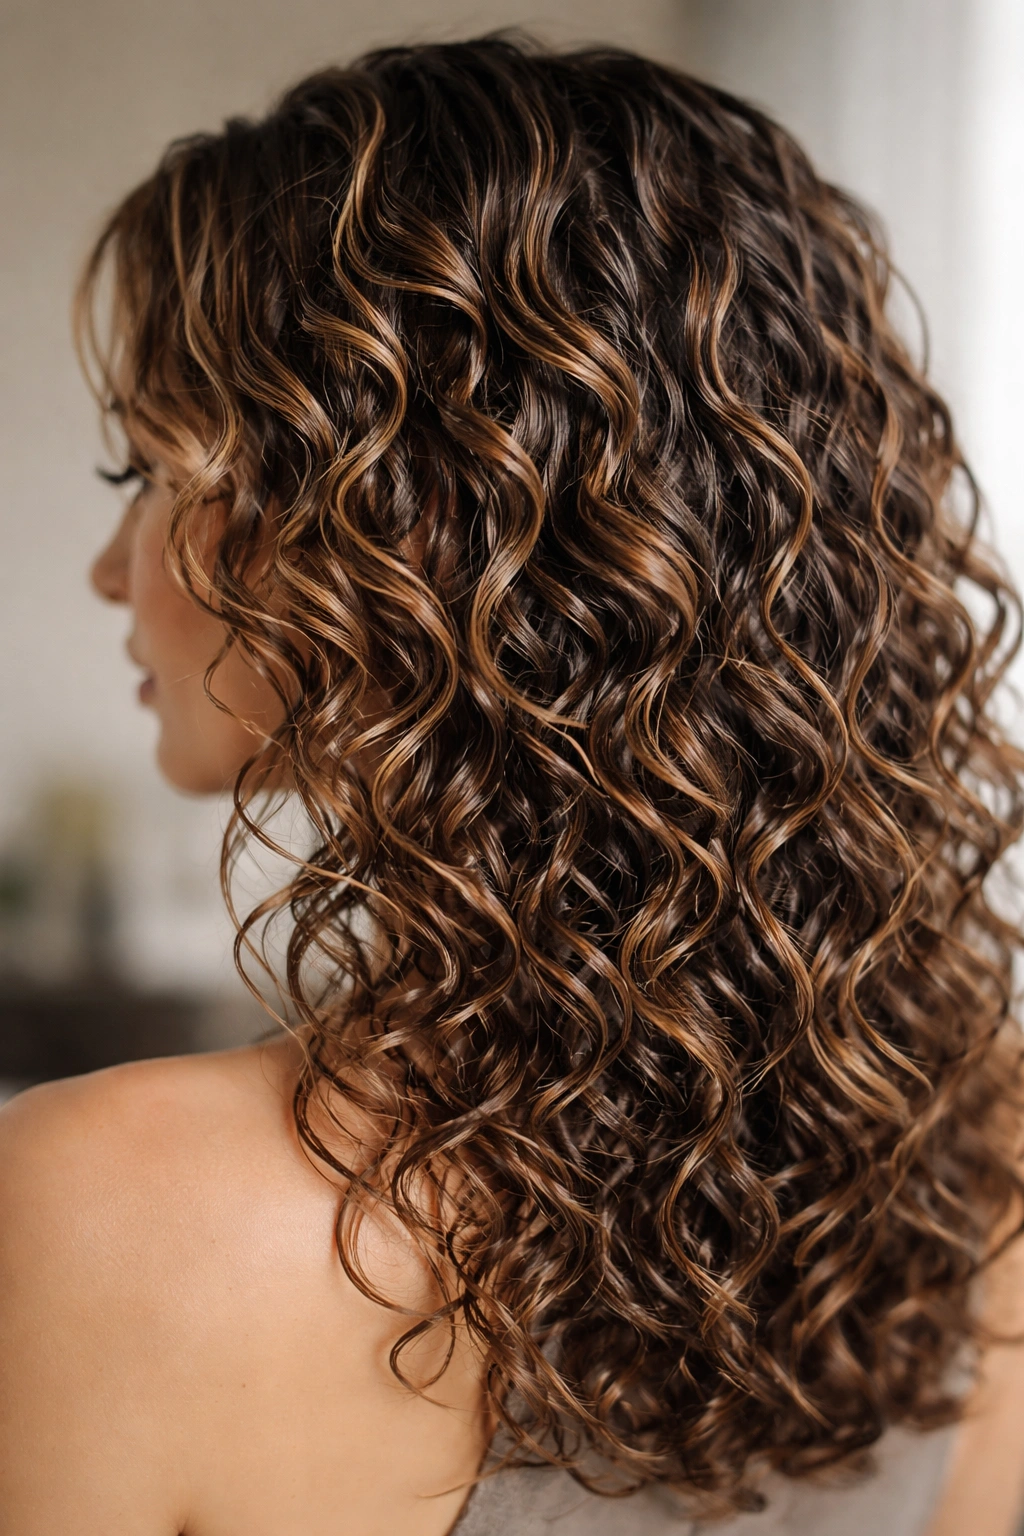
3. Long Flowing Waves
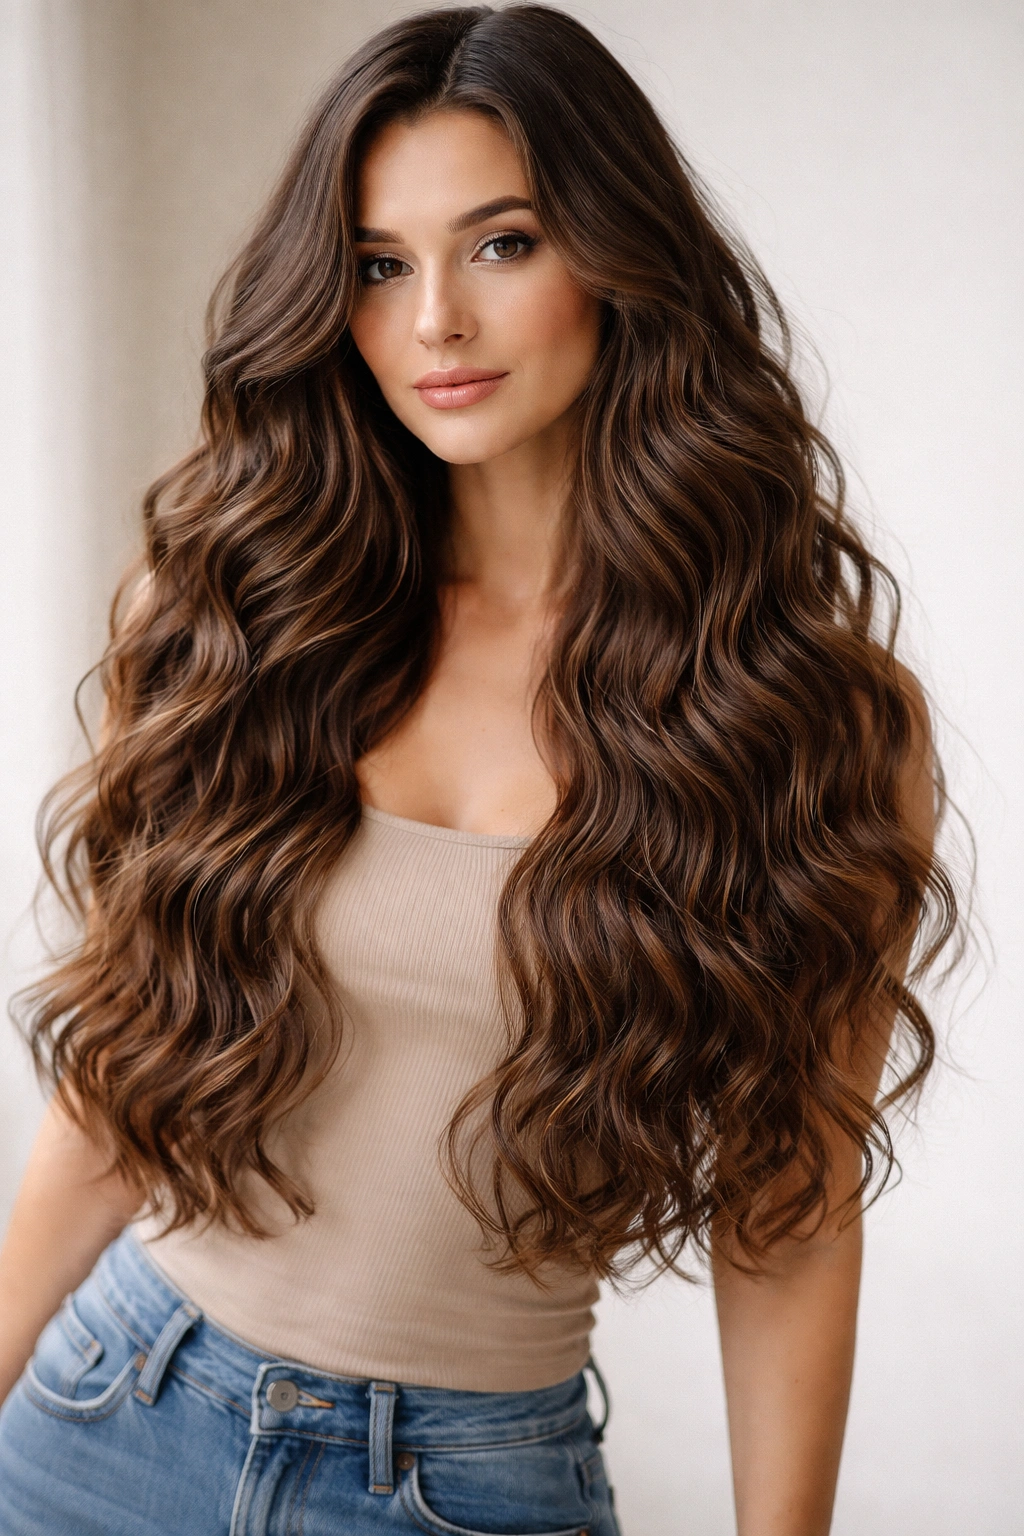
If you want length and drama, long flowing waves are stunning on 2c hair when cut correctly. The key is having fewer, more strategic layers instead of tons of choppy texture—you want the weight to define your natural curl pattern rather than fighting against it. Long 2c waves have this gorgeous, relaxed elegance that looks effortlessly beautiful, almost like you woke up that way (even though there’s definitely some styling involved to make that happen).
What Makes Long Waves Work on 2c Curls
Long hair on 2c curls is actually easier to style than people think because the weight helps define your natural spirals—it’s the extremely short styles or overly layered cuts that cause the real challenges. With long waves, you’re working with gravity instead of against it. The key is getting a cut that has just enough layers to prevent one-length bluntness, but not so many that the hair fragments and loses its cohesive wave pattern. Long 2c waves also photograph beautifully and give you tons of versatility—you can wear it down, half-up, in a high ponytail, or in braids.
How to Keep Long Waves Looking Fresh
- Deep condition weekly to keep the ends hydrated and prevent the stringy, dull appearance that long hair can develop
- Use a curl cream and gel combination for the best hold and definition on longer lengths
- Pineapple your hair at night (gather it loosely on top of your head in a spiral) to protect your curl pattern while sleeping
- Refresh your waves on second-day hair with a spray bottle of water and a little curl-refreshing spray or mousse
- Get trims every 10-12 weeks to remove split ends that’ll make your waves look scraggly
- Consider a deep protein treatment monthly if your hair feels limp, especially if you use heat styling
Insider note: Longer hair actually gives you the option to air-dry completely without diffusing, which saves time and reduces heat damage. This is much harder to do well with short or heavily layered cuts.
4. The Modern Mullet
Don’t let the word “mullet” scare you off—the modern version is nothing like the 1980s version. A contemporary mullet for 2c curls is actually a sophisticated cut with shorter, textured layers on top and longer length in the back. It’s bold, it’s intentional, and when done right on curly hair, it’s absolutely stunning. The contrast between the cropped top and longer back creates major visual interest and personality.
Why a Modern Mullet Works on Curly Hair
A modern mullet leverages the natural texture of 2c curls to look expensive and editorial rather than dated. The short layers on top create volume and movement where it matters—at the crown and around the face—while the longer back shows off the full beauty of your curl pattern. This cut is inherently flattering for people who want to show off their face and bone structure without hiding behind hair. The shorter front also makes styling easier because you’re not dealing with front pieces getting frizzy or falling flat—they’re already designed to be textured and active. Plus, the contrast is just visually striking in the best way.
Styling a Modern Mullet for Maximum Impact
- Style the top layers with a curl-defining cream to emphasize the texture and movement
- Use a stronger-hold gel or mousse on the back section to keep those longer curls defined and bouncy
- Diffuse the crown area first to build volume, then the sides and back
- You can style the back more loosely for a softer look, or gel it for a more structured, polished appearance
- On non-wash days, use a curl refresher spray to revive the shape throughout the day
- Consider getting the top trimmed every 4-5 weeks to keep the style looking intentional
Pro tip: The modern mullet looks especially good with an undercut or fade on the sides, which creates clean lines and makes the whole look feel more contemporary. Ask your stylist about blending the sides into the longer back.
5. Textured Pixie Cut
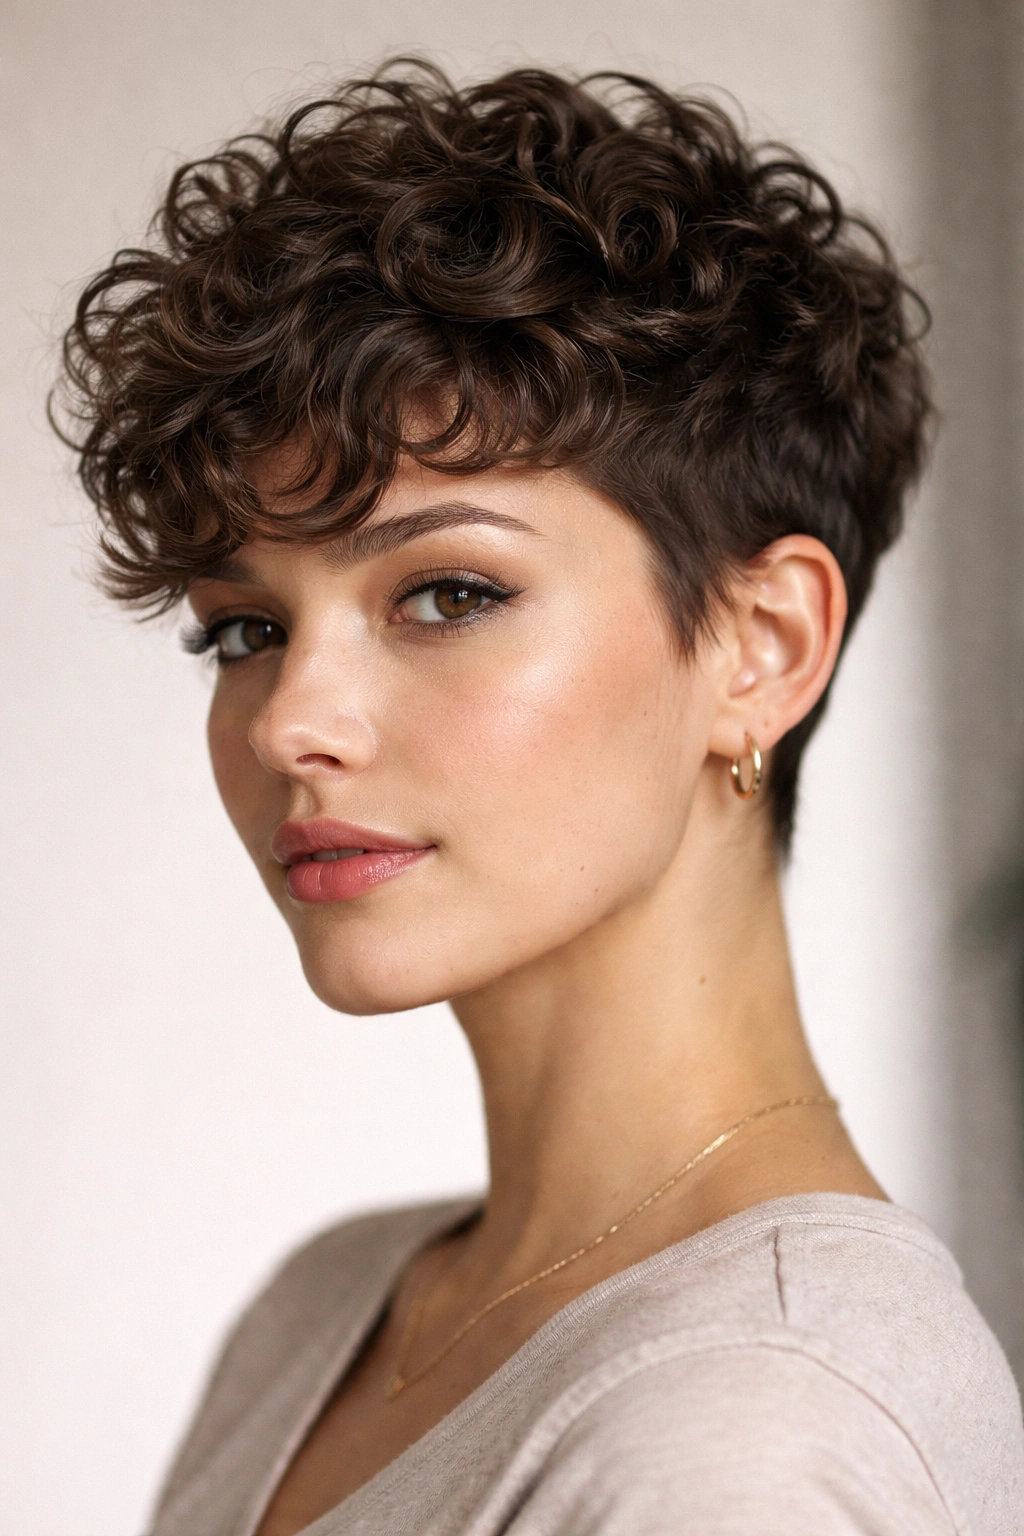
A pixie cut on 2c curls is unexpectedly gorgeous and surprisingly easy to maintain. When you cut short curly hair correctly, you get a style that has natural texture and movement without needing much styling at all. It’s the ultimate low-maintenance look if you’re willing to embrace your curl pattern and work with it instead of trying to straighten or smooth it out. A textured pixie celebrates the spirals in your hair and creates an incredibly chic, fashion-forward vibe.
How a Pixie Leverages Your Curl Pattern
With a textured pixie, your stylist is deliberately keeping your curls close to the scalp, which means they have room to spring up and create shape on their own. The short length means zero weight pulling curls down, so every coil reads clearly and creates definition. A pixie on 2c curls gives you major volume at the crown and a shape that’s flattering on nearly every face shape. You lose the styling versatility of longer hair, but you gain back so much time—and honestly, there’s something liberating about a cut that looks intentional just from your natural texture.
Caring for Your Textured Pixie
- Use a very lightweight styling product—cream or mousse rather than heavy gel—to avoid weighing down short curls
- Diffuse on low heat for 60-90 seconds to encourage curl formation, or let it air dry completely
- Shampoo just once a week to preserve your natural curl oils that define the shape
- Get a trim every 3-4 weeks to keep the style looking shaped rather than shaggy
- Use your fingers to style rather than combs or brushes, which will disrupt your curl pattern
- A lightweight leave-in conditioner spray is your best friend for maintaining moisture and definition
Worth knowing: A pixie is the one style where you really need a stylist who understands curly hair. A bad pixie cut can look like a bad haircut rather than intentionally textured, so finding someone experienced with curly hair is non-negotiable.
6. Half-Up Crown with Layers
This is the perfect style for days when you want your curls out of your face but don’t want a full updo. A half-up crown leverages your natural curl texture by letting the top section twist or braid while the bottom half flows freely. On 2c hair specifically, the layered cut underneath means the down section has movement and bounce, while the crown section can be as loose or structured as you want. It’s romantic, it’s practical, and it works for casual days or dressier occasions.
Why This Style Flatters 2c Curls
A half-up crown works beautifully on layered 2c hair because you get the best of both worlds—the styling interest of the crown section paired with the texture and movement of loose curls underneath. The layers create natural separation in the back section, so even though it’s down, it still looks intentional and defined rather than just “hair falling down.” The crown section draws attention to your face and keeps things off your forehead without the commitment of a full bun. Plus, if you twist or loosely braid the crown section, you’re actually enhancing your curl pattern in that area by creating more defined coils.
How to Create a Half-Up Crown
- Apply your styler (cream and/or gel) to damp hair and diffuse to get your base curl pattern set
- Once dry, mist the crown section lightly with water to make it workable
- Take a section from just above your ear and twist it loosely back toward the crown, securing with a bobby pin
- Do the same on the other side, crossing the twists in the back and pinning them together
- You can also do a loose French braid instead of a twist for a different look
- Gently pull at the braided or twisted section to make it look relaxed and undone rather than tight
- Use bobby pins that match your hair color so they’re invisible
Pro tip: This style looks even better on second-day or third-day hair when your curls have set and are less “wet” looking—the texture shows more definition.
7. Gel-Defined Coils
This is less a specific cut and more a styling approach that works amazingly on 2c hair with the right layers. When you apply gel strategically and define each curl or coil individually, you get maximum definition and that satisfying “she has her curls together” look. With layered 2c hair and a good defining gel, you can separate and shape your curls to look intentional, bouncy, and polished. This approach is especially striking if you’re going for more of an editorial or high-fashion vibe rather than an undone, natural look.
How to Achieve Defined Coils
Gel-defining your curls is a technique that works on any 2c hairstyle, but it looks most dramatic with layered cuts. Apply your gel section by section to soaking wet hair, using praying hands or the “coil by coil” method where you wrap each curl around your finger. The key is using enough product that your curls stay separated and defined as they dry. This is where a stronger-hold gel really shines—you want something that will keep your coils distinct from each other rather than letting them merge together into wavy sections. Once your hair dries (via diffuser or air-drying), you’ll have these beautiful, individual coils that read as intentional and shaped.
The Best Gels for 2c Coil Definition
- Use a gel with medium to strong hold—too light and your coils will lose definition, too heavy and they’ll look crunchy
- Flaxseed gels and aloe vera gels offer good hold without the crunch of some stronger gels
- Eco Styler Gel and SheaMoisture gels are popular choices that work well on 2c curls
- Apply gel to absolutely dripping wet hair—slightly damp hair won’t hold coils as well
- Use a diffuser on low heat or air dry completely to avoid disrupting the coil pattern as it sets
- Once completely dry, you can “scrunch out the crunch” by gently scrunching your hair to soften the gel cast
Worth knowing: Gel-defined coils look best when you refresh them on second-day hair with a spray bottle of water and a bit more gel. They won’t last a full week without some refreshing.
8. Curtain Bangs with Layers
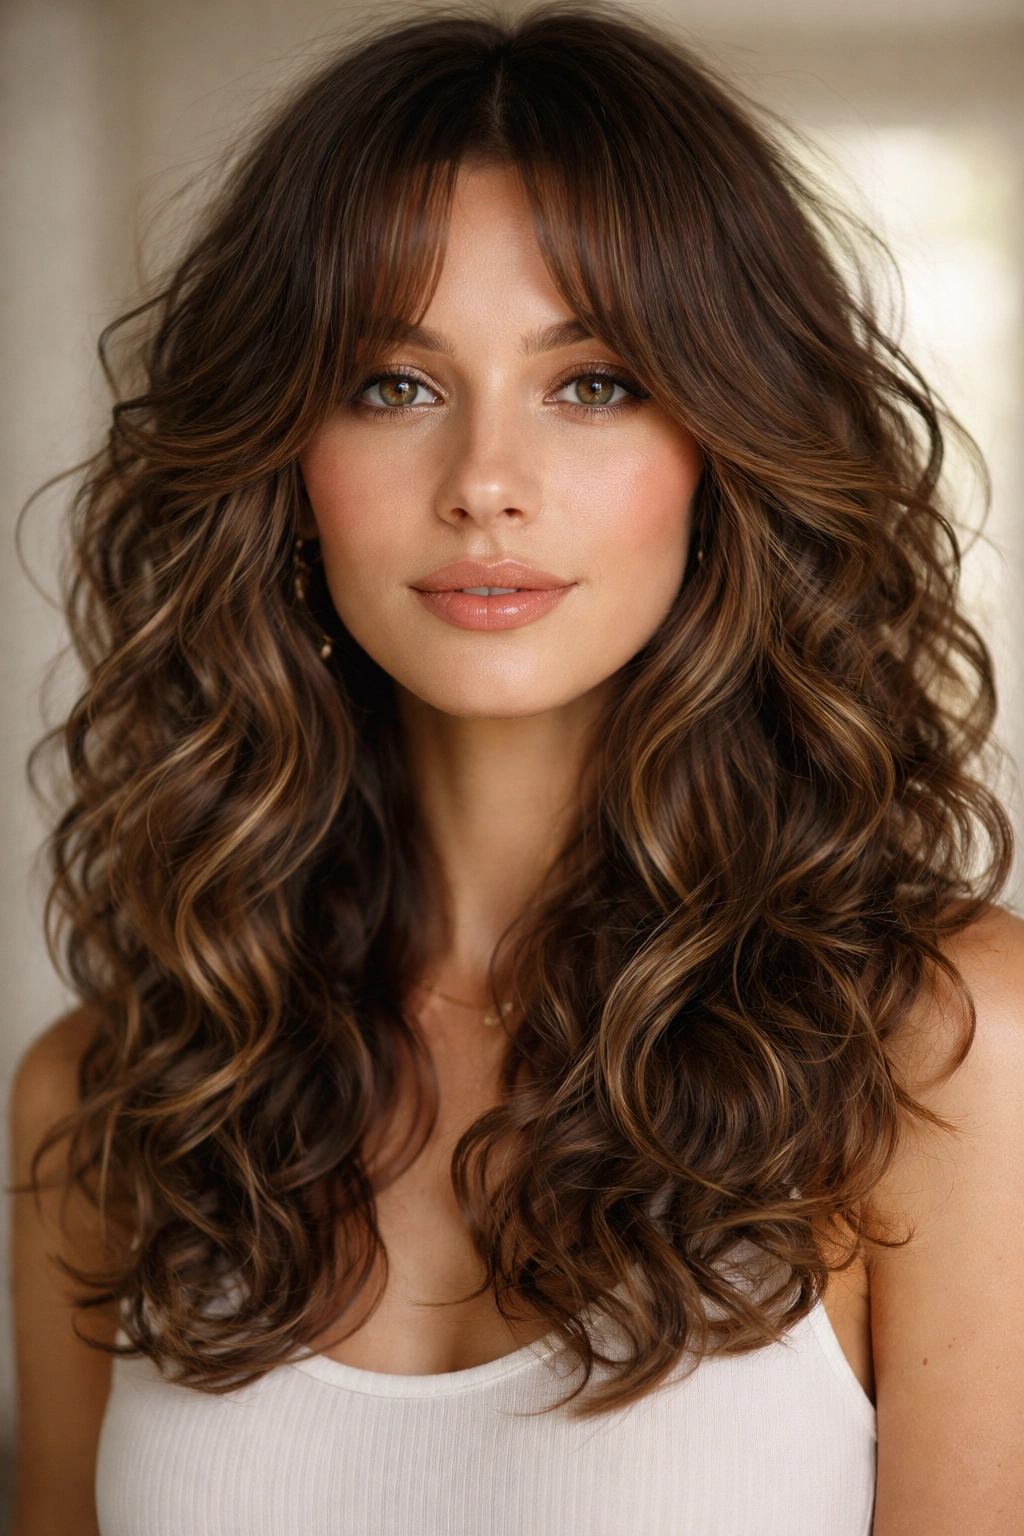
Curtain bangs are having a moment and for good reason—they’re incredibly flattering on 2c curly hair because they frame the face beautifully without requiring any special styling. Paired with layers throughout the rest of your hair, curtain bangs create this effortlessly cool, slightly undone vibe that actually photographs incredibly well. The bang pieces naturally curve away from your face because of your curl pattern, so you don’t need them to fall straight or blow straight for them to look intentional.
Why Curtain Bangs Work on Curly Hair
Curtain bangs are one of the best bang options for curly hair because they’re designed to be parted in the middle and curve away from the face—which is exactly what your 2c curls naturally want to do. Unlike blunt bangs (which can look weird if they curl up) or side-swept bangs (which require daily styling to maintain), curtain bangs work with your curl pattern. They frame your eyes and cheekbones, break up the length of your face, and because they’re longer, they don’t emphasize any one area too much. Paired with layers throughout, you get a cohesive, textured look that feels modern and intentional.
Styling Curtain Bangs on 2c Hair
- Apply your styler evenly to damp hair, including the bang section
- Diffuse or air dry completely—don’t try to blow dry the bangs straight, that defeats the purpose
- The bangs will naturally curve away from your face as they dry, creating that effortless frame
- On non-wash days, you can mist the bangs with water and a tiny bit of curl cream to refresh them
- If they start curling too much (toward your face rather than away), a quick spritz of straightening serum or light oil can relax them slightly
- Get the bangs trimmed every 4-6 weeks since they grow out faster than the rest of your hair
Pro tip: Ask your stylist to cut the bangs when your hair is completely dry, so they can see exactly how much they’ll shrink when your curls dry. This prevents the dreaded “I cut my bangs and they’re way too short” situation.
9. The Twist-Out Style
A twist-out is a styling technique that creates beautiful, soft waves and coils on 2c hair without requiring any heat. You twist your hair while damp, let it set overnight, then untwist it to reveal defined, voluminous curls. It’s perfect for people who want to minimize heat damage or just prefer styling methods that work with your hair’s natural moisture. On 2c hair, a twist-out creates this gorgeous, textured wave pattern that looks intentional and polished without any heat styling.
How to Create a Twist-Out
Apply a curl cream or leave-in conditioner to damp hair, then divide your hair into 8-12 large sections (depending on how much definition you want). Starting at the roots, twist each section away from your face, working down to the ends. Secure each twist at the bottom with a small elastic or bobby pin. Let your hair air dry completely—ideally overnight or for at least 6-8 hours. Once completely dry, gently untwist each section and lightly scrunch to separate the coils and create dimension. The result is beautiful, defined waves with tons of texture and movement.
Tips for a Long-Lasting Twist-Out
- Use a medium-to-strong hold product so your twists maintain their shape while drying
- Make sure your hair is completely dry before untwisting—this gives you the best definition
- Sleep on a satin pillowcase or bonnet to protect your twist-out overnight
- If you want more volume, flip your head upside down while untwisting to create height at the roots
- You can refresh a twist-out on day two or three with a spray bottle of water and a tiny bit of product
- A twist-out typically lasts 4-5 days if you protect it well while sleeping
Worth knowing: Twist-outs look even better on longer, layered hair because the layers create natural separation and movement. On very short hair, twist-outs can look a bit uniform.
10. The Wash-and-Go
The ultimate low-maintenance style, a wash-and-go means you apply product to clean, damp hair and let it air dry (or diffuse) without any additional styling. On well-cut 2c hair with the right products, a wash-and-go can look polished and intentional rather than just “I didn’t style my hair.” The key is having a cut that’s designed to fall the right way naturally, plus the right combination of products that define your curl pattern without crunch or frizz.
Making Your Wash-and-Go Look Intentional
A successful wash-and-go on 2c hair starts with the right cut—you need layers that create movement and prevent your curls from looking flat or shapeless. Apply your products (typically a leave-in conditioner plus a curl cream or gel) to soaking wet hair, then either diffuse on low heat or let it air dry completely. The key is applying enough product that your curls stay defined and separated as they dry, but not so much that you look crunchy. On 2c hair, you typically want a cream-based styler because it provides definition without the “cast” that gels create.
The Products That Make Wash-and-Go Work
- A hydrating, lightweight leave-in conditioner that won’t weigh down your curls
- A curl-defining cream that enhances your natural pattern without heavy hold
- Optional: a light gel or mousse for extra hold if your curl pattern is on the looser side of 2c
- A curl-activating spray can help encourage coil formation if you’re air drying
- Avoid products with silicones or heavy oils that’ll make 2c curls look flat
- Less is more—start with a quarter-size amount and add more if needed
Pro tip: Your wash-and-go will look better and last longer if you refresh it with a spray bottle of water and a tiny spritz of product on day two or three. This gives you multiple wearable styles from one wash.
Final Thoughts
The best hairstyle for your 2c curls is ultimately the one that makes you feel confident and that fits your lifestyle. Some people love the low-maintenance wash-and-go, while others prefer the polished definition of gel-defined coils. Some days you want the drama of a modern mullet, and other days you just want your curls out of your face in a half-up crown. The beautiful part about 2c hair is how versatile it actually is—you can wear it many different ways, and most hairstyles look better when they’re cut specifically for your curl pattern rather than against it.
Finding a stylist who really understands 2c curls is honestly one of the best investments you can make for your hair. The right cut, done by someone who gets how your curl pattern works and shrinks, will make styling so much easier and your curls will look healthier and more defined automatically. Don’t settle for a stylist who cuts your curly hair the same way they’d cut straight hair—you deserve someone who knows that 2c curls need strategic layering, intentional texturing, and cuts that account for shrinkage.
Once you have the right cut, the styling becomes easier because you’re working with your hair’s natural texture instead of against it. That’s when you’ll really start enjoying your curls and actually looking forward to wash day instead of dreading it. Your 2c hair is beautiful exactly as it is—these styles just help show off what you’ve already got.