Curly hair can feel like a blessing and a curse when you’re heading to school. You want something that looks polished and put-together, but you also need a style that’ll hold up through classes, gym, lunch, and whatever else the day throws at you. The good news? Your curls aren’t a problem to work around — they’re actually an amazing asset that opens up styling possibilities that straight hair can’t touch.
The styles in this guide are specifically designed for school life: they’re protective enough to keep your curls healthy, cute enough that you’ll actually want to wear them, and practical enough that they won’t require constant touch-ups between periods. Most of these can be done in under 20 minutes once you get the technique down, and they’ll look fresh from day one through day three or beyond. Whether you’ve got tight coils, loose waves, or spirals somewhere in between, there’s a style here that’ll work with your curl pattern.
What makes these styles stand out from generic curly hair content is that they’re all tested for real-world school situations. They hold up in humid hallways, survive backpack straps, and won’t get completely frizzy if you’re outside between classes. Plus, many of these can be styled the night before, which means less stress on a busy school morning.
1. High Puff with Accessories
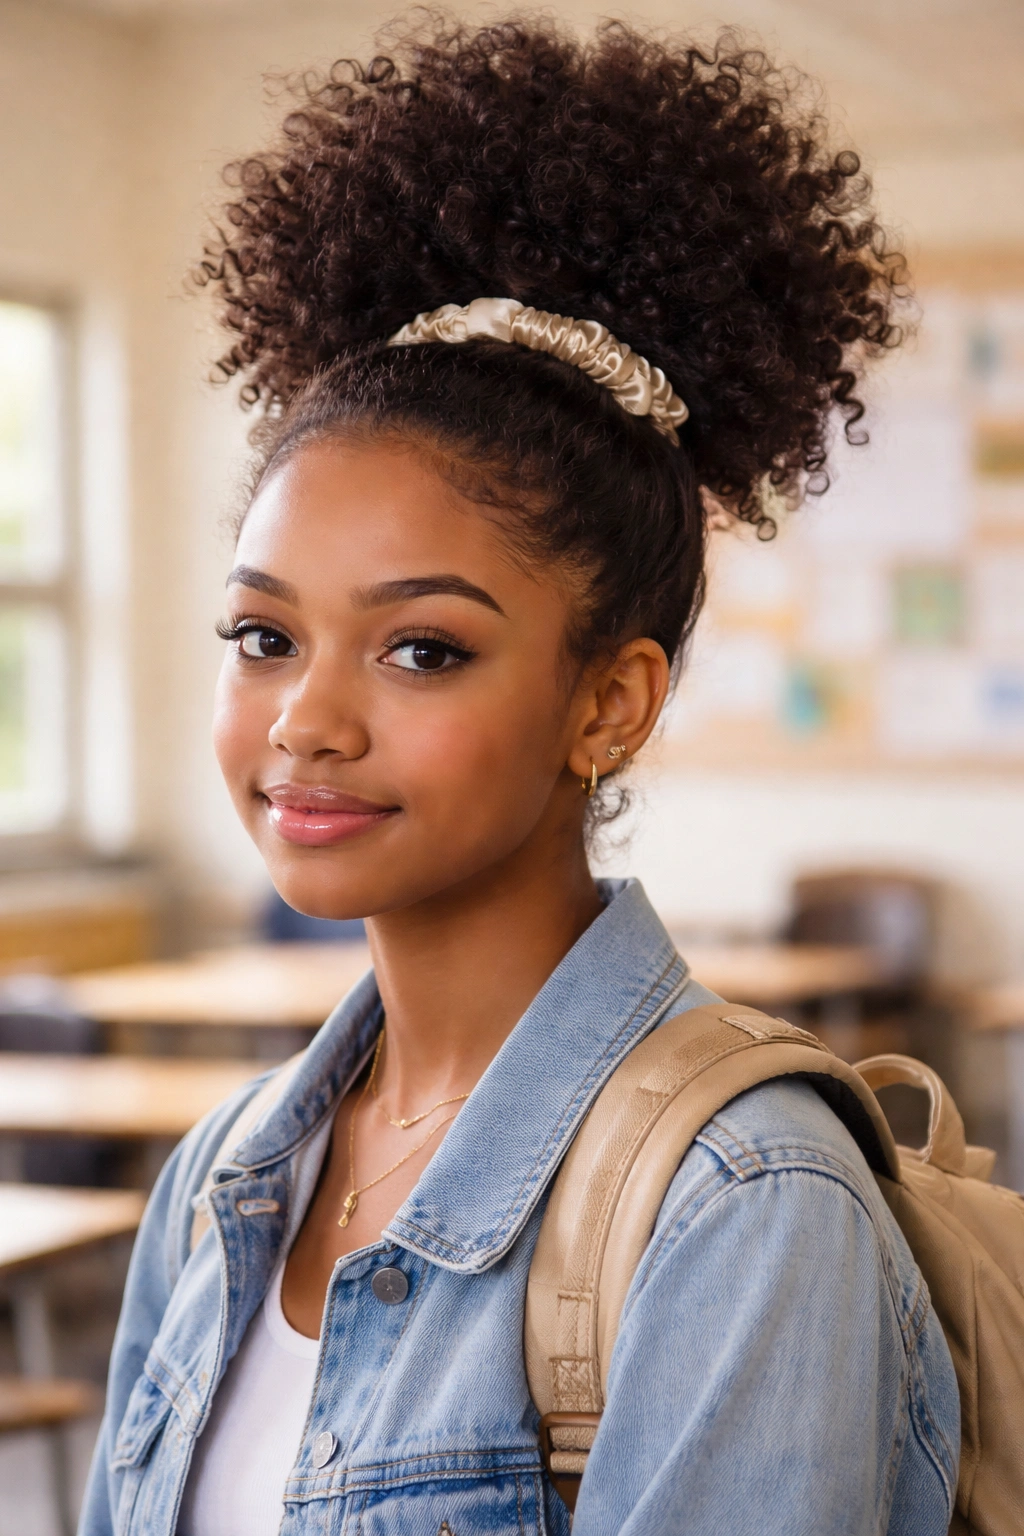
A high puff is the Swiss Army knife of curly hairstyles for school — it’s polished enough for class presentations, fun enough for casual days, and versatile enough that nobody gets bored seeing it. The magic is in how high you position it and what you add to dress it up or down depending on the vibe you’re going for that day.
How to Create the Perfect High Puff
Start with hair that’s either freshly washed or revived with a light mist of water and leave-in conditioner. Use a fine-tooth comb or a detangling brush to smooth the hair straight back from your face, then gather it into a high ponytail at the crown of your head — think where the very top of your head curves. Secure it with a stretchy hair tie (a silk or satin band is gentler than elastic and reduces breakage). Once the ponytail is secure, gently flip the length of your hair upward and outward, creating volume and that signature puff shape. The key is not flattening it — let your curls do the work.
Styling Ideas and Variations
- Classic and sleek: Use gel or mousse on the edges to smooth your hairline, then add a gold cuff or wrap around the base of the puff for instant polish
- Fun and playful: Skip the edge control and let baby curls frame your face, then wrap a colorful scarf or ribbon around the base
- Statement version: Secure multiple puffs (two on top, one lower) for a daring, textured look that photographs really well
- Shiny and defined: Apply a curl-defining cream to your ponytail before fluffing it out, which adds shine and keeps the puff bouncy and defined
Pro tip: This style works best on hair that’s at least one to two days post-wash — second or third-day hair has more grip and will hold the puff shape longer than freshly washed curls.
2. Two-Strand Twist-Out
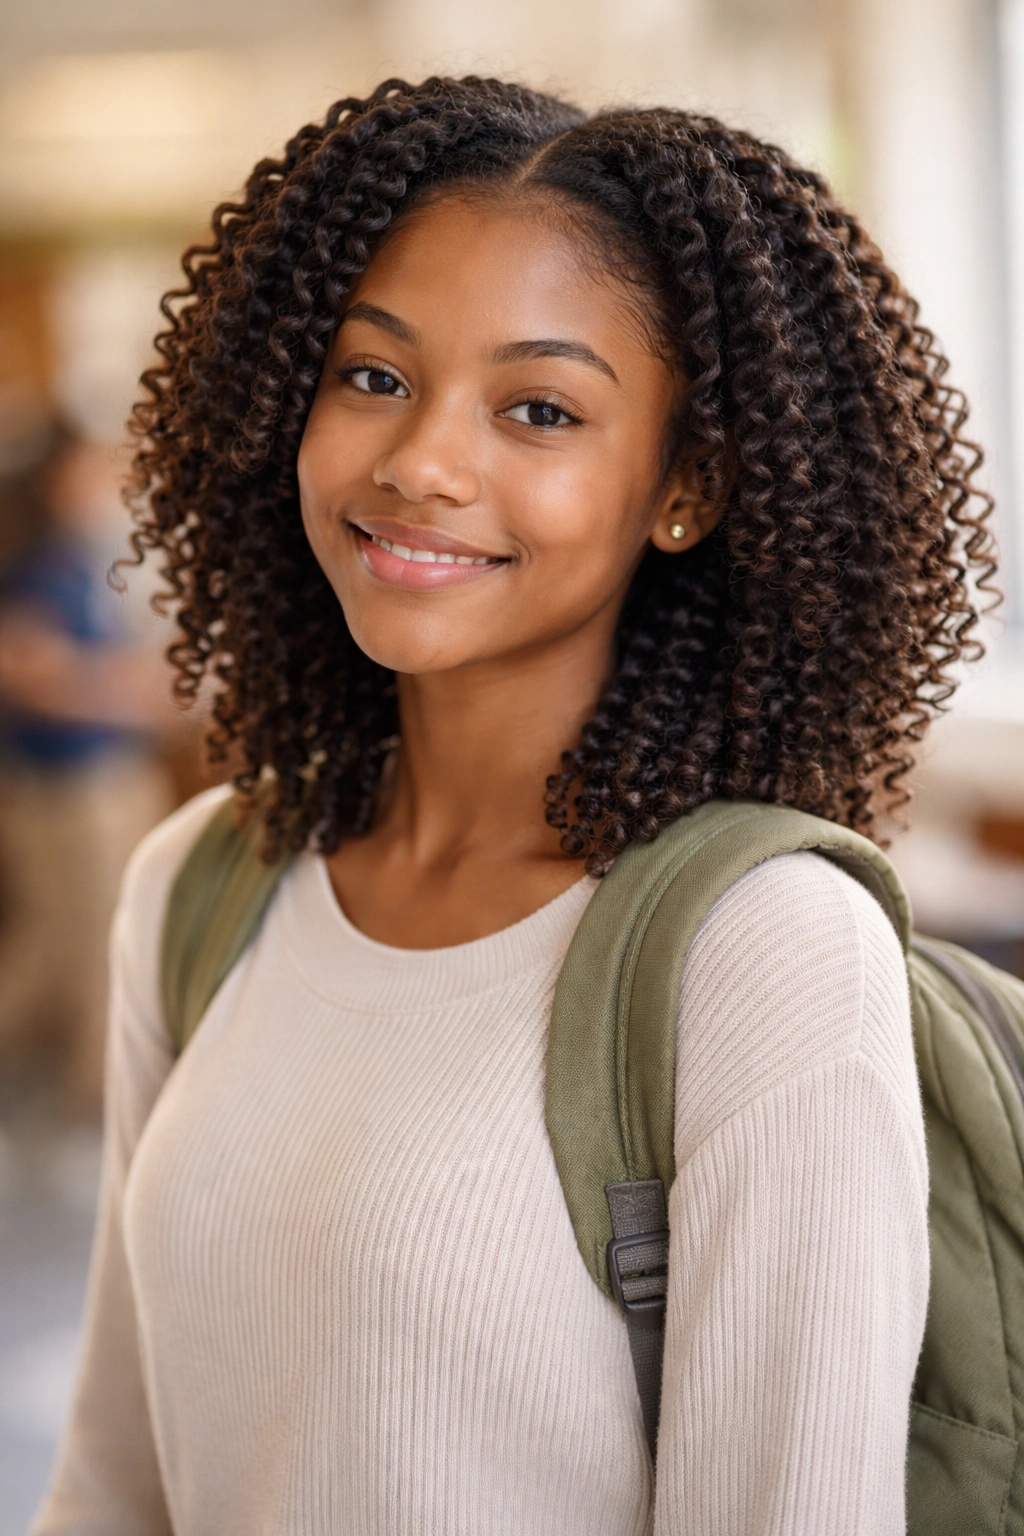
A twist-out is basically free texture styling. You twist small sections of your hair around each other while damp, let it dry or air-dry overnight, then untwist in the morning for bouncy, defined curls that look intentional and effortlessly cool. It’s not technically a new hairstyle on the day you wear it, but it’s a game-changing way to refresh your curls midweek without restyling from scratch.
The Two-Strand Twist Process
Divide damp hair into sections — start with six to eight larger sections if you’re doing a quick twist-out, or up to 20 if you have time and patience and want more defined curls. Take two subsections and twist them around each other going all the way down to the ends, keeping tension consistent so the twist stays even. As you twist, the hair naturally coils around itself and creates that beautiful defined pattern. Secure each twist at the bottom with a small clip or just tuck the end under. Let your hair dry completely — either air-dry overnight or use a diffuser on low heat for a few hours. Once dry, untwist gently starting from the bottom, and your curls will spring into beautiful, bouncy ringlets.
Why This Works for School
Two-strand twists are protective styling at its finest — you’re not using heat (except optionally), you’re not stretching your curls straight, and you’re actually encouraging definition and curl pattern clarity. The texture lasts days, so you can do this Sunday evening and have fresh-looking curls all the way through Thursday.
Common Mistakes to Avoid
- Twisting too loosely — this creates wispy, undefined curls instead of crisp spirals, so keep tension firm
- Untwisting while hair is still even slightly damp — wait until completely dry or your curls will frizz and lose definition
- Using too much product — keep it light; heavy products weigh down twists and prevent bouncy curls
Pro tip: Add a little curl-defining gel or mousse to each section before twisting for more staying power and enhanced definition, especially if your curls are on the looser side.
3. Braided Crown
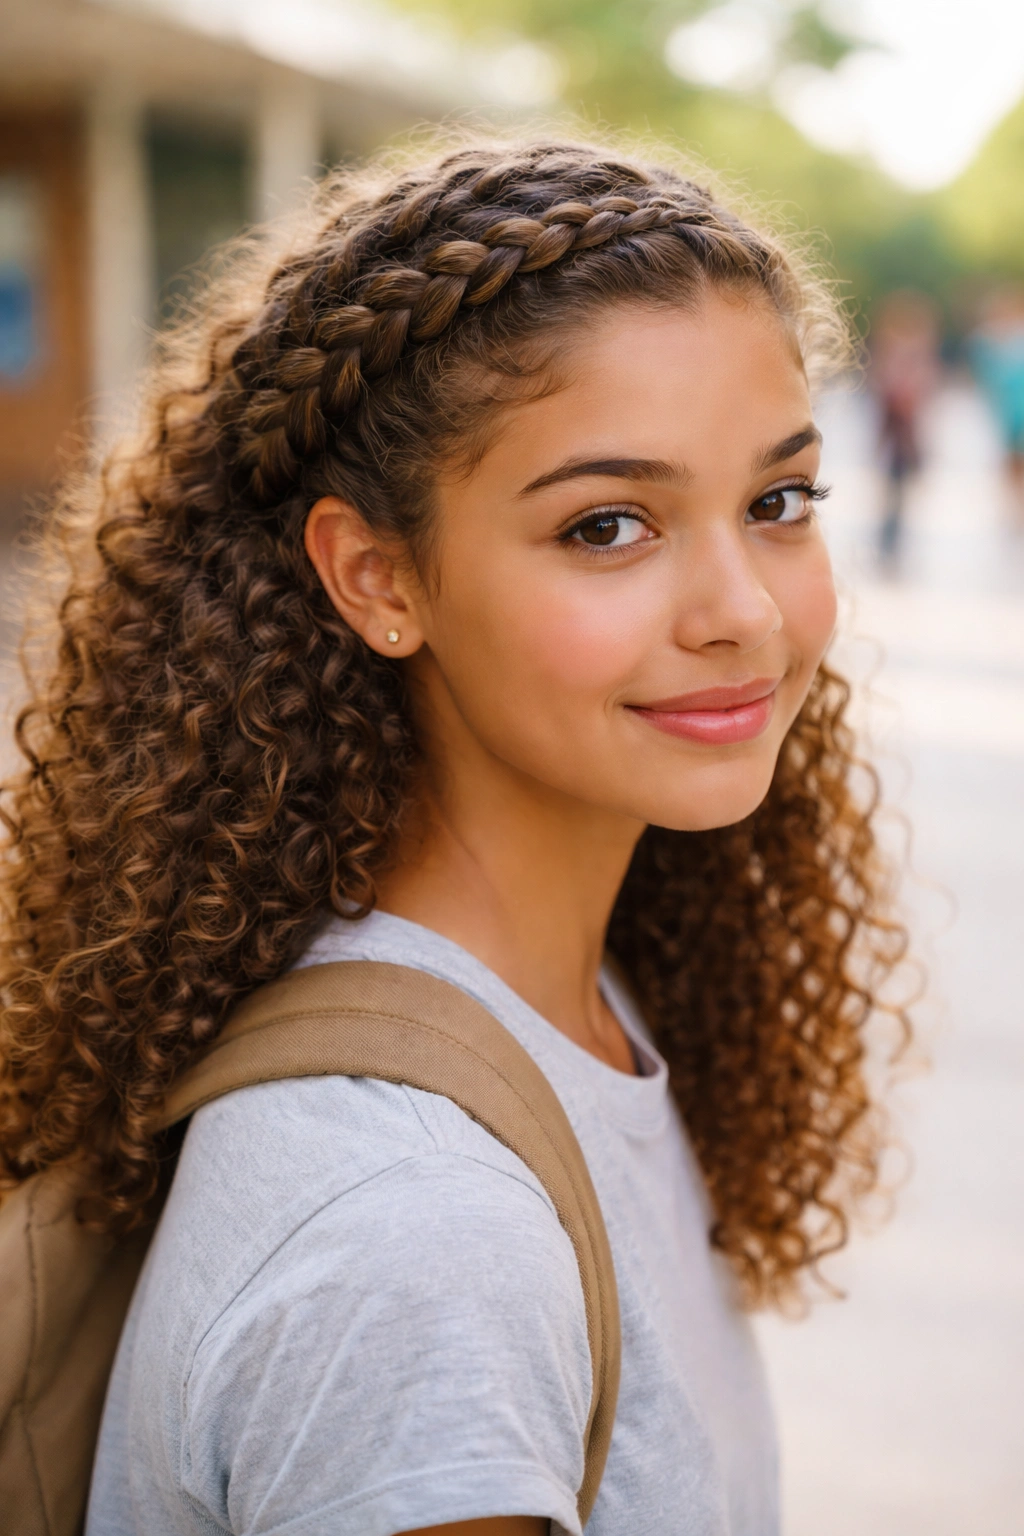
A braided crown is the red-carpet version of curly hair styling — it looks intricate and effortful, but once you master the basic technique, it takes maybe 10 minutes and holds all day. It’s fancy enough for school events, picture day, or presentations, but casual enough that you can wear it on a regular Tuesday without looking overdressed.
Creating a Crown Braid
Start with slightly damp or product-coated hair to reduce frizz and make braiding easier. Section off a piece of hair from one side of your head at temple level — make it about an inch thick. Begin a standard three-strand braid, but here’s the key: instead of braiding straight back toward the back of your head, angle the braid slightly upward and across toward the opposite ear. As you braid, you can add small sections of hair in (a technique called “feed-in braiding”) to make the braid thicker and more decorative. Once you reach the opposite side of your head, secure the end with a small clip or band. For extra polish, gently pull on the edges of the braid to loosen it slightly — this makes it look fuller and more textured.
Styling Variations
- Single crown: One braid arching from ear to ear across the back
- Double crowns: Two parallel braids for a more playful look
- Half-up crown: Braid just the top section and let the rest of your curls flow freely below
- Accessorized: Weave a thin ribbon or add small beads into the braid as you go
What Makes This Protective
Braids protect your curls by keeping them contained and reducing friction as you move around school. The braid itself doesn’t straighten your curls — it actually showcases your natural texture while keeping it manageable and neat.
Pro tip: If you find three-strand braiding intimidating, try two-strand braids instead — they’re just as beautiful and honestly easier to control, especially with curly hair that has more texture to work with.
4. Half-Up Half-Down with Clips
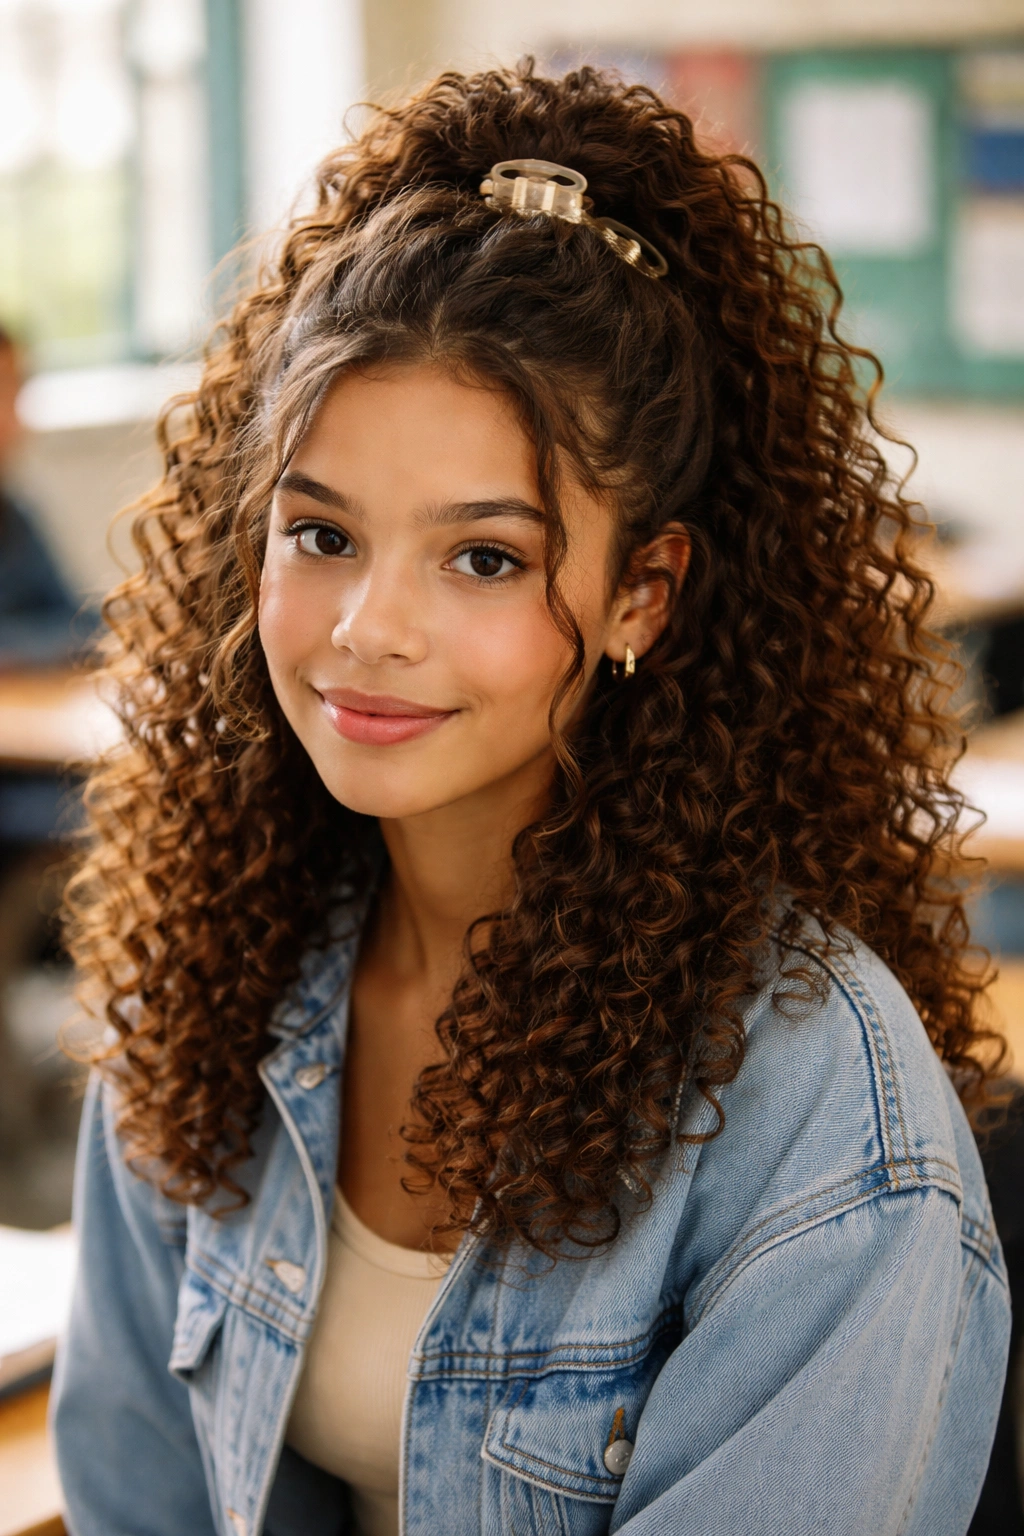
This is the hairstyle of maximum freedom — your curls are down and visible, but the top is secured so your hair won’t constantly fall in your face during a test or while you’re reading. Add some cute clips, and suddenly you’ve gone from “managed” to “intentional styling.”
The Half-Up Technique with Curly Hair
Flip your head upside down and run your fingers through your curls to add volume to the crown, then flip back up. Section off the hair from ear to ear across the top of your head — think of it as an invisible line going from one ear, up and over the highest point of your head, down to the other ear. Gather this section back gently and secure it with a clip, a claw clip, or a ponytail elastic. The half-up section should sit at the crown of your head, not so high that it looks awkward and not so low that you can’t see what’s on your desk. Leave the bottom half of your hair down and free to show off your curls.
Accessory Ideas for Impact
- Claw clips: One large tortoiseshell or metallic claw clip positioned at the back can be enough, or use two smaller clips side-by-side for a trendy double-clip look
- Decorative bobby pins: Cross two bobby pins into an X-shape at the base of your half-up section for a subtle detail that looks intentional
- Ribbon or scarf tie: Wrap a ribbon around the base of your half-up section and tie it in a bow for a romantic, polished finish
- Hair sticks or forks: If you’re feeling adventurous, secure your half-up with a decorative hair stick — it’s visually striking and surprisingly effective
Why This Works for Curly Hair
This style respects your curl pattern. It’s not trying to fight your texture or flatten it into something it’s not — it’s just managing the practical issue of hair in your face while letting your curls shine below.
Pro tip: Use clips or ties that match your skin tone or match an accent color in your outfit — it’ll look more intentional and polished than a clip that stands out obviously against your hair.
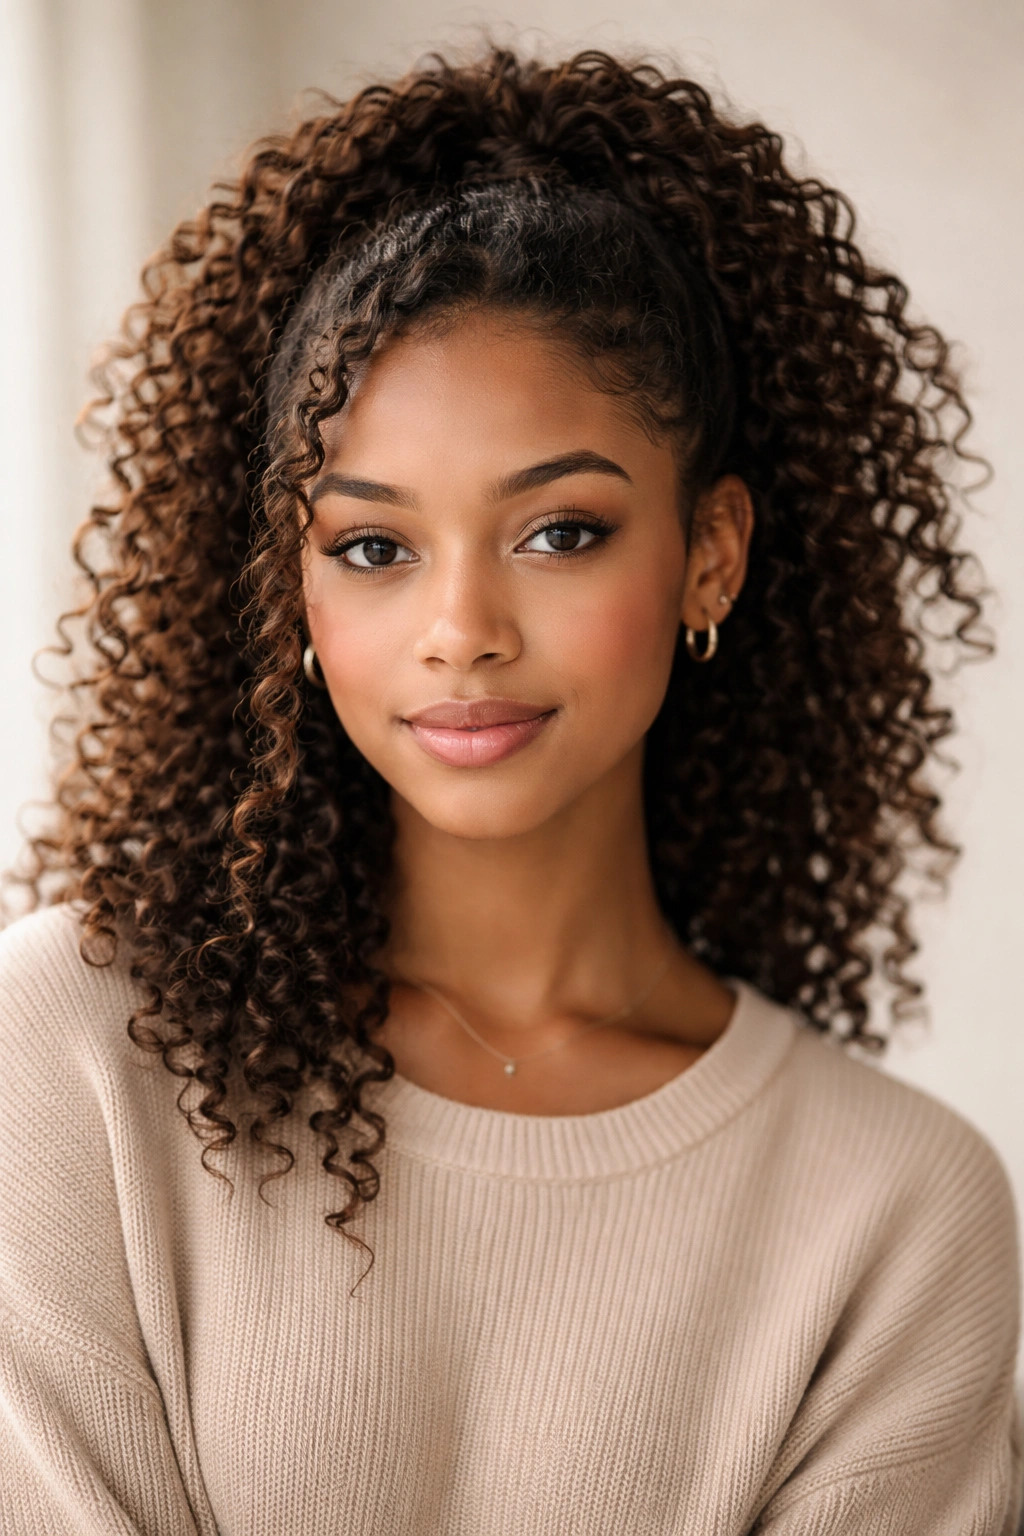
5. Defined Wash-and-Go
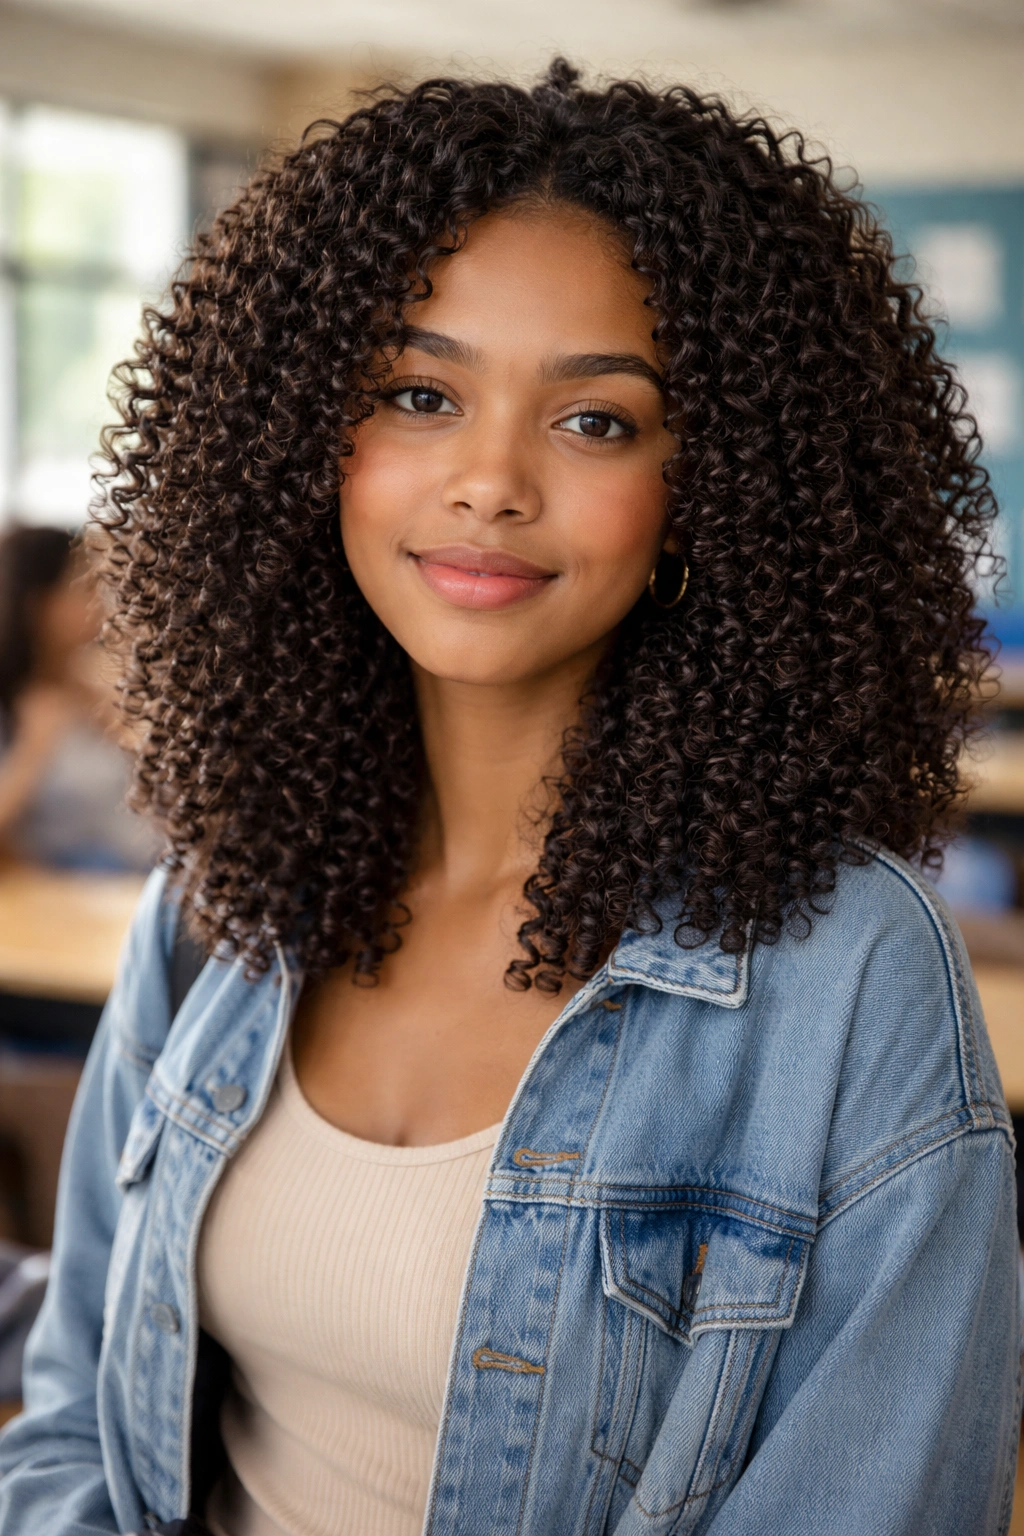
The wash-and-go is the holy grail of curly hair styling because it’s not really styling at all — it’s just your curls at their most gorgeous, unmanipulated, and natural. The secret is in the products and technique, not in complicated steps. With the right approach, your hair air-dries into defined, bouncy curls that look undone but actually incredibly polished.
Building the Wash-and-Go Foundation
Start fresh with shampooed hair — use a cleansing product that works with your curls, not against them (sulfate-free is ideal since sulfates can dry out curls). While your hair is still soaking wet, apply a leave-in conditioner first, running it through with your fingers to coat every strand. Then apply your styling product — this might be a curl cream, a gel, a mousse, or a combination. The key is using enough product that your curls feel slick and defined, but not so much that they feel crunchy or weighed down when they dry. Use the praying hands method (clapping the product between your hands and smoothing it over sections of hair) or scrunching (cupping sections of hair in your hands and gently squeezing the product in). Make sure every curl is coated.
Drying for Best Results
Gently squeeze out excess water with a cotton t-shirt or microfiber towel — never rub or wring, which breaks curl patterns. Depending on your time and your hair’s speed, you can air-dry completely (takes a few hours but uses zero heat) or use a diffuser attachment on a blow dryer set to low or medium heat. If you’re diffusing, flip your head upside down, position sections of your hair in the diffuser cup, and let the diffuser do the work without moving it around too much. Once your hair is about 80% dry, you can let it finish air-drying, which prevents heat damage and frizz.
The Morning After
By morning, your hair should be completely dry with defined, separated curls. If it’s lost some definition overnight or feels a bit frizzy, a light mist of water and a quick scrunch reactivates the product and refreshes the curls. This is the low-manipulation, low-effort way to beautiful curls.
Pro tip: Sleeping on a satin pillowcase or in a satin bonnet prevents frizz and curl compression overnight, so your wash-and-go looks fresh when you wake up instead of flattened on one side.
6. Twisted Side Ponytail
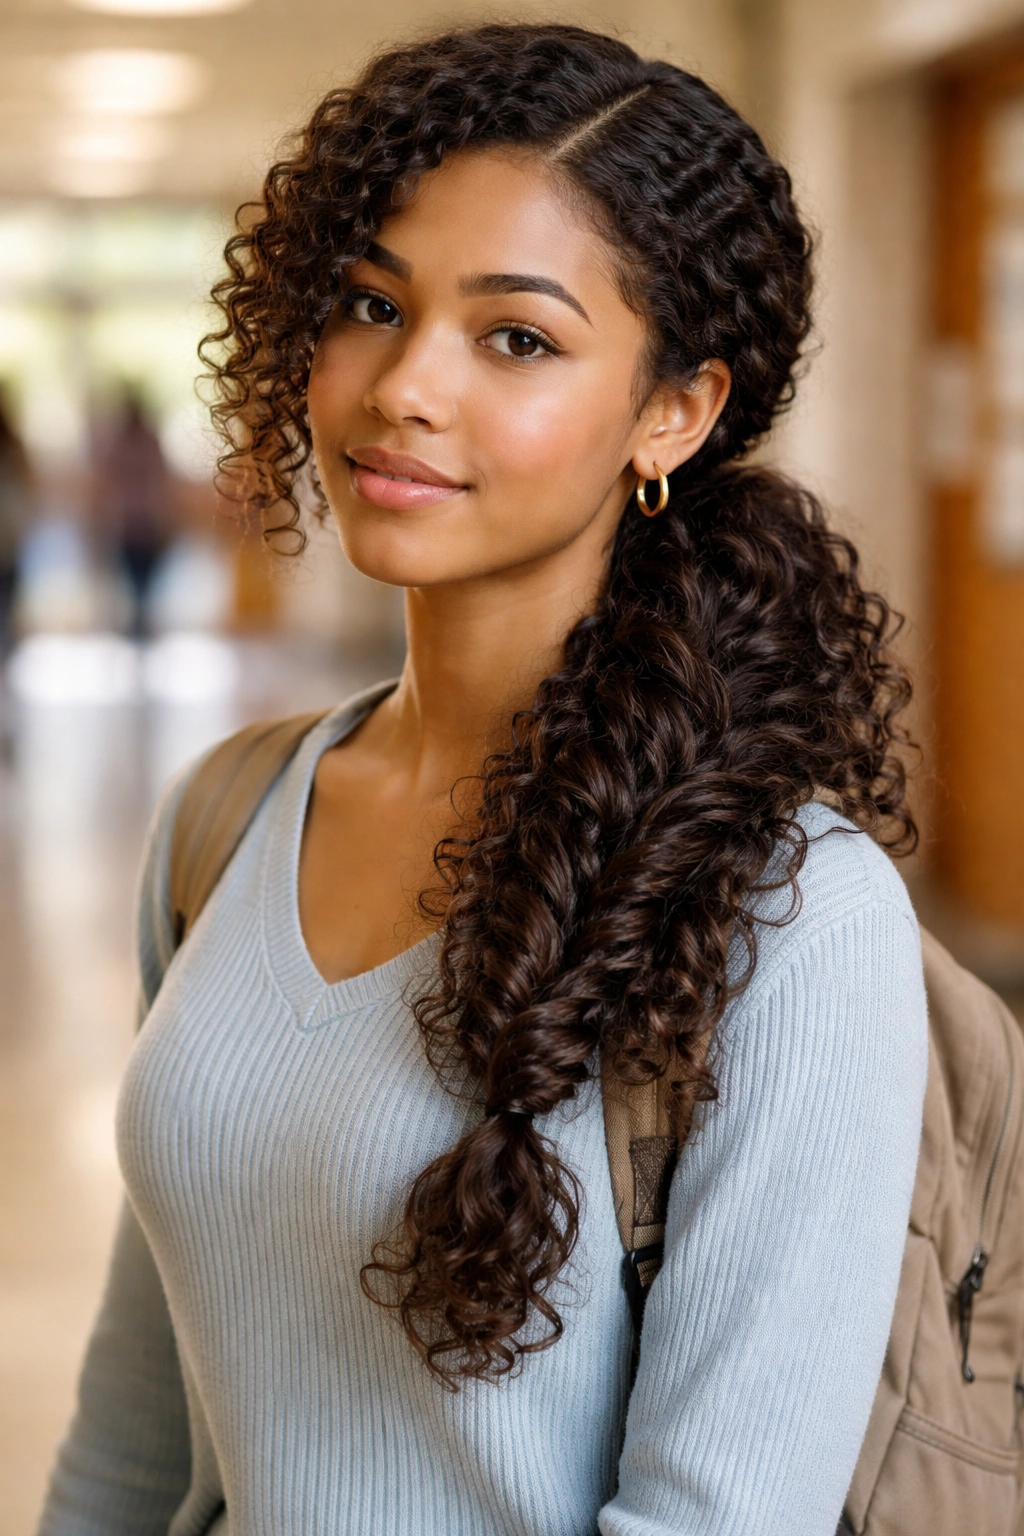
A twisted side ponytail combines movement and structure in the perfect school hairstyle balance. The twists add visual texture and effort, but the side positioning and ponytail format keep everything neat and contained. It’s feminine without being fussy, and it works for casual days and more dressed-up occasions.
Creating the Twisted Side Ponytail
Brush or finger-comb your curls to smooth them out gently, then create a deep side part — run a comb or your finger from one side of your head to the other, angling slightly toward the back. Gather your hair to the side where you want the ponytail (usually the side with more volume from the part). Before you secure it into a ponytail, divide the gathered section into three to four smaller strands and twist each one individually — twist firmly so the twists stay defined. As you twist, you can add small pieces of loose hair from the sides, which makes the style look more intentional and intricate. Once all the twists are secure, gather them together at the side of your head and secure with an elastic. The twists should spiral around and into the ponytail, creating texture and visual interest.
Styling Variations
- Low and loose: Position the ponytail lower on the side, closer to your ear, for a relaxed, weekend vibe
- High and perky: Gather at the crown area and twist more tightly for a polished, structured look perfect for presentations
- Curly ends: Leave the ponytail tail loose and untwisted so your curls flow from the base of the ponytail
- Sleek edges: Smooth baby hairs and edges with gel for a more refined appearance
Why This Works for Active School Days
The twisted side ponytail keeps hair off your face and neck (great if you have a heavy backpack or get warm easily), while the twists add enough texture that it looks intentional and cute, not just “hair in a ponytail.”
Pro tip: Twist slightly tighter than you normally would — twists naturally loosen a bit as the day goes on, so starting tight means your style lasts through the end of school without looking floppy by 3 p.m.
7. Sleek Bun with Edges
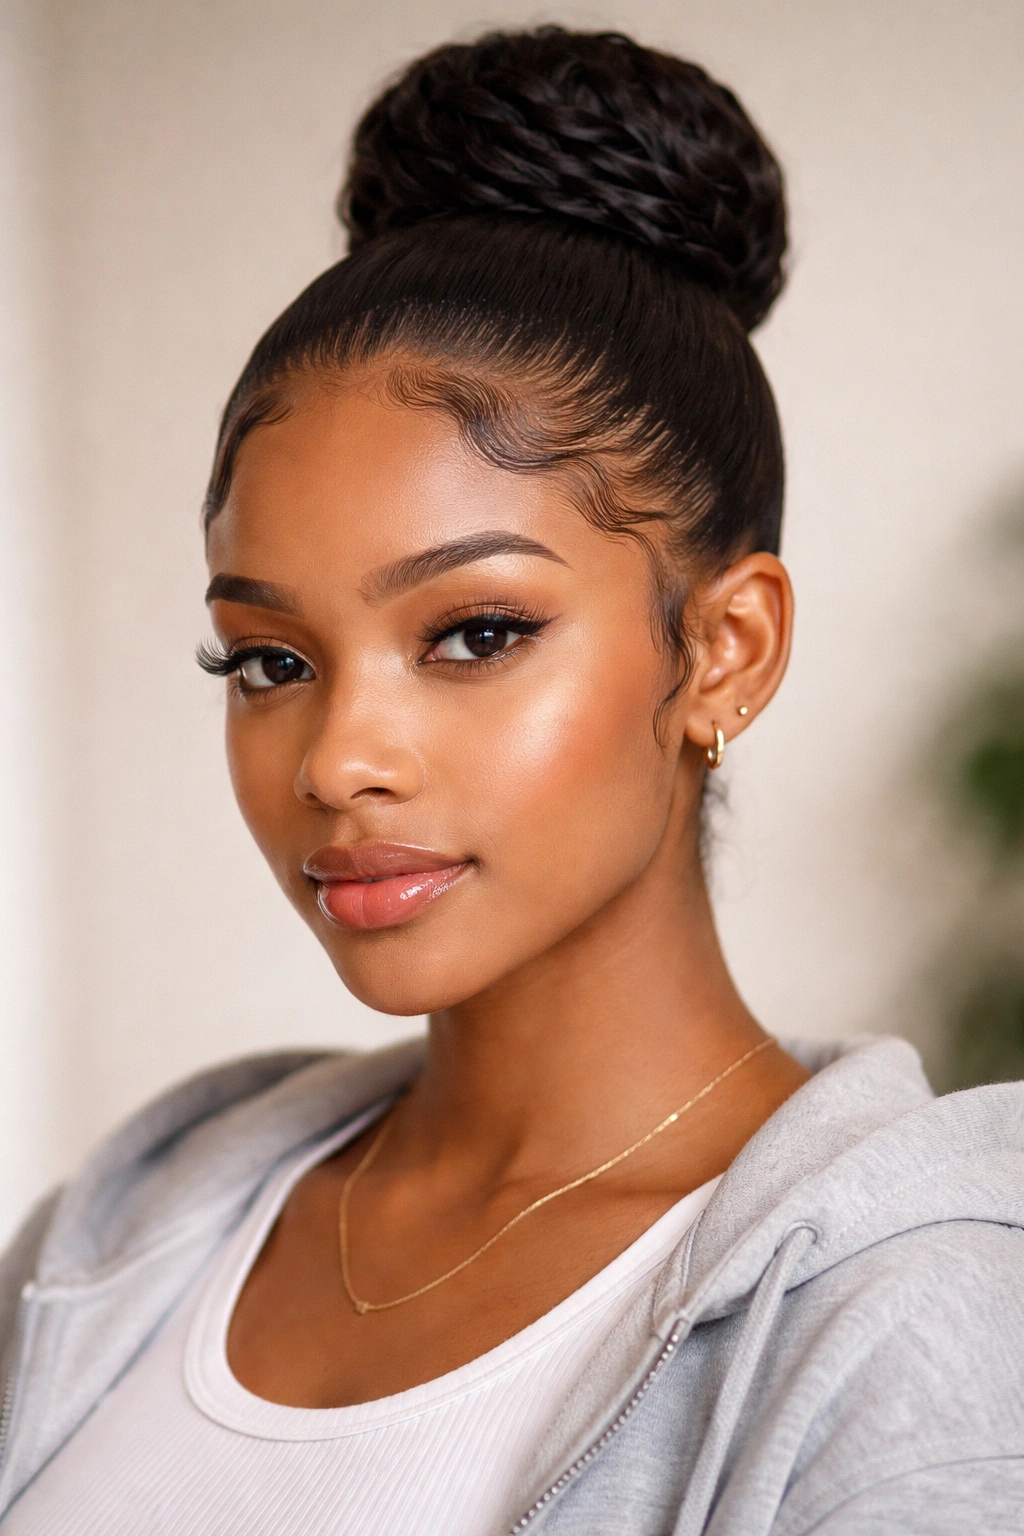
A sleek bun is proof that simple and polished aren’t mutually exclusive. The whole vibe is clean and composed, which reads as mature and intentional. Paired with smooth, defined edges, it’s the kind of hairstyle that works for a normal day and also for performances, competitions, or any time you need to look especially put-together.
Creating a Sleek, Smooth Bun
Start with hair that’s at least one day old — freshly washed hair doesn’t have enough grip and will slip out of a bun. Brush your curls into a high or low ponytail depending on the effect you want (high ponytail = sleek bun at the crown, low ponytail = bun at the nape of the neck). Apply a smoothing gel or edge control to your ponytail to tame flyaways and define the shape. Twist or coil the ponytail length around the base of the elastic, tucking the ends underneath, and secure with bobby pins. The bun should feel smooth and compact, not fluffy. Once the bun is secure, apply edge control or gel to your hairline and use a small brush or your fingers to smooth those baby hairs down and into the bun’s shape.
Defining Your Edges Like a Pro
Edges are the finishing touch that elevates a bun from casual to polished. Use a gel-based edge control — something with real hold, not just shine. Apply a small amount to your hairline, part line, and the back of your neck, then use a fine-toothed brush or an old toothbrush to brush the hair smooth and into a defined, geometric shape. You want clear lines and smooth coverage. This takes practice, but once you nail it, your whole hairstyle looks intentional and professional.
Why This Style Is Low-Maintenance All Day
Once the bun is twisted tight and secured, it’s not going anywhere. You don’t need to worry about it during gym class, lunch outside, or an afternoon recess. The sleek finish also photographs well if you’re getting pictures taken at school.
Pro tip: If your edges are shorter and harder to control, try applying edge control in sections and using a small silk scarf or cloth wrapped around your hairline for 10 minutes to “set” the edges while the product dries.
8. Curly Braids with Beads
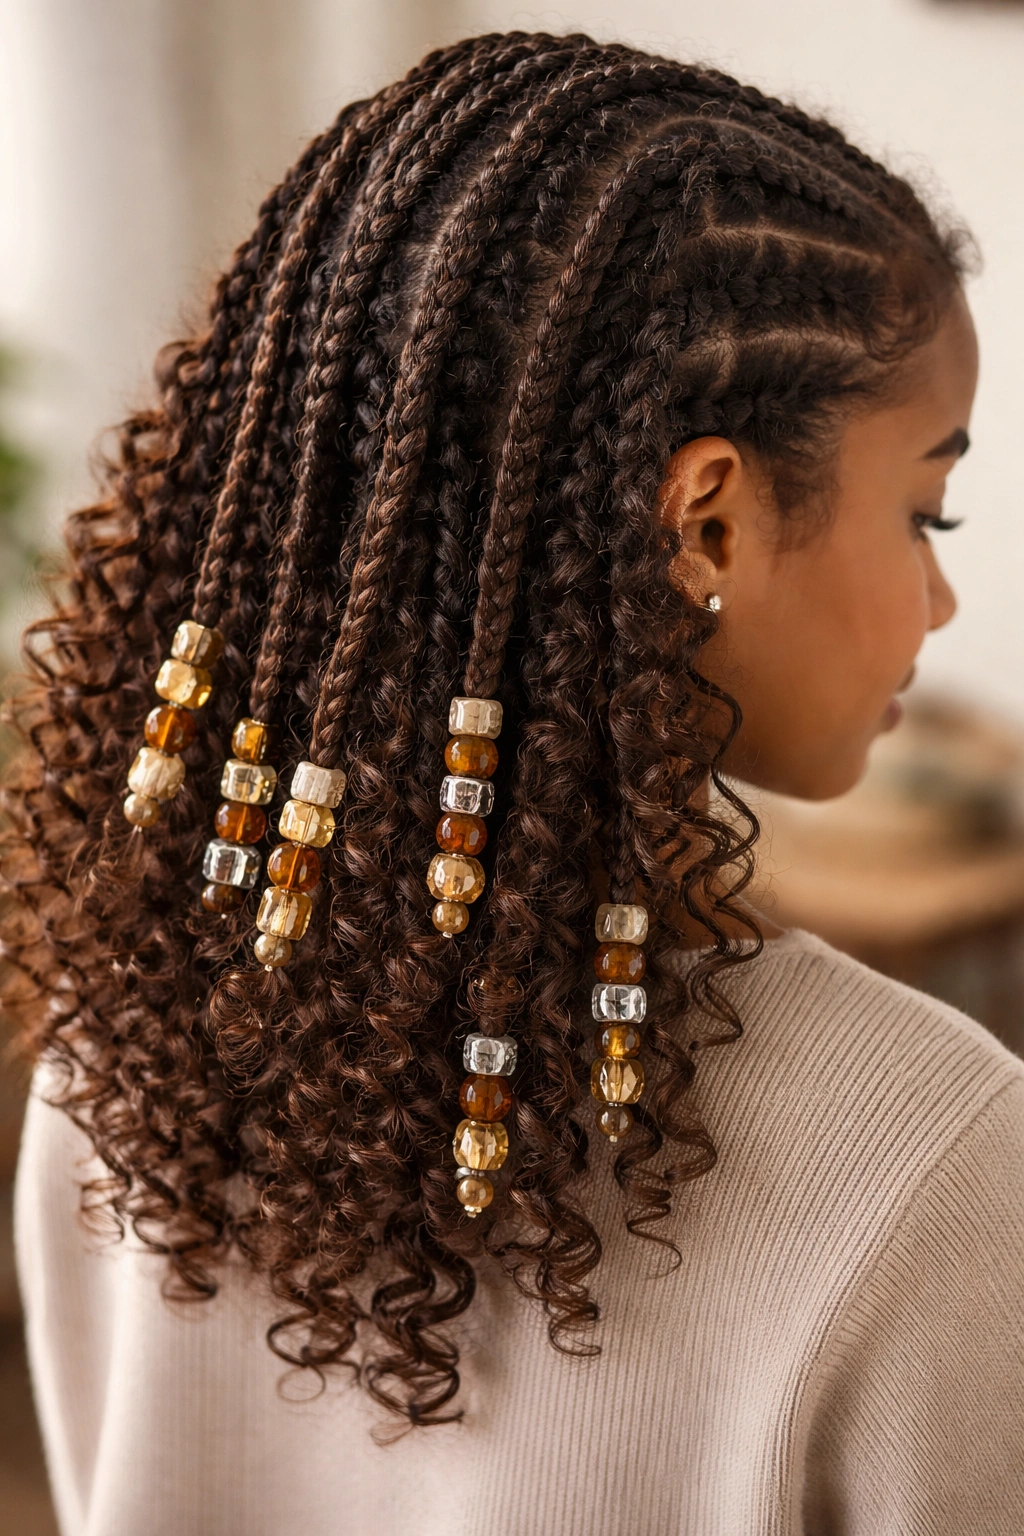
Braids with beads are where function meets fashion. The beads add visual impact and personality to your style, plus they’re actually helpful — they keep the ends of braids from unraveling and add weight that keeps braids in place. You can choose beads that match your school colors, your favorite colors, or mix metals for a cool eclectic look.
The Braiding Foundation
You can work with two-strand braids, three-strand braids, or even more complex patterns depending on your comfort level and time. For a beginner-friendly approach, two-strand braids are actually stunning with curly hair and easier to manage than three-strand. Section your hair into however many braids you want — four to six braids creates a full, textured look without taking forever. Braid each section firmly from root to tip, keeping consistent tension so braids are even. As you approach the end of each braid, leave about an inch unbraided so you can thread beads onto that loose section.
Adding Beads for Style and Function
Choose beads with holes large enough for your hair strands to pass through — metal cuff beads, wooden beads, or plastic decorative beads all work. Slide beads up the unbraided section at the end of each braid, bunching them together or spacing them out depending on the look you want. Once the beads are positioned, wrap a small elastic around the very tip of the braid, which secures both the braid and the beads. The weight of the beads actually helps keep the braids tight and neat throughout the day.
Styling Variations
- All-over braids: Braid your entire head in small sections for a protective style that lasts days
- Scattered braids: Mix braided and unbraided sections for a playful, less structured look
- Color-coordinated beads: Choose metallic beads to match jewelry or warm-toned beads to complement your skin tone
- Geometric patterns: Use beads of different sizes or colors in a specific pattern for a design-forward vibe
The Protective Benefit
Braids with beads are a legitimate protective style — they keep your curls contained and minimize daily manipulation, which lets your hair stay healthier and retain length over time. Plus, you can sleep in them and reactivate them the next morning with a light spritz of water.
Pro tip: Don’t braid too close to your scalp — leave a little space at the root so you’re not putting constant tension on your hair, which can eventually lead to breakage.
9. Twisted Headwrap Style
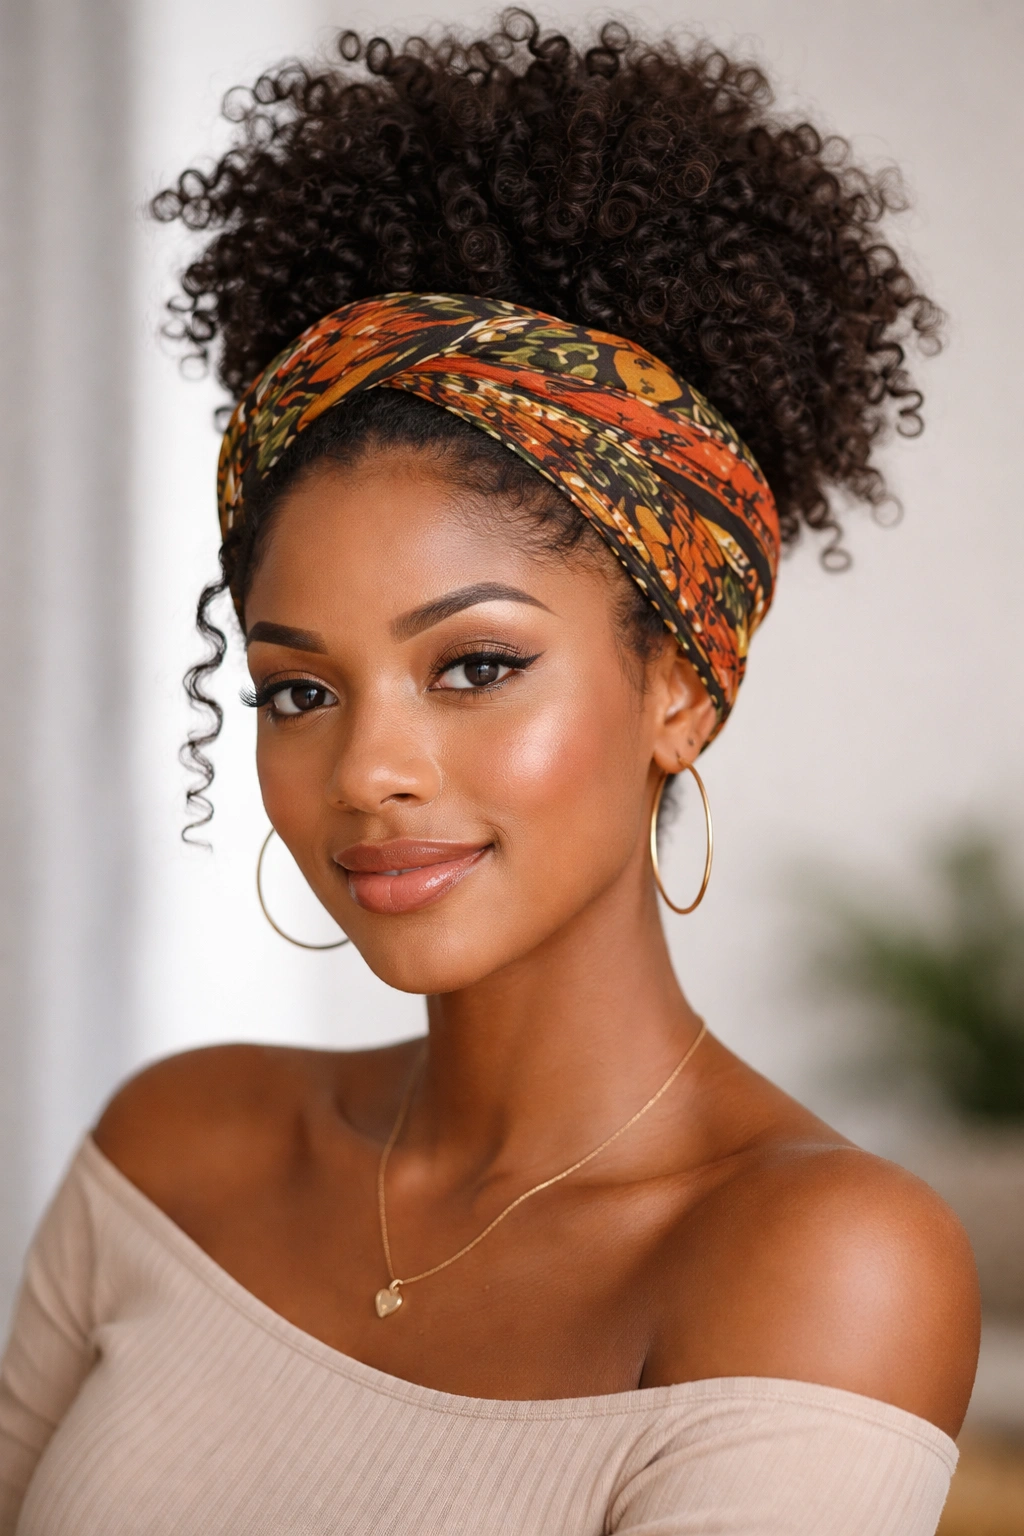
A twisted headwrap is inspired by cultural traditions and absolutely gorgeous on curly hair. You’re taking your natural curls and wrapping them with fabric to create a statement style that’s both practical and beautiful. It keeps your hair completely protected while looking intentional and stylish — this is not a “hiding my hair” move, it’s a “styling my hair” move.
Securing Your Curls Before Wrapping
Start with curls that are either freshly styled with product or fresh out of a protective style like twists or braids. If they need a refresh, mist lightly with water and apply a curl-refreshing product. Gather your curls into a puff or ponytail at the crown of your head — this is your foundation. The tighter and more secure this base, the more stable your wrap will be throughout the day. You can use a silk or satin scrunchie to secure it, which protects your hair and prevents creasing.
The Wrapping Technique
Take a fabric headwrap or a large scarf (cotton, linen, silk, or blended fabrics all work — avoid rough fabrics that’ll cause frizz). Center the wrap at your hairline or slightly back from it, depending on how much of your forehead you want covered. Cross the two ends of the wrap at the back of your head, then bring one end back around to the front, tuck it, and secure with a pin. The wrap should feel snug but not painfully tight. Adjust the gathering of the puff so it’s visible and beautiful — the wrap is just framing and securing, not flattening your curls. You can tuck the loose ends of the wrap into itself or tie them at the back in a knot or bow.
Making It Your Own
- Color coordination: Choose wraps that match your outfit or school colors
- Pattern mixing: Pair a patterned wrap with solid clothes, or solid wrap with patterned outfits
- Layered look: Use a smaller decorative wrap or headband over a larger protective wrap
- Topped with accessories: Add a hair clip, comb, or pins to the front of the wrap for extra flair
Why Teachers and Parents Love This
A headwrap style is clearly intentional and respectful, which means it reads as appropriate even in school settings that can be particular about hairstyles. You’re not hiding your hair — you’re styling it with cultural awareness and confidence.
Pro tip: Invest in a few quality wraps made of natural fibers — they feel better against your hair, they look more polished, and they last longer than cheaper alternatives.
10. Bantu Knots into a Protective Style
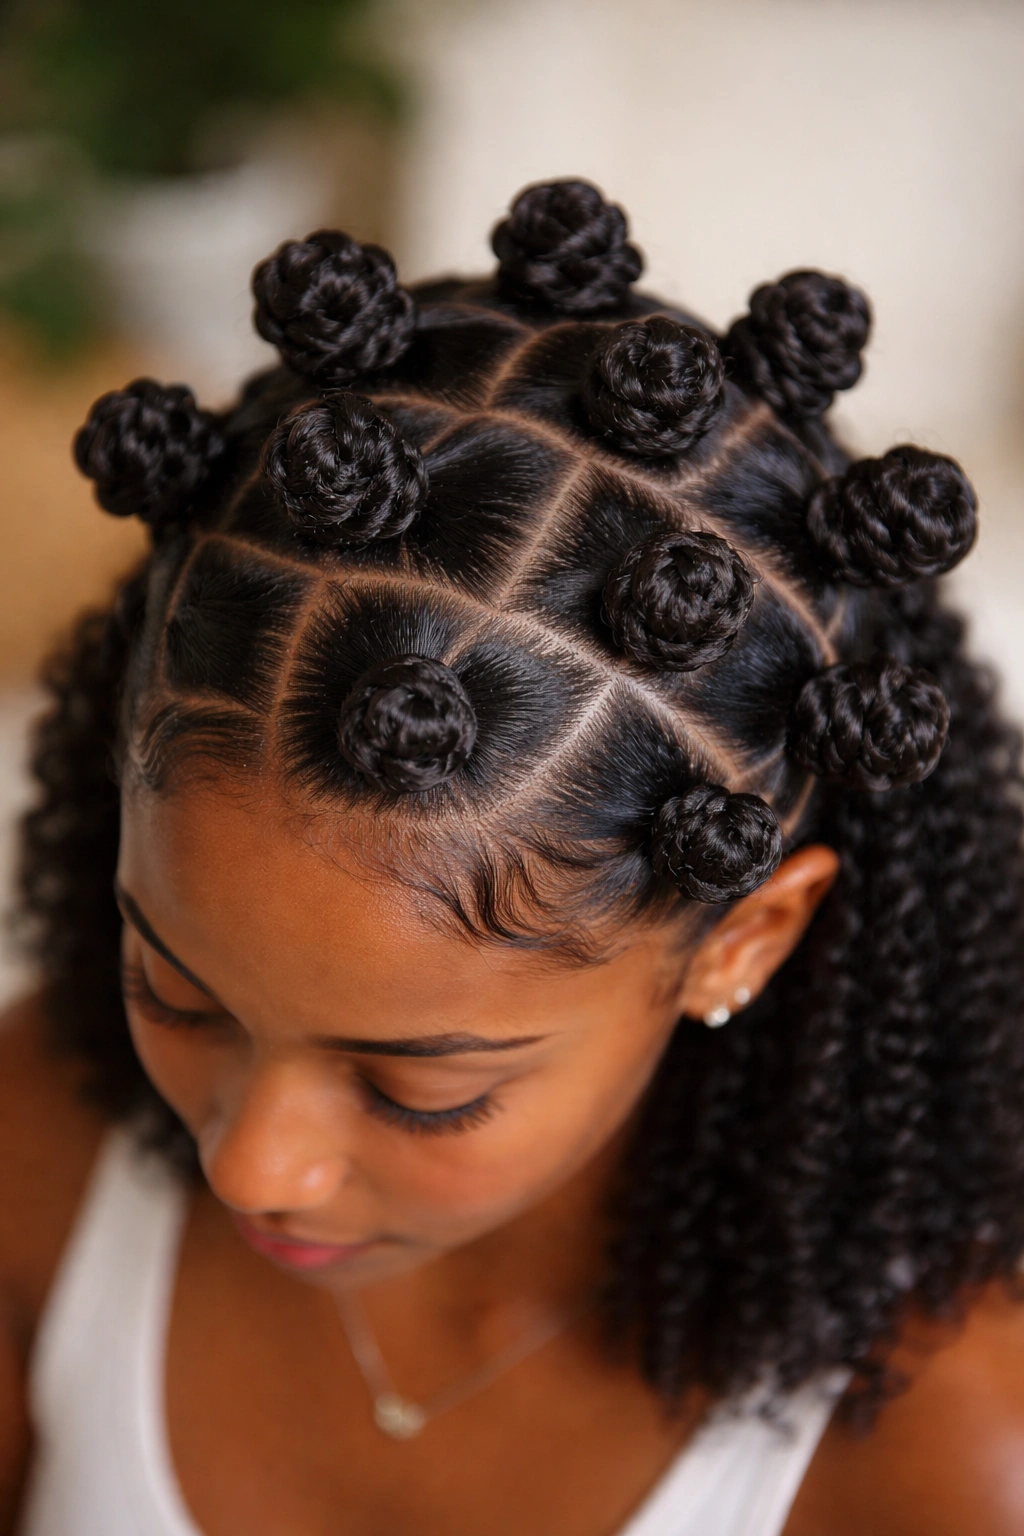
Bantu knots are a beautiful West African hairstyle where you twist or braid small sections of hair and coil them into knots on your scalp. Worn as is, they’re cute and geometric. But the real magic happens when you leave them in overnight and unravel them in the morning — you get bouncy, defined spiral curls that last days. They’re a protective styling technique that also produces gorgeous results.
The Bantu Knot Process
Section your hair into small subsections — eight to twelve knots is typical, depending on your hair thickness and how much time you have. Take one section and braid or two-strand twist it from root to tip, keeping the twist tight and consistent. Once you’ve twisted the entire section, coil it around itself at the base to create a knot shape, then secure it with bobby pins tucked underneath so they’re not visible. Repeat for every section. Your whole head should be covered in little knots that look geometric and intentional. You can wear them like this if you want — Bantu knots as a style are genuinely cute and fashion-forward.
Unraveling Into Spirals
If you’re doing knots overnight (leave them in while you sleep), by morning they’ll be set in a spiral pattern. Carefully unravel each knot starting from the bottom, gently separating the spirals as you go. Your hair will spring into beautiful, defined coils that look absolutely stunning. This style lasts days if you don’t manipulate it too much — you can refresh it with a light spritz of water and it springs right back.
Why This Works for Busy School Weeks
You can do your Bantu knots Sunday evening, sleep in them, wake up Monday with gorgeous curls, and coast through the whole week without restyling. It’s protective styling that doesn’t sacrifice cuteness. Plus, you can take the knots down halfway through the week if you want a different style without having to restyle from scratch.
Variations for Different Looks
- Smaller knots, tighter spirals: More knots mean more defined, tighter coils when unraveled
- Larger knots, looser waves: Fewer, bigger knots create looser, wavier texture
- Mixed sizes: Combine different-sized knots for a less uniform, more organic look
- Worn as knots: Skip the unraveling stage and rock the Bantu knots as your actual style — they’re bold and beautiful
Pro tip: Use small elastics at the tips of your twists before coiling them into knots — this prevents unraveling and helps the spirals stay crisp longer.
Final Thoughts
Your curly hair isn’t something to manage around — it’s genuinely one of your biggest style assets. Every single hairstyle in this guide works with your natural texture rather than fighting it, which means your curls stay healthier, your style lasts longer, and you actually feel confident wearing it.
The practical reality is that most of these styles can be done in 10 to 20 minutes once you’ve practiced a few times. You’ll find two or three that become your go-to moves, the ones you reach for on school mornings when you want to look intentional without spending an hour on your hair. The other styles are there for when you want to switch things up, impress on picture day, or feel extra confident during a presentation.
What matters most is choosing styles that make you feel good. If a hairstyle makes you feel cute, confident, and like yourself, you’re going to wear it better and feel better wearing it — and that energy is what actually makes the style shine.