Short curly hair is deceptively versatile. While many people with curls feel trapped between growing out their hair or accepting less-than-ideal texture when it’s short, the truth is that a well-chosen cut and styling approach can unlock styles that are equally chic, easier to manage, and honestly just more fun to wear. The key is understanding which cuts complement your specific curl pattern and knowing how to style them in ways that make your curls pop rather than fight against them.
What makes styling short curly hair different is that you’re working with a compressed curl pattern. The shorter the hair, the tighter the coils appear, which means more volume, more defined texture, and often less frizz than you’d have with longer curls. That density is actually a gift—it gives you a foundation for styles that longer-haired folks can only dream of. But it also means the wrong cut or styling technique can make your hair look limp, undefined, or even angular instead of soft.
The styles below work across different curl types—from looser waves to tight coils—because I’ve focused on cuts and techniques that enhance curl definition and create genuine structure. Each one includes the exact approach to styling, the products that matter most, and the maintenance rhythm that keeps these styles looking intentional and polished rather than accidental.
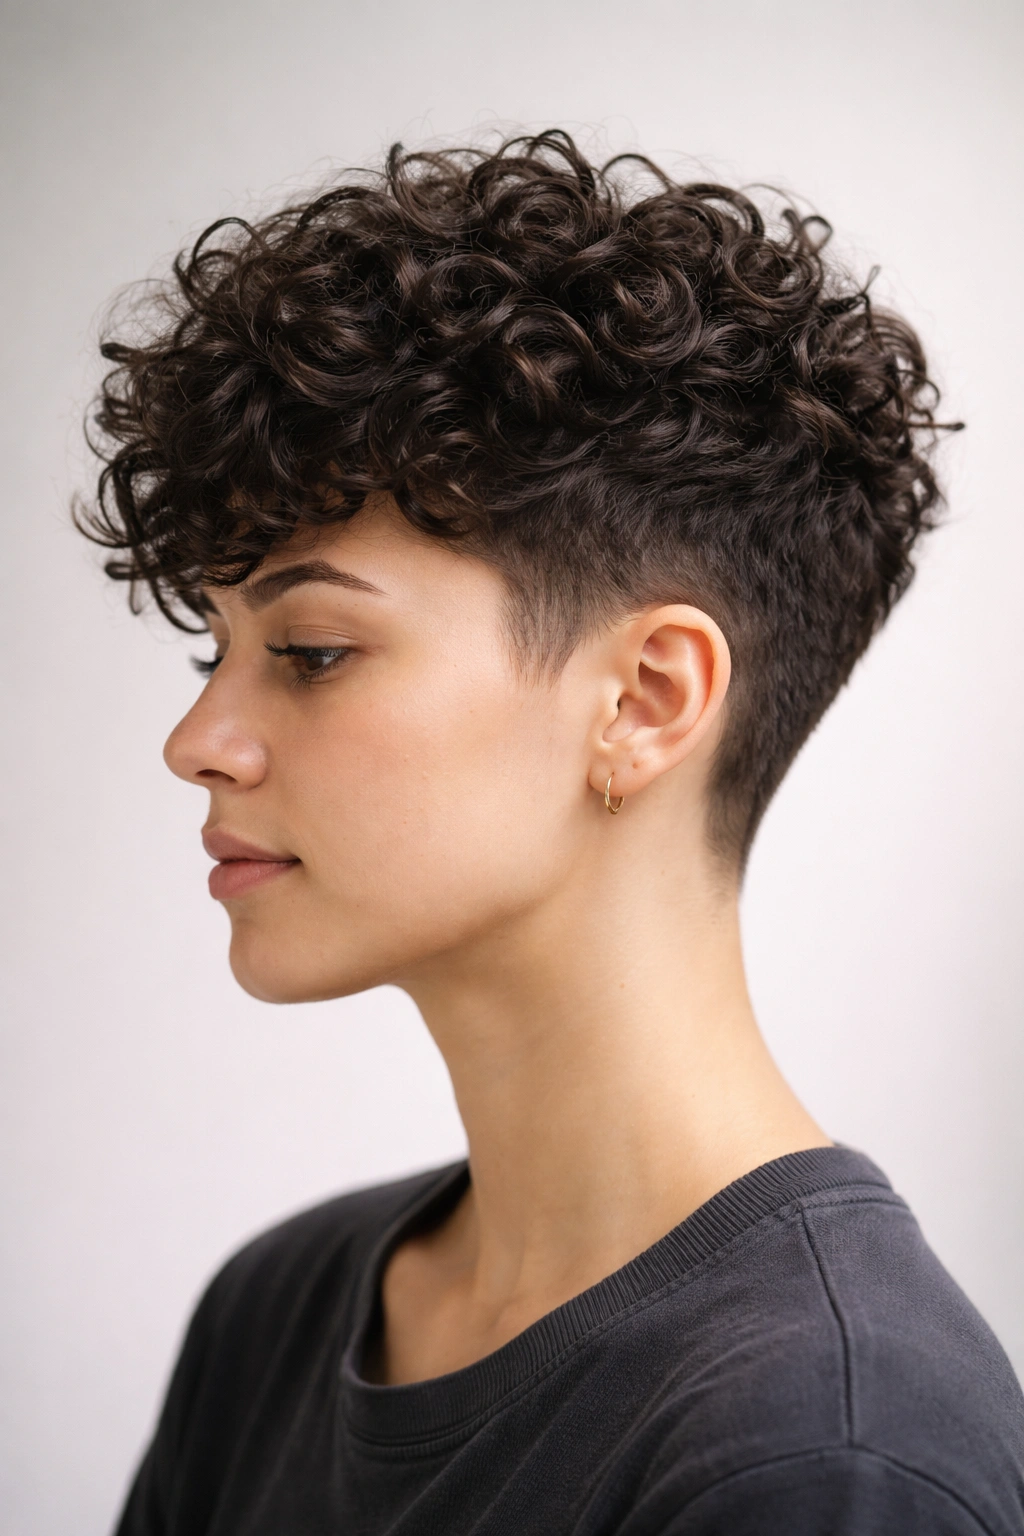
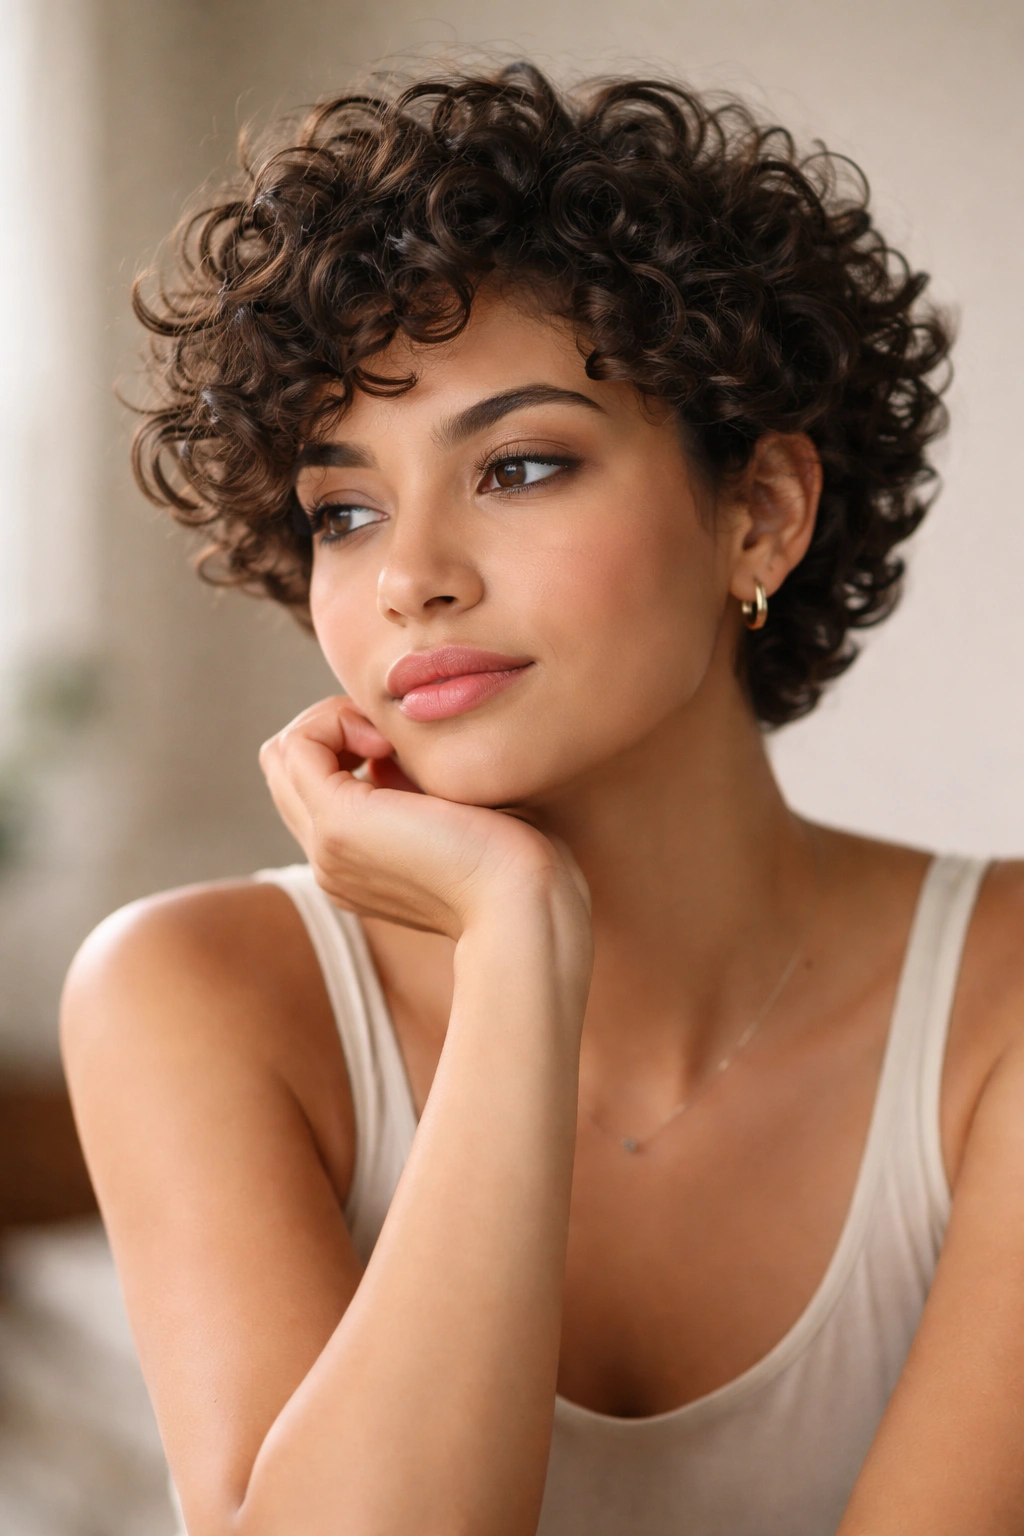
1. The Textured Pixie Cut
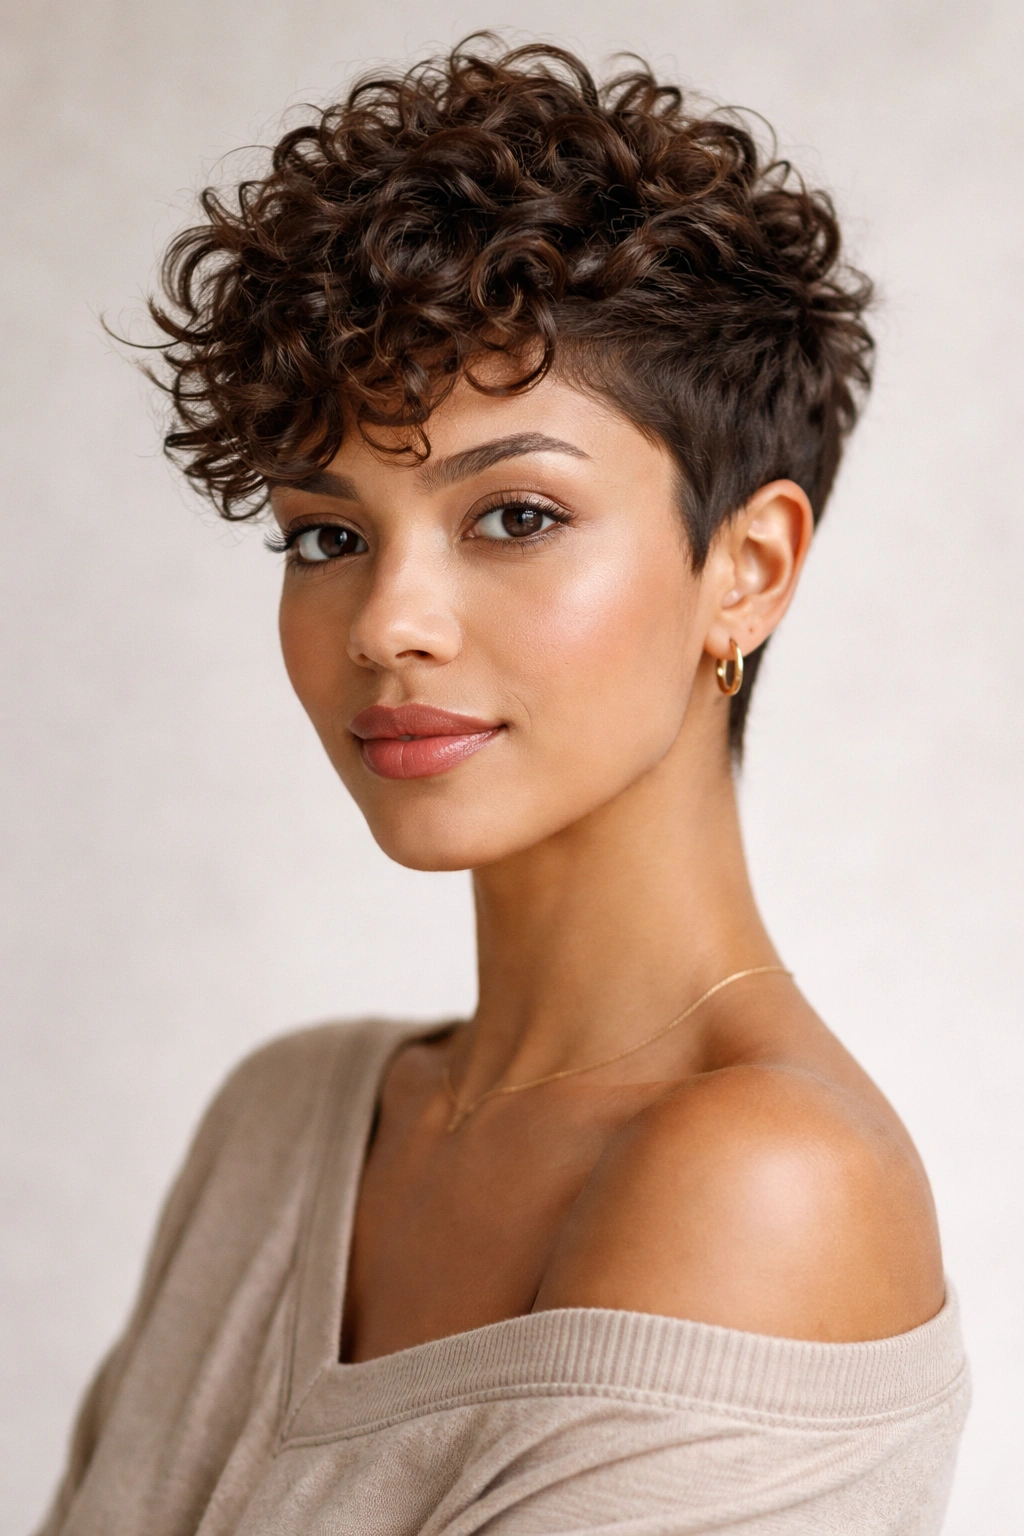
The textured pixie is essentially a pixie crop where every curl and coil is deliberately left intact rather than blended smooth. Instead of a sleek, tapered cut, this approach embraces the natural texture throughout, creating a style that’s undeniably modern and requires very little daily effort once the cut is right.
How This Cut Works
A textured pixie should be cut with the grain of your curls, not against them. Your stylist will use scissors—never a clipper—to cut into the curl at multiple angles, creating texture and movement rather than blunt edges. The sides are significantly shorter than the top, giving the style its characteristic shape, while the crown stays long enough to show dimension and curl definition. Unlike a traditional pixie, which prioritizes geometric precision, the textured version celebrates the natural variation in your curl pattern.
What to Know Before Getting One
- The cut matters more than anything else: Find a stylist experienced with textured hair and curls specifically. A standard pixie cut done on curly hair often looks too harsh or too blunt.
- You’ll need styling product: A lightweight curl cream or gel defines each curl without weighing them down. This isn’t optional—it’s what makes the difference between purposeful texture and bed-head.
- Maintenance happens every 3-4 weeks: Pixies grow out visibly since there’s no length to blend into. You’ll need regular trims to maintain the shape.
- Drying method changes your result: Diffuser-dried, your pixie will have maximum volume and texture. Air-dried, it will be softer and less defined.
Pro tip: Apply your styling product to soaking-wet hair and then diffuse—waiting until hair is semi-dry to add product often results in less definition and more frizz.
2. The Defined Coil Crown
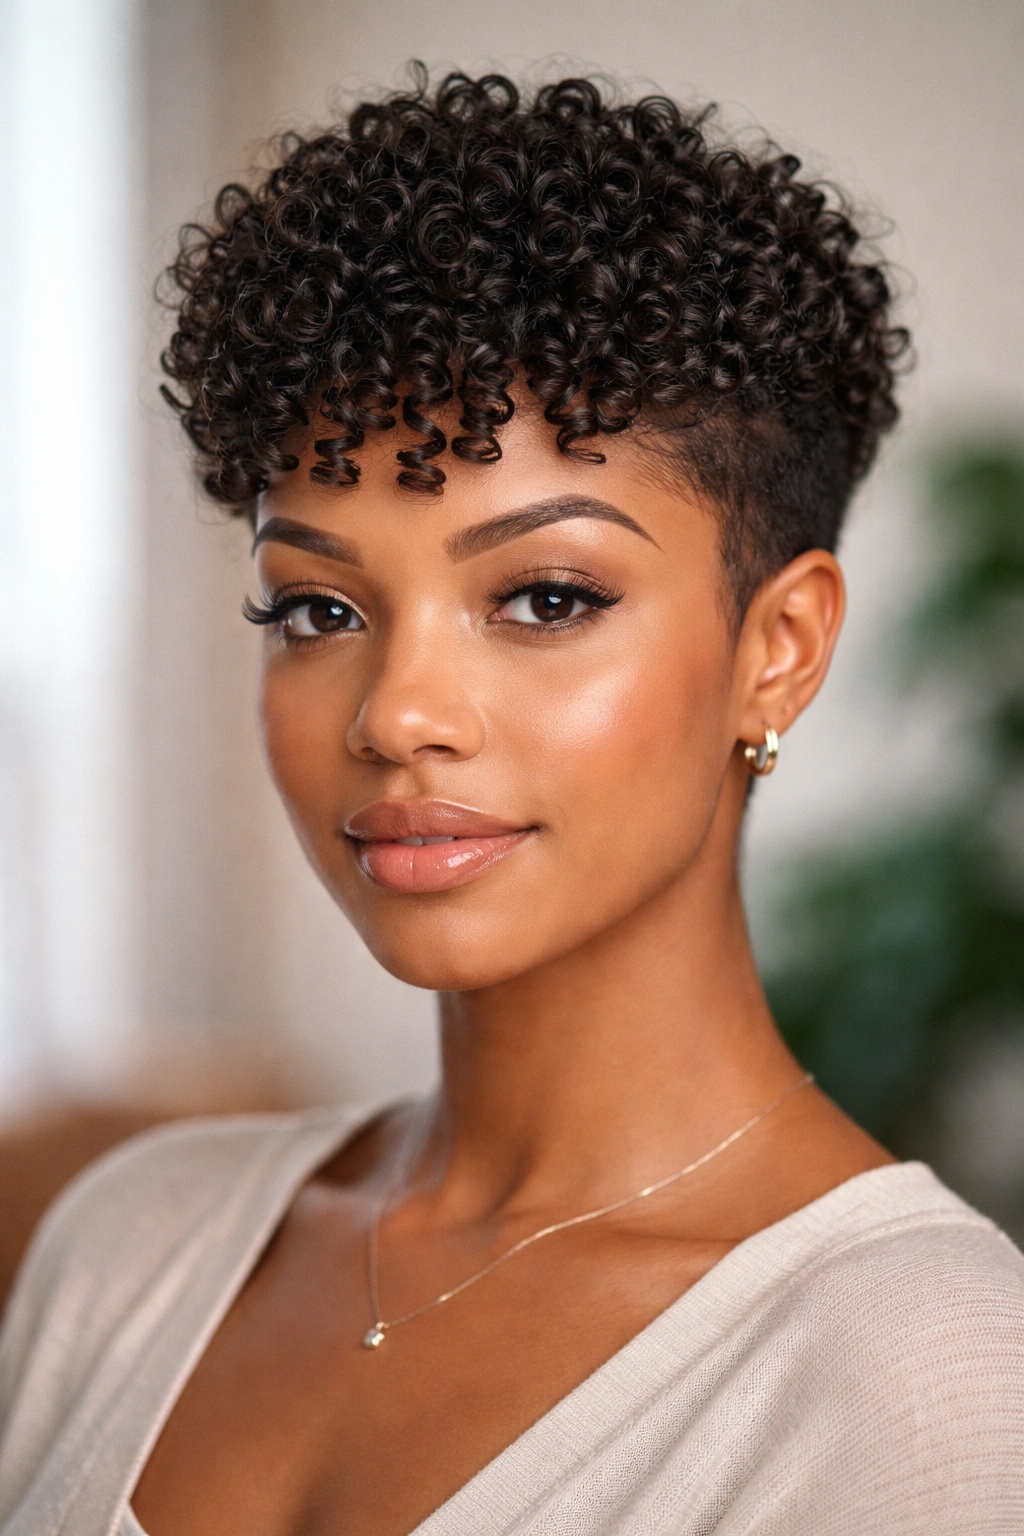
This style keeps the back and sides quite short while allowing the crown and front to grow slightly longer, creating a concentrated area of high-definition curls right where people look first. It’s a style that reads as intentional and modern, even though the styling approach is remarkably simple.
The Technique Behind This Style
The contrast between the tapered sides and the fuller crown is what creates visual interest here. Your stylist will cut the sides and back to about an inch or less, while the crown and front section remain two to three inches long. Since you’re working with concentrated texture in one area, those curls need to be absolutely defined and bounce-free. This is where the right product application becomes crucial.
Key Success Factors
- Curl definition gel is your best friend: Gel with a strong hold (not a cream or mousse) will showcase each individual coil and prevent them from merging into one undefined mass.
- Scrunching technique matters: Apply gel to very wet hair, then scrunch upward in sections. Don’t smooth or comb—scrunching is what creates coil definition.
- Dry with intention: A diffuser set to low or medium heat helps set curl pattern. High heat can open cuticles and create frizz, especially on tighter coil textures.
- Daily refresh is just water and gel: On non-wash days, mist the crown with water, scrunch, and let it air-dry or diffuse briefly.
3. The Soft Layered Bob
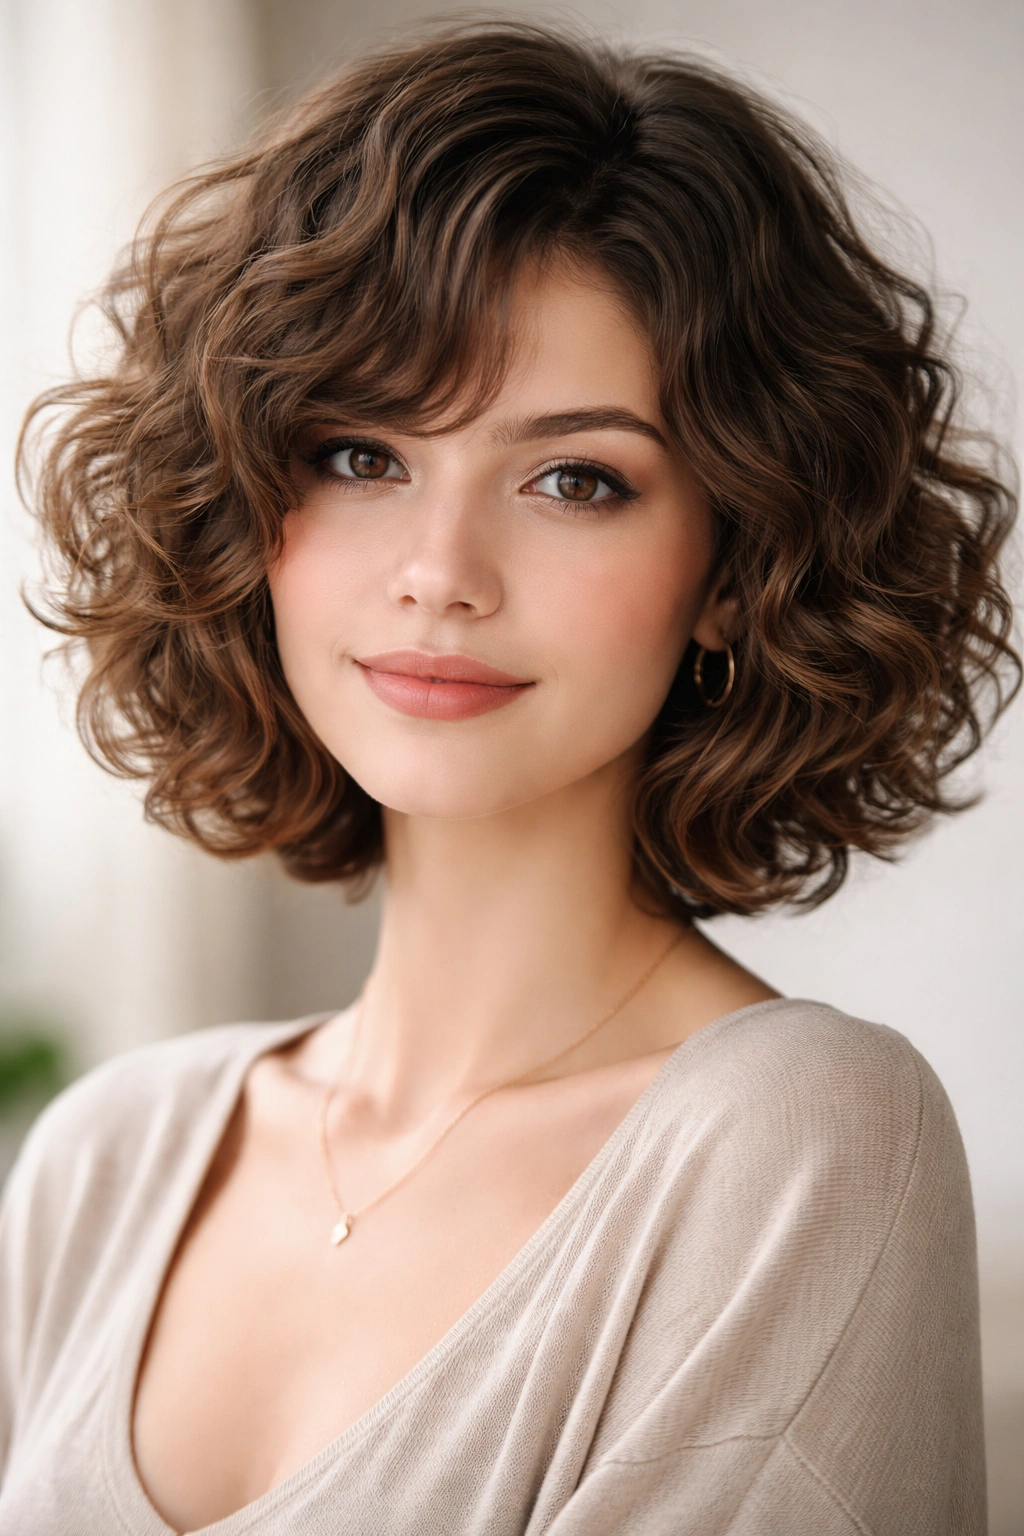
A layered bob with short curly hair creates movement and prevents the hair from looking flat at the crown or bottleneck at the nape. Layers are cut throughout the entire head, with each layer graduating slightly shorter as you move down, creating a bouncy, voluminous shape that’s inherently flattering.
Why Layers Transform Short Curls
Layers allow curls to move independently rather than all falling in the same direction. On an uncut bob, the weight of all that curl density can actually make your curls look droopy or undefined at the ends. With layers, the inside is lighter, so each curl has room to express its natural bounce. The result is a style that has genuine dimension and looks fuller even with less total hair.
Styling and Maintenance
- Use a lightweight product: Heavy creams will weigh down those layers and negate the volume you created with the cut. A thin curl cream or light gel is ideal.
- Don’t brush: Run your fingers through wet hair instead. Brushing breaks curl structure and creates frizz.
- Refresh with the plopping method: Wrap your hair in a cotton t-shirt after applying product to help curls set. This is much gentler than towel-rubbing.
- Trim every 4-6 weeks: Layers grow out noticeably. Regular trims keep the shape intentional and prevent the style from flattening.
Worth knowing: The shape of this style actually improves on day two or three when your curls have fully set and have that slightly relaxed look. Fresh-wash day isn’t necessarily the “best” day for a layered bob.
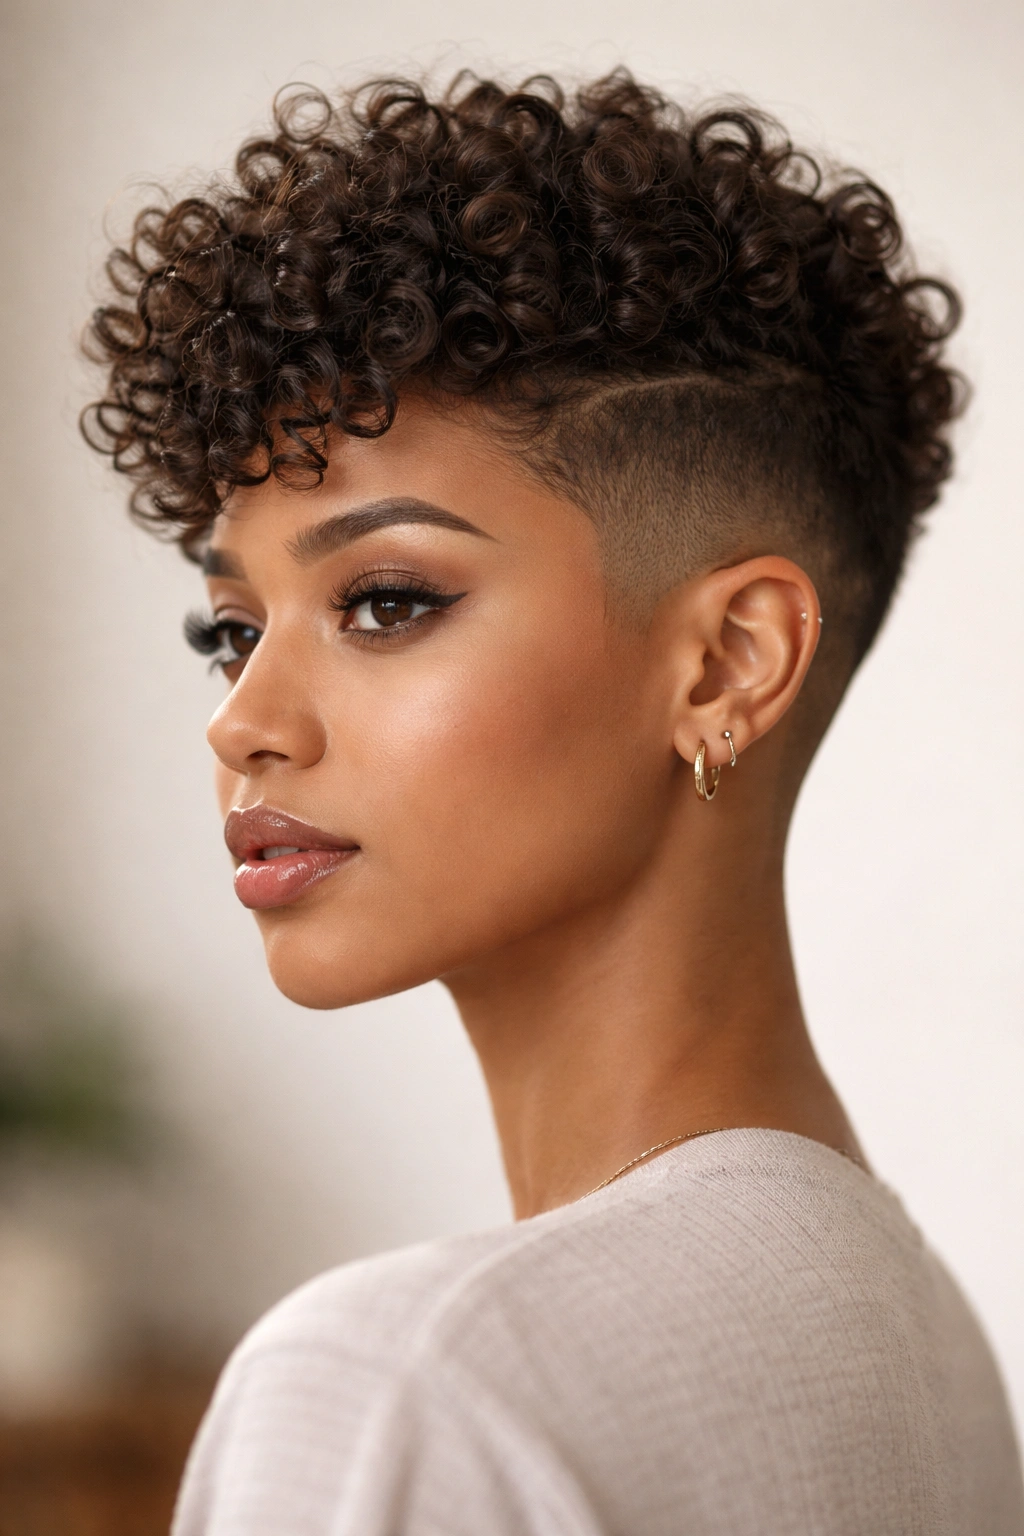
4. The Two-Texture Undercut
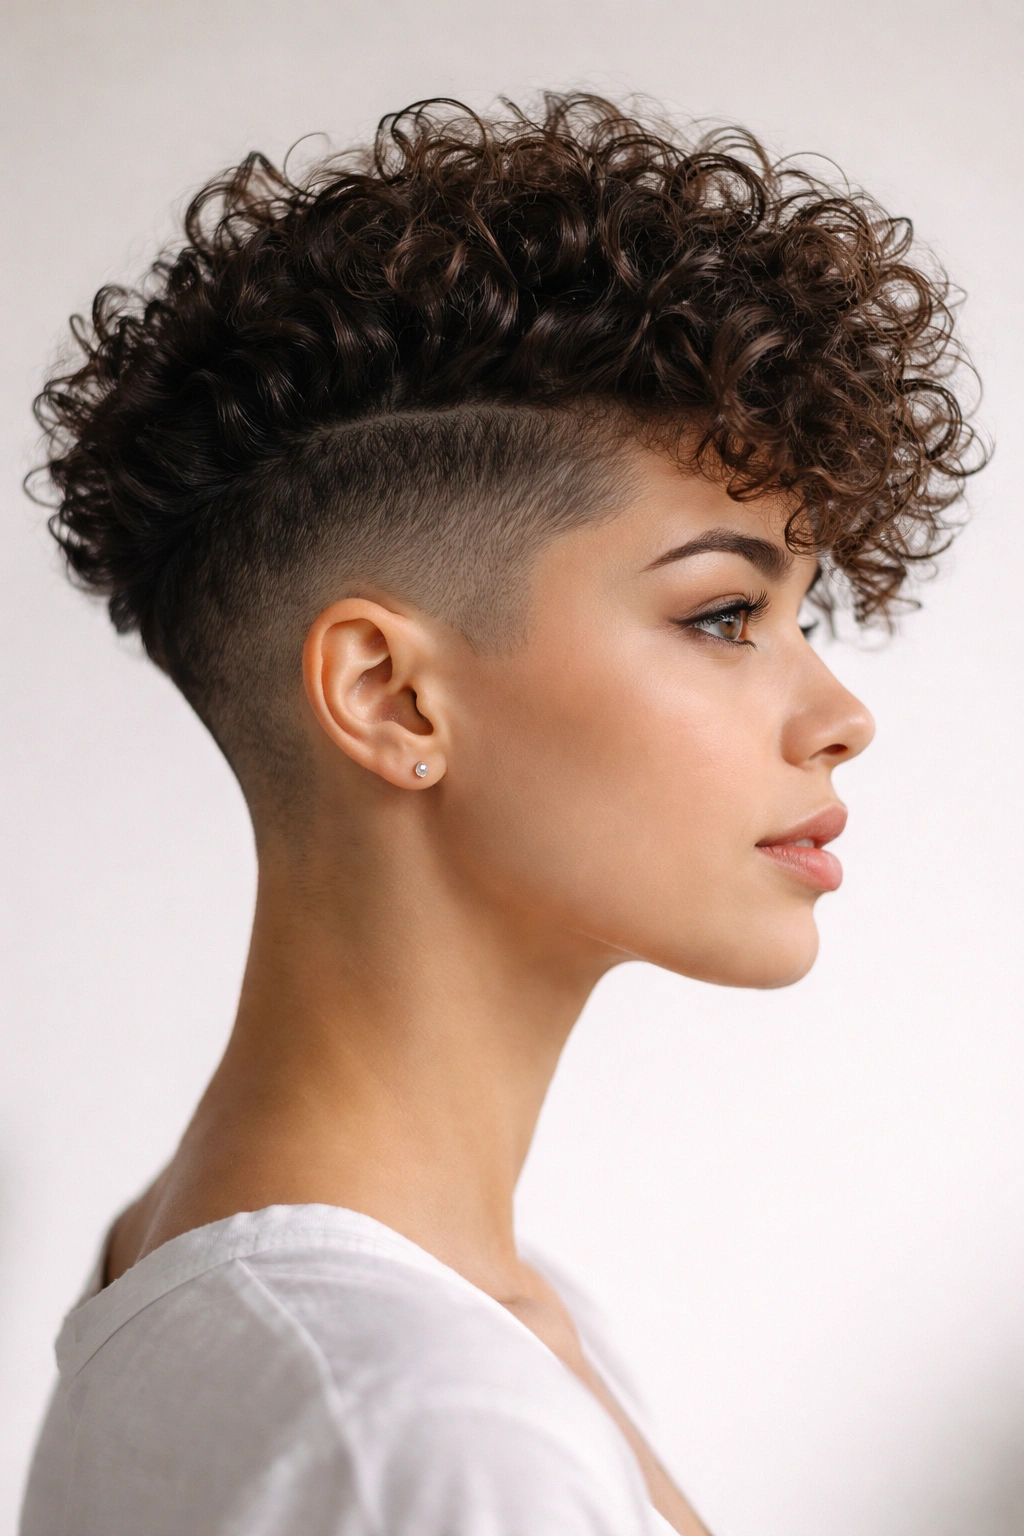
This is a bolder look where the sides are faded very short (almost shaved, or textured with clippers) while the crown and top remain full and curly. It’s a striking style that demands confidence but delivers serious visual impact and requires minimal styling effort.
The Cut and Styling Reality
The undercut creates maximum contrast, which is what makes it visually interesting. The short sides showcase the shape of your head beautifully, and the full crown becomes the entire focus. Since the sides require regular maintenance, you’ll be visiting your stylist frequently—but the upside is that the top requires almost no daily work. A bit of gel or curl cream on the crown when wet, and you’re essentially done.
Who This Works For
- People comfortable with a bold, fashion-forward look
- Those with naturally well-defined curl patterns (tighter coils read better with this style than looser waves)
- Anyone willing to go to the barber or stylist every 2-3 weeks for fade maintenance
- People who actually enjoy the styling minimal-ness on the crown side of things
Styling Considerations
- Your crown products need hold: Gel or a strong-hold cream so those curls stay defined throughout the day.
- Edge control on the fade: A small amount of edge control cream on the very short sides keeps them looking intentional and clean.
- Diffusing makes a difference: This style actually looks better diffuser-dried than air-dried, because the contrast between the sculpted short sides and the voluminous top is sharper.
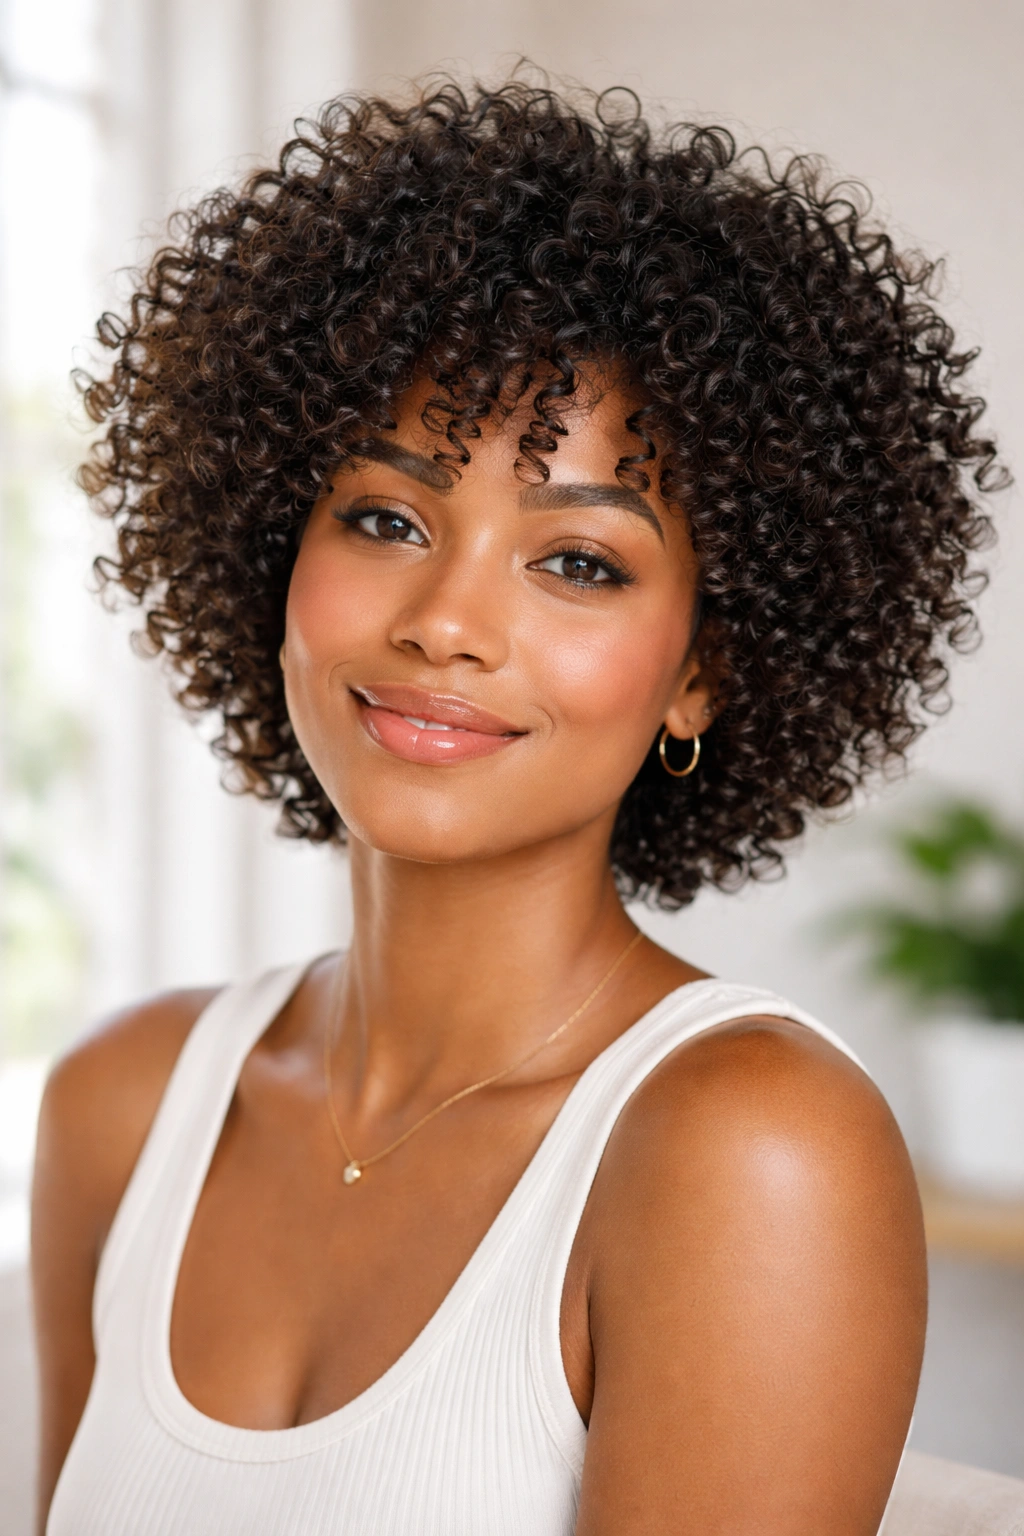
5. The Tapered Fro
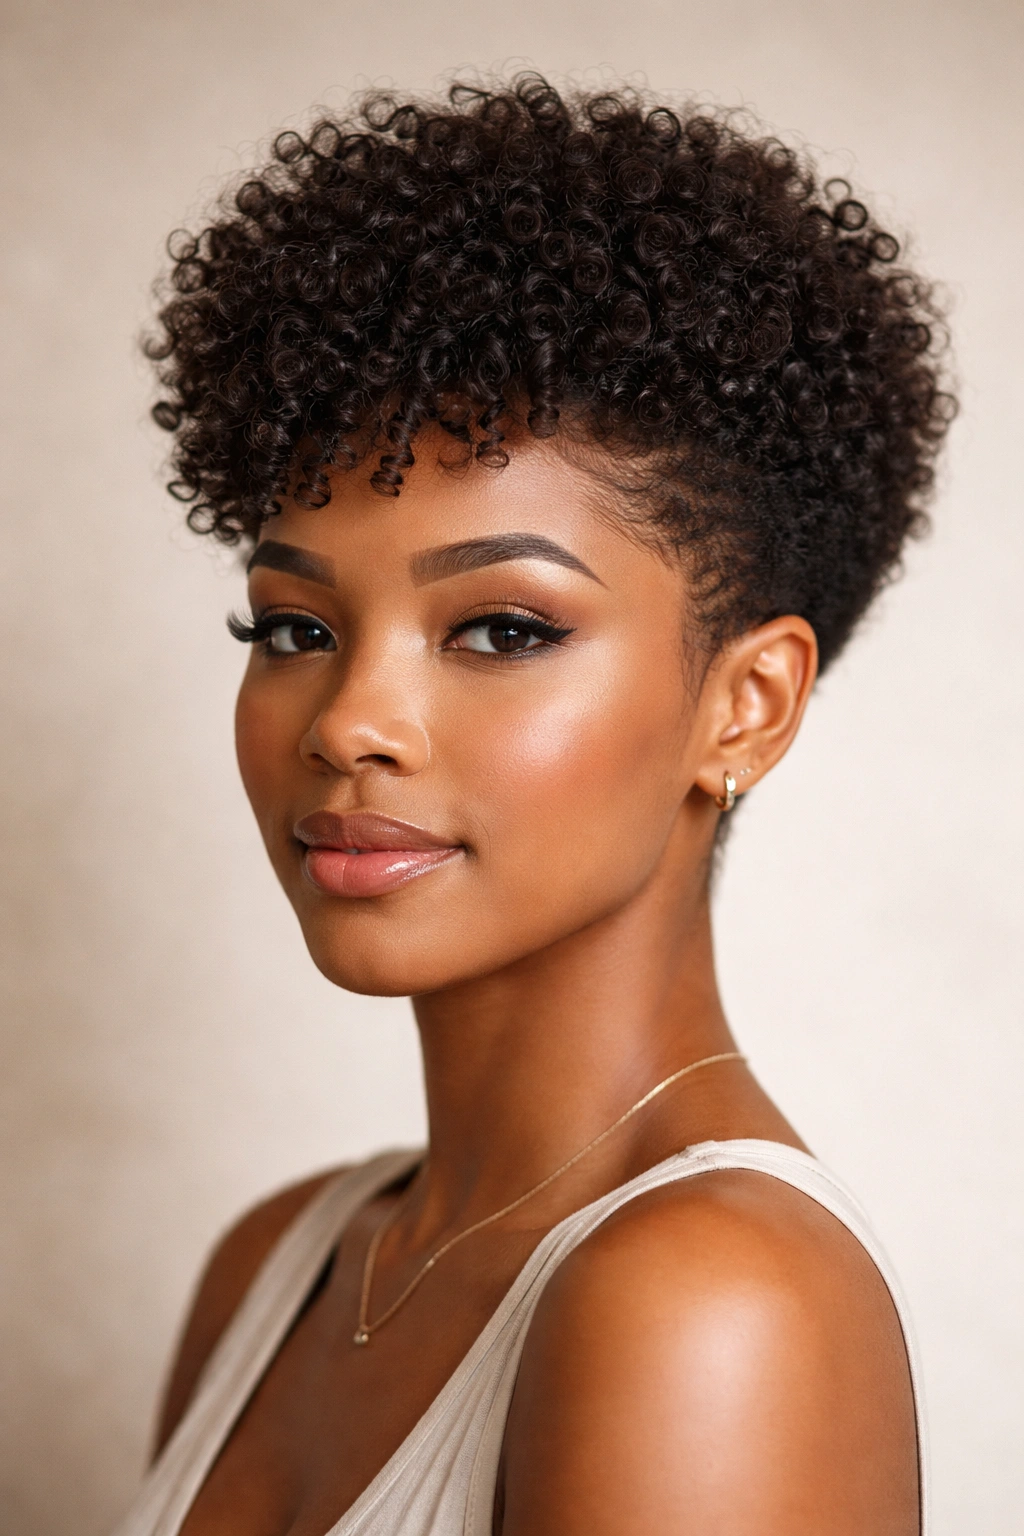
A tapered fro is a natural, undefined curly style where the hair is cut to frame the face and head with a gradually tapered shape—shorter toward the face and nape, longer and fuller at the crown. It’s low-maintenance and celebrates curl texture without requiring defined curl pattern.
Why This Works for Short Curly Hair
Unlike some styles that require specific curl types, a tapered fro works beautifully across all curl patterns and textures. Tight coils, loose waves, kinky hair, and everything in between can rock this look. The shape is created by the cut, not by intensive styling, which means once it’s cut right, you’re essentially done. There’s no product dependency and no daily styling ritual required.
Cutting and Shaping Approach
The stylist will use clippers or scissors (or both) to create the taper, removing more length near the temples and nape and leaving fuller texture on top. The goal is a cohesive, rounded shape that follows the contours of your head. Some versions have slightly more taper toward the face; others are rounder and fuller overall. Discuss which direction you prefer with your stylist.
Daily Life With This Style
- Minimal product is fine: A light moisture cream or nothing at all, depending on your preference.
- Wash and go is genuinely possible: This style is designed to air-dry into a good shape.
- Trim every 6-8 weeks: You’ll notice when the shape starts to lose its taper and the outline gets fuzzy.
- Frequent washings actually help: This style looks best when it’s clean and has some fresh curl definition from a recent wash.
Insider note: If you have coarser curl textures that tend toward dryness, a tiny bit of leave-in conditioner applied to damp hair before air-drying prevents the frizz that can happen with completely product-free styling.
6. The Curly Fade
A curly fade is a fade (the clipped side) paired with curls left full and textured on top. It’s less extreme than an undercut but still creates clear dimension between the sides and the crown. This style lands in a sweet spot between low-maintenance and fashion-forward.
How the Fade Sits With Curls
The fade is clipped or cut progressively shorter from about the ear/temple area down to the nape, creating a clean line and a sculpted appearance. The top is left long enough to show curl texture and definition—typically two to four inches depending on your style preference. Unlike an undercut where the contrast is dramatic, a fade is more subtle and blended. This makes it feel slightly more wearable for professional settings while still being visually interesting.
Styling and Daily Maintenance
- Product keeps the curls popping: A gel or styling cream applied to wet curls before diffusing ensures definition throughout the day.
- The fade requires upkeep: Every 2-4 weeks, depending on how defined you want that fade to stay. Some people schedule appointments monthly, others every 3 weeks.
- Edge control is optional but nice: A light edge control on the very short fade line keeps everything looking clean, though it’s not essential.
- Air-dry or diffuse: Both work fine with this style. Air-drying gives a softer look; diffusing gives more volume and definition.
7. The Twisted Crown Detail
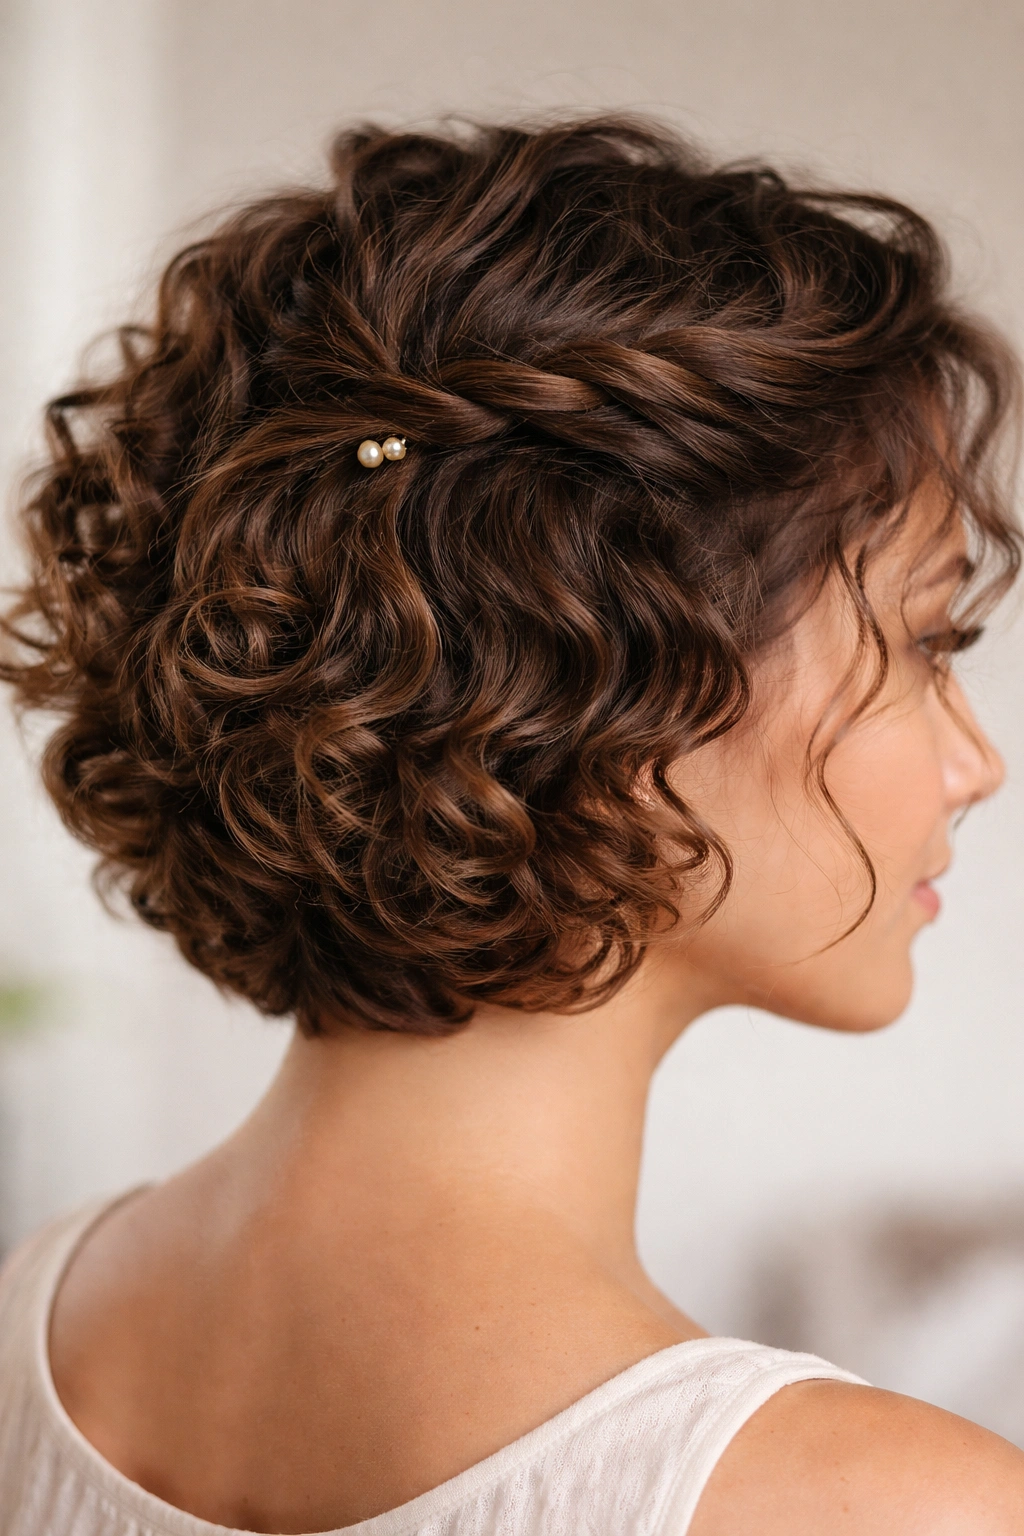
This is a slightly longer short cut—maybe 2-3 inches on top—where you create a subtle twisted or braided detail on one or both sides while leaving the bulk of the hair down and curly. It’s feminine, textured, and works whether you want to wear your curls down or pull them into that small accent.
The Styling Technique
This isn’t a cut that requires a special salon visit, but rather a daily styling approach. You’ll take a small section from one side near the temple and twist it loosely (allowing curls to follow their natural pattern within the twist) back toward the crown, then secure it with a small clip or bobby pin that matches your hair. The twist sits on top of your other curls, adding a dimension of intentionality without looking overly done.
Making It Work
- Damp or slightly damp hair twists easier: Spritz the section with water and apply a light styling cream before twisting.
- Loose twists look better than tight ones: You want the twist to look organic and textured, not geometrically perfect.
- You can do this on wash day or refresh days: The twist actually hides slightly-dirty-hair texture nicely while adding interest.
- Switch which side you twist: Alternating sides keeps the style from looking one-note.
Pro tip: If your twists tend to unravel during the day, use a tiny bobby pin and secure it underneath the twist where it won’t be visible. This is far more effective than trying to pin over the top.
8. The Structured Taper With Texture
This is a well-defined taper cut where the sides are significantly shorter than the crown, but the entire head—including the shorter sides—maintains visible curl or wave texture. It’s not slicked down or faded to near-bare skin; instead, it’s textured throughout, which makes it look intentional and modern rather than simply growing out unevenly.
The Cut Details
The key difference here is that the stylist uses scissors or textured clipper techniques rather than just standard clipper passes. This creates a softer line between the tapered sides and the fuller crown, and it ensures that even the shorter sides have visible texture. On shorter hair, this reads as a polished, deliberately chosen style rather than an accident.
Styling Approach
- Define every part of the head: Don’t just focus product on the crown. Apply curl cream or gel throughout, including the tapered sides, so all your curls look intentional.
- Scrunching really matters here: Because you have less hair overall, the way curls form during drying is more visible. Scrunching helps ensure even definition across the head.
- Maintenance happens every 4-5 weeks: A taper looks best when the line between tapered and full sections is crisp.
9. The Voluminous Wash-and-Go
This isn’t a specific cut so much as a longer short cut (think 2-4 inches throughout) that’s shaped to enhance your natural curl pattern and is styled with just product and air-drying. It’s the lowest-maintenance option here, perfect for anyone who wants gorgeous curls without the styling ritual.
What Makes It Work
The cut needs to be precise—your stylist should cut the curls when wet and curled up, not when stretched out dry. This ensures each curl has room to express itself fully without being inhibited by surrounding hair. The cut is slightly shaped (shorter around the face, fullness at the crown) but not heavily layered or sculpted. The shape comes from your natural curl pattern, not from dramatic scissor work.
The Product Formula
- Leave-in conditioner is step one: Apply this to soaking-wet hair, working it through gently with fingers. This hydrates and preps curls.
- Curl cream or curl gel is step two: Choose one or use both, depending on how much definition you want. Apply in sections, scrunching upward.
- Plopping helps tremendously: Wrap your hair in a cotton t-shirt for 10-15 minutes to encourage curl formation as it dries.
- Air-dry completely: This is the non-negotiable part. You need to let your hair dry completely in the product so the curl pattern fully sets.
Worth knowing: This style actually requires more product than some of the tighter, more controlled cuts, because everything relies on the product to define and hold your natural pattern. Skimping on product leads to undefined, frizzy results.
10. The Short Curly Shag
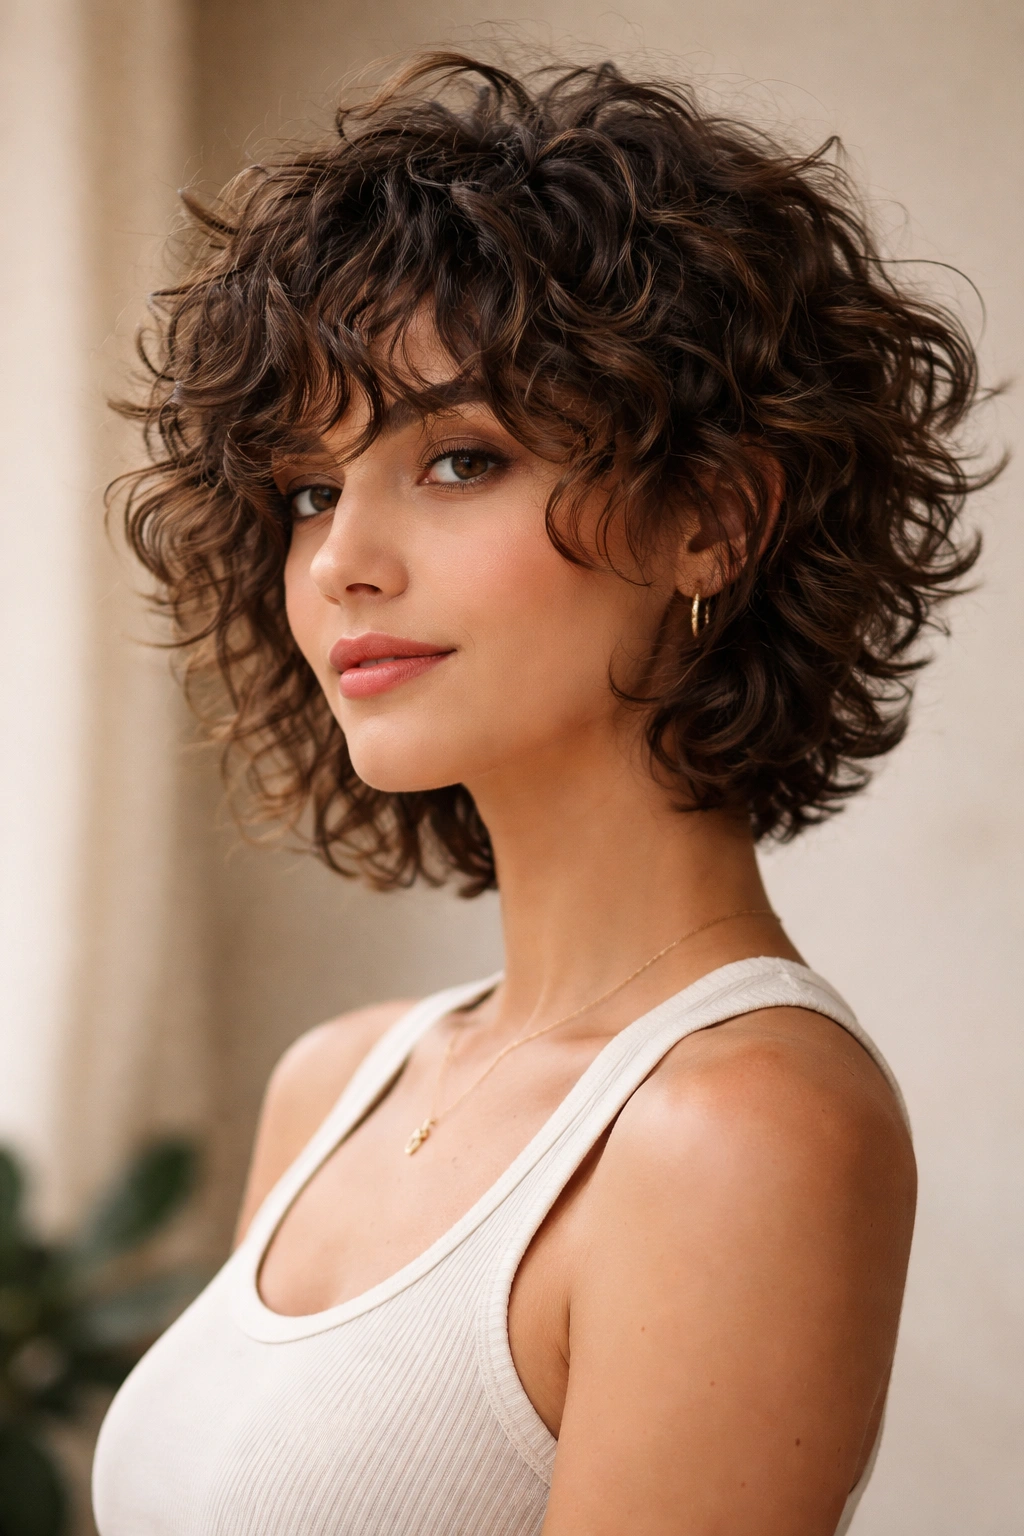
A shag on curly hair is playful, textured, and surprisingly wearable. It’s longer in front and shorter in back, with heavy layering throughout that creates movement and a slightly undone, rock-and-roll vibe. On short curly hair, it reads as modern and fun rather than ’70s nostalgia.
The Shag Structure
The front pieces should hit around chin-length or slightly shorter, while the back is much shorter (close to buzzed or very tapered). Heavy layers are cut throughout, especially concentrated in the crown and around the face. The goal is maximum movement and texture, which the layers deliver by making each curl bounce independently.
Styling and Maintenance
- This style definitely needs product: A curl cream or lightweight gel applied to wet hair brings out all those layers and prevents a stringy, undefined appearance.
- Layering + curls = natural texture: You don’t need to do anything special with styling—the cut creates movement on its own. Product just enhances it.
- Drying method is visible: Diffused, the shag is bouncier and more voluminous. Air-dried, it’s softer and more relaxed-looking. Both are beautiful; pick based on the vibe you want.
- Trim every 4-6 weeks: The layers grow out quickly, and maintaining the shape is what keeps the shag intentional-looking rather than just shaggy.
Real talk: This style works better with tighter to medium curl patterns than with very loose waves. Loose waves can read as stringy rather than textured with this much layering. If you have waves, ask your stylist if a modified shag with fewer, deeper layers might work better for your pattern.
Final Thoughts
Short curly hair is genuinely more forgiving than many people think. The density and natural texture of curls actually mean you can pull off cuts and styles that longer-haired people would struggle with. What matters isn’t finding the perfect style—it’s finding the cut that aligns with how much styling effort you actually want to put in and what your curl pattern naturally wants to do.
Pay attention to your stylist’s expertise with curly hair specifically. A great cut that honors your curl type changes everything. The wrong cut, even with perfect styling and products, will fight against you every single day. Once you find a stylist who gets your curls, stick with them.
Product absolutely matters, but it doesn’t need to be complicated. Find what works in your climate and for your specific curl type, and stop second-guessing yourself. Consistency with a solid routine matters more than constantly switching products. Your curls need time to acclimate to a product and show you what they can really do.
And remember that short curly hair requires maintenance—that’s not a flaw, that’s just the reality. Trims every 4-6 weeks aren’t excessive; they’re the difference between an intentional style and hair that looks like it’s haphazardly growing out. Build that into your routine and budget, and suddenly everything else becomes easier.