There’s something undeniably magnetic about bold, voluminous curls. They command attention, express personality, and make a statement that says “I’m confident in who I am.” If you’ve been scrolling through photos wishing your curls could have more presence, more bounce, more oomph, you’re not alone. The good news is that achieving eye-catching big curls isn’t about luck—it’s about understanding your curl pattern, choosing the right style, and knowing exactly how to bring out the best in what you naturally have.
The world of curly hairstyles has exploded in recent years, moving far beyond the one-size-fits-all approach that used to dominate. What works for someone with loose waves is completely different from what works for someone with tight coils, and the styling techniques vary just as much. Whether you’re working with 2C waves, 3A curls, or 4C coils, there’s a big, statement-making style waiting for you. The key is finding the right cut, using the proper techniques, and committing to the maintenance these showstopping styles deserve.
Let’s explore ten of the most striking curly hairstyles that genuinely stand out—styles that work with your natural texture rather than against it, and that give you the volume and presence you’re looking for.
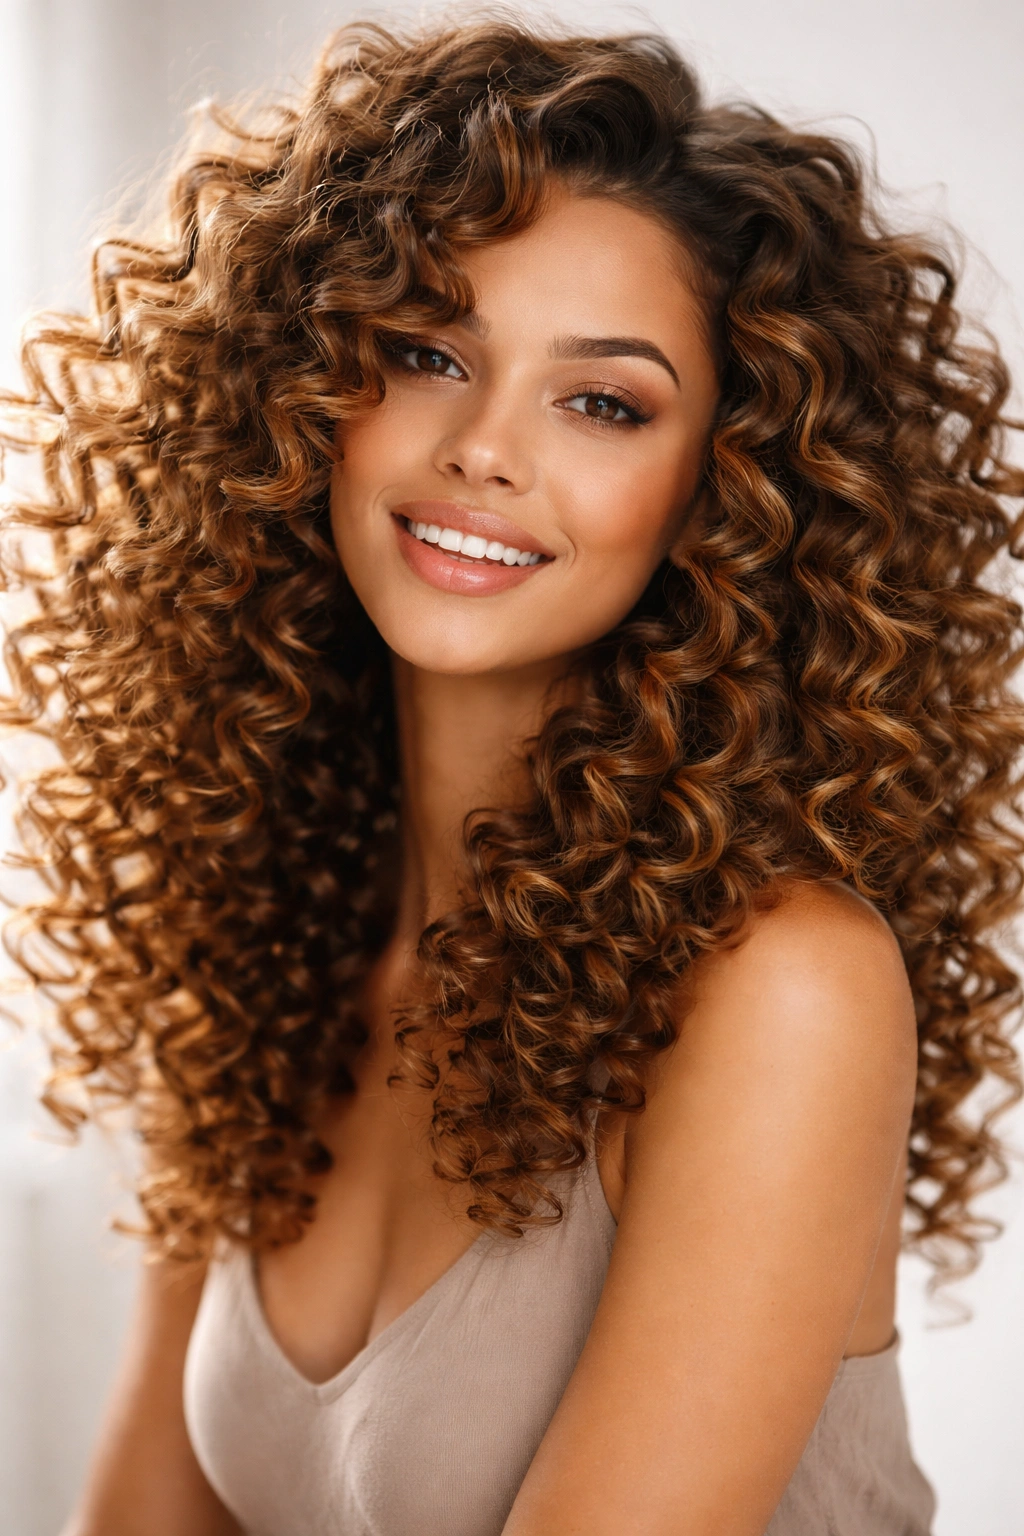
1. Voluminous Spiral Curls

Spiral curls are the definition of statement-making curls. These aren’t just any curls—they’re tight, defined ringlets that bounce and move with every step you take. What makes this style so special is the intentional structure: each curl is distinct, bouncy, and creates an almost three-dimensional effect around your head.
Why This Style Turns Heads
Spiral curls work by elongating the curl pattern itself. Rather than curls that stack on top of each other and create density at the crown, spirals stretch downward, which paradoxically creates more visual volume and movement. The elongated shape of each individual curl catches light differently, which is why this style looks so dynamic in photographs and in person. The texture reads as intentional and polished, even though the curls are completely natural—it’s just about how you set and enhance what’s already there. This style works especially well for people with naturally defined curl patterns, from 3A to 4B textures.
How to Create and Maintain Spiral Curls
- Use a curl-defining cream or gel applied to soaking-wet hair, section by section, directing each section downward as you work
- Diffuse your hair on low heat with your head tilted slightly forward to encourage the spiral formation
- Encourage spirals by gently twisting each curl around your finger as you apply product, then releasing it naturally
- Sleep on a silk pillowcase or in a pineapple arrangement (gathered loosely at the crown) to preserve the spirals overnight
- Refresh between wash days with a lightweight curl-refreshing spray and brief diffusing time
Pro tip: Spiral curls actually look better on the second or third day after washing, once the curls have had time to fully set and slightly dry down. Resist the urge to wash them every day—this is one style that benefits from a longer time between washes.
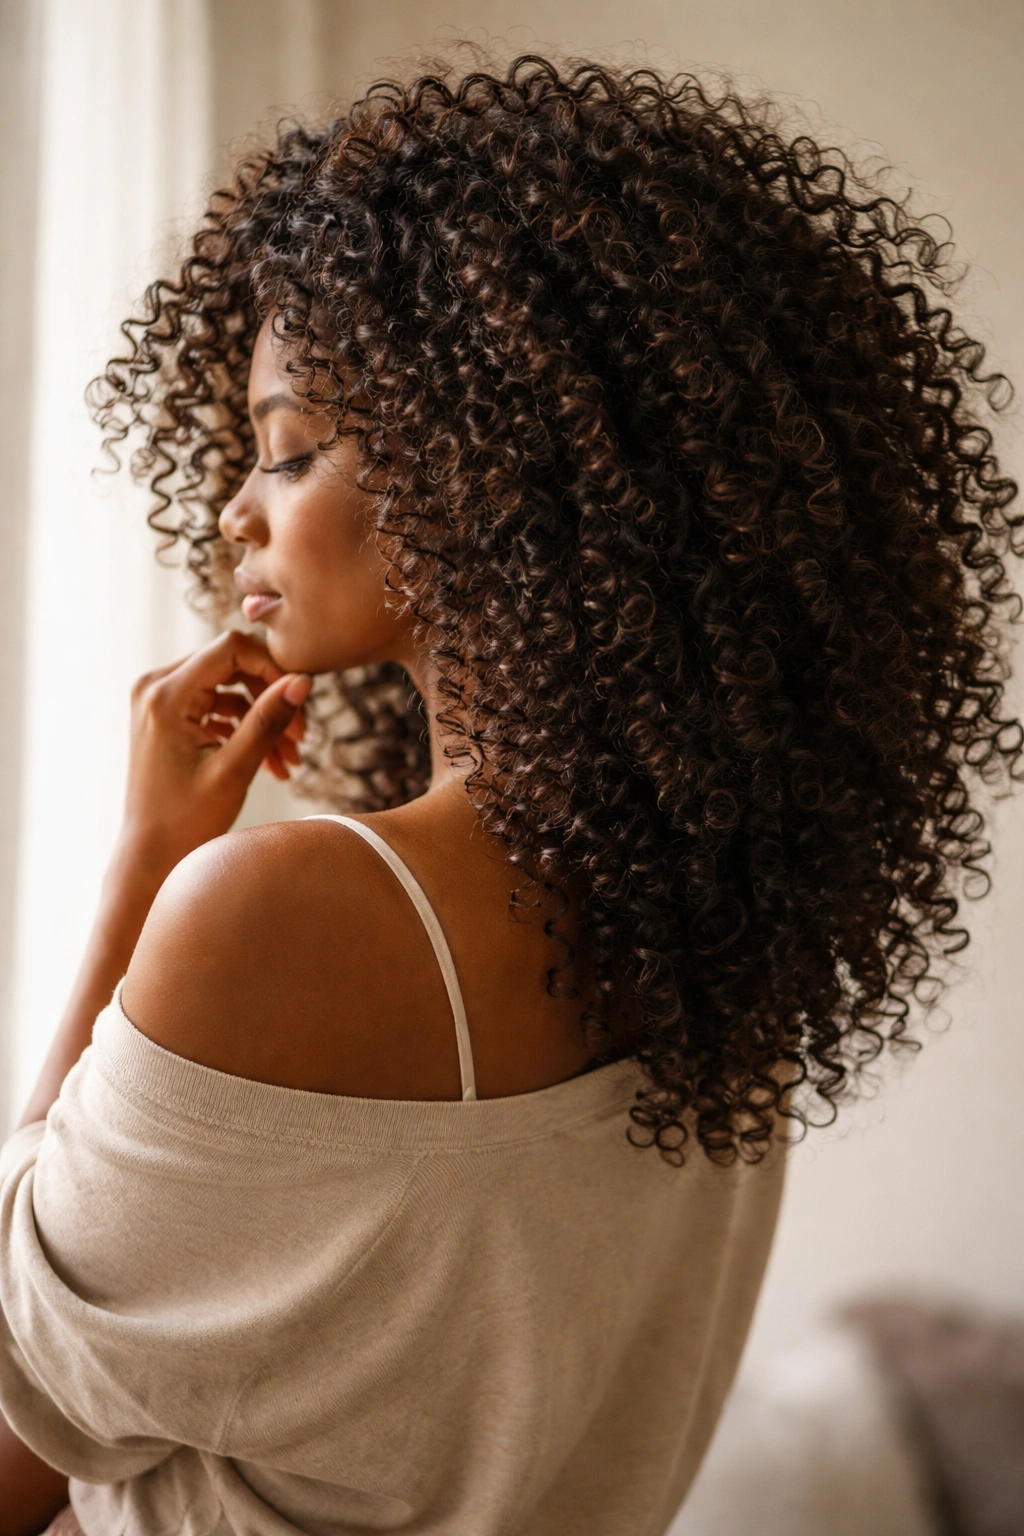
2. Textured Coil Curls
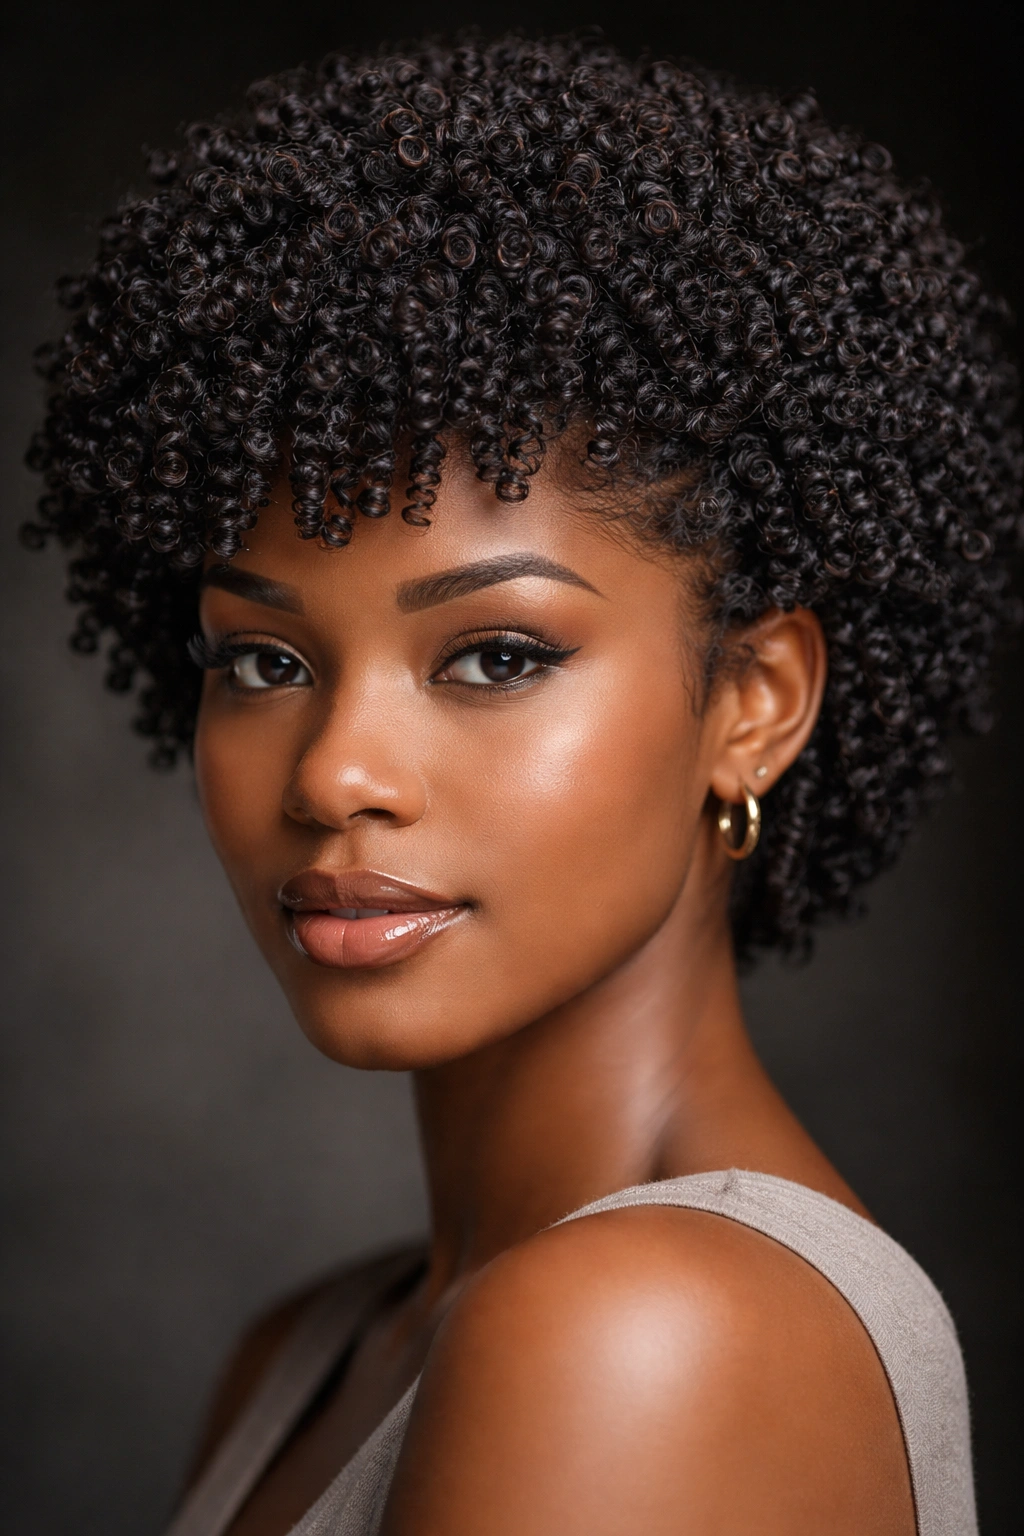
Coil curls create the appearance of dense, voluminous texture that looks almost sculptural. These are tighter, more compact curls that sit closer together, creating the impression of substantial hair volume even if you don’t have an enormous amount of hair. The curls have a unique, almost abstract quality that photographs beautifully and creates a striking silhouette.
What Makes Coil Curls So Visually Compelling
Coil curls work because of their compactness and the light-and-shadow play they create. When curls are tightly wound, they cast tiny shadows that create depth and dimension across your entire head. From a distance, the overall effect reads as abundant, textured, and full of personality. This style is especially striking on people with 3C to 4C curl patterns, where natural coiling is part of the texture. The beauty of this style is that it requires very little manipulation—you’re working with your hair’s natural tendency to coil, not fighting against it.
Building and Protecting Coil Curl Definition
- Apply leave-in conditioner to very wet hair, focusing on even distribution throughout
- Use a curl-defining product with hold (cream, gel, or mousse) applied with the praying hands method or by raking it through sections
- Hover-diffuse or air-dry to avoid disrupting the natural coil formation
- Avoid touching or separating curls while they’re wet—let them form their own natural groupings
- Use a microfiber towel or t-shirt to gently squeeze out excess water, never rub or scrunch aggressively
- Consider protective styling (braids, twists, or buns) 2-3 nights per week to preserve curl definition between washes
Worth knowing: Coil curls can sometimes appear smaller or more compact than they really are because the curl is so tightly wound. This is actually perfect for creating the look of major volume without needing tons of hair density.
3. Bouncy Ringlets
Bouncy ringlets are the playful, youthful cousin of structured spiral curls. These are individual curls that are well-defined but slightly looser than coils—they spring and bounce with movement, creating an animated, energetic quality. This style has a nostalgic charm while still feeling modern and intentional.
The Science Behind Bouncy Ringlet Movement
Ringlets work best when there’s just enough hold to keep them separated but not so much that they become stiff or unnatural-looking. The key difference between bouncy ringlets and other curl styles is the balance between definition and movement. Too much gel and they become crunchy and lose their bounce; too little and they merge together into one textured mass. Ringlets work beautifully on 2C to 3B curl patterns, and they’re one of the few styles that actually benefits from a medium-hold product rather than a heavy-duty gel. The individual curls should be visible and distinct, but they should still move and sway rather than staying locked in place.
Creating Ringlets That Actually Bounce
- Wash with a lightweight, moisturizing shampoo and a good conditioner—bouncy curls need hydration to move freely
- Apply a lightweight curl cream or mousse (not heavy gel) to dripping-wet hair
- Use a styling technique like finger-coiling individual sections or using a curling iron if you need extra definition
- Diffuse on medium heat or air-dry to avoid weighing curls down with excess heat
- Separate curls gently once they’re fully dry to enhance the individual ringlet appearance
- Use a curl-refreshing spray and scrunch gently between wash days to reactivate bounce
Quick note: Humidity is actually your friend with bouncy ringlets—these curls look better and bouncier on slightly humid days than they do in dry conditions. Your environment matters more with this style than it does with tighter coil patterns.
4. Natural Wash-and-Wear Texture
Sometimes the most striking big curly hairstyle is simply your natural curl pattern, enhanced and properly cut but otherwise left alone. This is the anti-fuss approach: wash your hair, apply product, diffuse briefly, and let your natural texture do its thing. The curls are voluminous because they’re simply allowed to exist in their most natural state.
Why “Wash and Wear” Still Takes Strategy
The term “wash and wear” doesn’t mean no effort—it means strategic effort focused on the right places. The key is getting a cut that works with your natural curl pattern rather than against it. Layers are crucial because they allow curls to move and spring freely without too much weight pressing down on them. The right product combination matters enormously: you need something that defines without crunching, moisturizes without weighing down, and creates enough hold to last 2-3 days. This style is deeply dependent on your individual curl pattern, so what’s “natural” for someone with 2C waves looks completely different from what’s natural for someone with 4A coils.
Building a True Wash-and-Wear Routine
- Invest in a cut specifically designed for your curl type—not a generic curly cut but one that accounts for your density, length, and pattern
- Find a product routine that works for your hair with just 2-3 main products rather than a complicated 10-step process
- Wash 1-2 times per week (depending on your texture) with products that cleanse without stripping
- Apply leave-in conditioner and a curl cream or gel to soaking-wet hair in sections
- Diffuse on low-medium heat for 60-70% dryness, then air-dry the rest of the way
- Refresh curls between washes with a light spray and scrunching, not re-washing
- Sleep on a silk pillowcase or in a very loose pineapple to preserve curl definition
Real talk: Wash-and-wear curls take a solid 4-6 weeks of experimentation to dial in properly. You’ll need to test different products and techniques to find what works. Once you crack the code though, this style becomes genuinely effortless.
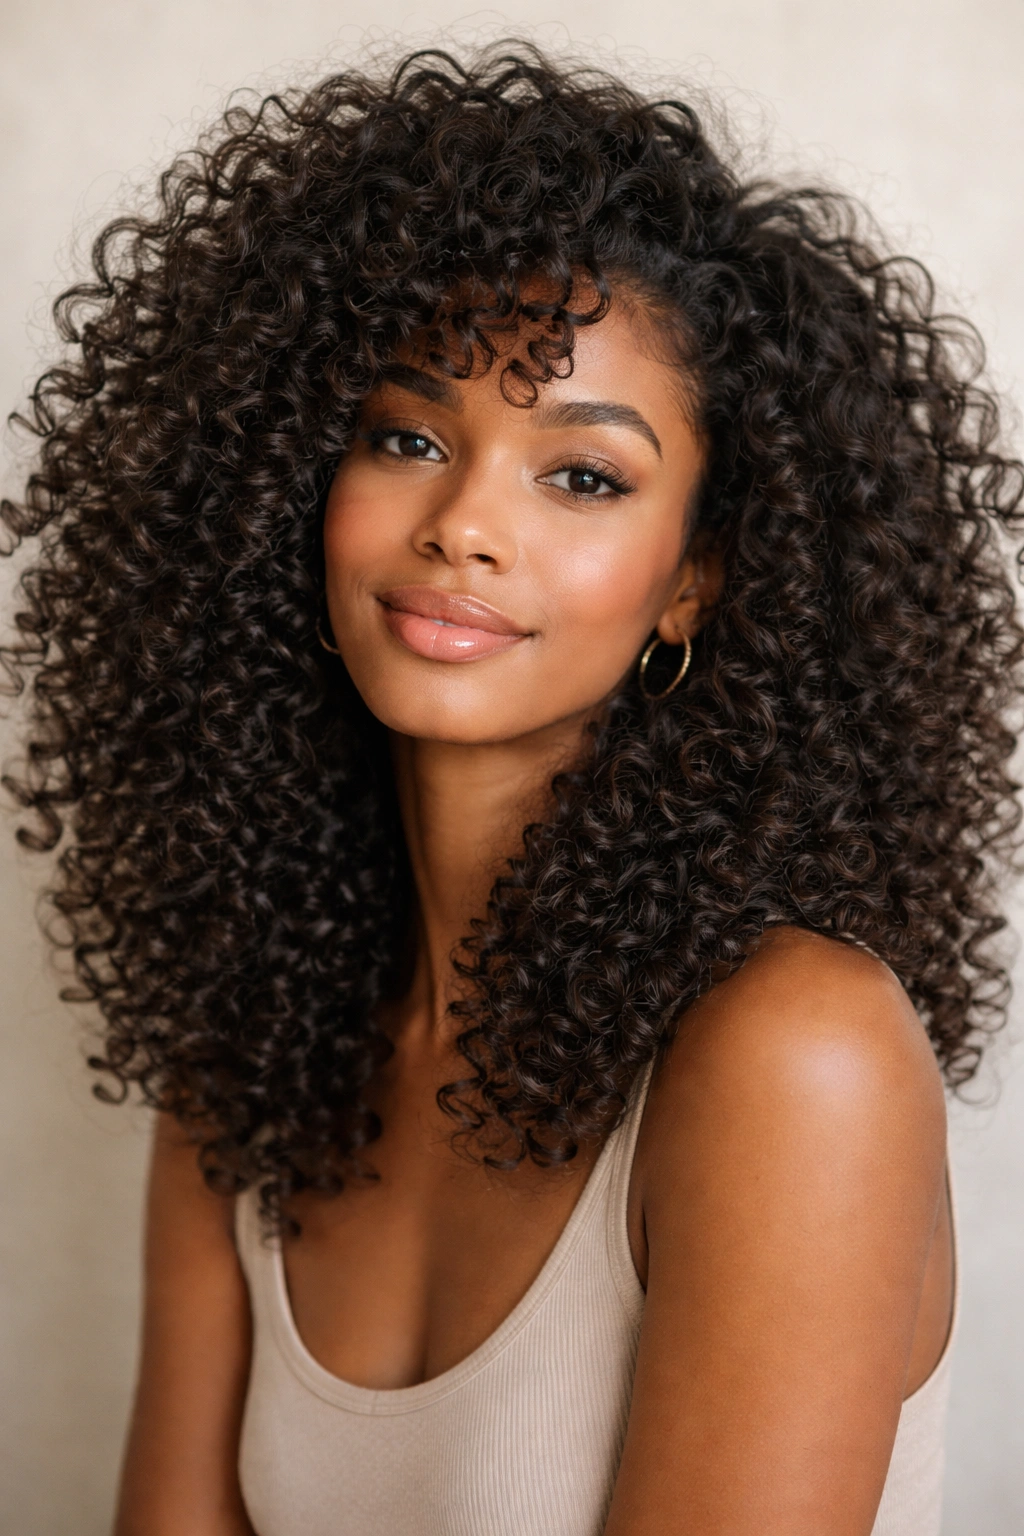
5. Defined Curl Pattern with Layers

This style works by combining strategic layering with intentional curl definition, creating a shape that looks full and textured while maintaining control over the overall silhouette. Layers are cut throughout the head—not just surface layers but internal layers—which removes weight and allows each curl to be seen as an individual element.
How Layers Multiply the Visual Impact
Layers work for big curly hairstyles because they eliminate the heavy, dense appearance that comes from straight-across, blunt cuts. Instead of curls stacking on top of each other and creating a muted, columnar shape, layers create space and dimension throughout. Light can penetrate through the hair, edges are visible, and the overall effect is more dynamic and interesting. This style works especially well for people with naturally thick or dense hair, where layers help manage weight while maintaining volume. The layers also make the curls appear more defined because each layer is visible as its own distinct plane.
Cutting and Styling Layered Curls Correctly
- Ask your stylist for texturizing layers throughout, not just choppy surface layers
- Layers should be cut into wet curls, not dry hair—this ensures they work with your actual curl pattern
- Use a curl cream with moderate hold applied to very wet hair, distributing product evenly throughout
- Scrunch the product upward as you apply it, encouraging curl formation rather than smoothing it down
- Diffuse while cupping curls gently in your hands, or use a Denman brush for more definition
- Separate any clumped curls once fully dry to show off the individual curl definition
- Refresh between washes using a curl spray and gentle scrunching—don’t re-wash if you can avoid it
Pro tip: Layered curls need a cut every 6-8 weeks to maintain their shape, more frequently than you might cut straight hair. As curls grow out, the layers lose their effectiveness and the hair starts to look denser and less defined.
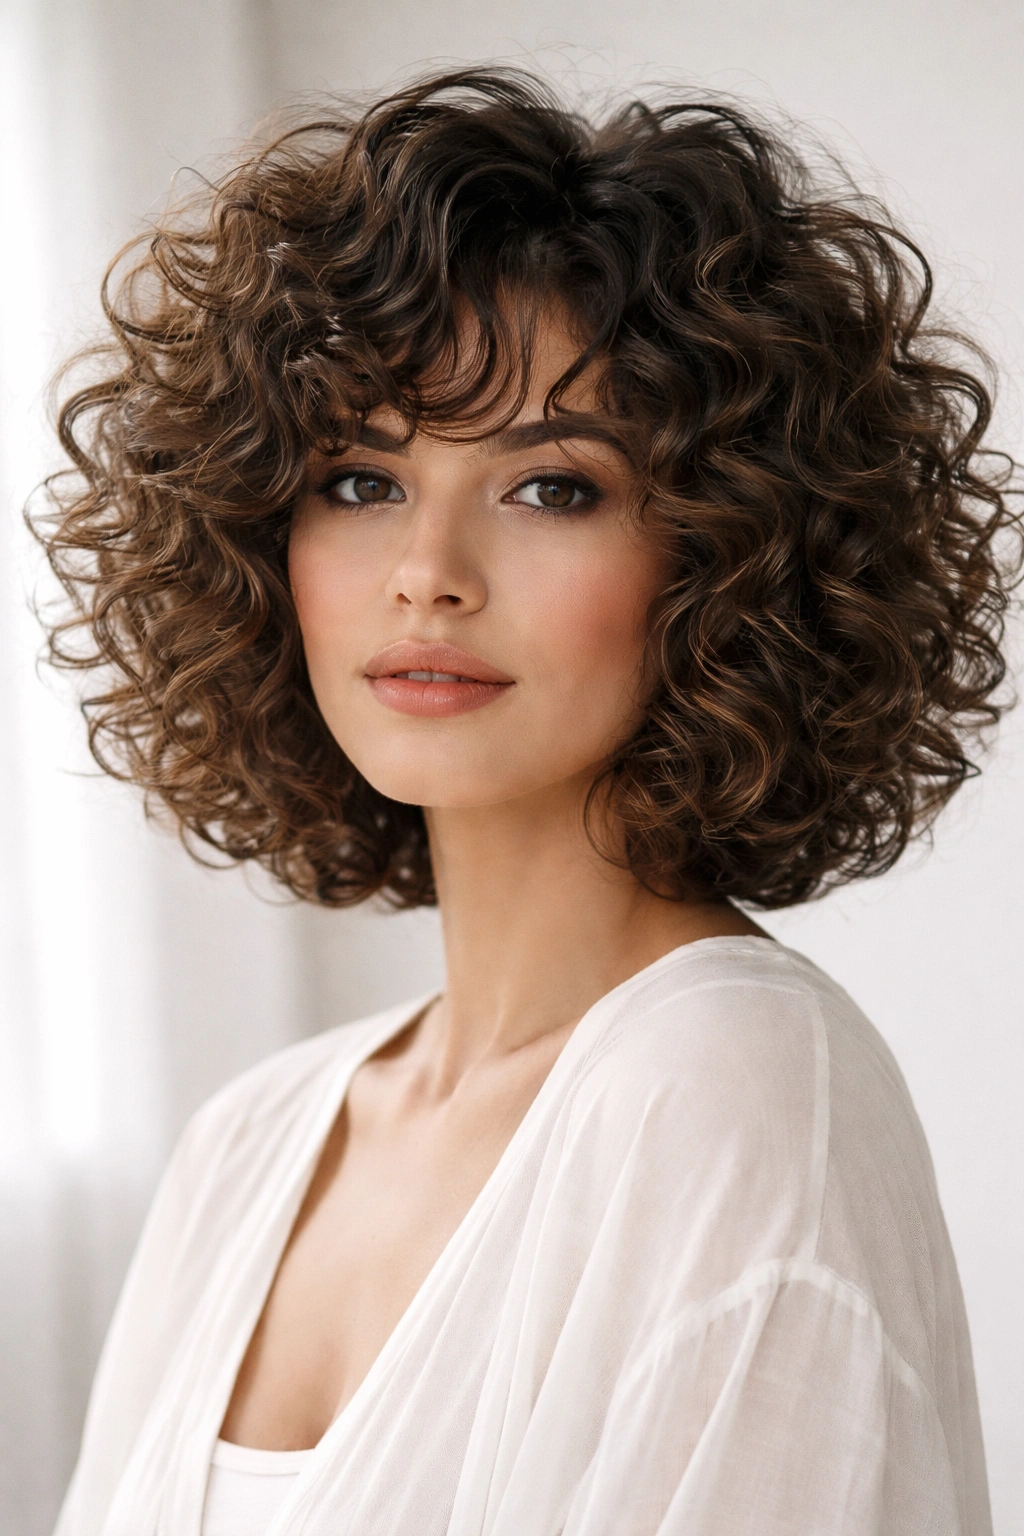
6. Curly Shag Haircut
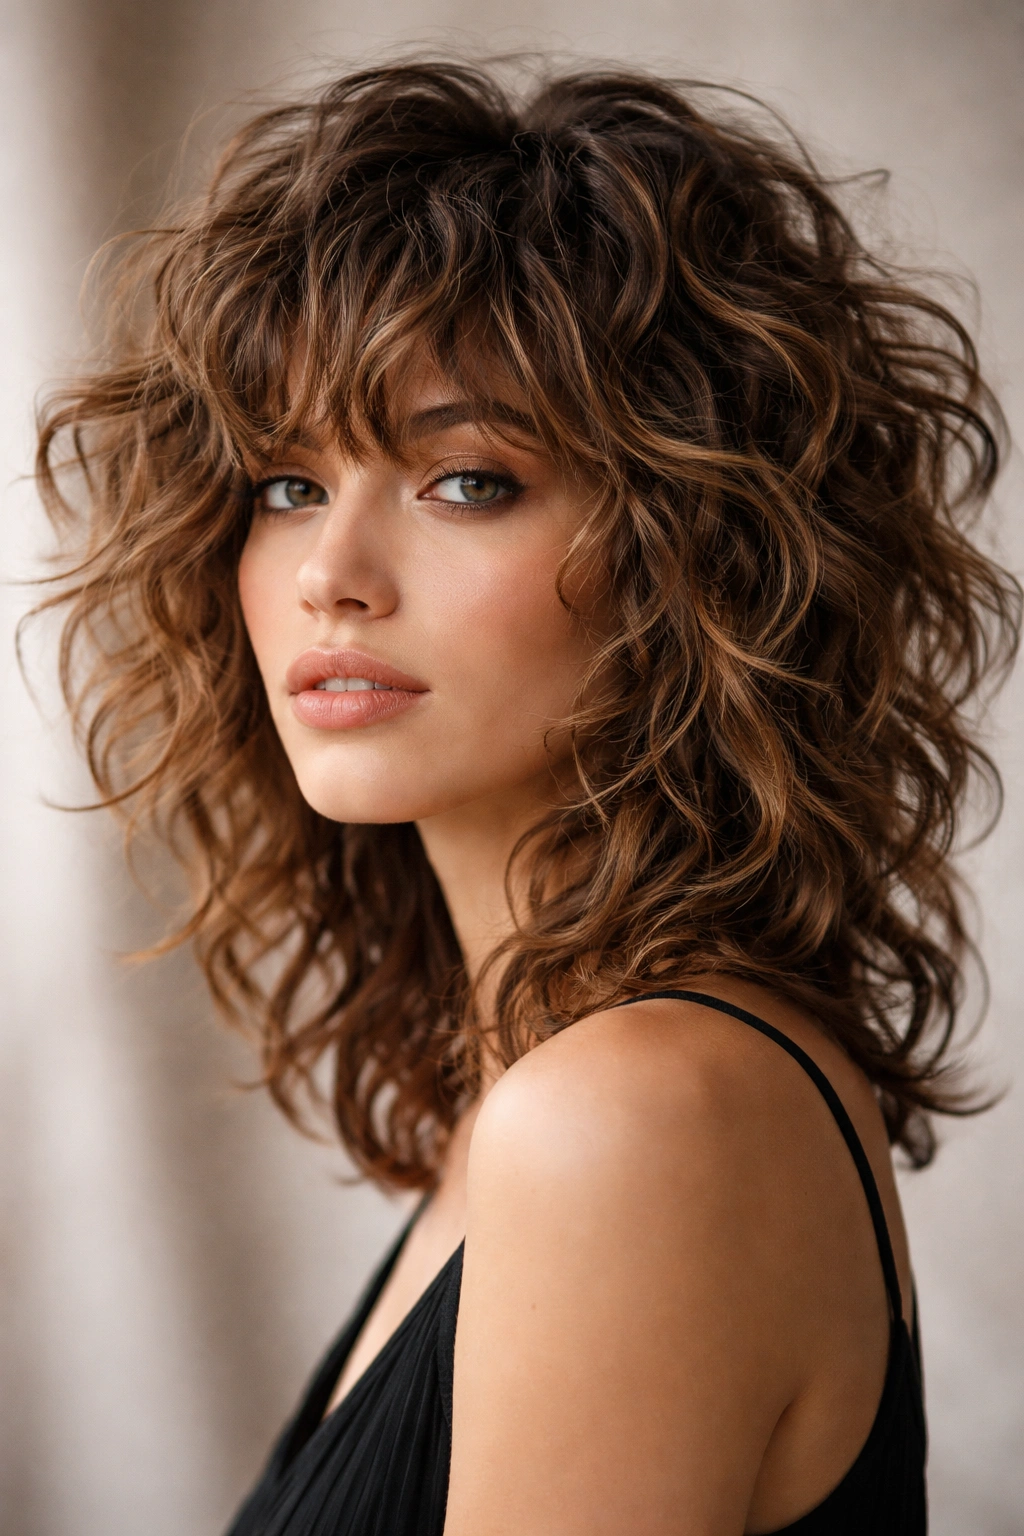
A curly shag is an intentionally choppy, layered style with shorter layers throughout that create movement, texture, and attitude. This cut takes layers a step further, using strategically shorter pieces to create visual lightness and movement that’s especially dramatic on curly hair.
Why Shags Create Such Striking Volume
The curly shag works because of strategic hair removal. By cutting noticeably shorter layers throughout—especially around the face and crown—the cut eliminates weight precisely where you want movement. The shorter pieces flip and move independently from the longer hair underneath, creating a multidimensional effect. This style has a built-in attitude that photographs beautifully and reads as intentional and editorial. It’s especially striking on people with tighter curl patterns, where the choppy layers create visual interest against the textured background of the curls themselves.
Styling a Shag for Maximum Impact
- Start with layers cut specifically for shag texture—this requires a stylist who understands curly hair
- Use a lightweight curl cream or gel applied to soaking-wet hair in sections
- Diffuse on medium heat, cupping sections to encourage curl formation
- Once dry, use your fingers to separate and flip shorter layers around the face and crown
- Consider using a light texturizing spray or sea salt spray on the second day to enhance the piecey, choppy look
- Shags often look better with a bit of intentional texture rather than completely smooth, polished curls
- Refresh between washes by spritzing lightly and finger-tousling the shorter layers
Worth knowing: Shag cuts require more styling input than some other curly styles—you’re actively creating the piecey look rather than just letting curls do their thing. If you love a polished, low-maintenance look, a shag might require more work than you want.
7. Ombré Big Curls
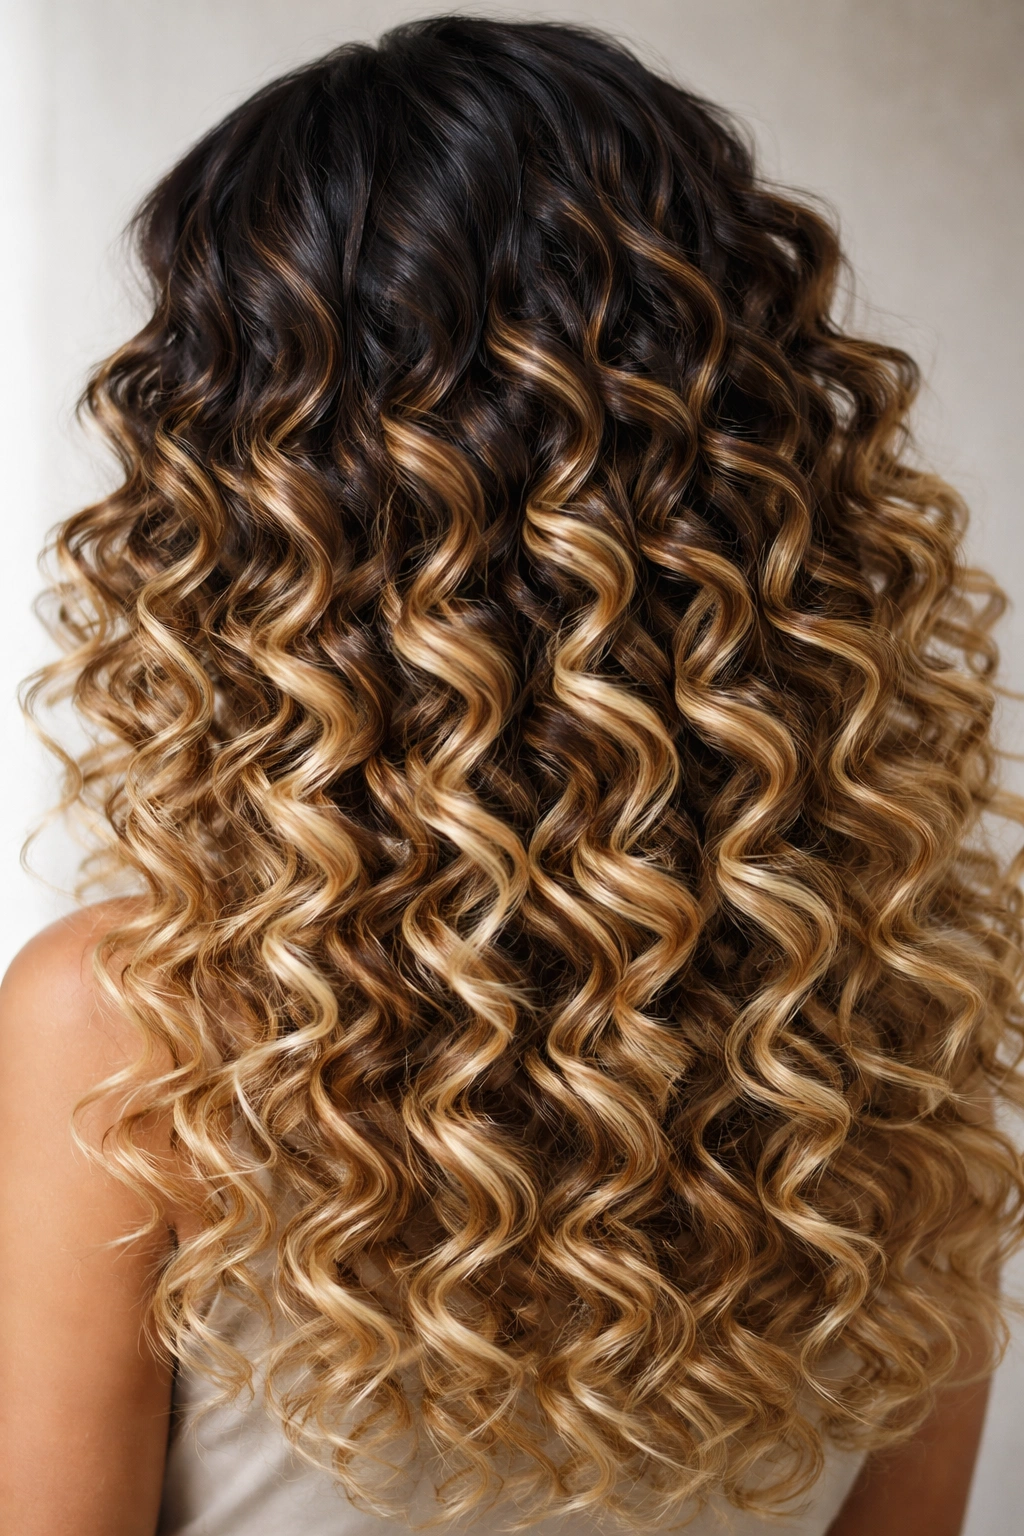
This style combines color dimension with volume and texture. Ombré—where hair is darker at the roots and lighter at the ends—creates visual interest and the appearance of even more movement and dimension than solid-colored curls provide. The lighter ends catch light and create the illusion of additional volume and texture.
How Color Enhances Curl Dimension
Ombré works for curly hair because the color transition creates visual separation and depth across each individual curl. As you move through the curl pattern, the color shift from darker to lighter catches light differently at each point, which exaggerates the three-dimensional quality of the curls. From a distance, ombré curls read as more textured and voluminous than the same curl pattern in a solid color. The lighter ends also photograph beautifully, showing off curl definition that might be less visible in all-dark hair. This style is especially striking on people with medium to coarse curl textures where you want to emphasize the movement.
Maintaining Ombré Curls Without Damage
- Use sulfate-free, color-safe shampoo and conditioner to protect the lightened ends
- Deep condition weekly or every other wash—lightened hair needs extra moisture
- Minimize heat styling; ombré colors fade faster with repeated heat exposure
- Consider color-depositing conditioners in purple or blue tones to maintain the ombré and prevent brassy tones
- Schedule touch-ups every 6-8 weeks to keep the color transition looking intentional rather than grown-out
- Use a leave-in conditioner and curl cream with some protein to keep lightened ends strong
- Trim the very ends every 6-8 weeks since lightened hair is more prone to damage and split ends
Pro tip: Ombré curls look best when the color transition is gradual and natural-looking, not a harsh line. A skilled colorist will feather the transition so it blends across multiple inches rather than appearing as a stark boundary.
8. Curly Bob with Volume
A curly bob is a chin-length or shorter cut that creates a bouncy, voluminous frame for the face. This style works by using layers and strategic length to create a shape that’s full at the crown and gradually shorter toward the face, creating movement and dimension.
The Magic of Short, Curly Styles
Curly bobs work because shorter hair has more natural bounce and movement. Without the weight of long hair pulling curls down, shorter curls spring more freely and create more visual volume. A well-cut curly bob can appear to have twice the volume of the same person’s long curly hair. The shape should be strategic: longer in the back to preserve length and volume, with face-framing layers and texture throughout. This style is especially striking on people with tighter curl patterns, where the bob shape is immediately visible and flattering.
Cutting and Styling a Statement Curly Bob
- Request a cut designed for your specific curl pattern, not a straight-hair bob adapted for curls
- Shorter bobs work best with consistent texture throughout—avoid blunt lines or overly choppy texturizing
- Layers should be integrated throughout to remove weight and encourage movement
- Style with a lightweight curl cream on soaking-wet hair, applied section by section
- Diffuse on medium heat or air-dry, depending on how much definition you want
- Separate curls gently once dry to show off individual curl shape
- Use a curl-refreshing spray between washes to reactivate bounce without full rewashing
Real talk: Curly bobs require more frequent trims than longer styles—every 4-6 weeks is ideal to maintain shape as the curls grow and shift. If you’re not willing to commit to regular trims, a bob might frustrate you.
9. Half-Up Curly Style
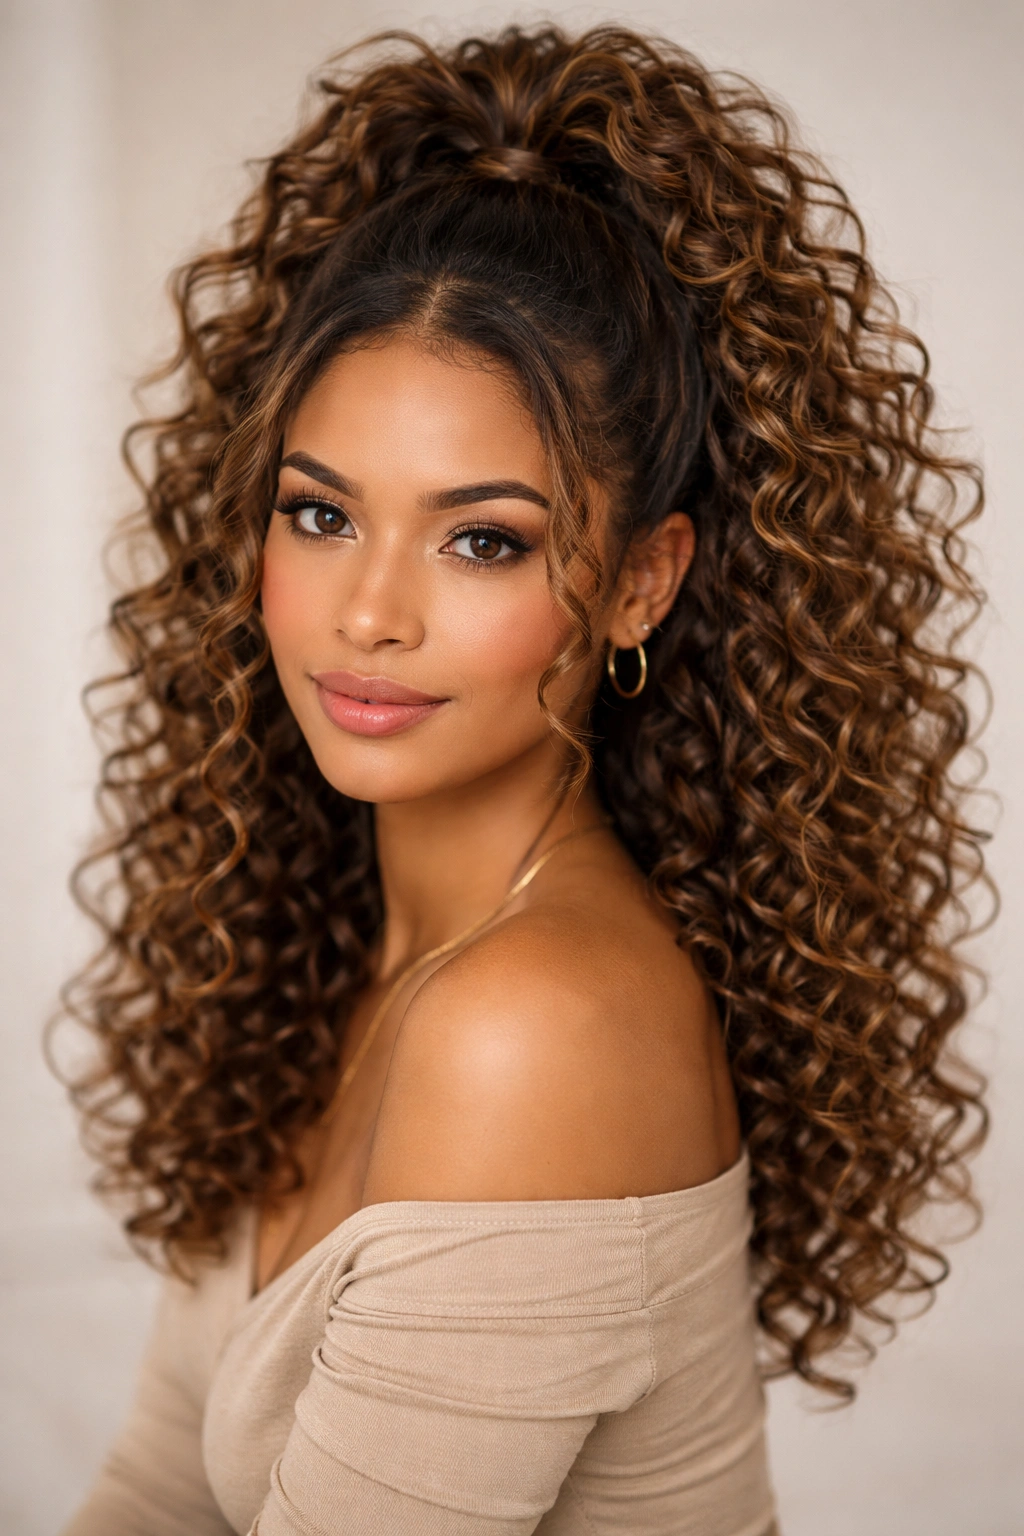
The half-up style combines secured, styled hair with loose curls, creating visual balance and interest. The upper portion is gathered—in a clip, a scrunchie, or braided—while the bottom half of the curls flow freely, creating height at the crown and movement throughout.
Why Half-Up Works as a Statement Style
This style works because it achieves the best of both worlds: defined volume at the crown with movement below. The gathered portion creates intentional shape and keeps curls out of the face while showing off the length and texture of the loose curls beneath. The contrast between the secured and unsecured portions creates visual interest. This style is flattering on almost everyone and works with any curl pattern—from loose waves to tight coils. It’s also incredibly practical: you get the polished look of a styled updos without the commitment of fully pinning hair up.
Styling a Half-Up Curly Look
- Start with clean, curly hair that’s been styled your normal way (diffused or air-dried with product)
- Once completely dry, gather the upper half of your hair and secure with a clip, scrunchie, or twist
- You can make the gathered portion smooth and sleek or keep it curly and textured—both look great
- Leave face-framing pieces down on both sides for a softer effect
- The loose curls below can be left as-is or fluffed and separated for more dramatic volume
- This style looks especially good on the second or third day after washing, when curls are more set
- Refresh the loose curls with a light spray and gentle scrunching between washes
Worth knowing: Half-up styles actually look better when the gathered portion isn’t overly tight. A slightly loose, textured gather looks more modern and elegant than a tightly pulled, polished style. Let some smaller curls escape rather than slicking everything back severely.
10. Long Flowing Curls with Straight Bangs
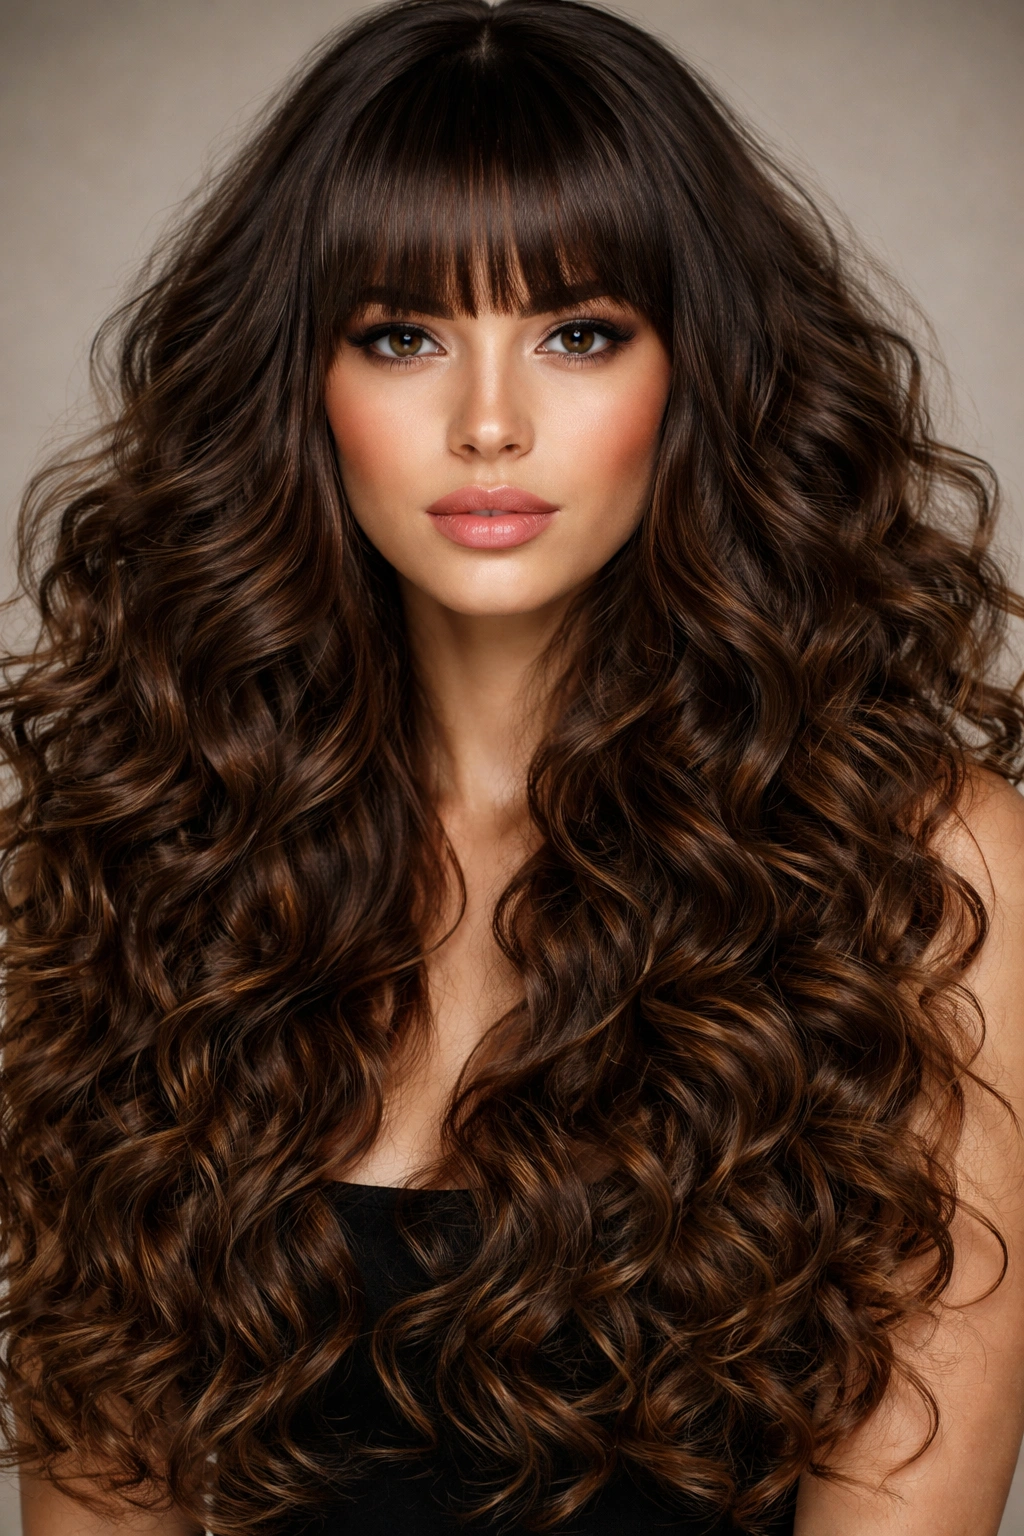
This dramatic style combines long, voluminous curls with intentionally straight, blunt bangs, creating contrast and visual interest. The straight bangs frame the face with clean lines while the long curls below create softness, movement, and undeniable volume.
The Power of Textural Contrast
This style works because the contrast between straight and curly is visually striking and immediately eye-catching. The bangs create definition and frame the face precisely, while the curls below provide softness and movement. This combination feels modern and editorial, like something you’d see in a fashion magazine. The straight bangs also make the curl texture appear even more pronounced and voluminous by comparison. The key to making this style work is commitment: the bangs need to be styled straight every day (or most days) to create that contrast. If the bangs curl up or frizz, the entire impact diminishes.
Maintaining Long Curls with Straight Bangs
- Keep bangs trimmed to just above the eyebrows or slightly longer, depending on your face shape
- Style bangs straight using a flat iron on medium heat, usually on the second or third day after washing
- Consider applying a lightweight smoothing serum or anti-frizz product to bangs before straightening
- Curl the rest of your hair your normal way—diffuse or air-dry with your usual product routine
- Refresh straight bangs between washes using a flat iron and light product, without rewashing your entire head
- Use a silk pillowcase or sleep with bangs clipped out of the way to preserve the straight style overnight
- Plan for bang trims every 3-4 weeks to keep them looking fresh and intentional
- The contrast works best when the curls below are very voluminous and defined, not flat or sparse
Pro tip: If you’re committing to straight bangs with curly hair, invest in a good flat iron designed for frizzy or textured hair. A cheap flat iron will make bangs look dull and damaged quickly. Ceramic or titanium plates are worth the extra investment.
Final Thoughts
The curls you’re capable of creating are probably more dramatic and voluminous than you realize. Most people underestimate what their hair can do because they’ve never had it cut right, styled with the proper technique, or allowed to develop its full potential. The styles above aren’t tricks or illusions—they’re legitimate ways to work with your natural texture to create height, movement, dimension, and undeniable presence.
The most important step is finding a stylist who understands curly hair, not just someone who can cut straight hair into a curly style. A great curly cut takes time, expertise, and genuine knowledge of how your specific curl pattern will behave once it grows out. Once you have the right cut, styling becomes dramatically easier and your curls will naturally have more volume and definition.
Start with the style that most appeals to you, invest in the right products for your specific texture, and be patient as you dial in your technique. Your signature style is waiting—it’s just a matter of understanding your texture and choosing the approach that makes you feel confident and genuinely yourself.