Short curly hair comes with amazing versatility, but mornings before school can feel like a battle with time, frizz, and the pressure to look put-together when you’re barely awake. The good news? Short curls don’t need complicated styling routines or hours of effort—they actually work with you when you’ve got the right approach. The challenge isn’t whether you can style short curls for school; it’s knowing which styles will hold up during the school day, won’t damage your hair with excessive heat or tension, and actually make you feel confident walking into class.
What makes school hairstyles for short curly hair different from everyday styling is practicality. You need styles that survive backpack straps, pencil erasers being tucked behind your ears, and the humidity swings between heated classrooms and cold hallways. You need styles that don’t require touch-ups between first period and lunch. You need to know which products won’t flake off on your notebook or leave your hair looking dull by afternoon. Most importantly, you need options that feel you—whether that’s sleek and polished, playfully textured, edgy and bold, or low-maintenance natural.
The 10 styles below aren’t generic suggestions pulled from someplace that doesn’t understand short curly hair. They’re built specifically for the way short curls behave, what they can hold, and what actually looks fresh when you walk through school doors. Each one comes with the real details—timing, products, the specific techniques that make them work, the common mistakes that wreck them, and how to modify them if your curl pattern is different from the standard. Whether you’ve got tight coils, loose waves, or spirals somewhere in between, these styles are your toolkit for looking sharp without stress.
1. The Textured Puff with Side Bangs
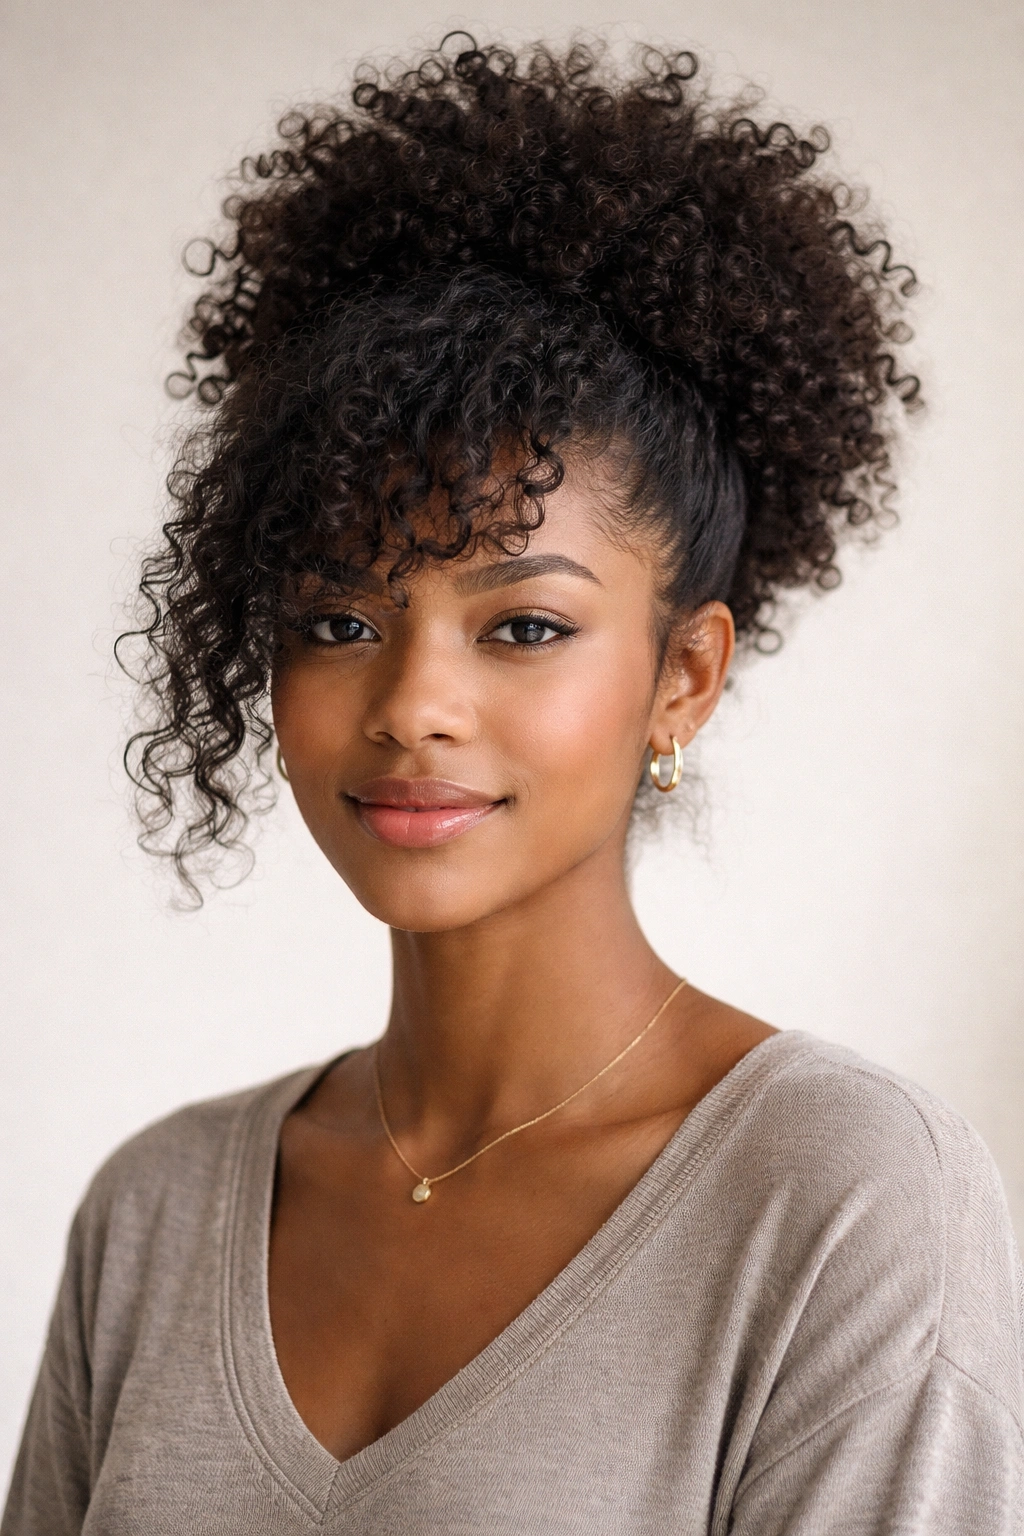
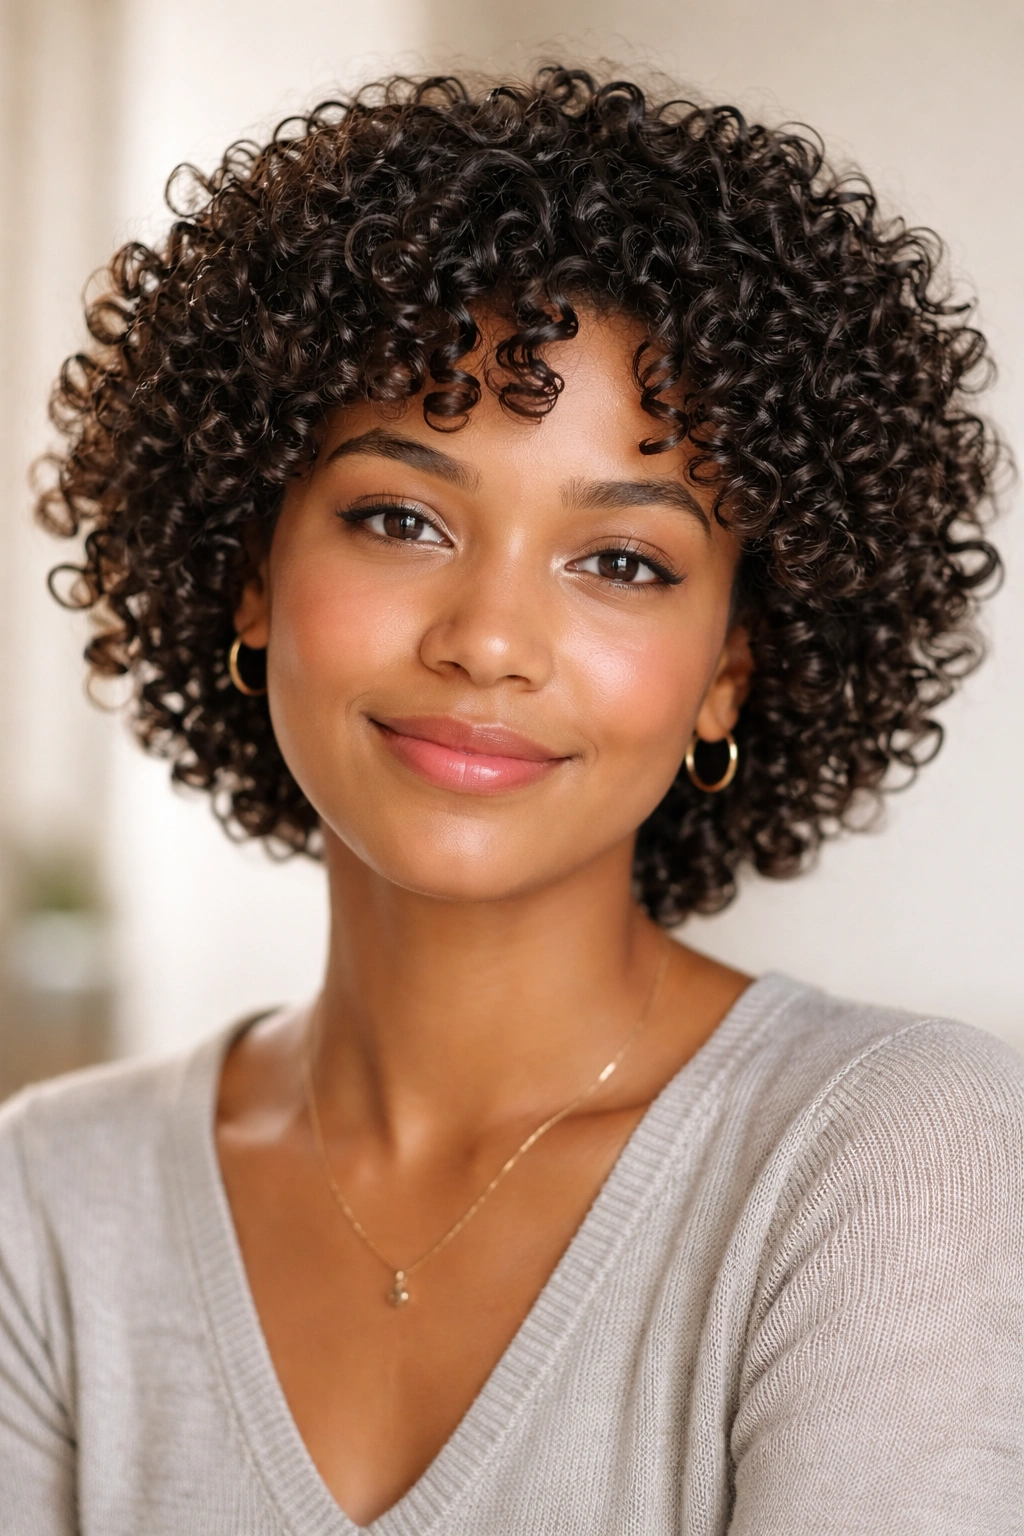
This is the perfect blend of effort and ease—it looks intentional and voluminous while requiring almost nothing from you on a rushed morning. A textured puff keeps your curls contained but shows off their natural pattern instead of flattening everything down. The side bangs add definition and give you a front-facing feature that makes the whole style feel deliberate and styled, not accidental.
How It Works for Short Curls
The textured puff works because short curls have natural bounce and volume. You’re not forcing your hair into a tight ball; you’re just encouraging the curls to stack upward and outward from a central point at the crown. This creates height without tension on your roots, which means no breakage and no scalp irritation by day’s end. Side bangs frame your face and add an extra layer of intentionality—it shows you’ve thought about the overall look, even if the actual work was minimal.
How to Create It (Morning Routine)
Start with slightly damp hair from the shower the night before, or lightly mist your curls with water and a leave-in conditioner the morning of. Flip your head upside down and apply a lightweight curl-defining cream or gel to your damp curls, focusing on mid-length to ends. You want product, but not so much that your curls feel stiff or crunchy. Use your fingers to rake it through and encourage curl definition.
Flip your head back upright and gently gather all of your hair toward the crown. Don’t use a tight elastic—instead, secure with a soft scrunchie or a flexible hair tie that won’t leave creases. The puff should feel intentional but loose enough that you could slip a finger under the elastic without fighting. Take the front sections and smooth them toward the side of your choice, securing with a small bobby pin or a decorative clip that matches your outfit. This creates your side-bang moment without sacrificing volume.
Pro Tips That Actually Work
If your curls lose definition by noon, use a light misting spray—not a heavy hold hairspray that’ll make everything stiff and crunchy. Plopping your curls in a microfiber towel or t-shirt for 10 minutes before gathering them into the puff locks the curl pattern in place longer. If you’re concerned about frizz, smooth a tiny amount of edge control or frizz serum along the front hairline before securing the side bangs. The difference between a sloppy puff and a polished one often comes down to that detail.
What to Avoid
Don’t use a regular elastic that digs into wet hair—it’ll leave creases that stay all day. Don’t apply too much gel; textured should look like your curls are their own thing, not plastered together. Don’t brush through your curls once you’ve applied product; that disrupts the curl definition and creates frizz. The whole point is letting your natural texture do the work.
2. Double Twisted Crown Braid

Two twisted braids that wrap around your head like a crown are not only gorgeous—they’re also one of the most protective styles for curly hair. Braids distribute the tension across your entire scalp instead of concentrating it in one spot, and twisted braids work especially well with curly texture because the twist itself creates definition that curly hair loves. You get the security of a braid without the tightness of traditional braiding.
Why Twists Work Better Than Regular Braids for Curls
Twisted braids (also called rope braids or two-strand twists) skip the traditional three-strand braiding that can be tough on delicate curly hair. Instead, you’re simply dividing a section into two strands and wrapping them around each other. The twist follows your natural curl pattern instead of fighting it, which means less tension and less chance of those little hairs snapping. The texture of your curls actually helps hold the twist in place, so the braids stay tighter longer without you needing to braid more tightly to compensate.
Step-by-Step Creation
Apply a curl-enhancing mousse or lightweight cream to clean, slightly damp hair. Divide your hair down the middle, from your forehead to the back of your neck. Working on one side, take a small section from your forehead hairline and divide it into two strands. Twist these strands around each other, adding small sections of hair as you move toward the back of your head—this is a french twist, which adds volume and security. Continue twisting all the way around the back of your head to the opposite ear.
Secure the first twist with a bobby pin that matches your hair color. Repeat on the other side. The two twists should meet at the back and cross each other slightly, creating that crown effect. Secure the second twist and tuck any loose ends underneath. If you want extra hold, lightly mist with a flexible-hold hairspray that won’t dry out your curls.
Making It Last Through the School Day
Twisted braids hold better overnight than most curly styles, which means you can actually style this the night before and sleep in it (on a silk or satin pillowcase, ideally—it reduces frizz and breakage). If you’re styling in the morning, use a bit more product than you’d normally reach for; the extra moisture helps the twists hold their shape. The twist pattern itself creates a subtle wave once you take it down, so this is a smart style if you’re planning to wear your curls out later (like at an after-school event or weekend).
Product and Texture Adjustments
If your curls are very tight and coily, use a richer cream or butter to help the twists glide smoothly and show definition. If your curls are wavier or looser, a lightweight mousse might be all you need. Either way, the texture of your natural curls will enhance the twists rather than fight them.
3. Protective Top Knot with Loose Ends
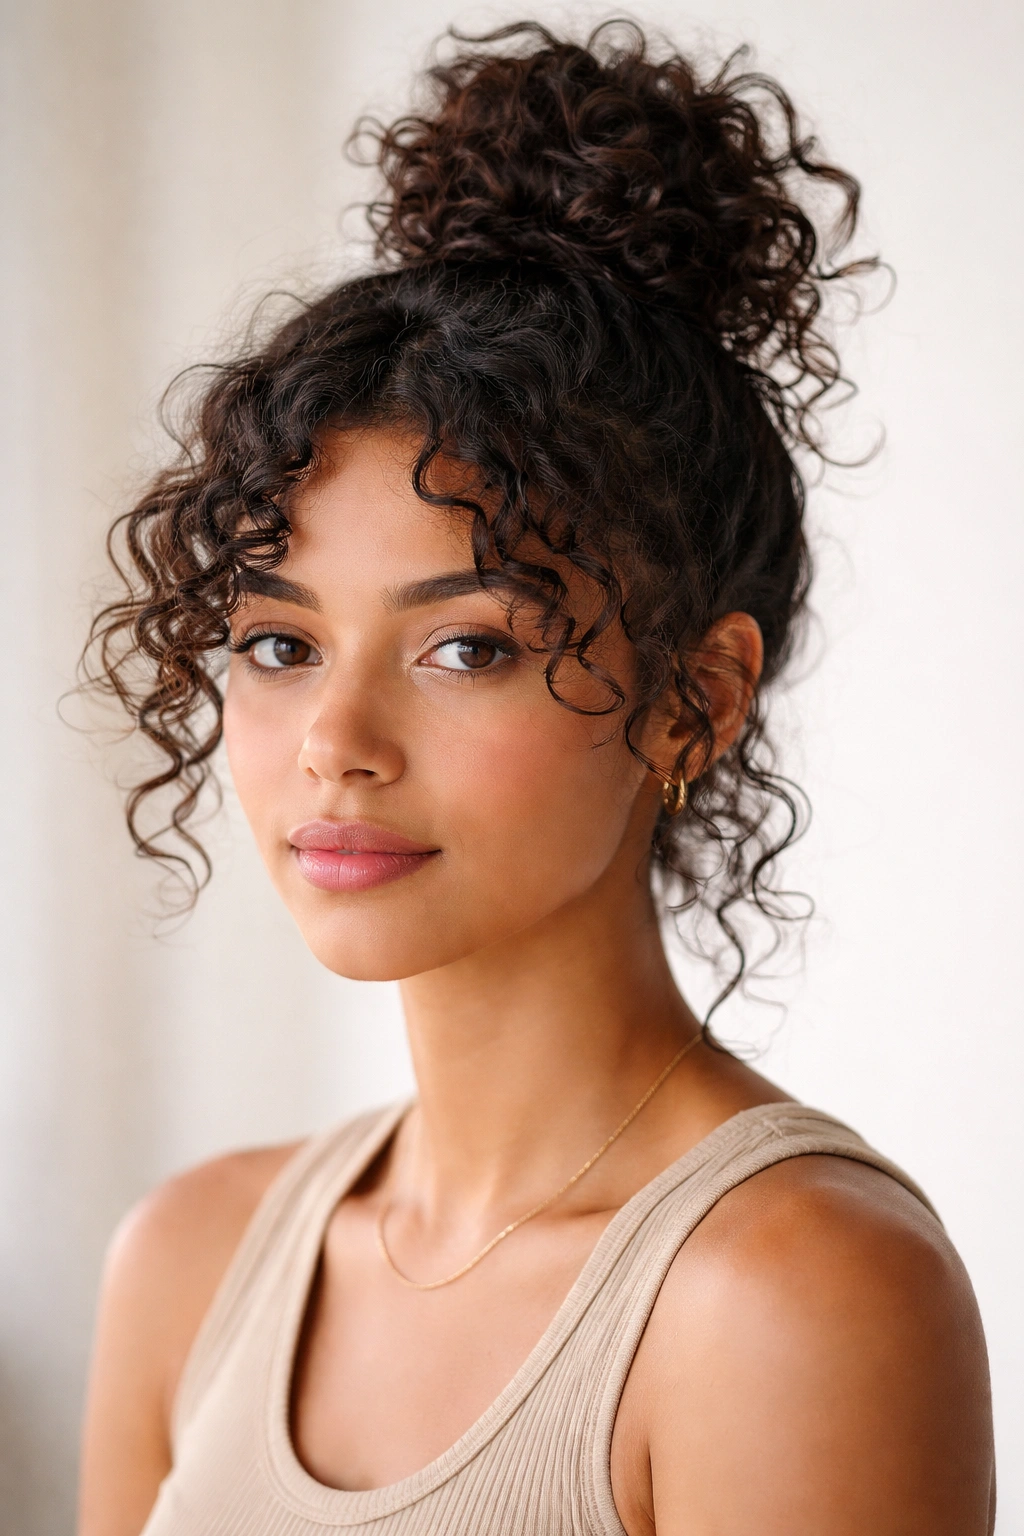
This style sits somewhere between “I just got out of bed” and “I spent 20 minutes getting ready,” which makes it perfect for mornings when you’re running late but still want to look intentional. A high knot protects the majority of your hair from environmental stress (heat, humidity, friction from your backpack), while leaving some curls loose around your face keeps it from looking too harsh or severe.
The Protective Element
When you gather most of your hair into a knot at the crown, you’re minimizing daily handling and exposure to environmental damage. School days involve a lot of incidental hair manipulation—brushing against your shoulders, tucking hair behind your ears, the friction of your backpack strap—and all of that adds up to frizz and breakage by the end of the day. A high knot keeps the bulk of your curls safely out of the way while you go through your day.
Building the Knot
Start with curls that are fully dried from the night before, or apply a curl-refresher spray to revive yesterday’s curls without needing a full wash. Gather all of your hair at the very crown of your head—high enough that the knot sits above your ears. Secure with a soft scrunchie or elastic. Don’t pull tightly; the knot should feel relaxed and slightly loose. Now take the remaining length of hair (the tail of your ponytail), twist it loosely around itself, and wrap it around the base of the knot, securing with bobby pins.
Leave shorter curls or pieces around your hairline loose and define them with a light cream or curl spray. Let these frame your face naturally. The combination of the secured knot and the loose pieces creates balance—it’s not too casual, but it’s not overly polished either.
Loose Ends Strategy
The curls you leave loose around your face are your opportunity to show texture and personality. Don’t try to smooth them down or make them disappear; instead, define them with a bit of product so they look intentionally loose, not accidental. A curl cream or lightweight gel applied with your fingers works perfectly. These loose pieces also give you something to adjust if you feel self-conscious about the knot later in the day.
Timing and Product Choices
You can create this style in 3-5 minutes once you have the technique down. The key is using the right elastic—avoid ones that are too tight or have a metal clasp that can snag curls. A spiral hair tie or a soft fabric scrunchie protects your hair much better than a standard elastic. If your knot loosens by afternoon, a few bobby pins tucked in at strategic angles will tighten it back up without you needing to take it down and redo it.
4. The Half-Up Twist with Clips
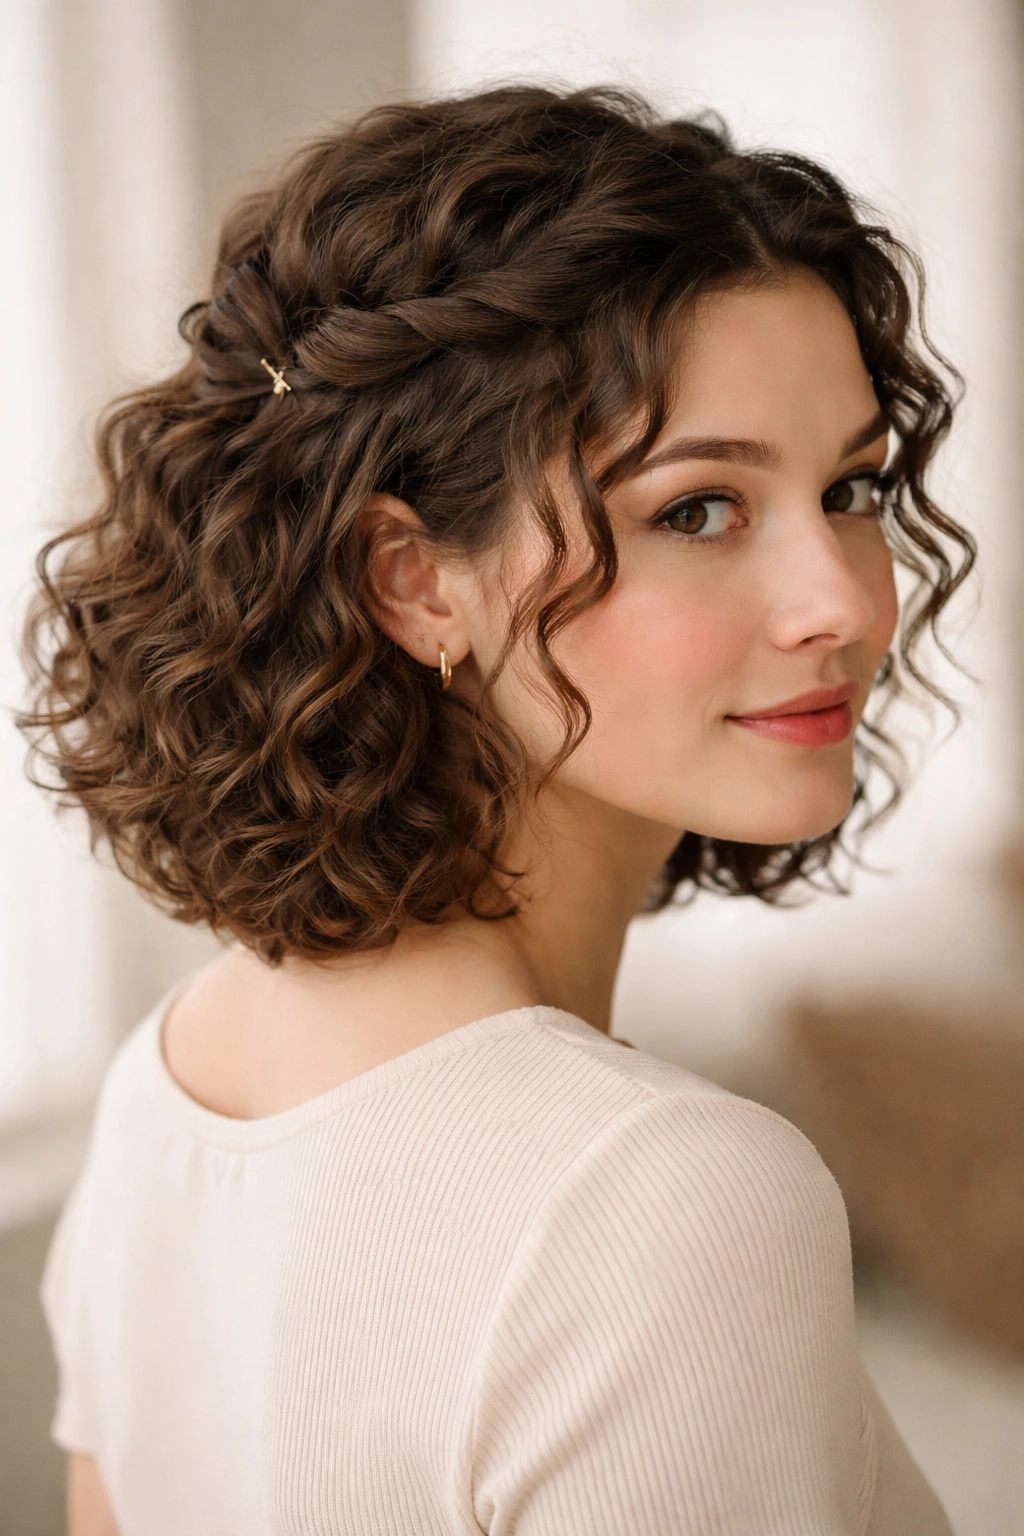
A half-up style gives you the best of both worlds: your curls are partially off your face and secured, but the majority of your hair flows freely so you still get to show off your texture and curl definition. Using clips instead of elastic makes the style feel more versatile and modern, plus it’s much gentler on your hair than pulling it tight.
Why Clips Are Better Than Elastic for This Style
Clips secure your hair without creating tension across your scalp, which means no uncomfortable tightness and no creases or damage. Plus, if you change your mind halfway through the school day, you can unclip and release your curls in seconds. Clips come in so many colors, finishes, and styles that you can match them to your outfit or personal aesthetic in a way that elastic almost never allows.
Creating the Half-Up Twist
Take a small section from each side of your head, starting near your temple. Apply a lightweight cream or mousse to these sections if you want extra definition. Twist each section gently toward the back of your head—not tightly, but enough that the twist is visible and holds its shape. Bring the two twists to the back of your head and secure them with a clip. You can cross them over each other for a braided effect, or layer them for dimension.
The rest of your curls hang loose from about ear-level down. Apply a curl-defining cream to your loose curls to enhance their natural pattern. The overall effect should feel effortless—like your hair just naturally twisted that way.
Clip Selection Matters
Choose clips that are smooth on the inside (not metal clips with sharp edges that can catch and break hair). Claw clips, hair clips with silicone grips, and decorative metal clips with smooth interiors all work beautifully. Avoid tiny plastic clips that don’t have enough grip—your twists will slip out by second period. If your curls are thick or heavy, look for clips specifically labeled “for thick hair” or use two clips instead of one to distribute the weight.
Switching It Up
You can make this style completely different by placing the clip higher (nearly at the crown) for a more dramatic half-up look, or lower (at the nape of your neck) for a subtle, barely-there vibe. You can use one clip straight back, two clips off to each side, or three clips in a triangle formation. The versatility is part of what makes this style perfect for school—you can adapt it based on how you’re feeling or what you’re doing that day.
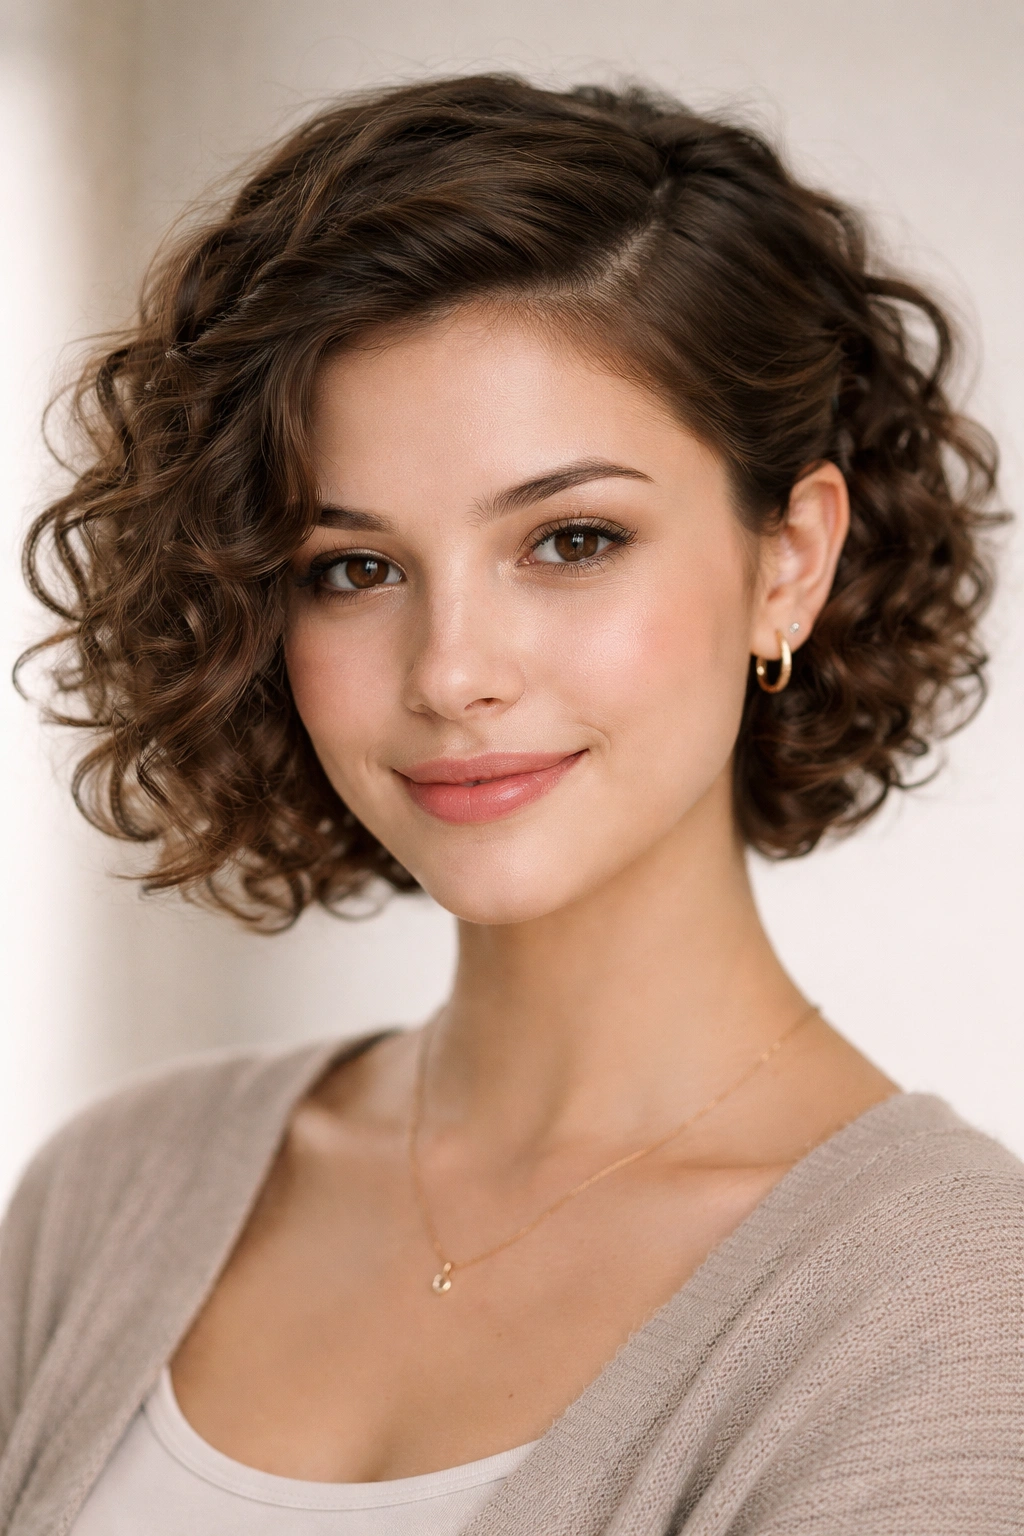
5. Sleek Low Bun with Defined Waves
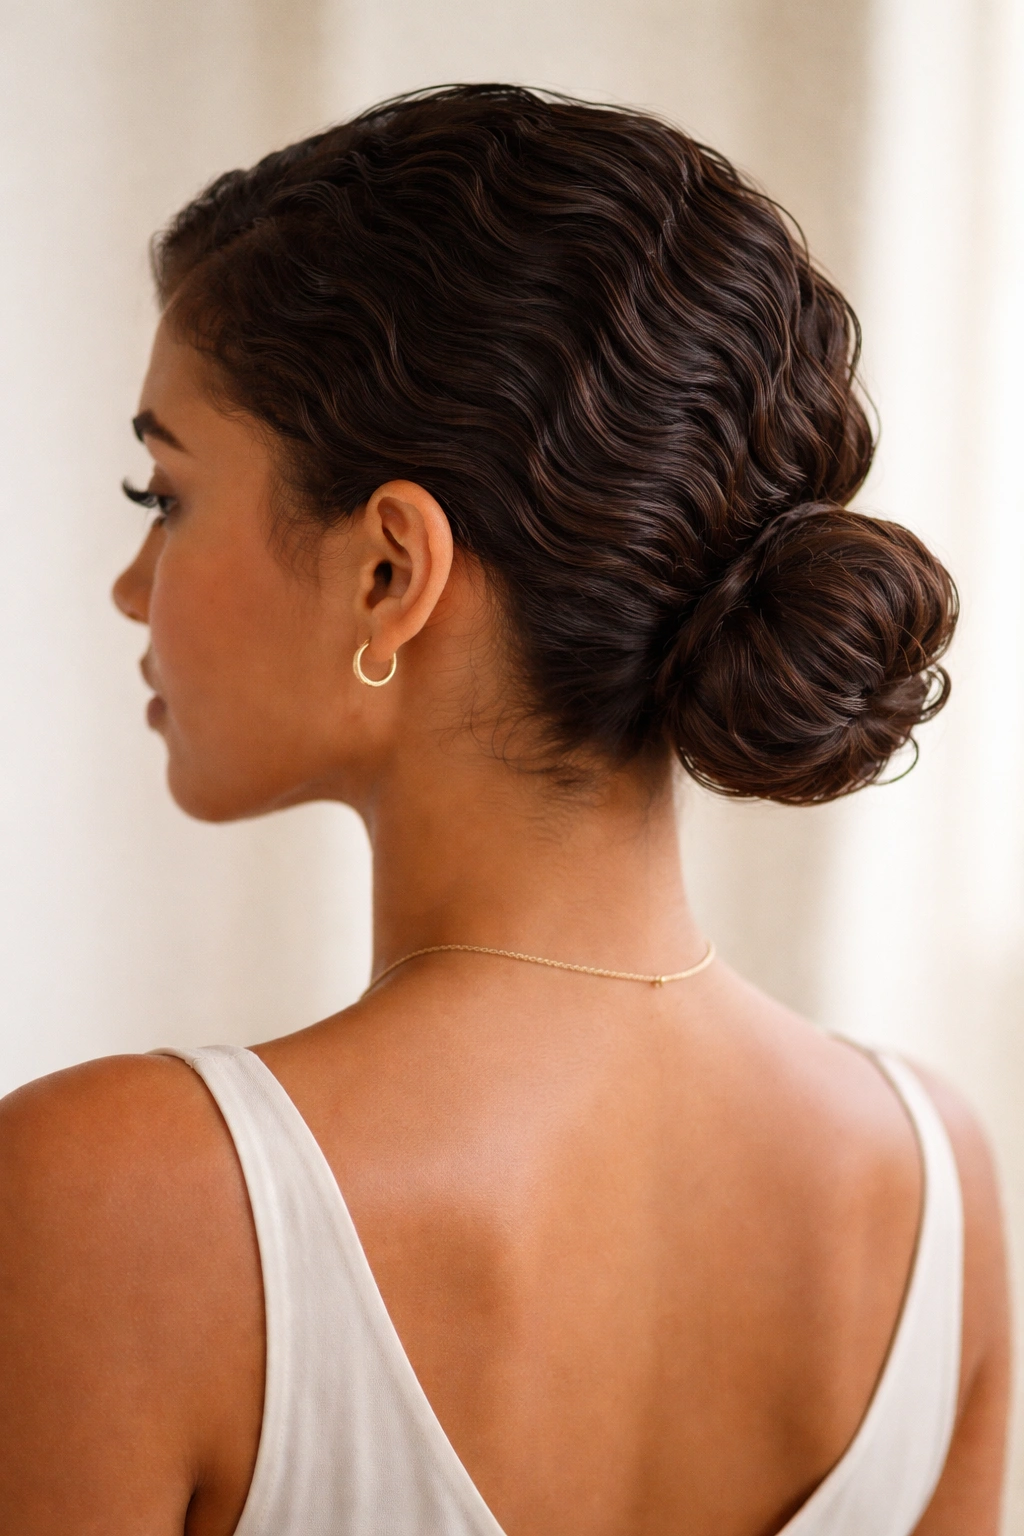
When you want to look polished and put-together without the casual texture of a puff or the sporty vibe of a top knot, a sleek low bun at the nape of your neck is your answer. The key to making this work with short curly hair is not fighting your curls into sleekness, but instead defining them into waves first, then gathering them smoothly.
Sleekness Without Damage
“Sleek” doesn’t have to mean “straightened” or “heat-damaged.” With curly hair, sleek means “defined and smooth,” which you can achieve with the right products and technique without any heat. A smoothing cream or gel applied to clean, damp hair creates shine and definition while keeping your curl pattern intact. The bun itself holds the waves in place, so by the time you secure it, you’ve got smooth, defined curls gathered neatly instead of a frizzy, undefined mess.
Building Your Defined Waves
Start with clean, damp hair. Apply a smoothing cream or frizz-control serum to your curls, concentrating on the mid-length to ends. Use your fingers to gently rake it through, encouraging your natural curl pattern to settle into waves. You’re not creating waves with your hands; you’re enhancing the waves your curls already want to form.
Gather your hair at the nape of your neck—lower than a traditional bun, which suits short hair better. Secure loosely with an elastic. Take the tail of the ponytail, twist it, and wrap it around the base of the bun, pinning it down with bobby pins. Smooth any flyaways with a tiny amount of edge control or frizz serum applied with your fingers.
The Finish
A sleek bun should look intentional and polished, which means taking 30 seconds to smooth your hairline and tuck any escaping pieces. A small decorative clip, a silk or metallic hair tie, or even a simple claw clip at the base of the bun elevates the entire look from “casual bun” to “styled bun.” The defined waves running through your bun add visual interest and texture, proving that you’re not trying to hide your curls—you’re showcasing them in a controlled way.
Holding Power
This style holds beautifully all day without additional touch-ups, especially if you apply your smoothing product to damp hair and let it fully dry before you head to school. The combination of product and the twist secures everything firmly. By afternoon, your waves might relax slightly, but they’ll still look intentional and polished, not frizzy.
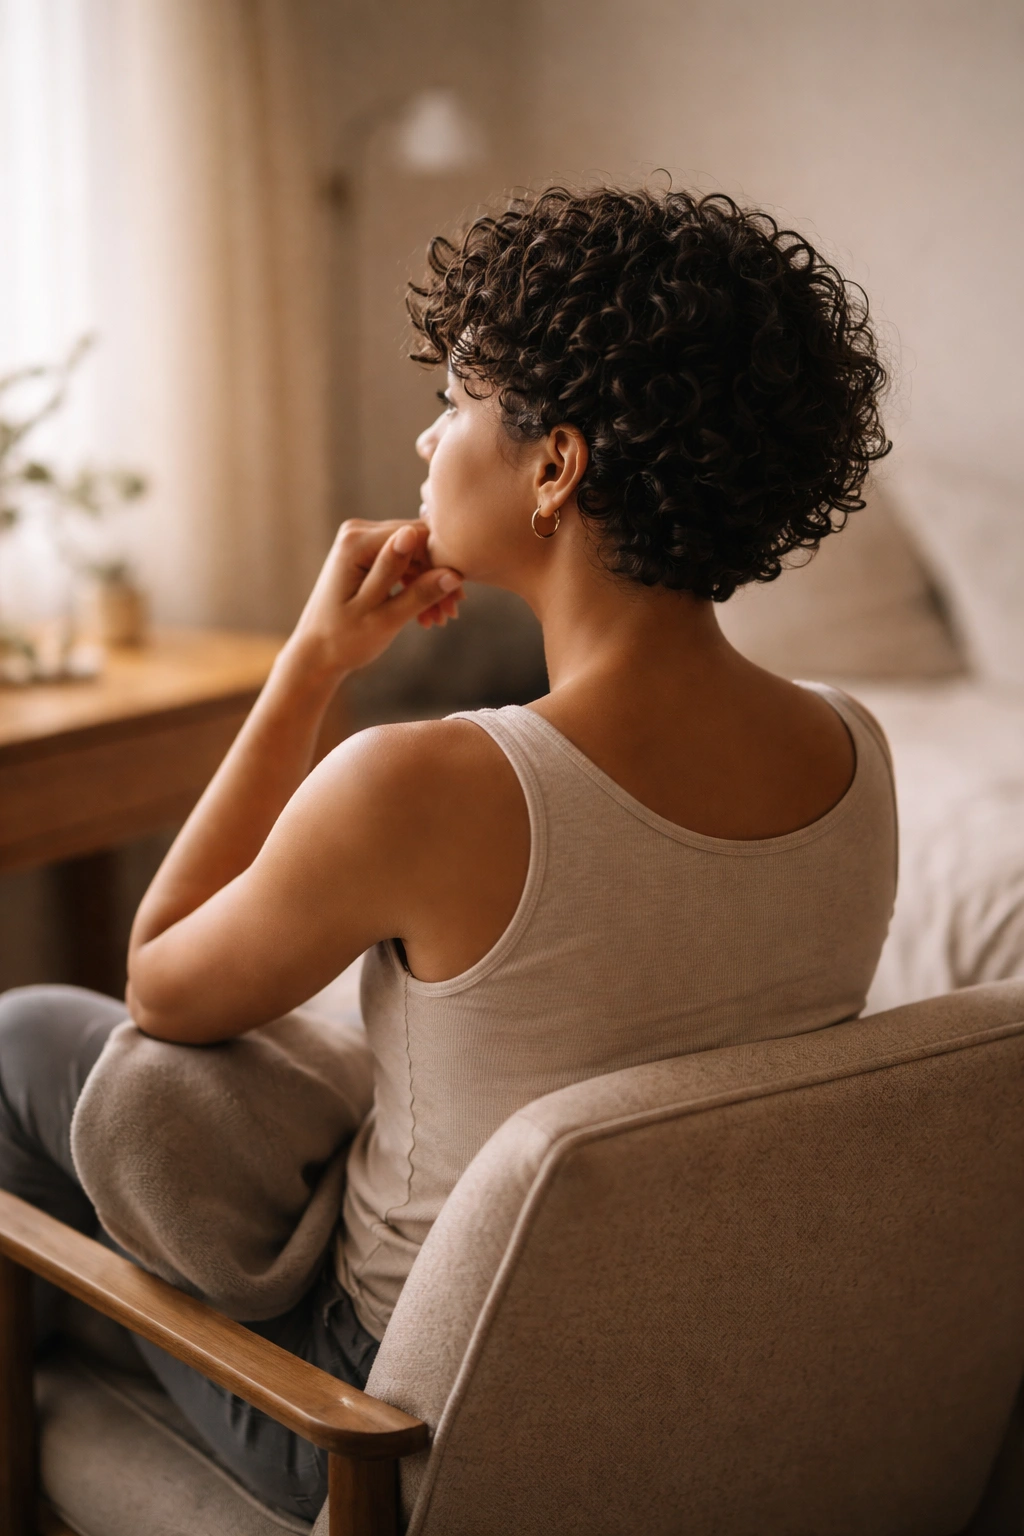
6. Tapered Cut with Straight Edges
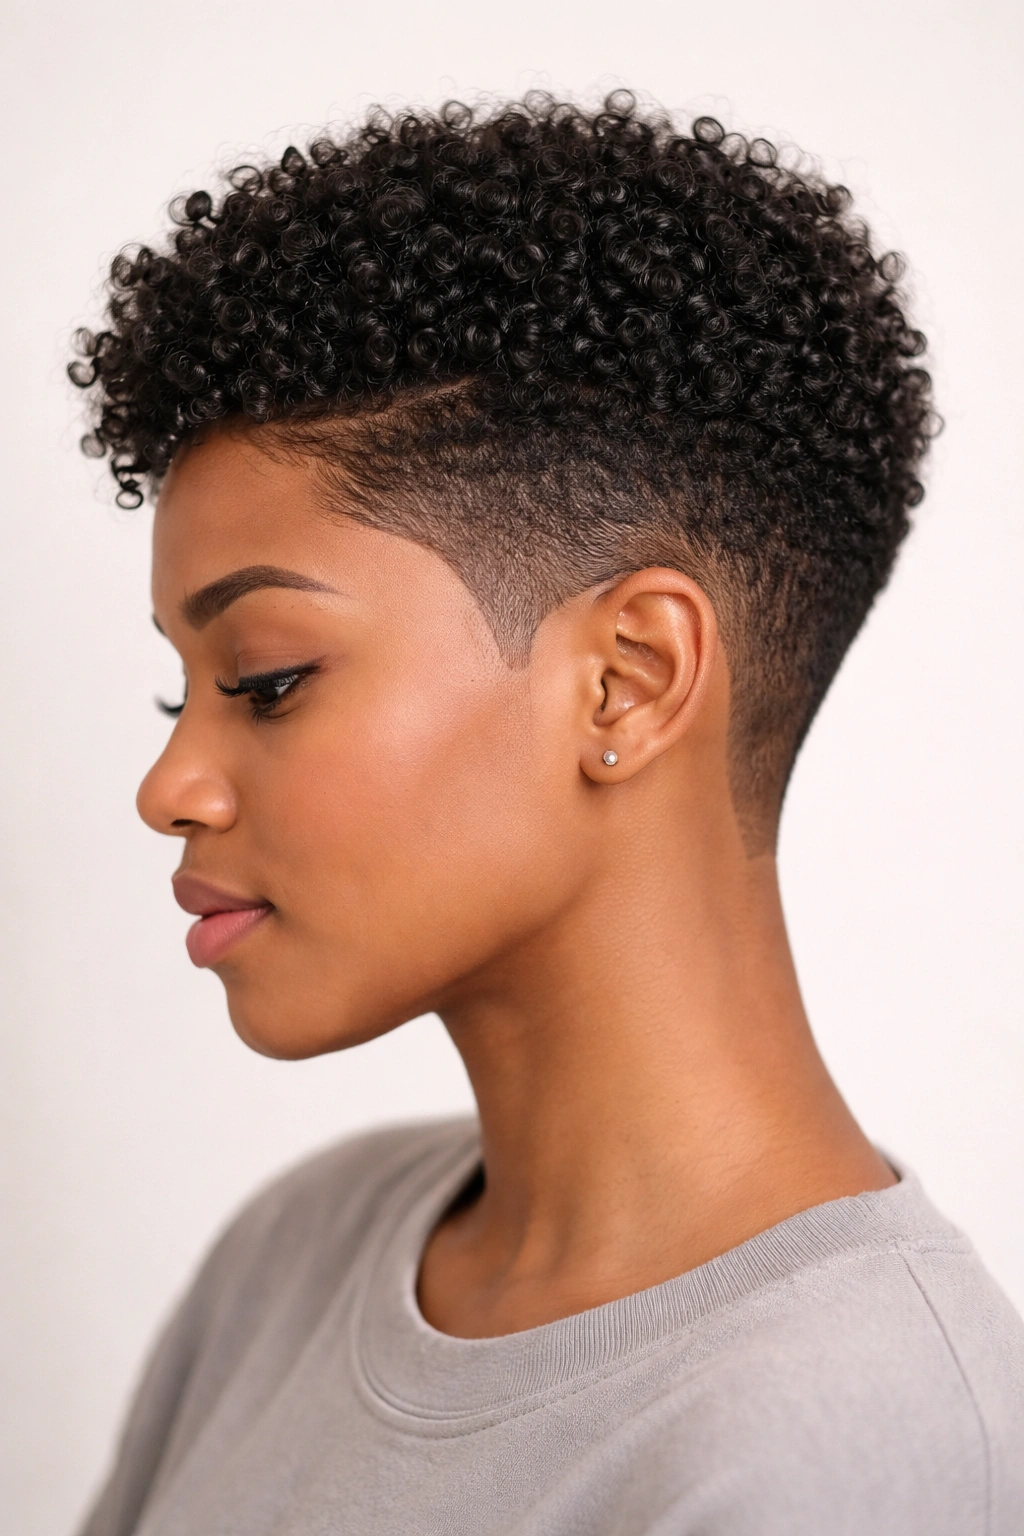
This isn’t a styling technique—it’s a cut that is the style. If you’re looking to minimize morning routine while still having a striking, intentional look, a short tapered cut with crisp, clean edges is honestly the most efficient option. The cut itself does the work, and your only job each morning is to apply product and let your natural curl pattern shine.
Why This Cut Works for School
A tapered cut removes length gradually from the sides and back up toward the crown, which means there’s less hair overall and less surface area for frizz to develop on. It’s genuinely the most time-efficient cut for curly hair because it works with your natural texture instead of fighting it. You wake up, apply your curl-defining product, let it dry, and you’re done. There’s no styling required.
The Straight Edge Component
Crisp, clean edges—whether it’s a defined line-up around your hairline, sharp angles at your sides, or a clean shape at the back—make this cut feel intentional and polished. The straight edges contrast beautifully with the soft texture of your curls, creating visual interest and making even a very short cut feel sophisticated. These edges are typically maintained with weekly or biweekly trims, which sounds high-maintenance, but it’s actually less work than styling.
Product Application for Texture Emphasis
Even with a tapered cut, you’ll want to enhance your curl definition with product. A lightweight curl mousse, curl-defining cream, or texture spray applied to damp curls emphasizes the natural pattern. The product isn’t creating your style—the cut does that—it’s just making sure your curls look their best instead of undefined or frizzy. Scrunch the product in using your hands, let your curls air dry or diffuse them, and you’re ready for the day.
Who This Cut Suits Best
If you have fairly even curls across your head and you’re not trying to hide or cover any particular area, this cut is amazing. If you have texture variation (tighter curls in some spots, looser in others) or you’re using your hair to frame or balance your face in a specific way, you might want more length or more styling options. Talk to your barber or curl specialist about whether this cut would work for your specific curl pattern and what you’re trying to achieve.
7. The Braided Halo Crown
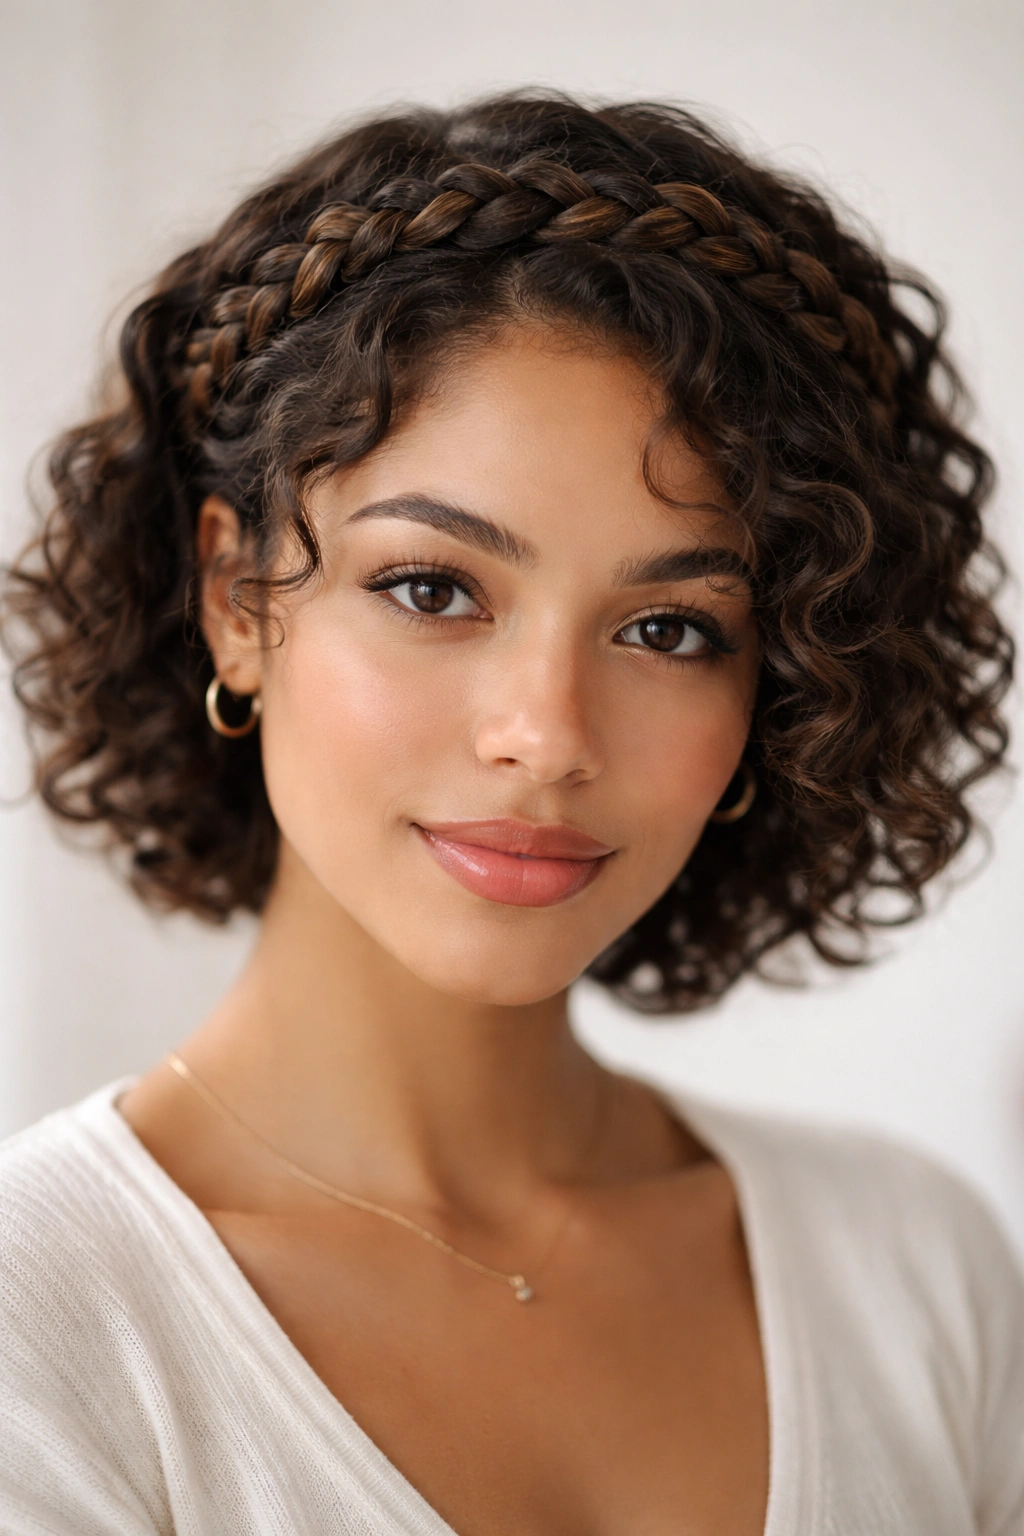
This style is a step up in complexity, but it’s absolutely worth the effort for days when you want to look extra polished—think assembly days, presentations in class, or school events. A braided crown wrapped around your head like a halo creates serious visual impact and is surprisingly protective for your curls underneath.
Building Your Halo
Start with clean, damp hair and apply a smoothing cream or lightweight gel. On one side of your head, take a section from your temple and create a regular three-strand braid (if your curls are very tight, french braiding is even easier and more secure). Braid all the way around the back of your head to the opposite side. Secure the end with a clear elastic or a bobby pin.
The braided halo sits on top of your head, securing and framing your curls. The curls underneath the braid stay protected and intact, and the braid itself becomes the focal point. You can leave the remainder of your hair down in loose curls, or gather it into a ponytail or bun underneath the halo for a more formal look.
Braid Type Variations
A regular three-strand braid sits visibly on top and creates clear definition. A french braid that travels around your head is less visible from certain angles but distributes the tension more evenly across your scalp. A dutch braid (where you braid under instead of over) creates a more dramatic, dimensional look. Choose based on how much visual impact you want and how much time you have in the morning.
Securing and Finishing
Use bobby pins that match your hair color and tuck them underneath the braid so they’re not visible from the front. If you’re leaving your curls loose underneath, apply curl-defining product and let them air dry or diffuse them for maximum definition. If you’re gathering them into a bun or ponytail, the braid halo holds everything in place beautifully.
Timing Realistic Expectations
Creating a braided halo takes 5-10 minutes once you’ve got the hang of it, which is longer than most other styles. But if you’re only doing this for special occasions or certain days of the week, the extra time is worth it. You could also create this style the night before and sleep on it—the braid will be even more secure the next day, and you can refresh your loose curls with a spray in the morning.
8. Tousled Undercut with Volume
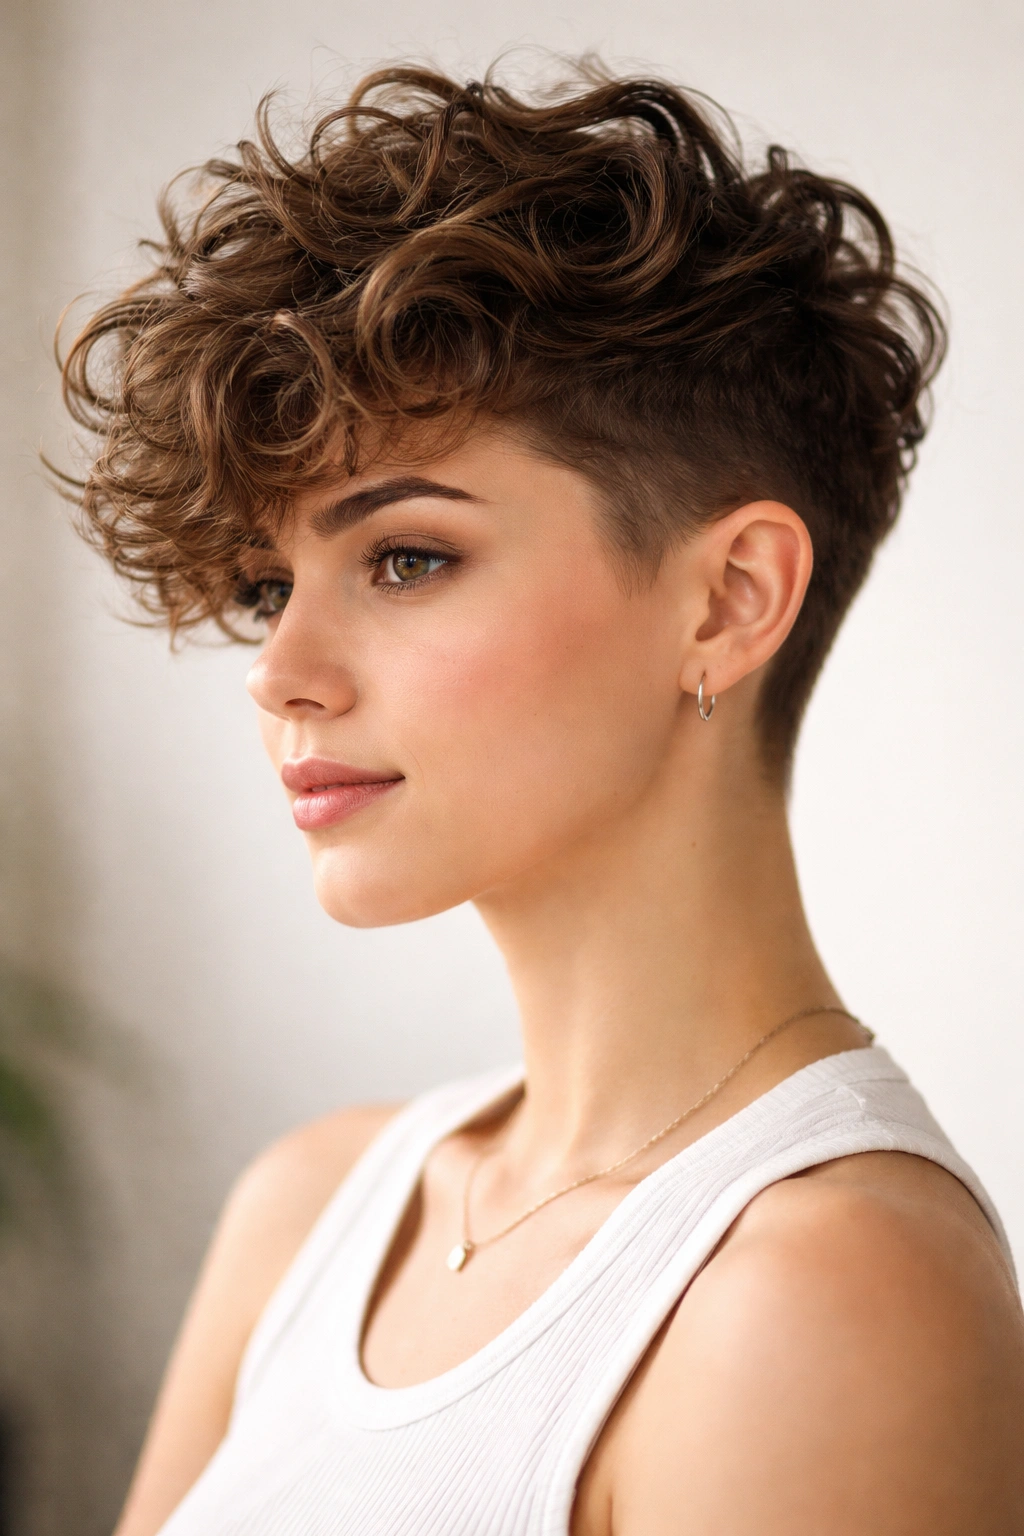
An undercut is a longer cut on top with significantly shorter sides and back. This creates built-in volume and dimension that work beautifully with curly hair, especially if you style the top section to stand up or away from your head. The contrast between the textured curls on top and the clean lines of the undercut is genuinely striking.
The Visual Impact
Short sides emphasize your face shape and make your curls look fuller and more voluminous by comparison. The longer curls on top have nowhere to go but up and outward, which means you get natural height and presence without any styling tricks. The cut itself does the work; you’re just enhancing what’s already there with product and technique.
Styling for Maximum Volume
Apply a volumizing mousse or curl-enhancing cream to damp curls on the top section. Use your fingers to scrunch the product in, encouraging your curls to dry upward and outward rather than laying flat against your scalp. If you have time, use a diffuser attachment on a blow dryer set to low heat for even more volume—the diffuser disperses air gently without disrupting your curl pattern the way a regular nozzle would.
Once your curls are dry, they’ll naturally sit up and away from your head. This creates height that makes you look taller and gives your short curly hair major presence. A light misting spray locks the volume in place without making your curls feel stiff.
Maintenance Reality Check
The undercut sides and back require trimming every 3-4 weeks to maintain the sharp lines, which is more frequent than a standard haircut. If you’re willing to commit to regular trims, you’ll have a constantly fresh look that requires minimal styling. If frequent trims feel like too much, this cut might not be practical for your schedule.
9. Twisted Side Sweep
A side sweep where you twist sections of hair and pin them to one side is a perfect middle ground between casual and polished. It’s protective, it looks intentional, and it takes less than five minutes once you know how to do it. The twists also enhance your curl definition, so your texture becomes a feature rather than something to cover up.
Creating Your Twists
Take a section from one side of your hairline and twist it loosely, adding small pieces of hair as you move toward the back of your head. This is a loose, informal french twist—it doesn’t need to be perfect or geometrically precise. Once you reach the back, pin the twist to secure it. If you want more visual impact, create a second twist on the opposite side and pin both toward the same side, layering them slightly.
The effect is a side-swept crown of twists with your curls flowing freely down the opposite side. Your face is framed and partially framed, you look put-together, but you’re still showing off your curl texture.
Product and Definition
Apply a lightweight curl cream to your twists before you create them if you want extra definition and hold. The twists themselves will encourage your natural curl pattern to settle into waves, so you don’t need much product—just enough to enhance what’s already there. Let your loose curls air dry or diffuse them for the best definition.
Quick Fixes If Twists Slip
If your twists loosen during the school day, you can tuck bobby pins back in without taking the whole thing apart. The twists don’t need to be perfect to look good—slightly relaxed twists often look even more natural and effortless than tight, pristine ones.
10. The Defined Curl Wash-and-Go
When your curls are healthy and well-defined, sometimes the best style is no style at all—just your natural curls, enhanced with the right product and allowed to do their thing. A wash-and-go is the ultimate low-maintenance style, and when done right, it looks intentional and cared-for, not neglected.
Building Your Wash-and-Go Foundation
The success of a wash-and-go depends heavily on your hair routine, not just your styling. Your curls need to be healthy, well-moisturized, and properly defined, which means using the right shampoo, conditioner, and leave-in products. A good leave-in conditioner is non-negotiable—it provides moisture and helps your curls hold their shape throughout the day.
Start with clean, damp curls. Apply a curl-defining cream or gel to damp hair, working it through from roots to ends. Use your fingers to gently scrunch the product in, encouraging your natural curl pattern to express itself fully. Avoid combing or brushing, which disrupts the curl pattern and creates frizz. Let your curls air dry completely, or use a diffuser if you need to speed up the process.
The Texture Will Evolve
On day one, your curls might look super defined and springy. By day two, they’ll have relaxed slightly but should still look intentional and bouncy. By day three or four, they might be ready for a refresh. A lightweight spray or mousse in the morning refreshes the curl pattern without requiring a full wash. This is perfectly normal and actually part of what makes wash-and-gos beautiful—they evolve throughout the week instead of looking exactly the same every single day.
Maintenance Matters
A wash-and-go is only as good as your daily hair care routine. Sleeping on a silk or satin pillowcase prevents frizz and extends the life of your style. Pineappling your curls before bed (gathering them loosely at the crown with a soft scrunchie so they don’t flatten against your head while you sleep) keeps them looking fresh into the next morning. If you follow these simple steps, a wash-and-go can genuinely last three to four days before needing a full re-wash.
Product Choices Make All the Difference
Everyone’s curls respond to different products, which is why what works for your best friend might not work for you. Experiment with different curl-defining creams, gels, and leave-in conditioners until you find the combination that makes your curls look their best. Once you’ve got it dialed in, a wash-and-go becomes effortless—some mornings you literally just wake up, maybe spritz with water, and you’re done.
Final Thoughts
Short curly hair at school doesn’t have to be stressful. These ten styles cover everything from five-minute morning looks to slightly more involved options for days when you want to feel extra put-together. Some require minimal products and effort; others let you build more intentional, polished styles. Some work best on freshly washed hair; others actually look better the second or third day after washing.
The real key is finding what works with your specific curl pattern, your schedule, and what makes you feel confident. Your curls are genuinely an asset—they create texture, dimension, and personality in ways that straight hair sometimes can’t. Instead of fighting them, these styles work with them. Invest a little time in finding the right products for your hair, commit to a cut that supports your texture, and pick the two or three styles from this list that resonate most with you.
Once you’ve got one or two styles down and they become automatic, add another to your rotation. Before long, you’ll wake up with multiple styling options ready to go, all of them actually protective and healthy for your curls, and all of them genuinely quick enough for a school morning.