Getting beautiful waves without the commitment of styling tools every single day feels like a fantasy when you have naturally straight or barely-textured hair. But here’s the truth: air-drying can actually enhance your waves, preserve the integrity of your hair, and cut your styling time down to almost nothing. The key isn’t wishing for waves you don’t have — it’s understanding how to work with your natural texture, use the right products, and choose hairstyles that actually look intentional when air-dried rather than accidentally rumpled.
Wavy hair benefits from moisture, texture, and support while it dries naturally. The right cut, combined with smart product choices and a loose styling technique, means you can roll out of bed with polished, undone waves that look effortlessly expensive. Whether your waves are subtle or dramatic, there’s an air-dry style that plays to your hair’s strengths and actually saves you time instead of adding steps to your routine.
The styles that follow aren’t theoretical — they’re real approaches that work with how air-drying actually behaves. You’ll learn how to build texture into your waves, how to position them while drying, and how to choose a cut that cooperates with gravity and time rather than fighting against it. Best part? Most of these styles actually improve when you don’t manipulate them constantly.
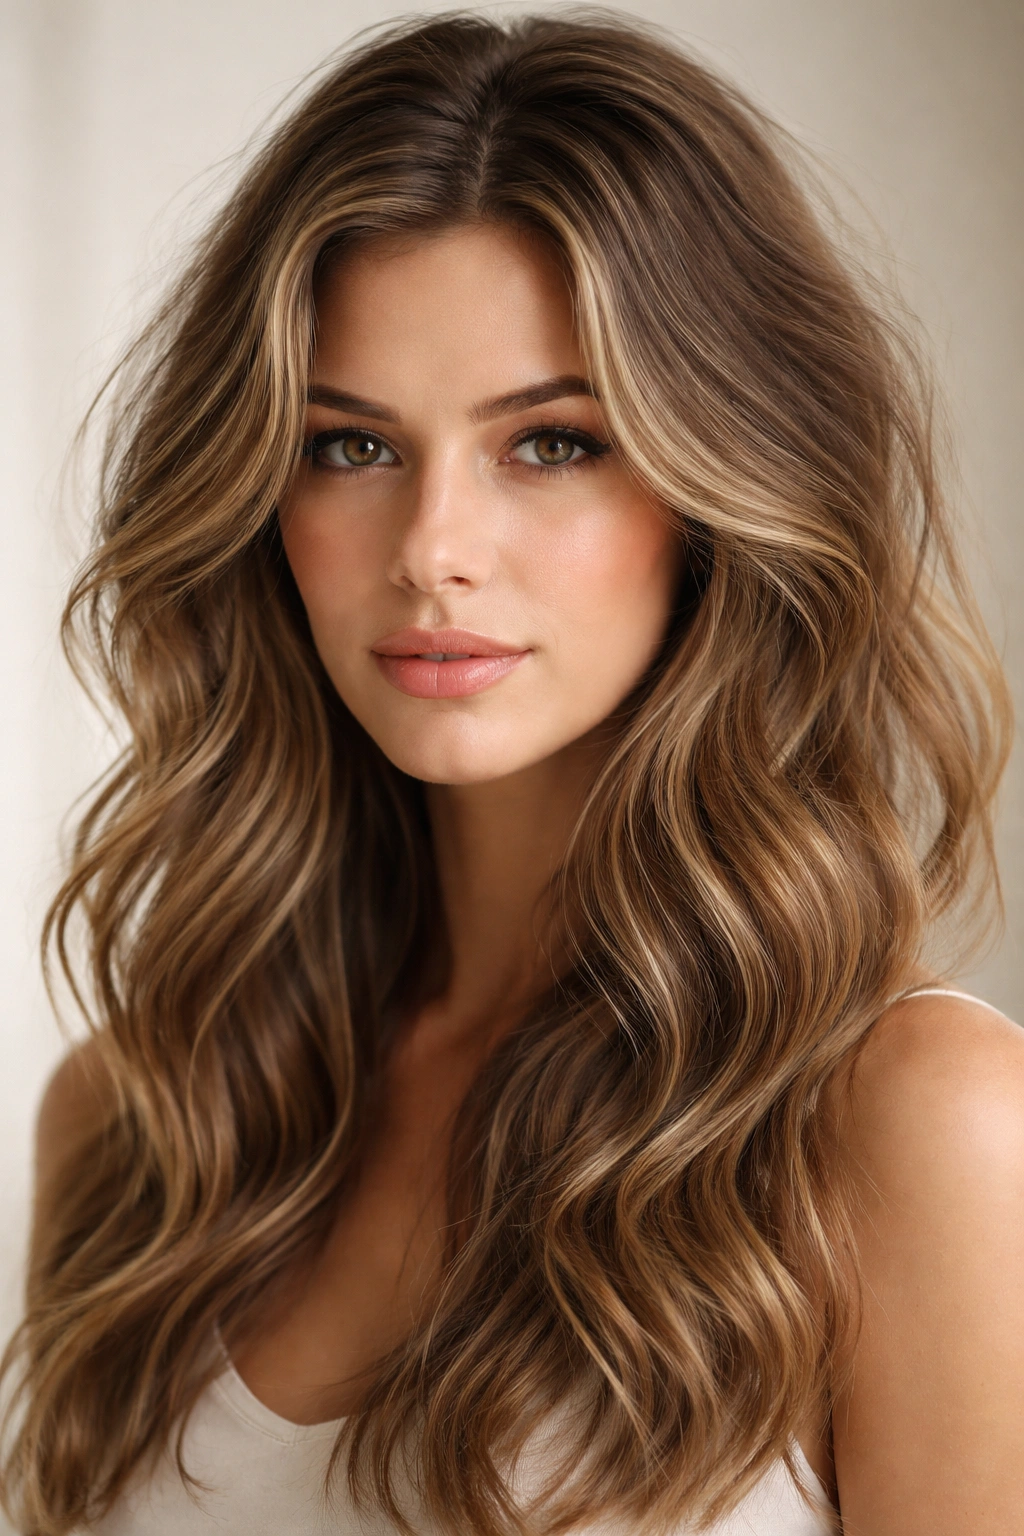
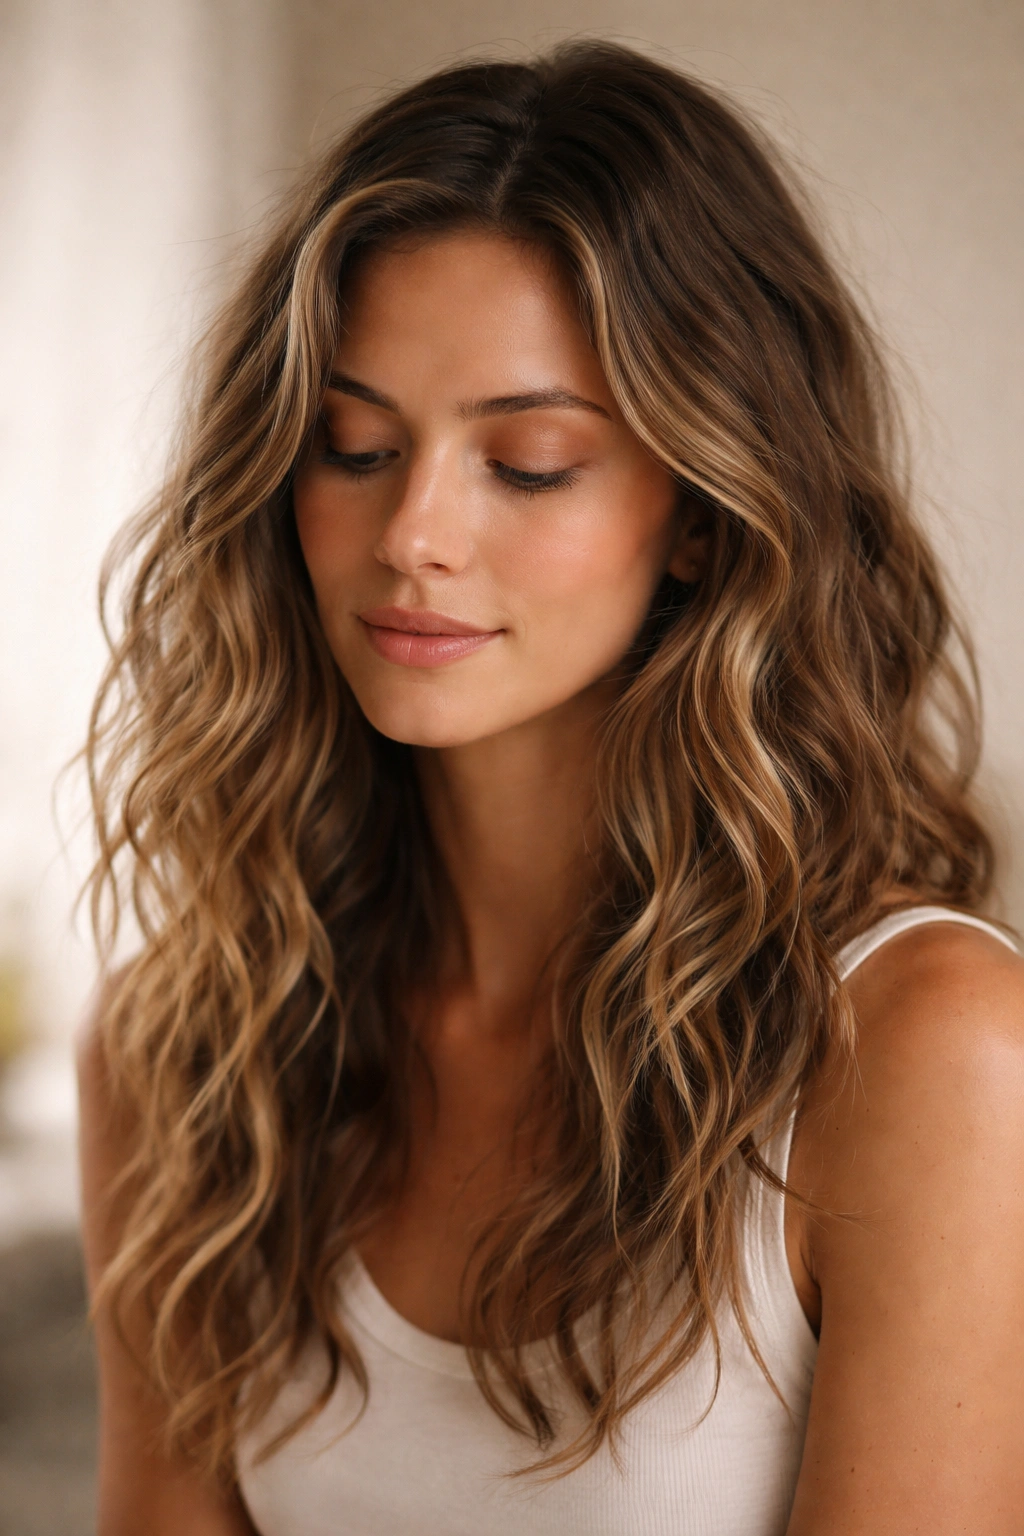
1. The Beachy Waves with Textured Layers
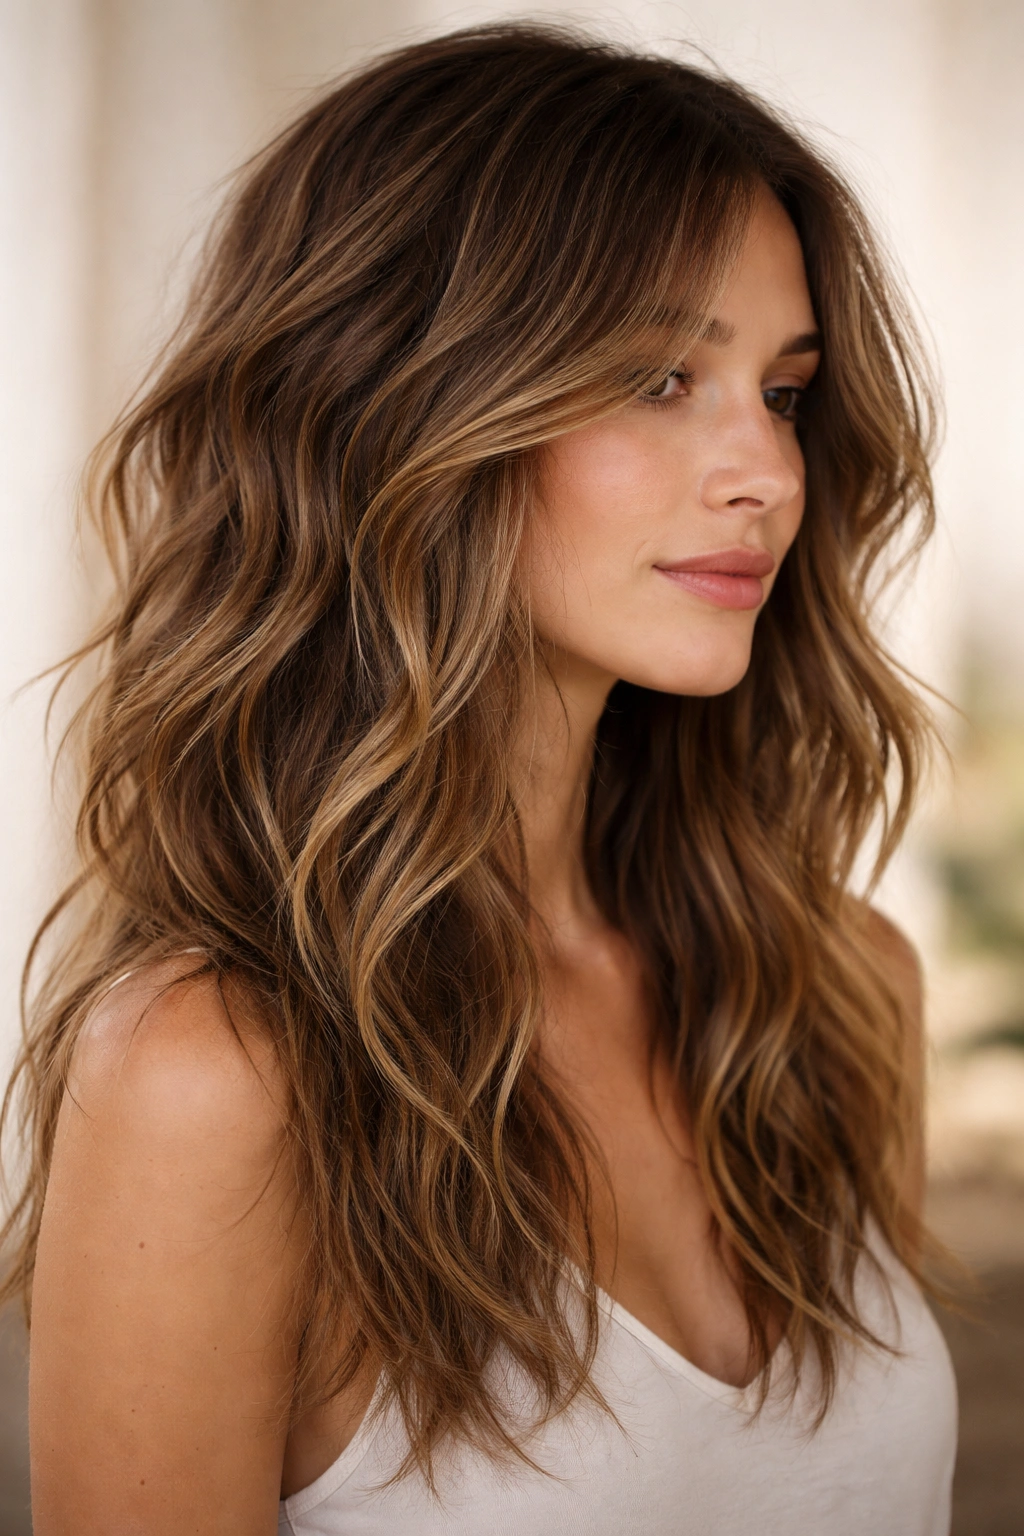
Beachy waves are the gold standard for air-drying because the style celebrates undone texture rather than demanding perfection. A textured, choppy layer cut throughout your hair creates natural movement and allows waves to catch at different lengths, building dimension as air dries.
Why This Works for Air-Drying
The layering breaks up weight and gives waves somewhere to land at varied intervals. When you blow-dry or use a round brush, layers tend to frizz — but with air-drying, those choppy edges are exactly what you want. The natural moisture in the air helps define waves, and the varied lengths mean some strands will wave while others stay straighter, creating authentic beach texture.
How to Achieve It
- Apply a lightweight sea salt spray to damp hair and scrunch upward as it dries
- Use a leave-in conditioner on mid-lengths and ends to prevent frizz while letting waves form
- Avoid combing once you’ve applied product — let waves set organically
- Sleep on damp hair in a loose braid or bun, then let it air-dry fully the next morning for enhanced waves
Pro tip: A choppy, textured cut needs refreshing every 6-8 weeks to stay intentional — as it grows, layers lose their definition and start looking shaggy rather than intentionally beachy.
2. The Tousled Shoulder-Length Bob
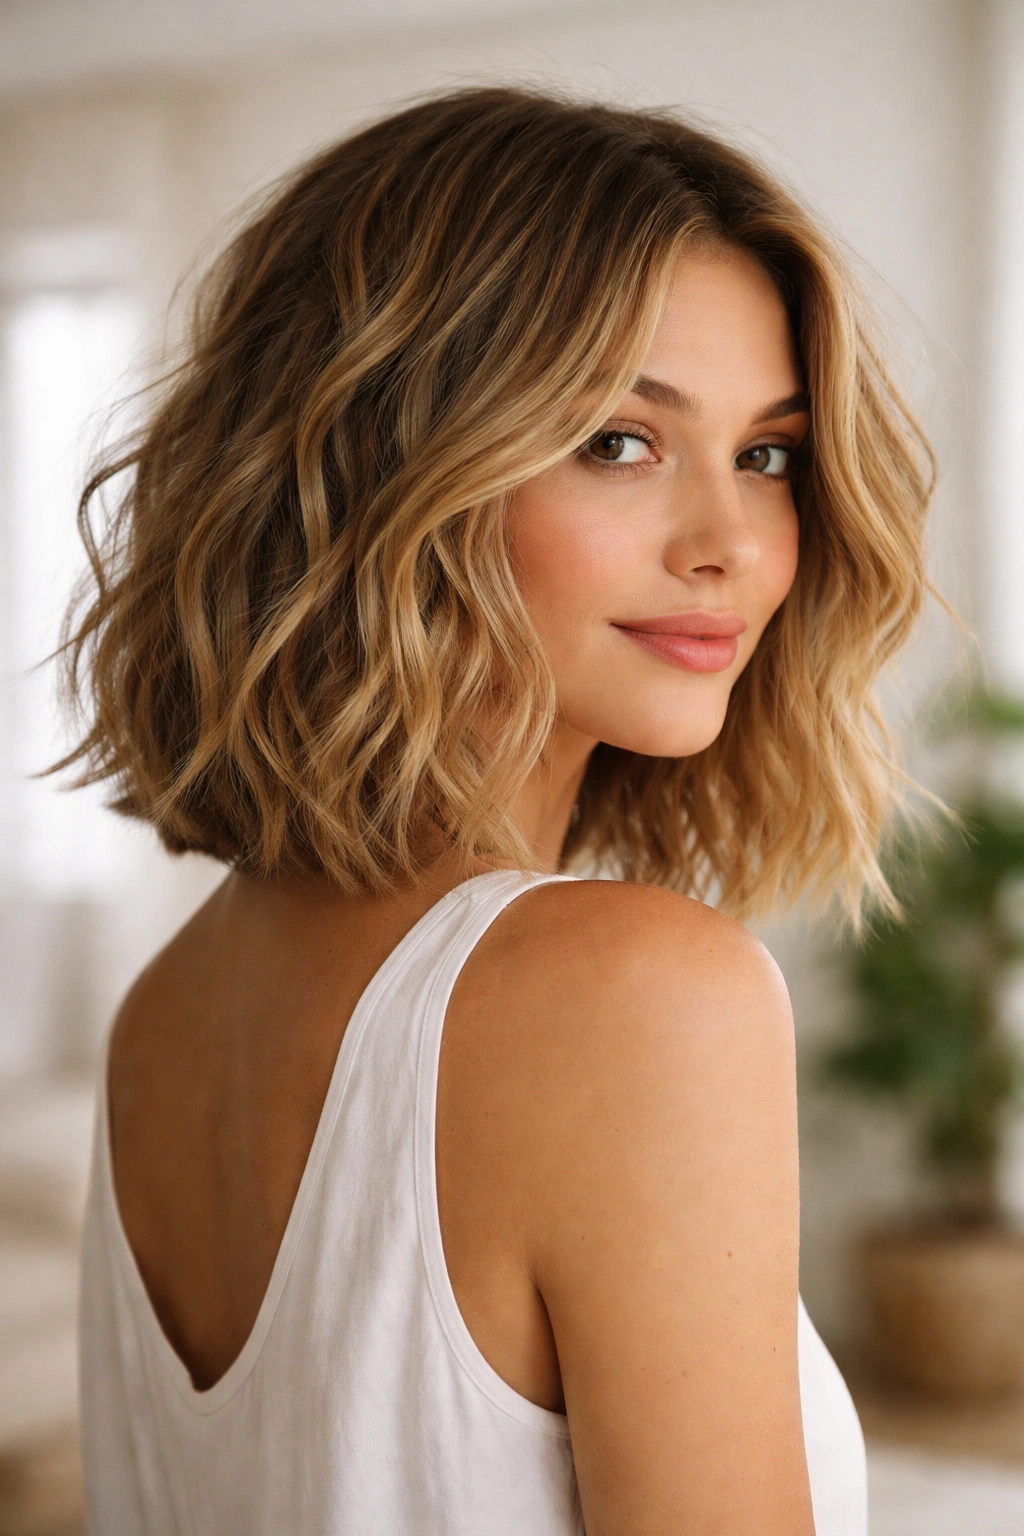
A bob that lands right at or just below the shoulders creates a flattering frame while the shorter length means waves dry faster and look fuller. Tousling adds movement that disguises any flat spots or uneven drying.
Why Shoulder Length Works
Shoulder-length hair has just enough weight to hold a wave shape without being so heavy that it pulls waves down before drying. The length sits in a sweet spot where air-drying creates a lived-in, effortless look rather than looking damp or incomplete.
How to Make Waves Last
- Spritz a texture spray into damp mid-lengths and ends
- Flip your head and scrunch hair from underneath while it air-dries to encourage wave formation
- If you have a part, switch which side you part on occasionally to prevent permanent creases
- Sleep on a silk pillowcase to prevent friction that flattens waves overnight
Worth knowing: Bobs need a blunt, well-executed cut to look intentional when air-dried. A choppy, uneven bob in this length can look unfinished rather than textured.
3. The Curtain Layers with a Deep Side Part
Curtain layers frame the face beautifully and work perfectly with air-drying because the movement is built into the cut itself. A deep side part adds instant dimension and lets you direct which waves frame your face.
The Beauty of Curtain Layers
These layers move independently of each other, so waves can form at slightly different timings without looking matchy or artificial. The face-framing pieces dry faster than longer layers underneath, creating a naturally staggered wave pattern that looks editorial.
Styling Steps for Perfect Curtain Waves
- Part your hair deeply on one side while it’s still damp
- Apply a curl-defining cream to waves and tousle with your fingers
- Let the front curtain pieces fall forward as they air-dry so they don’t stick to the side of your head
- Use bobby pins under the layers to set the direction while drying, then remove once fully dry
Insider note: Curtain layers look best when you actually commit to the deep part — centering your part will make them look flat rather than intentionally framing.
4. The Wet-Look Waves with Gel Definition
This style leans into the wet aesthetic while your hair actually dries, using a strong-hold gel to lock wave patterns into place before water fully evaporates.
Why Gel Creates Crisp Waves
Gel dries transparent and holds moisture in the hair shaft, which means your waves stay defined instead of relaxing as they dry. This technique works especially well for wavy hair that tends toward frizz because the gel seals down the cuticle.
Application for Best Results
- Apply gel to dripping-wet hair section by section
- Create wave patterns with your fingers or a comb, squeezing as you go
- Let air-dry completely — this takes longer than without gel, but the hold lasts all day
- Use a lightweight gel formula on fine hair, or a stronger hold if your hair is thick or prone to deflating
Pro tip: Refresh the style the next day with a light mist of water and a tiny amount of gel worked through with your fingers — you don’t need to wash and restyle completely.
5. The Undone Braided Waves
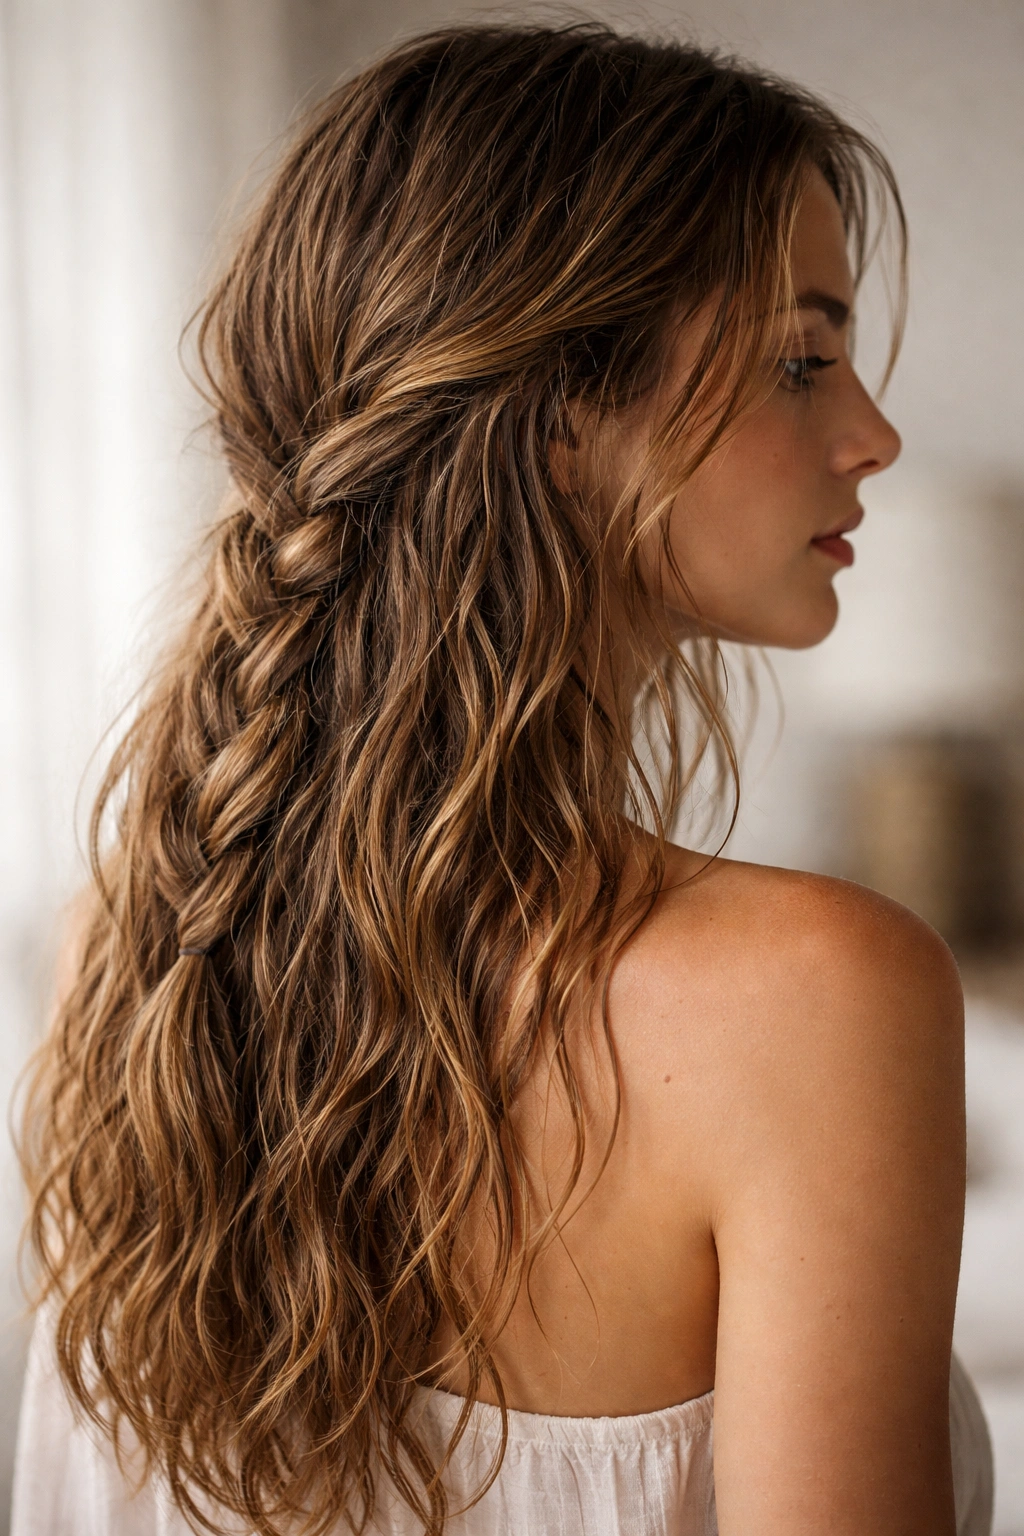
Braiding wet or damp hair and then letting it air-dry creates waves that look intentional and textured without any heat styling. The braid acts as a mold while hair dries.
The Science of Braid Waves
Tension from braiding sets a wave pattern that lasts as long as the braid holds. Looser braids create bigger, softer waves. Tighter braids create more defined waves with crisp bends. Side braids produce asymmetrical waves, while a center-parted braid down the back creates symmetrical texture.
Braiding Technique for Best Waves
- Apply a lightweight mousse or wave cream to damp hair
- Braid while hair is damp but not soaking wet — wet hair takes too long to dry and loose hair in the braid can frizz
- Leave the braid in until your hair is completely dry (at least 4-6 hours, ideally overnight)
- Release the braid and gently separate waves with your fingers instead of brushing
- Use a tiny bit of anti-frizz serum on your fingertips to tame flyaways
Worth knowing: Two smaller braids create more dimension than one large braid, and they dry faster.
6. The Modern Shag with Choppy Texture
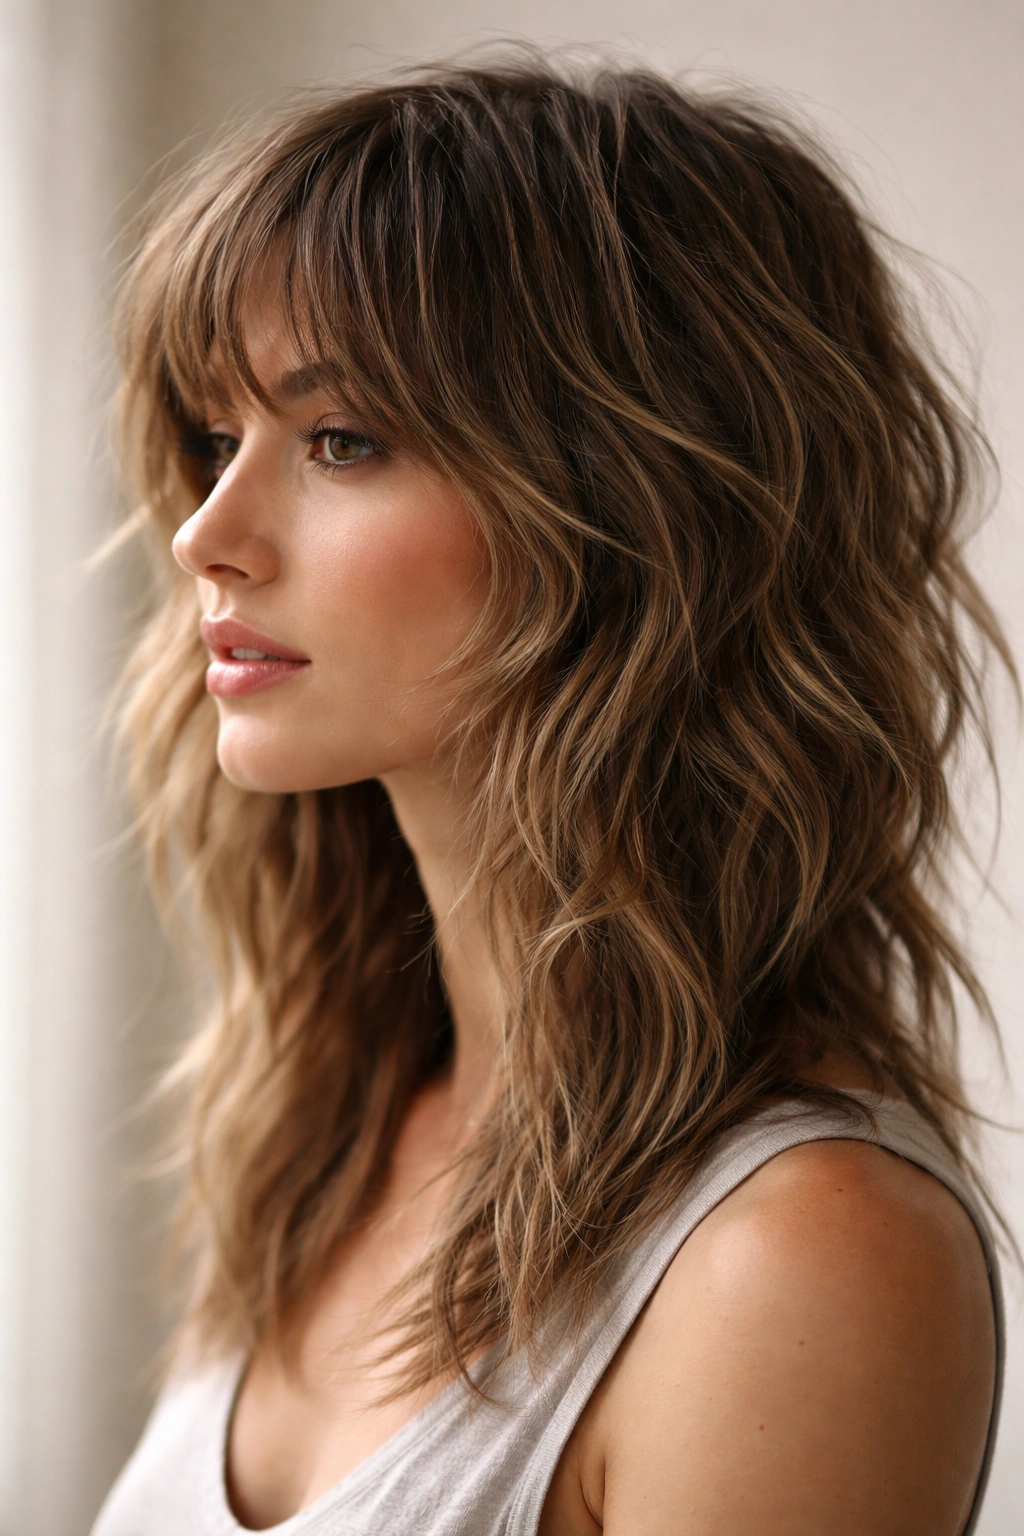
A modern shag — not the 70s version, but a contemporary interpretation — stacks layers throughout to create movement at every level. Air-drying is actually the best way to style this cut.
Why Shags Love Air-Drying
Shags are specifically designed to look tousled and undone. Using heat styling on a shag can actually make it look artificial because you’re fighting against what the cut is meant to do. Air-drying lets each layer fall naturally into its own rhythm.
Creating Dimension in a Shag
- Use a texture spray or sea salt mist on damp hair
- Tousle and scrunch as you go, encouraging layers to separate
- Don’t worry about perfect waves — shags look better when they’re slightly chaotic
- Sleep with your hair down (not braided) for a more tousled effect in the morning
Pro tip: Shags need more frequent trims — every 5-6 weeks — to maintain shape as they grow.
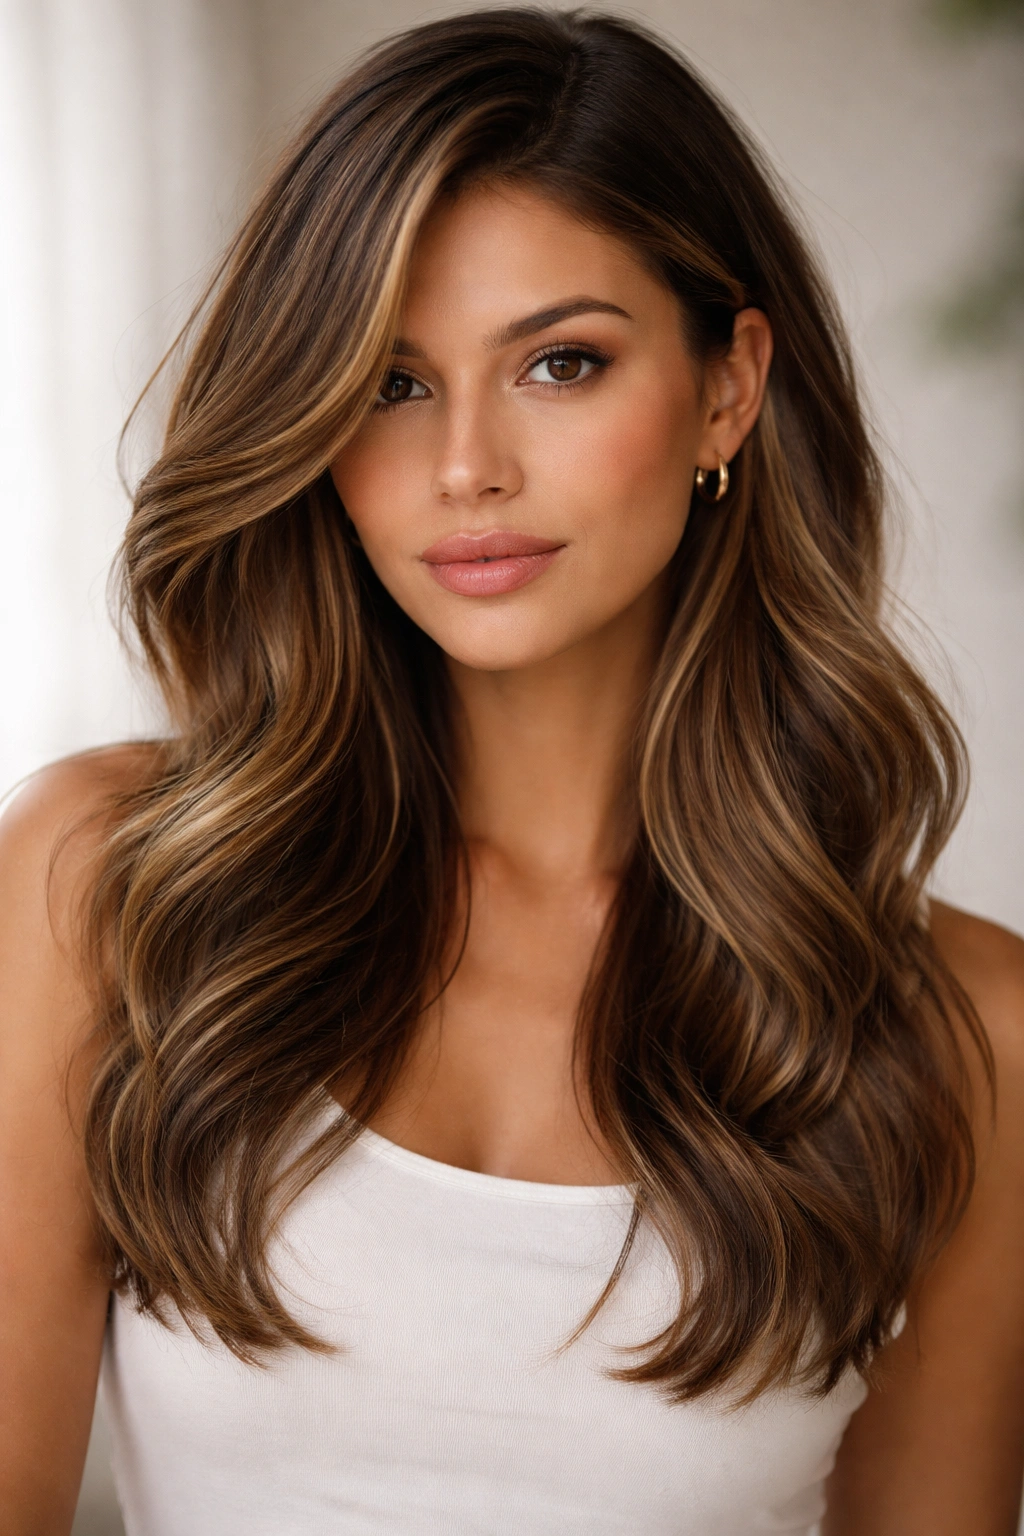
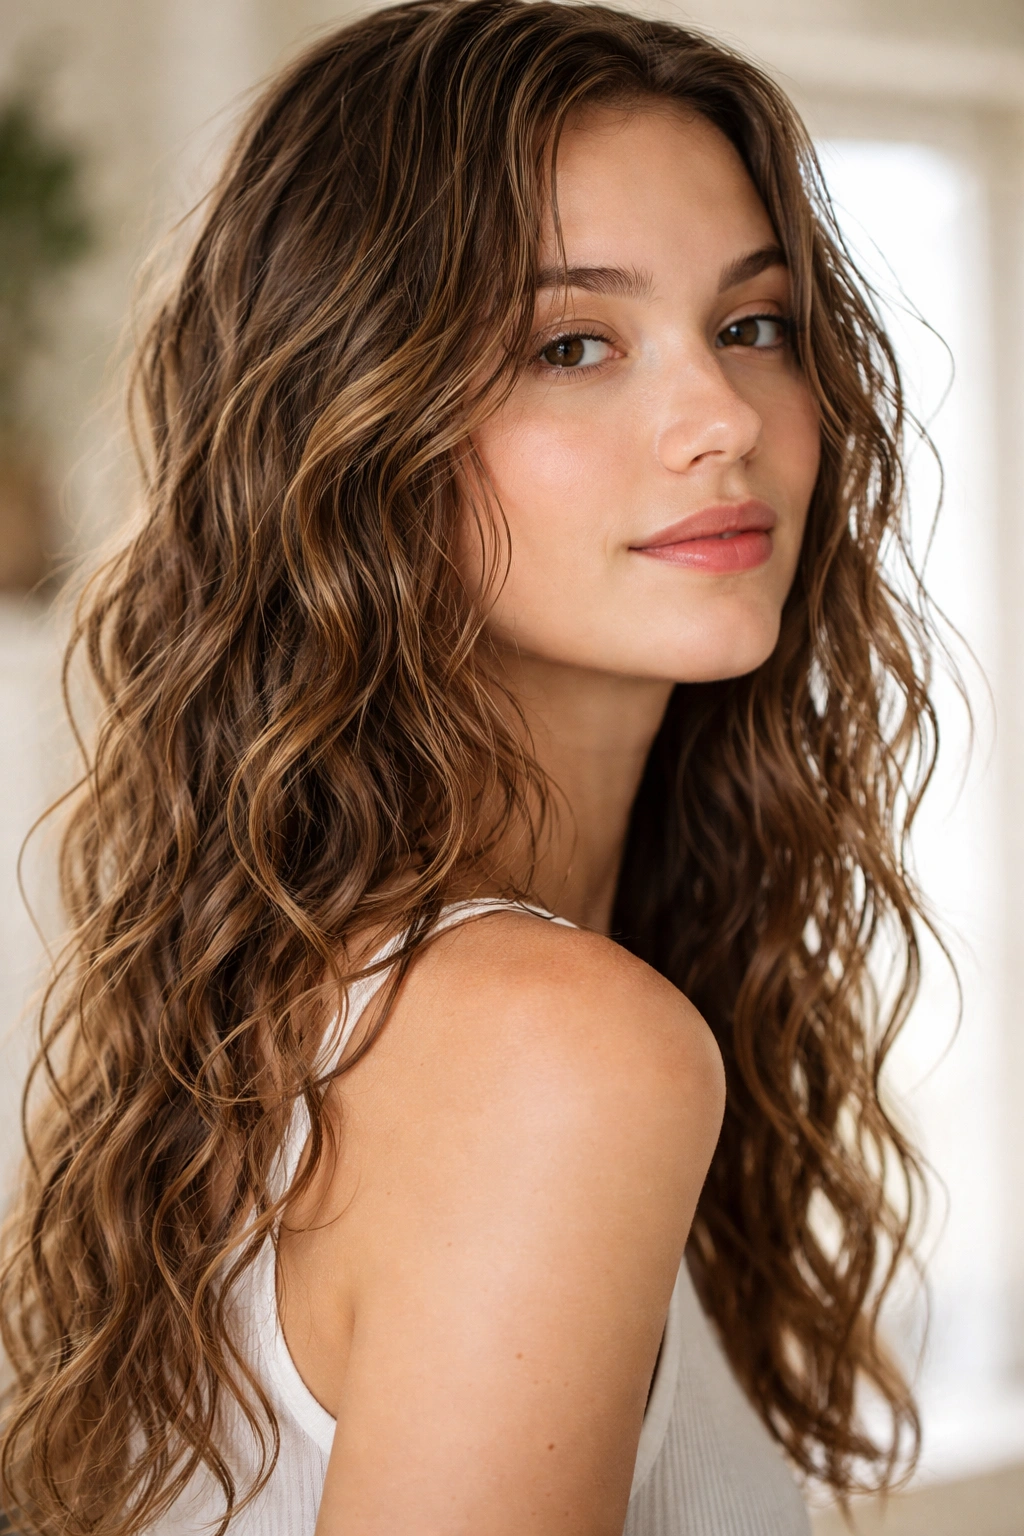
7. The Long Loose Waves with a Middle Part

Long hair with loose, oversized waves reads as romantic and effortless. A middle part keeps the style balanced and emphasizes the symmetry of large waves.
Working with Longer Hair While Air-Drying
Long hair takes longer to fully dry, so you need products that hold wave patterns without weighing hair down. Mousse and lightweight creams work better than heavy oils or butters for this length.
Achieving Oversized Waves in Long Hair
- Section damp hair and loosely twist each section, securing with a clip
- Let twist-sets air-dry for several hours or overnight
- Remove clips and gently untwist, separating waves slightly
- Apply a light hairspray mist to lock the wave shape
- Middle-part your hair and smooth the top layer slightly for polish
Insider note: Long waves look better with slightly smaller sections twisted — this creates more uniform waves across your head rather than random chunks.
8. The Tousled Pixie with Wavy Texture

Even short hair can have wavy texture if cut correctly. A pixie with longer layers on top and texture throughout creates movement that reads as sophisticated rather than unkempt.
Short Hair Benefits from Wave Texture
Waves add volume to short hair and prevent a pixie from looking too severe or flat. The texture also means air-drying is literally the best way to style it — heat actually makes short, textured hair frizzier.
Styling a Textured Pixie
- Apply a lightweight styling cream to damp roots and throughout
- Use your fingers to tousle and separate layers as hair dries
- Avoid running a comb through — fingers-only styling keeps texture intact
- Style it slightly to one side for an intentional, editorial look
Worth knowing: Textured pixies need a skilled stylist who understands how to cut for movement, not just length.
9. The Asymmetrical Waves with an Undercut
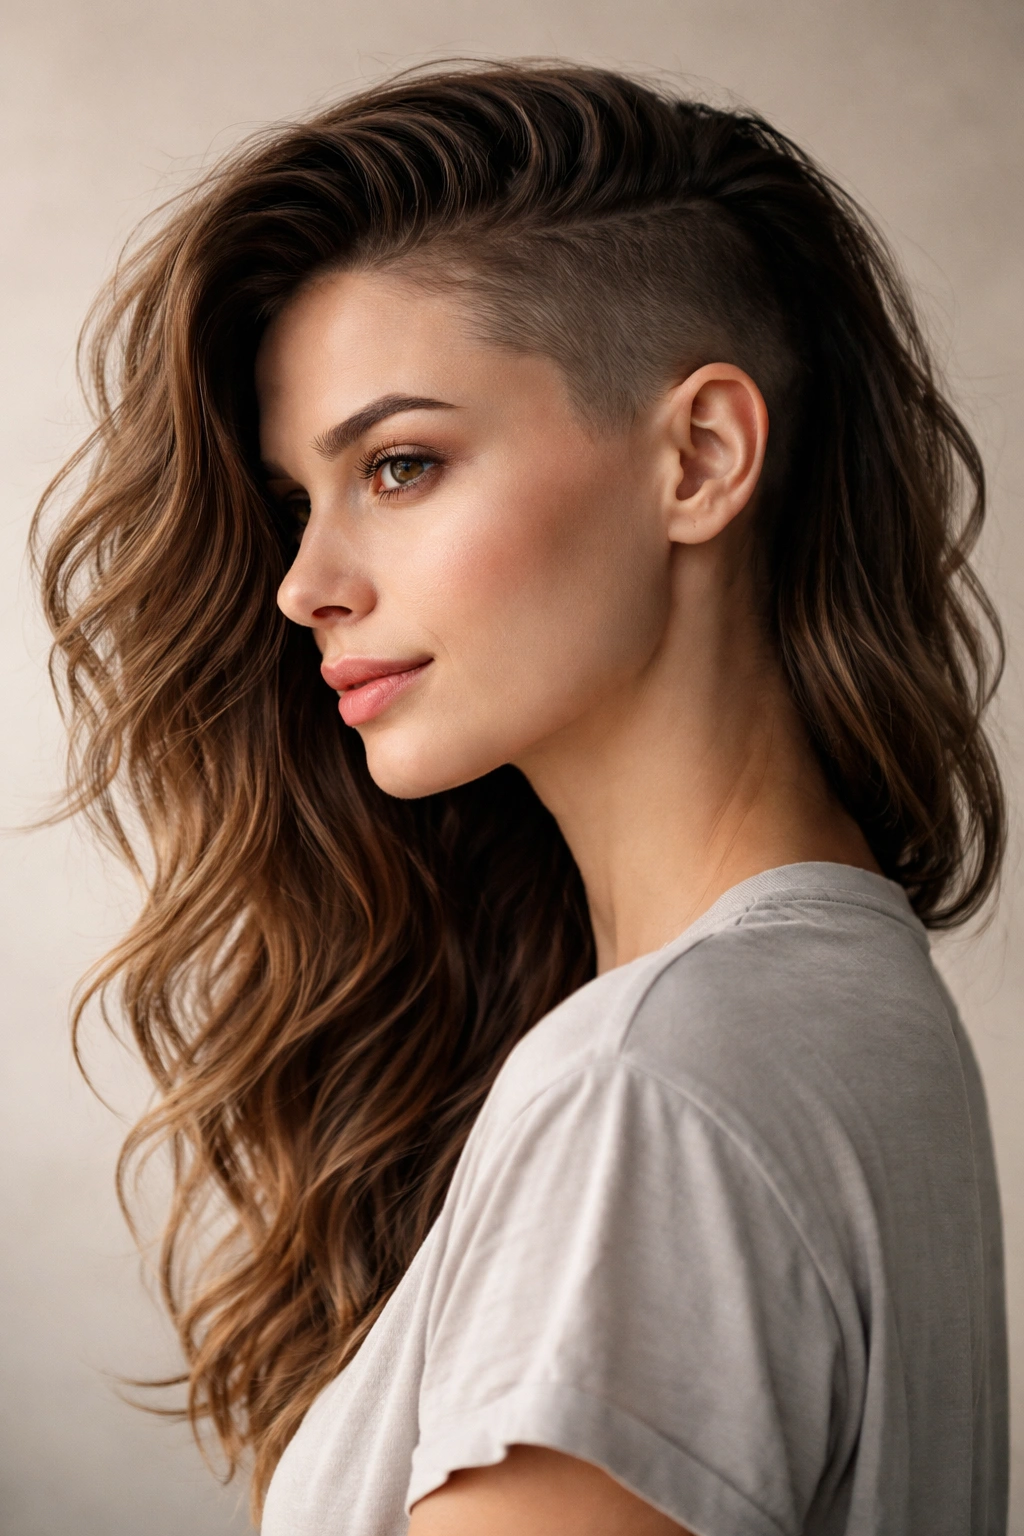
An undercut on one side creates unexpected dimension and lets you play with directional waves. Longer wavy hair on top contrasts beautifully with the shaved or closely cropped underside.
How Asymmetry Changes Wave Perception
Because one side is shorter, that side dries faster and can have tighter waves while longer hair develops looser texture. This creates natural dimension without you trying.
Styling Asymmetrical Waves
- Part your hair off-center, revealing the undercut
- Apply texture spray to the longer side while damp
- Let longer waves fall over the shorter side, or tuck the longer side back to show the undercut
- The undercut keeps everything looking intentional even when waves are slightly imperfect
Pro tip: An undercut requires maintenance every 3-4 weeks to look crisp rather than grown-out and messy.
10. The Textured Mullet (Modern Version)
A modern mullet has shorter, choppier layers on top with longer texture underneath — the opposite of traditional flow. Waves in the longer back section create softness that balances the shorter, punchier top.
Why Mullets Work with Air-Drying
The contrast between lengths means you get two different wave textures in one cut — tighter texture on top (which dries faster) and larger, slower-drying waves underneath. This staggered drying actually creates more interesting texture than trying to match everything.
Styling a Modern Mullet
- Apply sea salt spray to damp hair and scrunch upward
- The shorter top gets definition from texture spray; longer back gets a mousse or leave-in conditioner
- Let it air-dry without combing — this cut thrives on tousle
- Sleep on damp hair for enhanced waves the next morning
Insider note: Modern mullets only work if the top is actually textured and intentional, not just short and blunt.
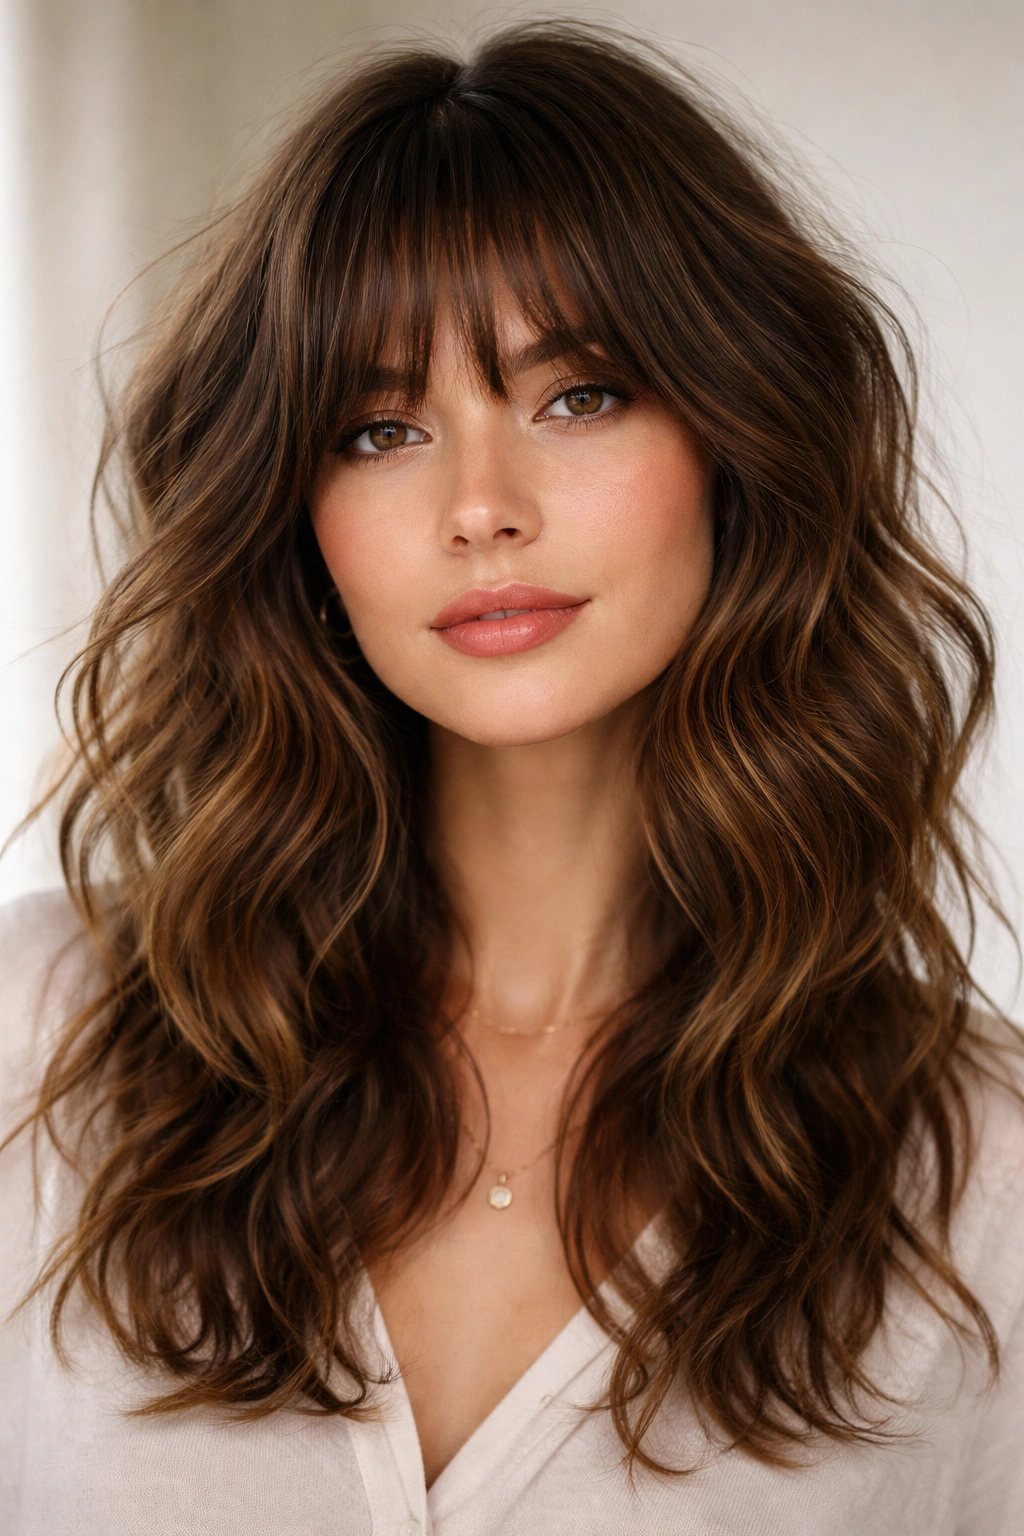
11. The Face-Framing Waves with Bangs
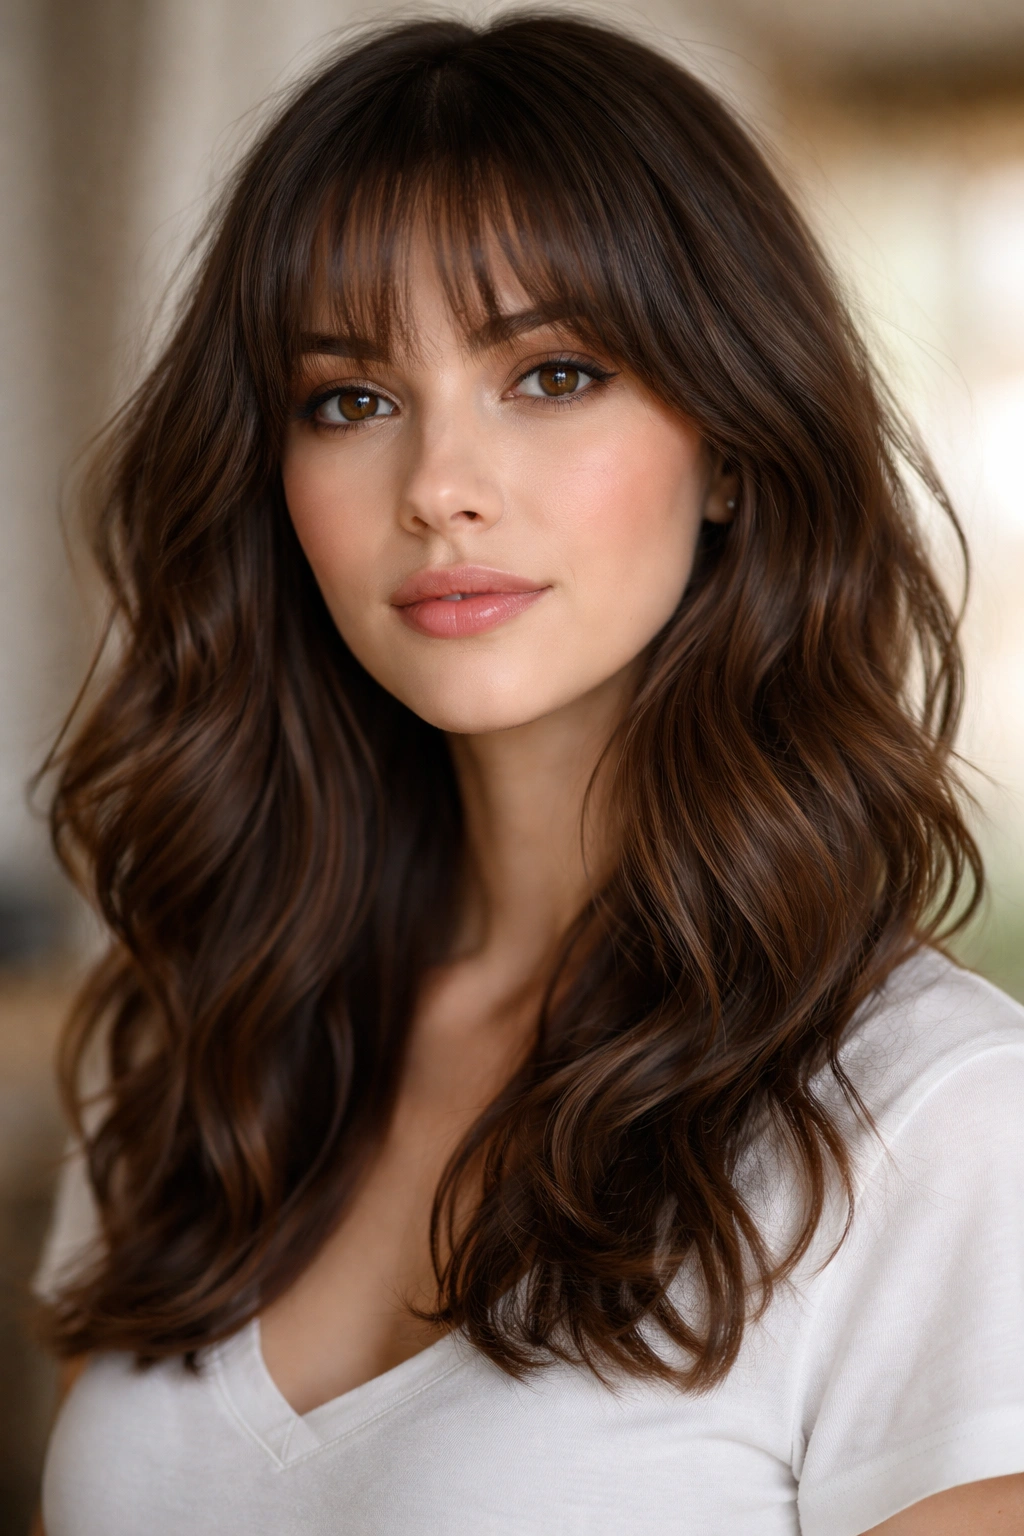
Face-framing shorter pieces paired with longer wavy hair create a flattering, balanced look. Bangs add another dimension and dry independently from the rest of your hair.
Bangs and Waves Together
Bangs catch waves differently than longer hair because they’re shorter and encounter more friction against your face and forehead. This means bangs might dry straighter while your longer waves remain textured — and that contrast is actually really interesting.
Working with Wavy Bangs
- Keep bangs on the longer side (below your eyebrows) so they can wave instead of just lying flat
- Apply the same texture product to bangs as the rest of your hair
- Let bangs air-dry forward, not brushed back — this creates a softer, more intentional wave
- Side-swept bangs are easier to maintain than blunt bangs when air-drying
Worth knowing: Bangs need trims every 4-5 weeks to stay flattering as they grow and wave patterns shift.
12. The Wavy Lob with Flipped Ends
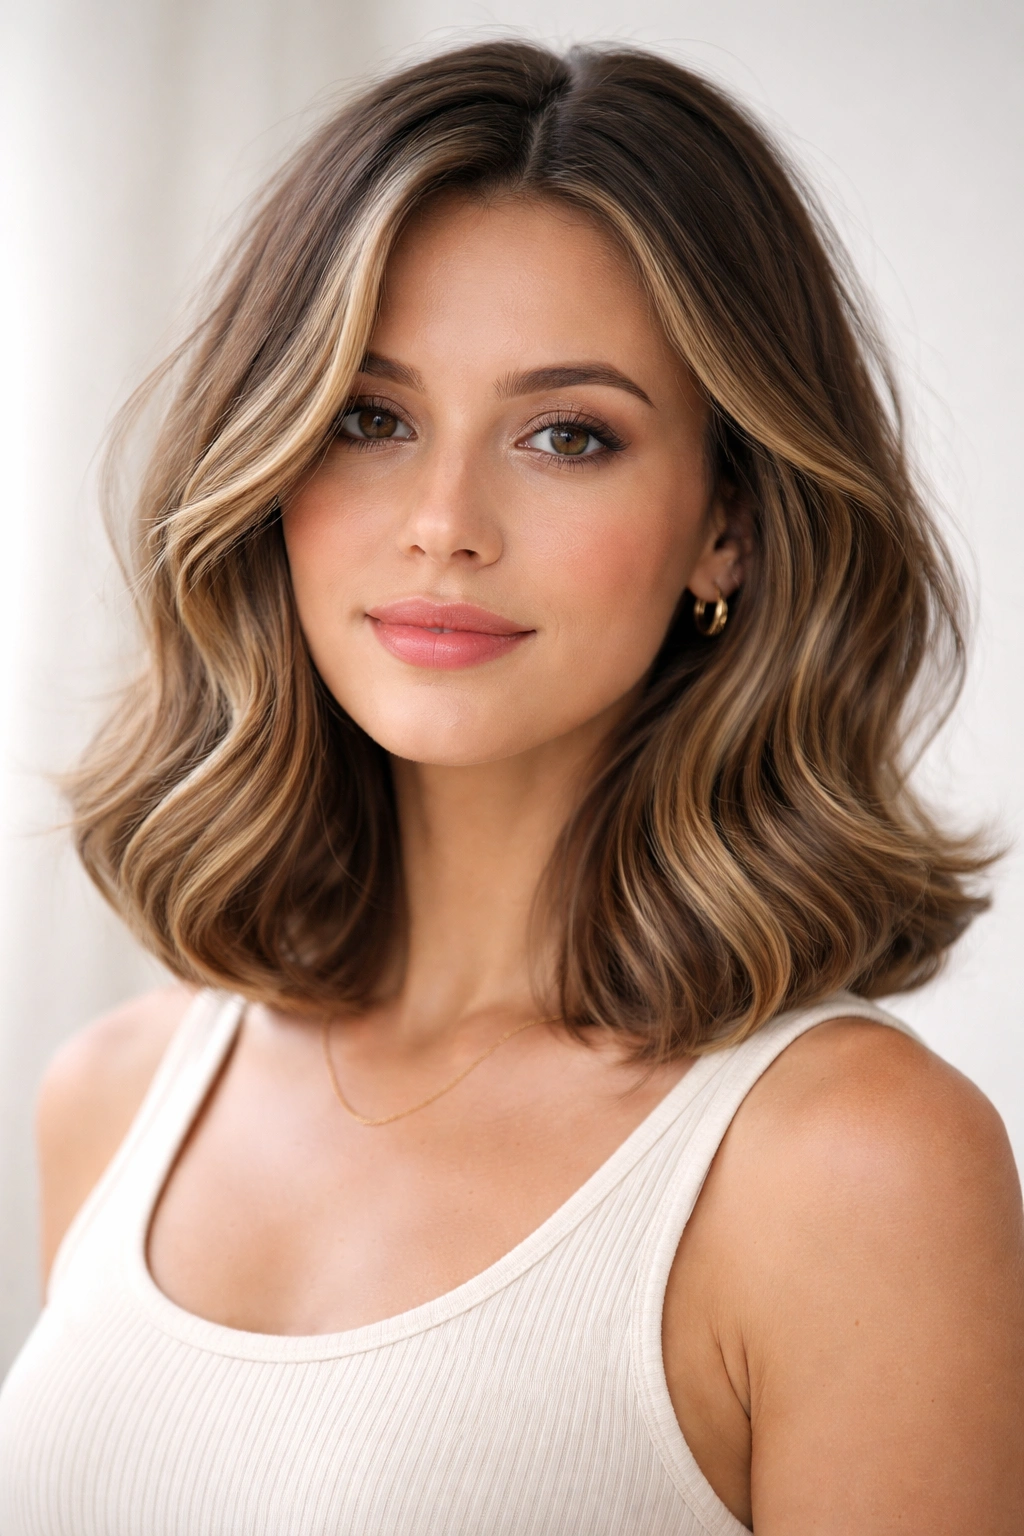
A lob (long bob) that lands between shoulder and bra-strap length is the perfect length for air-dried waves. Flipped or turned-under ends add polish without requiring curling iron work.
Why Flipped Ends Work
Gravity naturally flips longer hair ends inward as it dries. By encouraging this pattern while hair is still damp, you lock in a polished look that lasts.
Creating Flipped-End Waves
- Apply a curl cream or mousse to damp hair
- Section your hair and gently flip each section underneath as it air-dries
- Use bobby pins to hold the flip if needed while drying, then remove
- The natural flip creates the illusion of waves even if your natural wave pattern is subtle
Pro tip: Flipped ends look better with a sharp, clean cut on the ends — a choppy or rough edge makes the flip look unintentional.
13. The Tousled Waves with Headband Texture

A soft headband, bandana, or even a silk scarf worn while hair air-dries creates gentle wave patterns and keeps hair off your face.
How Accessories Create Texture
A headband acts as a subtle wave-setter, creating a small crimp or texture line where it sits. This method is gentler than any thermal tool and creates soft, romantic waves.
Using Accessories for Air-Dried Waves
- Apply a leave-in conditioner to damp hair
- Place a soft headband or scarf around your head, positioning it where you want wave texture
- Let hair air-dry completely with the accessory in place
- The area under the headband will have tighter waves; hair exposed to air will have looser texture
- Remove the headband once fully dry and tousle slightly with your fingers
Insider note: This method works best with hair that’s damp but not soaking wet — fully wet hair takes forever to dry with a headband constricting it.
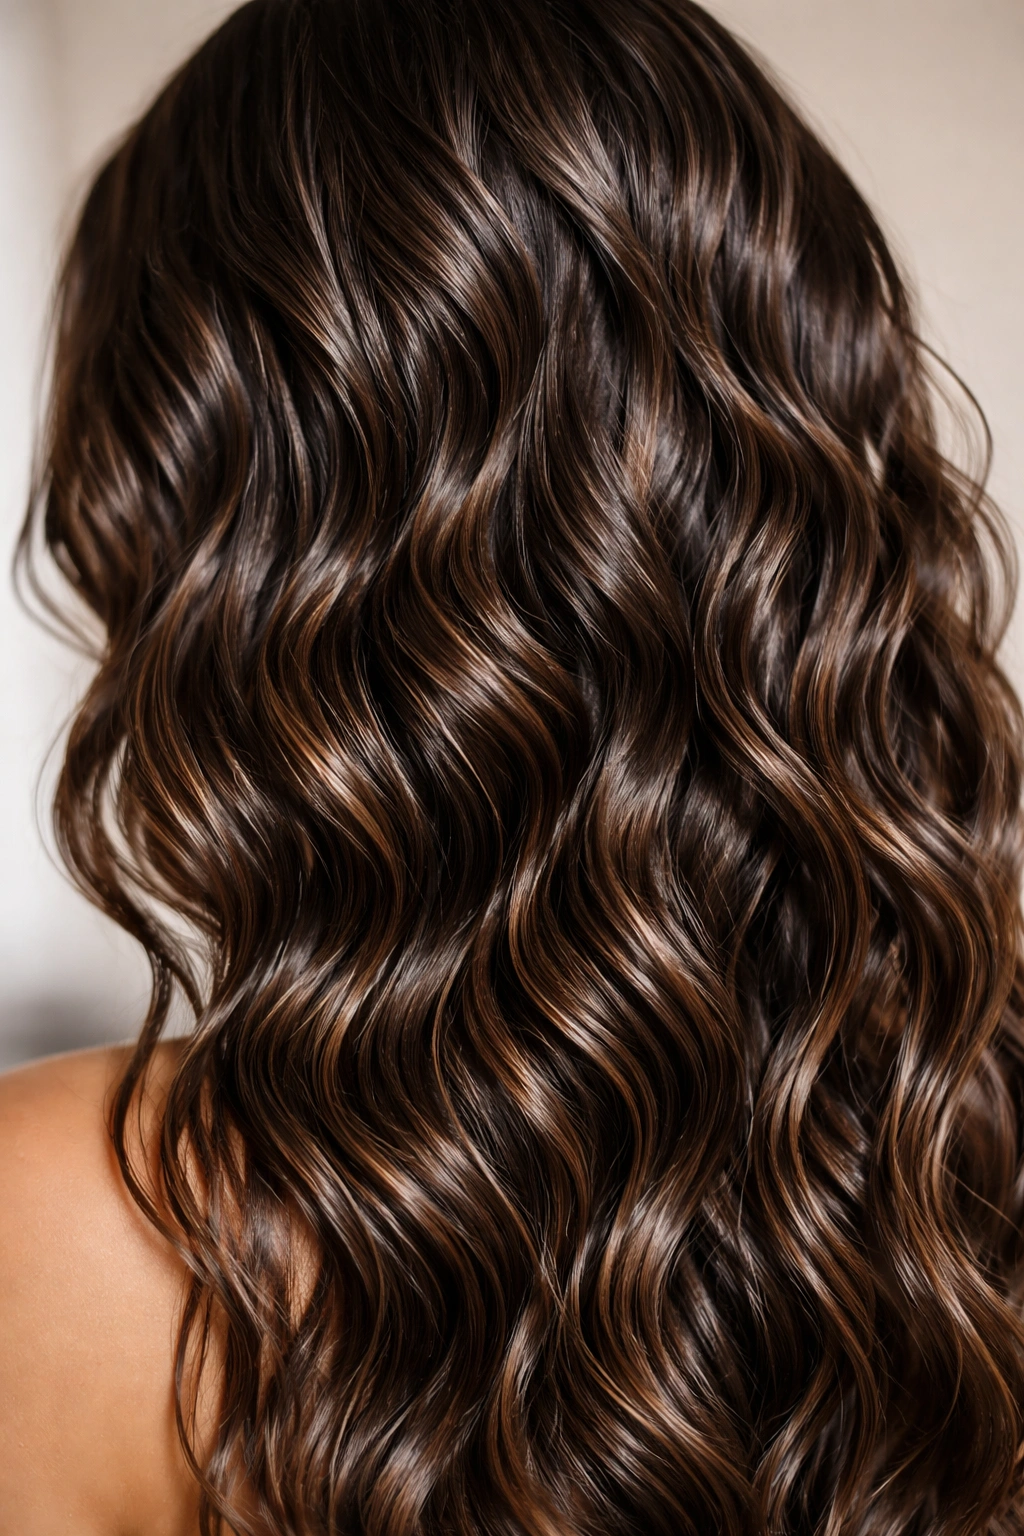
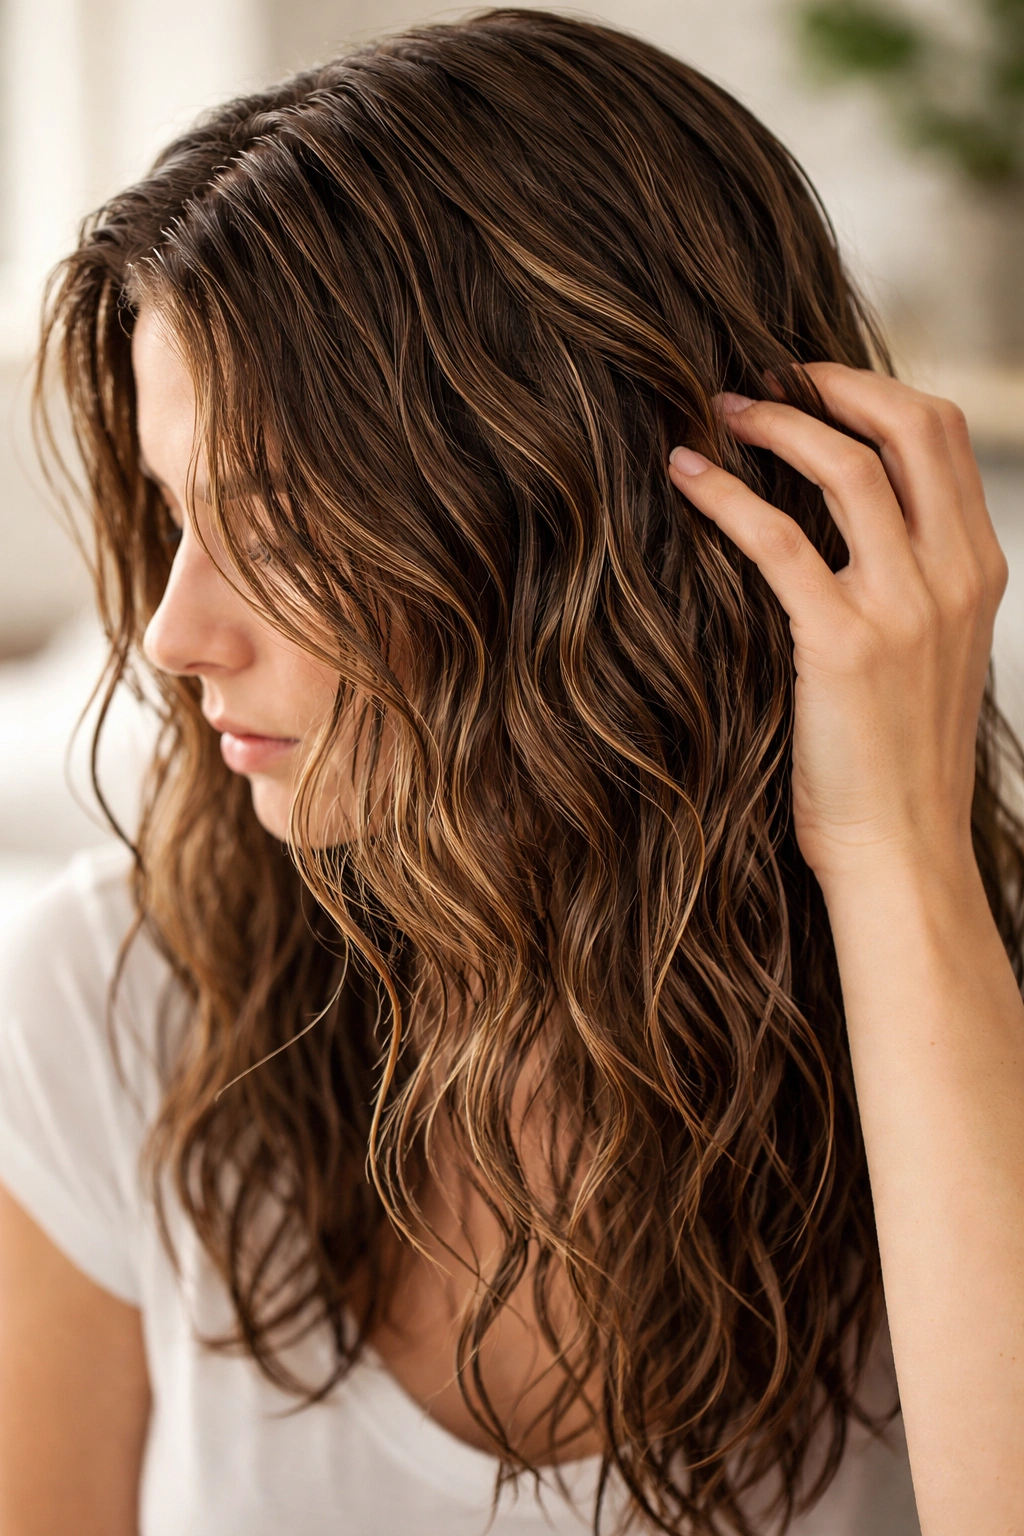
14. The Tousled Waves from Scrunch-Drying
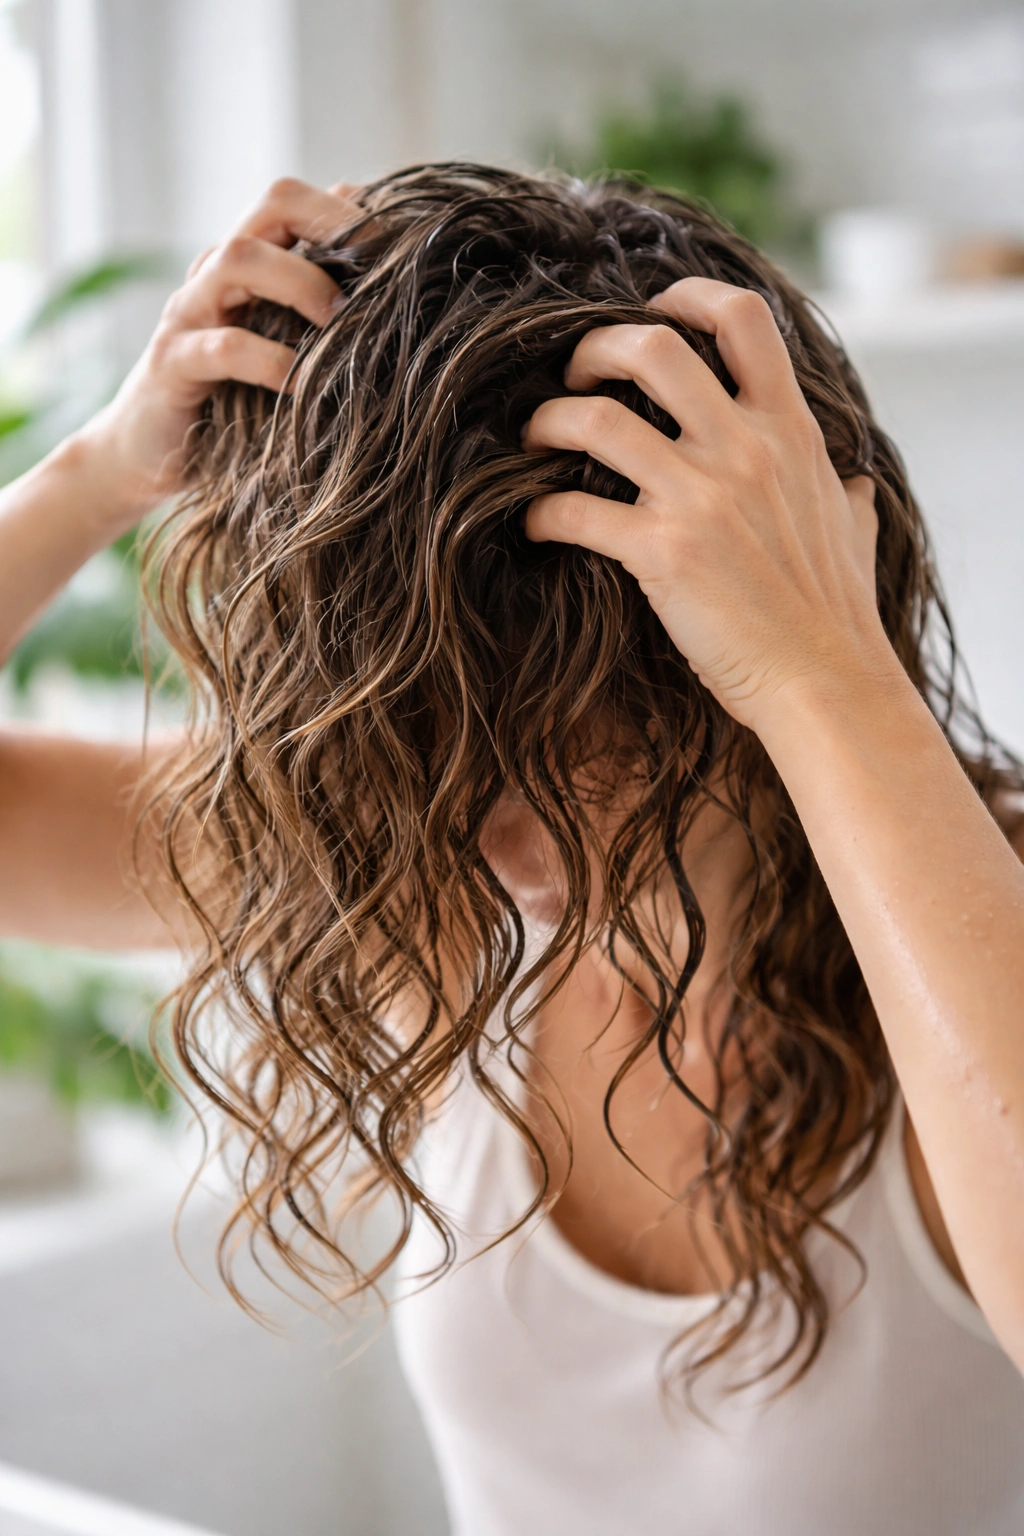
Scrunch-drying means applying product to wet hair and literally scrunching it upward with your hands as it air-dries, encouraging waves to form in clusters rather than individual strands.
The Science of Scrunching
Scrunching gathers wet hair into bundles, and as those bundles dry, they hold a wave pattern collectively. This creates the appearance of fuller, bouncier waves than if each strand dried independently.
Proper Scrunch-Drying Technique
- Apply a curl cream or mousse to soaking-wet hair
- Use a microfiber towel to gently squeeze out excess water — don’t rub
- Cup your hands under sections of hair and scrunch upward firmly
- Continue scrunching every few minutes as hair air-dries (this takes 15-20 minutes of active work)
- Once hair is about 60% dry, you can stop and let it finish air-drying passively
- Avoid touching it while fully drying to lock the texture in
Worth knowing: Scrunch-drying works best with medium to thick hair. Fine, thin hair can look limp if you scrunch too aggressively.
15. The Soft Waves from Twist-and-Pin Sets
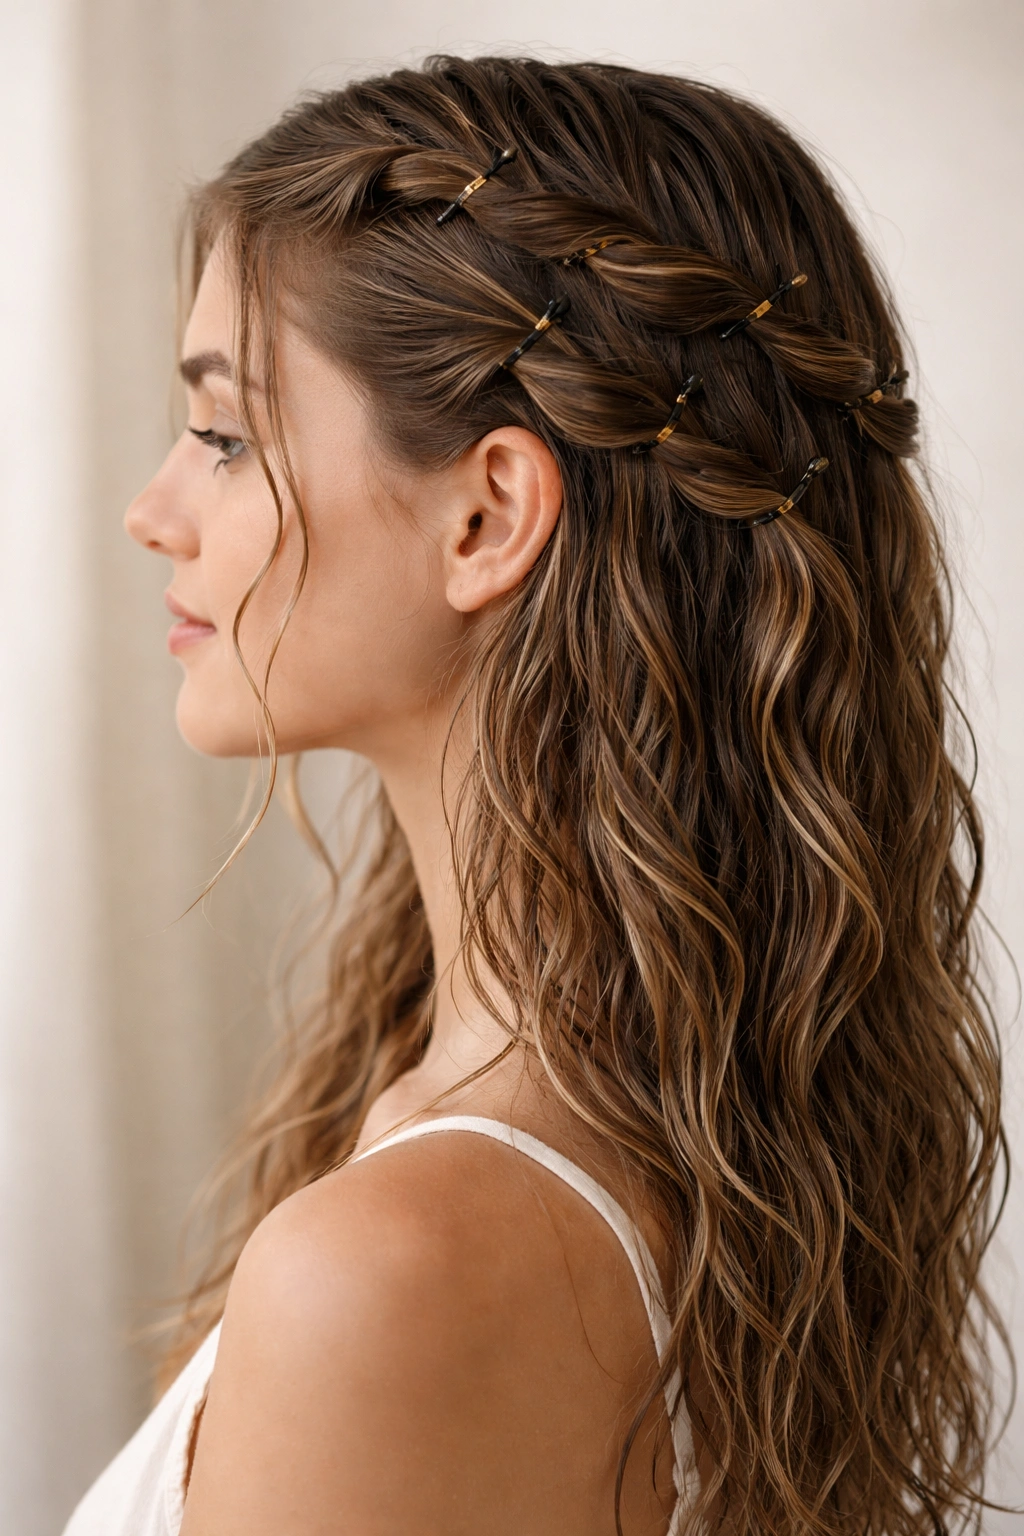
Twisting damp sections and securing them with bobby pins creates soft waves that feel intentional without being too uniform or “done.”
Why Twist Sets Create Soft Waves
A twist is gentler than a braid — it doesn’t create sharp bends, but instead shapes hair into a soft spiral that releases as a wave.
Setting Soft Waves with Twists
- Apply a mousse or wave cream to damp hair
- Take 1-inch sections and gently twist from roots to ends
- Secure each twisted section with a bobby pin at the end
- Let air-dry completely (several hours to overnight)
- Remove pins and gently untwist, letting waves fall naturally
- Use a light hairspray to set the waves without making them feel stiff
Pro tip: Slightly thicker sections create bigger, softer waves. Very thin sections create tighter waves that can look kinky rather than wavy.
16. The Tousled Waves with Textured Roots
Building texture at the roots while allowing longer lengths to stay smoother creates the illusion of fullness and makes waves look more dramatic.
Root Texture Adds Volume Perception
Even subtle waves look more dimensional when roots are textured or volumized. This technique is especially useful if your natural waves are pretty subtle.
Creating Textured Roots While Air-Drying
- Apply a volumizing mousse or dry texture spray to damp roots only
- Flip your head and scrunch roots upward as hair dries
- Once roots are set (about 20-30 minutes), flip back and let mid-lengths and ends air-dry
- The roots stay textured while the rest of your hair dries into softer waves
Insider note: Root texture makes hair look fresher longer — you can go 1-2 days longer between washes because textured roots don’t look as flat as straight roots.
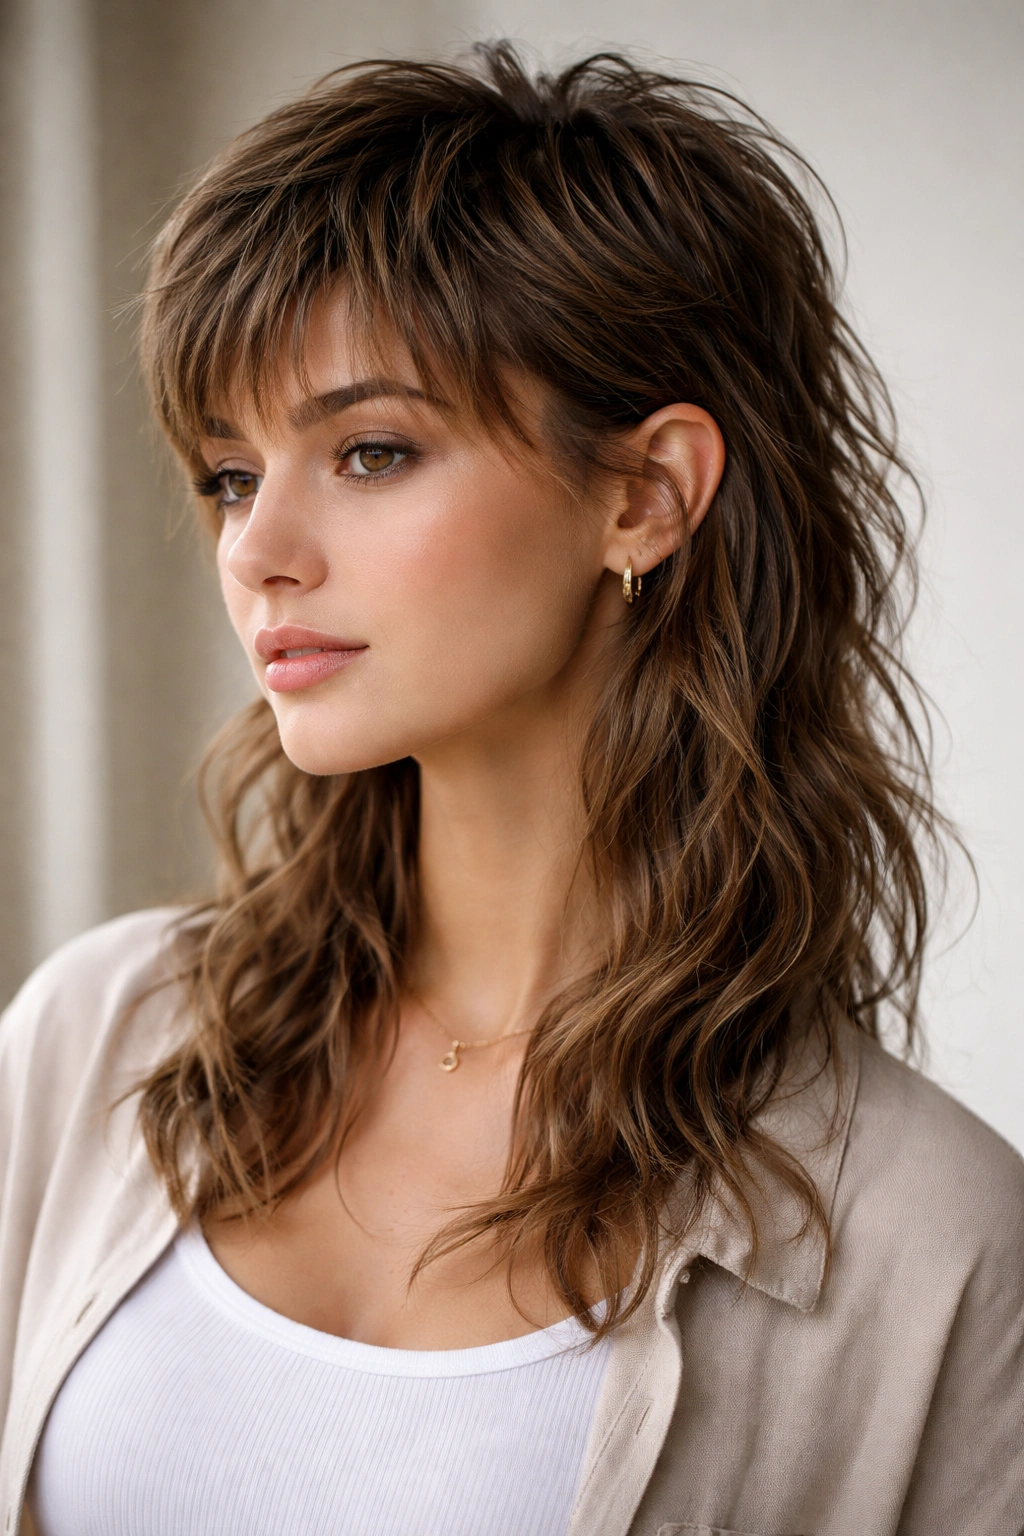
17. The Wavy Shag with Statement Fringe
A modern shag with a longer fringe (not quite bangs, but face-framing pieces) creates movement at the front of your face while maintaining length overall.
Fringe Creates Face-Framing Movement
Longer fringe pieces dry slightly differently than the rest of your hair because they’re exposed on all sides. This creates interesting texture variation.
Styling Shag with Fringe
- Use a texture spray or sea salt mist on damp hair
- Let fringe pieces air-dry forward and slightly tousled
- The rest of your hair gets scrunched and tousled for maximum texture
- Longer fringe can be clipped back when you want a different look
Worth knowing: Longer fringe needs to be trimmed every 6-8 weeks to keep it intentional rather than straggly.
18. The Wavy Waves from Damp-Hair Styling
Don’t wait until hair is completely dry — style it while it’s damp (maybe 40-50% dry) for more control over where waves form.
Damp-Hair Advantage
Damp hair is still moldable but has already set enough that you can see how waves are forming. You can make micro-adjustments to wave direction before they’re locked in permanently.
Damp-Hair Styling Process
- Apply your chosen product to damp hair
- Section and position waves where you want them using your fingers or a wide-tooth comb
- Leave damp hair alone or gently pin sections if they’re falling the wrong direction
- Once fully dry, release any pins and fluff
- This gives you more control than full wet-styling but is less time-intensive than blow-drying
Pro tip: Damp-styling works best if you plan ahead — shower earlier in the day so hair has time to reach the damp phase naturally.
19. The Lived-In Waves with Undercut Texture

Layering an undercut (very short, textured sides and back) underneath longer waves on top creates a punk-meets-romantic aesthetic.
Textured Undercuts Add Edge
The contrast between smooth longer waves and textured shorter underneath pieces prevents the overall look from reading as too soft or feminine.
Styling Waves with Textured Undercut
- Apply mousse to damp waves on top, texture spray to damp undercut sections
- Tousle everything upward and outward
- Use your fingers to create more texture on the undercut while it dries
- The top waves can be smoother while the bottom is more aggressively textured
- Pin longer waves to one side occasionally to show the textured undercut
Insider note: This style only works if the undercut actually has intentional texture — a smoothly faded undercut defeats the purpose.
20. The Tousled Waves from Loose Plopping
Plopping — wrapping damp hair in a towel or fabric — gently encourages wave formation while you’re doing other things.
Why Plopping Works for Waves
Plopping concentrates moisture and creates gentle pressure that encourages waves to clump together. It’s hands-off, which means you’re not fighting against your natural texture.
Plopping Correctly for Waves
- Apply your curl cream, mousse, or leave-in conditioner to soaking-wet hair
- Flip your head and scrunch your hair up into a microfiber towel or T-shirt
- Keep hair plopped for 10-20 minutes, letting gravity and moisture do the work
- Remove the towel and let hair air-dry the rest of the way
- Avoid touching it once unplopped so you don’t disrupt the wave pattern
- Use a light hairspray once completely dry to lock everything in place
Worth knowing: Regular cotton towels create frizz against wet hair. Use a microfiber towel, old T-shirt, or specialized plopping towel to prevent damage and frizz.
Final Thoughts
Air-drying waves isn’t about fighting your natural hair texture into submission — it’s about understanding how your hair actually behaves when left to its own devices and then making smart choices about cut, products, and technique that amplify what’s already there. Every single one of these styles works with air-drying rather than against it, which means you’re working smarter, not harder.
The biggest shift happens when you stop thinking of air-drying as “lazy” and start recognizing it as the actual best method for textured, wavy hair. Your waves will have more definition, more longevity, and more personality when you let them dry naturally than when you blast them with heat. Pick a cut that resonates with how you actually want to look, choose products that match your hair’s weight and thickness, and spend a few minutes guiding waves in the right direction while they dry. That’s genuinely all it takes.
The styles that feel most effortless are usually the ones where you’ve actually put thought into the technique — not the ones where you’re hoping for good luck. Once you find the combination of cut, product, and styling method that clicks for your specific hair, you’ll barely think about your routine anymore. It’ll just be what you do.