Butterfly cuts have become one of the most coveted hairstyles for those seeking a blend of texture, movement, and effortless elegance. When paired with waves, this dynamic combination creates a look that flatters nearly every face shape while offering that sought-after dimension and flow that turns heads. The butterfly cut’s signature V-shaped layers frame the face beautifully, and when you layer in natural-looking waves, the result is a hairstyle that feels both romantic and modern at the same time.
What makes wavy butterfly cuts so appealing is their incredible versatility. You can dress them up for special occasions or wear them casually on everyday outings—they work equally well either way. The waves add movement and depth to what’s already a flattering cut, making thin hair appear fuller and giving thick hair a more refined, intentional shape. Whether you prefer loose, beachy waves or tighter, more defined curls, the butterfly cut accommodates your natural texture while enhancing it.
The beauty of this style lies in how the layers work with waves to create soft, face-framing movement that draws attention to your best features. The cut allows you to show off your waves at different lengths, creating visual interest and preventing that blunt, heavy feeling that can come with longer hair. Many people find that butterfly waves require less daily styling than other long hairstyles while still looking intentional and polished.
If you’re considering a wavy butterfly cut, understanding the different interpretations and variations available will help you find the perfect style for your hair type, lifestyle, and personal aesthetic. Each approach brings something unique to the table, from ultra-long and beachy to shoulder-length and chic.
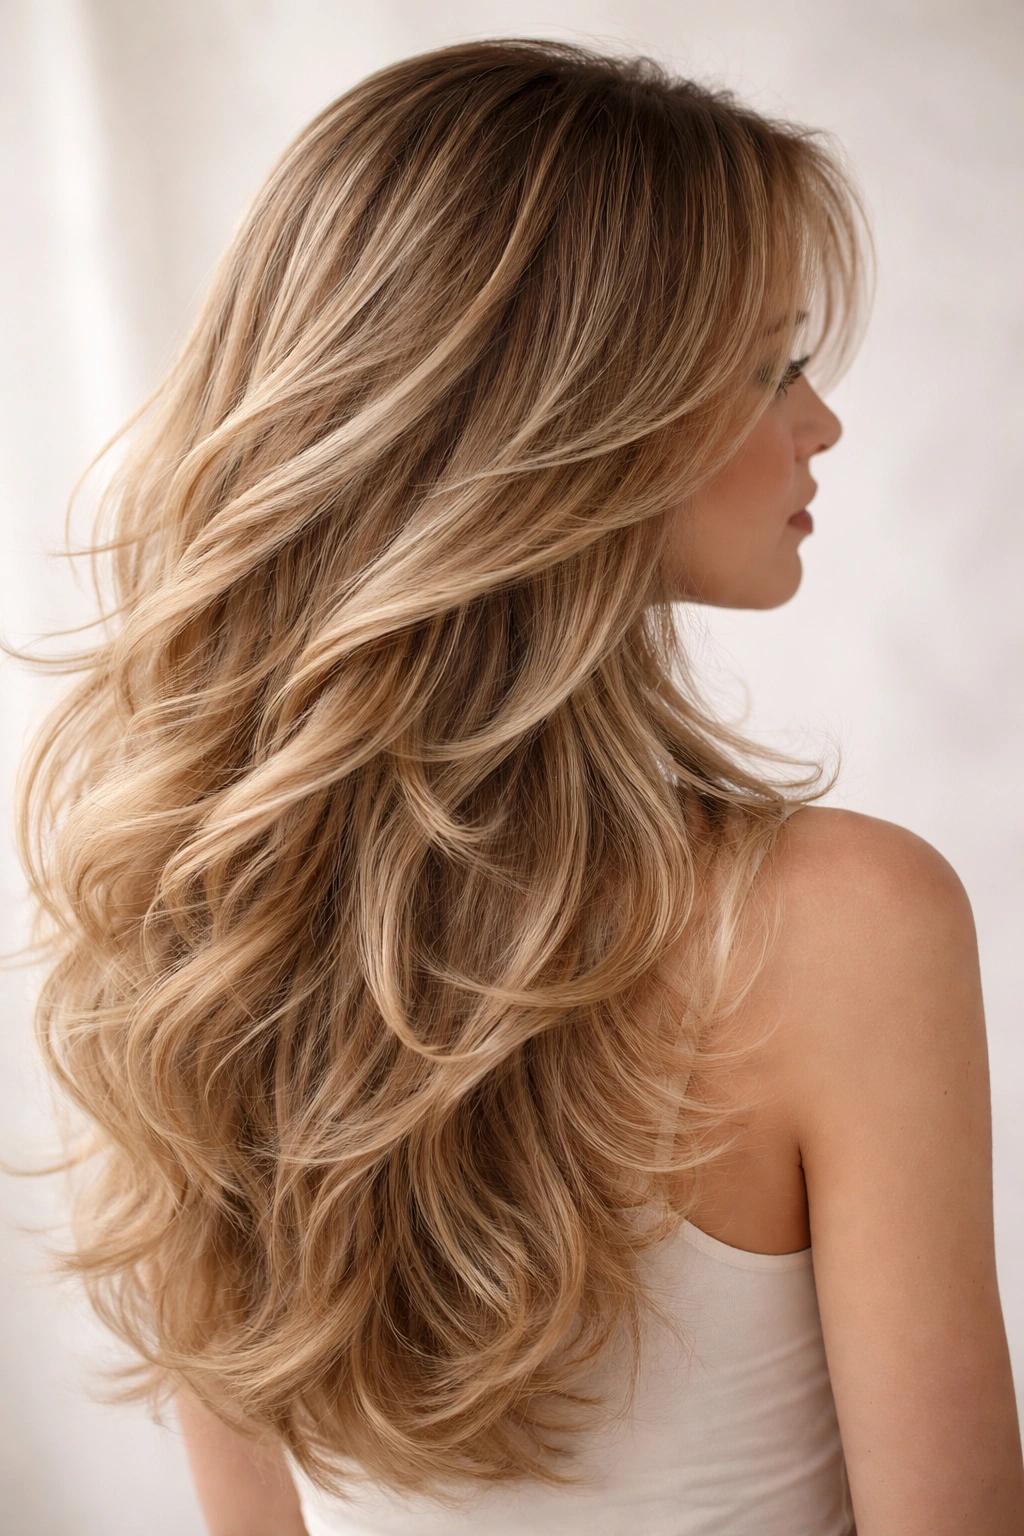
1. Long Beachy Waves With Extended Butterfly Layers

This is the version that captures that effortless, sun-kissed beach aesthetic that so many people crave. The layers are cut deeper throughout the length, starting at mid-waist and continuing all the way down, creating a genuinely feathered effect when you add soft, loose waves. The face-framing pieces are longer than in some butterfly cut interpretations, falling to around chest level or even lower, which creates a gentler, less dramatic frame.
Why This Version Works So Well
The extended length combined with subtle layering means you get movement without sacrificing the fullness and length you may have worked hard to grow. The waves in this style have room to really develop and breathe, creating that romantic, flowing silhouette that photographs beautifully. This cut is particularly flattering for rectangular or longer face shapes because the waves and length balance the proportions.
Best For and Styling Tips
- Hair type: Works best on straight to wavy hair that can hold a wave with minimal effort
- Styling: Use a large-barrel curling iron or wand to create loose, romantic waves; focus the heat on the mid-lengths to ends
- Maintenance: Plan for regular touch-ups every 8-10 weeks to keep the face-framing layers fresh and intentional
- Product: Sea salt spray or texturizing spray will enhance the natural wave pattern and keep things looking lived-in rather than stiff
2. Collarbone-Length Wavy Butterfly With Choppy Texture
If you love the butterfly cut concept but prefer something shorter and more manageable, this collarbone-length variation delivers sophisticated movement without excessive length. The choppy texture comes from slightly chunkier layers that are cut at more pronounced angles, creating distinct texture lines rather than completely blended feathering. This creates a more modern, edgy vibe while still maintaining the face-flattering butterfly silhouette.
The Choppy Texture Advantage
Choppy layers act like built-in dimension, so your waves get even more pronounced and visible throughout the cut. Each layer has its own distinct shape and movement, which means the overall hairstyle looks fuller and more textured even if your hair is naturally fine. The shorter length makes this cut surprisingly easy to style—waves come together faster, and you’re not fighting against gravity as much.
Styling and Face Shape Considerations
- Best face shapes: Works beautifully on round, square, and heart-shaped faces because the choppy, textured layers prevent the style from appearing too heavy or blunt
- Wave pattern: Aim for more defined waves rather than soft, loose ones—the choppy layers actually enhance tighter wave patterns
- Volume building: This cut naturally creates height at the crown, making it excellent if you want to add the illusion of volume without actually having to tease or backcomb
- Daily styling: Usually requires just 10-15 minutes with a curling iron or wand; the choppy layers do much of the work for you
3. Shaggy Wavy Butterfly Layers for Maximum Movement
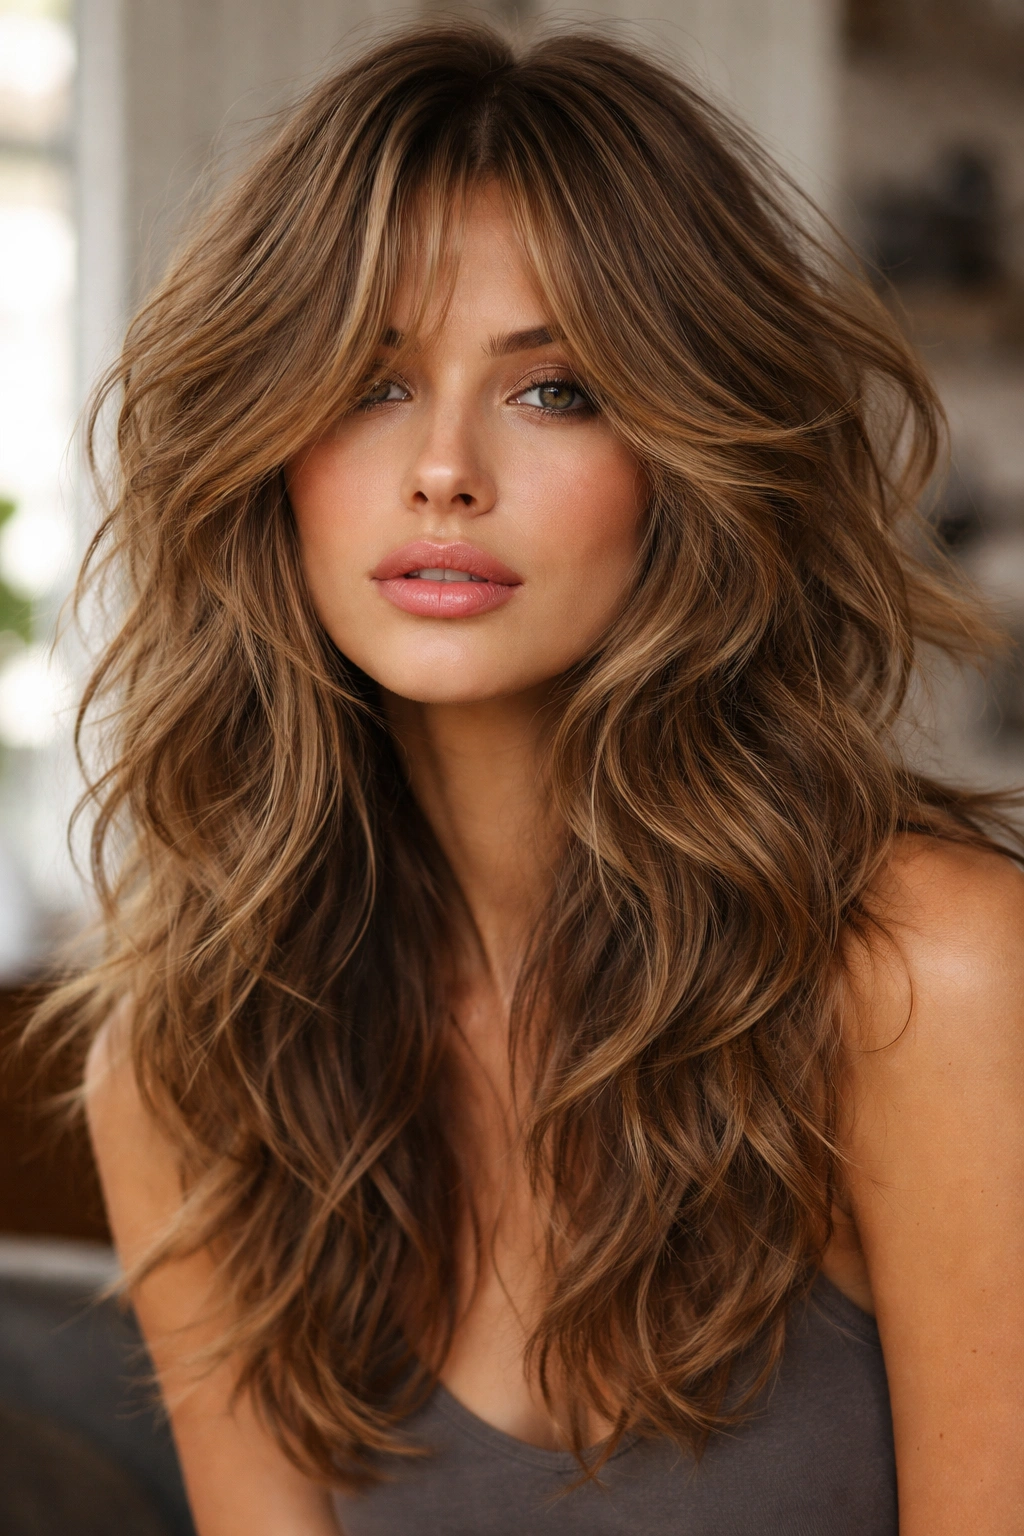
The shaggy butterfly cut takes layering to another level, featuring extremely choppy, disconnected layers throughout that create an intentionally tousled, lived-in look. Instead of trying to blend the layers smoothly, this version celebrates the distinct separation between each layer, creating visible texture lines from crown to ends. Waves look spectacular with this cut because they’re scattered throughout the entire head, creating dimension at multiple depths.
What Makes Shaggy Layers Different
Shaggy layering emphasizes individual texture rather than overall shape, which is why it pairs so beautifully with waves. Instead of one cohesive flowing wave, you get waves within waves—layers of texture that create incredible movement and visual interest. This cut has a decidedly ’70s-inspired quality, though modern styling keeps it feeling fresh and current rather than costume-like.
Who Should Consider This Style
- Hair texture: Actually works on a wider range of hair types than you’d expect, including curly and wavy hair that already has natural movement
- Maintenance: Requires more frequent trims (every 6 weeks) to keep the shaggy layers from looking overgrown rather than intentional
- Styling commitment: Takes more daily styling than a blended butterfly cut, but the payoff is maximum movement and texture
- Product needs: Heavy reliance on texturizing sprays and wave-enhancing products to make the shaggy layers really pop
4. Soft, Blended Butterfly Waves for Classic Elegance
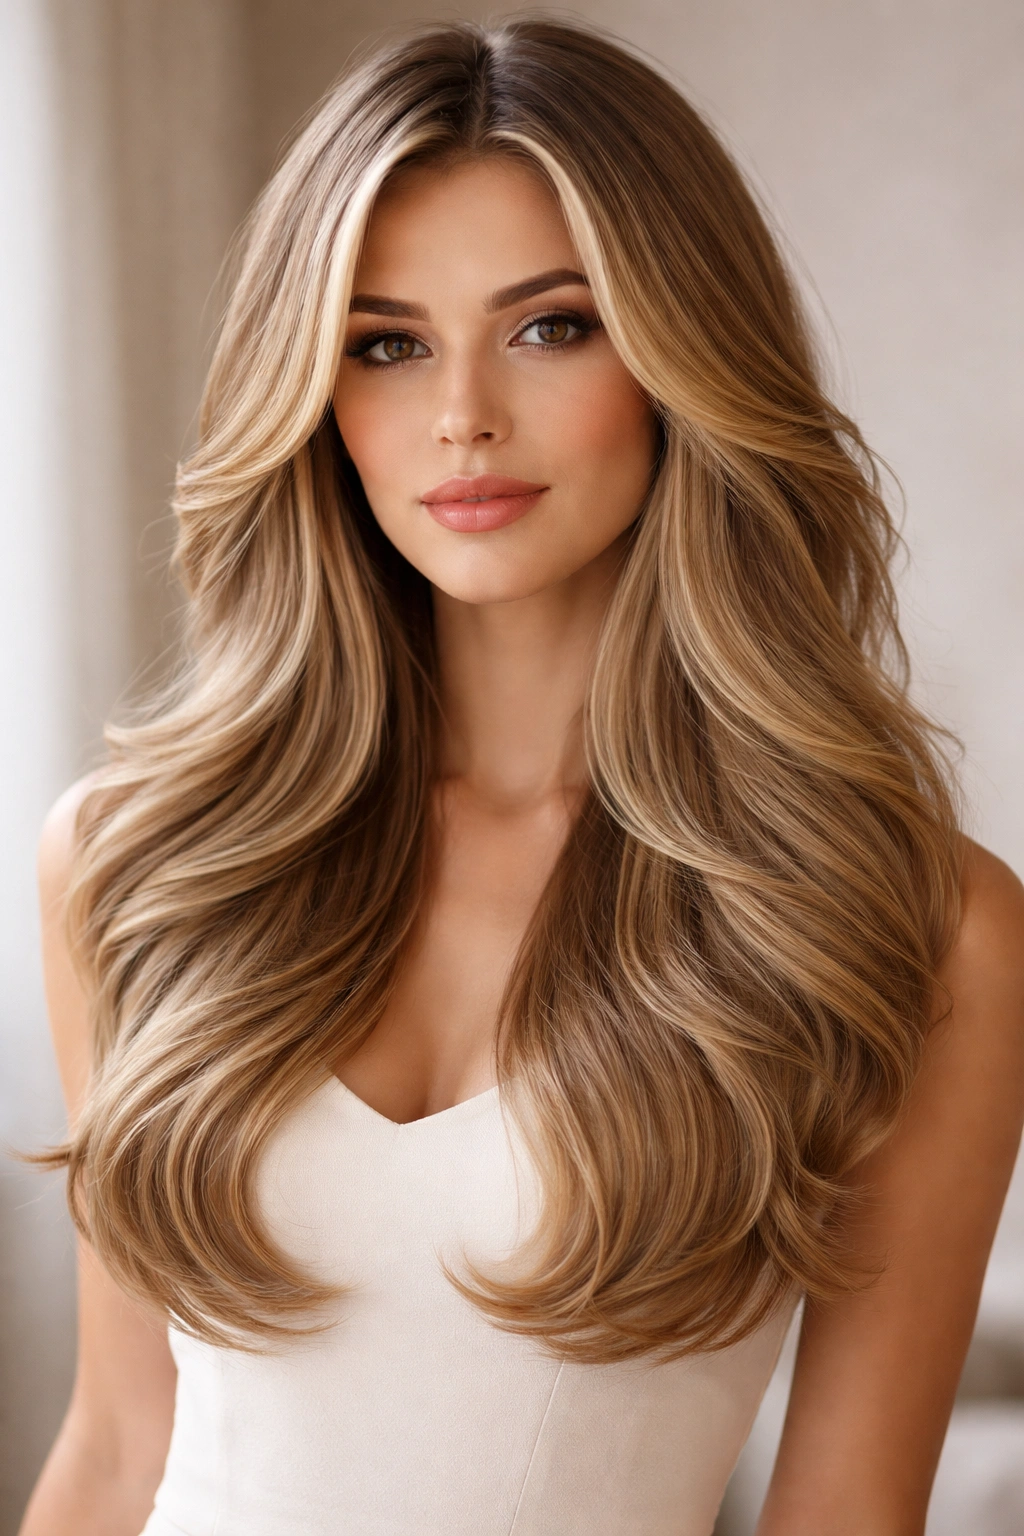
This is the more refined, classically elegant version of the butterfly cut with waves. The layers are cut smoothly and blend seamlessly into one another, creating a cohesive, flowing silhouette rather than distinct, separated layers. The face-framing pieces are precisely cut to angle inward slightly, creating that signature butterfly frame while maintaining polish and sophistication.
The Blended Layer Technique
Blended layers require a more skilled stylist because the goal is to create flowing movement without visible texture lines. Each layer is cut to work in harmony with the surrounding hair, creating one unified wave pattern rather than competing textures. When you add waves to blended layers, the result is smooth, elegant movement that looks effortless but actually requires thoughtful cutting.
Perfect For
- Professional settings: This version reads as polished and put-together, making it excellent for workplaces where you want to look intentional without edgy
- Hair: Best on straight to slightly wavy hair that can be given waves through styling rather than relying on natural texture
- Face shapes: Universally flattering because the smooth blending softens features without creating harsh texture lines
- Longevity: Lasts longer between cuts (10-12 weeks) because there are no choppy, shaggy lines that grow out obviously
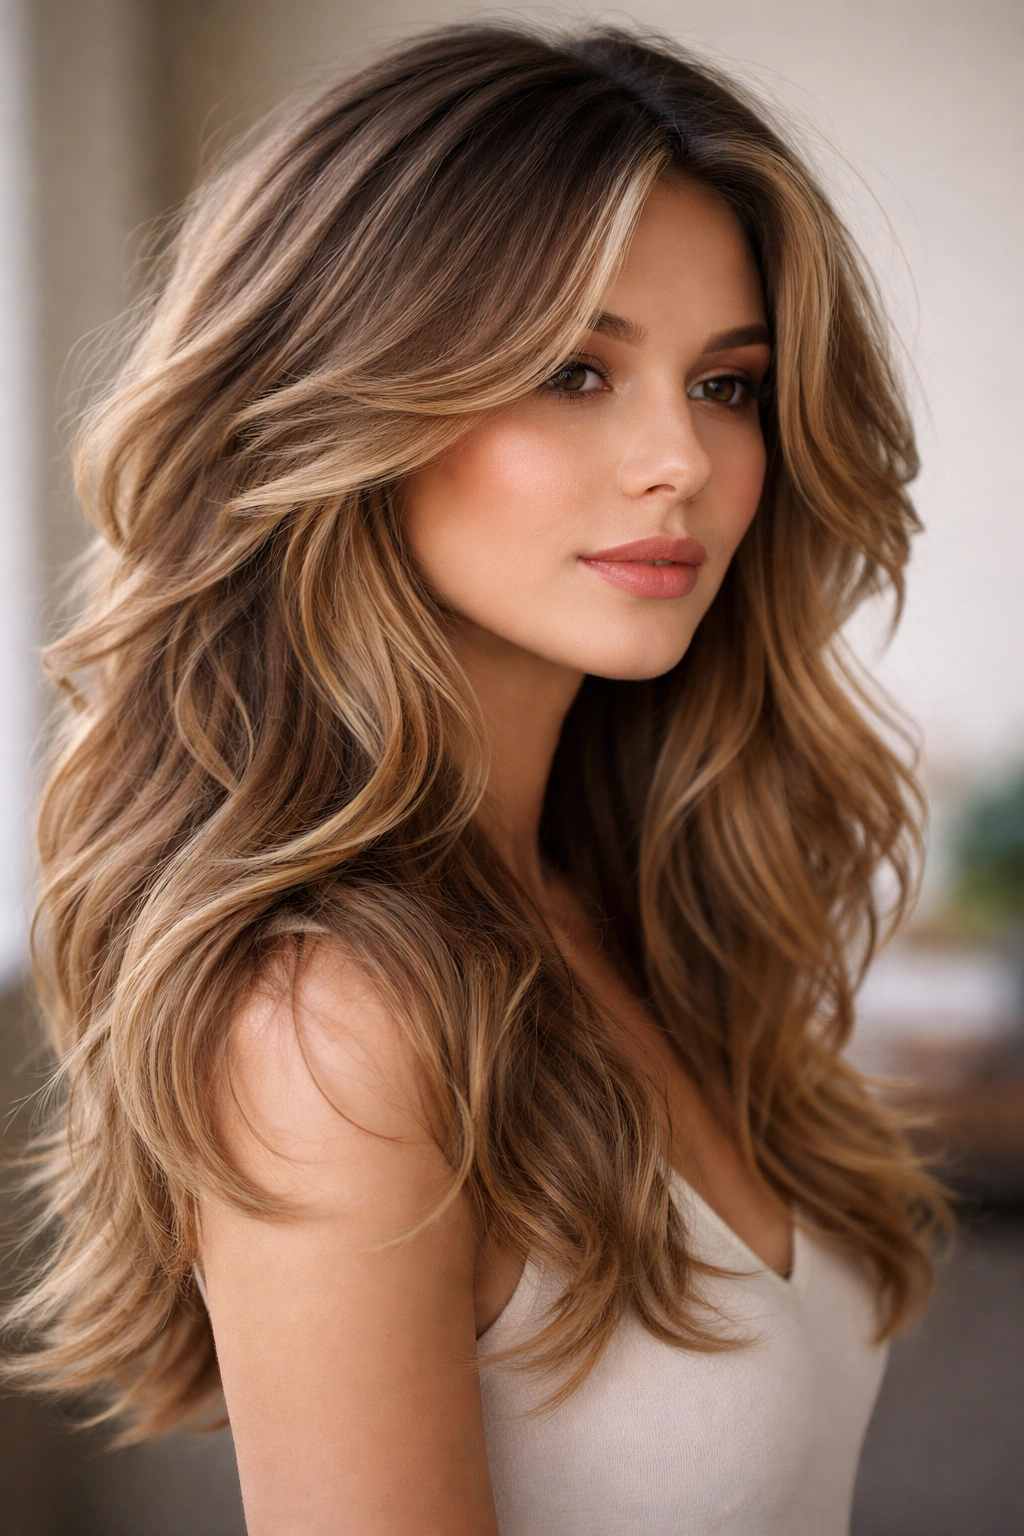
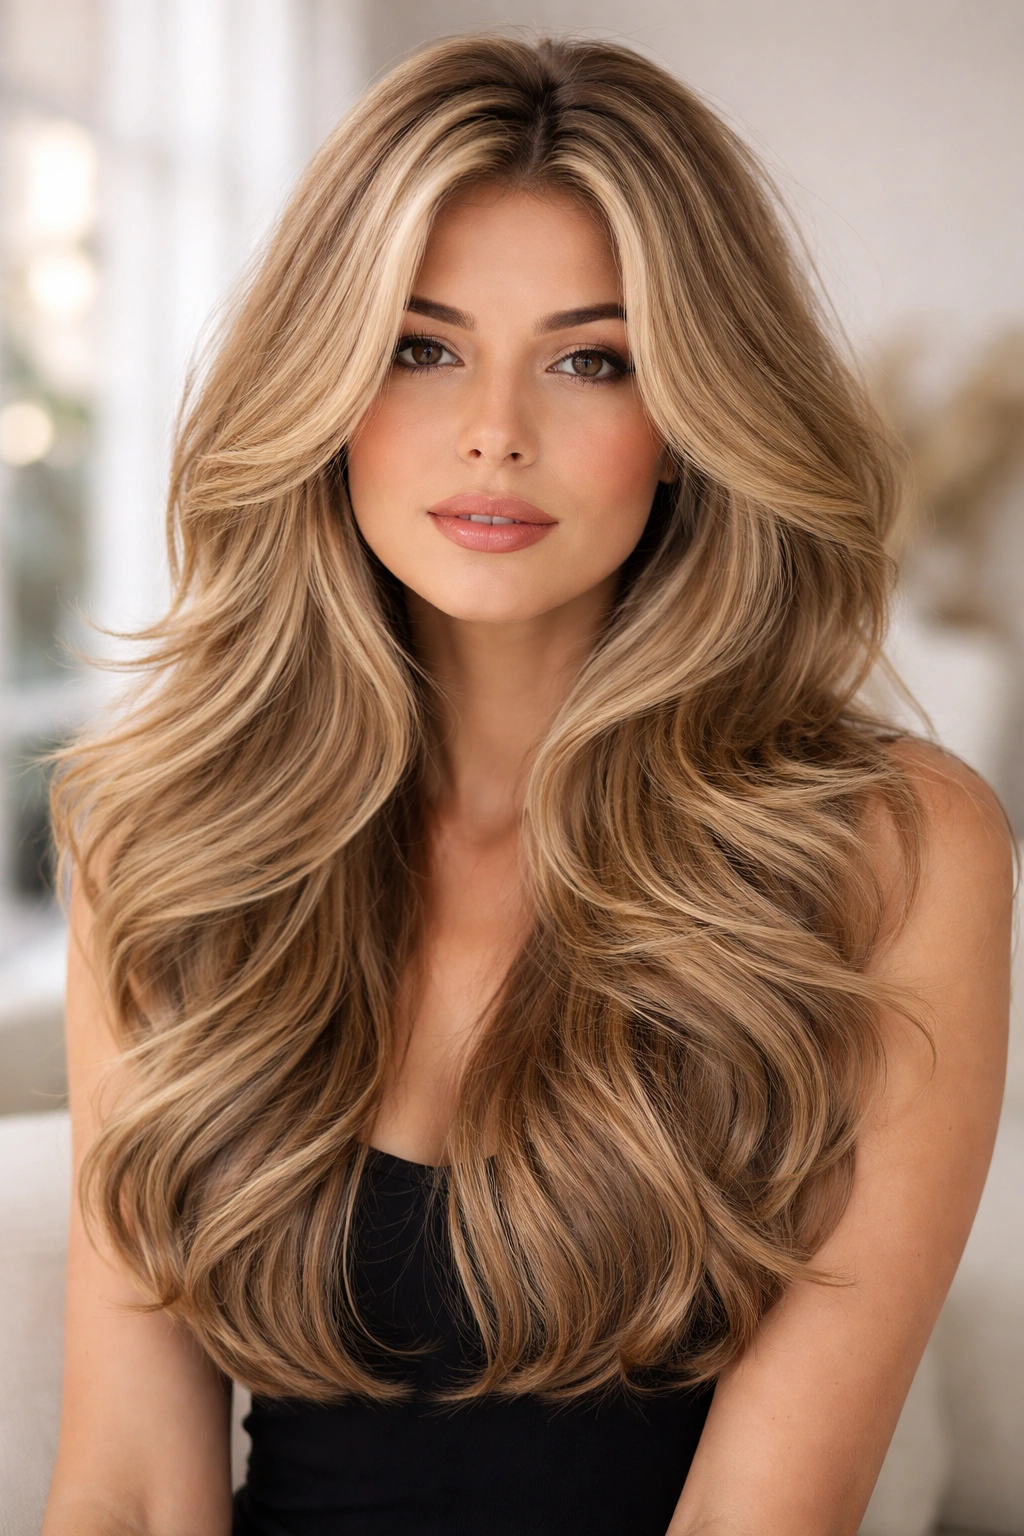
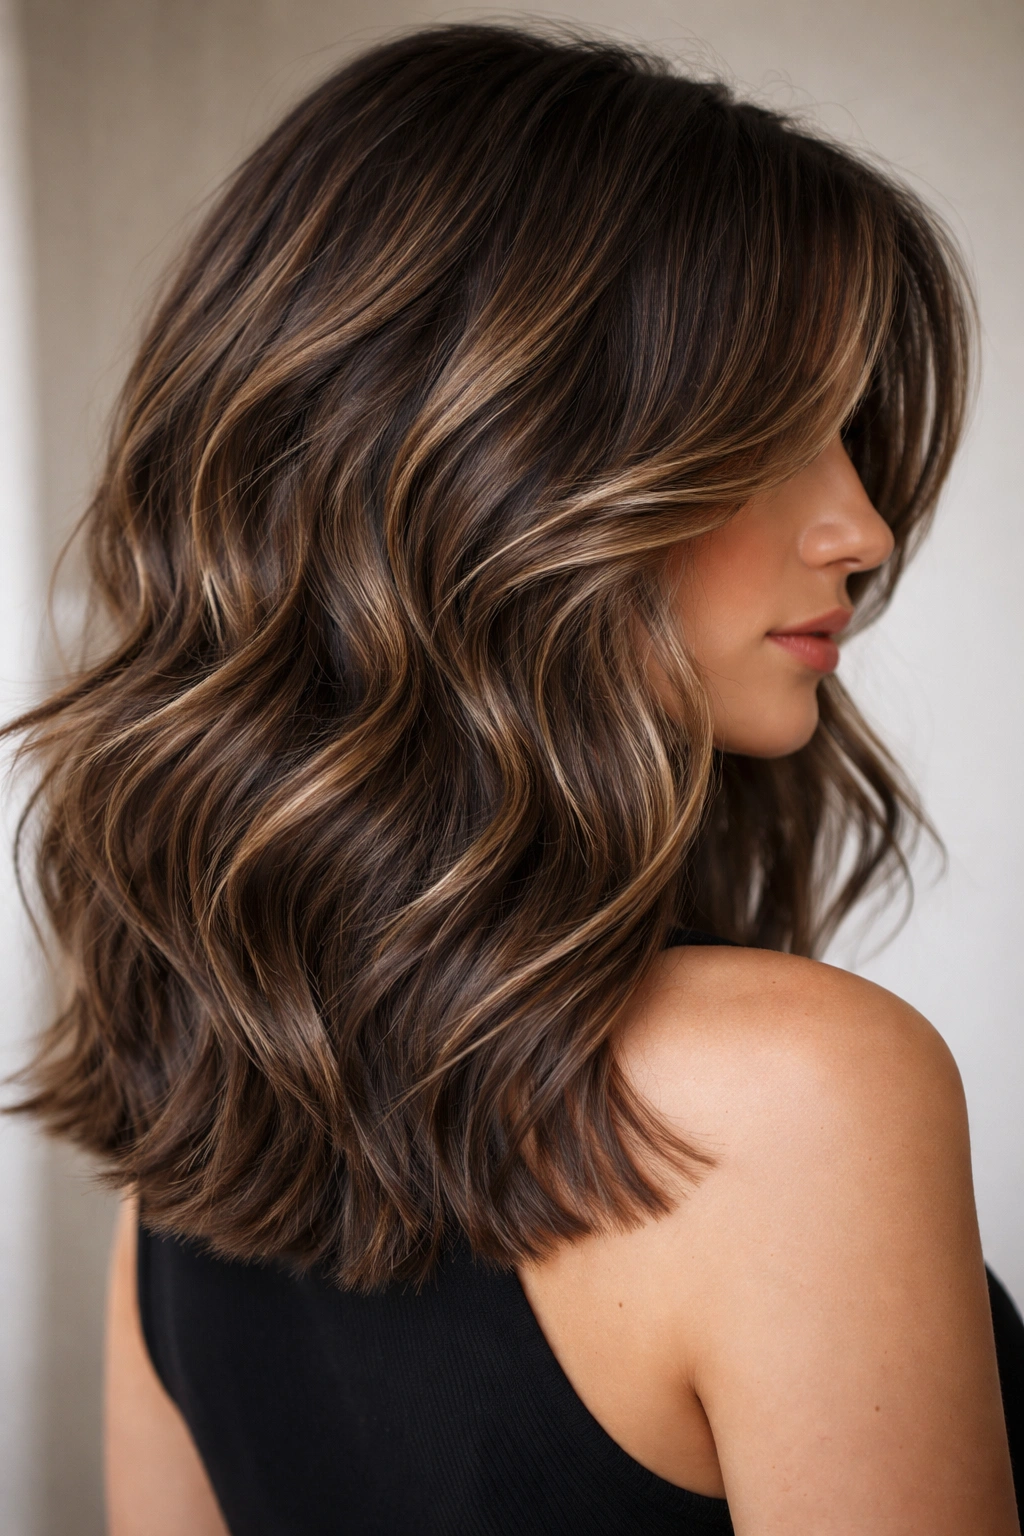
5. Two-Tone Wavy Butterfly With Dimensional Highlights
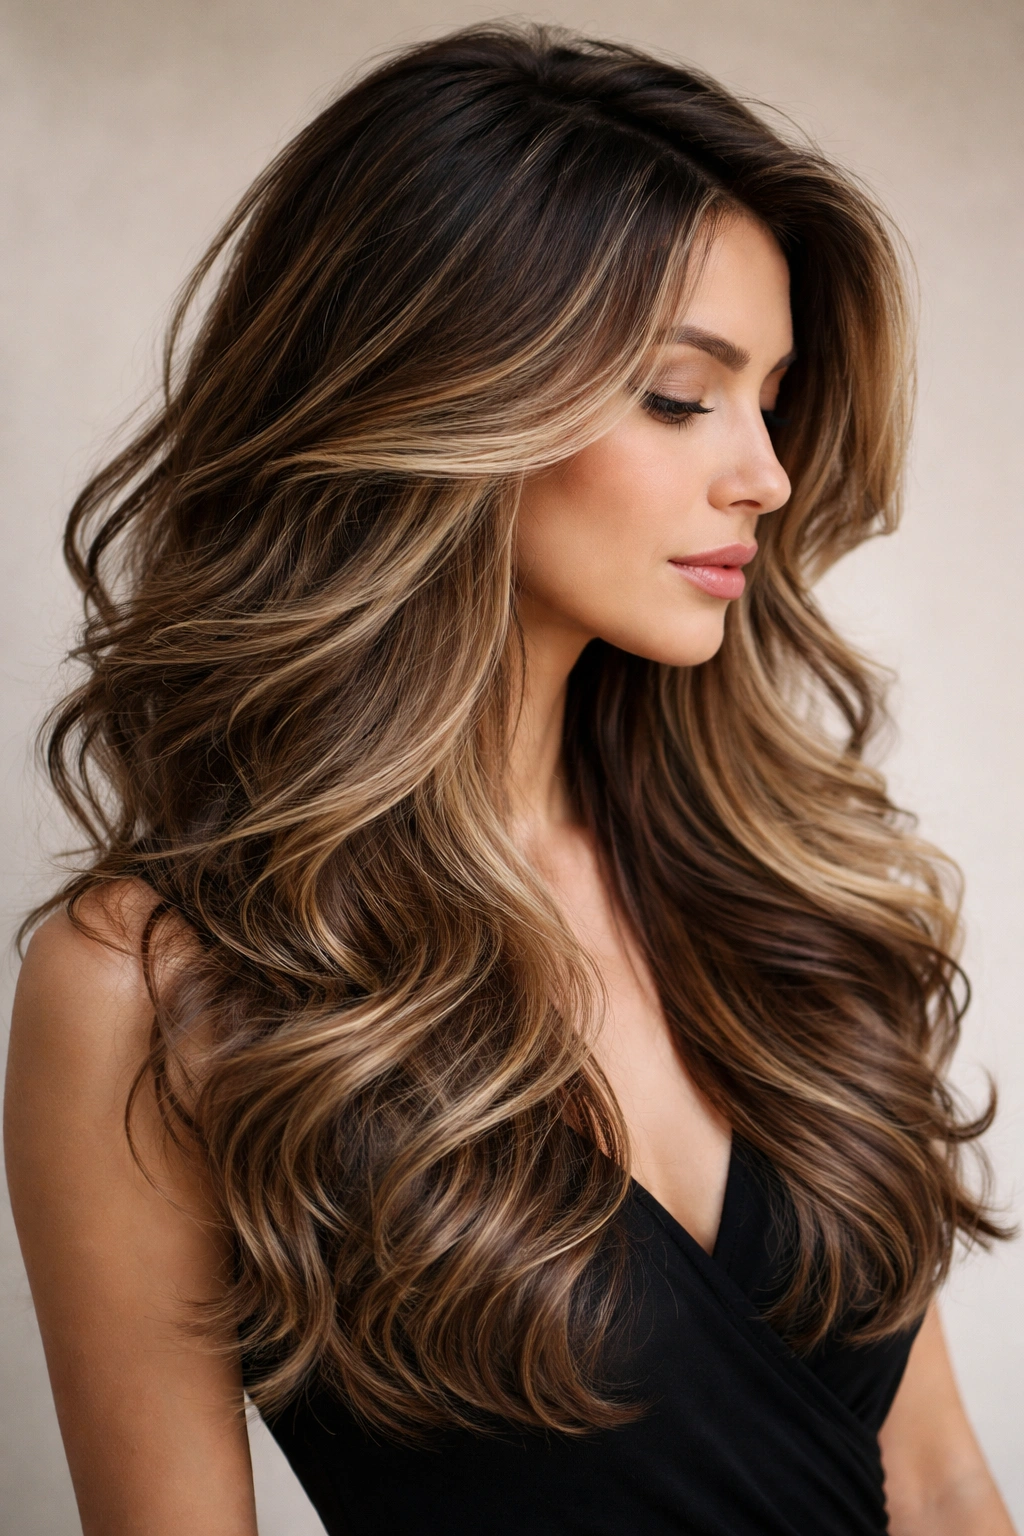
Adding dimension through color transforms the wavy butterfly cut into something visually striking. A two-tone approach—typically a darker base with lighter, warmer highlights—makes the waves far more visible and creates the illusion of even more movement and texture than the cut alone provides. The highlights should be placed strategically on the face-framing pieces and throughout the top layers where light hits naturally.
How Color Amplifies the Wave Pattern
Dimensional color creates visual contrast that emphasizes each wave and layer in the cut. A wave that might be subtle in a single-color hair suddenly becomes prominent when lighter highlights hit the lift of the wave and darker shadow tones pool in the valleys. This interaction between cut and color makes the waves appear bigger, more pronounced, and far more dynamic.
Color Placement Strategy
- Face-framing highlights: Place lighter pieces around the face to create brightness and draw attention to facial features
- Dimensional depth: Use mid-tone colors throughout to add depth without making the hair look brassy or overdone
- Natural appearance: Aim for highlights that look like natural sun-kissed color rather than obviously painted-on stripes
- Maintenance: Plan for touch-ups every 6-8 weeks; growing-out roots become visible quickly on lighter highlights
- Wave enhancement: Use warm blonde, caramel, or honey tones to complement the dimensional effect; cool platinum can work but requires more maintenance
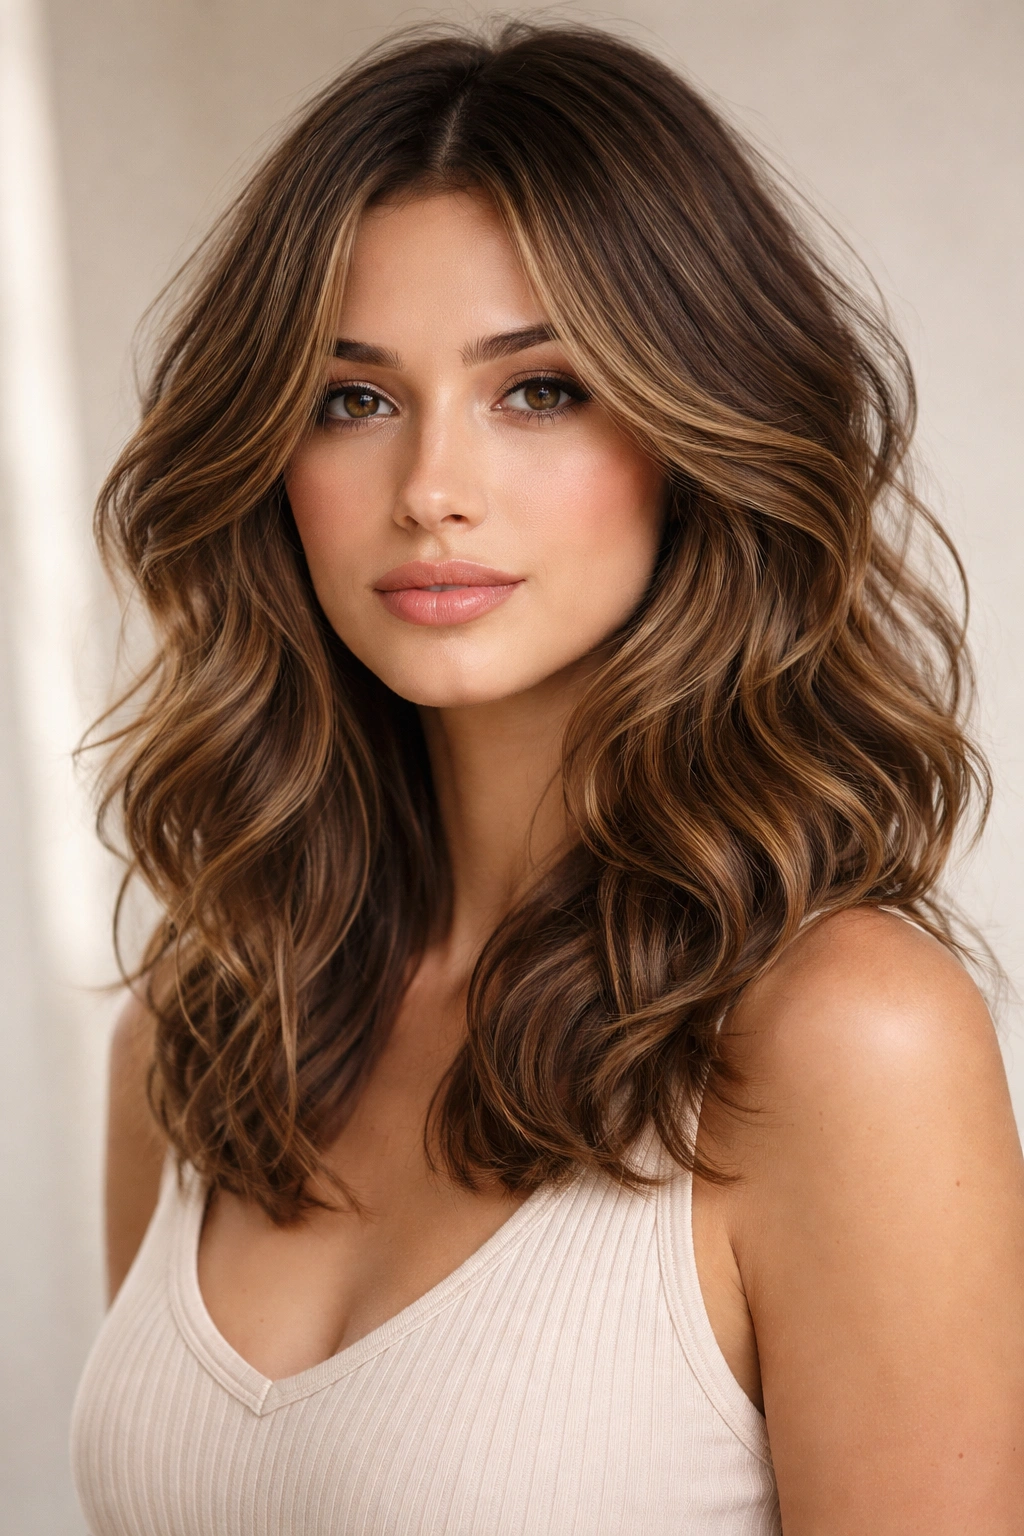
6. Shoulder-Length Wavy Butterfly With Shorter Face-Framing
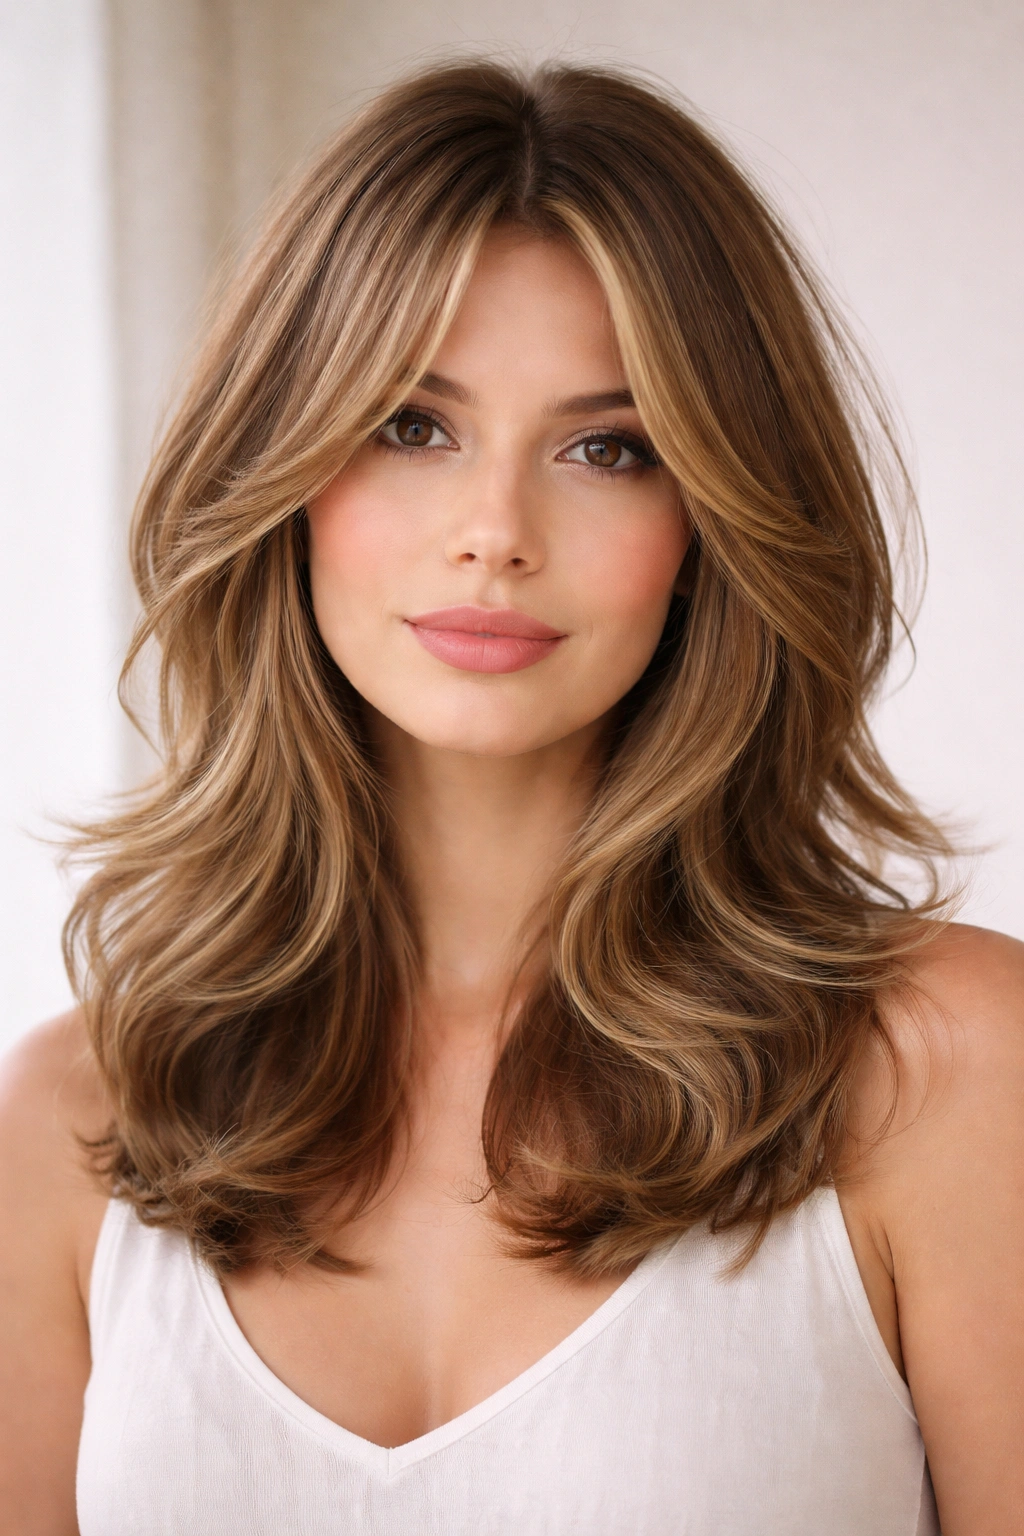
This length hits right at the shoulders, creating a sweet spot between longer styles and shorter bobs. The face-framing layers are cut shorter than in longer versions—typically hitting the jaw or chin—which creates a more dramatic frame and a fresher, more youthful appearance. The shorter face-framing combined with waves creates excellent movement and prevents that heavy feeling that can come with shoulder-length hair.
The Jaw-Length Frame Advantage
Shorter face-framing pieces catch light more easily, creating brightness around the face and drawing attention upward. This positioning works exceptionally well for creating the illusion of a lifted face and is particularly flattering for those concerned about jowls or a heavier jawline. The shorter frame pieces also tend to look fresher and more intentional than longer face-framing pieces, requiring less styling to appear polished.
Best Styling Approach
- Wave direction: Angle your waves to fall away from the face for an opening, brightening effect
- Volume: Focus on adding height at the crown; this length can sometimes sit flat without deliberate volume-building
- Product: Use lightweight products that won’t weigh down the shorter face-framing pieces
- Daily styling: These shorter pieces may need to be curled separately to ensure they actually curl rather than just fall straight
- Face shape: Excellent for long and rectangular faces; the shorter frame creates more proportional balance
7. Thick, Defined Waves on Long Butterfly Layers
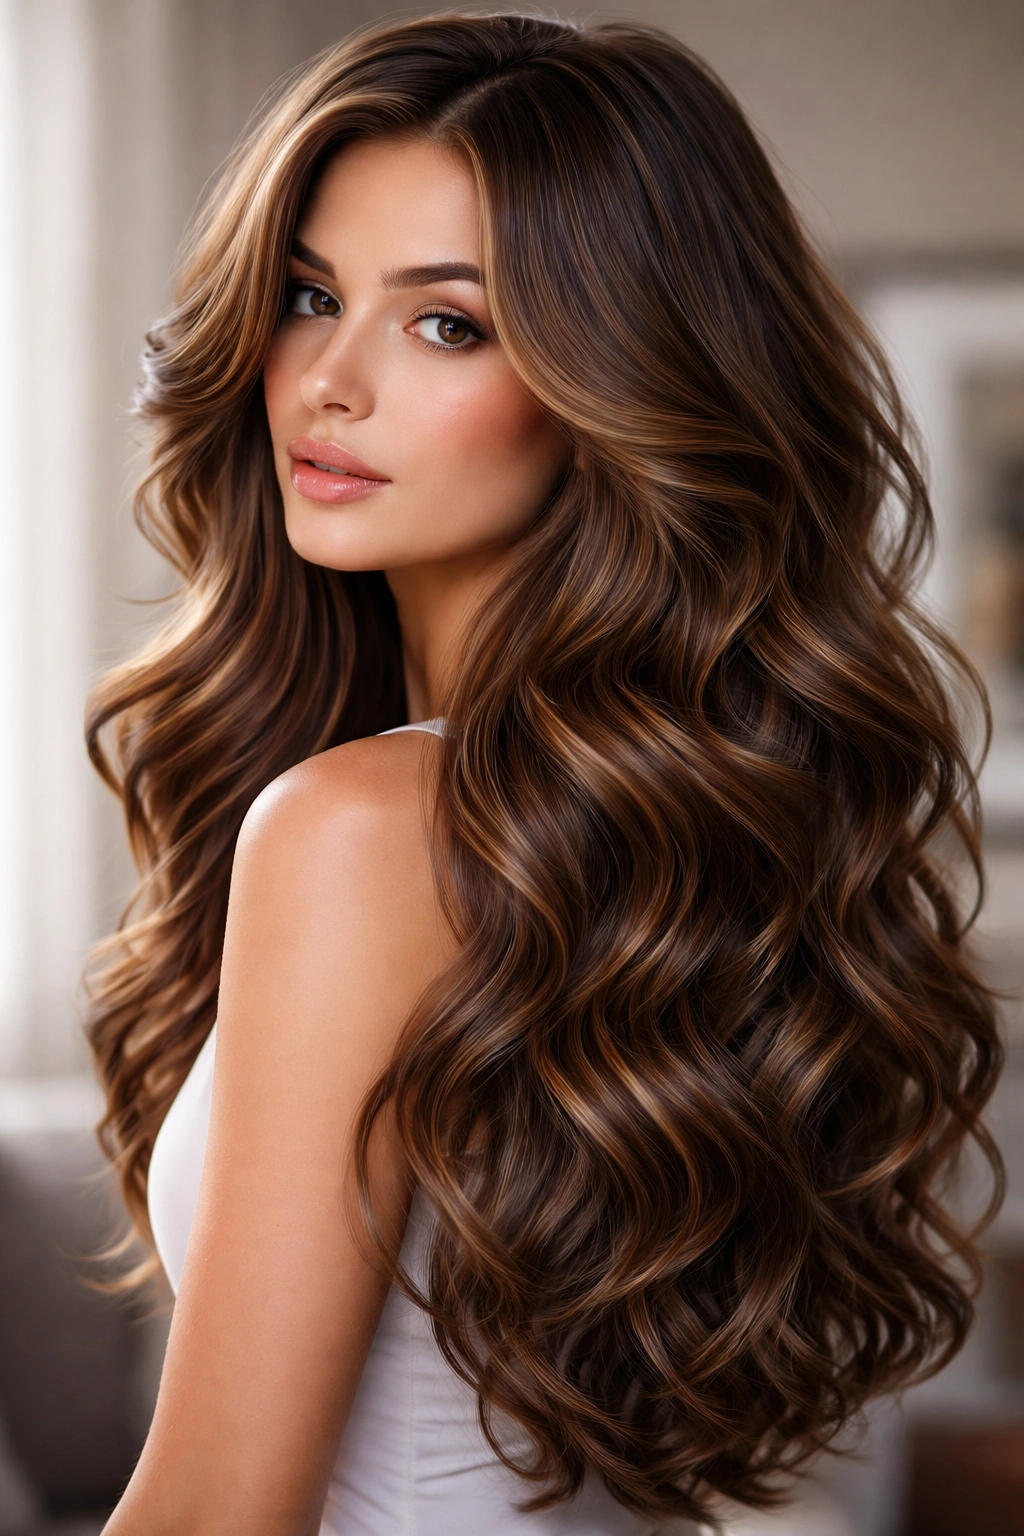
This version emphasizes bold, chunky waves rather than soft, loose ones. Instead of those gentle, romantic waves, you’re creating waves with actual dimension and definition—each wave is distinct and visible, with clear peaks and valleys. Thick waves require stronger styling techniques and often need wave cream, gel, or mousse to hold their shape throughout the day.
Creating and Maintaining Defined Waves
Defined waves require either naturally curly or wavy hair that you’re enhancing, or consistent styling with a 1-1.5 inch barrel curling iron to create waves with actual body. The butterfly layers work beautifully with defined waves because each layer can hold its own wave, creating multiple dimensions of texture. You’ll need to either curl your hair daily or use overnight styling methods like braiding or wave rollers to maintain defined waves.
Product and Technique Essentials
- Wave cream: Apply to damp roots and mid-lengths before blow-drying for wave-holding power
- Curling technique: Use a medium-heat iron and curl each section away from the face for optimal results
- Sectioning: Divide hair into at least 4-6 sections to ensure every piece gets properly waved
- Setting spray: Essential for keeping defined waves in place throughout the day
- Overnight method: Try braiding damp hair and sleeping in braids for chemical-free wave definition
8. Lived-In Wavy Butterfly With Textured Ends
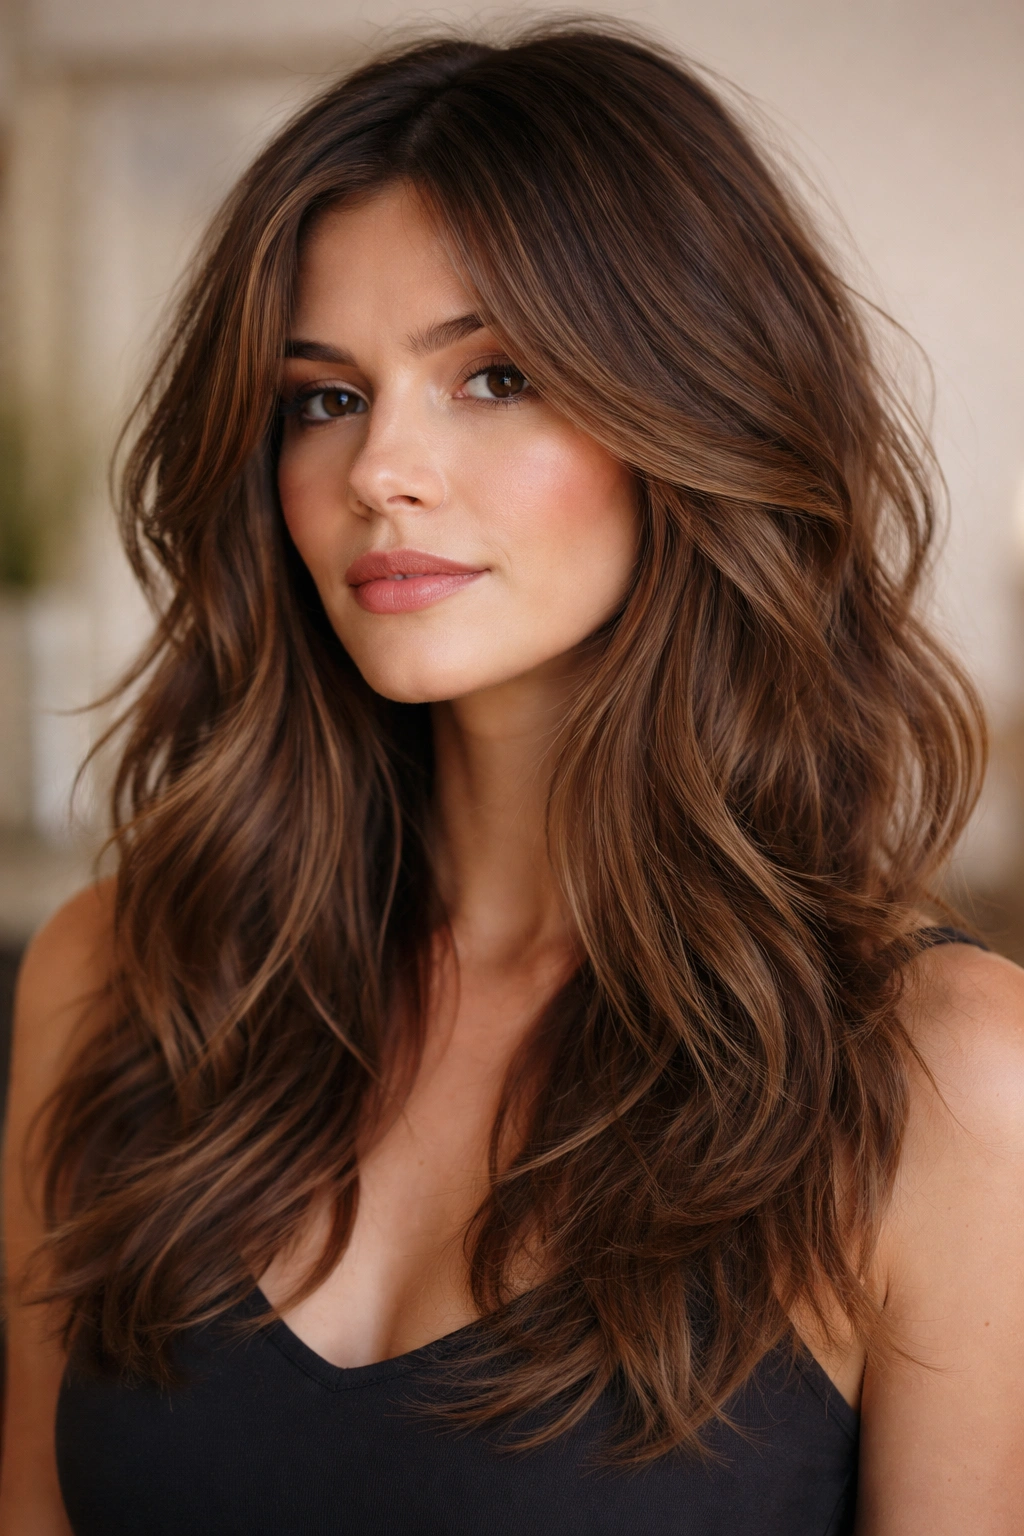
The lived-in aesthetic celebrates slightly messier, less polished waves that look effortlessly gorgeous rather than fussily styled. Textured ends—achieved through point-cutting or specific styling techniques—create rough, piece-y texture rather than smooth, blended edges. This approach makes the hairstyle look like you just woke up with perfect waves rather than spending 45 minutes with a curling iron.
Creating the Lived-In Look
This requires either asking your stylist to texturize the ends with point-cutting or razor-cutting techniques, or using product and styling methods that encourage texture and separation. The goal is to avoid that “finished” appearance and embrace something more casual and approachable. Waves in this style don’t need to be perfect—slight variations in wave size and direction actually enhance the aesthetic.
Achieving This Every Day
- Texture spray: Apply texture spray to second-day hair and piece apart with your fingers rather than using a brush
- Dry shampoo: Use dry shampoo for grip and texture; it helps waves hold shape and prevents that “wet” appearance
- Minimal styling: Sometimes not blow-drying or curling actually helps—let air-dry waves do the work
- Finger styling: Use your fingers to style waves rather than a brush, which softens the waves and creates that lived-in feel
- Product choice: Avoid heavy serums and oils; opt for lightweight texturizing products instead
9. Face-Framing Waves With Longer Back Layers
This variation emphasizes asymmetry by keeping the face-framing layers noticeably shorter than the back layers. The short face-framing pieces might hit the chin or mid-cheek, while the back of the hair extends significantly longer, sometimes to the mid-back. This creates interesting visual movement and a more modern, fashion-forward silhouette.
The Asymmetrical Appeal
Asymmetry adds edge and visual interest to the butterfly cut without making it feel costume-like. The shorter face-framing creates brightness and draws attention upward, while the longer back adds drama and length. This combination works particularly well with waves because the different lengths create multiple wave patterns that interact beautifully.
Styling Considerations
- Directional waves: Consider waving the face-framing pieces slightly away from the face and the back pieces in mixed directions for organic movement
- Styling time: Longer back sections require more time to wave thoroughly, so plan accordingly
- Hair care: The longer back section requires diligent conditioning to prevent split ends
- Face shape: Works well for those who want shorter, brighter framing but aren’t ready to cut all their hair short
- Maintenance: Back layers grow out quickly, so plan for trims every 8 weeks to maintain the intentional length difference
10. Thick, Voluminous Waves With Butterfly Layers for Fine Hair
If you have fine or thin hair, this version is specifically designed to create maximum volume and the illusion of density. The layers are cut strategically at angles that create lift and movement without removing too much hair, which thin hair can’t afford. Waves add significant volume to fine hair because they create texture and surface area where smooth hair would look flat.
Why Layering Helps Fine Hair
Layers reduce weight, allowing fine hair to spring up and create volume rather than lying flat under its own heaviness. The butterfly cut’s face-framing layers are especially helpful for fine hair because they remove weight from the face and crown area, allowing those crucial framing pieces to have movement and presence. When you add waves, you’re multiplying this volume effect.
Fine Hair Specific Strategies
- Layer angle: Ask your stylist for slightly longer layers that blend rather than choppy, disconnected layers that might look thin
- Blow-dry technique: Focus on directing the blow dryer upward at the roots to create lift
- Product choice: Use volumizing mousse or root-lifting spray before blow-drying; skip heavy serums and oils
- Wave method: Use a medium to smaller barrel iron (1-1.5 inches) to create tighter waves that hold longer on fine hair
- Texture spray: Applied to roots, this adds grip and prevents waves from relaxing prematurely
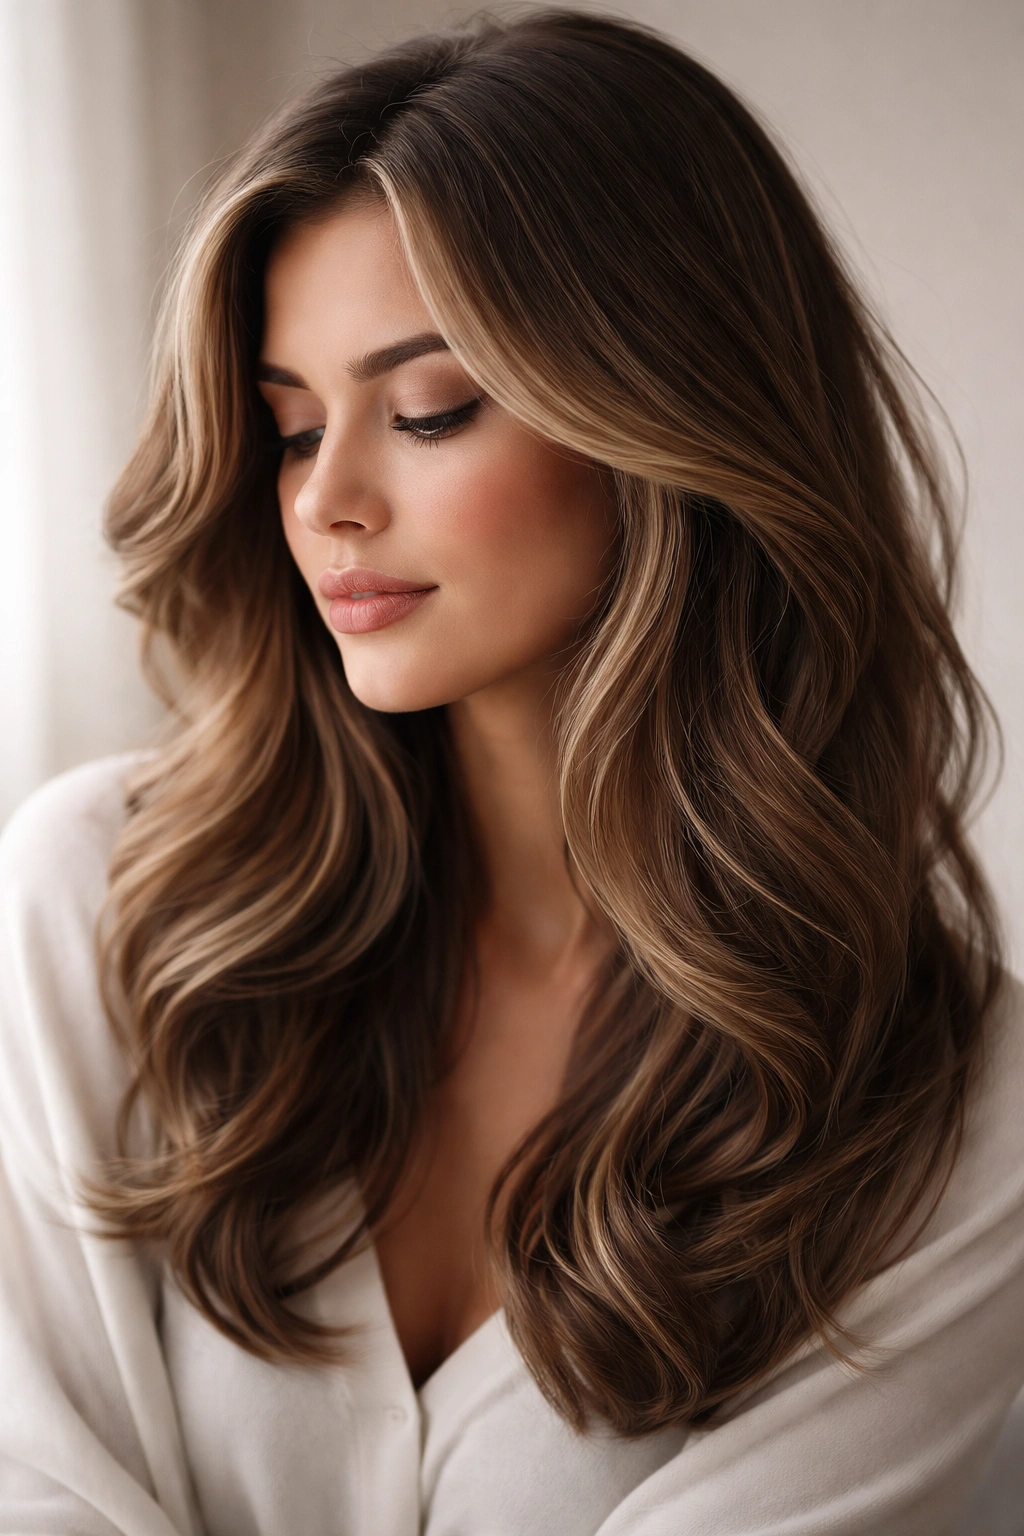
11. Honey Blonde Wavy Butterfly Cut for Warmth and Depth
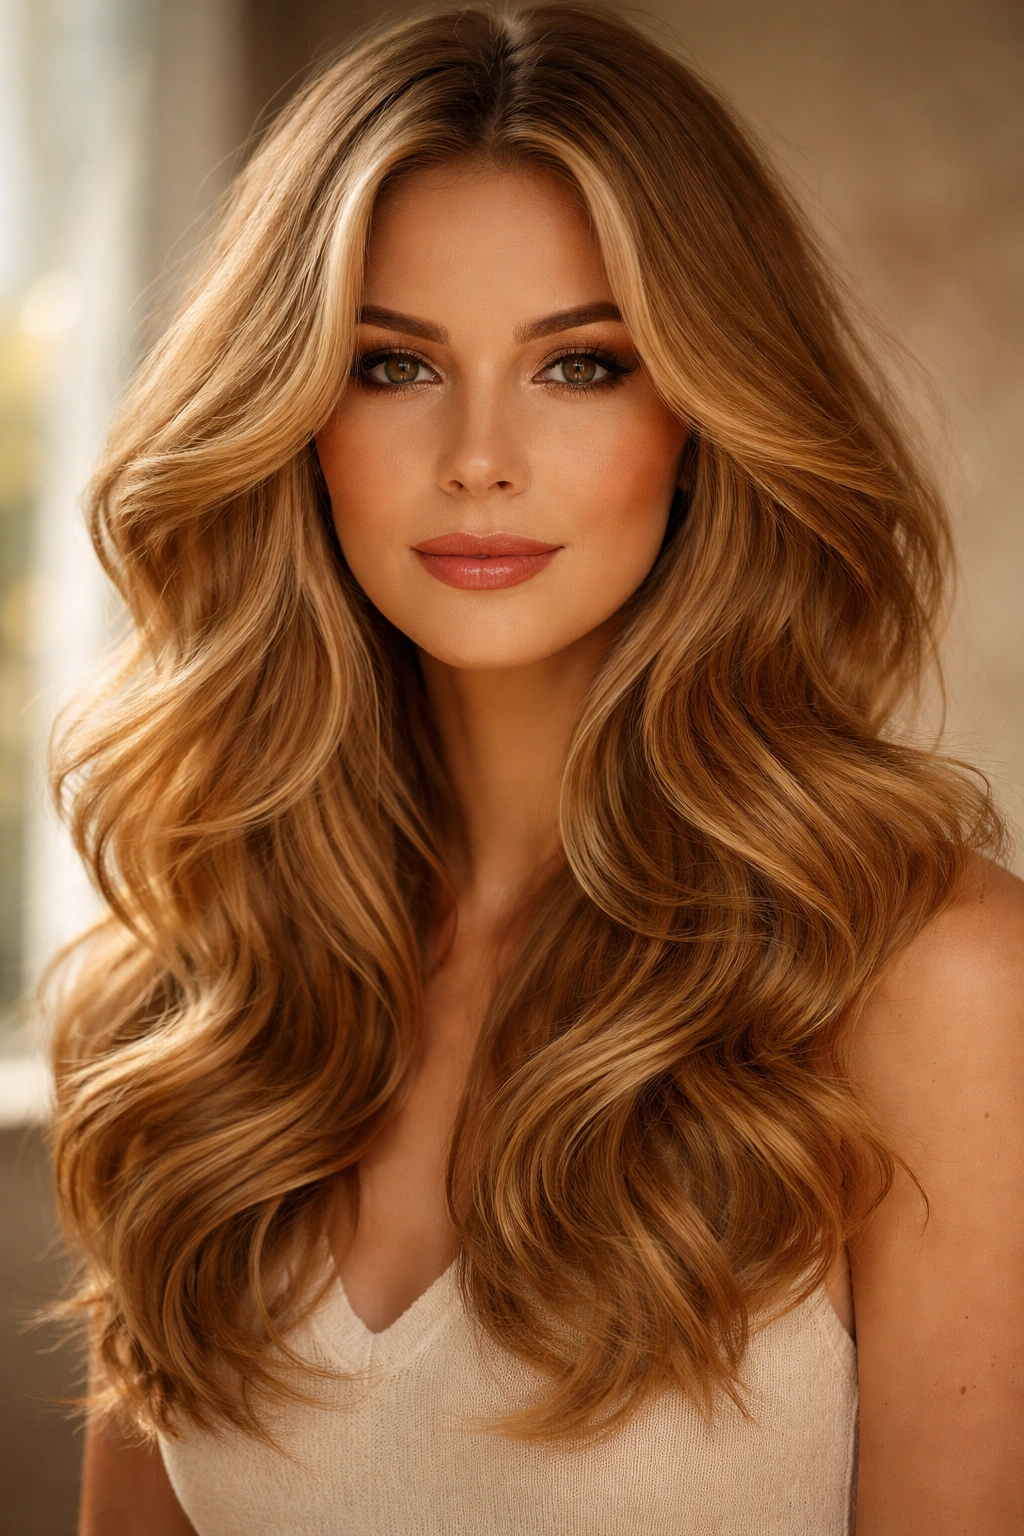
Honey blonde is a warm, flattering color choice that adds significant depth and dimension to wavy butterfly cuts. This shade sits between light and medium blonde, creating warmth without appearing overly golden or brassy. When combined with waves, honey blonde creates a luminous quality that makes the hair appear thicker and more textured.
The Warmth Factor in Color Choice
Warm tones like honey blonde interact beautifully with wave patterns because they catch light differently at each peak and valley of the wave. The color appears lighter and brighter where light hits the top of a wave and deeper in the shadow of a valley, creating natural-looking dimension. This interplay between color and texture makes honey blonde an excellent choice for those who want maximum visual impact.
Maintaining Honey Blonde Waves
- Toning: Honey blonde requires regular toning to stay vibrant and prevent brassy tones from developing
- Purple shampoo: Use purple-toning products to neutralize any brassiness that develops between color services
- Color refresh: Plan for color touch-ups every 6-8 weeks to maintain the warm blonde tone
- Hair health: Blonde hair requires diligent moisture and protein treatments to prevent dryness from coloring
- Wave definition: Honey blonde shows off wave texture beautifully; invest in quality texturizing products to keep waves crisp and defined
12. Curly-to-Wavy Ombre Butterfly With Blended Layers
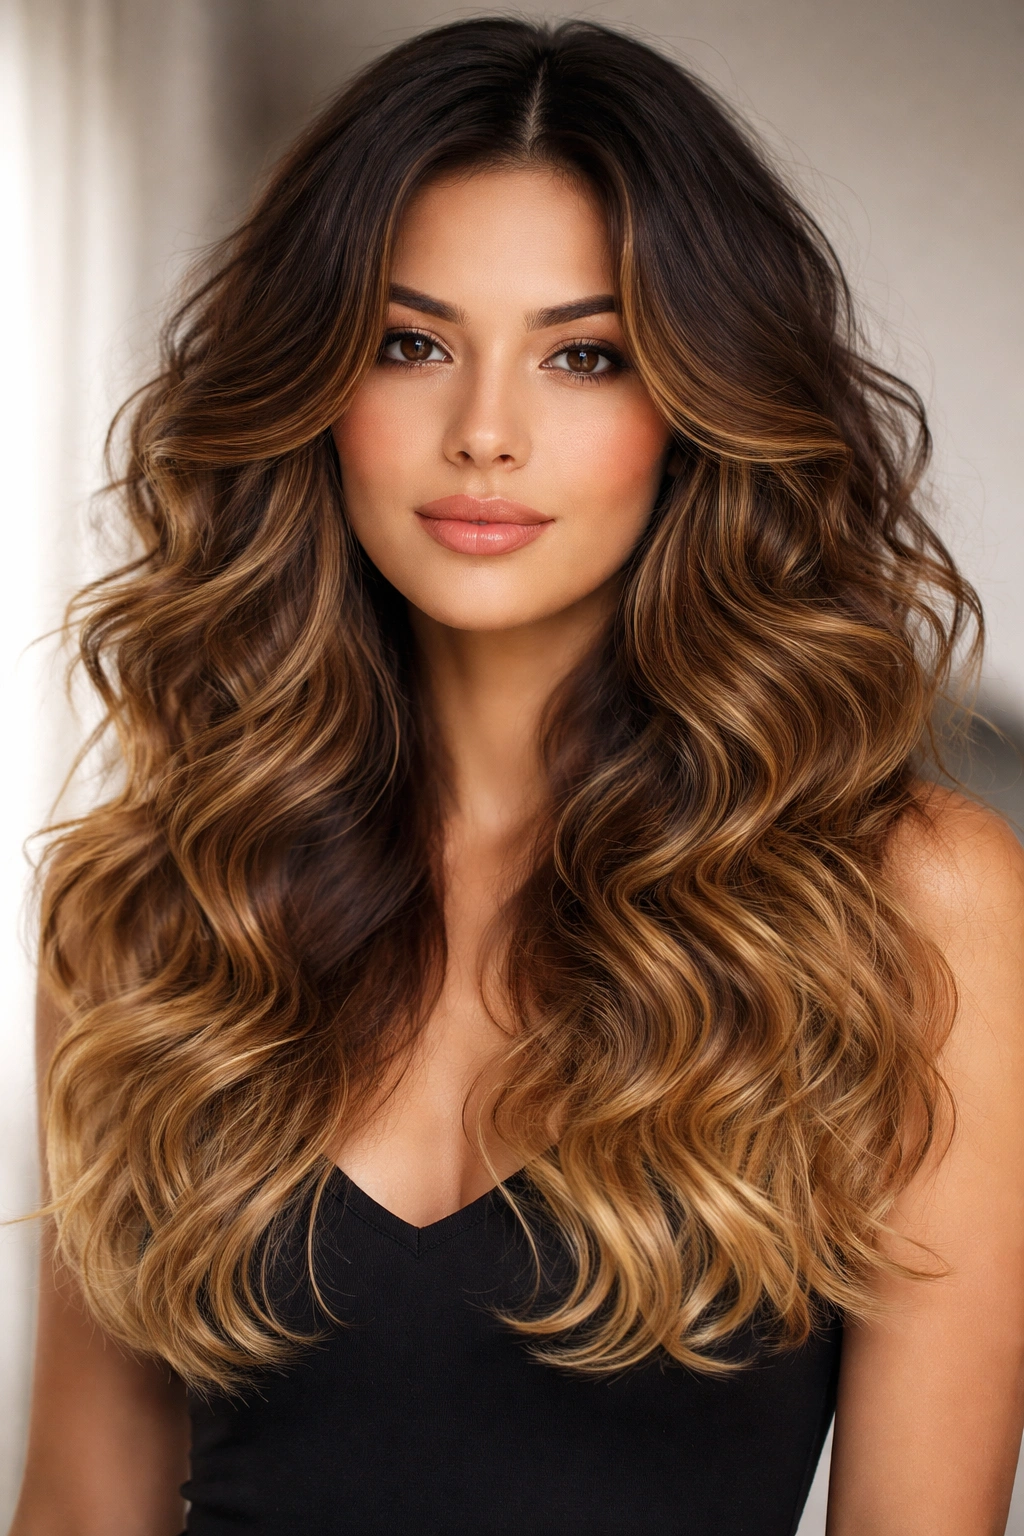
This version works with naturally curly or wavy hair that already has significant texture, blending the layers smoothly so the curls and waves flow together as one cohesive style. An ombre—where the color transitions from darker roots to lighter ends—adds extra dimension and complements the natural texture. The butterfly cut in this context might be less about creating specific waves and more about enhancing natural curl pattern through strategic layering.
Working With Natural Texture
If you have naturally curly or wavy hair, the butterfly cut works differently because you’re not creating waves, you’re enhancing the curl pattern you already have. The layers should encourage your natural texture to spring up and show off rather than taming it. An ombre adds visual interest without requiring chemical straightening or intense styling.
Natural Texture Maintenance
- Curl-specific products: Use products designed for curly hair, not general “wave” products
- Layering for texture: Ask your stylist to cut the layers in a way that works with your curl pattern, not against it
- Ombre placement: Lighter tones should be on the ends where your curl pattern tends to be tightest and most visible
- Styling method: Focus on applying products to soaking-wet hair and scrunching upward to encourage curl definition
- Frequency: Wavy or curly hair actually requires cuts more frequently (every 6 weeks) to prevent split ends from making texture look frizzy
- Drying method: Consider air-drying or plopping rather than blow-drying, which can cause frizz in natural texture
13. Wispy, Feathered Waves for Soft, Romantic Movement
The wispy butterfly cut emphasizes extreme feathering throughout, creating hair that literally floats and moves with the slightest air current. Feathering involves point-cutting the ends so they taper to a fine, delicate edge rather than blunt, thick strands. When you add soft waves to feathered layers, the result is incredibly romantic and ethereal looking.
The Feathering Technique Explained
Feathering removes bulk from the ends while maintaining length, creating those delicate, piece-y textures that catch light beautifully. In a butterfly cut context, feathering works throughout the entire head, not just the ends, creating an incredibly soft and flowing silhouette. The waves in feathered hair look almost weightless because there’s so little bulk for them to weigh down.
Styling Feathered Waves
- Blow-drying direction: Use gentle techniques and avoid rough brushing, which can disrupt the delicate feathering
- Wave method: Soft, loose waves work best; tight curls can make feathered hair look stringy
- Product: Use light serums or texturizing sprays; heavy products will weigh down feathered ends
- Brushing: Use a paddle brush or wide-tooth comb gently; avoid fine-tooth combs that will snag
- Frequency: Feathered cuts require slightly more frequent trims (every 6-8 weeks) because the point-cut ends can look raggedy as they grow
- Best hair type: Works well on straight to wavy hair; very curly or thick hair can look too wispy with extreme feathering
14. Blunt, Textured Ends Wavy Butterfly for Modern Edge
This final variation plays with contrast by combining the soft, romantic nature of waves with blunt, textured ends that have a deliberately edgy quality. Rather than tapering to delicate points, the ends are cut bluntly and then texturized with razor or point-cutting to create rough, piece-y texture at the ends. This creates an interesting visual contrast—romantic waves with an edgy, modern attitude.
The Modern Texture Contrast
Blunt ends combined with texturing create a piece-y quality that’s trendy and modern. The bluntness grounds the look and prevents it from becoming too soft or romantic, while the texture prevents it from looking severe or harsh. Waves soften what might otherwise be a severe blunt edge, creating balance between pretty and edgy.
Achieving and Maintaining This Texture
- Styling approach: Use a curling iron to create waves that move away from the textured ends, allowing them to be visible
- Texturizing products: Apply texture spray or dry shampoo to emphasize the piece-y quality of the textured ends
- Maintenance: Plan for trims every 6-8 weeks as the blunt ends will grow out and the texture will relax
- Best with: This approach works on almost any hair length but looks particularly striking on shoulder-length to mid-back length hair
- Face shapes: Works beautifully for those who want softness without sacrificing edge; excellent for angular or square face shapes because the edgy texture provides visual interest
Final Thoughts
Wavy butterfly cuts offer remarkable flexibility, adapting to different hair types, lengths, and personal aesthetics while maintaining that flattering face-framing quality that makes this cut so beloved. Whether you prefer long, beachy waves or short, defined texture, a choppy, lived-in vibe or sleek, blended elegance, there’s a butterfly cut interpretation that will work for you. The key to choosing the right version is being honest about your hair type, how much daily styling you’re willing to do, and what makes you feel most confident.
When you consult with your stylist, bring reference images of wavy butterfly cuts that resonate with you and discuss the reality of maintenance. Some versions require frequent trims, while others can stretch longer between appointments. Some need styling daily, while others can look great with minimal effort. There’s no one-size-fits-all answer—it’s about finding the balance between the look you love and the routine that fits your actual lifestyle. Once you find that balance, a wavy butterfly cut becomes a hairstyle you’ll come back to again and again.