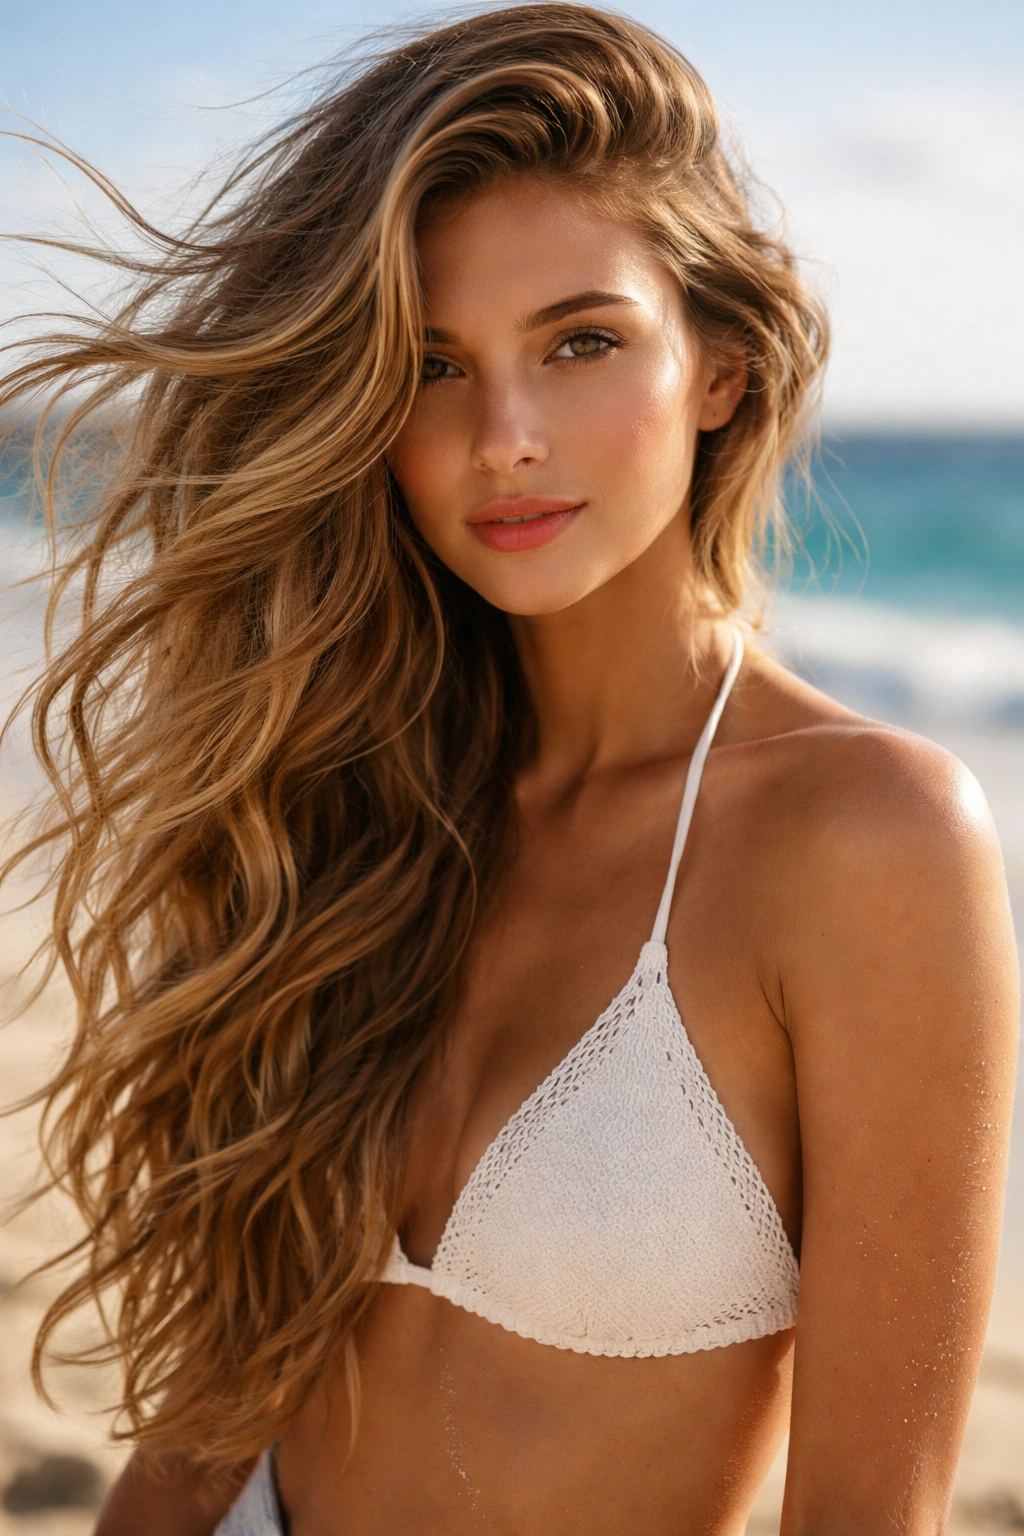
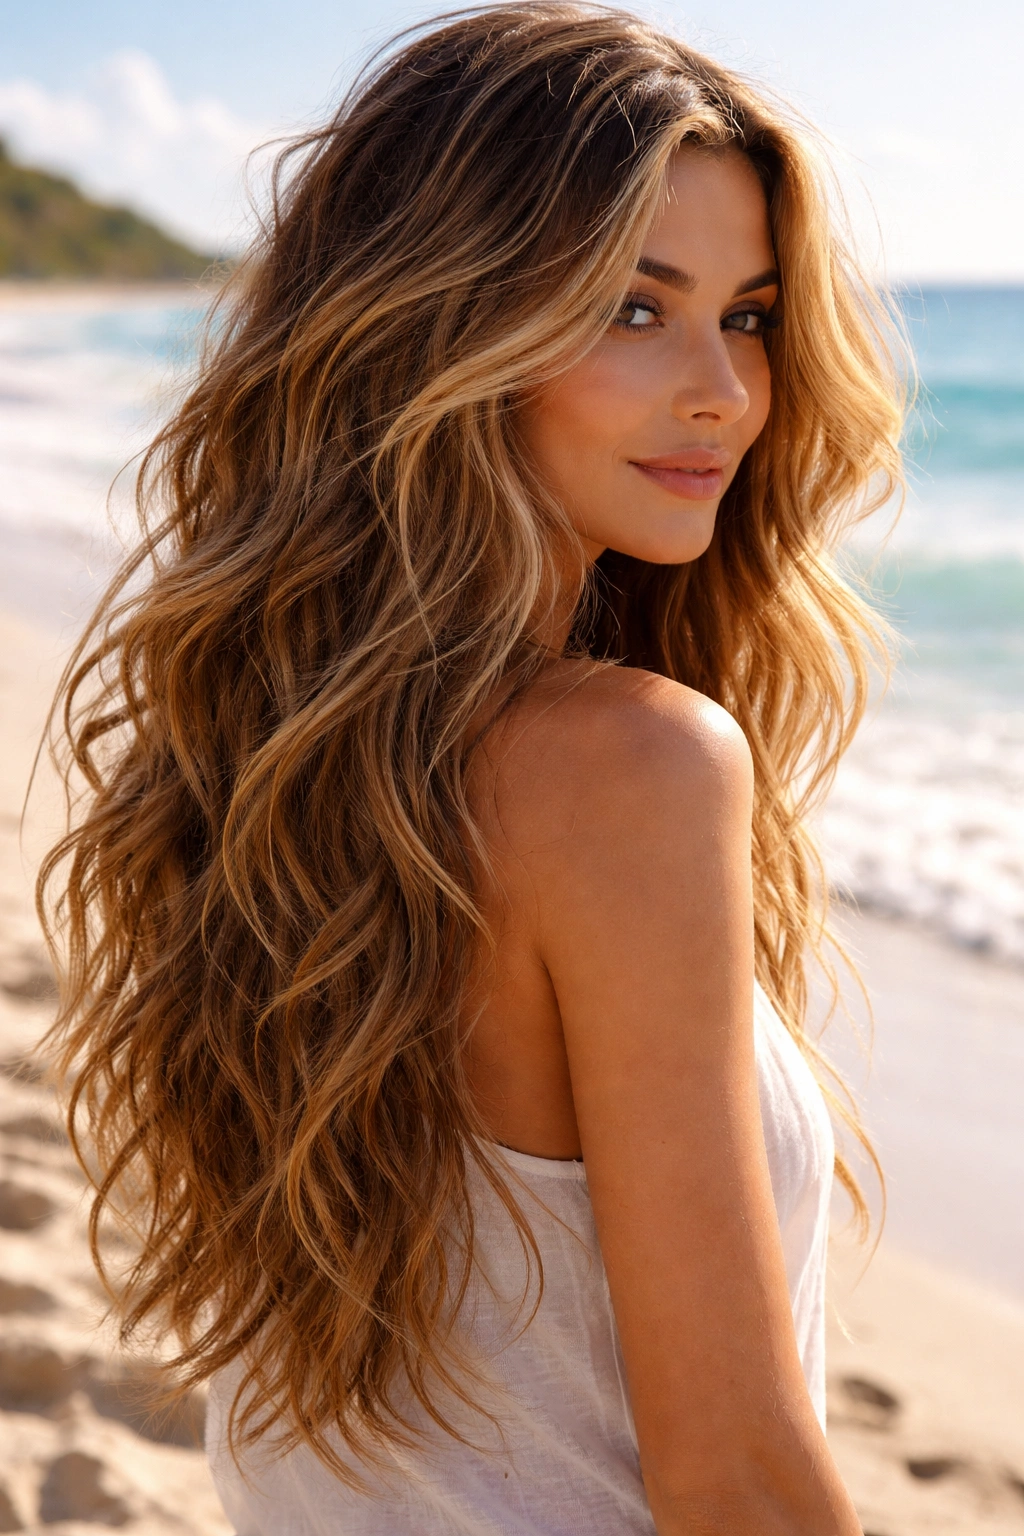
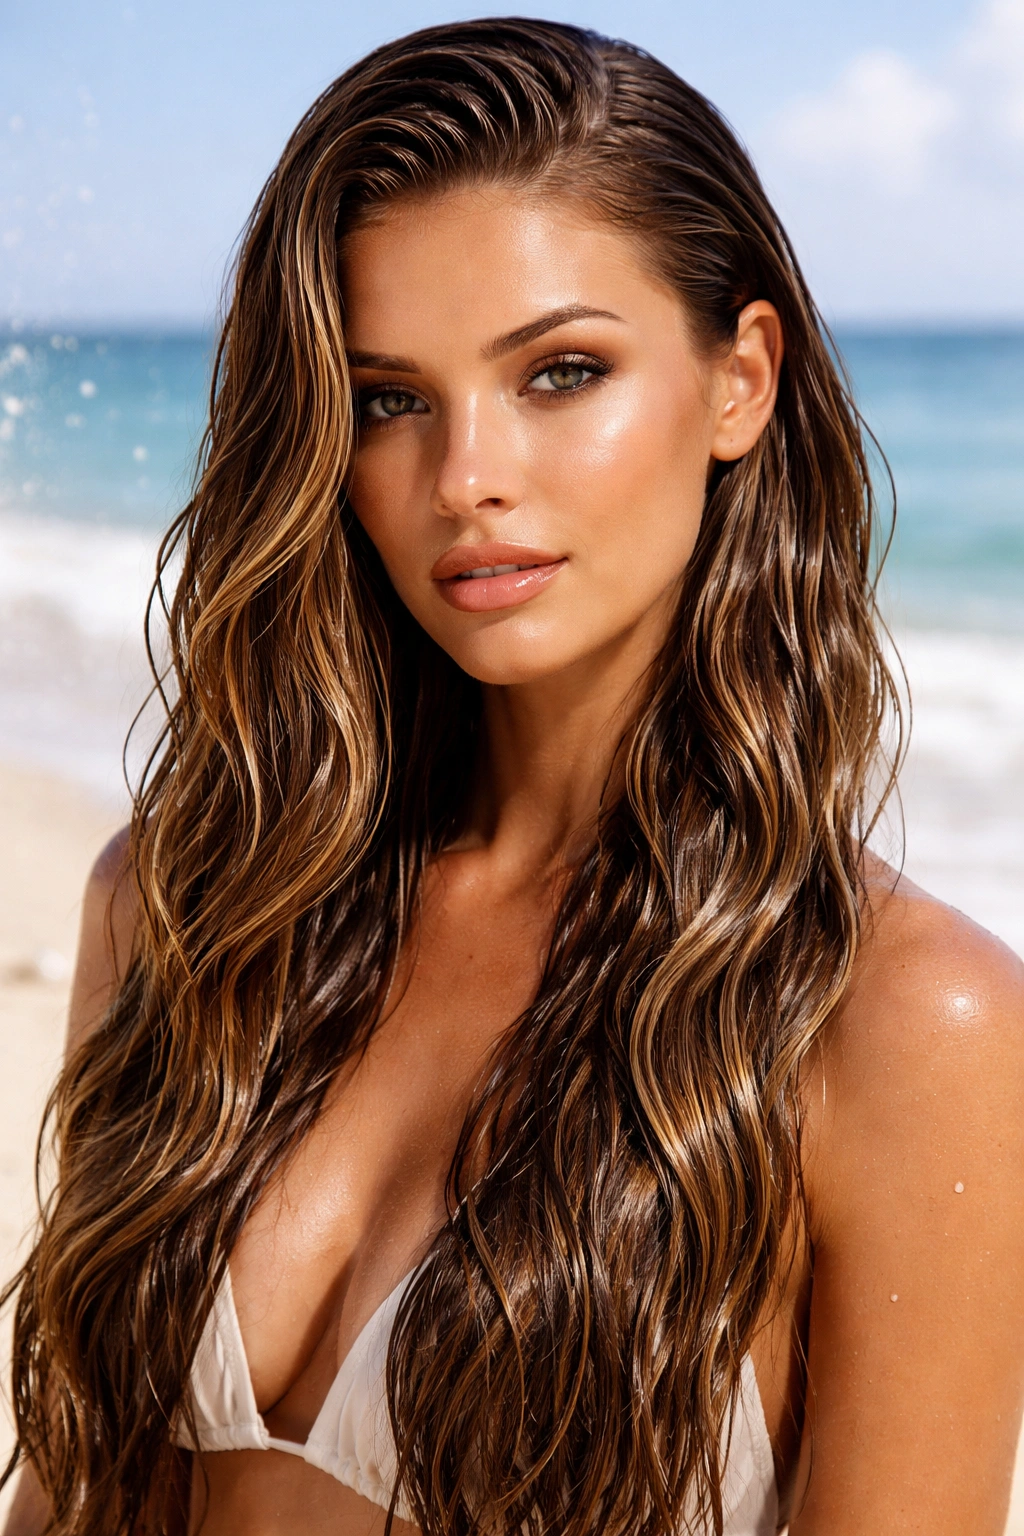
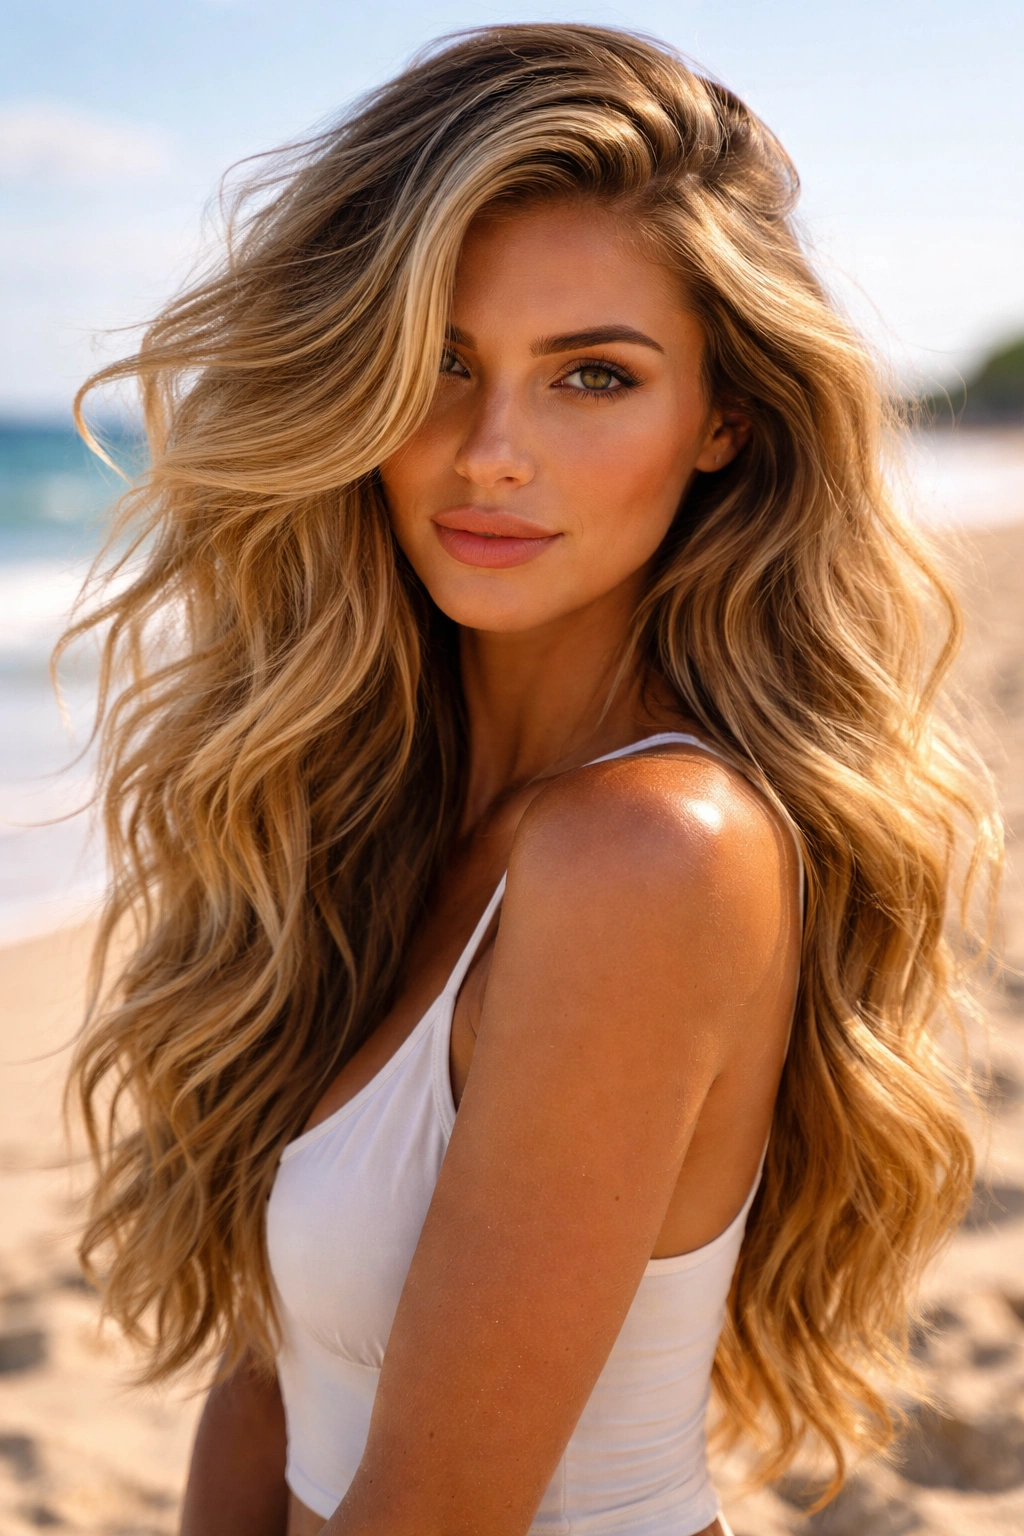
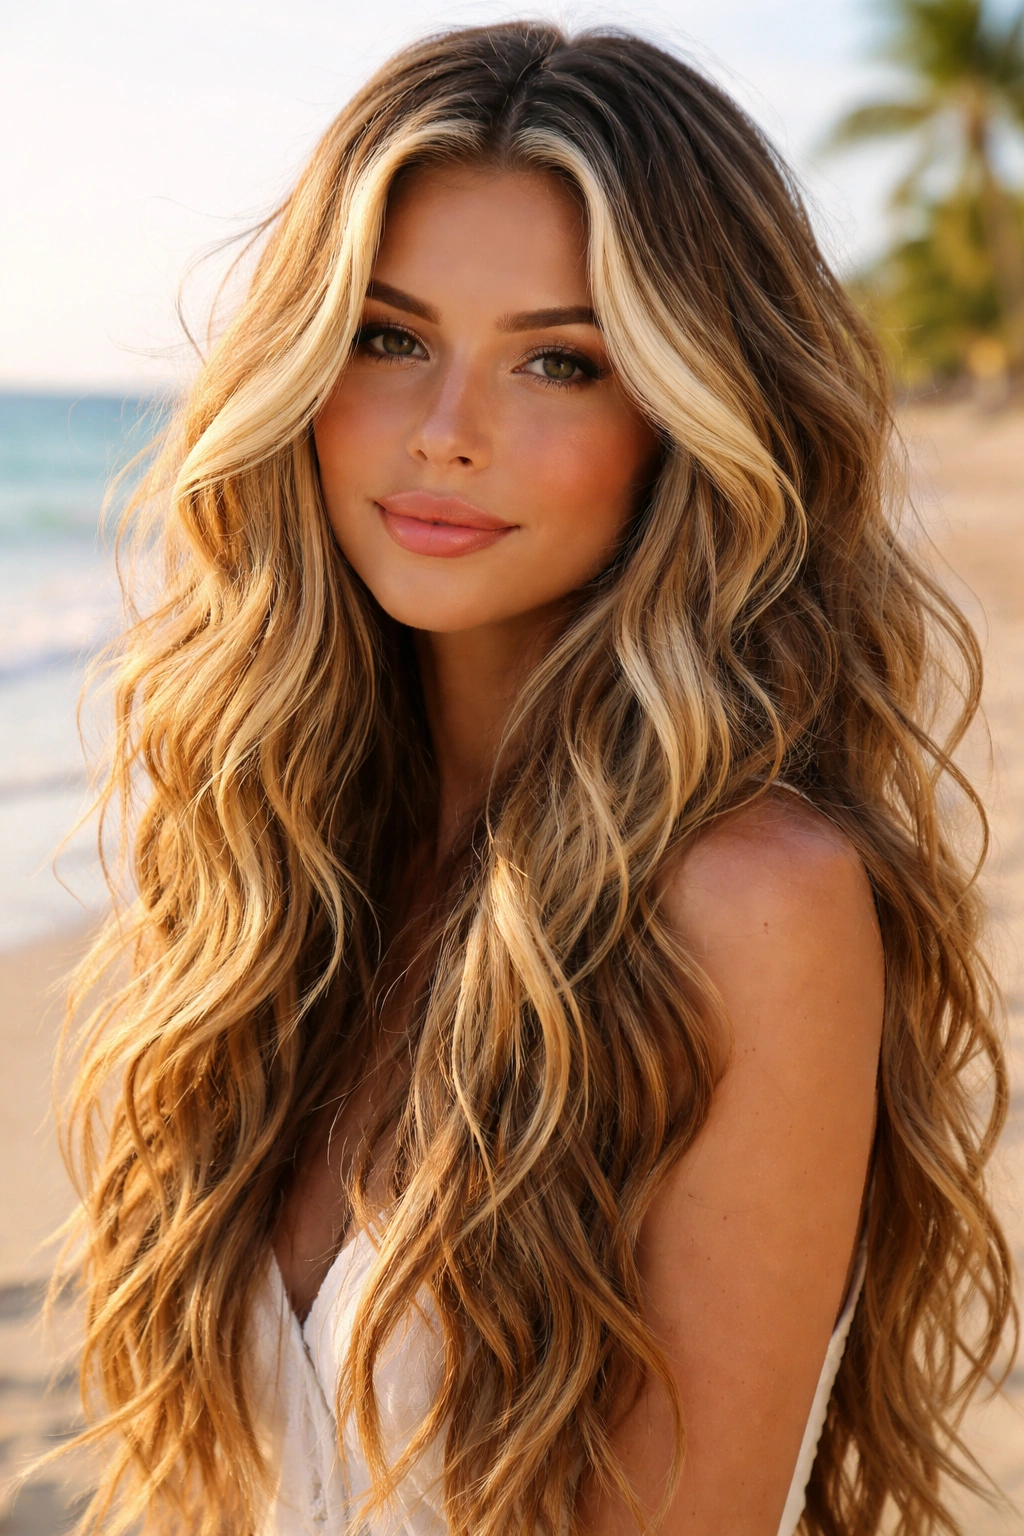
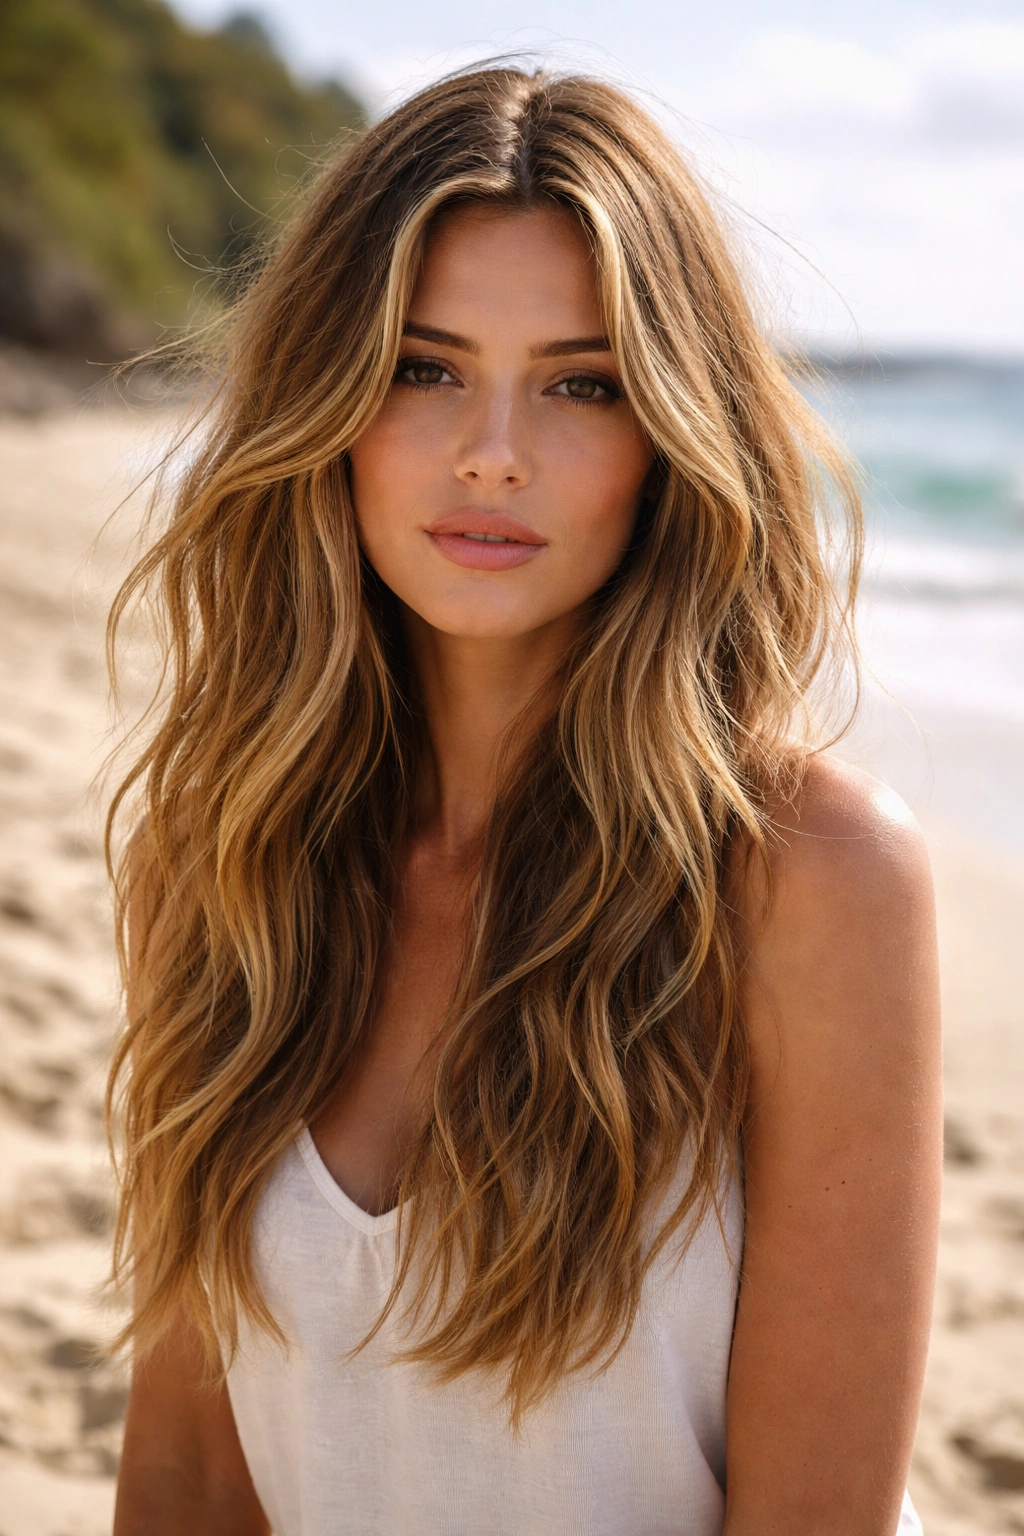
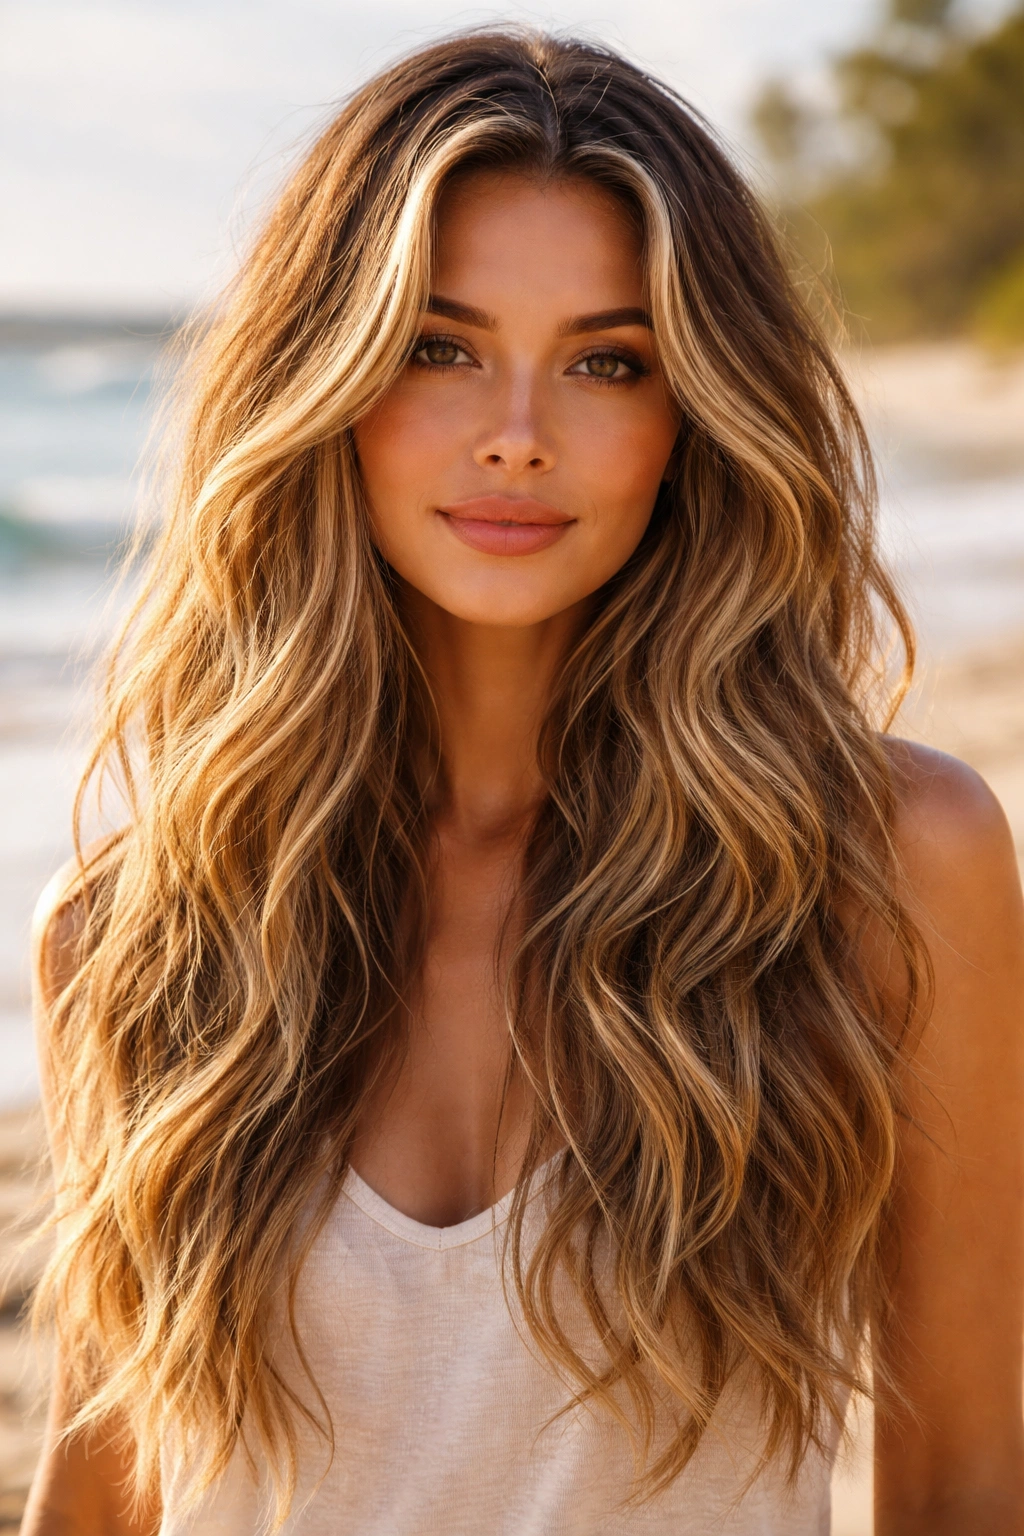
There’s something undeniably magical about long wavy hair that catches the ocean breeze and looks effortlessly sun-kissed. Whether you’re heading to a tropical beach, a coastal getaway, or just want that salt-and-sand vibe in your everyday life, the right wavy hairstyle can completely transform how you feel. Long waves are the perfect middle ground—they look relaxed and natural without requiring you to commit to a permanent curl, and they photograph beautifully against any beach backdrop.
The beauty of long wavy hairstyles is that they work with the beach environment rather than against it. Salt water, sunshine, and sand can actually enhance the texture of waves, making your hair look even more voluminous and defined than it does on a regular day. Salt spray naturally adds grip to your strands, which is why beach waves often look their absolute best when they’re formed by actual ocean water and sea air.
But here’s the thing—not every wavy hairstyle translates perfectly to a beach setting. Some styles require too much maintenance, others fall flat in humidity, and many depend on heavy products that get weighed down by saltwater. The hairstyles in this guide have been chosen specifically because they thrive in beach conditions. They’re styled to withstand wind, they look better with a little texture and movement, and they work regardless of your hair type, face shape, or styling skill level.
1. Loose Waves with Curtain Bangs
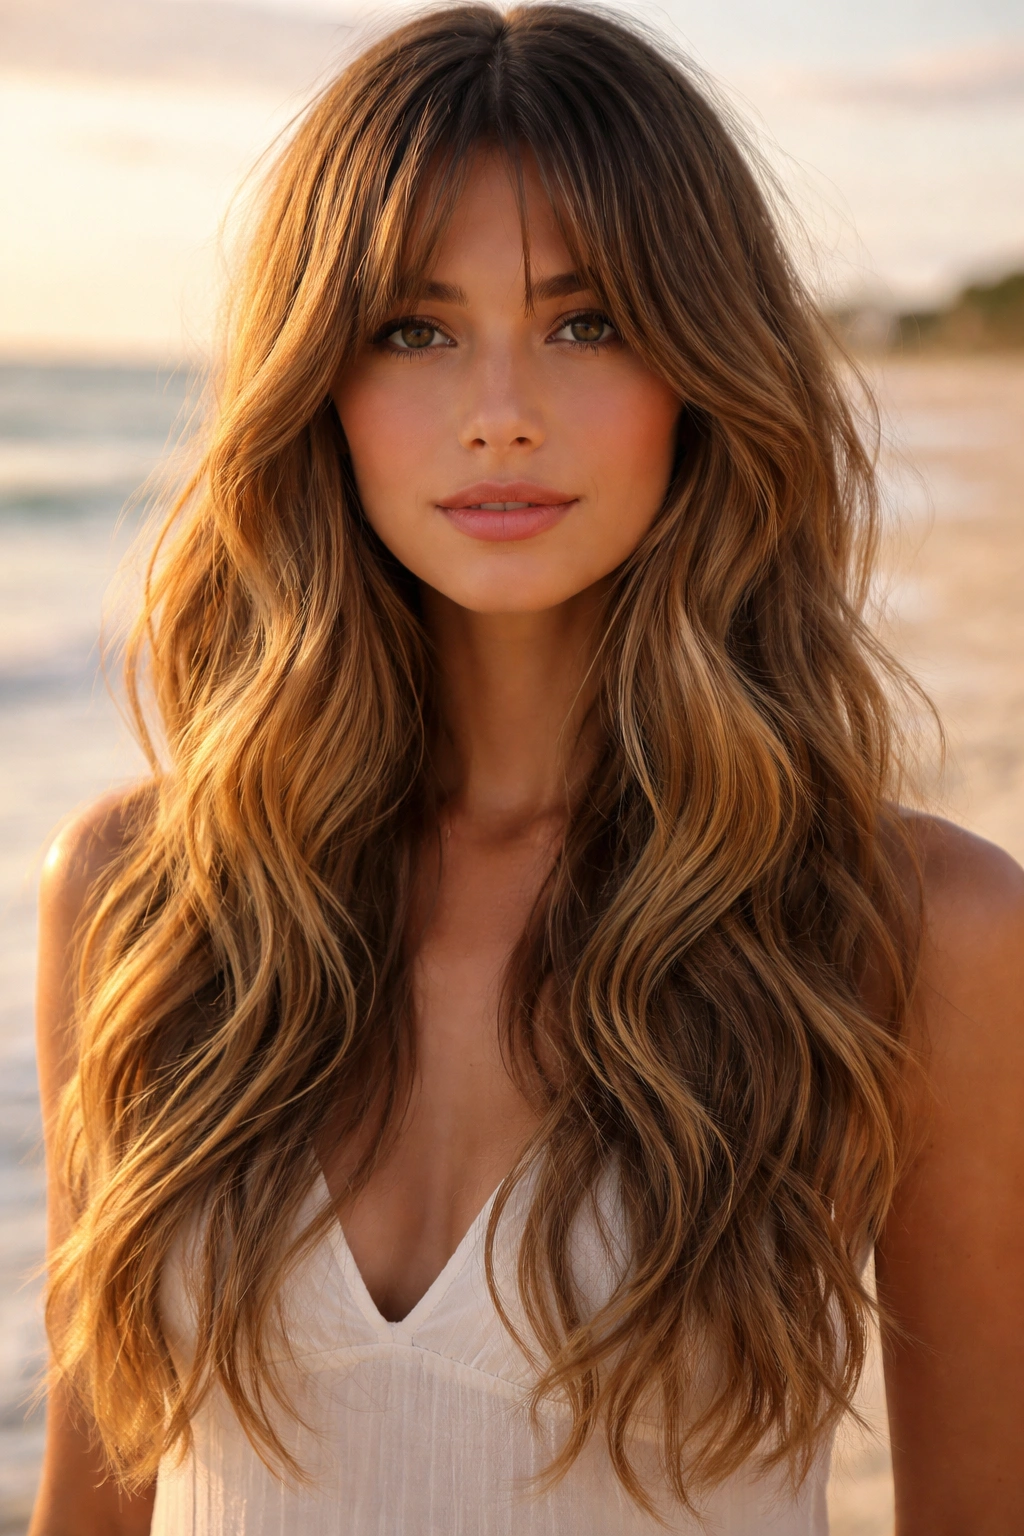
This is the quintessential beach-ready hairstyle—soft, romantic waves that frame the face with symmetrical curtain bangs falling gently from a center part. The waves start somewhere around mid-length and travel all the way down your length, with slightly tighter waves closer to the face for definition and looser, more relaxed waves toward the ends. The curtain bangs themselves sit just below the cheekbones and layer into the waves naturally.
Why This Works at the Beach
Curtain bangs are genuinely flattering when you’re around water because they frame your face without creating a heavy barrier across your forehead. Wind will tousle them, but they’ll still look intentional rather than messy. The loose waves mean you don’t need perfect ringlets—in fact, slightly undone waves look better than polished ones in this style. Salt spray and humidity will enhance the texture throughout the day.
How to Style and Maintain It
Start with damp hair and apply a texturizing spray before blow-drying. Use a round brush to create soft waves, directing the bangs slightly outward so they fall naturally on either side of your face. If you don’t blow-dry, let your waves air-dry after spraying with sea salt spray for added grip. The key is keeping the bangs soft and feathered rather than blunt.
Who This Suits Best
This style works beautifully on all face shapes, but it’s especially flattering on oval and heart-shaped faces because the bangs soften the forehead. It suits straight and wavy hair equally well—straight hair will need styling tools or product assistance, while naturally wavy hair can lean into air-drying.
2. Mermaid Waves with Pearl Accessories
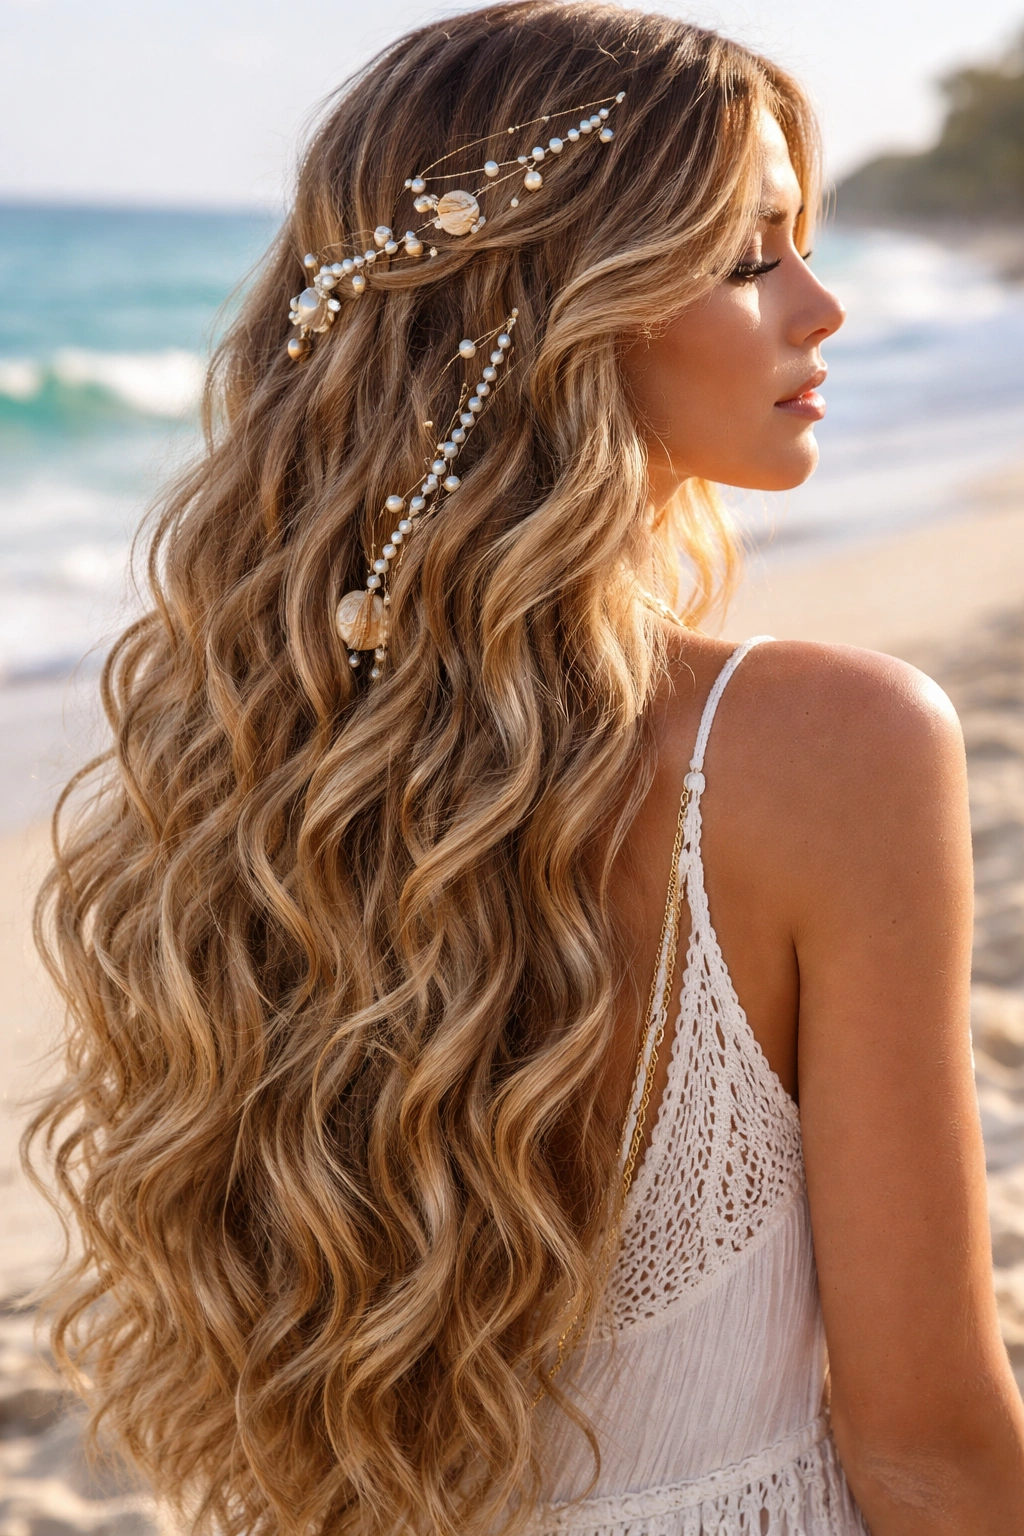
Imagine mermaid-inspired waves that are defined, structured, and almost spiral-like in their formation, with pearl hair clips, shells, or delicate metallic accessories woven throughout. These waves are intentionally more formed than relaxed—they have clear wave patterns that catch the light and movement. Pearl clips or shell accessories sit scattered throughout the length, positioned where the waves naturally peak.
Why This Works at the Beach
Mermaid waves are a statement style, which means they look great when you’re actively at the beach with sand and sun as your backdrop. The accessories add visual interest without requiring your hair to be perfectly groomed. These waves have enough structure to withstand humidity and wind without flattening out. The pearl accessories look sophisticated and beachy simultaneously.
How to Style and Maintain It
Use a curling wand or flat iron to create consistent waves throughout your length, working in vertical sections. Let the waves cool completely before running your fingers through them for a slightly softer finish. Clip the accessories into place once your waves are set, positioning them to follow your wave pattern. This style holds well with light texturizing spray rather than heavy hairspray.
Who This Suits Best
This style is particularly striking on long, thick hair that can support defined waves without looking weighed down. It suits those who want a more polished beach look rather than completely undone waves. Darker hair tends to showcase the wave definition beautifully, though light hair with pearl accessories can be equally stunning.
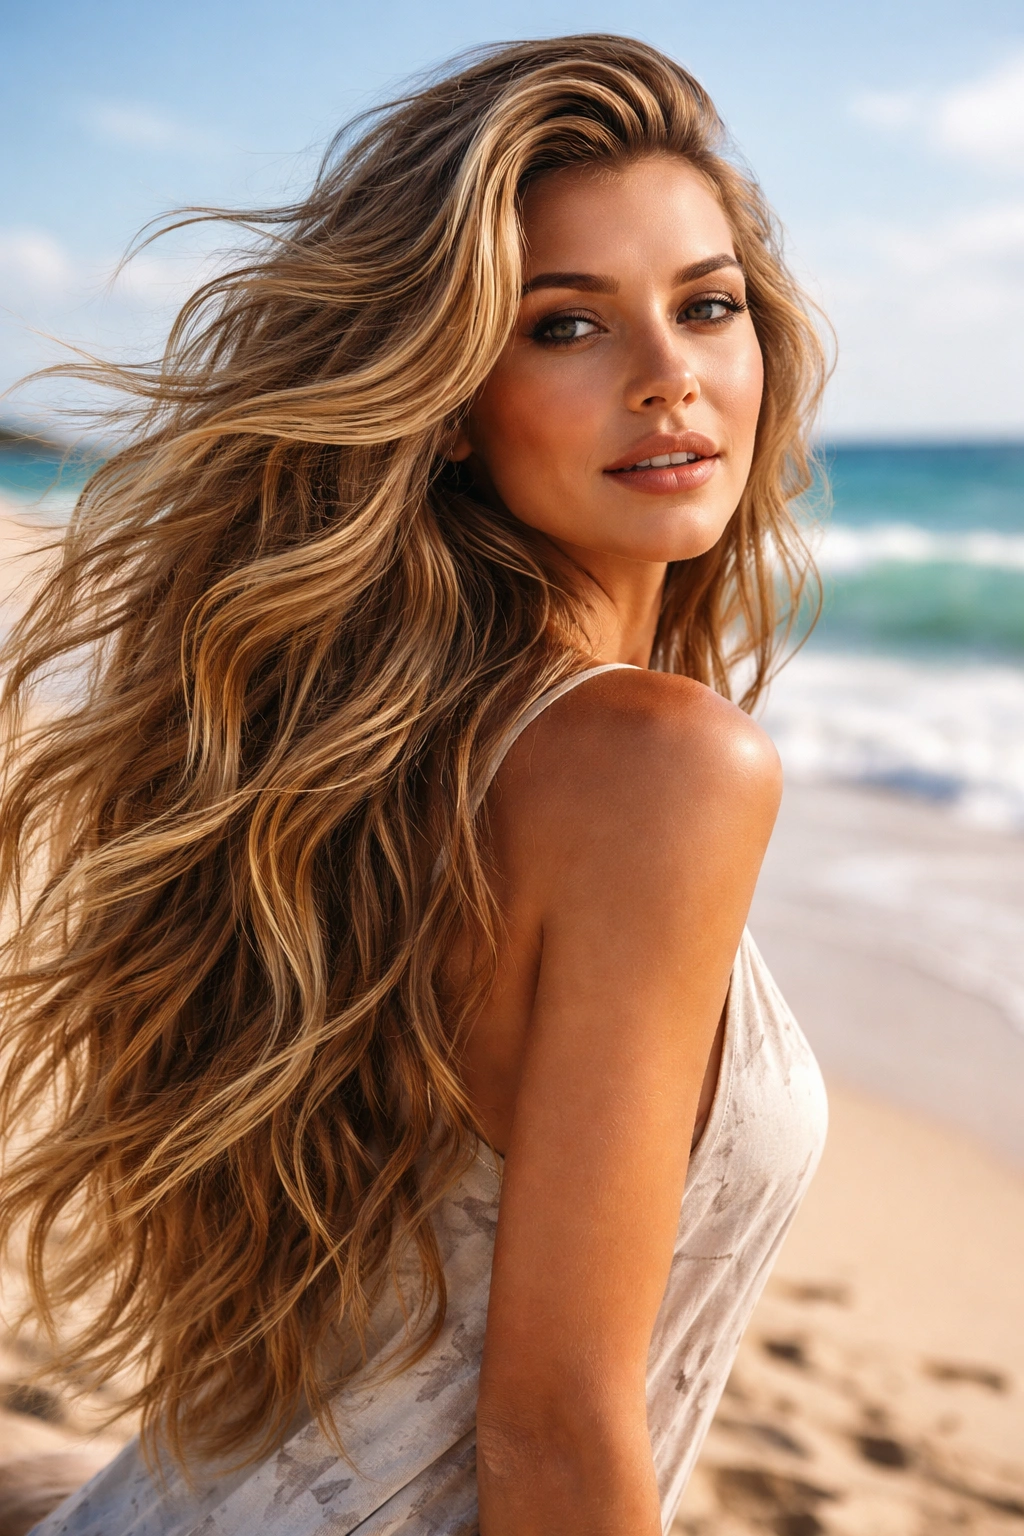
3. Windswept Beach Waves with Side Sweep
This is the ultimate “I wasn’t even trying” hairstyle—waves that look like they’ve been naturally tousled by ocean breezes, with most of your hair swept dramatically to one side. The sweeping creates the illusion that wind has gently pushed your hair across, while the waves themselves are soft, irregular, and full of movement. It’s effortlessly chic without looking staged.
Why This Works at the Beach
Because it’s designed to look windblown, this style actually improves when actual wind hits it. You’re not fighting the elements—you’re working with them. The side sweep keeps hair off one side of your face entirely, which is brilliant when you’re near salt water and don’t want hair constantly sticking to damp skin. The irregular waves mean no one will notice if salt water or humidity messes with your styling.
How to Style and Maintain It
Apply volumizing mousse to damp roots and blow-dry your hair in the direction of your sweep, using your fingers or a diffuser for soft texture rather than polished waves. Once dry, flip your head upside down and gently separate the waves with your fingers. Spray lightly with texturizing spray. The whole point is that it looks natural, so avoid anything too perfect.
Who This Suits Best
This works on virtually every hair type and face shape. It’s particularly flattering on those with wider cheekbones because the side sweep elongates the face. It’s easy enough for beginners but sophisticated enough for anyone wanting an effortless beach look.
4. Low Ponytail with Escaping Waves
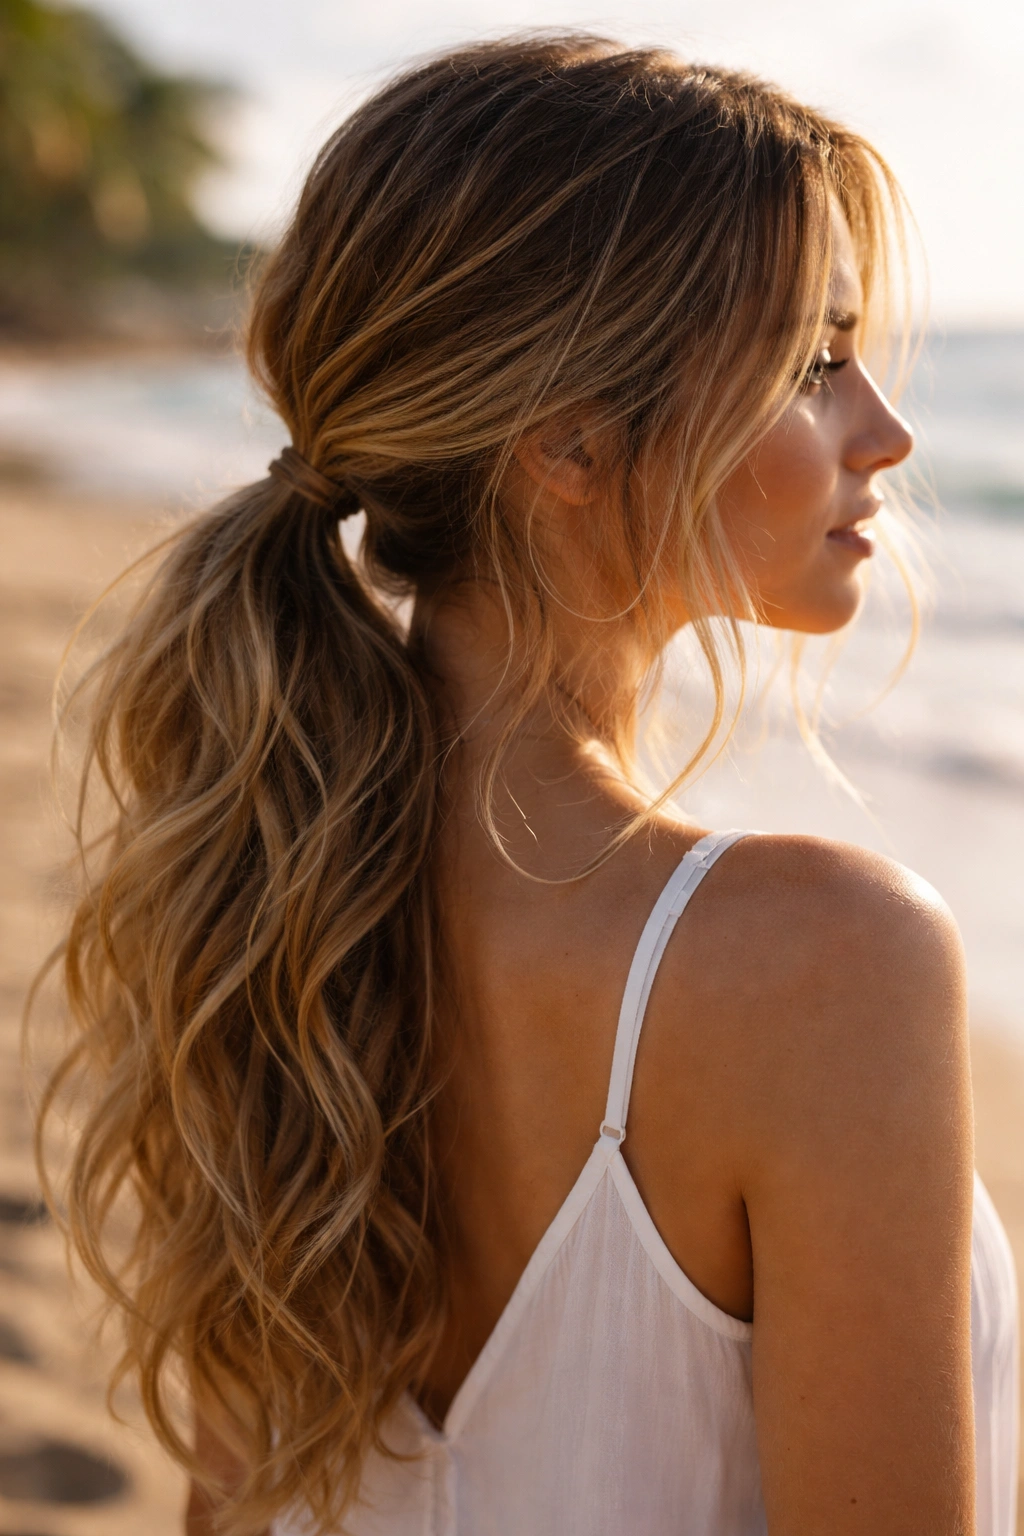
Rather than fully down waves, this style gathers most of your hair into a soft, low ponytail positioned at the nape of your neck, while allowing several waves to escape and frame your face and collarbone. The escaped waves are typically thicker pieces that sit in front of your shoulders, creating softness around your face while keeping the bulk of your hair secured. The ponytail itself is slightly undone—not a sleek, tight style but one where waves naturally protrude from the elastic.
Why This Works at the Beach
This is the perfect compromise for a beach day when you want your hair somewhat contained but don’t want it to feel restrictive. The escaped waves give you the soft, romantic look while the ponytail keeps hair from completely tangling in salt and sand. You can easily redo or tighten the ponytail if it loosens from water and movement. It’s practical without sacrificing style.
How to Style and Maintain It
Create soft waves throughout your entire length first, then gather your hair at the nape into a low ponytail, leaving face-framing pieces undone. Don’t make it too tight—gently pull at the ponytail base to create soft, loose texture. You can thread a pearl hair clip, decorative elastic, or silk scrunchie around the base for a finished look. Use bobby pins to anchor the escaped waves if you’re concerned about them falling.
Who This Suits Best
This is universally flattering because you’re showing your face without the fullness of all your hair surrounding you. It works on all hair textures and thicknesses. Those with fine hair often prefer this style because it doesn’t emphasize the individual strands the way loose waves can.
5. Ombré Waves with Lighter Ends
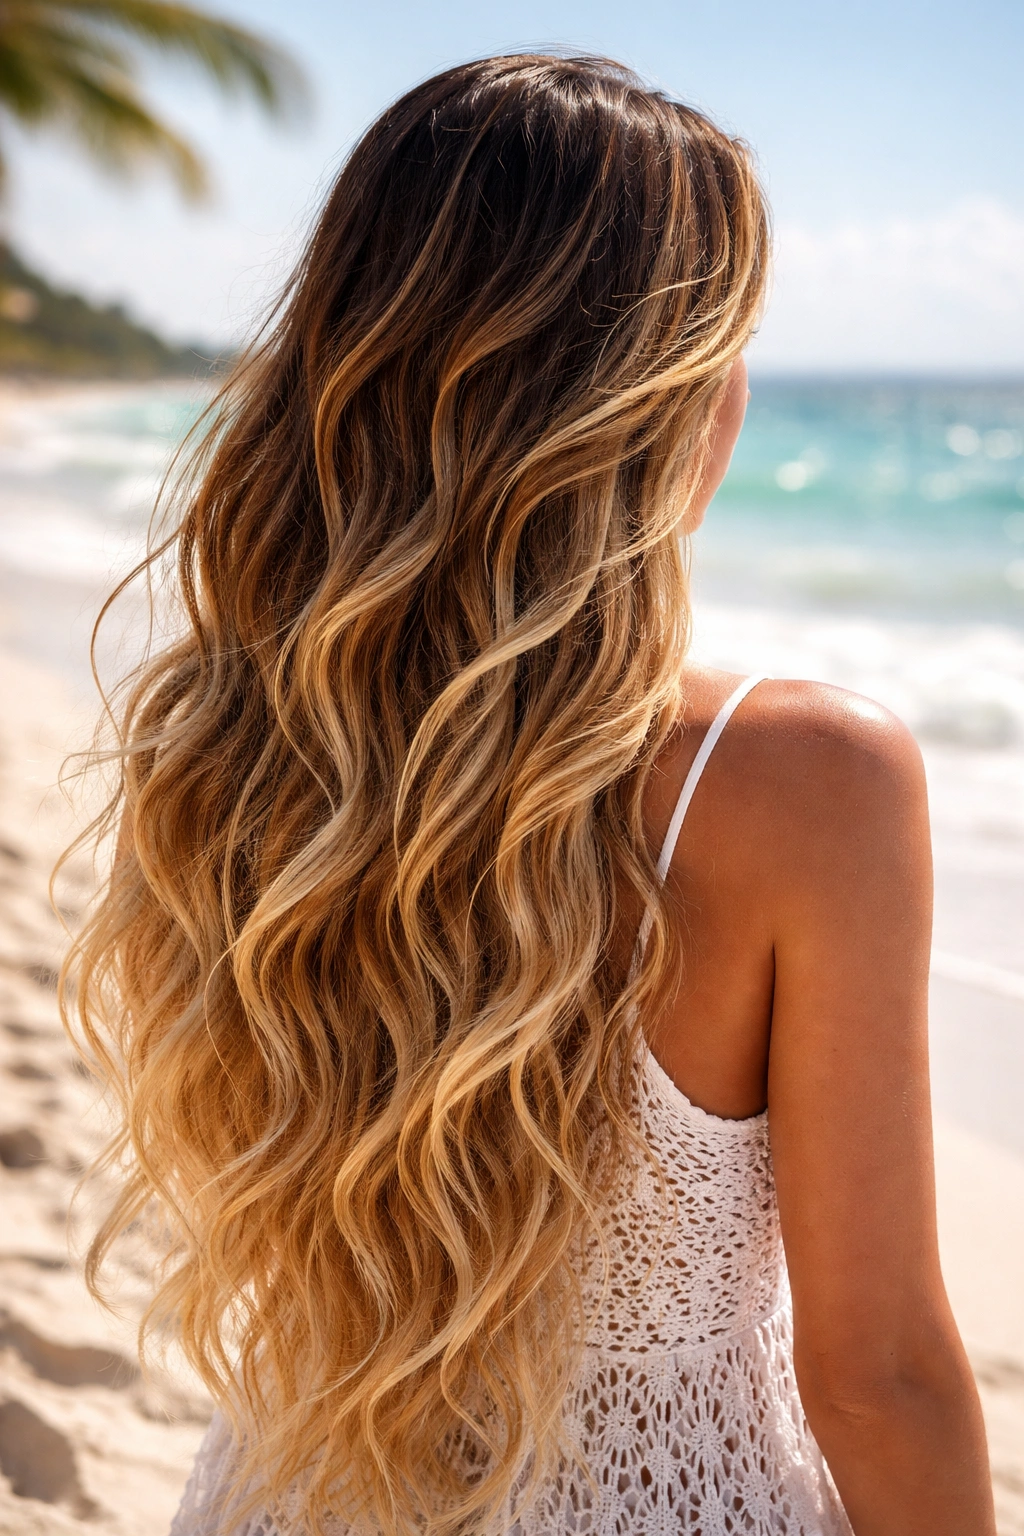
Ombré waves combine color and texture for maximum impact—deeper, richer tones toward your roots gradually transition to lighter, sun-kissed ends that look like they’ve been naturally bleached by hours in the sun. The waves themselves emphasize this tonal shift by catching light differently throughout the length. Each wave seems to showcase the color gradient, creating dimension and movement.
Why This Works at the Beach
Ombré practically screams beach, and the lighter ends look even more sun-kissed when you’re actually at the beach with natural sunlight hitting your hair. The lighter tips tend to look shinier and more dimensional in beach lighting. The color variation makes your waves look fuller and more textured than they would in a single tone. You can achieve this look with color or purely with styling and spray-in highlights.
How to Style and Maintain It
Create soft waves throughout using a large-barrel curling iron or wand, working in sections and alternating the direction of each wave for natural movement. Apply texturizing spray to damp hair before styling, which adds grip and makes waves hold longer. If you don’t have actual ombré color, use a dry shampoo or sea salt spray with highlights to create the lighter effect on your ends.
Who This Suits Best
This style looks incredible on all hair types but is particularly striking on thick, dark hair where the color contrast is most visible. It requires hair that’s healthy and strong enough to support waves without breakage at the lighter ends. Those who love color will appreciate how waves showcase the tonal dimension.
6. Romantic Spiral Waves
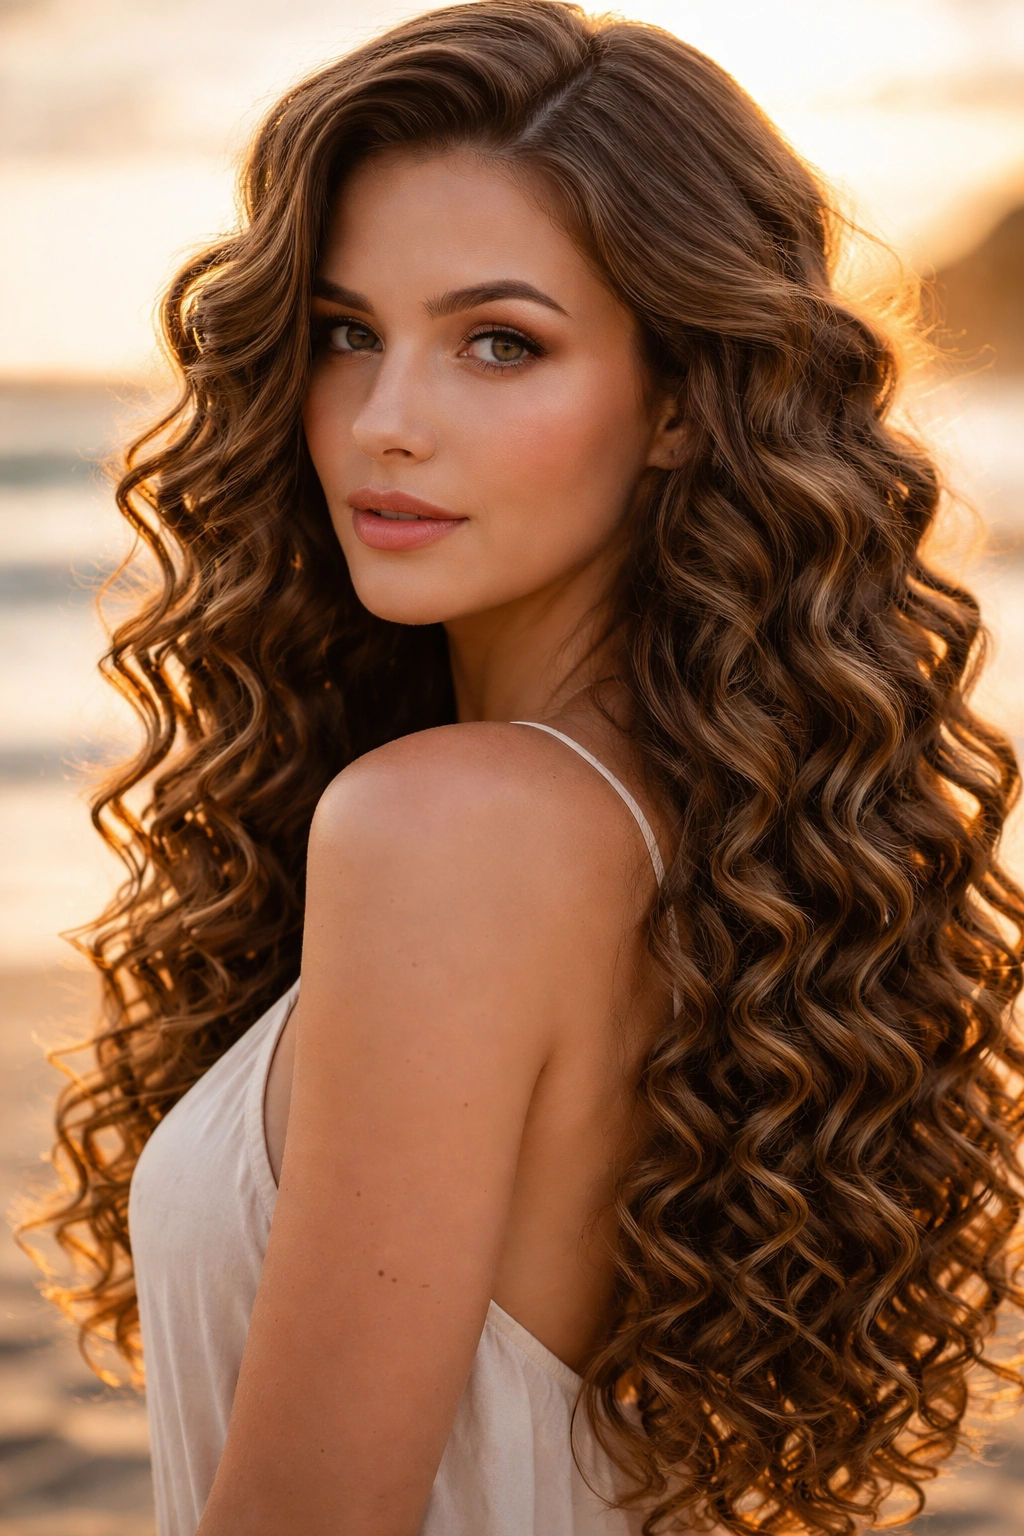
These are tightly coiled, defined spirals that travel the length of your hair, creating the illusion of perfectly placed ringlets that just happen to frame you beautifully. Unlike mermaid waves that are more uniform, spiral waves are consistently curled with clear, visible coils throughout. They’re romantic and quite different from the typical beachy wave, lending an old-Hollywood elegance to a beach setting.
Why This Works at the Beach
While beaches often call for relaxed waves, spiral waves are stunning enough to feel special and occasion-ready while still working in a beach environment. The tight definition means these waves won’t easily fall flat in humidity—they’re structured enough to maintain their shape. They photograph beautifully and photograph even better with ocean and sunset behind them. The formality of the style contrasts beautifully with a casual beach setting.
How to Style and Maintain It
Use a small-barrel curling iron (around 1 to 1.5 inches) to create consistent spirals throughout your length, wrapping each section tightly and holding for several seconds before releasing. Let the curls cool completely before touching them. Gently separate the spirals with your fingers for softness, or leave them tight depending on your preference. Use light hairspray to set without creating crunchiness.
Who This Suits Best
Spiral waves are most flattering on those with face shapes that can carry more defined texture—oval, heart, and square faces typically look stunning. They suit longer hair (at least to the mid-back) where the spirals have room to fully form and be noticed. Those with finer hair might find these challenging to hold without significant product.
7. Half-Up Waves with Braided Detail
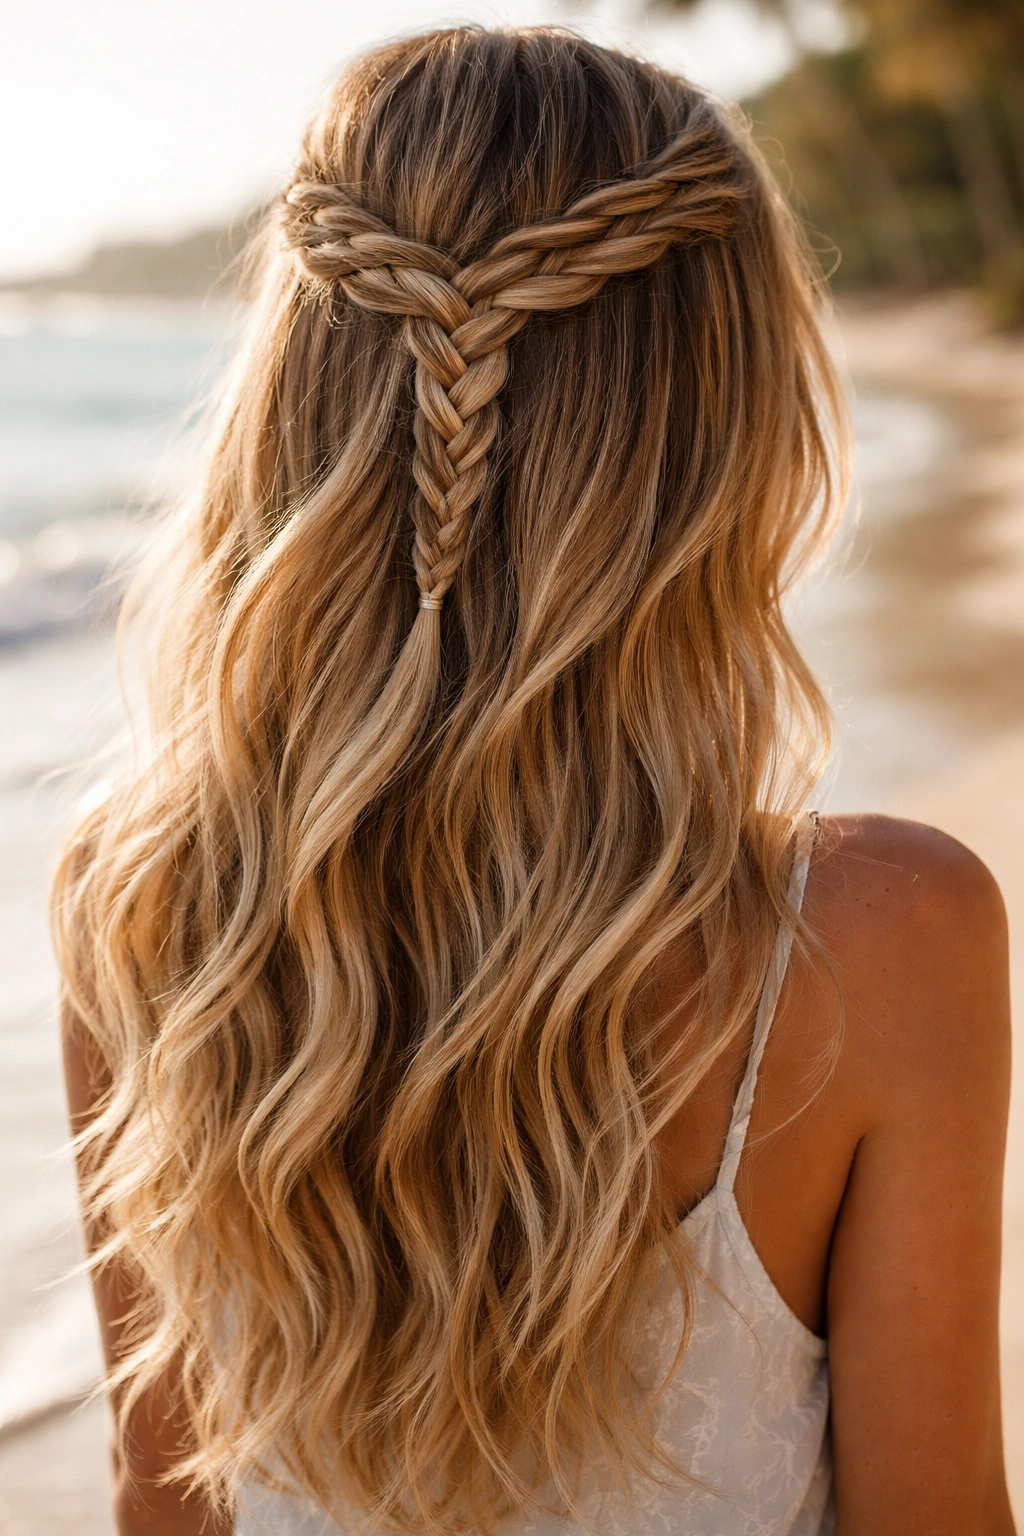
This style secures the top half of your hair into a half-up style, but rather than a simple ponytail, incorporates a braid—either a single Dutch or French braid down the center, or multiple thin braids across the crown. The bottom half remains down in loose waves. The contrast between the structured braid and the relaxed waves below creates visual interest and sophistication.
Why This Works at the Beach
Braids are practical and won’t fully unravel even if they get wet, making this ideal for beach days where you want your hair partly back but still flowing. The braid adds texture and detail that looks intentional and styled without actually requiring much effort. You get the best of both worlds—waves and practicality. Wind and water can tousle the loose waves while the braid keeps the upper half secure.
How to Style and Maintain It
Create soft waves throughout your entire length first. Then gather the top section of hair and create a braid (Dutch or French works best as it looks more secure). Secure the braid into a small elastic at the back of your head where it meets the loose waves. Pull gently at the braid to loosen it slightly for a softer, less polished appearance. Tuck the ends of the braid into the loose waves for a cohesive look.
Who This Suits Best
This style works beautifully on all hair types and is particularly flattering on those with longer hair (18 inches or longer) where you can clearly see both the braid detail and the flowing waves. It’s excellent for all face shapes and actually elongates the face by drawing attention to the structure at the crown while maintaining softness below.
8. Tousled Waves with Textured Layers
Layered hair creates this naturally textured, piece-y wave look where you can see separation between individual sections of hair. The waves aren’t smooth and uniform but rather broken up, with some strands waving tighter than others and some appearing slightly straighter. This creates movement and dimension that shorter waves alone couldn’t achieve. The layers are clearly visible when you move, creating a dynamic quality.
Why This Works at the Beach
Textured layers are your friend in beach environments because the movement and separation make your hair look fuller and more intentionally styled even when it’s slightly damp or tousled. Humidity actually works in your favor here—it enhances the separation and texture. This is one of the few hairstyles that looks better with a little beach-hair texture than it does when perfectly groomed. The layering also helps shorter sections dry faster if you go swimming.
How to Style and Maintain It
This style works best if you actually have layers cut into your hair (talk to your stylist about choppy, face-framing layers). Once cut, apply a texturizing spray or sea salt spray to damp hair and blow-dry using your fingers to separate sections and enhance the piece-y quality. Avoid brushing after drying—instead, rake your fingers through for movement. This is definitely a style where looking slightly undone is actually the goal.
Who This Suits Best
Layered texture works beautifully on most face shapes, particularly when the layers frame the face. It’s especially flattering on those with finer hair because layers create the illusion of fullness. Thicker, naturally wavy hair excels with this style. Those who prefer low-maintenance styles love this because the layers do much of the work.
9. Sleek Waves with Wet-Look Finish
These are smooth, controlled waves that have a deliberately wet appearance—as if you’ve just emerged from the ocean. The waves are defined but laid flat against your head, created with a styling product that gives a shiny, almost liquid appearance. This is a more modern, fashion-forward beach look rather than a romantic or soft one. The shine is intentional and part of the design.
Why This Works at the Beach
A wet-look finish is literally designed to complement a beach setting. You’re not trying to hide that your hair has water in it—you’re celebrating it. This style is perfect if you’re moving between water and air throughout your beach day, because it’s designed to look like it’s slightly damp. The products used create a sleek appearance that makes waves look more structured and intentional than relaxed. It’s very current and fashion-forward.
How to Style and Maintain It
Apply a wet-look styling gel or light pomade to damp hair and blow-dry using a paddle brush or your hands to create smooth waves. The product should distribute evenly without clumping. Once dry, the waves should have a shiny finish. You can enhance this by spraying a light luminizing mist over the waves. This style requires product but holds beautifully throughout the day.
Who This Suits Best
This style suits those who like a more polished, fashion-forward aesthetic rather than completely undone waves. It works on all hair types but looks most striking on darker hair where the shine is most visible. Those with longer hair (20+ inches) can really showcase the sleek wave pattern and shine.
10. Side-Parted Waves with Volume at Crown
These are full-bodied waves created with significant volume at the crown and roots, with a deep side part that creates a slightly asymmetrical silhouette. The waves fall away from the part, creating soft, cascading movement. Volume is the key element here—this isn’t flat, tight waves but rather lifted, bouncy waves that seem to float around your face and shoulders.
Why This Works at the Beach
Volume at the crown is wildly flattering in beach photos and catches beautiful light in natural sunlight. The deep side part creates an asymmetrical shape that’s interesting and modern while still being romantic. The volume helps your hair look full even if you’ve been in salt water, which can sometimes make waves look thinner. This is a hairstyle that demands to be photographed.
How to Style and Maintain It
Blow-dry your roots with your head slightly flipped upside down to create lift, then flip back over and create your side part. Use a large-barrel curling iron or wand to create soft waves, making sure to curl hair away from the part on both sides. Tease gently at the crown for additional volume. Set with light hairspray that won’t weigh down the volume you’ve created.
Who This Suits Best
Volume at the crown is universally flattering and actually helps balance all face shapes—it elongates round faces and softens angular faces. This style works on all hair types, though those with naturally voluminous hair will find it easiest to achieve. Those who love a more glamorous take on beach waves will love this style.
11. Textured Waves with Blonde Money Pieces
“Money pieces” refers to face-framing sections of lighter hair (either through coloring or balayage) that brighten your face and add dimension. With textured waves, these lighter pieces seem to weave through your longer waves, creating visual interest and making your waves look more complex than they actually are. The lighter pieces catch the light and draw attention to your face.
Why This Works at the Beach
Money pieces look intentionally styled and expensive while being incredibly beach-appropriate. The lighter pieces catch sunlight and look even more sun-kissed at the beach. They add visual complexity that makes your waves look fuller and more textured than solid-colored hair. The face-framing effect is flattering for beach photos. This can be achieved through actual highlighting or with clip-in highlights if you’re not ready to commit to color.
How to Style and Maintain It
Create soft, textured waves throughout your length using a curling iron and texturizing spray. The money pieces will naturally seem more prominent once you have texture throughout. If you have actual blonde money pieces, they’ll catch light beautifully. If you’re using clip-in highlights, place them where your waves naturally fall around your face. The key is making sure the lighter pieces weave through your waves rather than sitting flat on top.
Who This Suits Best
Money pieces work on all skin tones and face shapes when chosen correctly (consult a colorist for your ideal shade). They’re most striking on those with longer hair where the pieces can really be showcased. Those who like some color dimension but aren’t ready for an all-over color change love this option.
12. Loose Waves with Accessories Down the Side
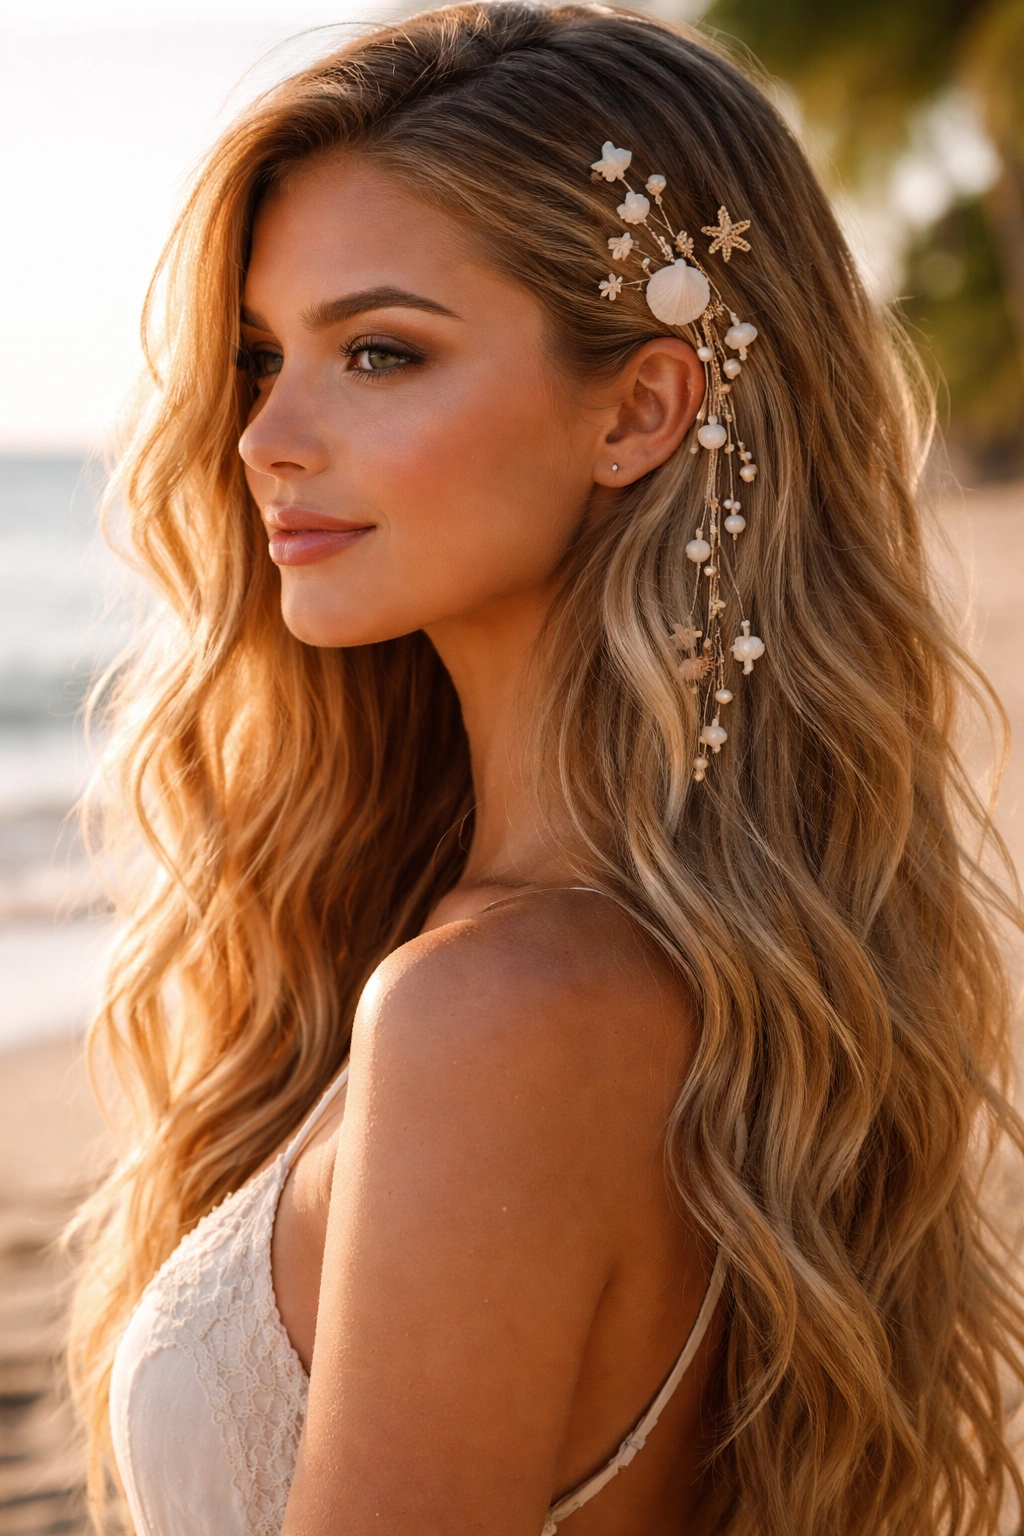
Rather than concentrating accessories in one area, this style weaves delicate hair clips, shells, pearls, or metallic pieces down one side of your head, starting near the temple and traveling down toward the ear and beyond. The waves themselves are loose and romantic, and the accessories follow the natural line of your hair down that side. It’s like creating a subtle crown effect on just one side.
Why This Works at the Beach
The asymmetrical placement of accessories is modern and interesting while being totally beach-appropriate. Having accessories down one side keeps them from getting tangled while still looking intentional and styled. This is perfect if you want to wear jewelry in your hair but prefer it on just one side. The side-placement creates an interesting dimension to your silhouette.
How to Style and Maintain It
Create soft waves throughout your entire length, then clip or thread accessories down one side of your head where the waves naturally fall. You can use pearl clips, shell clips, delicate chains, or elastic hair cuffs—anything delicate that won’t pull at your hair. Space them about an inch or so apart rather than clustering them together. This works best with hair that’s at least waist-length so you have space to showcase the accessory placement.
Who This Suits Best
This style works beautifully on all hair types and adds interest for those who prefer a more styled look than completely undone waves. It suits longer hair (18+ inches) where you can really display the accessory line. Those who love wearing jewelry will appreciate having a vehicle to do so with their hair.
13. Beachy Waves with Headwrap or Bandeau
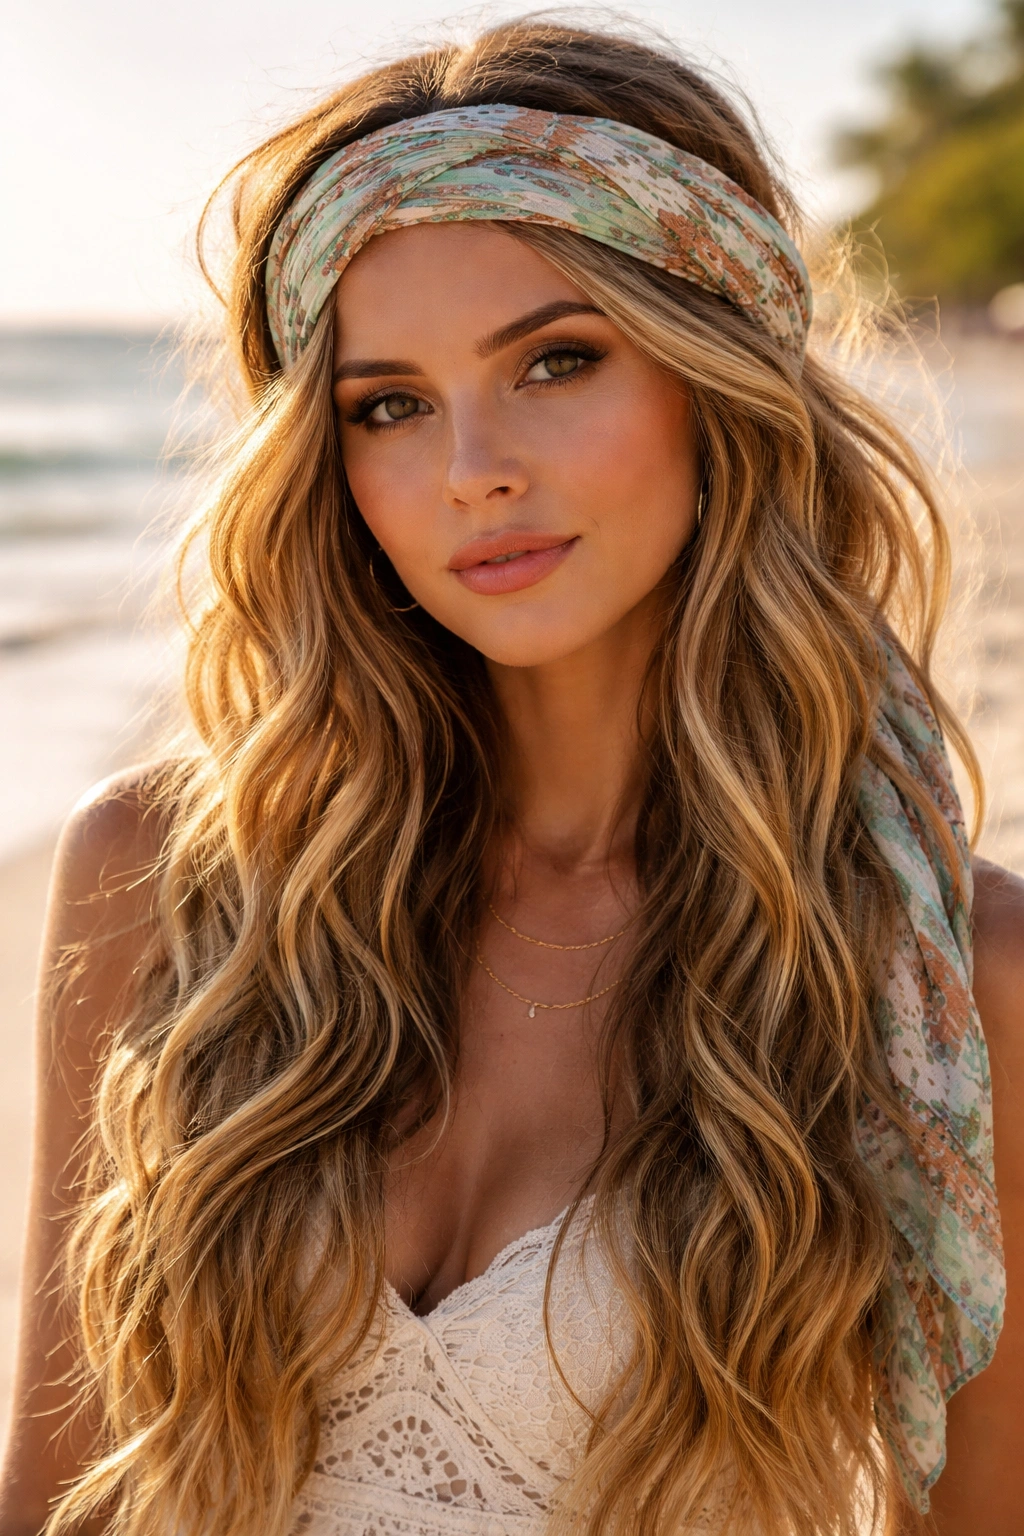
This style combines loose, natural-looking waves with a fabric headwrap, bandeau, or decorative hair wrap positioned across the top of the head or woven through the waves. The waves are completely free-flowing and soft, but the wrap adds a bohemian, styled element. The wrap can be positioned as a crown across the forehead or woven more loosely through the hair.
Why This Works at the Beach
A headwrap serves both practical and aesthetic purposes—it keeps hair somewhat in place while adding a stylish, bohemian element perfect for beach settings. This is an excellent option if you’re trying to keep your hair from your face but don’t want an actual updo. The wrap makes loose waves look intentionally styled rather than just wet. It’s perfect for beach days where you’re moving between sun and water.
How to Style and Maintain It
Create soft waves throughout your hair using sea salt spray and air-drying or blow-drying with a diffuser. Once your waves are set, position your headwrap—it can be a silk scarf, a beaded bandeau, a metal headpiece, or any fabric wrap. Secure it with bobby pins underneath so it’s invisible. The wrap should sit on top of your waves, not buried underneath. Tuck a few waves behind your ears on either side of the wrap for a balanced look.
Who This Suits Best
Headwraps work beautifully on all face shapes and hair types. They’re particularly great for those who have finer hair because the wrap adds visual interest without requiring super-full waves. Those who love bohemian fashion will naturally gravitate toward this style.
14. Thick Waves with Center Part and Defined Texture
This is a statement style featuring obviously thick, defined waves with a clean center part that creates perfect symmetry. Each wave is clearly visible and shaped, rather than blended into soft, undulating movement. The waves have presence and volume, with significant space between each wave pattern. The center part divides your hair into two equal, symmetrical sides.
Why This Works at the Beach
Center parts are incredibly current and flattering, and pairing them with defined waves creates a very intentional, styled look. The defined texture means your waves won’t read as limp or flat even if humidity affects them—the definition is built into the styling. Symmetrical waves falling on either side of a center part are photogenic and balanced. This is for those who want their beach waves to be clearly noticed.
How to Style and Maintain It
Create a clean center part, then use a medium-barrel curling iron to create defined waves on each side, making sure to alternate the direction of each wave so they flow away from the part. Let the curls cool completely for maximum hold. Use texturizing spray to enhance the wave definition without making hair crunchy. You can tease slightly at the roots for additional volume if desired.
Who This Suits Best
Center parts are universally flattering but work especially well on those with longer faces as they can make the face appear shorter and rounder. This style requires thicker or very long hair to really showcase the wave definition. Those who love a more polished, intentional look prefer this to super-relaxed waves.
15. Cascading Waves with Volume and Movement
These waves have a flowing, cascading quality—they don’t sit flat against your head but rather seem to move and fall away from your face and shoulders with significant space and air between each wave. The waves are voluminous at the crown and roots, then flow downward with increasing relaxation. It’s the opposite of sleek—it’s all about movement and dimension.
Why This Works at the Beach
Cascading waves look stunning in motion and are perfect if you’re planning to be active at the beach—they move beautifully when you move. The volume prevents them from looking limp even if you’ve been in water. They photograph beautifully from behind because the waves are so clearly visible and flowing. This is a dynamic, energetic hairstyle.
How to Style and Maintain It
Create significant volume at your roots by blow-drying your head upside down, then flip back and create waves with a large-barrel curling iron. As you work down the length, make your waves slightly looser and less defined than at the top, creating a gradient from tighter waves to relaxed ones. Tease gently throughout for additional volume. Use texturizing spray rather than heavy hairspray to maintain the airy quality.
Who This Suits Best
Cascading waves work beautifully on longer hair (18+ inches) where you have space for the waves to really flow and cascade. They’re stunning on those with thick or naturally voluminous hair. All face shapes can wear this, but it’s particularly striking on those with longer faces where the volume and movement add width.
16. Soft Waves with Pearl or Shell Clips Scattered Throughout
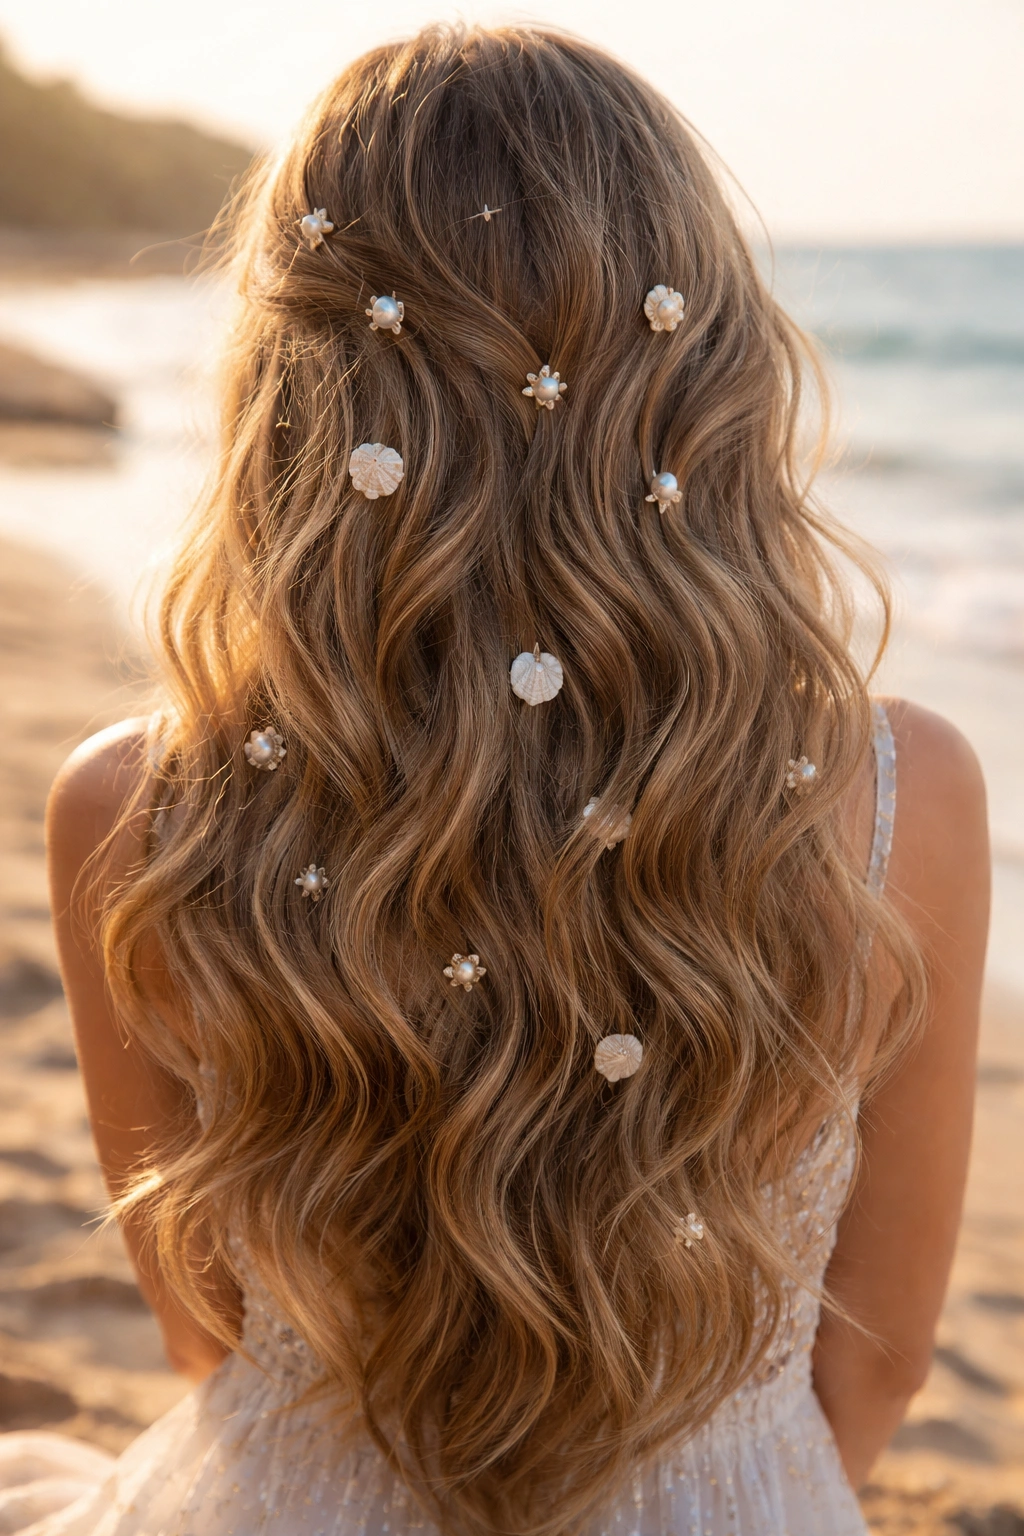
Unlike accessory styles where pieces are placed in a line or pattern, this style scatters delicate pearl clips, shell clips, or small metallic pieces randomly throughout your loose waves. The clips aren’t placed with geometric precision but rather appear organically placed where they catch light and add sparkle without overwhelming your hair. The waves themselves are soft and romantic.
Why This Works at the Beach
Scattered accessories add glamorous detail to soft, romantic waves without looking overdone. Each clip catches light and adds visual interest, making your waves look more complex than they are. This style bridges the gap between completely undone beach waves and a more dressed-up look. The randomness of placement makes it feel organic rather than styled.
How to Style and Maintain It
Create soft, loose waves throughout your hair using sea salt spray and either air-drying or blow-drying with your fingers. Once your waves are set, clip accessories randomly throughout—don’t think about placement too hard; randomness is the point. Space them so you can see each one rather than clustering them. You can use gold, silver, pearl, or colorful clips depending on your preference.
Who This Suits Best
This works beautifully on all hair types and lengths, though it’s most visible on longer hair. It’s perfect for those who want to add jewelry to their hair without committing to a specific style. All face shapes work with this approach.
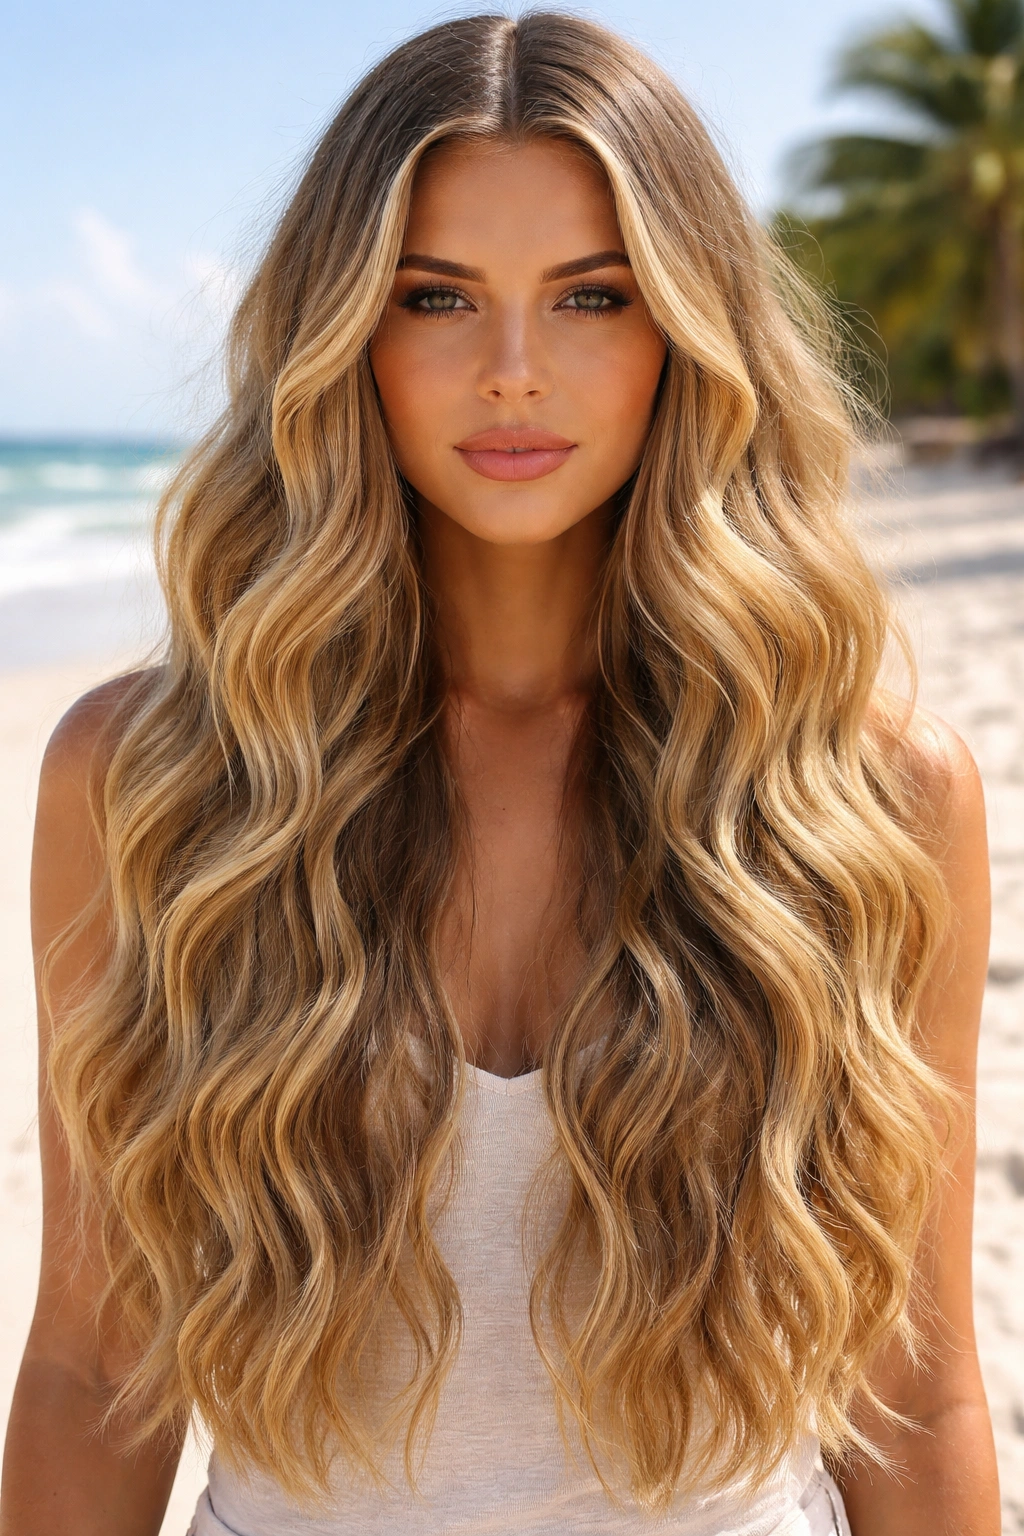
17. Undone Waves with Face-Framing Pieces
The ultimate low-key beach waves—soft, natural-looking waves that appear like you didn’t style them at all, with deliberately undone pieces framing your face. Your hair isn’t smoothly waved but rather has a lived-in, slightly piece-y quality. Longer strands sit forward, framing your face and collarbones, while the rest flows behind. Nothing looks intentionally placed.
Why This Works at the Beach
This is the truest “beach hair” aesthetic because it genuinely looks like you’ve been in the ocean and air-dried. It requires the least amount of styling effort and actually improves if your hair gets tousled by wind. The undone quality is the whole point—perfection would work against the style. Face-framing pieces are infinitely flattering. This is perfect if you want to look effortlessly beautiful rather than styled.
How to Style and Maintain It
The absolute easiest approach: spray damp hair with sea salt spray and air-dry. Shake your fingers through your hair occasionally as it dries to enhance texture. Once dry, pull a few longer pieces forward to frame your face and leave everything else alone. If you prefer more defined waves, use a curling iron on medium heat to create soft waves, then immediately run your fingers through them and spray with texturizing spray.
Who This Suits Best
This style works beautifully on all hair types and face shapes because the undone quality is universally flattering and forgiving. It’s especially perfect for those with naturally wavy or curly hair that benefits from air-drying. Those who prefer minimal styling love this approach.
18. Matte Waves with Dimensional Highlights
These are soft, matte-textured waves (not shiny like the wet-look finish) with dimensional highlights that create depth and movement through color. The highlights can be subtle balayage or more obvious face-framing pieces, but they travel through your waves in a way that makes the waves look more textured and complex. The matte finish keeps the focus on the wave texture rather than shine.
Why This Works at the Beach
Matte waves feel more relaxed and natural than high-shine options while still looking intentionally styled. Dimensional color adds complexity that makes waves look fuller and more textured. The highlights make your waves catch light without looking wet or overly polished. This bridges the gap between completely undone and fashion-forward beach waves.
How to Style and Maintain It
Create soft waves throughout your hair using texturizing spray and either air-drying or blow-drying with your fingers. If you have actual dimensional color, your waves will naturally showcase it. If you want to add dimension without coloring, use clip-in extensions in a slightly lighter shade, placing them throughout your waves. Set with texturizing spray rather than shiny hairspray to maintain the matte finish.
Who This Suits Best
Dimensional highlights work on most hair colors and skin tones when chosen correctly. This style is striking on longer hair (18+ inches) where the highlights can really travel through your length. Those who want some color dimension without an all-over color commitment love this option. All face shapes work with matte waves and dimensional highlights.
Final Thoughts

The best beach wave hairstyle for you depends on your hair type, styling comfort level, and whether you prefer a completely effortless look or something slightly more intentional. The beauty of these eighteen options is that they range from genuinely undone—just sea salt spray and air-drying—to styles that require curling irons and accessories. You can absolutely switch between them depending on your beach plans that day.
What matters most is that your waves work with your environment rather than fighting it. Salt water, sand, and humidity aren’t enemies to beach waves—they’re actually partners. They add texture and grip that makes your waves hold better and look fuller. The key is choosing a hairstyle that actually improves when exposed to these elements rather than one that falls flat.
Remember that your specific hair type will influence which styles work best for you. Fine hair often looks better with layering and texture rather than heavy, uniform waves. Thicker hair can handle virtually any wave style and can support more definition. Naturally wavy or curly hair might just need product and a little finger-separation rather than heat styling. Straight hair will likely need curling tools or heavy-duty sea salt spray, but you have more control over the exact shape of your waves.
The real magic of long wavy hairstyles for the beach isn’t just how they look—it’s how they make you feel. The right hairstyle gives you confidence, makes you feel like yourself, and photographs beautifully while requiring minimal stress. Try a few of these styles before your next beach trip and pay attention to which ones feel natural on you. That’s your winner.