



A soft, romantic side messy bun is one of those hairstyles that looks effortlessly put-together while actually being incredibly forgiving and low-maintenance. There’s something undeniably appealing about a hairstyle that sits just off-center, catching light in all the right places while framing your face beautifully. Whether you’re heading to brunch, a casual date, or just want to feel polished without spending an hour styling, the side messy bun delivers on both comfort and aesthetic. The key to nailing this look isn’t perfection—it’s understanding how to create intentional softness, which means loose waves, strategically released face-framing pieces, and just enough texture to make the style feel lived-in rather than rigid.
What makes side messy buns so universally flattering is their versatility. They work on almost every hair type, every hair length (as long as you have enough to gather into a bun), and they photograph beautifully from nearly every angle. A side-positioned bun naturally elongates the neck, draws attention to your jawline, and creates dimension through the asymmetrical placement. The “soft” component—those intentional wisps, loose strands, and relaxed sections—is what separates a generic messy bun from one that looks genuinely intentional and romantic.
The beauty of mastering multiple side messy bun variations is that you can adapt them based on your hair texture, the occasion, and the mood you’re going for. Some styles lean more polished with strategic braids or wraps, while others prioritize pure texture and movement. Let’s explore eight distinct approaches to the side messy bun, each offering something different while maintaining that essential soft, approachable aesthetic.
1. The Romantic Side Messy Bun with Face-Framing Pieces
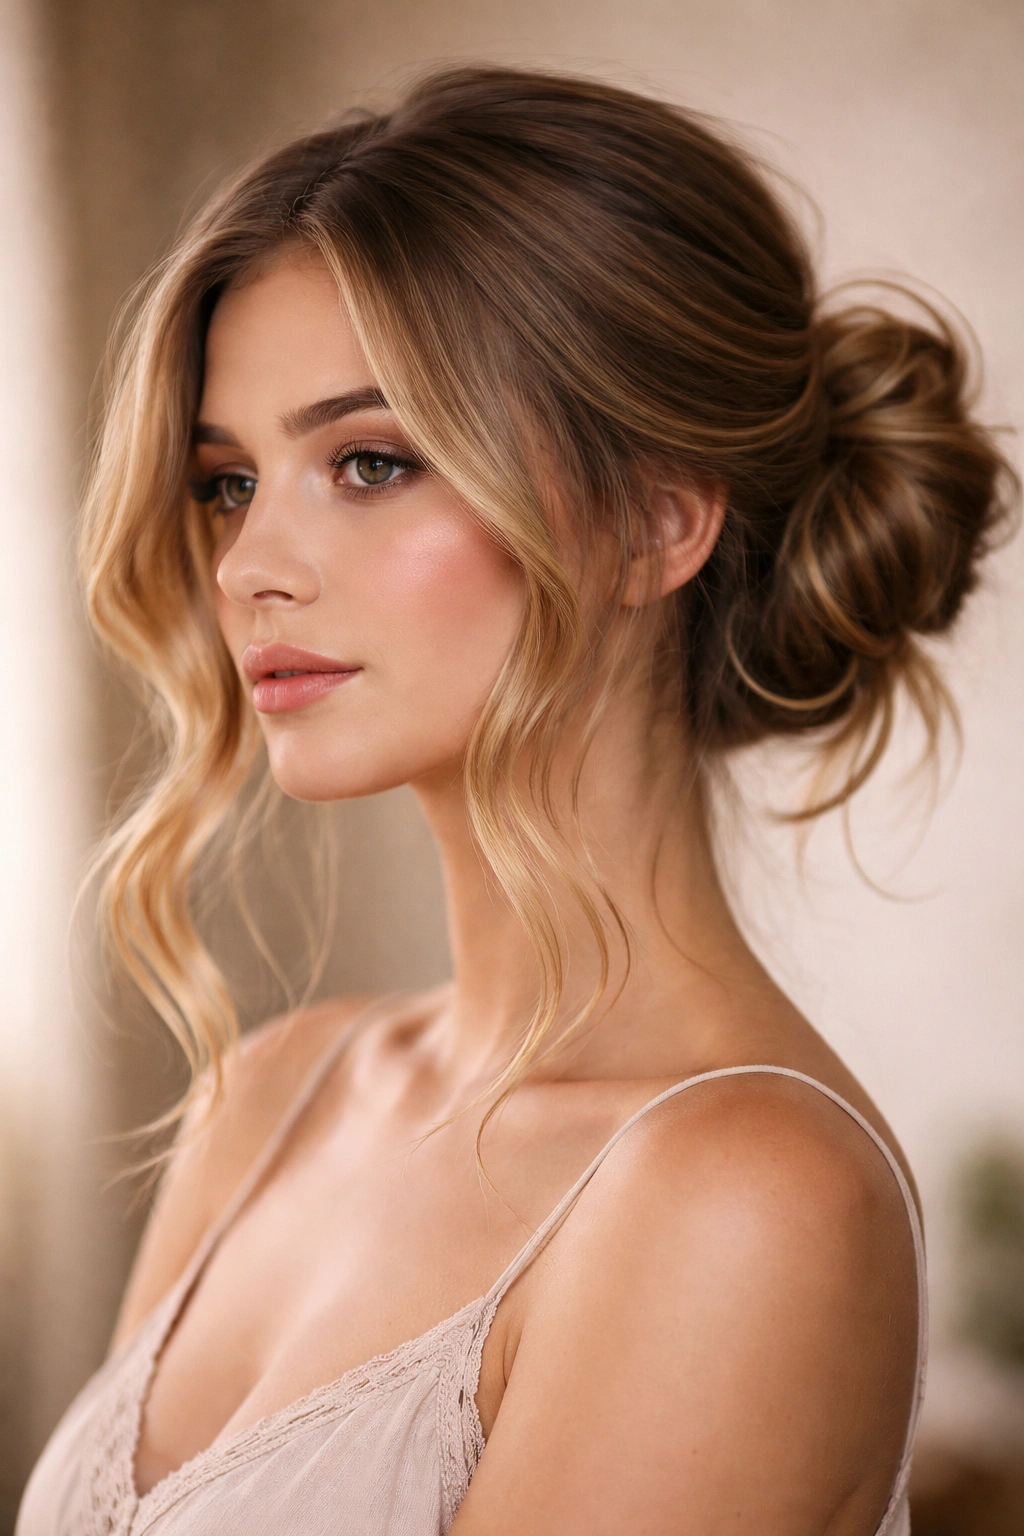
This is the classic soft bun that practically defines the romantic aesthetic. The secret to its dreamy quality lies in the combination of loose waves and deliberately released face-framing strands that curve around your cheeks and forehead. Unlike a sleek side bun, this version thrives on imperfection and movement.
Why This Style Works for Soft Looks
The beauty of this particular approach is that it intentionally blurs the line between polished and undone. You’re creating a structured enough base that your bun stays in place, but releasing enough strands that light plays across your face in a flattering way. The face-framing pieces should curve naturally, following the contour of your face rather than hanging straight down. This approach works exceptionally well for heart-shaped or round faces because it creates vertical flow while maintaining the softness at the sides.
How to Create This Look
- Start with hair that’s been lightly curled or waved using a curling iron or heat-free methods like braiding overnight
- Brush through the curls gently to create soft waves rather than defined ringlets
- Gather your hair to one side at about ear level, leaving 2-3 inches of face-framing pieces loose around your temples and cheekbones
- Twist the gathered section loosely and wrap it around itself to form the bun base
- Use bobby pins that match your hair color, inserting them horizontally through the bun structure
- Pull a few more wispy pieces around your face and secure them with clear elastic or leave them completely loose
- Finish with a light hairspray that won’t weigh down the delicate pieces
Pro tip: The night before, braid your hair in two loose braids and sleep on them. In the morning, you’ll wake up to natural-looking waves that require zero heat styling and hold beautifully in a soft messy bun all day.
2. The Undone Wrapped Side Bun with Twisted Detail
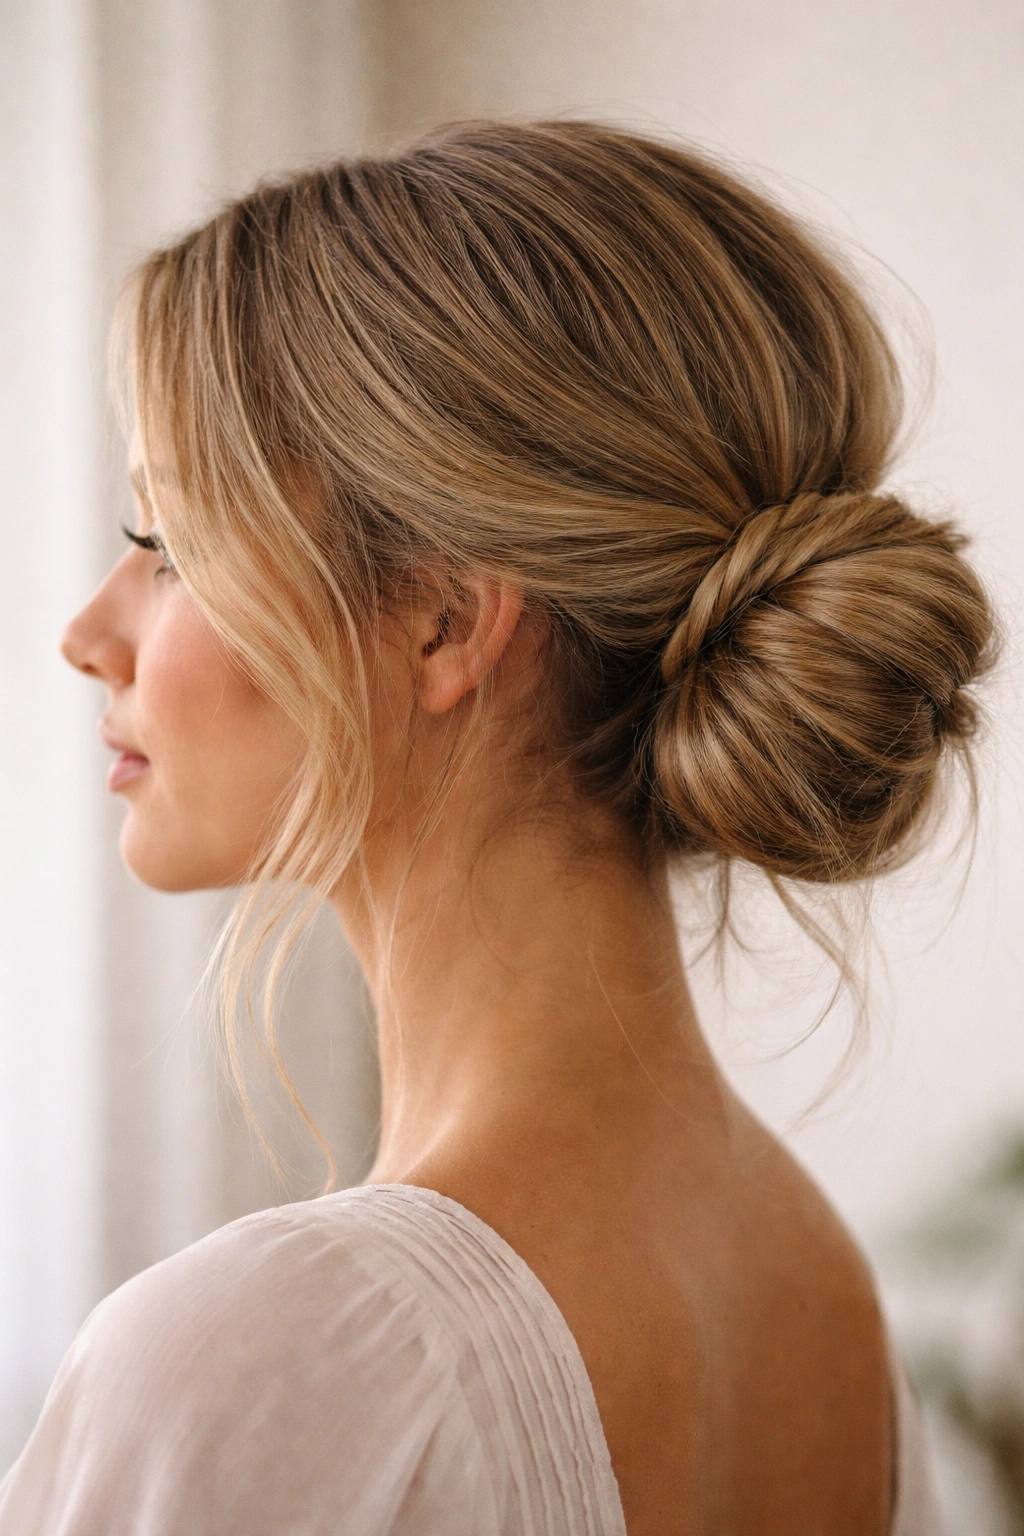
This style introduces a subtle structural element—a twisted section of hair wrapped around the base of the bun—that elevates it beyond a simple gathered mess while still maintaining that essential soft quality. The twist adds visual interest and helps secure the style without looking contrived.
What Sets the Twist Apart
Rather than simply gathering all your hair and twisting it into a bun, this technique separates a smaller section to create intentional detailing. The wrap becomes a design element that catches light and adds dimension. It’s soft but intentional, making it perfect for situations where you need your hair to stay put but you don’t want to look overly polished or formal. The twisted wrap also naturally encourages some texture and looseness in the gathered section, reinforcing that desirable messy quality.
Step-by-Step Technique
- Brush your hair to one side and smooth it back gently—you’re aiming for soft smoothness at the crown, not complete sleekness
- Gather your hair into a low side ponytail at roughly ear level
- Separate a thin 1-inch section from the ponytail and set it aside
- Twist the remaining hair loosely and wrap it around itself to form the bun, securing with bobby pins
- Take your reserved thin section and twist it around the base of the bun, tucking the end underneath and securing with bobby pins
- Gently pull at the bun to create a fuller, softer appearance
- Release a few smaller pieces around your face for that face-framing element
Worth knowing: If your hair is particularly fine or slippery, use a small hair elastic to secure the ponytail first, then create the bun. This prevents the structure from collapsing while you’re working with the twisted detail.
3. The Braided Side Messy Bun for Texture and Softness
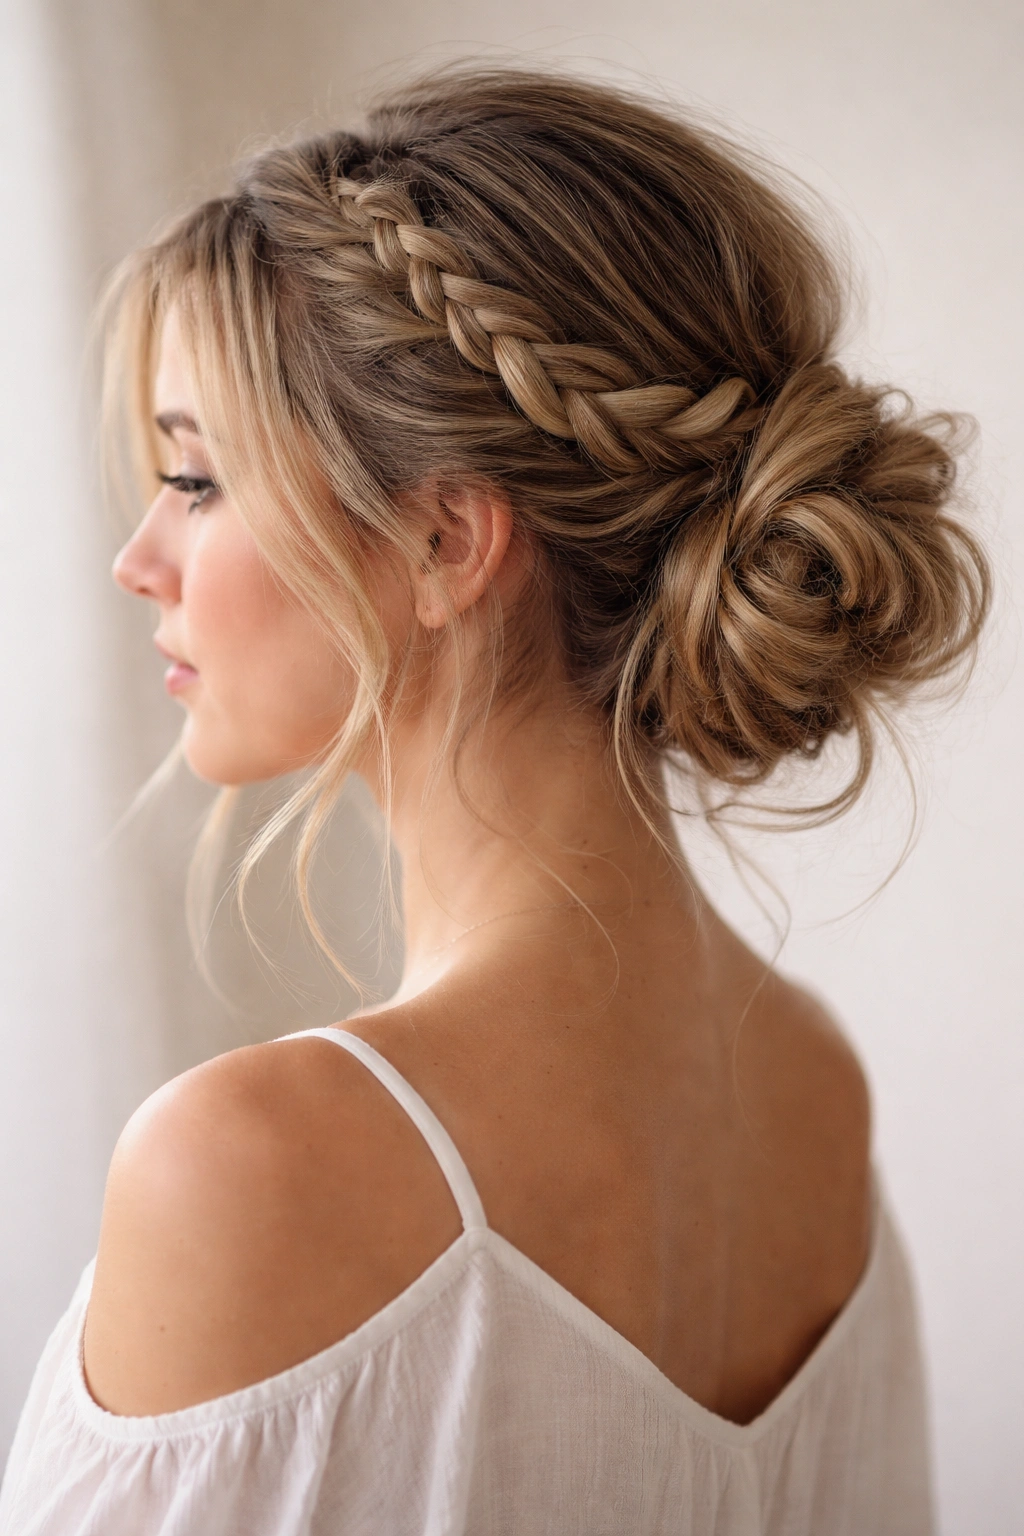
Braids introduce textural depth and visual complexity that elevate a simple messy bun into something that feels more deliberately styled. A braid woven into or around your side bun creates softness through layered strands rather than simple looseness, making this approach work beautifully for people with finer hair or those who prefer their buns to look a bit fuller.
How Braiding Creates Softness
Braids naturally distribute hair volume across a larger surface area than a simple twist does, which creates that coveted soft, full appearance without requiring tons of product or backcombing. The braided sections also hold curls and waves longer, so your softness doesn’t deflate as the day goes on. Additionally, a braid incorporates multiple hair directions and overlapping strands, which catches light beautifully and adds dimension to the overall style.
Creating a Braided Side Messy Bun
- Start with your hair half-down, with the top section brushed back from your face
- Begin a loose Dutch braid or French braid on one side, starting near your temple and moving toward the back of your head
- Let the braid be intentionally loose and slightly messy—don’t pull the sections too tight
- Gather all your hair (braid and remaining loose sections) to one side into a ponytail at ear level
- Twist loosely and wrap around itself to form a bun, positioning the braid so it frames and wraps around the bun base
- Pin securely and gently pull at the braided sections to increase the soft, textured appearance
- Release wispy pieces around your face if desired
Insider note: The contrast between the structured braid and the unstructured bun creates visual interest that makes the whole style feel more intentional and polished, even though it’s actually quite easy to execute.
4. The Half-Down Side Bun with Cascading Layers
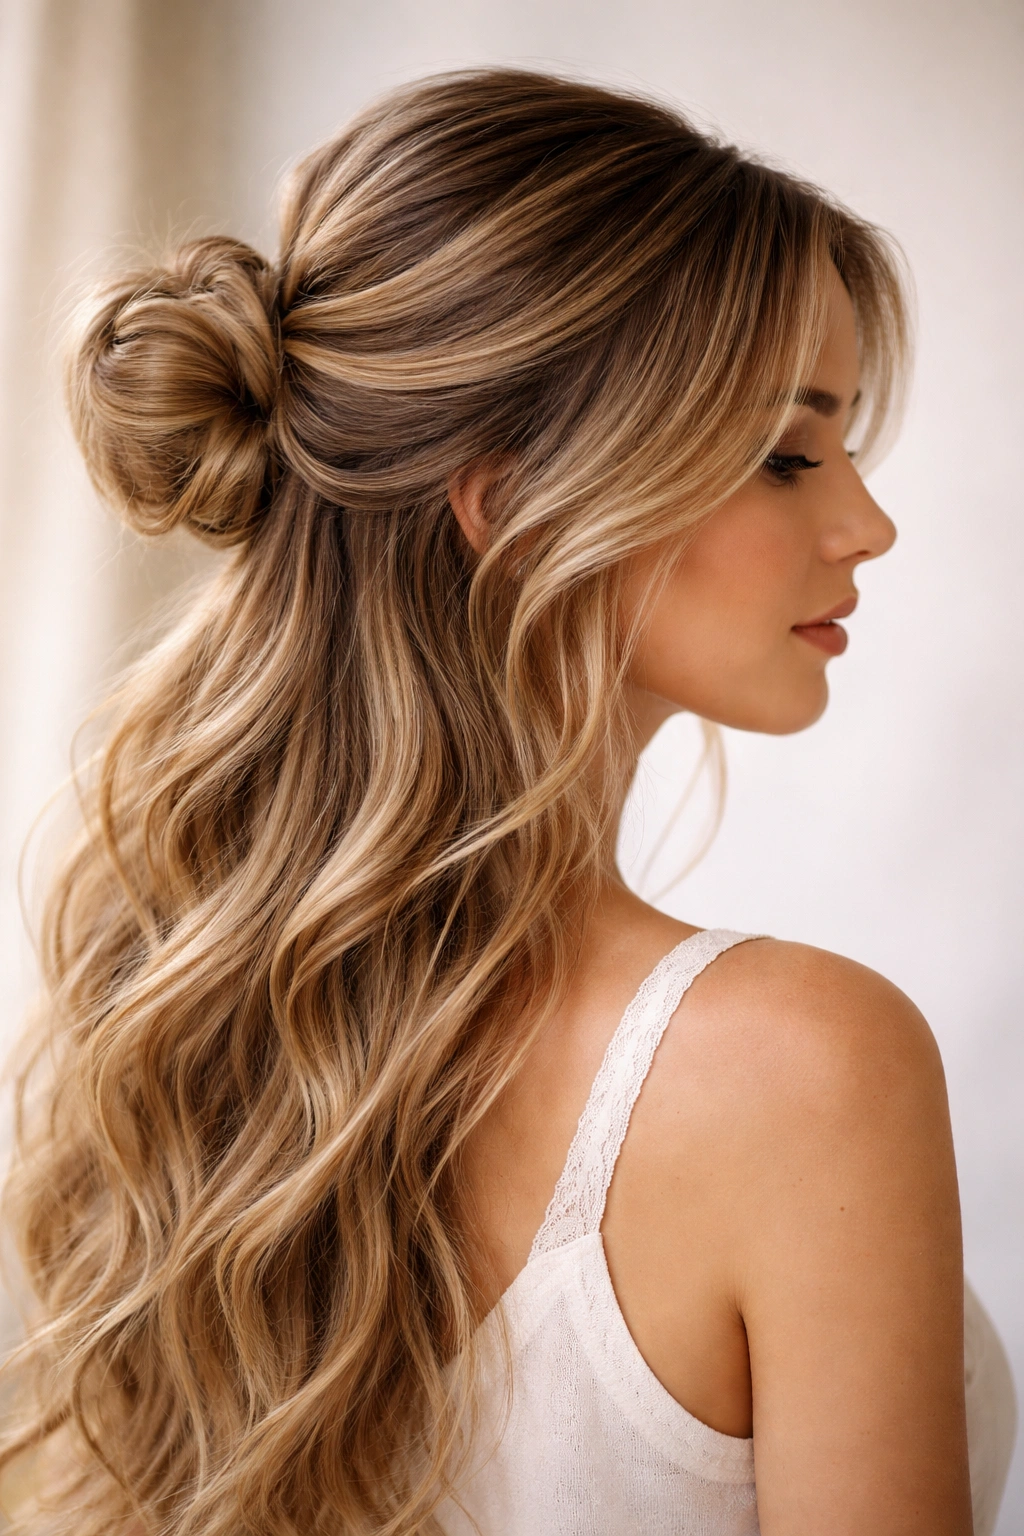
This variation keeps roughly half your hair down while securing the back section into a side bun, creating an unusually soft aesthetic because your flowing hair blends seamlessly with the bun itself. The cascading layers create movement and softness throughout the entire style, not just at the edges.
Why This Version Feels So Soft
The genius of the half-down approach is that it eliminates the stark visual separation between “down hair” and “bun hair.” Instead, your loosely waved down layers appear to flow directly from the bun itself, creating the illusion of more volume and texture than you might actually have. It’s a particularly smart approach if you’re working with medium-length hair or if you want the security of a bun without the commitment of putting all your hair up.
Building the Half-Down Side Bun
- Brush your hair and create soft waves throughout using a curling iron, sea salt spray, or braiding method
- Create a horizontal line from ear to ear across the back of your head—this is your gathering line
- Pin back the top section (above the line) with a small clip temporarily, leaving the bottom section down
- Gather the bottom section to one side at ear level and secure into a ponytail
- Remove the clip from the top section and let those layers fall loose
- Twist the back ponytail loosely and wrap around itself to form the bun
- Blend the top layers with the bun by gently pulling at both sections
- The down layers should frame your face and blend seamlessly with the bun section
Pro tip: Use a light texturizing spray on the down layers before styling. It prevents them from looking too sleek or controlled and helps them blend visually with the messiness of the bun.
5. The Sleek-to-Messy Side Bun Transition
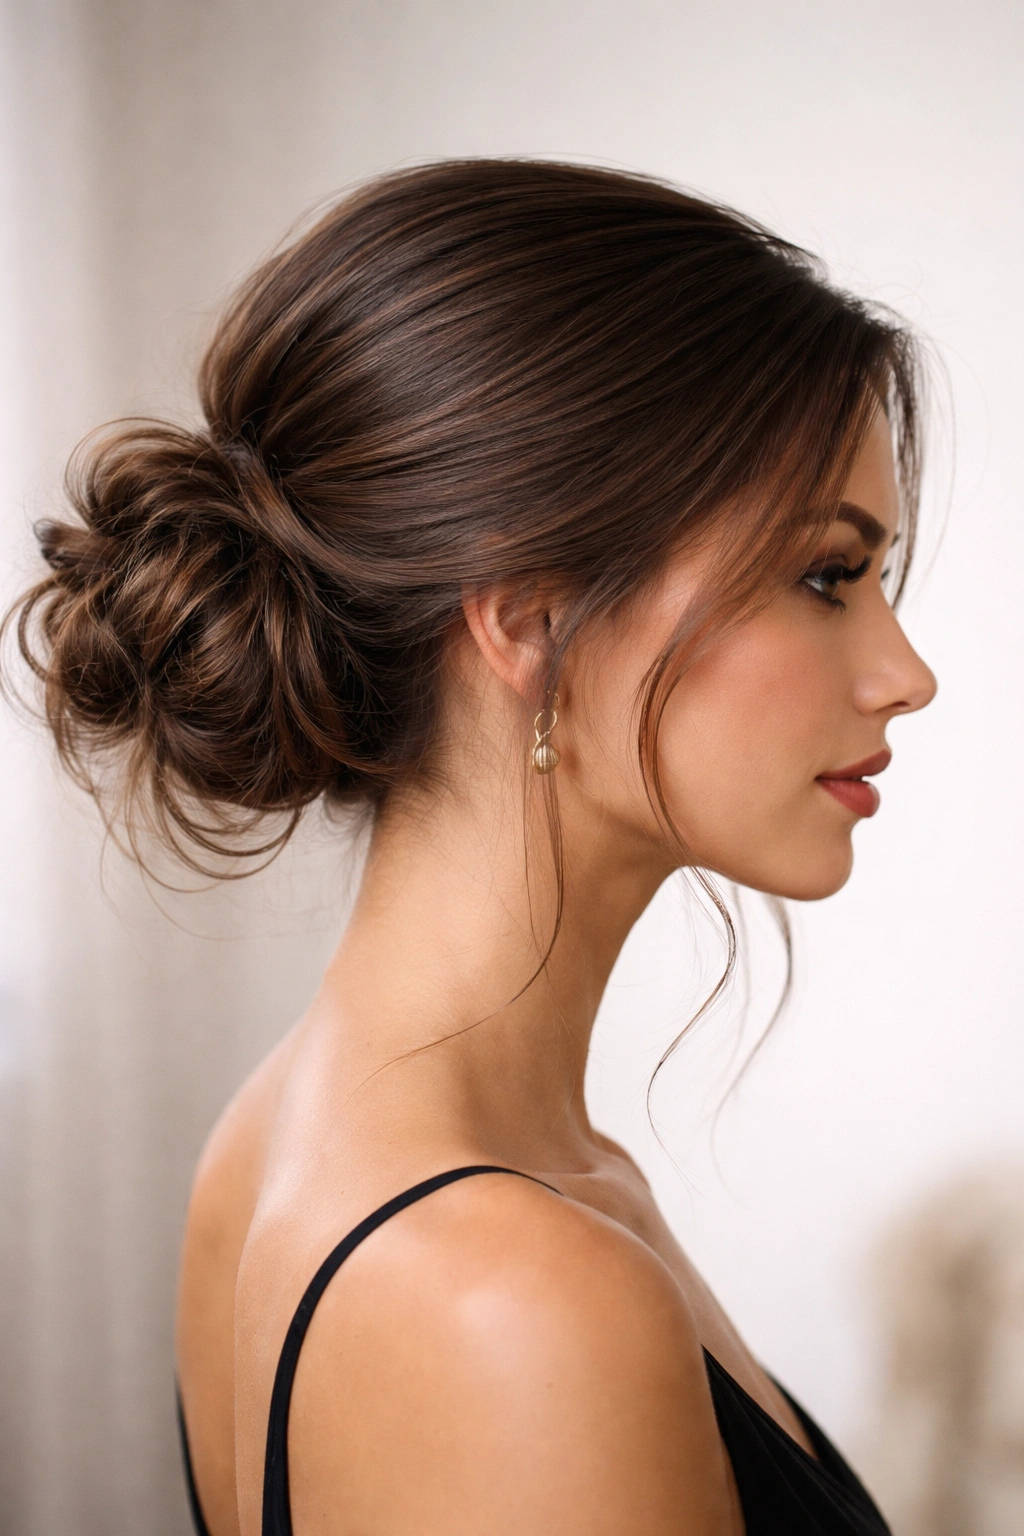
This sophisticated approach smooths back the crown and sides while allowing the gathered section itself to be gloriously messy and textured. It’s the perfect balance between polished and relaxed, working beautifully for professional settings that still want a bit of personality.
The Strategic Contrast
By creating a smooth, polished base at the top of your head while releasing the gathered section into intentional messiness, you’re creating visual hierarchy. The style commands attention through its intentionality rather than through volume or texture alone. This approach is particularly flattering if you have a wider forehead or higher cheekbones, as the smooth back-sweep emphasizes your best features while the messy bun adds softness and approachability.
Executing the Sleek-to-Messy Look
- Brush your hair back smoothly from your forehead and temples, using a fine-tooth comb to smooth any flyaways
- Gather your hair to one side at ear level, using a styling gel or smoothing cream to maintain the polished look at the crown
- Create a low side ponytail and secure it with a clear elastic
- Gently brush the ponytail section to understand its texture and wave pattern
- Begin twisting the ponytail loosely, but don’t twist tightly—leave some sections intentionally looser
- Wrap the twisted section around itself into a bun shape
- Use bobby pins to secure the structure, then begin pulling at sections of the bun to create softness and volume
- Release a few delicate pieces around your face to soften the polished top section
Worth knowing: This style works especially well if you have naturally wavy or curly hair. The wave pattern in the gathered section will naturally create that textured, messy appearance without requiring additional styling.
6. The Double-Wrapped Side Bun with Soft Volume
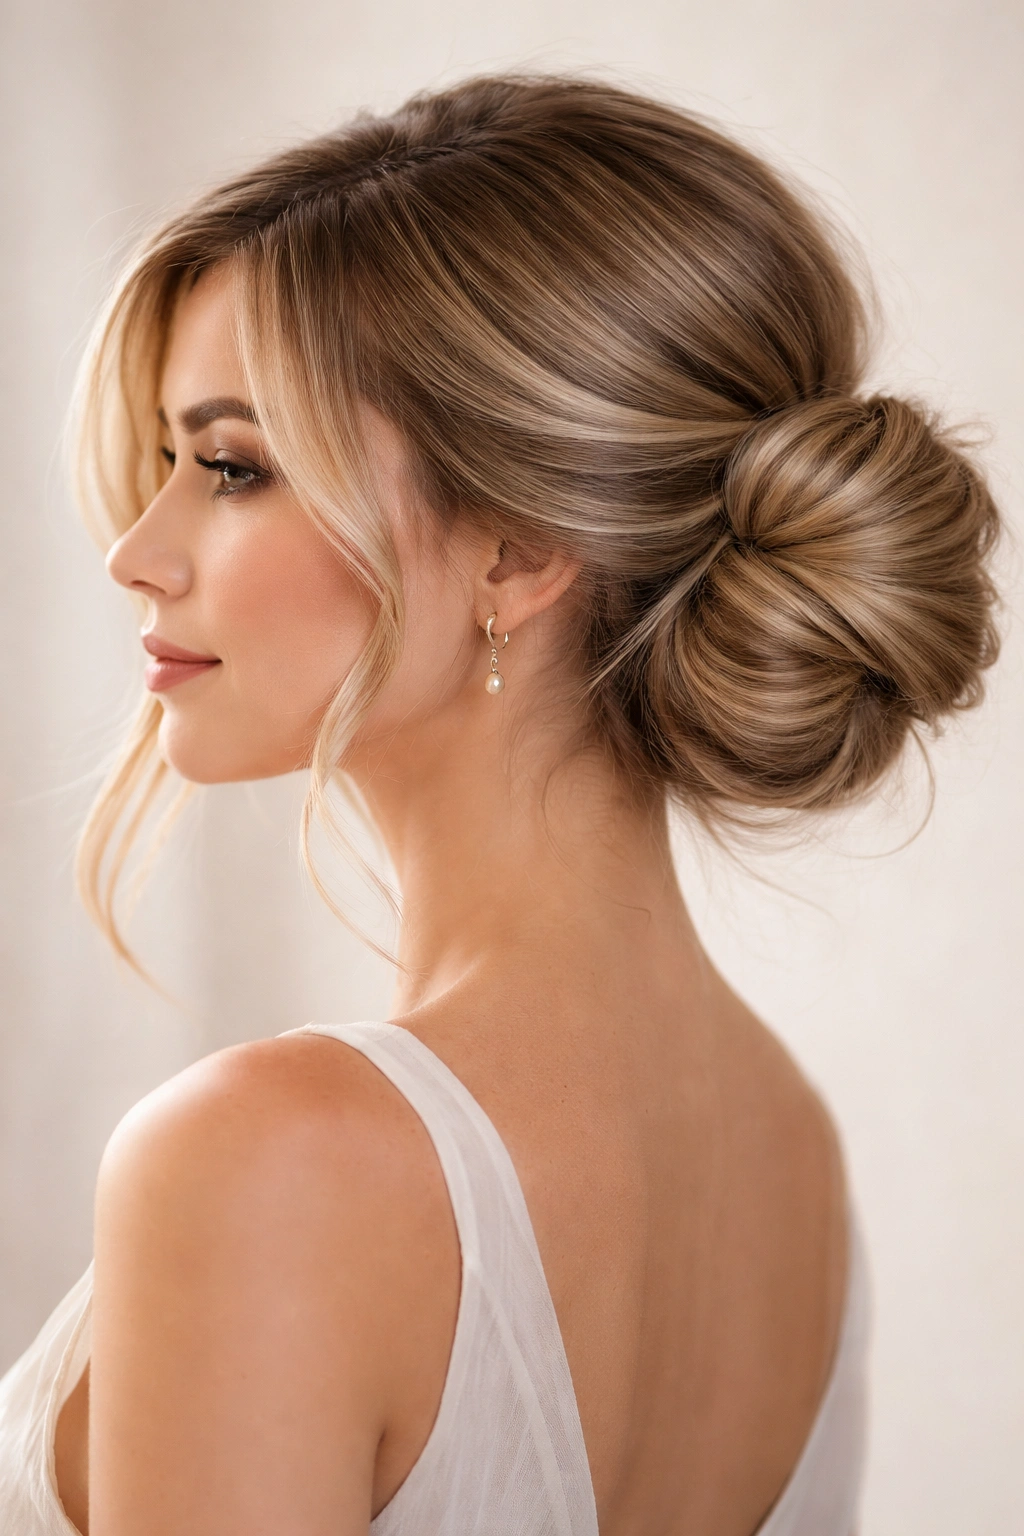
This technique uses two separate wrapping sections to create a bun that appears fuller and softer than a single-wrap approach. The double wrapping also provides extra security for people with finer hair or for those who need their bun to withstand an entire day of activity.
Why Double Wrapping Adds Softness
Two wraps create more surface area and allow you to build volume gradually, layer by layer. Rather than gathering all your hair tightly and creating one compact bun, you’re creating a structure that’s intentionally built up and loosened. The two wraps also naturally encourage some sections to sit at slightly different angles, which increases the soft, undone aesthetic.
How to Create a Double-Wrapped Bun
- Gather your hair to one side into a loose ponytail at ear level
- Divide the ponytail into two equal sections
- Twist the first section loosely and wrap it around the base of the ponytail, securing with bobby pins
- Twist the second section and wrap it around the first wrap, securing with additional bobby pins
- Gently pull at both wrap layers to create a fuller appearance
- Pull sections of the gathered ponytail (before wrapping) outward to add soft volume throughout the bun
- Release face-framing pieces and finish with a light hairspray
Insider note: If your hair is very thick, you can create three small wraps instead of two, building an even softer, fuller bun. Each additional wrap layer makes it easier to achieve that coveted full-but-undone look.
7. The Curly-Textured Side Messy Bun
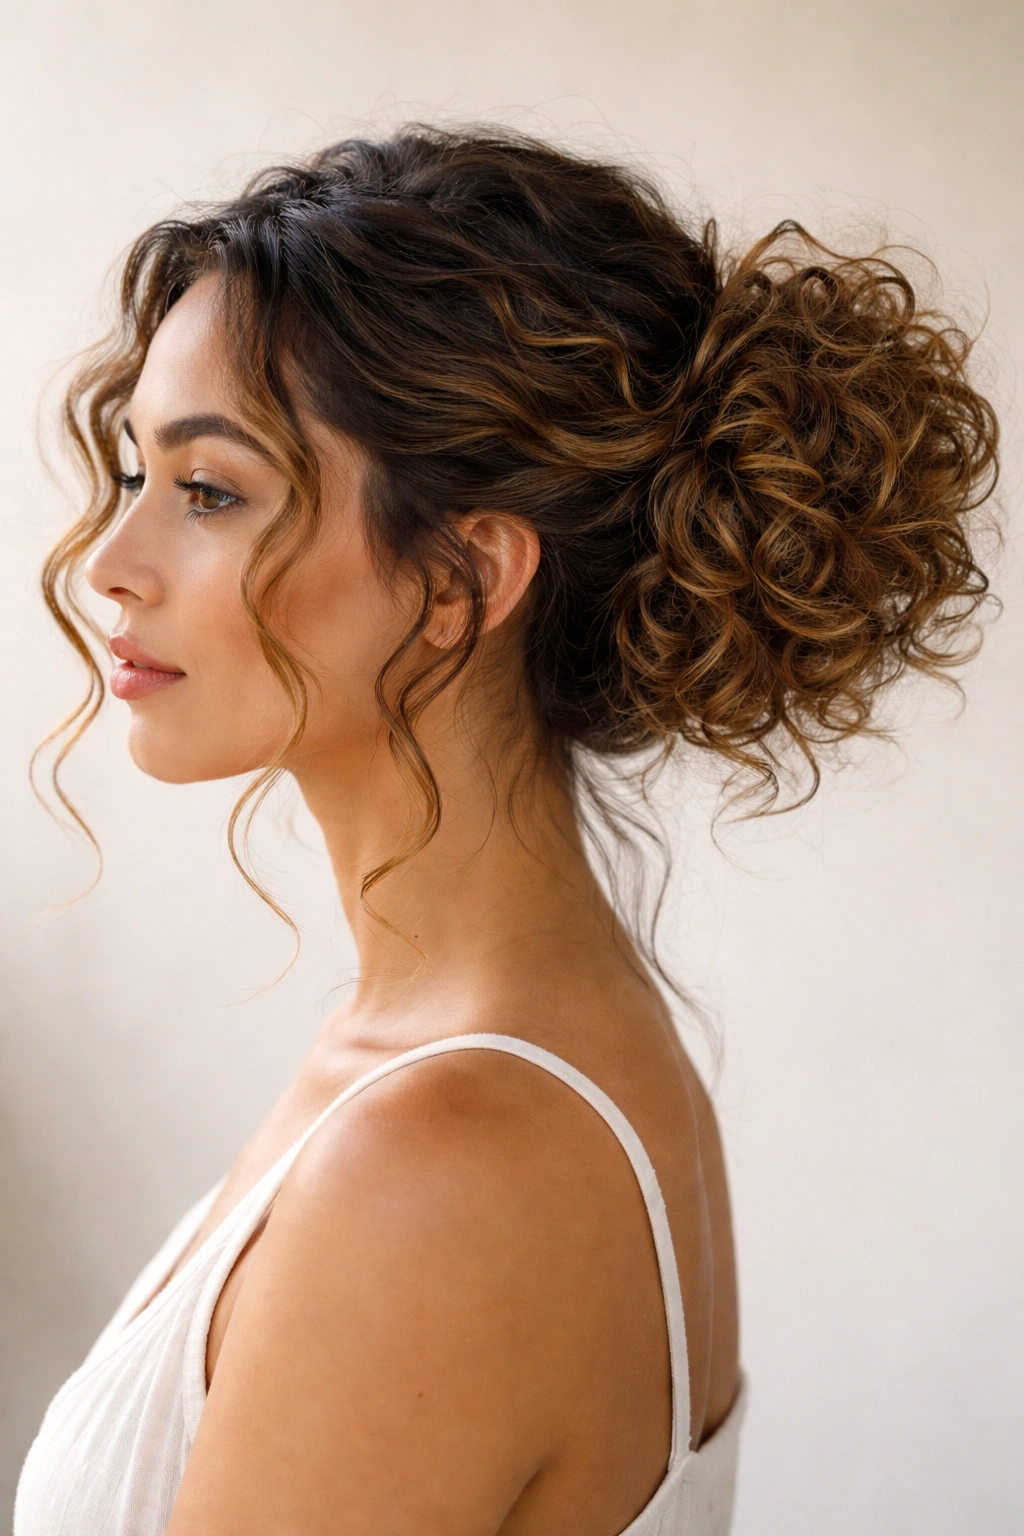
If you work with curly or highly textured hair, your side messy bun has a natural advantage—texture is already built in. The key is styling in a way that celebrates your curl pattern rather than fighting it, creating a bun that’s authentically soft and dimensional.
Embracing Your Natural Texture
Curly hair creates softness effortlessly because the dimensional texture catches light from multiple angles. Instead of trying to smooth or control your curls into a neat bun, the goal is to gather them in a way that lets them expand and express themselves. This approach typically results in a larger, fluffier bun than straight-haired variations, but that’s exactly what makes it so appealing and soft-looking.
Styling Curly Hair into a Side Messy Bun
- Apply your usual curl-defining products (cream, gel, or mousse) to damp hair
- Dry your hair using your preferred method—blow dryer with a diffuser, air-drying, or plopping
- Once fully dry, gently flip your head to one side and gather your curls loosely at ear level
- Secure into a side ponytail, being careful not to squeeze or compress the curls
- Twist the ponytail gently—your curls will naturally bunch and create texture as you twist
- Wrap the twisted section around itself into a loose bun shape
- Secure with bobby pins, using as few as possible to maintain curl definition
- Don’t pull at the bun to add volume—the curls are already creating dimension
- Release a few individual curl sections around your face for framing
- Finish with a light curl-refreshing spray rather than traditional hairspray, which can cast a matte finish over your curls
Pro tip: The best time to create a curly messy bun is when your curls are 1-2 days old. Second-day curls are softer and hold better in a bun than freshly-dried curls, which can spring out of the structure more easily.
8. The Minimalist Side Messy Bun with Hidden Pins
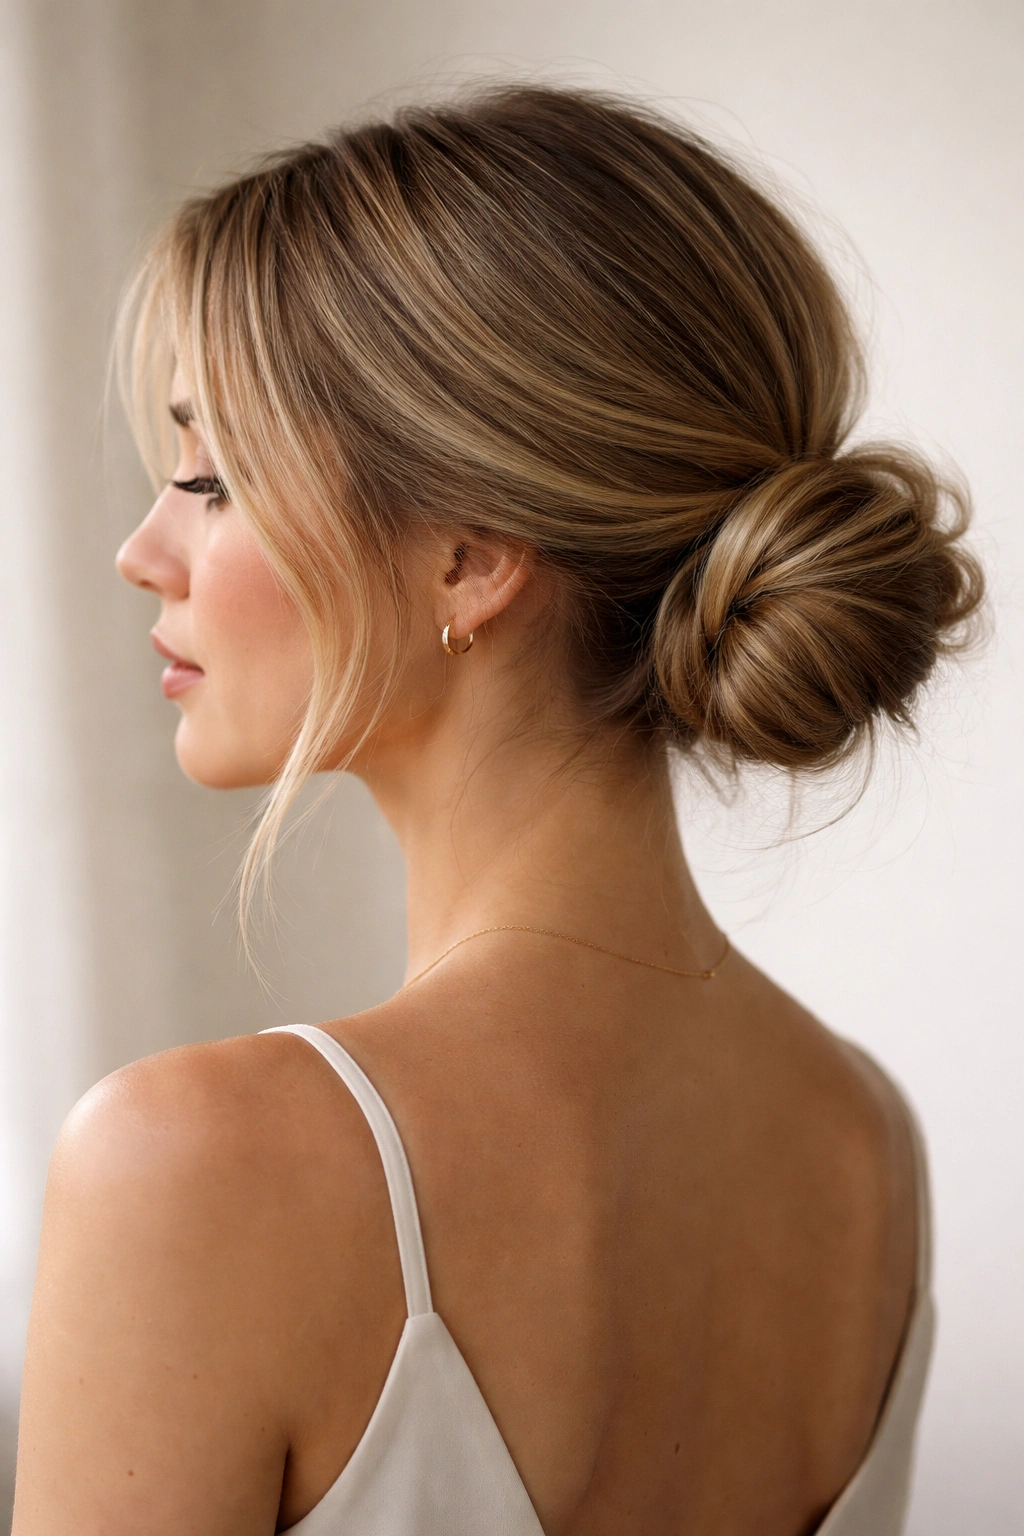
This approach prioritizes clean lines and intentional placement while maintaining softness through wave and texture rather than visible volume. It’s the option for people who prefer understated elegance and don’t want their hairstyle to feel like it requires a lot of explanation.
The Power of Understatement
A minimalist messy bun focuses on quality over quantity—you’re using fewer bobby pins, releasing fewer wispy pieces, and trusting that soft waves and one or two intentional details are enough to create visual interest. This approach works beautifully for professional settings, intimate occasions, or anytime you want your style to complement your look rather than dominate it.
Creating a Minimalist Side Messy Bun
- Brush your hair into soft waves using your preferred method
- Gather your hair to one side at ear level, smooth the top and sides gently
- Secure into a low side ponytail with a single elastic
- Twist the ponytail loosely and wrap around itself, using only 2-3 bobby pins positioned underneath the bun where they won’t be visible
- Pull gently at just one or two sections of the bun to add a minimal amount of softness without fully dismantling the shape
- Leave your face completely clear of loose pieces, or release just one delicate section on your cheekbone
- Smooth any flyaways with a lightweight smoothing cream or serum
- Finish with a very light hairspray—you want the style to move naturally, not feel stiff
Worth knowing: This style actually requires more attention to detail than a fuller, looser messy bun. Because there’s less to hide behind, every element needs to be intentional. Your base waves should be beautiful and well-defined, and your bun placement should be precise.
Styling Tips for Long-Lasting Side Messy Buns
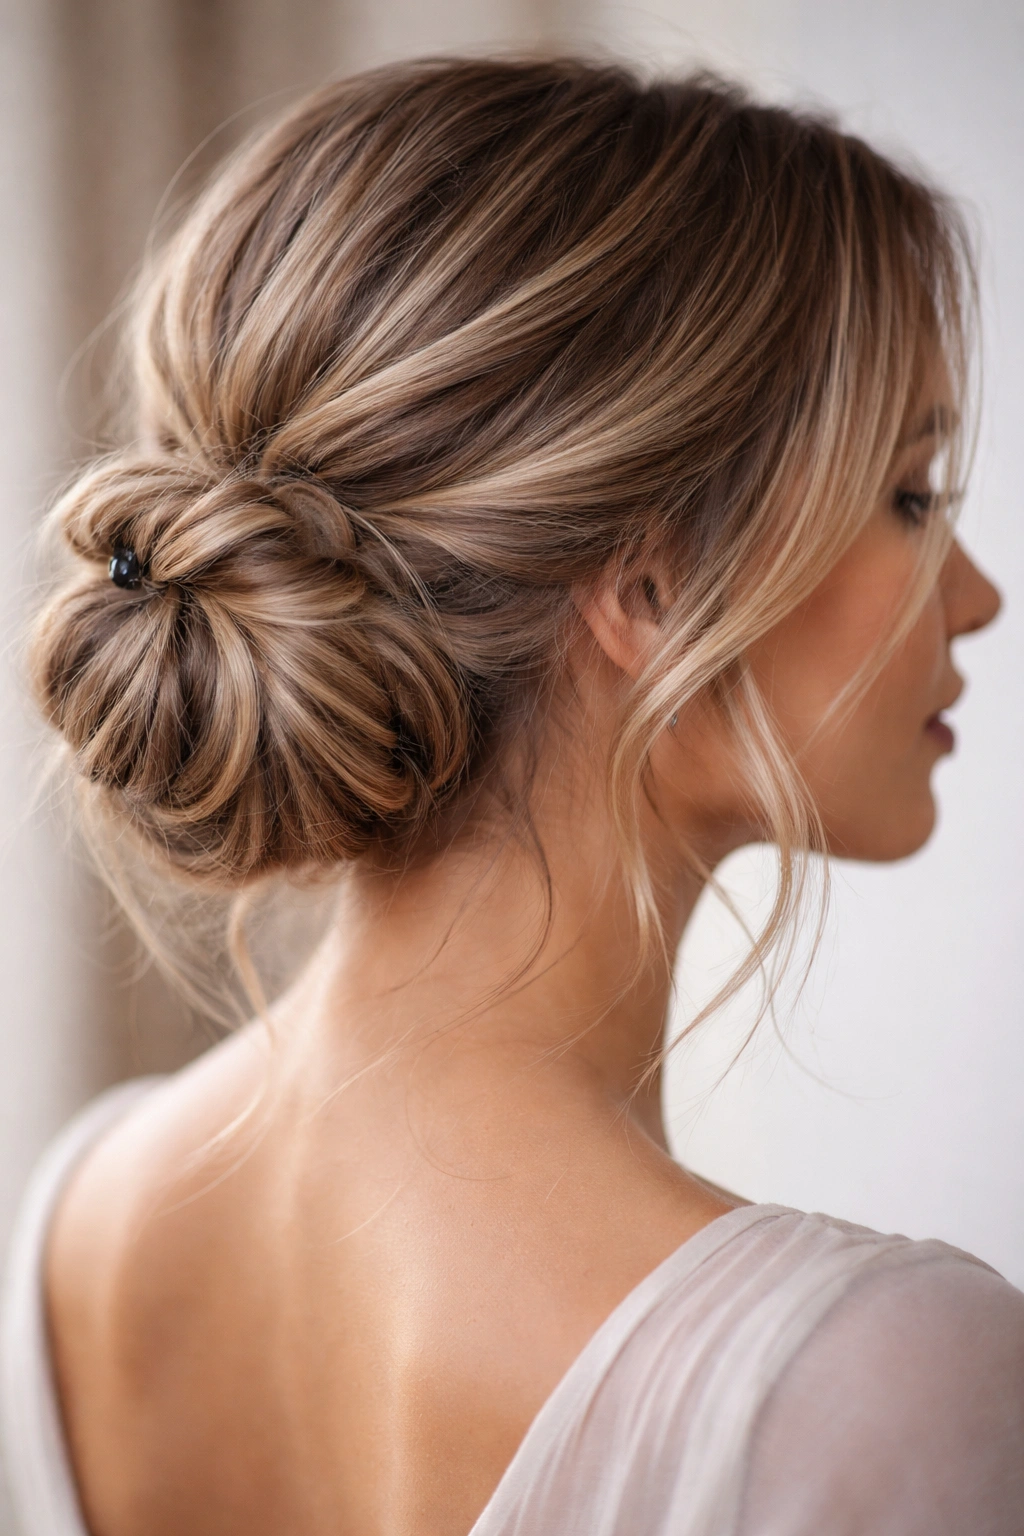
Regardless of which variation you choose, there are foundational techniques that’ll help your side messy bun maintain its soft, intentional appearance throughout an entire day. The difference between a bun that looks great for an hour and one that looks great for eight hours often comes down to these specific practices.
Preparation Matters More Than You Might Think
The quality of your base waves or curls directly determines how soft your bun will look and how long it will maintain that softness. If you’re working from freshly flat-ironed hair, your bun will appear sleek and controlled. If you’re working from beautifully textured waves, your bun will automatically look softer and more romantic. Consider preparing your hair the night before—braid it, apply a texturizing spray, or curl it loosely. This gives you natural-looking softness that hairspray can enhance but not create from scratch.
Your choice of pins and elastics also significantly impacts longevity and appearance. Bobby pins that match your hair color disappear visually, making your styling appear effortless. Clear elastics feel gentler on hair and create less tension, which means your bun sits more naturally. Thicker, textured elastics grip better than smooth ones, which can be helpful if your hair is slippery.
The Strategic Release Technique
Don’t wait until your bun is fully formed to decide where your face-framing pieces will be. Instead, plan these releases before you even gather your hair. For instance, if you know you want pieces around your cheekbones, brush these sections forward before creating your side ponytail. This way, they’re not simply loose strands; they’re intentional pieces that maintain some structure and wave from your pre-styling.
When you do pull at your bun to create softness, use a technique called “sectional pulling.” Rather than grabbing at random sections, systematically work around the bun, pulling at one or two strands from each side. This distributes the looseness evenly and prevents your bun from collapsing into a lopsided mess. You’re aiming for soft, not sloppy.
How to Achieve Softness Instead of Just Messiness
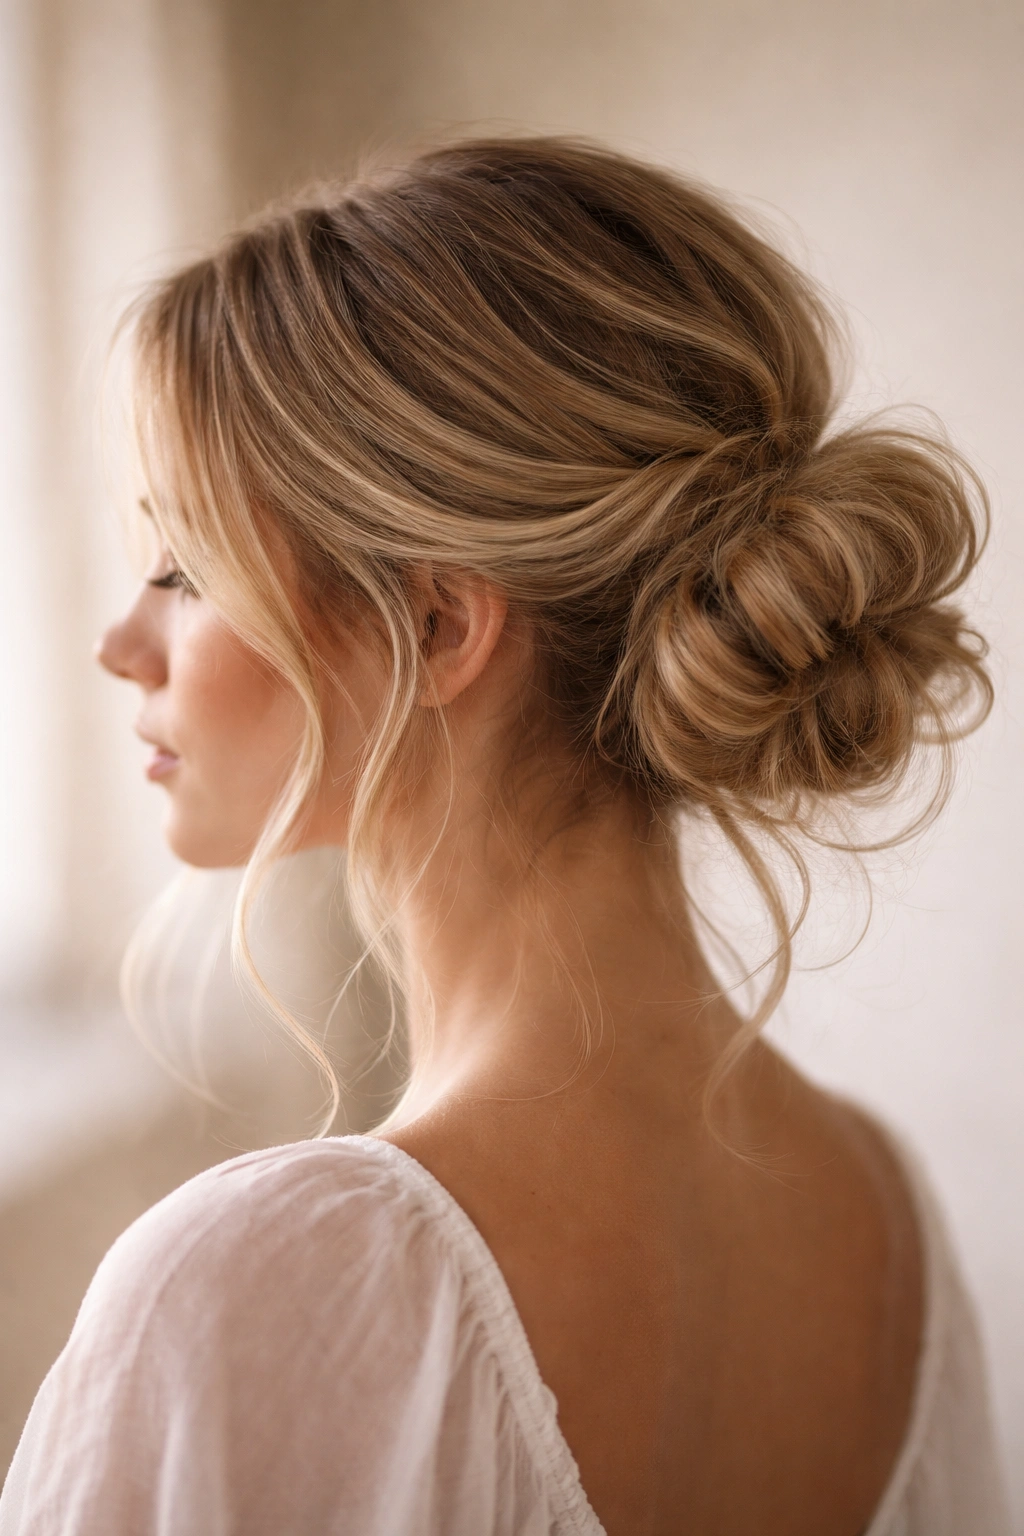
There’s a critical difference between a bun that looks artfully undone and one that simply looks neglected. Softness is intentional; messiness can be accidental. Understanding this distinction is what separates a genuinely flattering side messy bun from one that simply looks like you didn’t finish styling.
The Texture Foundation
Softness begins with texture, not looseness. A completely smooth bun pulled tight will never look soft, even if you release pieces. The softness comes from wave, curl, or texture that catches light and creates visual movement. This is why all the most flattering side messy buns start with pre-styled waves or curls. You can’t create softness from smooth hair through strategic looseness alone.
Apply a texturizing product to your hair before styling—this might be a sea salt spray, a dry texture spray, a light mousse, or even a bit of dry shampoo if you’re working with very smooth hair. These products create the micro-texture your bun needs to look soft rather than simply loose.
Volume Without Bulk
True softness also involves volume placed in the right locations. A bun that’s loose all over looks like you’ve abandoned it. A bun with volume concentrated at the back and sides while the front remains relatively smooth looks intentional and soft. When you release sections, focus on the back of the bun and the areas near your ears. Keep the crown area smoother so your face remains the focal point.
Use your bobby pins strategically to create pockets of volume. Rather than distributing pins evenly around the bun, cluster them in certain areas, allowing other sections to expand and create soft texture.
Final Thoughts
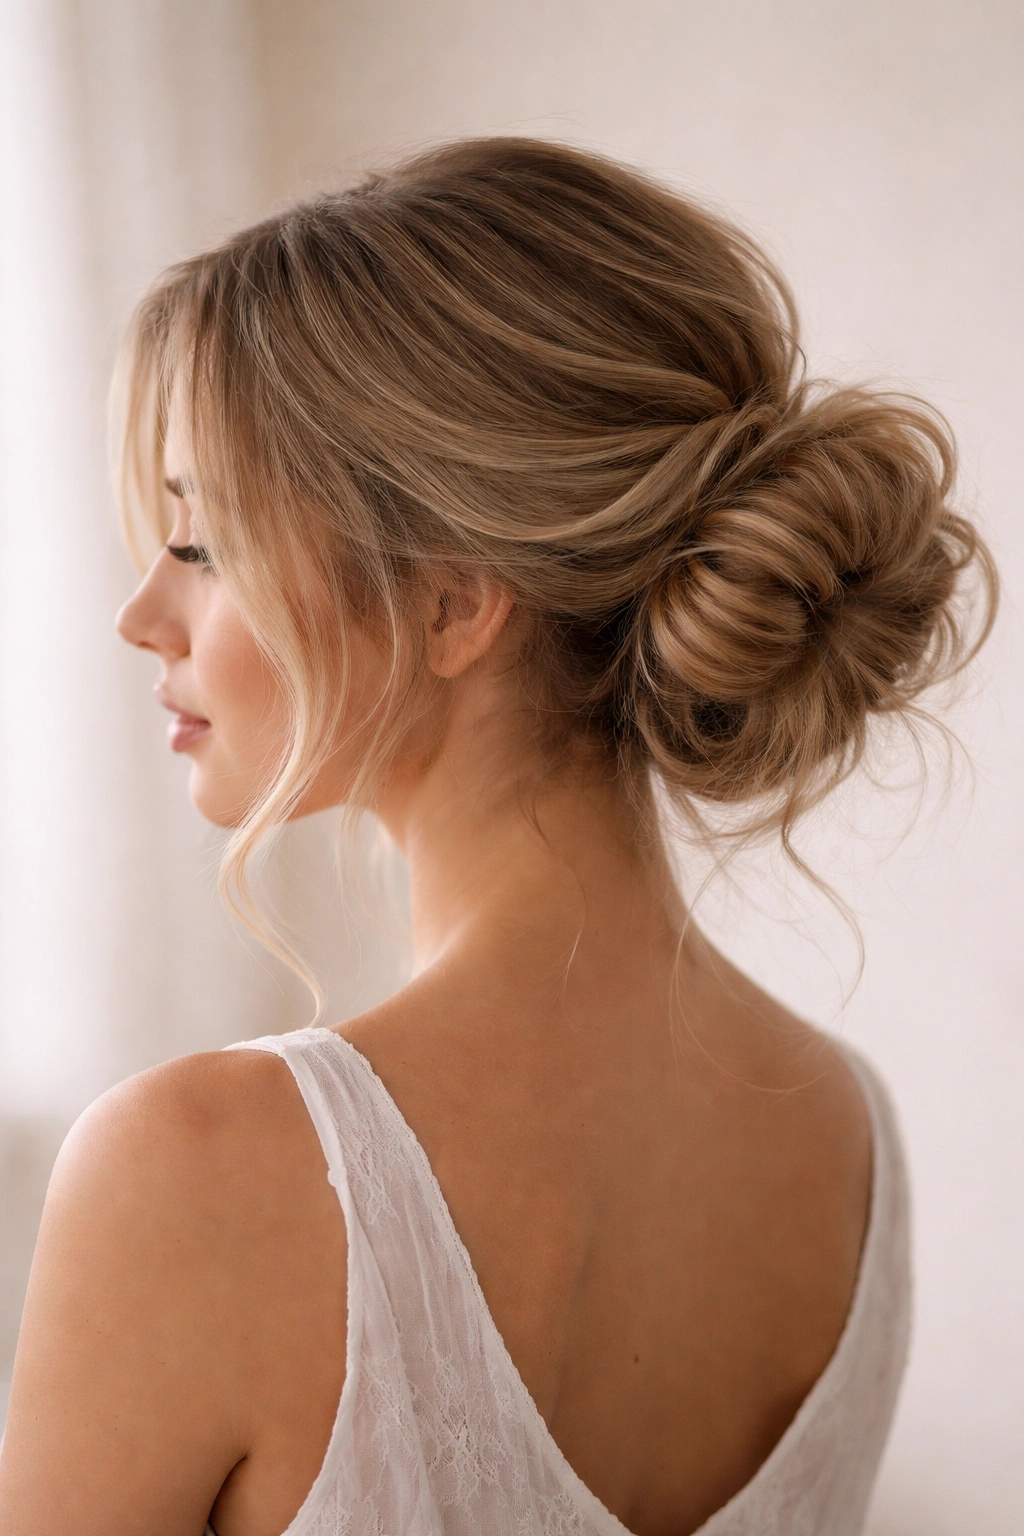
The beauty of mastering side messy bun variations is that you’re essentially learning one fundamental technique and then applying small changes based on mood, occasion, and the specific effect you want to create. Whether you’re drawn to romantic face-framing pieces, architectural twists and braids, or minimalist understatement, the core principle remains the same—start with good texture, gather intentionally, secure carefully, and release strategically.
Side messy buns work because they’re the sweet spot between polished and relaxed. They require minimal styling time, they’re forgiving with imperfection, and they create genuine visual softness that’s flattering on nearly everyone. The eight variations here represent different ways to interpret that softness, from the romantic to the understated, from the textured to the sleek.
Your hair texture, hair length, face shape, and personal style will naturally draw you toward certain variations over others. Start with the approach that feels most intuitive to you, and then experiment with the others as you become more comfortable with the basic technique. Once you’ve mastered a couple of variations, you’ll be able to create a fresh side messy bun hairstyle on days when you want that soft, intentional aesthetic without spending your entire morning in front of the mirror.
