



Curly hair and messy buns have a complicated relationship. The texture you’ve spent time cultivating can either become your greatest styling asset or collapse into a frizzy disaster depending on technique, products, and how you actually secure everything. A high messy bun on curly hair requires a completely different approach than what works on straight hair—you’re not trying to hide your texture or smooth it into submission. You’re celebrating it, anchoring it strategically, and working with your curl pattern instead of against it. The payoff is effortless-looking volume, genuine dimension, and a style that actually lasts through the day instead of deflating by lunch. If you’ve ever attempted a messy bun only to have it unravel within hours or turn into a shapeless blob, the problem wasn’t your hair—it was the technique. The right approach, the right products, and understanding how your specific curl type responds to height and tension changes everything.
The key to mastering high messy buns on curly hair is accepting that “messy” doesn’t mean sloppy or unintentional. It means strategically loose, deliberately textured, and held together with enough grip that your curls stay in place while maintaining their personality. This style works brilliantly for thick curls, ringlets, waves, and coils because the structure of each curl naturally creates visual interest and fullness—you don’t need to tease, backcomb, or artificially bulk things up the way you might on straight hair. What you do need is the right foundation, proper sectioning, smart product timing, and a handful of tested techniques that leverage your curl’s natural behavior. Whether you’re working with 2C waves, 3B curls, or 4C coils, there’s a high messy bun variation that works for your specific texture.
This guide walks you through six distinct high messy bun styles designed specifically for curly hair, each with its own personality, difficulty level, and best-use scenario. You’ll learn exactly how to build height without sacrificing curl integrity, which products actually support curls rather than weighing them down, and how to troubleshoot the most common problems that plague curly-haired people when they try this style. By the end, you’ll have multiple messy bun options in your styling rotation—styles you can actually execute on a regular basis without spending 30 minutes in front of a mirror or destroying your curl pattern in the process.
1. The Full-Volume Twisted Crown Bun
This style is the most forgiving messy bun for curly hair because it celebrates volume rather than fighting it. Instead of gathering all your hair into a single point, you create structural volume at the crown by twisting sections and wrapping them around each other, then securing loosely. The curls naturally puff outward at every twist point, creating a bun that looks intentionally textured rather than hastily thrown together.
Why This Works for Curly Hair
The twisted crown method works because you’re not fighting against your curl pattern—you’re actually using multiple twist points to anchor curls naturally while maintaining their shape. Each twist acts as a separate grip point along the length of your hair, meaning individual curl sections stay secured without requiring a single tight elastic that would crush everything together. The result is a bun that looks fuller and more visually interesting than straight-haired versions because your curls are creating genuine texture and dimension from multiple angles. This style also builds height from the crown downward naturally, so you get lift without having to tease or artificially bulk things up.
How to Execute It
Start with hair that’s been curled for at least a few hours (ideally overnight) so the pattern is set and defined. Apply a lightweight curl-defining cream or mousse to your hands and run them through your entire head to reactivate your curl pattern and ensure everything is smooth and clump-free. Section your hair into two equal halves by parting straight down the middle from your forehead to the nape of your neck. Take the right section and twist it loosely toward the back, following the natural direction of your curl pattern rather than twisting against it. Once you reach the nape, wrap this twisted section around itself to form a loose coil at the base of your skull. Pin it firmly with bobby pins pushed directly into the coil. Repeat on the left side, then wrap the second coil around the first one, securing again with bobby pins. The curls should be sticking out visibly from between the twists and from around the outer edge of the bun—this is exactly what you want. Use a light hairspray mist to set it without making anything crunchy.
Pro tip: If your curls feel flat or sticky, you’re using too much product. Apply less cream than you think you need—you can always add more, but you can’t remove product once it’s in.
2. The Stacked Knot High Bun
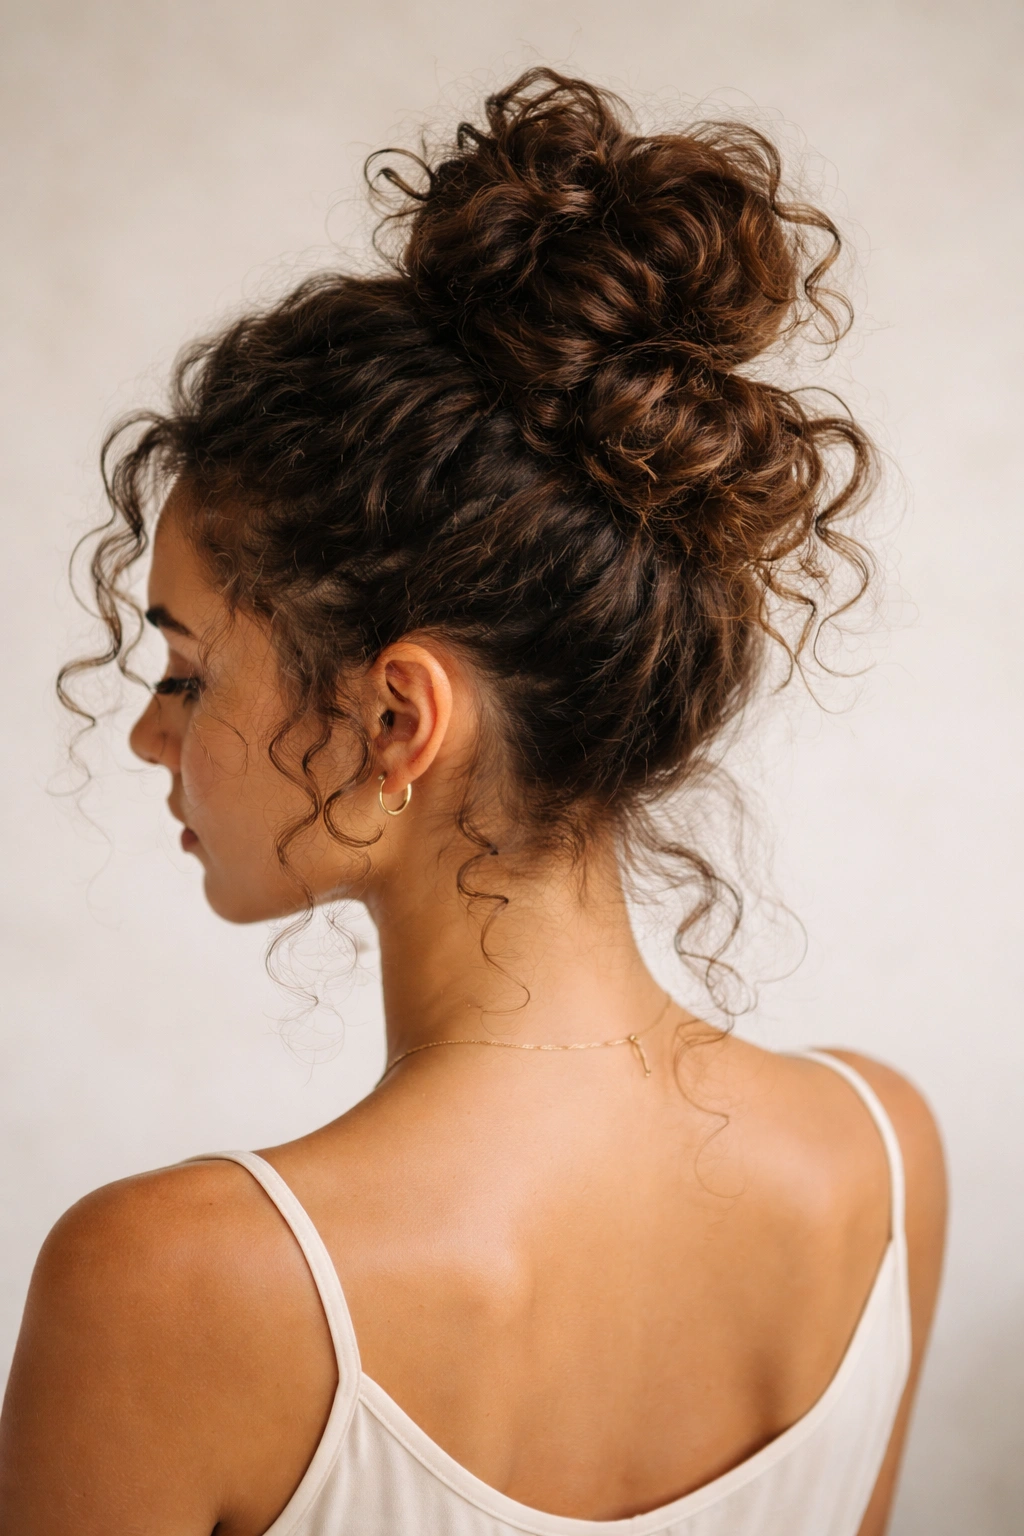
This is the most playful and modern of the messy bun options. Instead of twisting, you create two or three intentional knots with the upper sections of your hair, stacking them loosely one on top of the other. Each knot sits slightly higher than the one below it, creating a vertical stack effect that’s part bun, part haircut moment. It reads as deliberately trendy without feeling overdone.
What Makes It Different
The stacked knot method creates what’s technically called a “multi-loop bun” but feels more organic and textured than that formal name suggests. You’re literally tying your hair into knots at different heights, which means the loops and strands sticking out are intentional rather than accidental. For curly hair specifically, those sticking-out curls are the entire visual point—they add sophistication and dimension that make the style feel expensive and intentional. Because you’re working with separate knots at different heights rather than one single point of tension, there’s less stress on any one section of hair, making it gentler on your scalp and curl pattern overall.
Step-by-Step Instructions
Gather the top third of your hair (roughly from temples to crown) and loosely tie it into a single knot at the crown. Don’t pull it tight—the knot should feel loose enough that you can see the curl texture within it. Take the next section of hair (the middle portion) and tie it into a second knot directly below the first one, slightly offset so the two knots sit parallel but slightly overlapping. Do the same with the bottom section of hair, creating a third knot at the nape. Pin each knot discreetly with a bobby pin inserted horizontally through the center of the knot itself. Gently pull at the outer edges of each knot to loosen and fluff the loops, creating more volume and texture. The final effect should look like three stacked, slightly deflated knots with curls peeking out everywhere—casual and cool, not polished.
Worth knowing: This style works best on second or third-day hair when curls have loosened slightly and have more grip. Fresh curls can be too springy and won’t hold the knot shape as well.
3. The Spiral Wrap High Bun
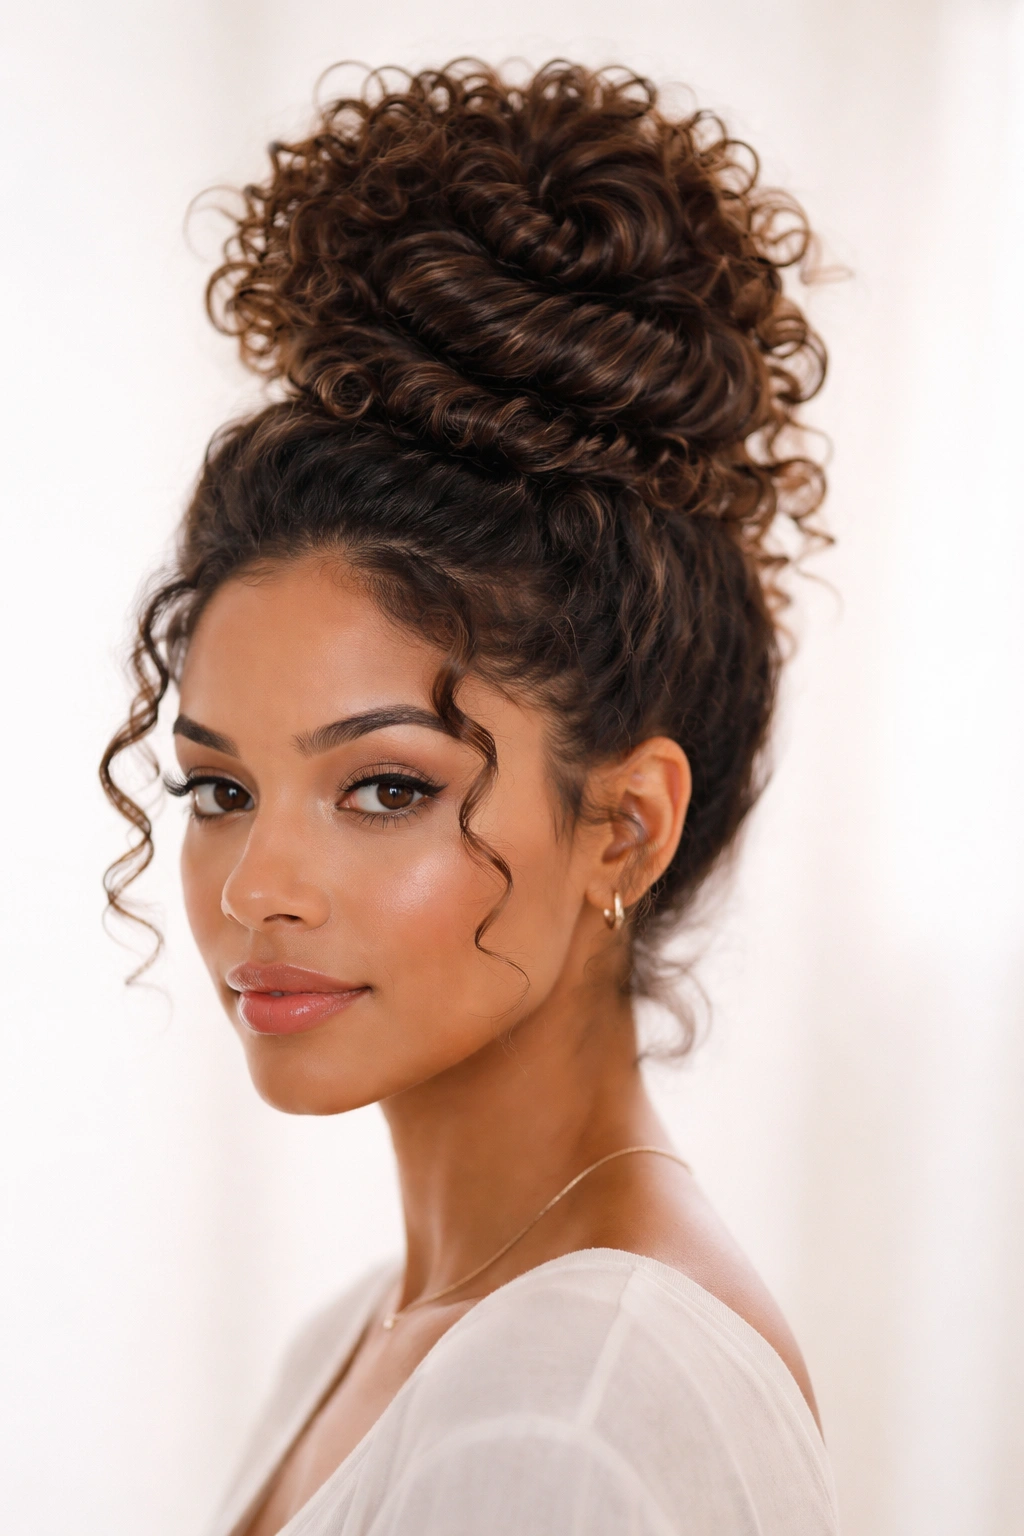
This variation uses one long continuous spiral rather than multiple sections, creating a more unified bun with elegant geometric interest. You gather your hair loosely, twist it into a rope, then spiral that rope around itself at the crown. The curls wind around the spiral structure, creating a bun that looks architectural without feeling rigid or overwrought.
Why Curly Hair Loves This Style
Spiral wraps work beautifully on curly hair because the twist movement actually helps define and separate your curls rather than mashing them together. As you spiral the twisted rope around itself, individual curls catch on the structure and stay separated, creating a bun that looks fuller and more textured than you’d get on straight hair. The continuous spiral also distributes weight more evenly across your scalp compared to a single gathered point, which means less tension overall and less potential for a headache or damage. The visual result is professional-looking and put-together, yet still obviously a messy bun because curls are visible at every angle.
How to Create It
Brush your hair gently with a wide-tooth comb to smooth out any knots while respecting your curl pattern. At the crown, gather roughly two-thirds of your hair into a loose, high ponytail and secure with a soft elastic. Leave the bottom third loose for now. Take the ponytail and twist it firmly—not hair-tie tight, but with visible tension. As you twist, gradually wind the twisted rope around itself, creating a spiral shape. Secure the spiral with bobby pins pushed into the coil at multiple points around the spiral. Now take the lower third of hair, twist it separately, and wrap it around the base of the spiral bun, securing with more bobby pins. This creates a fuller, more visually interesting bun with better dimension. Gently pull the outer curls of the spiral to increase volume and fluff the overall shape.
Insider note: Use black bobby pins on dark hair and blonde pins on light hair—they virtually disappear and won’t create visible “x” marks across your bun.
4. The Textured Coil Bubble Bun
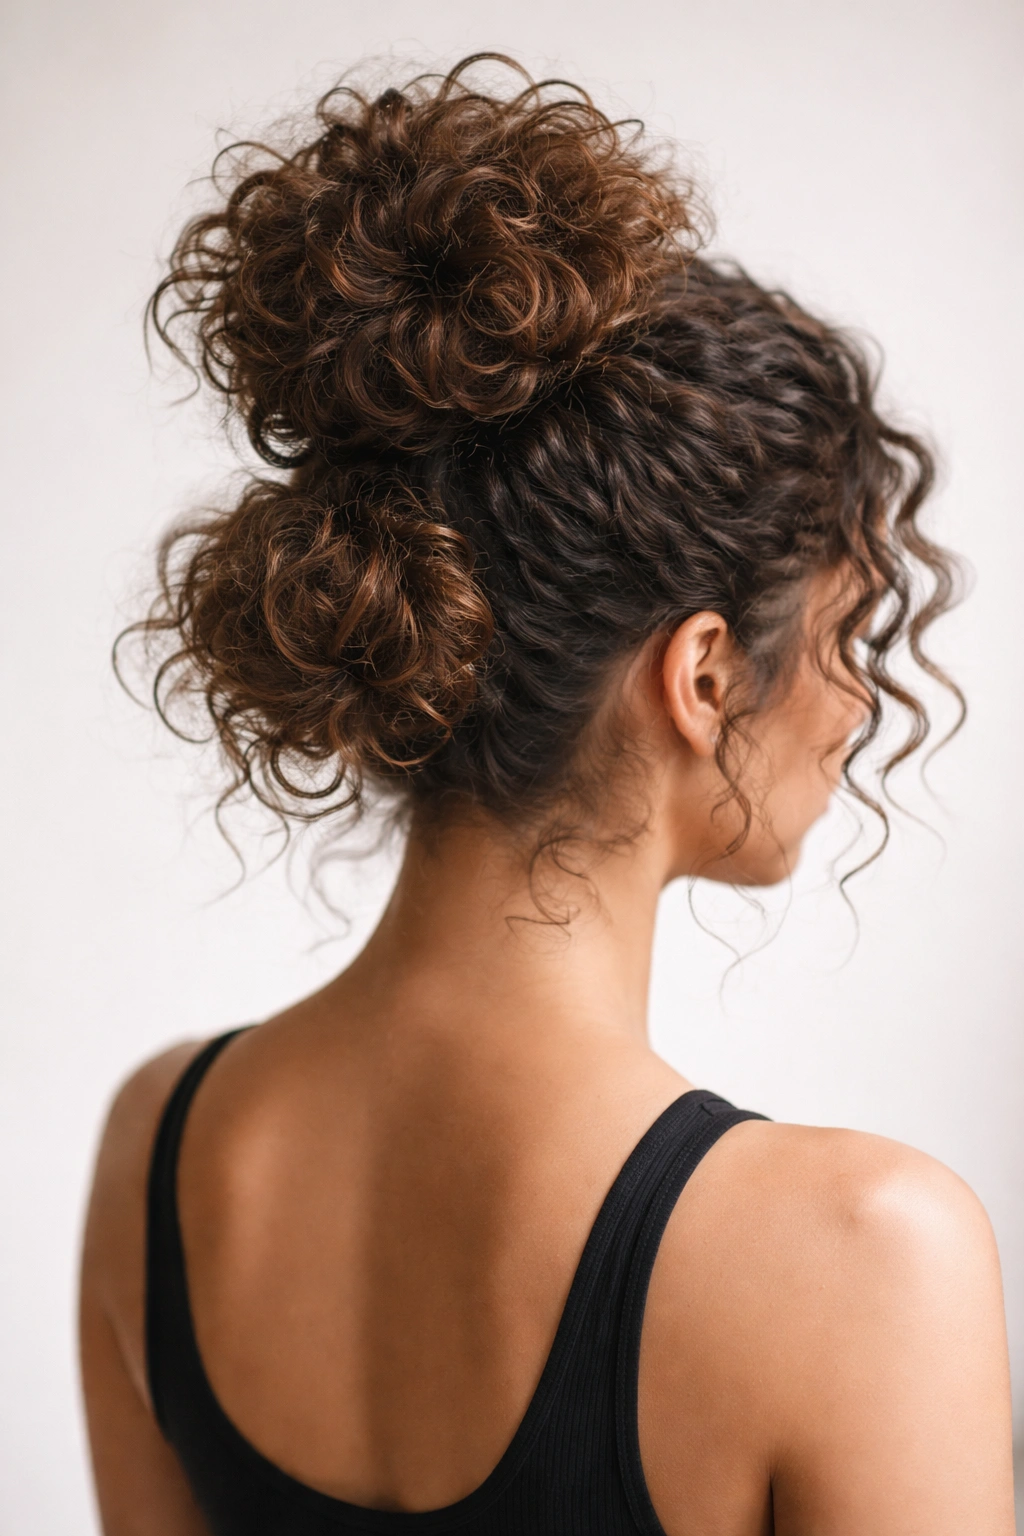
This style creates vertical dimension by stacking two or three loose buns on top of each other, with intentional space between each one, so you get a “bubble” effect going up the back of your head. Each bun sits independently, so your curls are free to fluff outward naturally without being constrained by a single tight structure. It’s more playful and architectural than a standard messy bun.
What Makes It Work on Curly Hair
The bubble bun method is designed for textured hair specifically. Straight-haired people often hate this style because loose sections of straight hair just hang limp between the bubbles. But curly hair? Each bubble can puff outward independently, creating a genuinely stunning effect with serious visual impact. The style also distributes volume vertically, which creates the illusion of height without requiring you to backcomb or tease. Because each bubble is secured independently, you’re never creating one point of extreme tension that could snap hair or cause a headache.
Building the Bubble Bun
Start at the highest point of your crown and gather a small section of hair (about the width of your palm) into a tiny, loose ponytail using a thin elastic. Secure it loosely—you want to see some curl texture inside the ponytail itself, not a smooth, flat gathering. About 2 inches below that first bubble, gather the next section of hair (including some of the loose hair falling from the first bubble) into a second ponytail, securing loosely. Repeat once or twice more as you work down, creating 3-4 loose bubbles down the back of your head. The overlapping creates a continuous line while the loose gathering in each bubble creates the puffed-out effect. Gently pull at each bubble to fluff and increase volume. The final style should read as intentional and modern, not sloppy—there’s a real difference.
Pro tip: Use clear or color-matched elastics for the upper bubbles and a more substantial elastic for the bottom bubble, since it’s bearing the most weight.
5. The Twisted Half-Up High Bun
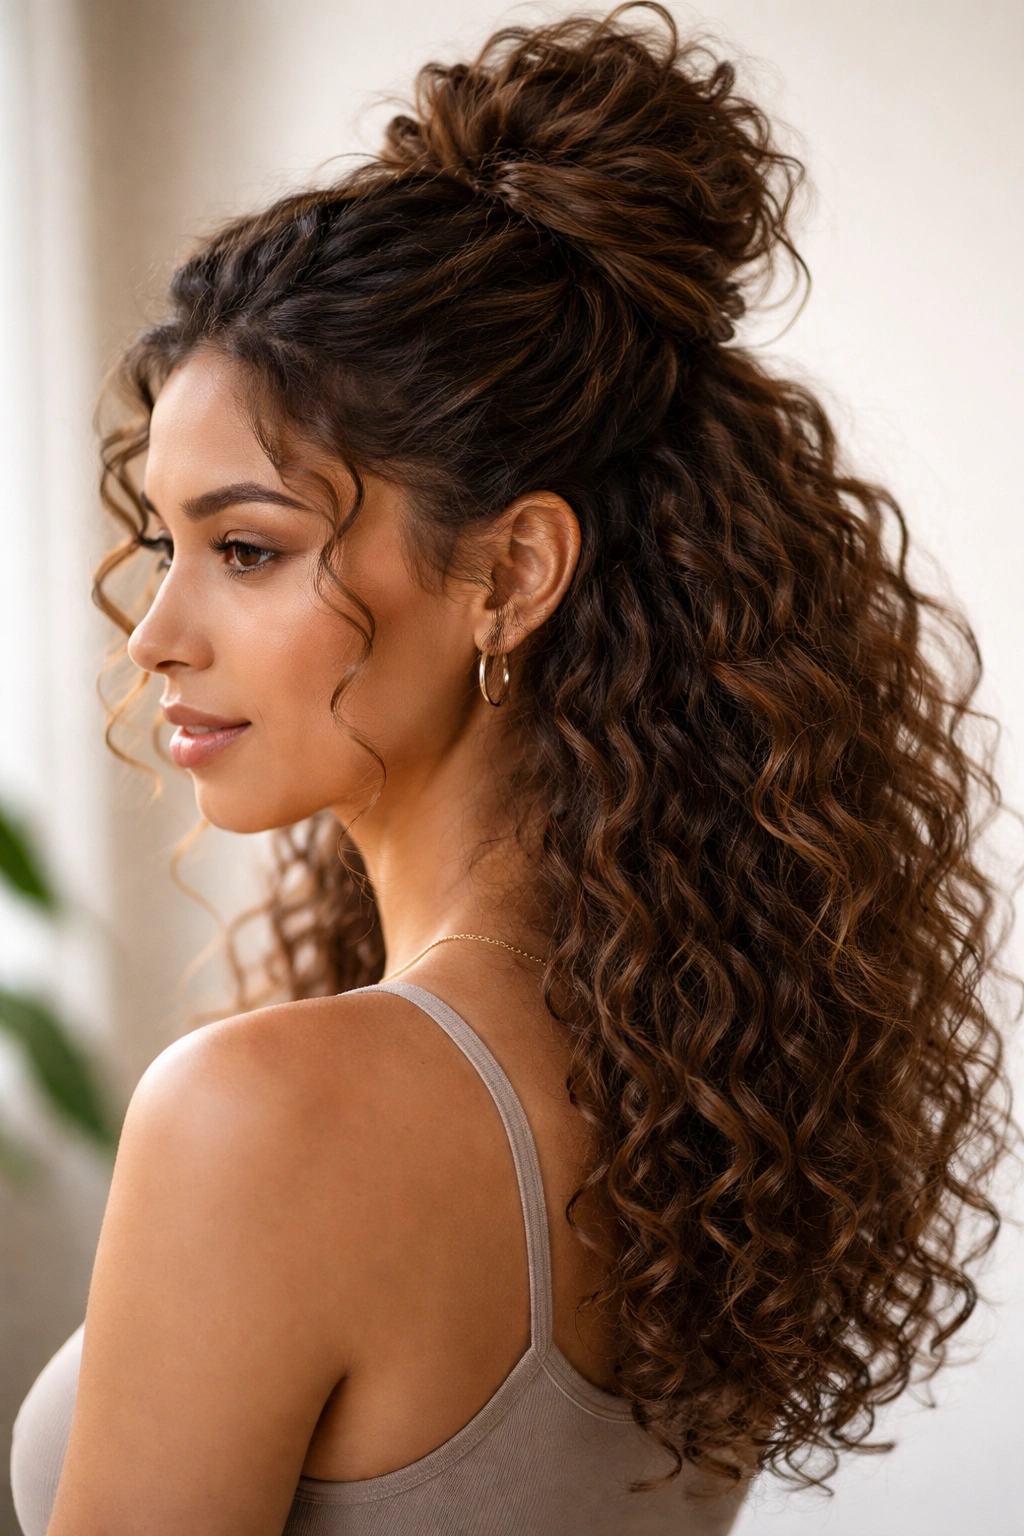
This hybrid style takes the top half of your hair into twists that converge at the crown, while leaving the bottom half down and curly. It’s perfect for days when you want height and off-face styling without committing to a full updo. The half-up element keeps your curls at their most visible while still keeping hair back and in place.
When to Wear This Version
The half-up high bun works beautifully for workouts, when you want to keep hair off your face but don’t want a sweat-soaked full bun, or for any situation where you want your curls to be the statement but not actively falling in your face. It’s also the most flattering for showing off face shape and features since it frames everything nicely while keeping the bulk of hair back. The style is effortless-looking enough for casual wear but put-together enough for professional or social settings—it’s genuinely versatile in a way that full buns sometimes aren’t.
The Execution
Determine where you want your “half” line to be—typically around ear level, but you can adjust based on your face shape and preference. Using clips, section off the top half of your hair and set the bottom half aside. Take a small section from the right side (above your right ear) and twist it toward the back, following the natural direction of your curl twist. Repeat on the left side with a matching twist. Let these two twists meet at the crown and pin them together with bobby pins, wrapping them around themselves slightly to create a small knot or bun shape. For more fullness, add a third twist from the very top center and wrap it around the base of the two side twists. Release the bottom half of hair and reshape any curls that got flattened during the upper work. You should have a high twisted detail at the crown with curls flowing down your back—half up, definitively down.
Worth knowing: This style actually works better on day-two or day-three hair because the curls have already relaxed slightly and will hold the twisted shape better.
6. The Pineapple Precursor Bun
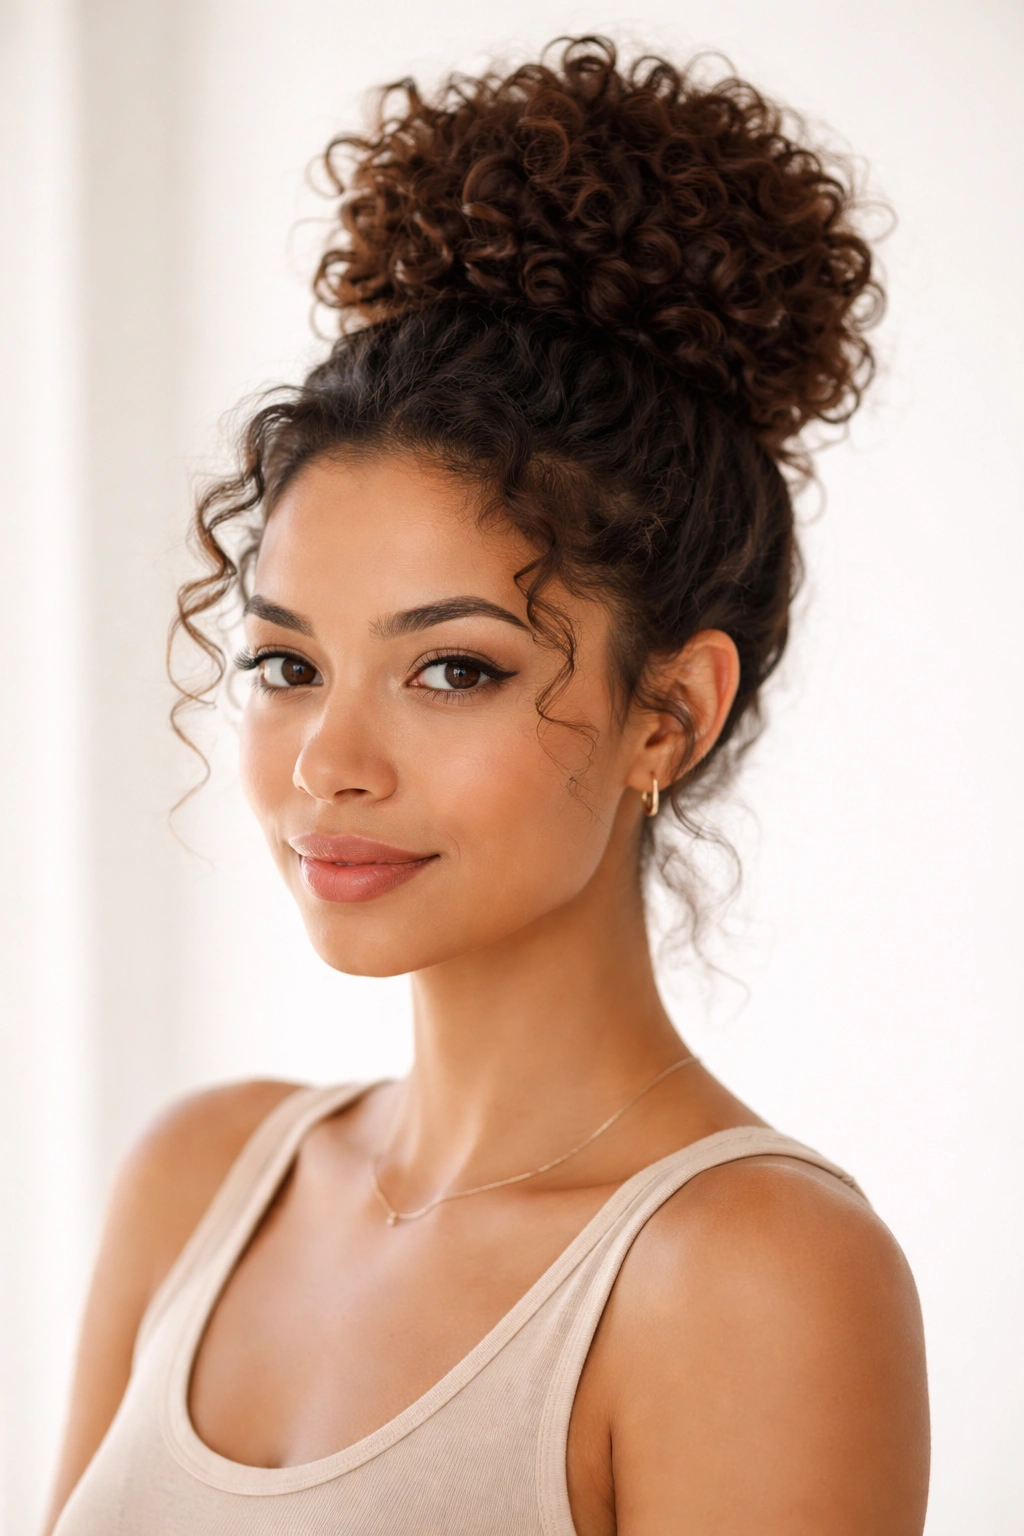
This style starts with the popular pineapple method (gathering curls in a high crown ponytail to preserve the curl pattern overnight), but instead of just securing with a soft scrunchie, you transform it into an actual styled bun. You’re getting curl preservation and a polished daytime look—efficiency and aesthetics in one move.
Why This Is Your Secret Weapon
Most people think of the pineapple as strictly a nighttime hair-preservation technique, but when you add intentional shaping and minimal styling, it becomes a legitimate daytime style. Your curls stay in their best possible shape (you haven’t slept on them, so they’re not compressed on one side), you’re protecting them from manipulation and environmental damage, and you look intentionally styled rather than like you just woke up. This method also requires minimal product and effort once you understand the shaping technique, making it perfect for rushed mornings or days when you don’t have time for elaborate styling.
How to Create It
Start fresh from a pineapple (whether that’s from overnight or a fresh styling). Gather your hair into the highest crown ponytail you can without creating actual tension or pain. Secure with a soft scrunchie or hair tie designed for curly hair. Now, instead of leaving it as a traditional pineapple, divide the gathered hair into 2-3 sections and loosely coil each section around the base of the ponytail, pinning as you go. The idea is to create an intentional bun shape while keeping individual curls loose and separated rather than mashed together. Some curls will stick out from the sides and top—don’t try to smooth them back. Your goal is a bun that reads as styled but obviously textured and curly. A light hairspray mist helps set everything without creating crunch. You can refresh this style for 2-3 days by simply redoing the coils and re-pinning, extending the life of your curl set significantly.
Pro tip: If you sleep in a pineapple and wake up with some curls matted or flattened, spritz those sections with a curl-refreshing spray and let them air dry for 15-20 minutes before converting to the bun style.
Essential Products That Actually Work for Curly-Hair Buns
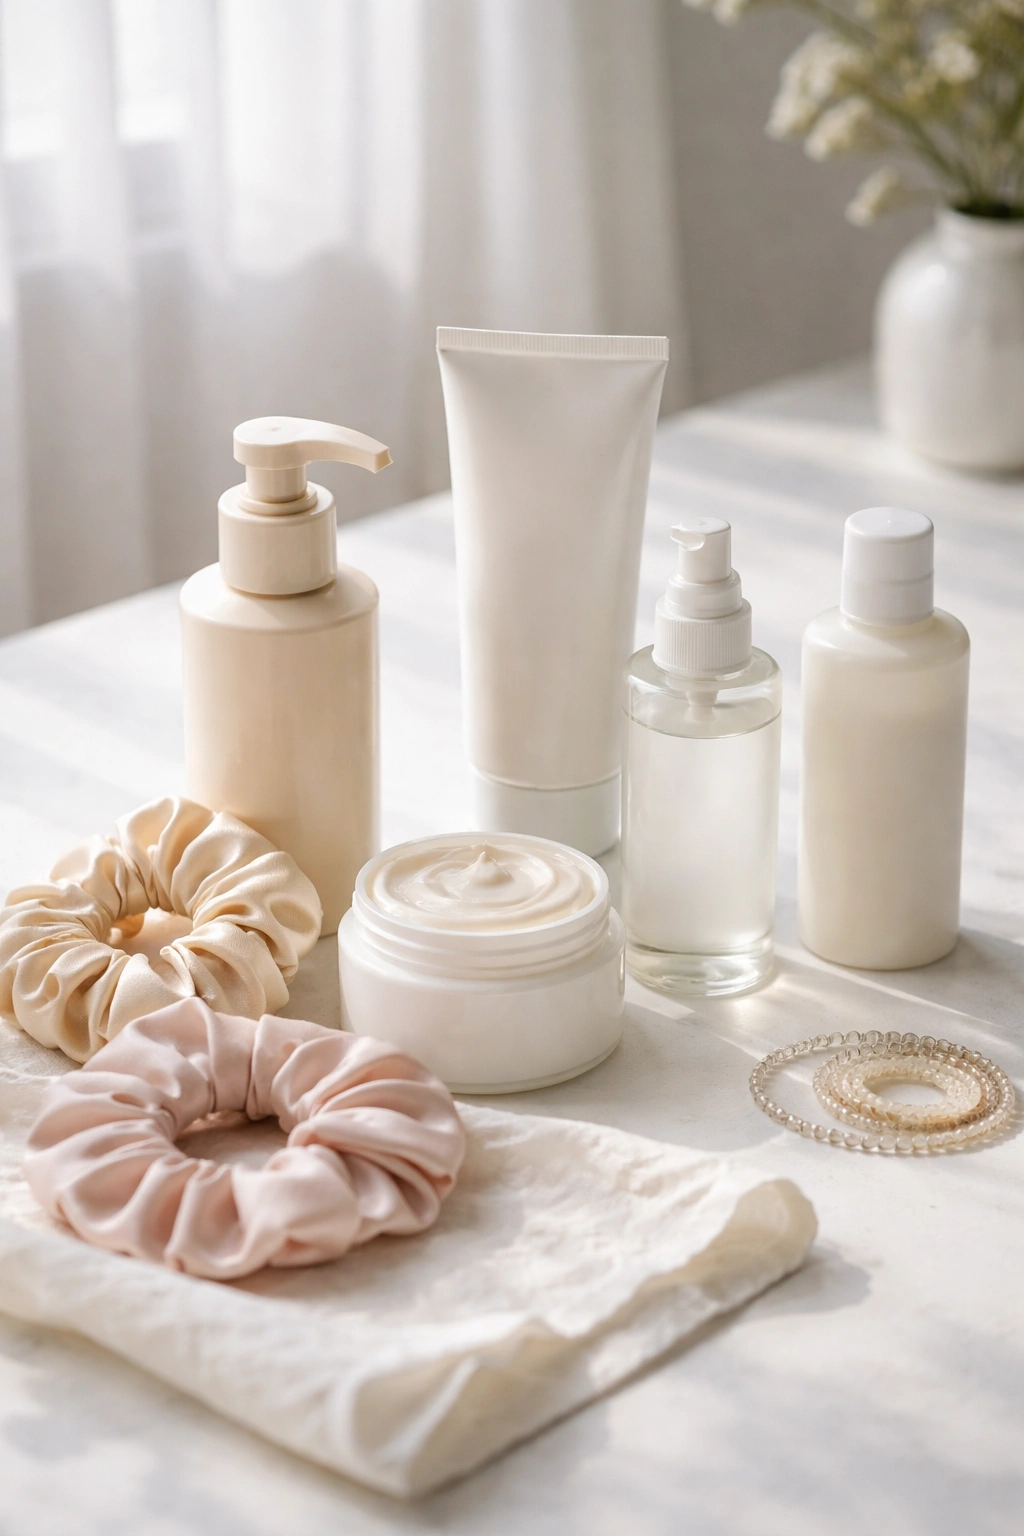
Your product choices make or break a curly-hair bun, and not in the way most people think. You’re not looking for the strongest hold or the most shine—you’re looking for products that grip without weighing down, that define without stiffening, and that let your curl pattern remain visible and springy even when secured.
Lightweight curl creams and styling lotions are your foundation. These provide grip and definition without the crunch of gels or the heaviness of butters. Look for products specifically labeled for curls that have water as the first ingredient and minimal heavy silicones. Apply these when your curls are still damp or to damp hair for the best results. The product helps your curls cling together in their natural pattern while giving them enough structure to hold a bun shape.
Soft elastics and scrunchies designed for curly hair are non-negotiable. Regular elastics create a harsh compression line that breaks hair and damages your curl pattern. Spiral hair ties, silk scrunchies, or elastics specifically labeled “curl-safe” distribute pressure more gently and create less visible indentation. They also won’t snag or catch on your curl texture the way regular elastics do.
Bobby pins in the right finish matter more than you’d expect. Matte black or blonde bobby pins (matching your hair color) are less visible than shiny ones, but more importantly, the finish affects grip. Matte finishes grab hair better than glossy finishes. Keep a supply of the right color on hand so you can pin discretely and securely.
Light hairspray or setting spray should be the last step, applied as a fine mist rather than heavy spray. You want just enough to hold without creating crunch or flakiness. Hairspray designed for curly hair tends to be lighter and more flexible than standard formulas.
Common Mistakes That Destroy Curly-Hair Buns
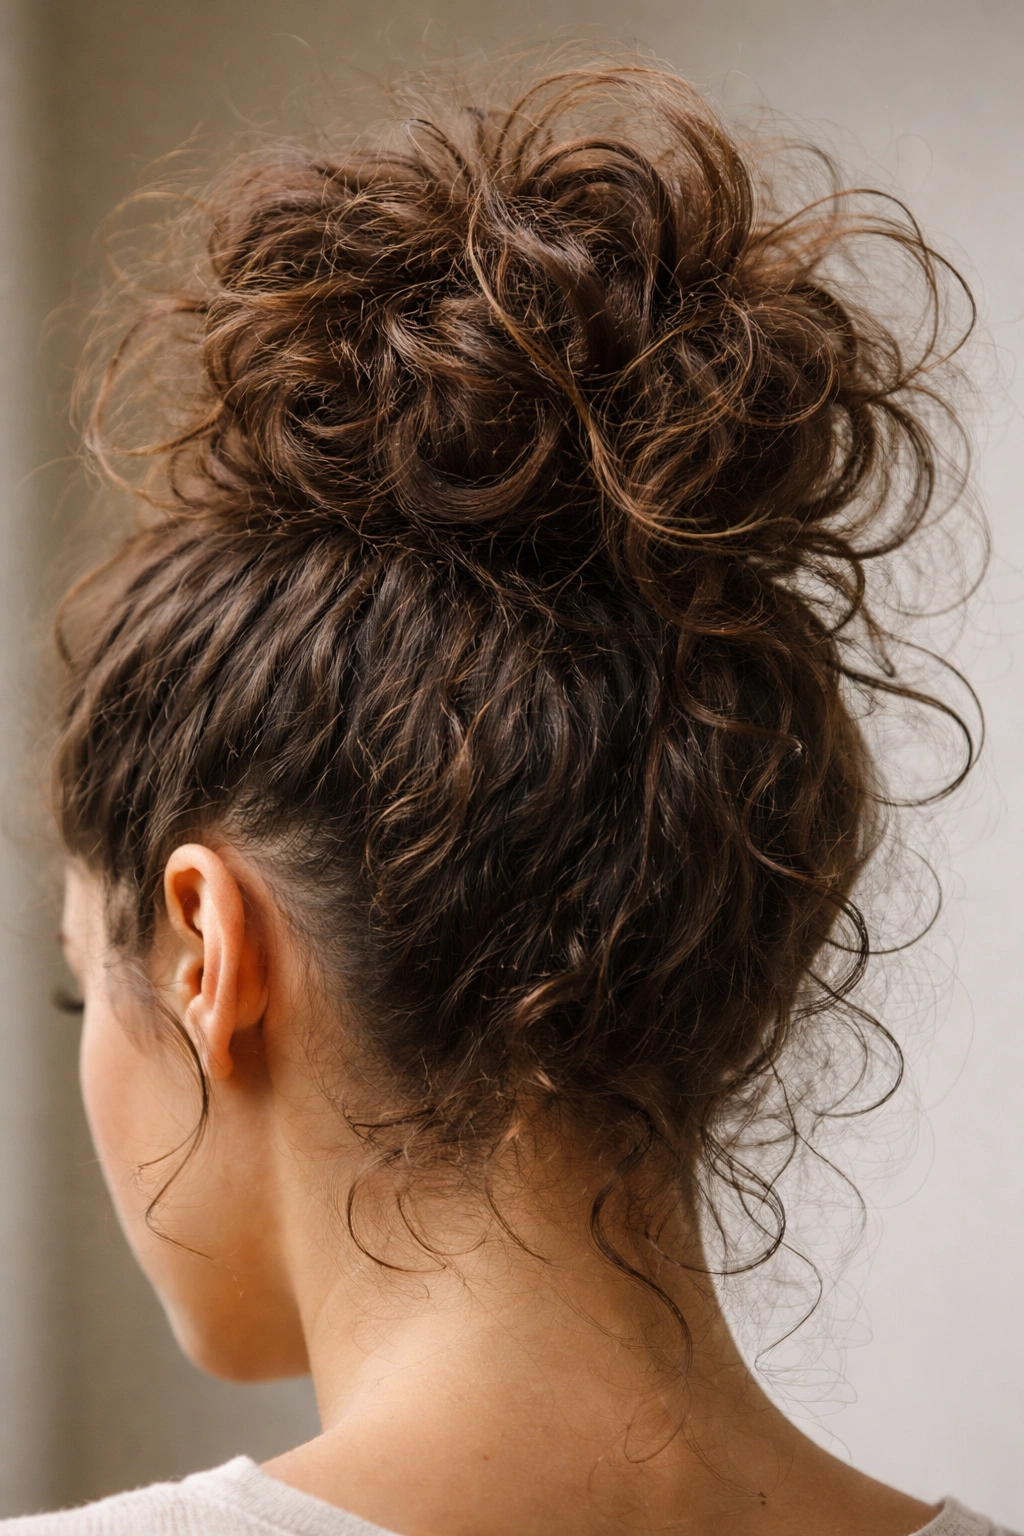
Understanding what not to do is just as important as knowing the right technique. These are the most frequent mistakes that cause curly-haired buns to fail within hours.
Using too much product is the number-one culprit. More product doesn’t mean better hold—it means heavier curls that lose their springiness and structure. Your curls have natural grip and texture; product should enhance that, not overwhelm it. Start with less than you think you need and build up only if necessary.
Pulling too tight kills both the look and your hair. A bun doesn’t need to be pulled so tight that you feel tension on your scalp. Tight gathering crushes curls, damages the hair at the root, and creates an unflattering pulled-back appearance. Messy buns are supposed to feel loose, which means there should be some intentional slack in how you gather and secure your hair.
Brushing wet curls before a bun disperses your curl pattern. Curls need to be set or mostly dry before you try to create a bun, otherwise you’re just working with undefined waves that have no shape or structure to work with. If you must detangle wet hair, use a wide-tooth comb and work gently, then let curls dry or mostly dry before gathering into a bun.
Using regular hair ties instead of curl-safe elastics creates visible damage and compression that’s hard to recover from. The small price difference for proper elastics is absolutely worth it compared to the damage that regular ties cause.
Not allowing enough time for curls to set. If you style curls and immediately put them in a bun, the curls are still in a malleable state and will collapse or shift shape as the day goes on. Curls need 2-4 hours minimum to fully set and firm up before they’ll hold a style reliably. Overnight is ideal.
Trying to create a bun with freshly straightened or blown-out hair. Straight hair and curly hair require completely different bun techniques. If you’re planning to do a bun, work with your natural curl pattern rather than fighting it by straightening first. You’ll get better results and less styling stress.
How to Maintain Your Bun All Day Without Falling Apart
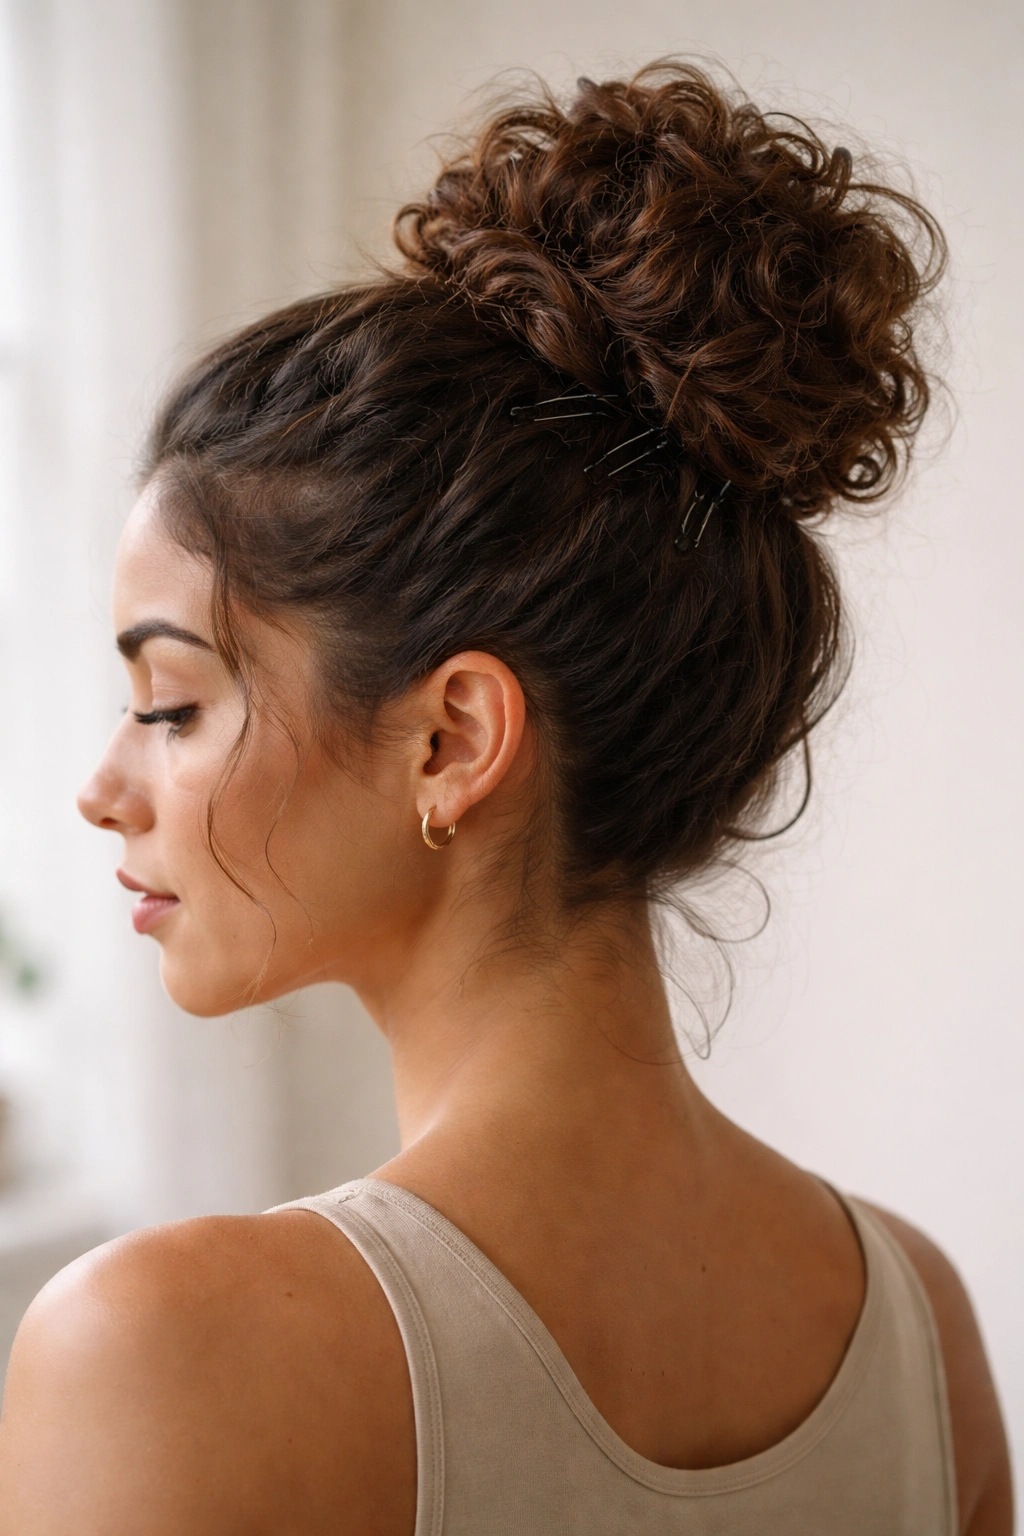
A bun falling out halfway through the day is demoralizing, but it’s usually preventable with a few strategic steps.
Use enough bobby pins—more than you think you need. Each pin should be pushed firmly into the bulk of the bun with the curved end facing downward, and you should use at least 4-6 pins for a secure, lasting bun. Bobby pins are cheap; replacing a failed bun is not.
Apply a setting spray after you’ve fully styled the bun, misting from multiple angles and allowing it to fully dry (30-60 seconds) before you move on. The spray acts as a flexible glue that holds shape without making your curls feel stiff or crunchy. Curly-hair-specific formulas are lighter than regular ones.
Skip touching and restyling your bun throughout the day. Every time you adjust, push, or re-pin, you’re disrupting the structure and loosening the pins. If you notice it shifting, use a bobby pin to pin the moving section more firmly rather than fully redoing everything.
Keep a small bottle of curl refresher spray with you. If you’re out all day, you can lightly mist the bun in the afternoon and let it air dry or blow dry on cool, which reactivates some structure and helps everything re-set for the evening.
If you’re doing a full day of activities (work, then social plans, then something else), consider rebuilding the bun halfway through. It takes 5 minutes and you get a fresh, full look that lasts through evening instead of managing a gradually deteriorating bun.
Quick Troubleshooting for Bun Disasters
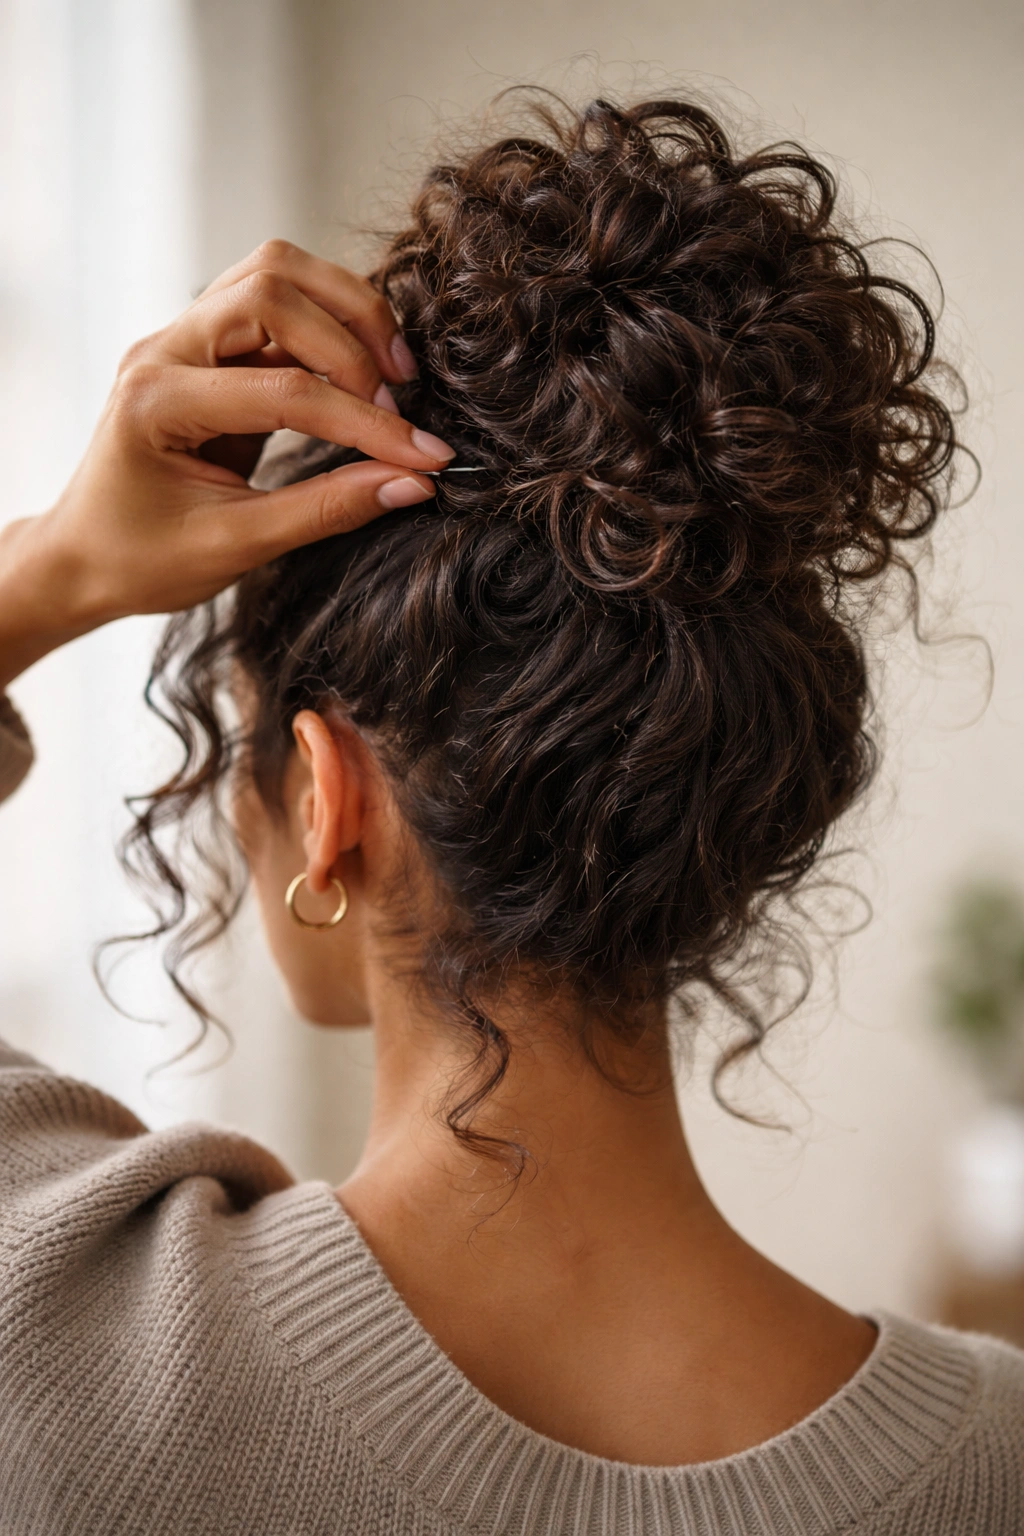
Bun feels flat or deflated: Gently pull sections of curls outward to increase volume and fluff. If it’s already fully dried and set, mist with refresher spray and pull, then let air dry for 10 minutes. You can also add bobby pins in strategic locations to create more lift and dimension.
Curls are puffing out in weird places: This is actually fixable and fixable quickly. Use a small flat iron or curling iron to gently re-curl those rebellious sections, allow them to cool, then pin them back into place. Alternatively, pin them where they are and let them work with the overall look—sometimes embracing the chaos reads better than fighting it.
Bun is too loose and won’t hold its shape: You need more pins and possibly a touch more product. Add bobby pins at 2-inch intervals around the bun, and consider a light application of curl gel or cream to the outer perimeter to help lock everything into place.
You have a flat spot on one side from sleeping or pressure: This is why the pineapple method works—it prevents exactly this problem. If it’s already happened, spritz the flat area with curl refresher spray and separate the compressed curls gently with your fingers, then let it air dry or use a diffuser dryer. Sometimes you can flip your head over and let the flat side dry under gravity.
Flyaways and frizz around the crown: A light application of edge control or smooth cream specifically around the hairline and crown, applied with a toothbrush or firm brush, will smooth flyaways without affecting the bulk of the bun. This is purely aesthetic but makes a huge difference in how finished the style looks.
Adapting These Styles for Your Specific Curl Type
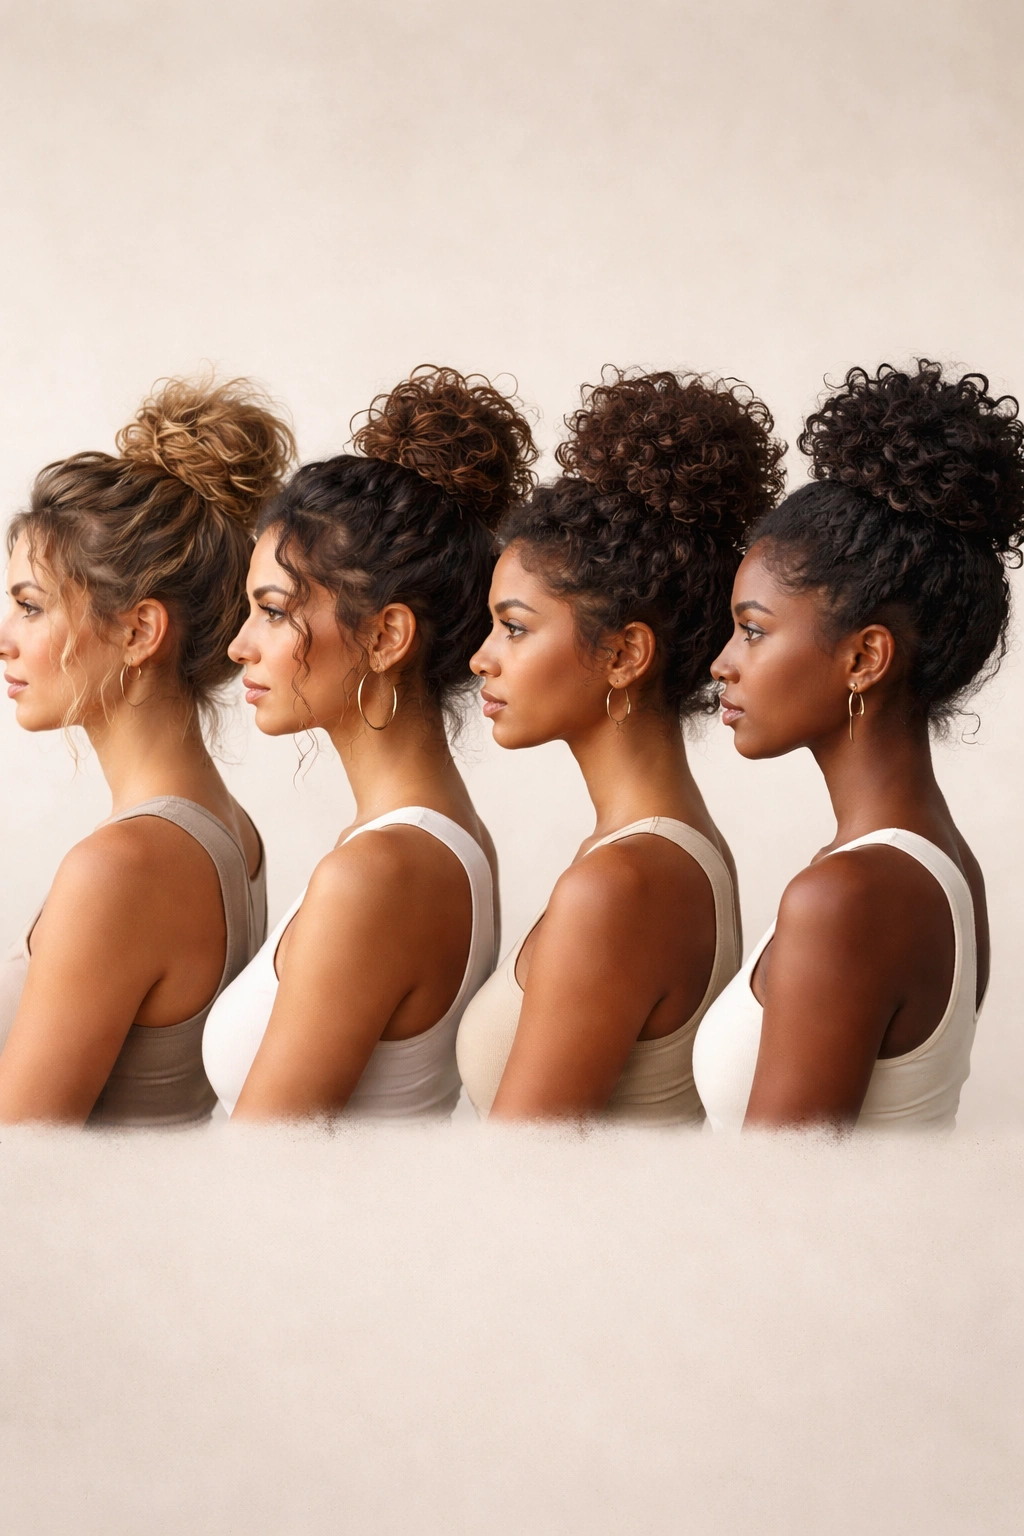
Not all curly hair is the same, and different curl patterns respond to bun styles differently.
For waves (2A-2C): Your hair is thinner and more prone to falling out of buns. You’ll need the maximum number of bobby pins and more frequent touch-ups. The twisted crown and half-up buns work best because they create more individual grip points.
For tight curls (3A-3B): You have beautiful natural texture and should lean into styles that show it off, like the bubble bun and spiral wrap. Your hair will hold bun shapes well, so you can afford more looseness than other curl types.
For coily hair (3C-4A): Your hair is dense and can handle substantial bun styles without looking flat. Focus on methods that create height and that don’t compress curl integrity, like the stacked knot or twisted half-up.
For coils (4B-4C): You likely benefit most from styles that don’t require as much moisture and that take advantage of your natural shrinkage and density. The pineapple precursor bun and full-volume twisted crown both work beautifully.
These are starting points, not rules—your individual hair texture, density, and length all matter too. The best way to know what works for you is to try a style and pay attention to how it feels, how long it lasts, and whether it damages your hair.
Final Thoughts
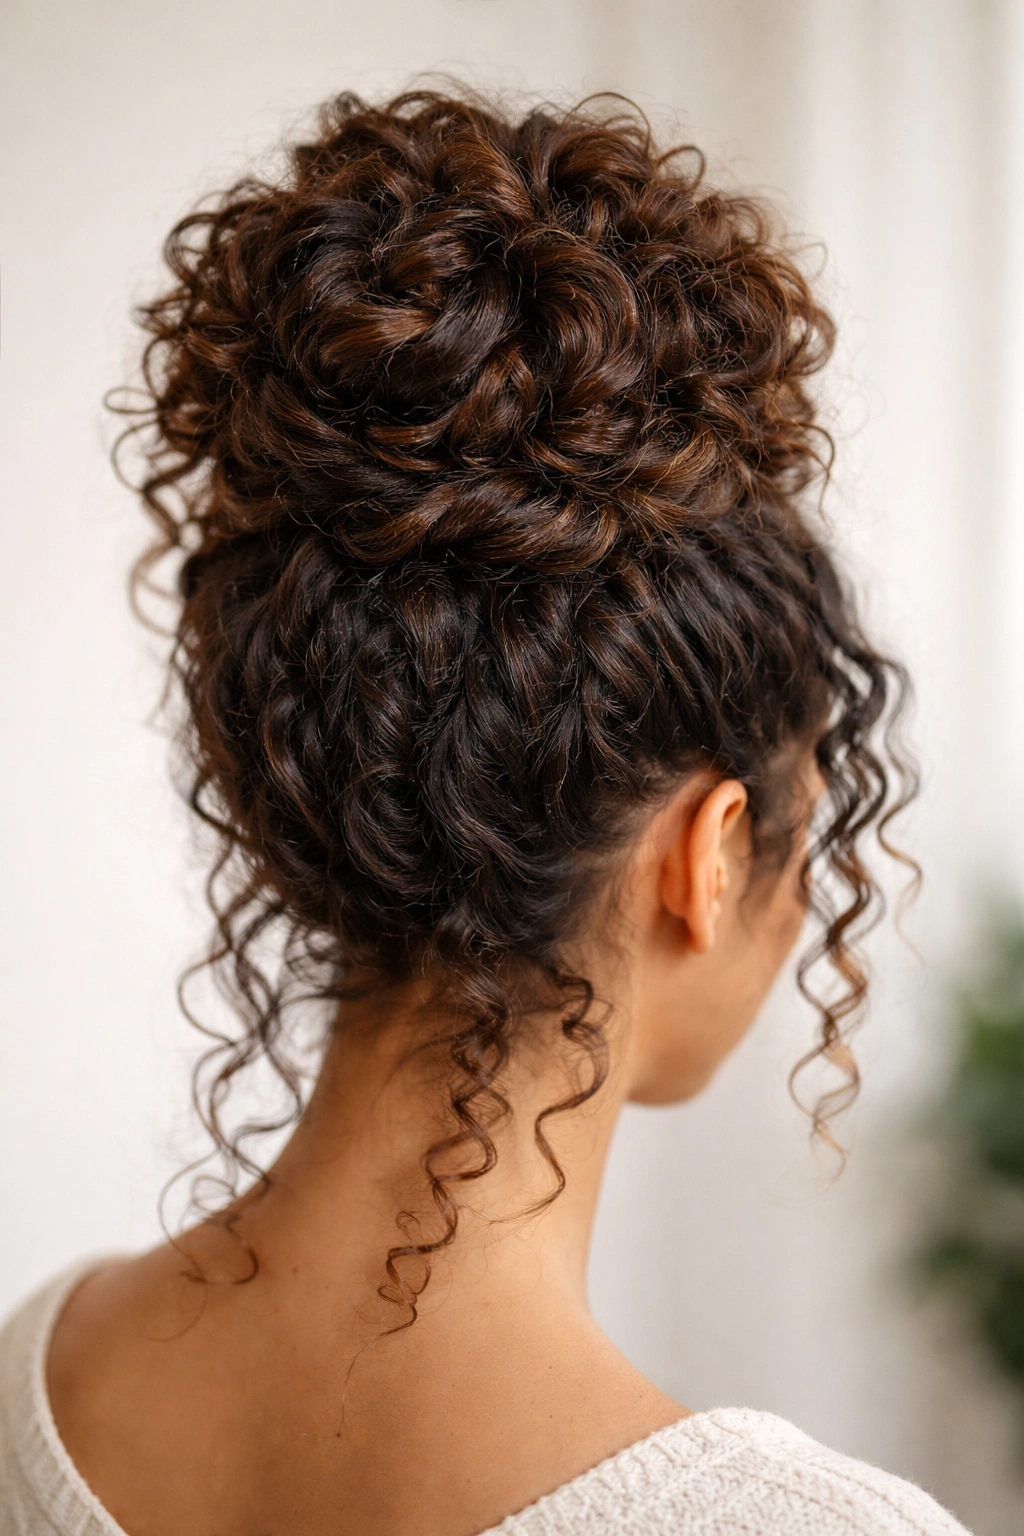
High messy buns on curly hair aren’t complicated once you stop trying to force straight-hair techniques onto a completely different hair type. The entire point of a messy bun is that it looks undone while actually being intentionally styled—and curly hair already has texture and dimension built in. You’re not trying to create the appearance of effortlessness; you’re actually achieving it because your curl pattern is doing half the work. The six styles covered here give you options for different moods, different occasions, and different levels of styling time available. Some of them take five minutes once you’ve got the technique down; others take slightly longer but the payoff in how polished you look is absolutely worth it.
The real skill is understanding your specific curl pattern, respecting it enough to work with rather than against it, and choosing the right products and techniques that support rather than flatten it. Once that clicks, maintaining styled curls becomes genuinely manageable—not the daily battle it might feel like now. Start with whichever style speaks to you most, give yourself two or three attempts to nail the technique, and then work the others into your rotation as you get comfortable. Within a week or two, you’ll have multiple high messy bun styles that you can create without thinking, and your curly hair will finally look the way you’ve been envisioning it.
