



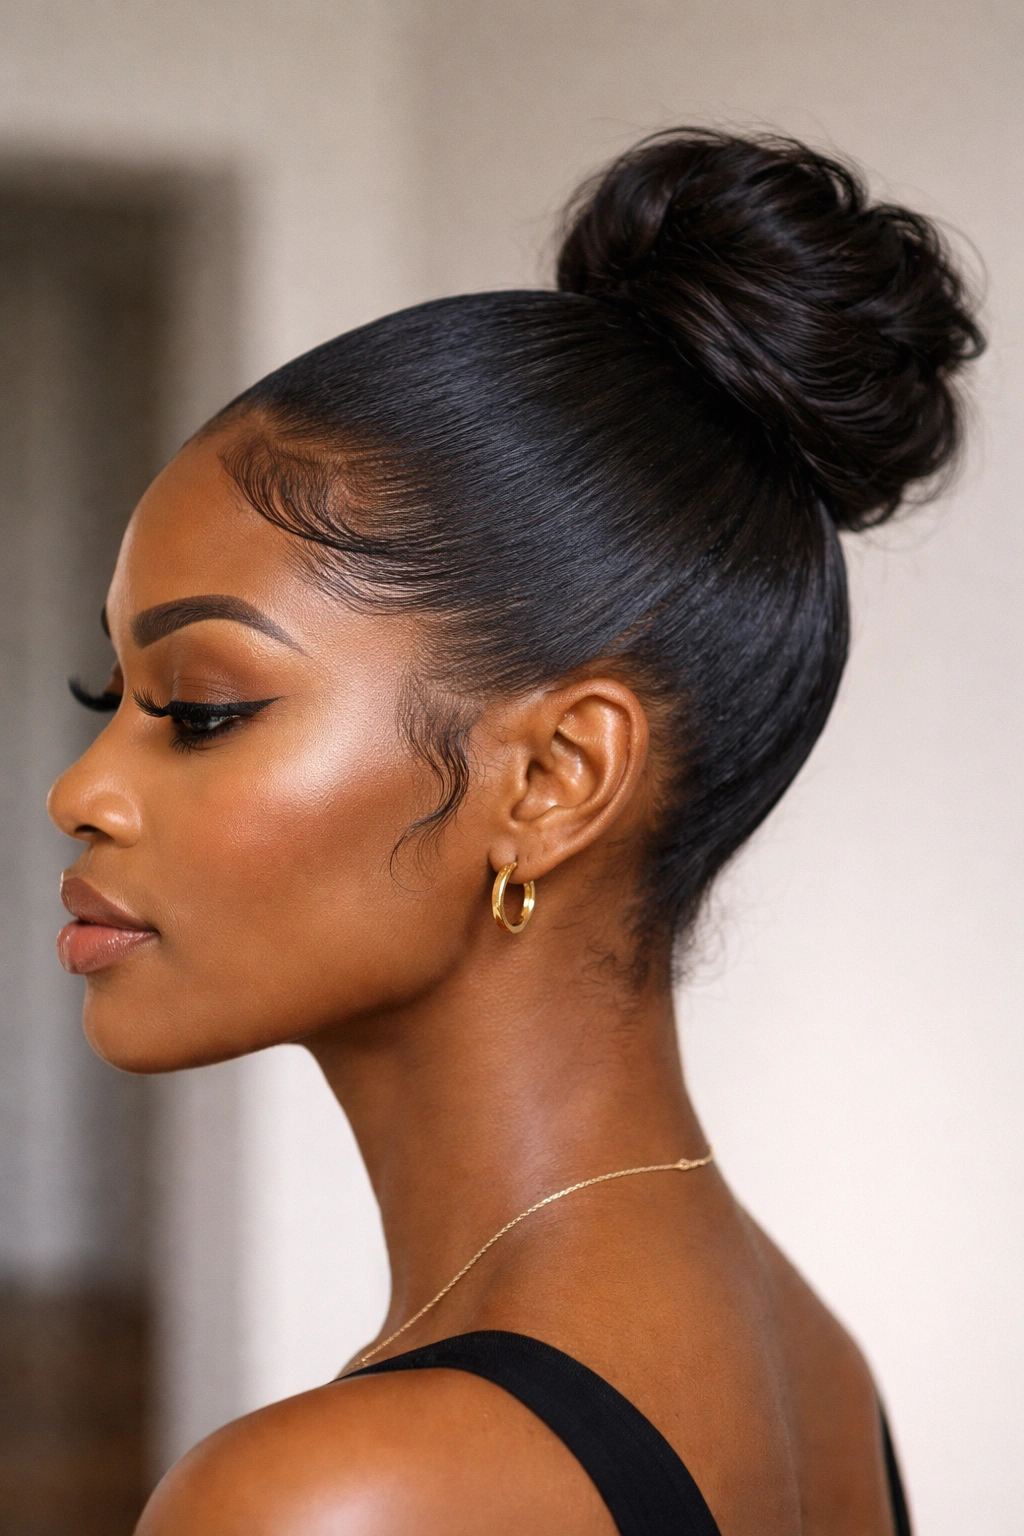
Slicked back hair has become one of the most versatile and chic styling options for Black women. There’s something undeniably polished about pulling your edges clean, smoothing your texture into a sleek foundation, and then building volume and texture into a beautiful messy bun on top. The contrast between the smooth, refined base and the soft, textured crown creates a look that’s simultaneously put-together and effortlessly cool. Whether you’re heading to the office, meeting friends for brunch, or just having a low-key day at home, a slick back messy bun works.
What makes this style so powerful is that it celebrates the natural texture and movement of Black hair while honoring the precision and control that slicking provides. You’re not fighting your hair’s nature — you’re working with it. The slicked foundation gives you a clean aesthetic, and the messy bun component adds dimension, movement, and personality. This combination is flattering on nearly every face shape and works beautifully whether your hair is relaxed, natural, transitioning, or textured.
The beauty of slick back messy buns is their incredible range. You can go minimal and modern with a tight, barely-there bun at the nape of your neck. You can go dramatic with a huge, textured crown that catches light and movement. You can add twists, braids, or woven sections for extra visual interest. The foundation stays the same — smooth and intentional — but the possibilities for how you style the bun itself are genuinely endless.
Let’s walk through six distinct slick back messy bun styles that work beautifully on textured hair, along with exactly how to execute each one.
1. Classic Sleek High Messy Bun
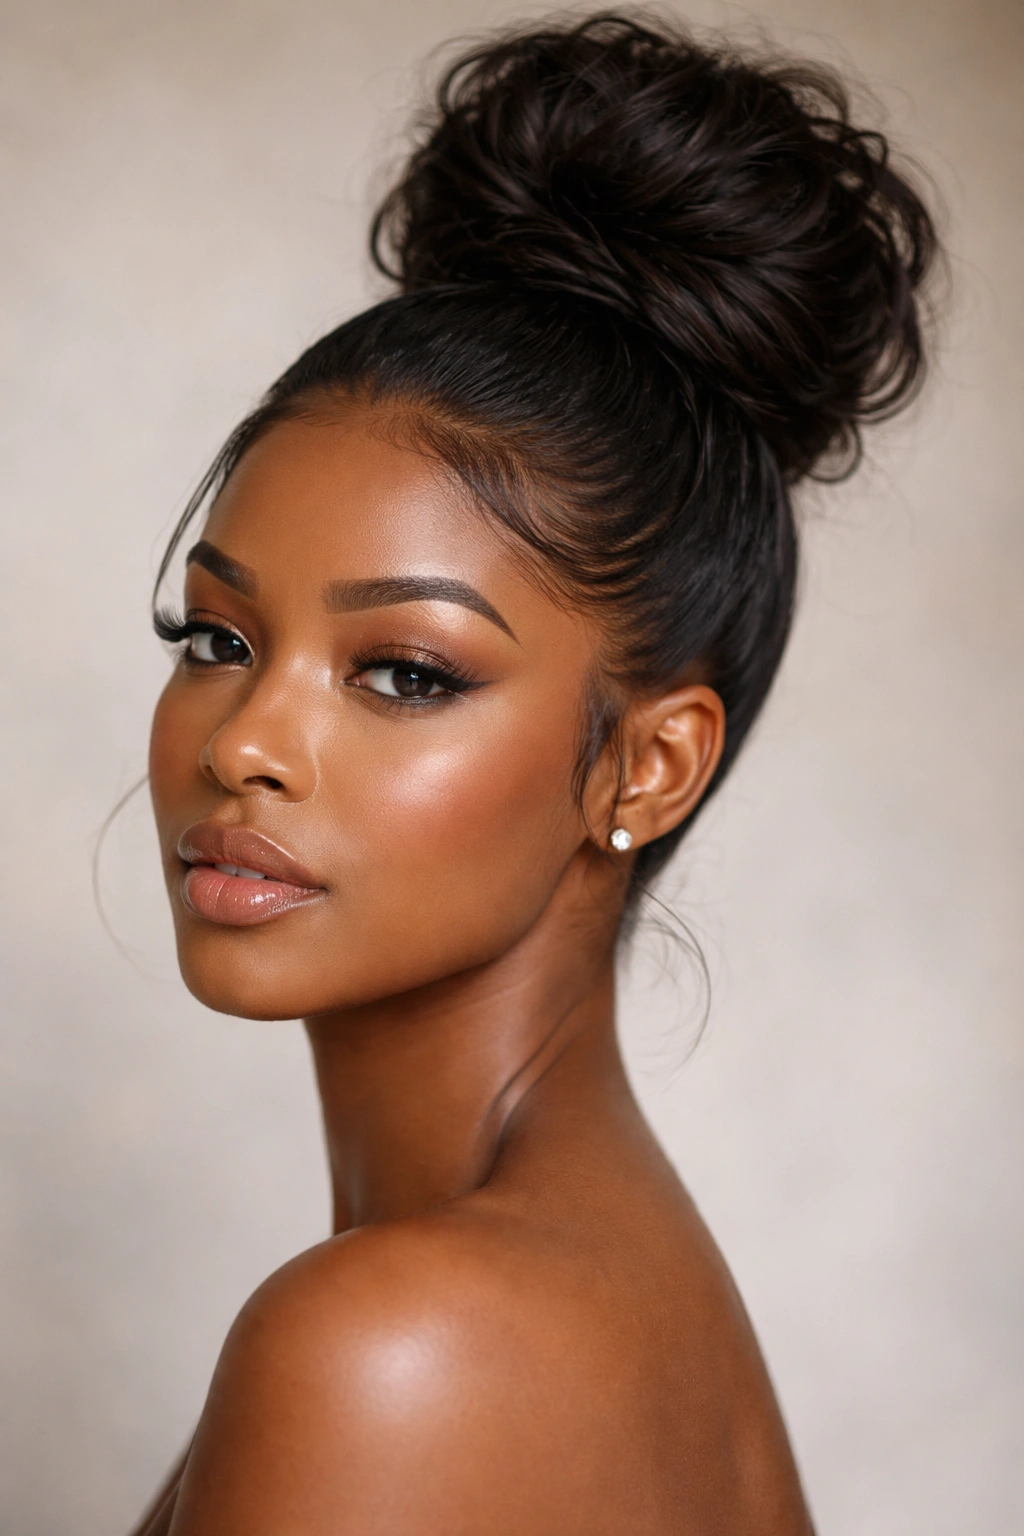
This is the foundation style that works in virtually any context. A high placement means the bun sits directly at the crown of your head, creating an elongating effect on your face and showing off your edges beautifully. The messy texture adds approachability to what could otherwise feel formal.
Why This Works for Black Hair
The high placement is especially flattering because it draws attention upward and creates beautiful negative space around your face and neck. On textured hair, the natural curl pattern in the bun portion creates dimension without requiring heat styling. Your edges remain the focus — smooth, intentional, and framing your face with precision.
How to Build This Style
Start with damp hair and apply a lightweight smoothing cream or gel to your hairline and the crown area where your bun will sit. Using a fine-tooth comb or edge brush, smooth your hair straight back, paying close attention to your hairline — this is where precision matters. Secure your hair into a high ponytail using a clear elastic band positioned exactly where you want your bun’s center to be. Once the ponytail is secured, gently pull sections of hair from the ponytail upward and create a nest-like shape around the elastic. Don’t make it too tight or controlled — the whole point is that it looks intentionally undone. Pin sections with bobby pins as needed, focusing on creating height and letting some texture show.
Pro tip: If your high ponytail feels thin or sparse, tease the hair at the base of the ponytail before creating the bun. This creates a fuller foundation that makes the entire bun look thicker and more textured.
2. Slicked Low Messy Bun with Volume
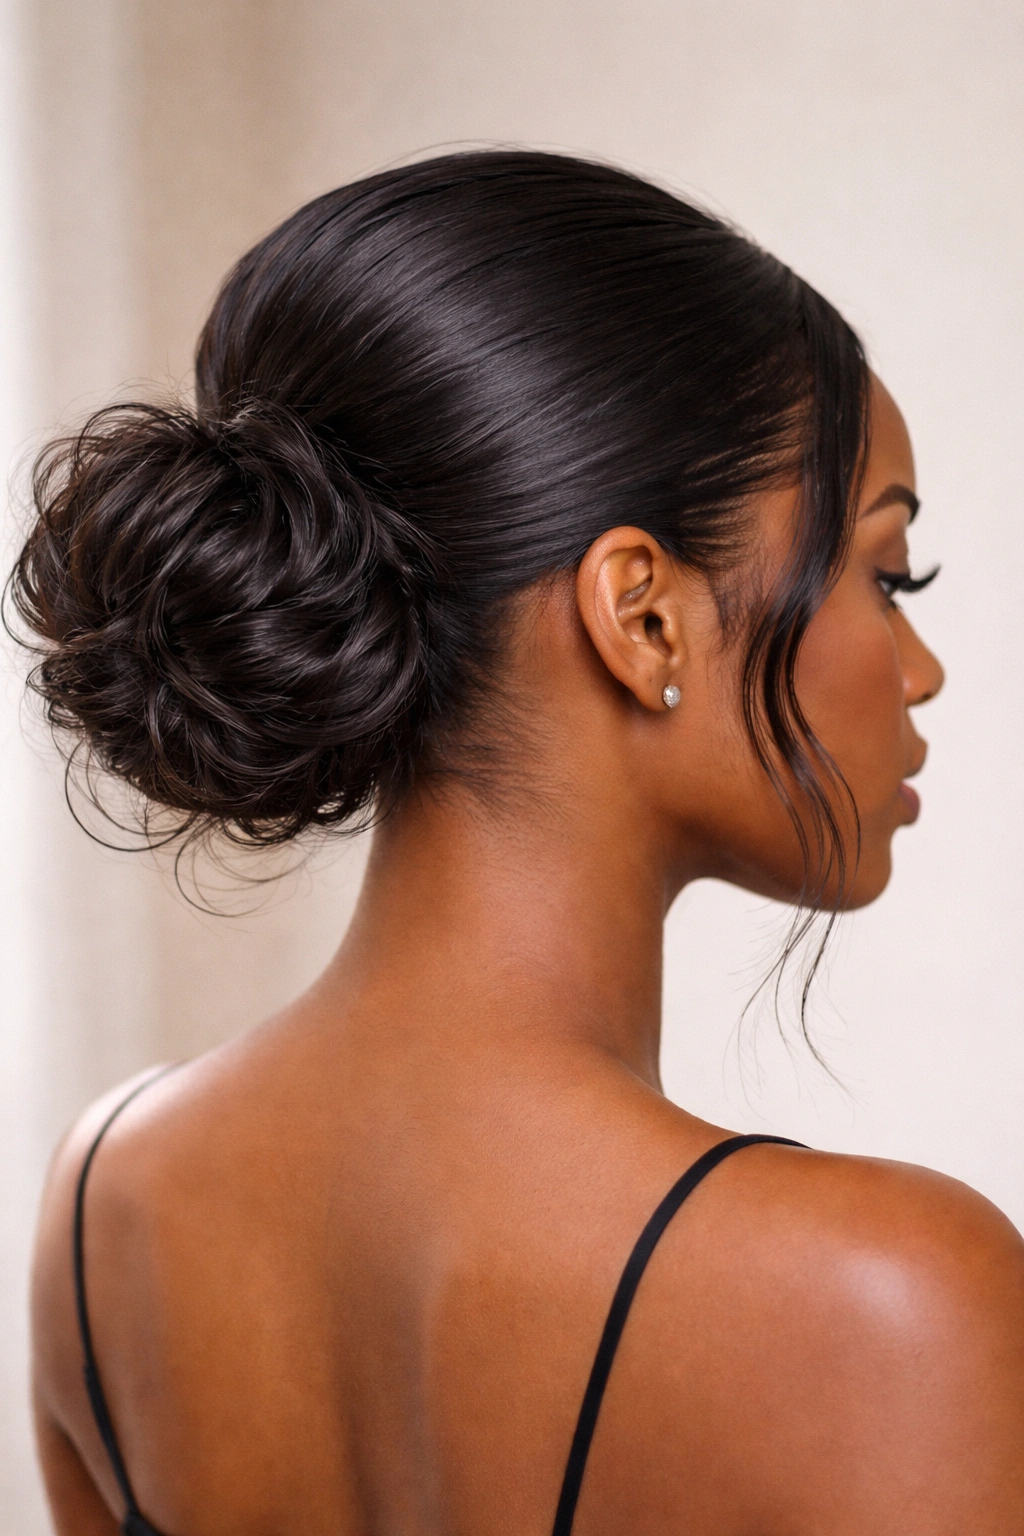
Sometimes you want elegance with a touch of drama. A low bun at the nape of your neck reads as more polished and formal than a high bun, while the messy, textured component keeps it from feeling rigid or overly styled. This version is perfect for occasions where you need to look intentional and groomed.
The Power of a Low Placement
A low bun creates a longer neckline, which is especially beautiful if you have an extended neck or want to showcase shoulder cutouts, tank tops, or other neckline-focused outfits. Because the bun sits lower, the slicked portion of your hair has more real estate to display — you get maximum edge control and precision.
Building Volume Into a Low Bun
The trick to preventing a low bun from looking flat or sparse is creating texture and fullness in the bun itself. Section your low ponytail into 3-4 pieces. Working one section at a time, gently backcomb or tease each section at the roots — not so aggressively that you’re breaking hair, but enough to create a cushion of texture. Then loosely wrap that teased section around the base of the ponytail and pin it. The teased sections create volume naturally, and the loose wrapping keeps it from looking deliberately crimped or styled.
Pro tip: Use bobby pins that match your hair color — they’re nearly invisible and let the texture and volume do the talking rather than hardware.
3. The Sleek Twisted Bun
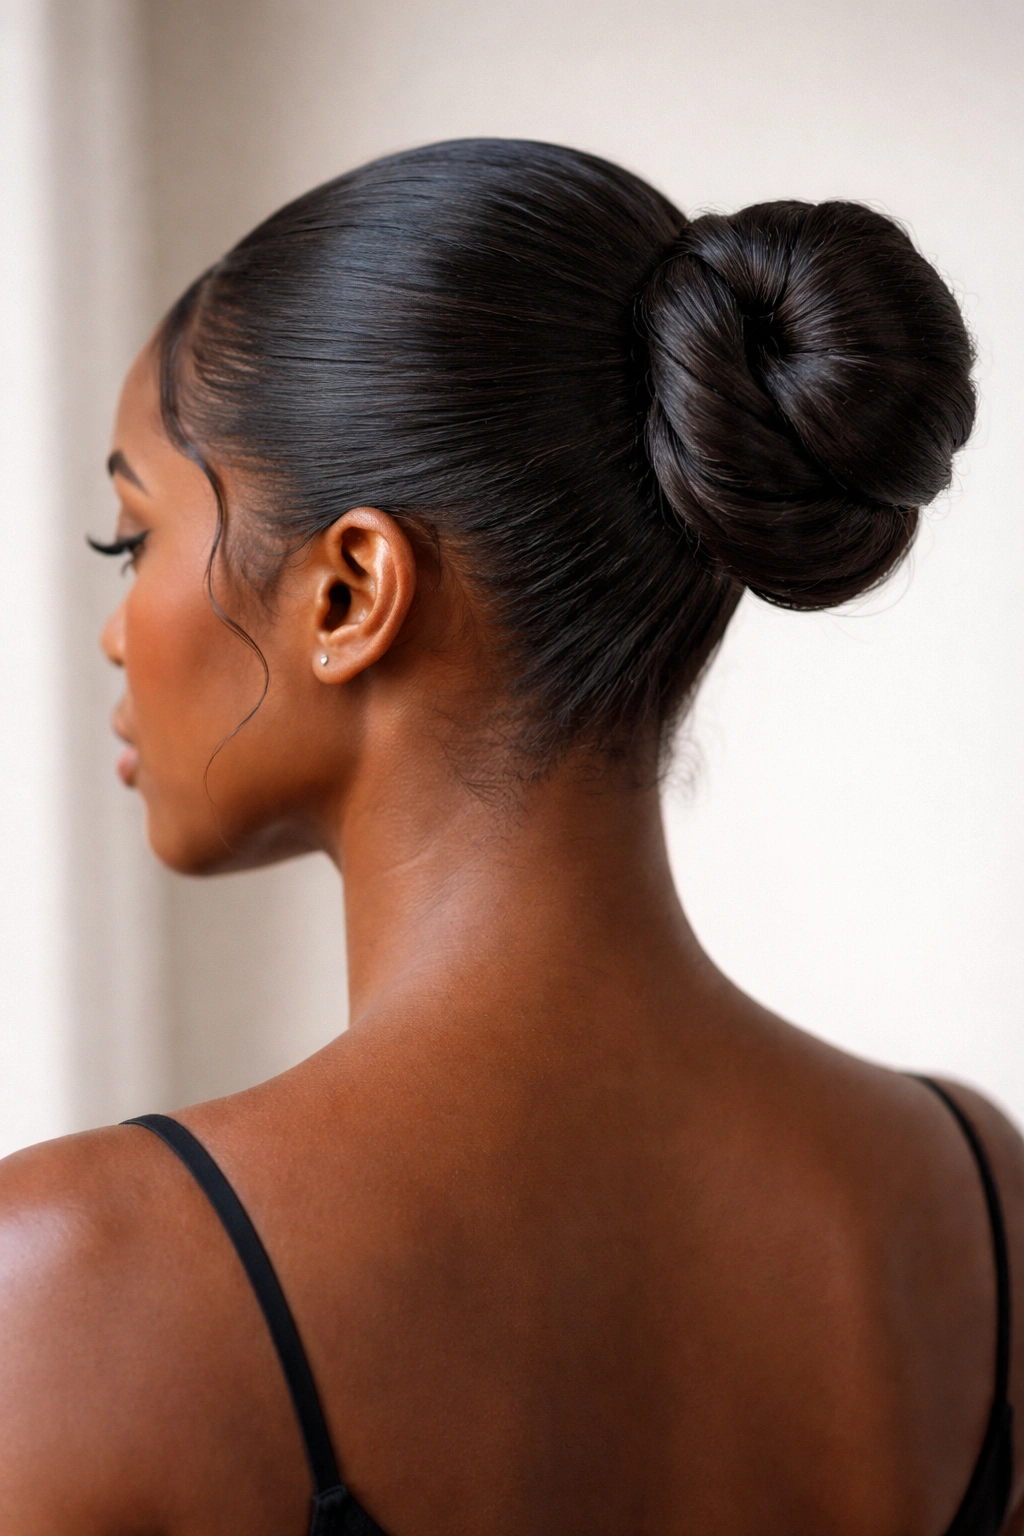
Adding a twist or two before creating the bun elevates this style from simple to sophisticated. A twisted bun adds visual movement and interest without requiring you to add braids or take significantly more time to style. The twists also create a natural structure that helps the bun hold its shape longer.
Why Twists Add Polish
Twists are a distinctly beautiful textural element in Black hair styling. When you incorporate a twist into a bun, you’re creating a line of definition that leads the eye upward and adds an architectural quality to the style. The twist catches light differently than loose hair, creating dimension and making the overall look feel more intentional.
How to Execute Clean Twists
Create your slicked ponytail as usual. Then divide your ponytail into two equal sections. Twist each section tightly — these don’t need to be loose or textured twists, tight is better here — working down the length of the ponytail. Once both sections are twisted, gently wrap them around the base of the ponytail in opposite directions, creating a bun shape. The two-twisted foundation gives your bun a natural shape and helps it hold throughout the day. Secure with pins as needed, and if you want extra polish, pull a small section of the twisted sections outward and pin them loosely to create a more intentionally textured bun crown.
Worth knowing: Twist-based buns tend to last longer than completely loose messy buns because the twists provide structural support. If you’re styling for a full day of wear, this technique is your friend.
4. Slick Side Messy Bun
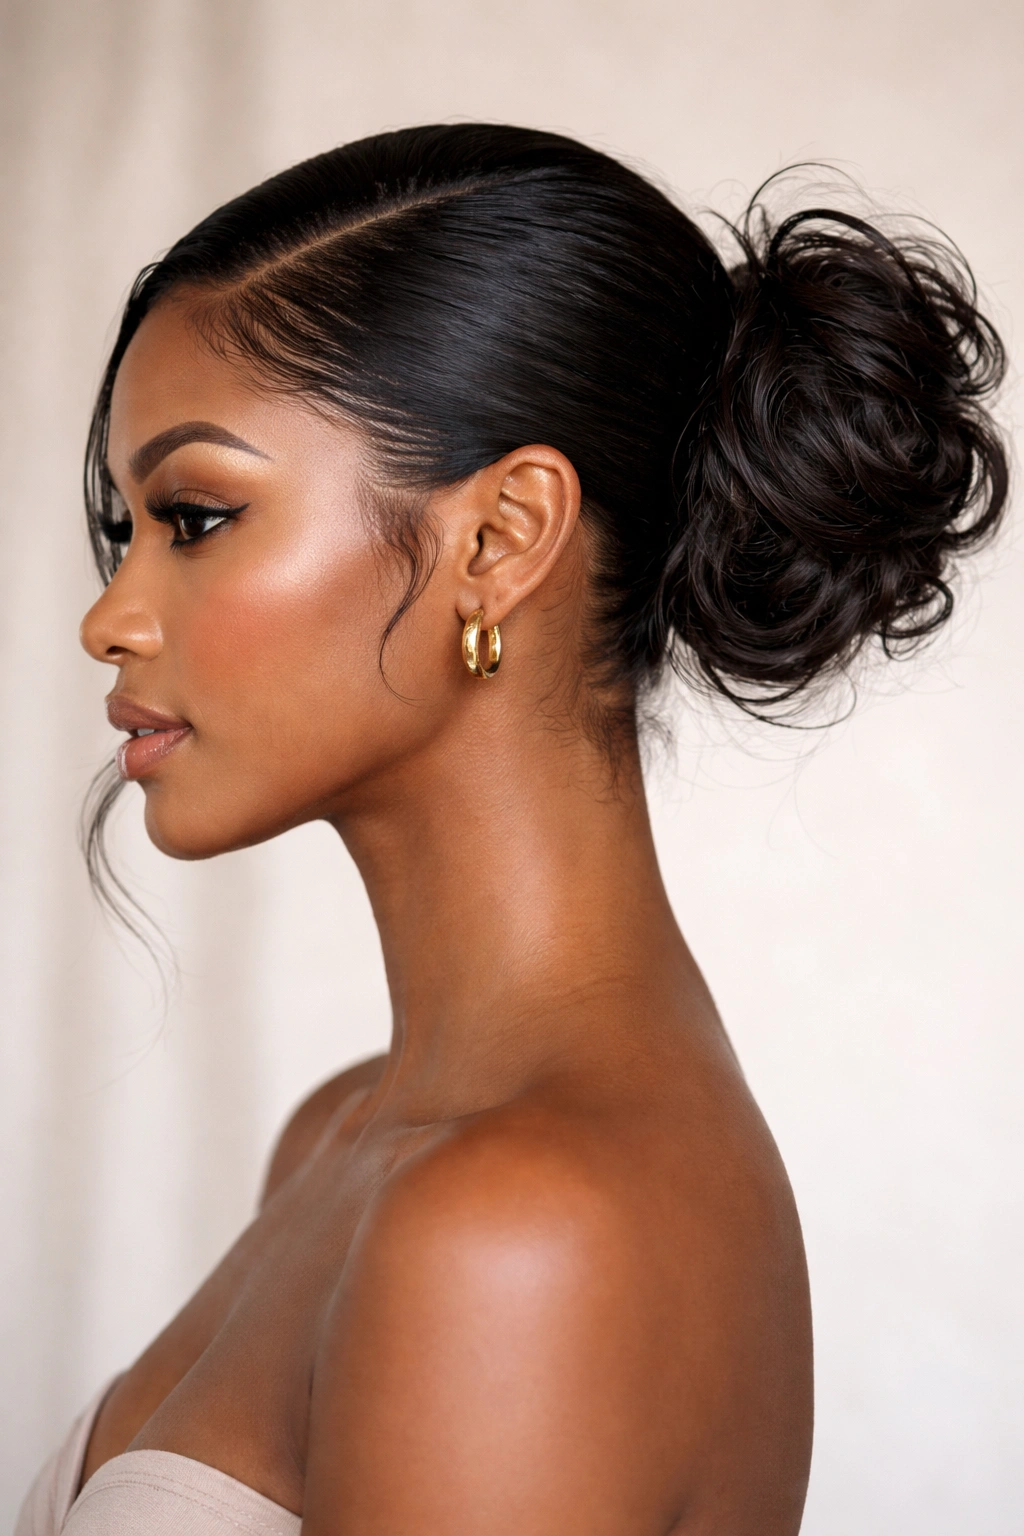
A side bun offers a fresh asymmetrical take on the style. Instead of centering everything, you’re creating an off-center focal point that feels more playful and modern. The slicked portion of your hair dominates one side of your head, creating bold graphic appeal.
The Flattering Geometry of Asymmetry
A side bun works beautifully if you have a strong jawline because the asymmetry emphasizes facial structure. It’s also incredibly flattering if you love showing off one side of your face or have a side you prefer. The bun typically sits toward the lower side-back of your head, roughly at ear level or slightly lower.
Creating a Clean Side Slick
Start with your hair down and damp. Apply smoothing gel or cream to your hairline and smooth everything back toward your desired bun side. Use your edge brush to create clean lines — I recommend parting your hair slightly and creating a subtle swoosh of hair that moves toward your bun side. This isn’t a severe side part; it’s more of a gentle guide. Smooth everything back and secure your hair into a low side ponytail. Create your messy bun on that side, pulling sections gently upward and outward. The contrast between the completely smooth, slicked side and the voluminous, textured bun is what makes this style visually striking.
Quick tip: If you have baby hairs or a textured hairline, this style showcases them beautifully when they’re slicked smooth. Spend the extra 30 seconds laying your edges — it’s worth it.
5. Sleek Bubble Bun with Slicked Sections
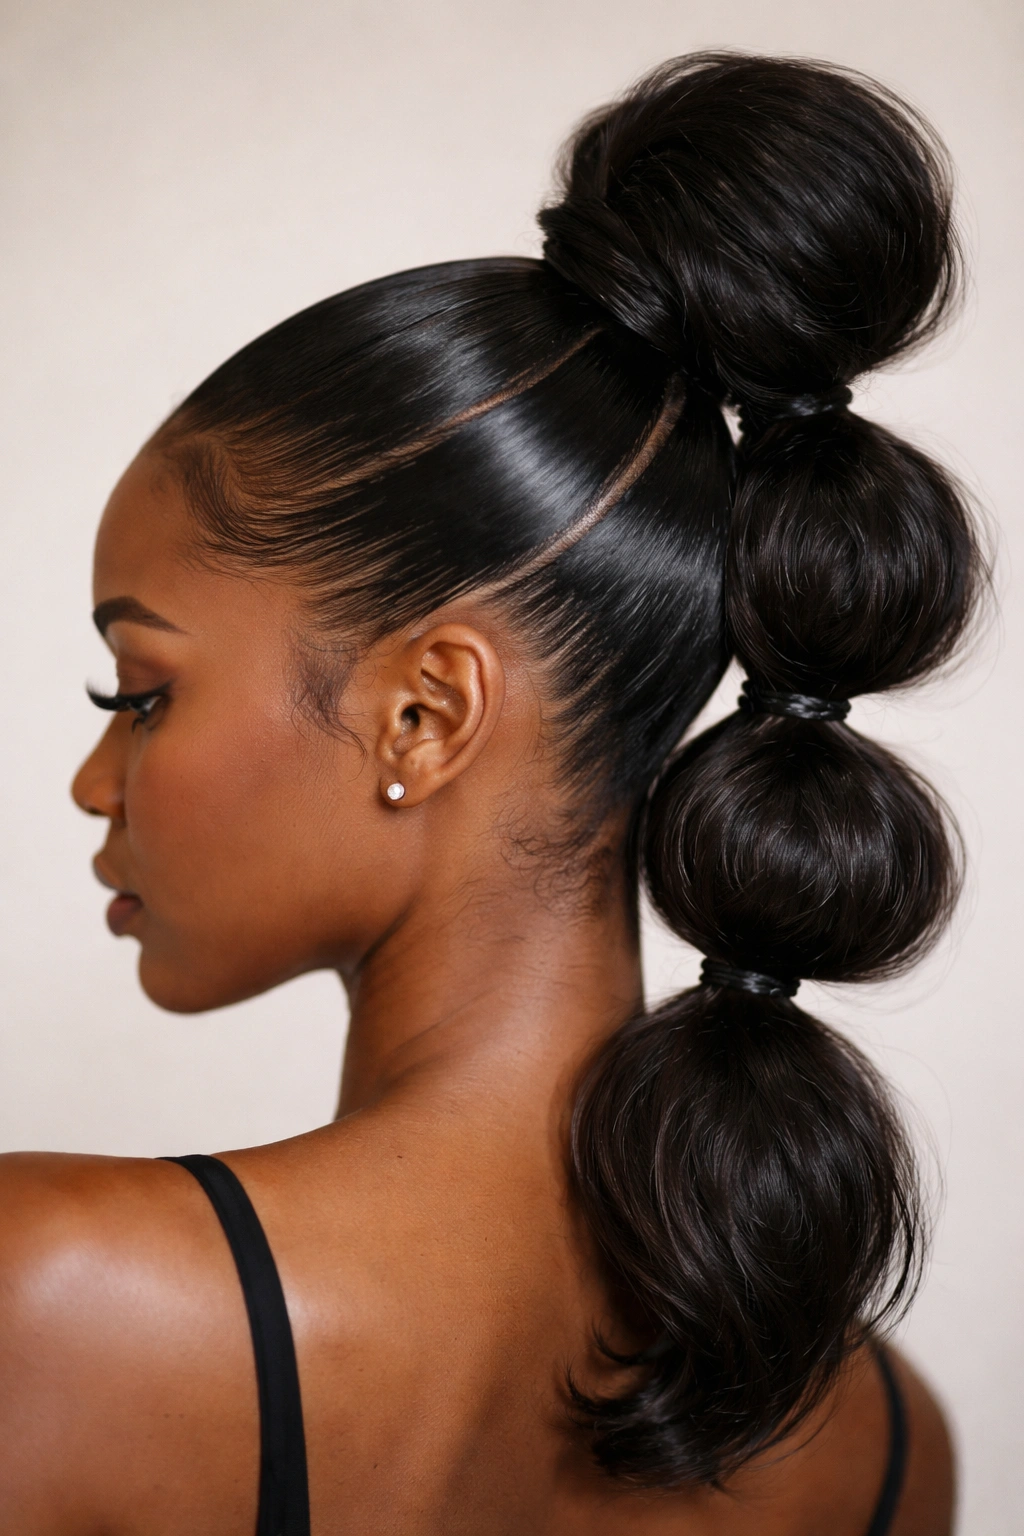
A bubble bun involves creating multiple secured ponytails stacked on top of each other, with each secured section puffing out slightly. When you combine this structure with slicked sections, you get a style that’s visually complex and incredibly modern. It reads as fashion-forward and intentional.
The Bubble Bun Structure
Create a tight, slicked high ponytail and secure with an elastic. Directly below it, create a second ponytail, using a section of hair from the first ponytail plus fresh hair below it. The first ponytail section will puff out between the two elastics. Repeat this process one or two more times, creating 3-4 stacked sections. Each section puffs out and creates a bubble effect. To add the slicked element, you can either slick your entire base and create the bubbles with your natural texture showing through, or more dramatically, slick select sections between the bubbles while leaving other sections puffed out and textured. This creates a striped effect of smooth and textured that’s absolutely stunning.
Maintaining the Bubble Structure
The key to bubble buns lasting all day is making sure your elastics are genuinely tight. Loose elastics will collapse and lose the bubble effect. Don’t worry about comfort for the first hour — your hair will adjust. Use clear elastics so the stacked structure is the visual focus, and lightly fluff each bubble section outward with your fingers to create volume and dimension.
Insider note: Bubble buns photograph beautifully because the stacked structure catches light in multiple places. If you’re styling for an event or photo, this technique will serve you well.
6. The Slicked Faux Hawk Bun
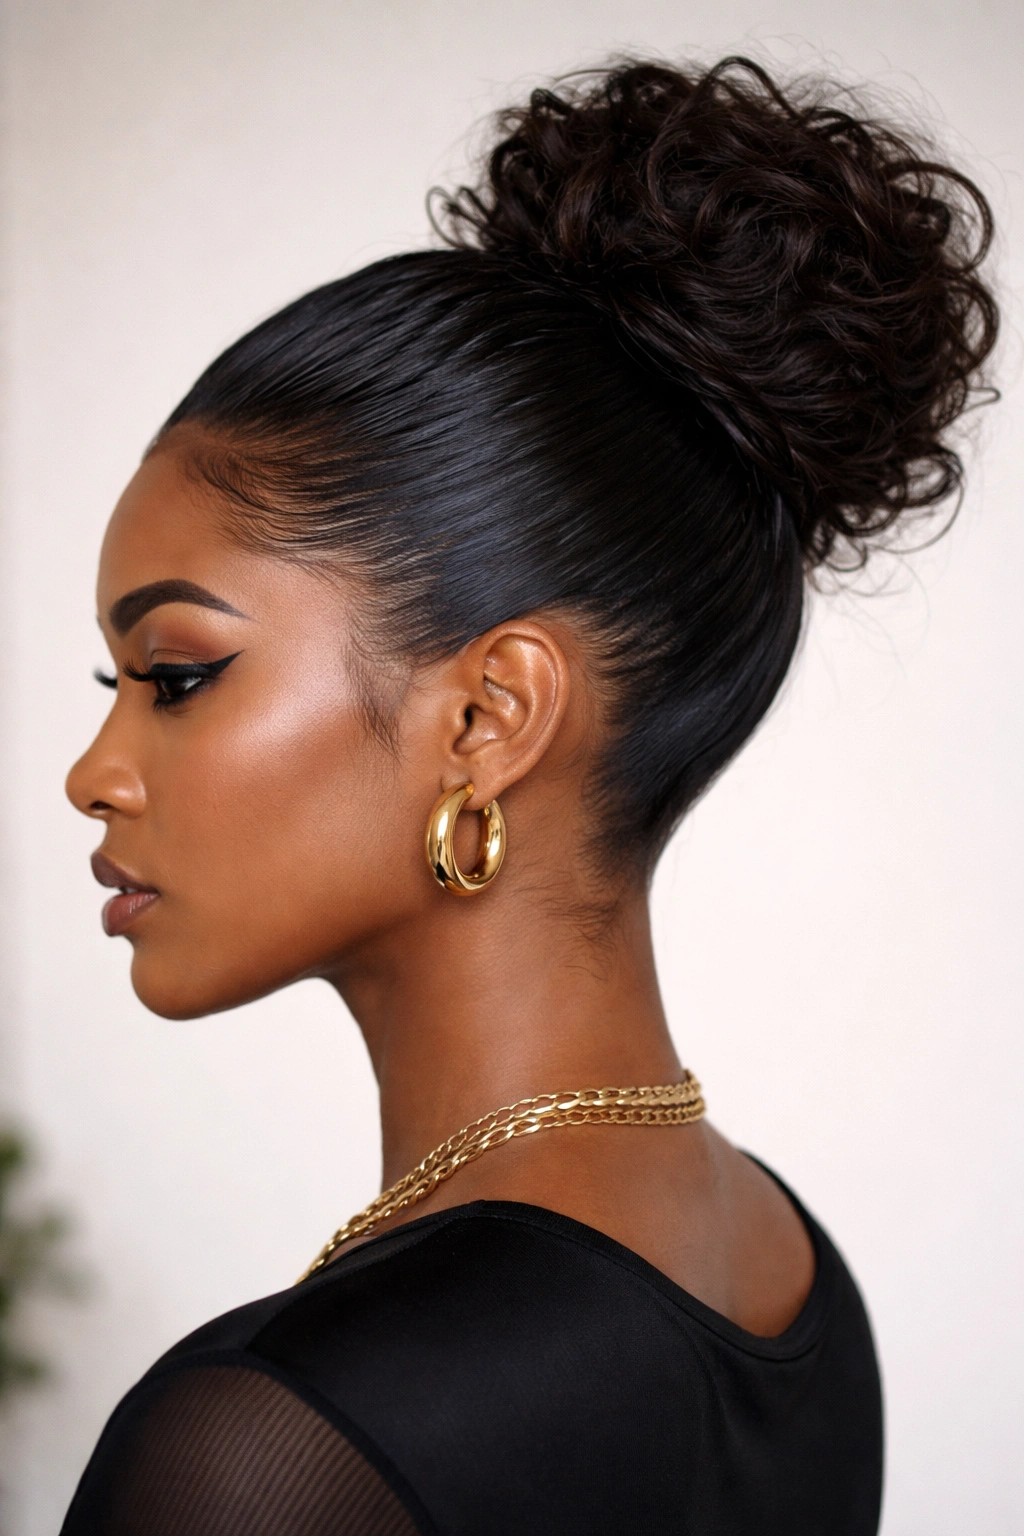
This is the most dramatic and fashion-forward option on this list. You’re creating the illusion of a faux hawk by slicking the sides of your head smooth while leaving the center section textured and voluminous. Then you’re funneling that center section into a bun at the crown, creating a bun that sits on a slicked foundation. It’s bold, it’s intentional, and it’s absolutely striking.
The Visual Impact of a Slicked Faux Hawk
A faux hawk bun celebrates the natural width and texture of Black hair. You’re not trying to minimize texture or fit into a conventional silhouette — you’re amplifying it and framing it with deliberate smoothness. The sides remain sleek and controlled while the crown explodes with texture and movement. This style photographs incredibly well and reads as confident and fashion-aware.
Creating a Faux Hawk Foundation
Start with clean, damp hair. Apply smoothing gel to both sides of your head — you’re aiming to slick everything from your temples back toward your ears and down your nape. Using your edge brush and fine-tooth comb, smooth these sections straight back, creating a sleek surface on both sides. Leave a center section from your forehead straight back to your crown untouched and textured. Once your sides are completely smooth and set, gather your center section into a high ponytail at your crown. Create your messy bun from that ponytail, letting it be as textured and voluminous as possible. The contrast between the glass-smooth sides and the textured, full bun is what makes this style work.
Pro tip: Use a strong-hold gel on the sides so they maintain their smoothness throughout the day. The bun will shift and move naturally, but those slicked sides need to stay pristine.
What Makes Slick Back Styling Work for Textured Hair
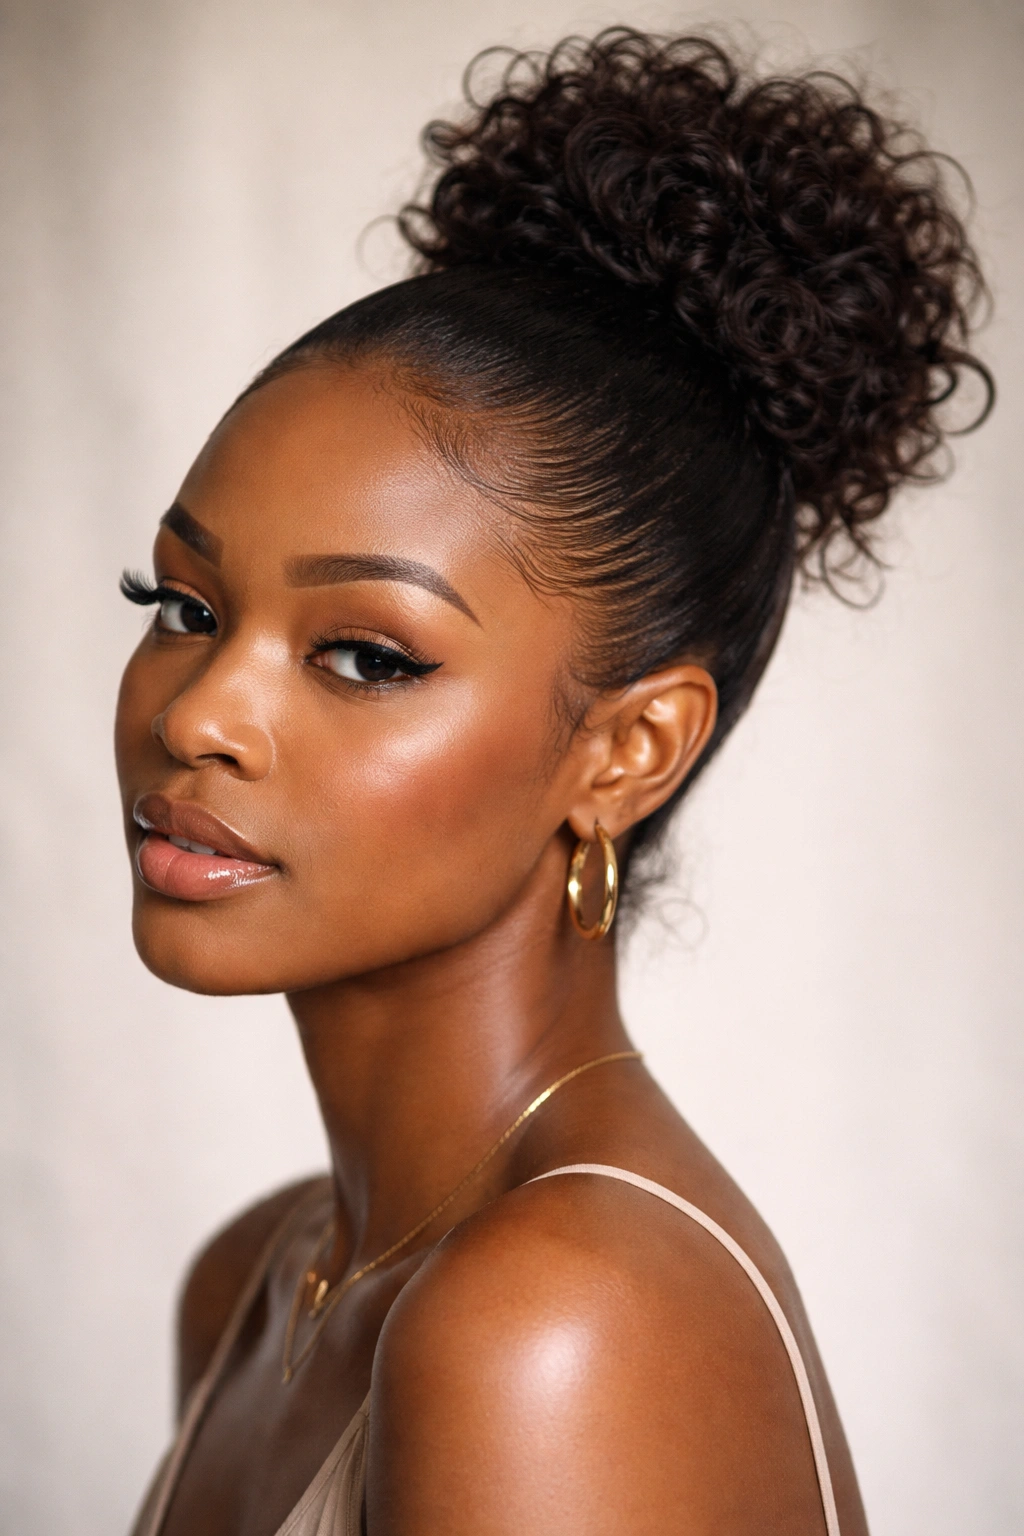
One of the biggest myths about styling textured hair is that you have to choose between sleek and natural-looking. A slick back messy bun proves that’s completely false. Textured hair actually makes this style easier and more beautiful because your hair naturally creates volume and movement in the bun portion without requiring any heat styling, teasing, or extra products.
The key is moisture. Textured hair requires hydration to slick smoothly without becoming brittle or breaking. Before you start styling, make sure your hair is either damp or freshly moisturized. Apply your smoothing product to damp hair — it’ll distribute more evenly and give you better control. Dry hair that’s already set into a texture pattern is much harder to slick smoothly.
The relationship between the smooth and the textured portions of your hair is what creates this style’s visual appeal. You’re not fighting your hair’s natural state; you’re leveraging it strategically. The smoothness is intentional and precise, and the texture is celebrated and showcased.
Essential Products and Tools for Slick Back Messy Buns
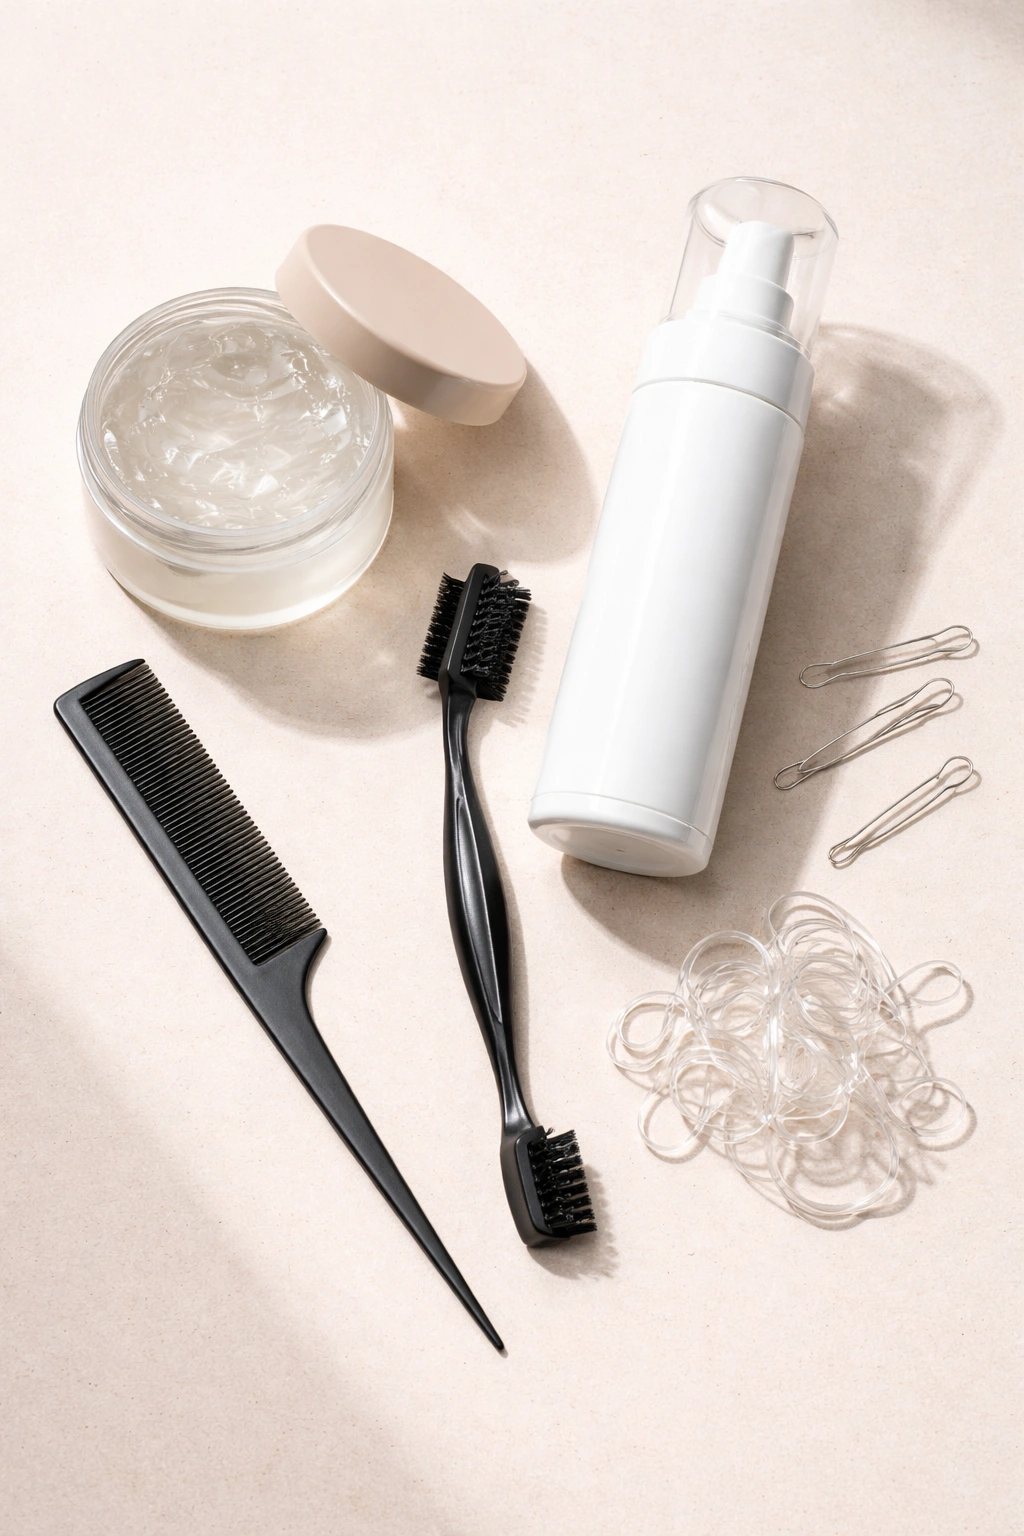
You don’t need a complicated product collection to execute any of these styles. A lightweight smoothing gel or mousse, a fine-tooth comb, an edge brush, clear bobby pins, and clear elastic bands are genuinely all you need.
Smoothing Products That Actually Work
For textured hair, you want products that smooth without leaving flakes, crunchiness, or a heavy feel. Look for smoothing creams and gels designed for textured hair — they hydrate while smoothing rather than drying everything out. Avoid products with sulfates, parabens, or heavy silicones that build up over time. Gel-cream hybrids tend to work beautifully for slicking because they have enough hold to keep sections smooth without the flakiness of pure gel.
Tools That Matter
A fine-tooth comb is essential for smoothing textured hair — coarse combs pull and break hair. An edge brush specifically designed for laying edges is worth the investment because the bristles are close enough together to grip texture but gentle enough not to break or snag. Clear bobby pins are invisible and let your slicking and bun texture be the focus. And clear elastic bands are preferable to colored ones because they don’t create visual interruption in your bun.
Techniques for All-Day Hold and Longevity
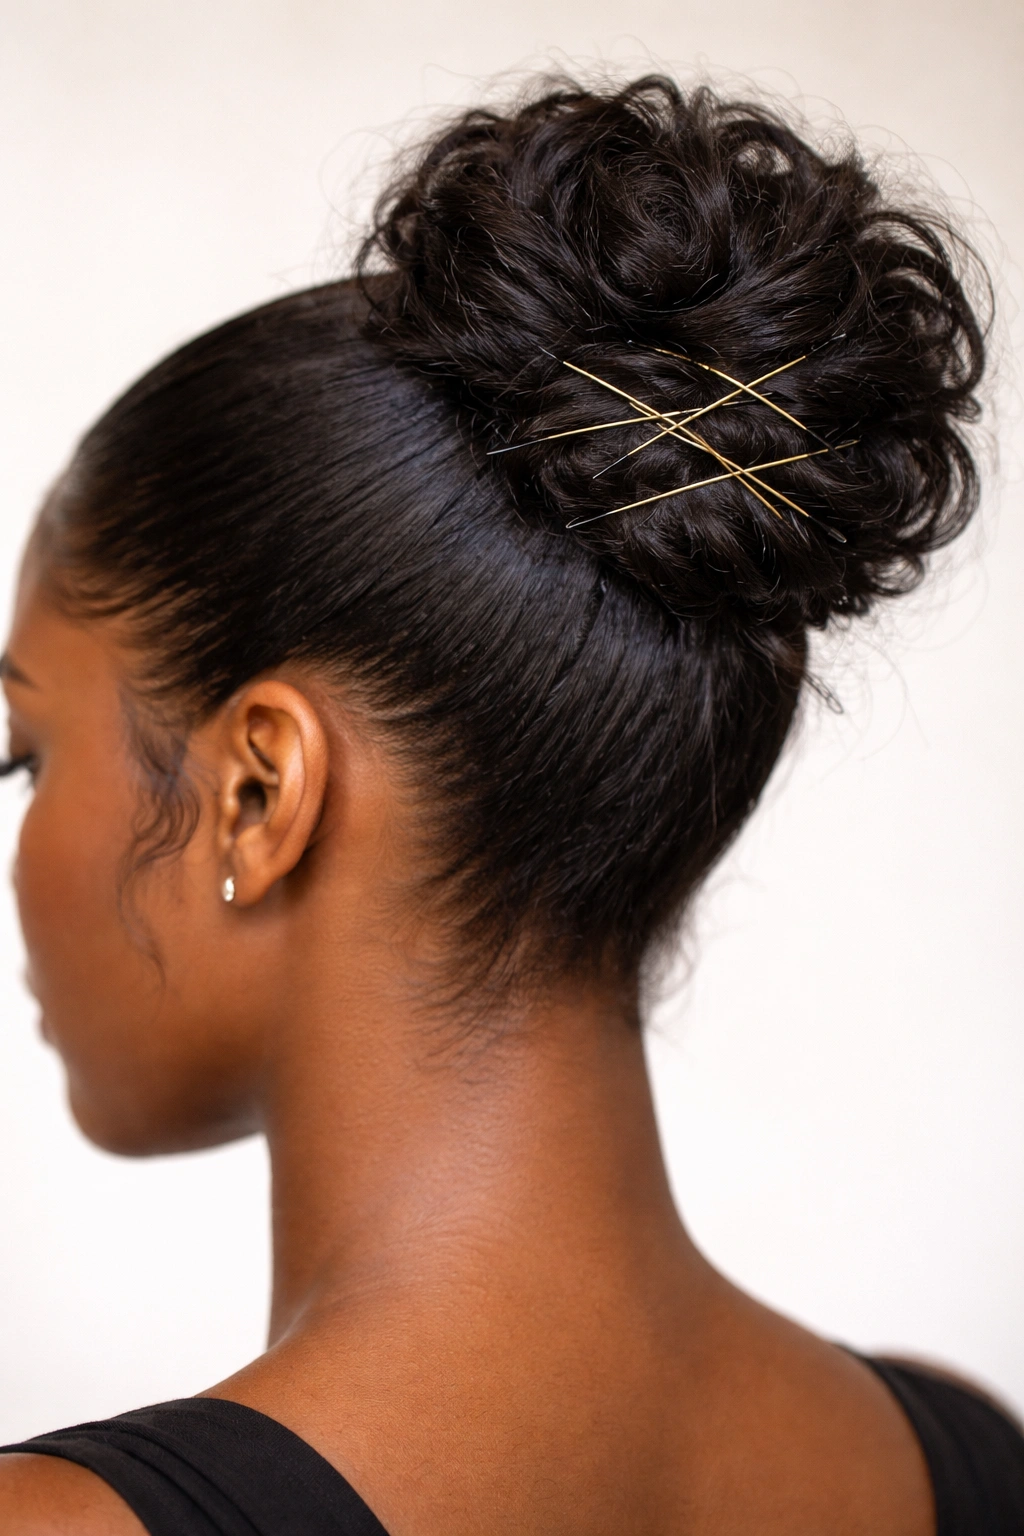
A beautifully slicked and textured bun can last all day if you approach it strategically. The slicked portions need to be set in place, and the bun portions need enough structure that they don’t gradually relax into flatness.
Setting Your Slick
Once you’ve smoothed your edges and slicked sections, you need to set them in place. Some people use bobby pins along their hairline to hold the smooth sections down — this is especially useful if you’re dealing with baby hairs or edges that naturally want to curl. Others use a light misting of flexible-hold hairspray to set the smoothness in place. The goal is that your slicked sections maintain their definition for hours, not just minutes.
Securing Your Bun
Use multiple bobby pins to secure your bun — at least 4-6 pins depending on the thickness of your hair and the fullness of your bun. Cross your pins in an X pattern rather than laying them parallel; the X structure provides more stability. Don’t be afraid to pin generously — your bun should feel secure and solid, not like it might slip down at any moment.
Refreshing Throughout the Day
If your style is going to last more than 8 hours, you might want to refresh your slicked sections mid-day. Carry a small container of smoothing gel or a spray bottle of lightweight setting spray. If your edges start to curl up, a quick smooth-and-pin refresh will keep everything looking intentional.
Tips for Making Your Edges Smooth and Shiny
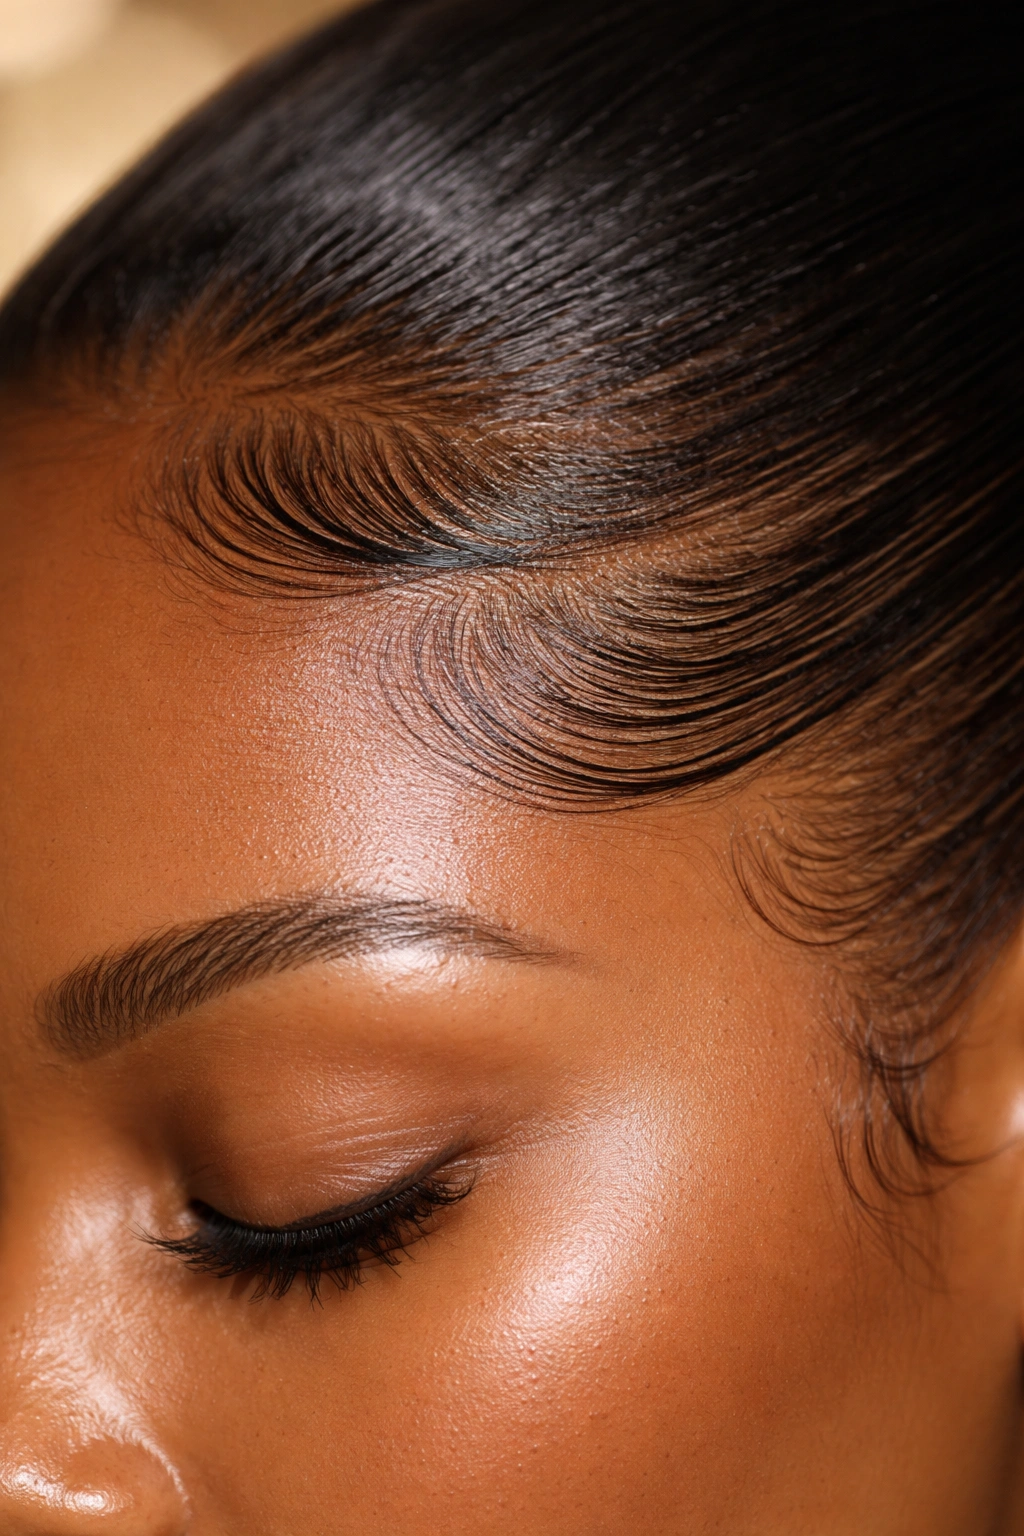
Your edges are the foundation of a slick back bun. Smooth, shiny edges make the entire style look intentional and polished. This requires a slightly different approach than styling the rest of your hair.
Edges on textured hair are often finer and more delicate than the rest of your hair, so be gentle. Use a soft-bristled edge brush or even a soft toothbrush — that’s not a joke, soft toothbrushes actually work beautifully for laying edges. Apply a lightweight gel or edge control product directly to your hairline and brush gently, following the direction you want your edges to go. Don’t over-apply product or you’ll end up with flakes.
For maximum shine, apply a very small amount of hair oil or light moisturizer to your edges after they’re dried and set. This creates a subtle sheen without making anything look greasy or heavy. The oil acts like a finishing touch that makes smoothness look intentional rather than just slicked back.
Adapting These Styles for Different Hair Lengths and Textures
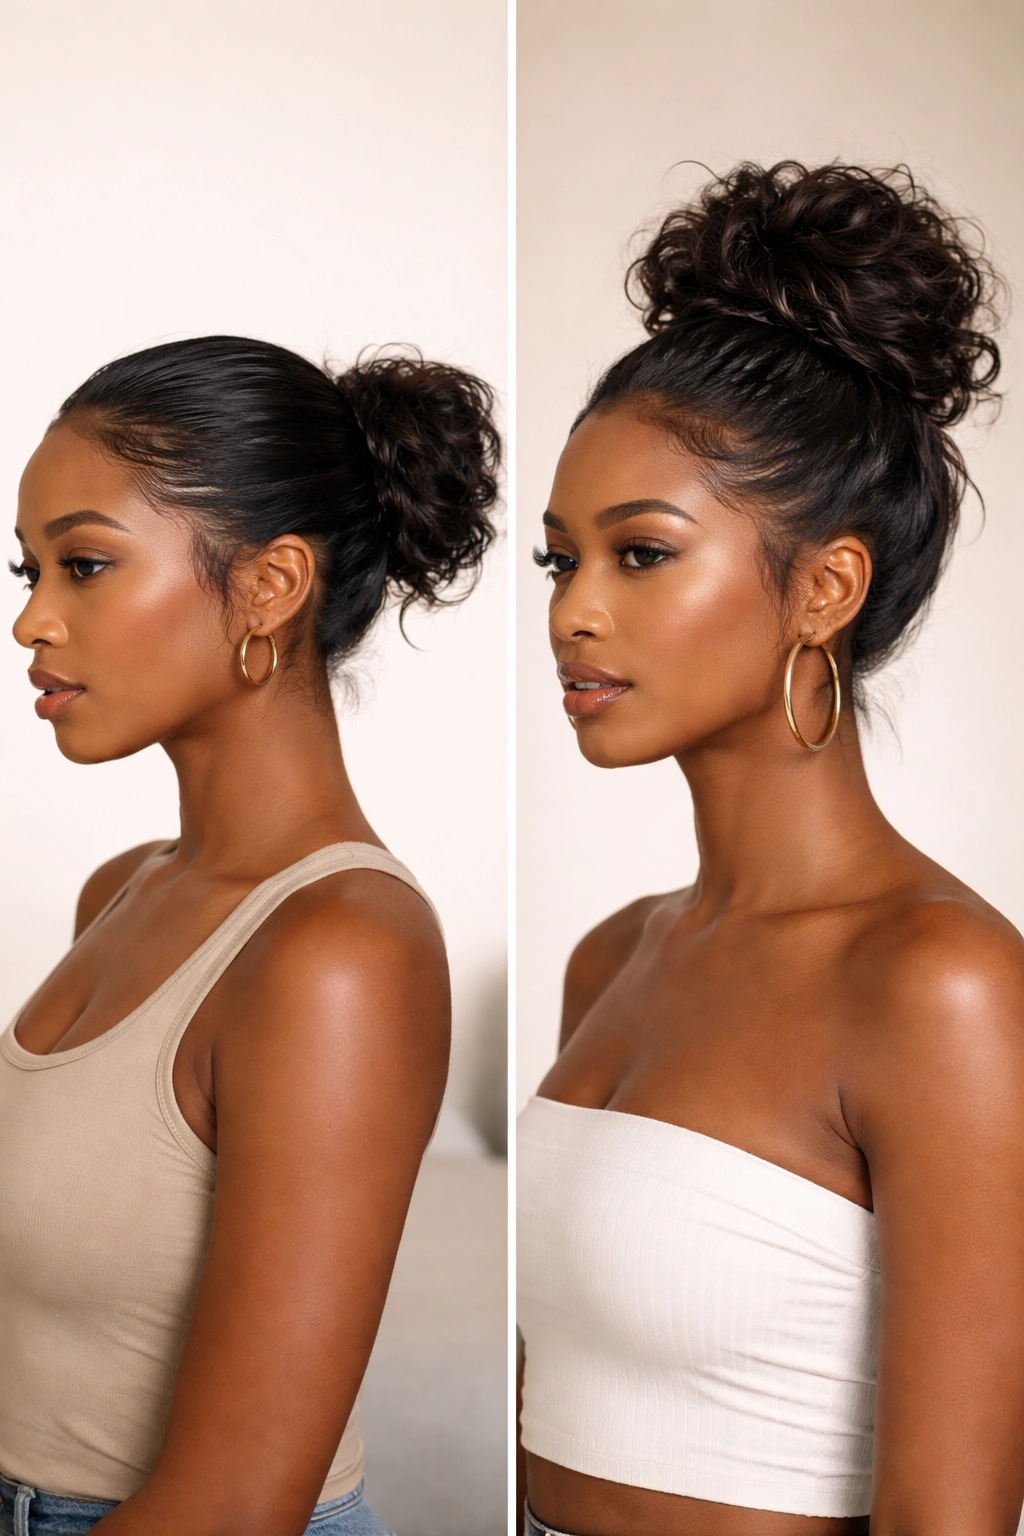
These six styles work on hair ranging from shoulder-length to bra-strap length and beyond. However, the execution shifts slightly depending on exactly how much hair you’re working with.
If you have shorter hair (shoulder-length or just past), focus on the bubble bun or the faux hawk bun — these styles work beautifully with less volume because they rely on structure rather than sheer quantity of hair. The side messy bun also works well on shorter lengths because a side placement needs less hair to look intentional.
If you have longer, thicker hair, all six of these styles become easier. You can create fuller, more voluminous buns and have more flexibility with the messy texture component. The classic high messy bun is spectacular on longer hair because you can create serious height and movement.
Regarding texture, these styles work across the entire spectrum from relaxed to natural to transitioning. The slicking technique remains the same — smooth and intentional. The mess in the bun simply looks different depending on whether your hair has a loose wave pattern, a tighter coil, or everything in between. That variation is beautiful and normal.
Common Mistakes That Ruin the Slick Back Look
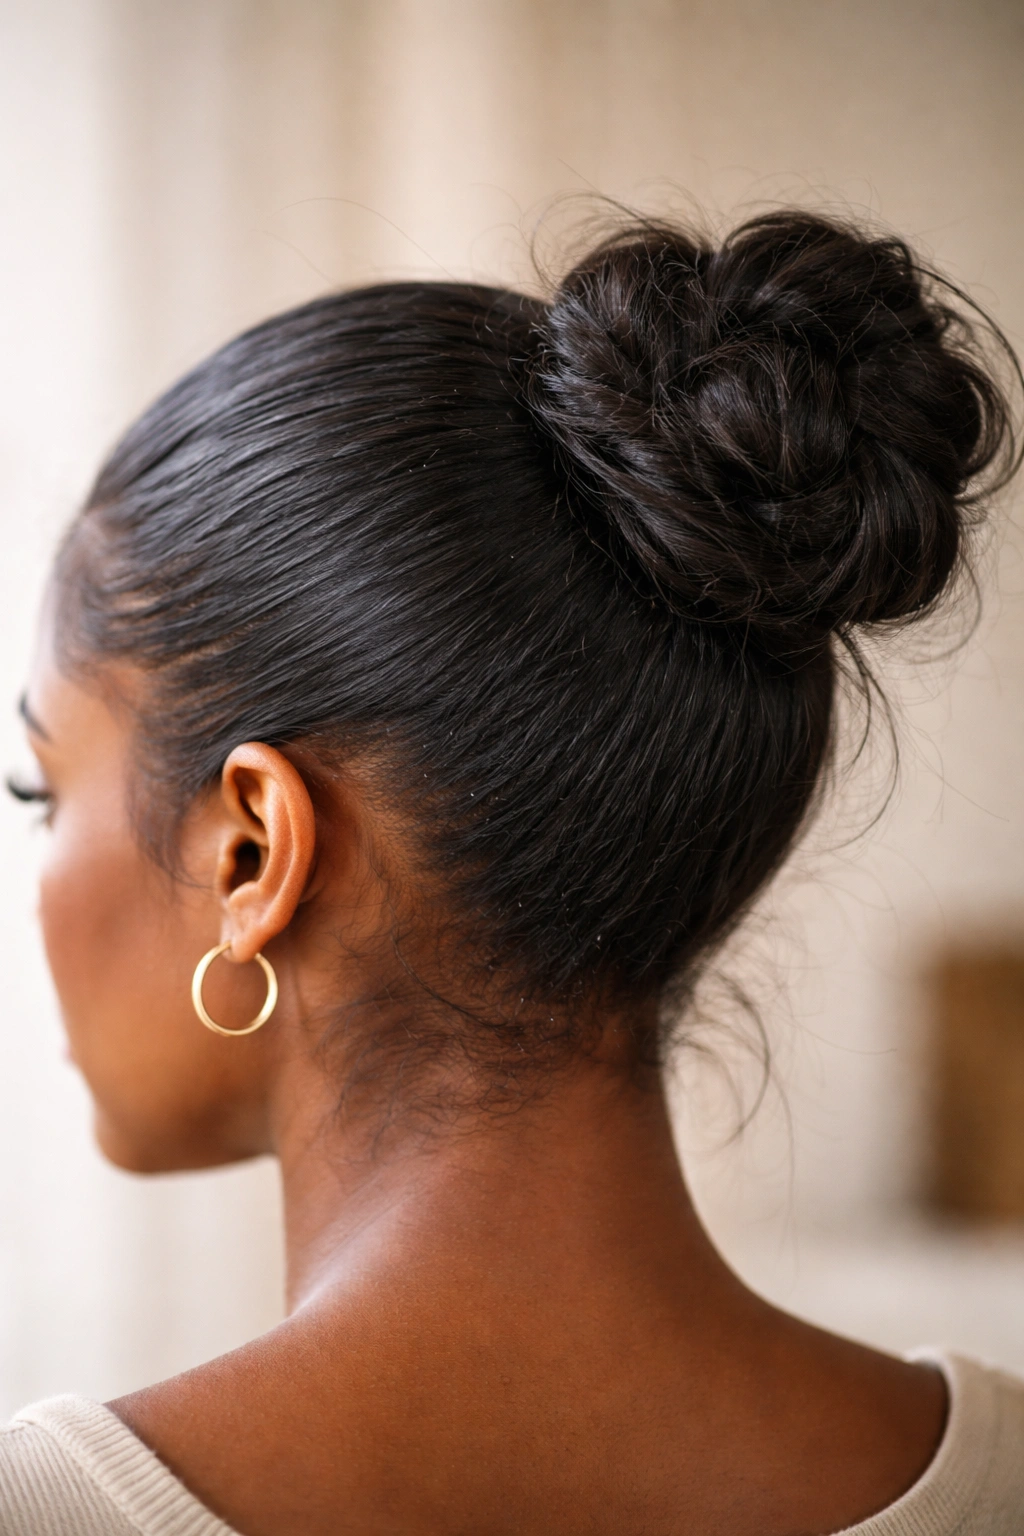
Even small mistakes can derail a slick back messy bun. Here are the most common problems and exactly how to avoid them.
The biggest mistake is using too much product. When you glob on product trying to control everything, you end up with flakes, crunchiness, and a heavy look that reads as product-laden rather than polished. Use a small amount — you can always add more — and distribute it evenly through damp hair before you start styling.
Another frequent mistake is slicking dry hair. Dry, textured hair that’s already set into its pattern will fight you every step of the way. Everything needs to start with damp or freshly moisturized hair. If your hair has dried since your last wash, lightly spray it with water before you start styling.
People often tighten their buns way too much, thinking tension equals hold. An overly tight bun creates stress on your hairline and can lead to breakage over time. Your bun should be secure but not painful or straining. If you feel tension at your hairline or temples, you’ve gone too tight.
Finally, many people don’t pin their buns adequately. They use one or two pins and hope for the best. Then they’re frustrated when the bun slowly slips down throughout the day. Use enough pins to actually secure the structure — your bun should feel solid and stable, not like it’s held together by optimism.
The Confidence Factor of a Well-Executed Slick Bun
There’s something about a truly well-executed slick back messy bun that makes you feel more confident. Maybe it’s because the style requires intentionality — you’re making deliberate choices about smoothness and texture, precision and abandon. You’re not just throwing your hair up; you’re styling with purpose.
These styles work because they celebrate Black hair rather than trying to force it into a mold it doesn’t fit. You’re working with your texture, not against it. You’re showcasing your edges, your natural curl pattern, and your hair’s inherent beauty. That confidence radiates outward.
A well-slicked edge communicates care and intention. A perfectly textured bun communicates style and personality. Together, they tell a story about someone who knows their hair, knows what works for them, and isn’t afraid to take up space and be seen.
Final Thoughts
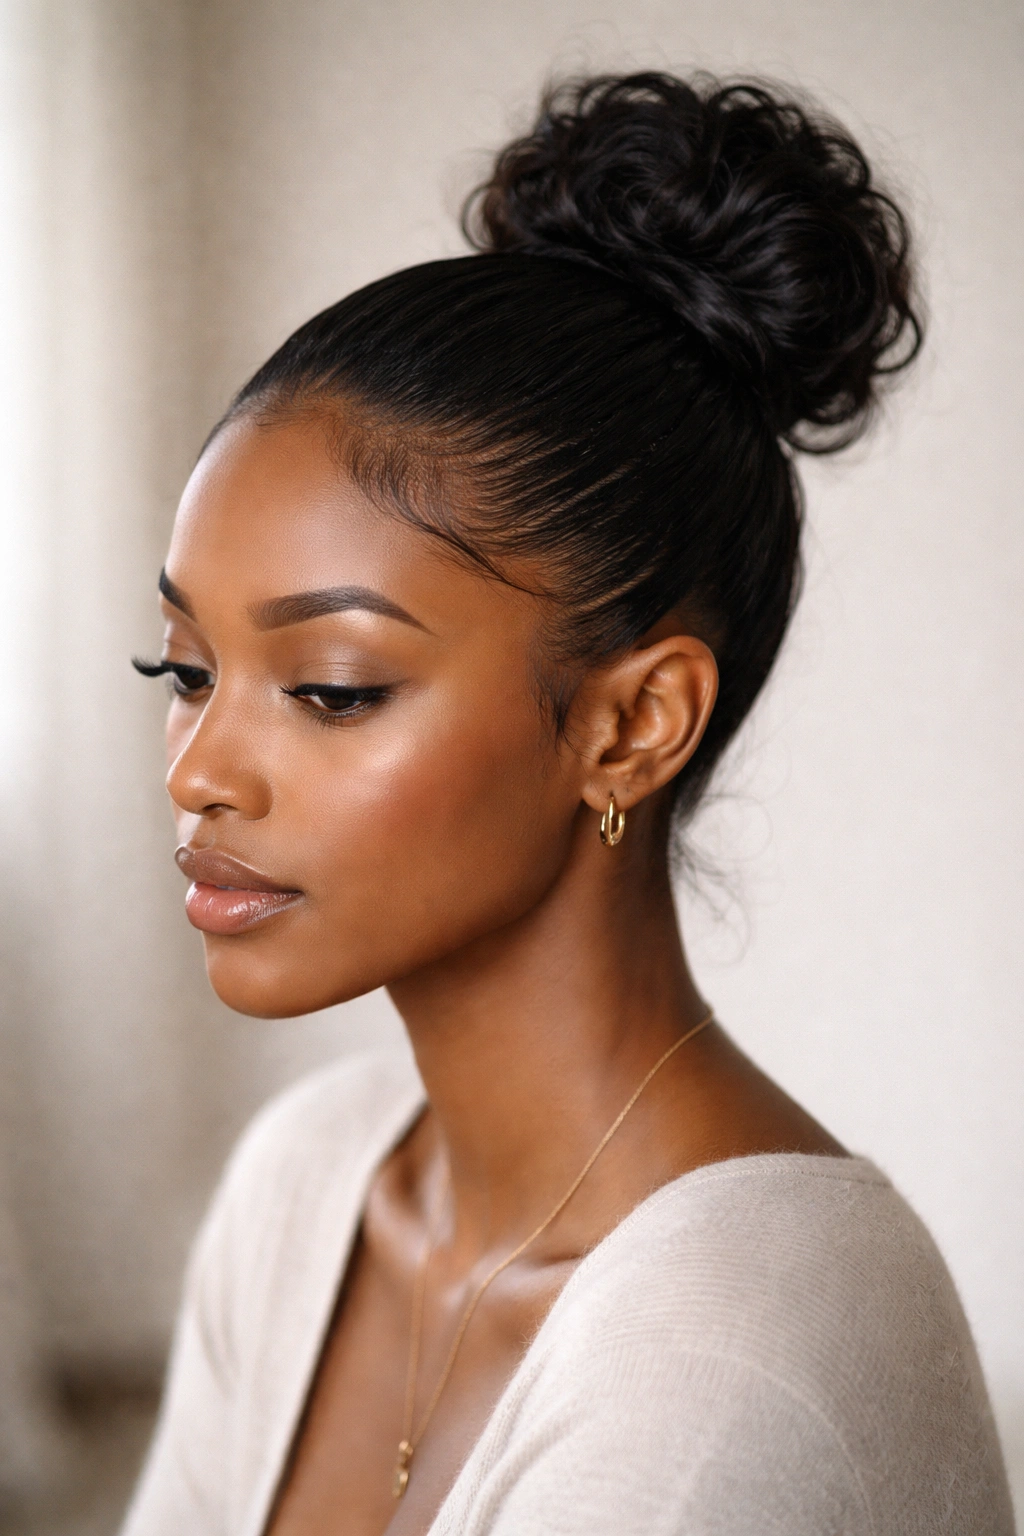
Slick back messy buns offer something unique in the landscape of Black hair styling: they’re simultaneously polished and effortless, intentional and natural, refined and textured. Whether you’re drawn to the classic high bun, the dramatic faux hawk, or anything in between, these styles celebrate exactly what makes textured hair beautiful.
The foundation of every one of these looks is the same — smooth, slicked sections that frame your face and showcase your edges. From there, you’re free to play with placement, texture, volume, and structure. The beautiful thing is that each of these six approaches works because it’s built on understanding how textured hair actually behaves and using that knowledge strategically.
Your edges deserve to be shown off. Your texture deserves to be celebrated. A slick back messy bun is the perfect vehicle for both. Pick the style that speaks to you, gather your products and tools, and give yourself 10-15 minutes to practice. By the second or third time, your fingers will understand the motion and the technique will feel natural. Once you’ve mastered one of these styles, trying the others becomes intuitive.
