



A messy bun with face-framing pieces might sound contradictory at first — but it’s actually the secret to a hairstyle that looks effortlessly cool instead of like you just rolled out of bed after a rough night. The face-framing elements (those strategically placed wisps, waves, or curls around your face) soften the overall look, add dimension, and create a flattering, modern aesthetic that works whether you’re heading to brunch, the office, or a casual evening out. The messiness grounds it in reality; the face framing elevates it into intentional style.
What makes this combination so powerful is that it solves multiple hair problems at once. If you’ve got texture, damage, or unruly flyaways, a messy bun lets you work with them rather than against them. Those loose pieces aren’t a failure — they’re the whole point. And by framing your face intentionally, you’re drawing attention upward and outward, which flatters virtually every face shape. You get to look put-together and relaxed simultaneously, which is honestly the modern fashion sweet spot.
The beauty of face-framing pieces is that they work with whatever hair type you have. Straight hair looks sleek and chic with face-framing wisps; curly and wavy hair gets extra dimension and movement; fine hair looks fuller when you piece it out around your face rather than pulling everything back tight. Whether you’re starting from a blowout, wearing a textured braid-out, or working with your natural texture, there’s a messy bun style with face-framing pieces that’ll work perfectly.
1. The Undone High Bun With Wispy Bangs
This is the messy bun that looks like you styled it in 30 seconds flat but actually has a little more intention behind it. You’re pulling hair up high (crown level or slightly above), creating a relaxed, slightly disheveled bun, and leaving delicate wispy pieces around your face that catch light and add movement. The wispy bangs piece-out from the hairline, creating a soft frame that’s particularly flattering if you have a round or wide face.
How to Build the Look
Start with hair that has some texture — whether that’s from a light wave spray, a loose braid you’ve unraveled, or your natural texture. Tilt your head forward and gather all your hair at the crown, then twist or coil it loosely and secure with a bobby pin or a thin elastic. Don’t aim for perfection here; bumps and loose sections are exactly what you want. The key is leaving enough slack in the twist so you can gently pull a few pieces out around your face.
Why This Style Works
The high placement makes this bun feel youthful and energetic, and it elongates your neck beautifully. The wispy face-framing pieces prevent the bun from looking too severe or pulled, which can age you or read as overly sporty. This style is incredibly practical — it keeps hair off your neck on warm days but doesn’t feel as harsh as a sleek ponytail.
Who It Works Best For
- Fine or thin hair (the pieces around your face create an illusion of fullness)
- Oval and long face shapes (the height complements these proportions)
- Anyone who wants an undone, approachable vibe
- People with wavy or textured hair (the movement is built in)
Pro tip: If your hair is very straight, scrunch in a texturizing spray or sea salt spray before styling. This gives the bun dimension and makes face-framing pieces stay exactly where you want them.
2. The Low Messy Bun With Face-Framing Layers
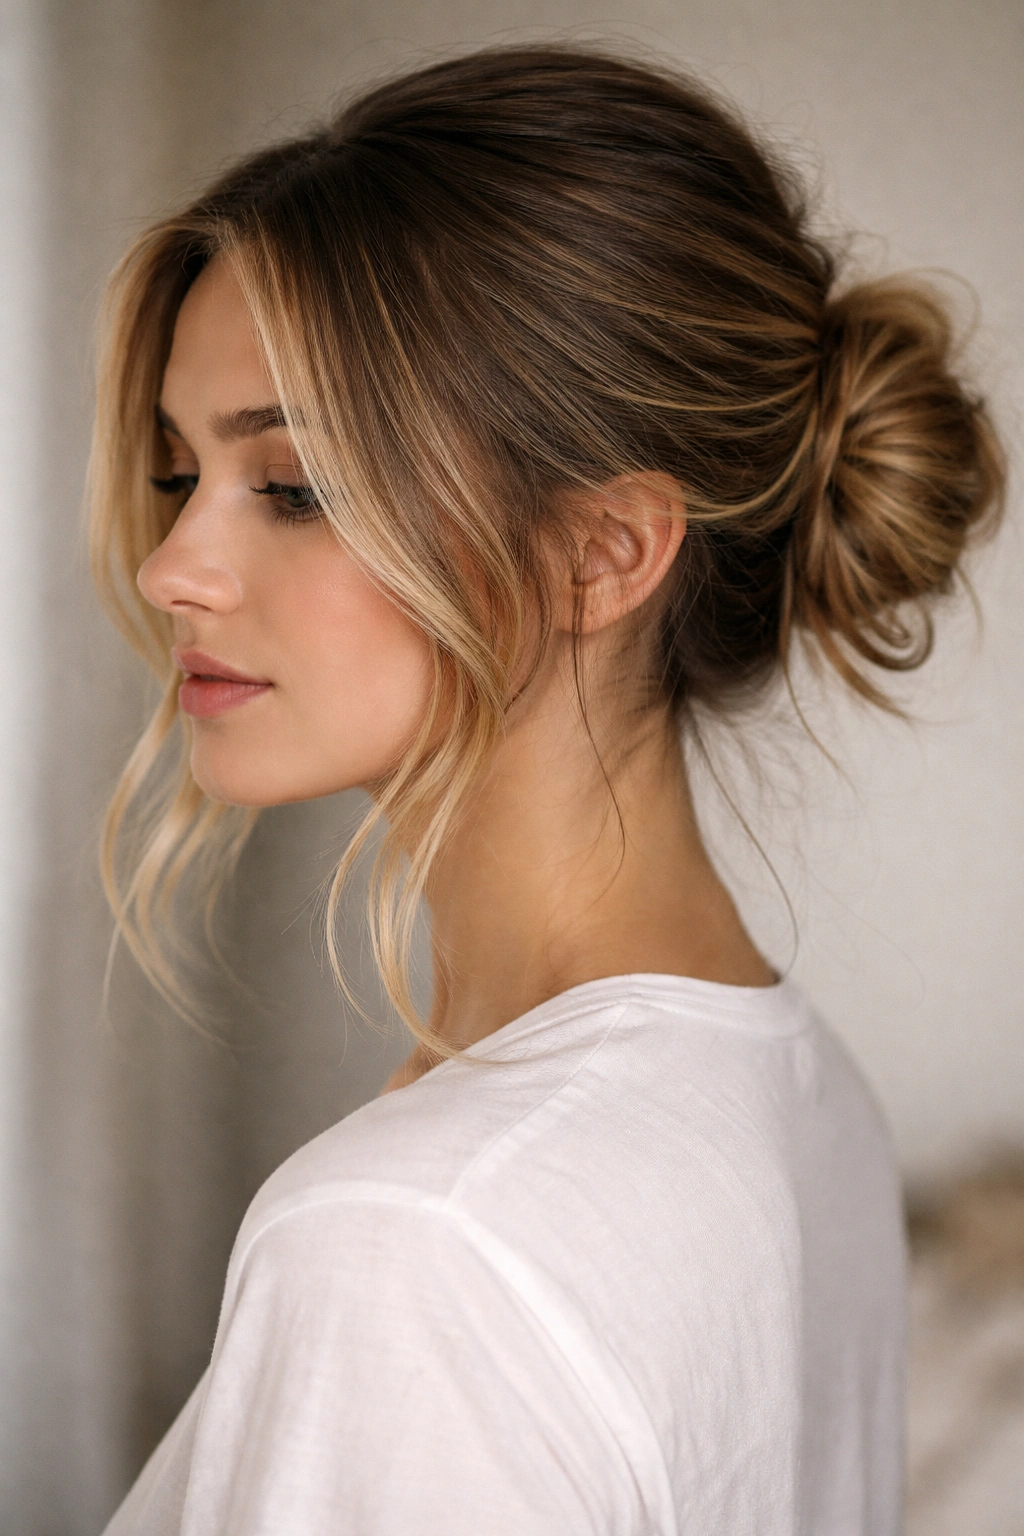
A low bun sits at the nape of your neck, and when you add strategically placed face-framing layers that fall from your temples or cheekbones, you get a style that’s simultaneously polished and relaxed. This version feels more sophisticated than a high bun — it’s what you’d wear to a nice dinner, a wedding, or when you want to look put-together without looking like you tried too hard.
The Structure Behind the Style
Gather your hair low, at the back of your neck, then twist and secure it into a loose, textured bun. The magic happens when you pull out longer strands from the front — either side-swept pieces that graze your cheekbones, or shorter face-framing wisps that catch at your temples. These pieces should curve slightly toward your face, which you can achieve by wrapping them gently around a curling iron or letting them dry over your shoulder.
Why Restaurants and Events Love This Look
This bun is polished enough for formal occasions but relaxed enough to wear casually. The face-framing layers prevent you from looking severe, which matters more as you age because a too-tight style can accidentally draw attention to fine lines rather than away from them. The lower placement also feels more flattering on most people than a high bun — it balances your features and works across different face shapes.
Styling Variations That Keep It Fresh
- Sleek base with curled face-framing pieces for elegance
- Textured messy base with straight face-framing pieces for contrast
- Side-swept longer frame for asymmetrical sophistication
- Pin the face-framing pieces back loosely for a softer, less dramatic effect
Worth knowing: This style holds better if you backcomb or tease the base of your bun slightly before securing it. This creates grip and keeps the style intact longer, which matters if you’re wearing it for an entire event.
3. The Textured Bun With Loose Pieces
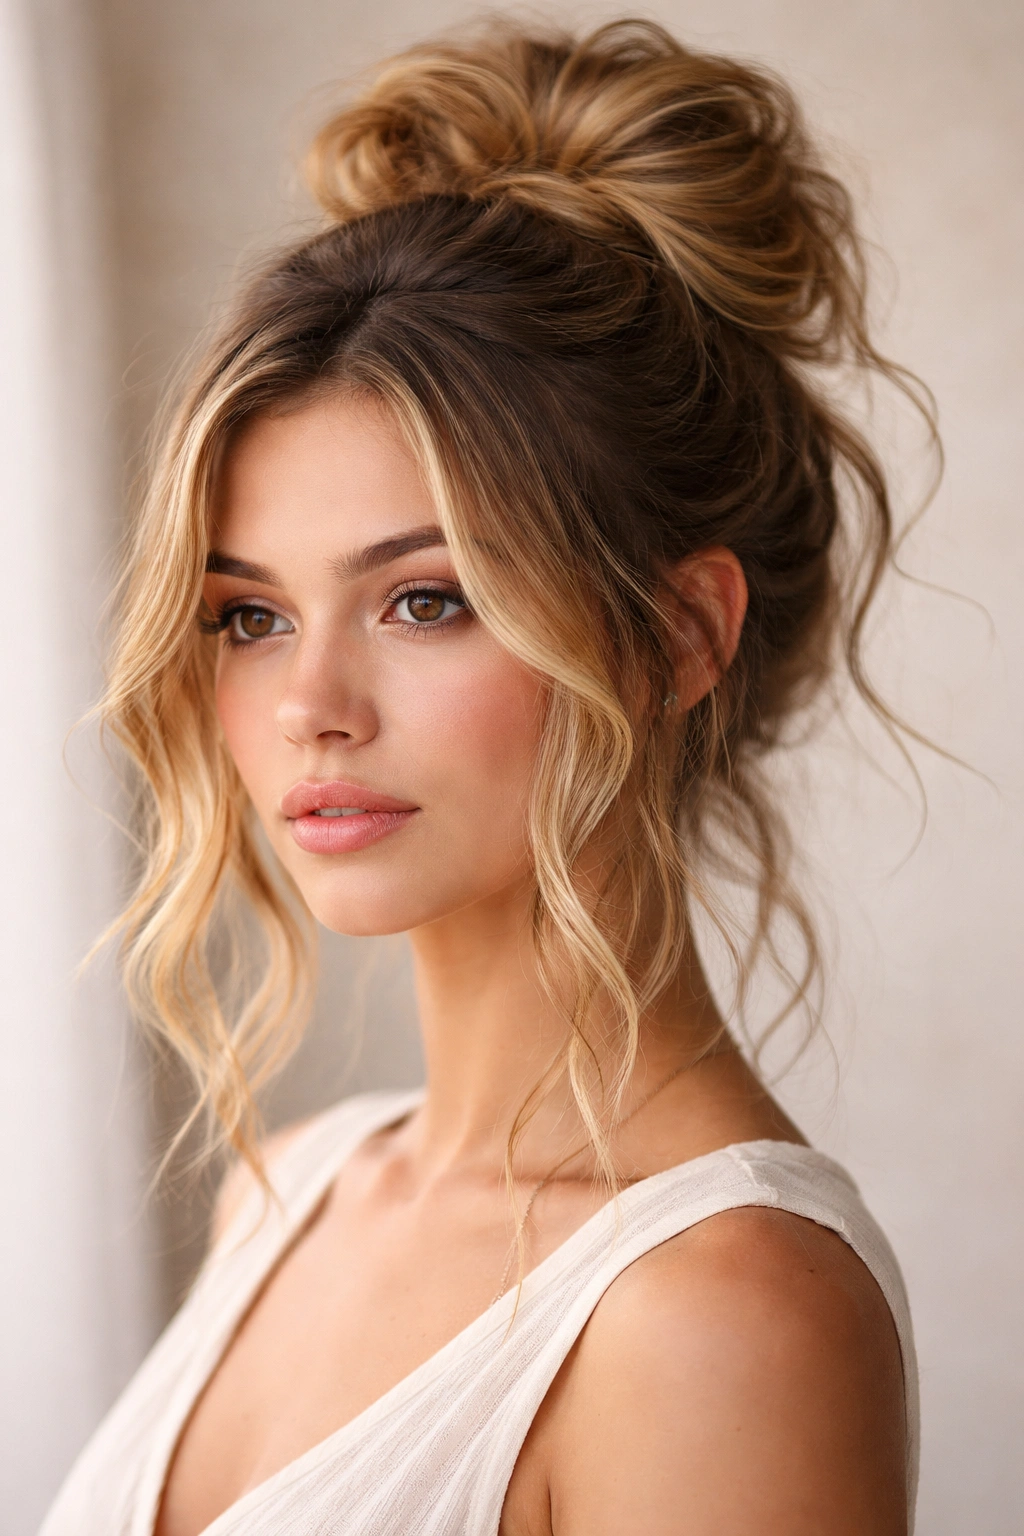
What separates this style from others is that every section — the bun itself, the face-framing pieces, even the flyaways — has intentional texture and movement. This isn’t a sleek bun with some pieces. It’s a fully dimensional, undone style where curls, waves, and wisps all play together. If you have curly or coily hair, this is your signature style because it celebrates your texture rather than fighting it.
Creating Visible Texture Throughout
This works best if you start with curly or wavy hair, or if you’ve set waves into your hair before styling. Gather your hair loosely into a bun at your preferred height, but instead of twisting it tightly, coil it loosely and secure with bobby pins that blend with your hair color. Leave multiple sections loose around your face — not just one or two pieces, but 3-4 wisps that create a fuller, more intentional frame. These pieces should be different lengths so they don’t look uniform.
The Visual Impact
A textured bun with loose pieces feels bohemian, creative, and modern. It reads as intentional style rather than “I just threw my hair up,” even though it takes about the same amount of time to create. The texture makes the whole style feel larger and fuller, which is why this works particularly well for people with finer hair or thinner density.
How to Maintain It Throughout the Day
- Bring a small container of texturizing paste or pomade to refresh the wisps later
- Use bobby pins that match your hair color so they’re invisible
- Don’t pull the face-framing pieces too tight — they should look relaxed and naturally fallen
- Mist lightly with a flexible-hold hairspray so pieces stay in place but still move
Insider note: If your curls or waves are defined in the morning but start to relax as the day goes on, wet your fingers and reactivate the curl pattern on your face-framing pieces. A tiny spritz of styling product on damp fingers works wonders.
4. The Half-Up Half-Down Bun With Framing Strands
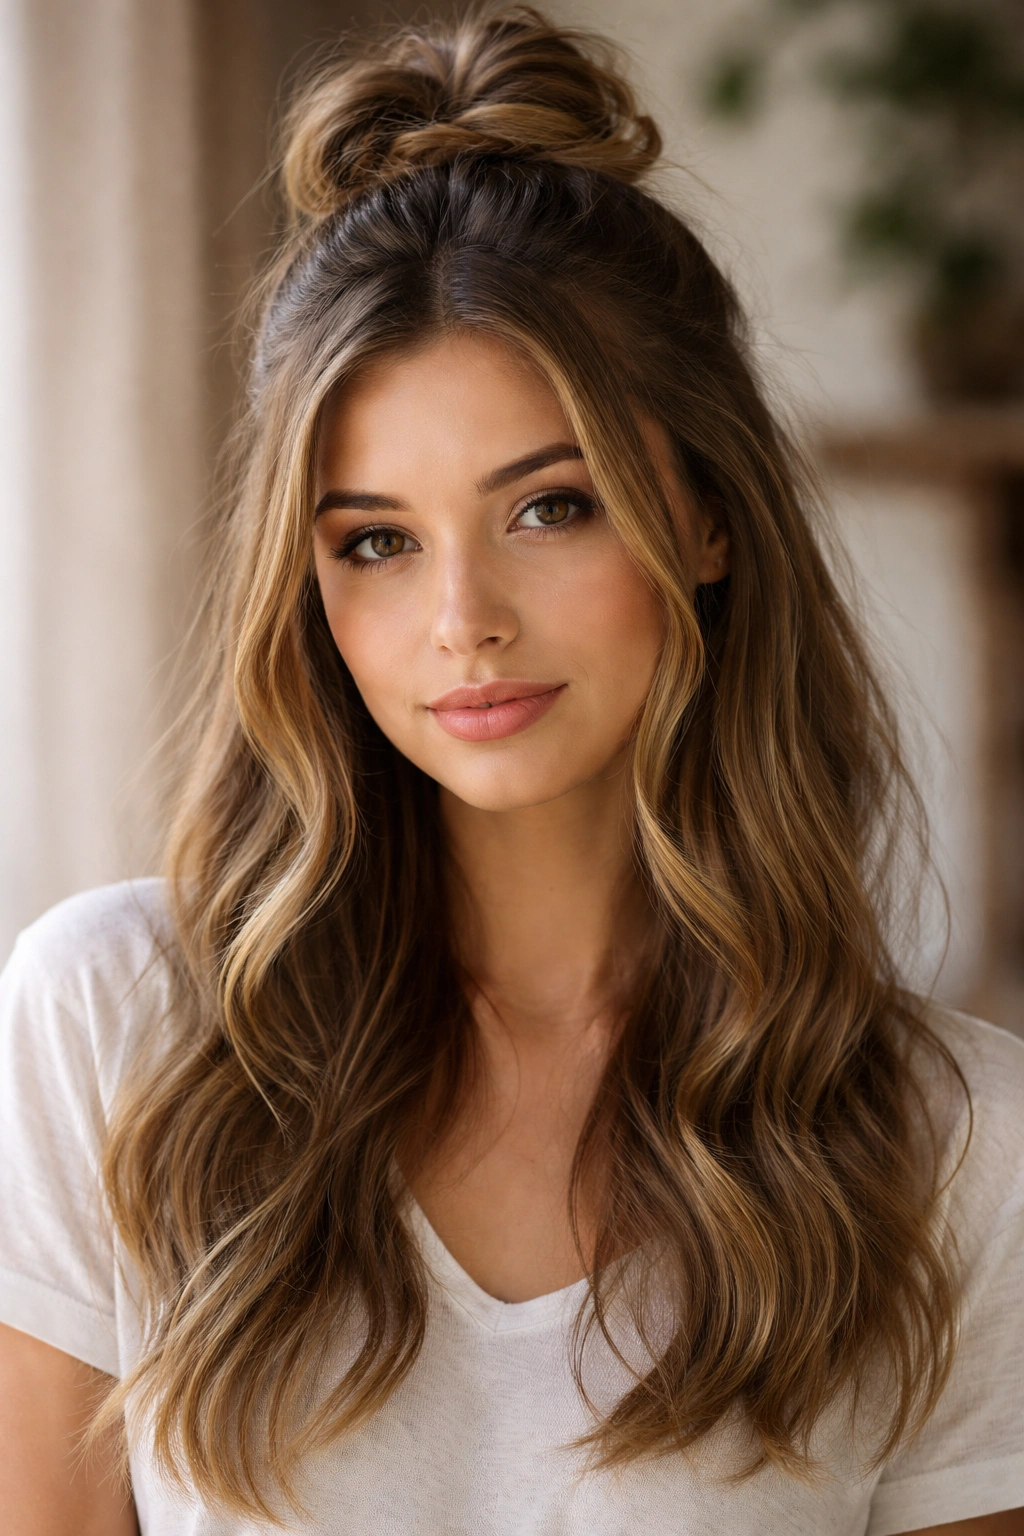
This style occupies the perfect middle ground — you get the clean, functional benefits of a bun without fully committing to putting all your hair up. You’re taking the top half of your hair, creating a small bun or knot, and letting the bottom half flow down your back. The face-framing comes from the sides: pieces from the bottom half that stay down and curve around your face.
Why Half-Up Works as a Face-Framing Strategy
Because you’re leaving hair down, you automatically have face-framing elements. The trick is making them intentional. When you secure the top bun, leave slightly longer pieces at your temples or part the hair at the top section so that the pieces closest to your face aren’t secured into the bun. These strands should fall naturally and frame your face as they dry or settle throughout the day.
The Versatility Factor
Half-up half-down with a bun works for almost any occasion and any hair type. It keeps hair off your neck and shoulders, which is great if you’re working, exercising, or just want less hair in your face, but it doesn’t scream “I put my hair in a bun.” You look like you have hair down, which many people prefer visually, but with the functionality of a bun.
Styling This for Maximum Impact
- Use a small elastic or bobby pins to secure the top section into a small, loose knot rather than a full bun
- Tease the base of the half-bun for grip and a fuller look
- Curl or wave the bottom half for extra dimension
- Leave at least 2-inch strands on either side completely loose for a soft frame
Quick styling hack: Instead of a traditional bun for the top section, try a small twisted knot or a tiny three-strand braid secured with bobby pins. This gives you more control over exactly which pieces frame your face.
5. The Sleek Bun With Delicate Face Framing
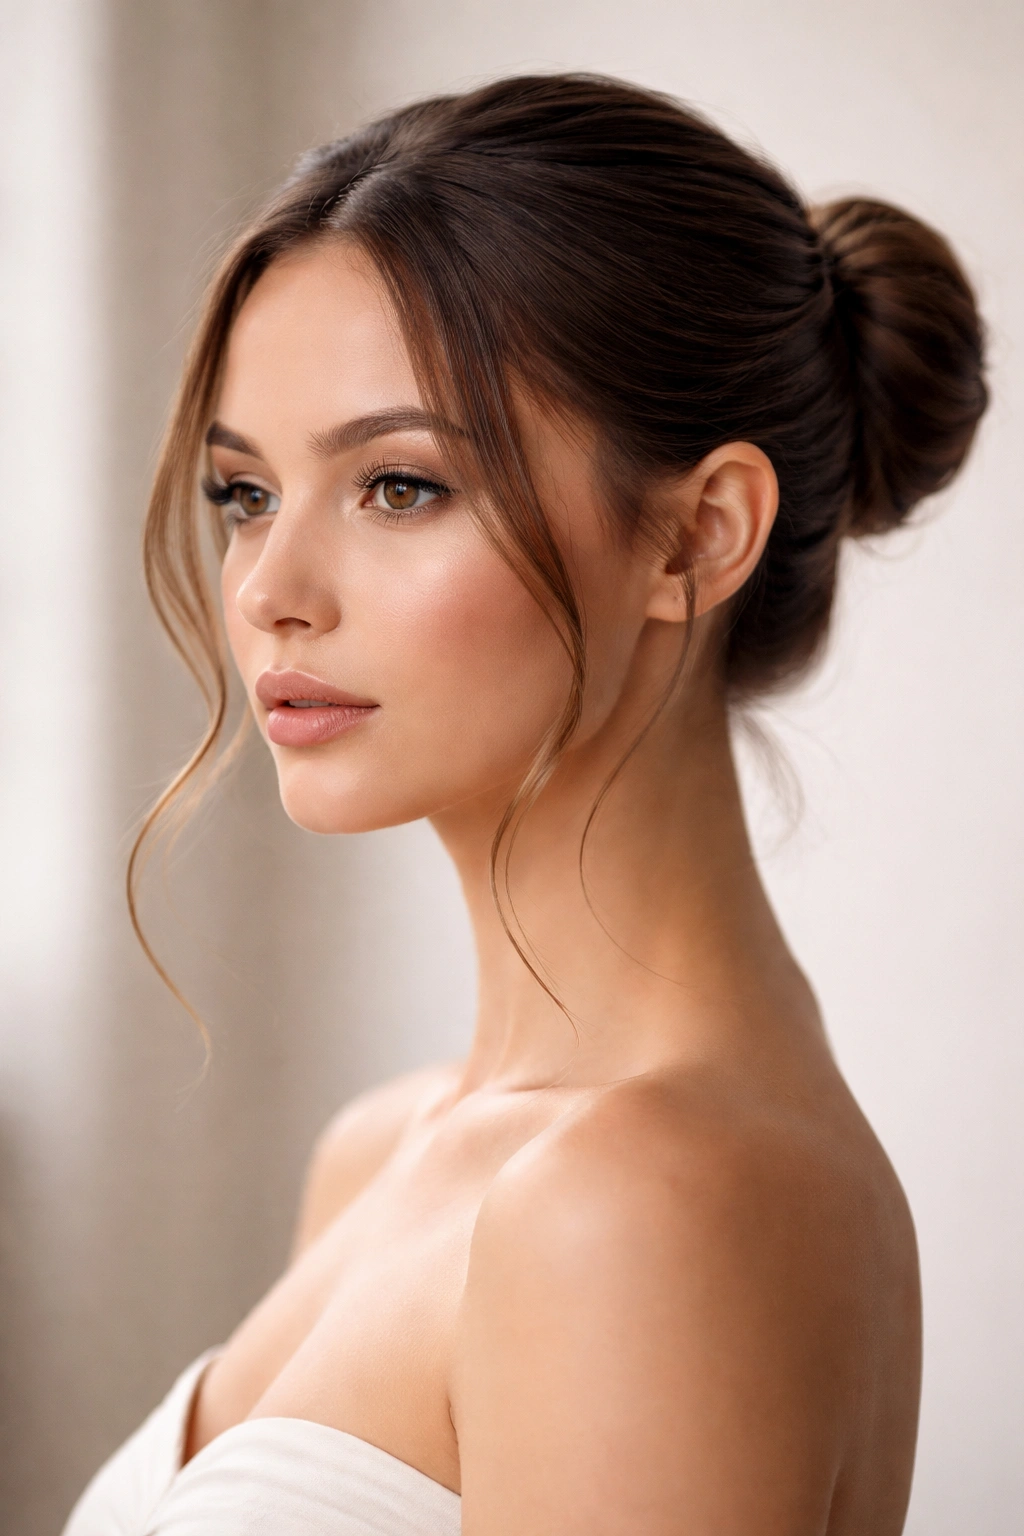
If your aesthetic leans minimalist or polished, this is your style. You’re creating a smooth, refined bun — not messy at all, actually — but softening it with a few delicate face-framing wisps. Think of it as a buttoned-up bun that’s been given permission to relax just slightly. The contrast between the sleekness and the softness is what makes this elegant.
The Sleek Foundation
Start with smooth hair — either blow-dried straight or with a light smoothing product applied. Gather it into a low or mid-height ponytail, brush it smooth, then twist it tightly and coil it around the base, securing with bobby pins. Make this bun as neat and refined as you want; this is the opposite of undone. Then, after you’ve secured everything, take a fine-tooth comb and gently pull out a few very thin strands from your hairline, temples, or the sections closest to your face.
The Contrast That Makes It Work
The sleek base makes those few face-framing pieces look intentional and sophisticated rather than accidental. You’re not trying to look undone — you’re making a choice to soften a polished style. This works beautifully for professional settings, formal events, or when you want to look refined.
Face-Framing Pieces With Intention
The pieces you pull out should be thin and delicate — not chunky sections. They should curve gently toward your face, which happens naturally if you let them fall for a few minutes after styling. For extra finesse, you can wrap these pieces around a small curling iron (0.5-inch barrel) to add a subtle curve that frames your cheekbones.
Pro styling note: If you have any baby hairs or natural texture at your hairline, this style actually showcases them beautifully. You’re not trying to slick them down with gel; you’re letting them create a soft, feathered edge. This adds femininity and softness to an otherwise structured style.
6. The Braided Bun With Loose Tendrils
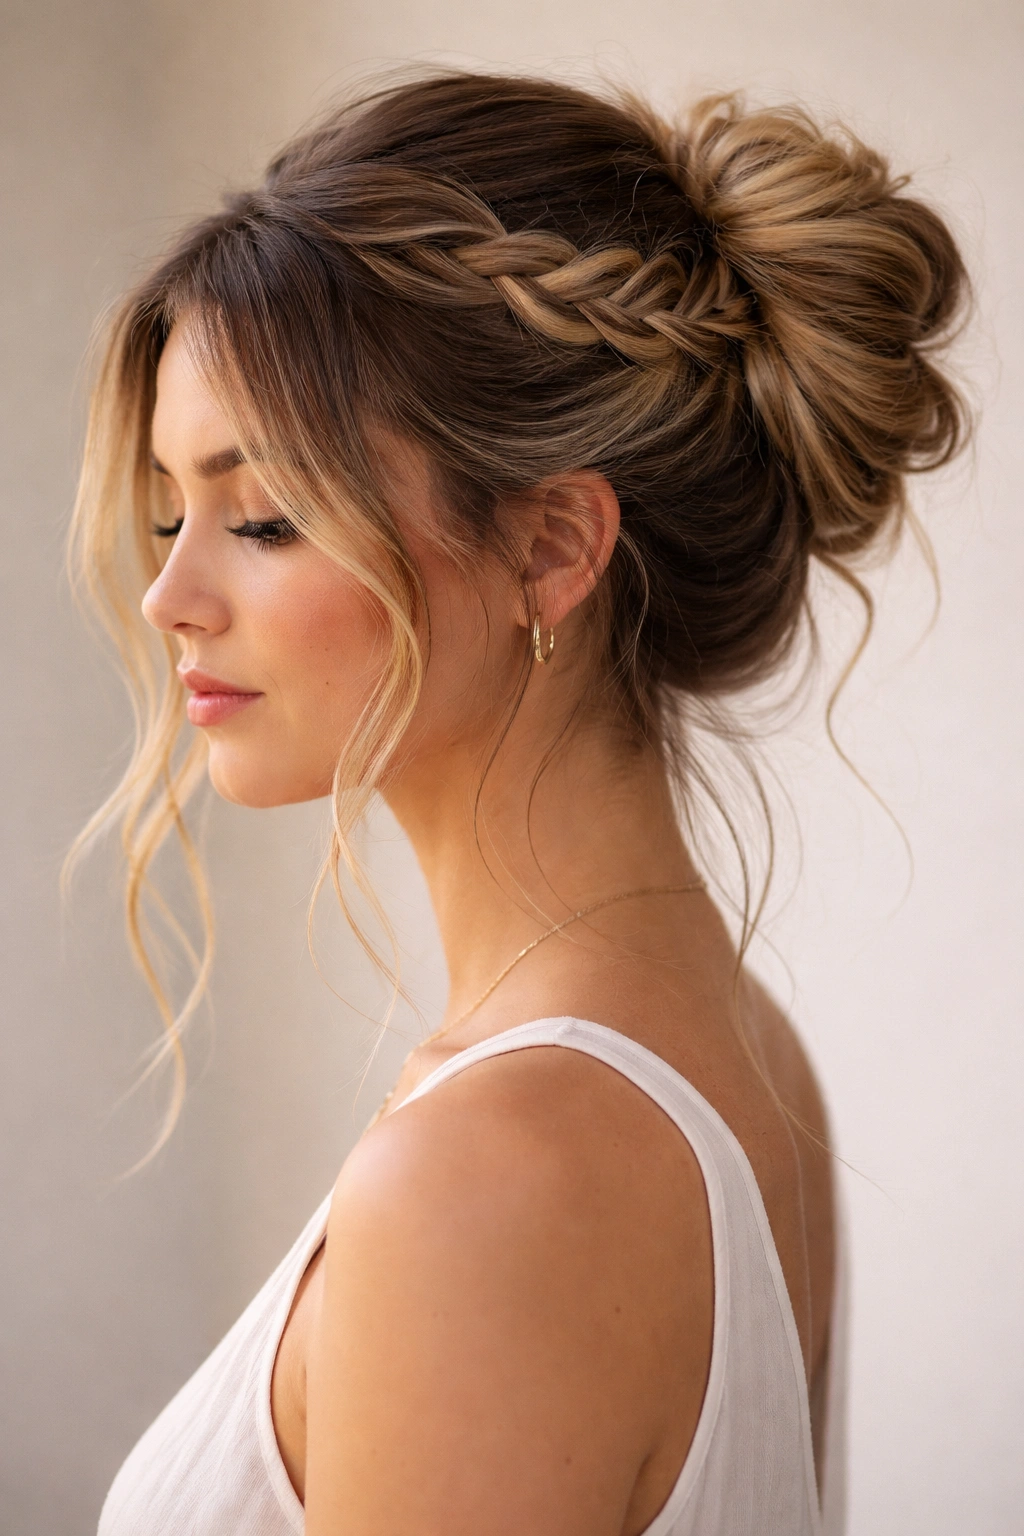
This style combines the visual interest of a braid with the practicality of a bun, and the loose tendrils around your face add movement and romance. You’re essentially creating a braided crown or braided sides, coiling the braid into a bun, and letting pieces escape around your face. It’s more intricate than other styles, which makes it feel special, but it’s still manageable if you’ve braided your own hair before.
Two Main Approaches to This Style
The Crown Braid Version: Braid your hair from one side around to the other, creating a crown-like effect, then coil the end of the braid into a bun at the back. This works best if you have medium to long hair and can afford to lose some length to the braid.
The Side Braid Version: Create one or two Dutch or French braids on the sides of your head, starting at your temples and braiding back toward the crown, then secure the loose ends into a bun at the back. The braid itself becomes your face-framing element.
Why This Style Reads as Fancy
Braids immediately elevate a hairstyle from casual to intentional. Even though you’re doing the exact same thing (putting your hair up into a bun), the addition of a braid makes it feel more deliberate and special. It’s perfect for events where you want to look like you made an effort without looking overdone.
Creating the Loose Tendrils
As you’re securing your braid into the bun, don’t pull everything completely tight. Leave shorter pieces at your temples and cheekbones to fall naturally as face-framing wisps. You can also, after you’ve finished styling, gently tug on a few pieces of the braid to loosen it slightly — this creates the undone, romantic texture while keeping the overall style intact.
Make it work for you: If full braids feel too challenging, try a partial braid — just braid one side, coil it into a bun, and leave the other side loose. This gives you the braided visual interest without requiring ambidextrous braiding skills.
7. The Side Swept Messy Bun With Wispy Layers
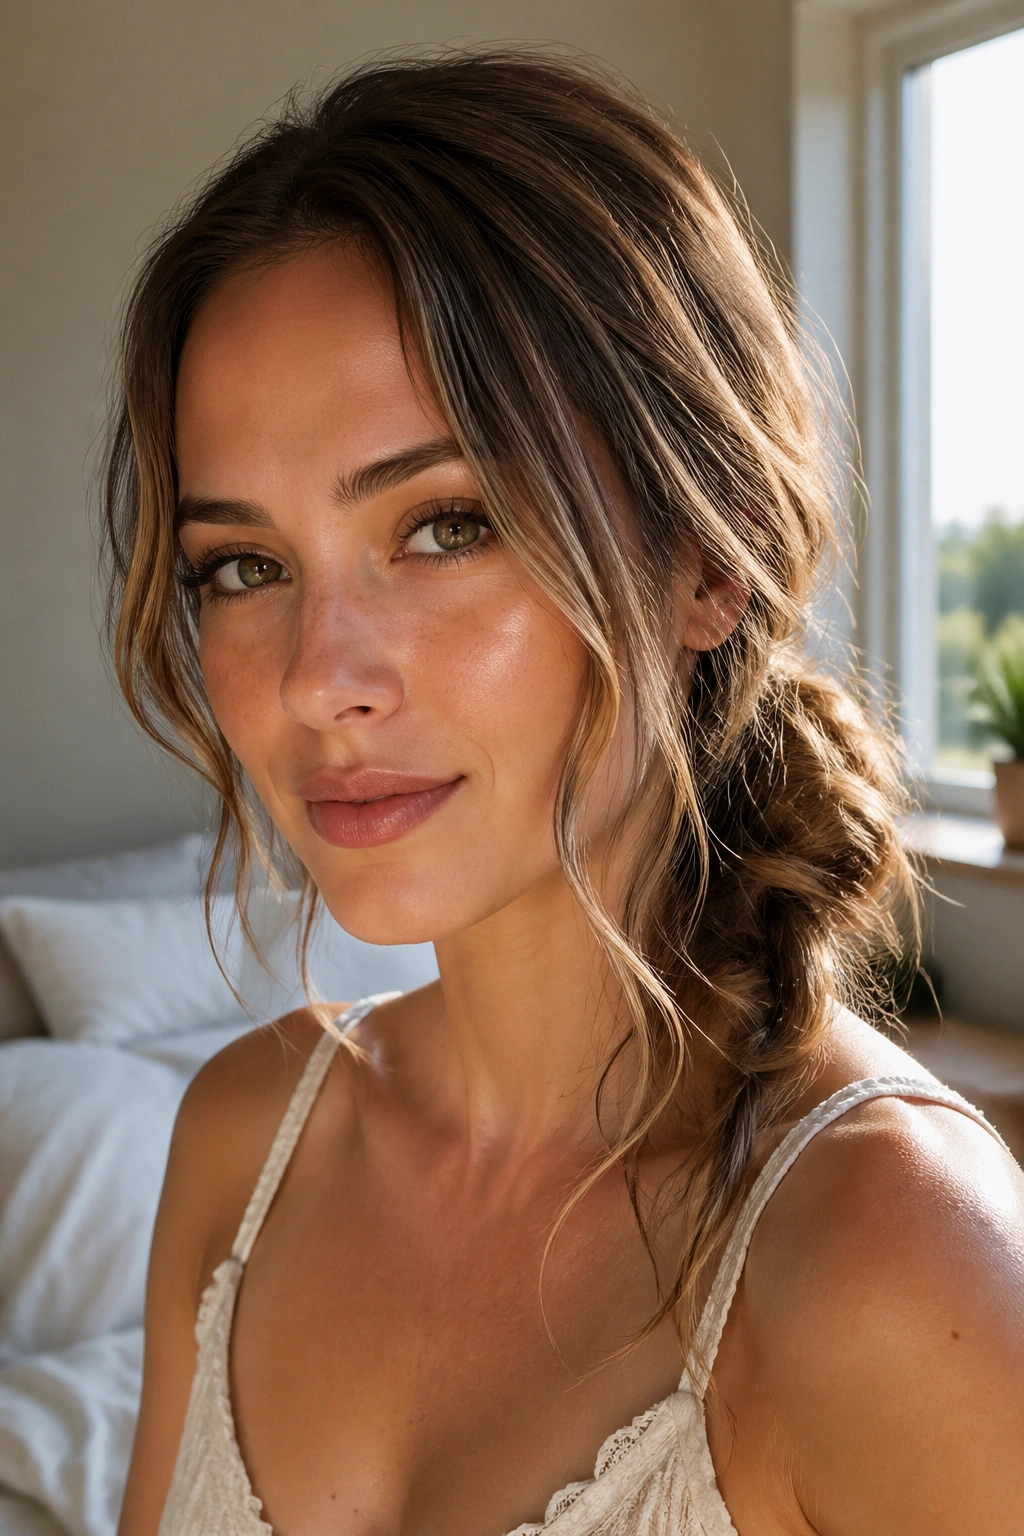
This style puts the bun off to one side of your head (usually resting over your shoulder or just behind one ear), creating an asymmetrical look that’s undeniably stylish. The wispy layers on the opposite side of your head frame your face, while the bun itself is the statement piece. It’s a messy bun with attitude.
Creating the Asymmetrical Placement
Flip your head to one side, gather your hair from that direction, twist it loosely, and secure it with bobby pins on one side of your head — whether that’s behind your ear, at the back of your head, or over your shoulder depends on your preference and hair length. The key is that the bun is offset, not centered. This automatically creates a question mark-shaped silhouette that’s flattering on most face shapes.
The Face-Framing Magic
Because the bun is off to one side, the opposite side of your face is completely exposed and framed by the longer pieces that didn’t make it into the bun. These pieces should be left loose, and they’ll naturally drape down and curve around your face. You can enhance this by wrapping them around a curling iron or letting them air-dry over your shoulder to create a gentle wave.
Why Asymmetry Feels Modern
An off-center bun feels current and fashion-forward. It’s more interesting visually than a centered bun, and it works really well if you have any texture or waves because the asymmetry emphasizes movement. This style also works nicely if you have a side part — you can create the bun on the side where you part your hair naturally.
Occasions This Suits
- Casual outings where you want a statement style
- When you’re wearing a style that draws attention to one side of your face
- Events where you want to look intentional but not overly formal
- Any day you want to feel a little more creative with your hair
Styling tip: This works best with slightly messy, textured hair. If your hair is perfectly smooth and sleek, an off-center bun can look a bit awkward. Scrunch in some texture or waves first.
8. The Twisted Bun With Face-Framing Spirals
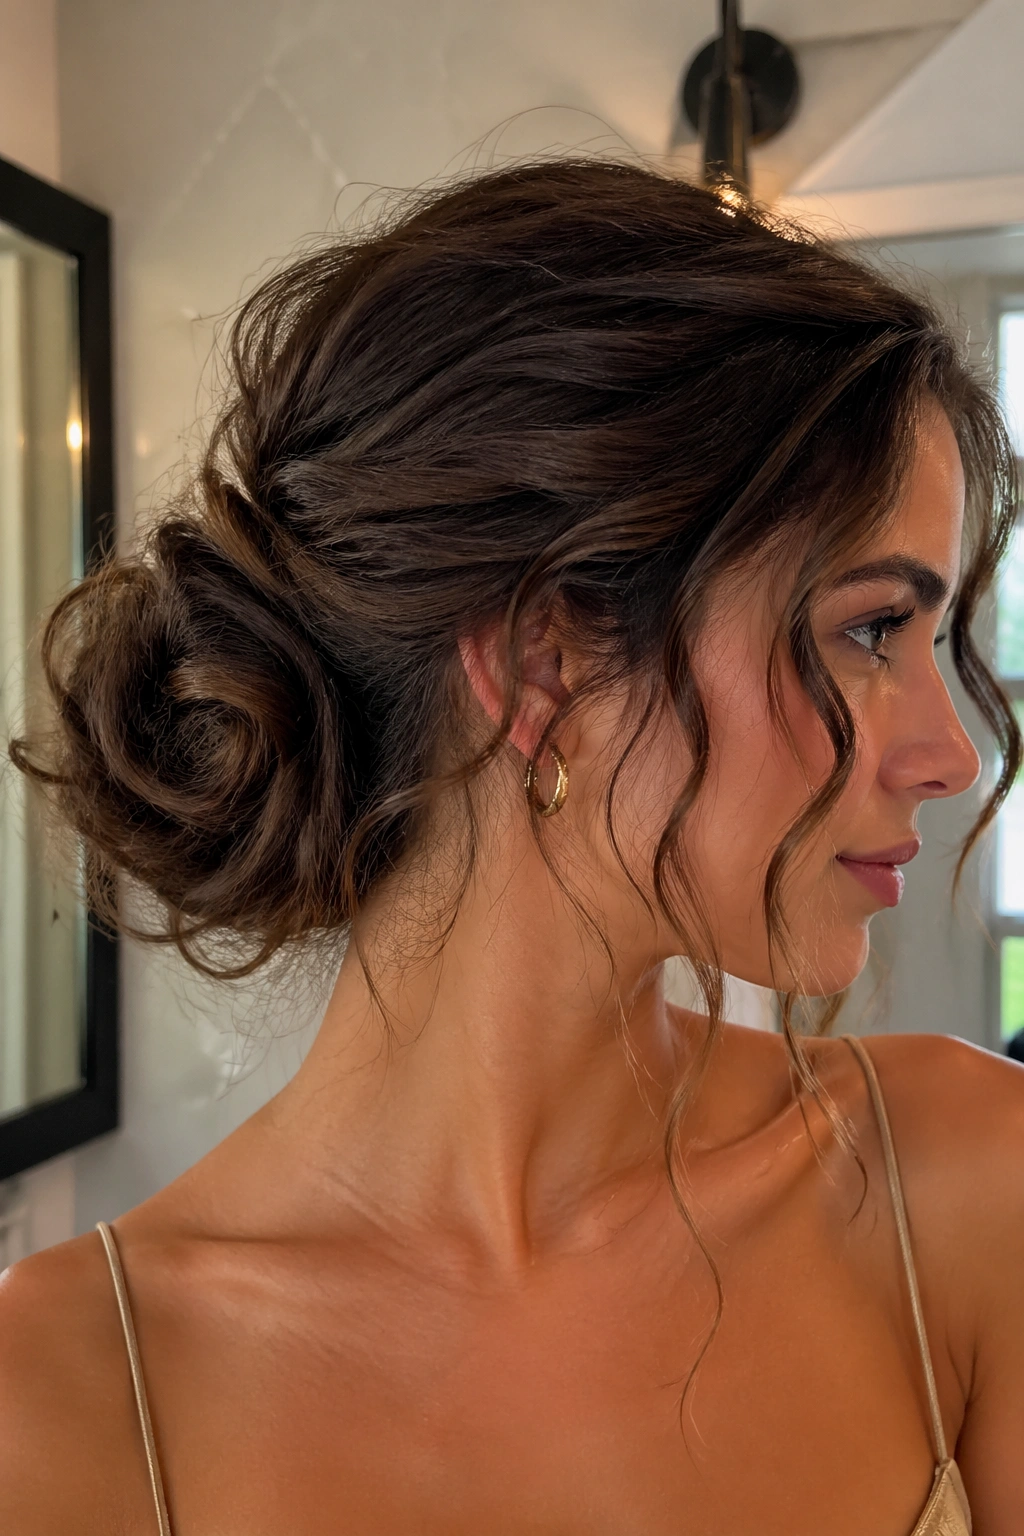
Instead of coiling your hair or braiding it to create a bun, you’re twisting sections of it, spiraling those twists around each other, and securing the whole thing into a bun at the base. This creates a textured, almost sculptural bun that’s visually distinct from a traditional twisted bun. The face-framing spirals are left loose to coil around your face.
How to Create the Twisted Spiral Effect
Separate your hair into 3-4 sections (or however many you want — more sections create more intricate twists). Twist each section tightly, then twist those twisted sections around each other, creating a thicker, more complex spiral. Coil this entire twisted spiral into a bun at your preferred height and secure with bobby pins. As you’re doing this, leave slightly longer pieces at your temples or around your hairline so they can spiral down and frame your face.
The Visual Payoff
The result is a bun that has obvious texture and dimension — it doesn’t look smooth or polished, but instead sculptural and intentional. This works particularly well if you have thick or textured hair because the twists really showcase the complexity of your hair. Fine hair can do this too, but the effect is more delicate and subtle.
Enhancing the Spiral Face Framing
After you’ve secured your twisted bun, take the face-framing spiral pieces and gently wrap them around a curling iron or your finger to emphasize the spiral shape. You want them to coil around your face rather than just hang straight. Pinning them isn’t necessary — they’ll stay in place naturally once they’re twisted and curled.
When to Wear This Style
- Creative settings where you want your hair to feel artistic and intentional
- Everyday wear if you want something more visually interesting than a regular bun
- Events where you’re going for a fashion-forward, “I know what I’m doing with my hair” vibe
- Any time you want to show off your hair texture
Real talk: This style requires a bit more patience than other buns because you’re working with multiple twists. But if you spend that 5 extra minutes on it, the payoff is a really distinctive, stylish look that gets compliments.
How to Prepare Your Hair for Any Messy Bun With Face-Framing Pieces
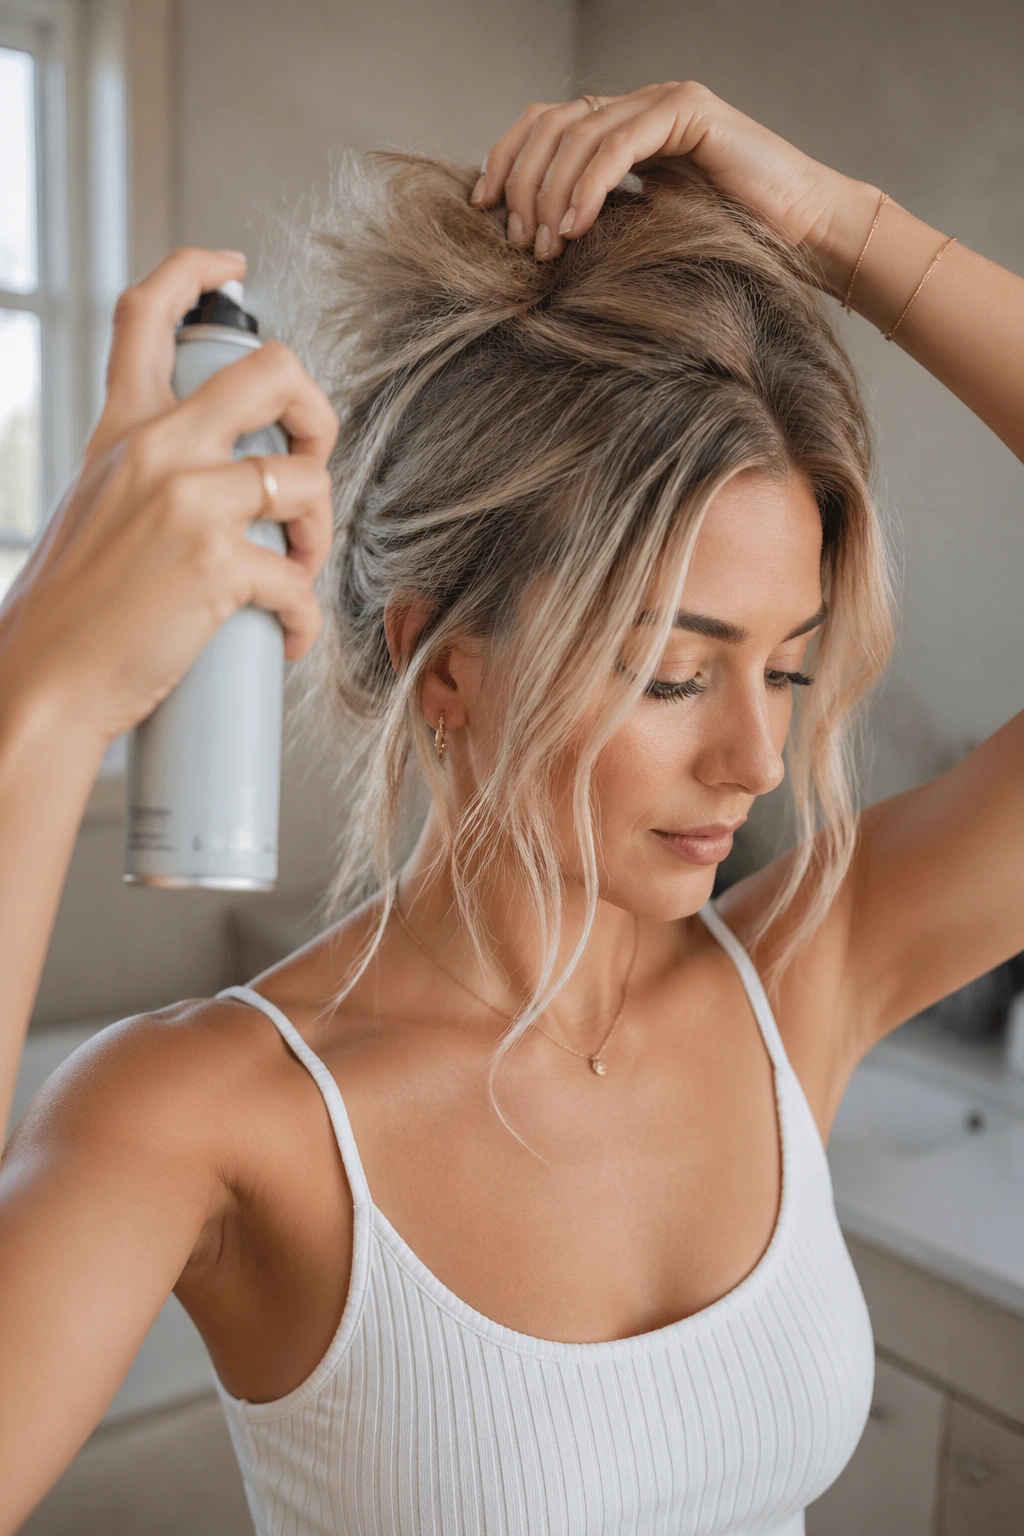
The foundation you create before you even start styling determines how well your messy bun will hold and how intentional your face-framing pieces will look. Starting with the right texture makes everything easier.
Texture Is Your Secret Weapon
Smooth, freshly-washed hair slides around and makes bobby pins pop out. Textured hair grips bobby pins, holds twists, and creates natural dimension. If you have straight hair, don’t panic — you can add texture with products. A sea salt spray, texturizing spray, or even dry shampoo applied to dry hair creates grip and makes your bun feel fuller and messier in all the right ways. Apply it to your roots and mid-lengths, scrunch it in with your hands, and let it dry or set for a minute.
The Two-Day Hair Advantage
Hair that’s been down for a day or two holds styles better than freshly-washed hair. It has natural oils that create grip, and if you’ve had it in braids or waves, it retains some of that texture. If you’re planning to wear a messy bun with face-framing pieces, styling it on day-two or day-three hair is genuinely easier and often looks better.
Prep Your Face-Framing Sections
Before you even pull your hair up, decide which pieces will frame your face and loosely separate them from the rest of your hair. If you want these pieces to have a specific wave or curl, apply a curl-enhancing product to them and let it dry, or wrap them around a curling iron for 30 seconds. This ensures your face-framing pieces do what you want them to do instead of doing whatever they feel like once you’ve set your bun.
Bobby Pin Placement Matters
Use bobby pins that match your hair color so they’re invisible. For messy buns, you want 4-6 bobby pins placed in a cross or X pattern at the base of your bun — not all clustered in one spot. This distributes the weight and creates a bun that stays put for hours. For face-framing pieces, use just one or two bobby pins placed horizontally in your hair (not vertically), pinning the piece against the side of your head rather than pinning it directly to your scalp.
Common Mistakes That Make Messy Buns Look Unintentional (In the Bad Way)
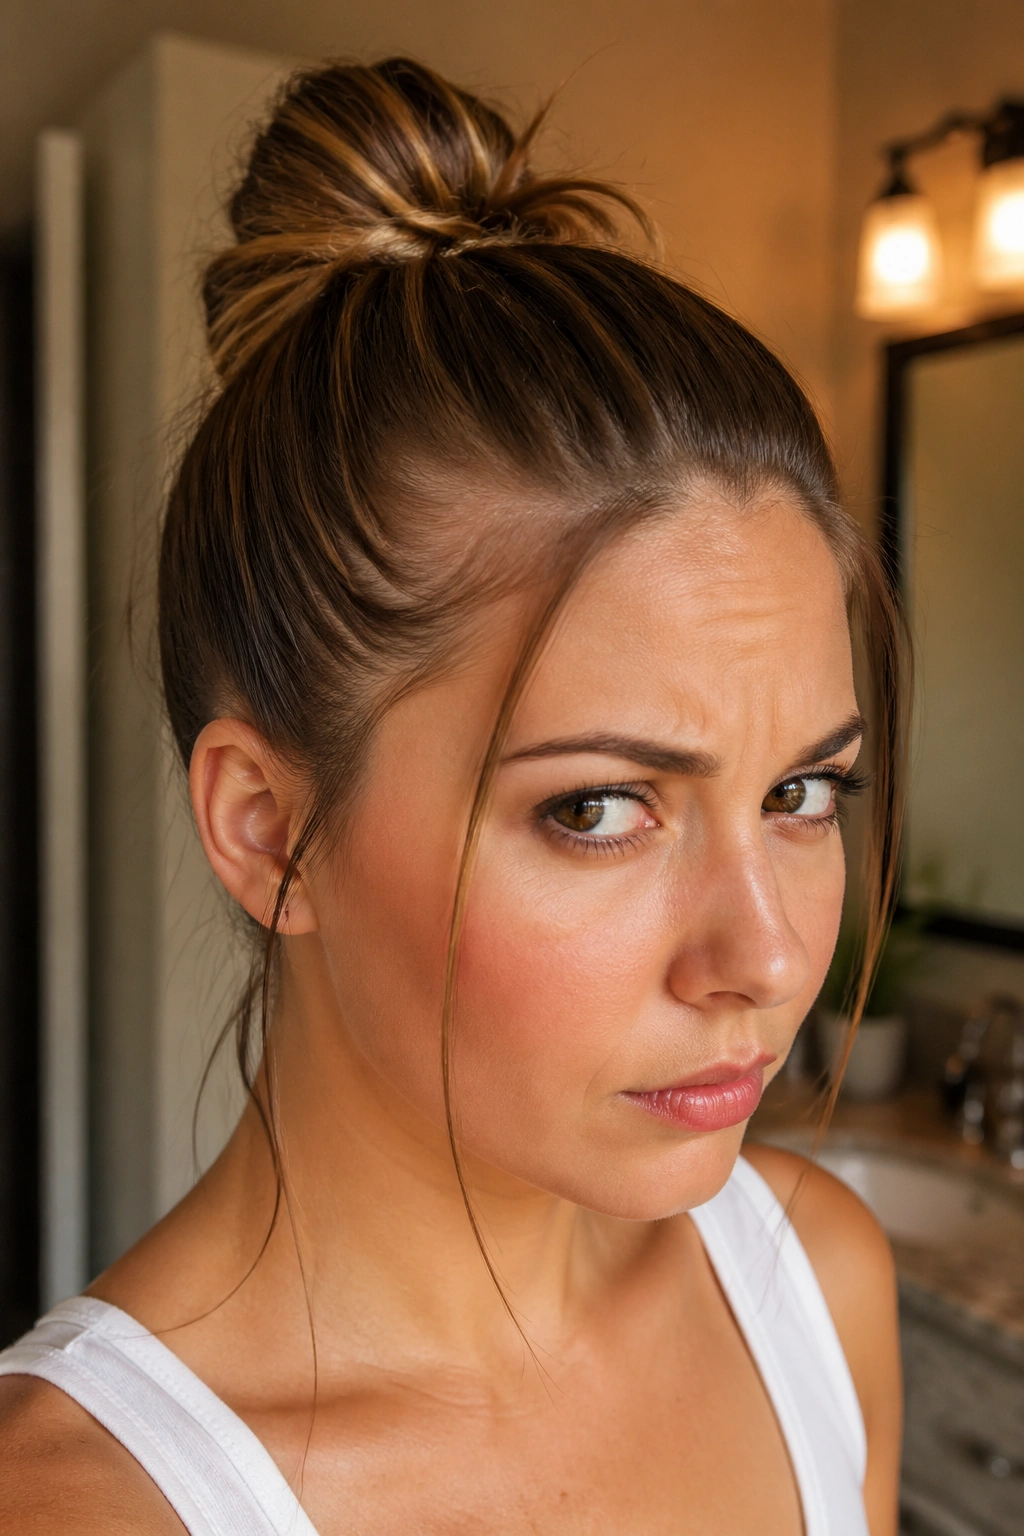
There’s a difference between a messy bun that looks effortlessly cool and a messy bun that looks like you forgot your hair was a thing. The distinction is usually in the details.
Pulling Too Tight
When your bun is too tight, you can’t pull out face-framing pieces without creating an awkward bald spot at your hairline. You also can’t create the soft, undone aesthetic that makes messy buns beautiful. Pull your hair up until it’s secure, but leave enough slack so you can run your fingers through the bun and gently loosen sections. Face-framing pieces should come from areas of relative softness, not from hair that’s been locked down by tension.
Forgetting to Rough Up the Bun
After you’ve twisted or coiled your hair into a bun and secured it, spend 20 seconds actively messing it up. Use your fingers to gently pull pieces out, loosen the twists slightly, and create a rougher texture. A perfectly neat bun with a few random pieces around your face looks unfinished. A bun that’s been intentionally tousled with coordinating face-framing pieces looks styled.
Face-Framing Pieces That Don’t Actually Frame
If your face-framing pieces are too thick, too few, or positioned awkwardly, they don’t do the job. You want them to curve around your face, fall at cheekbone height or slightly longer, and create a soft, feathered edge. Thin, delicate pieces positioned close to your hairline and temples usually work better than one thick chunk of hair on each side.
Mismatched Texture
If your bun is textured and messy but your face-framing pieces are stick-straight, or vice versa, it looks uncoordinated. Your face-framing pieces should have similar texture and movement to your bun. If you’re going for a sleek bun, make sure your face-framing pieces are polished too. If you’re going for fully textured and undone, apply the same approach to your face-framing pieces.
Styling Products That Make This Easier
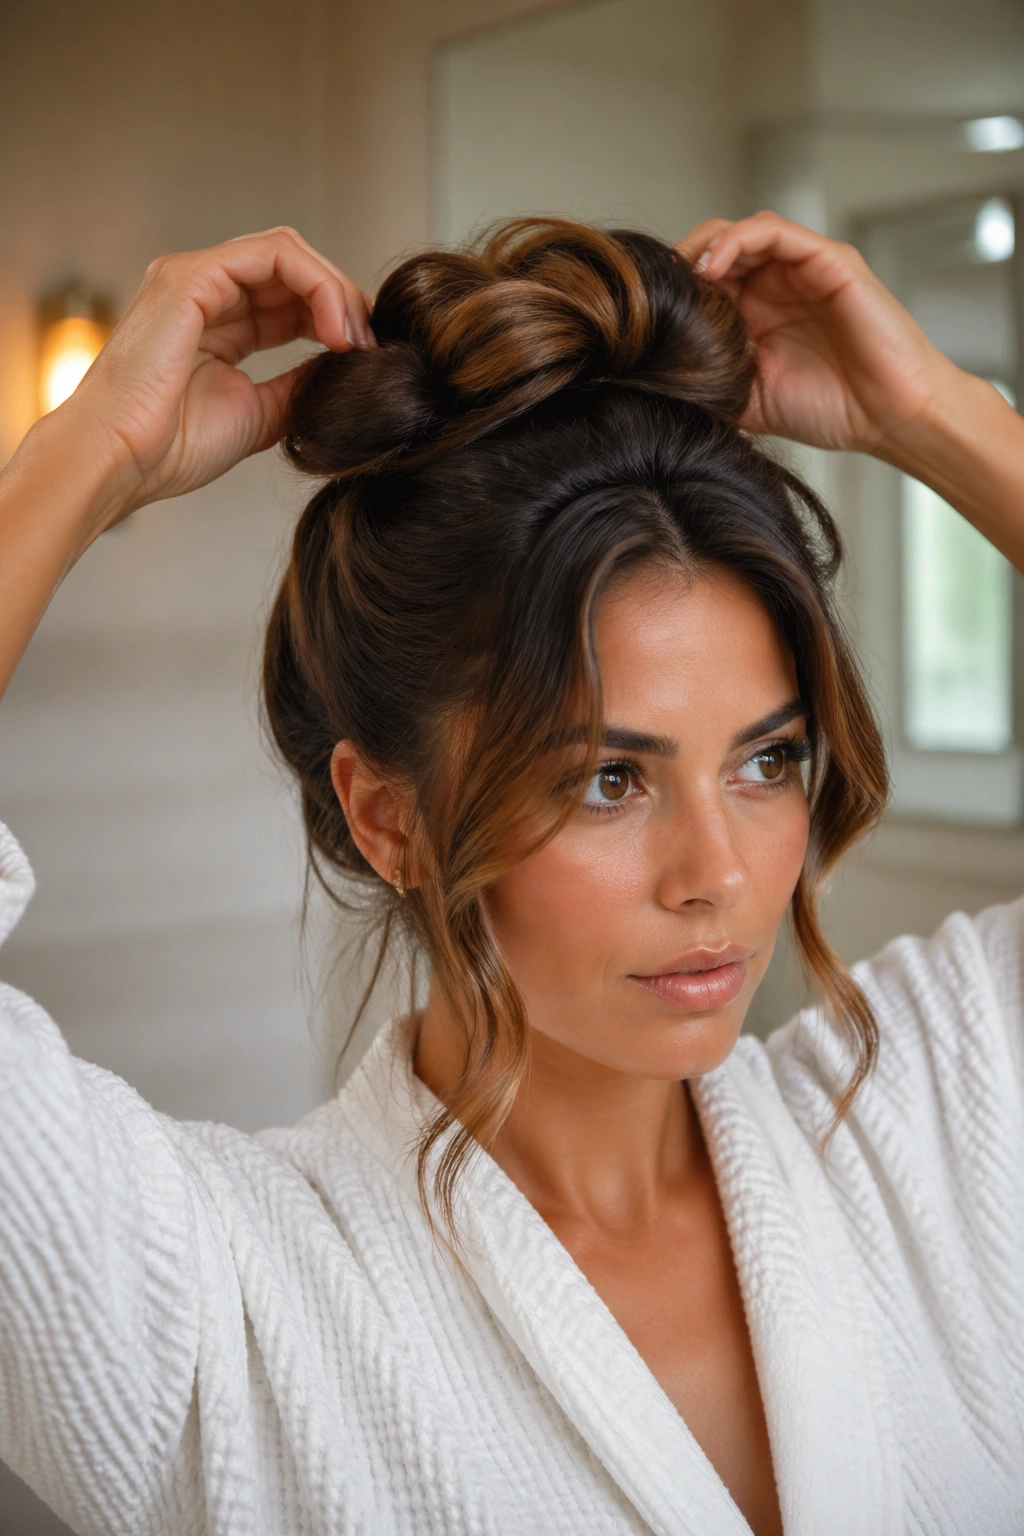
You don’t need many products to create and maintain a messy bun with face-framing pieces, but the right ones make everything simpler.
Texturizing Sprays and Dry Shampoo
These are the MVP of messy bun styling. They add grip, create volume, and make face-framing pieces stay exactly where you want them. Spray generously on your roots and mid-lengths, scrunch with your hands, and let it dry for 30 seconds. Even if your hair is freshly-washed, a light coat of texturizing spray transforms it into hair that holds styles beautifully.
Flexible-Hold Hairspray
You want flexible hold, not maximum hold, because you need your bun and face-framing pieces to move naturally. A stiff, crunchy bun doesn’t look effortless. Spray lightly after you’ve styled and throughout the day to refresh any pieces that have loosened. Flexible-hold sprays let your hair move while still keeping everything in place.
Curl-Enhancing Creams or Gels
If you’re creating face-framing spirals, waves, or curls, a lightweight curl cream or gel applied while your hair is damp helps those shapes hold. Apply it only to the sections you’re styling, let it dry completely, and your curves will last all day.
Smoothing Serums or Pomades
For sleek buns with delicate face-framing pieces, a light smoothing serum on your hair (and a tiny dab of pomade on your fingertips) keeps flyaways down and everything looking polished. Apply these sparingly — a little goes a long way, and overusing them makes hair look greasy.
Adjusting These Styles for Different Hair Types and Lengths
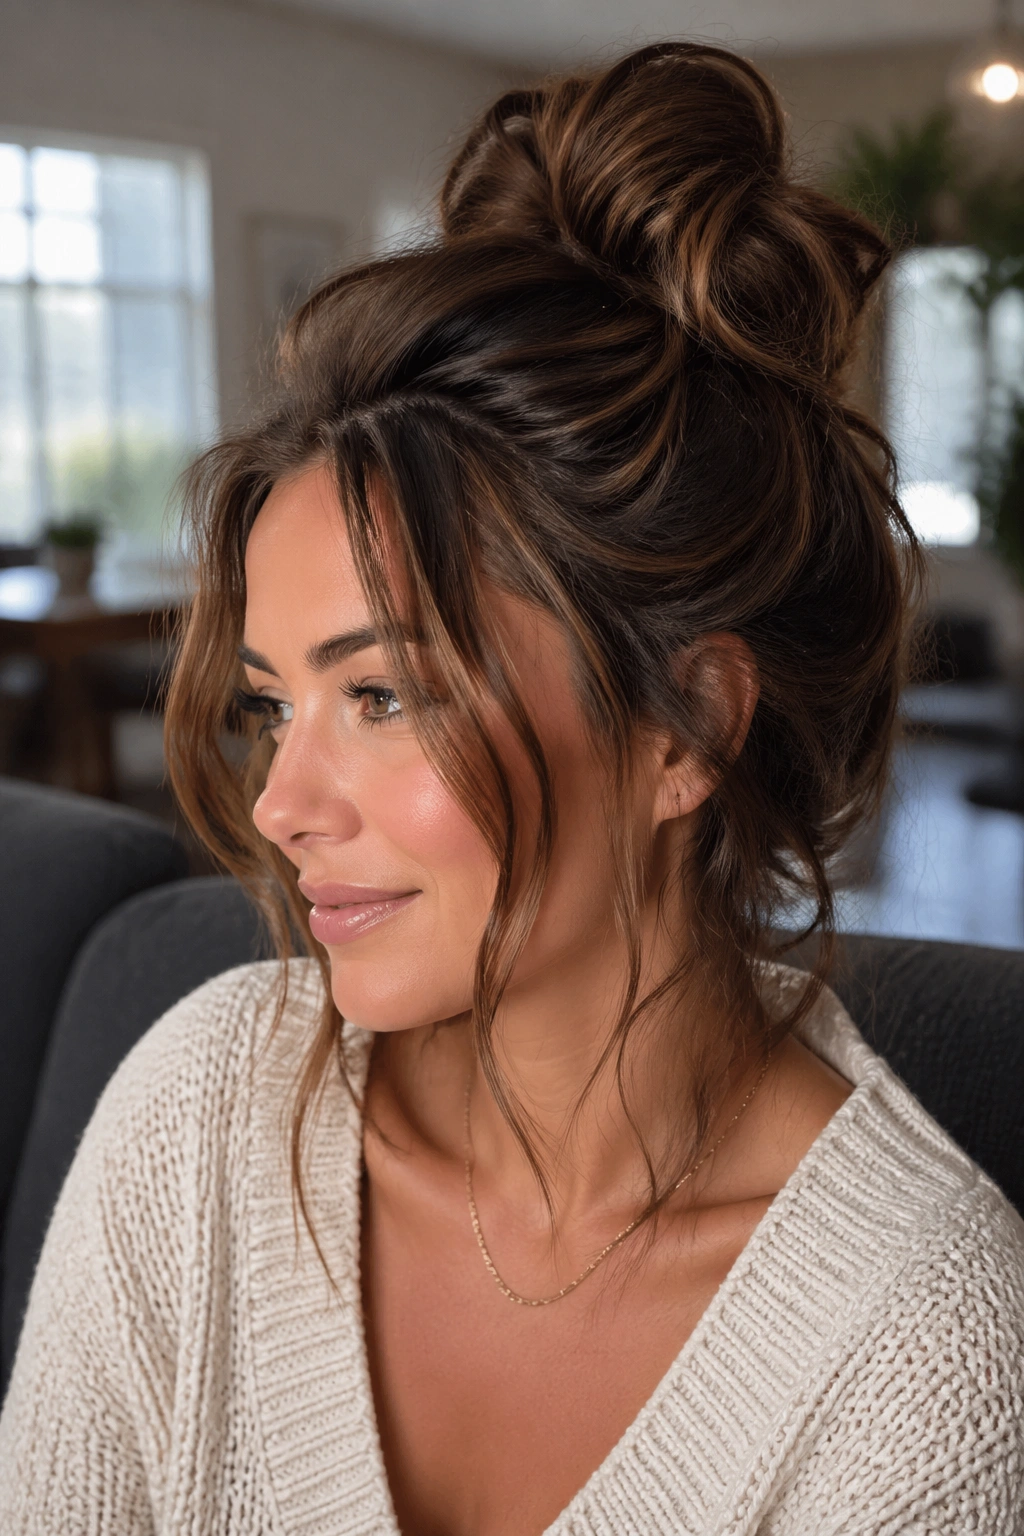
Every hair type can wear a messy bun with face-framing pieces, but the approach varies slightly.
Fine or Thin Hair
You’ll want to tease your bun gently at the base to create grip and make it look fuller. Use bobby pins liberally — more pins distributed across a wider area work better than fewer pins pulling tight. Create your face-framing pieces from longer sections so they’re visible and actually frame your face. A textured approach works better than a sleek one because texture creates the illusion of fullness.
Thick or Curly Hair
You’re in the sweet spot for messy buns with face-framing pieces because your hair naturally has texture and volume. You can use fewer bobby pins and still have everything stay in place. Consider braiding as part of your bun design because braids look particularly beautiful in thick, curly hair. Your face-framing pieces will be automatically textured and visually interesting.
Straight Hair
Add texture with products before styling — this is non-negotiable if you want your bun to look intentional rather than like you just threw your hair up. Once you’ve textured it, follow the same general rules as everyone else. You can do any of the eight styles above, but sleek variations will probably look best on your hair type because they’re less fussy.
Short Hair
You need at least chin-length hair to create most messy bun styles. If you have shorter hair, focus on half-up half-down buns or very small topknots with longer face-framing pieces. The face-framing pieces become even more important because they’re doing a lot of visual work.
Shoulder-Length or Longer
This is the ideal length for all the styles described above. You have enough hair to create a full bun and still have substantial face-framing pieces. Don’t feel like you need super-long hair — shoulder-length works beautifully.
The Confidence Factor: Wearing These Styles With Intention
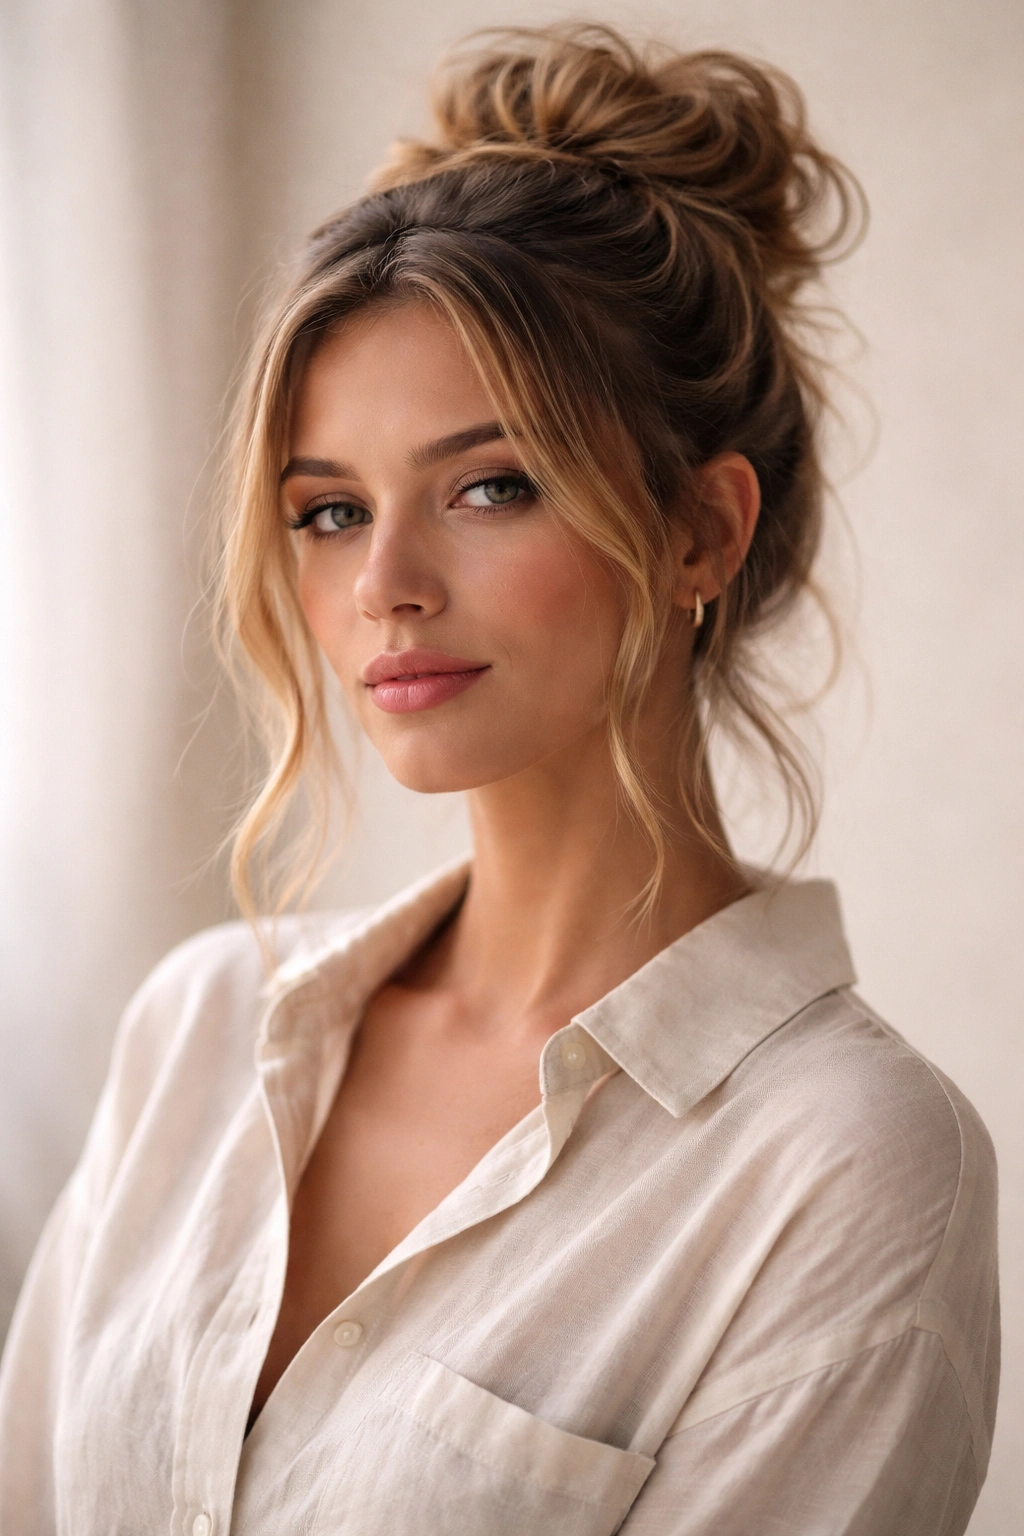
The most important part of pulling off a messy bun with face-framing pieces is wearing it like you actually meant to style it that way. Confidence is visible, and it’s the difference between “messy bun” and “effortlessly cool messy bun.”
Your hair doesn’t need to be perfect. In fact, it’s better if it’s not. Slightly undone is always more interesting than perfectly controlled. If a piece falls down, pin it back loosely instead of reslicking it into place. If your bun gets a little looser as the day goes on, that’s fine — it just looks more relaxed. The whole point is that you’re not pretending your hair is something it’s not; you’re working with what you have and making it look intentional.
The face-framing pieces are there to soften your look and draw attention to your best features. Wear them like you chose them specifically because they frame your face beautifully — because you did. These styles work because they combine structure (the bun) with softness (the frame), creating something that feels both put-together and approachable. That’s the sweet spot, and it’s absolutely worth the five extra minutes it takes to get there.
Final Thoughts
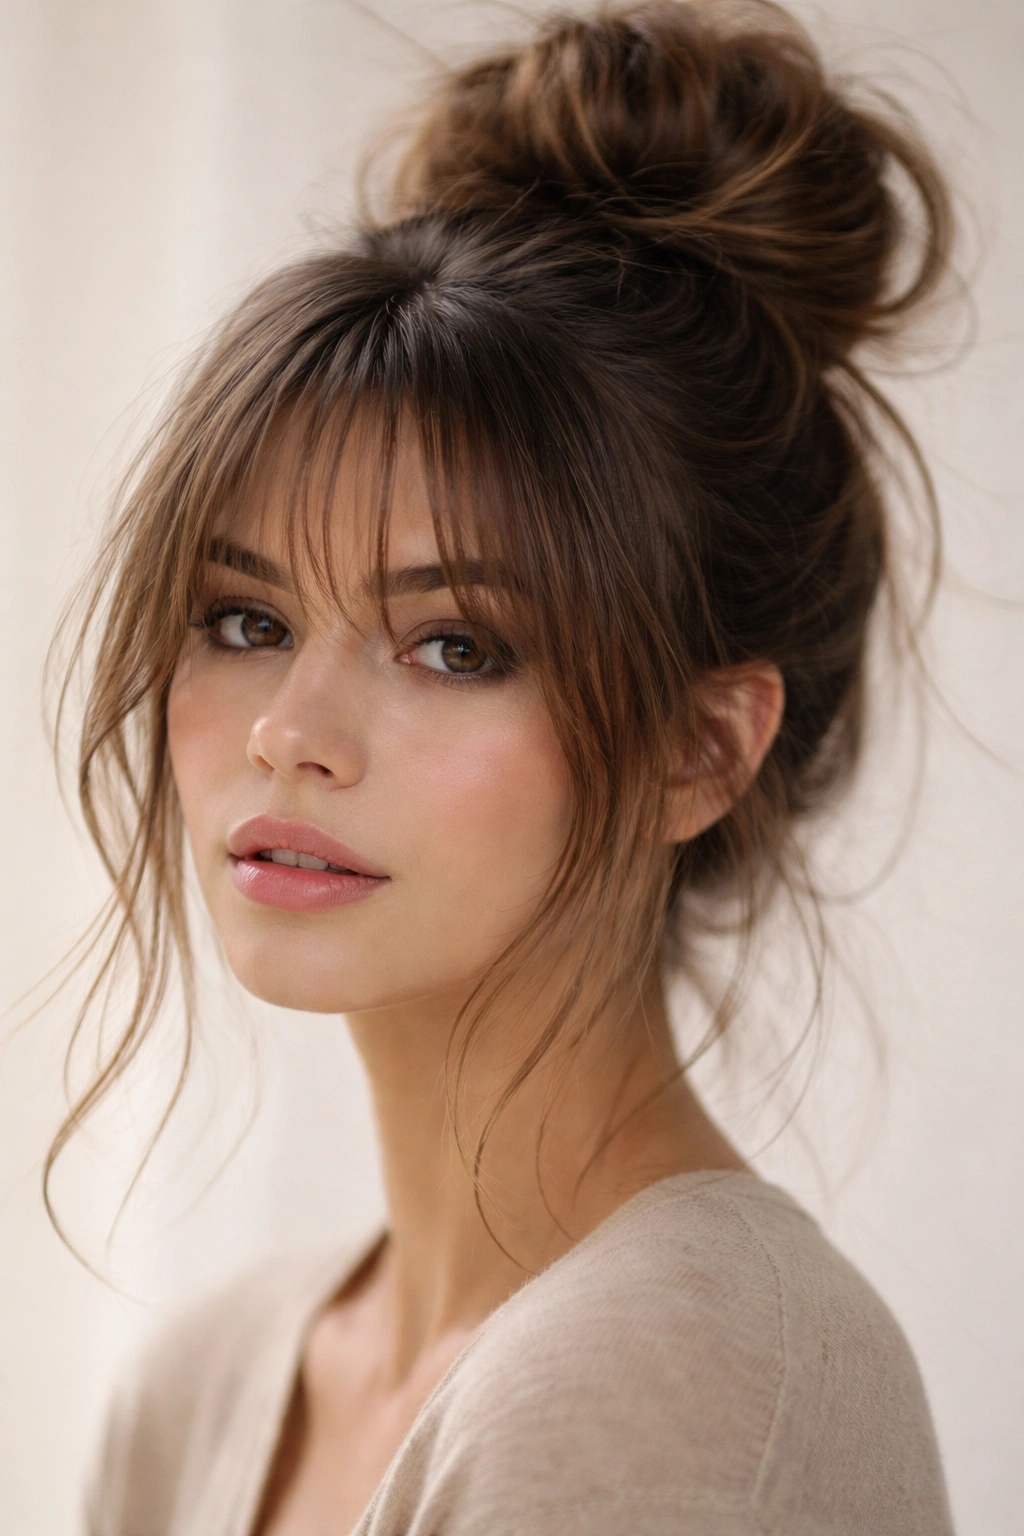
A messy bun with face-framing pieces is one of those hairstyles that genuinely works for everyone. Whether you have thick curls, fine waves, or stick-straight hair; whether you’re 20 or 60; whether you prefer sleek or textured — there’s a version here that’ll suit you. The face-framing pieces transform what could feel like a “just threw my hair up” style into something intentional, flattering, and modern. They soften your face, add dimension, and show that you actually took a moment to think about your hair rather than just reaching for an elastic on autopilot.
The beauty of these eight styles is that once you understand the core concept — textured hair pulled up into a bun with strategically-placed pieces around your face — you can mix and match elements to create something uniquely yours. Start with whichever style appeals to you most, practice it a few times until you’ve got the muscle memory down, then experiment with variations. Your hair is a blank canvas, and these styles are permission to have fun with it.
