



Low messy buns have become a go-to protective style for Black women, offering that effortlessly chic look while keeping hair tucked away and moisturized. The beauty of a low bun is how forgiving it can be—imperfect, textured, and intentionally undone feels more sophisticated than a tight, polished style these days. But not all low messy buns are created equal, especially when you’re working with natural hair textures that have their own personality and needs.
The key to nailing a low messy bun that actually lasts and looks intentional is understanding how to work with your hair’s natural volume, curl pattern, and texture rather than fighting against it. What works for straight hair can look thin and scraggly on coily or kinky hair, which is why low messy bun styles deserve to be reimagined specifically for Black women’s hair. The styles in this guide range from sleek and polished to gloriously undone, so whether you’re heading to the office, the gym, or a weekend brunch, you’ll find something that fits your vibe and your hair goals.
Many of these styles also double as protective styles that give your ends a break from daily manipulation while still keeping you looking put-together. You can wear them for multiple days in a row, refresh them with some strategic spraying and re-tucking, and they work whether your hair is freshly washed or a few days old (sometimes the second or third day is actually when they look their best). Let’s explore eight low messy bun styles designed to work beautifully with the natural texture and movement of Black women’s hair.
1. The Classic Textured Low Bun
This is the quintessential low messy bun that works with virtually every curl pattern and hair type. Instead of gathering your hair into a tight ponytail first, you’ll create this style by loosely gathering your hair at the nape of your neck and gently twisting or loosely coiling it around itself. The magic happens when you let small pieces fall out naturally and embrace the texture rather than trying to smooth everything down.
How to Achieve This Look
Start with hair that’s been moisturized and either air-dried or blow-dried with a diffuser on low heat. You want some texture and movement already in place before you begin. Gather your hair at the base of your neck using your fingers rather than a comb, which helps preserve the texture and prevents frizz. Gently twist the gathered hair and wrap it around the base to form a loose coil, then secure with bobby pins placed strategically underneath where they won’t show.
What Makes This Style Perfect
- Works beautifully on coils, curls, waves, and locs
- Requires minimal styling products—just your natural oils and maybe a light moisturizer
- Takes 5-10 minutes to create from start to finish
- Looks intentionally messy and textured rather than sloppy
- Can be worn for 3-5 days without major refreshing needed
Pro tip: Let some front pieces frame your face instead of tucking everything back—this softens the look and gives you that “I woke up like this” vibe.
2. The Butterfly Knot Bun
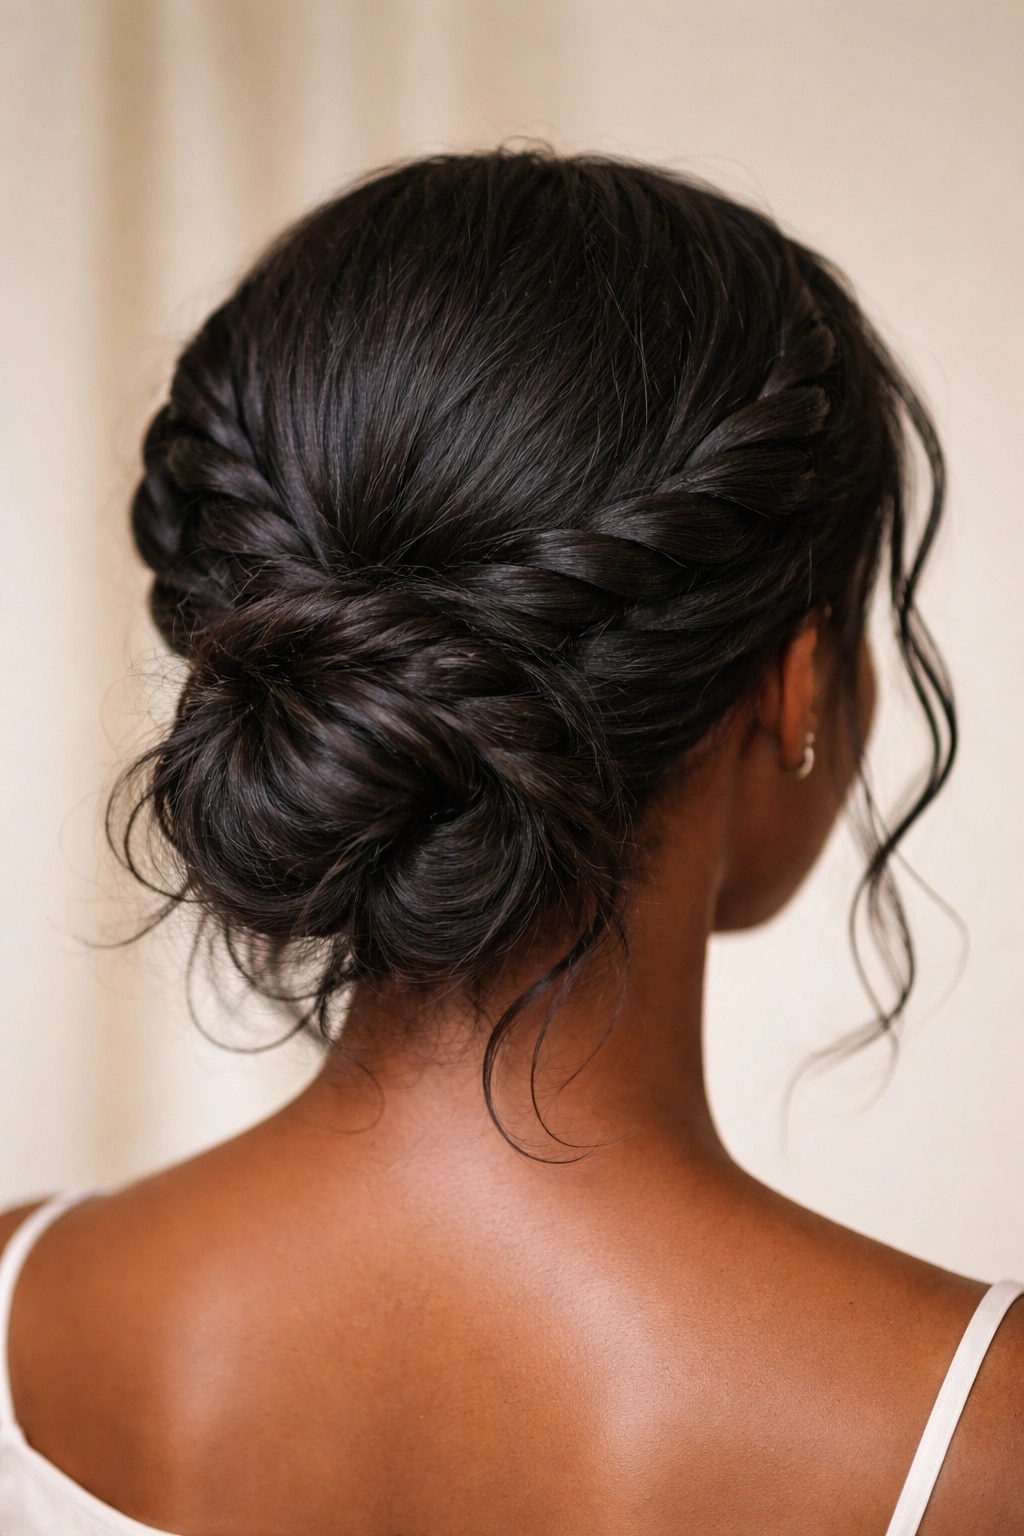
This style gets its name from the way the twisted sections create a shape that resembles butterfly wings when you look at it from the front. You’re essentially creating two flat twists that spiral around each other, forming a textured crown of sorts at the base of your neck. It’s more interesting than a simple bun because the structure comes from the twists themselves, not just from how tightly you coil the hair.
The Technique Behind the Look
Divide your hair into two sections from your side part. Create a flat twist on each side of your head, starting at the front and spiraling back toward the nape. Once both flat twists reach the back, gently coil them around each other and secure with bobby pins. You want the twists to be loose enough that they have dimension and texture, not so tight that they create tension on your scalp.
Key Details to Get Right
- Flat twists should be unraveled slightly for that intentional messiness
- Let small wisps escape from the flat twists as you work—don’t fight them
- The bun itself should sit right at your nape or slightly below
- This style holds beautifully for 4-5 days with daily refreshing
- Best done on second or third-day hair when there’s already some texture
Worth knowing: If your twists aren’t staying neat, it usually means they need to be a bit tighter, not looser. The twist itself provides structure; the messiness comes from loosened edges, not from loose twists.
3. The Twisted Rope Low Bun
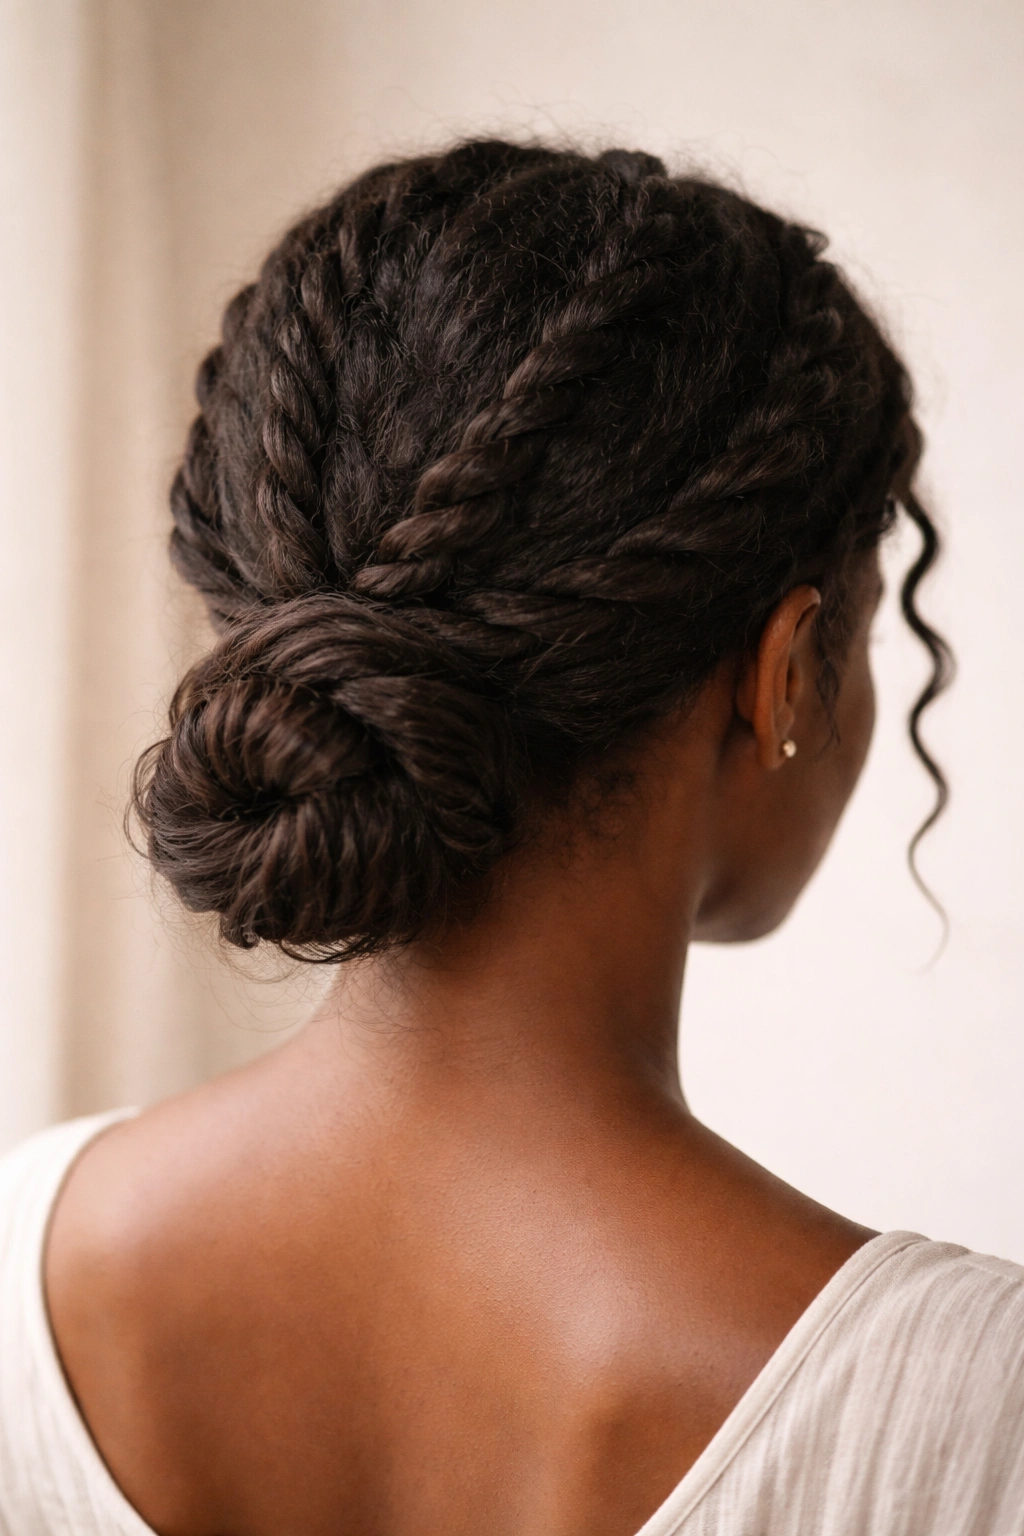
Two-strand twists have been a cornerstone of Black hair care for generations, and when you use them as the foundation for a low bun, you get a style that’s both protective and undeniably stylish. The rope texture shows beautifully and gives the bun visual interest that a smooth bun simply can’t match. This style celebrates the dimension and movement of textured hair rather than trying to hide it.
Creating Your Twisted Bun
Section your hair into two parts vertically. Create two-strand twists in each section, starting from the roots and twisting all the way down to the ends. Once both twists are complete, bring them down to the nape of your neck and coil them together, then secure. The twist texture is the whole point here, so make sure the twists are visible and intentional.
Why This Works as a Low Messy Style
- The twist structure is naturally textured and visually interesting
- Holds incredibly well for 5-7 days without much maintenance
- Can be created in one session and worn for a full week
- Works with all hair lengths, from shoulder-length to waist-length
- Protective for your ends since they’re secured within the twists
Pro tip: Use a lightweight oil or leave-in conditioner to make the twists smoother and shinier. The glossiness balances out the intentional texture of the bun.
4. The Seamless Low Bun with Wrap
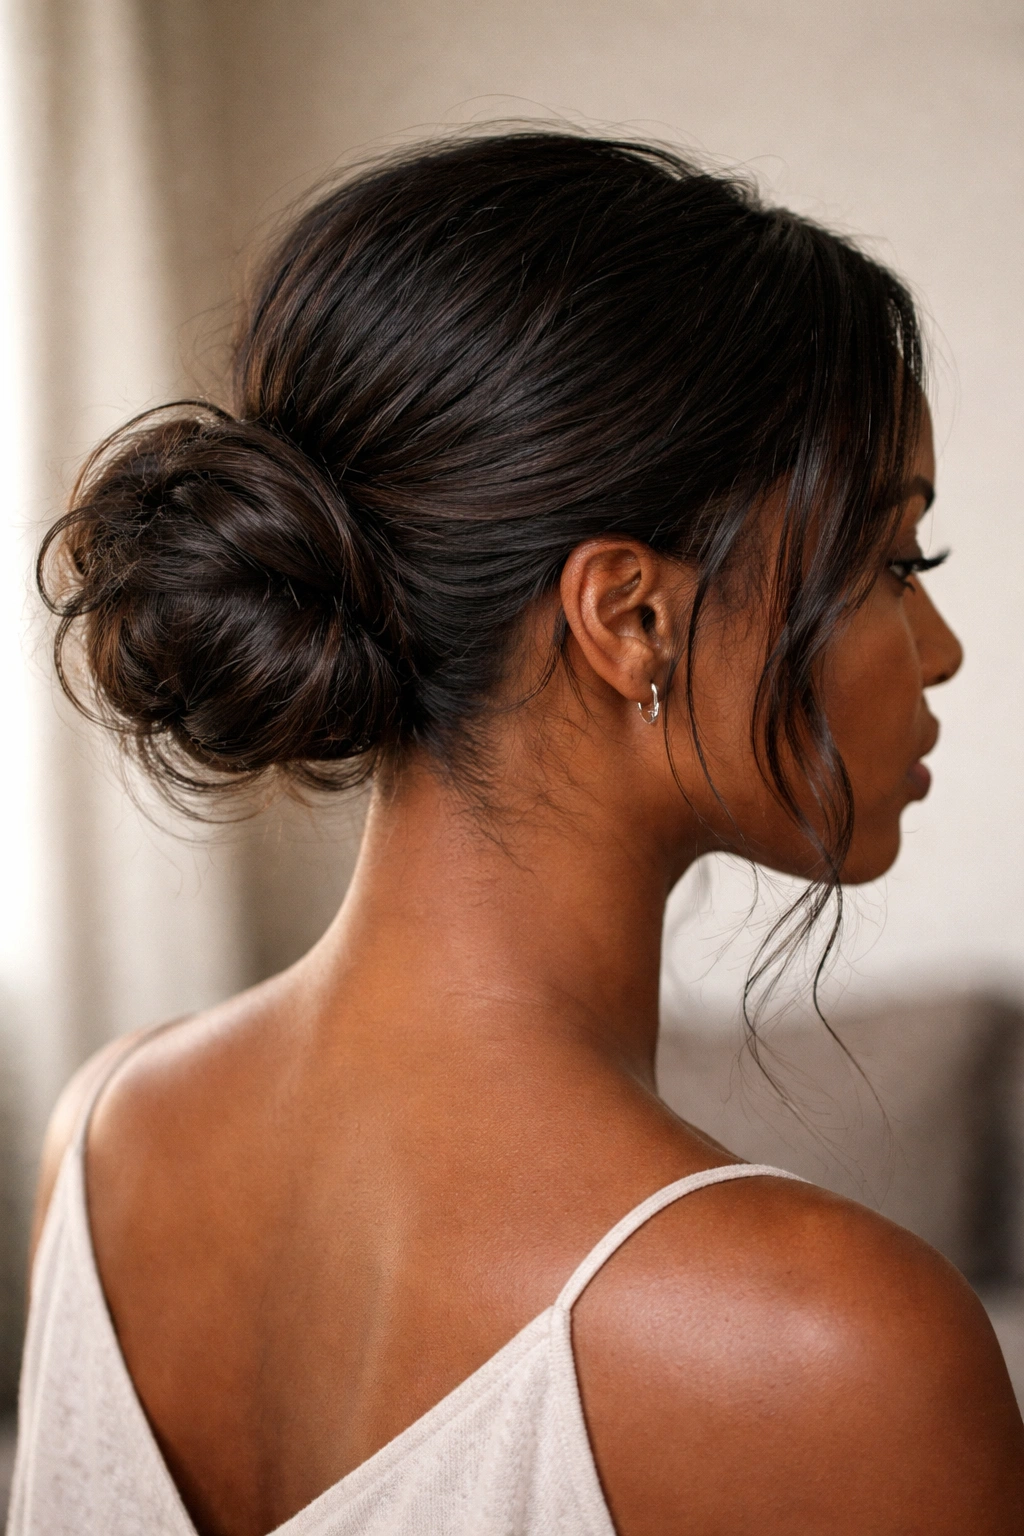
This style involves creating a low bun and then wrapping a section of your own hair around the base to hide the elastic or pins. It’s more finished-looking than a purely messy bun but still maintains that relaxed, undone aesthetic. The wrapped base gives it a polished edge that elevates the whole look without sacrificing the textured, natural feel.
Building the Wrapped Bun
Gather your hair into a low ponytail at the nape of your neck and secure it with a clear elastic. Take a small section from underneath the ponytail—about an inch thick—and wrap it around the base of the ponytail to cover the elastic. Secure the wrapped section with bobby pins tucked underneath. Gently pull and tease the actual bun portion to create texture and that purposeful messiness.
Why the Wrap Matters
- Hides the elastic, making the style look intentional and finished
- Takes the look from casual to polished without much extra effort
- The wrapped section adds a dimension that simple buns lack
- Works beautifully with defined curls, coils, and natural texture
- Lasts 3-5 days depending on how much you manipulate it
This style is particularly good for work environments or situations where you want to look put-together but not overly styled. The wrap signals intentionality and care, even though the creation process is quick and straightforward.
5. The Curly Puff Low Bun
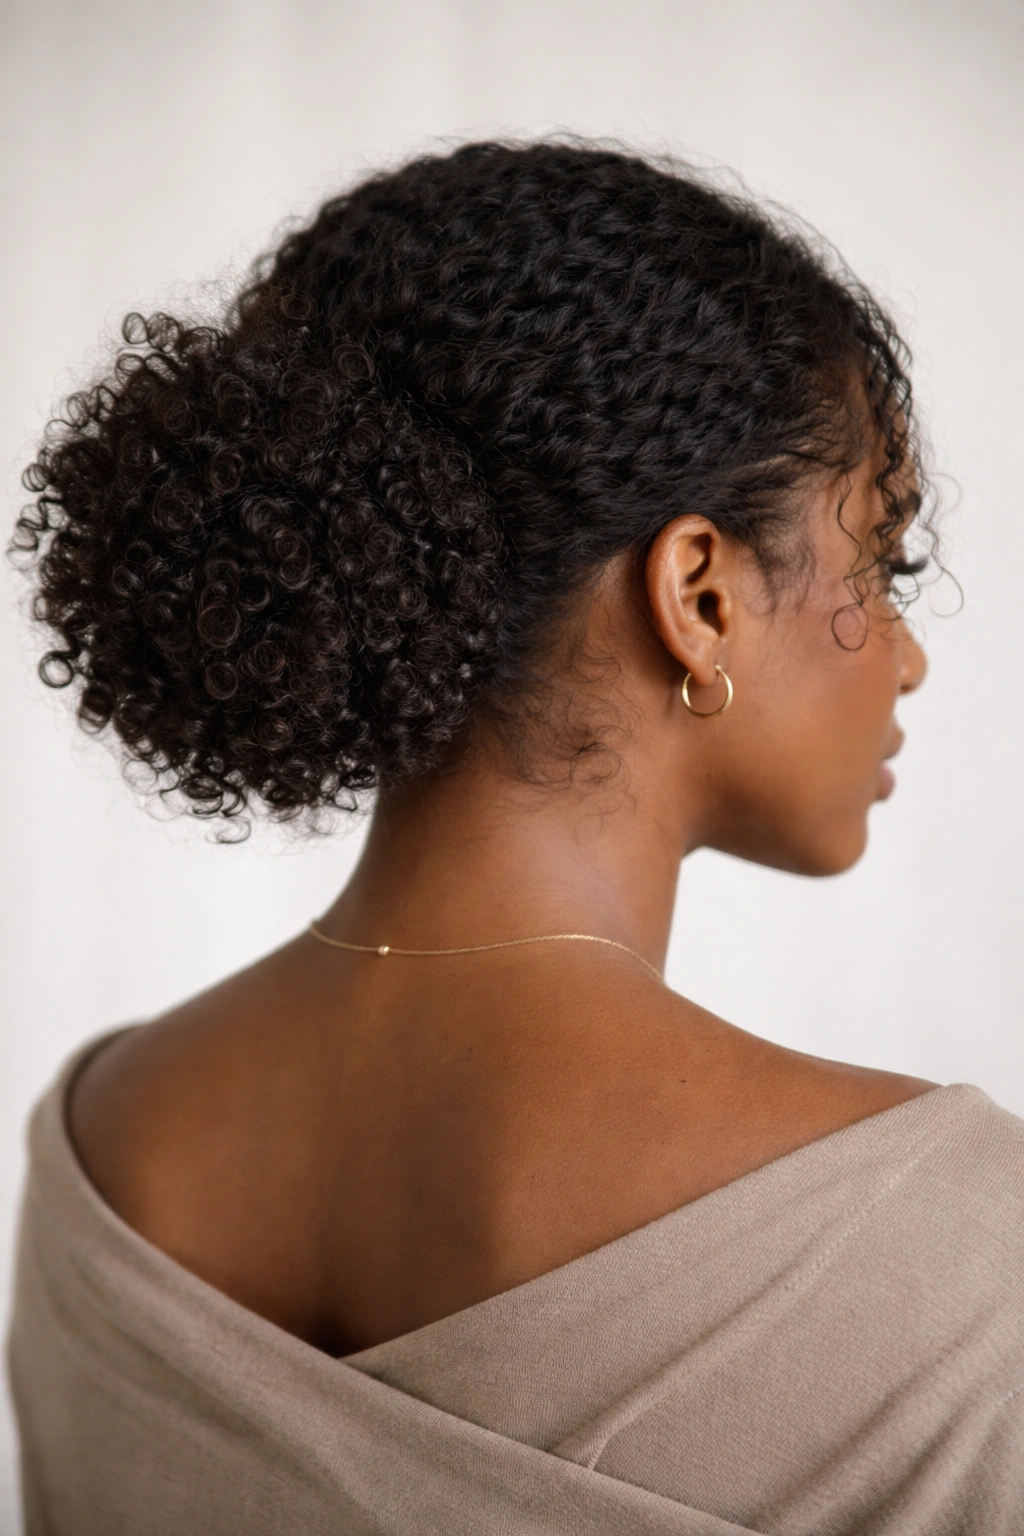
If you have curly, coily, or kinky hair with significant volume, this style lets you showcase your curl definition while keeping it all contained in a sweet low bun. Rather than stretching or twisting your hair, you’re gathering it in its natural state at the nape and letting the curls fall where they naturally want to be. The result is an absolutely gorgeous statement of texture and natural beauty.
Achieving Maximum Curl Definition
Apply a curl-defining cream or gel to damp hair and create your curls using your preferred method—finger coils, praying hands, scrunching, or any technique that brings out your curl pattern. Once your curls are set and dry, gather the entire mass gently at the nape of your neck using a claw clip or loose hair tie. Let the gathered curls sit naturally without pulling them tight; they’ll form a beautiful puff shape on their own.
The Beauty of This Approach
- Celebrates your natural curl pattern and volume
- Requires no twisting, braiding, or manipulation—just gathering
- Your curls do all the styling work, which is incredibly efficient
- Looks different and unique every time depending on how your curls fall
- Best done on wash day when curls are freshly defined and bouncy
Insider note: This style photographs beautifully because the curl definition is front and center. It’s worth taking a fresh picture each time you wear it—your curls are the hero here.
6. The Braided Base Low Bun
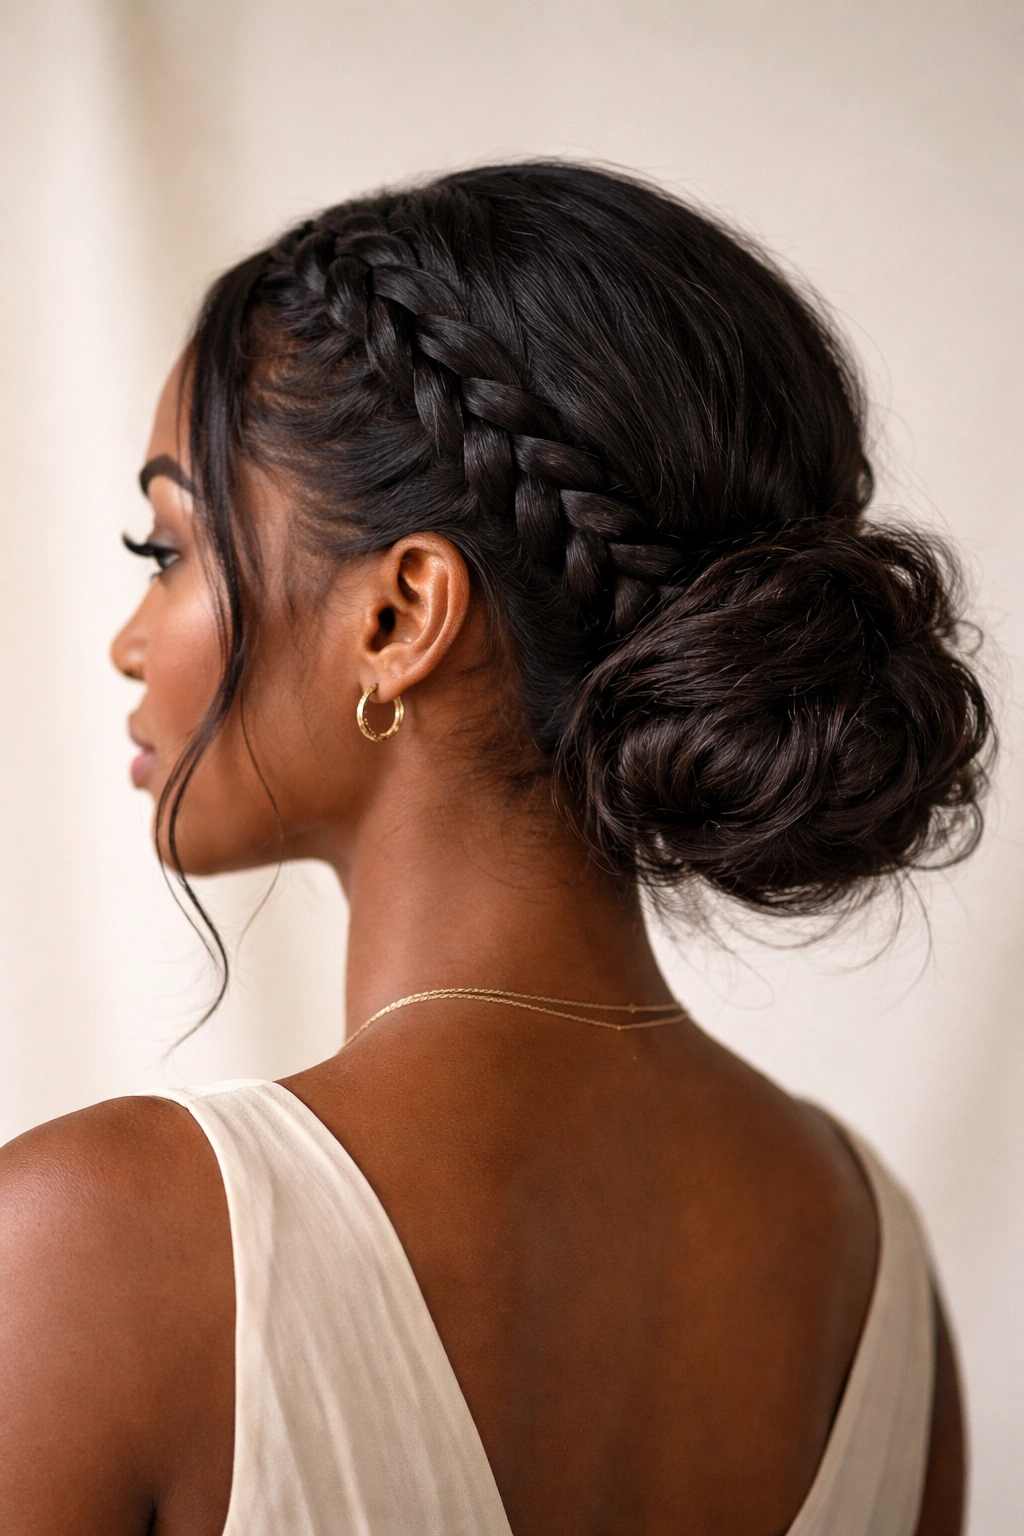
Two cornrows or french braids that meet at the nape and then dissolve into a low bun create a sophisticated style that’s part updo and part protective style. The braided base provides structure and visual interest at the crown, while the low bun keeps it relaxed and modern. This is an excellent style for keeping baby hairs in place while still looking effortlessly cool.
Constructing the Braided Base
Start with two french braids or cornrows positioned symmetrically on either side of your head, beginning at your temples. Braid down and inward so both braids meet at the nape. Once they meet, transition into loose twists or simple coils and gather everything together into a low bun. Secure with bobby pins and gently loosen the braids slightly for that intentional messiness.
Key Advantages of This Style
- The braided section keeps baby hairs and the front hairline smooth and neat
- The structure of the braids balances the relaxed bun
- Lasts 5-7 days with proper moisturizing between washes
- Works well for transitioning or protective styling
- Can be dressed up or down depending on the occasion
The transition from structured braids to a loose, textured bun creates a really appealing visual contrast. You get the best of both worlds—intentional styling with undone texture.
7. The Side-Swept Romantic Bun
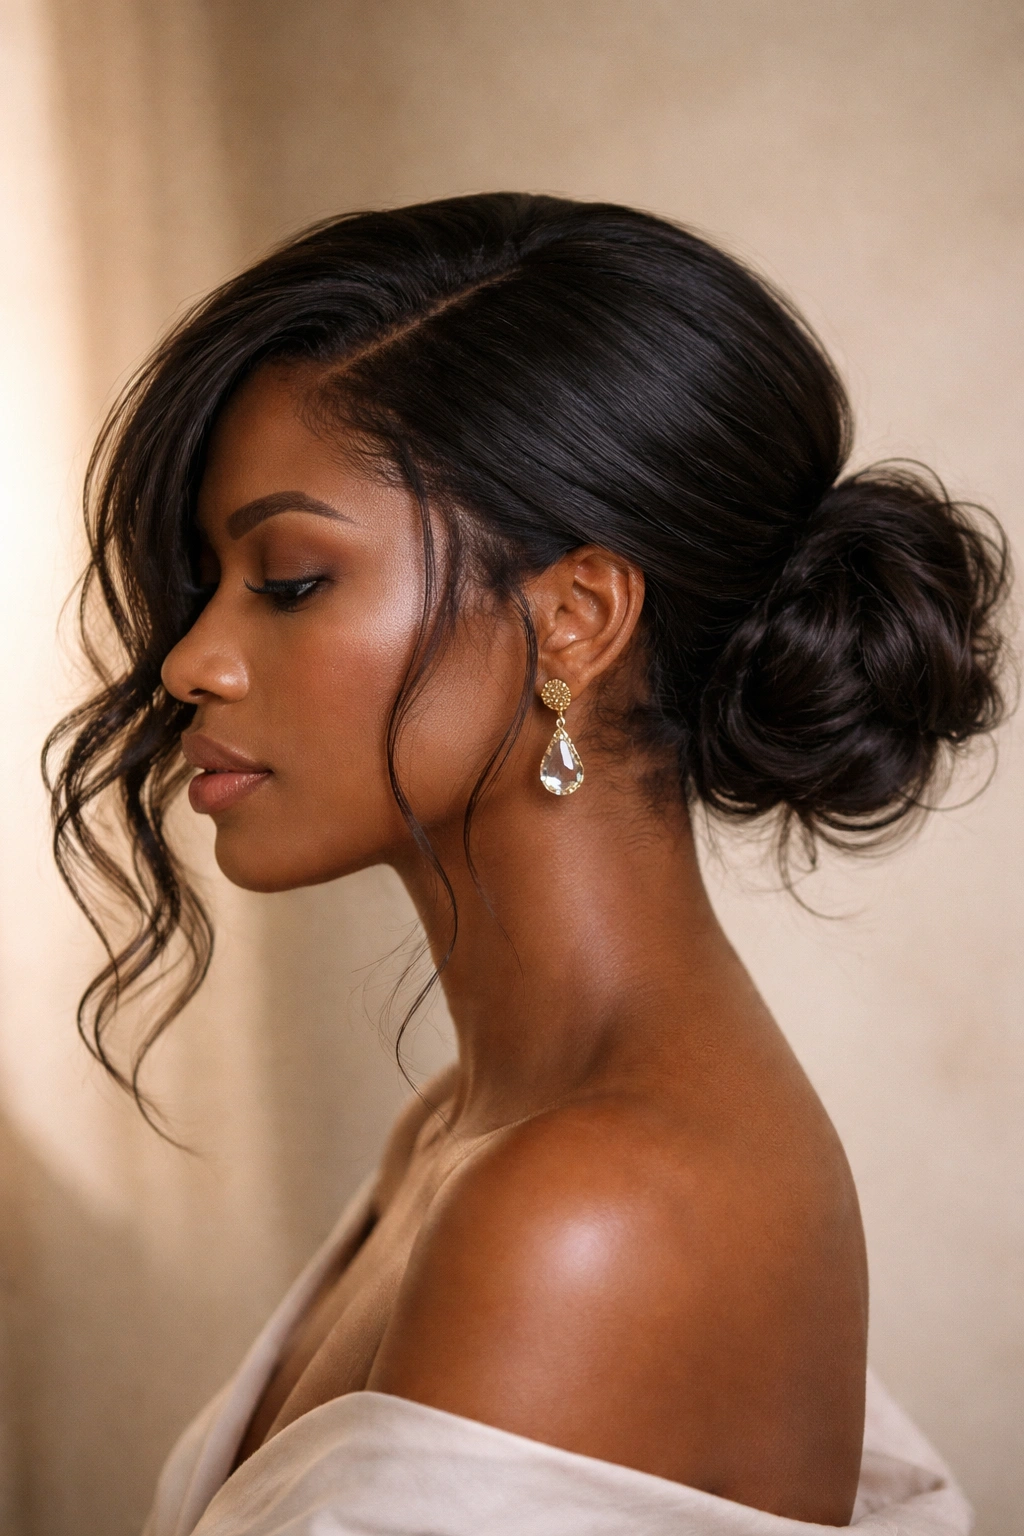
This style takes your low bun and positions it slightly to one side, creating an asymmetrical, romantic look that feels more editorial and less utilitarian. A deep side part combined with a slightly off-center bun creates visual interest and movement that a centered bun simply can’t achieve. It’s perfect when you want low messy bun comfort with a little more personality.
Creating the Side-Swept Effect
Start with a deep side part, sweeping the larger section over to the opposite side. Gather your hair into a low ponytail positioned slightly off-center, leaning toward the direction of the side part. Twist or loosely coil the ponytail and secure with bobby pins. Let pieces fall naturally from the twisted section, and consider pulling out a few small tendrils along the side part for extra romance.
Why This Positioning Works
- The off-center placement makes the style feel intentional and fashionable
- The side part draws attention to your face and bone structure
- Works beautifully with long or short layers
- Lasts 3-4 days before needing adjustment
- Photographs incredibly well from certain angles
Pro tip: Smooth the side-parted section with a light gel or edge control to define the part line, then let the bun stay textured. The contrast between the sleek part and textured bun is where the magic happens.
8. The Double-Section Low Bun
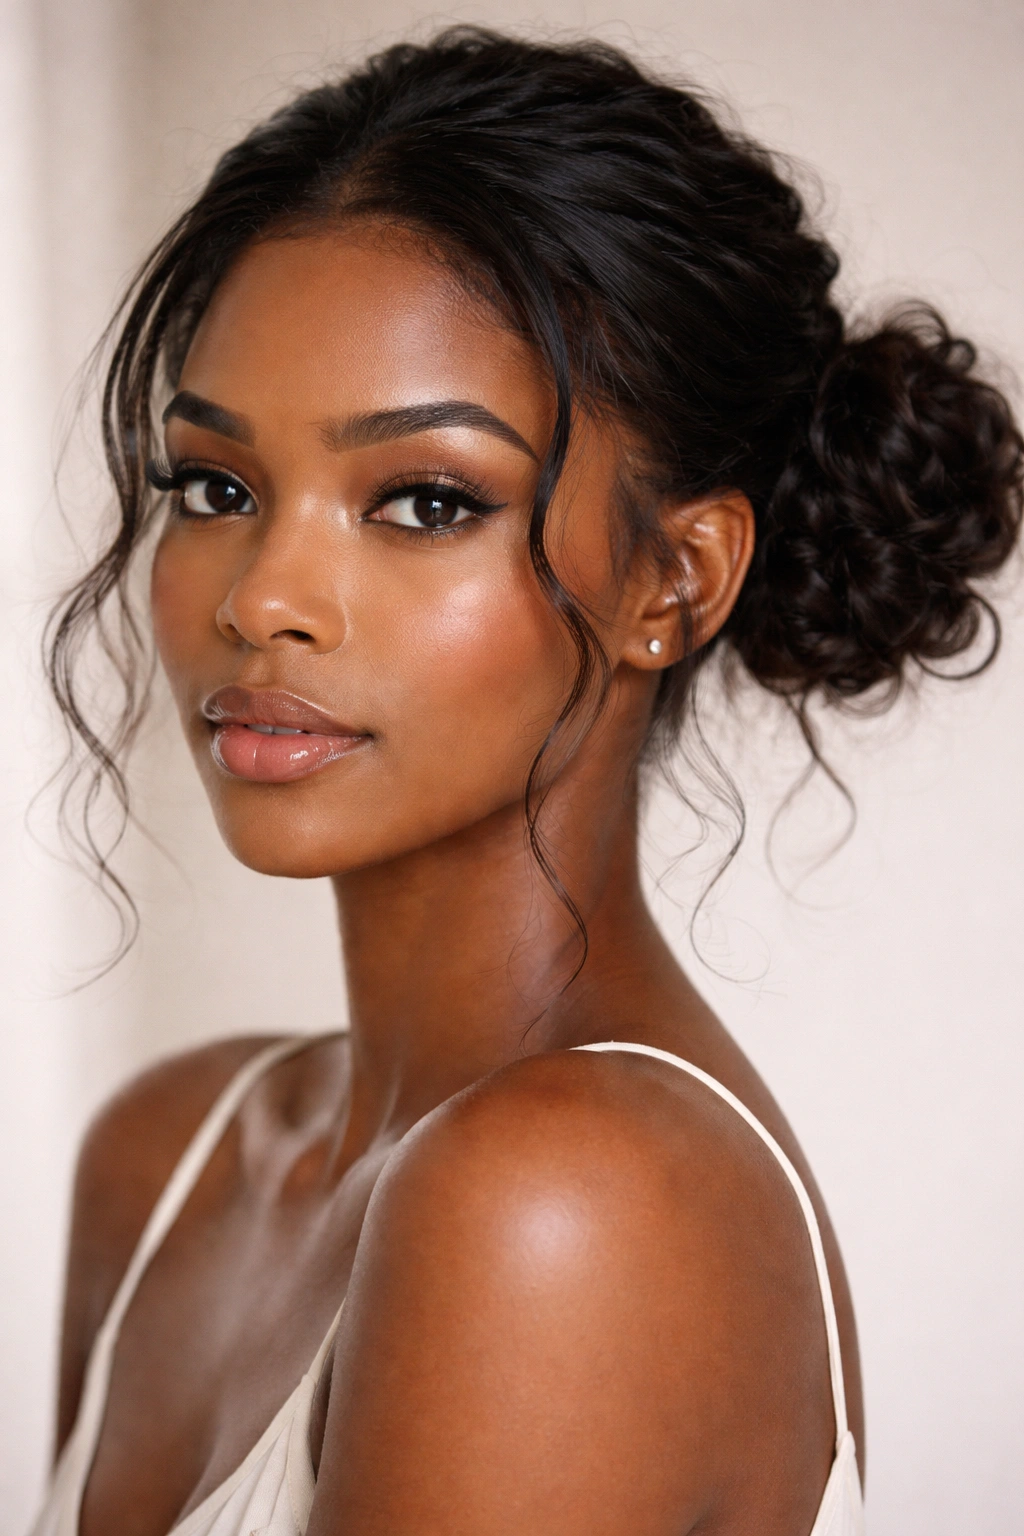
Instead of gathering all your hair into one bun, this style divides your hair into two sections at the nape and creates two small buns side by side. It’s playful, modern, and offers a fresh take on the low messy bun that feels contemporary without being trendy. The double buns create more visual interest and can actually be easier to manage than one large bun.
The Double-Bun Construction
Divide your hair down the center or slightly off-center into two sections. Gather the first section into a low ponytail and twist it around itself to form a bun, securing with bobby pins. Do the same with the second section, positioning it right next to the first. You’ll have two buns sitting side by side at the nape of your neck. Pull and tease each bun gently to create texture and that undone appearance.
Benefits of the Two-Bun Approach
- Lighter weight distribution—better for scalp comfort during extended wear
- The double visual creates a more interesting, modern silhouette
- Each bun can be slightly imperfect and still look intentional
- Great for showing off length without having one massive bun
- Lasts 4-5 days with minimal maintenance
Worth knowing: This style works especially well if you have really thick or heavy hair. Two smaller buns feel less bulky and are easier to position where you actually want them, rather than fighting with one large bun.
Tips for Maintaining Your Low Messy Bun All Day
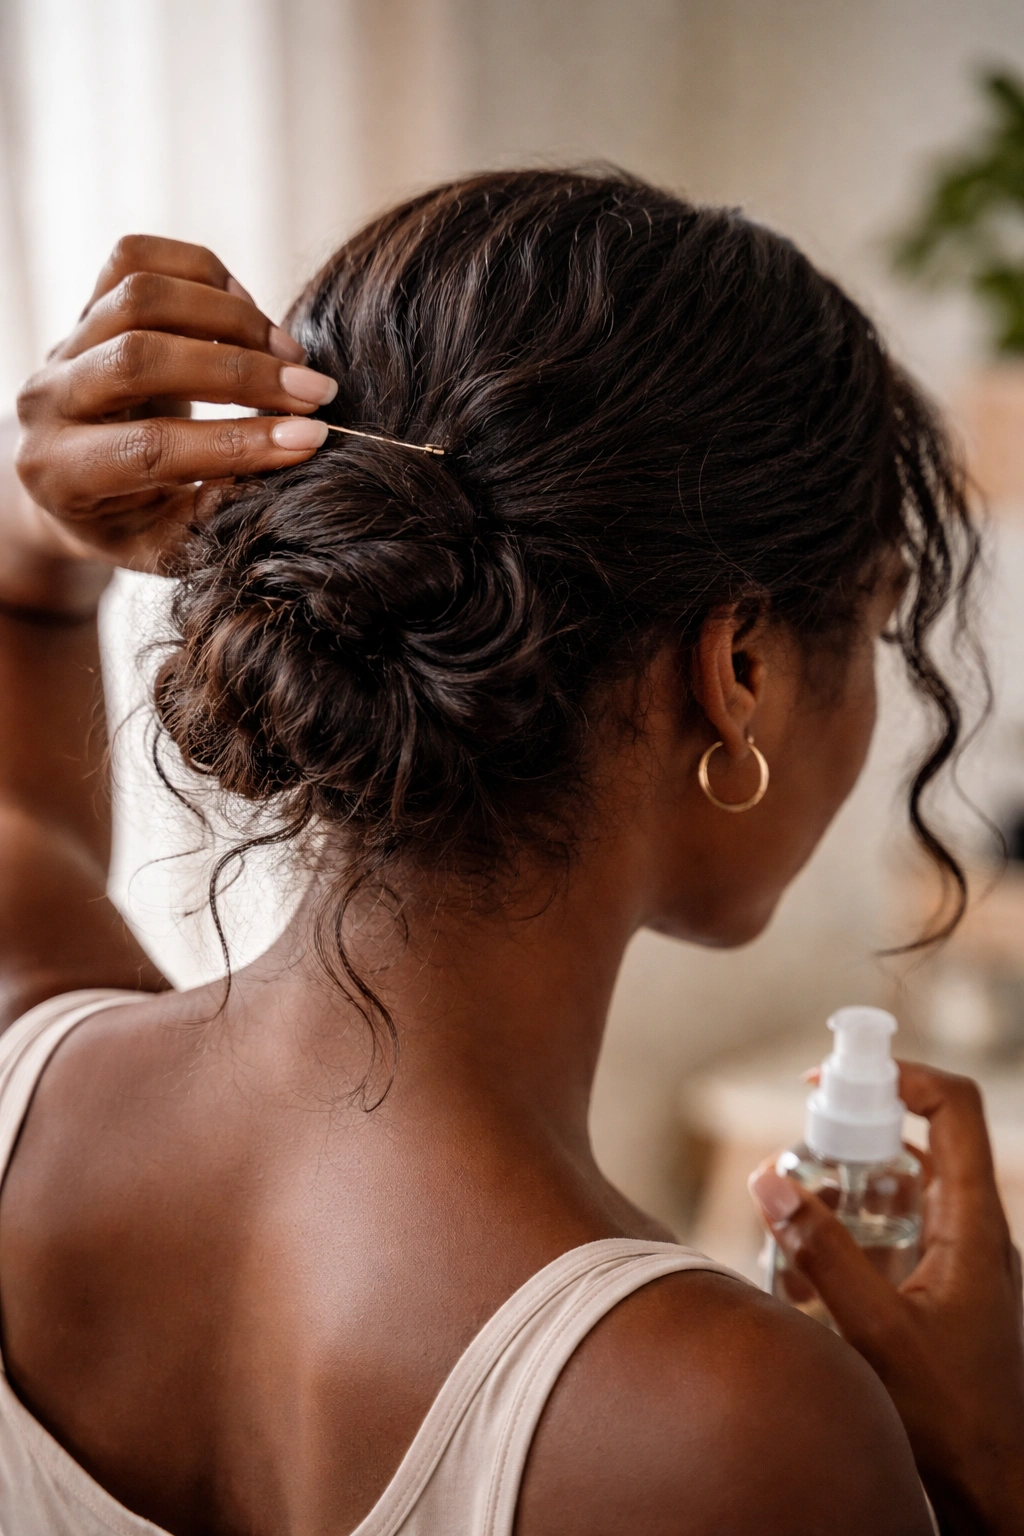
The difference between a low messy bun that looks intentionally undone and one that just looks neglected often comes down to intentional maintenance throughout the day. You don’t need to completely redo your bun every few hours, but a few strategic tweaks keep it looking fresh and in place. Keep a few bobby pins and a light spray bottle nearby for quick touch-ups.
If you notice pieces falling out where they shouldn’t, a simple re-pin does the trick—insert the bobby pin horizontally into the base of the bun where it’s loosening. If your bun is starting to slip lower than you’d like, tighten the main securing pins slightly rather than redoing the entire style. A light spritz of water or hair mist reactivates any product in your hair and helps reset texture throughout the day.
Don’t be afraid of the messiness itself. The point of this style is that it looks intentionally imperfect, so a few loose pieces and unpredictable texture are actually features, not bugs. The key is keeping the bun positioned where you put it and making sure nothing is falling out in a way that looks accidental.
Styling Products That Work Best for Textured Hair
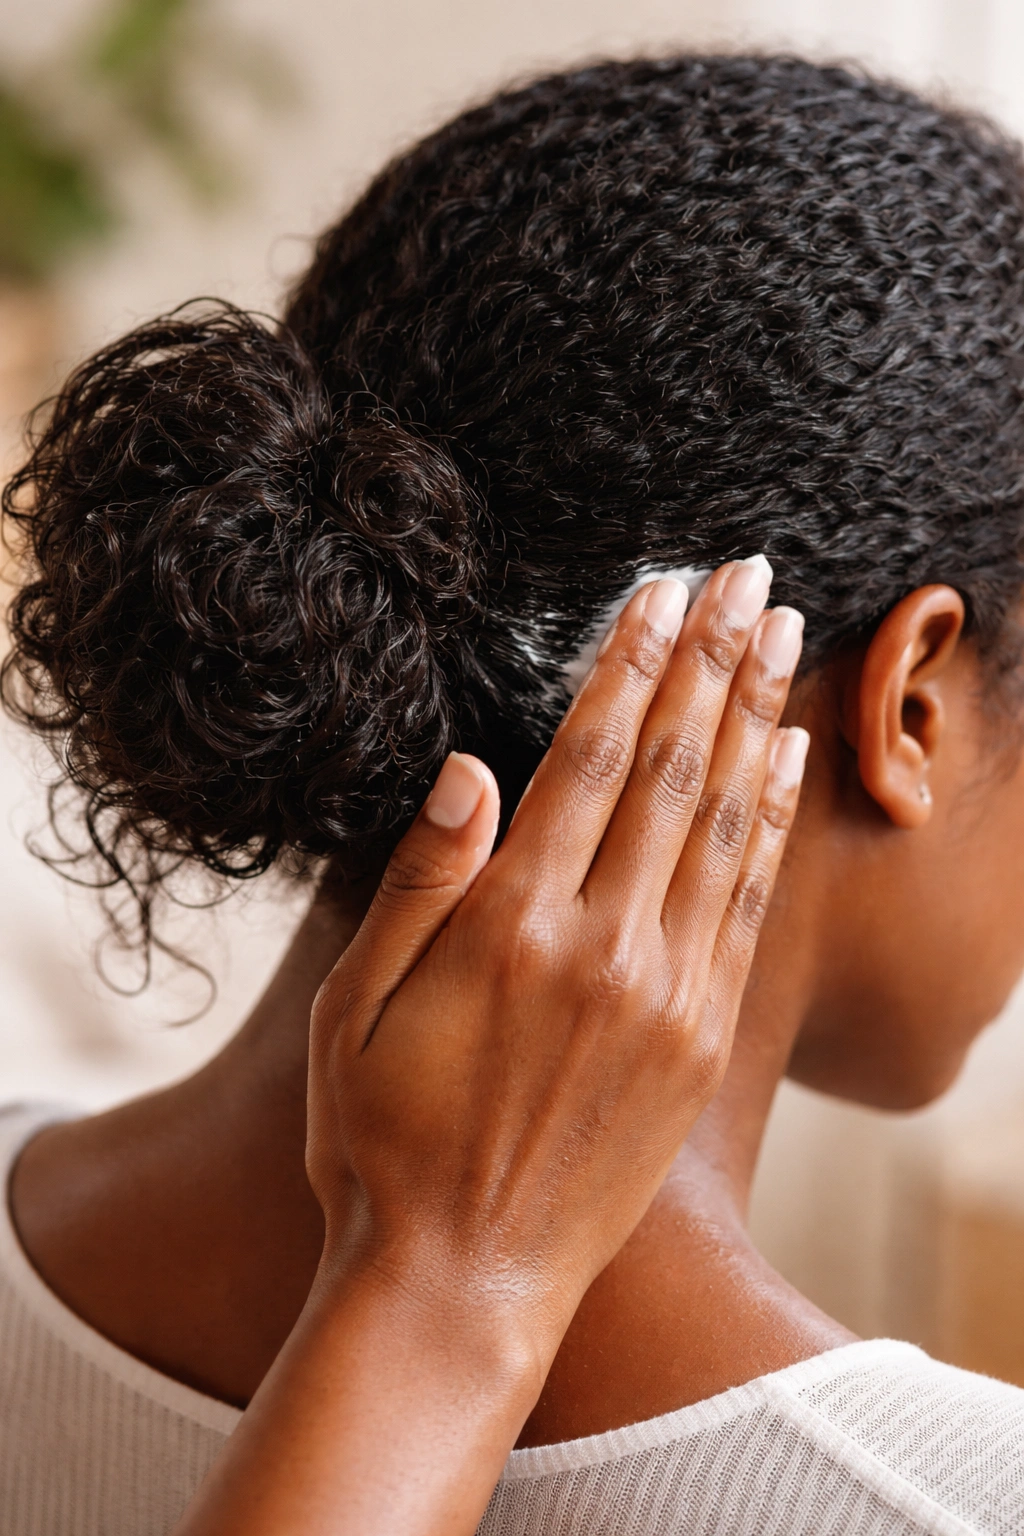
The products you use can make a huge difference in how well your low messy bun holds and how good it looks over multiple days. Lightweight leave-in conditioners keep your hair moisturized without weighing down the texture or making the bun look flat. Gel or curl cream applied to damp hair before styling gives definition and hold without crunch or flakiness.
For the actual bun, a light styling cream or mousse helps pieces stay in place without making them look stiff. Avoid heavy oils or butters that can make the bun look slicked down or greasy. A good dry shampoo or texturizing spray applied to the second or third day of wear refreshes texture and adds grip so your bun holds better. Lightweight edge control around the hairline keeps baby hairs neat without looking severe.
Bobby pins in a shade that matches your hair color are essential—they disappear into the bun rather than standing out. U-shaped pins work better for textured hair than traditional bobby pins because they grab more texture and hold better. A few strategically placed pins can make the difference between a bun that lasts three days and one that lasts five.
When to Refresh Your Low Bun Between Washes
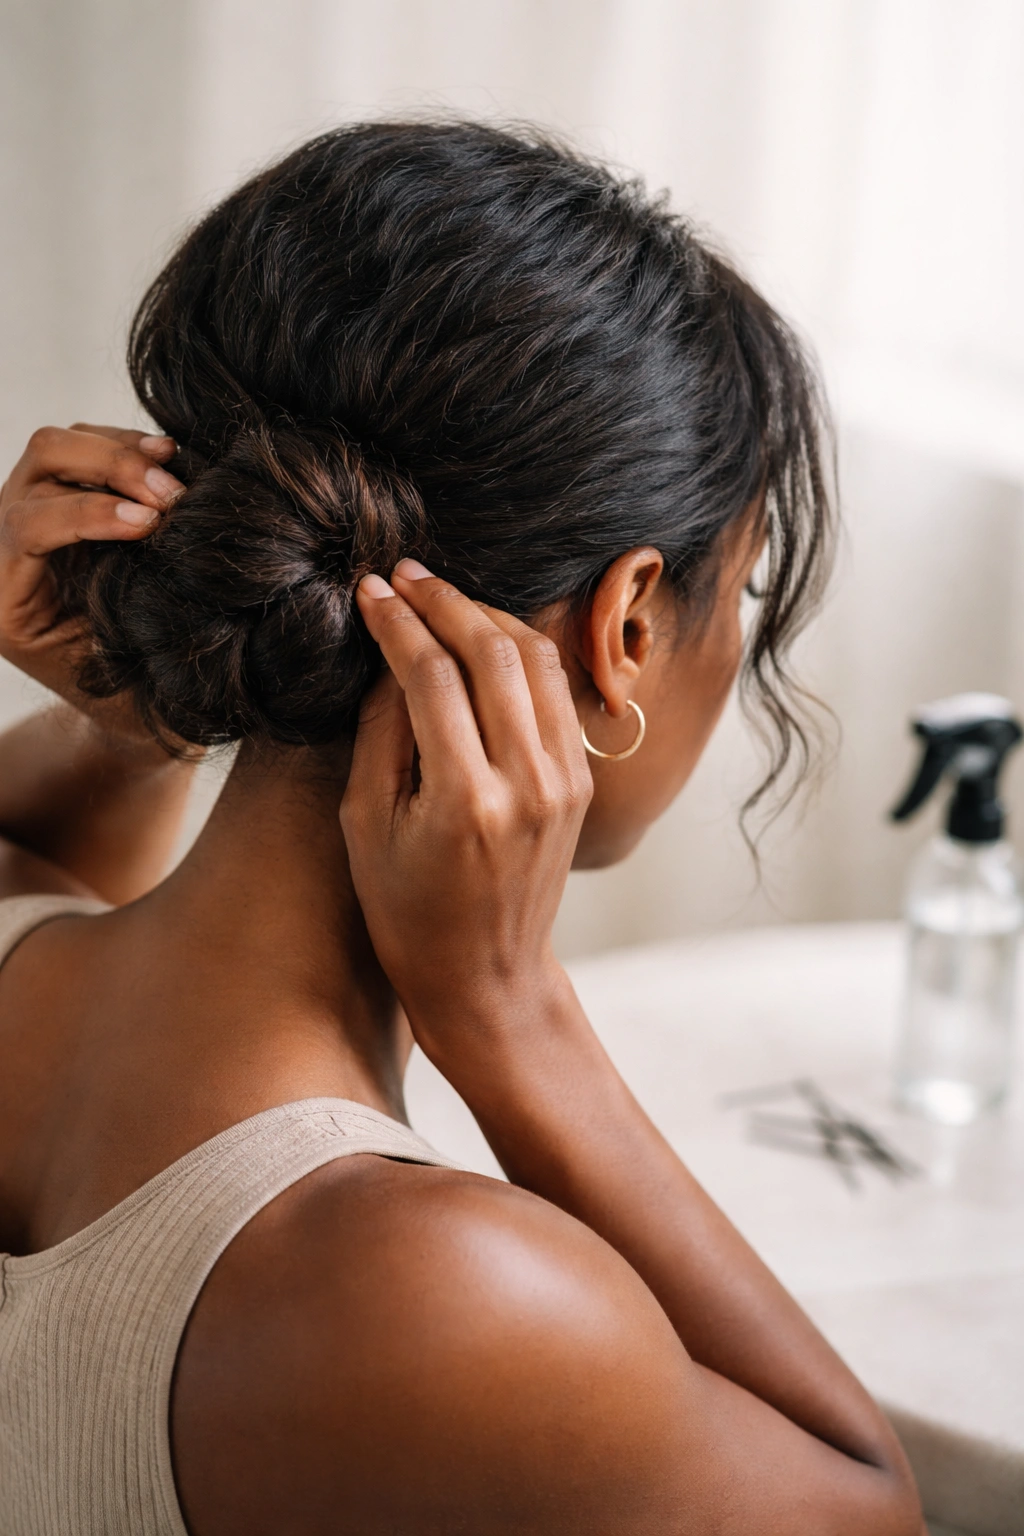
Low messy buns actually improve with age—that second or third day of wear is often when they look their absolute best because the texture has had time to settle and the style feels more intentional. You don’t need to wash your hair between wears; you just need to refresh the bun itself. Separate the twisted or coiled sections gently with your fingers to loosen them slightly, then re-gather and secure. This takes thirty seconds and makes it look like a fresh style.
If you notice frizz developing, a light mist of water and quick re-twisting of any loose sections reactivates your product and smooths things down. Some frizz is part of the intentional messiness, but excessive frizz that looks dry or unkempt means your hair needs moisture—apply a lightweight leave-in or hair mist before re-securing. A light spritz of texturizing spray adds grip and helps the bun hold better, especially by day four or five.
Most low messy buns can be worn for 5-7 days before needing a full wash, depending on your scalp and hair type. If you’re developing an itchy scalp or your bun is starting to smell, it’s time to wash. Otherwise, nightly moisturizing and strategic daytime refreshing lets you extend the life of the style without it looking tired or worn out.
Final Thoughts
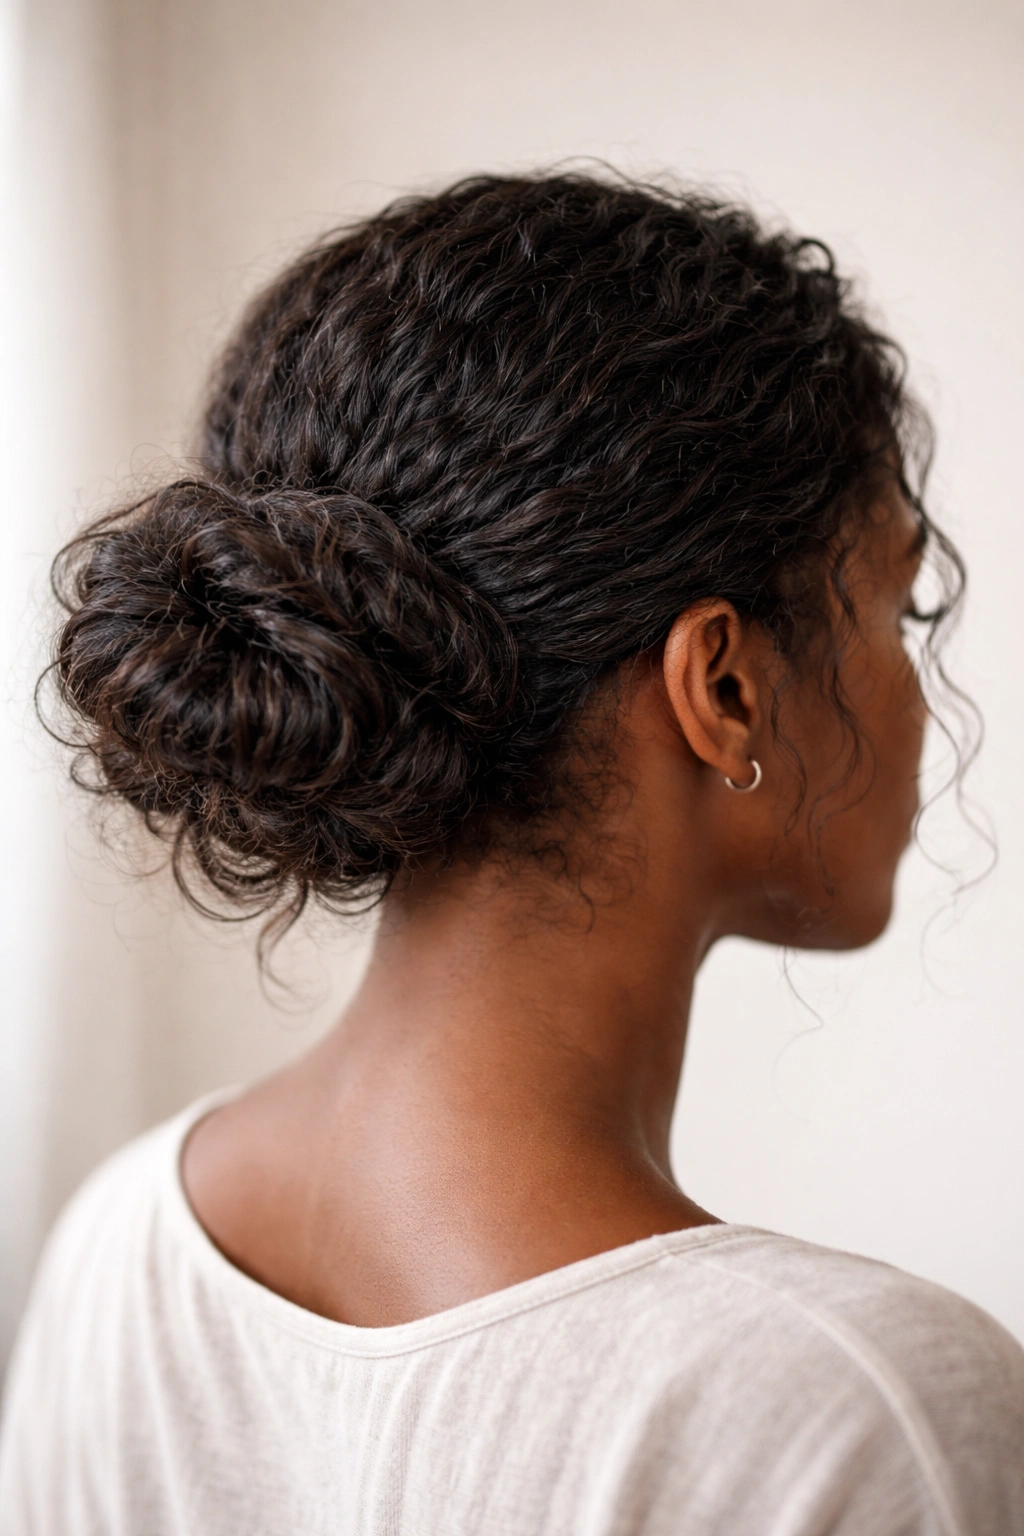
The beauty of low messy bun styles is that they work with your hair’s natural texture rather than against it, making them sustainable for your hair health while keeping you looking intentional and put-together. Whether you’re drawn to the simplicity of a textured classic bun, the structure of a braided base, or the playfulness of double buns, there’s a version that fits your hair type, your lifestyle, and your personal aesthetic. The best style is the one you’ll actually wear, the one that makes you feel confident, and the one that your hair can sustain without excessive stress or manipulation.
These styles also offer the practical benefit of being low-commitment protective styling—you’re not spending hours getting your hair done, and you’re not wearing something so tight it causes tension or breakage. Instead, you’re creating a style that keeps your ends safe, requires minimal daily manipulation, and looks like you actually tried (even when the beauty is partly in the ease of creation). The messiness is intentional, the texture is celebrated, and the low placement is both modern and timeless.
Start with the style that appeals to you most and practice it a few times to get comfortable with the technique. Your first attempt might not be perfect, but that’s actually the point—these styles are meant to improve with time and look better the longer you wear them. Invest in good bobby pins, find products that work with your unique hair texture, and give yourself permission to embrace the imperfect, textured beauty that makes low messy buns such a powerful way to style Black women’s hair.
