



Wavy hair and messy buns are a match made in heaven. There’s something about that naturally undone texture that makes buns look effortlessly chic without requiring the strict, polished finish that other hair types demand. If you have wavy hair, you already possess the foundational texture that makes messy buns work — the waves catch light, create volume, and add visual interest that straight hair often struggles to achieve in the same casual style.
The beauty of styling wavy hair into a messy bun is that you’re not fighting your natural texture; you’re leaning into it. Your waves provide dimension and movement that silky-straight hair simply cannot replicate. Whether your waves are loose and bouncy or tighter and more defined, there’s a messy bun approach that will make your hair look intentional, textured, and genuinely stylish rather than like you just rolled out of bed (even though the best messy buns actually look like you did exactly that).
What makes wavy hair particularly suited to this style is how it holds volume and creates natural dimension when gathered. The waves form little pockets of texture throughout the bun that catch the light beautifully, and when a few pieces escape the elastic, they frame your face with soft, curved lines rather than hanging limply. This article walks you through eight distinct messy bun styles specifically designed to work with and celebrate your wavy hair texture.
Why Wavy Hair Is Perfect for Messy Buns
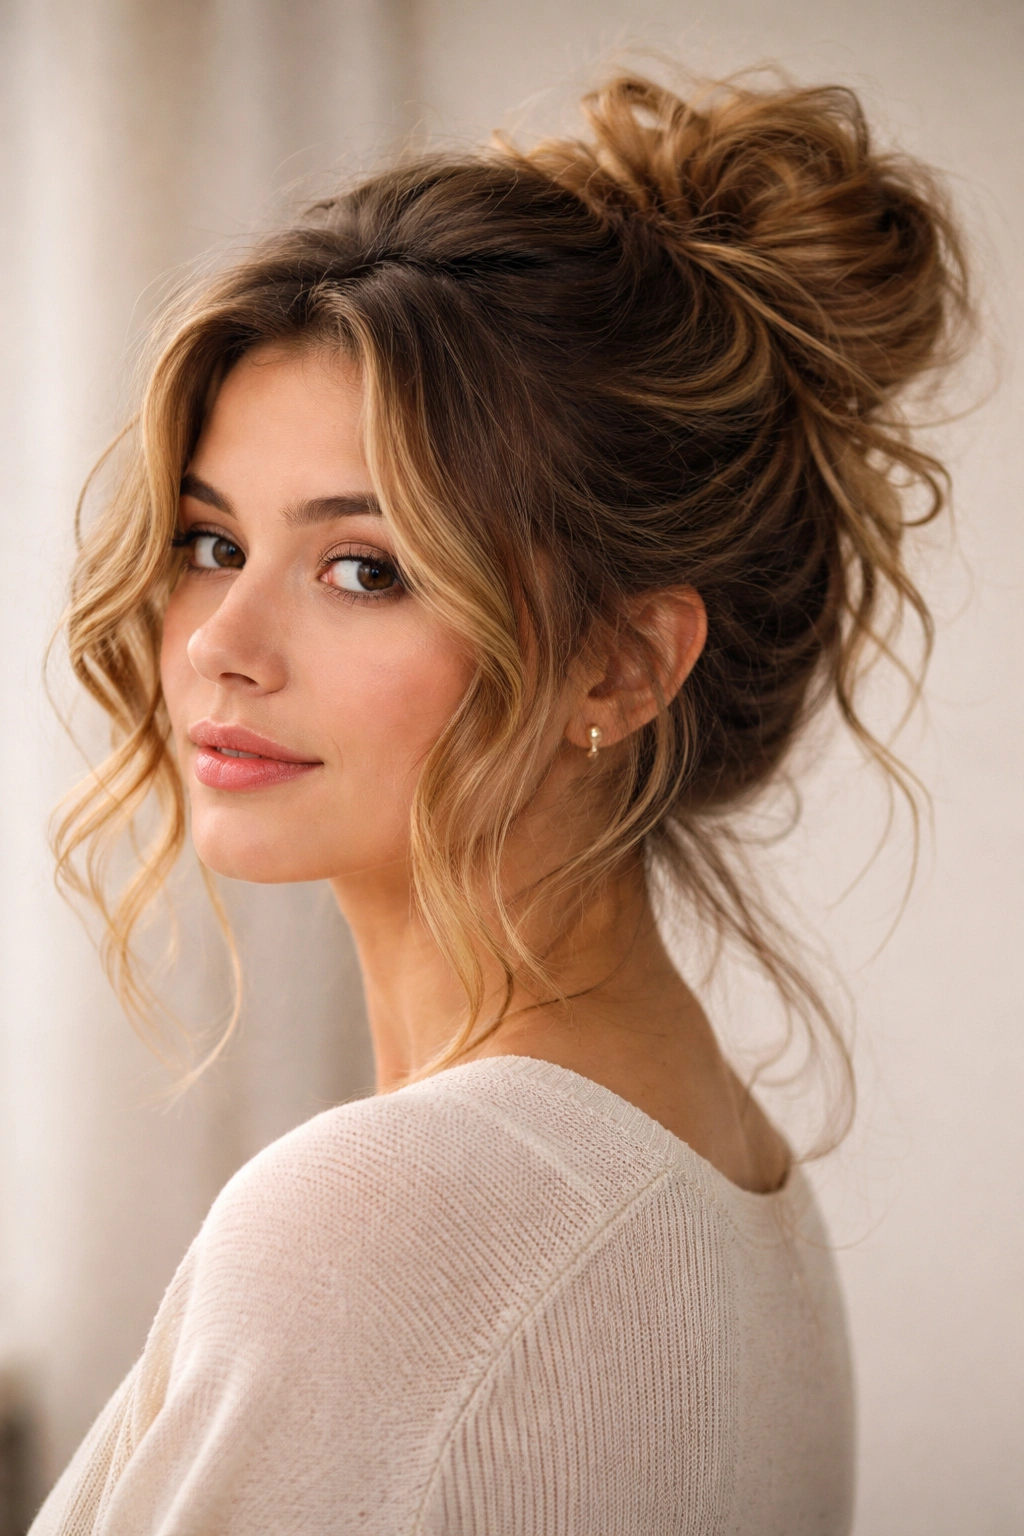
Wavy hair has a natural advantage when it comes to creating texture and visual interest in updos. Unlike straight hair, which can look flat or slicked-back if not styled carefully, waves inherently create dimension the moment you gather them together. The undulating pattern of your waves means that light reflects differently across the bun, creating depth and movement even when your hair is secured.
The texture of wavy hair also means that loose pieces falling around your face look intentional rather than messy. Those soft, curved strands that escape your bun aren’t a styling failure — they’re a feature that makes the whole look feel effortlessly put-together. Your waves naturally want to move and bend, which is exactly what a great messy bun should do.
Because waves have natural grip and hold, you typically need less styling product and fewer bobby pins to create a secure messy bun than someone with straight hair would need. The texture itself does part of the work for you, allowing you to focus on creating the overall look rather than fighting to maintain structure throughout the day.
1. The Textured Crown Bun
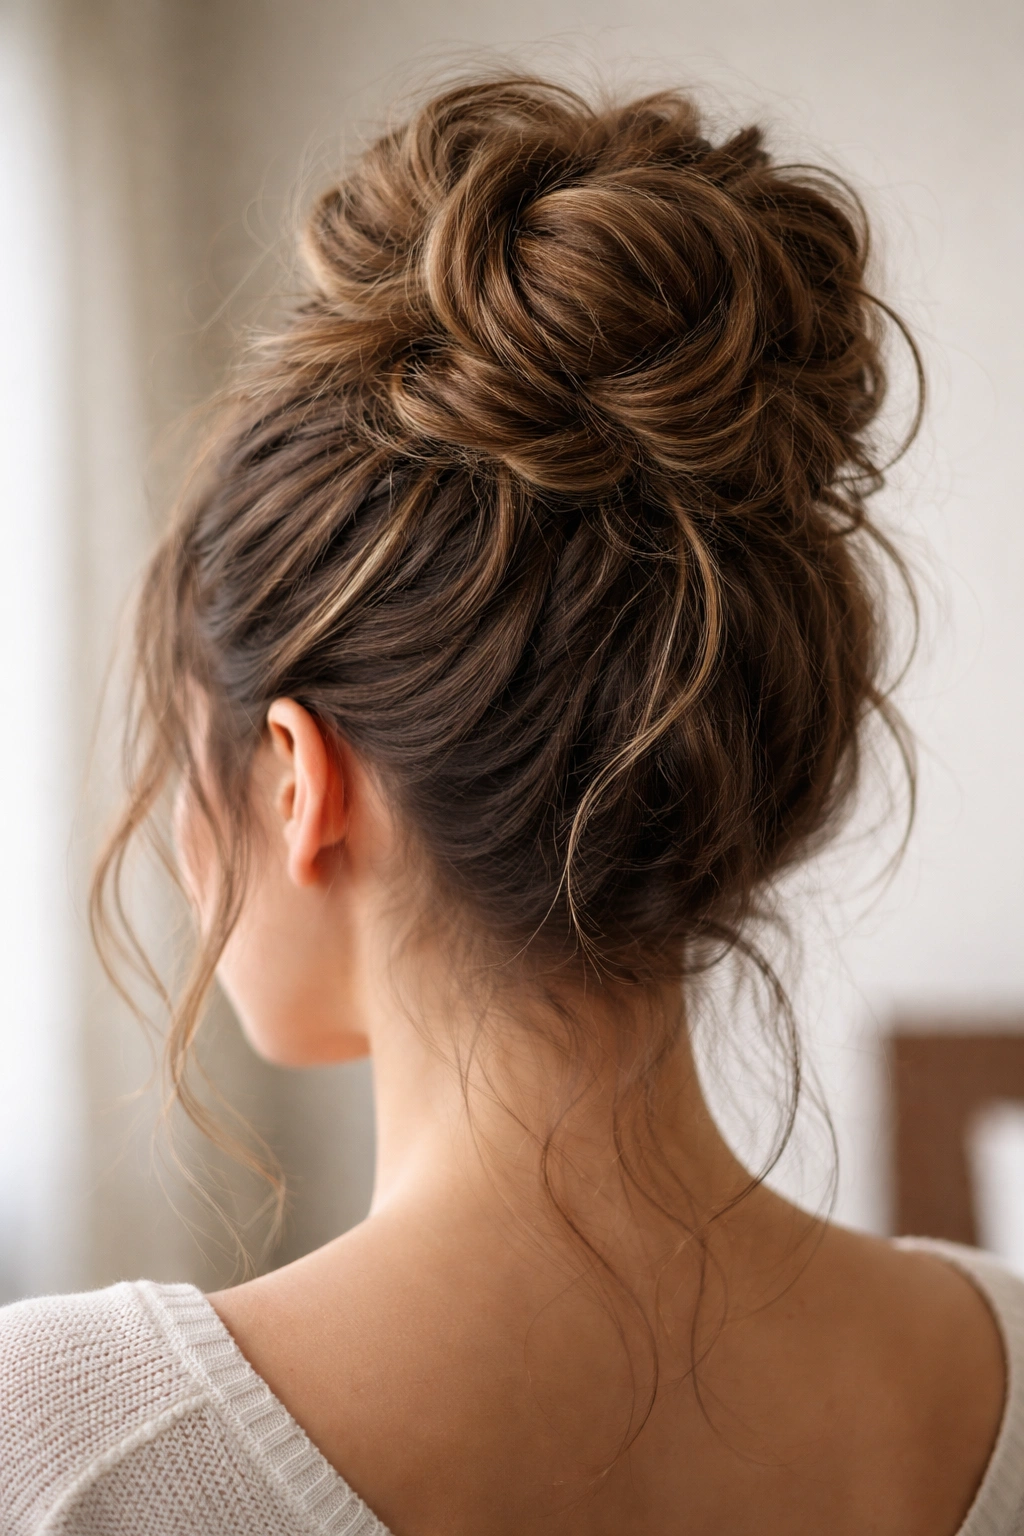
This is the classic messy bun positioned high on the crown of your head, and it’s arguably the most versatile option for wavy hair. The height makes your waves visible and lets them frame your face beautifully while the crown placement gives an instantly polished, intentional look that works for everything from casual outings to more dressed-up occasions.
How to Create It
Start with hair that’s been dried to allow your natural waves to form. If your waves are loose, you might want to apply a sea salt spray to enhance texture before you begin. Flip your head upside down and gather all your hair toward the crown in a high ponytail, using a few twists to gather the hair loosely rather than pulling it straight back. This creates immediate dimension and prevents the slicked-back look that can make wavy hair look dull.
Once your ponytail is secured, divide it into 2-3 sections. Twist each section loosely, then wrap them around the base of the ponytail to form the bun shape, securing as you go with bobby pins. Leave several pieces loose around your face and throughout the bun — don’t aim for neat. Pull the bun apart gently with your fingers to increase volume and create that intentional messiness.
Why It Works for Wavy Hair
The texture of your waves creates automatic dimension in a crown bun. Where straight hair might look flat or severe, your waves create pockets of depth that make the bun look intentionally undone. The high placement lets your natural wave pattern show, rather than hiding it underneath a lower style.
Styling Tips and Variations
- Use a texturizing spray or light mousse before styling to give your waves extra grip
- Pin the bun slightly off-center rather than directly on top — this adds to the casual, intentional messiness
- Leave face-framing pieces loose on both sides for a softer silhouette
- For extra hold without the heavy feel of traditional hairspray, use a light mist of sea salt spray after you’ve finished
2. The Twisted Side Bun
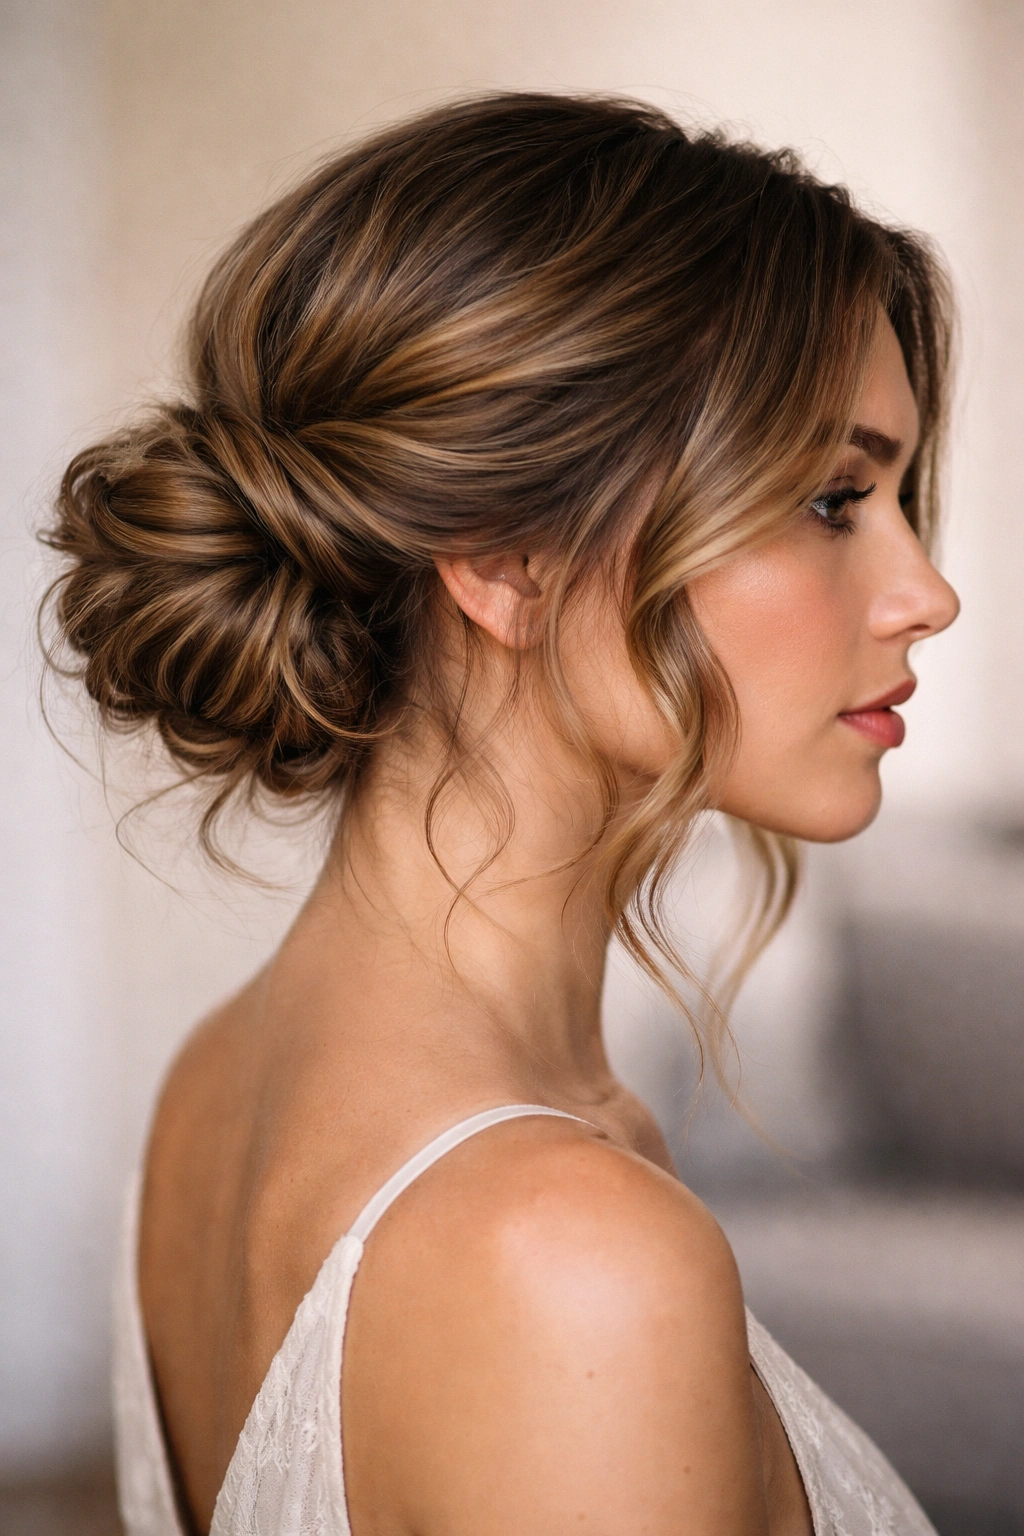
The twisted side bun is perfect when you want something a little less formal than a crown bun but equally stylish. By positioning the bun to one side of your head, you create asymmetry that’s inherently more interesting and gives you plenty of opportunity to show off your wavy texture on the opposite side of your face.
How to Create It
Part your hair to one side, aiming for a deeper side part rather than center. Gather all your hair to the side of your head where you want the bun to sit — typically level with your ear or slightly lower. Create a loose ponytail, then split that ponytail into two sections and twist each section separately, wrapping both twisted sections around the base in opposite directions.
This double-twist approach creates more visual texture than a single twist would. Secure with bobby pins as you wrap, then pull sections of the bun gently outward to create volume and that key messy quality. The waves in the unwrapped section of your hair should fall naturally, framing the opposite side of your face.
Why It Works for Wavy Hair
A side bun showcases the natural flow of your waves on one side while creating an interesting focal point with the textured bun on the other. Your waves naturally want to move sideways, so this style works with rather than against your hair’s natural inclination. The asymmetry looks intentional and modern rather than accidental.
Styling Tips and Variations
- Tease gently at the crown before creating your ponytail to add natural volume
- Leave longer face-framing pieces on the side opposite the bun
- For a more bohemian feel, create a loose braid at the side before wrapping it into a bun
- Secure loose pieces with a few smaller bobby pins rather than trying to pin everything tightly
3. The Tousled High Bun
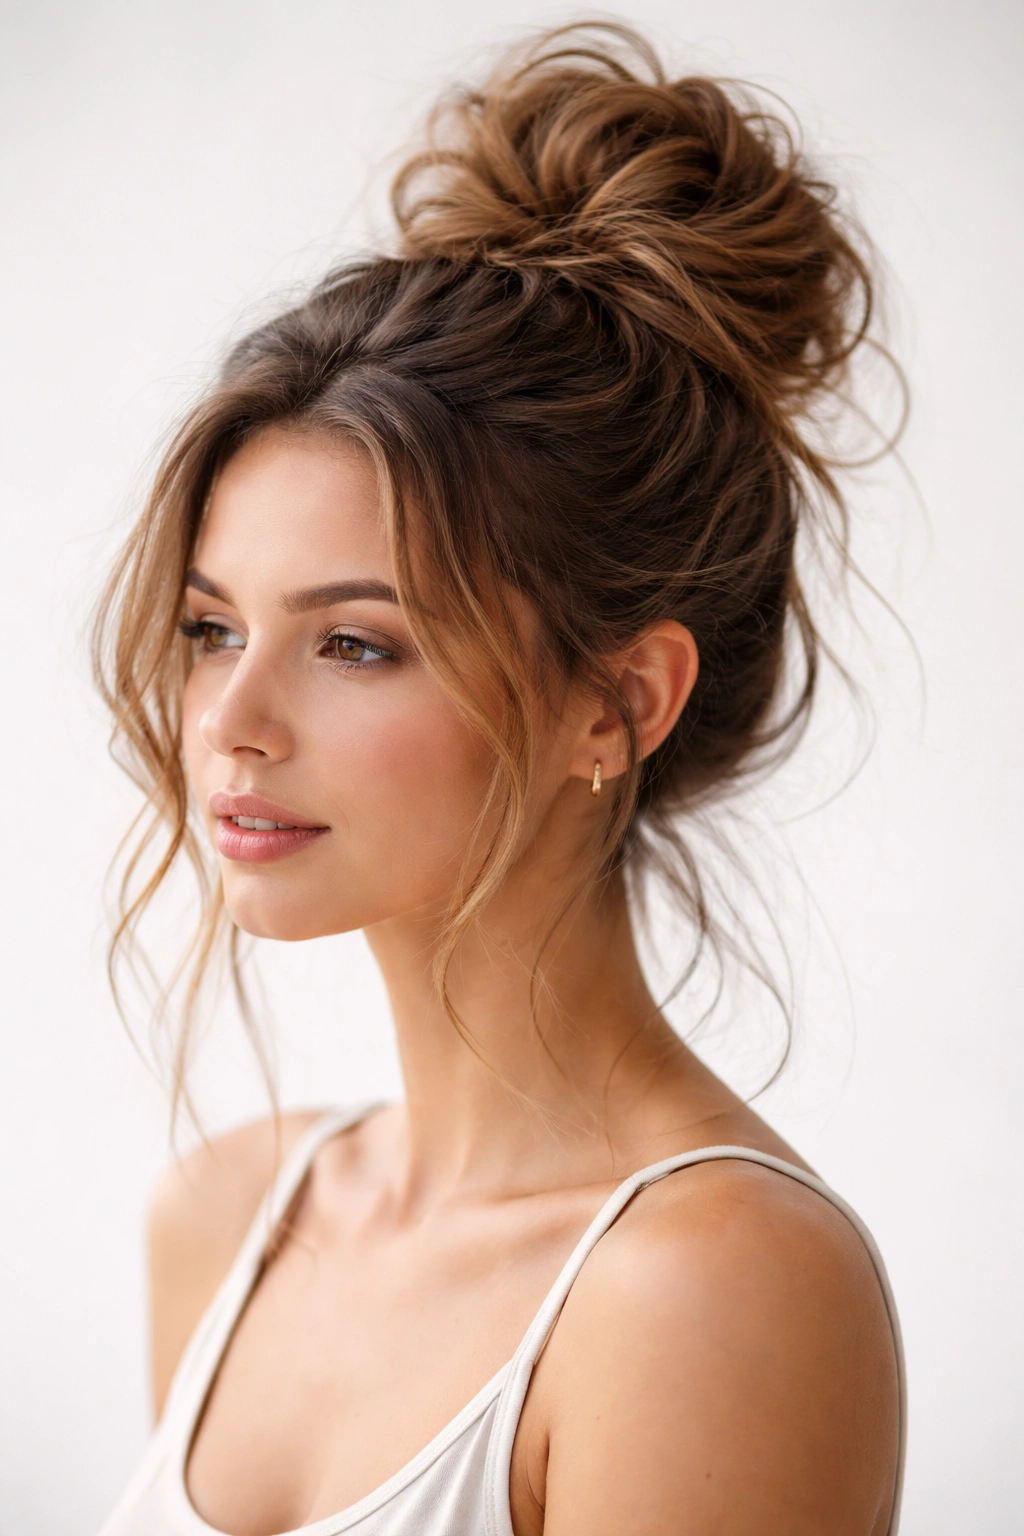
This is the ultimate “I didn’t spend much time on this but I look put-together” bun. It sits high on the back of your head and leans heavily into the messy, textured aesthetic that wavy hair naturally provides. This style is perfect for days when you want something quick but still intentional-looking.
How to Create It
Flip your head upside down and use your fingers (no brush needed) to gather your hair toward the back top of your head. The key here is not to create a tight ponytail — instead, use a loose, almost casual grip to gather the hair. Secure it with an elastic that matches your hair color, then begin the wrapping process. Take sections of your ponytail and wrap them loosely around the base, securing with bobby pins.
Unlike the crown bun, aim here for maximum volume and chaos. Pull sections apart, let pieces stick out at interesting angles, and encourage flyaways. Your wavy texture should be clearly visible, with individual waves creating outline and shape rather than blending into a smooth dome. The bun should look like something that naturally formed rather than something you deliberately styled.
Why It Works for Wavy Hair
This approach completely embraces your waves rather than trying to create sleek or polished lines. Each wave in your hair becomes a feature of the final look. The texture reads as intentional messiness rather than unkemptness because it’s consistent with how wavy hair naturally behaves.
Styling Tips and Variations
- Apply a texturizing spray to damp hair before blow-drying for more pronounced waves
- Don’t brush your hair into this bun — use your fingers only to maintain maximum texture
- Add a decorative bobby pin or hair stick through the bun for visual interest
- This is the perfect style to do second-day hair when your waves already have extra texture from sleeping on them
4. The Loose Low Bun
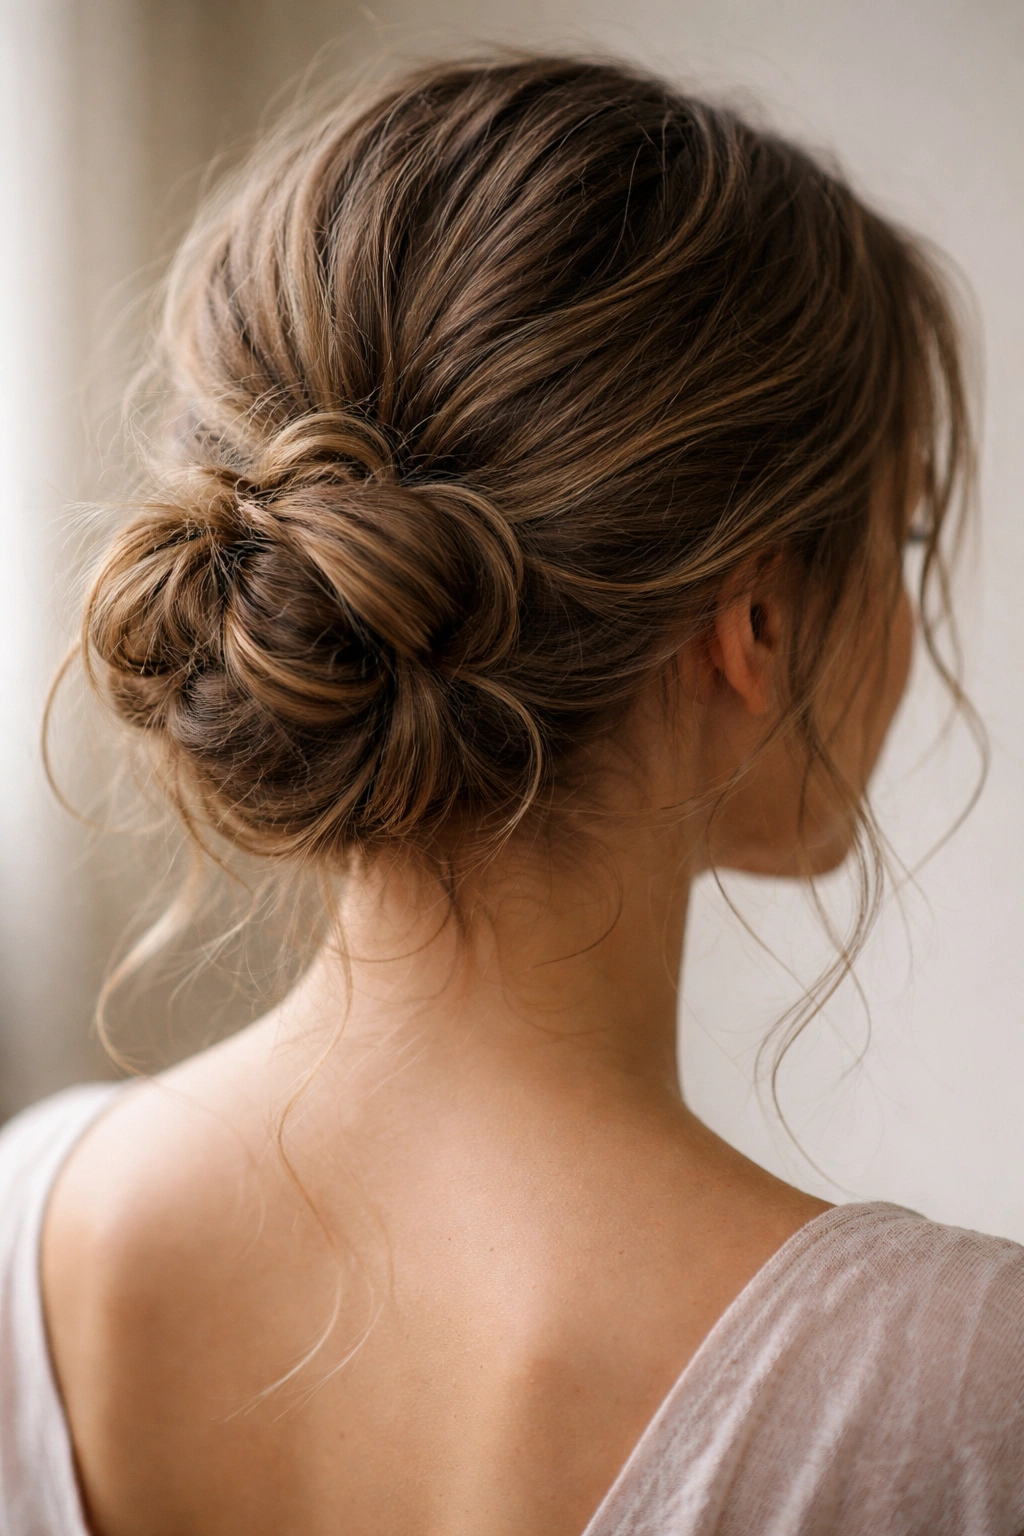
The loose low bun sits at the nape of your neck and is the most elegant of the messy bun options. It works beautifully for events that are slightly more formal than casual outings but still want the soft, undone aesthetic that messy styling provides. For wavy hair, this style is particularly effective because it creates an outline of soft, curved edges.
How to Create It
Gather your hair at the nape of your neck in a loose, low ponytail. Rather than twisting, loosely coil your ponytail around the base to form a low bun. This coiling approach creates more visibly textured loops than a traditional twisted bun. Secure with bobby pins, then gently pull the coils apart to create volume. Leave several pieces completely loose around your nape and ears — these shouldn’t look like face-framing pieces but rather like natural escape strands.
The key to making a low bun look intentionally messy rather than sloppy is to leave substantial loose pieces. Pull your bun apart so there’s clear air space between coils, and don’t aim for symmetry. The asymmetrical softness is what makes this style work.
Why It Works for Wavy Hair
Wavy hair around the nape and ears looks soft and romantic rather than flyaway. Your natural waves create a gentle frame around the base of the bun without looking unkempt. The curves of your waves echo the curves of the bun itself, creating visual harmony that straight hair struggles to achieve.
Styling Tips and Variations
- For a more polished version, smooth a small amount of smoothing cream through the pieces around your nape
- Create a slight side part before gathering your hair for added dimension
- Weave a thin decorative clip or ribbon through the bun for a vintage touch
- This style works particularly well for wavy hair worn slightly damp or with second-day texture
5. The Double-Twist Bun
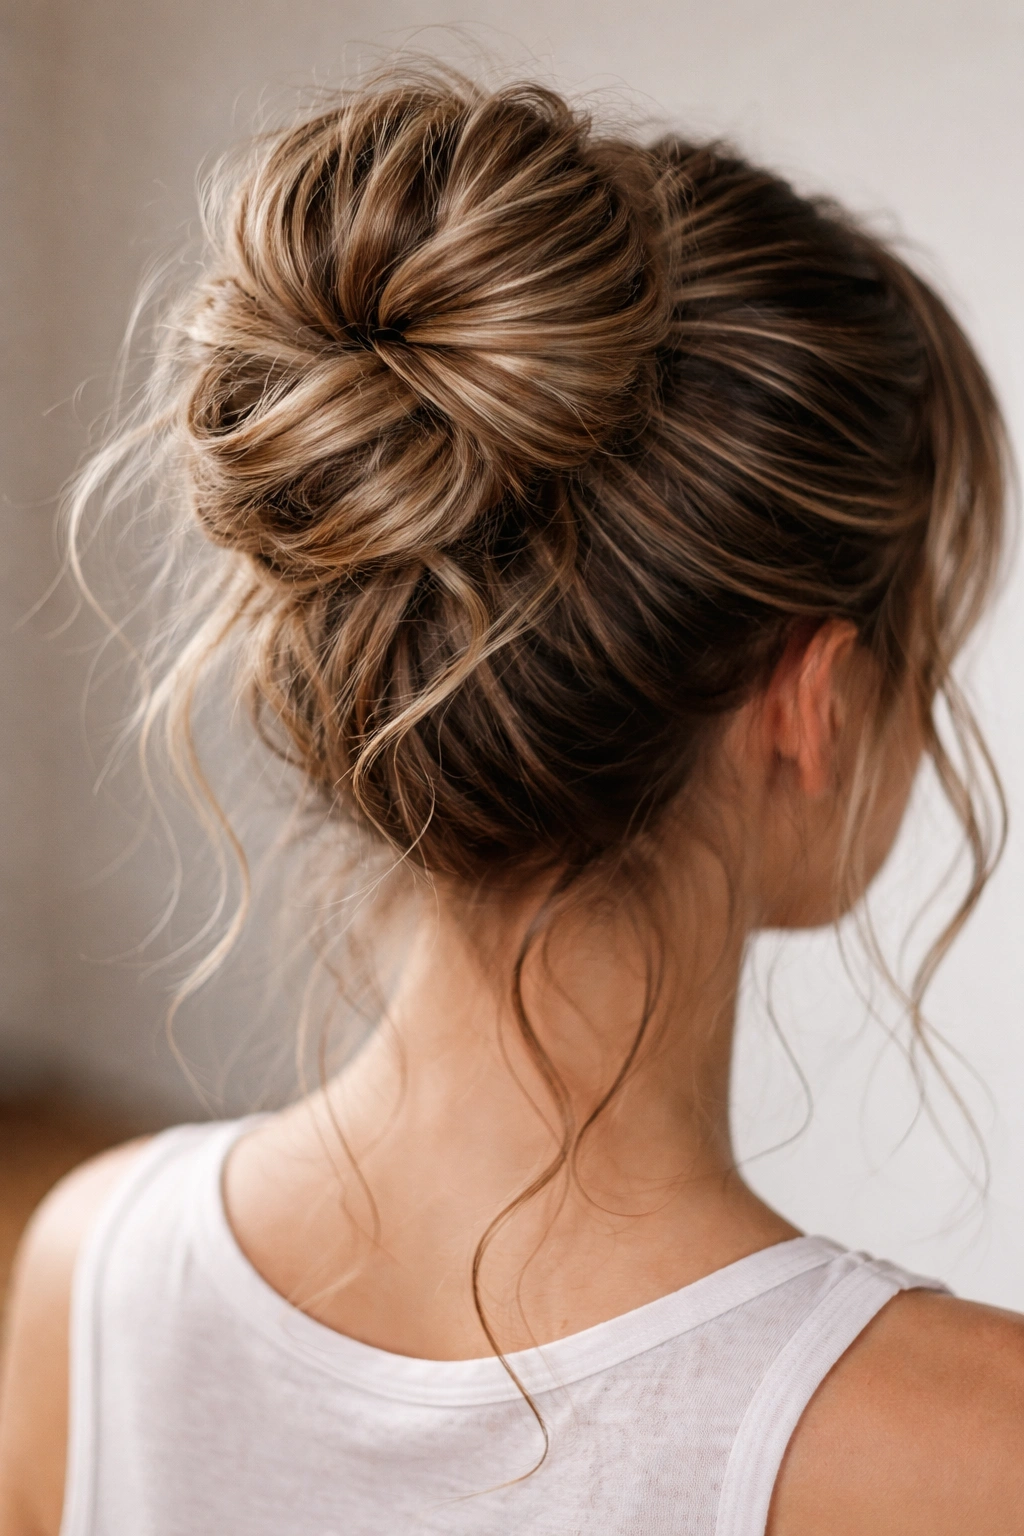
The double-twist bun is for when you want maximum visual texture and a style that looks complicated but is actually quite simple to execute. By creating two distinct twists that wrap around each other, you build layers and dimension that make your wavy hair look intentionally styled rather than casually thrown together.
How to Create It
Create a high or mid-height ponytail depending on your preference. Divide the ponytail into two equal sections. Twist one section clockwise and the other counterclockwise, keeping the twists loose enough that your waves remain visible within the twist itself. The key here is not to smooth the hair completely as you twist — let the wavy texture show through.
Once both sections are twisted, wrap one twisted section around the base to form half the bun, then wrap the other section around in the opposite direction. This creates a bun where you can see both twist patterns, adding significant visual texture. Secure with bobby pins, then gently pull sections outward to increase volume.
Why It Works for Wavy Hair
The visible twists within this bun style showcase your waves beautifully. Rather than squashing your texture, you’re highlighting it by making the twists loose enough that the wave pattern remains obvious. The double wrapping creates more surface area for your waves to create shadow and light effects.
Styling Tips and Variations
- Before twisting, apply a light texturizing mousse to amplify your waves
- Twist loosely enough that you can still see the wave pattern within the twist
- For extra interest, use contrasting bobby pins (bronze on dark hair, silver on light hair)
- This style is particularly effective with salt spray for enhanced texture
6. The Half-Up Messy Bun
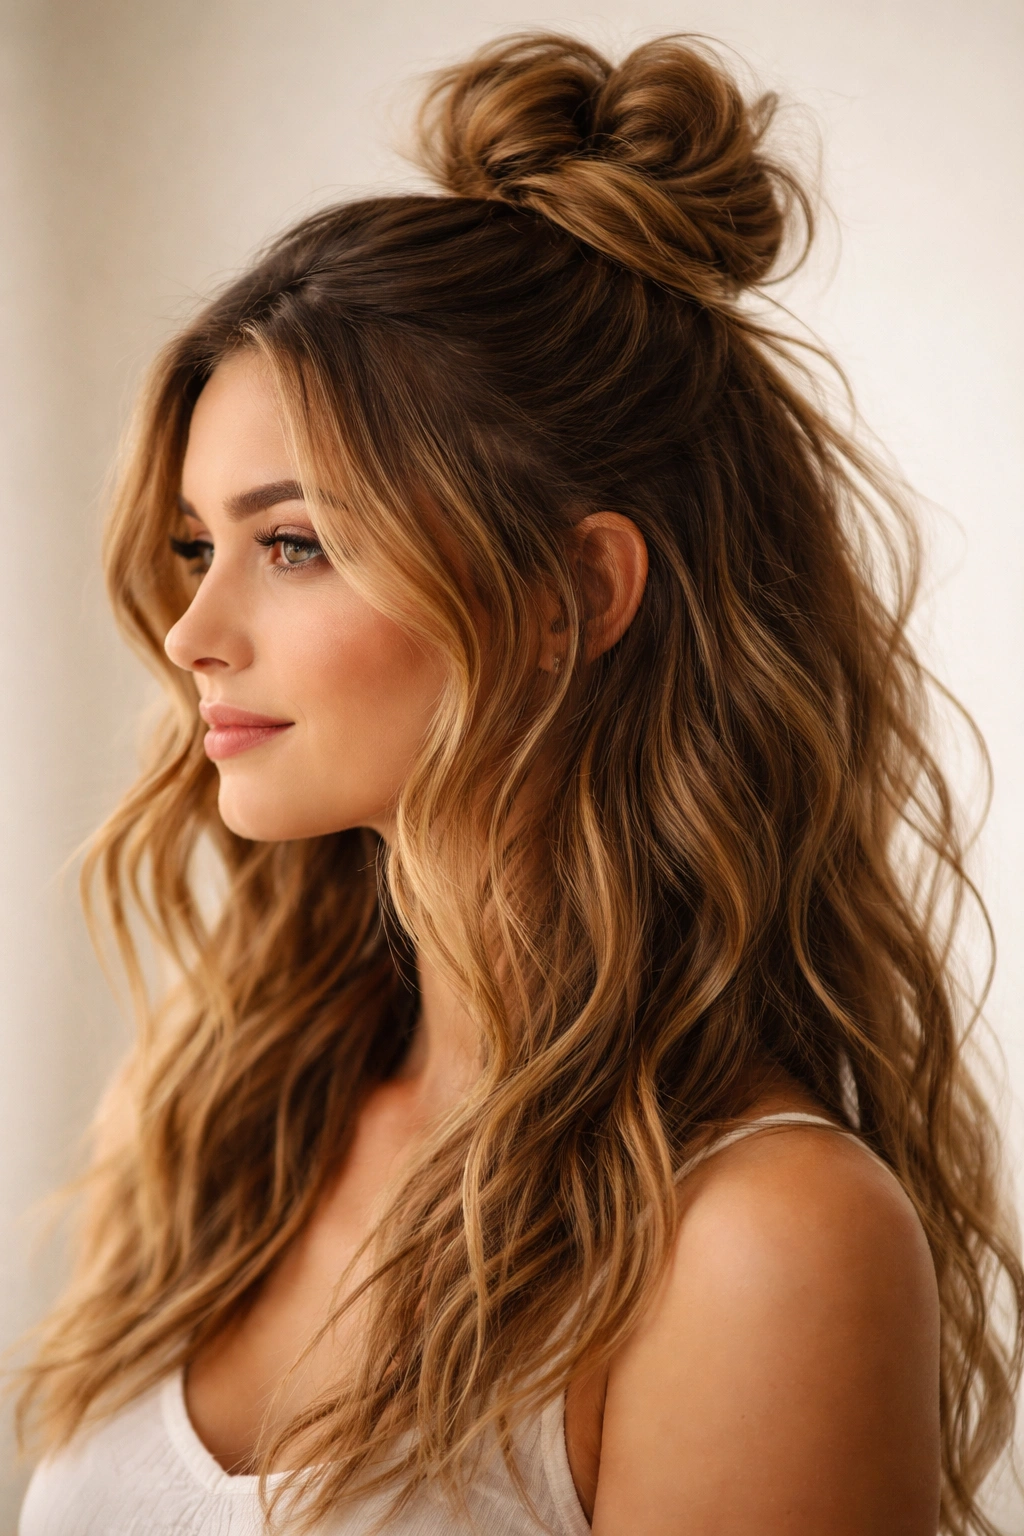
The half-up messy bun gives you the best of both worlds — the polished, intentional look of a gathered style combined with the soft, romantic movement of down hair. This is an excellent option for days when you want your waves to be a feature of the style rather than hidden away in a full bun.
How to Create It
Take a section of hair from your temples and crown area, gathering it at approximately the middle-back of your head. Rather than creating a full ponytail, stop at the back of your head and secure just this section with an elastic. The remaining hair falls loosely down your back.
Now create a small bun from this half-gathered section. You can twist it, coil it, or simply fold it and secure it with bobby pins — the messier and more relaxed, the better. Leave pieces falling around your face and throughout the bun. The waves in the down portion of your hair should be fully visible and mobile.
Why It Works for Wavy Hair
This style allows your full wave pattern to show on the back and sides of your head while still providing the polished touch of a gathered section. The movement of your down waves complements the textured bun beautifully. It’s sophisticated without being formal, and it works with your hair’s natural tendency to move and create curves.
Styling Tips and Variations
- Use a texturizing spray on damp hair before blow-drying to enhance the waves in the down portion
- Leave the gathered section relatively loose — tight half-ups look intentional rather than messy
- Create a small braid on one side before gathering the half-up section for added interest
- Pin loosely so that pieces naturally escape as you wear the style throughout the day
7. The Braided Wrap Bun
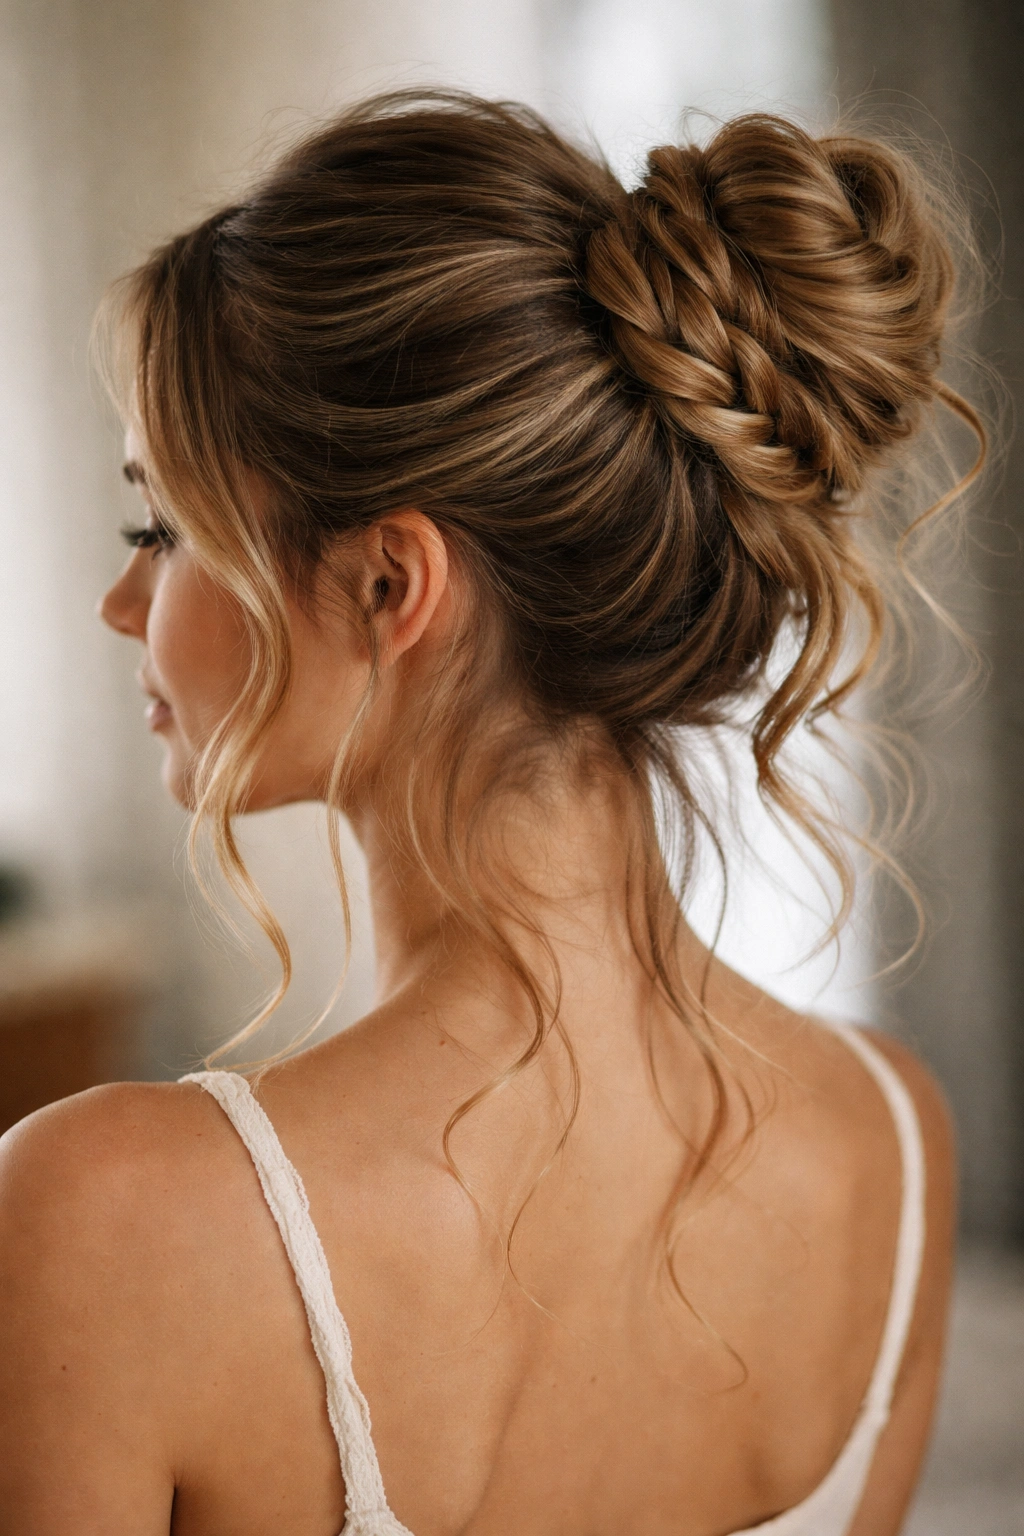
The braided wrap bun combines the texture of a braid with the casualness of a messy bun. This style requires a bit more effort than the simpler options, but the result is visually stunning and shows off your wavy hair’s natural movement throughout the braided elements.
How to Create It
Create a high ponytail, then braid the ponytail loosely. This is crucial — a tight braid defeats the purpose of this style. Your braid should be loose enough that strands can slip and your waves remain visible. Once the braid is complete, wrap it around the base of the ponytail to form the bun, securing with bobby pins as you go.
Gently tease the braid apart by pulling the edges of each braid section outward. This “pancaking” of the braid adds significant volume and allows your waves to become more prominent. Leave sections of the ponytail loose above the braid for additional texture.
Why It Works for Wavy Hair
The waves in your hair create natural texture within the braid strands, making the braid look intentionally undone rather than carefully plaited. The combination of braided and non-braided sections shows off your waves in multiple ways. The gentle pulling apart of the braid showcases the dimension of your texture.
Styling Tips and Variations
- If your waves are particularly loose, apply a texturizing spray before braiding to help the braid hold better
- Braid loosely enough that you can see the individual wave pattern
- Leave longer, wavier pieces loose at the top for a more romantic aesthetic
- Gently separate the braid by pulling the edges of each section outward rather than smoothing it — this is the key to the look
8. The Undone High Bun
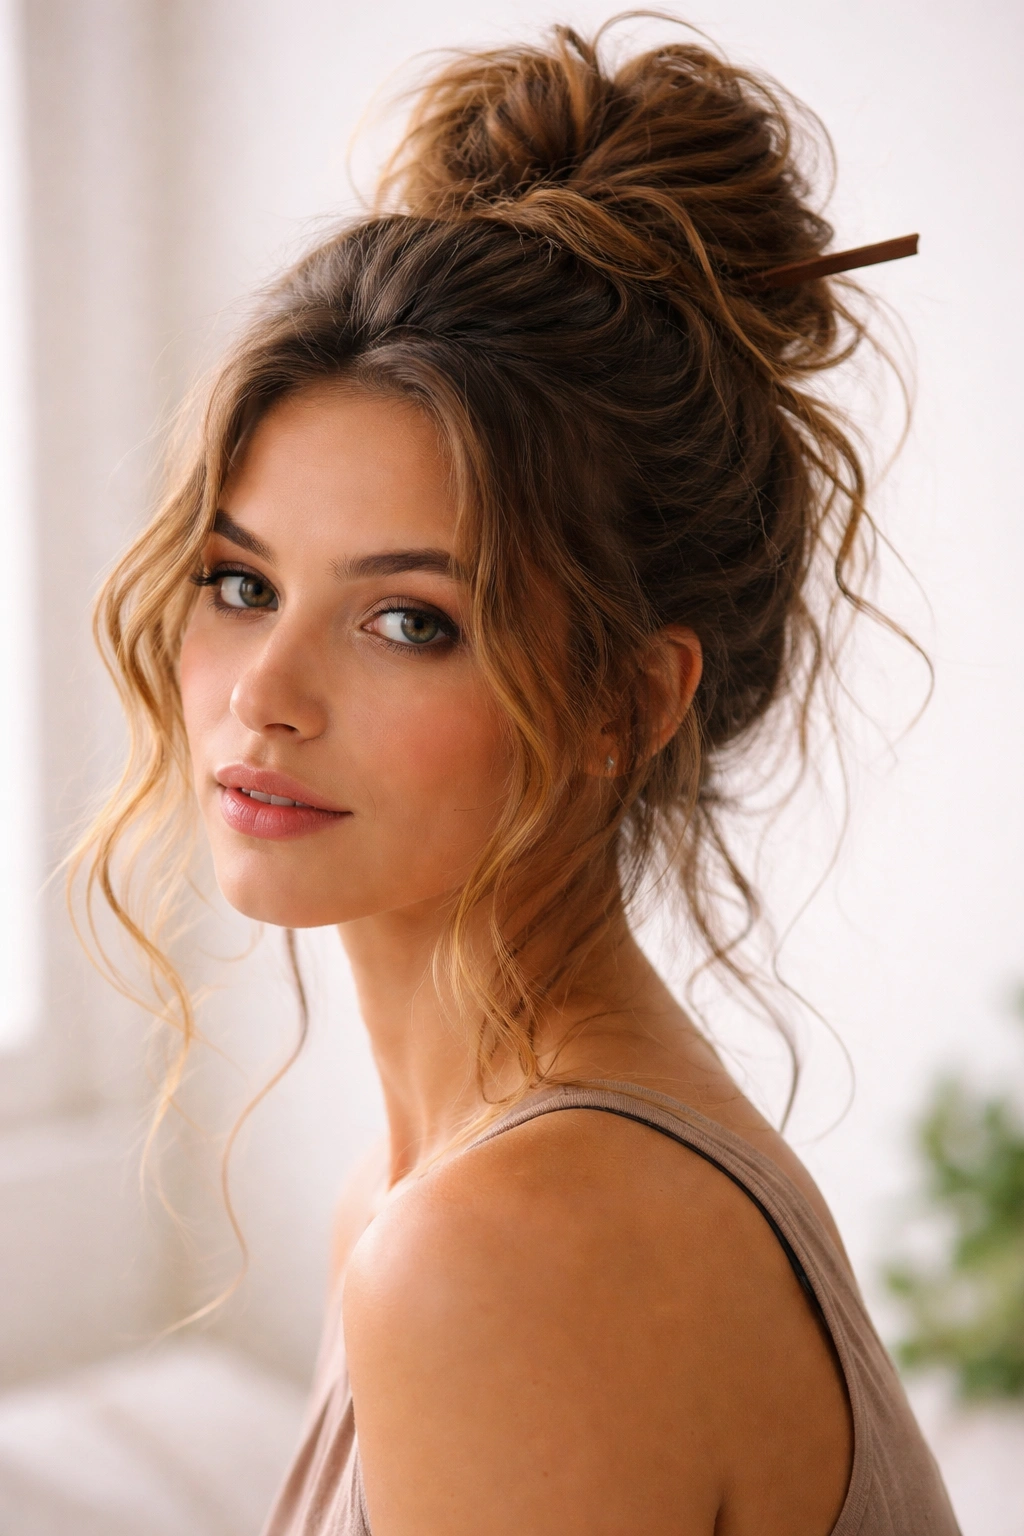
The undone high bun is the ultimate no-effort, high-reward style. It’s positioned high on your head but with so much casualness that it almost looks like your hair accidentally ended up in this configuration. For wavy hair, this style is perfectly suited because the waves naturally create the textured, undone quality you’re aiming for.
How to Create It
Flip your head upside down and gather your hair toward the crown with your fingers. Use a hair stick, pencil, or elastic to secure the gathered hair — a hair stick actually works beautifully here because it’s less tight than a traditional elastic. If using a hair stick, create a loose ponytail first, then run the hair stick through, using the stick to hold the ponytail in place.
If using an elastic, make it very loose and secure just loosely enough to hold. Pull the bun apart significantly — this should look like hair that gathered itself. Leave substantial pieces loose around your face and throughout the bun. The more texture and apparent randomness, the better this style works.
Why It Works for Wavy Hair
This style completely relies on the natural texture and dimension of wavy hair for its appeal. Your waves create the entire aesthetic without you needing to do much styling. The undone quality is enhanced by how waves naturally move and create soft edges rather than blunt lines.
Styling Tips and Variations
- Use your fingers only — no brushing — for maximum wave visibility
- For enhanced waves, apply sea salt spray to damp hair before styling
- A hair stick works especially well for this style because it’s less visible than an elastic
- Second-day or third-day hair is actually ideal here — your waves will be more pronounced and textured
How to Make Your Messy Bun Last All Day
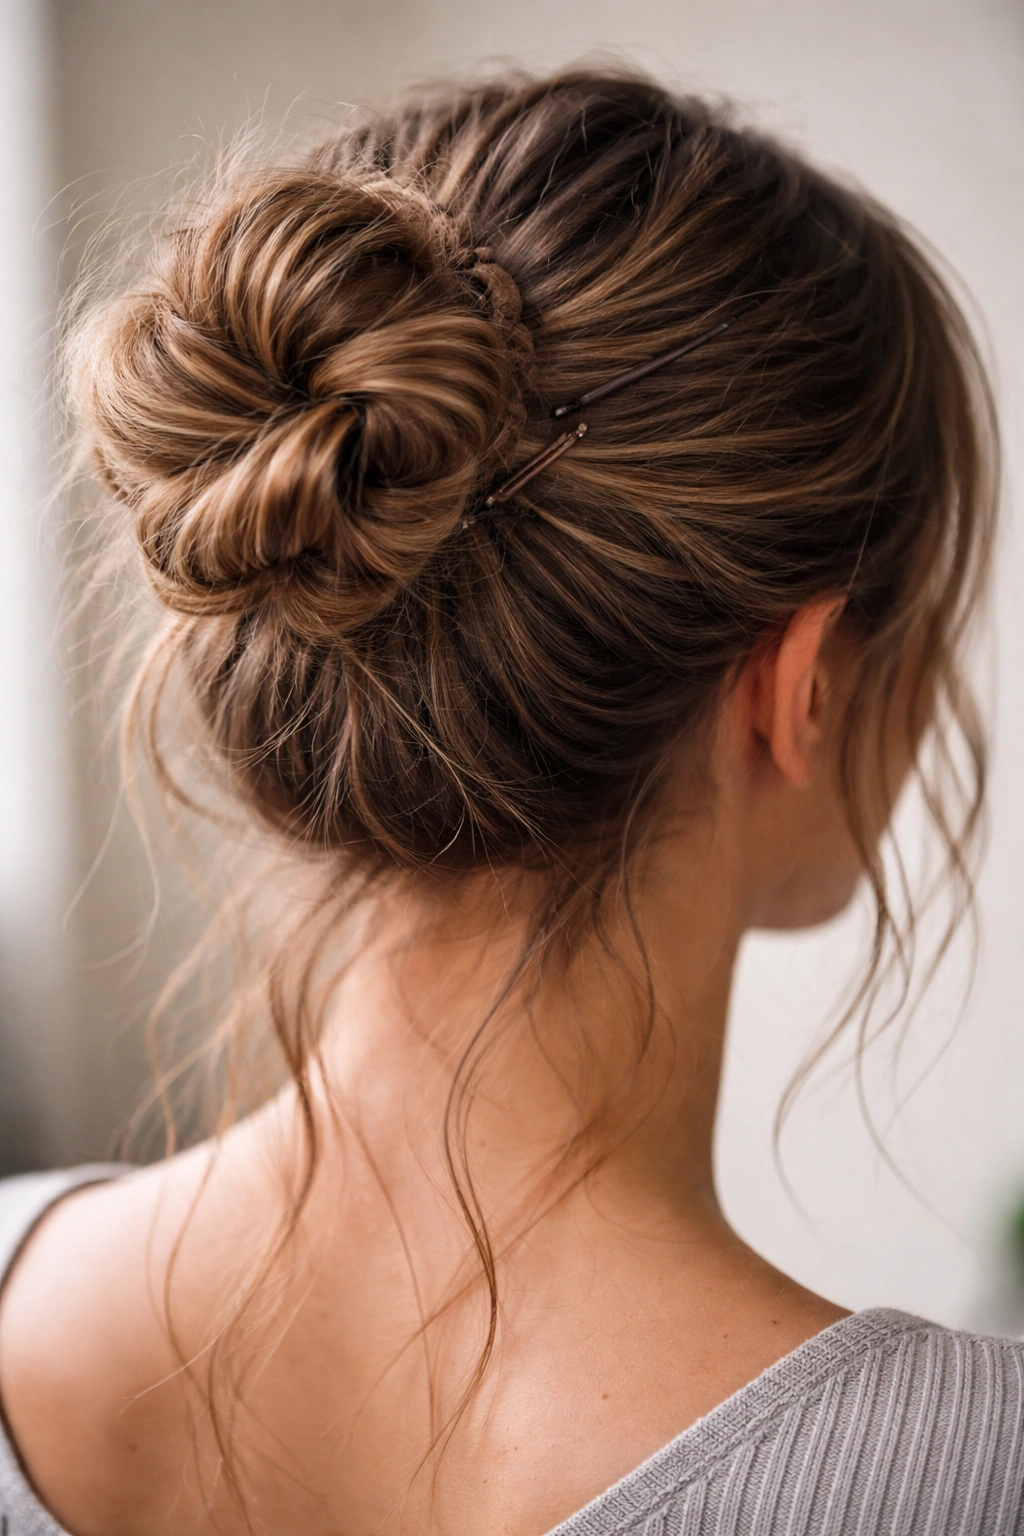
The biggest challenge with any messy bun is keeping it intact as you go about your day. Wavy hair actually gives you an advantage here because the texture provides natural grip, but you still need strategies to maintain your style without it becoming noticeably messier as hours pass.
Start with the right foundation. If you’re styling on freshly washed hair, apply a light styling cream or texturizing spray to damp hair and blow-dry before creating your bun. This gives your waves better hold and makes them less likely to slip out of place. Avoid applying product directly before creating the bun, as that can make hair too slippery and reduce grip.
Use the right elastic. Thicker, softer elastics grip hair better than thin ones and are less likely to slip throughout the day. Fabric-covered elastics work beautifully for wavy hair and are gentler on the hair shaft. Loop your elastic around multiple times — wrapping it around three times instead of once or twice creates exponentially more grip.
Bobby pins should be your strategic backup rather than your primary hold. Place pins horizontally at the base of the bun where the ponytail meets the secured hair, and place additional pins where pieces wrap around the base. You shouldn’t need many pins if your elastic is doing its job correctly.
Finally, resist the urge to touch and re-adjust your bun throughout the day. Every time you move it, you risk loosening the elastic slightly or displacing pins. If a piece falls out, secure it with a small bobby pin near the bun rather than trying to rewrap everything.
Tips for Styling Wavy Hair Into Messy Buns
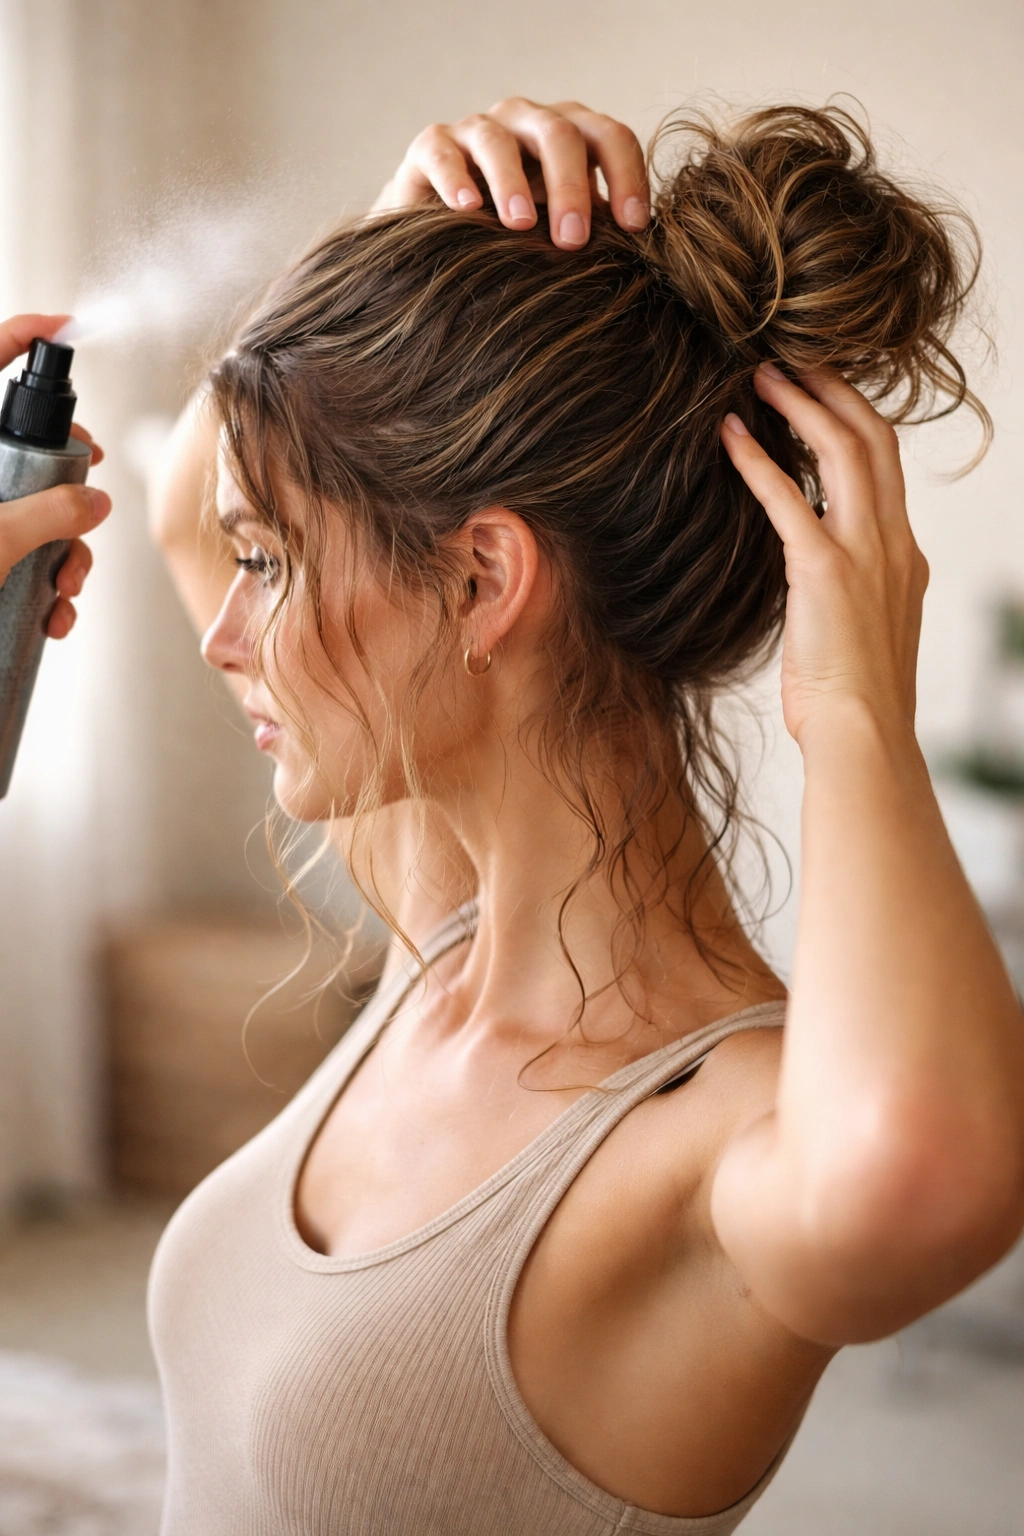
Getting the best possible messy bun from your wavy hair requires understanding how to work with your texture. Wavy hair isn’t straight hair, so approaches that work for straight-haired friends might not deliver the same results for you.
Timing matters significantly. Hair that’s been dried for a few hours after washing will hold waves better than hair that’s still slightly damp or completely dry from hours of sitting. Aim to style your messy bun about an hour after you finish blow-drying — your waves will have fully formed and settled into their shape. If your hair tends to lose waves, you might want to use a light texturizing mousse or sea salt spray on damp hair before blow-drying to enhance and lock in the wave pattern.
Avoid brushing your hair immediately before styling. A brush can disrupt your waves and make them less defined. Instead, use your fingers to separate sections and gather your hair. If you need to detangle, do this right after washing while your hair is still damp, then let it dry before styling your bun.
The tightness of your ponytail dramatically affects the final look. A tight ponytail pulled straight back will showcase your waves less effectively than a loose ponytail created with twists or gentle gathering. Tight ponytails also tend to create a pulled, less messy aesthetic. Aim for just-tight-enough, where the ponytail won’t slip but still has visible looseness.
Use products strategically. A light spray or mousse applied to damp hair before blow-drying enhances and holds waves better than applying product right before styling. Heavy oils or creams applied before styling can make your hair too slippery for a secure bun and can also flatten the waves. Save heavier hydrating products for after you’ve styled, or apply them only to the ends.
Heat styling with a curling iron or diffuser before creating your bun can enhance your waves significantly. If your natural waves are subtle, running sections through a curling iron before gathering into a bun creates more defined waves that will show in the final style. This is especially helpful if you’re aiming for a particular messy bun style and want your texture to be a major feature.
Finally, don’t stress about imperfection. Messy buns are meant to look undone, so the pieces that fall out, the flyaways, and the asymmetry are actually features, not flaws. Embrace the natural quality of your waves rather than fighting to smooth everything into submission.
Final Thoughts
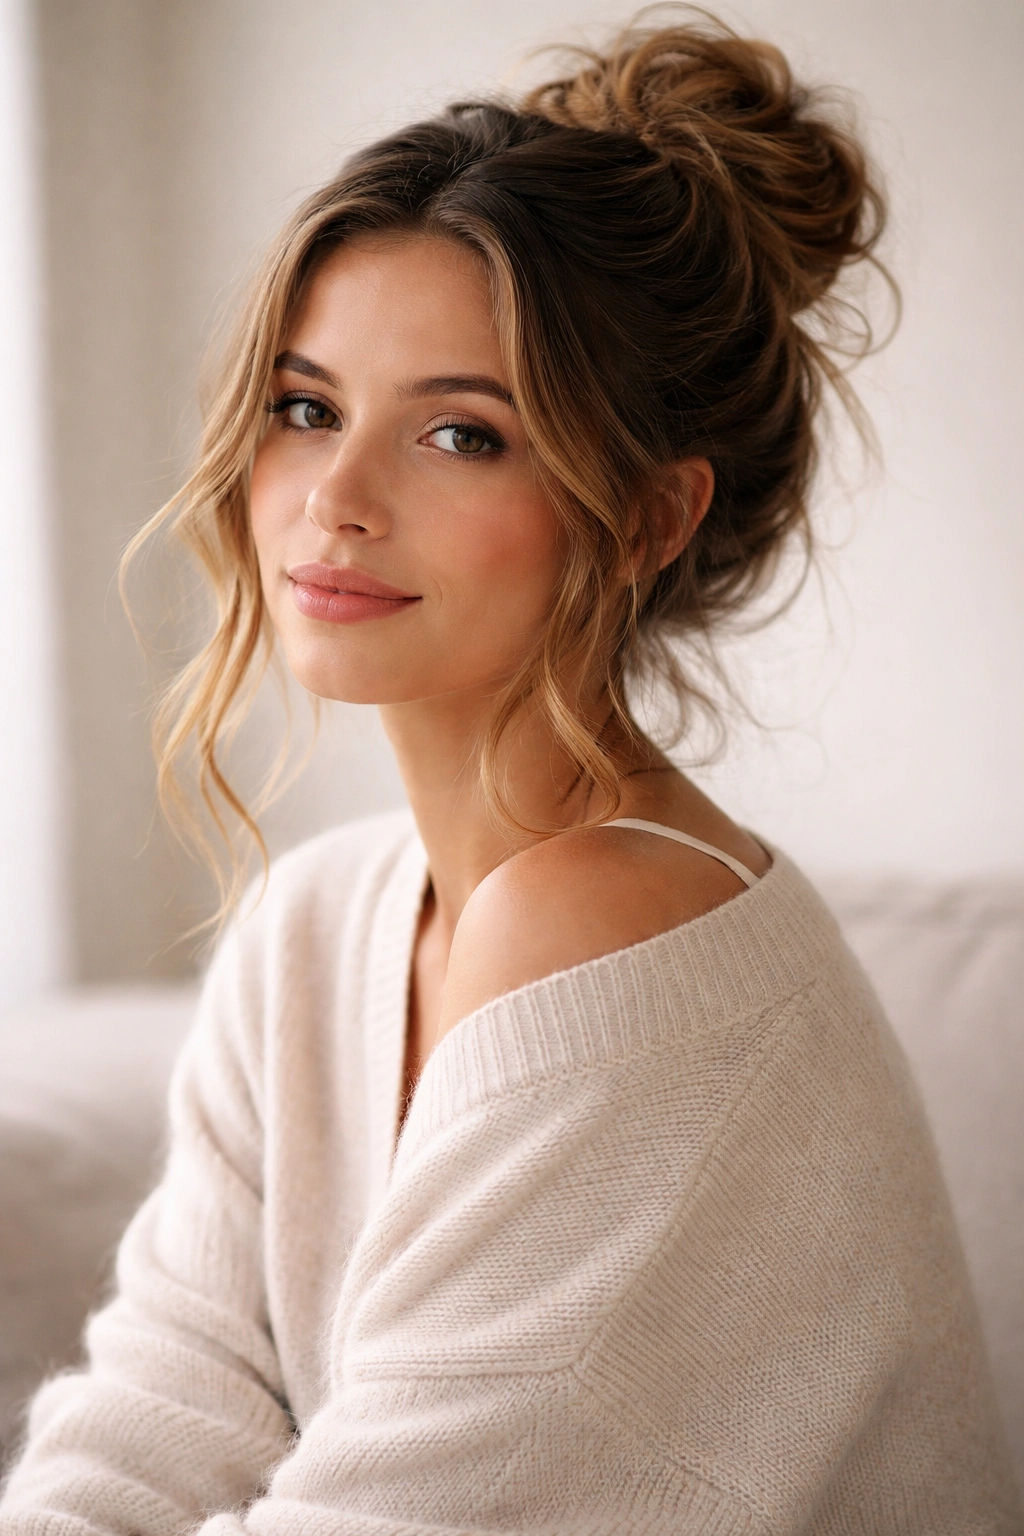
Wavy hair is genuinely one of the best hair types for creating messy buns that look intentional, textured, and effortlessly stylish. You don’t need to fight your natural texture or apply heavy products to achieve the look — your waves are already doing much of the work for you. Whether you opt for the simple undone high bun when you’re pressed for time or choose the more detailed braided wrap bun for a day when you have a few extra minutes, the key is letting your waves be a feature rather than something to hide.
The eight styles covered here all approach wavy hair differently, giving you options for everything from casual days to slightly more polished occasions. Start with whichever style appeals to you most, then experiment with the variations and tips to find the exact version that works with your particular wave pattern and lifestyle.
Remember that the best messy bun is one that actually stays in place throughout your day while still looking like you barely tried. Your wavy hair gives you that advantage naturally — use it to your benefit by working with your texture rather than against it. After a few attempts, creating a great messy bun will become as automatic as brushing your teeth, and you’ll have a reliable style that looks polished without demanding much effort at all.
