



Your baby girl’s natural hair is beautiful, versatile, and full of possibilities. Whether her curls are tight coils, loose waves, or somewhere in between, there’s something genuinely special about styling natural hair in ways that celebrate its unique texture while keeping it healthy and manageable. The challenge for many parents is figuring out which styles actually work for babies and toddlers — styles that are cute enough to show off, protective enough to maintain hair health, and practical enough to stay put through playtime and sleep.
The good news? There are plenty of adorable, age-appropriate options that don’t require hours in the chair or complicated maintenance routines. These styles range from quick everyday looks you can create in under 10 minutes to special-occasion styles that’ll have everyone asking where you learned to braid. Most importantly, each one respects the delicate nature of a baby’s scalp while keeping her hair moisturized, detangled, and growing strong.
Starting With Hair Basics for Your Baby Girl
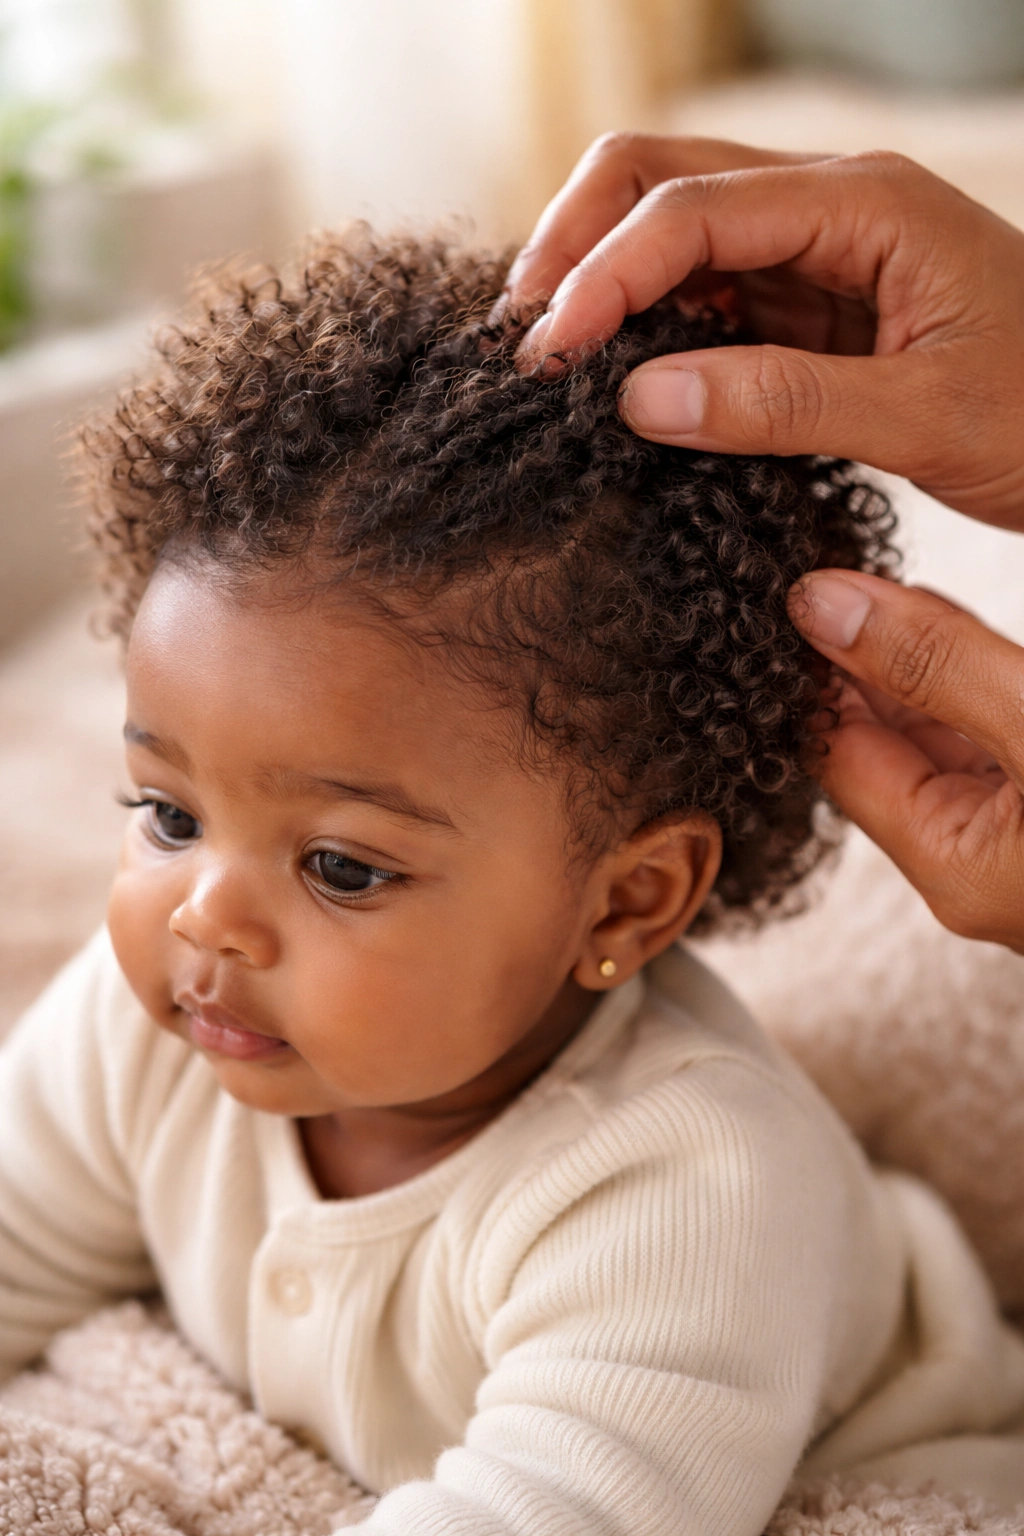
Before diving into specific styles, it’s worth understanding what makes baby hair different and what it actually needs. A baby girl’s scalp is more sensitive than an older child’s, and her hair — whether it’s fine, thick, tightly coiled, or loosely textured — requires a gentler approach than adult hair. You’re not just styling for looks; you’re building healthy hair habits that’ll serve her for a lifetime.
The foundation of any good hairstyle is clean, moisturized hair. This means using sulfate-free shampoos that won’t strip natural oils, conditioning deeply at least once weekly, and keeping products simple. Water-based moisturizers and leave-in conditioners become your best friends because natural hair, especially tightly coiled hair, dries out quickly. A good detangling session with conditioner in the hair prevents breakage when you’re styling, and it makes the entire process smoother and less frustrating for both of you.
Protective styling matters at this age. When hair is pulled too tightly, braided without proper technique, or left unprotected and exposed to friction from pillows and clothing, it breaks. The goal is to create styles that hold the hair gently away from her face and shoulders, reduce daily manipulation, and maintain moisture. Most of these styles should last anywhere from three days to two weeks, depending on how active your baby is and how her hair responds.
Essential Tools and Products for Easy Styling
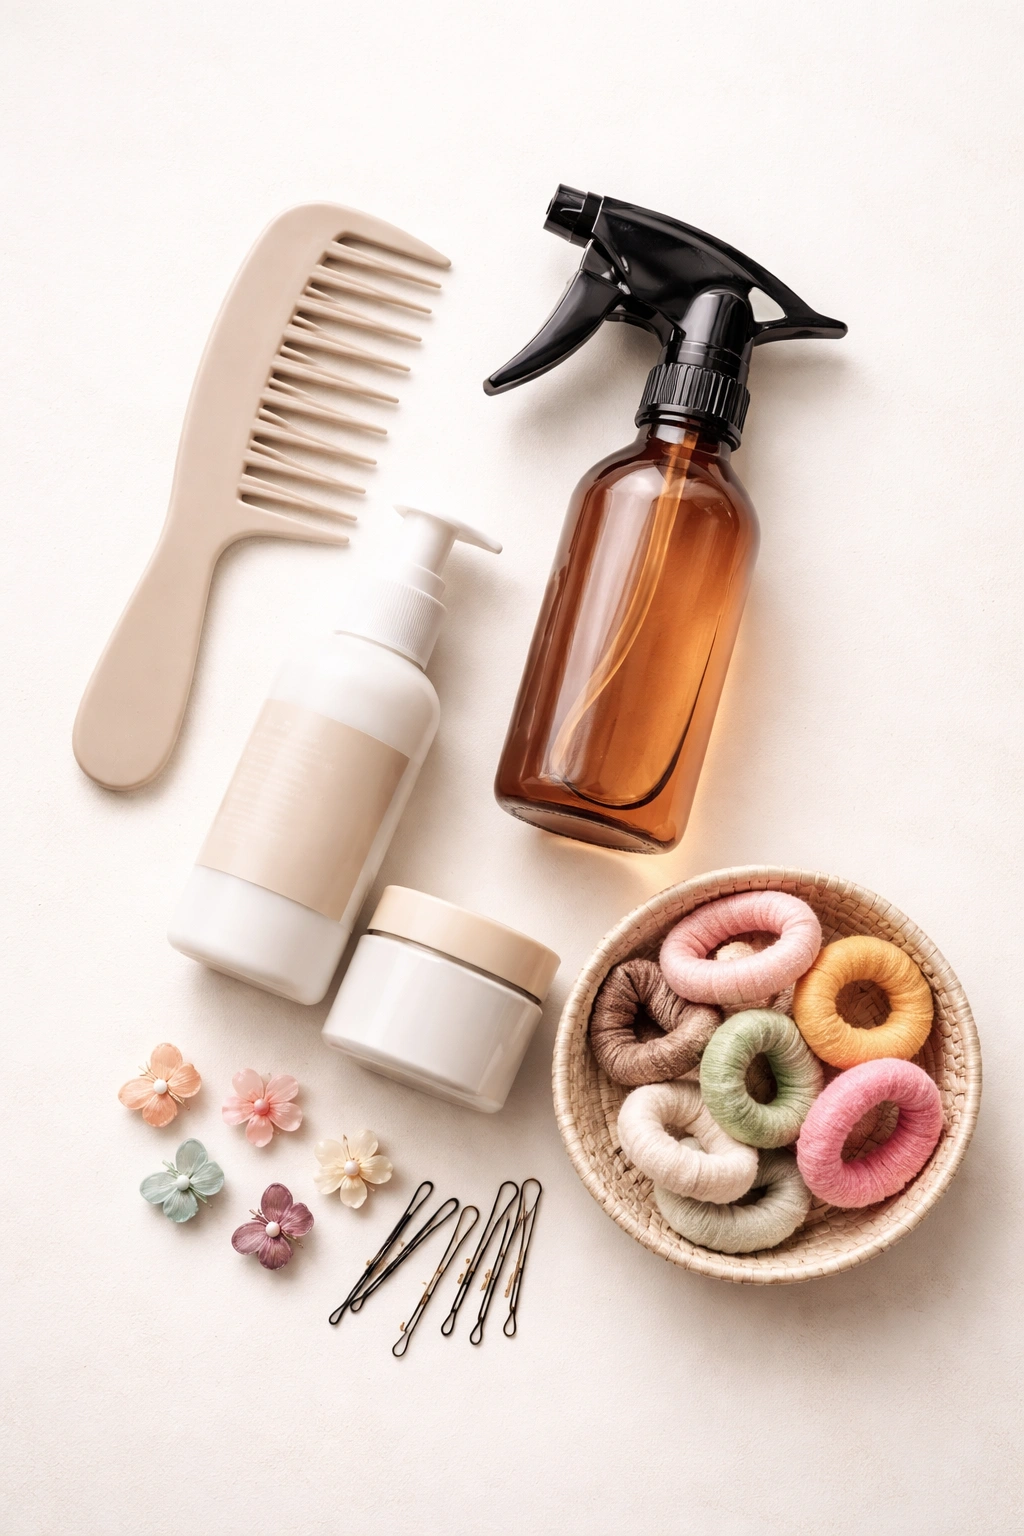
You don’t need fancy equipment or a huge product arsenal, but having the right basics makes styling infinitely easier and faster. A good wide-tooth comb is non-negotiable — this is your first line of defense against tangles and breakage. Pair it with a spray bottle of water or a water-based detangler, and you’re ready to work through knots without causing damage.
For styling itself, you’ll want soft elastics designed specifically for children’s hair — the kind that won’t snag or leave creases. Metal-free hair clips (silicone or plastic) help you section hair while working. If you’re braiding, having a few bobby pins in hand makes finishing styles cleaner. Some parents find that a spray bottle with water and a leave-in conditioner mixture keeps hair workable while styling, preventing frizz and static.
Product-wise, keep things minimal and natural-focused. A good leave-in conditioner, a light oil or butter for sealing moisture, and a styling gel or cream (if you use one) are really all you need. Avoid products with petroleum, alcohol, or heavy silicones that can build up on delicate hair. Many parents find that simple olive oil, coconut oil, or shea butter mixed with water creates the perfect styling base. The simpler your routine, the easier it is to maintain these styles and keep your baby’s hair thriving.
1. Puff Ponytails
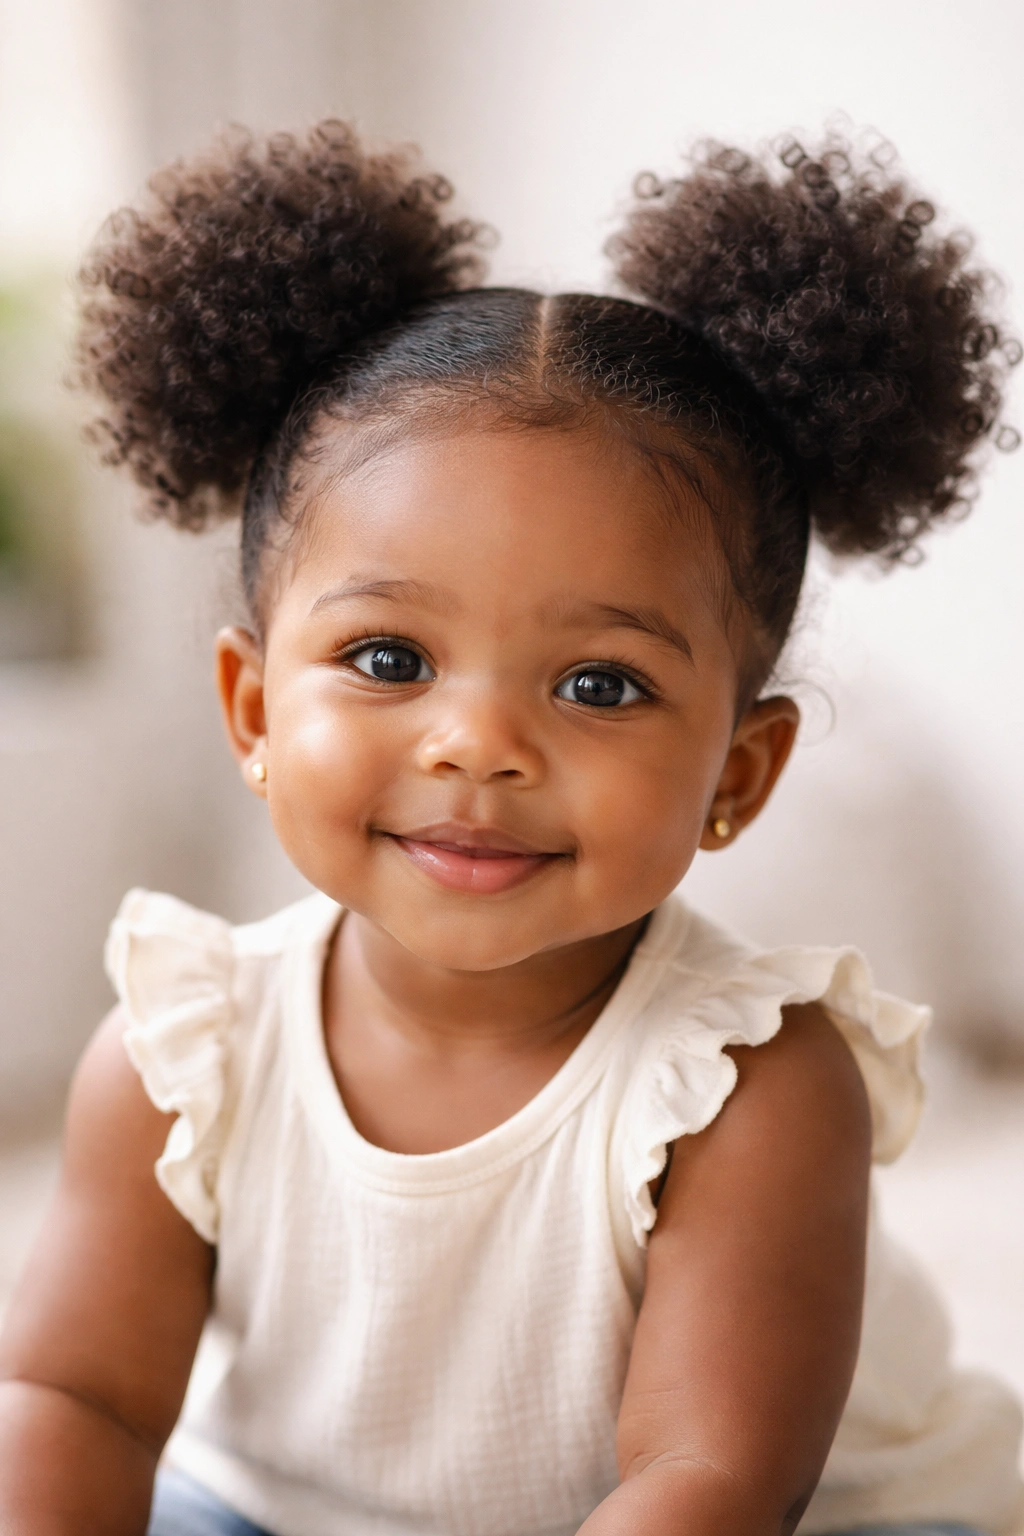
Puff ponytails are the go-to style for active baby girls because they’re quick, adorable, and surprisingly functional. The idea is simple: you section the hair into two or four ponytails, gather each section, and let the natural texture do the work, creating those signature fluffy puffs that everyone loves. From the front, they frame the face beautifully; from the back, they’re neat and contained.
Why This Style Works So Well
Puff ponytails give you that sweet spot between effort and payoff. They require minimal manipulation once you’ve sectioned the hair, which means less time in the chair and less stress on the scalp. Because the hair is gathered but not severely pulled, they’re genuinely protective without being uncomfortably tight. Your baby can play, roll around, and sleep in these without them falling apart or causing issues.
How to Create Perfect Puffs
Start with hair that’s been freshly washed, conditioned, and moisturized — damp hair is easier to work with than dry. If you’re doing two puffs, use a fine-tooth comb to create a clean center part from front to back, dividing the hair into left and right sections. Smooth each section, spray lightly with your water-and-conditioner mix if needed, then gather at the crown and secure with a soft elastic. Let the natural texture create the puff — don’t try to force it into a perfect ball. If you want, smooth the puff slightly with a bit of shea butter on your fingers, but the slightly textured, natural look is honestly the cutest option.
For four puffs, create a cross-shaped part: one down the center from front to back, another from ear to ear across the crown. Secure each quadrant into its own puff. Four puffs work especially well for fuller, thicker hair and give you more styling flexibility as she grows.
Pro tip: These styles last beautifully for 4-5 days if you refresh them lightly with water and moisturizer each morning and re-secure the elastics if they’ve loosened.
2. Braided Crown
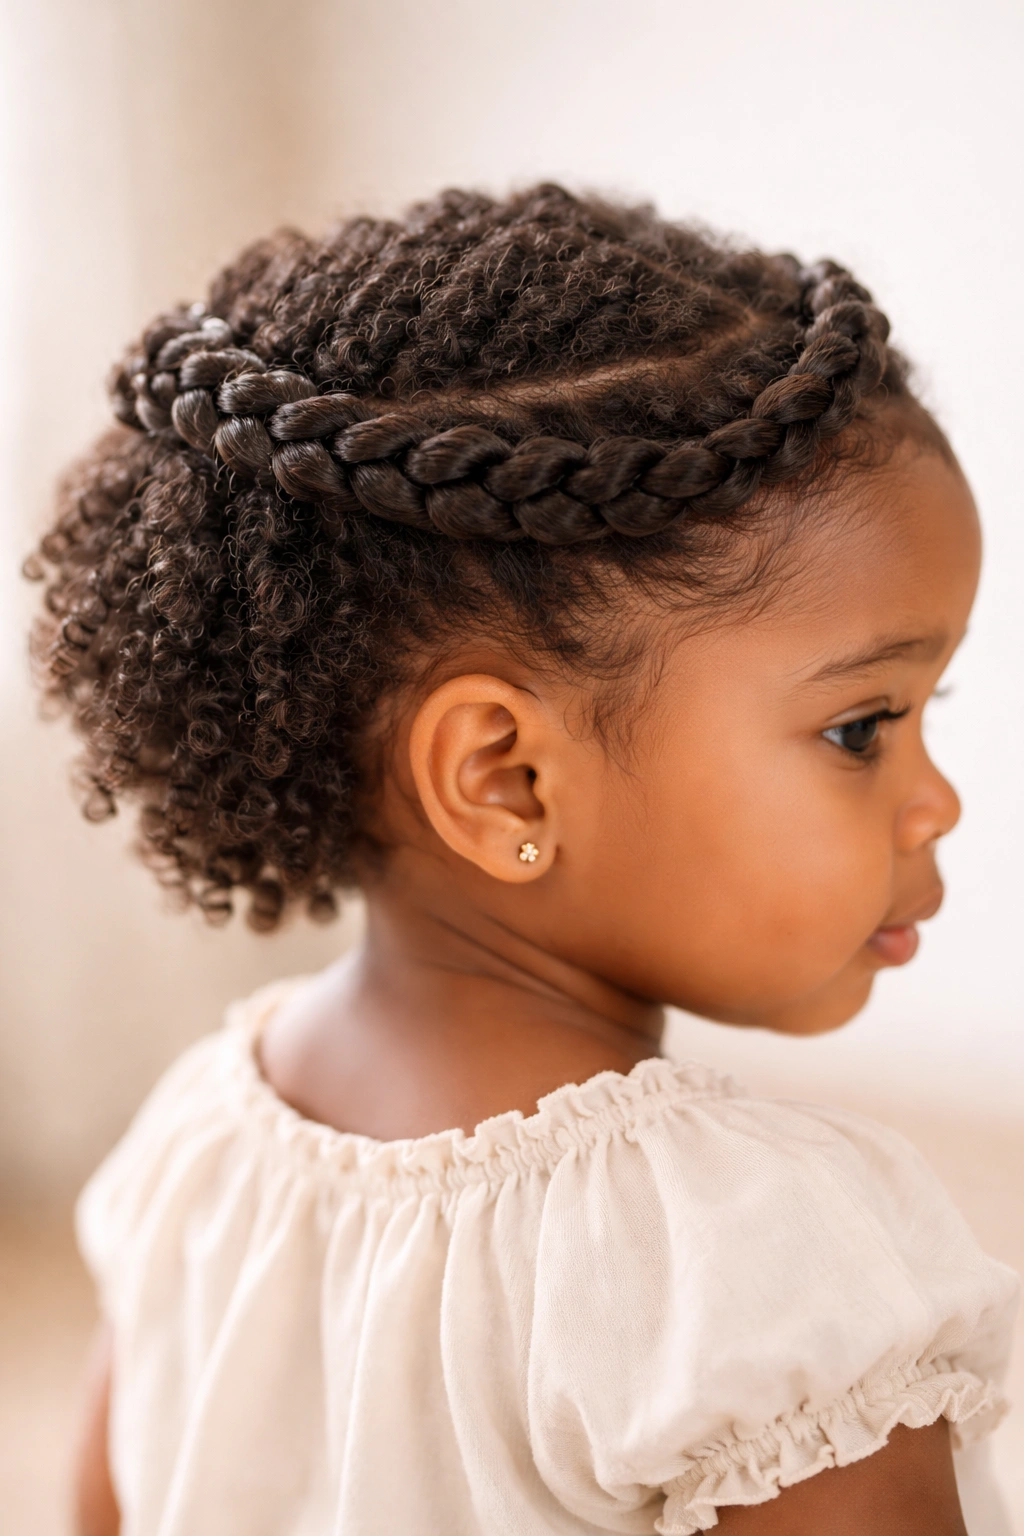
A braided crown is the fancy-special-occasion version of protective styling, but it’s more approachable than it sounds. The braid wraps around the head like a crown or halo, gathering and securing the hair while looking absolutely stunning in photos. It works on all hair types but looks particularly gorgeous on tightly coiled or very textured hair where the braids have beautiful definition.
Building the Foundation
The key to a good crown braid is starting at the right spot and thinking about where you want it to sit. Begin at one ear, creating a three-strand braid that travels across the back of the head to the opposite ear. As you braid, you’re gently feeding the hair from your baby’s head into the braid, creating that wraparound effect. It’s the same concept as a French braid, but you’re working horizontally instead of down the back of the head.
Securing It Beautifully
Once the braid reaches the other ear, you’ll gather the loose ends and secure them into a small puff, a twist, or tuck them into the braid itself if there’s enough length. Small bobby pins in a matching shade keep everything neat. The beauty of this style is that even if a section isn’t perfectly even or symmetrical, it looks intentionally beautiful and romantic — baby hair rarely cooperates perfectly, and that’s part of the charm.
This style typically holds for 5-7 days and is protective enough that you’re creating minimal new stress on the hair while it grows. It’s the kind of style that makes you feel like a talented braider, even if you’re new to styling.
3. Coils and Curls Enhanced
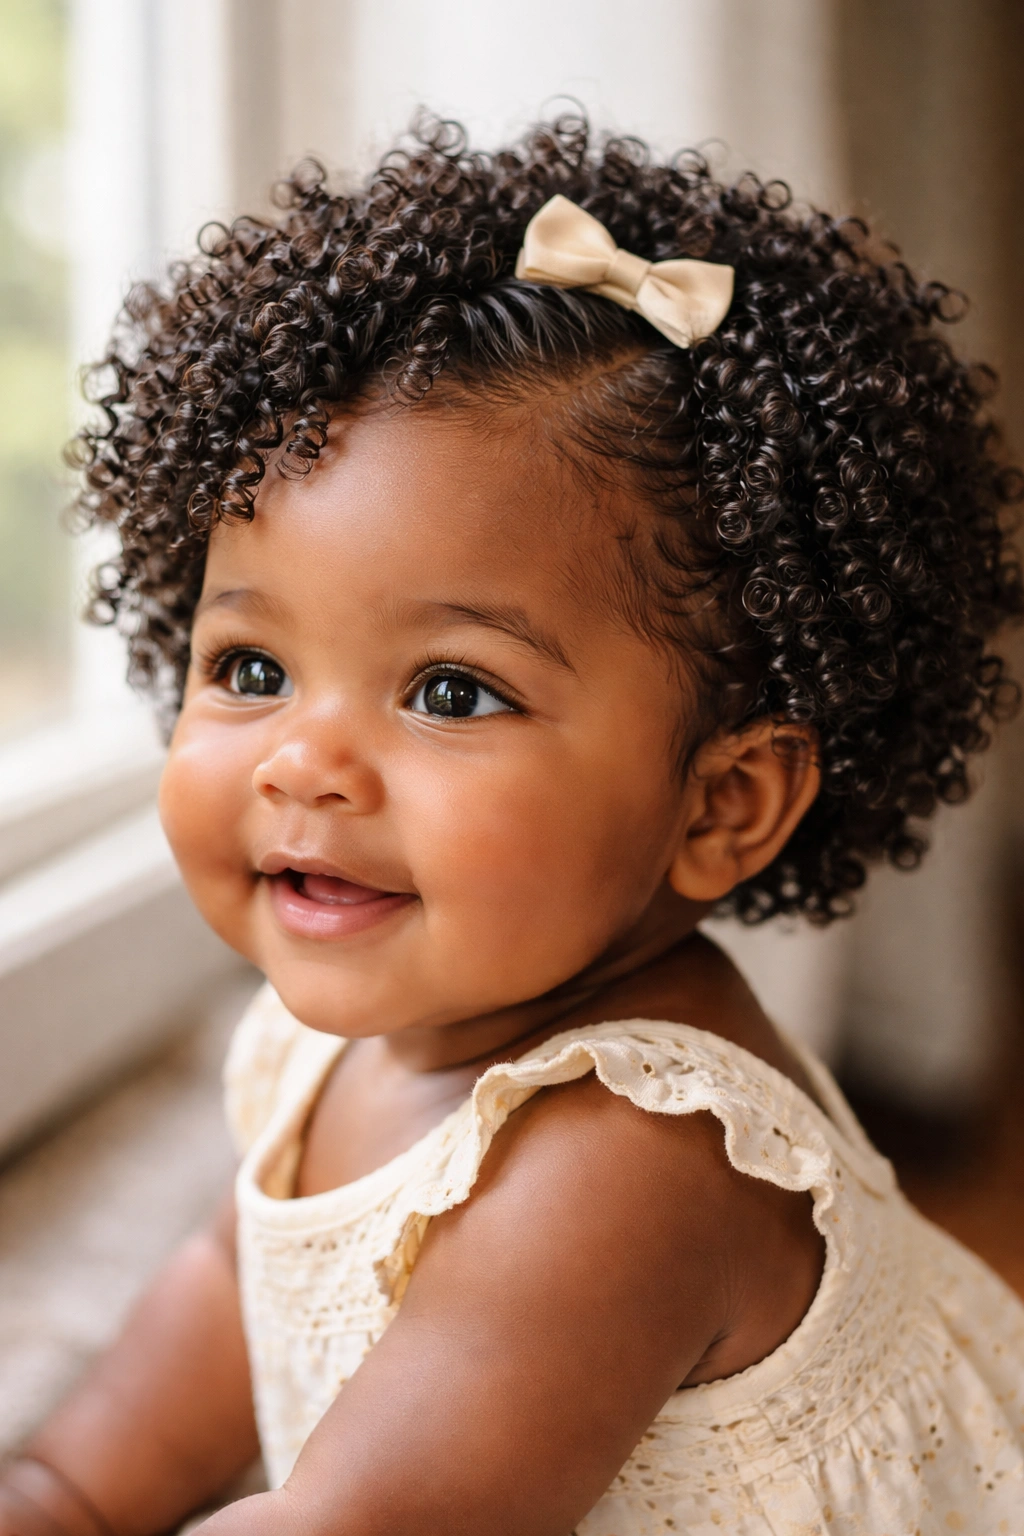
If your baby girl already has gorgeous natural coils or curls, sometimes the best style is letting them shine without doing much at all. The trick is “enhancing” her natural texture through proper moisturizing and shaping rather than creating something completely different. This approach celebrates what she’s born with while keeping everything healthy and manageable.
Bringing Out the Best in Natural Texture
Coils and curls look their absolute best when they’re properly moisturized and defined. After washing, apply a leave-in conditioner while the hair is still soaking wet, then add a styling cream or gel to every section. Use your fingers (or a wide-tooth comb) to gently coax each curl or coil into its best shape. Some parents find that plopping the hair (wrapping it in a microfiber towel or t-shirt) for 10-15 minutes helps the curls set while they dry.
Styling the Natural Curl Pattern
Once the hair is dry, you can add small clips or claw clips on the sides to frame the face, or leave it completely loose. Some baby girls look adorable with a small clip at the crown gathering just the front section, letting the curls flow behind. Others rock a full head of loose curls. The point is: you’re not restricting or changing the curl pattern; you’re simply framing it and keeping it neat.
This is actually one of the lowest-maintenance protective styles because you’re not braiding, pulling, or manipulating the hair excessively. You’re just keeping it moisturized and styled gently. It works beautifully for busy days and for parents who want their baby’s natural hair to be the statement.
4. Space Buns
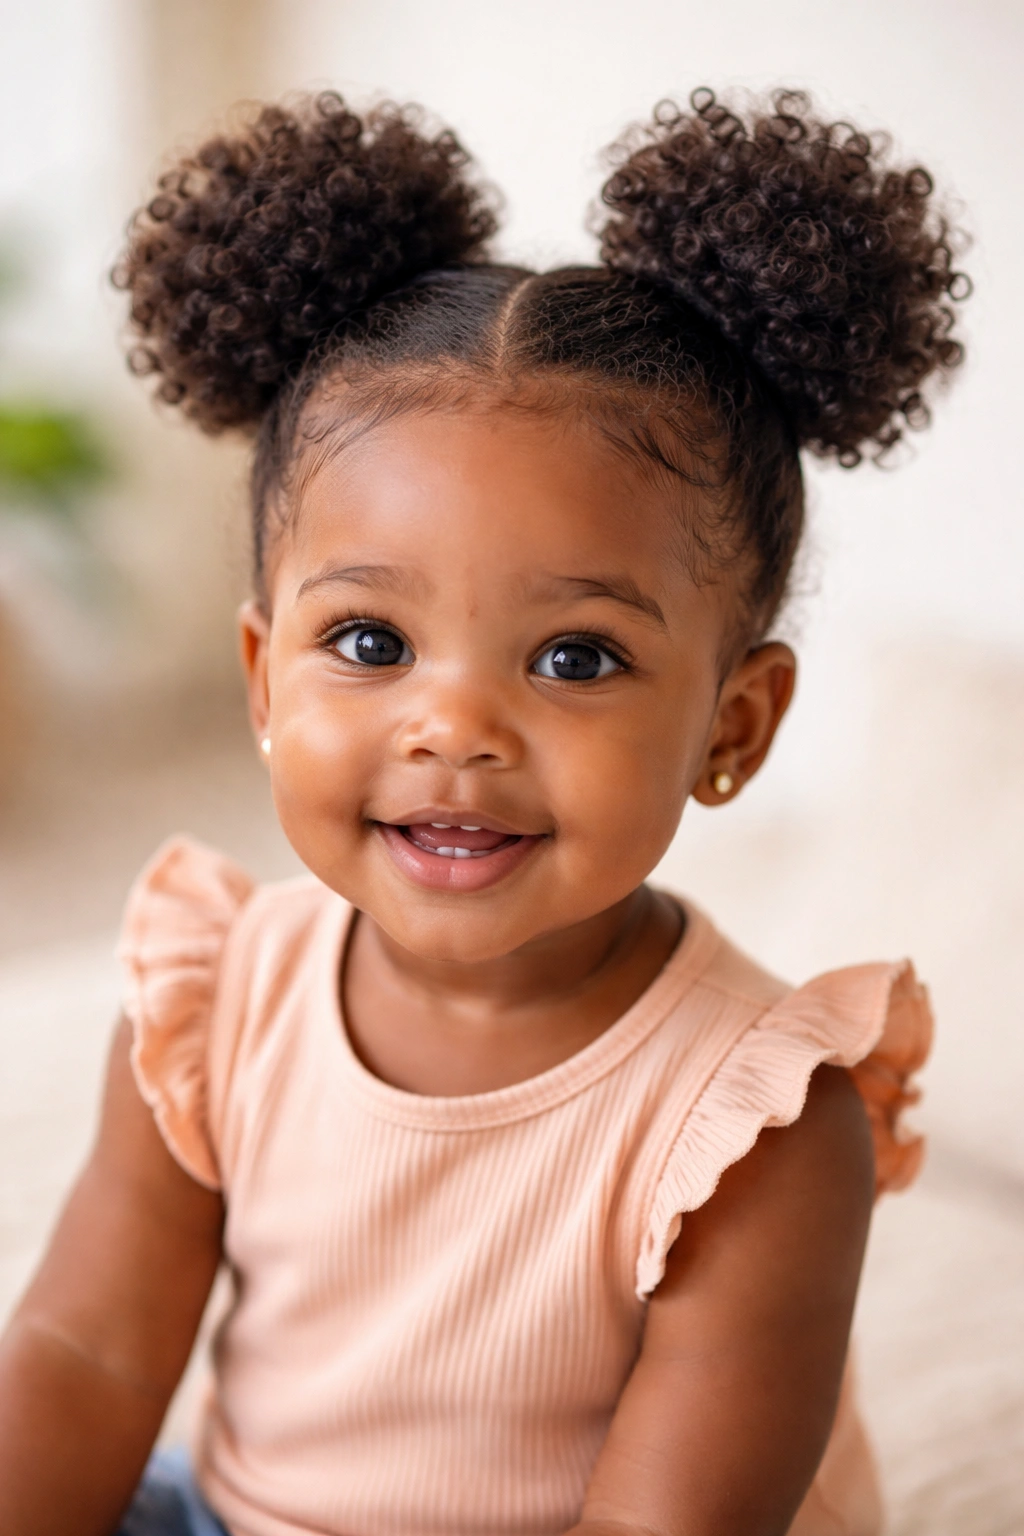
Space buns sit right at that perfect intersection of cute and practical. Two buns positioned high on top of the head give major personality while being genuinely protective and easy to maintain. They work best on hair that’s at least a few inches long, and they’re forgiving enough that even if they’re slightly messy, they look intentionally styled that way.
Creating Twin Topknots
Start with clean, moisturized hair that’s still slightly damp. Create a center part, then divide the hair at the crown into two sections — left and right. Gather one section high at the top of the head and twist it (or braid it, if the hair is long enough) before wrapping it into a bun shape and securing with a soft elastic and a few bobby pins. Repeat on the other side. The higher you position them, the more “space buns” they look; lower positioning gives you more of a pigtail bun hybrid.
Styling Variations
For a sleeker version, create the part and buns, then smooth them slightly with a tiny bit of edge control cream. For a bouncier, more textured look, let them stay fluffy and let the natural texture show. Some parents add small bows, clips, or even tiny hair clips clipped around the base of each bun for extra cuteness. Metallic bows especially pop in photos.
Worth knowing: Space buns last 4-6 days and actually get cuter as they relax slightly and become a bit messier. They’re forgiving that way.
5. Twisted Styles
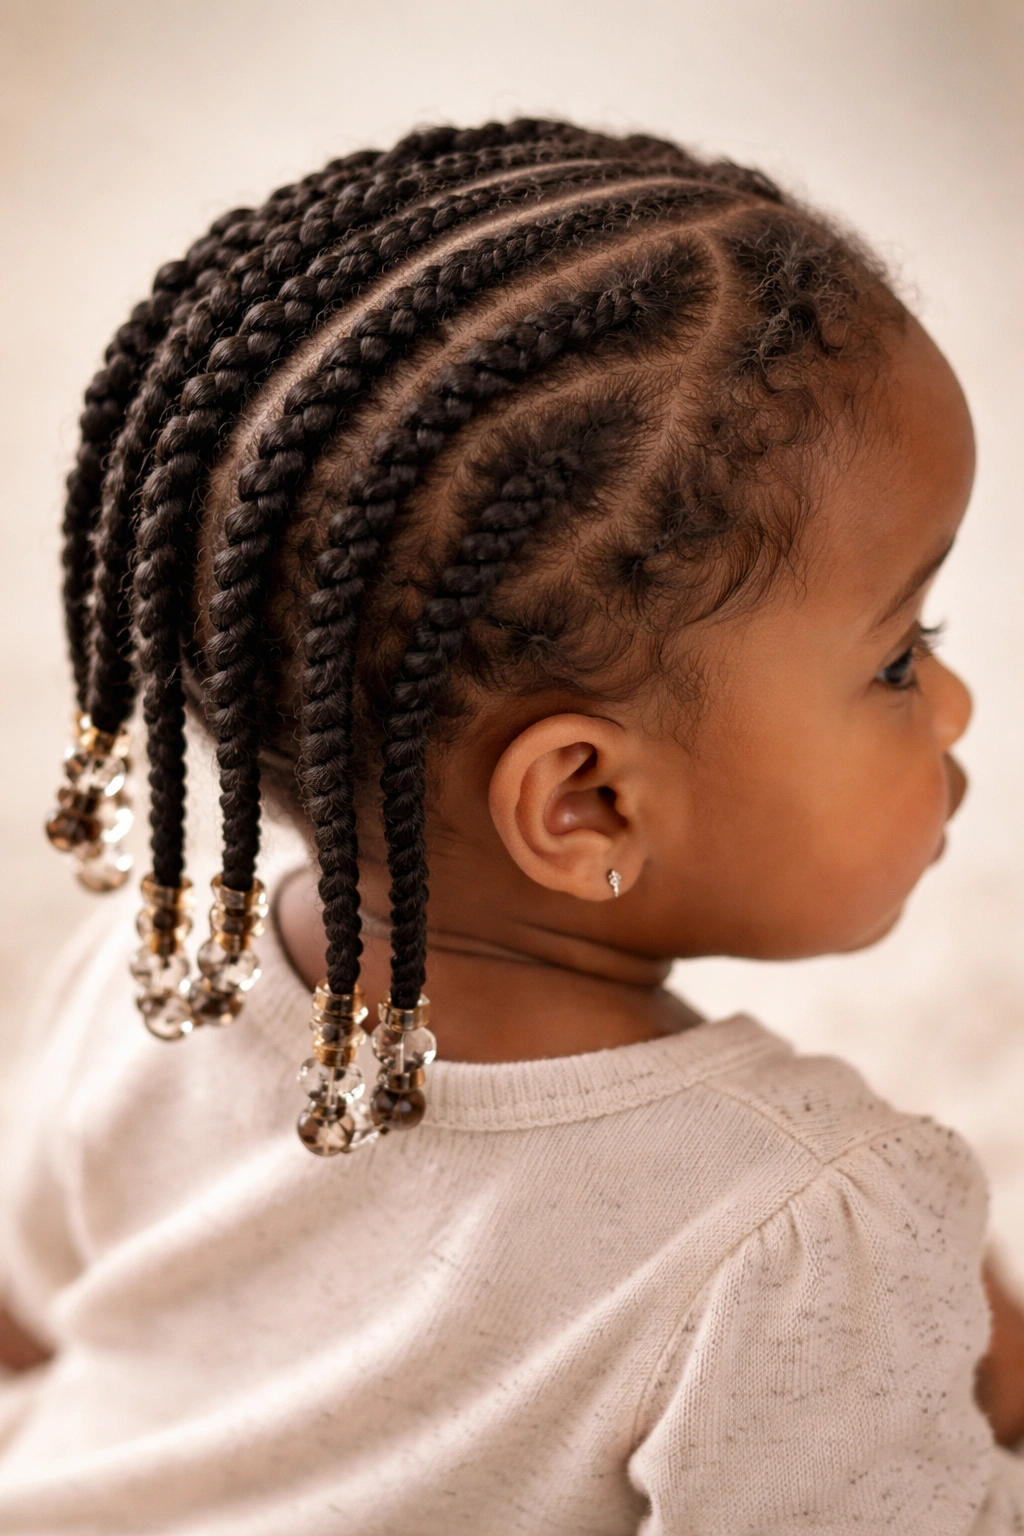
Twists are the unsung heroes of protective styling — they’re faster than braids, work on nearly every hair type, and create a sophisticated look that’s harder to achieve with other techniques. A simple two-strand twist involves sectioning the hair and twisting two strands around each other, which automatically creates a rope-like texture that’s visually gorgeous and genuinely protective.
The Magic of Two-Strand Twists
Two-strand twists are easier to execute than three-strand braids, especially when you’re working with a squirmy baby. Divide a section of hair into two equal strands, then twist one strand over the other repeatedly, working your way down to the ends. The movement is rhythmic and actually faster than braiding once you get the hang of it. Secure the ends with a small elastic or by wrapping the twisted hair into itself.
Styling Options With Twists
You can create multiple small twists around the entire head, leaving them loose and fluffy, or gather several twists together into puffs or ponytails. You can even twist hair and then wrap the twisted sections into buns. The versatility is remarkable. Twists also look beautiful left loose and flowing down the back or sides, giving your baby a more mature, sophisticated look than she’d get from other styles.
Two-strand twists typically hold for 7-10 days, making them one of the most durable protective styles. They also create a beautiful wave pattern when you take them down, which is a nice bonus.
6. Braided Pigtails
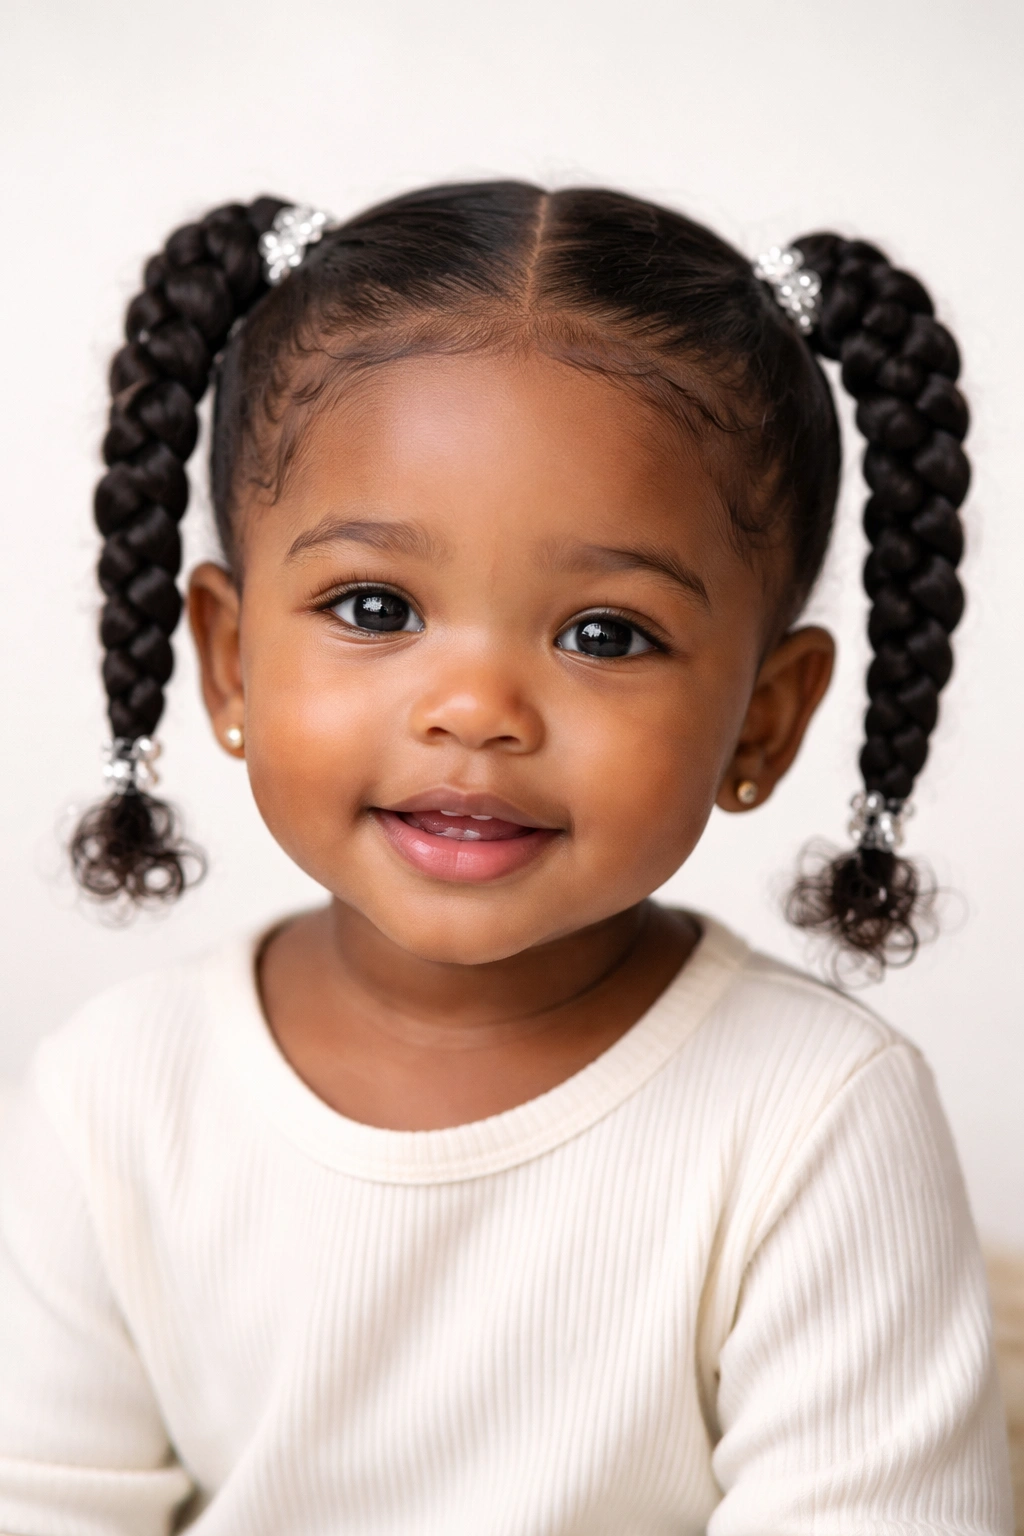
Pigtails are eternally cute, and when you braid them, you’ve got a style that’s both playful and protective. Braided pigtails work on every hair length and texture, and they’re practical enough for daily wear but special-occasion enough for photos. They’re also one of the first styles many parents successfully execute because braiding just two sections is less overwhelming than styling the entire head.
Building Twin Braids
Create a center part from front to back, dividing the hair into left and right sections. Take the right section and braid it — a simple three-strand braid works perfectly, or a French braid if you have enough length and want something more elaborate. Secure the end with a soft elastic. Repeat on the left side. The key is making sure each braid is braided snugly enough that it won’t unravel but loosely enough that it’s not pulling uncomfortably on the scalp.
Variations and Styling Ideas
For a sleeker look, braid tightly and smooth any flyaways with a tiny bit of edge control. For a softer, more textured look, gently pull and loosen the braids slightly once they’re complete — this creates a fuller, more romantic version. You can braid all the way down to the ends and leave the braids loose, or gather the ends into puffs. Some parents add ribbons threaded through the braids for extra charm.
Quick note: Braided pigtails last 5-7 days. Check them each morning and gently re-tighten or secure any braids that have loosened from movement and sleep.
7. Protective Twists Into Buns
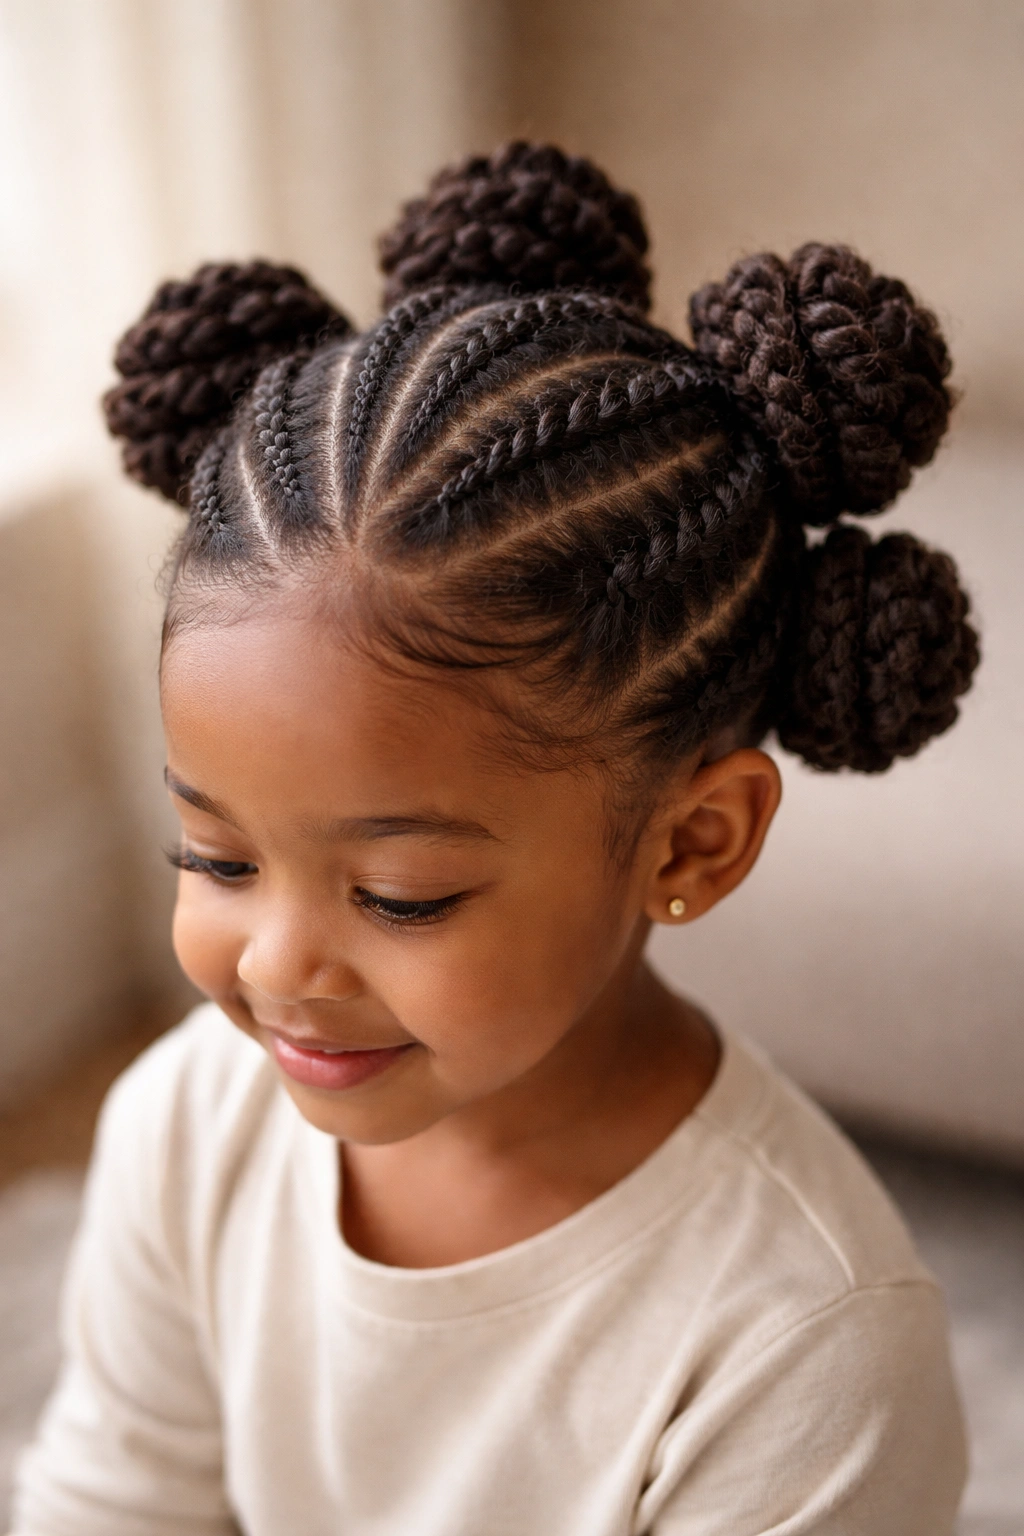
This style combines the protective benefits of twists with the cuteness of buns, creating something that looks intricate but is actually quite doable once you understand the basic concept. You create twists throughout the head, then gather them and wrap them into buns. It’s protective, long-lasting, and genuinely stunning.
The Two-Part Process
Start by creating multiple two-strand twists throughout the head. You can do as many as you want — three to five large twists work well, or you can do smaller twists for a fuller look. Once all the twists are complete, gather them together at the back or crown of the head and twist or wrap them into a bun. Secure with bobby pins and a soft elastic. The result is a style that looks complicated but actually just builds on techniques you’ve already mastered.
Making It Your Own
This style works beautifully with all the hair gathered into one large bun at the back, or with the head split into two sections, each with its own bun. You can create three or four individual buns positioned around the head. The flexibility is one of the biggest perks — you’re adapting the core technique to what works for your baby’s hair and your styling preference.
These last 7-10 days and are one of the most protective options because you’re not creating new braids constantly; you’re just maintaining the initial twists and buns.
8. Natural Puffs With Edges Styled
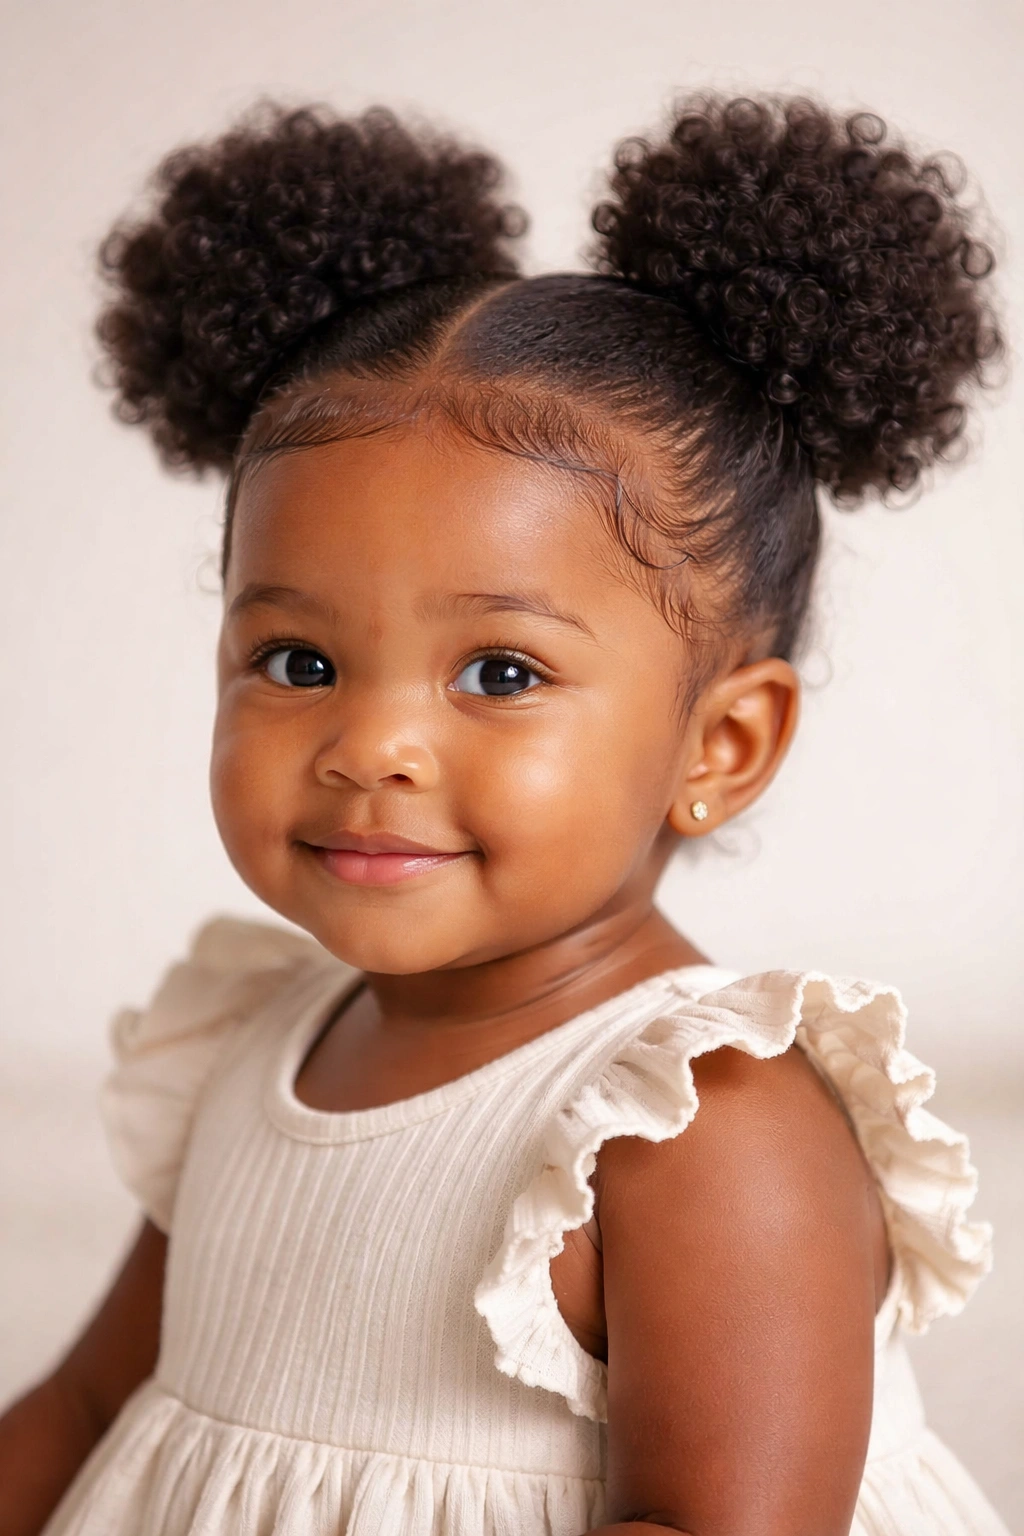
Sometimes the simplest styles are the most adorable, and this one proves that point. Rather than gathering the entire head into structured puffs, you’re letting the natural curl pattern shine while simply styling the edges and perhaps creating small accent sections. It’s low-manipulation, quick, and celebrates the natural beauty of textured hair.
Creating the Look
Wash and condition the hair, then moisturize thoroughly while it’s still wet. Apply a leave-in conditioner and a light styling cream to every section. Separate the hair gently with your fingers, coaxing each natural curl or coil into its best shape. Once dry, you’ve got a full head of gorgeous natural texture. Then, focus on the edges: apply a bit of edge control cream or gel to the baby hairs along the hairline, smoothing them neatly against the head. You can create a swoosh, a slicked-back look, or gently wave the edges.
Minimal Maintenance, Maximum Beauty
This is where natural hair styling gets simple. You’re not spending an hour in the chair. You’re just making sure everything is moisturized, defined, and framed nicely. Small clips, headbands, or bows can add extra personality without requiring any actual hair manipulation. This style teaches your baby to love her natural texture early, which is genuinely beautiful.
Change this style every 3-5 days to prevent matting and to refresh the moisturizing products. When you do refresh, you’re just re-moisturizing and re-defining, not creating a brand-new style.
Keeping Styles Fresh and Long-Lasting
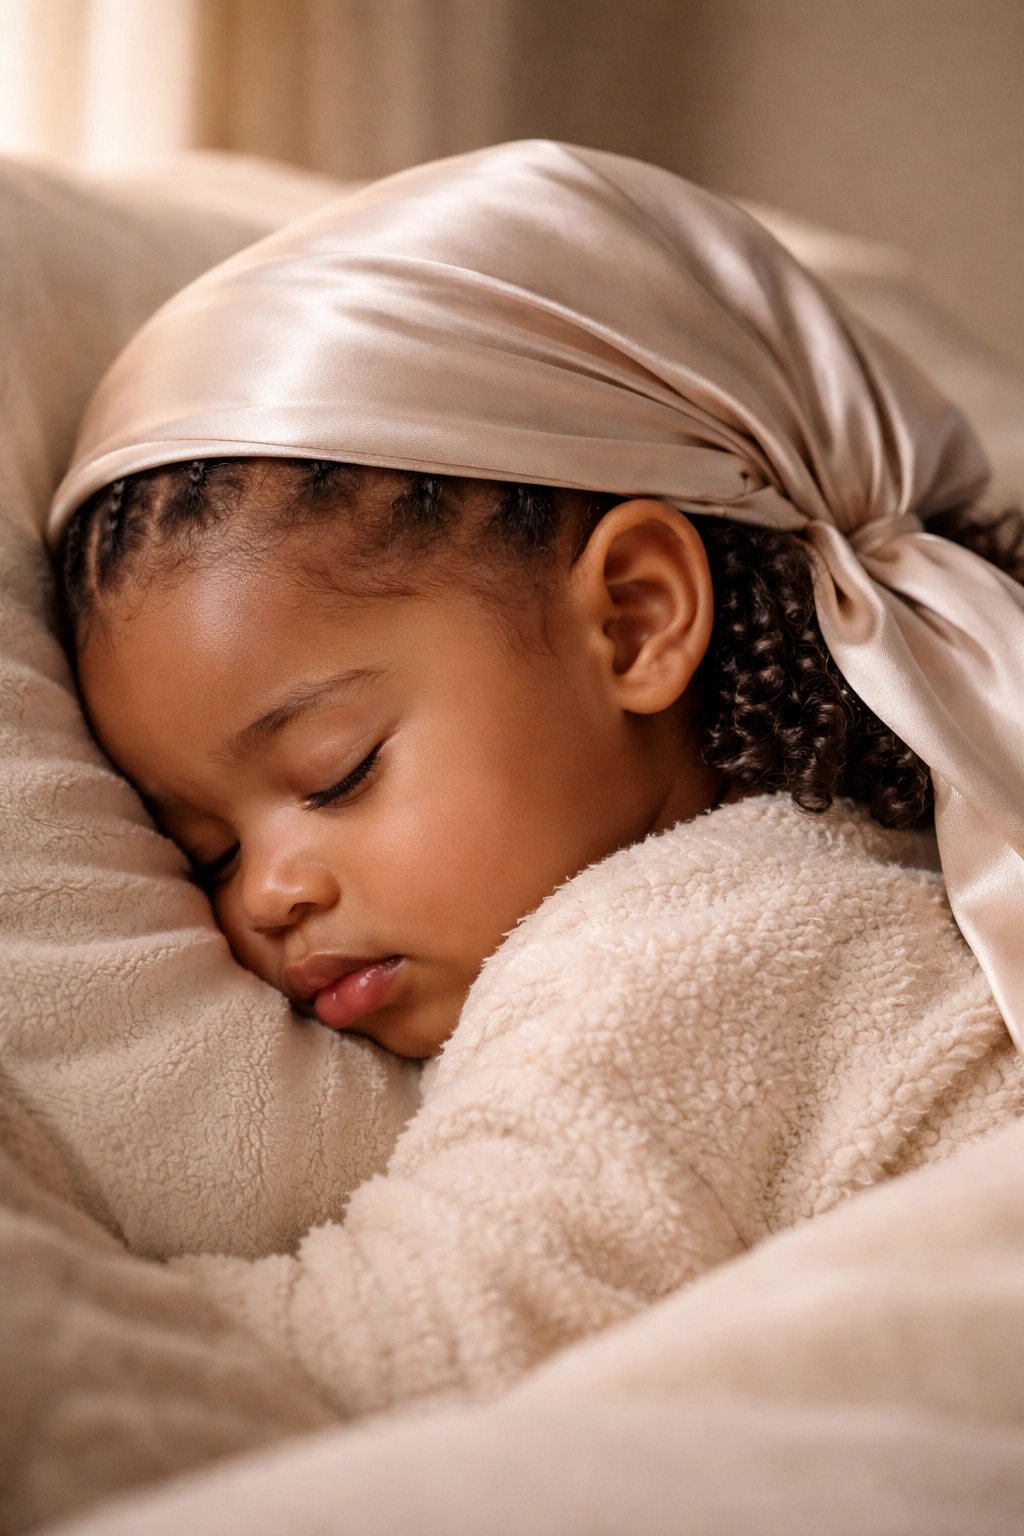
The difference between a style that looks great for two days and one that looks great for a week comes down to maintenance. Every single night, you want to protect the style by using a silk or satin scarf, bonnet, or pillowcase. Cotton pillowcases absorb moisture from the hair and create friction that breaks hair and disrupts styles. Silk or satin is gentle and protective — it’s one of the smallest changes that makes the biggest difference.
Every morning, do a quick refresh. Spray the style lightly with water, apply a tiny bit of leave-in conditioner, and smooth any sections that have shifted or frizz. Re-tighten any elastics that have loosened from sleep and movement. This 2-3 minute investment every morning keeps styles looking intentional and fresh.
Re-braid or re-twist any sections that are showing wear. If you notice a braid starting to unravel or a twist loosening, it’s faster and easier to fix it immediately than to wait until the whole style falls apart. This prevents frustration and keeps your baby’s hair looking polished.
Moisture and Care Between Styles
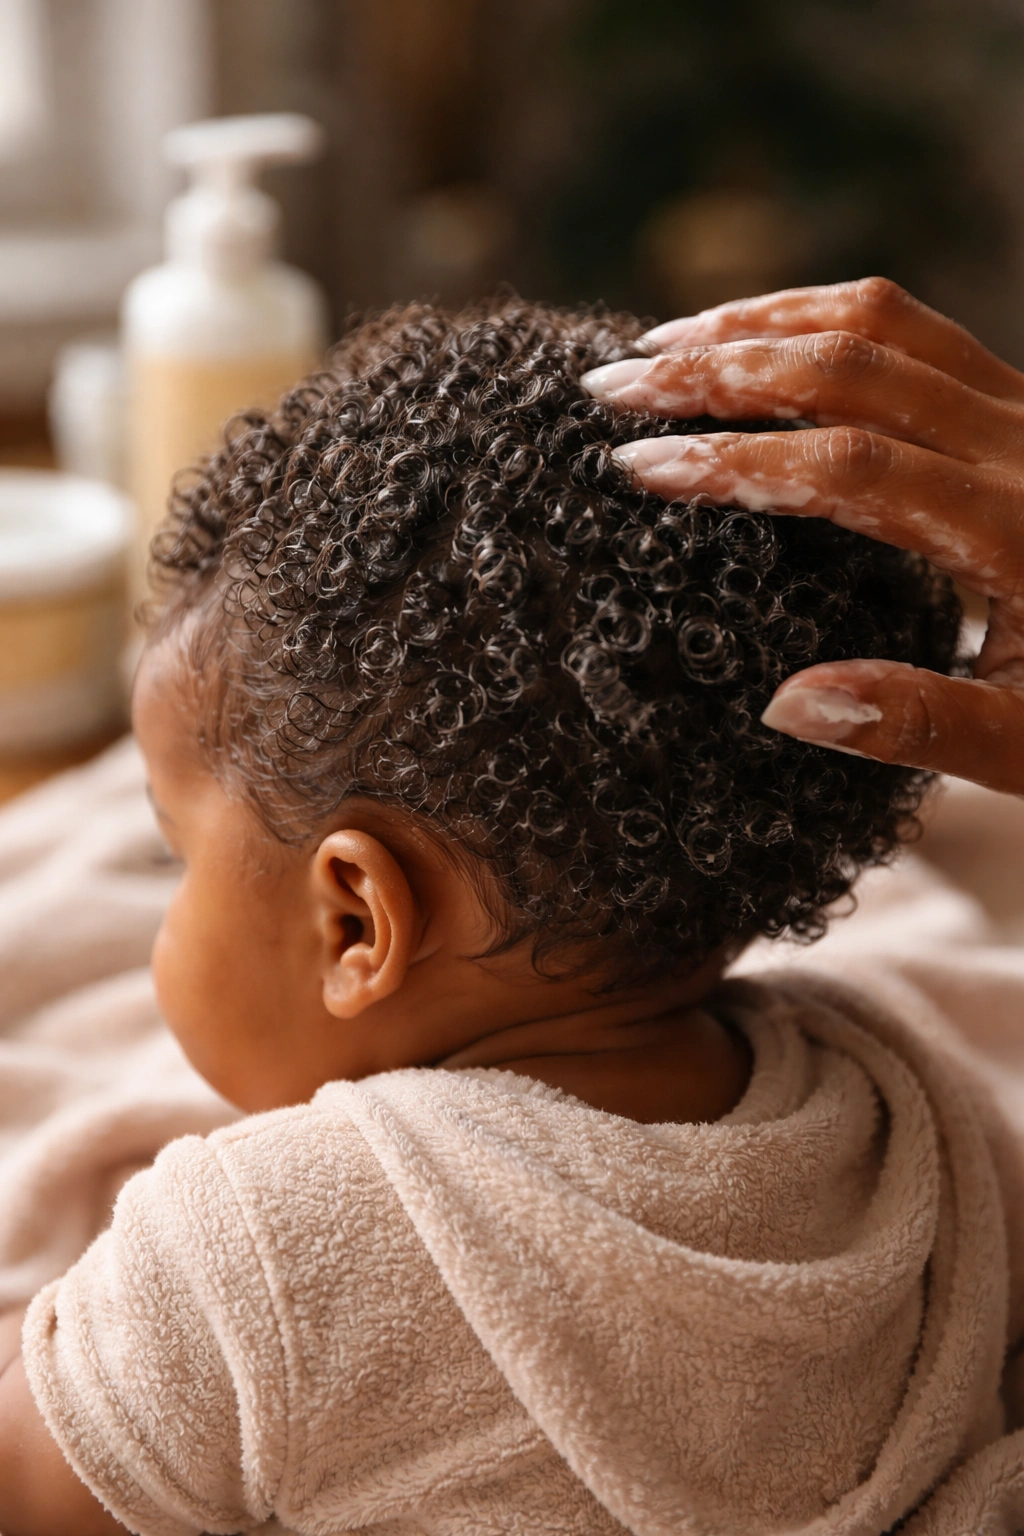
Your baby’s hair is only as healthy as the care you give it between styled looks. This means understanding her specific hair needs and developing a routine that keeps everything moisturized, strong, and happy. Most natural hair needs deep conditioning at least once weekly, and many babies benefit from more frequent moisturizing.
A simple routine: wash 1-2 times weekly with a gentle, sulfate-free shampoo; condition deeply every time you wash; apply leave-in conditioner; seal moisture with a light oil or butter; style protectively. On days you’re not washing, do a moisturizing refresh with a spray bottle of water and leave-in conditioner. This keeps hair from drying out between styling sessions and makes the hair more manageable when you do style it.
Pay attention to how your baby’s specific hair responds. Some hair thrives on daily light moisturizing; other hair gets heavy and limp if you over-moisturize. Some hair loves oils; other hair does better with water-based products. You’re learning your baby’s hair personality, and that knowledge becomes invaluable as she grows.
The Confidence Factor
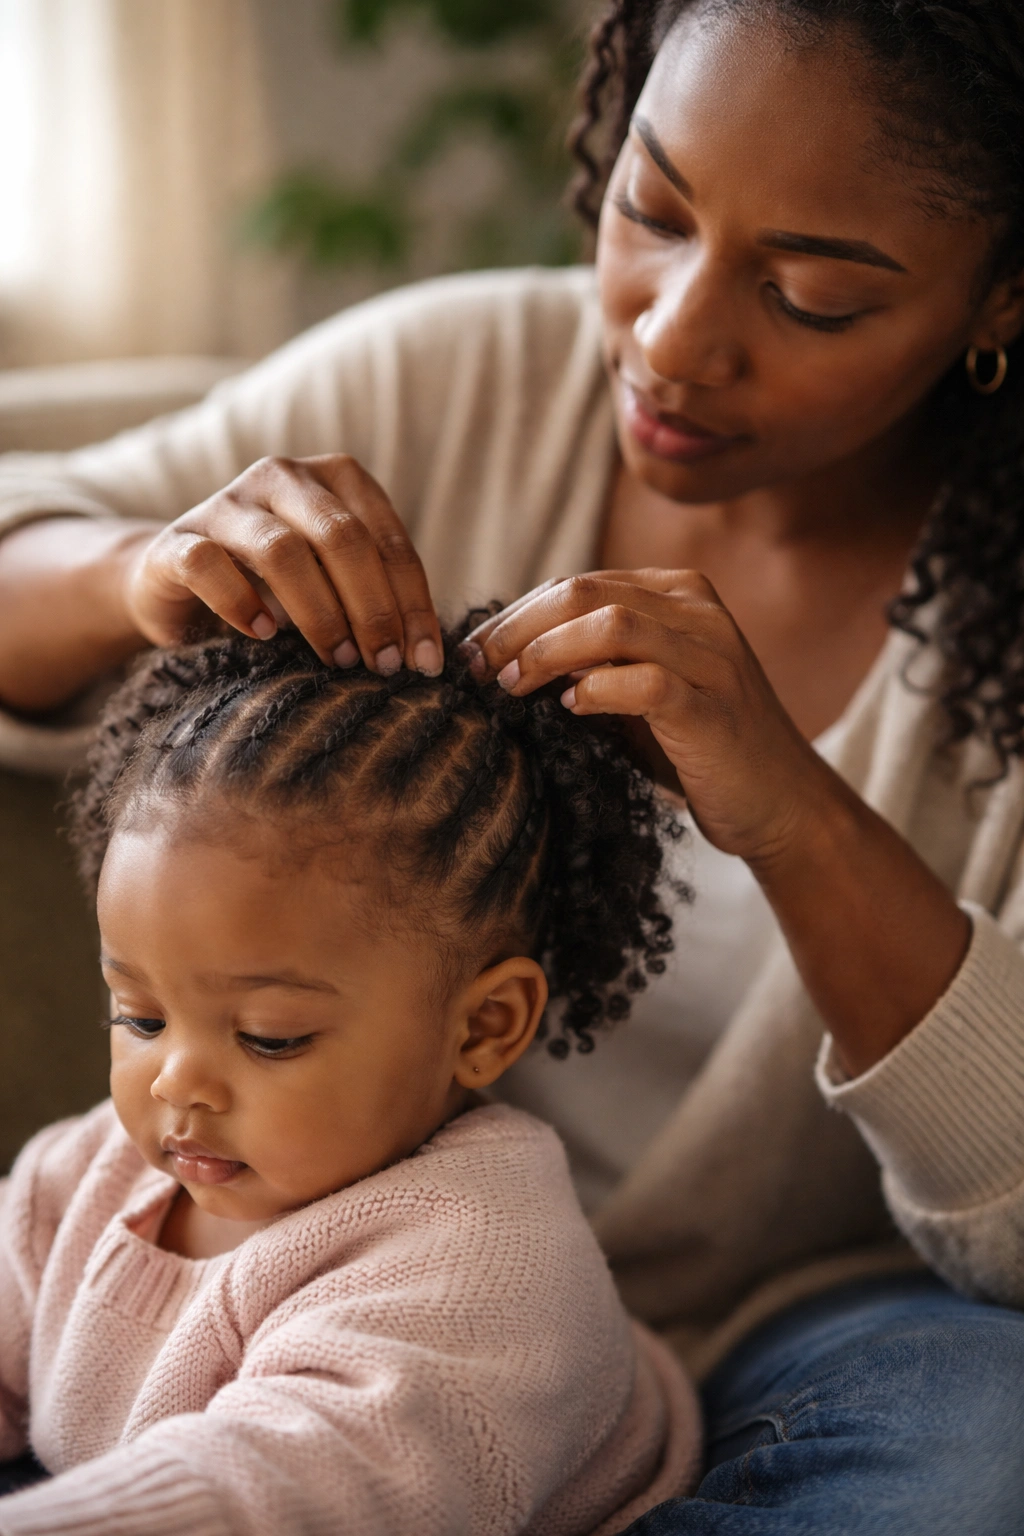
There’s something beautiful about learning to style your baby’s natural hair confidently. The first time you create a braid, it might feel shaky and asymmetrical. The fifth time, you’re faster and smoother. By the fiftieth time, you’re doing it while having a conversation without really thinking about it. That’s not just about creating cute styles; that’s about connecting with your baby, celebrating her natural beauty, and building skills that benefit her entire life.
Your baby girl will grow up seeing her natural hair as beautiful because that’s what you’re modeling. You’re taking time to care for it, style it thoughtfully, and show her that her natural texture is worth nurturing. She’ll internalize that message in ways that matter way beyond hairstyles.
Final Thoughts
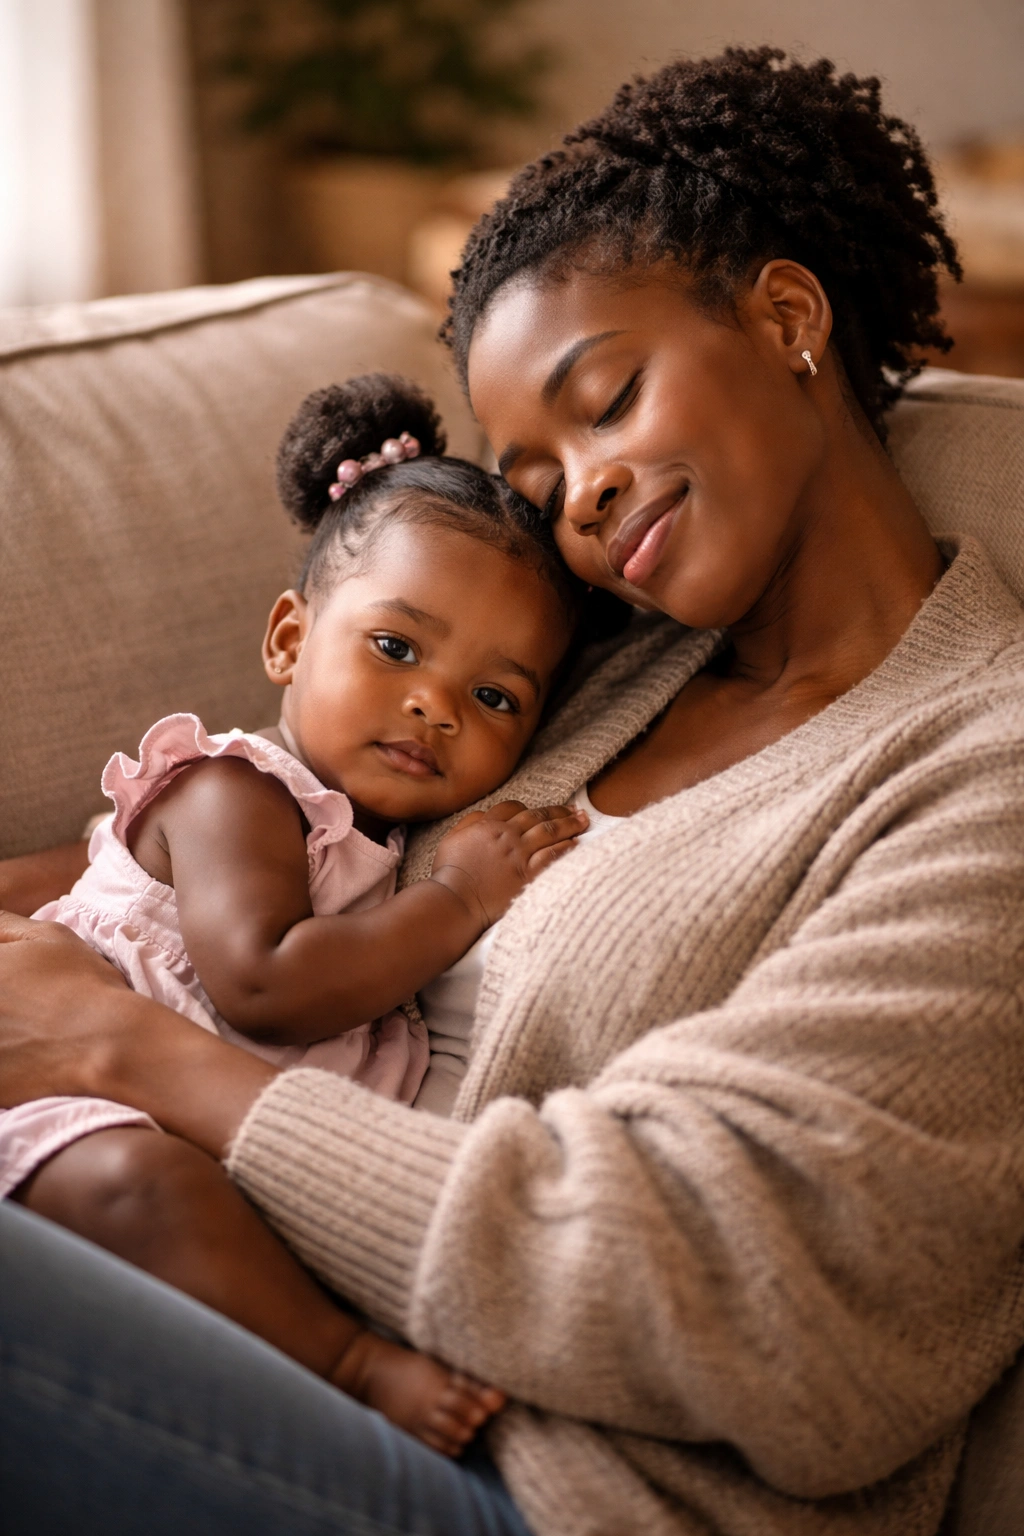
Natural hair styling for baby girls doesn’t have to be complicated or time-consuming. It’s about understanding your baby’s specific hair needs, having a few trusty techniques in your back pocket, and being willing to practice until they become second nature. These eight styles give you options for every situation — quick everyday looks, protective styles that last days, and special-occasion cuts that make everyone stop and admire.
Start with whichever style feels most manageable to you. Maybe that’s puffs because they’re fast, or braided pigtails because you feel confident braiding two sections. Build from there. Each new style you learn becomes easier with practice, and soon you’ll be fluidly moving between styles based on your schedule, your baby’s preferences, and what her hair needs at that moment. That confidence and flexibility is what makes natural hair styling genuinely enjoyable rather than stressful.
