



Straight hair and messy buns have a complicated relationship. For years, the stereotype stuck around that messy buns only look good on wavy or curly hair—that straight hair is too slippery and structured to pull off that deliberately undone aesthetic. But here’s the reality: straight hair is actually ideal for certain messy bun styles because it holds its shape, reflects light beautifully, and creates clean lines that make even intentionally tousled looks feel polished rather than unkempt.
The trick isn’t fighting your straight hair’s natural properties; it’s working with them. While curly-haired friends get volume automatically, straight hair can look refined and intentional in ways that curls sometimes can’t. A messy bun in straight hair looks like you’re effortlessly put together, not like you slept through your alarm. You can create architectural interest, precise twists, and elegant texture that photographs well and holds up through an entire day without unraveling.
Whether you’re styling for work, a casual weekend, or a date, there’s a messy bun style in this guide that’ll work with your straight hair. Some of these techniques rely on subtle texture-building tricks, while others lean into the sleekness and structure that straight hair naturally provides. You’ll discover that the “messy” aesthetic isn’t about hair falling apart—it’s about strategic placement, intentional undone sections, and a few styling tricks that make straight hair look effortlessly chic.
1. Classic Tousled Messy Bun
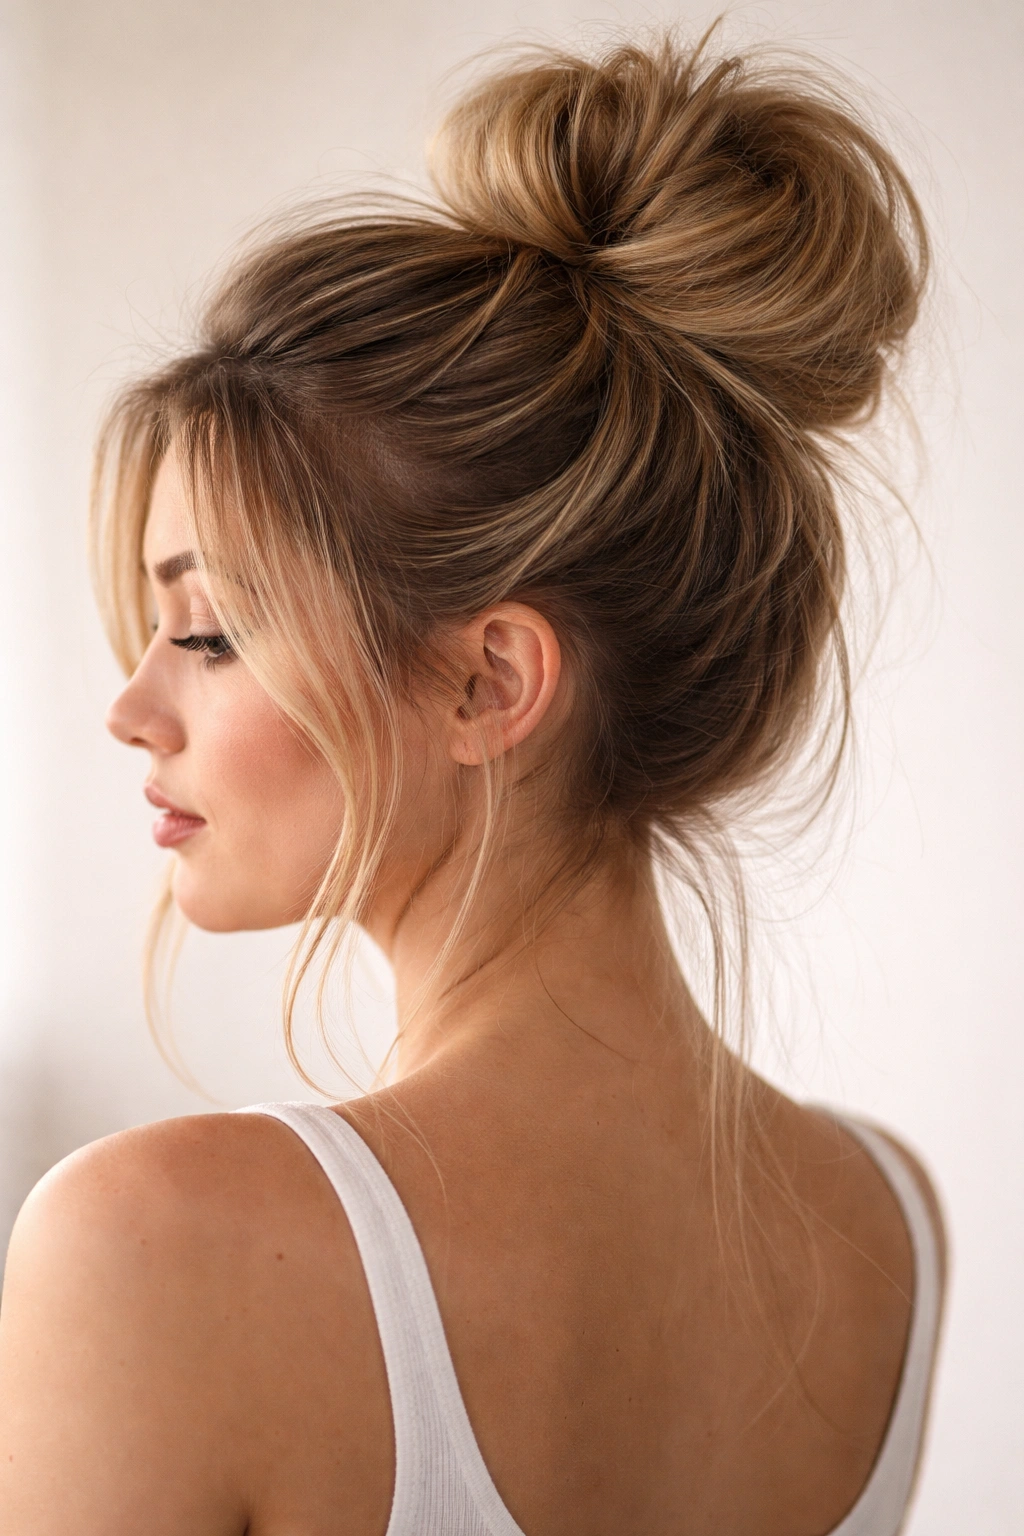
The classic tousled messy bun is the one you’ve probably seen everywhere, and for good reason—it’s forgiving, flattering, and works on straight hair when you build texture first. This style creates height at the crown and loose pieces around the face, giving you that “I just threw my hair up” vibe that actually requires a bit of planning with straight hair.
Why This Style Works for Straight Hair
Straight hair gives you a clean canvas for building texture deliberately. Instead of relying on natural wave, you can create intentional sections and twists that catch light and add dimension. The loose pieces frame your face more cleanly than they would in wavy hair, and the overall effect feels more controlled and elegant. This style works particularly well if your hair has a bit of length—shoulder-length or longer is ideal, though you can adapt it for shorter straight hair by using smaller sections.
How to Perfect This Version
Start with slightly damp or dry hair that has some grip—if your straight hair is too slippery, apply a dry texture spray or sea salt spray to your roots and mid-lengths about a minute before styling. Flip your head upside down and backcomb the crown section gently to create foundation height, then flip back up. Create a high ponytail at the crown (not too tight), and before securing, twist or braid small sections within the ponytail. Wrap the ponytail loosely around the base and secure with bobby pins, leaving a few face-framing pieces out intentionally. The key with straight hair is that your loose pieces should look deliberately placed, not accidental.
Pro tip: Straighten or curl those face-framing pieces with a wand 10 minutes before styling—defined waves around your face make the whole look feel intentionally styled rather than messy.
2. Twisted Crown Messy Bun
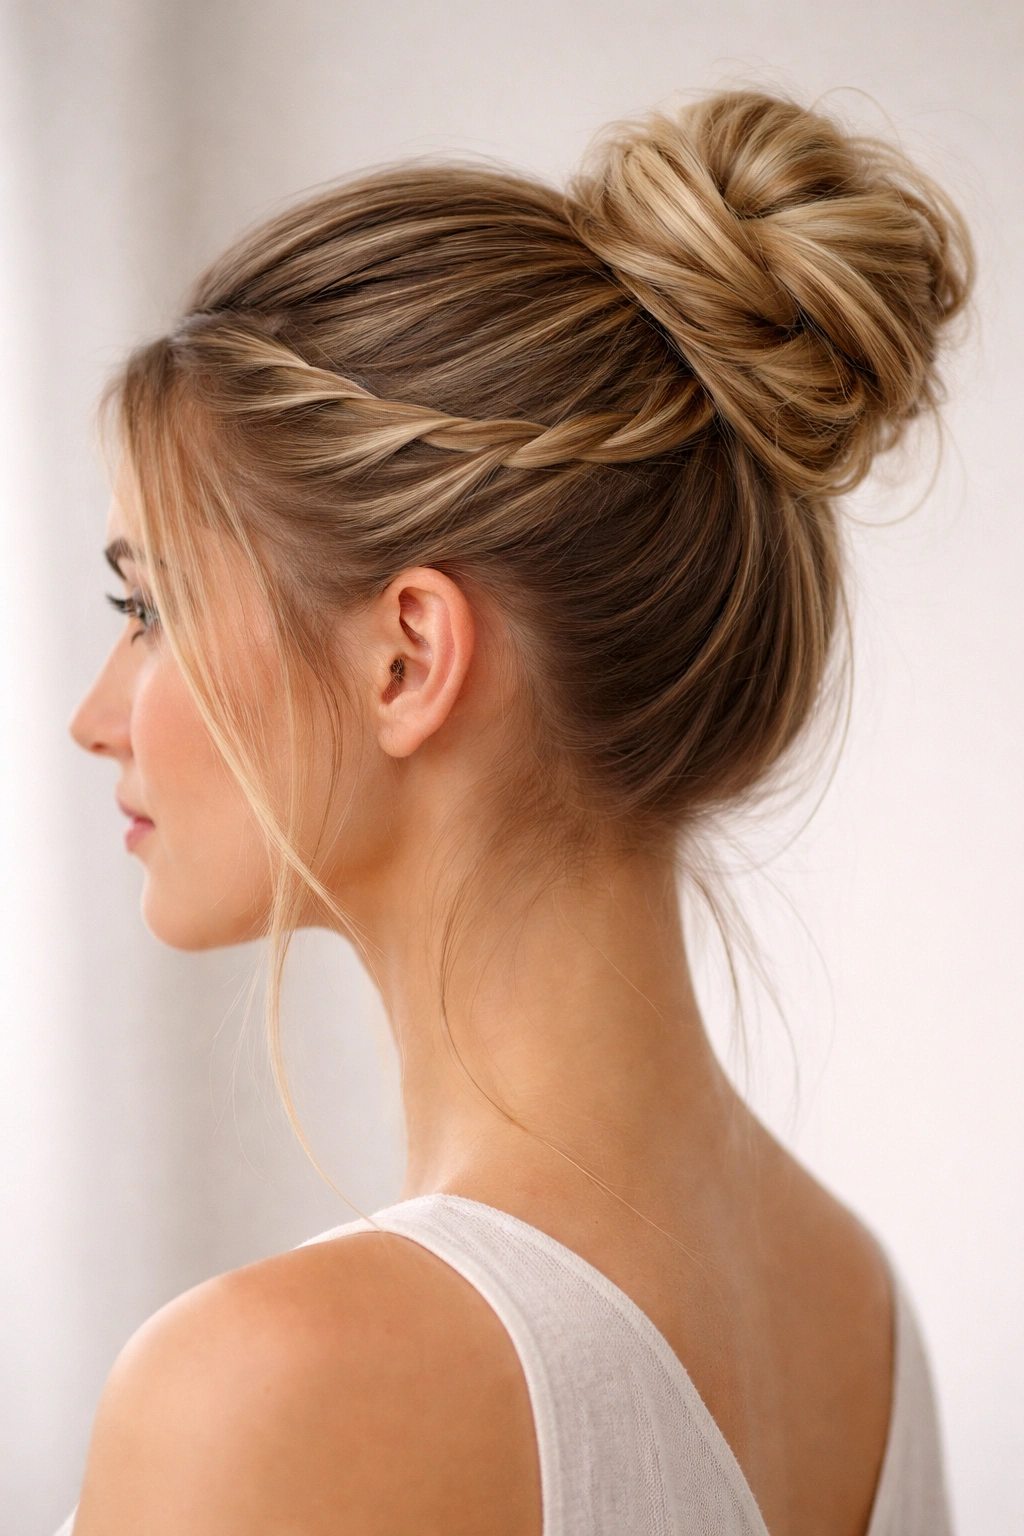
The twisted crown style is sophisticated and romantic, and straight hair absolutely nails this look because the twists remain crisp and visible rather than disappearing into waves. This style feels elevated enough for events but casual enough for everyday wear, and it creates a flattering crown effect that adds dimension to your face.
What Makes This Different From Other Bun Styles
This technique involves creating two twisted sections around the crown that wrap into a central bun, almost like a halo. With straight hair, each twist stays distinct and defined—you can see the individual spirals of hair wrapped around each other, which creates visual interest that would get lost in wavy textures. The effect is more architectural and intentional, which straight hair naturally conveys beautifully.
The Step-by-Step Process
Take a vertical section of hair from one temple area and twist it loosely toward the back of your head, securing the twist as you go with bobby pins hidden beneath each twist. Do the same on the opposite side, working toward the back and creating a crown effect. Gather the remaining hair into a ponytail at the base of your twists and secure it loosely. Take the ponytail and twist it gently around itself, creating a loose coil that you pin into the center where your two crown twists meet. Leave a small section out near the twist (not your face) to add texture.
Worth knowing: Finger-combing your twists slightly after pinning them (rather than leaving them perfectly smooth) makes them read as intentionally messy, not just tightly twisted.
3. Double-Twist Wrap Messy Bun
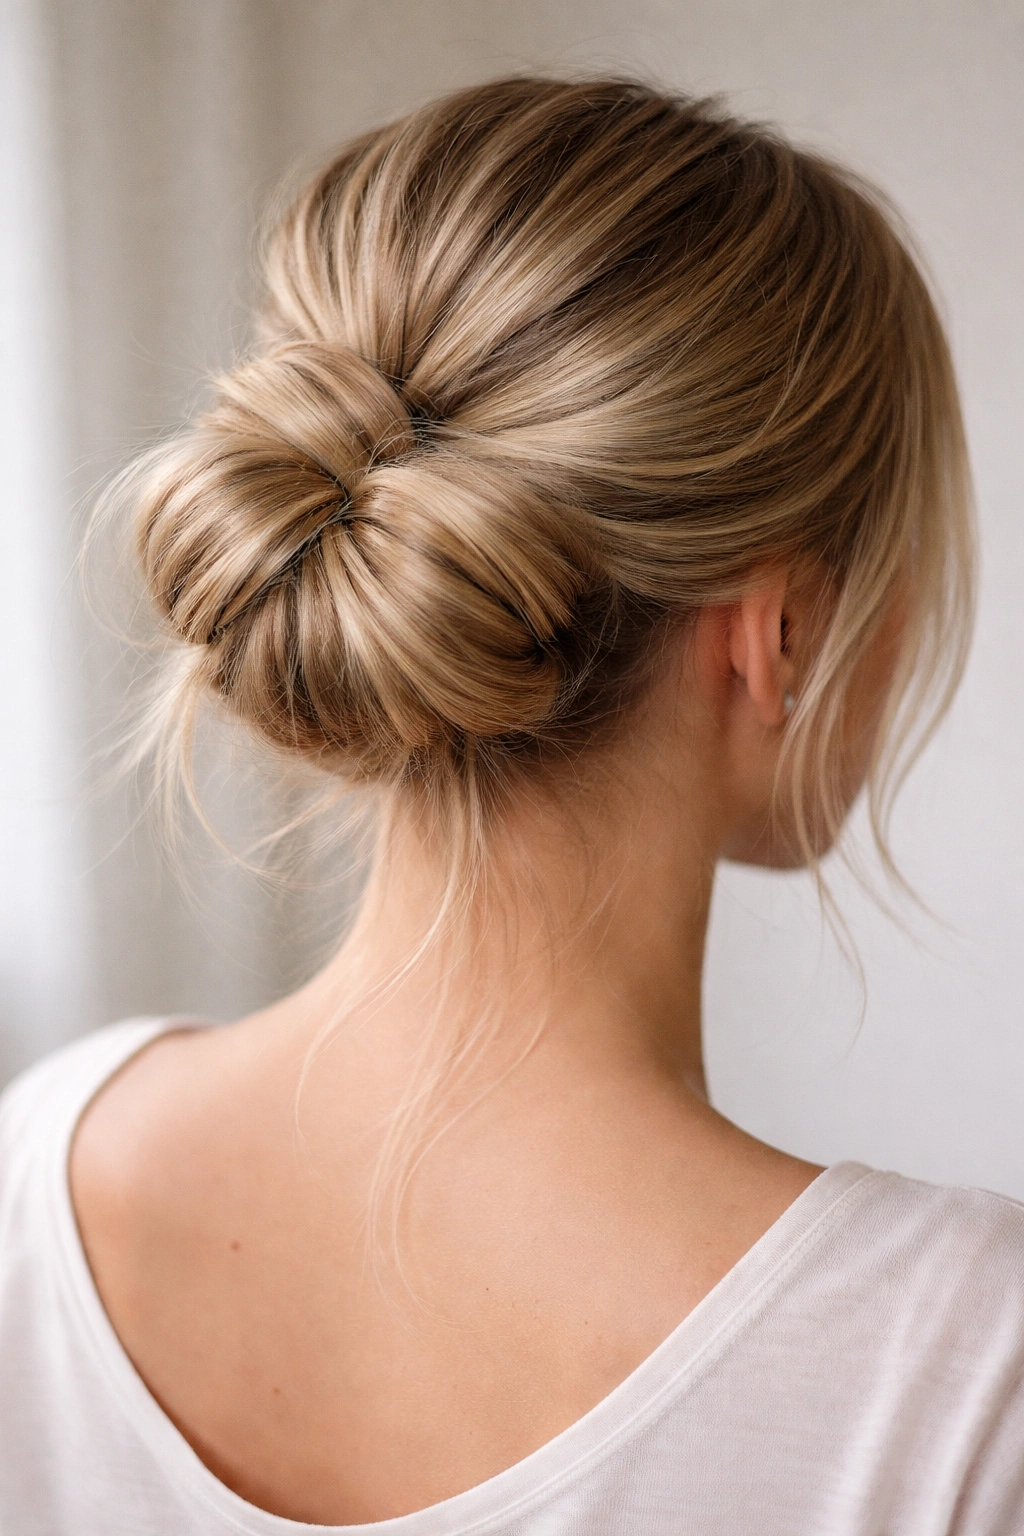
This style uses two thick twisted sections that wrap around a central ponytail, creating a bun that looks more complicated than it actually is. It’s one of the best choices if your straight hair tends to slip out of buns easily, because the wrapping technique keeps everything secure while still looking deliberately undone.
Why Straight Hair Excels Here
Because your hair doesn’t have natural curl to grip and hold, you need a technique that actually uses the structure of the bun itself to keep everything in place. Two thick twists wrapping around a ponytail create more contact points and friction, meaning the bun stays put through an entire day. Additionally, the twists are completely visible against straight hair, so they become a design feature rather than an afterthought.
How to Execute It Flawlessly
Create a high or mid-height ponytail depending on the look you want. Divide the ponytail into two equal sections. Twist one section tightly (this is intentional—you want defined twists that won’t unravel) and wrap it around the base of the ponytail, securing with bobby pins. Do the same with the second section, wrapping it around in the opposite direction so they create a spiral or crisscross pattern. Leave the very ends slightly loose and textured rather than tucking them completely away—this is what makes it feel “messy” instead of formal.
Quick technique note: Use approximately 4-5 bobby pins per twist section, placed strategically to secure the twist to both the ponytail base and your scalp so nothing shifts during the day.
4. Low Ponytail Messy Bun
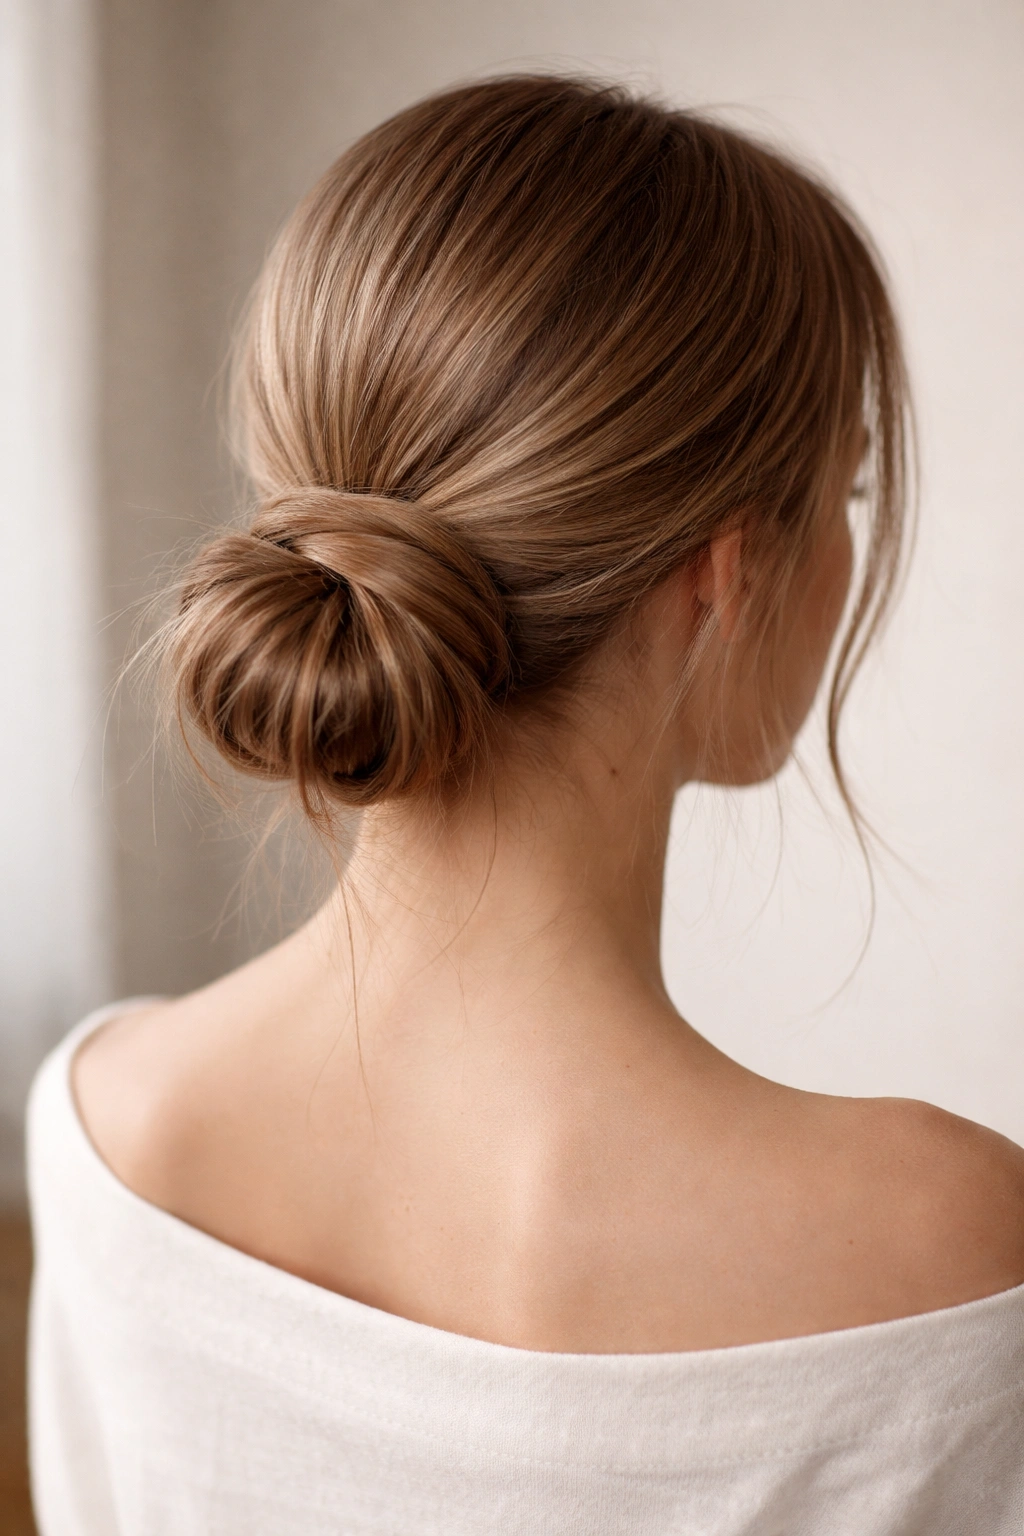
The low messy bun is understated elegance—less “I woke up like this” and more “I’ve got my life together but I’m relaxed about it.” This version hits right at the nape of your neck and feels effortless while remaining polished, which is particularly nice if you work in an environment where you want to look professional but not overdone.
Why It Works So Well on Straight Hair
A low bun sits close to your neck and relies more on your face and overall silhouette to create visual interest rather than on the bun itself being dramatically textured. Straight hair has a sleek, refined quality at the nape of the neck that reads as intentional and neat, even when the bun itself is deliberately undone. It’s the perfect middle ground between formal and casual.
Building and Styling This Look
Create a low ponytail at the nape of your neck, making sure it’s not positioned so low that it creates an unflattering pull on your face. Loosely twist the ponytail or create a soft braid (either full braid or a loose three-strand braid works beautifully). Wrap that twist or braid around the ponytail base and secure with bobby pins, leaving some hair ends slightly loose to soften the overall effect. Take a few thin pieces from around your face and curl them loosely with a curling iron—these wisps frame your face and add softness to what would otherwise be a very sleek look.
Pro tip: This bun looks best when it’s not too bulbous; keep it relatively flat and compact against your neck rather than puffed up and voluminous.
5. Sleek-to-Messy Conversion Bun
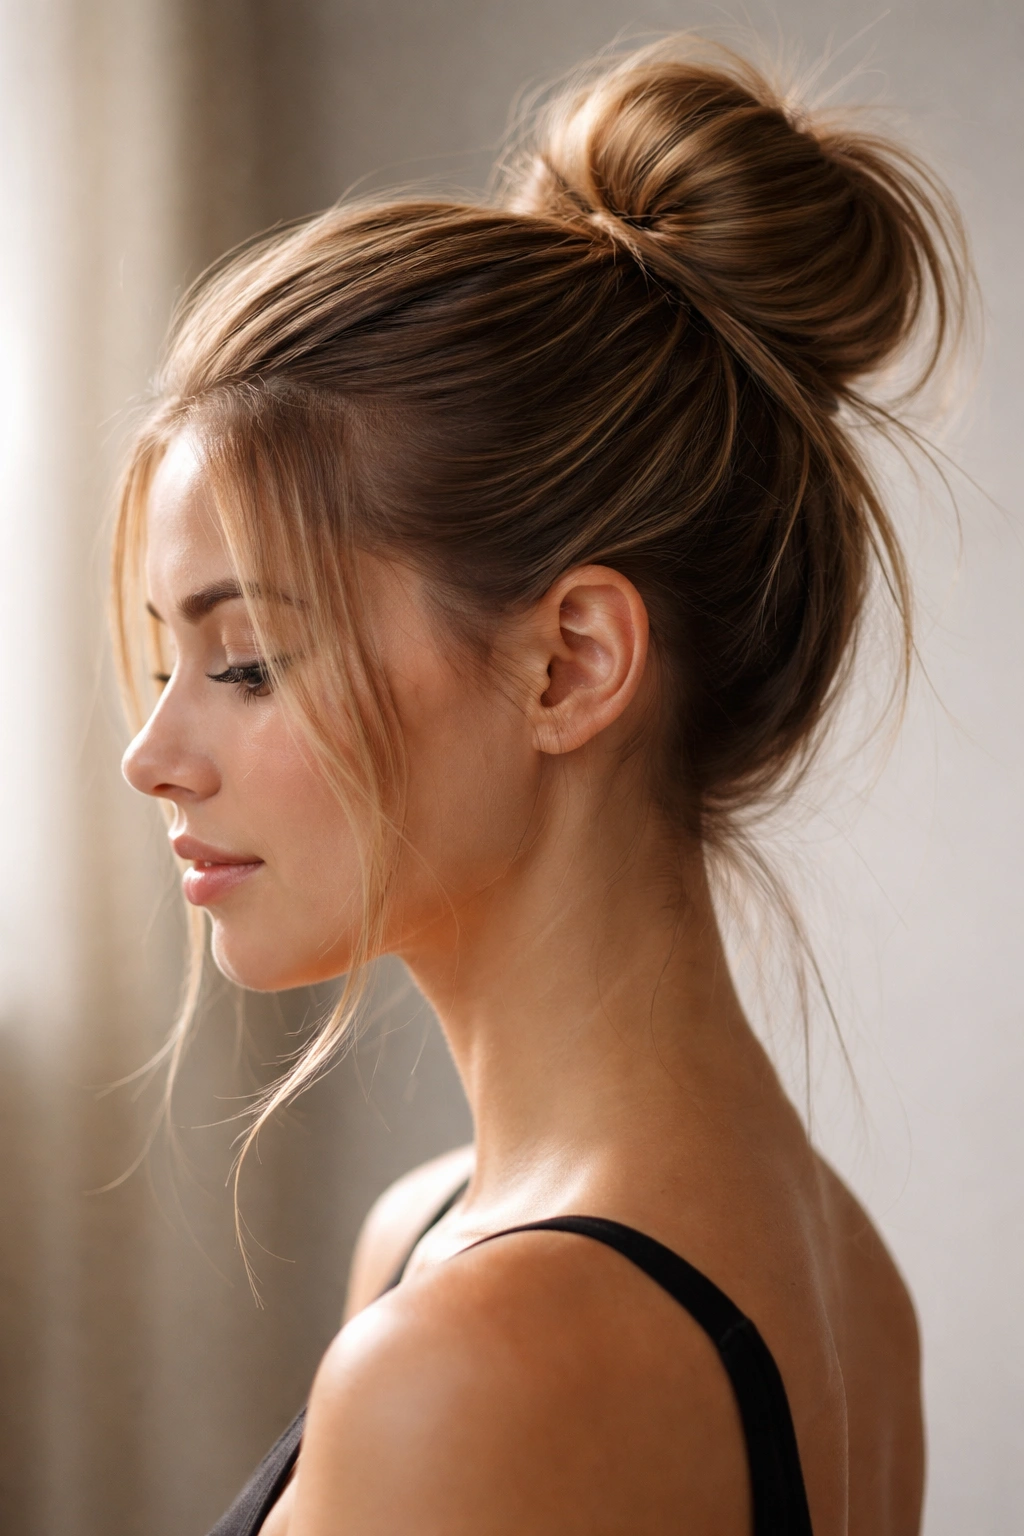
This style is genius because it takes the polished, put-together aesthetic of a sleek high bun and gradually converts it into something more relaxed and messy throughout the day. You start the morning with a tight, neat style and end it looking intentionally tousled—perfect if you want something that transitions from professional to casual.
What Makes This Technique So Clever
The concept is simple: you’re not creating a permanently messy bun; you’re creating a bun that’s designed to become messier as the day goes on, and you’re controlling that process. With straight hair, you can see the exact moment when a tight, sleek bun starts to have more texture, so you’re working with that visual progression rather than hiding it. You get two different aesthetics from one styling session.
How to Create and Evolve It
Start with a high, tight ponytail that’s smoothed with a light hairspray or gel to keep it sleek initially. Twist the entire ponytail tightly and wrap it into a compact bun, securing it meticulously with bobby pins for a polished first impression. As the day progresses, gently pull a few small strands out of the twist to soften it—start at the sides of the bun, then add a few pieces from the crown, then maybe a piece or two from the back. By the end of the day, you’ll have a perfectly imperfect messy bun that looks like you’ve been rocking it effortlessly all along.
Insider note: About 4-5 hours in, pull out approximately one or two small sections every hour; this gradual approach looks much more intentional than suddenly having a loose bun at the end of the day.
6. Inside-Out Messy Bun
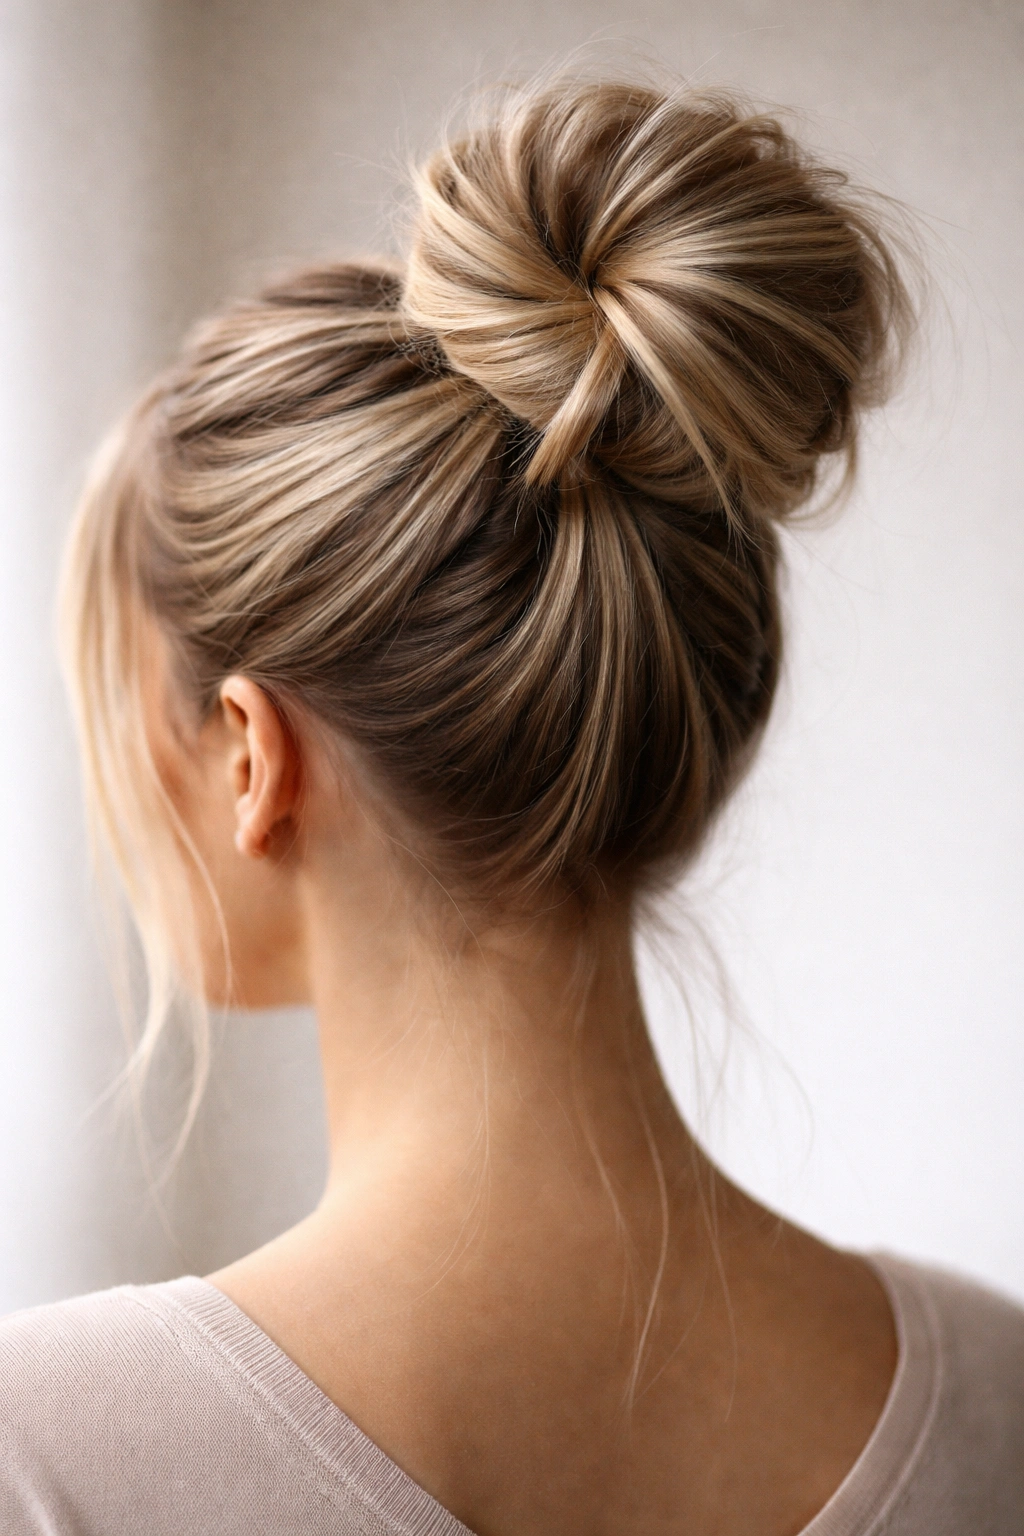
The inside-out technique (also called an inverted bun) creates immediate volume and texture because you’re literally reversing the direction of your ponytail, which breaks up the smoothness of straight hair and adds visual interest. It’s a sneaky way to make straight hair look like it has natural texture, and the bun automatically reads as casual and deliberate rather than overly formal.
Why This Looks Exceptional on Straight Hair
When you flip your ponytail inside out, you’re creating crisscross sections of hair that catch light differently than a standard bun would. With straight hair’s natural shine and smoothness, these internal texture variations become visible architectural elements of the style rather than disappearing into waves. The effect is modern, clever-looking, and surprisingly easy to execute.
The Inside-Out Process Explained
Create a high or mid-height ponytail and secure it with an elastic. Just above the elastic, use your fingers or a bobby pin to create a small split or opening in the hair directly above where the elastic sits. Flip the ponytail upward and thread the ends through that opening, essentially turning the ponytail inside out. Once you’ve flipped it, gently loosen the elastic slightly so it’s not pulling too tightly. Now twist or coil the flipped ponytail loosely and secure it at the base with bobby pins, leaving some pieces strategically loose. Pull gently on sections of the bun to add volume and texture.
Pro tip: This technique is easier if you use a small elastic rather than a large clip; the small elastic creates a tighter opening that’s easier to thread hair through.
7. Half-Up Messy Bun
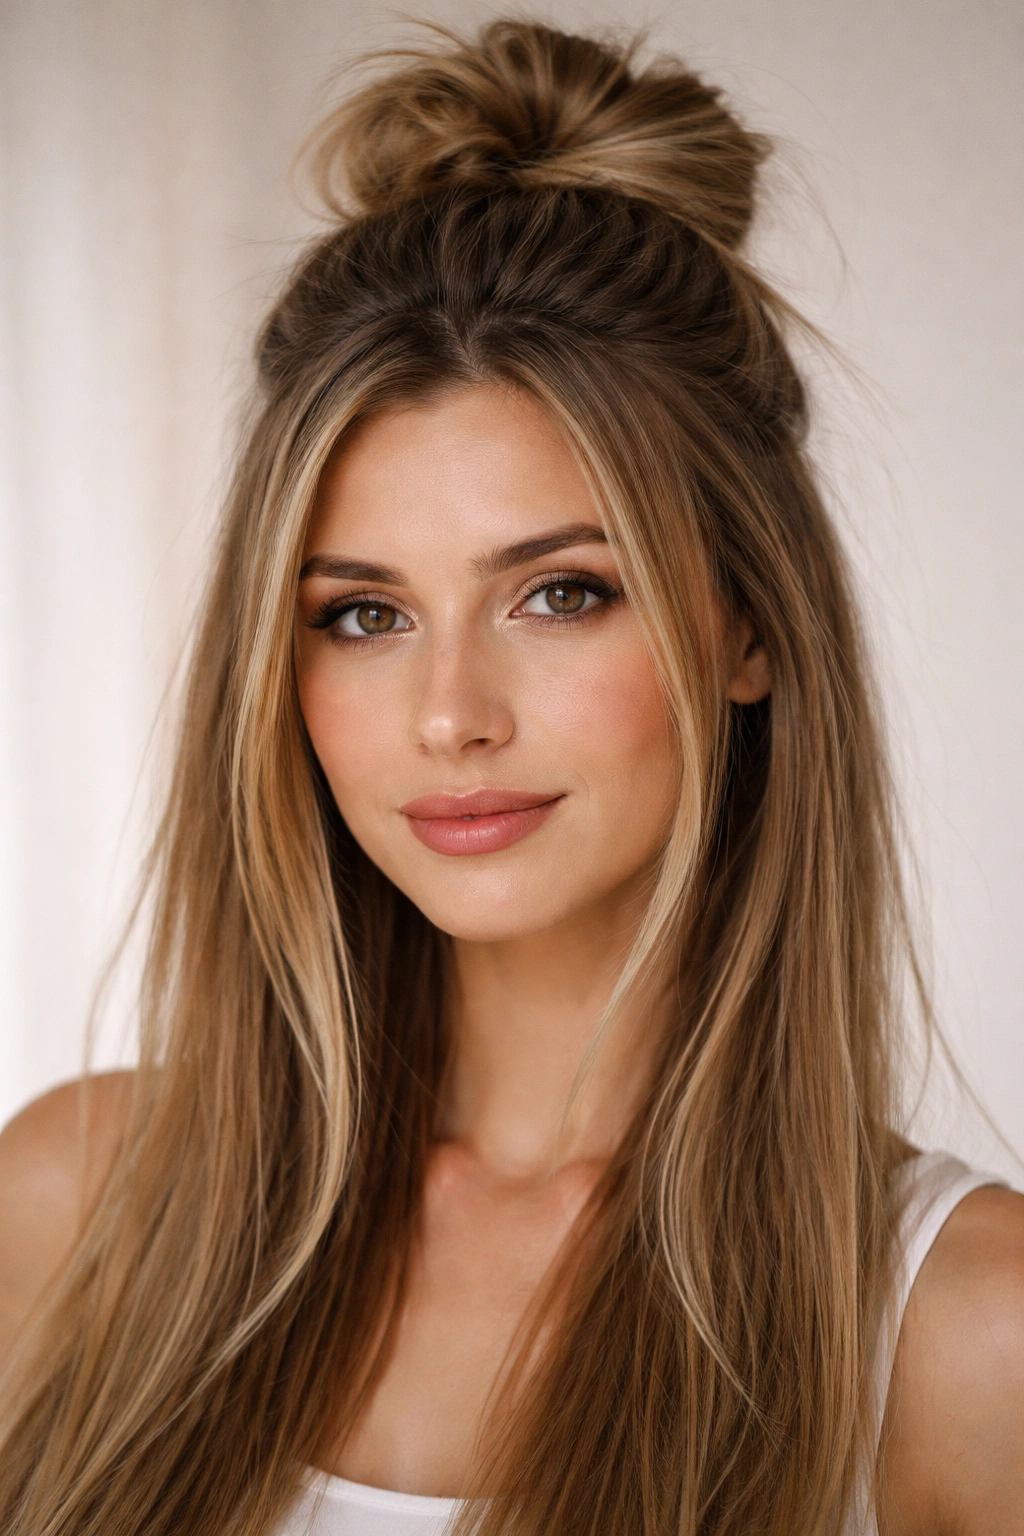
The half-up messy bun splits the difference between wearing your hair down and putting it fully up—you get the softness and face-framing of down hair combined with the practicality and polished appearance of an updo. It’s incredibly versatile and reads as intentional regardless of how messy you actually make the bun portion.
Why Half-Ups Are Perfect for Straight Hair
Straight hair that’s half-up creates clean lines and visual distinction—you can clearly see where your “down” hair ends and your “up” hair begins, which creates the impression of a very deliberate style rather than something thrown together. The down portion frames your face with elegant straight pieces, while the bun at the crown adds height and visual interest without overwhelming your look.
How to Style This Beautifully
Section out hair from about ear to ear across the crown, creating a half-up section. Loosely backcomb the crown area of this section to create height at the base. Create a high ponytail with just this top section, leaving the back portion out. Now gently tease or create some texture in that top section of ponytail (use a dry texture spray if needed to help), then twist it loosely and wrap it around the base, securing with bobby pins. The beauty of this style is that you don’t need to make the bun portion super perfect or polished—intentional messiness reads really well here because it’s balanced by the clean straight lines of the down-portion.
Quick style note: Curl or wave the ends of your down hair slightly (even just at the tips) to create a softer frame around your face and tie the whole look together.
8. Textured Rope Bun
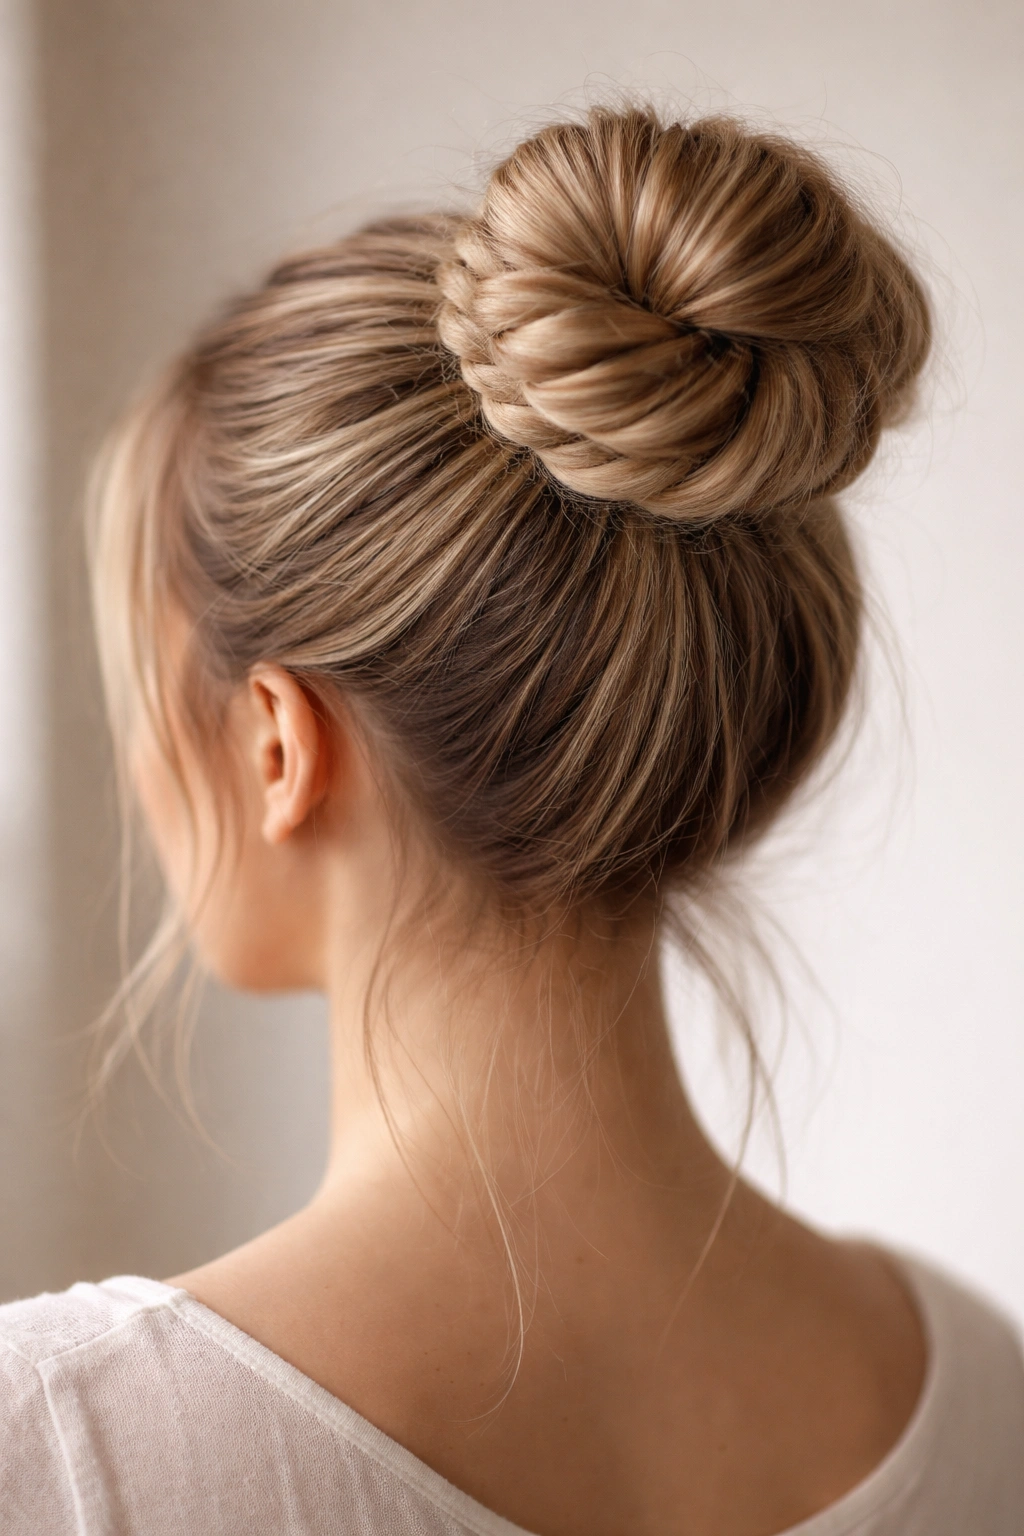
The rope bun technique involves creating a thick twisted rope section of hair that wraps around itself to form the bun. It’s more defined and structured than truly “messy,” but it reads as deliberately undone because of the chunky, textured appearance of the rope. This style works beautifully on straight hair because the rope technique creates visual interest and dimension that might be lost in more uniform waves.
What Makes the Rope Technique Stand Out
Instead of dividing your hair into tiny sections and creating a formal bun, you’re creating one substantial twisted rope that wraps around itself. With straight hair, this rope is visually prominent and creates a sculptural element that’s actually very striking. It’s casual in spirit but polished in execution—you look like you know what you’re doing with your hair even though it’s technically quite simple.
Creating Your Rope Bun Step by Step
Create a high or mid-level ponytail and secure it. Now take the entire ponytail and twist it tightly (you want a defined rope, so tighter is better here). As you twist, simultaneously wrap the rope around the base of the ponytail to create a bun shape, securing as you go with bobby pins. Once it’s fully wrapped, you can adjust the tightness of the bun by gently pulling out small sections of the rope itself—this adds texture and makes it look intentionally imperfect rather than overly controlled.
Worth knowing: The thicker and more substantial your rope bun looks, the less it reads as “messy” and the more it reads as “deliberately textured,” which works beautifully for straight hair that naturally lacks texture.
Final Thoughts
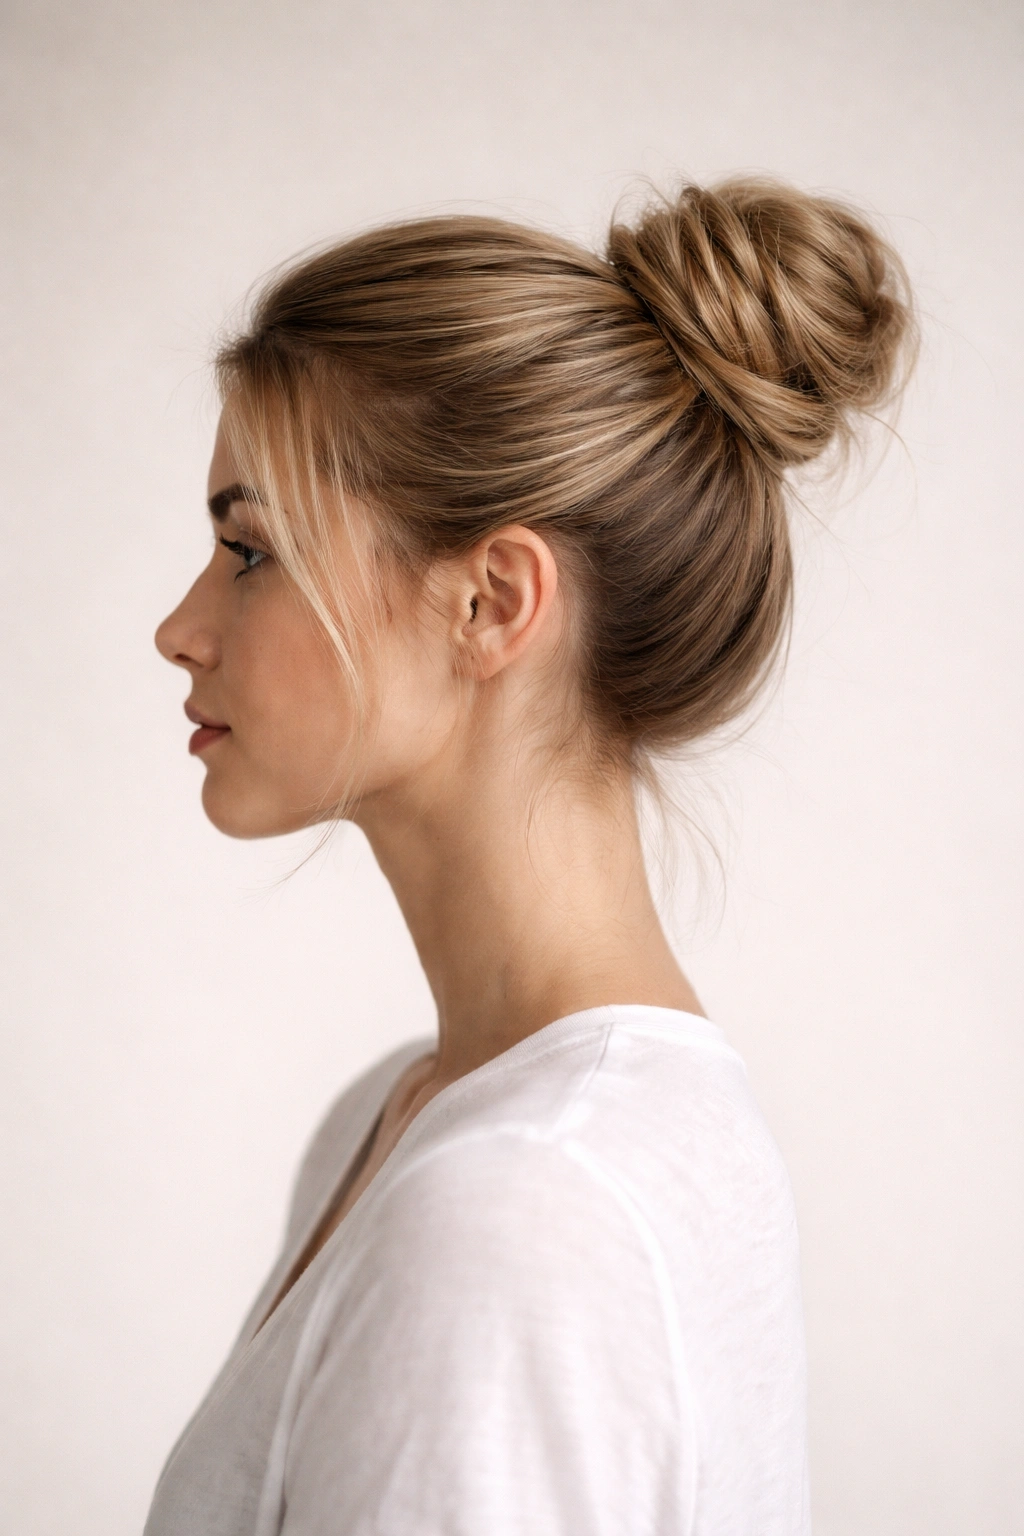
Messy buns on straight hair aren’t about fighting your hair’s natural properties—they’re about leveraging them. Your straight hair’s ability to hold shape, reflect light, and maintain crisp lines means your messy buns will actually read as intentional and polished rather than unkempt. Whether you’re choosing the elegant simplicity of a low nape bun, the architectural interest of twisted crown styles, or the modern twist of an inside-out technique, you’ve got options that work specifically with what your hair naturally does.
The real secret to making any messy bun work on straight hair is understanding that texture and hold matter more than they do on curly or wavy hair. A light texture spray, some strategic backcomb at your crown, and deliberate loose pieces are your best friends. These small techniques create the grip and visual interest that straight hair sometimes needs to look effortlessly undone rather than just slicked back.
Start experimenting with whichever style resonates with you, and remember that the first time you try it might not be perfect—but that’s actually the point. These styles get better the more you practice them, and honestly, straight hair forgives awkward attempts better than other textures do because it’s so forgiving to work with. You’ll probably find that one or two of these become your go-to styles within a few weeks, and you might even find yourself creating variations that work even better for your specific hair density and length.
