



If you’re tired of hair falling in your face mid-workout or dealing with a ponytail that gets tighter as you sweat, you’ve probably considered the messy bun. It’s the go-to hairstyle for gym sessions, running, HIIT classes, and pretty much any physical activity where you need your hair out of the way and secured for the entire duration. But here’s what most people don’t realize: not all messy buns perform the same way. Some hold up beautifully through an intense cardio session while others start unraveling after ten minutes. The difference comes down to technique, hair texture, and choosing a style that matches both your hair type and the intensity of your workout.
The beauty of a good messy bun for exercise is that it does exactly what its name suggests—it looks intentionally undone while staying surprisingly secure. There’s no need for hours at a salon or complicated styling tools. What you need is an understanding of which bun variations actually work for your specific situation, how to build them for maximum staying power, and what products or techniques make them last through sweat, movement, and intensity.
This isn’t just about throwing your hair up any old way. A properly constructed messy bun for working out requires strategy. You need to understand tension, anchor points, and how to work with your hair’s natural texture instead of against it. Whether you have thick hair that’s hard to control, fine hair that won’t hold a traditional bun, curly hair that benefits from specific gathering techniques, or you’re just tired of experimenting with styles that fail halfway through your workout—this guide breaks down eight specific messy bun styles that actually work when you’re moving hard.
Why Messy Buns Are Perfect for Exercise
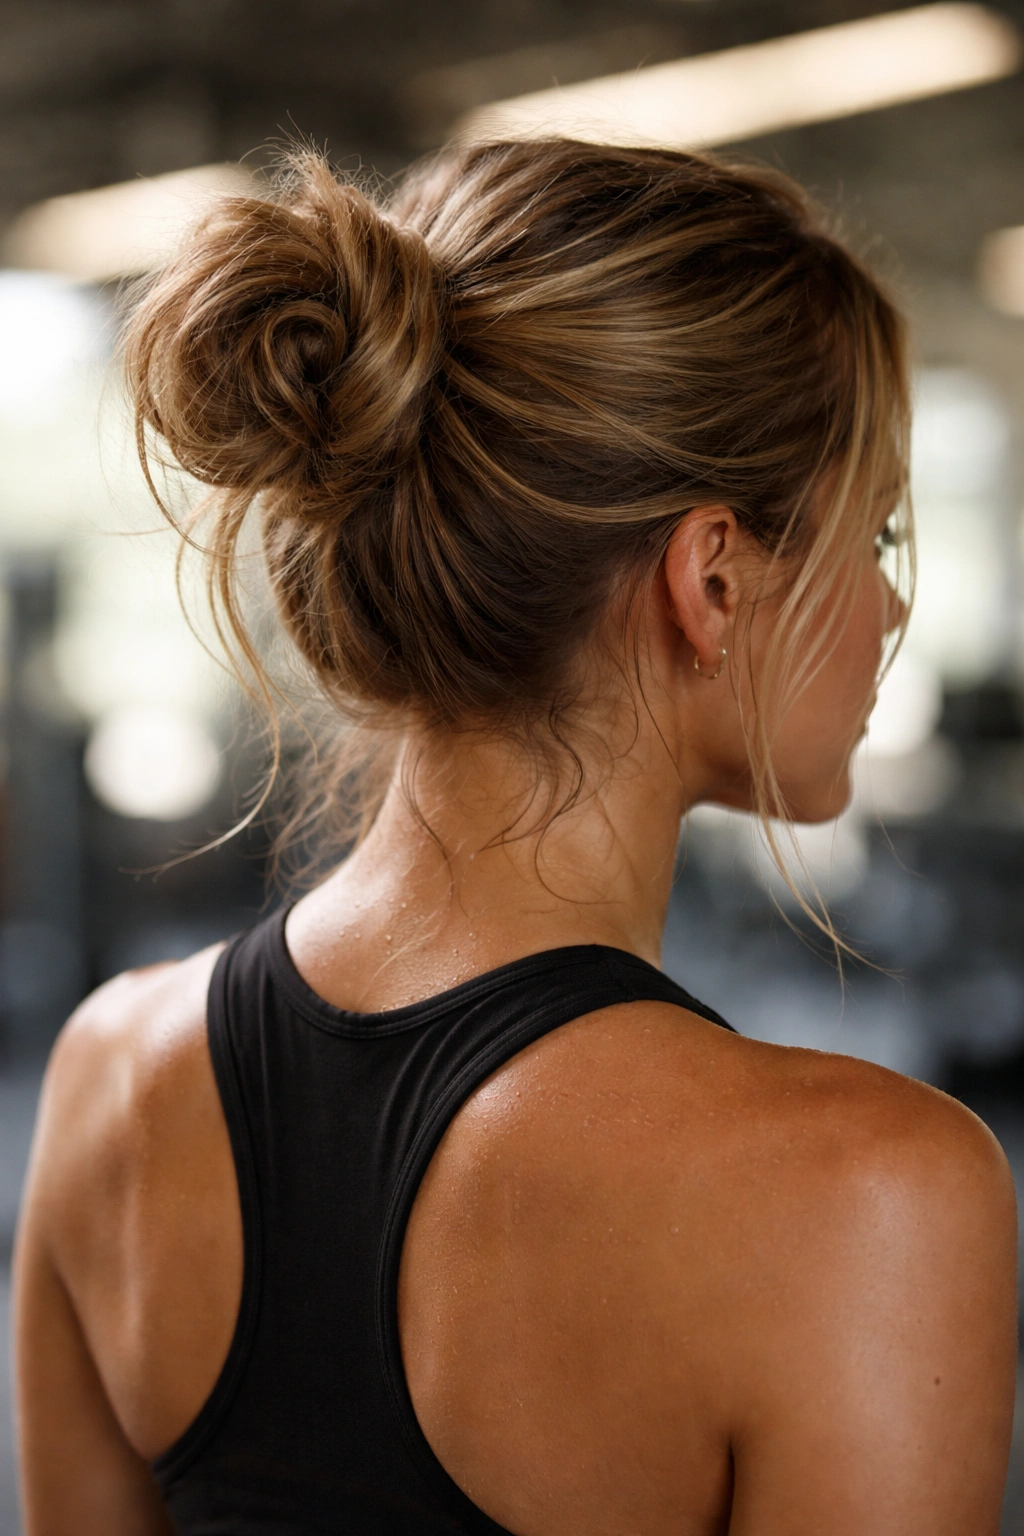
A messy bun serves a practical purpose that goes beyond just looking good at the gym. When you’re exercising, loose hair creates friction, absorbs sweat, and gets tangled with your movements and equipment. A well-constructed bun keeps everything contained and off your neck, face, and shoulders—which means better temperature regulation, less distraction, and a more comfortable workout overall.
The key advantage of a messy bun over a tight, perfectly polished bun is the strategic looseness. Tight buns that sit high on your head can cause tension headaches during intense activity, restrict blood flow slightly, and actually feel more uncomfortable the longer you wear them. A messy bun distributes tension more evenly because some hair is deliberately left loose, which reduces pressure on your scalp and follicles. This means you can wear it for longer periods—from a quick 30-minute session to an all-day workout if you’re a serious athlete.
Messy buns also adapt better to movement than other styles. When you’re jumping, running, twisting, or doing dynamic exercises, a slightly looser bun has more flexibility. The structure holds but doesn’t fight against your body’s motion. This is especially true if you choose a technique that incorporates multiple securing methods rather than relying on just one hair tie or bobby pin.
1. The Classic High Twisted Bun
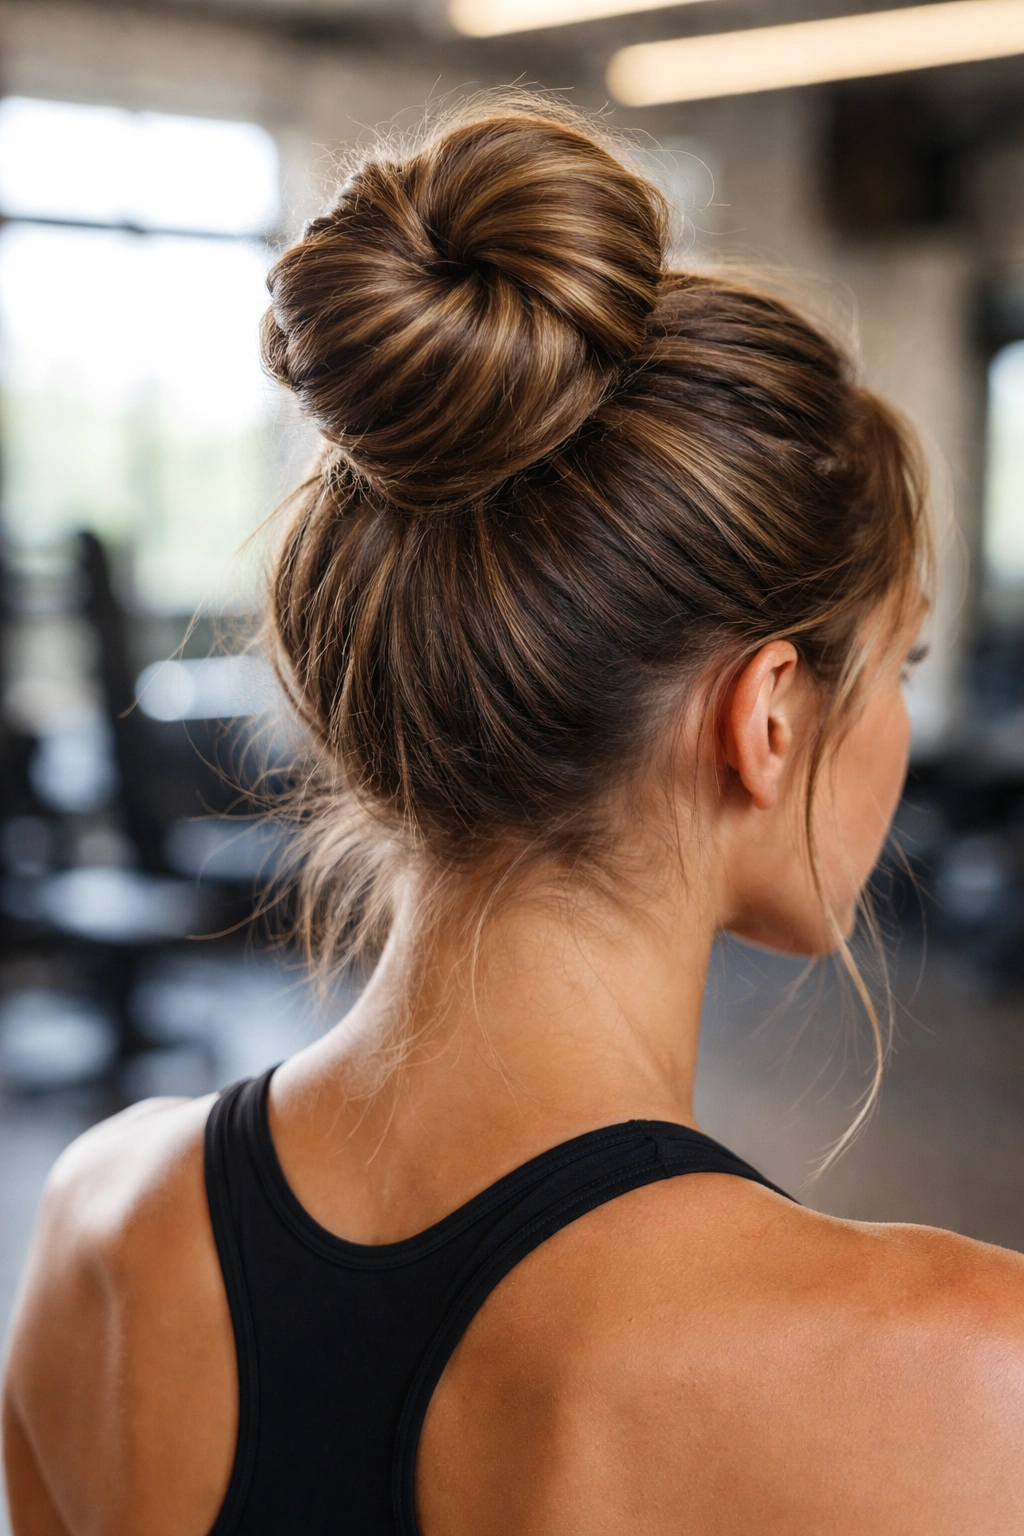
This is the foundational messy bun that works for nearly everyone, regardless of hair type or texture. The high twisted bun combines simplicity with genuine holding power, making it reliable for everything from yoga to CrossFit.
How It Builds Throughout Your Workout
The classic high twisted bun starts with your hair gathered into a high ponytail, then twisted tightly from the base upward. Once you reach the ends, you wrap the twisted rope of hair around the base of the ponytail to form a coil, then secure it with bobby pins. What makes this style work so well for exercise is that the twisting action creates natural texture and grip, which means the hair grabs itself and holds more securely than a simple bun made from untwisted hair.
As you move and sweat, the texture created by the twisting actually helps the bun maintain its structure. The friction between the twisted hair strands keeps everything in place rather than allowing individual strands to slip out. This is why this style is particularly effective for high-impact exercise where your bun experiences constant jostle and movement. The twist acts like an internal anchor system that’s stronger than what you’d get from gravity and bobby pins alone.
Building Steps and Holding Techniques
- Gather your hair into a high ponytail at the crown and secure with a strong elastic—the position matters more than perfection
- Starting at the base of the ponytail, begin twisting the entire section of hair firmly and evenly all the way to the ends
- Once fully twisted, wrap the twisted rope around the base of the ponytail in a coil shape, tucking the ends underneath as you go
- Secure with 4-6 bobby pins distributed around the bun, pushing them in at different angles for maximum grip
- Use a light hairspray on the twisted section before coiling for extra staying power without creating stiffness
Pro tip: The twist should feel snug but not painful—you’re creating texture and friction, not strangling your hair.
2. The Low Loose Bun with Underneath Layers
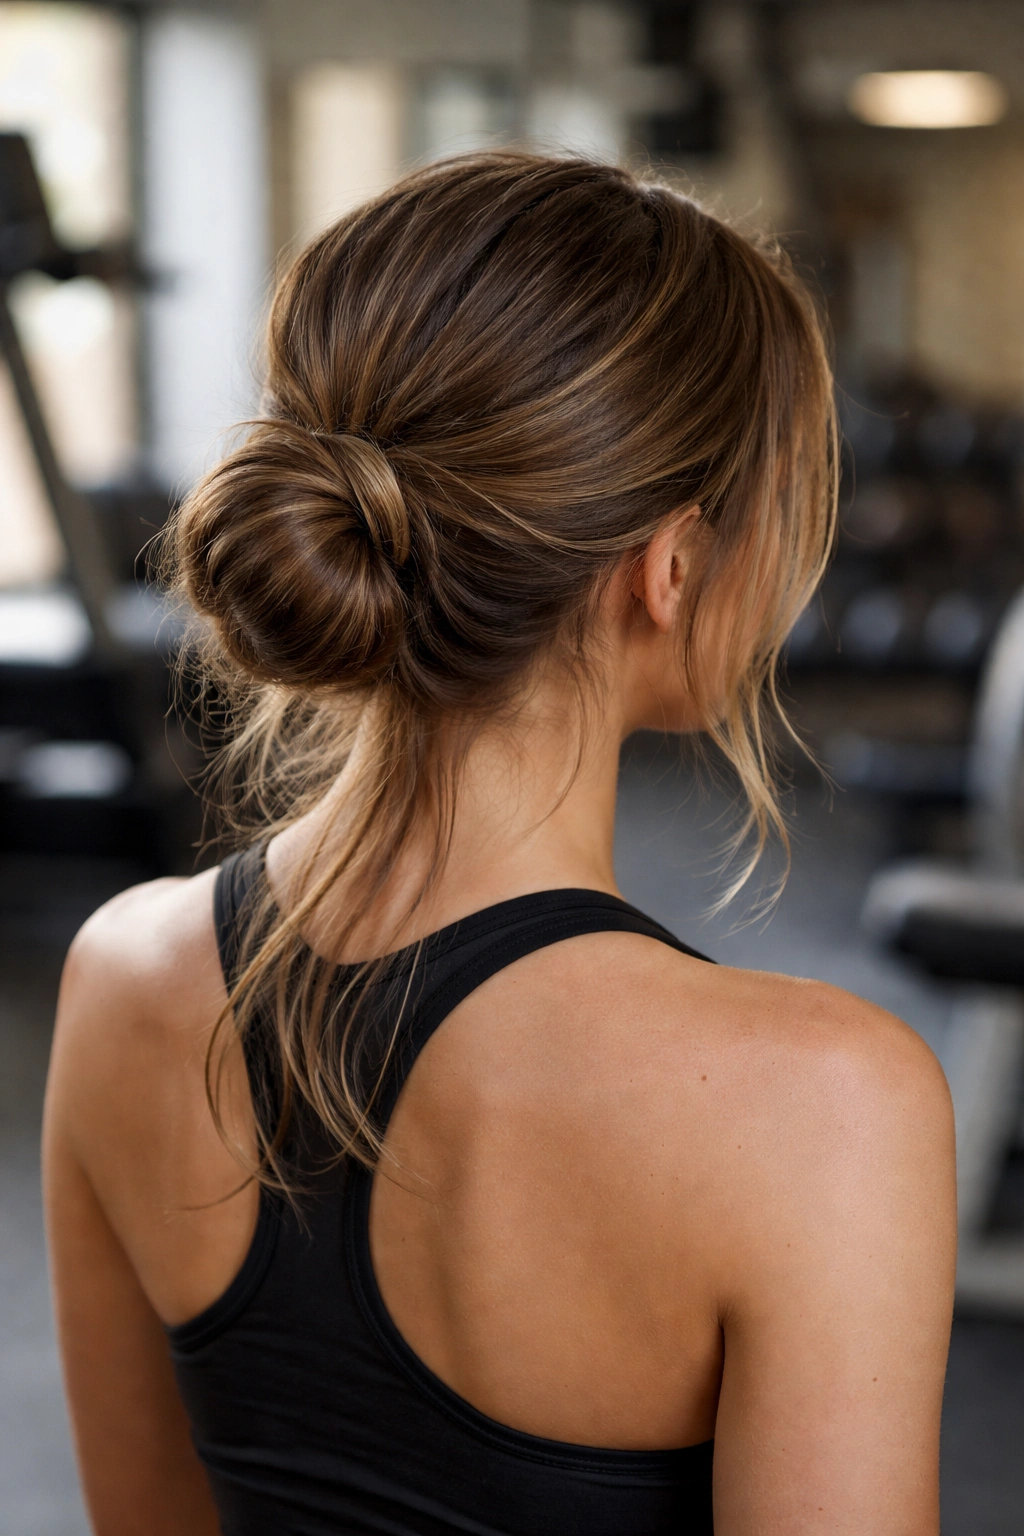
For people who experience headaches from higher bun placements or who prefer a style that puts less tension on their hairline, the low loose bun positioned at the nape of your neck is a game-changer. This style works particularly well during longer workouts where you need comfort without sacrificing security.
Why This Style Feels Better During Extended Exercise
A low bun at the nape of your neck distributes tension downward instead of pulling upward from the crown. This matters more than you’d think during sustained exercise. When you’re doing 45 minutes of cardio, weight training, or any activity that requires extended focus and effort, a high bun can create subtle pressure points that compound into fatigue or mild headaches. A low bun eliminates this issue entirely.
The “underneath layers” technique means you’re not using every bit of hair in your bun. Instead, you deliberately leave some of the bottom layers of hair down around your neck and shoulders, only gathering and twisting the upper layers. This creates volume and the sought-after “messy” appearance while keeping weight off your scalp. It’s also genuinely more comfortable because less hair is being pulled and held in place simultaneously.
Step-by-Step Construction
- Section off roughly the upper two-thirds of your hair from temple to temple across the back of your head
- Gather this upper section into a low ponytail at the nape of your neck, leaving the bottom layers completely loose
- Twist the gathered section until you reach the ends, maintaining even tension throughout
- Coil the twisted hair around the base of the ponytail and secure with 5-7 bobby pins, positioning pins both inside and outside the coil
- Gently pull some strands from the bun and from the loose underneath layers to create intentional texture
- Tease the loose underneath layers slightly at the roots for additional volume that supports the bun from below
Worth knowing: This style actually works better in your second or third day of unwashed hair because the texture gives you more grip.
3. The Double Spiral Bun
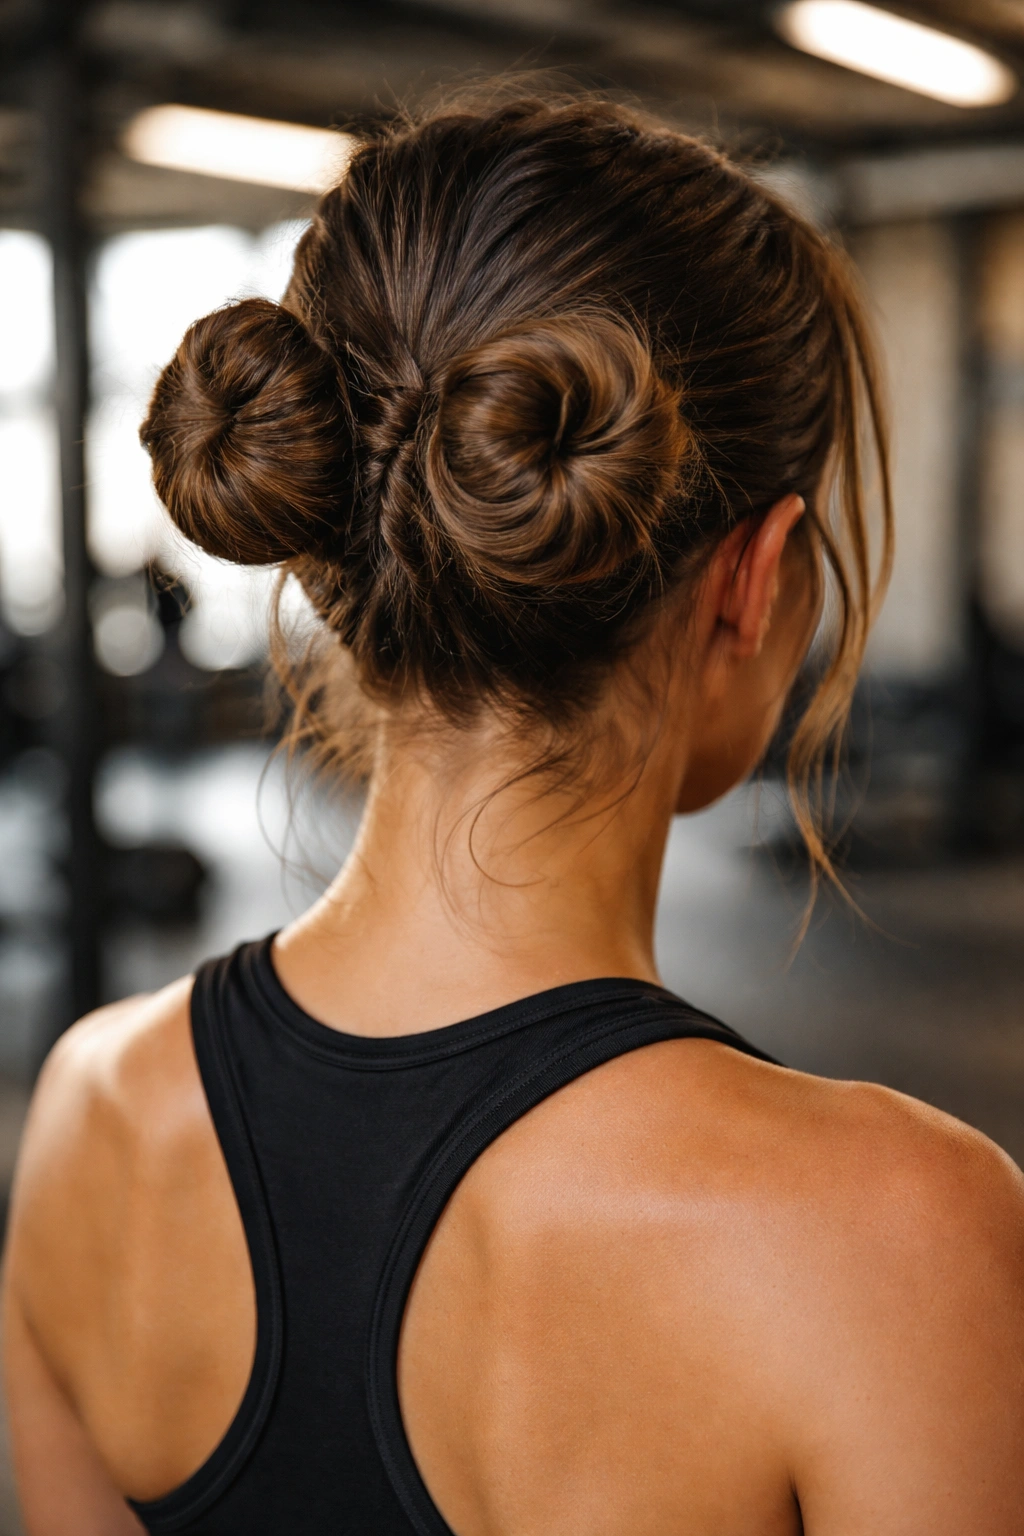
If your hair is thick, long, or tends to slip out of traditional single-bun styles, the double spiral bun might be your solution. This style uses two separate twists instead of one, which distributes weight more evenly and creates redundancy in your securing system.
How Doubling Your Spirals Increases Security
A double spiral bun essentially creates two points of contact and grip instead of one. You’re dividing your hair into two sections, twisting each separately, then wrapping them both around the base point. This means even if one spiral loosens slightly (which can happen with sweat and friction), the second one provides backup support. For thick hair especially, where a single twist might be too bulky to secure cleanly, two thinner spirals give you better control and a more intentional messy appearance.
The double spiral approach also works brilliantly for athletes with very long hair. Instead of trying to coil one giant rope of hair around a base point (which creates a bulky knot that’s awkward to secure), you’re managing two manageable spirals that wrap neatly and stay in place. This is also the preferred style for anyone doing activities with significant directional changes—like tennis, basketball, or dance—where your bun experiences pulling and pressure from multiple angles.
Building the Double Spiral
- Gather hair into a high ponytail and divide it into two equal sections
- Twist the first section tightly from base to ends and set it aside temporarily
- Twist the second section with the same tension and tightness, matching the first
- Take the first spiral and wrap it around one side of the ponytail base, securing with 3-4 bobby pins
- Take the second spiral and wrap it around the other side, creating a symmetrical wrapped base
- Add additional pins where the two spirals meet at the center for extra security
- Pull out small sections to create the messy texture, being careful to maintain the overall structure
Insider note: If your ponytail feels too heavy or bulky, try using a thinner elastic for the initial gather—it reduces the anchoring point size and makes the final coil neater.
4. The Braided Bun with Face-Framing Pieces
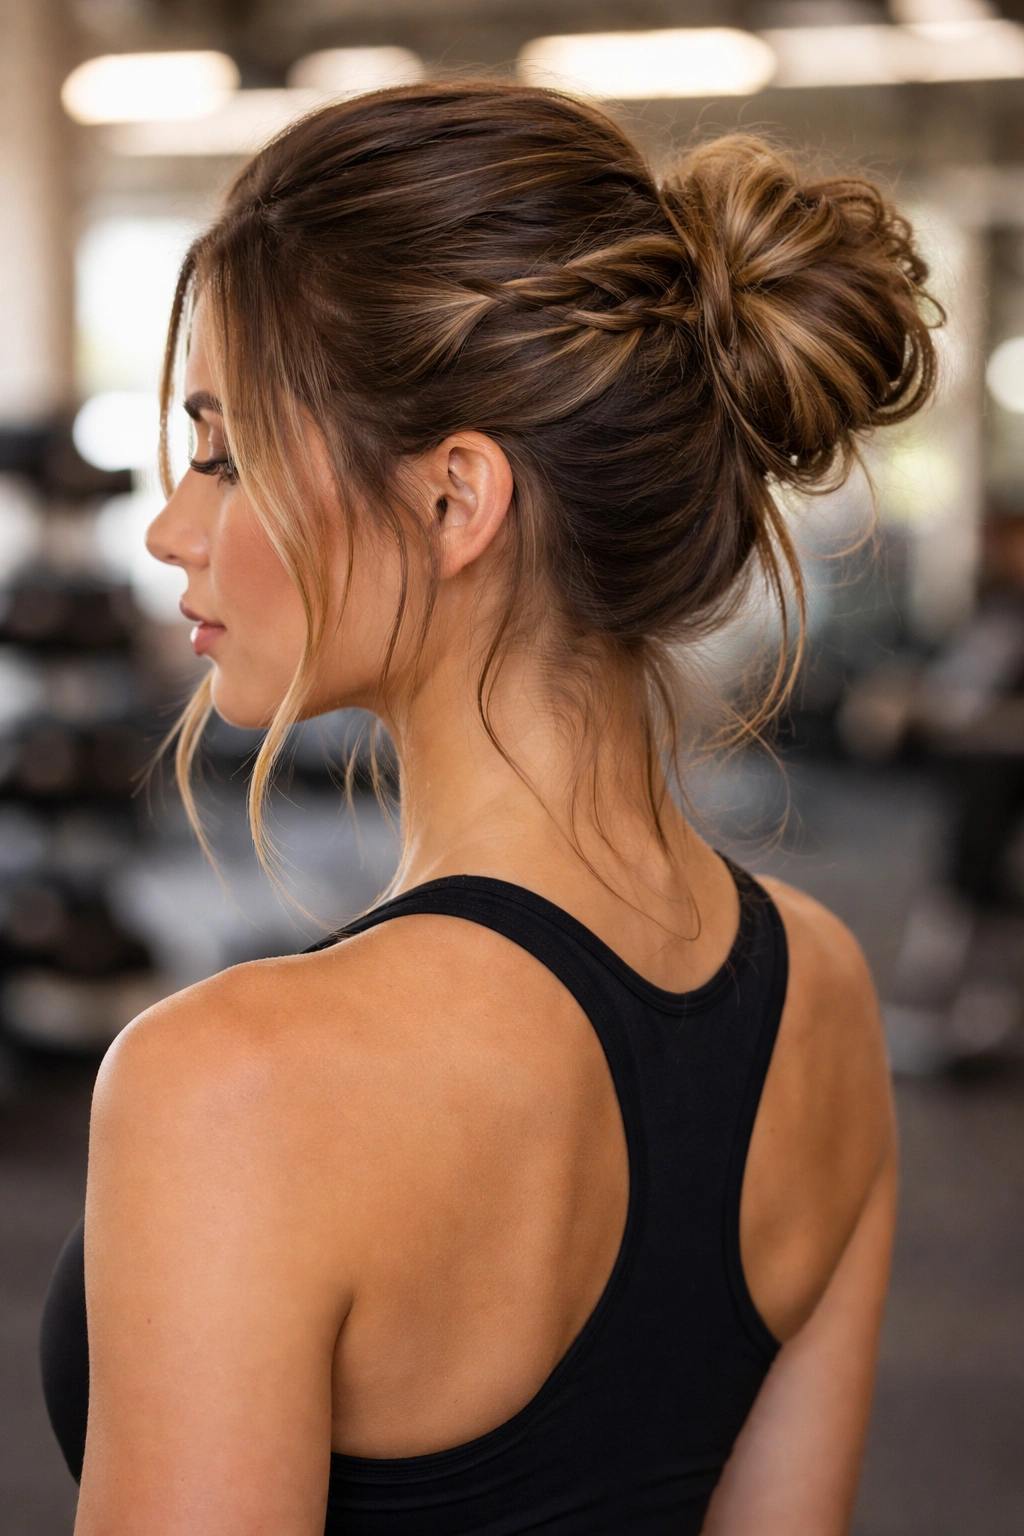
This style adds a braid into the equation, which creates visual interest and, more importantly, additional texture and grip for holding everything in place. The braided bun is excellent for workouts where you want a polished appearance that still reads as effortlessly messy.
Why Braiding Adds Functional Security
A braid is inherently more secure than a twist because the three-strand structure creates multiple contact points and friction zones. When you incorporate a braid into your bun construction, you’re literally adding mechanical complexity that makes the style more resistant to loosening. Braids also work beautifully with messy styling because braids look intentional even when you deliberately pull out pieces for texture.
This style performs exceptionally well during activities with water exposure—like pool workouts, water aerobics, or even just sweaty cardio sessions. The braid structure holds up better under moisture and movement than some other techniques. You also get the advantage of face-framing pieces that are intentionally styled rather than just straggly strands that came loose, which elevates the overall appearance.
Constructing the Braided Bun
- Take a small section of hair from each temple and lightly braid each side, leaving these face-framing braids down for now
- Gather the remaining hair into a ponytail at the crown, incorporating the braids at the back
- Divide the ponytail into two sections and twist each one tightly
- Wrap both twisted sections around the base point in a coil formation, securing with 6-8 bobby pins
- Gently pull the face-framing braids slightly to loosen them and create dimension around your face
- Pull small pieces from the bun itself to create intentional messiness while maintaining structure
- Finish with a light hairspray that holds without stiffness
Pro tip: The face-framing braids don’t actually support the bun structure; they’re purely aesthetic. Don’t stress about making them architectural—they’re supposed to look relaxed.
5. The Sticky-Up Bun with Undercut Technique
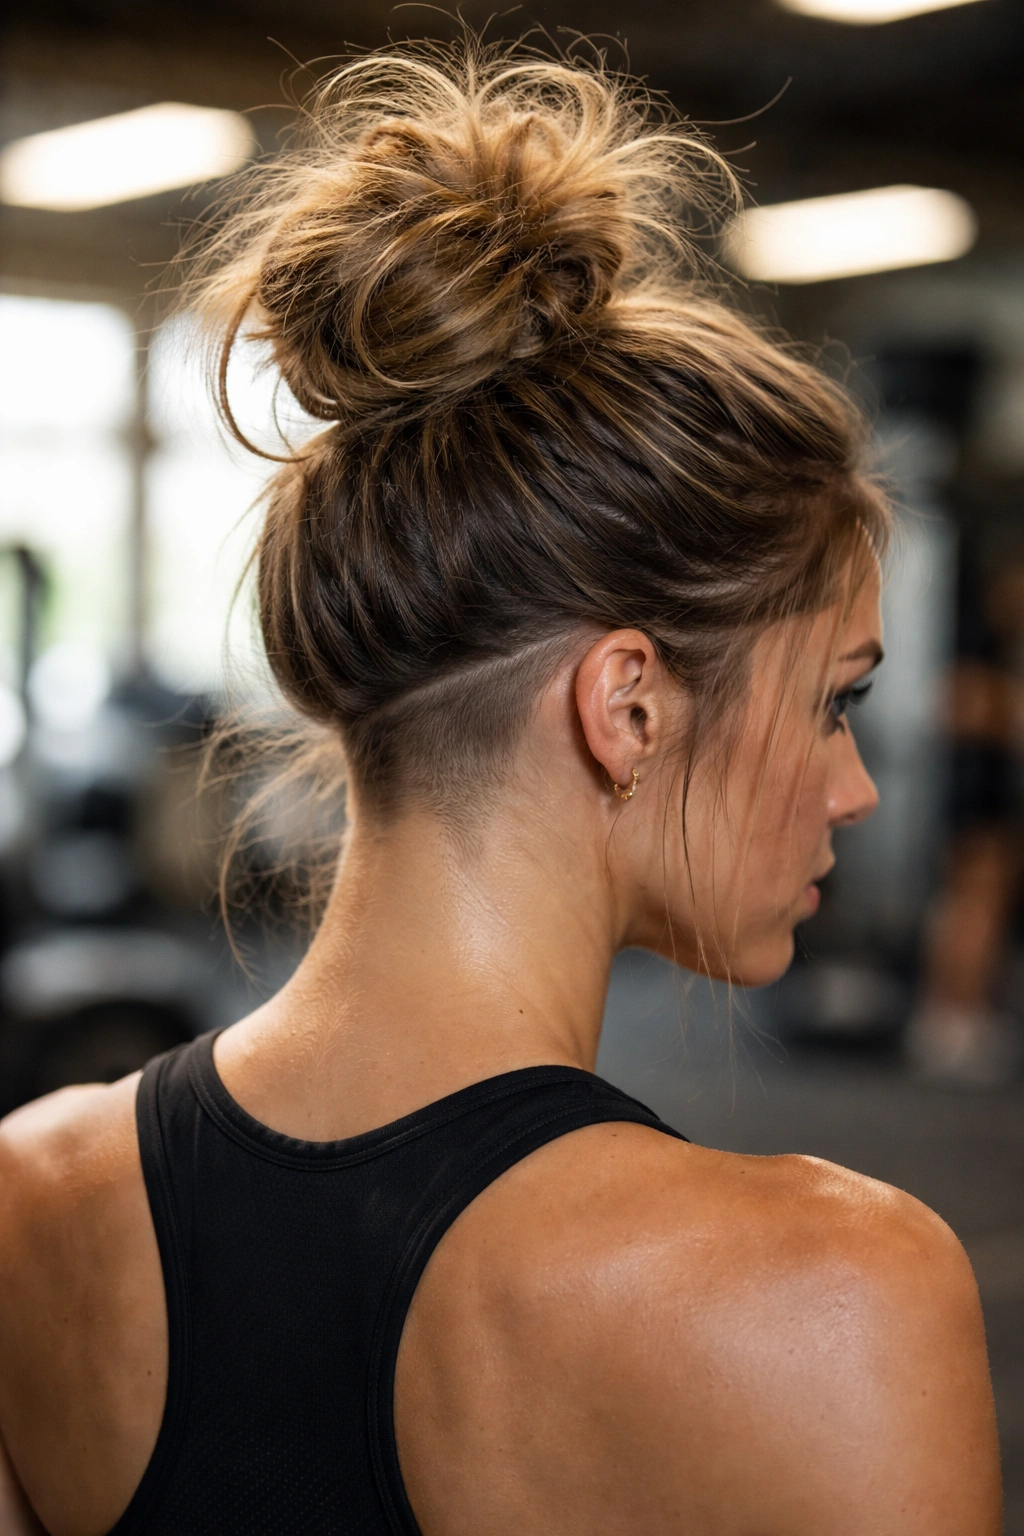
This style is specifically designed for people whose hair tends to have a mind of its own—the kind of texture that won’t stay sleek no matter how much product you use. Instead of fighting your hair’s natural tendency to stick up and create flyaways, this technique embraces it and uses it as part of the design.
Leveraging Texture Instead of Fighting It
The sticky-up bun with undercut technique works by deliberately teasing and backcombing sections of your hair before gathering it into a bun. This creates intentional texture and grip throughout the bun structure. Rather than trying to smooth everything down (which never works for certain hair types anyway), you’re using that natural texture as a functional feature that actually helps secure the bun.
This approach is particularly effective for fine hair, wavy hair, or any texture that naturally resists sleek styling. Fine hair especially benefits because the teasing creates volume and surface area that grips the elastic and bobby pins more effectively. For people with straight, slippery hair, this technique is often the difference between a bun that falls out and one that lasts all workout long. The undercut element—where you gather from underneath rather than creating height on top—also distributes weight differently and reduces scalp tension.
Step-by-Step Process
- Blow-dry your hair with some texture or wave—completely dry hair works better than damp for this technique
- Take a horizontal section at the crown and gently backcomb or tease this section to create texture
- Take another section about an inch below and repeat the teasing process
- Continue teasing 2-3 sections throughout the crown and back areas, creating texture throughout your hair
- Gather all your hair into a high ponytail, positioning it slightly back rather than directly on top
- The teased sections will naturally create grip and texture in the gathered ponytail without additional styling
- Twist the ponytail and coil it around the base, securing with 5-6 bobby pins
- Don’t smooth down any flyaways—they’re intentional and functional
Real talk: This technique takes practice. Your first attempt might look too messy or not messy enough. The goal is texture throughout, not chaos.
6. The Side-Swept Messy Bun
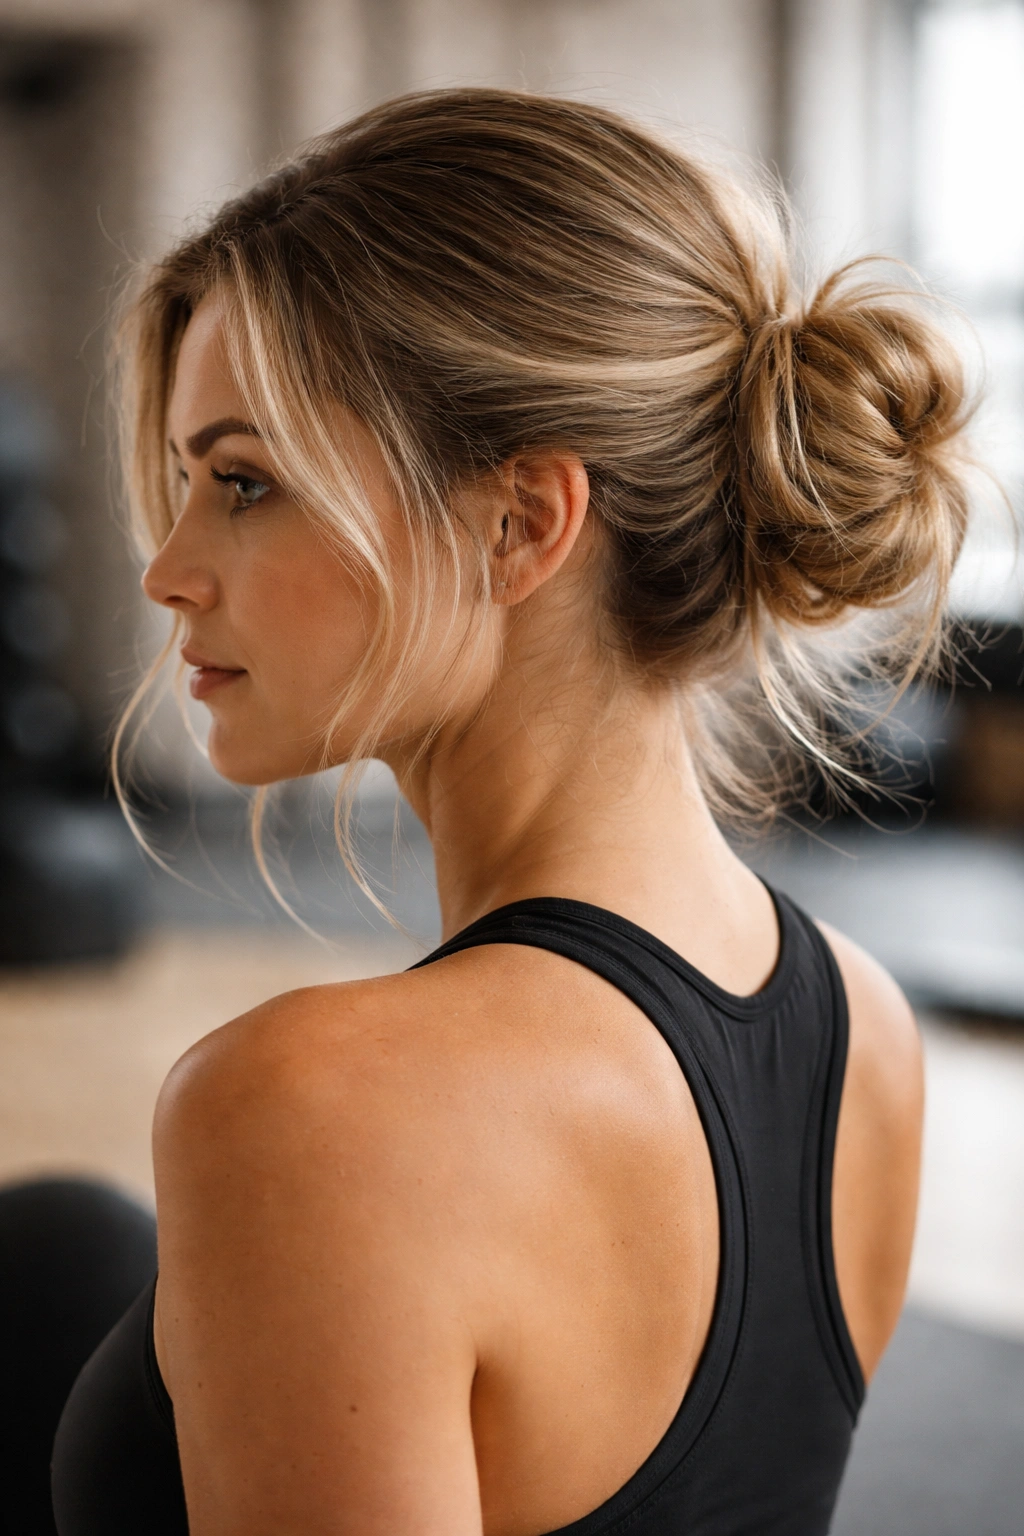
A side-swept bun repositions your bun to one side of your head, which changes how weight distributes and how the style performs during movement. This is particularly useful for workouts where you’re lying on your back (like core work or mat Pilates) or where side-lying positions are common.
Why Side Placement Changes Performance
When your bun is at the very back of your head or high on your crown, it can create pressure points if you’re in positions where your head is resting against equipment or flooring. A side-swept bun moves the bulk of your hair off that central back point, making it more comfortable for these scenarios. Side-swept buns also feel less intrusive during contact activities like boxing or partner workouts where something at the very back of your head might get in the way.
The side placement also affects how the style moves during exercise. Instead of experiencing direct vertical jostle, a side-swept bun rocks side to side, which some people find more comfortable and natural-feeling during their movement patterns. This is especially true for runners and cyclists whose natural forward lean is accommodated better by a side-positioned bun.
Building a Side-Swept Bun
- Flip your head to one side and gather all your hair to that side
- Create a ponytail on the side of your head where you want the bun to sit (typically at ear level or slightly lower)
- Twist the entire ponytail firmly and evenly to the ends
- Coil the twisted hair around the ponytail base, creating a bun that sits on the side
- Secure with 6-8 bobby pins, making sure you’re anchoring to the hair underneath as well as pinning the coil itself
- Pull and adjust the bun slightly backward (toward the back of your head) rather than keeping it perfectly to the side—this balances the aesthetic
- Loosen some face-framing pieces and some sections of the bun itself for texture
- Finish with light hairspray
Worth knowing: Side-swept buns work best if you have at least medium-length hair. Very short hair doesn’t have enough length to position safely to the side.
7. The Hybrid Bun with Elastic and Claw Clip
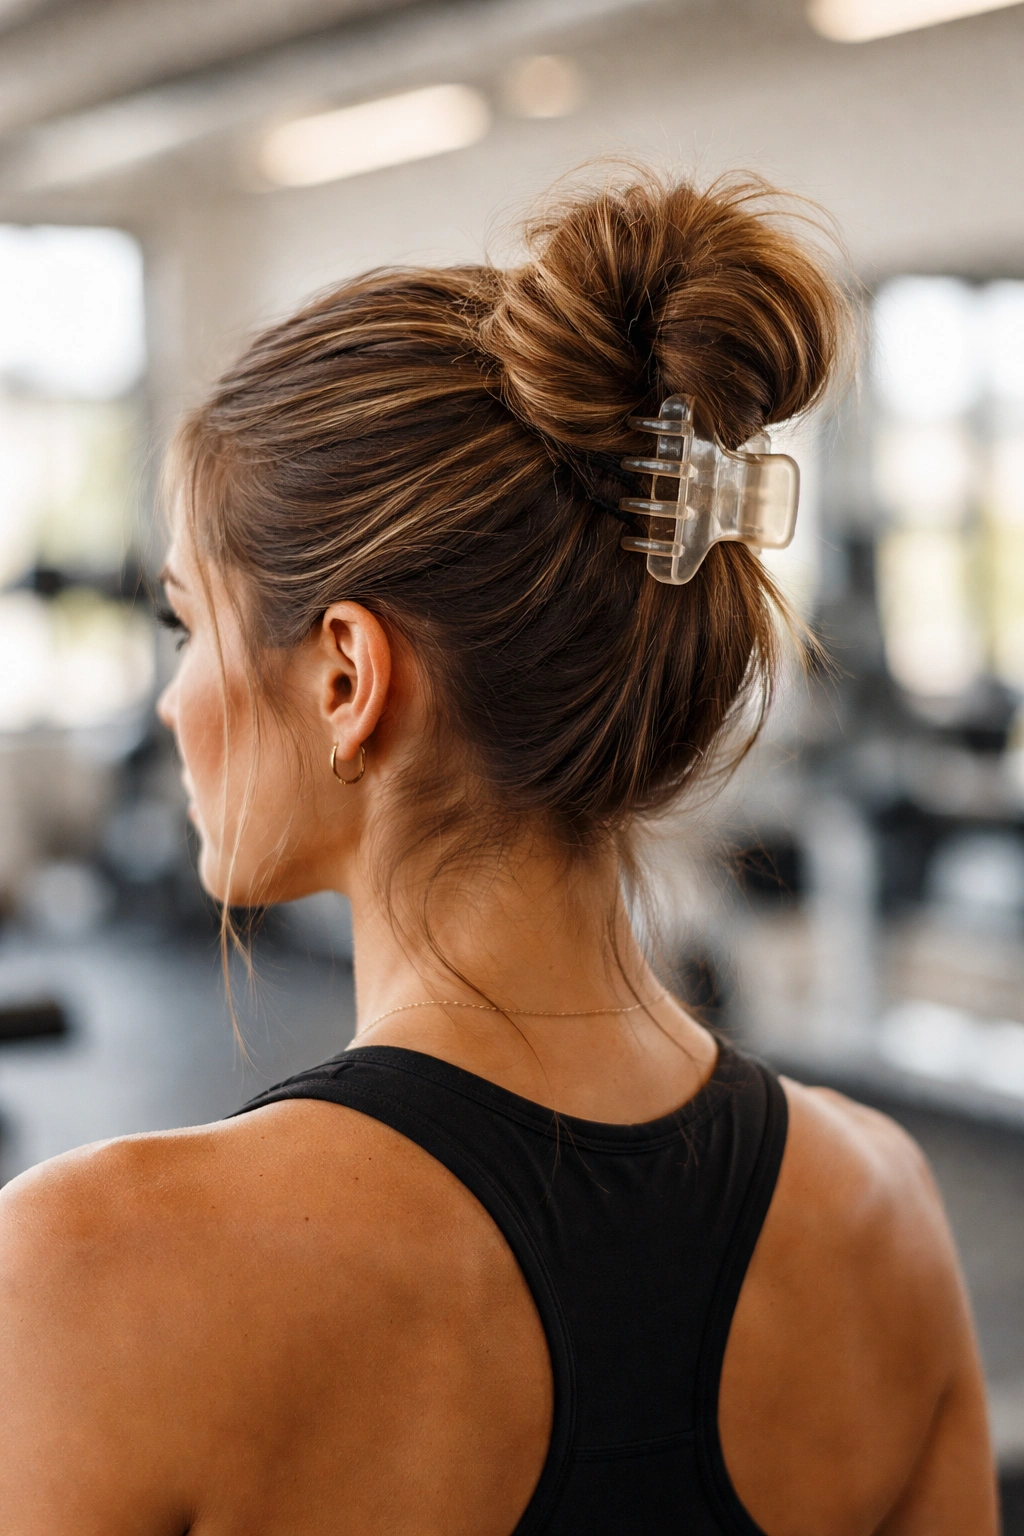
This style combines multiple securing methods—an elastic plus a decorative claw clip—which creates redundancy and seriously impressive staying power. It’s the style to choose if you’ve had bad experiences with buns falling out during workouts.
Why Dual-Securing Systems Actually Work Better
The key insight here is that relying on one securing method is risky. An elastic can loosen as your hair warms up and sweat changes the friction between strands. Bobby pins can work loose with impact and movement. But if you’re using both an elastic and a claw clip, you’ve got two independent systems holding your hair. If one starts to slip, the other catches it. This redundancy is why this style is genuinely more secure than any single-method technique.
The claw clip isn’t just cosmetic—it’s functional. A well-positioned claw clip grabs a significant amount of hair and holds it with mechanical force that doesn’t depend on friction or tension the way bobby pins do. Combined with the elastic that provides the foundational gather, you’ve created a securing system that’s nearly impossible for your hair to work out of, even during the most intense or high-impact activity.
Construction Method
- Gather your hair into a high ponytail using a strong elastic and secure tightly
- Twist the entire ponytail from base to ends
- Coil the twisted hair around the ponytail base and secure initially with 4-5 bobby pins placed at different angles
- Position a medium or large claw clip over the bun, positioning it so it grabs hair from the ponytail base and secures the entire coiled structure
- The claw clip should sit perpendicular to your bun coil, ideally crossing over where the twist begins to coil
- Loosen some sections by gently pulling strands to create messiness while maintaining structure
- The combination of elastic, bobby pins, and claw clip means almost nothing can work loose
Pro tip: Choose a claw clip in a neutral color that matches your hair or just looks intentional—metallics work well here.
8. The Scarf-Wrapped Bun with Grip Enhancement
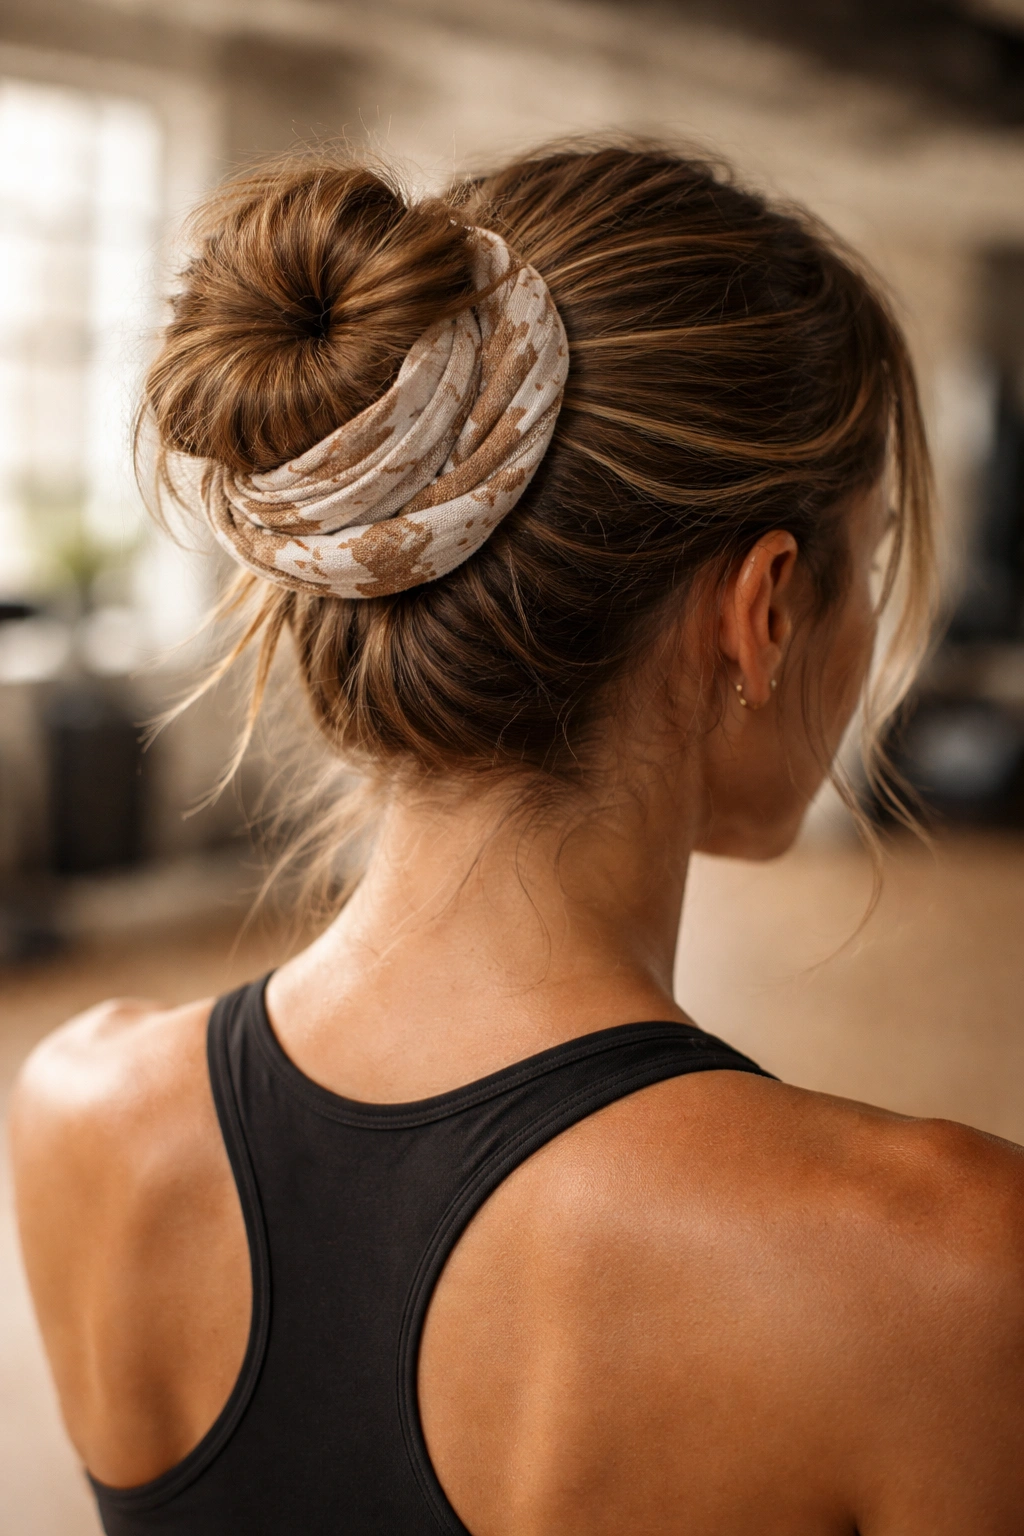
This final style incorporates a lightweight scarf or fabric strip woven into your bun structure, which adds both visual appeal and genuine grip enhancement. The fabric prevents hair strands from slipping against each other and provides additional surface area for your bobby pins to grip.
How Fabric Integration Changes Hair Mechanics
A lightweight scarf or fabric strip woven through your bun works by creating friction and grip in places where hair alone wouldn’t provide enough. When hair strands rub against each other under tension, they’re relatively slippery. Fabric creates higher friction, which means individual hair strands can’t slide out as easily. The fabric also provides a structure for your bobby pins to grip into—instead of just piercing through hair, the pins can anchor into the fabric, creating a much more secure hold.
This technique is brilliant for people with very fine, slippery hair, or for anyone doing workouts with significant impact where you need maximum security. Dancers and people doing jump-heavy activities particularly benefit because the impact that might cause other bun styles to loosen is offset by the fabric’s friction and the added grip it provides. The scarf also adds visual interest and intentional styling without requiring additional effort.
Building the Scarf-Wrapped Bun
- Cut or tear a lightweight cotton scarf or fabric strip (about 2 inches wide and 12-18 inches long)
- Gather your hair into a high ponytail and secure with an elastic
- Twist your ponytail tightly from base to ends
- As you begin coiling the twisted hair around the ponytail base, simultaneously weave the fabric strip through the coil
- The fabric should wrap around the bun in a spiral pattern, following the twisted hair
- Secure the bun with 6-8 bobby pins, pinning through both the hair and the fabric where possible
- Tuck the ends of the fabric strip underneath the bun or secure with an additional small clip
- Pull strands to create texture and messiness, being careful not to pull out the fabric
- Optional: finish with a light hairspray that holds without making the fabric stiff
Insider note: Choose natural fabrics like cotton or linen rather than synthetic—they grip better and look less costume-y.
Securing Your Messy Bun for Different Workout Intensities
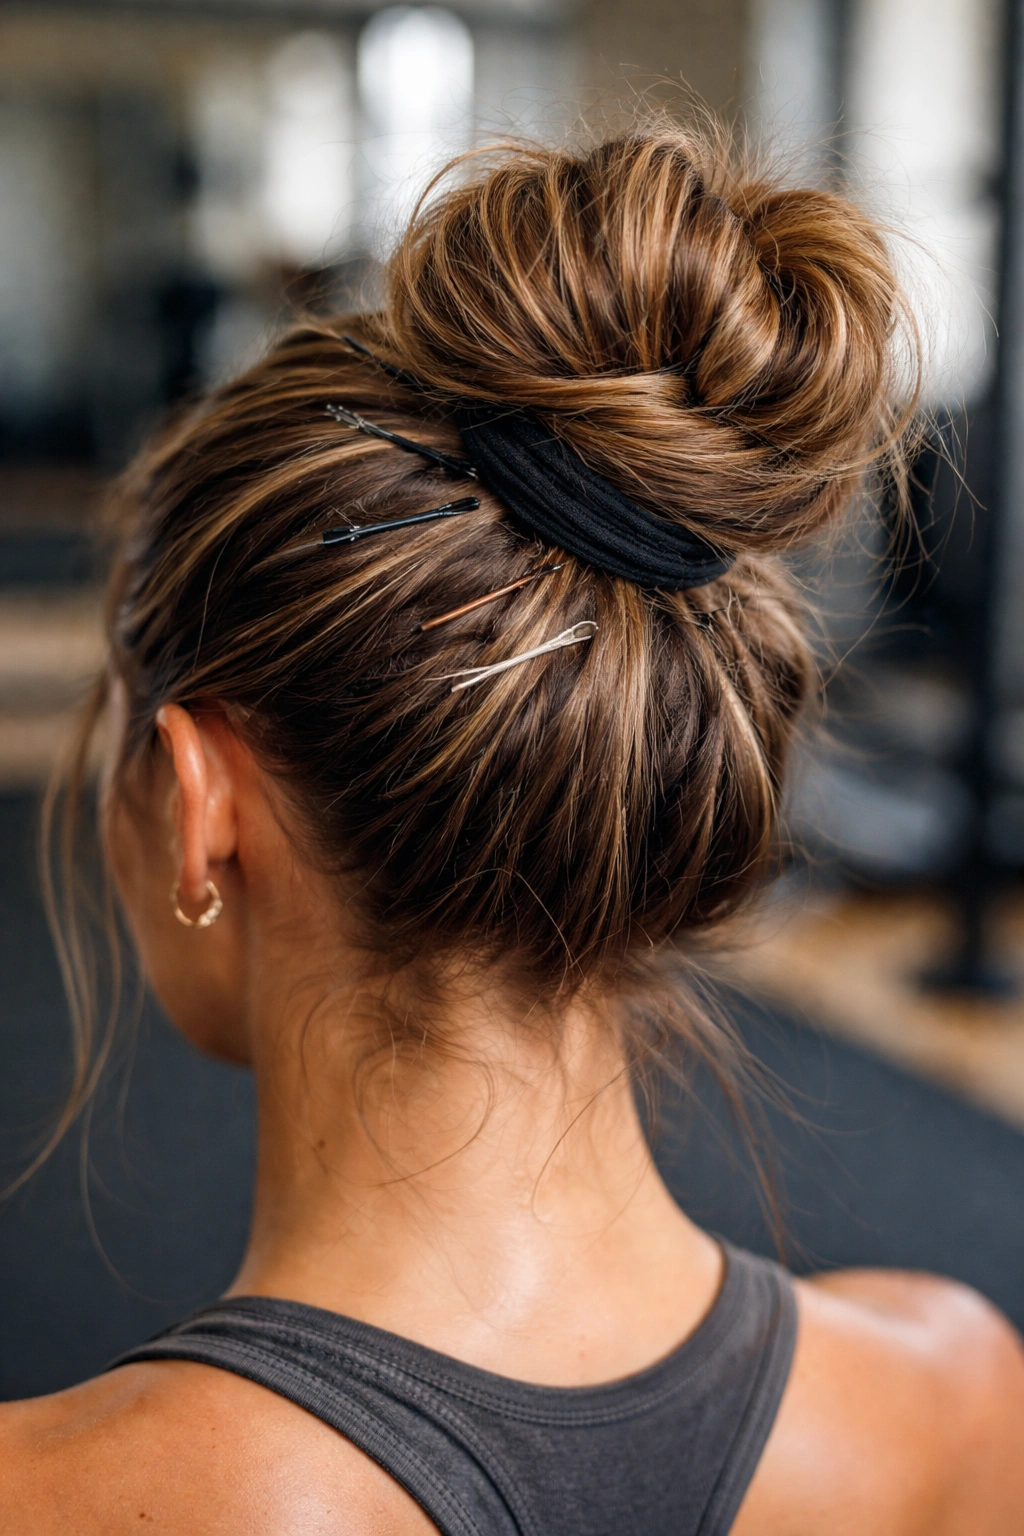
Not every bun style needs the same level of security for different activities. A gentle yoga session doesn’t demand the same holding power as a high-impact CrossFit class or a spin session with aggressive head movements. Understanding which styles and securing techniques match your specific workout helps you avoid constantly readjusting.
For low-impact workouts like yoga, Pilates, or walking, you can use fewer bobby pins and lighter securing methods. The classic high twisted bun with just 3-4 pins works fine because you’re not experiencing the aggressive movement that would test your bun’s staying power. For moderate-intensity workouts like strength training or swimming, you want solid technique but don’t necessarily need redundant systems. The double spiral bun or braided bun works beautifully here because the technique itself creates security.
For high-impact activities like running, CrossFit, HIIT classes, or contact sports, you want your most secure options. This is where the double spiral, the hybrid system with elastic and claw clip, or the scarf-wrapped bun genuinely shines. These styles are built to withstand aggressive movement and maintain their structure through sweat, heat, and dynamic motion. If you’re spending money on race entry fees or gym membership, it’s worth spending five extra minutes securing your bun properly.
Product Recommendations for Bun Longevity
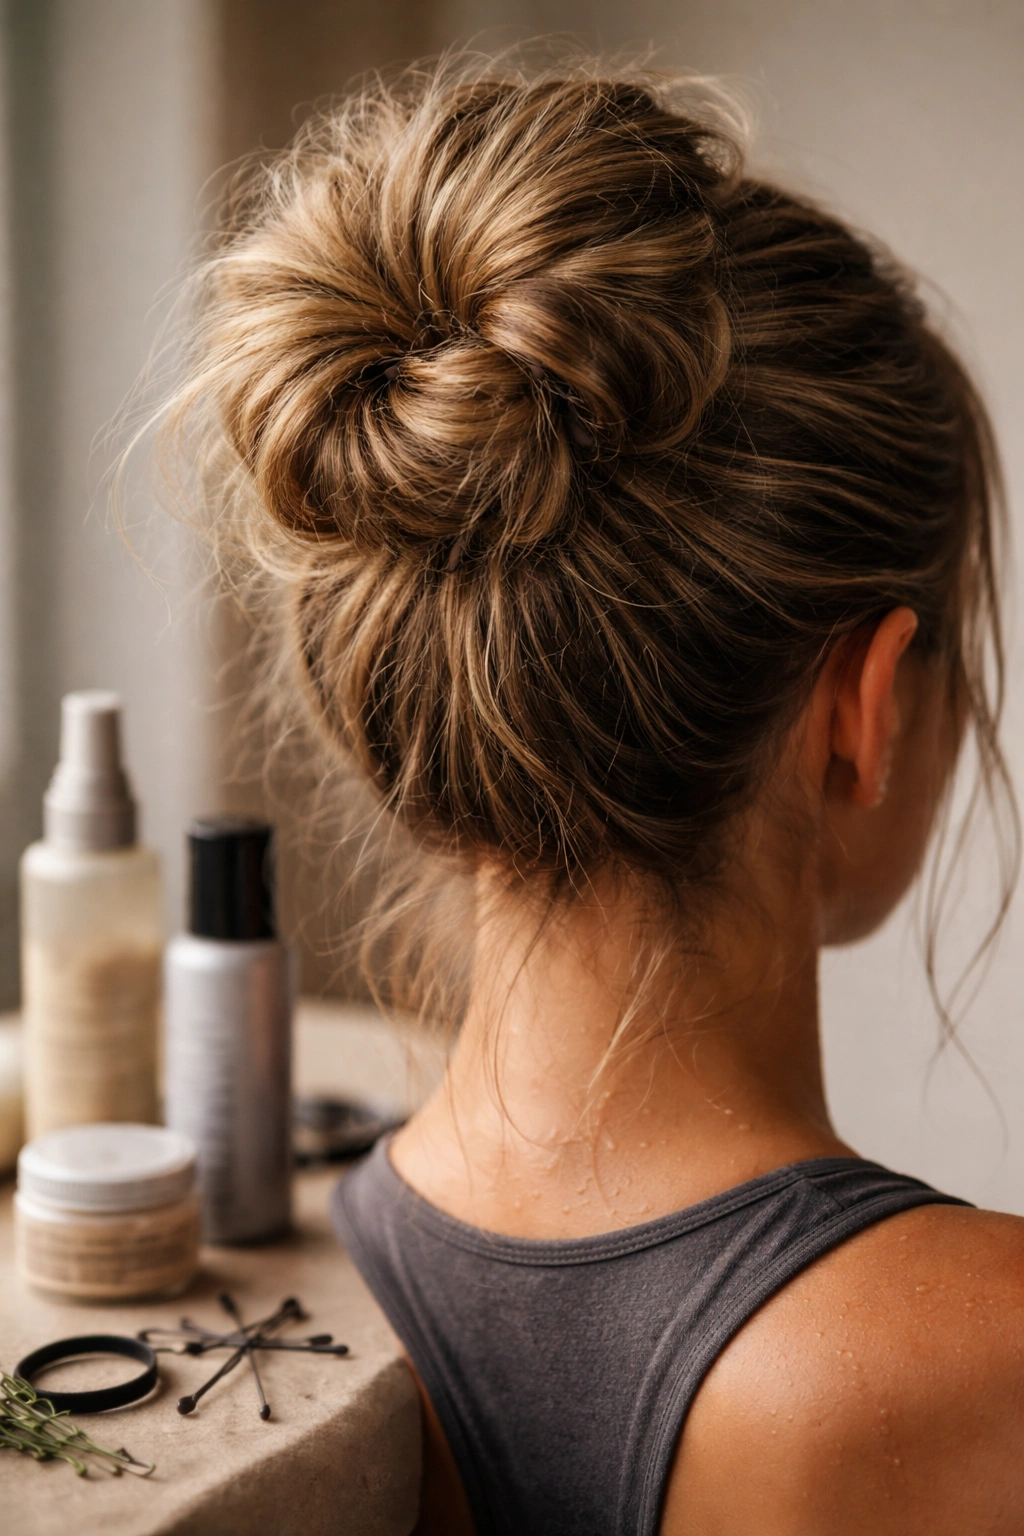
Your hair’s baseline grip and texture matter more than any product you could use, but strategic product application genuinely extends how long your bun lasts. A lightweight texturizing spray applied to damp hair before styling creates surface area and grip that helps your elastic and bobby pins do their job. Look for products that add texture without weight—anything labeled “sea salt spray” or “texture spray” works.
Bobby pins deserve special attention. Cheap bobby pins slide out of hair too easily and bend too readily. Invest in quality pins that actually grip—brands designed specifically for professionals hold noticeably better than drugstore options. The right bobby pins make a real difference in how long your bun stays secure. You want pins that have a slightly textured finish rather than smooth, and slightly thicker material that won’t bend under normal use.
For people with particularly slippery hair, a very light hairspray applied to the twisted or braided sections before coiling genuinely helps. You’re not aiming for full hold or stiffness—just enough to add slight texture and grip. Apply spray, let it dry for a few seconds, then proceed with coiling and securing. This is also helpful if you’re doing the teasing technique; a light spray holds the backcombing in place.
Final Thoughts
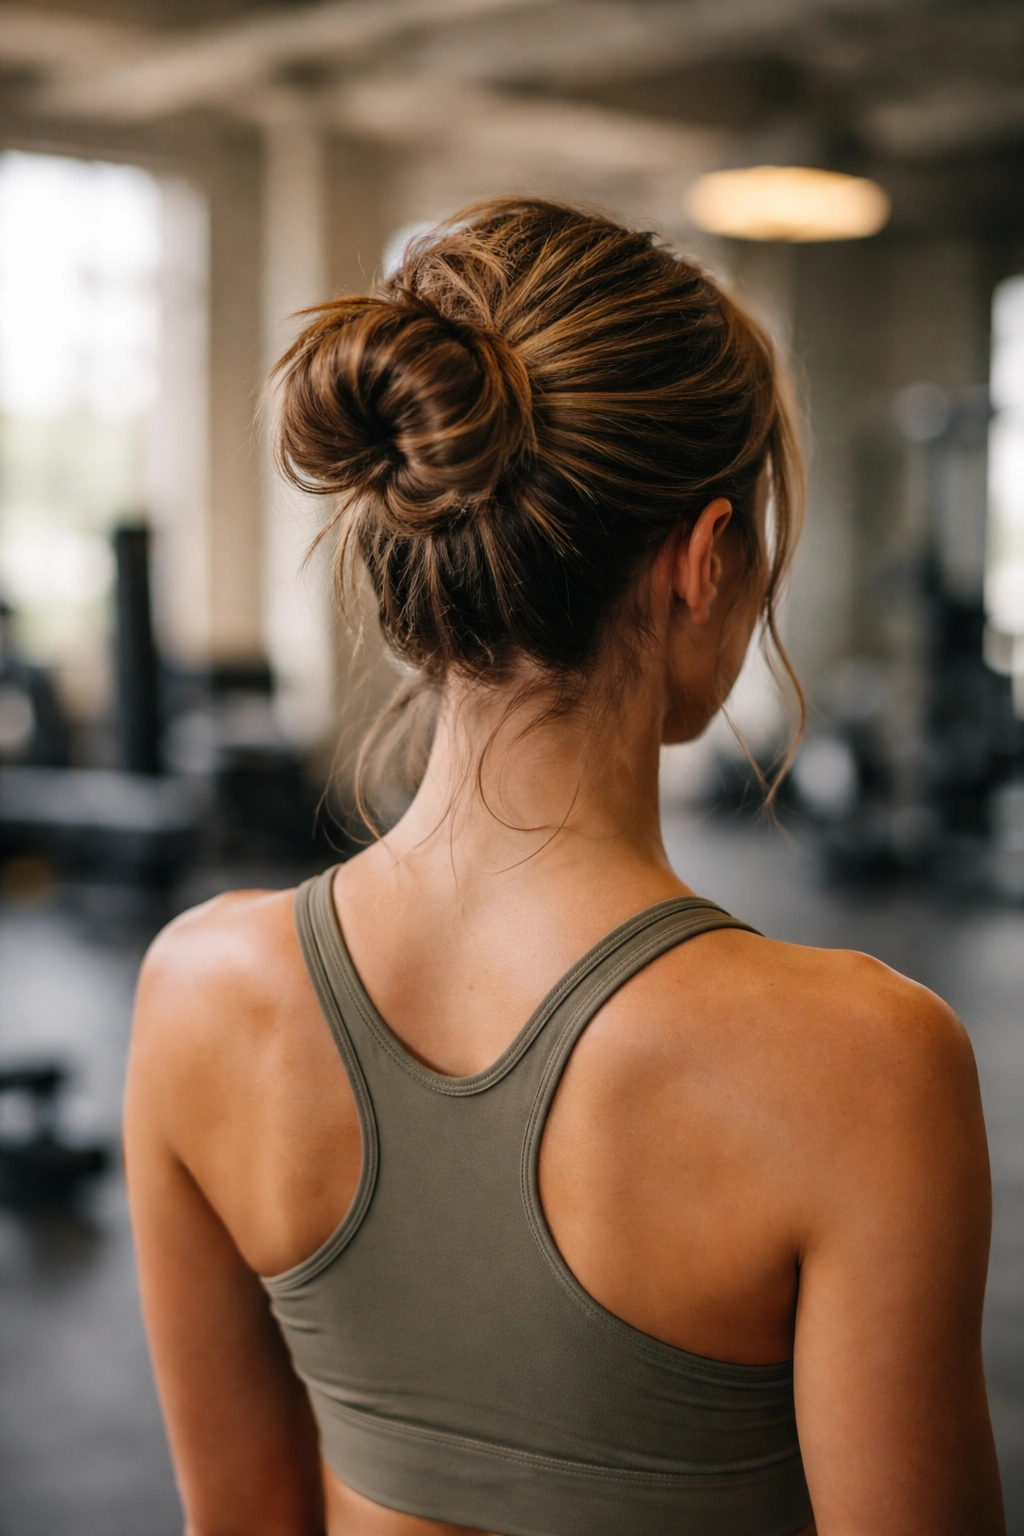
Choosing the right messy bun style for your workout boils down to three factors: your hair type and texture, the intensity and type of movement you’ll be doing, and how long you need it to stay in place. Fine hair needs either the teasing technique, the double spiral, or the scarf-wrapped approach because you need extra grip. Thick hair handles nearly any technique but benefits from double spirals that prevent bulkiness.
The honest truth is that you’ll probably need to experiment. Your first attempt at whichever style appeals to you might not stay perfectly in place, but that’s genuine feedback about what adjustments would help. Try adding more bobby pins, using a different elastic, or positioning the bun slightly differently. Each bun style has small adjustments that dramatically improve performance. Once you find the version that works for you, you’ll have a go-to workout hairstyle that actually stays up, doesn’t cause headaches, and lets you focus entirely on your training instead of constantly tucking hair back into place. That’s the entire point—a good messy bun gets out of your way and lets you do your thing.
