



8 Messy Bun Styles for Fine Thin Hair
Fine and thin hair can feel limiting when it comes to updo styles. Messy buns — those effortlessly tousled styles that look Instagram-worthy while actually taking minimal effort — are especially tricky when you’re working with delicate strands that lack natural volume and density. The traditional messy bun tutorial assumes you have thick, textured hair that naturally grabs itself and holds together. When your hair is fine, those same techniques often result in a sad, flat knot that screams “I tried and failed” instead of “I woke up like this.”
But here’s what most hairstyling advice gets wrong: fine hair doesn’t need to be excluded from messy bun styles. It needs different techniques, strategic texturizing, and the right tricks to create the illusion of volume where it doesn’t naturally exist. The good news is that fine hair actually has advantages — it can hold a bun closer to your head, it creates a more elegant silhouette, and when you use the right approach, it takes on a refined, intentional look rather than a haphazard one.
The styles and methods in this guide are specifically designed for fine and thin hair textures. Each approach includes ways to add grip, volume, and visual fullness so your messy bun looks polished and intentional rather than limp or sparse. You’ll learn which techniques actually work with your hair texture, which products make the biggest difference, and how to style your hair in ways that complement rather than fight against its natural properties.
1. The Textured Twist Bun
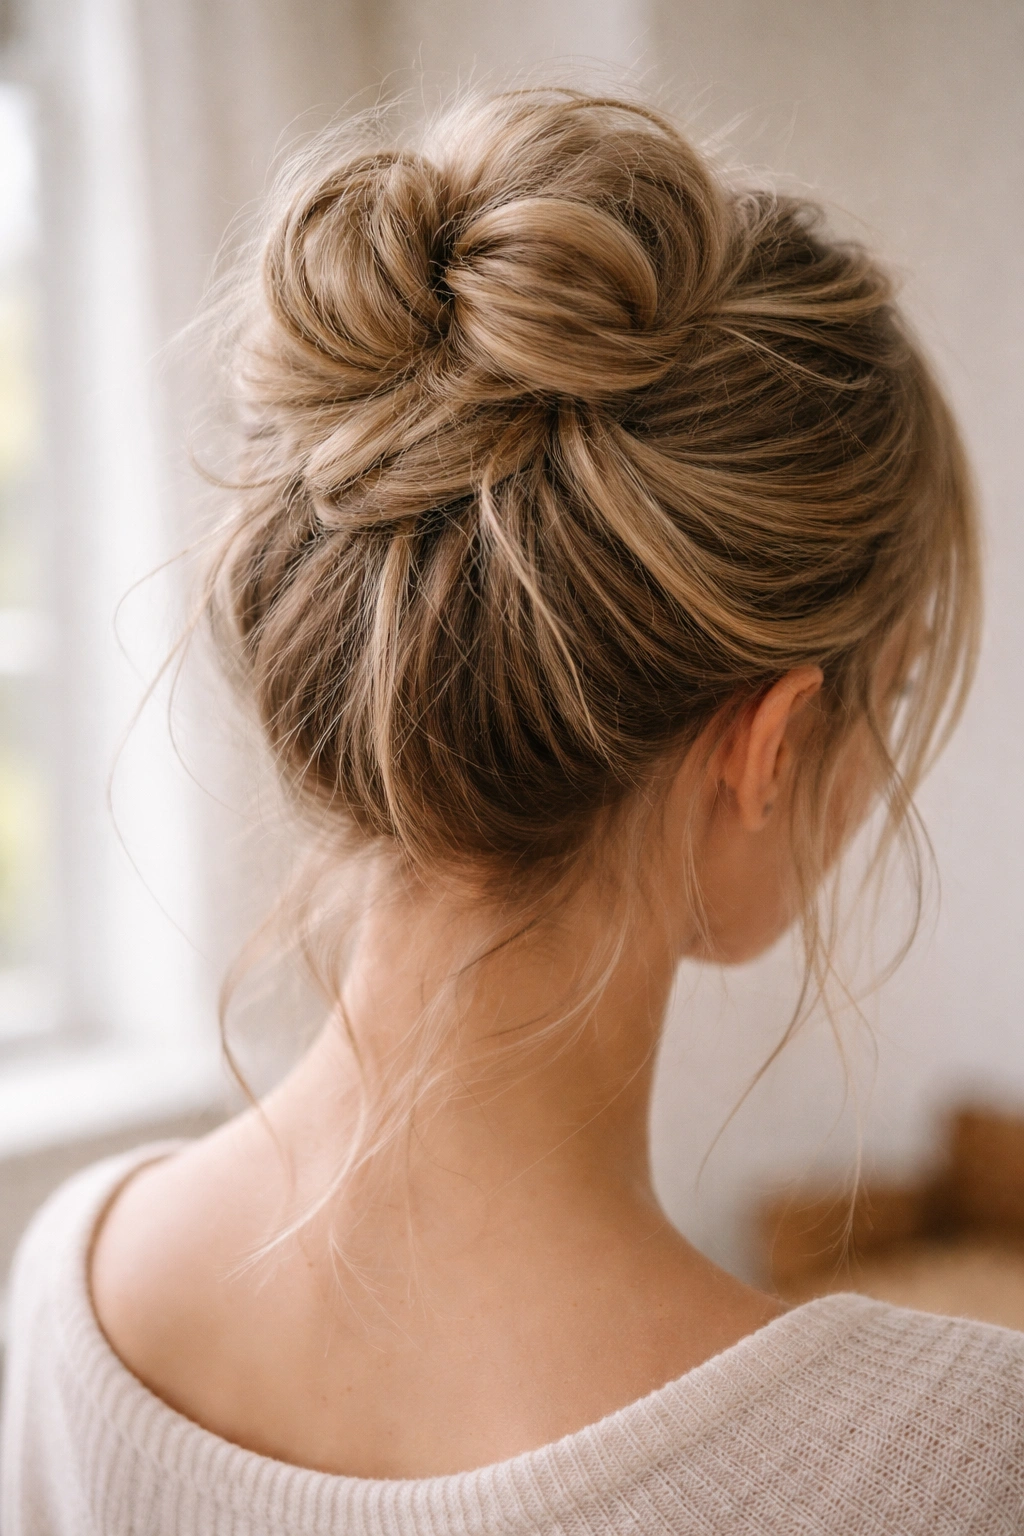
This style works beautifully on fine hair because it relies on creating surface texture rather than demanding volume from the core of your hair. The key is pre-styling your hair with texture before you ever pin it up — this gives you grip and makes thin strands hold together far better than slick, smooth hair would.
Start by applying a dry texturizing spray or sea salt spray to damp hair. Work the product through with your fingers, focusing on mid-lengths and ends. Blow-dry your hair to about 80% dry while scrunching it upward with your hands — this encourages natural wave and prevents the flat, limp look that fine hair tends to develop. If your hair is naturally straight, use a curling iron to create loose waves or bends throughout, hitting different sections at different angles so the result looks random rather than uniform.
Why It Works for Fine Hair
The texture gives fine strands something to grip onto, so they tangle together and hold themselves without needing sheer thickness. Your thin hair actually benefits here because textured fine hair has enough surface area to create definition, whereas smooth fine hair just looks flat. The waves and bends also create the visual illusion of density — the eye reads texture as fullness even when the actual hair count is lower.
How to Style It
Once your hair has texture, gather it into a high or mid-height ponytail. Loosely twist the ponytail into a rope, then wrap it around the base to form a bun shape. Pin it in place using small, thin bobby pins (thicker pins will slide through fine hair too easily). Pull out a few face-framing pieces and gently tease those sections at the scalp to add height. Finish with a light hairspray — anything too heavy will weigh down your fine strands and defeat the purpose.
Pro tip: Don’t expect this bun to look perfect for eight hours. Fine hair is better suited to styles that last 4-6 hours beautifully, then relax slightly and gain that authentic “worn-in” messy look.
2. The Teased Base Bun
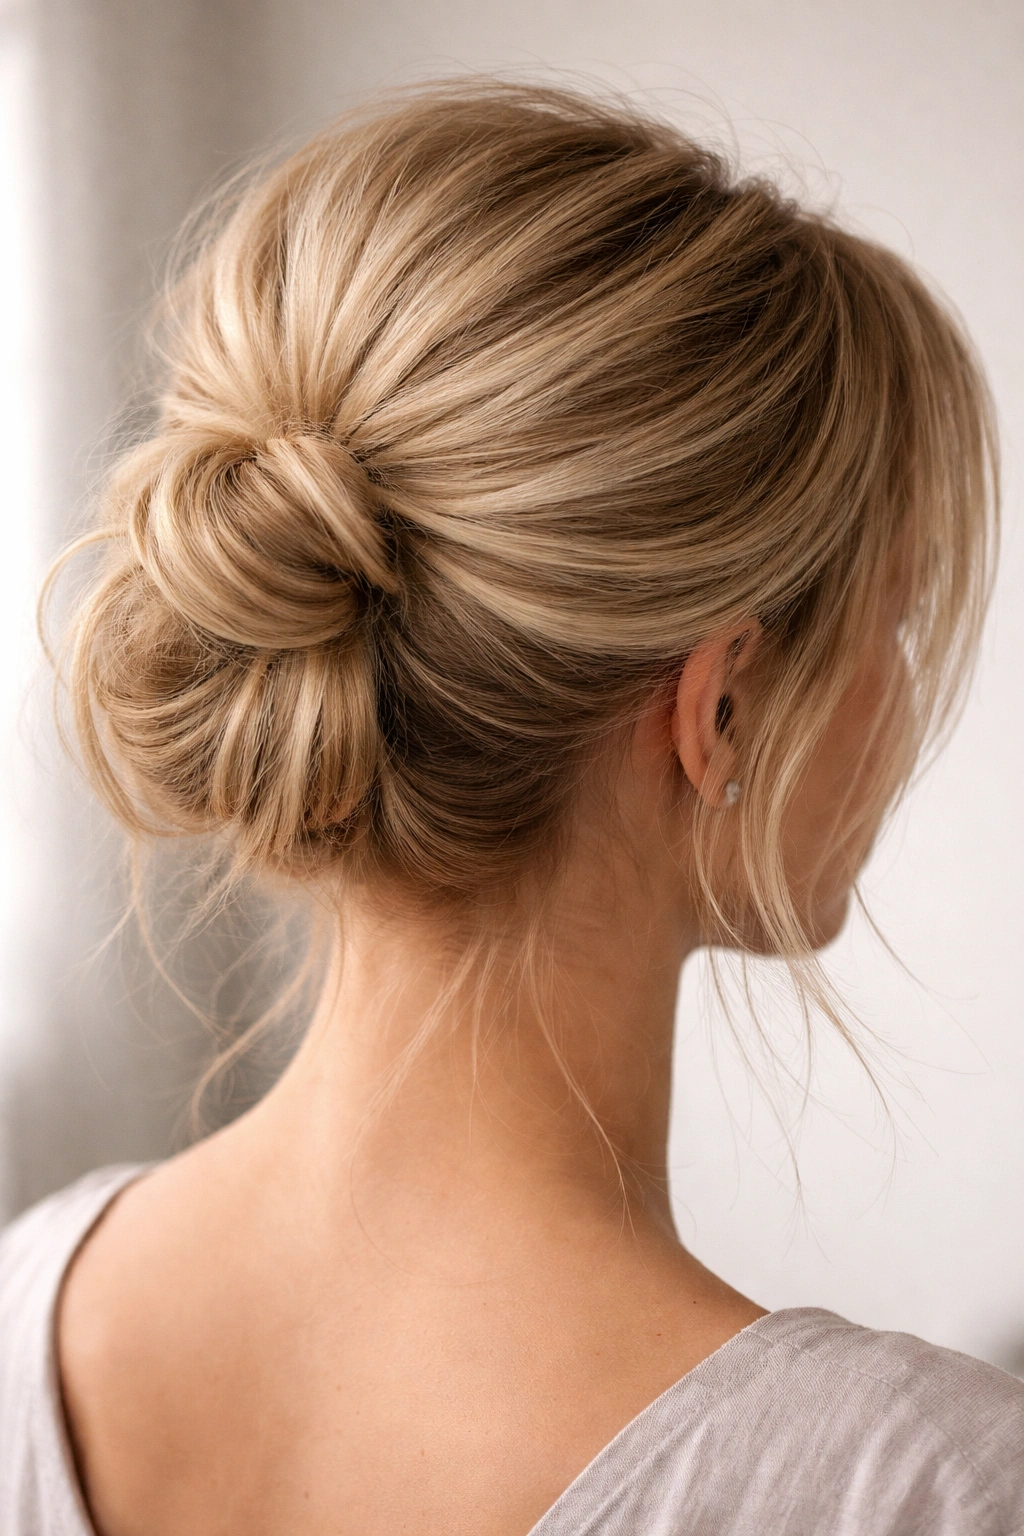
Strategic teasing at the crown and scalp is one of the most transformative techniques for fine hair — it creates volume where none naturally exists and gives you a foundation that grips bobby pins properly. This style is messier and more undone-looking than the twisted version, with wispy pieces falling around the face and neck.
The foundation is everything here. Apply a volumizing mousse or texturizing spray to clean, dry hair, or use a texturizing spray on second-day hair if your scalp needs less washing. Tease your crown area gently but thoroughly — use a fine-tooth comb and tease small sections at a time, working from the ends toward the roots. Don’t go overboard; you want support, not a teased-out beehive. Smooth the surface layer lightly with your comb so it looks intentional rather than obviously back-combed.
Why It Works for Fine Hair
Teasing adds temporary thickness and texture, plus it creates friction that allows bobby pins to grip more securely. For fine hair, this means your bun actually holds instead of gradually sliding toward your ears throughout the day. The tease also gives you a higher starting point for volume, so even though your actual hair density is thin, the visual height and fullness of your bun improve dramatically.
How to Style It
After you’ve teased your base, gather your hair into a high ponytail. If you want extra grip, apply a light-hold hairspray to the ponytail before twisting it. Twist the ponytail loosely and wrap it around the base in a circular motion, pinning as you go. The looser your wrap, the messier the final result. Pull out face-framing pieces and any random wispy strands, then gently pull and prod the bun itself so it’s not too perfect or compact. Finish with hairspray to set everything in place — hairspray is especially important for fine hair since you need the hold that will actually last.
Worth knowing: The messier this bun looks, the more intentional your styling appears. Embrace the undone aesthetic rather than trying to make it sleek.
3. The Braided Wrap Bun
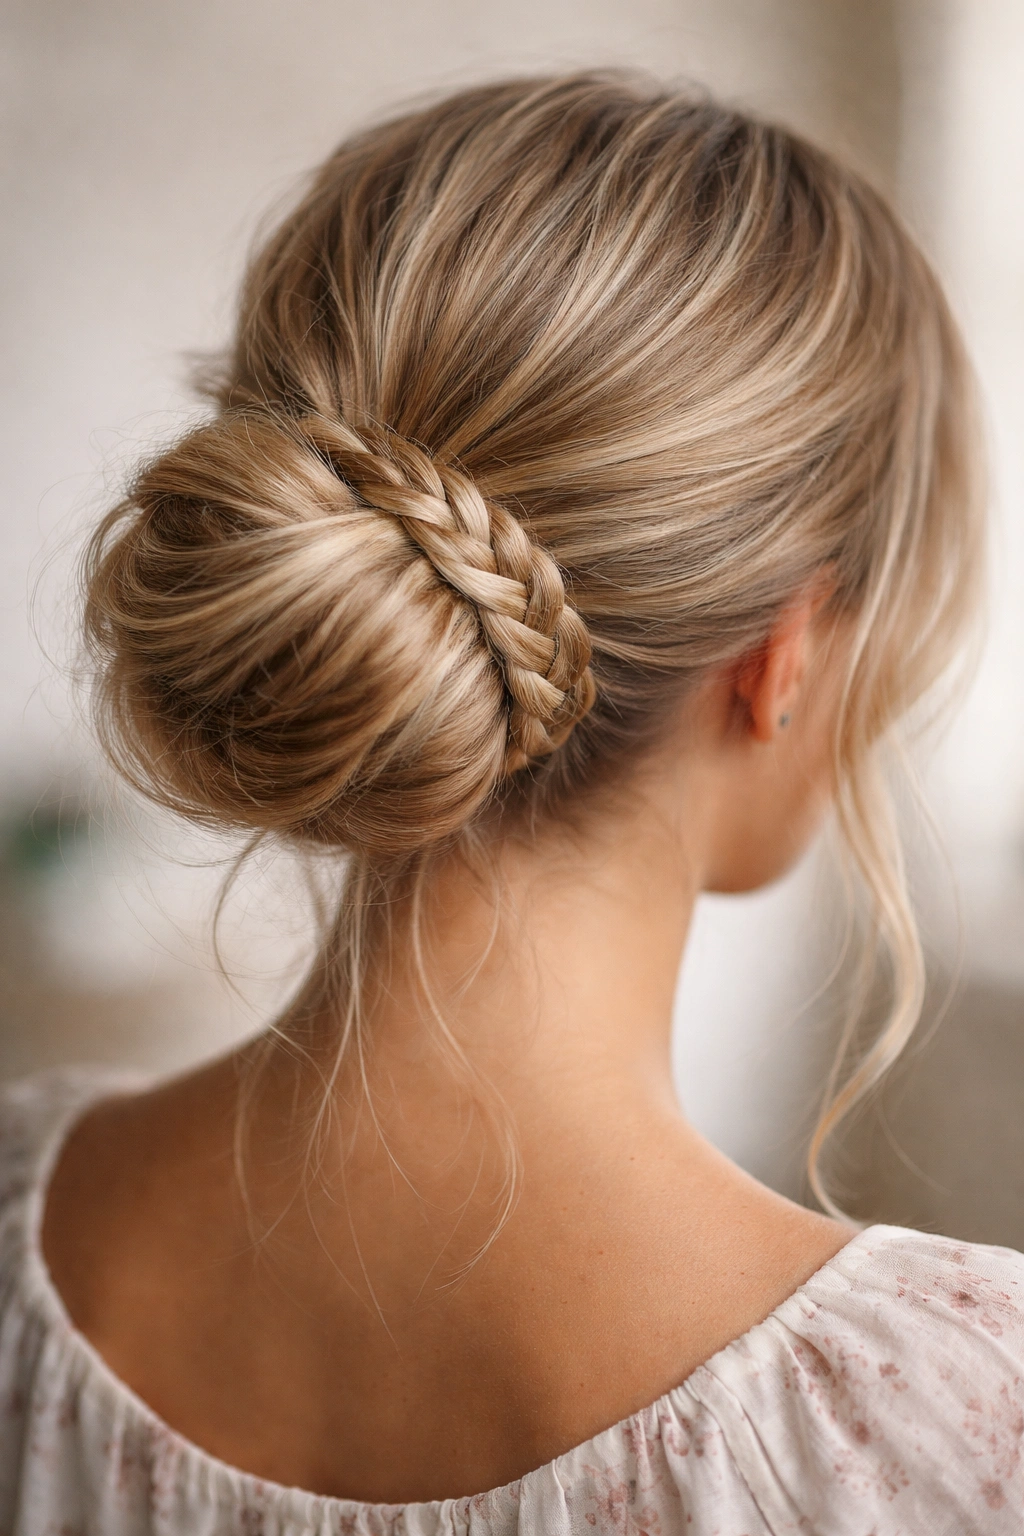
Braids are your friend when you have fine hair because they compress strands together and make them hold in ways that loose hair simply cannot. A braided wrap around the base of your bun adds visual interest, creates texture, and solves the structural problem of fine hair refusing to stay neatly pinned.
Begin with textured hair (curled or waved with a styling product). Gather it into a high ponytail and secure it loosely with an elastic. Take a small section from the ponytail — about the thickness of a pencil — and create a three-strand braid with just that section. If your hair is very fine, your braid will be delicate, which is actually perfect for this style because it looks intentional rather than chunky.
Why It Works for Fine Hair
A braid uses the properties of fine hair to its advantage: delicate strands are easier to manipulate into a tight braid, and the braid structure itself prevents those strands from slipping and sliding. The braid also disguises the fact that you don’t have much hair volume — it redirects the eye toward the texture and pattern of the braid rather than asking you to admire the thickness of your hair.
How to Style It
Once you’ve braided that one section, wrap the braid around the base of your ponytail, covering where the elastic sits, and pin it in place. Then twist or loosely gather the remaining hair in the ponytail and coil it into a bun shape, pinning as you go. The braid acts as a decorative frame while also securing the structure. Pull out a few face-framing pieces for softness, and let a few wispy strands escape from the bun itself. The result looks far more intentional and polished than a simple twisted bun.
Quick technique note: If your braid starts to loosen while you’re wrapping it, secure it with a small clear elastic before you wrap it around the base. This prevents it from unraveling mid-day.
4. The Layered Illusion Bun
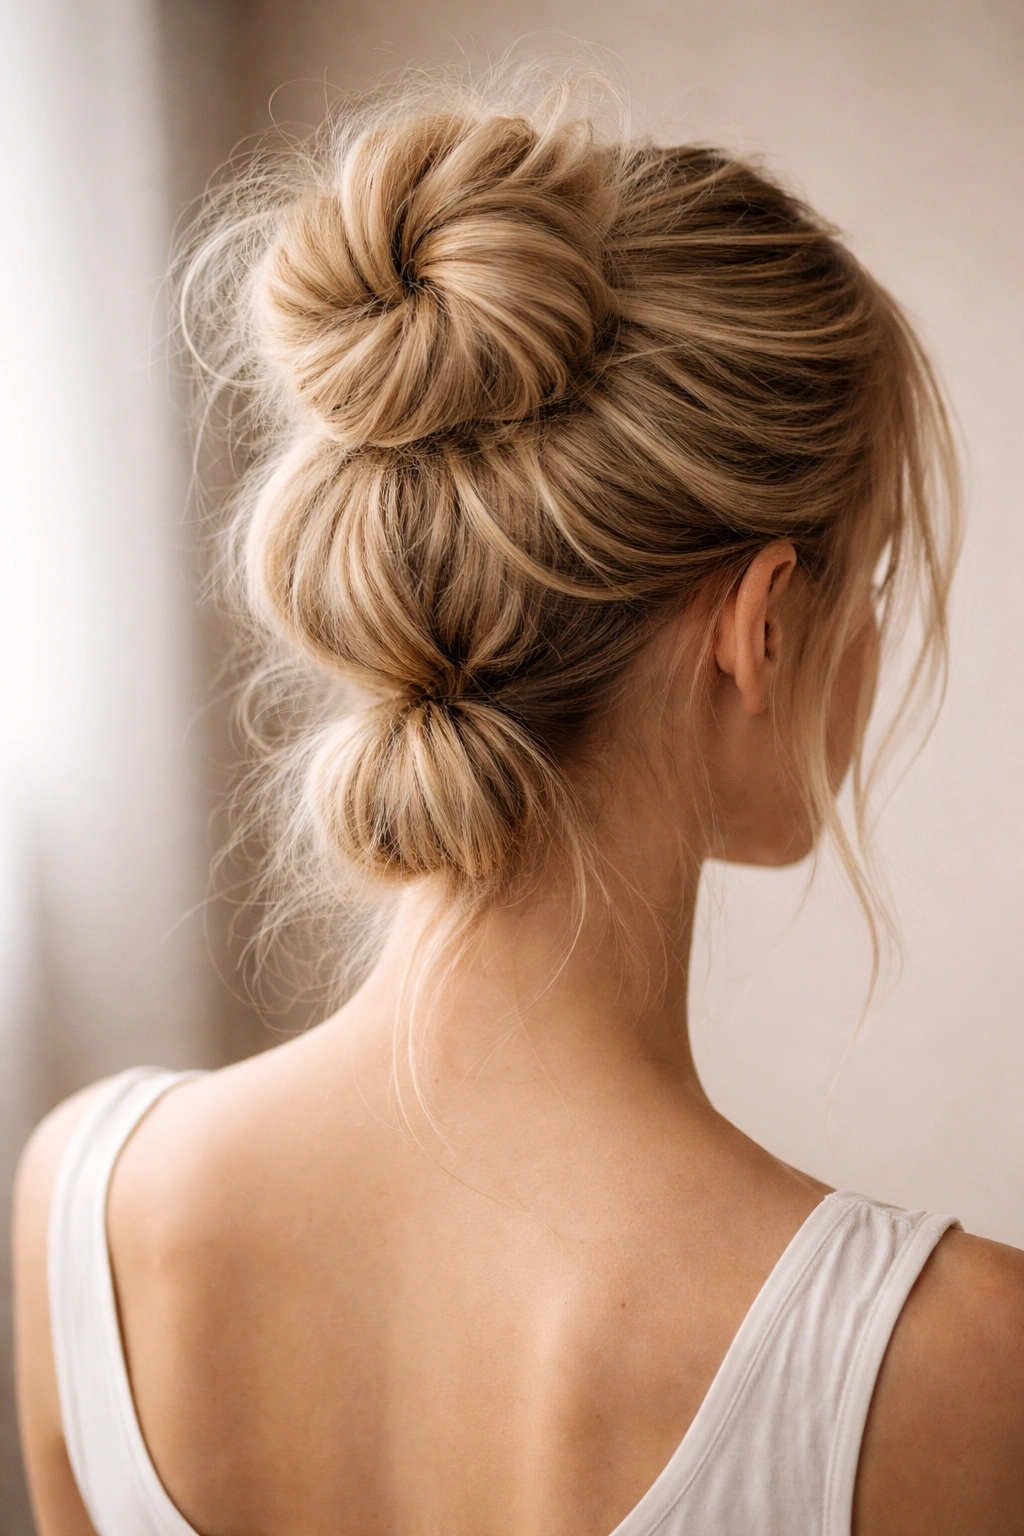
This style creates the optical illusion of a much thicker, fuller bun by using your hair strategically in layers rather than gathering everything into a single knot. It’s especially flattering on fine hair because it lets you work with your actual hair volume instead of fighting against it.
Start with curled or textured hair. Take the lower half of your hair (everything below your ears) and gather it into a low ponytail at the nape of your neck. Twist this section and coil it into a small, tight bun, securing it well with bobby pins. Now take the upper half of your hair (everything above your ears) and create a second, higher bun just above or slightly overlapping the first one. The key is not to blend these buns together — let them sit as two distinct shapes. Pull out face-framing pieces and tease or fluff the outer edges of both buns.
Why It Works for Fine Hair
By splitting your hair into two buns instead of trying to gather it all into one thick bun, you’re creating the visual impression of far more volume. Each bun looks fuller because it’s made from less hair, and the overall effect is textured, dimensional, and intentionally styled. This approach respects what your hair actually is rather than trying to force it into a style that demands density it doesn’t have.
How to Style It
This style takes a few more minutes than a simple twist bun, but it’s absolutely worth it for the visual impact. Make sure both buns are secure — use enough bobby pins that they’ll last all day, and consider using a light hairspray between layers for extra hold. The messiness comes from the face-framing pieces and from letting the buns have slightly undone, fluffy edges rather than tight, smooth surfaces. Don’t try to tame and perfect this style; the charm is in the texture and movement.
Pro tip: This style photographs incredibly well because the two-bun silhouette reads as fuller and more intentional than a single bun ever could.
5. The Twisted Rope Bun
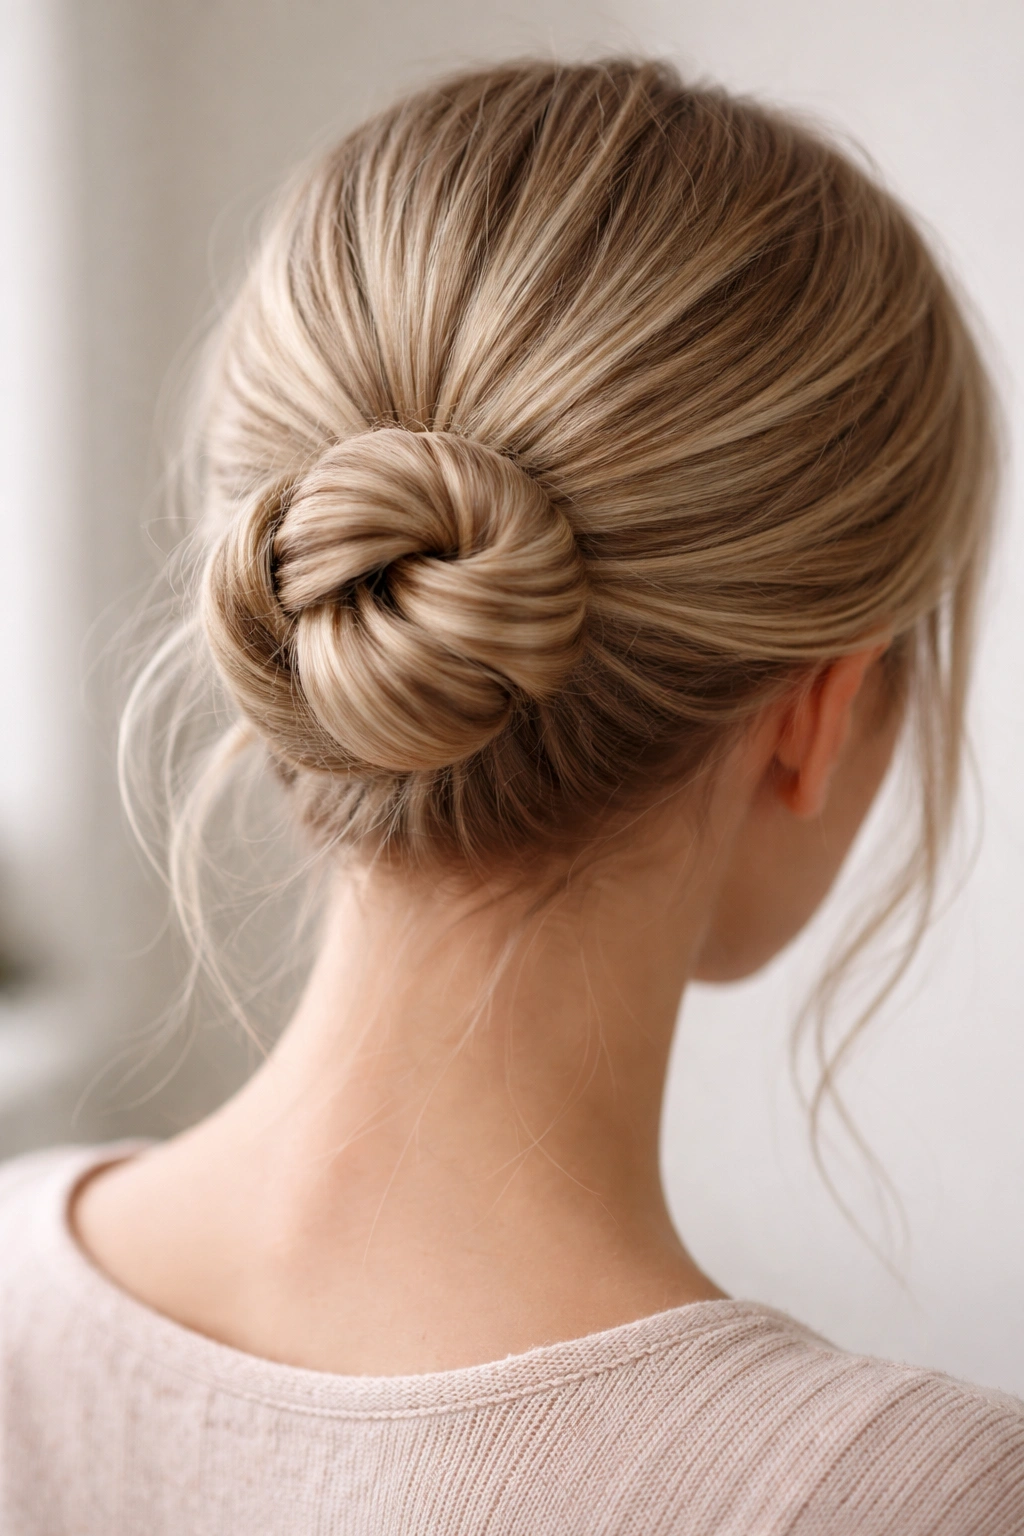
A rope bun is simply a twisted ponytail coiled into a bun, but the “rope” creates a visible spiraling texture that makes thin hair look far more interesting and intentional than a simple twist would. This style is modern, clean, and works especially well on fine hair because the rope texture gives you visual interest without requiring bulk.
Apply a texturizing spray or light mousse to dry hair and work it through with your fingers. Create a high or mid-height ponytail, then divide the ponytail into two equal sections. Twist one section clockwise and the other counterclockwise, then twist those two twisted sections around each other, creating a “rope” effect with double spirals. The tighter your twist, the more defined and polished the rope; the looser your twist, the messier and more undone it appears.
Why It Works for Fine Hair
The rope creates visual texture and pattern that makes your bun look intentionally styled rather than thin. Each spiral is visible and draws the eye, so viewers notice the styling technique rather than scrutinizing the hair volume. The rope also compresses your hair into a tight coil, which keeps it secure and prevents the drooping that often happens with fine hair throughout the day.
How to Style It
Once you’ve created your rope, wrap it around the base of the ponytail into a coil or spiral shape and secure it with bobby pins. You can create a tight, structured bun by coiling it neatly, or a looser, messier version by letting the rope loop and coil more randomly. Pull out a few pieces for softness, and if you want extra texture, gently tease the outer edges of the finished bun. A light hairspray will keep everything in place without weighing it down.
Insider note: This style looks great at various stages throughout the day — it starts polished and becomes progressively messier, which actually works in your favor with fine hair.
6. The Swooped Side Bun
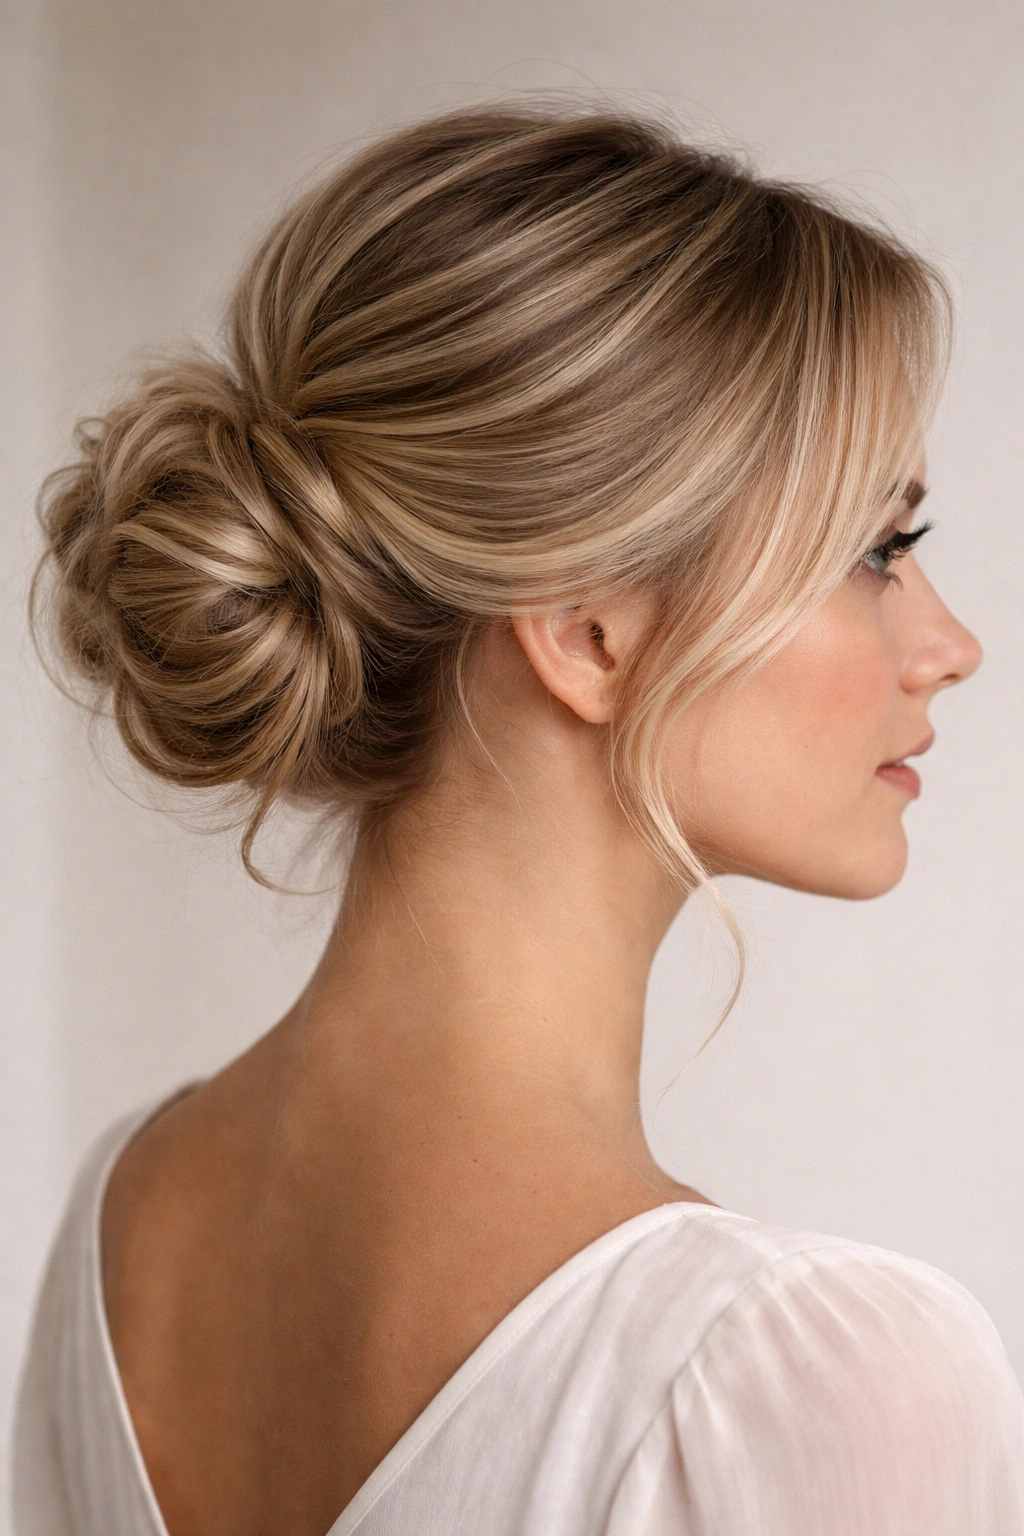
A side bun is more flattering on fine hair than a centered bun because it creates asymmetrical volume that draws the eye and adds visual interest. When you swoop a section of hair up and over to the opposite side before pinning it into a bun, you’re creating the illusion of a fuller style while also adding an elegant, feminine touch.
Create soft waves or curls throughout your hair using a curling iron or heat tools, then apply a dry texturizing spray. Take the back section of your hair and brush it slightly to the side and backward, creating a subtle swooped shape. Secure this with bobby pins on the opposite side of your head — if you’re swooping left, pin on the right side. Once that swooped section is anchored, gather all your hair into a side ponytail at the back, just above or below your ear depending on how dramatic you want the swoop.
Why It Works for Fine Hair
The swooped technique creates height and volume on one side of your head, which is far more flattering for fine hair than trying to create height all over. The asymmetry also makes the style look intentional and fashionable rather than thin or undone. A side bun also sits closer to your neck and shoulder, which means less hair spread across the back of your head — a better silhouette for fine hair.
How to Style It
Once your side ponytail is secured, twist it loosely and coil it into a bun shape, pinning it in place. Let a few pieces fall out around your face and neck, and gently tease or fluff the outer edges so it looks deliberately messy. The swooped sections should have visible texture and movement, so don’t smooth them down — let them show the waves or curls you created. Finish with hairspray, focusing on the swooped section to make sure it stays in place.
Quick fact: This style is especially flattering if you have a heart-shaped or round face because the side positioning creates a more angular, balanced silhouette.
7. The Pinned Underbun
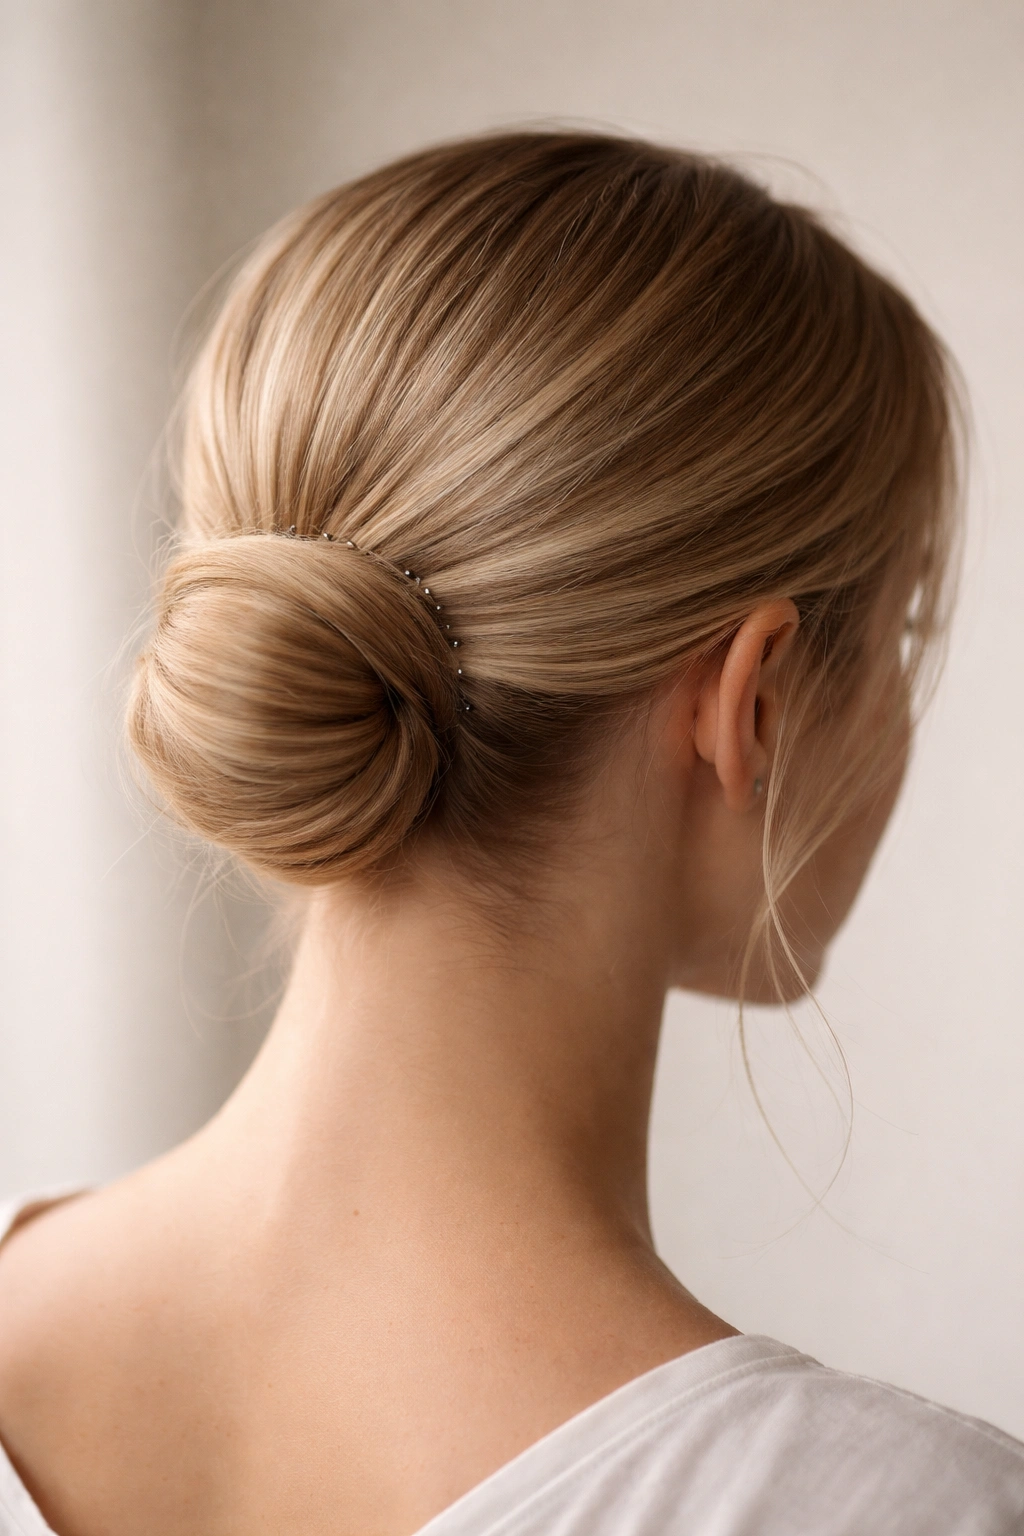
An underbun sits lower on the back of your head, closer to the nape of your neck, and is often created by pinning the coiled hair flat against the base rather than building height upward. For fine hair, this style is brilliant because it doesn’t require the height and volume that a crown-level bun demands — instead, it plays to the elegant simplicity that fine hair naturally creates.
Smooth your hair back gently and gather it into a low ponytail at the nape of your neck. If your hair needs more grip, apply a light texturizing spray or use a tiny bit of gel at the base of the ponytail. Twist the ponytail gently — not too tightly — and coil it against the base of your head, pinning it so it sits close to your scalp in a compact shape. The style should look sleek at the crown with intentional messiness only at the bottom where the bun sits.
Why It Works for Fine Hair
A low underbun minimizes the visual impact of any lack of volume because it doesn’t ask you to create a big, fluffy crown-level style. The lower positioning makes thin hair look refined and intentional rather than sparse. This style also stays more secure throughout the day because the low position and the way it’s pinned close to your head means gravity is working with you, not against you.
How to Style It
The key to making an underbun look intentional on fine hair is contrast between the sleek, smooth crown section and the textured, slightly messy bun itself. Smooth your hair back firmly but not so tightly that you create tension or damage. Keep the bun itself somewhat loose and undone, with wisps and flyaways visible. Pull out a few face-framing pieces if you want softness around your face. This style pairs beautifully with half-up styles or pieces pulled out around your face — it reads as polished and intentional rather than thin.
Worth knowing: This is the most comfortable low-bun option for fine hair because the coiled pinning method prevents the bun from hanging too heavily and pulling on your strands.
8. The Curled Crown Bun
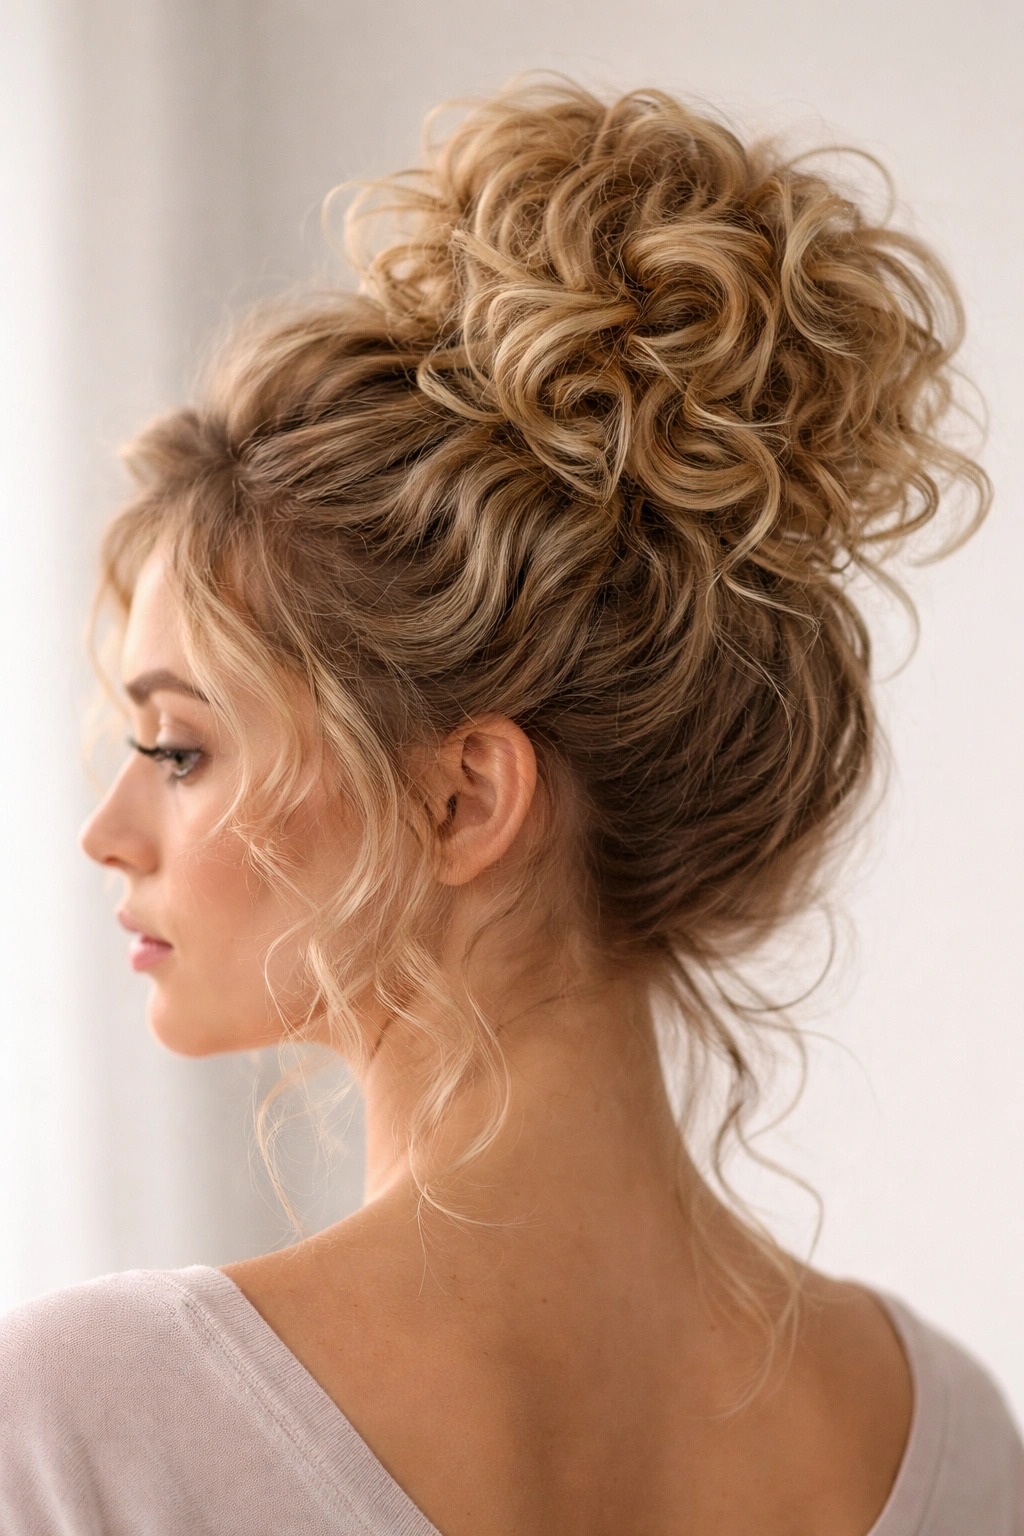
Instead of creating a bun from straight or waved hair, this style involves curling your hair extensively first, then gently gathering those curls into a bun shape without disrupting the curl pattern. The result is a bun that looks full and textured because the curls themselves create volume and visual density that straight or waved hair simply cannot match.
Apply a curl-enhancing mousse or cream to damp hair, then blow-dry or air-dry your hair. Use a curling iron to create tight, defined curls throughout your entire head — use 1-inch or smaller sections and leave the curl in the iron for a full few seconds so the curl sets properly. Once all your hair is curled, let the curls cool completely in your hands; never touch warm curls because they’ll fall flat immediately.
Why It Works for Fine Hair
Curls create volume with texture rather than with sheer hair density. A head full of tight curls on fine hair looks far fuller and more interesting than any straight or waved style could. When you gather those curls into a bun, you’re preserving that curl-based volume — the bun itself becomes voluminous and textured because the curls aren’t being flattened or stretched, they’re just being repositioned.
How to Style It
Once your curls are set, gently gather them into a high or mid-height ponytail. Don’t brush or comb the curls; instead, use your fingers to gently gather them, allowing each curl to remain intact. Secure the ponytail loosely with an elastic, then gently coil the curled ponytail into a bun shape. Use bobby pins to secure it, but don’t pull or tighten as you pin — you want the bun to look soft and undone, not compressed. The curls should visibly spiral and coil around each other, creating a textured, full-looking bun.
Pro tip: This style looks best when you don’t touch it too much after you pin it. The more you manipulate and fuss with the curls, the more they start to fall. Pin it, step away, and let the curls do the work.
Best Products for Fine Hair Messy Buns
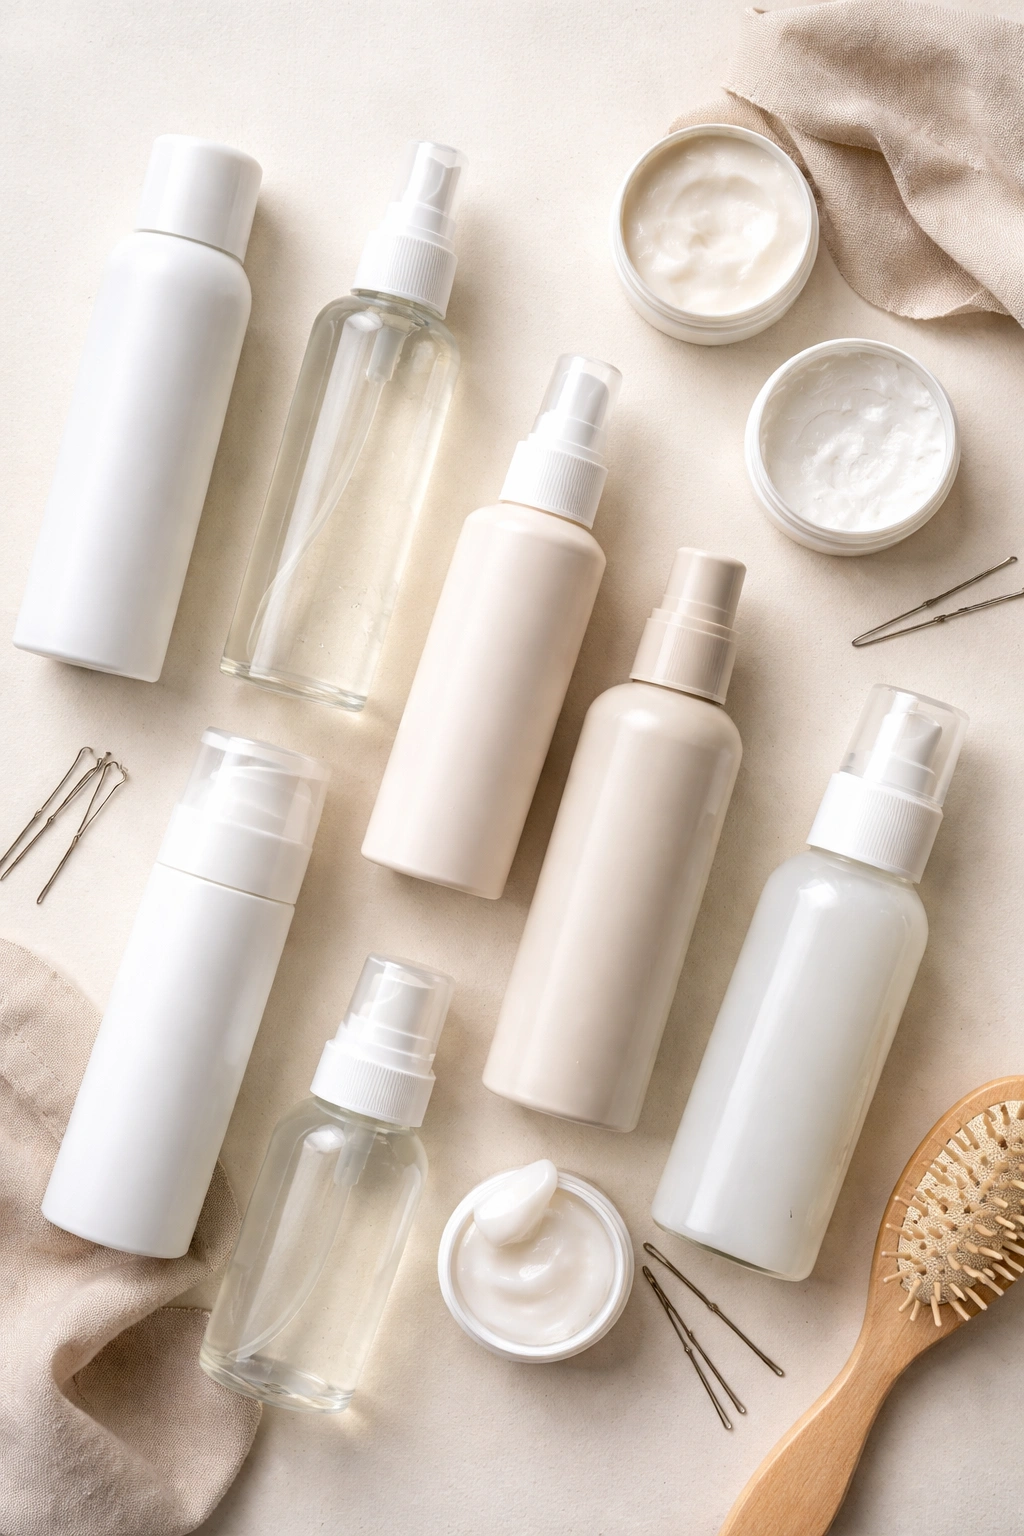
Product choice makes an enormous difference in how well a messy bun holds on fine hair. Heavy, oil-based styling products will weigh your strands down, making the bun fall flat. Lightweight, texturizing products that add grip without adding weight are your best friends.
Texturizing sprays and dry shampoos are essential — they add grip and texture to fine strands without the weight of wet products. Sea salt sprays, dry texturizing sprays, and lightweight dry shampoos all work similarly: they rough up the cuticle of your hair slightly, creating more friction so strands grab onto each other and onto bobby pins. Apply these to clean or second-day hair, not to damp hair.
Volumizing mousses and root-lift sprays are excellent for fine hair because they add body without weight. These are best applied to damp hair before blow-drying, and they help your hair start with more volume at the base. Lightweight hairsprays (not heavy-hold formulas) will set your bun without weighing it down. Look for products labeled “light” or “flexible hold,” not “maximum hold” or “extra strong.”
Techniques That Make Fine Hair Buns More Secure
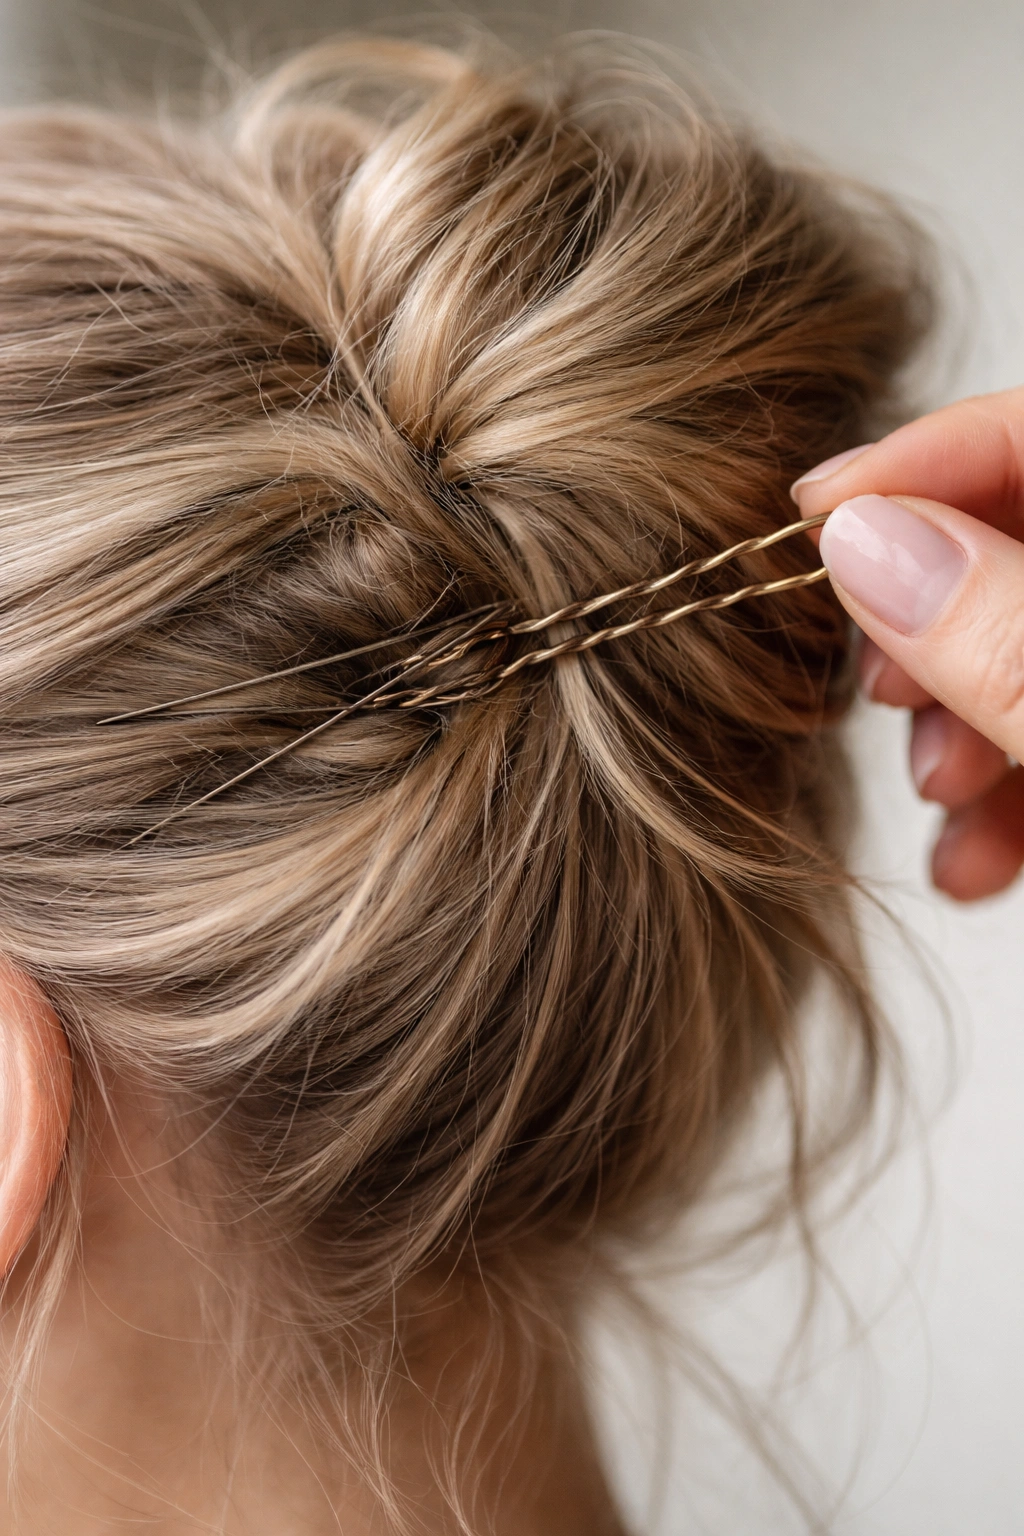
Beyond the specific styles, certain techniques universally improve how well a messy bun holds on fine hair. Strategic teasing at the crown and scalp creates a foundation that bobby pins can grip. Use a fine-tooth comb and gently backcomb small sections — you don’t need much, just enough to rough up the hair surface.
Twist-pinning is far more effective than simply inserting straight bobby pins. When you insert a bobby pin in a slight twist, it creates more surface contact and friction with your hair. For fine hair especially, twist your bobby pin as you insert it, and cross-pin by inserting pins at different angles so they interlock and create a stronger hold.
Don’t rely on just one elastic or pin to hold a section. Use multiple smaller pins rather than one large one, as smaller pins distribute pressure more evenly and are less likely to slip through fine strands. If you’re using an elastic for a ponytail, wrap it two or three times rather than once — this creates more grip without needing an extra-tight base that will damage your hair.
Styling Fine Hair for Lasting Hold
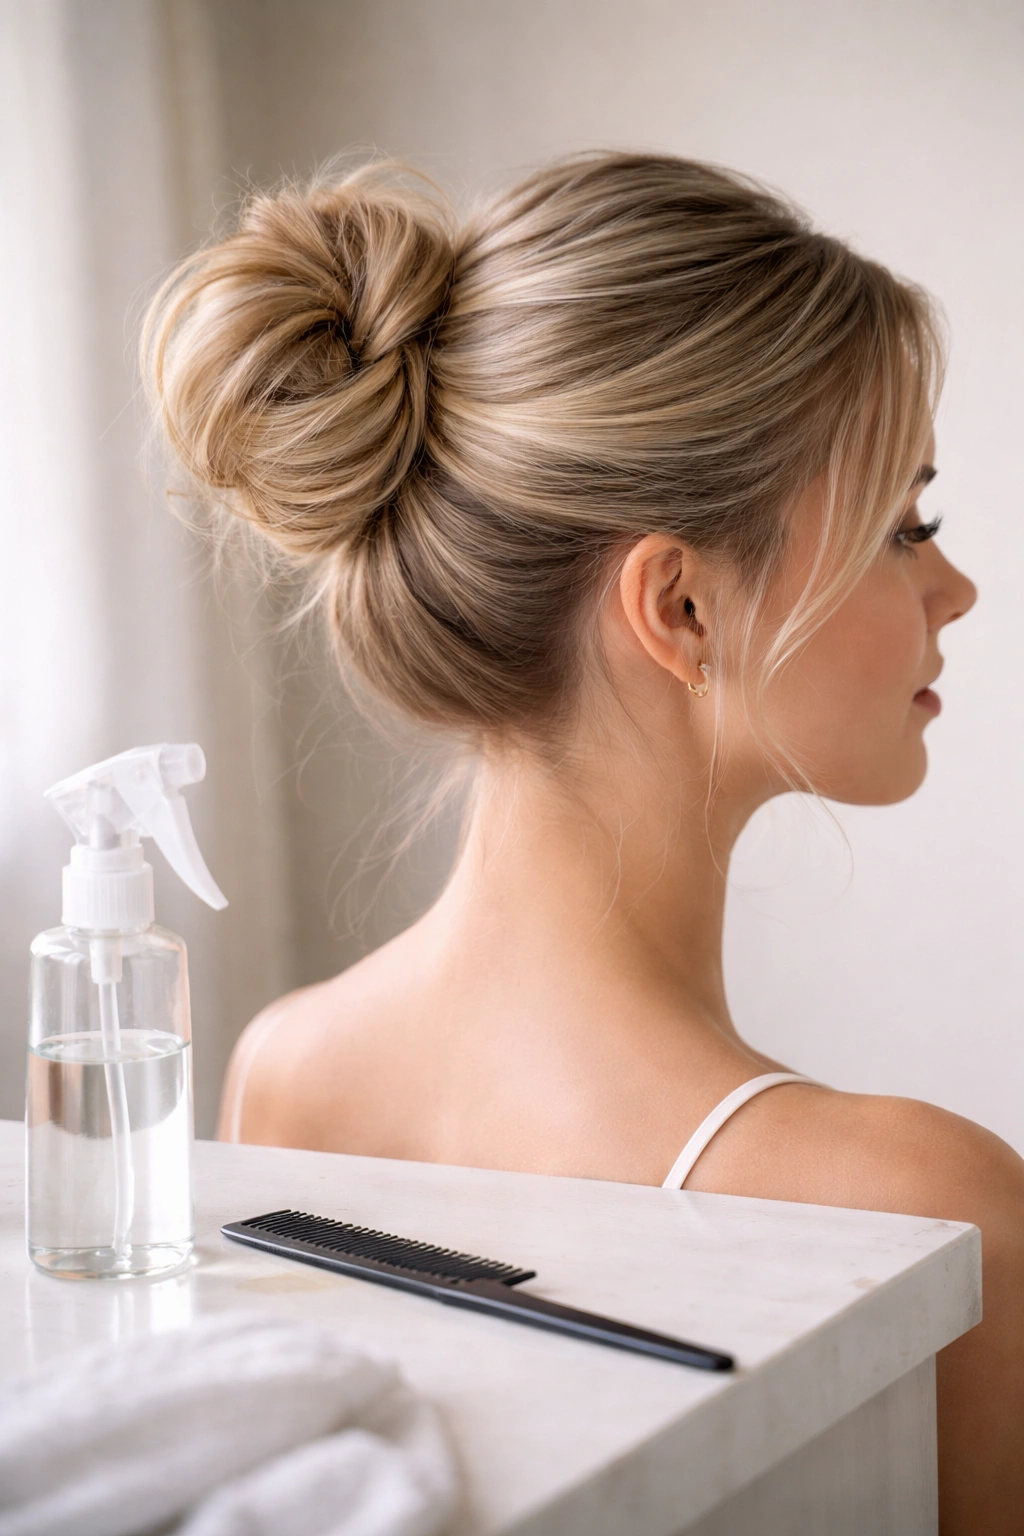
Prepare your hair strategically the night before if you want your messy bun to last all day. Second-day hair (hair that’s a day old) actually holds styles better than freshly washed hair because natural oils have built up slightly, adding grip. If you’ve just washed your hair, use a texturizing spray or dry shampoo to create that same grip effect instantly.
Blow-dry your hair with your head tipped forward or to the side, not straight down. This creates root lift and volume that makes your bun start higher and fuller. If you’re creating waves or curls, use hot tools to create defined texture, then let everything cool before you touch it. Hot hair stretches and moves easily; cool hair sets and holds its shape.
Apply all styling products to damp or dry hair, never to soaking wet hair. Wet products dilute in water and don’t work as effectively. If you’re using mousse or other wet-application products, apply them to damp hair and blow-dry completely before building your bun.
When to Refresh vs. Redo Your Messy Bun
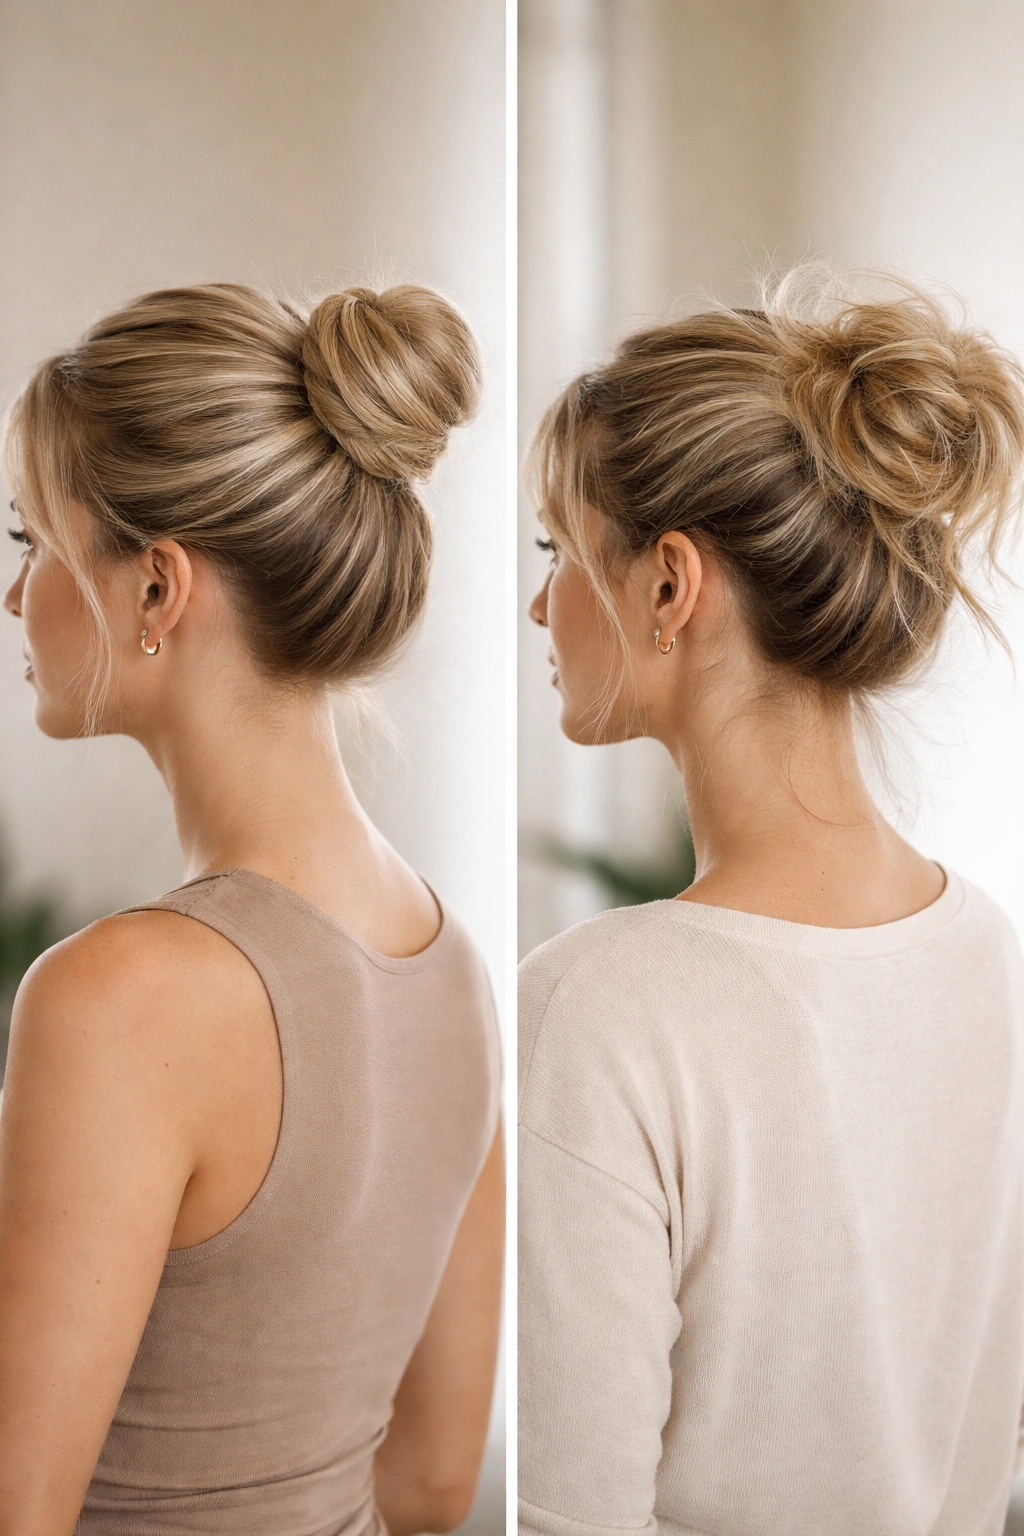
One of the advantages of a genuine “messy” bun is that it looks intentional as it loosens and relaxes throughout the day. With fine hair, your bun might start perfectly styled and by lunchtime have developed a more relaxed, worn-in look — and that’s actually fine. You don’t need to redo it unless it’s actively falling out.
If individual sections start slipping, you can usually fix it with a bobby pin and a spritz of hairspray. If the entire bun is sliding down your head, remove it completely and redo it, because trying to rescue a sliding bun usually makes it look worse. For fine hair, expect a bun to look its absolute best for about 4-6 hours, then develop a messier, more relaxed appearance for the rest of the day. This is totally normal and actually looks very intentional.
Final Thoughts
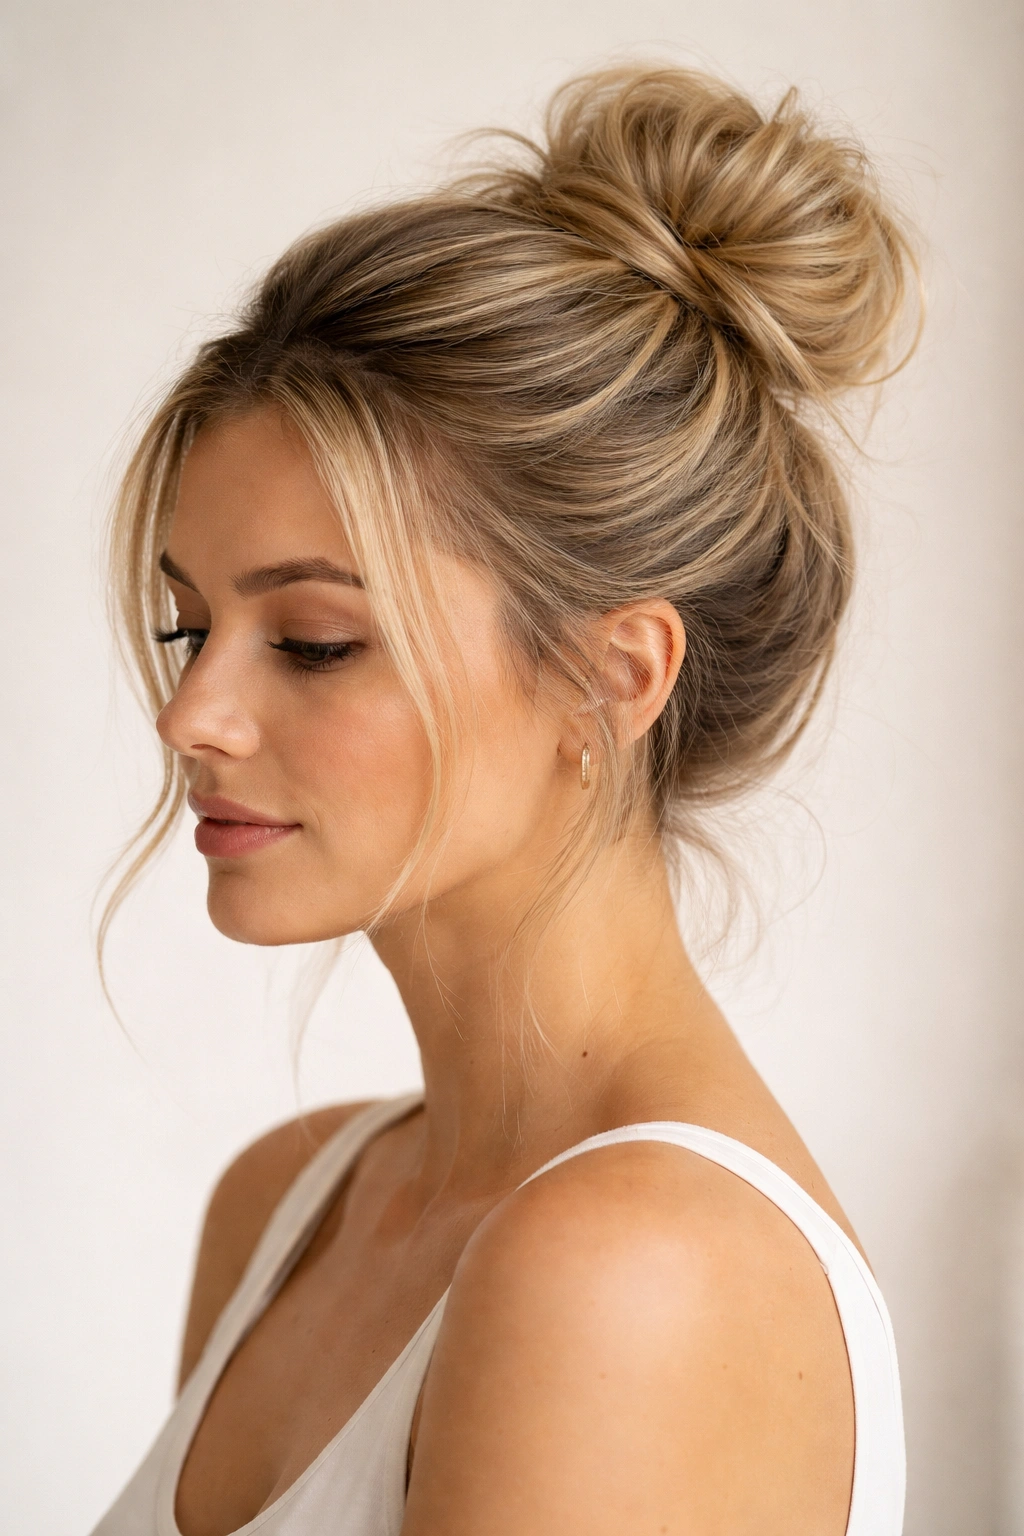
Fine and thin hair isn’t a limitation for messy bun styles — it just requires a different approach than the thick-hair tutorials you see everywhere. The styles in this guide work with your hair texture instead of fighting against it, using techniques like teasing, twisting, braiding, and layering to create volume and security where fine strands naturally lack both.
The real secret is understanding that your fine hair actually looks better in certain styles because those styles let you showcase the refinement and elegance that only fine hair possesses. A crisp braid, delicate curls, or a strategically swooped section all look more refined and intentional on fine hair than they do on thicker textures. You’re not working around a limitation; you’re working with your hair’s actual strengths.
Experiment with different techniques to see which ones hold best for your specific hair type and texture. Your hair might grip bobby pins better after teasing, or it might stay more secure with twists rather than loose gathering. The more messy buns you create, the more you’ll understand exactly what your fine hair needs to look polished, intentional, and beautifully styled — without ever pretending to be something it’s not.
