



There’s something about a messy bun that feels both effortlessly romantic and intentionally styled—which makes it one of the most flattering hairstyle choices for a wedding guest or even a bride who wants to keep things relaxed and elegant. Unlike super polished updos that can feel formal or overly structured, a high messy bun strikes that perfect balance between put-together and undone, giving you an air of casual sophistication that photographs beautifully and holds up all night long.
The beauty of the high messy bun is that it works with almost any hair length, texture, and wedding dress style. Whether you’re attending a casual garden ceremony, a black-tie evening reception, or you’re the bride looking for an alternative to a traditional updo, a messy bun offers endless possibilities for personalization. You can dress it up with delicate hairpieces, keep it simple and soft, or add structural elements like braids and twists to give it more visual interest and staying power. The positioning, the texture, and the accessories you choose completely transform how the style reads—and all of those variations are what we’re diving into here.
What makes these styles so wedding-appropriate is how they handle the demands of a long event. A well-constructed messy bun won’t slip or loosen as you move, dance, and celebrate. Your hair stays off your face so you’re not bothered all night, but it’s also not so severely pulled back that it looks severe or uncomfortable. The slight texture and intentional undone quality actually hides any pieces that slip out during the party—they just read as part of the design rather than a failure of the style.
Why Messy Buns Are Perfect for Wedding Hair
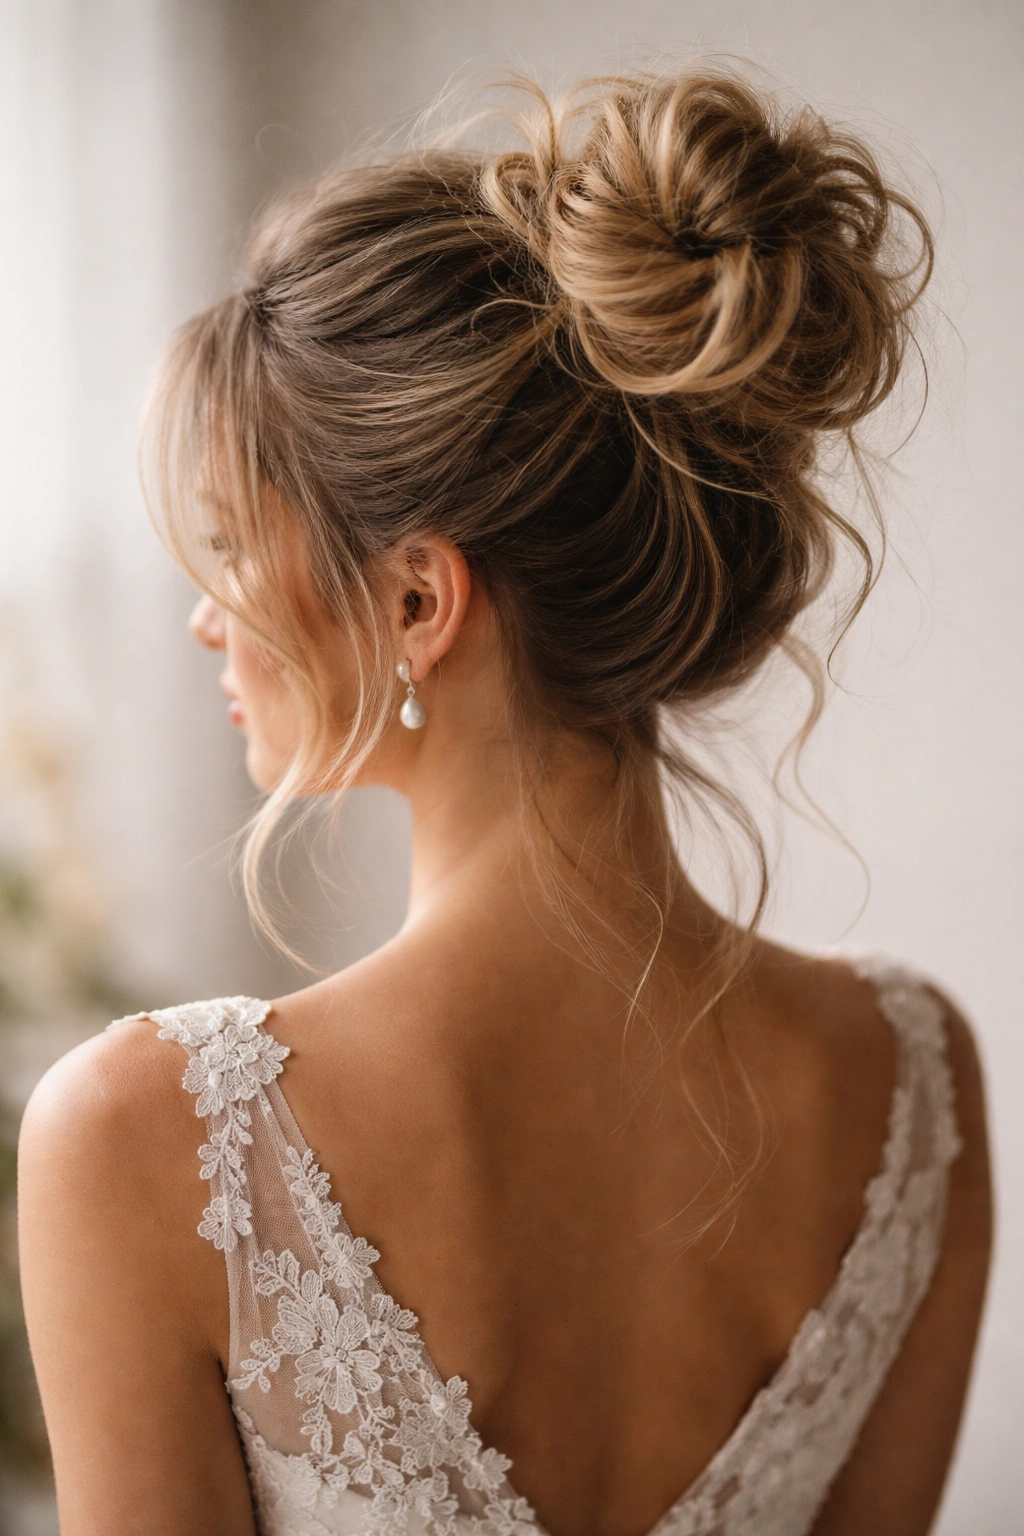
A messy bun works brilliantly for weddings specifically because it solves several real problems that other hairstyles leave unsolved. First, it keeps hair completely off your face and neck, which matters when you’re taking photos, hugging people, and potentially dancing for hours in a room that might be warm. You won’t find yourself constantly tucking pieces behind your ears or worrying about your hair blocking your smile in pictures.
Second, the texture and loose quality of a well-done messy bun is inherently photogenic. It catches light beautifully, and the soft, romantic quality reads as intentional and thoughtful rather than accidentally messy. This is crucial—there’s a real difference between a messy bun that looks like you didn’t try and one that looks like you tried with the right amount of effortlessness.
Third, the style is flexible enough to work with any neckline. A strapless dress, a high neck, a low back—a high messy bun complements all of them because you’re drawing the eye upward and leaving maximum visibility of your dress and shoulders. This versatility matters when you’re choosing a hairstyle weeks before the event and might not be fully decided on your outfit.
Finally, a messy bun is genuinely low-maintenance to wear. You can put it in, check it once or twice throughout the night, and not worry about it constantly. There’s no elaborate styling that requires you to be extremely still. You can move naturally, hug people, sit down comfortably—and the style just works with all of that movement rather than fighting against it.
How to Prep Your Hair for a Long-Lasting Messy Bun
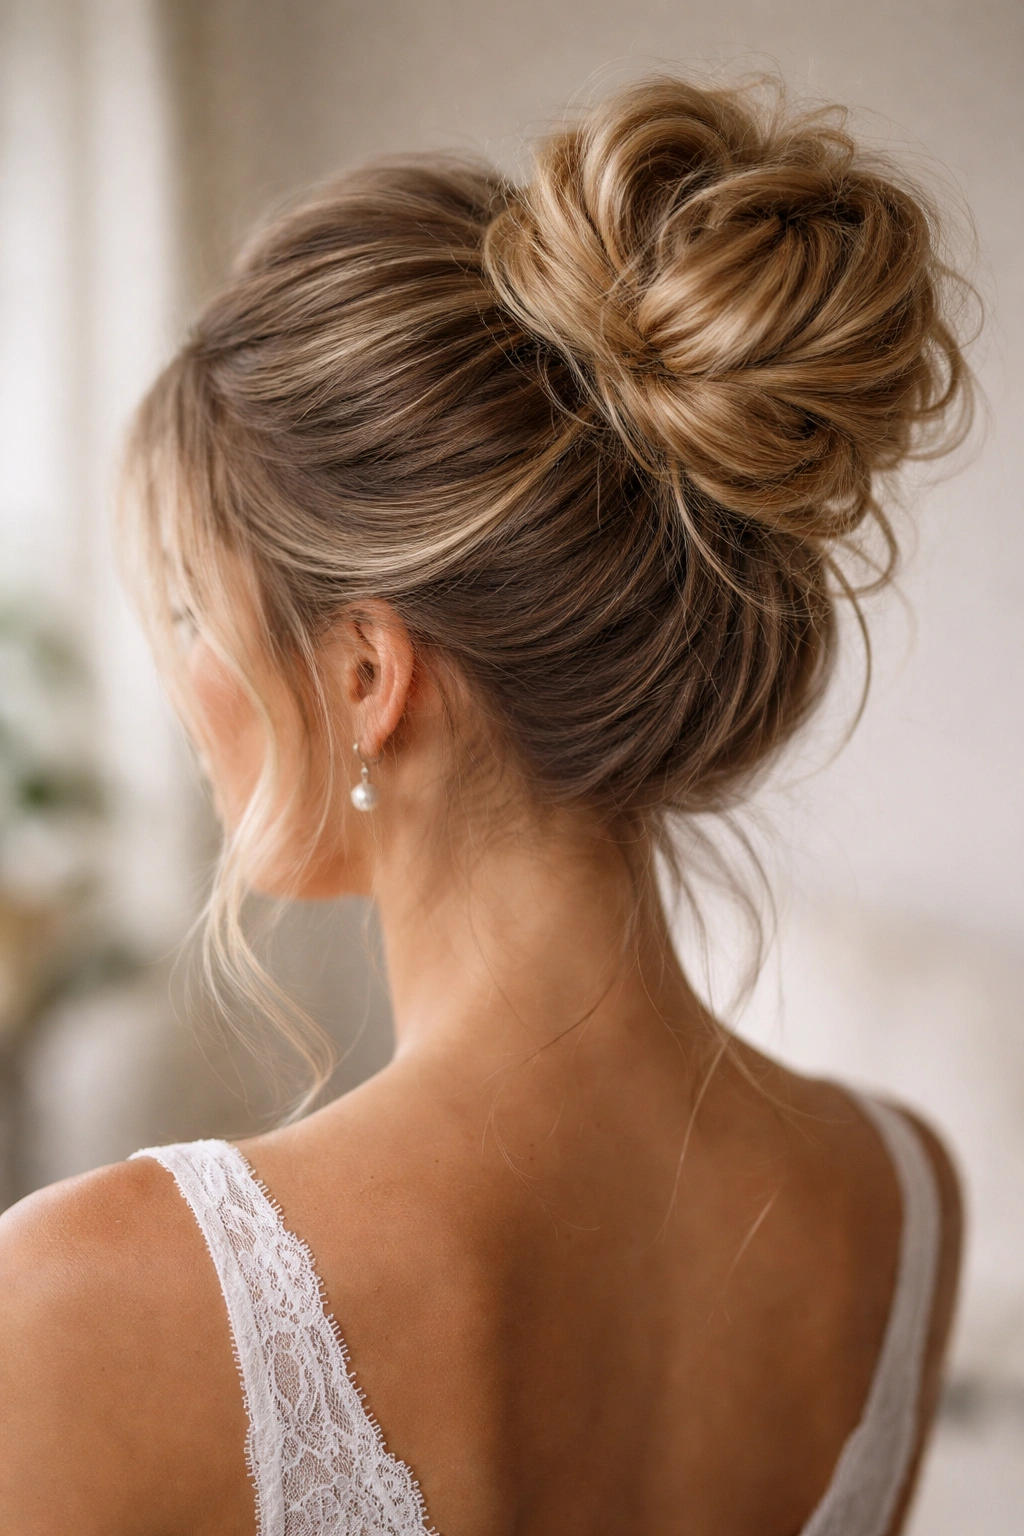
The difference between a messy bun that falls apart halfway through the reception and one that holds beautifully all night comes down to preparation. Start with clean hair—this might sound counterintuitive, but day-old hair actually holds a style better than freshly washed hair because it has more natural grip and texture. If your wedding is on a Saturday, wash your hair on Thursday or Friday. If you must wash the day of, do it the morning of, giving your hair several hours to air-dry before you style it.
Texture is your secret weapon. If your hair is naturally straight or silky, apply a texturizing spray or dry shampoo to your roots and mid-lengths before styling. Work it through with your fingers to distribute it evenly. This isn’t about making your hair look dirty—it’s about giving it tooth so that bobby pins have something to grip and your bun holds its shape. If you have wavy or curly hair naturally, you’re already ahead. A light curl-enhancing cream or mousse applied to damp hair and allowed to dry will give you all the texture you need.
Invest in quality bobby pins—the thin, cheap ones slip and slide, while thicker pins with wavy edges grip much better. Use hair-colored pins that match your hair shade so they’re not visible. You’ll need at least a dozen for a substantial messy bun. A good texturizing spray or dry shampoo, a fine-tooth comb for smoothing, and some smoothing serum or polish for flyaways round out your toolkit.
On the day of your wedding, blow-dry your hair with movement. Point the blow-dryer downward and use your fingers or a round brush to create volume at the crown and texture throughout. You want your hair to feel full and have natural wave or bend to it—completely smooth, sleek hair is harder to secure into a messy bun that looks intentional rather than just undone. If your hair dries completely straight, use a curling iron to add some loose waves throughout. These don’t need to be perfect curls; you’re aiming for movement and dimension that will show in the bun.
1. The Romantic Loose Waves Messy Bun
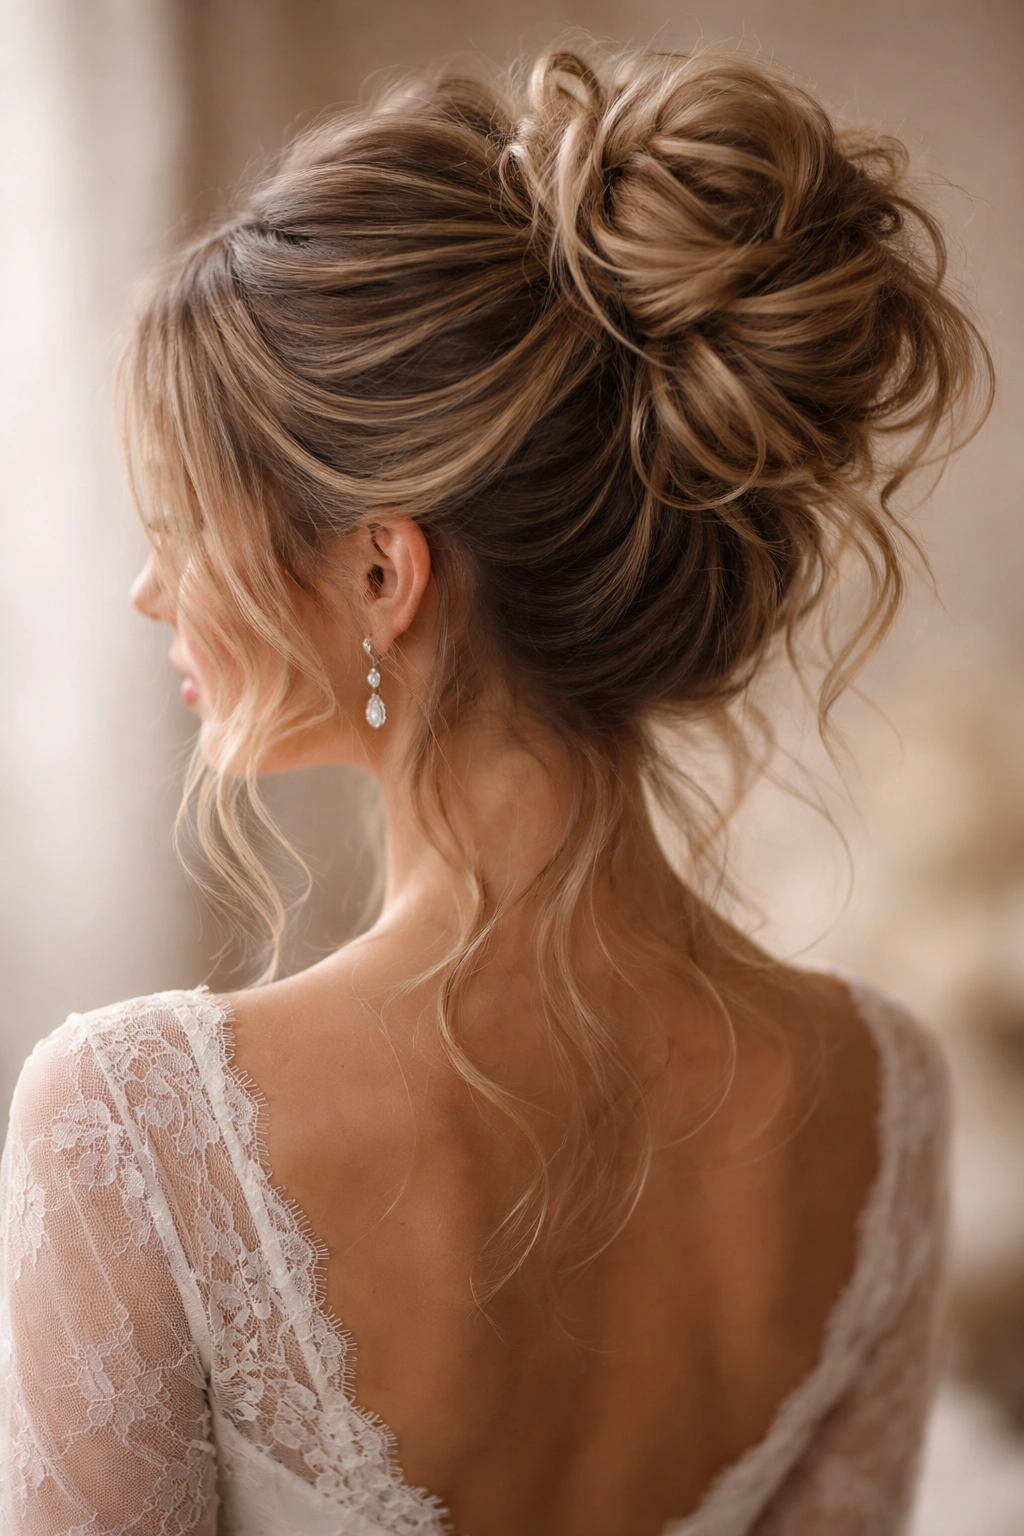
This is the quintessential wedding guest messy bun—soft, romantic, and flattering on almost every person. It’s the style that says you made an effort without looking like you tried too hard, which is the exact energy most weddings call for.
Start by creating loose waves throughout your hair using a curling iron or by braiding damp hair overnight. The goal is soft texture, not tight curls. Once your hair is completely dry, flip your head over and gently tease the crown for volume. Flip back upright and use a fine-tooth comb to smooth the teased section gently—you want to maintain the volume without creating a poofy, obvious tease.
Gather your hair into a high ponytail at the crown, leaving a few shorter pieces around your face (about 1 to 2 inches of face-framing pieces). Secure the ponytail loosely with an elastic. Now comes the magic: twist the ponytail gently and wrap it around the base of the elastic, tucking the ends underneath and securing with bobby pins. Don’t tighten it too much—you want it to look relaxed. Take a texturizing spray and gently spray the bun, then use your fingers to pull out small sections and loosen the overall shape. Smooth any flyaways with a light smoothing serum.
Why It Works for Weddings
The loose, romantic quality reads as effortlessly elegant rather than overly styled, making it perfect for daytime ceremonies or more casual celebrations. The face-framing pieces soften the look and prevent you from looking severe, which is crucial if you’re wearing a wedding dress or formal attire.
Key Details to Perfect This Style
- Use a pearl or gold bobby pin if any show—they’re less noticeable than silver and add a subtle glamorous touch
- Keep the bun relatively loose; if it’s too tight, it won’t read as romantic
- The flyaways are actually part of the design—don’t stress about making them completely disappear
- Pair this with loose, soft curls in those face-framing pieces by curling them away from your face with a 1.5-inch curling iron
2. The Sleek Wrapped Base Messy Bun
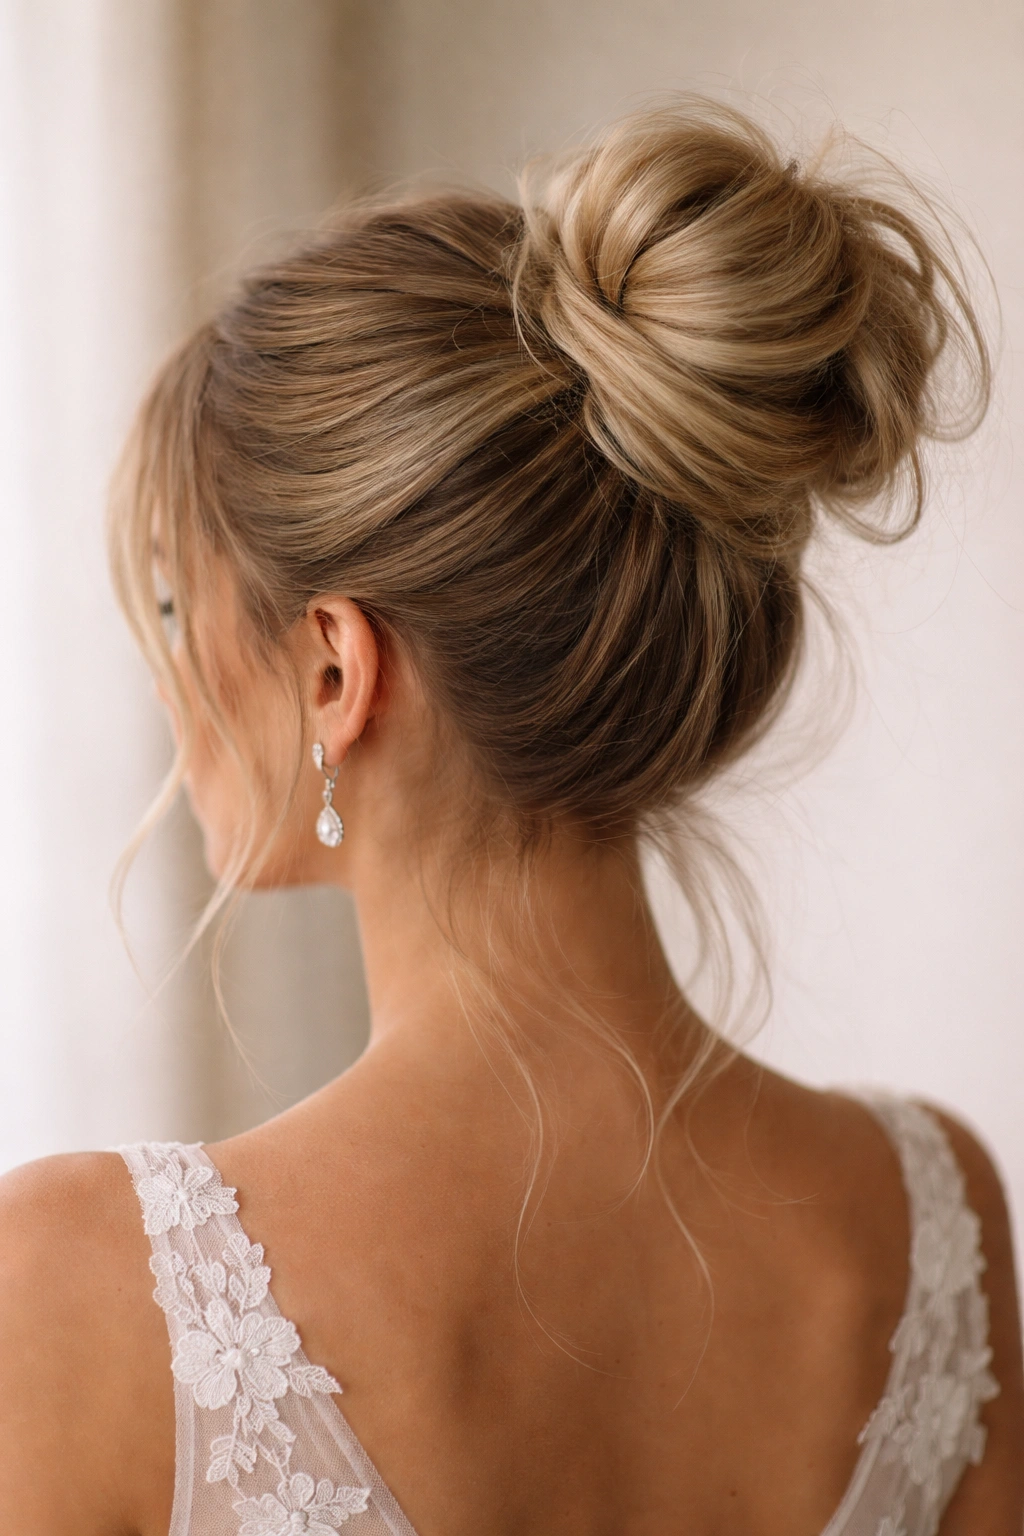
If you want a messy bun that reads more polished and intentional, this version delivers. The wrapped base gives it a finished, thoughtful quality while keeping the bun itself soft and slightly undone.
Blow-dry your hair smooth at the roots and crown for a polished base. You’re not going for completely sleek hair everywhere—just at the top and sides. Gather your hair into a high, tight ponytail, pulling your hair back firmly so that no pieces fall out. Secure tightly with a clear elastic. Now take a thin section of hair from underneath the ponytail, about the thickness of your pinky finger. Wrap this section around the base of the elastic, going around the circumference completely, and pin it in place with a bobby pin underneath.
Twist or fold the rest of the ponytail loosely and wrap it around itself, creating a bun shape. Secure with several bobby pins tucked underneath where they won’t show. Now gently pull out small sections from the bun to soften it—you’re aiming for a bun that looks intentionally placed but not severely tight. The wrapped base gives you a clean, finished look at the nape of your neck while the bun itself has that desirable messy quality.
Why It Works for Weddings
This style photographs beautifully from behind—a concern for anyone who’s going to have their back to the camera during ceremony moments. The wrapped base reads as sophisticated and intentional, while the looseness of the bun keeps it from looking severe. This is an excellent choice if you’re a bride, a bridesmaid, or a wedding guest who wants their hair to feel special without being costume-y.
Key Details to Perfect This Style
- The wrap needs to be smooth and tight—if it’s loose or lumpy, it will show in photos
- Use a clear elastic underneath the wrap so it’s completely hidden
- Don’t skimp on bobby pins securing the bun—this style looks best when the bun itself is really secure underneath the intentional messiness
- Apply a smoothing serum to the wrapped section so it has a polished shine
3. The Half-Up Messy Bun with Face-Framing Pieces
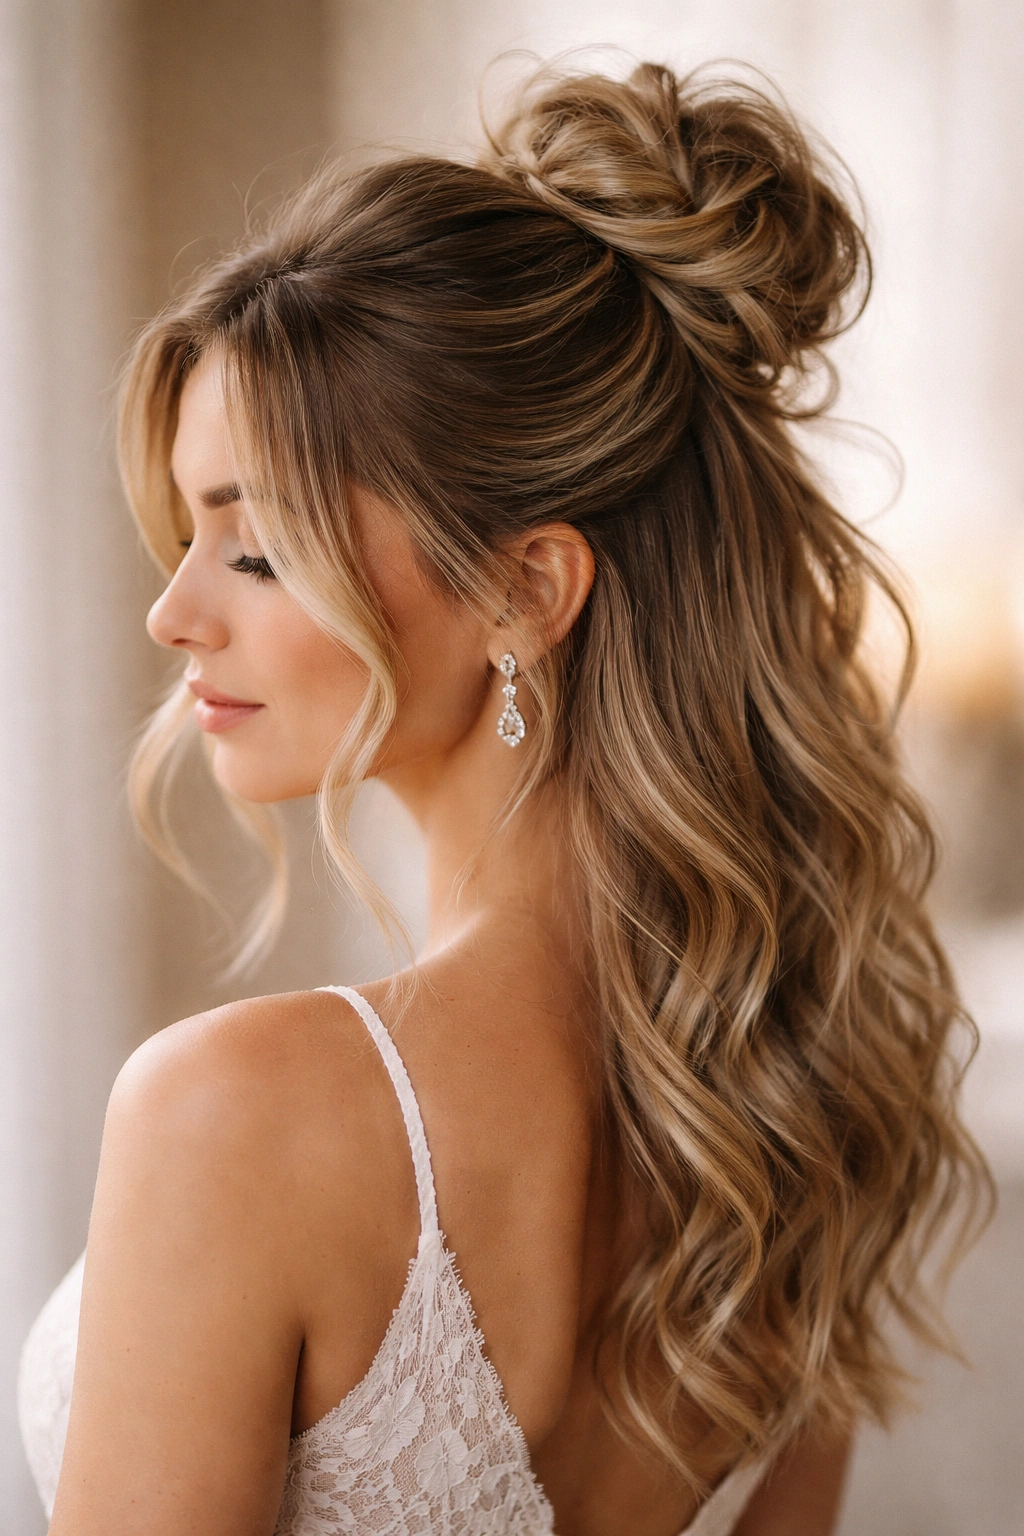
This version gives you the romantic quality of down hair combined with the practicality of an updo, making it ideal if you want your hair off your face and neck but still want to show off longer hair length.
Create texture throughout your hair with waves or curls. Brush out the texture gently so you have soft, loose waves rather than defined curls. Take a section of hair from each temple, pulling back toward the crown. These sections should be about 1 to 2 inches wide. Clip these sections back temporarily with small clips. Now take the back section of your hair—everything below ear level—and gather it into a bun at the crown. Twist and wrap it loosely, securing with bobby pins. The bun should be relatively full and slightly loose.
Remove the clips from your temple sections. You can leave these pieces completely down, or you can do a very gentle twist with each piece and pin it behind the bun. The key is to leave actual hair down—from your ears down to your shoulders should show length and waves. This creates a frame around your face and shoulders while keeping your hair from getting in your way.
Why It Works for Weddings
This style is exceptionally flattering because it shows off the length and texture of your hair while still being practical for a long event. It’s romantic without being overly ornate, making it perfect for outdoor ceremonies or venues where you want to feel connected to your natural hair length. The side pieces frame your face beautifully in photos.
Key Details to Perfect This Style
- The down section should have visible texture and movement—smooth, straight hair below a bun looks unbalanced
- Make sure your temple pieces don’t slip forward during the day by pinning them securely
- The bun itself can be messier in this style because it’s balanced by the down hair
- Use a large, decorative bobby pin or a small claw clip to secure the half-up section if you want to add visual interest
4. The Low Twisted Messy Bun
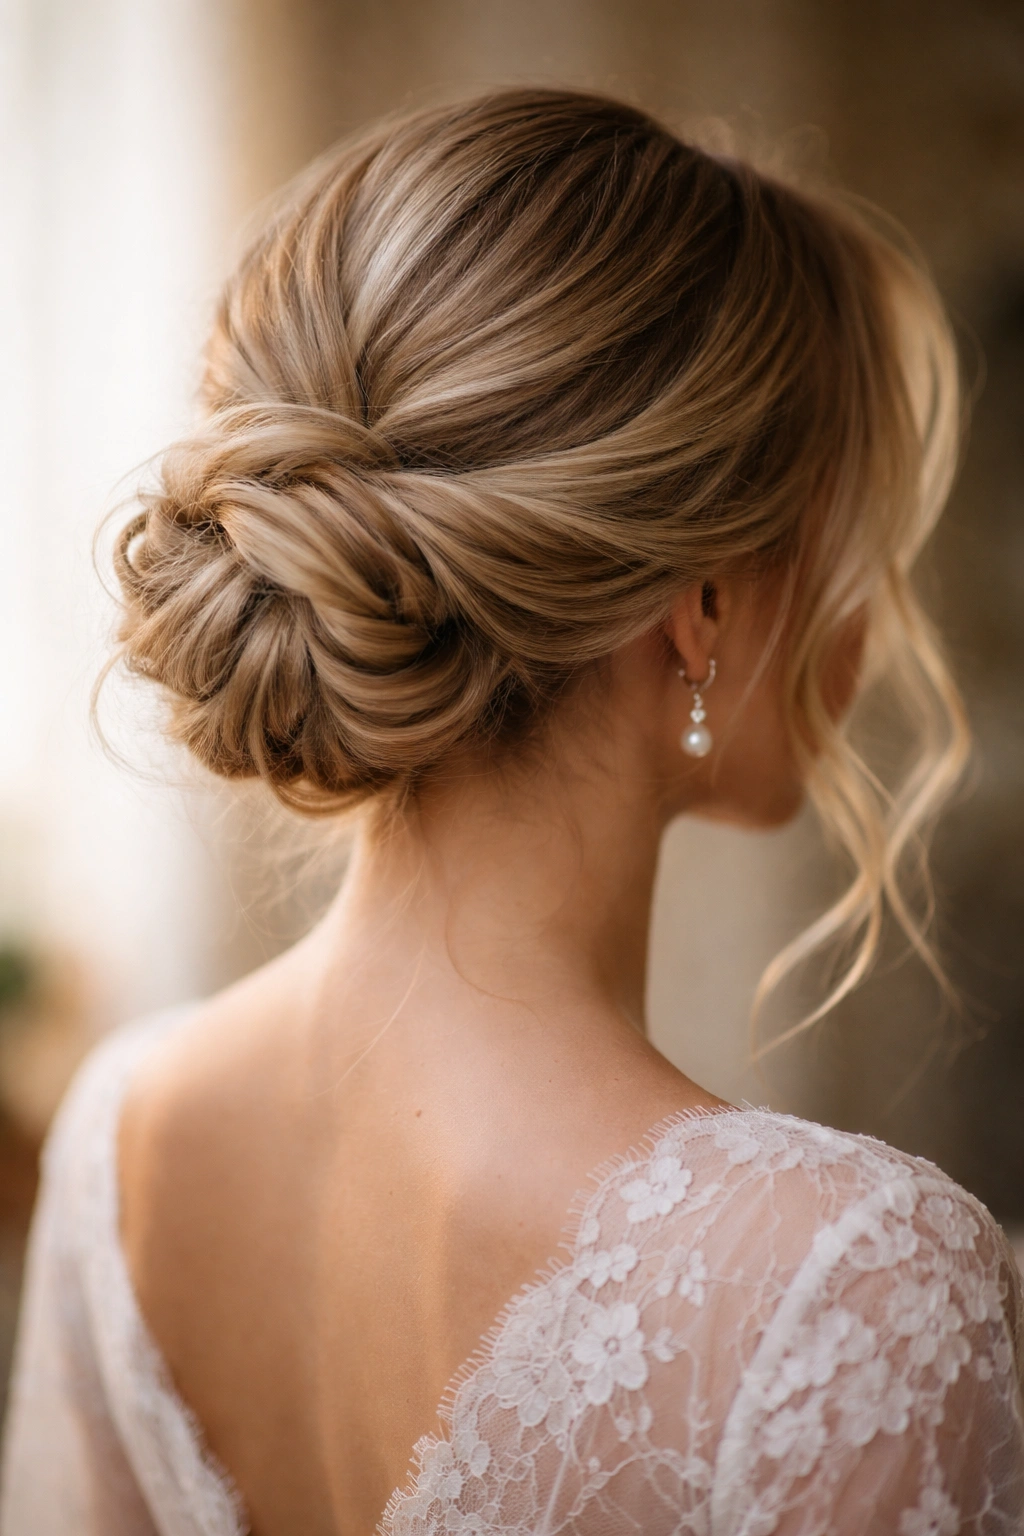
If you want to wear your hair up without pulling it severely tight, this style offers the perfect middle ground. The twisted texture makes the bun look intentional and structured while still maintaining that relaxed, romantic quality.
Start with soft waves throughout your hair. Gather all your hair at the nape of your neck into a low ponytail—think about where the bottom of a low bun would sit, roughly 2 to 3 inches above the nape. Secure loosely with an elastic. Divide the ponytail into two sections. Twist each section individually, pulling the twist just tight enough that it holds but not so tight that it stretches your hair. Wrap one twisted section around the base of the elastic, securing with a bobby pin. Wrap the second twisted section around the other direction, creating a pinwheel effect, and secure.
Gently pull the twisted sections slightly outward to soften the overall effect. The result should look like two soft ropes wrapped around each other at the base of your neck, not a structured, tight bun. Apply texturizing spray to encourage the bun to look less uniform and more organic.
Why It Works for Weddings
Low messy buns work beautifully for weddings where you might wear a necklace or want to show off your shoulders and neck. They’re especially stunning if you’re wearing a low-back dress or something with intricate shoulder detail. The twisted texture prevents this style from looking too simple while maintaining that effortless-looking quality.
Key Details to Perfect This Style
- Keep the ponytail itself loose—if you pull too tight, the twist will look strained
- The two twists should wrap around each other, not just lie side by side
- Tease the bun section very gently before twisting to add volume and texture
- This style looks best with soft curls or waves throughout the length of your hair—sleek hair makes the twisted bun look too severe
5. The Voluminous Crown Messy Bun
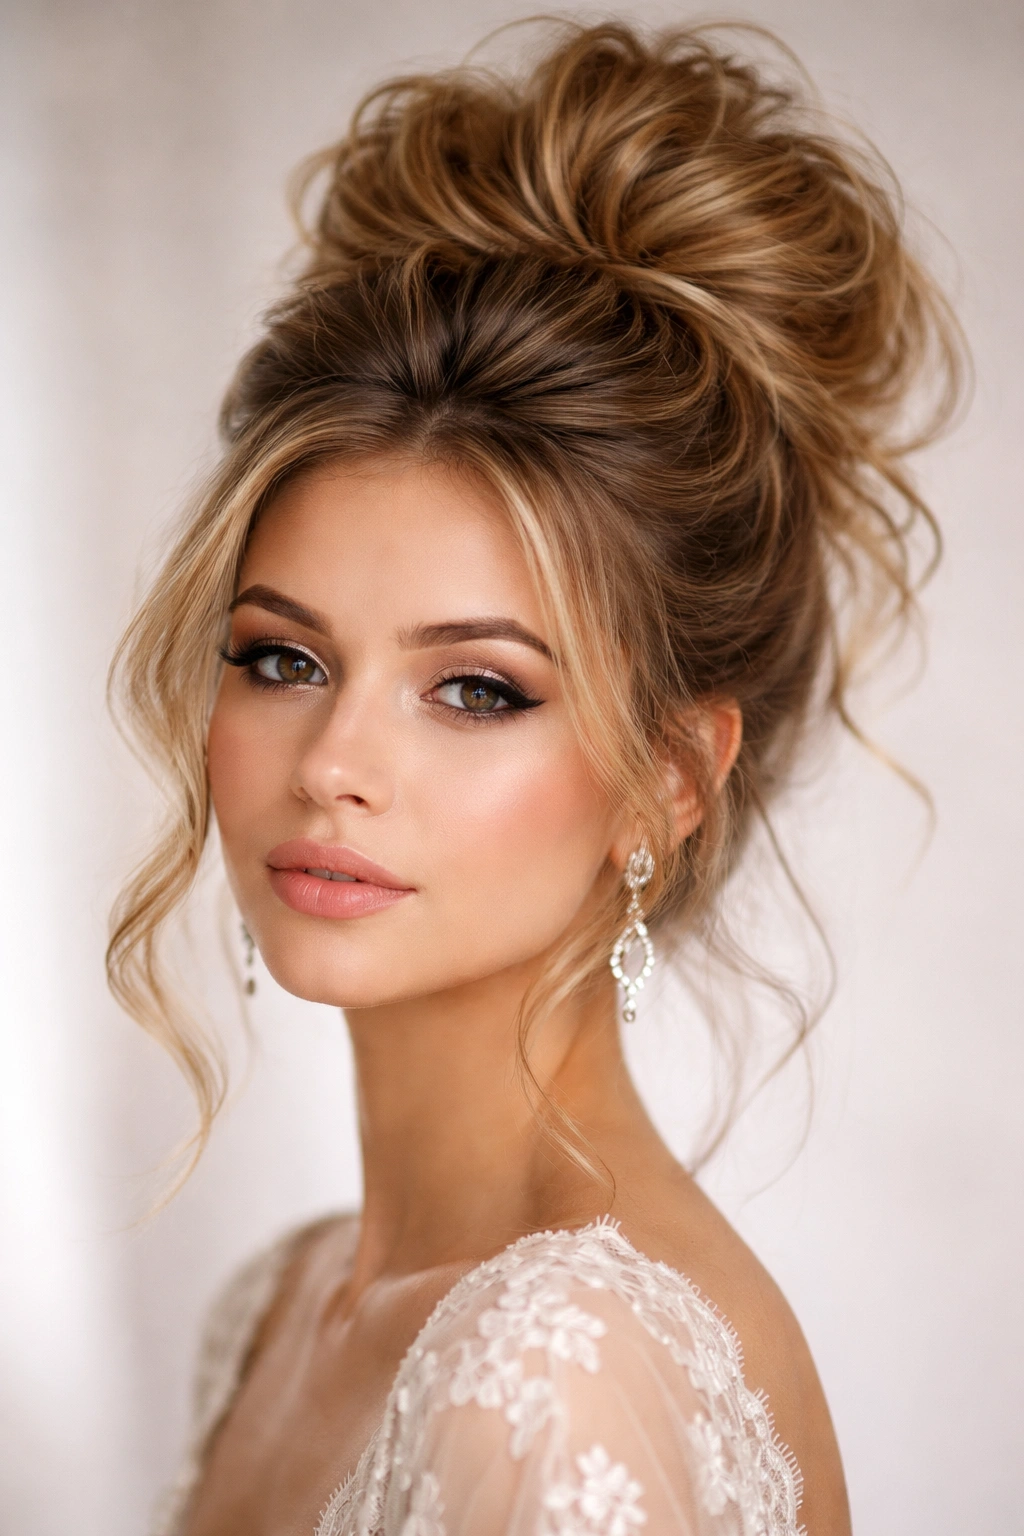
For anyone who loves a dramatic, romantic look, this version maximizes volume and creates a statement-making bun that reads as intentional and editorial rather than casual.
Create maximum texture by blow-drying your hair upside down for volume at the roots, then using a curling iron to add loose curls throughout. You want your hair to feel very full and bouncy. Flip your head over and tease the crown section generously—this is not a gentle tease, this is a “spray-and-tease-it-firmly” approach. You’re creating significant volume at the crown, so be thorough.
Smooth the teased section gently with a comb, maintaining the volume. Gather your hair into a high ponytail at the crown—this should feel very voluminous because of the teasing. Secure loosely with an elastic. Twist the ponytail and wrap it around the base, but this time, deliberately leave sections of the twist slightly undone. Create a bun that looks full and substantial, not dainty. Use multiple bobby pins to secure it in place.
Take a texturizing spray and spray generously around the bun, then use your fingers to pull out sections, creating an almost tousled effect. The goal is a bun that looks full, textured, and intentionally voluminous rather than sleekly compact.
Why It Works for Weddings
A voluminous, impressive bun reads as special and intentional—perfect if you want your hair to be a true feature of your look. This style photographs gorgeously because the volume creates dimension and catches light beautifully. It’s an excellent choice if you want to feel wedding-dressed-up without wearing an elaborate or heavily accessorized updo.
Key Details to Perfect This Style
- The volume comes from teasing, not from piling loose hair into a bun—be generous with the teasing step
- A volumizing mousse or volumizing spray applied to damp hair before blow-drying will give you even more fullness
- Keep the bun higher on your crown; a voluminous bun positioned too low can look weighed down
- Pearl or diamond hair sticks inserted through the bun add visual interest and help secure it while looking elegant
6. The Braided Accent Messy Bun
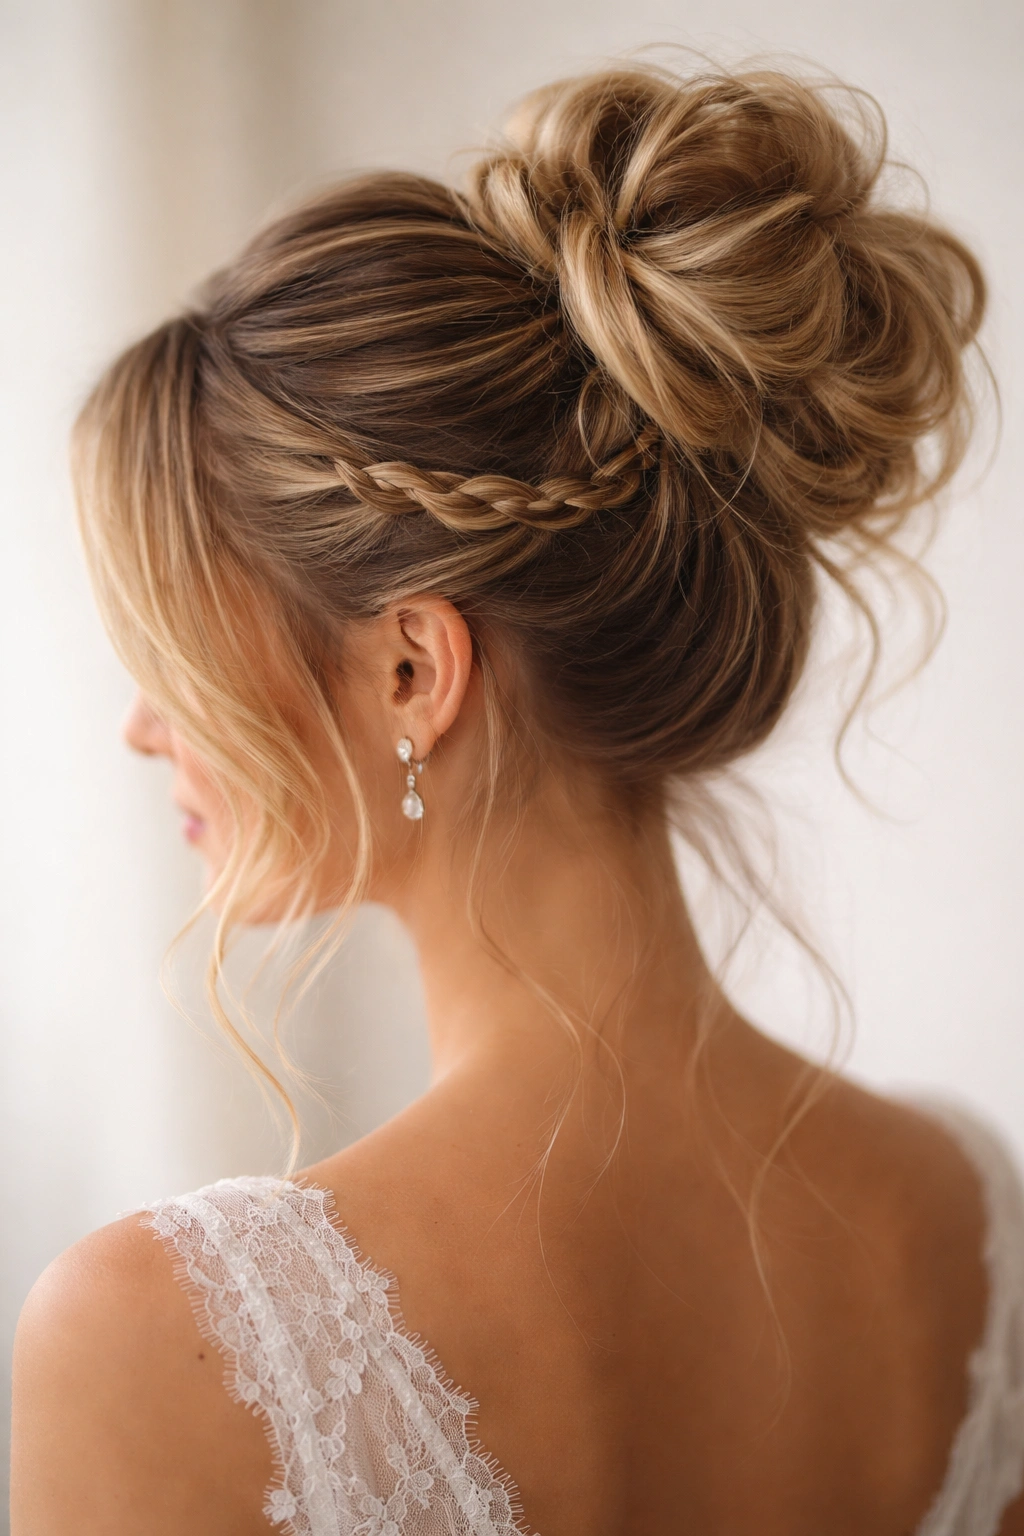
Adding a braid or two to your messy bun elevates it from simple to sophisticated without making it look overly complicated or formal.
Create soft waves throughout your hair. Gather your hair into a high ponytail and secure loosely. Take a thin section from the ponytail—about the width of your pinky—and create a three-strand braid down the length of the ponytail. You’re not braiding all of the hair, just this single strand. Once your braid reaches near the end, secure it with a tiny clear elastic.
Now wrap the braided section around the base of the ponytail elastic, securing with bobby pins. The braid becomes a decorative wrapped band around your bun. Take the remaining hair from the ponytail, twist it loosely, and wrap it into a bun, tucking the braided section underneath or alongside it. Secure everything with multiple bobby pins.
Gently loosen the bun with your fingers, pulling out small sections to soften it. The braid accent should be clearly visible as a decorative element while the bun itself looks relaxed and romantic.
Why It Works for Weddings
A braided accent adds visual interest and shows that you put thought into your look without being overly ornate. It bridges the gap between simple and styled, making it perfect for bridesmaids or guests who want something special but not costume-y. The braid also actually helps secure the bun, so it’s both beautiful and functional.
Key Details to Perfect This Style
- Make sure your braid is visible and not buried under layers of loose hair
- A Dutch braid (inverted three-strand braid) or a fishtail braid creates more visual interest than a standard three-strand braid
- You can add a second, thinner braid for more detail if you want
- Tiny flowers or baby’s breath woven into the braid add romance without being too much
7. The Ornament-Adorned Messy Bun
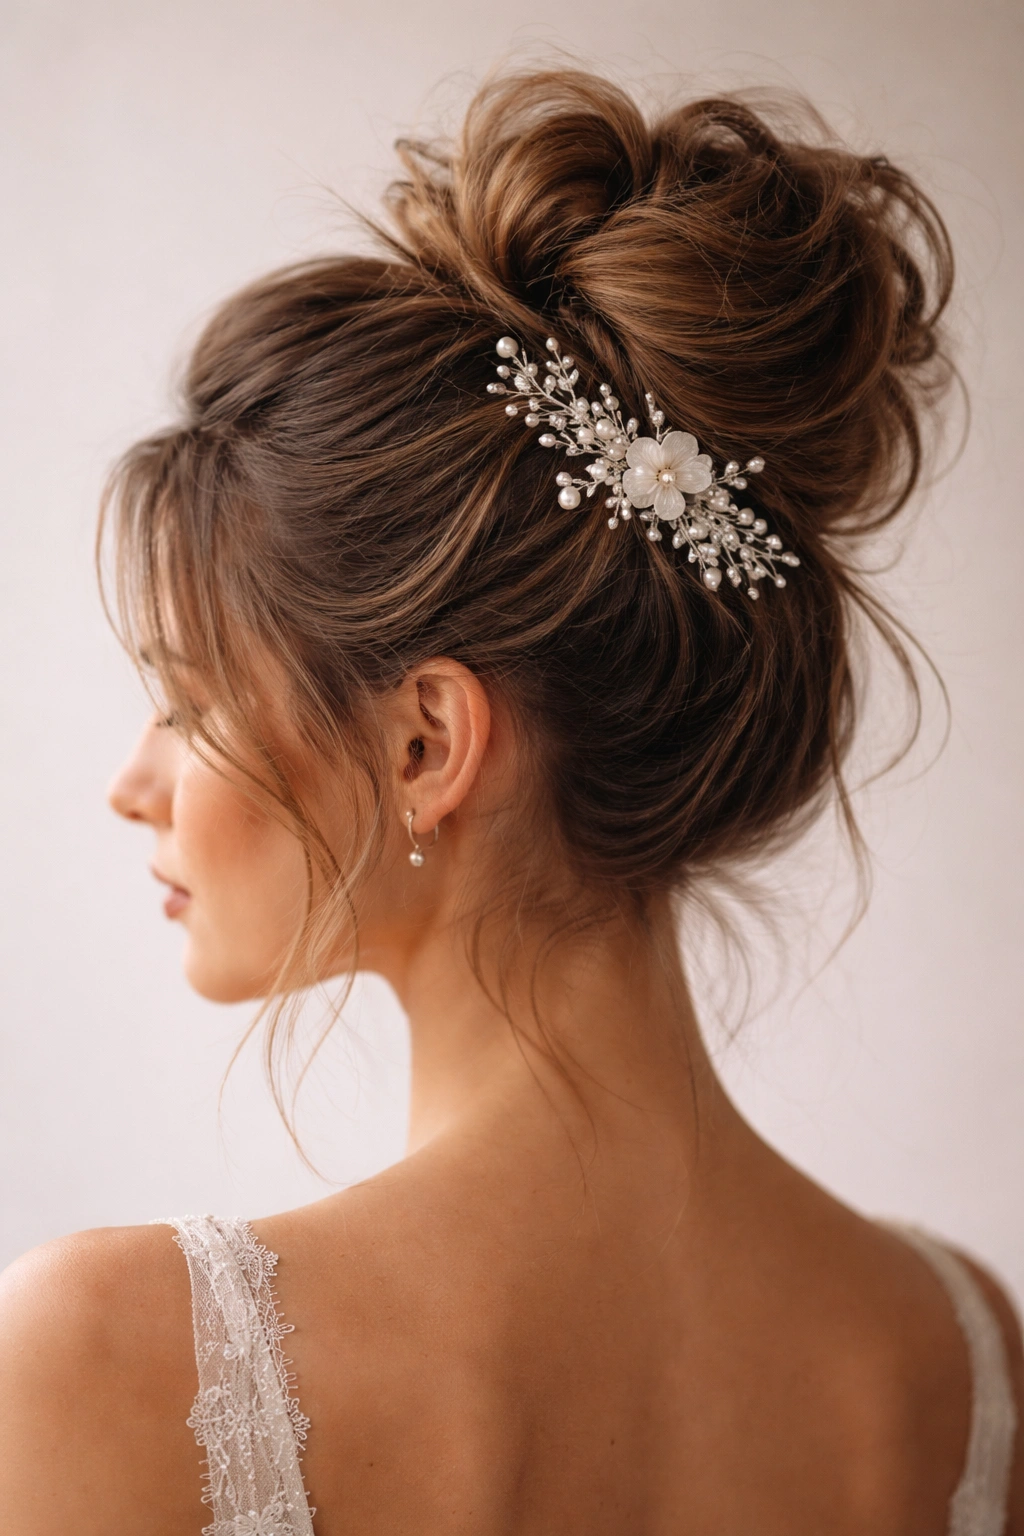
If you want to add elegance through accessories, adorning your messy bun with beautiful hairpieces transforms it into something more formally beautiful while keeping the relaxed quality.
Create your base messy bun using the method from the romantic loose waves style—soft waves, face-framing pieces, and a loosely secured bun at the crown. Make sure your bun is secure and won’t move around, since you’ll be adding weight to it with accessories.
Choose your ornament: delicate pearl hairpins, a gold or silver hair comb, a decorative hair stick, or a clip studded with crystals. Depending on your ornament, you’ll either tuck pins or a comb into the bun, or use bobby pins to secure a clip in place. The ornament should be clearly visible, not buried in the bun. Position it asymmetrically for a more natural, editorial look rather than directly centered, which can look overly formal.
If you’re using multiple small pins, scatter them throughout the bun rather than clustering them all in one spot. If you’re using a larger comb or decorative clip, position it where it will be visible from multiple angles—think about how it will look in a photo taken from your side or at a slight angle.
Why It Works for Weddings
Ornament-adorned messy buns instantly read as more formal and intentional, making them perfect for bridesmaids, the bride, or any guest who wants to feel truly special without wearing something overtly formal like a structured updo. The ornament can be subtle and elegant or bold and dramatic—you control the tone entirely through your accessory choice.
Key Details to Perfect This Style
- Make sure your ornament is truly secure before you leave for the event—bobby pins can slip if not properly anchored
- Choose ornaments that complement your dress and overall look, not ones that clash or compete
- A single large ornament looks more elegant than lots of small ornaments; stick with one focal point
- Delicate, understated ornaments work best with romantic messy buns; more dramatic ornaments pair better with structured, polished versions
8. The Soft Romantic Updo Messy Bun
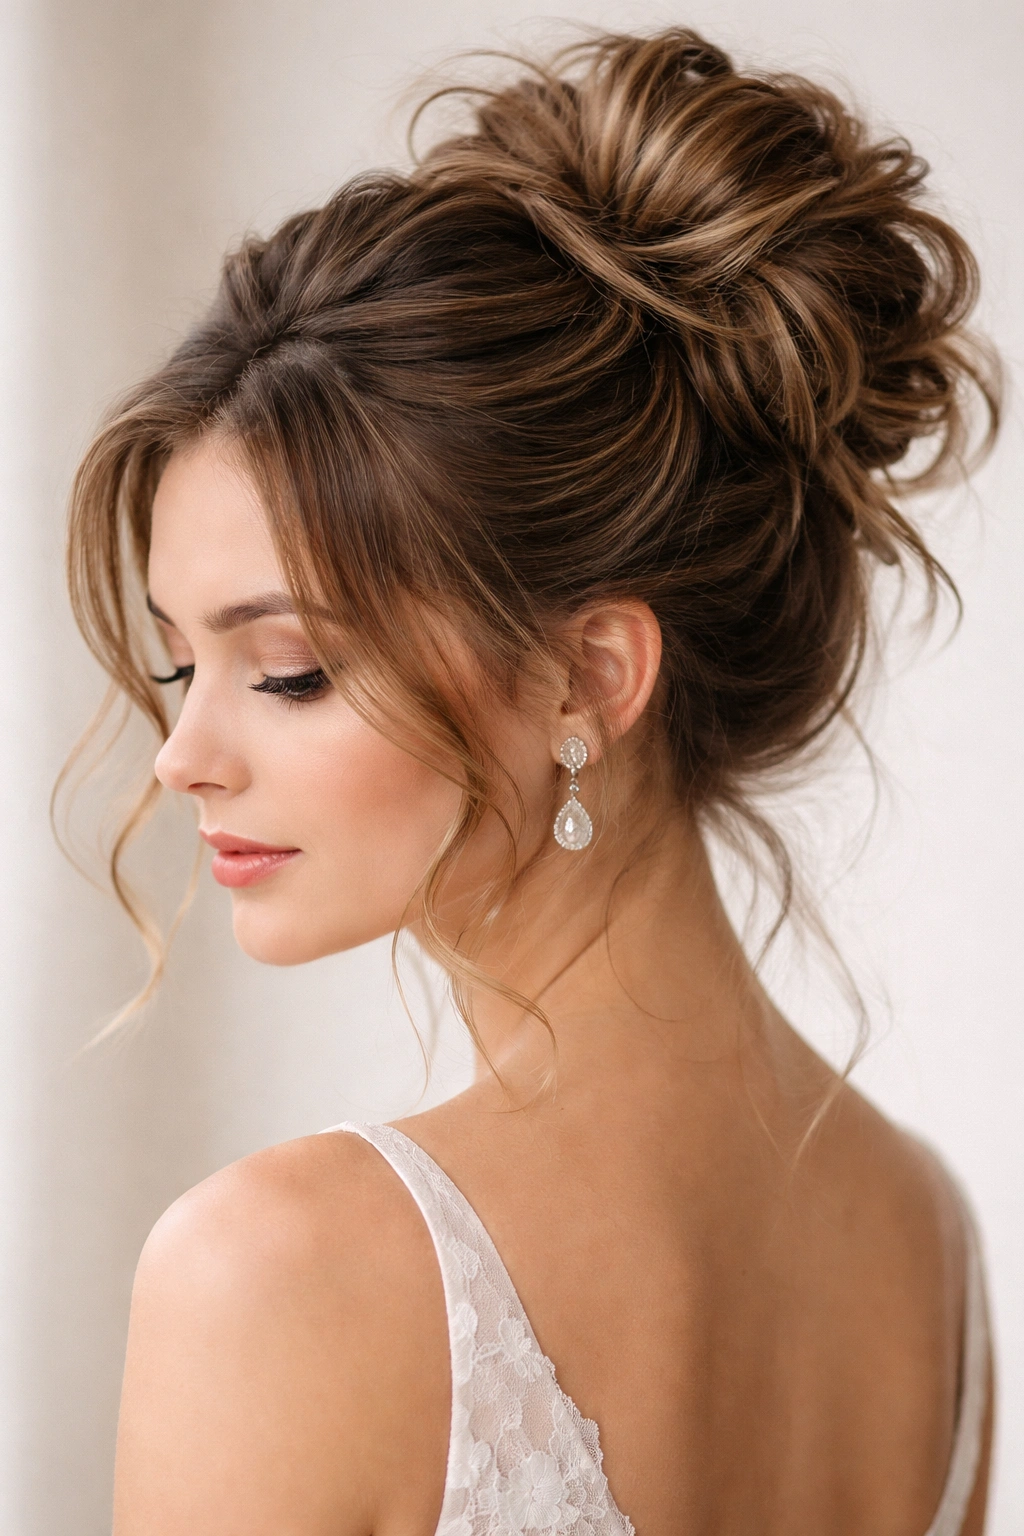
This version is what happens when you want an updo that still reads as a messy bun—it’s more structured and intentional than the casual versions while maintaining that romantic, slightly undone quality.
Create soft waves throughout your hair using a curling iron. Don’t brush these out; you want defined, bouncy curls. Gather your hair into a high ponytail, leaving a few thin pieces out around your face and neck. Secure the ponytail with an elastic. Divide the ponytail into sections—ideally four to six sections depending on how much hair you have.
Curl each section loosely (you can use a curling iron on the ponytail itself, or just work with the natural curls from earlier). Arrange these curled sections in and around the crown, securing each one with bobby pins as you go. You’re essentially creating a bun out of curled sections arranged to look fuller and more substantial than a simple wrapped bun. The result should look like soft, curled hair that’s been gathered and pinned strategically, not hair that’s been twisted into a compact form.
Mist the entire bun with hairspray, then gently break apart the curls slightly with your fingers so they look less defined and more romantic. The overall effect is softer and more textured than a traditional bun.
Why It Works for Weddings
This style bridges casual and formal beautifully, making it ideal for weddings where you want to feel dressed up but not overly formal. It photographs as intentional and thoughtful, and the romantic texture is flattering on most face shapes. This is an excellent choice for brides who want an updo that feels modern and relaxed rather than classic and structured.
Key Details to Perfect This Style
- The curls should be visible—this style loses its appeal if the curls are completely brushed out or tightened
- Leave some texture visible even after pinning; this isn’t a sleek, tight updo
- The face-framing pieces should have defined curl too, not be straight
- Light, flexible hairspray works better than heavy hold products for this style, which needs to move slightly and look organic
Tips for Securing Your Messy Bun Through the Reception
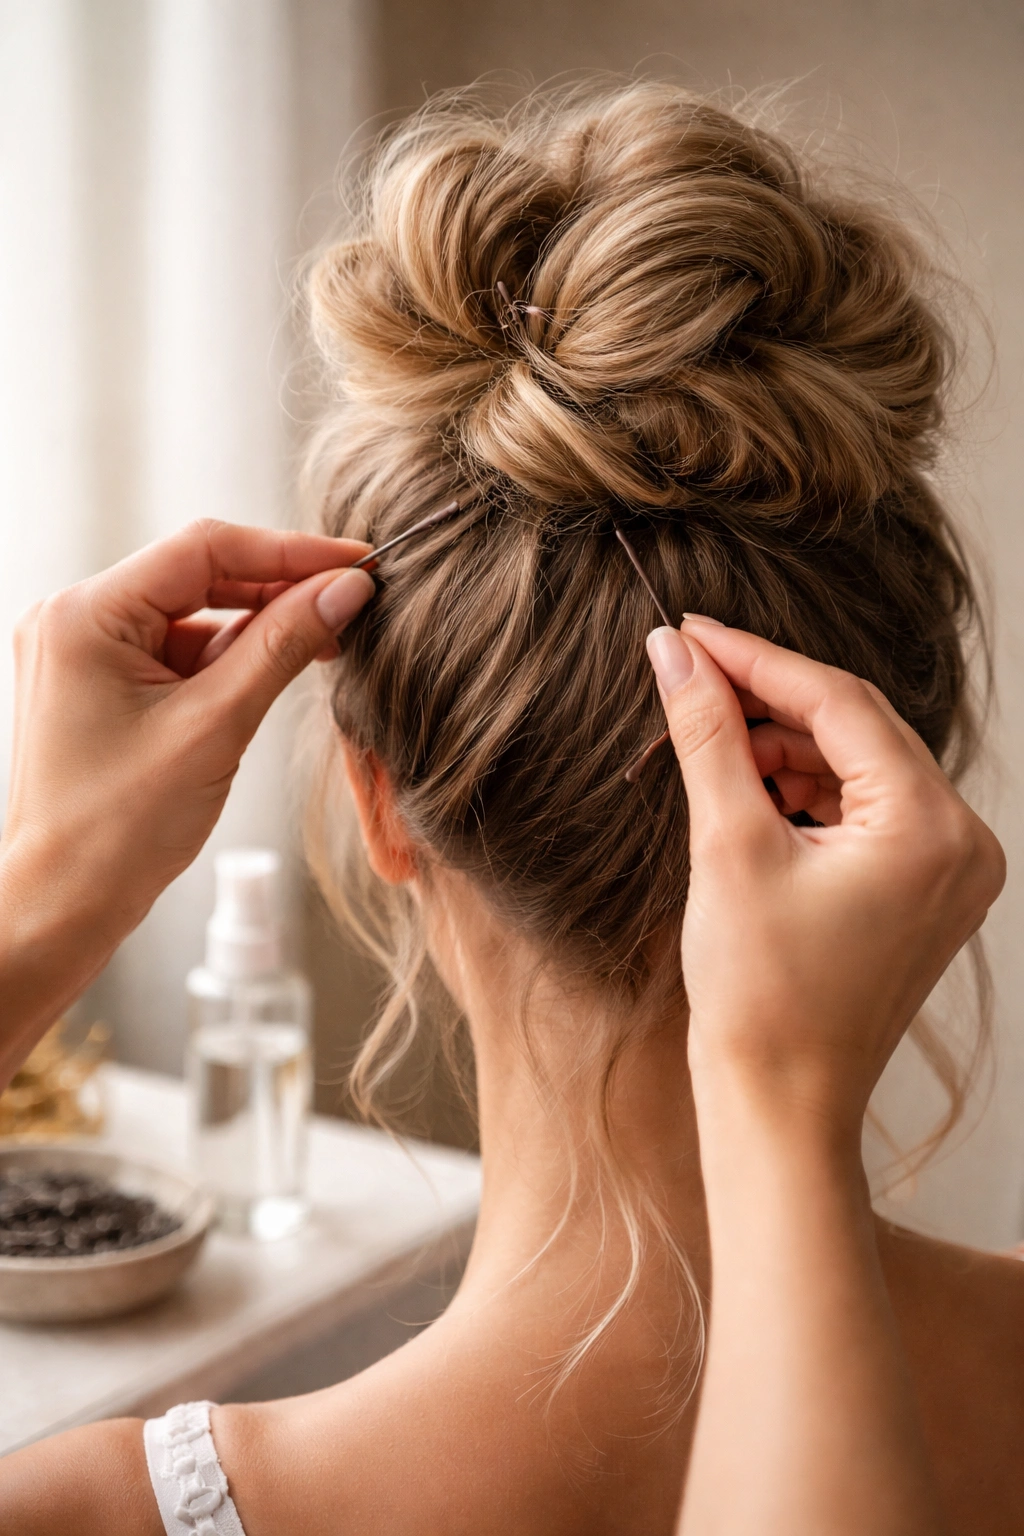
A messy bun that lasts through hours of dancing, hugging, and mingling requires more than just hoping it stays in place. Start with a really solid base—that means either a tight initial ponytail that you then loosen intentionally, or bobby pins that are firmly anchored in your hair, not just lightly clipped in. Use at least six to eight bobby pins for any messy bun, distributing them throughout the bun rather than clustering them all in one spot.
Bring bobby pins and a small bottle of texturizing spray in your clutch so you can do a quick touch-up midway through the reception if needed. A tiny comb or fine-tooth brush is also helpful for smoothing any flyaways that catch your eye. Avoid touching your bun constantly throughout the day—the more you fuss with it, the more likely pieces are to come loose. One quick touch-up midway through is usually plenty.
If your hair is extremely long or very fine, consider using a hair net or a low-profile base that other pins can anchor to. These are nearly invisible but give your bobby pins something solid to grip. Alternatively, use double-sided fashion tape on the inside of the ponytail elastic to keep it from slipping down.
Stay away from heavy ornaments that might weigh down the style and cause it to drop over the course of the evening. Lightweight hairpieces are always the smarter choice. Finally, use hairspray judiciously—enough to hold texture in place, but not so much that your hair becomes stiff and unnatural. Light, flexible hold is always better than heavy hold for messy bun styles.
Final Thoughts
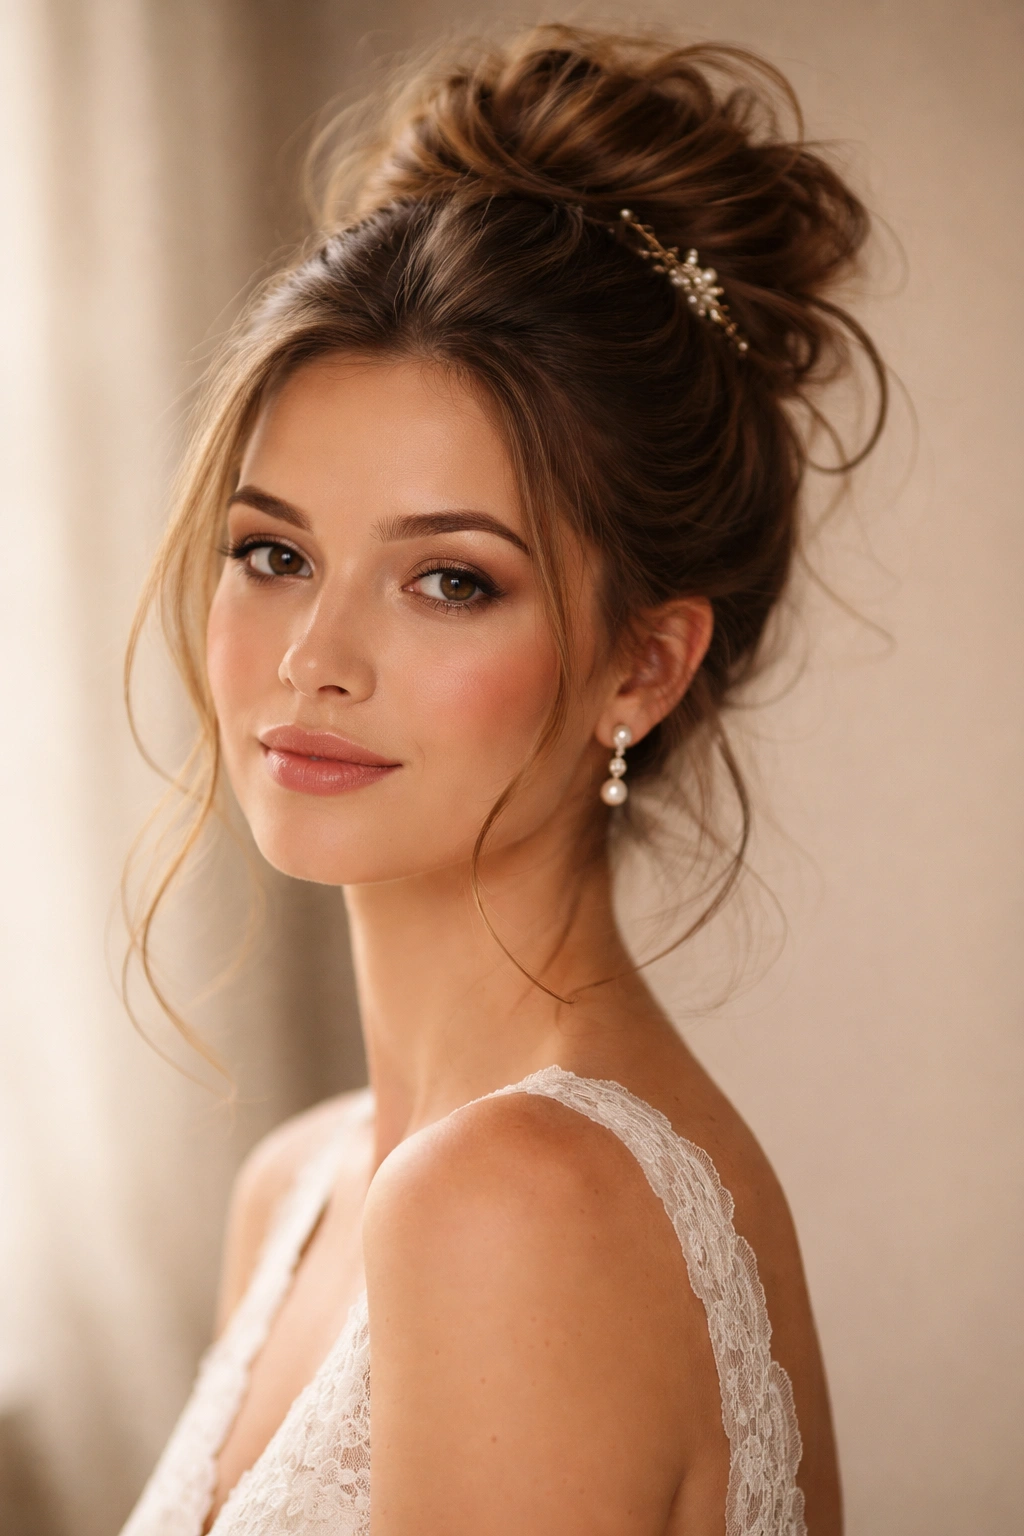
A high messy bun offers the perfect combination of romance, practicality, and elegance that makes it an ideal choice for weddings. Whether you choose something soft and loose, add structural elements like braids or twists, or elevate it with ornaments and accessories, the style adapts to match your personal taste and the formality of the event. The key is building a solid foundation—good texture, proper preparation, and secure pinning—so that your hair looks intentional and beautiful all night long rather than falling apart as the evening progresses.
Take time to practice whichever style calls to you before the actual wedding. This isn’t a style that requires hours of practice, but running through it once or twice means you’ll know exactly how long it takes, whether you need additional bobby pins, and which version truly feels best on your hair type. Weddings are stressful enough without worrying about your hair, so investing thirty minutes in a practice run eliminates that concern entirely. You’ll walk into that celebration feeling genuinely confident about how you look from every angle.
