



If you’ve got medium-length hair and you’re tired of the same old high ponytails and sleek updos, low messy buns might be your new best friend. There’s something effortlessly chic about a bun that sits lower on the back of your head—it feels more intentional than a quick topknot, but it still has that relaxed, undone vibe that doesn’t scream “I spent an hour getting ready.” The beauty of a low messy bun is that it works for literally any occasion: you can throw one together on a lazy Sunday morning, style one for a casual dinner out, or even dress it up slightly for more formal settings with the right accessories and hair texture.
The challenge with medium-length hair, though, is finding bun styles that actually stay put and look intentional rather than like you’re just desperately trying to get your hair out of your face. Your hair isn’t long enough to create those voluminous, Instagrammable low buns that look like they have a life of their own, but it’s also usually too short for some of the more elaborate twisted and wrapped techniques that require serious length. That’s where knowing specific, tested techniques makes all the difference—and why variations designed specifically for mid-length hair actually look better and hold up longer than trying to force the exact same technique you’d use on shoulder-blade-length hair.
What makes a low messy bun work for medium hair is understanding where to position it, how to create texture and volume in advance, and which securing methods actually keep everything in place without needing seven bobby pins. This article breaks down eight distinct low messy bun styles that genuinely suit medium lengths, with the exact steps, styling tricks, and product recommendations that make each one work. Whether you prefer a deliberately undone aesthetic or a slightly more polished messy look, you’ll find styles here that feel natural on your hair length and actually stay put throughout the day.
Why Low Messy Buns Work Especially Well for Medium Hair
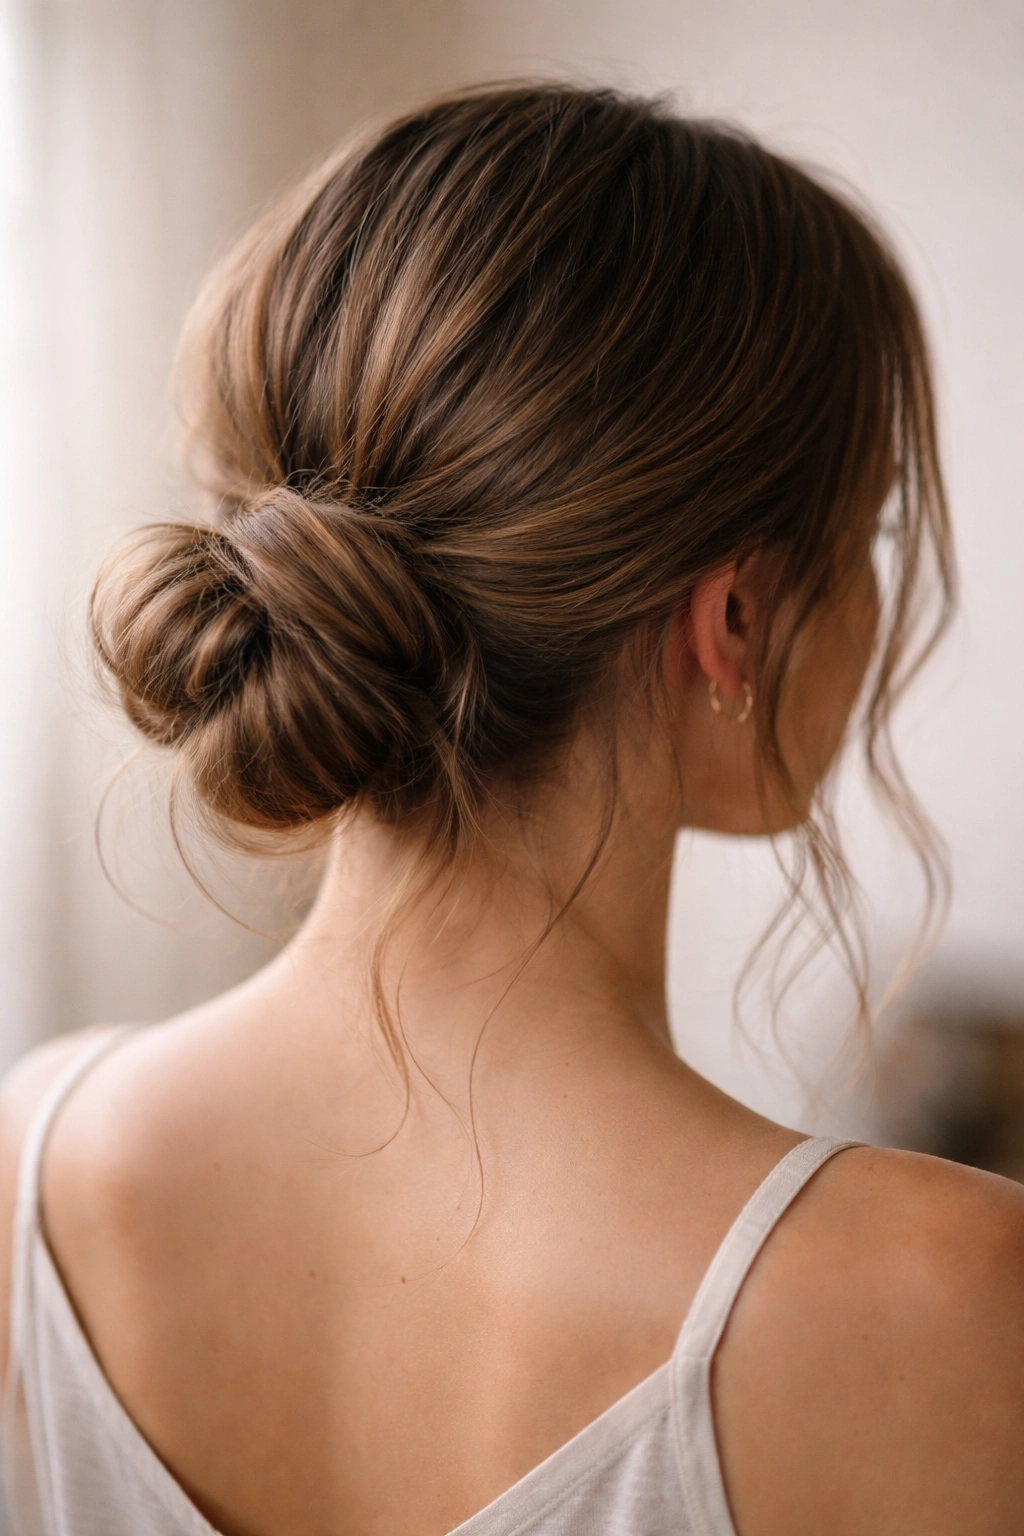
Low buns sit closer to the nape of your neck, which means they don’t require the same amount of hair length that high buns do to look full and intentional. This positioning is actually perfect for medium-length hair because it creates a visual balance with your face—the lower placement doesn’t emphasize the fact that you don’t have floor-sweeping length, and it gives your hair somewhere to go that feels deliberate rather than like a compromise. The “messy” texture element is crucial too, because slight imperfections and strategic flyaways actually work in your favor with medium lengths; they help disguise the fact that you might not have enough hair to create the kind of volume that happens naturally with longer hair.
The versatility of a low messy bun is honestly what makes it so valuable in a regular rotation. You can wear the exact same style three different ways depending on whether you blow-dry your hair first, whether you use texture spray, or whether you French braid the crown before gathering it into a bun. This means you can have variations that feel fresh even when you’re technically repeating the same base technique. Low messy buns also photograph well, they look professional enough for work (depending on your workplace dress code), and they’re genuinely comfortable to sleep in compared to high buns that put pressure on the same spot on your scalp every single night.
1. The Perfectly Imperfect Gather
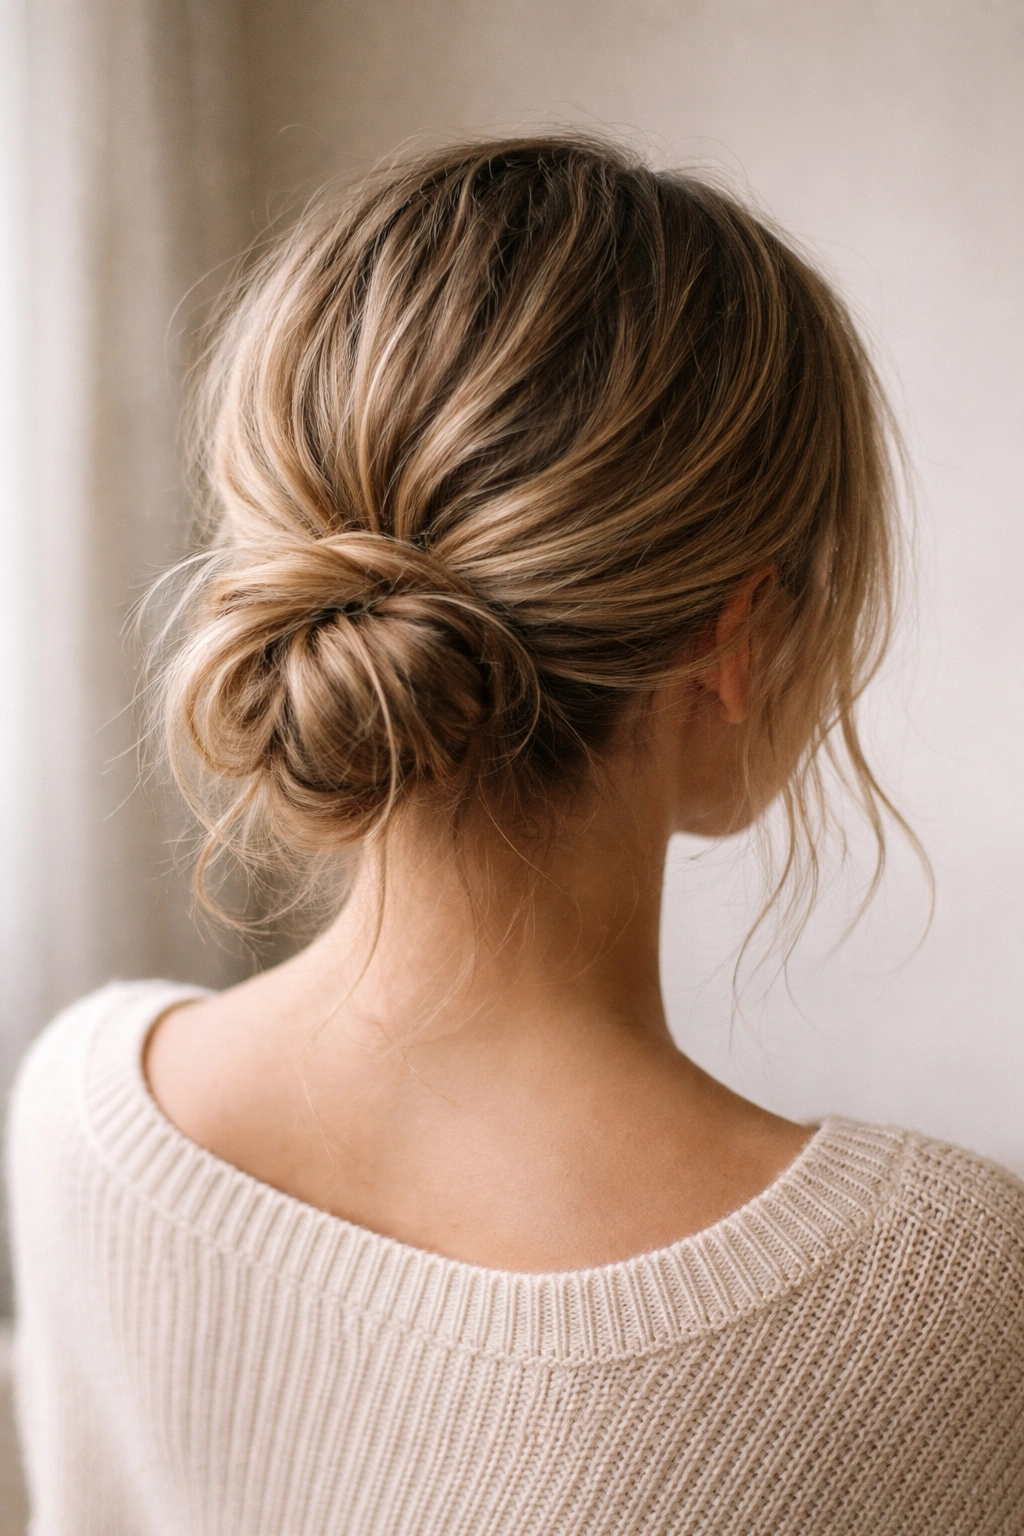
This is the easiest low messy bun style to master, and it’s the one you’ll find yourself reaching for on days when you’re in a genuine hurry but still want to look intentional about your updo choice. The key to making this style work is starting with second-day hair that has some texture to it—if your hair is freshly washed and slippery, you’ll need to add texture spray or sea salt spray beforehand. The bun itself sits right at the base of your skull, and it’s created by gathering your hair loosely and wrapping a hair tie around it without worrying too much about making each section perfectly smooth or uniform.
How to Create This Effortless Look
The entire technique relies on texture and loose tension rather than technical skill. Start by flipping your head upside down and gathering your hair at the nape of your neck with your fingers—don’t comb through it, and don’t worry about making it perfectly smooth. Flip back up, adjust the placement so it sits where you want it, and secure it with an elastic. Now here’s the part that makes it look intentional rather than messy-messy: gently pull and tease a few sections around the top and sides of the bun to create volume and texture. The goal is to make it look like you meant for some pieces to stick out and some to be slightly loose, rather than like you’re fighting with flyaways.
What You’ll Need
- A regular elastic hair tie (or a thicker one if you prefer less tension on your hair)
- Texture spray or sea salt spray if your hair is freshly washed
- Optional: 2-3 bobby pins to secure any stubborn shorter pieces
- Optional: a light hairspray to set the texture and flyaways in place
Pro tip: If you have bangs or face-framing pieces that are shorter, plan for them to fall naturally around your face rather than trying to force them into the bun—this actually enhances the effortless vibe and makes the whole style look more intentional.
2. The Twisted Crown Low Bun
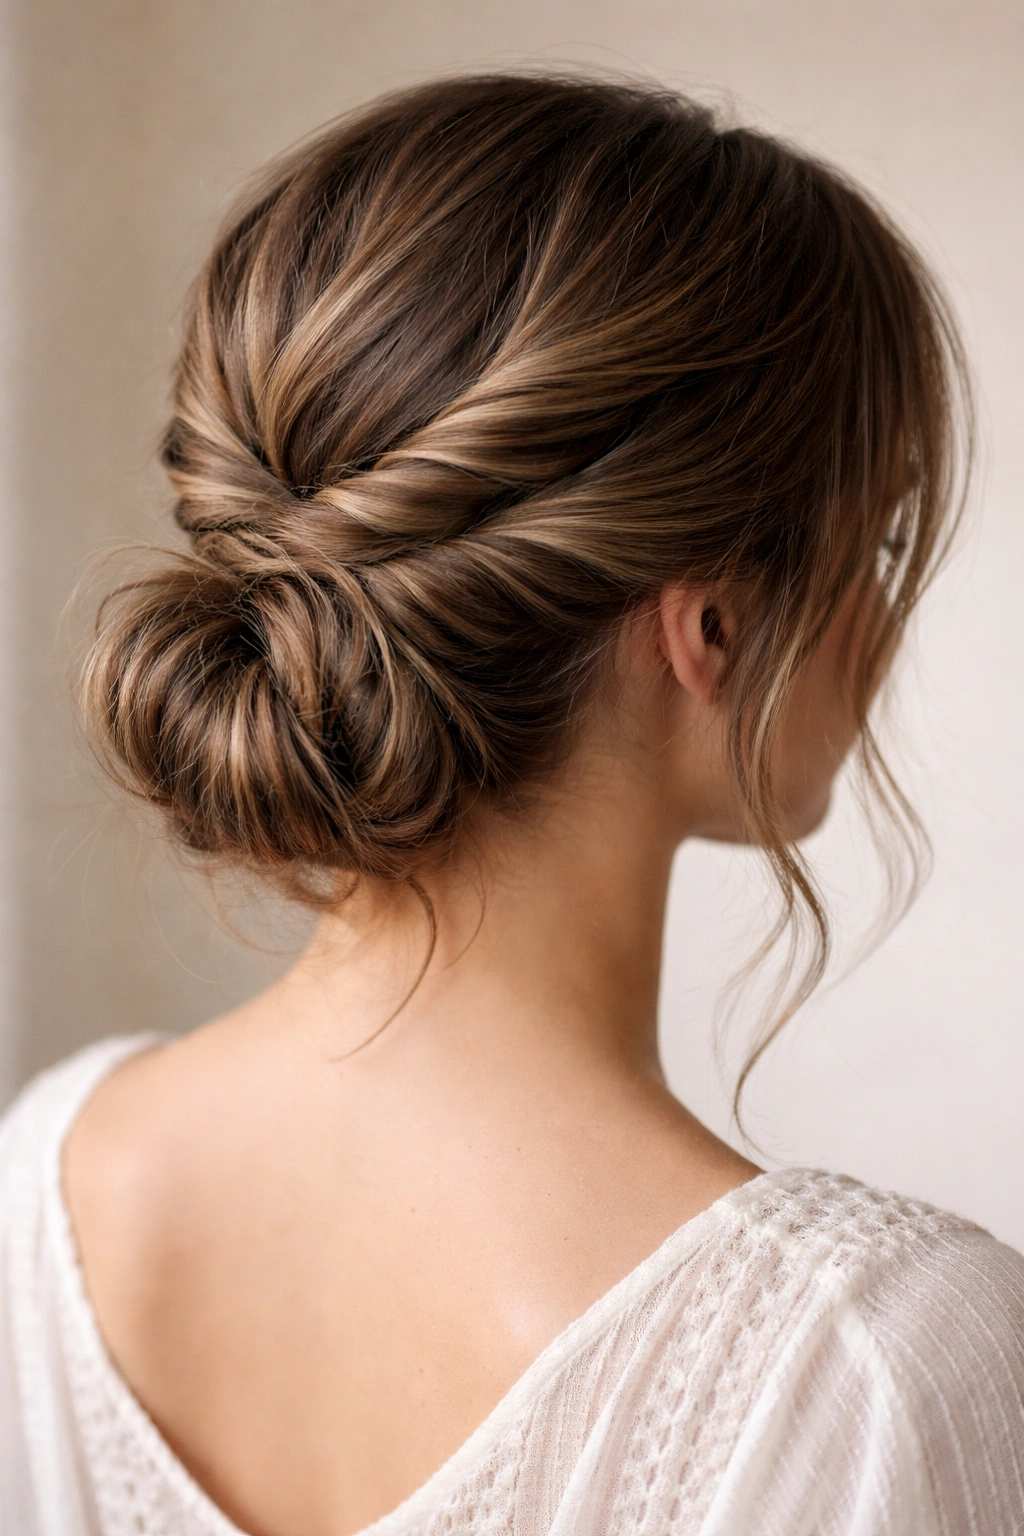
This style involves creating two or three soft twists at the crown of your head that you then wrap around and gather into a bun at the base of your neck. It’s more deliberately styled than the gather bun but still feels relaxed, and the twisted detail adds visual interest and dimension that makes the bun look more intentional. The twists also help secure the bun naturally, which means you might need fewer bobby pins overall. This style works especially well for medium hair because the twists take up some volume at the crown, creating the illusion of thickness throughout the whole style.
The Step-by-Step Process
Start with hair that has some body to it—either air-dried with a wave or dried with a round brush for volume. Take a section of hair from one side of your head near your temple and twist it loosely toward the back, adding small sections of hair as you go (like you’re doing a mini French twist). Repeat on the other side, and optionally add a smaller twist from the very crown. Gather all three twists plus the remaining loose hair at the base of your neck and secure everything into a low bun with an elastic. Pull the bun apart gently to create volume and texture, and use bobby pins to secure any pieces that feel loose or unstable.
Key Steps for Success
- Twist gently and loosely—tight twists will pull your hair and look overly polished rather than casually styled
- Make sure you’re adding small sections of hair to each twist so it holds together, but don’t make the twists too thick
- When you secure the bun, leave the twists slightly visible on the outside rather than tucking them completely underneath
- Use bobby pins that match your hair color for a cleaner look
Worth knowing: This style actually holds better throughout the day than the perfectly imperfect gather because the twists provide additional security, making it a solid choice for work or situations where you need your bun to stay put for hours.
3. The Braided Base Low Bun
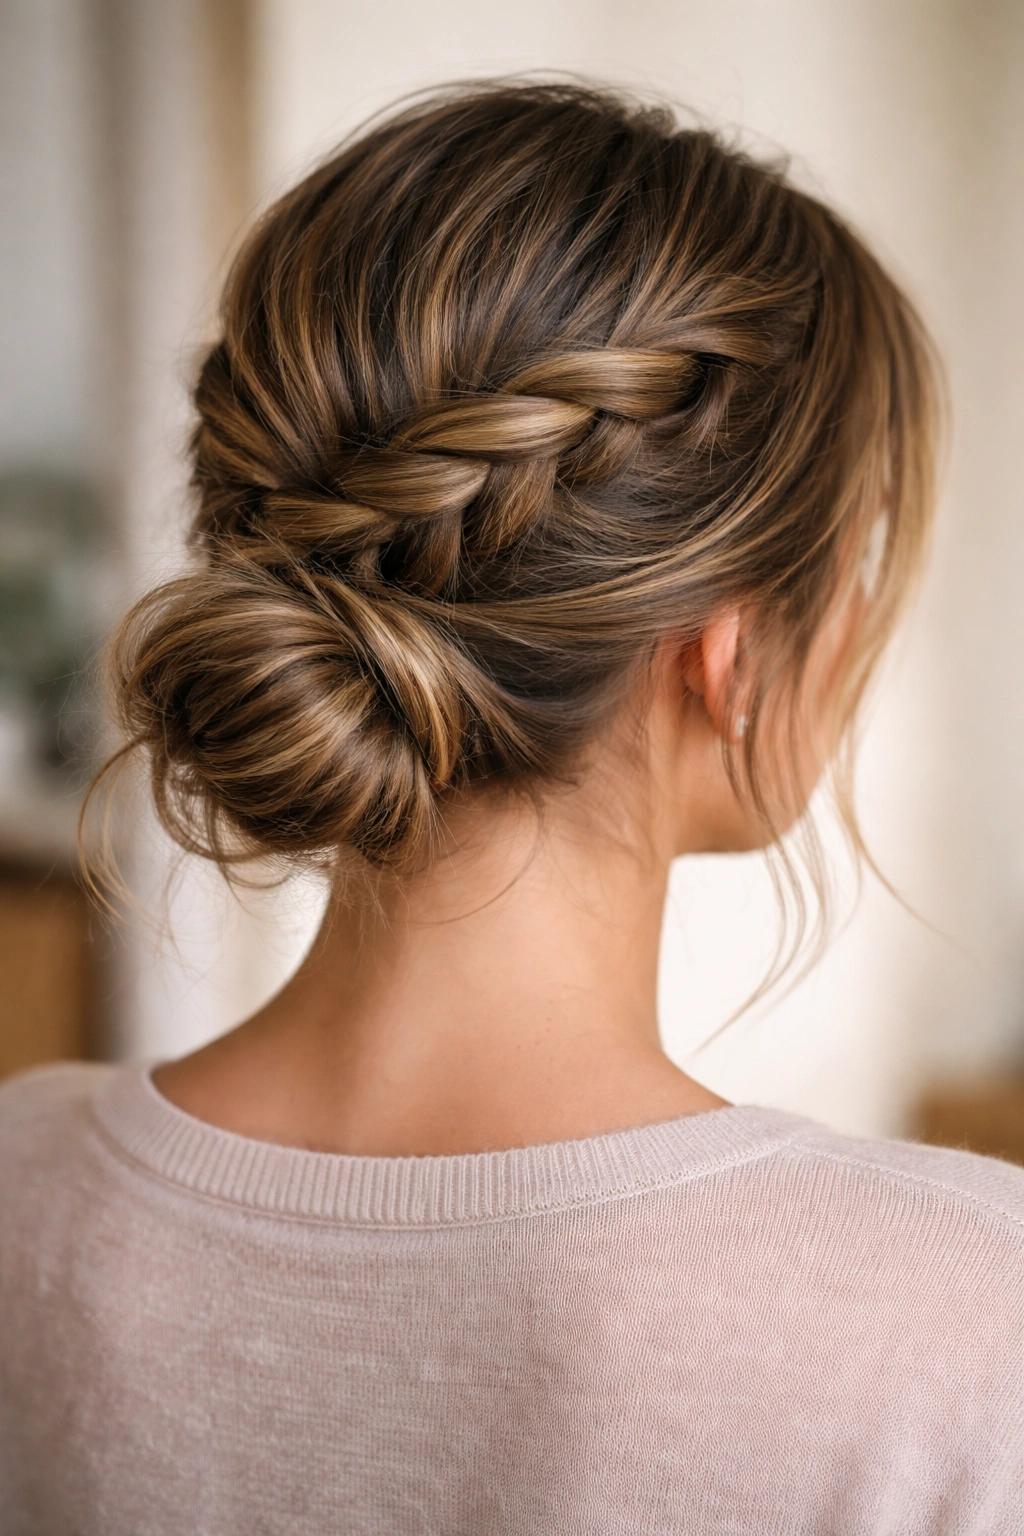
If you have decent hair length for even a partial braid, creating a braid or two at the crown and gathering the remaining hair into a bun at the nape creates a style that looks both polished and undone. This works especially well for medium hair because you’re only braiding the top section—you don’t need several feet of length. The braid detail gives the impression that you planned this style, while the loose bun at the bottom keeps it from feeling too formal. This style is genuinely versatile enough to work for casual days or slightly dressier occasions depending on how you style it.
How to Build a Braided Base
Start by creating a loose Dutch braid (or French braid, depending on preference) from your hairline toward the back of your head. You’re not braiding all the way down—just enough to create a detail at the crown that will frame your face. Once you’ve braided about four to six inches, gather everything—the braided section plus all the hair below it—into a low bun at the base of your neck. Secure with an elastic, then gently pull apart the braid and the bun to create texture and volume. The braid should be loose enough that it looks relaxed, not tight and formal.
Details That Make This Style Work
- Use a loose braiding technique (the three-strand sections should be thick and chunky, not tight)
- Leave some face-framing pieces loose before you braid, so you have softer pieces around your forehead and temples
- When you secure the bun, make sure the end of the braid wraps around and becomes part of the bun structure, rather than looking like a braid that just ends abruptly
- Pull the bun apart significantly more than you might think necessary—texture is the whole point
Real talk: This style does require your hair to cooperate reasonably well with braiding, so if you have very fine or slippery hair, use a texture spray beforehand to make the braiding easier.
4. The Wrapped Low Bun with Texture
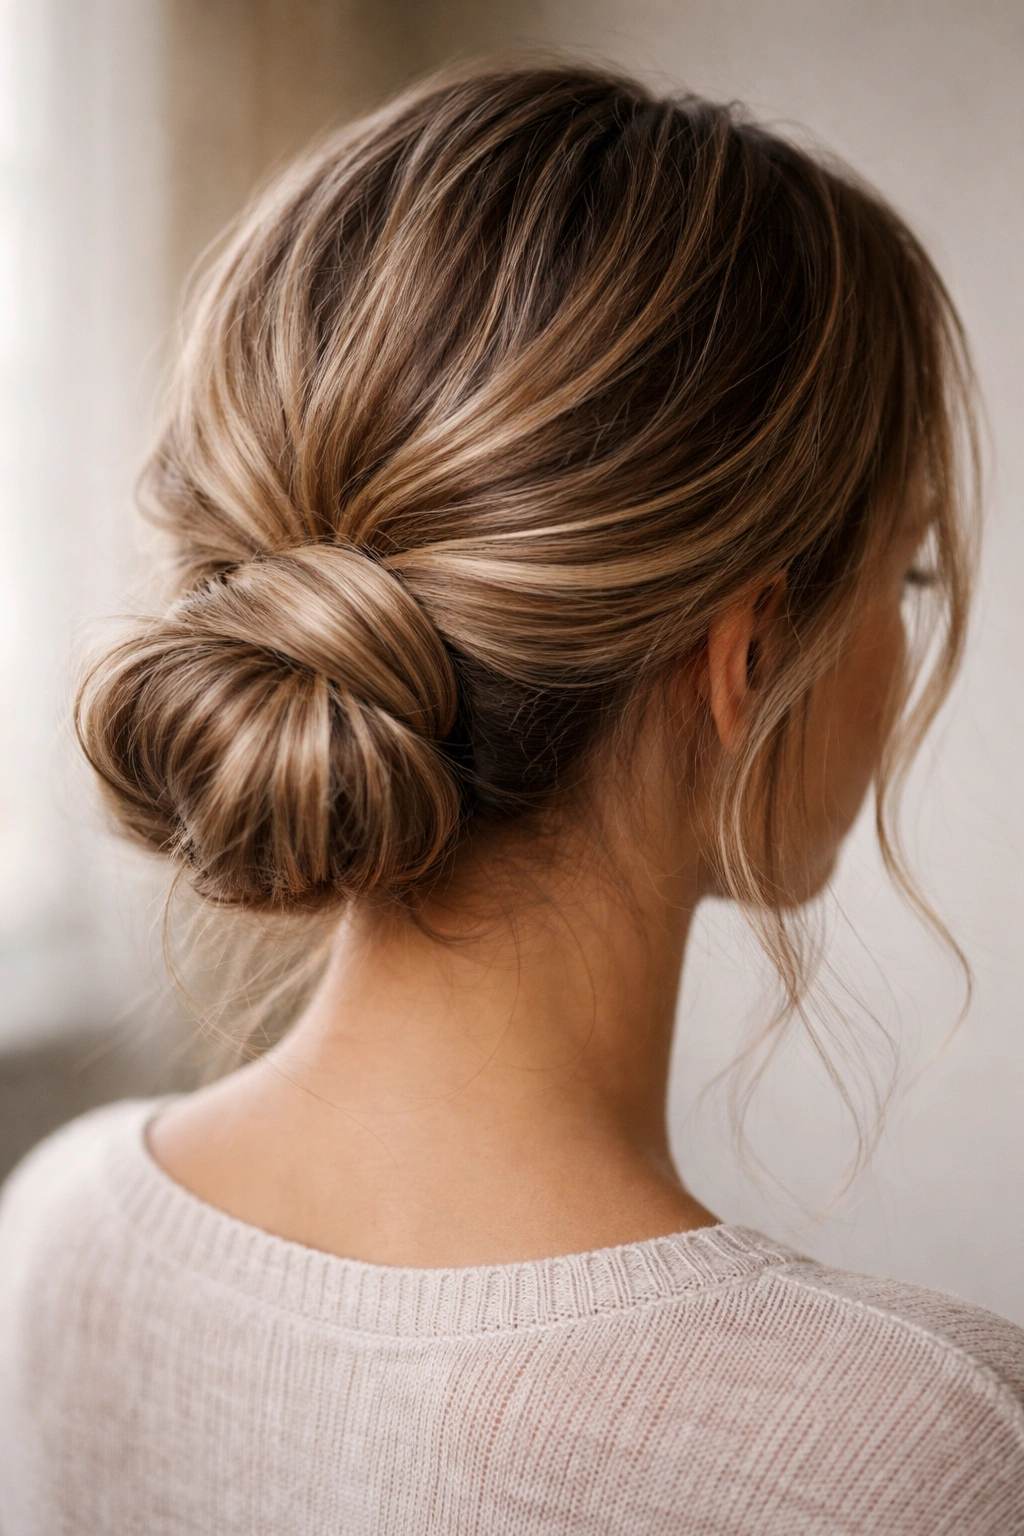
This style involves taking a section of hair and wrapping it around the outside of your bun, creating the appearance of a finished, intentional detail that masks any messiness underneath. It’s more structured than some of the other low messy buns, but it’s still entirely achievable with medium hair and looks sophisticated without being overly formal. The wrapped section can be a simple strand, a twisted section, or even a thin braid, depending on how much time you have and what look you’re going for.
Building the Wrapped Structure
Create your low bun first by gathering your hair at the nape of your neck and securing it with an elastic. Before you tighten it completely, separate out one thicker section (maybe an inch wide) of hair from the bottom of the section you’re gathering. Leave this section out and secure the rest of the hair into the bun as normal. Now take that separated section and either twist it loosely, braid it, or just keep it as is, and wrap it around the base of the bun, tucking the end underneath and securing it with a bobby pin. Gently pull the bun apart to create texture and volume, and adjust any pieces that look too neat.
Making It Look Intentional
- The wrapped section should look like it’s part of the design, not like you’re desperately trying to cover up messy hair
- Make sure the section you wrap around is thick enough to actually be visible and create a visual detail
- Don’t wrap it too tightly—loose and organic looks better than a structured finish with medium hair
- Use bobby pins that match your hair color so any visible pins blend in
Pro tip: If you have any shorter layers or face-framing pieces, this style is particularly forgiving because the wrapping section provides visual interest that draws the eye away from any awkward shorter pieces.
5. The Half-Gathered Messy Low Bun
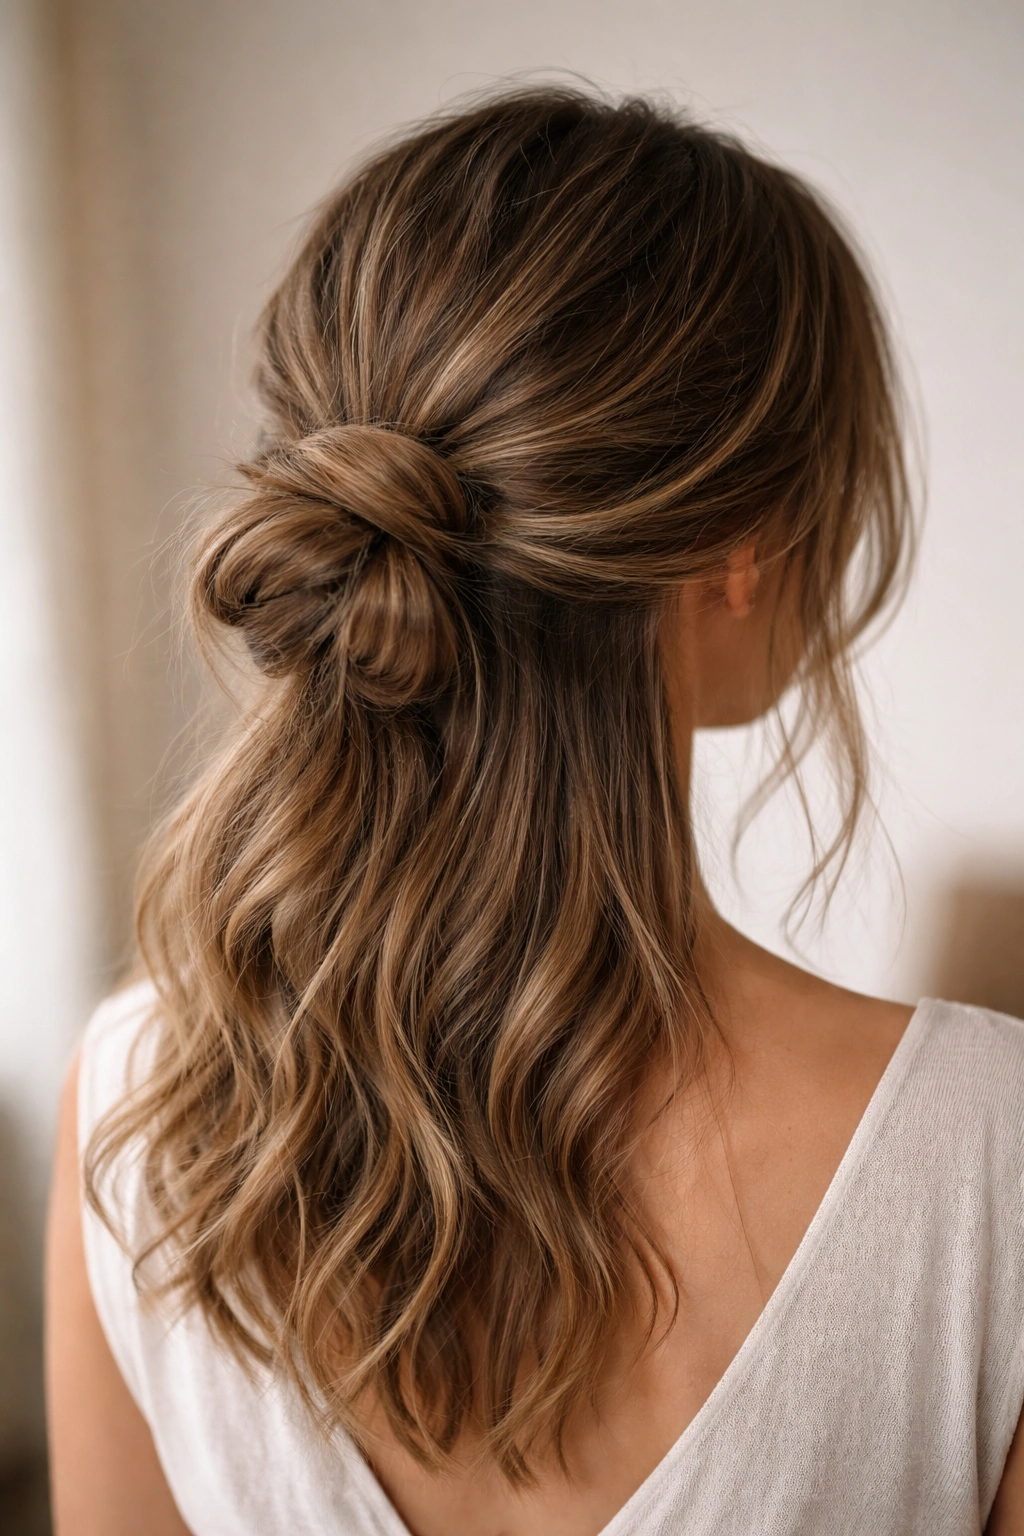
This style is technically a half-bun, half-down style, but it’s gathered low enough that it reads as a low bun rather than a half-up style. You’re taking roughly the top half of your hair and gathering it at the base of your neck, leaving the bottom half down. This works beautifully for medium hair because you get the benefit of an updo (hair off your neck, neater appearance) without needing serious length, and the longer layers on the bottom add movement and softness that prevents the whole look from feeling too structured.
The Gathering Technique
Flip your head upside down and gather the top half of your hair—imagine an invisible line from one ear to the other going across the back of your head, and gather everything above that line. Flip back up and position the gathered section at the base of your neck (so lower than a typical half-up style). Secure with an elastic and gently tease and pull the gathered section to create volume and texture. The lower half of your hair should fall naturally down your back. Add some wave or texture to the down portion with a curling iron or by using sea salt spray if you want more dimension, or leave it straight for contrast.
Why This Works for Medium Hair
- The longer bottom section creates the visual impression of more hair and length than you actually have
- The gathered top section is secure and off your neck, but you’re not fighting with making a full bun look full
- You can adjust how much hair you include in the gathered section depending on the day and your mood
- The style works in both casual and slightly dressier contexts depending on accessories
Insider note: This style is genuinely excellent for days when you want your hair partly styled but you’re not ready to commit to a full updo, and it actually stays in place better than you’d expect because the gathered section sits lower and experiences less movement.
6. The Textured Knot Low Bun
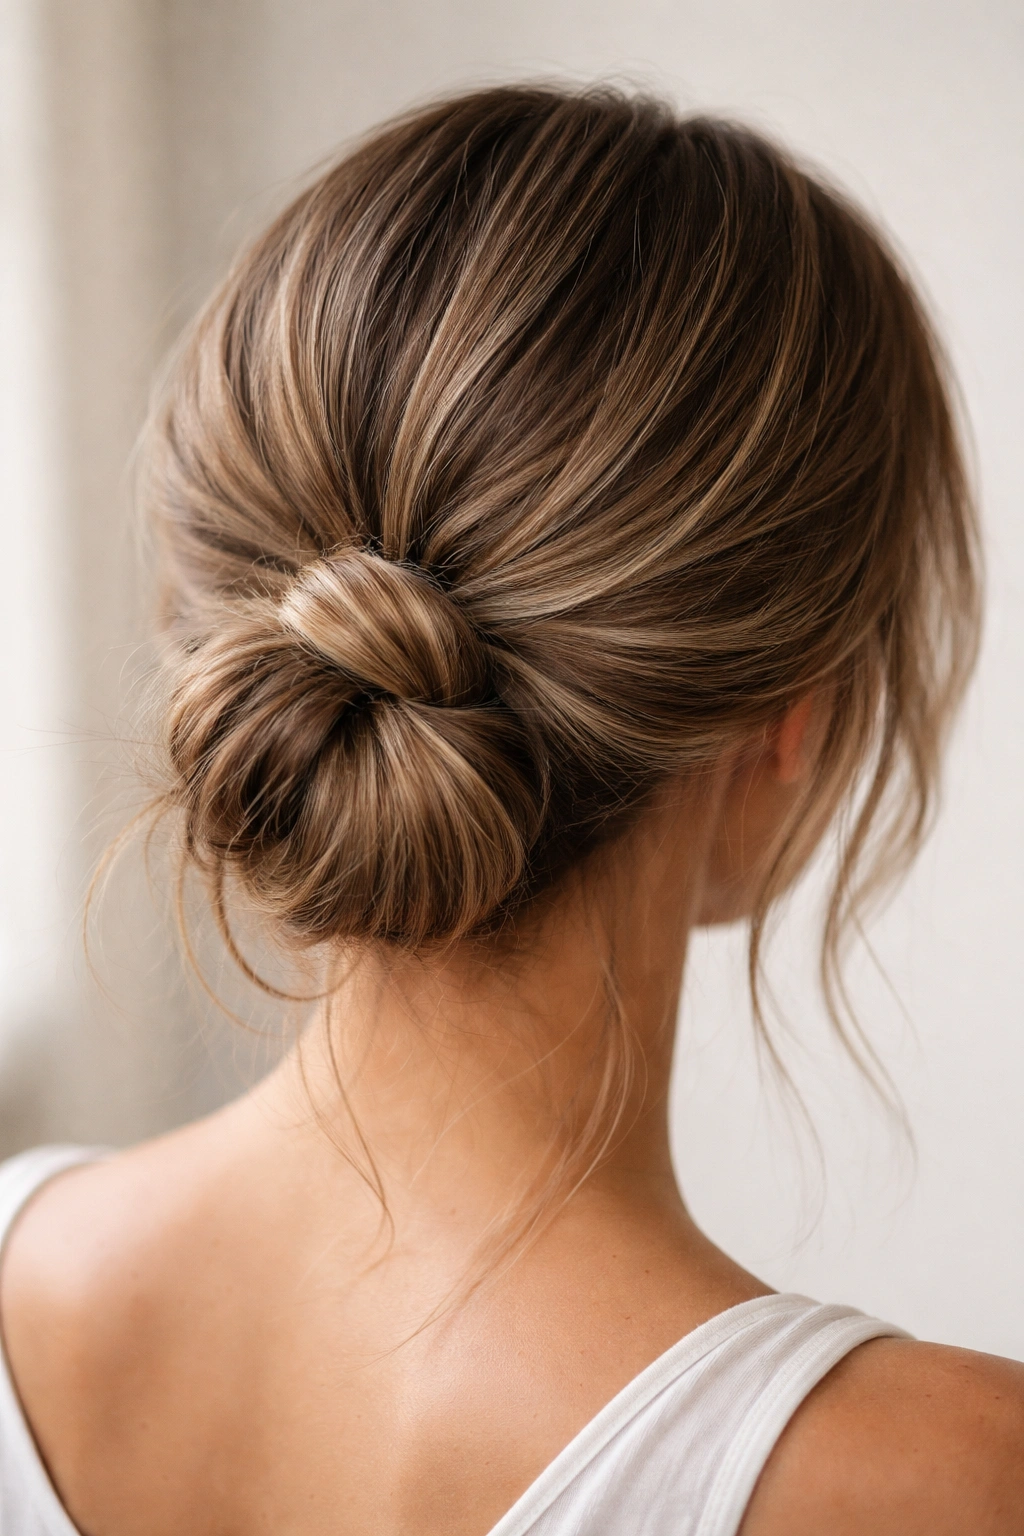
Instead of a traditional bun created by wrapping hair around elastic, this style involves tying your hair into a knot (like you’re tying a shoelace) and then securing it with bobby pins. It creates a distinctive shape that’s different from a gathered bun, and the knot detail adds visual interest and dimension. This style works particularly well for medium hair because knots don’t require excessive volume to look intentional—they read as a designed detail rather than just a quick way to get your hair up.
How to Tie the Knot
Gather your hair loosely at the nape of your neck, then split it into two thick sections. Tie the two sections together in a knot (just like you’d tie two pieces of string together), leaving the rest of the hair loose below. Tighten the knot by pulling the two sections gently, then wrap what’s left of the two sections around the base of the knot and secure everything with bobby pins. Gently pull and tease the knot area to create volume and ensure it doesn’t look too tight. You should be able to see the knot structure—it shouldn’t be so pulled apart that the knot disappears.
Details That Matter
- The two sections you’re tying together should be relatively equal in thickness for a balanced look
- Don’t pull the knot too tight, or it’ll look more structured than messy
- Leave some length below the knot and wrap it around the base rather than cutting it short—it looks more intentional
- Pull the knot gently from multiple angles so it has texture and dimension, not a smooth, polished appearance
Worth knowing: This style actually holds incredibly well throughout the day because the knot itself provides security beyond just the elastic or bobby pins, making it surprisingly practical despite looking casual.
7. The Peek-a-Boo Braid Low Bun
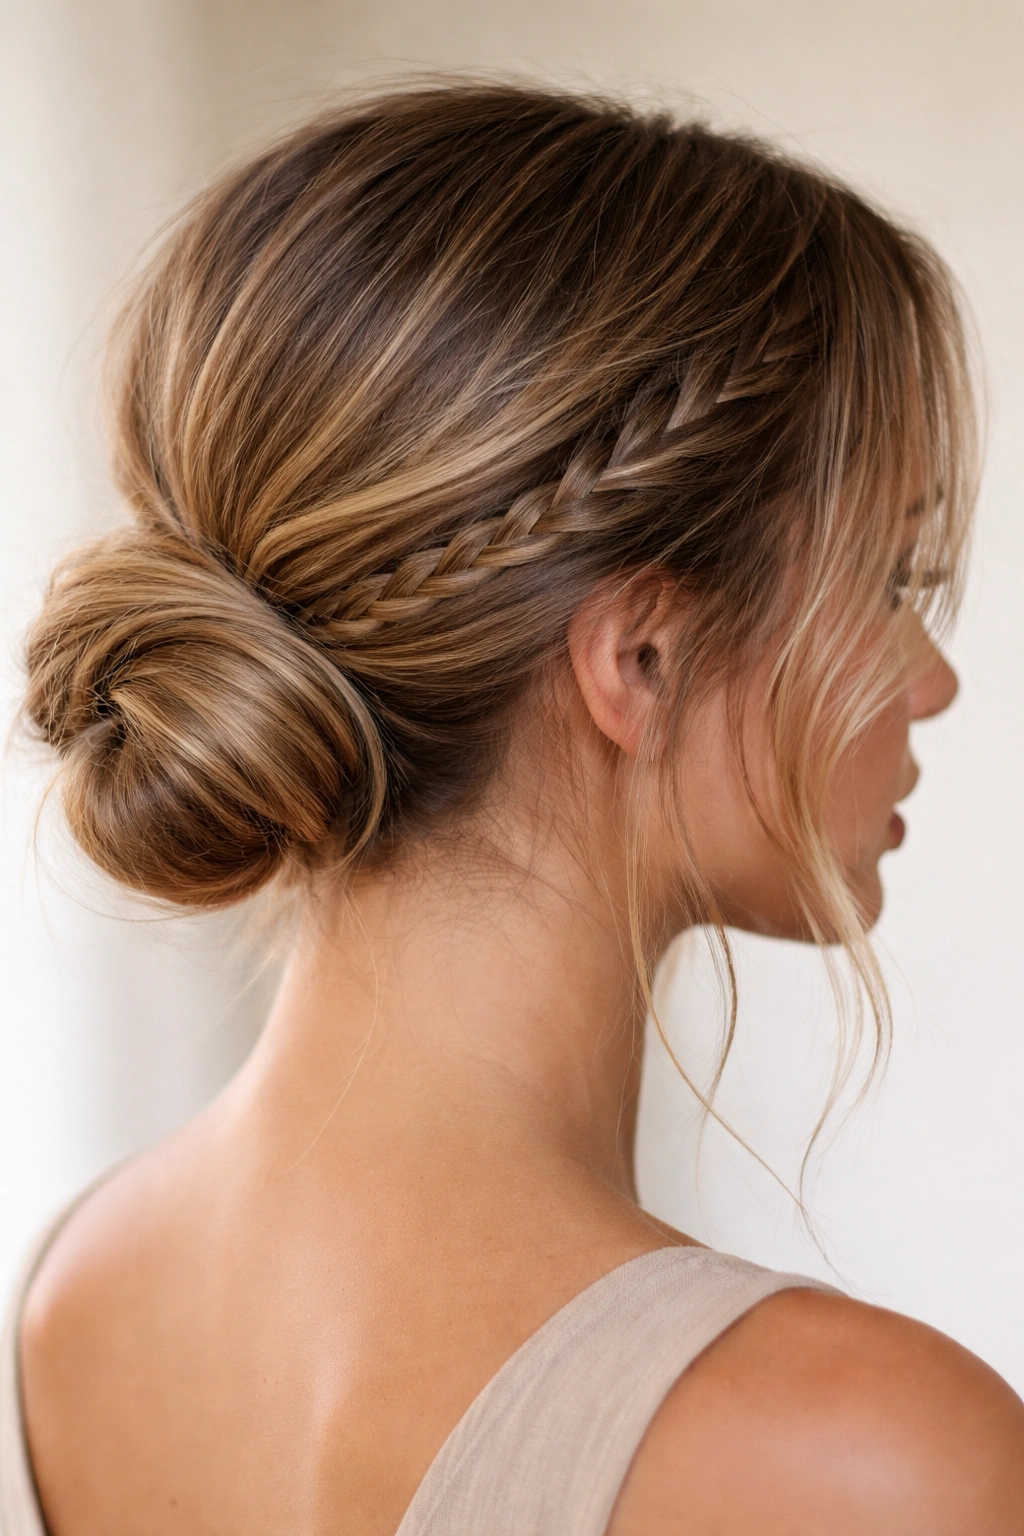
This style features a thin braid woven through the middle or side of your bun, creating a peek-a-boo detail that adds sophistication without requiring complex braiding skills. The braid is visible on the outside of the bun (unlike the braided base bun where the braid is part of the foundation), creating a delicate detail. This style works well for medium hair because you can create a thinner braid that doesn’t require tons of length and the detail makes the bun feel intentionally styled rather than rushed.
Creating the Peek-a-Boo Effect
Gather your hair into a low bun and secure it loosely with an elastic. Before you tighten everything completely, take a thin section of hair (maybe half an inch to an inch wide) from the side and create a three-strand braid. Once your braid is complete (you don’t need to braid very far—even 3-4 inches is enough for the detail), wrap this braid around the side of the bun and secure it with a bobby pin tucked underneath where it won’t show. Gently loosen the bun and the braid to add texture, and adjust any pieces to create the casual, undone vibe you’re going for.
The Fine Details
- The braid should be thin enough that it reads as a delicate detail, not a major structural element
- Loosen the braid more than you might think necessary so it doesn’t look too polished
- Position the braid where you want the detail to be visible—a side braid wraps around the side of the bun, while a braid from the crown wraps around the back
- Use a bobby pin that matches your hair color so any visible pins blend seamlessly
Real talk: This is one of the more technically detailed options, but it’s genuinely not difficult—you just need to be able to do a basic three-strand braid, and everything else is about placement and texture.
8. The Undone Updo with Strategic Flyaways
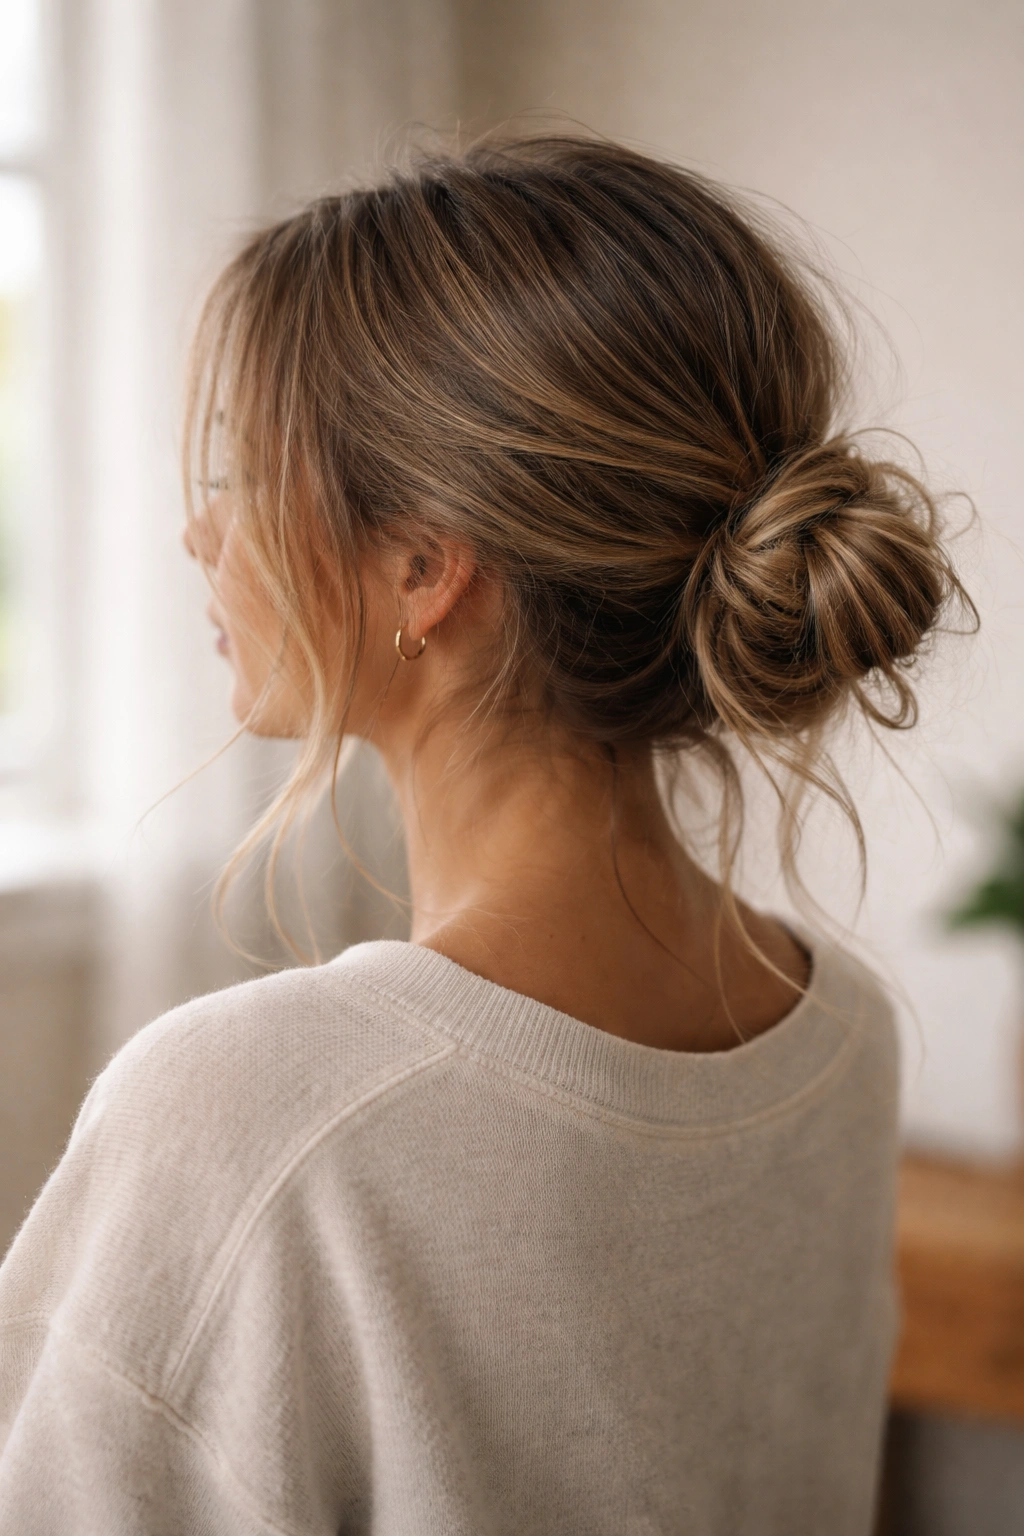
This final style is less about a specific technique and more about an approach: creating a bun that looks intentionally undone by strategically leaving certain pieces loose and using products and styling methods that enhance the messy vibe. It’s the most relaxed of all the low messy buns because you’re not worrying about making everything perfect—instead, you’re creating a style where imperfection is literally the point. This works beautifully for medium hair because the shorter length actually makes it easier to achieve that “I didn’t try too hard” aesthetic that’s genuinely harder to pull off with very long hair.
Building the Undone Aesthetic
Start with your hair slightly damp and apply a light sea salt spray or texturizing spray throughout. Blow-dry it with a round brush or diffuser to add some wave and body, or just air-dry it if you prefer a more limp, undone texture. Take all of your hair and gather it loosely at the nape of your neck—genuinely loose, like your fingers are barely holding it together. Secure with an elastic, then pull out 5-8 small, wispy pieces from around your face, temples, and the back of your neck. These pieces should be noticeably loose, not just slight flyaways. Finish with a light hairspray to keep everything in place but not locked down.
Making Imperfection Intentional
- The loose pieces around your face should be thick enough to be clearly visible, not just accident flyaways
- Don’t create too much texture in the bun itself—you want the main bun to look relatively contained while the frame of loose pieces creates the softness
- Use a light-hold hairspray rather than a strong-hold formula so nothing feels crunchy or overdone
- Check the style throughout the day and adjust loose pieces as needed to maintain the intentionally undone vibe
Pro tip: If you want this style to last through a full day without constant adjusting, use a texturizing spray or mousse in your damp hair before blow-drying—it provides hold without the stiffness of heavy-duty hairspray.
Final Thoughts
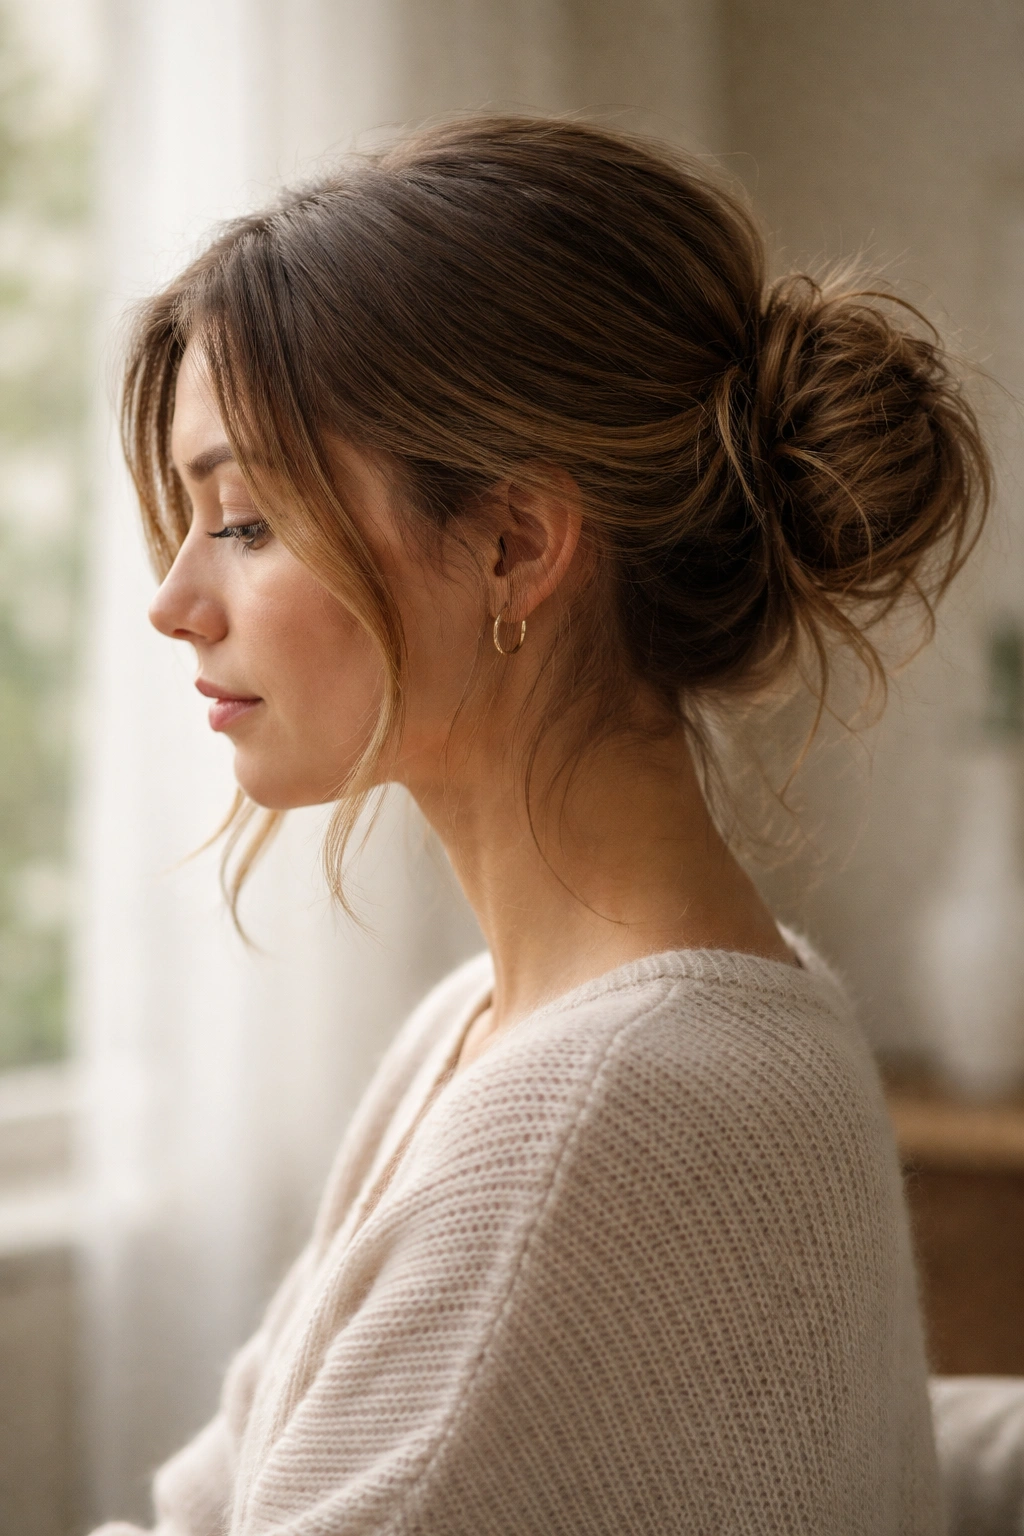
The beauty of mastering low messy bun styles for medium-length hair is that you’re not trying to force styles designed for longer lengths or working with limitations that are actually quite limiting. Instead, you’re working with a hair length that’s genuinely ideal for this particular style category. Medium hair is long enough to create real buns that hold throughout the day, but short enough that you can get ready quickly and that “messy” actually looks intentional rather than like you’re struggling with too much hair. Once you understand the basic principles—starting with textured hair, using loose tension rather than tight pulling, and strategically placing volume and detail—you can adapt these eight styles to match whatever mood you’re in and whatever occasion you’re dressing for.
The real game-changer is realizing that a low messy bun doesn’t require perfection, and it actually looks better when you stop trying to make every piece smooth and uniform. Start with one or two styles that feel most natural to you, master those techniques until you can do them without thinking, and then gradually add more to your rotation. After a few weeks of practice, you’ll be able to throw together a low messy bun in under two minutes, and on days when you’re running late or feeling unmotivated about styling, you’ll have a go-to option that looks intentional and put-together even when you’re doing it on autopilot.
