



A side messy bun is that perfect sweet spot between effortlessly romantic and intentionally polished—two qualities every bride and wedding guest secretly wants to embody. Unlike a traditional centered bun that screams “I’m trying,” the side-swept version feels like you rolled out of a luxury hotel suite with your hair already done. The positioning itself is inherently flattering, grazing the side of your neck and jawline while keeping your face fully visible for makeup and jewelry. It’s why side messy buns have become the go-to choice for anyone who wants an updo that looks undone rather than overdone.
What makes a side messy bun particularly brilliant for weddings is its versatility across different dress styles, formality levels, and personal aesthetics. Whether you’re wearing something structured and formal or flowing and bohemian, a side messy bun adapts. It photograph beautifully from multiple angles, doesn’t slip or flatten as the day goes on, and handles the physical demands of dancing, eating, and hugging without unraveling. Even better, it doesn’t require you to wake up at dawn for an hour-long styling appointment—most versions can be created in 15 to 30 minutes with basic styling tools and products.
The real magic happens when you choose the right style variation for your hair type, wedding vision, and comfort level. Not every messy bun works the same way on thick hair versus fine hair, and the technique that creates romance on wavy hair might look completely different on straight strands. That’s where knowing your specific options becomes valuable. Below are six distinct side messy bun styles, each with a different vibe, difficulty level, and ideal hair type. One of them is probably speaking to exactly what you’re trying to achieve.
Why Side Messy Buns Are Perfect for Weddings
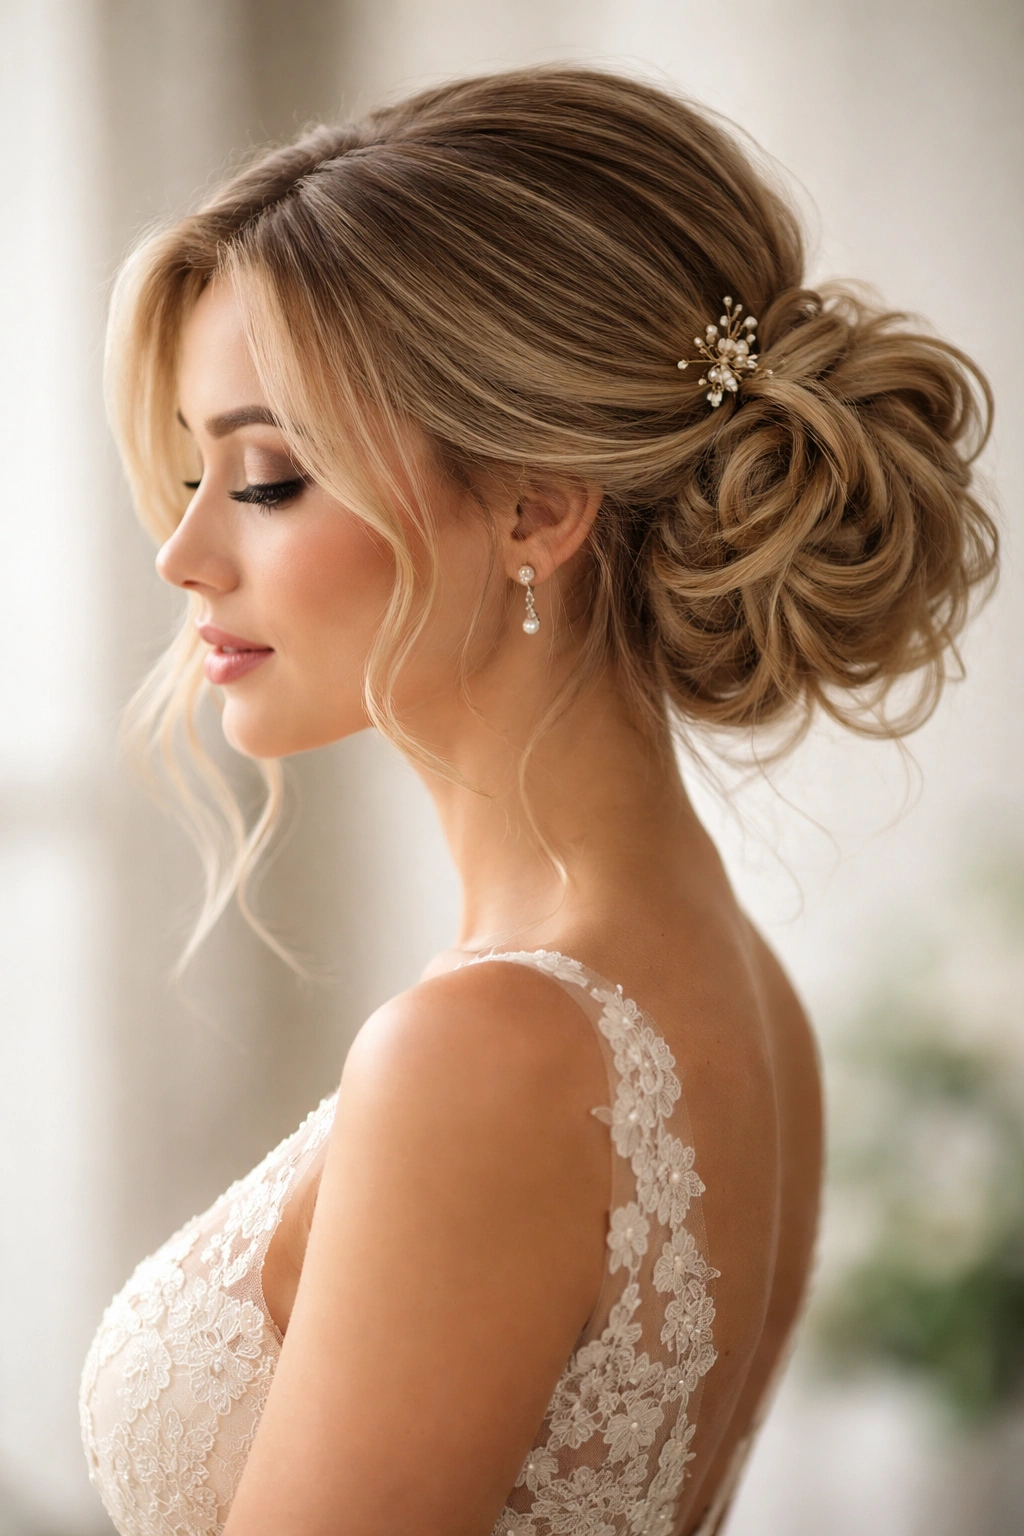
Side messy buns check nearly every box a wedding hairstyle needs to satisfy. They frame the face and shoulders in a way that makes you feel both formal and comfortable, which matters when you’re wearing a dress that cost three figures and heels you’ve never walked in. The style sits at the midpoint between “I didn’t try” and “I tried way too hard,” which is precisely where most people want to be at a wedding—polished but not stiff, intentional but not costume-like.
From a practical standpoint, side messy buns are also incredibly forgiving. If a few pieces slip out throughout the day, that’s actually part of the aesthetic. A slightly undone side bun looks romantic; a slightly undone centered bun just looks like your hair is falling apart. The side positioning also means you can tuck pieces behind your ears if needed, pull the style tighter midway through the reception, or add a decorative pin or clip if you want to elevate it further. There’s built-in flexibility that takes pressure off perfection.
Photography is another serious advantage. Side buns photograph exceptionally well from the front (where most ceremony and casual photos happen) and even better from the side and back angles. They show off your neck and shoulders beautifully, they work with every type of jewelry without competing, and they make any updo feel special without requiring complex braiding or structural elements that sometimes read as costume-y in photos.
What Makes a Side Bun Look Wedding-Worthy
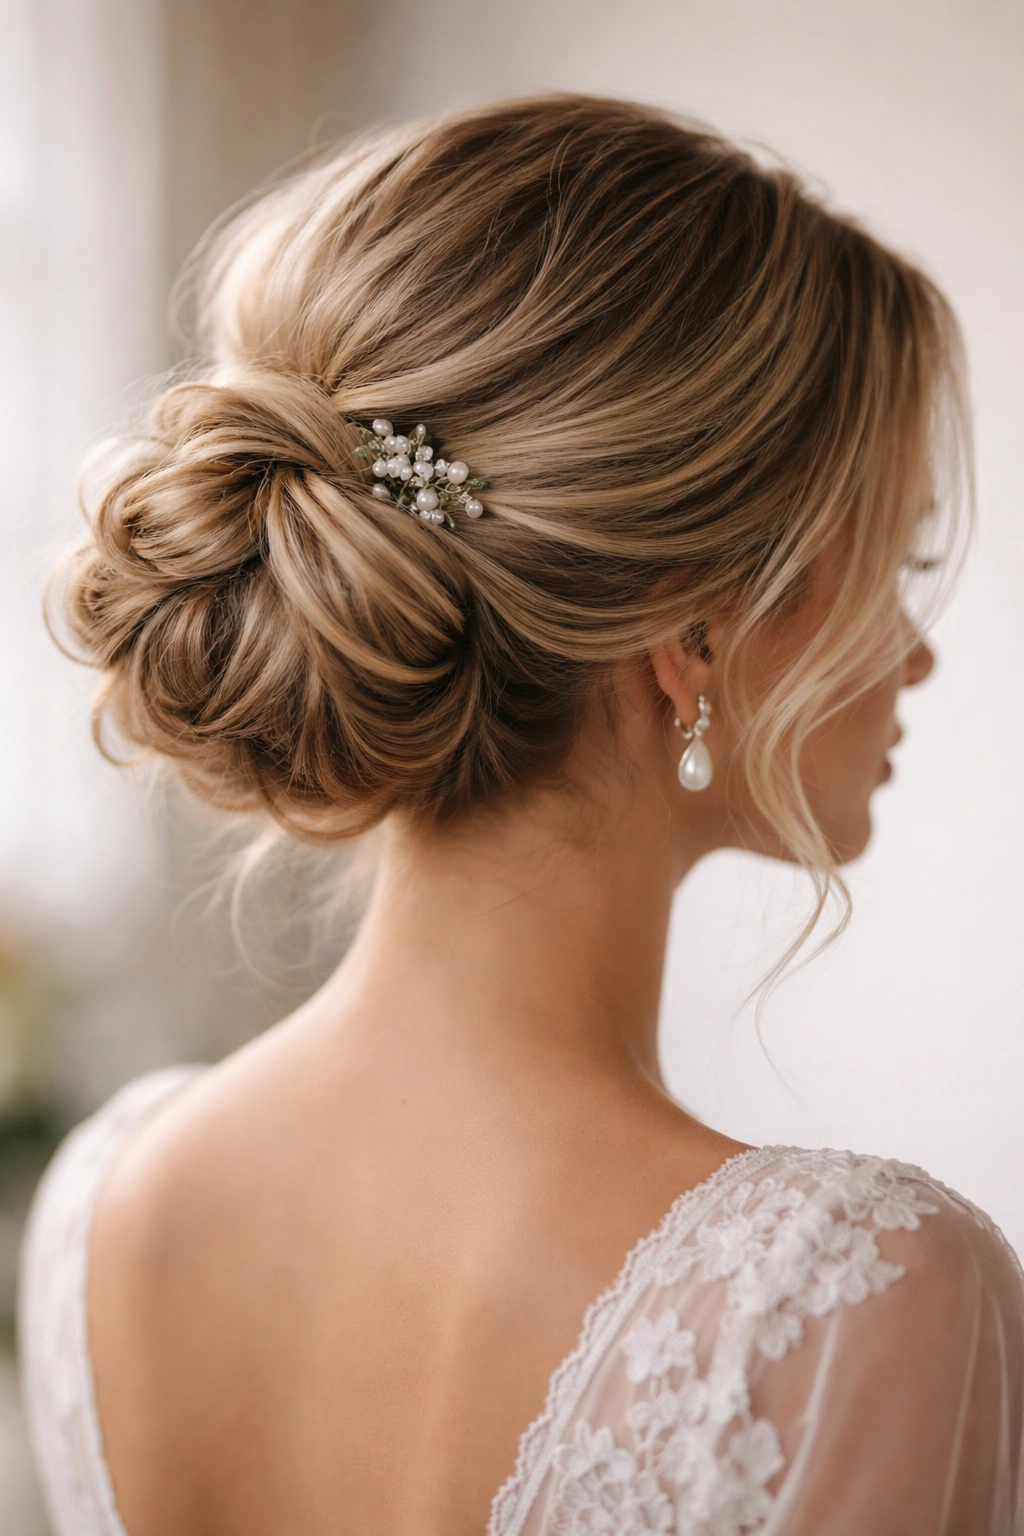
The difference between a “I wore my hair up” bun and a “wedding updo” bun comes down to three specific details: texture, positioning, and finishing elements. A wedding-appropriate side messy bun should have intentional texture built in—that means waves, curls, or strategic teasing that creates visual interest and dimension rather than a slicked-back, tight knot. Smooth, tight buns read as everyday and utilitarian; textured, softly gathered buns read as intentional and polished.
Positioning matters enormously too. A truly wedding-worthy side bun sits somewhere between ear-level and mid-neck, not so high that it looks sporty and not so low that it reads as dated. The depth (how far toward the back of your head it sits) also changes the vibe—more centered buns feel modern and minimal, while ones that sit closer to the nape feel more romantic and vintage-inspired.
Finishing elements are what separate a quick messy bun from a styled one. A few strategically placed bobby pins that show, a soft decorative comb, delicate hair rings, or even just some baby hairs softly framing the face—these small touches signal that you actually thought about your hair rather than just throwing it up. Some styles can be finished with nothing at all and still look intentional, while others need a small decorative moment to feel complete.
The Best Hair Textures for Side Messy Buns
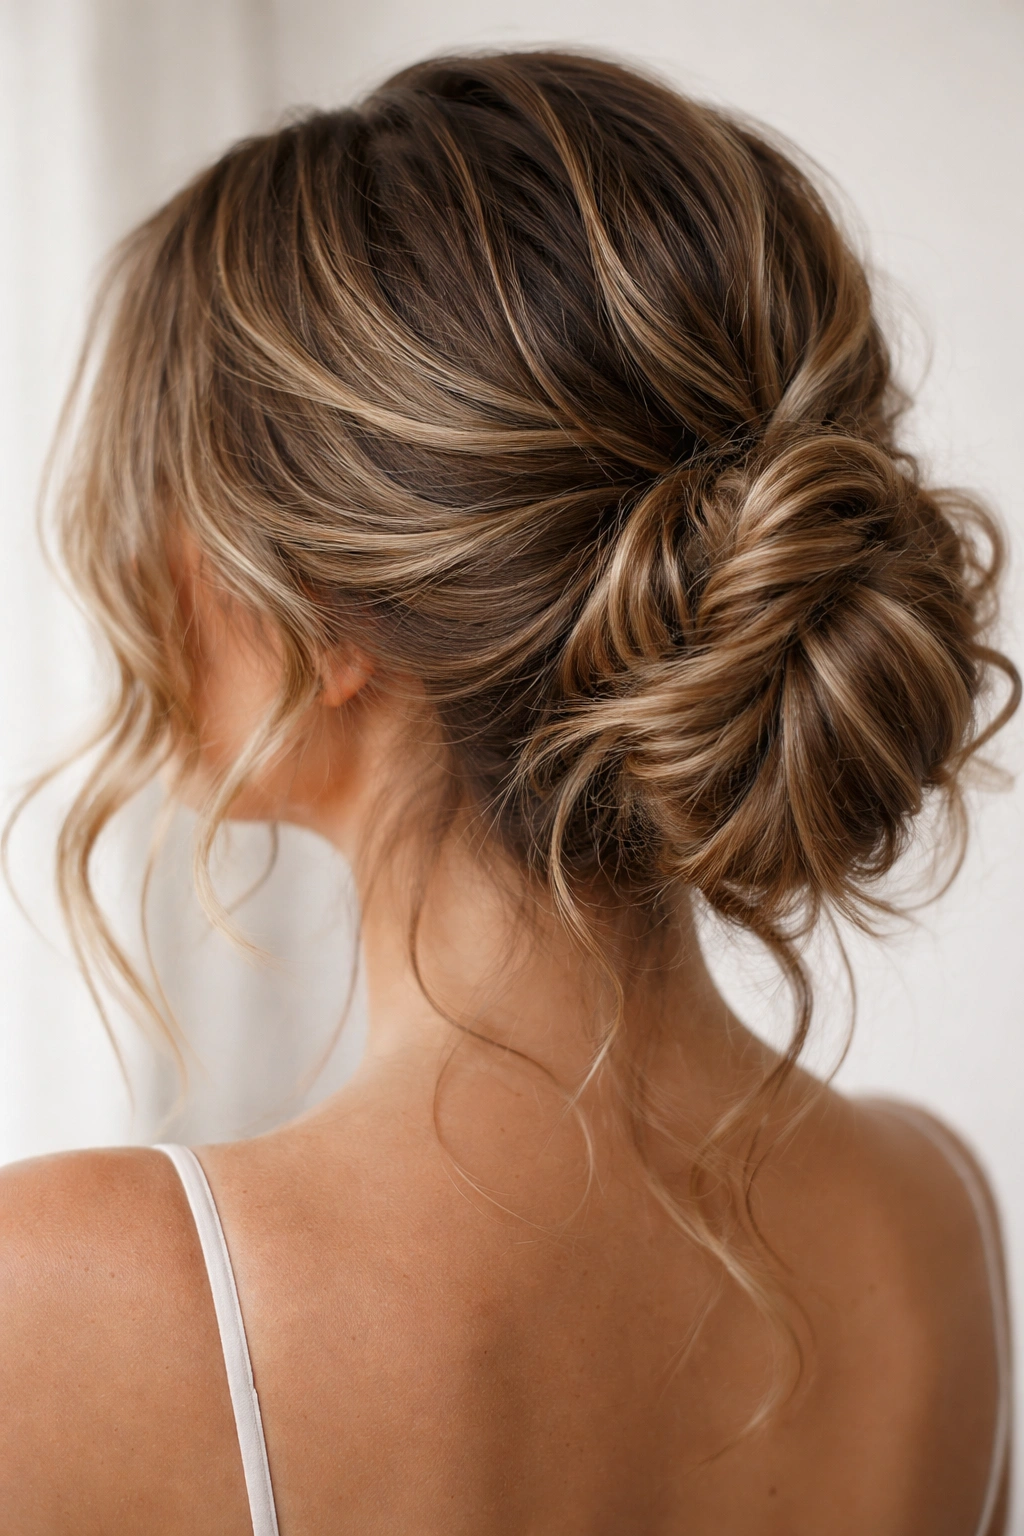
Naturally wavy and curly hair is the easiest starting point for side messy buns because the texture already exists. If your hair naturally waves or curls, you can usually create a beautiful side messy bun with minimal effort—sometimes just some lightweight texturizing spray and strategic pinning. The texture does most of the work for you, and imperfection actually enhances the look rather than detracting from it.
Straight hair absolutely works too, but it requires slightly more intentionality. Creating texture on straight hair means either spending time with a curling iron beforehand, using a texturizing product with grip, or deliberately pulling and teasing sections to create the appearance of natural dimension. The good news is that straight hair actually holds styles more securely, so once you’ve created the texture, it tends to stay put better throughout the evening. Straight hair side buns can feel sleek and modern or romantic and undone—it just depends on how much texture you build in and how tight you gather the bun.
Fine or thin hair requires a slightly different approach than thick hair. Rather than going for maximum volume, aim for a smaller, more delicate bun that won’t pull visibly on your scalp or require a ton of bobby pins that might show. Volume mousse or dry shampoo applied to the roots before styling adds lift without needing more hair. Think elegant and understated rather than voluminous.
Thick hair is forgiving in that you can create big, visibly textured buns without worrying about coverage, but you may need more bobby pins and a stronger hold product to keep everything in place. Work in sections, don’t try to gather all your hair at once, and consider a smoothing balm to control flyaways around the face without making the bun look slicked.
1. The Romantic Twisted Side Bun
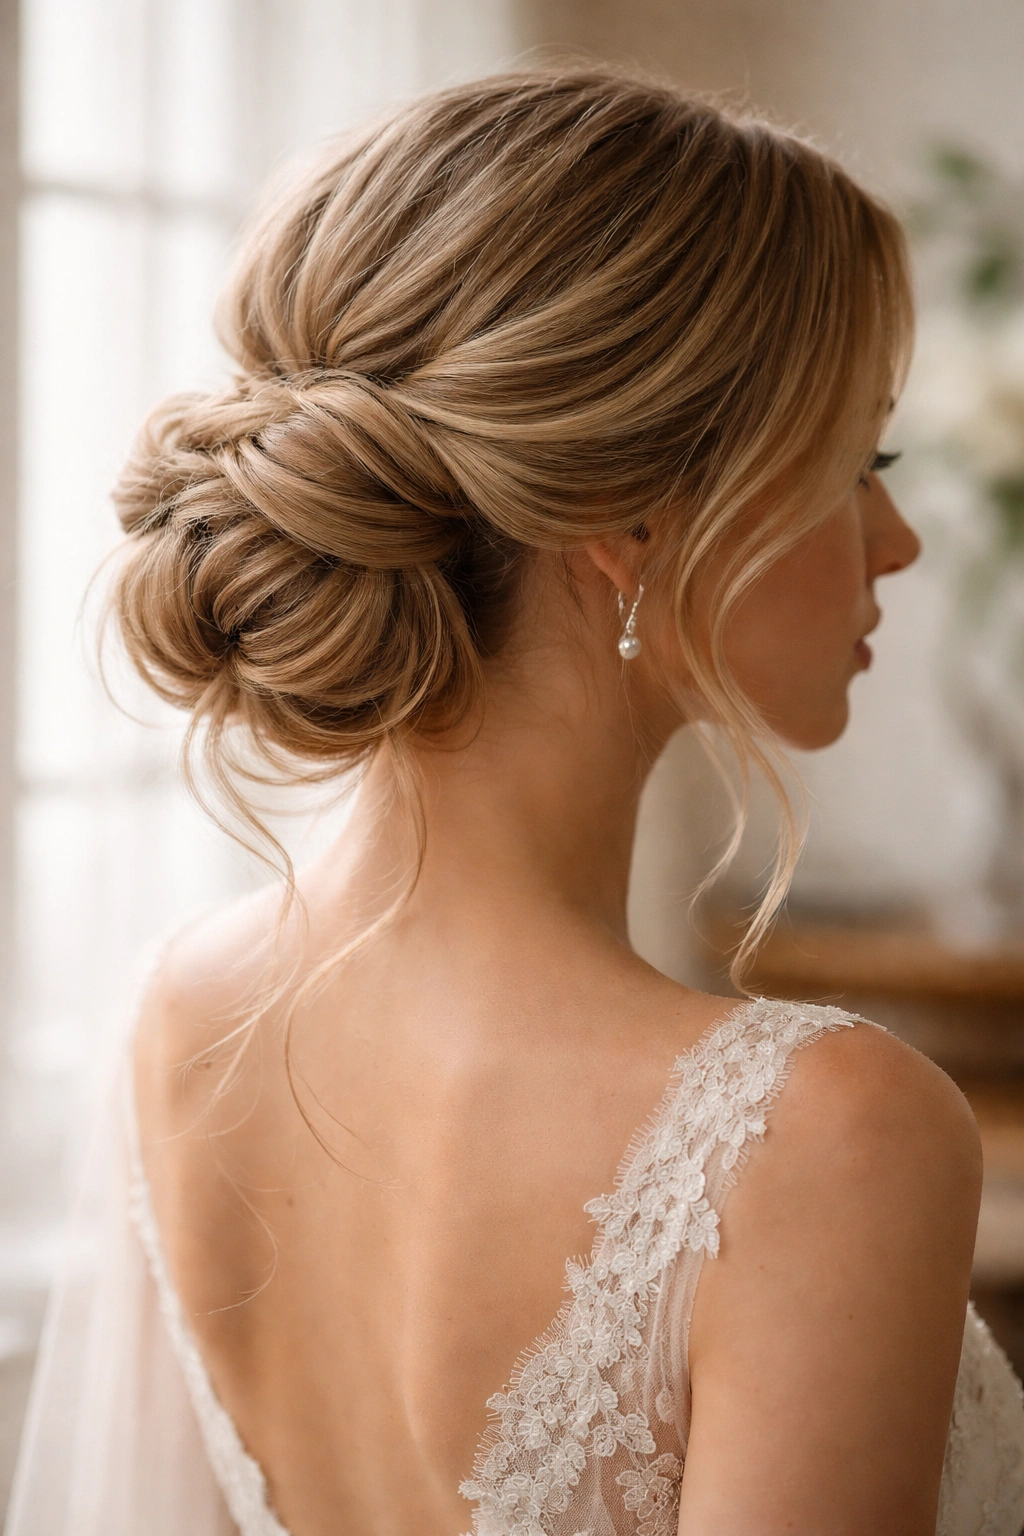
This is the version to choose if you want something that looks effortlessly beautiful without visible structure or complexity. It starts with loosely pinned waves or curls running throughout your hair, and instead of gathering everything into a bundle, you simply twist one large section of hair around itself, building it into a loose spiral at the side of your head. The effect is that of one graceful, intentional twist rather than a gathered knot—much softer and more refined-looking.
How to Create It
Start with wavy or curled hair that has some natural or created texture. If you have straight hair, use a curling iron to create loose waves throughout, working in larger sections for a soft, undone feel rather than tight curls. Brush through the curls gently with your fingers to let them relax into soft waves. Sweep all your hair to one side, angling it toward where you want your bun to sit (typically lower and slightly behind your ear). Take a thick two-to-three-inch section of hair from the back of your head on the twisted side, and begin gently twisting it clockwise or counterclockwise—whichever direction feels natural. As you twist, keep picking up small sections of nearby hair and incorporating them into the twist without unraveling the entire thing. This takes practice, but the goal is one continuous, growing twist rather than a traditional braid.
Why It Works for Weddings
This style looks intentional and polished without appearing overly constructed or stiff. The gentle twist reads as romantic and delicate, and because it’s not a tight knot, it looks softer and more accessible than heavier updos. It also photographs beautifully because you can see the structure of the twist—it reads as a real style choice rather than just “hair put up.” Pin with three to five bobby pins in a small cluster where the twist ends, using colors that match your hair.
Pro tip:
Hold the finished twist gently in place while you pin it rather than pulling it tight. Tension is the enemy of a romantic, undone-looking twist.
2. The Textured Low Side Knot
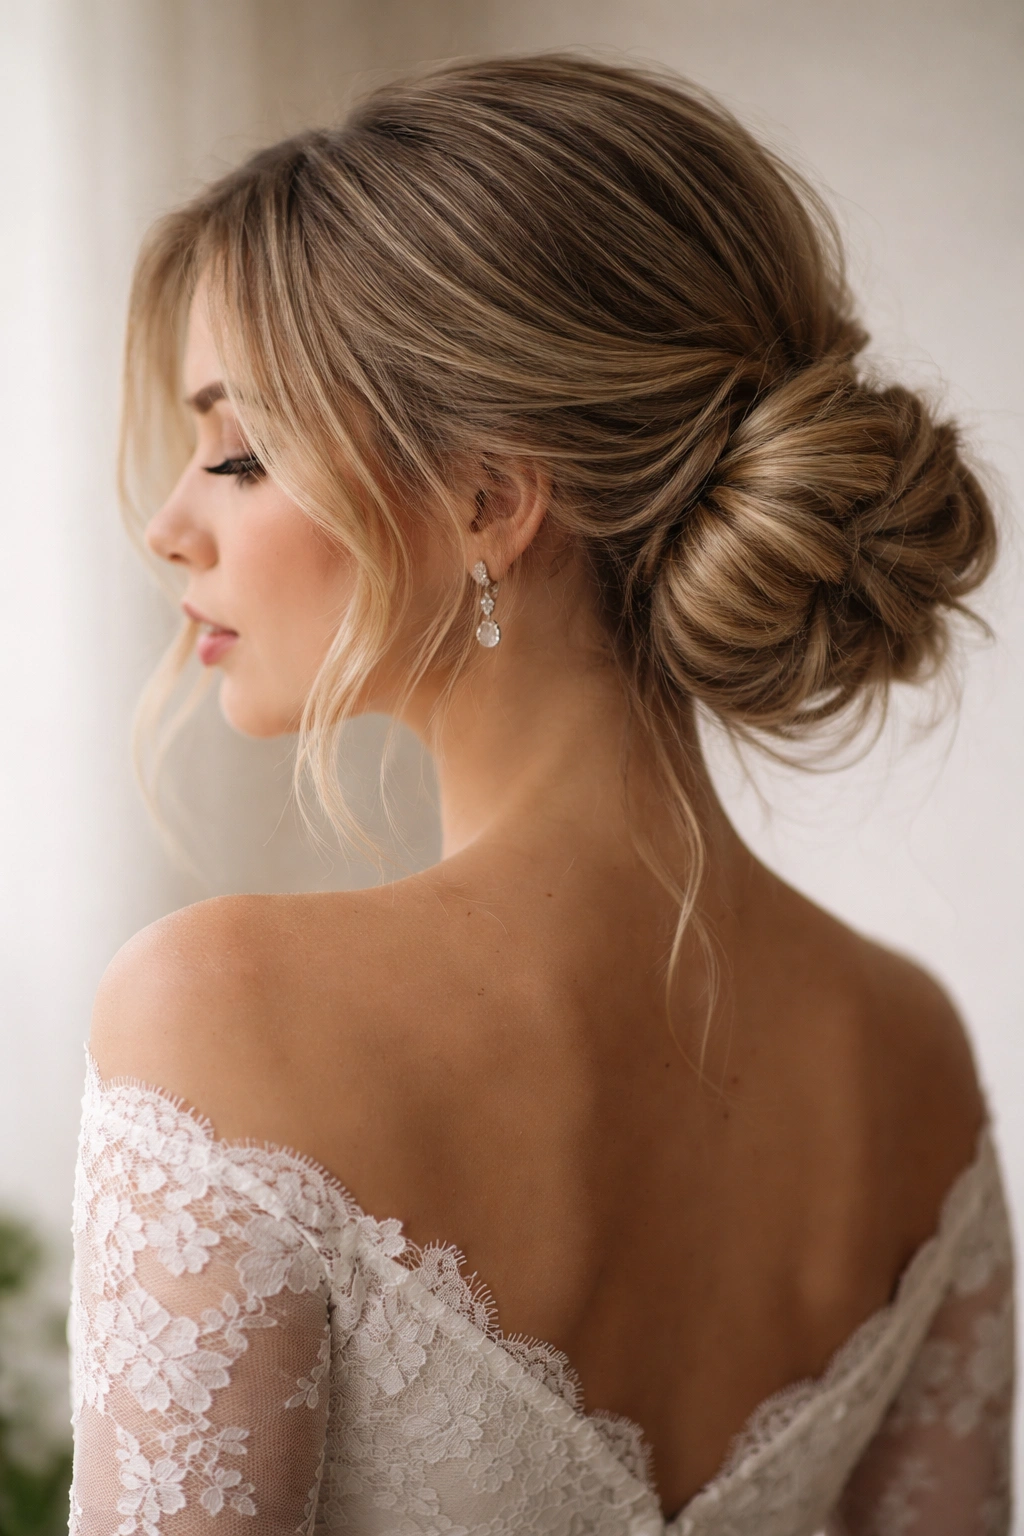
If you’re going for maximum romance and don’t mind a slightly more undone appearance, this low side knot takes the minimalist approach. It sits lower on the head (closer to the nape of your neck) and intentionally maintains a soft, slightly loose quality rather than trying to be tidy. This version works beautifully for bohemian and garden-style weddings, and it’s flattering on faces of all shapes because the placement doesn’t compete with your features.
The Strategic Approach
Begin with hair that has been curled or waved throughout. The more texture in your base hair, the easier this style is to execute. Sweep all your hair to one side and gather it loosely at the base where you want your bun to sit—typically lower, about three to four inches above your collar. Instead of twisting, simply wrap the entire gathered section around itself into a loose knot shape, letting some pieces fall out naturally as you go. Don’t aim for perfection; aim for “I barely did anything to my hair and it just happened to look like this.” Pin with four to six bobby pins dispersed throughout the knot so the pins themselves aren’t visible, and leave a few soft pieces framing your face.
Why Texture Is Everything
The textured low side knot relies almost entirely on pre-existing or created texture in your hair to read as intentional rather than accidentally messy. Wavy or curly hair is naturally forgiving here, but if you have straight hair, spend extra time with the curling iron creating soft, relaxed waves before beginning. The waves give the bun dimension and visual interest that makes it feel like a real style rather than an accident.
Quick Tip:
Use a lightweight texturizing spray or dry shampoo on your roots before styling to add grip and keep the bun from slipping without making hair look weighed down.
3. The Voluminous Braided Side Bun
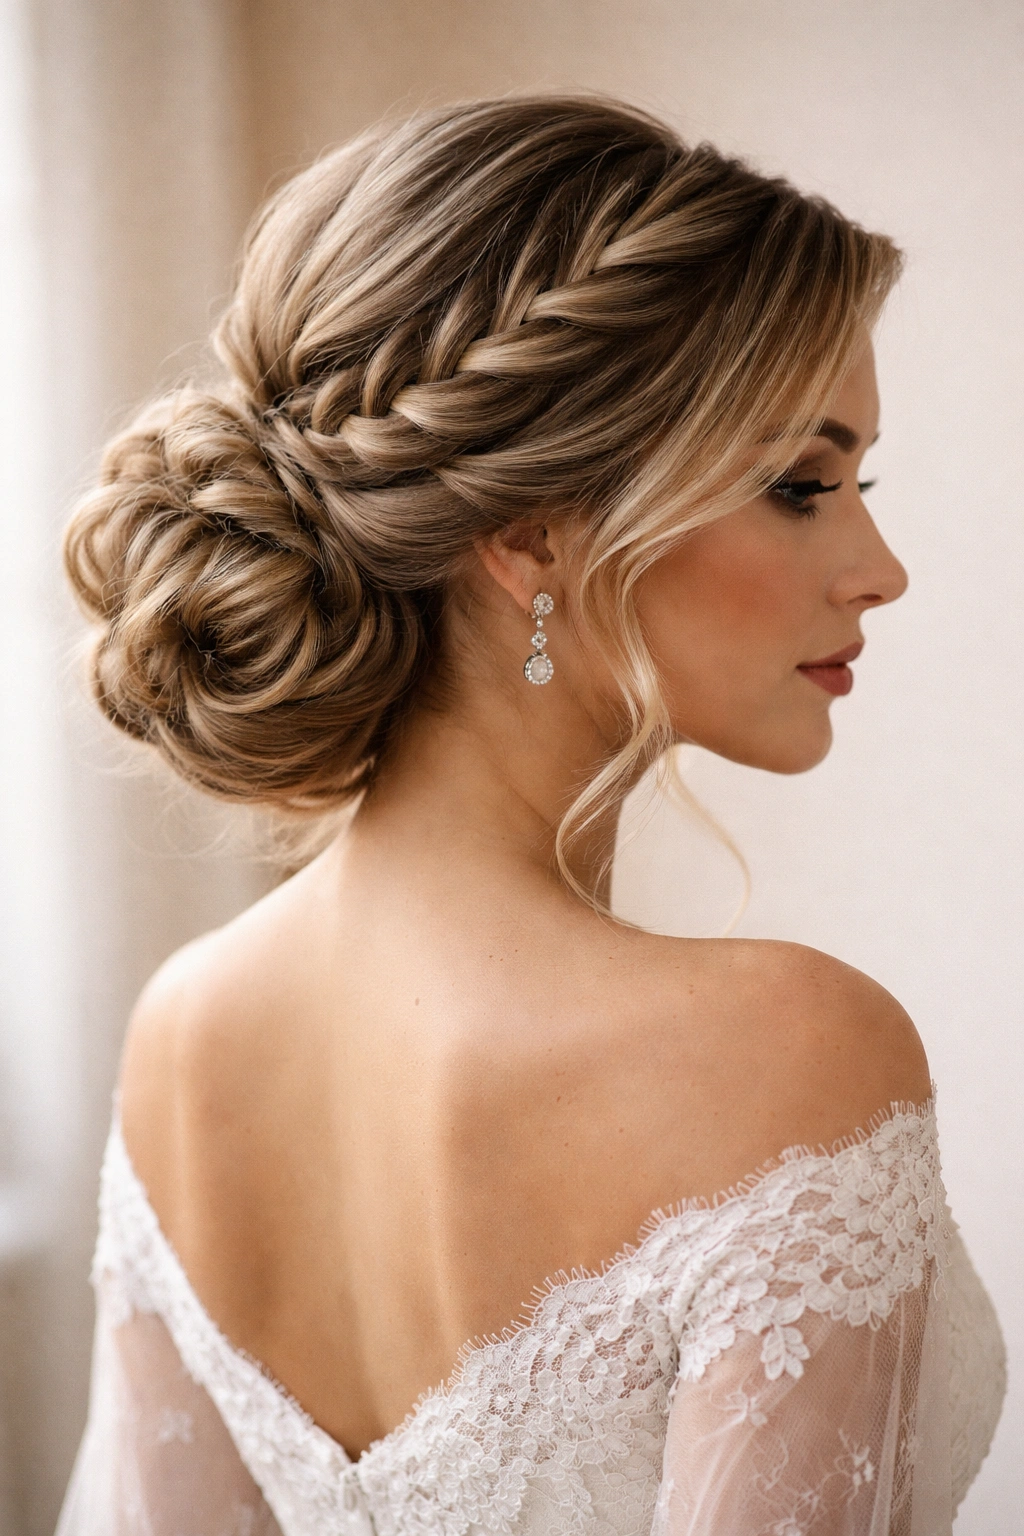
This option is perfect for anyone who wants their side bun to feel substantial, show clear structure, and read as more formal. It starts with a visible braid that flows from one side of your head, eventually wrapping into a bun at the side. The braid adds elegance and clear intentionality, and the volume comes from either strategizing where you position the bun or creating extra fullness through the braid itself by gently stretching and loosening the braid strands after braiding.
Building the Structure
Start with curled hair throughout for added volume and texture. Create a deep side part on whichever side your bun will sit. Take a thick section of hair from near your temple on the opposite side (if your bun will be on the right, start the braid on the left) and begin a loose three-strand braid, angling it toward where your bun will eventually sit. You can do a traditional braid or a looser, more textured Dutch braid—both work beautifully. As you braid, gently pull and stretch the strands outward slightly to create a fuller, slightly undone appearance. Braid until you reach the spot where you want your bun (typically the side of your head, lower than center), then gather the remaining loose hair plus the tail of your braid into a soft knot. Wrap the braid tail around the base of the knot for added visual interest, and pin everything in place with five to seven bobby pins.
Making It Wedding-Ready
To elevate this style for a wedding, you can weave a delicate hair vine, pearl pins, or even ribbon through the braid itself. This is a style that genuinely benefits from a small decorative element because the braid creates a perfect spot to showcase something beautiful. Make sure any decorative piece is secured well; you don’t want anything sliding during the ceremony or reception.
Worth Knowing:
Braided buns hold incredibly well throughout the day because the braid structure itself is more secure than a simple twisted or gathered bun. If you’re concerned about your hair staying in place during dancing or physical activity, this is your safest bet.
4. The Sleek Wrapped Side Bun with Detail
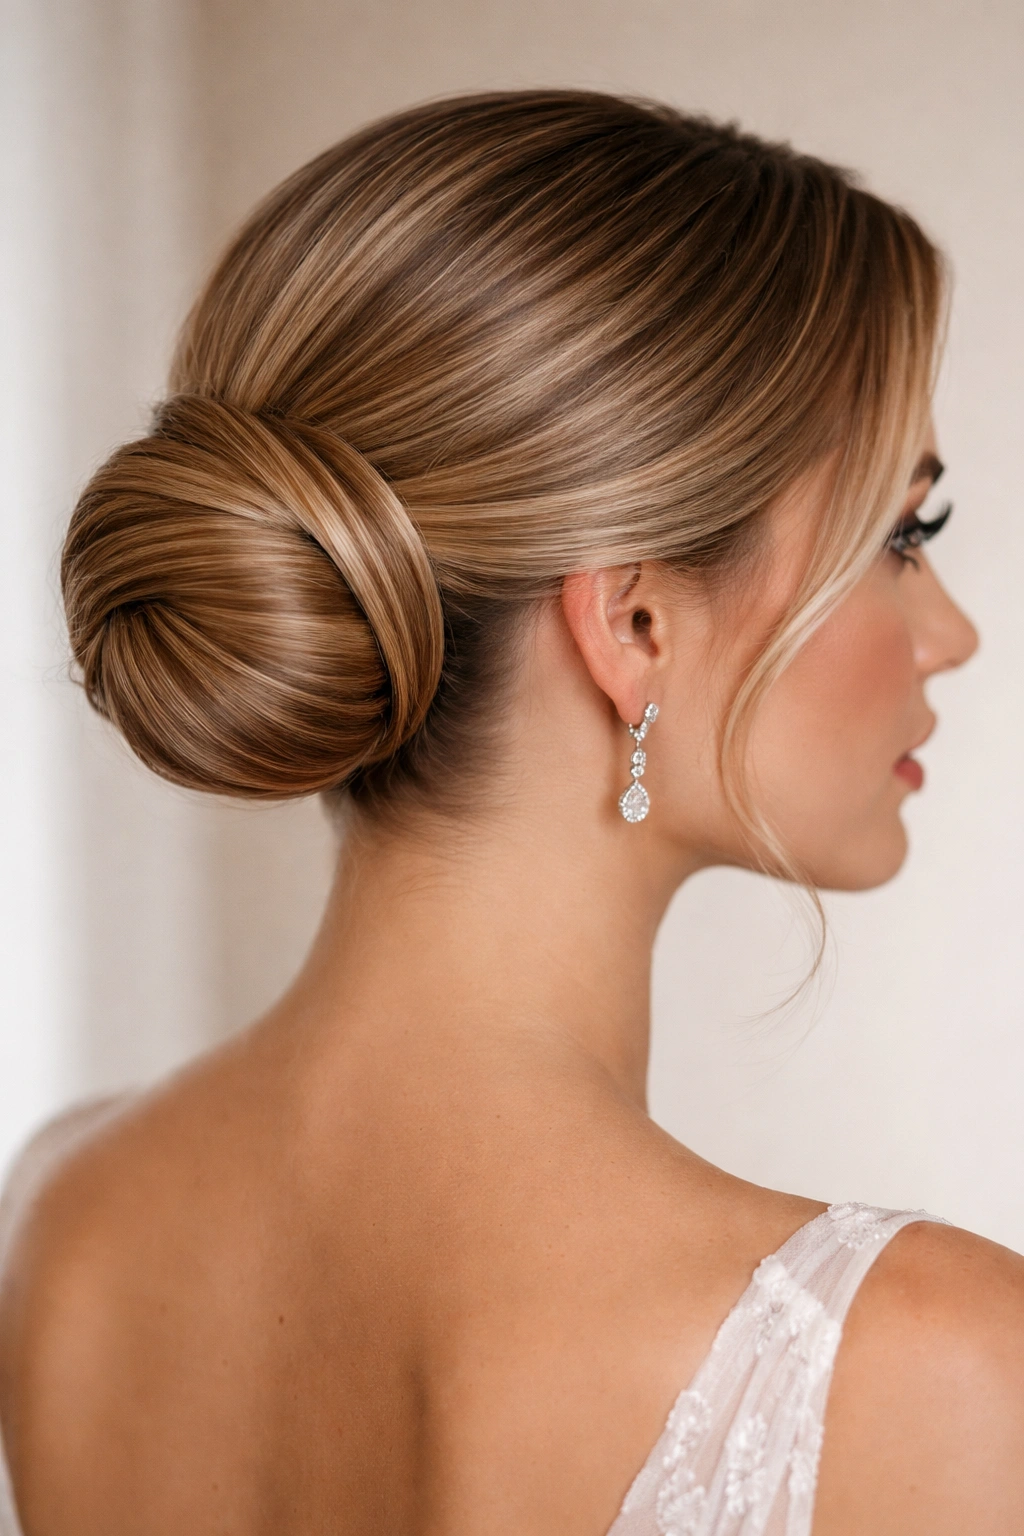
This style hits a different note entirely—it’s more polished and structured than the romantic options above, leaning modern and intentional rather than effortlessly undone. It’s the side bun version of an old-money aesthetic: refined, controlled, and finished-looking without being costume-like. It’s ideal for black-tie or very formal weddings, or for anyone who simply prefers a more put-together appearance.
The Technique for Sleekness
Begin with hair that’s been smoothed rather than curled—you want a sleek foundation here. Use a smoothing serum or lightweight gel to control flyaways and give your hair a polished sheen. Create a deep side part and comb all your hair smoothly to one side. Gather it into a low side ponytail at approximately ear-level, securing it with an elastic in a color that matches your hair. Twist the ponytail gently and begin wrapping it around the elastic into a neat, compact bun. Pin it with four to five bobby pins, tucking the tail end underneath so no wispy pieces stick out. The goal here is intentional control rather than messy texture.
Adding Polish Through Details
The beauty of this structured style is that it’s a perfect canvas for a decorative moment. Wrap a delicate pearl-studded clip around the base of the bun, add a jeweled hair comb, or even position a small cluster of fresh flowers or a decorative brooch. Because the bun itself is neat and controlled, any decoration reads as elegant addition rather than necessary camouflage for messiness.
Pro Tip:
Use a soft smoothing balm rather than gel if you want polish without the stiff, wet-look feel. Gel can sometimes look pageant-style under bright light, while a balm gives you control plus a softer appearance.
5. The Loosely Pinned Undone Side Bun
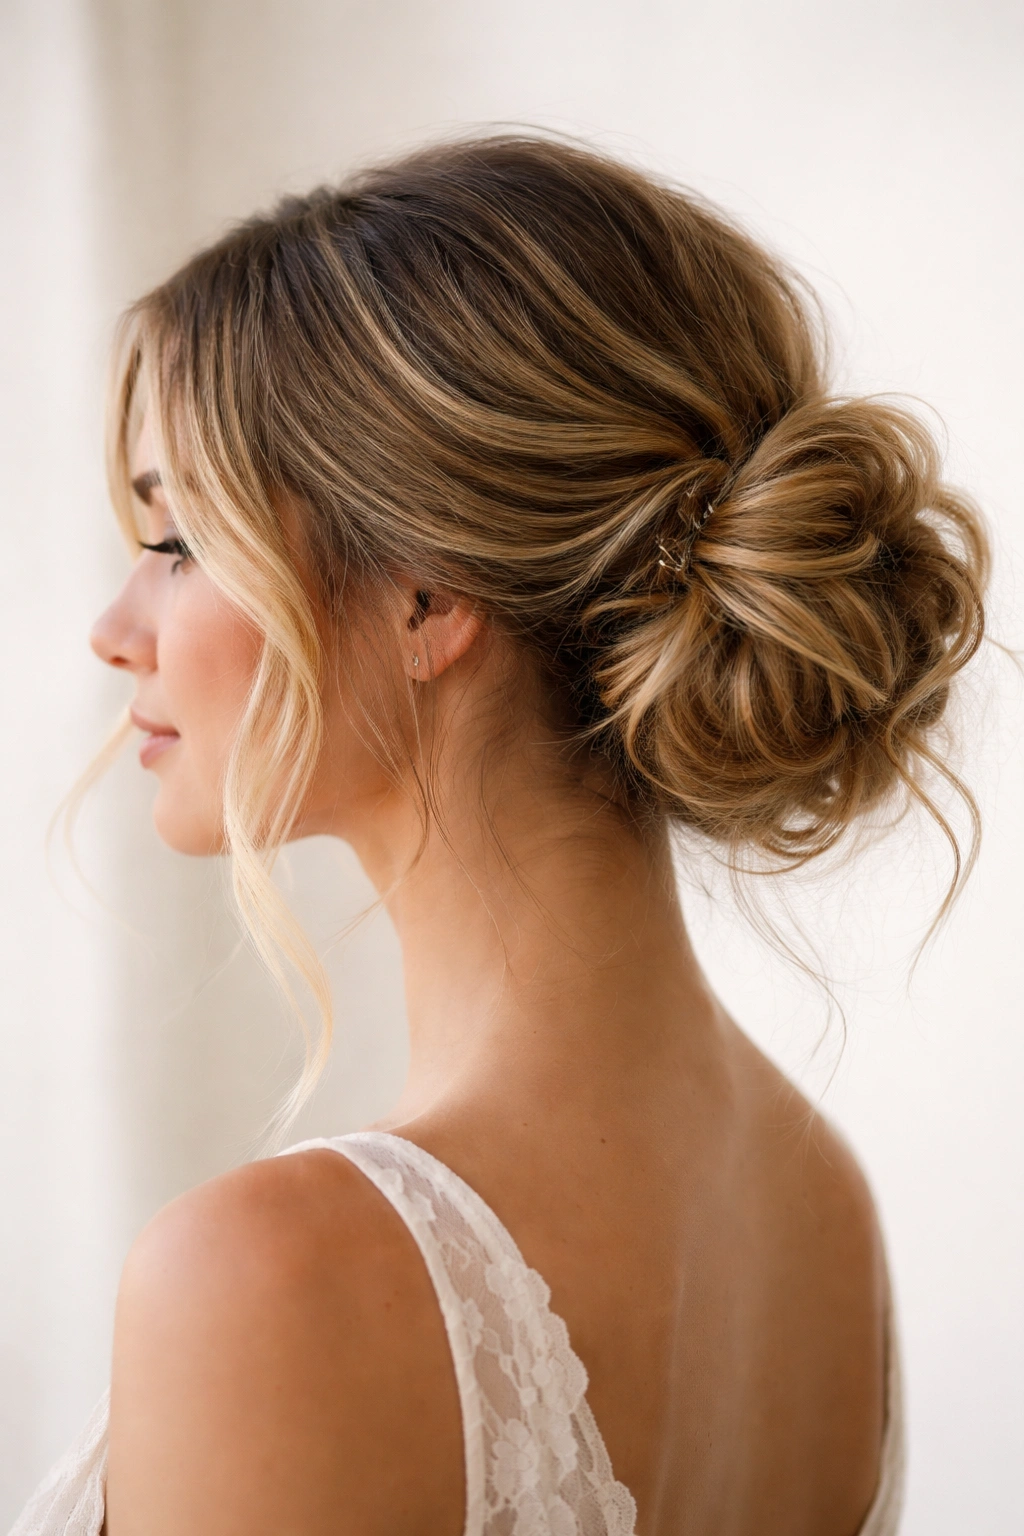
This version is the ultimate in “I barely did anything” while still looking intentional. It’s essentially the style of someone who gathered their hair to one side and secured it with a few bobby pins without worrying about the final appearance—but you’re going to do it on purpose, with strategy. It works best on wavy or curly hair because the natural texture supports the undone vibe, though it can work on straight hair if you’ve added waves first.
The Art of Controlled Disorder
Gather all your hair to one side without actually creating a formal ponytail. You’re aiming for a loose, casual grouping rather than a secured bundle. Hold this grouping at the side of your head where you want your bun (typically mid-side, somewhere between your ear and the back of your head), and simply pin it in place with three to four bobby pins, allowing pieces to fall out and frame your face. The pins are structural; they’re not meant to be invisible or perfectly placed. In fact, you might want to position pins where they’re visible because that’s part of the style—it shows that this is an intentional choice rather than an accident.
The Undone Aesthetic
This style only works if you truly commit to the undone energy. Don’t spend time perfecting every strand; instead, pull out a few pieces intentionally to frame your face, maybe flip one side slightly for dimension, and leave it there. The messier and more casual this looks, the more successful it is. If you find yourself thinking “this is too messy,” you’re actually probably hitting the right note for this particular style.
Worth Knowing:
This is the easiest side bun to create, taking maybe five minutes from start to finish, but paradoxically it requires the most confidence. You have to be comfortable with an imperfect appearance and trust that it reads as intentional rather than accidental. Once you’ve worn it a few times, you’ll feel secure in the vibe.
6. The Decorative Side Bun with Accessories
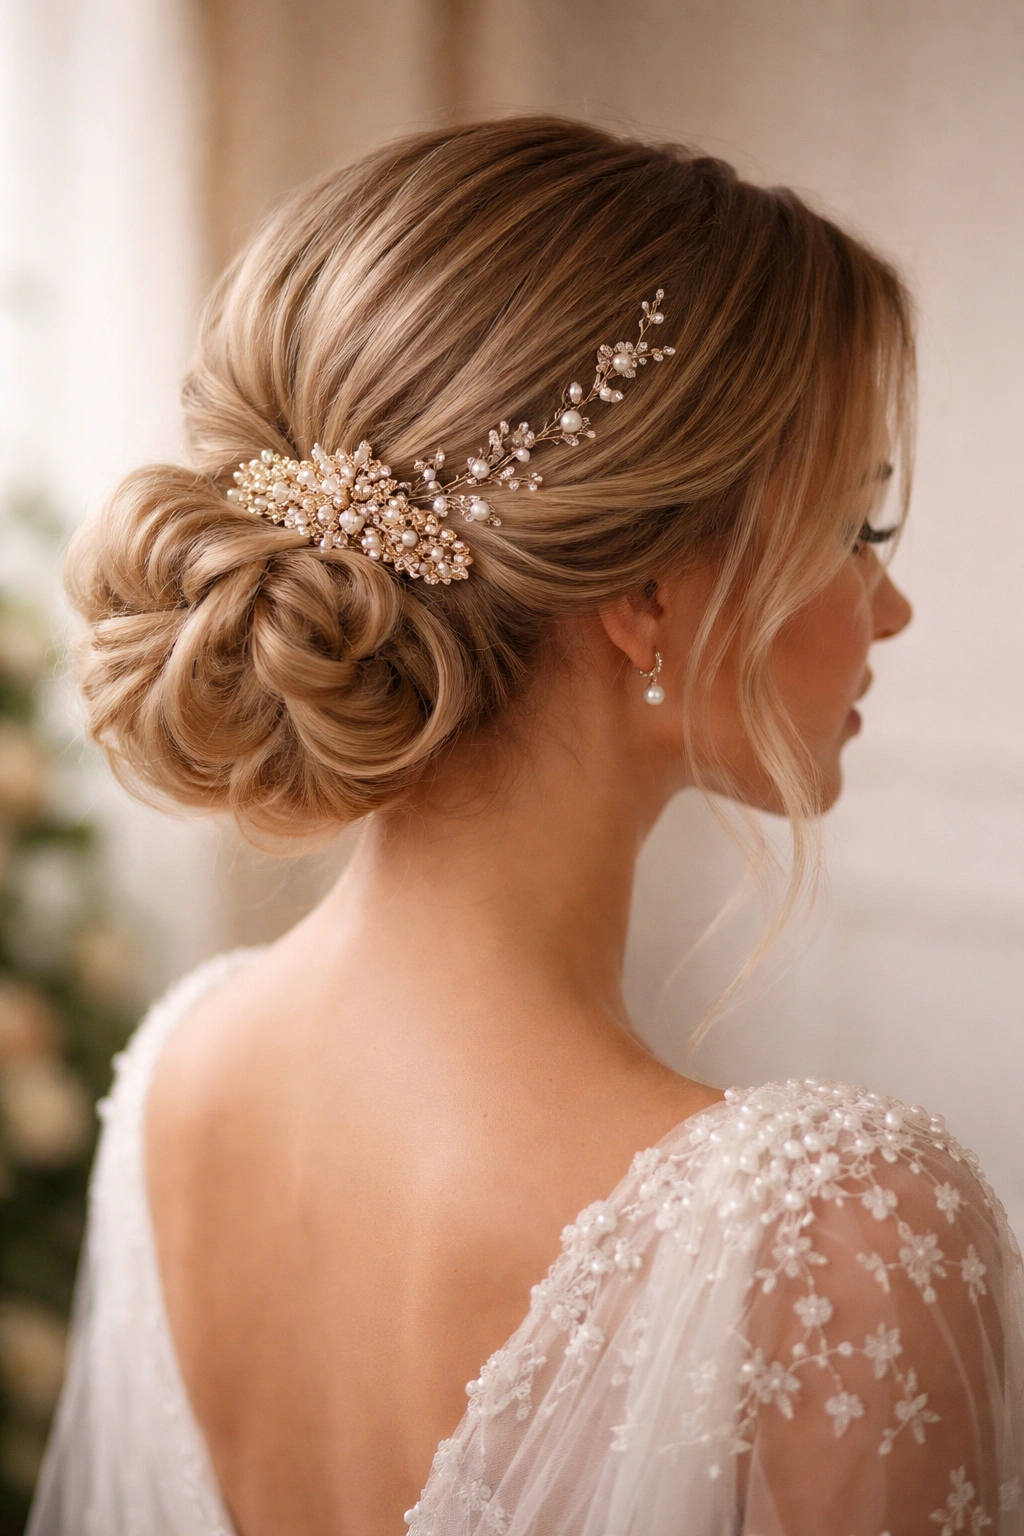
If you want your side bun to be a genuine statement piece rather than just functional hair, this is your style. It puts the focus on decorative elements—vintage hair combs, modern geometric clips, delicate hair vines with greenery, fresh flowers, pearl chains woven through, or even tiny braided elements—that make the bun itself almost secondary. This works beautifully for themed weddings, wedding parties, or anyone who wants to express personality through their hair.
Strategic Accessory Placement
Start with a solid foundation: either a textured twisted side bun or a classic gathered knot, depending on what look you’re aiming for. The bun itself should be relatively neat enough to serve as a backdrop for the accessories rather than competing with them. This is where that sleek wrapped style or the textured knot works best—both give you a clear surface to work with. Position your primary decorative element (maybe a vintage comb or a fresh flower cluster) as the focal point of the bun, and build secondary elements around it. If you’re using a hair vine, you might weave it through the bun and let it drape slightly. If you’re using pearl chains or delicate clips, space them strategically around the bun rather than clustering everything in one spot.
Material Considerations
Choose decorative elements that feel appropriate for the formality level and style of the wedding. Vintage comb or modern geometric clip for a formal event. Fresh flowers for something romantic. Delicate chains or jewelry-style pieces for a more contemporary wedding. The accessories should feel like they’re part of your complete look rather than an afterthought, so take time to find pieces that coordinate with your dress, jewelry, and overall aesthetic.
Quick Idea:
If you’re using fresh flowers, secure them with floral tape wrapped around the stem and then pin the stem into the bun structure itself. This is more secure than trying to pin flowers by the petals, which can damage them.
Essential Tips for Keeping Your Side Bun Perfect
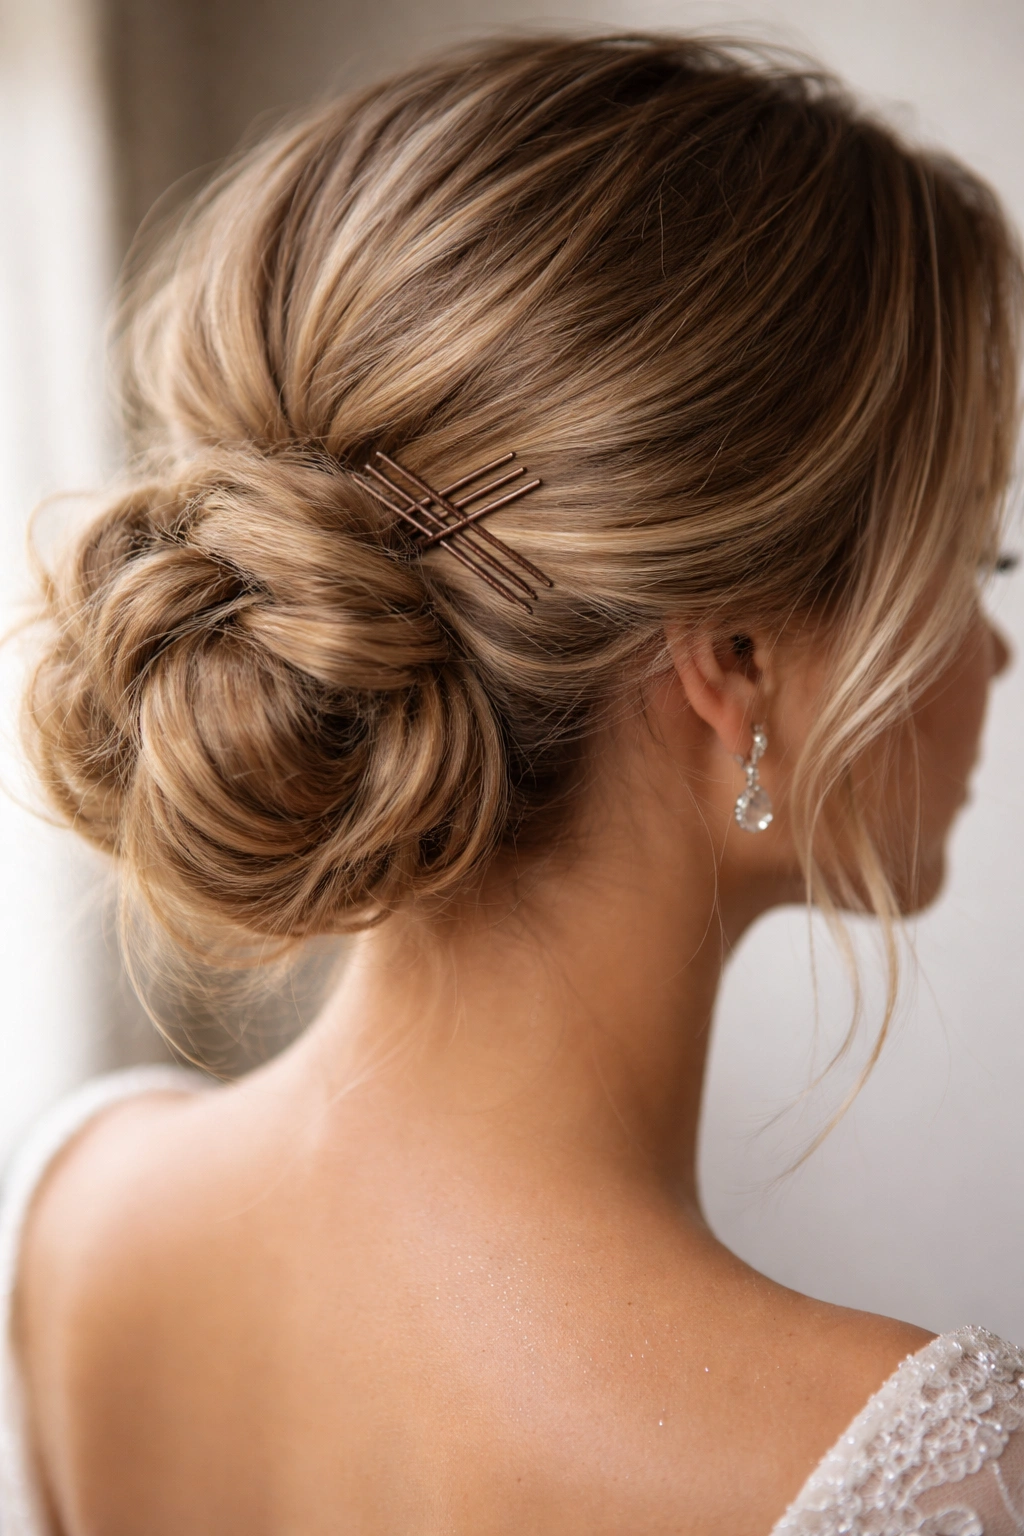
A side messy bun is generally quite secure as long as you’ve pinned it correctly, but there are small strategies that help it hold up beautifully throughout an entire wedding day and evening. Start by using bobby pins correctly—insert them with the corrugated (wavy) side facing into the bun structure, as that side grips better than the smooth side. Five to seven pins is typically the minimum needed; don’t skimp on pins thinking it looks more undone. The bobby pins that don’t show are the ones working hardest.
Your choice of styling product matters more than you might think. A light texturizing spray or dry shampoo applied before styling gives grip without the weight of heavier products. If you use hairspray, apply it after you’ve pinned the bun, not before, so you’re setting the entire structure rather than potentially making it harder to pin. Avoid anything too heavy or sticky; the goal is gentle hold, not full-coverage control. A light mist of flexible-hold hairspray, or even some of the newer dry-finish sprays, works better than traditional firm-hold aerosol spray, which can make your hair feel stiff and look less natural.
Throughout the event, resist the urge to constantly check or touch your bun. That constant touching and rearranging is what actually causes slippage and creates problems. Secure it properly at the beginning, maybe do a discrete check right before walking down the aisle or before formal photos, and then leave it alone. Your hair will hold better if you’re not constantly fussing with it. If a piece does slip out midway through, that’s exactly part of the romantic messy bun aesthetic—just tuck it behind your ear or pin it if it bothers you, but don’t treat it as a disaster.
Final Thoughts
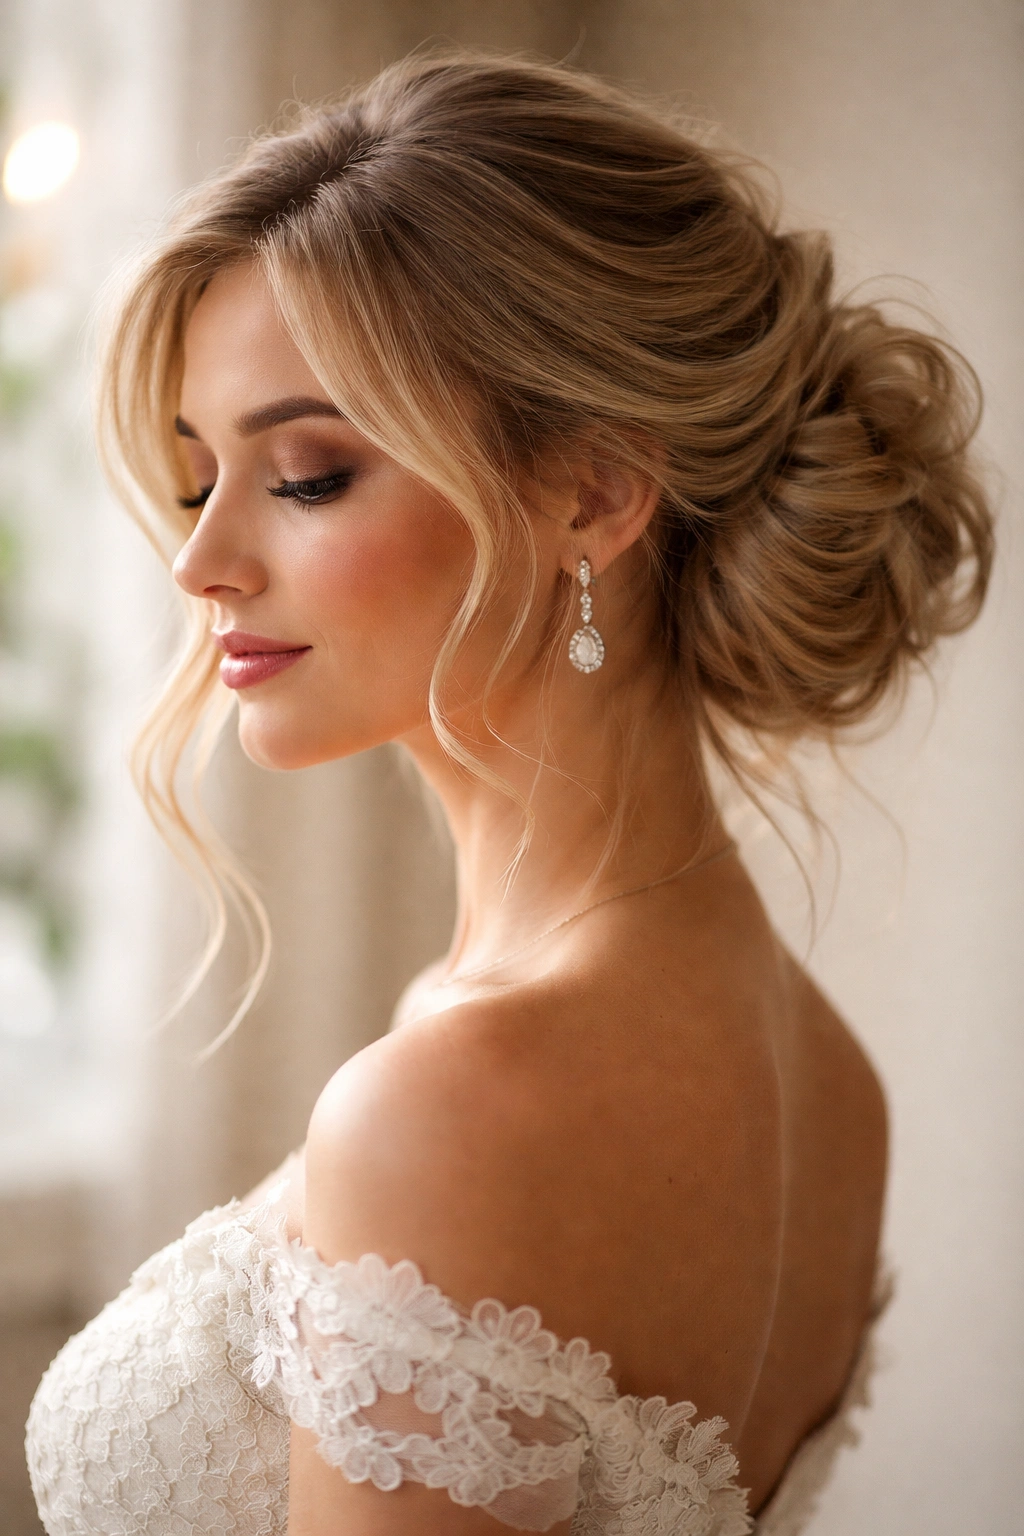
A side messy bun is the rare hairstyle that manages to be both effortless-looking and clearly intentional—which is exactly why it’s become the default choice for anyone who wants to feel polished at a wedding without spending three hours in a stylist chair. Whether you go for something loosely twisted and romantic, structured and modern, or decorated and statement-making, you’re choosing a style that flatters most faces, photographs beautifully, and holds up through hours of celebrating.
The best version of a side messy bun for you depends on where you naturally fall on the spectrum between structured and undone, how much time you want to spend styling, and what your hair naturally does. If your hair is naturally wavy and you love an effortless vibe, the romantic twisted or undone side bun is probably calling your name. If you prefer polish and precision, the sleek wrapped bun or braided version offers more control. And if you want your hair to be part of your overall statement rather than just functional, that decorative accessory option lets you have real fun with it.
Practice whichever style you choose at least once before the actual wedding day. Watch tutorials if you need them, play with different bobby pin placements, and figure out how long styling actually takes when you’re doing it for the first time. Most of these styles become dramatically easier the second time around, and the confidence of knowing you can do it smoothly will show in how you wear it. Your hair should feel like something you’re proud of—something you chose intentionally and executed beautifully.
