



Messy buns have become the go-to hairstyle for anyone who wants effortless elegance without spending hours in front of a mirror. They work for lazy mornings, gym sessions, casual brunches, and even semi-formal occasions when styled correctly. But here’s where hair extensions change the entire game: they transform a basic messy bun from a practical updo into a genuinely glamorous statement that looks intentionally styled, fuller, and infinitely more polished.
The secret lies in how extensions amplify what a messy bun can be. With strategic placement and the right techniques, extensions add the volume that creates that coveted “just-rolled-out-of-bed-but-make-it-fashion” look. They give you the ability to create buns that feel thick and substantial rather than thin or wispy. Whether you’re working with clip-in extensions, tape-ins, or sew-ins, there are specific ways to leverage them that make your messy bun look like it took far more effort than it actually did.
What makes messy buns with extensions different from other updos is their versatility. You can wear them textured and tousled one day and sleek with intricate braiding the next. Extensions let you experiment with volume, texture, and visual interest in ways that might not be possible with your natural hair alone. The best part? These styles look just as good on second-day hair as they do freshly washed, which means you’re not locked into a rigid styling routine.
1. Voluminous High Bun
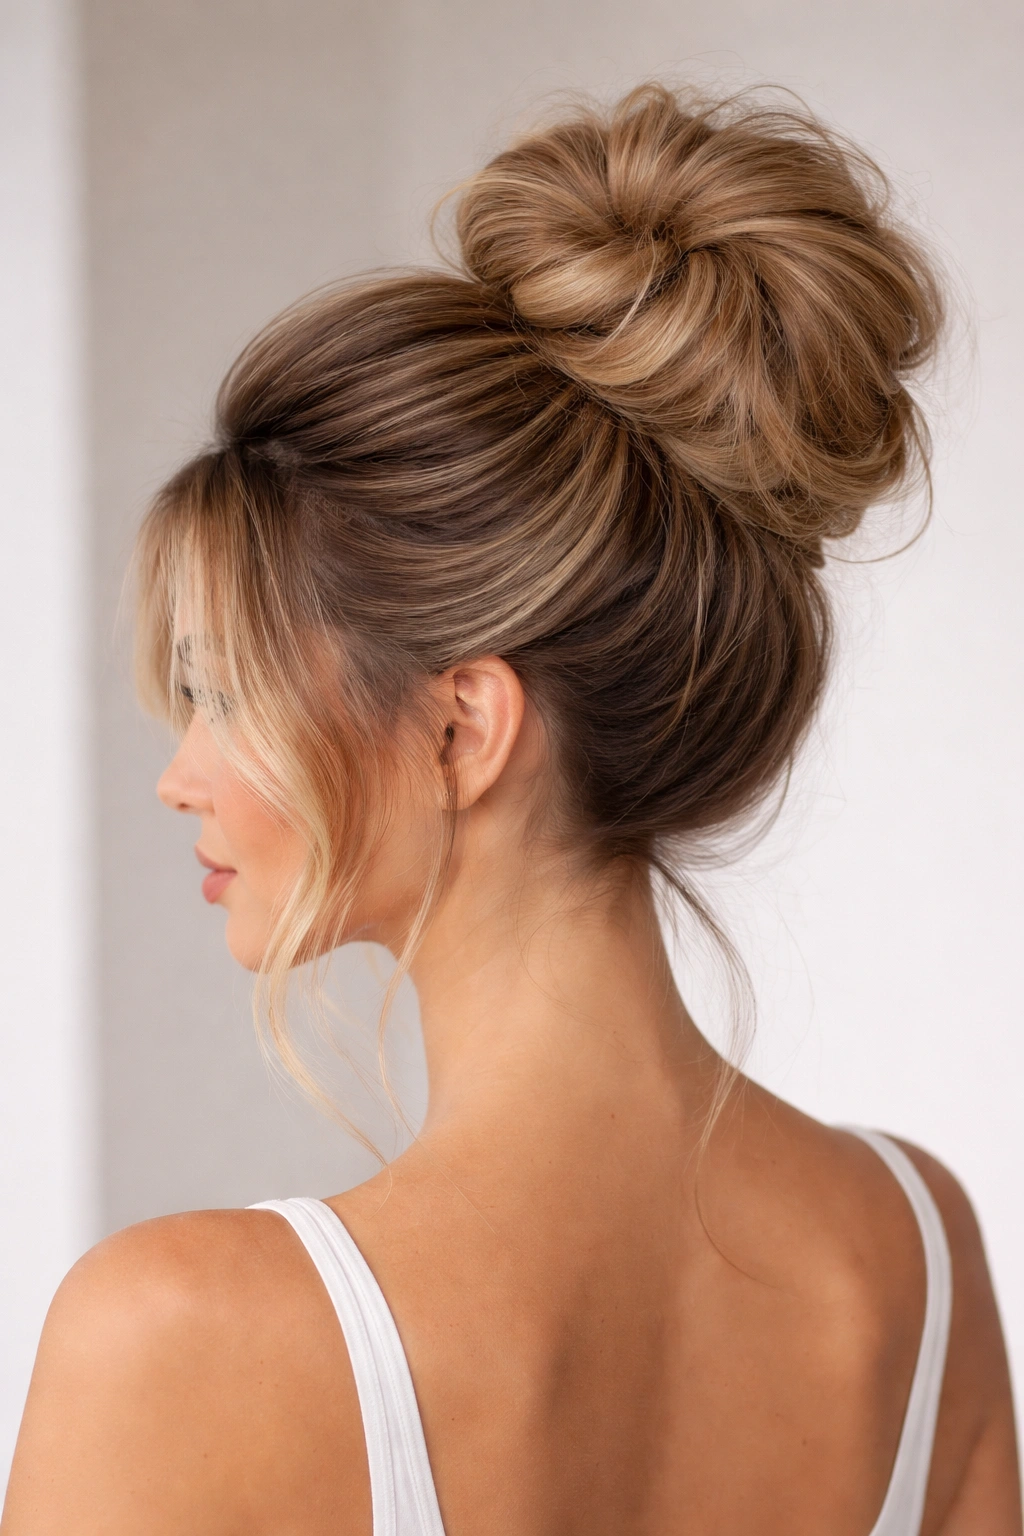
A voluminous high bun sits at the crown of your head and projects an instant aura of confidence. With extensions, you can achieve that full, rounded shape that looks like you have significantly more hair than you actually do. This style works beautifully on its own or paired with a few face-framing pieces to soften the overall look.
How to Build Maximum Volume at the Crown
Start by gathering all your hair—both natural and extensions—into a high ponytail positioned where you want your finished bun to sit. The key to volume with extensions is placement: clip your extensions directly into the base of your ponytail before you begin wrapping and securing. This technique ensures the extensions are anchored firmly at the foundation point rather than floating loosely at the bottom.
Step-by-Step Technique for the Full Effect
- Section your ponytail into two equal halves and gently backcomb or tease each section at the roots to create grip and hold throughout the styling process
- Twist both sections loosely around the base of your ponytail, crisscrossing them to build height and visible bulk at the crown
- Secure everything with bobby pins inserted horizontally for maximum holding power—at least 4-5 pins distributed around the bun
- Gently pull and arrange sections of the bun outward to create that intentionally undone, textured shape that reads as full rather than tight
- Mist lightly with texture spray or dry shampoo before styling to give extensions extra grip and prevent slipping
Pro tip: For the most dramatic volume effect, use clip-in extensions that are one or two shades lighter than your natural hair—they catch the light differently and create visual dimension that makes the bun appear even fuller.
2. Textured Low Bun
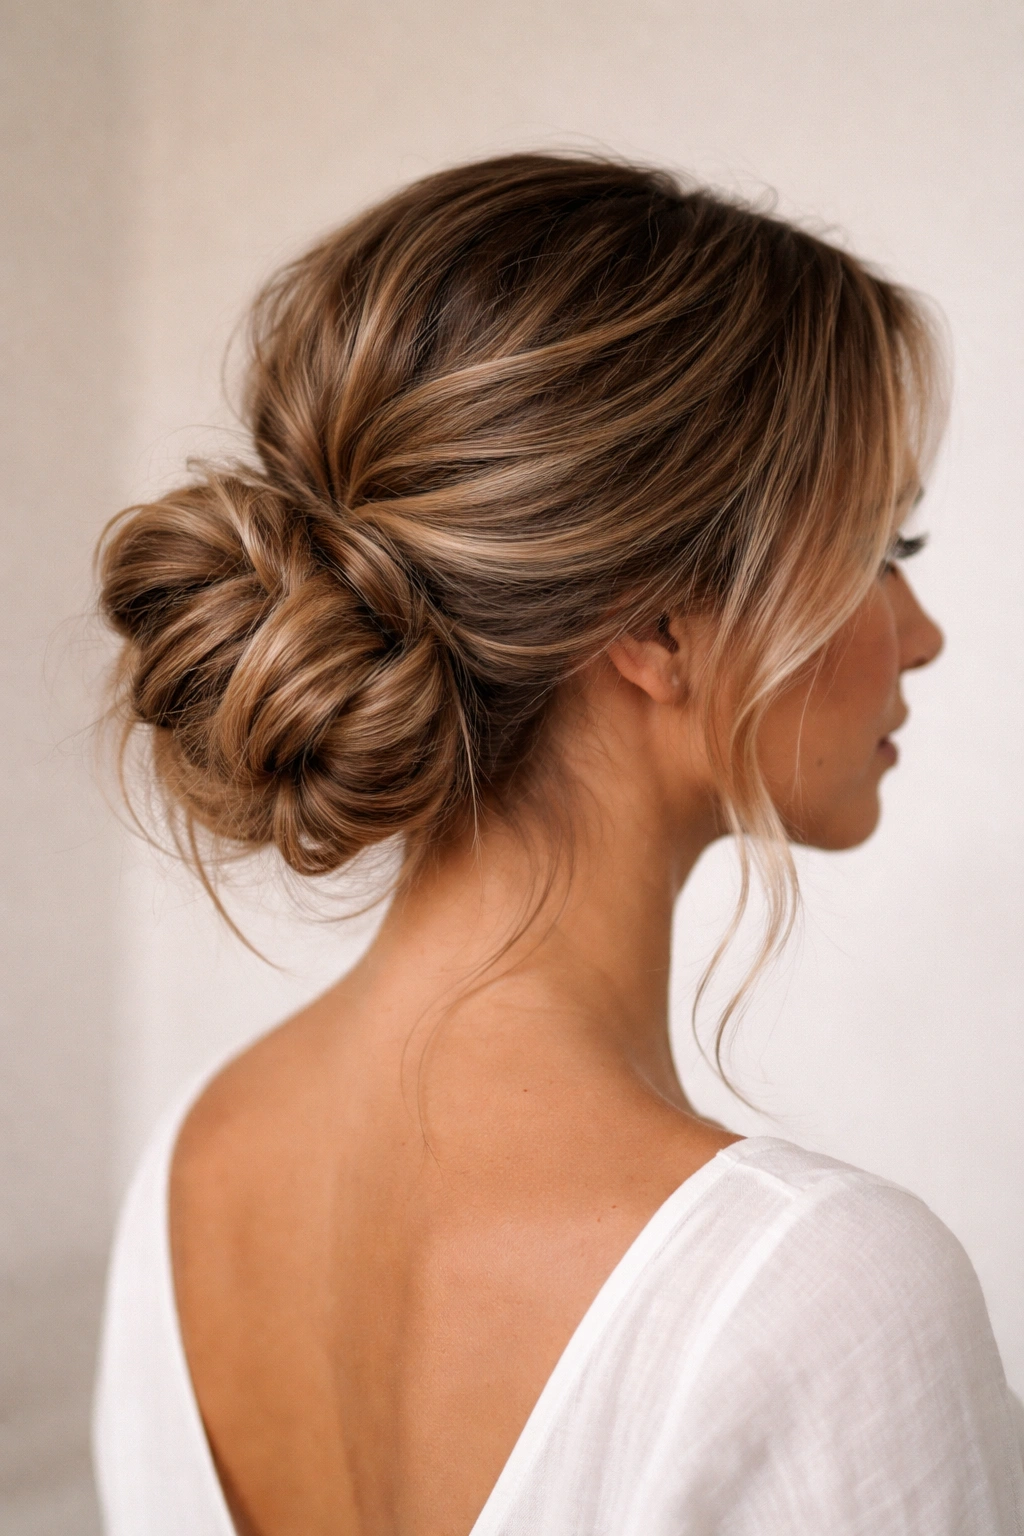
A textured low bun positioned at the nape of your neck carries an understated elegance that works for professional settings, dates, or whenever you want to look polished without appearing overdone. Extensions transform this style by adding visible texture and movement that wouldn’t otherwise exist in a simple low bun.
Building Texture With Extension Strategically Layered
The texture in this style comes from the way you integrate your extensions and how you physically manipulate the hair before securing it. Start with slightly damp or salt-sprayed hair—this gives you better grip and makes the bun hold together more cohesively. Create a low ponytail first, then weave your extensions through the base of the ponytail, intertwining them with your natural hair.
Creating the Signature Tousled Look
- Rough up your natural ponytail by gently pushing the hair toward the base of your head to compress it and create immediate texture at the roots
- Loosely wrap sections of the ponytail around the base while leaving other sections slightly loose and undone for that intentional messiness
- Tuck extensions throughout the wrap, deliberately pulling them to stick out at slightly different angles—this creates visible layers and breaks up any smooth, uniform appearance
- Secure with bobby pins placed at varying angles to hold the texture while allowing strategic pieces to remain intentionally loose
- Use a fine-tooth comb to gently pull wispy pieces from the bun and frame your face, creating a softened effect around the hairline
Worth knowing: This style actually improves throughout the day as gravity gently pulls the bun and creates even more texture and movement. It’s perfectly acceptable if it looks less perfect by afternoon—that’s genuinely the intended aesthetic.
3. Sleek Wrapped Bun With Extensions
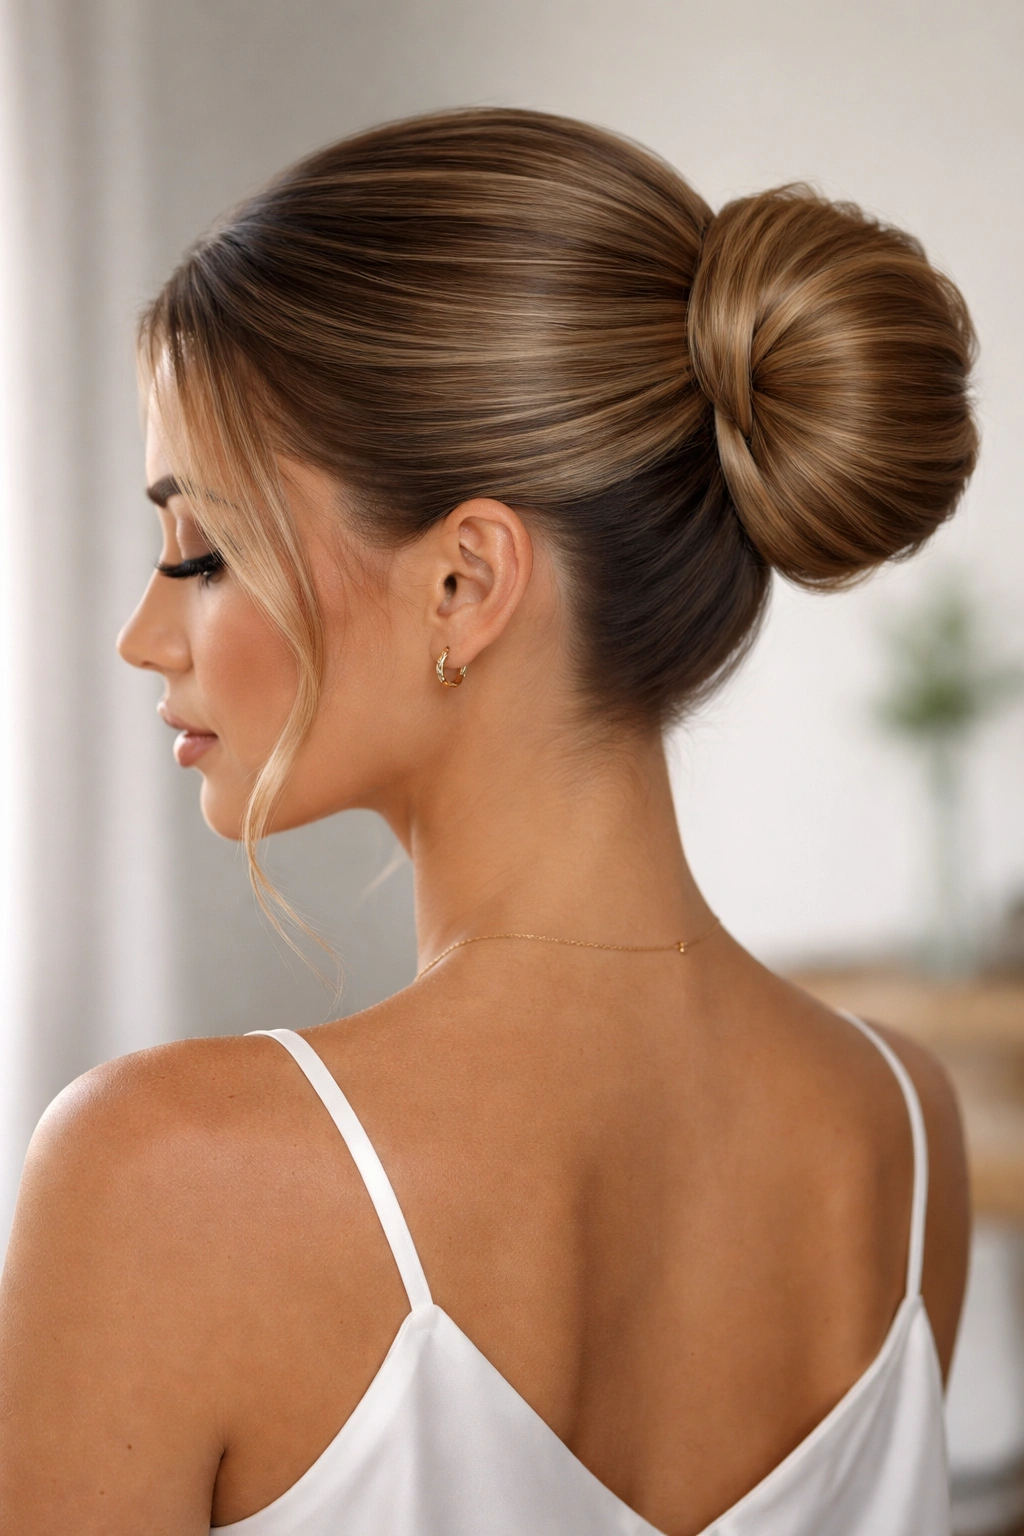
If you want contrast, a sleek wrapped bun offers clean lines and sophistication while still showcasing the volume that extensions provide. The key difference here is that you smooth the hair at the crown rather than texturizing it, creating a chic look where the volume is concentrated and sculpted rather than diffused.
Creating Smooth Lines While Maintaining Volume
Smooth styling requires preparation and the right products. Apply a lightweight smoothing serum or gel to your hair before gathering it into a low or mid-height ponytail. The extensions should be blended seamlessly into your natural hair at the ponytail base—if you’re using clip-ins, secure them where they won’t be visible once the hair is smoothed down.
The Wrapped Base Technique
- Smooth your natural hair down toward the ponytail using a fine-tooth comb and smoothing product, creating a polished surface from your crown to the base of the ponytail
- Take a thin section of hair from the ponytail itself and wrap it tightly around the base of the ponytail in a continuous circle, securing as you go with bobby pins
- Continue wrapping until the base of the ponytail is completely concealed and you’ve created a neat, sculptural foundation
- Twist or loosely spiral the remaining hair of the ponytail to form the bun, keeping the movements controlled and intentional rather than loose and undone
- Finish by tucking the end securely into the wrapped base and pinning it in place, then lock everything down with a flexible hold hairspray
Insider note: For an extra polished finish, add a delicate hair cuff or decorative bobby pin where your wrapping section overlaps—it’s a subtle detail that elevates the entire look.
4. Braided Crown Bun
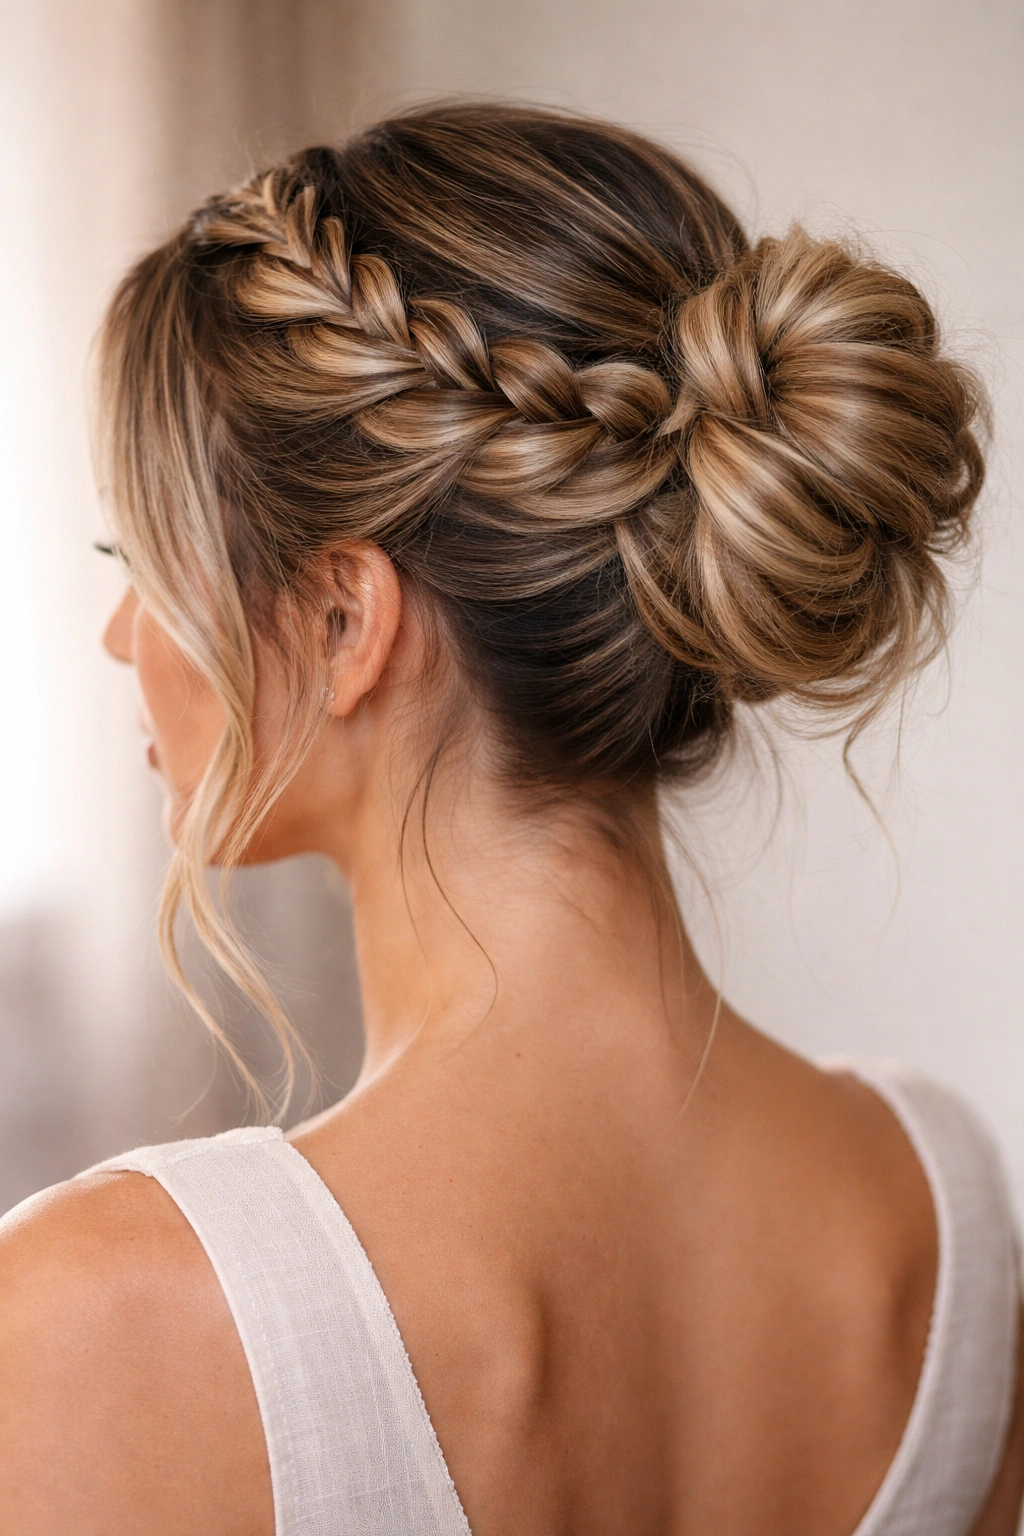
A braided crown bun combines intricate braiding with the volume extensions provide, creating a style that looks far more complex and time-intensive than it actually is. This is the version for occasions where you want to look genuinely styled—think rehearsal dinners, upscale brunches, or date night.
Building the Braided Framework
This style works best with extensions that have good blending and texture. Start with your hair in its natural state (extensions already in place) and create a deep side part. From the smaller-parted side, begin a Dutch or French braid that curves around the back of your head, using both natural hair and extensions as you braid to incorporate maximum volume into the braided section.
Braid to Bun Transition Method
- Start your braid at the temple of your smaller side, braiding backward and upward toward the crown area while gathering hair as you go
- Once you reach the middle-back of your head where you want the bun to sit, transition from braiding into a gathered ponytail—your braid becomes the anchoring point that holds the rest of the hair
- Gather all remaining hair (including the end of your braid) into a mid-to-high ponytail at the bun placement spot, securing with an elastic
- Wrap and twist the ponytail to form the bun, using hair from your natural hair and extensions to build volume and height
- Tuck and weave sections of the braided portion around the bun base to frame it and create a finished, polished appearance
- Secure everything with bobby pins and finish with hairspray
Pro tip: This style photographs beautifully because the braided detail is visible from the side and back, giving it genuine visual complexity that makes your hair look expertly styled.
5. Tousled Side Bun
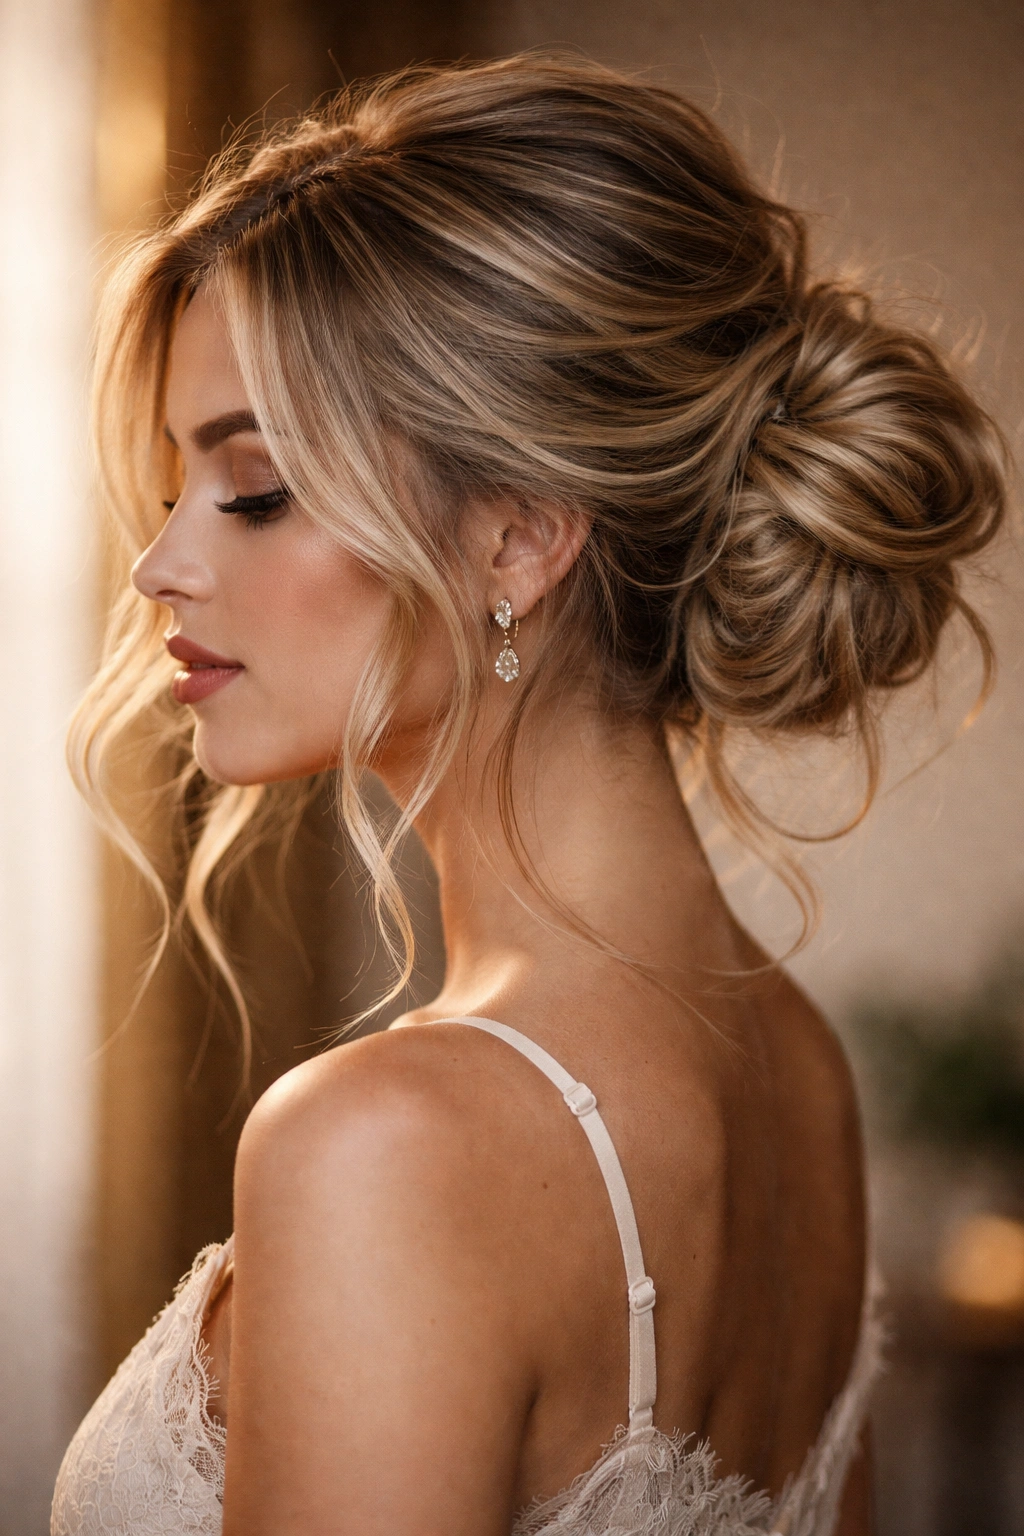
A side bun has romantic, feminine energy while remaining practical and functional. When created with extensions, a side bun gains the volume and visual weight that makes it look substantially more intentional and glamorous than a basic side ponytail.
Creating Volume on the Side for Maximum Impact
The placement of extensions is crucial for a side bun. Clip or secure your extensions along the back and sides of your head rather than at the crown—this is where you need the volume to read on the side when the bun is formed. Create a low ponytail to one side (slightly lower than you think you need), then release the front section to frame your face.
Technique for Romantic Texture
- Gently backcomb the base of your side ponytail to create grip and improve hold with extensions
- Divide the ponytail into 2-3 sections and twist each section loosely, leaving some strands from each section slightly loose
- Crisscross your twisted sections around the base of the ponytail to build the bun, securing with bobby pins as you layer them
- Pull and tease the bun outward so it appears full and intentionally disheveled rather than tight and controlled
- Release face-framing pieces from the front section and gently curl or wave them with a curling iron for softness
- Secure any flyaways with bobby pins placed strategically where they won’t be visible, then mist with flexible hold spray
Worth knowing: This style is forgiving with extensions because the volume naturally falls to the side and appears substantial even if your bun isn’t perfectly round—that organic, lived-in quality is genuinely the goal.
6. Half-Up, Half-Down Bun
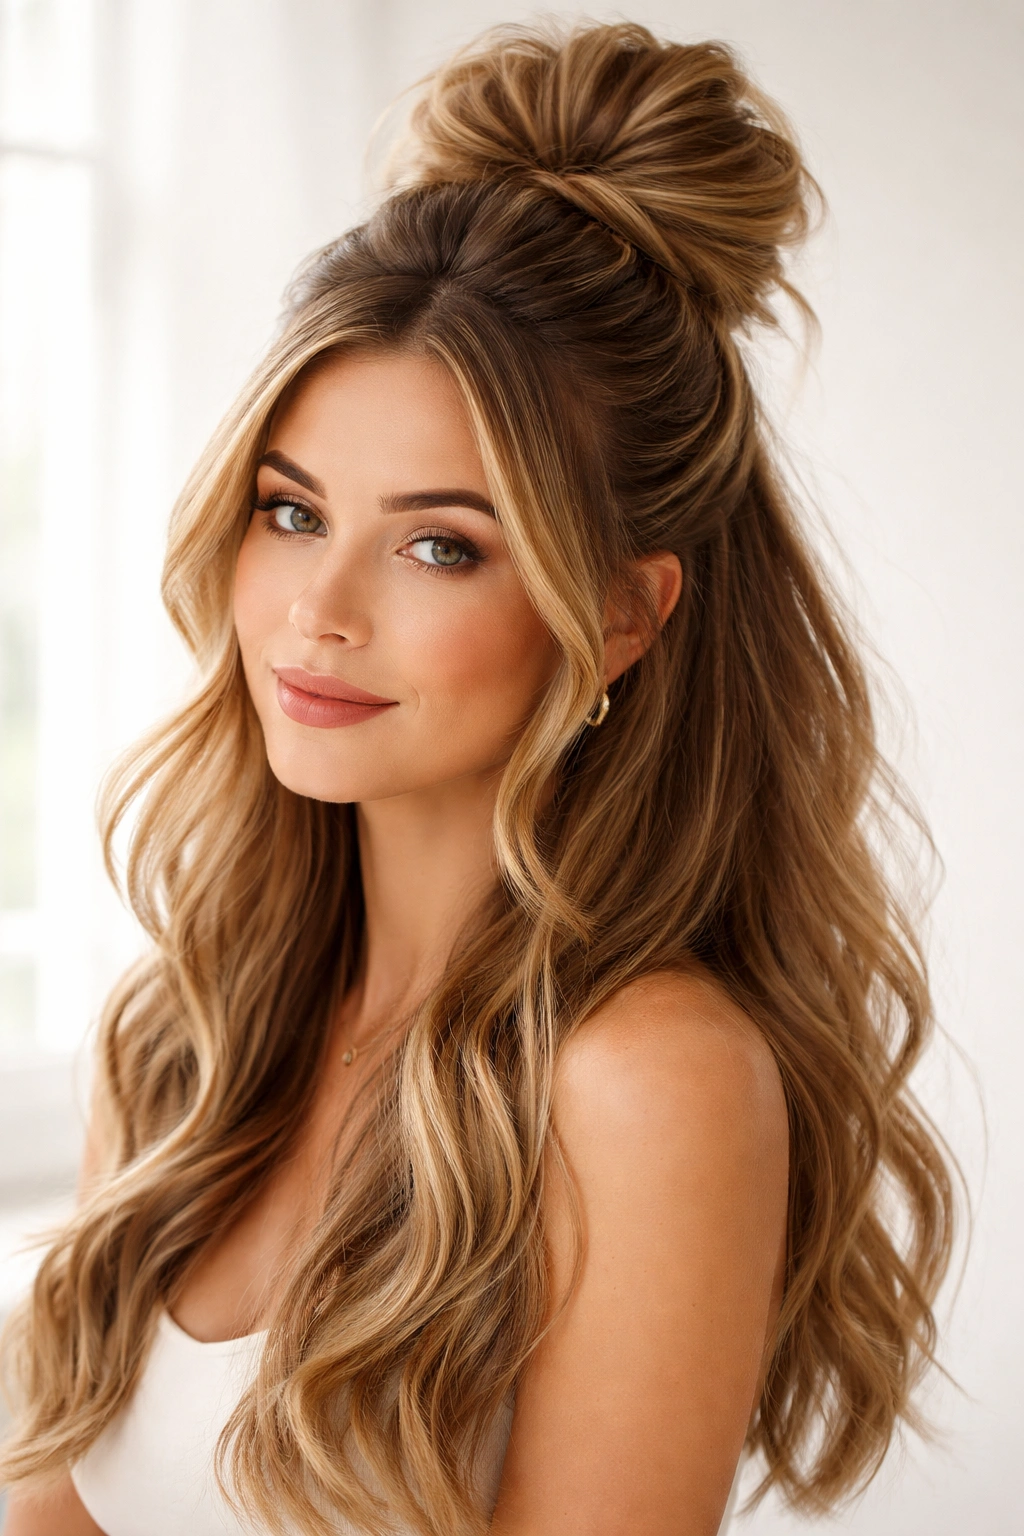
A half-up, half-down bun gives you the polished effect of an updo while keeping length and movement down—extensions make this style exponentially more impactful because they allow you to create a genuinely voluminous gathered section at the crown while maintaining visible length below.
Balancing Volume at Crown With Flow Below
This style works best when your extensions are distributed throughout your hair—you need volume at both the crown (for the gathered section) and through the length (so the down portion looks full). Start by sectioning off the top half of your hair from temples to temples across the back, leaving the bottom half down and loose.
Creating the Half-Up Structure
- Gather your top section into a high ponytail at the crown, incorporating extensions strategically as you go to maximize volume in the gathered portion
- Take a small section of hair from the ponytail and wrap it around the base as a finishing detail, securing the wrap with bobby pins
- Rather than fully forming this into a bun, loosely twist or braid the ponytail and create a small gathered knot at the base—you want structure without completely sealing it into a tight bun
- Leave the bottom half of your hair down, styled with waves, curls, or straightened depending on your preference
- Release any pieces that got caught in the gathering and frame your face, securing them with bobby pins if needed
- Use dry shampoo or texture spray on the down portion to give extensions grip and prevent slipping
Pro tip: Curl or wave the down portion of your hair before gathering the top—heat styling first ensures the lower section maintains its shape and volume throughout the day without drooping under the weight of extensions.
Tips for Creating Perfect Messy Buns With Extensions
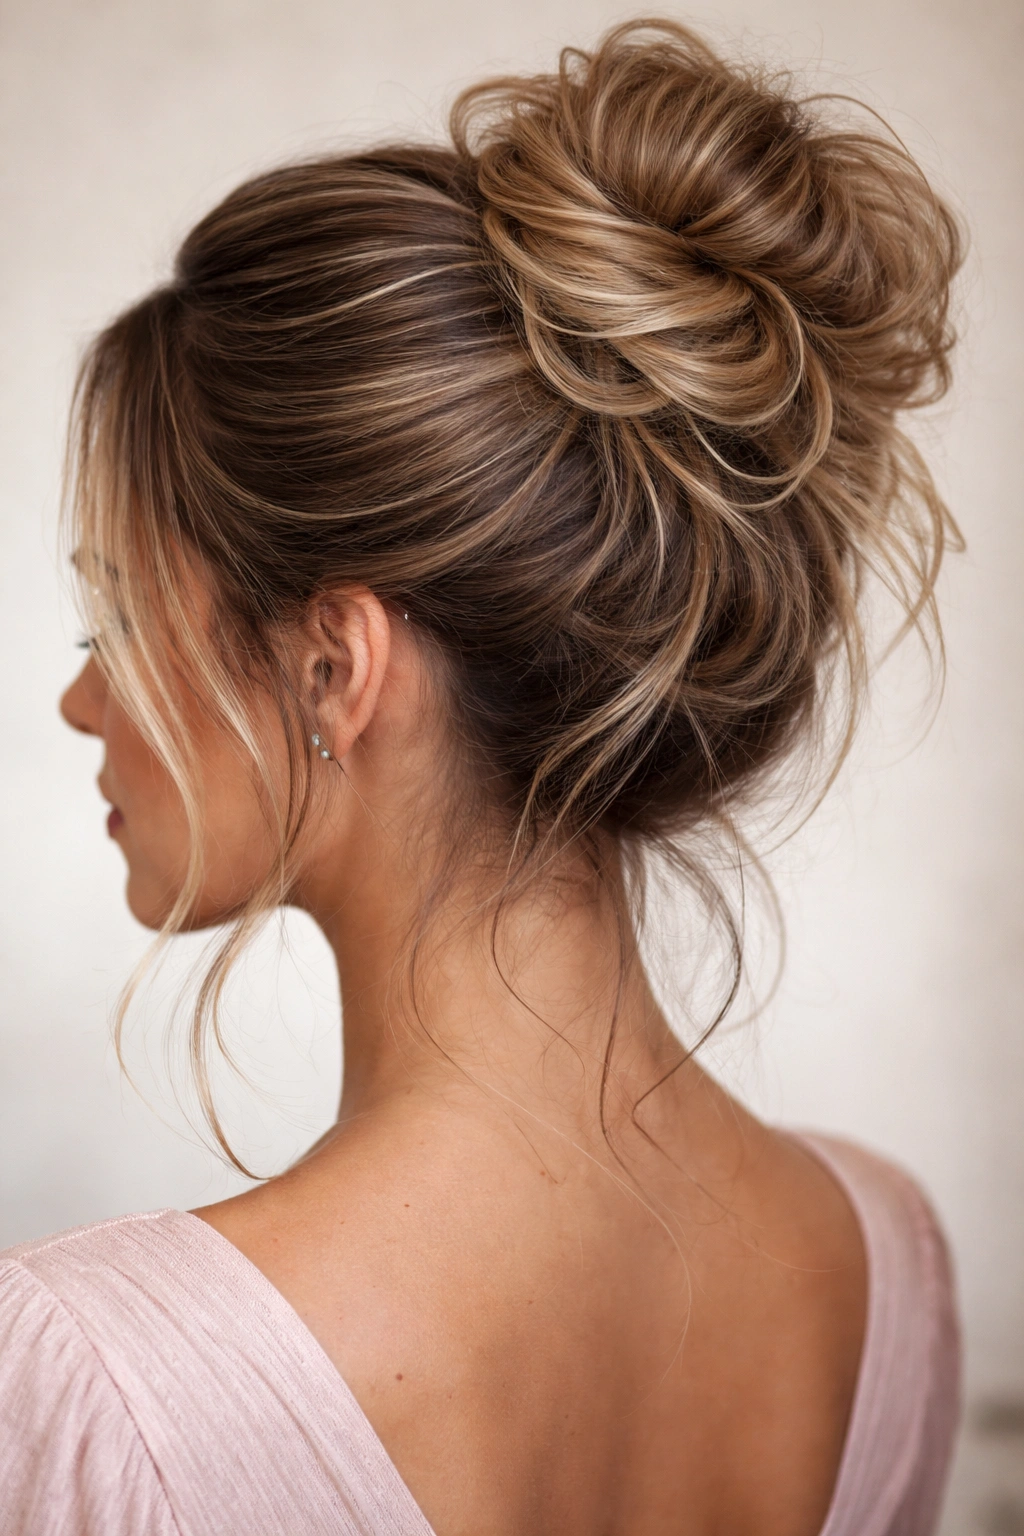
The difference between a messy bun that looks intentional and polished versus one that looks truly sloppy comes down to technique and understanding how extensions behave. Start by selecting the right type of extensions for the styles you want to create—clip-in extensions offer flexibility and are ideal if you want to experiment with different bun styles without commitment, while tape-in or sew-in extensions provide permanent volume that’s ideal if you wear messy buns regularly.
Always begin with extensions that are already secured and blended into your hair before you even start styling. Trying to integrate loose extensions into a bun as you’re creating it leads to visible knots, awkward placement, and an overall unpolished appearance. If you’re using clip-ins, invest a few extra seconds in placing them exactly where you need volume before gathering your hair.
Texture is your friend with messy buns and extensions. Products like dry shampoo, sea salt spray, or texture spray create grip that keeps extensions from slipping and sliding throughout the day. Apply these products to both your natural hair and extensions before styling—this prevents the embarrassing moment when your extensions start moving independently of your actual bun.
Bobby pin placement matters far more than most people realize. Rather than clustering pins in one area, distribute them around the base of your bun in at least 4-6 different spots, inserting pins at varying angles (some horizontal, some diagonal). This creates a secure matrix that holds even thick, extension-heavy buns in place through movement and activity.
Common Mistakes People Make With Extensions in Messy Buns
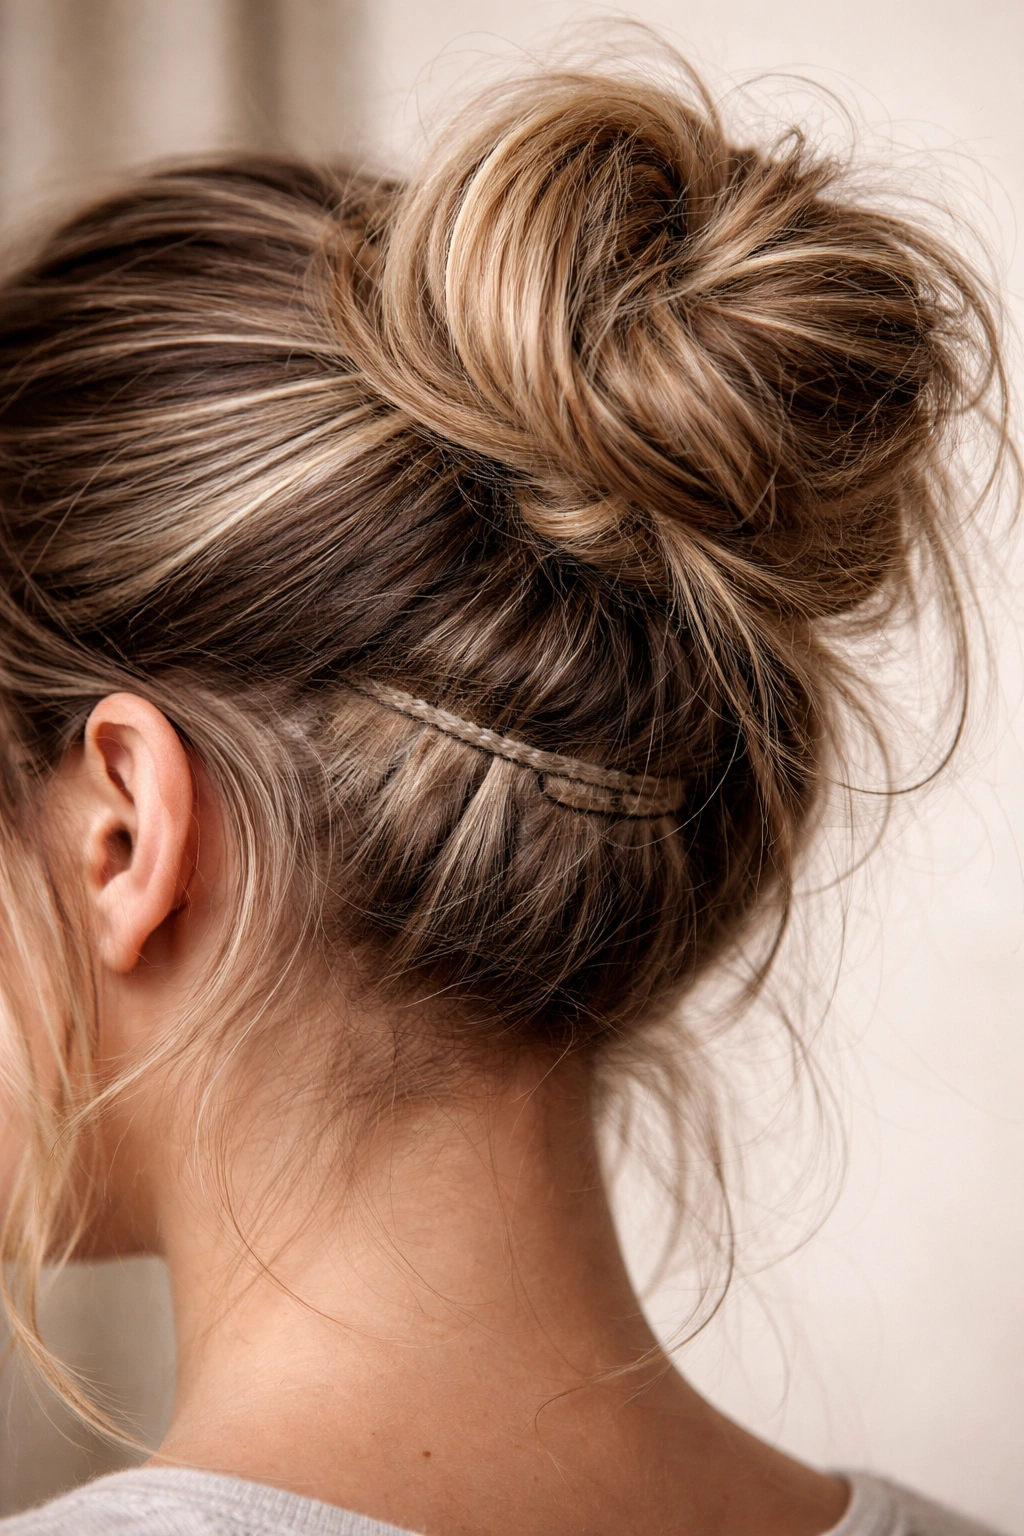
The most frequent error is placing extensions too low or too far forward in the bun. This causes them to slip out or hang visibly below the bun itself, creating an obviously artificial appearance. Extensions should be woven and integrated throughout the entire bun structure, not sitting underneath like a separate layer.
Another common mistake is making the bun too tight in pursuit of security. Ironically, overly tight buns with extensions are more likely to fail because they create pressure points where extensions can slip. A slightly looser, more textured bun actually holds better because the intertwined hair and extensions lock together more effectively.
People also frequently underestimate the need for proper grip and texture. Trying to create a messy bun with extensions on completely smooth hair results in a slippery, unstable style that falls apart throughout the day. Always prepare your hair with product before styling, regardless of which messy bun variation you’re creating.
Best Hair Extension Types for Messy Bun Styles
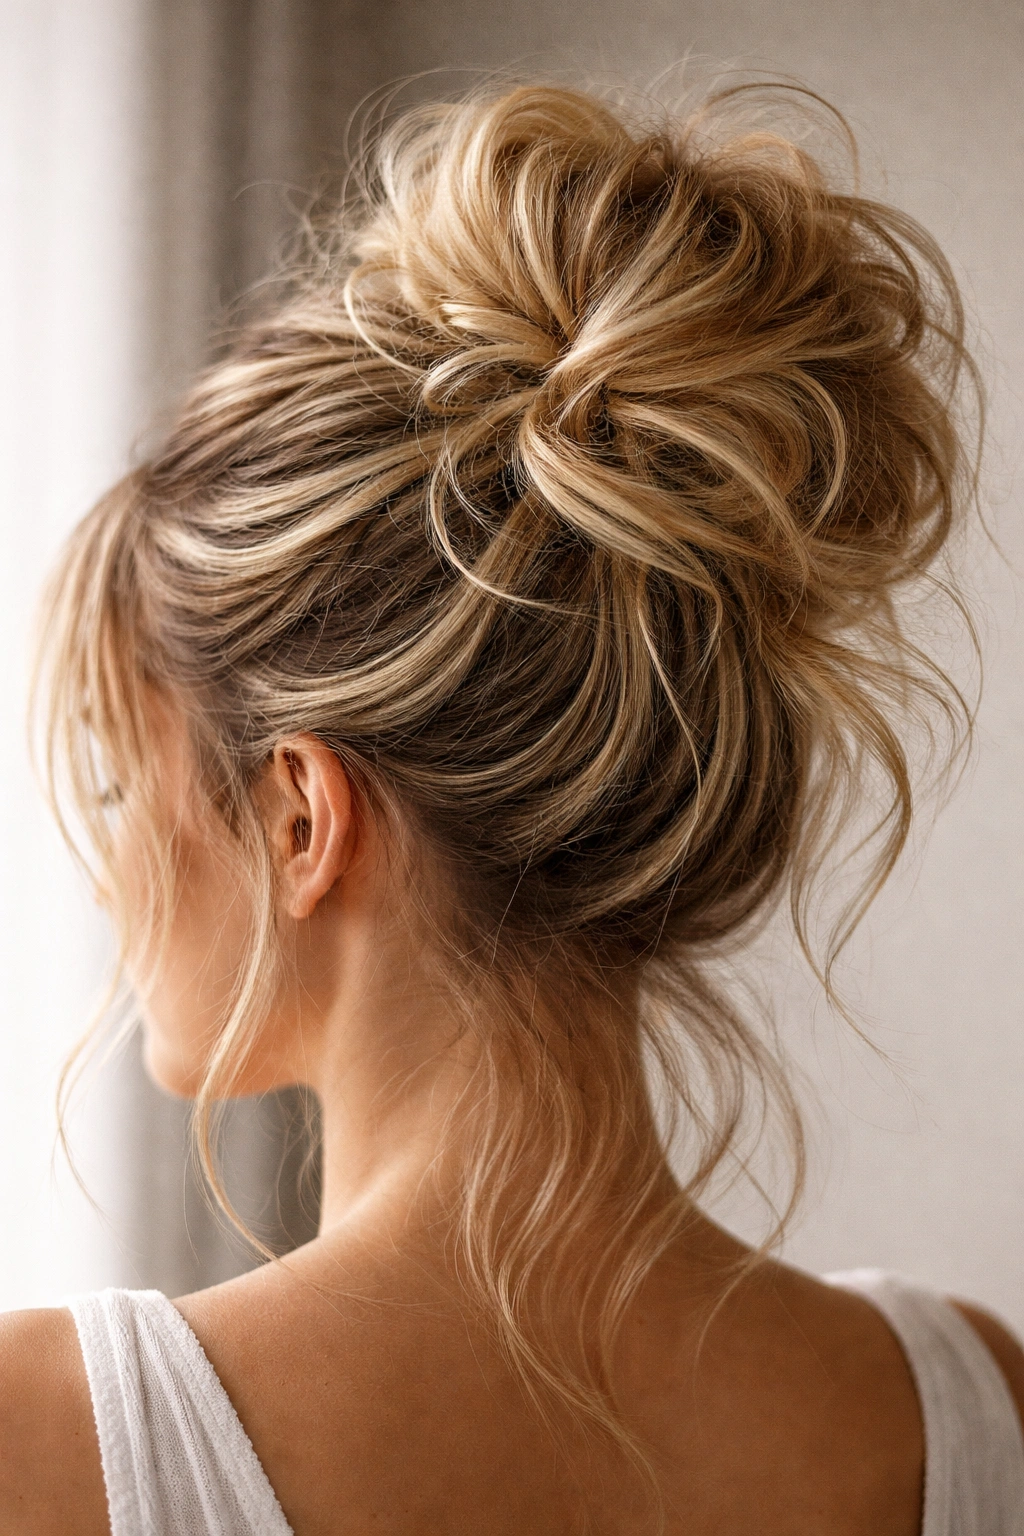
Clip-in extensions offer the most versatility for experimenting with messy bun styles because you can add or remove them and adjust placement between styling sessions. They’re ideal if you want different volumes for different bun styles or if you’re new to styling with extensions.
Tape-in extensions blend seamlessly and remain in place constantly, making them excellent if you wear messy buns frequently and want predictable, reliable volume. Tape-ins create a smooth base that integrates naturally into upstyles without visible seams or separation.
Sew-in extensions provide the most permanent solution and work beautifully for messy buns because they allow you to create significantly more volume and height than clip-ins typically can. They’re best suited for people who commit to messy buns as a regular part of their styling routine.
Regardless of which type you choose, invest in extensions with good texture or slightly crimped ends—these grip better in buns than perfectly straight extensions and reduce slipping significantly.
Final Thoughts
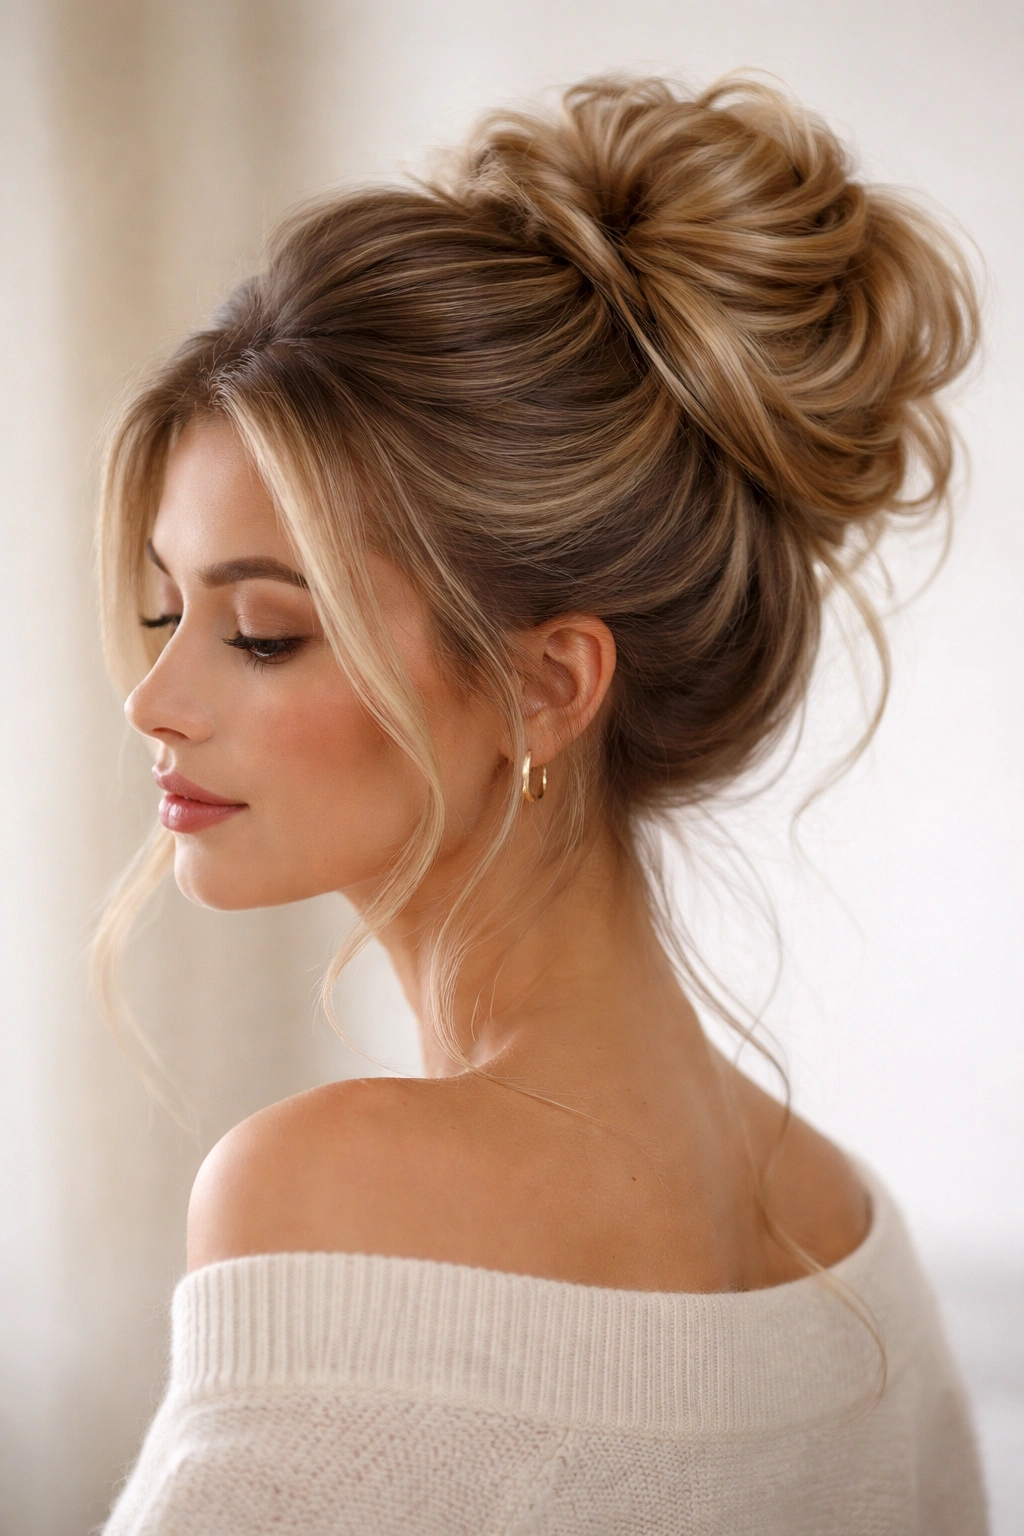
Messy buns with extensions aren’t actually that different from regular messy buns in terms of technical difficulty—they’re just infinitely more forgiving and dramatically more impactful. The extension volume masks minor imperfections, creates the fullness that reads as intentional styling, and gives you flexibility to experiment with different shapes, textures, and details that might not be possible with your natural hair alone.
The real skill isn’t in the difficulty of the technique; it’s in understanding where volume matters most for each style and how to integrate extensions in ways that create that polished-yet-effortless aesthetic. Start with whichever style resonates most with your personal taste, master the technique through one or two practice rounds, and then build outward to other variations.
What makes messy buns genuinely work with extensions is embracing the “messy” part as intentional rather than fighting it. The slight irregularity, the visible texture, the pieces that stick out slightly—these details are what make the style look modern, relatable, and genuinely styled rather than stiff or overdone.
