



A messy bun is the kind of hairstyle that looks effortlessly undone—which is exactly why it usually requires a little bit of effort to get right. There’s an art to making your hair look intentionally tousled without crossing into actually messy territory, and the good news is that once you understand the basic mechanics, you can adapt the style to work with your hair texture, face shape, and personal aesthetic. Whether you’re dealing with thick, curly hair or fine, straight strands, a messy bun can be tailored to suit you perfectly.
The beauty of messy bun styling is the incredible versatility packed into one simple concept. You can wear a messy bun to the gym, to brunch, to a casual office day, or even to a wedding if you choose the right variation. What makes a messy bun different from a regular bun isn’t the hair texture itself—it’s how you construct it and which pieces you choose to leave loose. By learning a few key techniques and understanding how to work with your hair’s natural tendencies, you’ll be able to create a variety of polished-yet-relaxed looks that feel uniquely yours.
The styles below offer different approaches to the messy bun concept, each with its own advantages depending on your hair length, texture, and the occasion. Some are quicker to create while others are more intentional and structured. Some work better on certain hair types, while others are genuinely adaptable. By experimenting with each style, you’ll find the variations that complement your features and fit your lifestyle best.
1. Classic Messy Bun
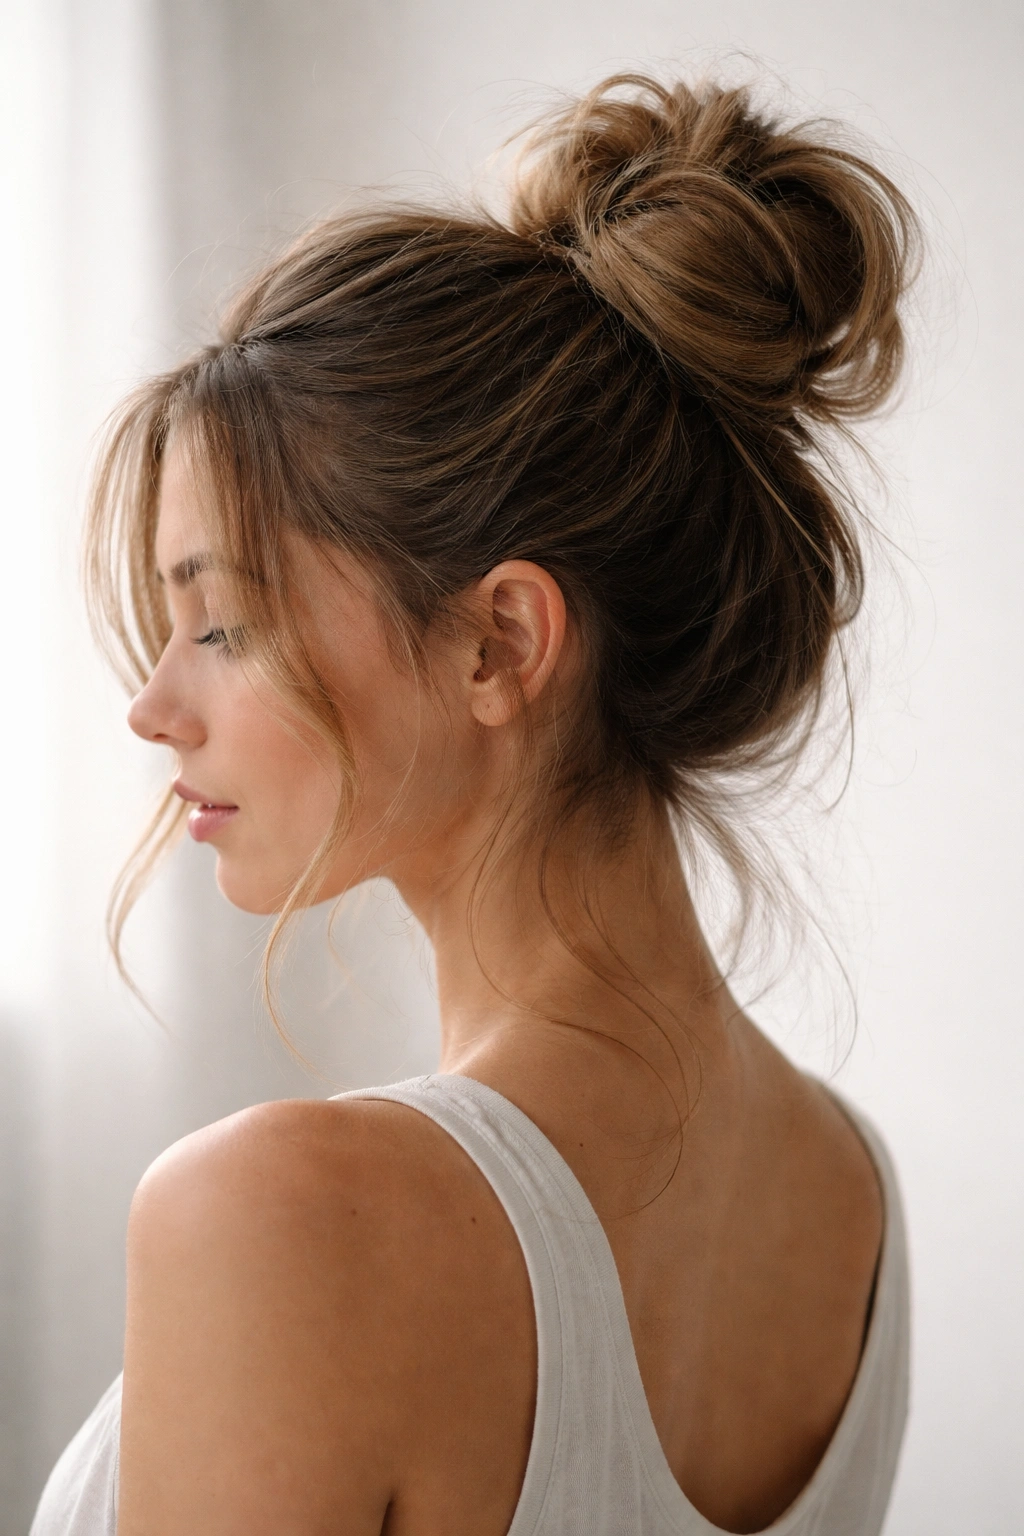
The classic messy bun is the foundation style that most people think of when they imagine an effortlessly undone updo. It’s the version you see on Instagram influencers rolling out of bed, except it’s usually taken about three minutes to create intentionally. This style works on almost any hair length (though 12 inches or longer is ideal) and adapts beautifully to different hair textures.
Why It’s So Versatile and Forgiving
The classic messy bun succeeds because it thrives on imperfection. Unlike a sleek, polished bun where every strand needs to be exactly in place, this style actually looks better when a few pieces are slightly out of position. You’re aiming for that “I woke up like this” aesthetic, which means you don’t have to chase perfection—you’re chasing controlled relaxation instead. This takes pressure off the styling process and actually makes the technique easier to execute.
How to Create the Perfect Classic Messy Bun
Start with hair that has some texture—second-day hair or hair that’s been texturized with product works beautifully here. Flip your head upside down and gather all your hair at the crown, holding it loosely in one hand. The higher you position this gathering point, the more voluminous and youthful the bun will appear. Twist the gathered section loosely—not too tight, or you’ll lose the relaxed vibe—and wrap it around itself to form a bun shape. Secure with bobby pins placed strategically around the base, then gently pull sections of the bun outward to create texture and dimension. The result should look like you were aiming for control but decided comfort mattered more.
Key Techniques That Make the Difference
The looseness of your initial twist is everything here. If you twist too tightly, you won’t be able to pull out pieces to create the messy effect without the whole thing unraveling. If you twist too loosely, the bun won’t hold structure at all. Aim for a twist that feels secure in your hands but still has some give when you gently tug on it. Using texturizing spray before twisting adds grip that helps the bun hold without feeling constraining. A light-hold hairspray at the end sets everything in place without making the bun feel crunchy or artificially rigid.
2. Low Messy Bun
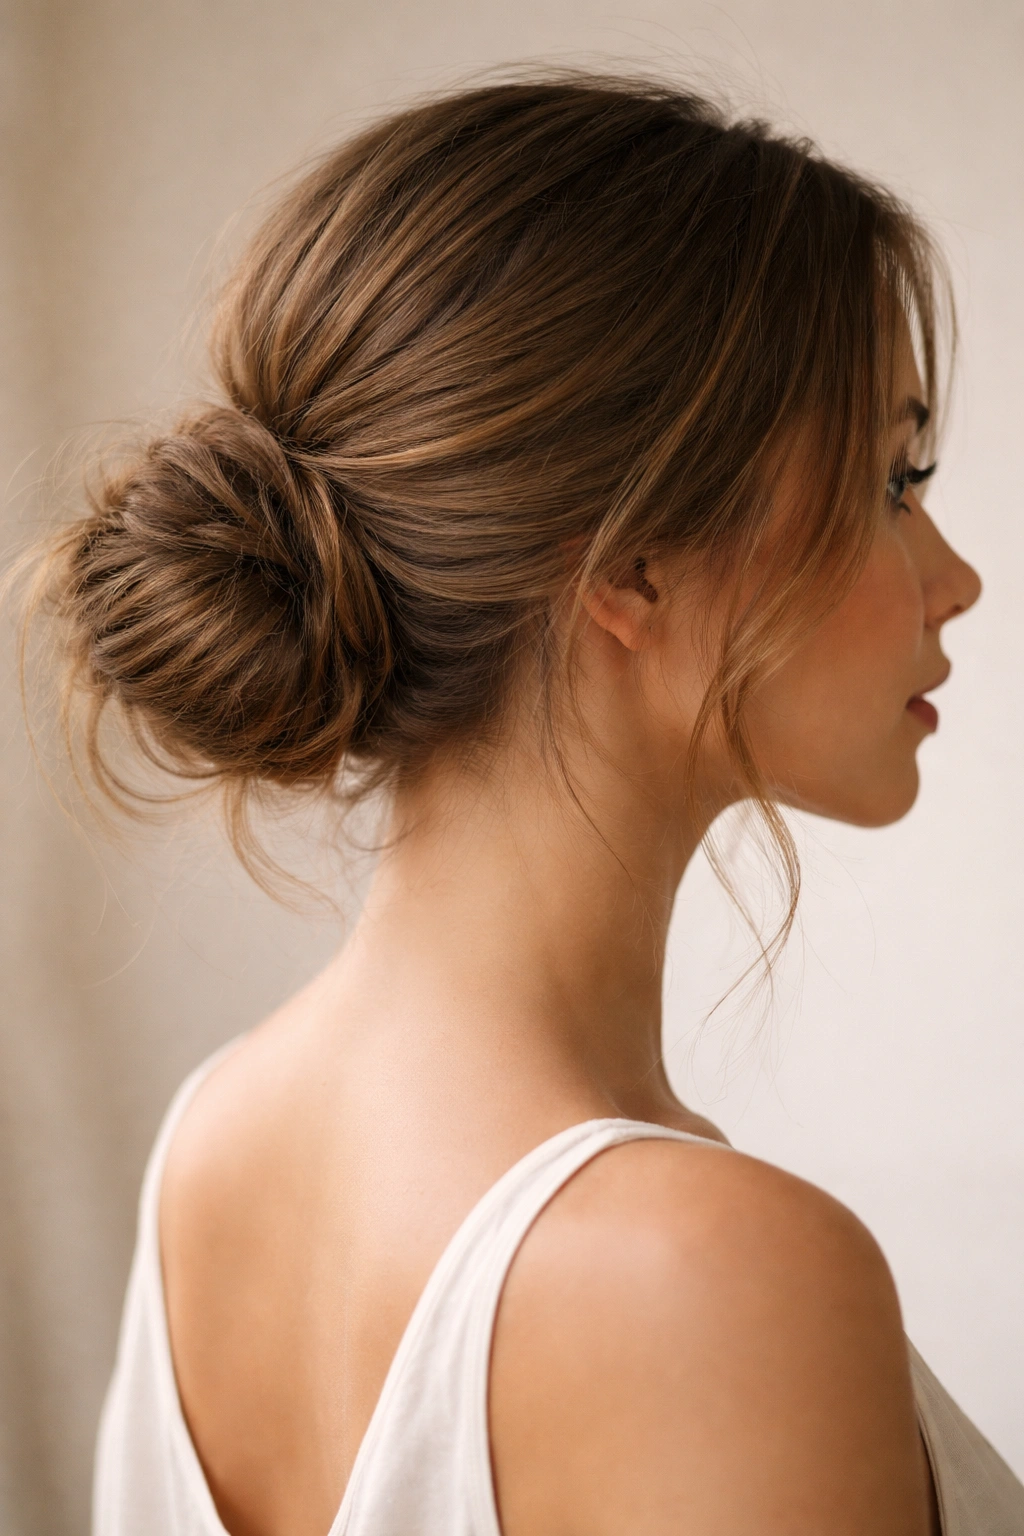
A low messy bun sits at the nape of your neck rather than at the crown, creating a completely different silhouette and aesthetic. This version reads as more polished and intentional than its higher-sitting cousin, making it appropriate for workplaces, formal events, or situations where you want to look put-together while still maintaining the relaxed vibe of a messy bun. The lower placement also tends to be more flattering for certain face shapes, particularly elongated or rectangular faces.
The Styling Advantage of Lower Placement
Positioning your bun lower automatically creates the illusion of a longer, more elegant neckline and draws attention upward toward your face. This placement also tends to be more stable than a very high bun because it’s positioned closer to where most of your hair’s natural weight sits. If your hair is fine or tends to slip out of buns easily, a low placement can actually help the style stay secure throughout the day. The lower position also means fewer flyaways and loose pieces catching light in unflattering ways.
Creating a Low Messy Bun That Actually Stays Put
Flip your head forward and gather hair at the nape of your neck, positioning your hands lower than you would for a classic version. Create a low ponytail first, securing it with a small elastic that matches your hair color—this creates a foundation that the bun will wrap around, which dramatically increases stability. Twist the ponytail loosely and wrap it around the base to form the bun, then secure with bobby pins. Pull out face-framing pieces and sections throughout the bun to create texture. Because this version sits lower, you have more room to pull out larger sections without compromising the overall structure.
When and Where to Wear a Low Messy Bun
This style is ideal for professional settings where you want your hair off your face but don’t want to look overly formal or severe. It’s also an excellent choice for dinners, casual dates, or any situation where you want to feel polished. The lower placement means your neck and shoulders are more visible, so if you’re wearing a statement necklace, an off-shoulder top, or anything that showcases your neck area, a low messy bun creates the perfect frame. For everyday wear, a low bun feels more intentional and “styled” than a higher version, even though it requires the same amount of effort.
3. Messy Braided Bun
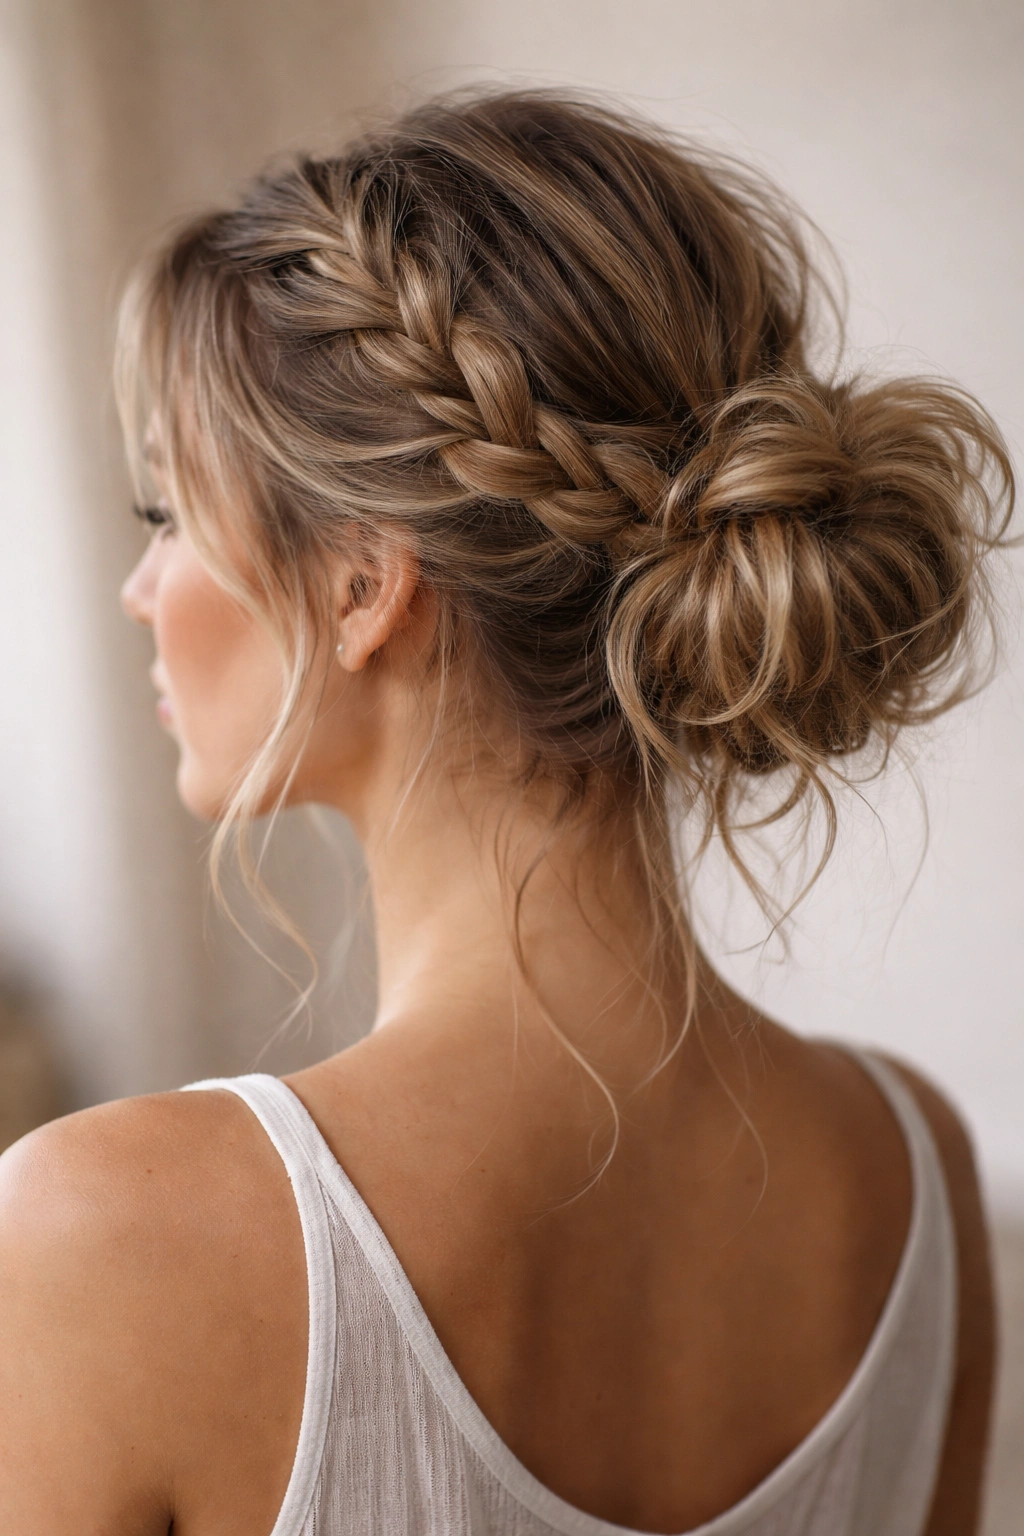
Adding a braid element to your messy bun creates texture, dimension, and a more deliberately crafted aesthetic. This style looks more intentional than a simple twisted bun, which makes it suitable for situations where you want to look like you actually tried, even if the end result still feels relaxed. The braided version also tends to hold better throughout the day, particularly if you have finer hair that tends to fall out of basic buns.
Why Braids Add Structure Without Sacrificing the Messy Vibe
A braid automatically creates grip and texture that helps secure individual strands in place. When you braid before wrapping into a bun, you’re essentially pre-organizing your hair while still maintaining the relaxed, undone aesthetic. The braid creates definition that reads as intentional styling, while the loosely wrapped bun portion keeps the overall look soft and approachable. This combination strikes a balance between “I definitely did something with my hair” and “but I’m not trying too hard.”
The Two-Braid Approach
Create two loose French braids (or any braid style you prefer) starting from different sections of your head—perhaps one on each side. Gather the ends of both braids at the nape of your neck and twist them together loosely, then wrap the twisted braids around themselves to form a bun. Secure with bobby pins and gently pull sections of the braids outward to create texture. This approach works beautifully with curly hair because the natural texture of your curls combines with the braid structure to create a genuinely intricate-looking style that actually takes less time than it appears to.
Single Braid Variation
Alternatively, create one loose braid starting at your crown and gathering it into a low bun at the nape of your neck. Pull out sections of the braid gently as you work your way down, then wrap the braid around itself when you reach the bottom. This creates a graduated texture effect where the braid tightens slightly as it approaches the bun, creating visual interest and depth. This version is particularly flattering if you have length and want to showcase it in the braid while still keeping hair off your face.
4. Twisted Messy Bun
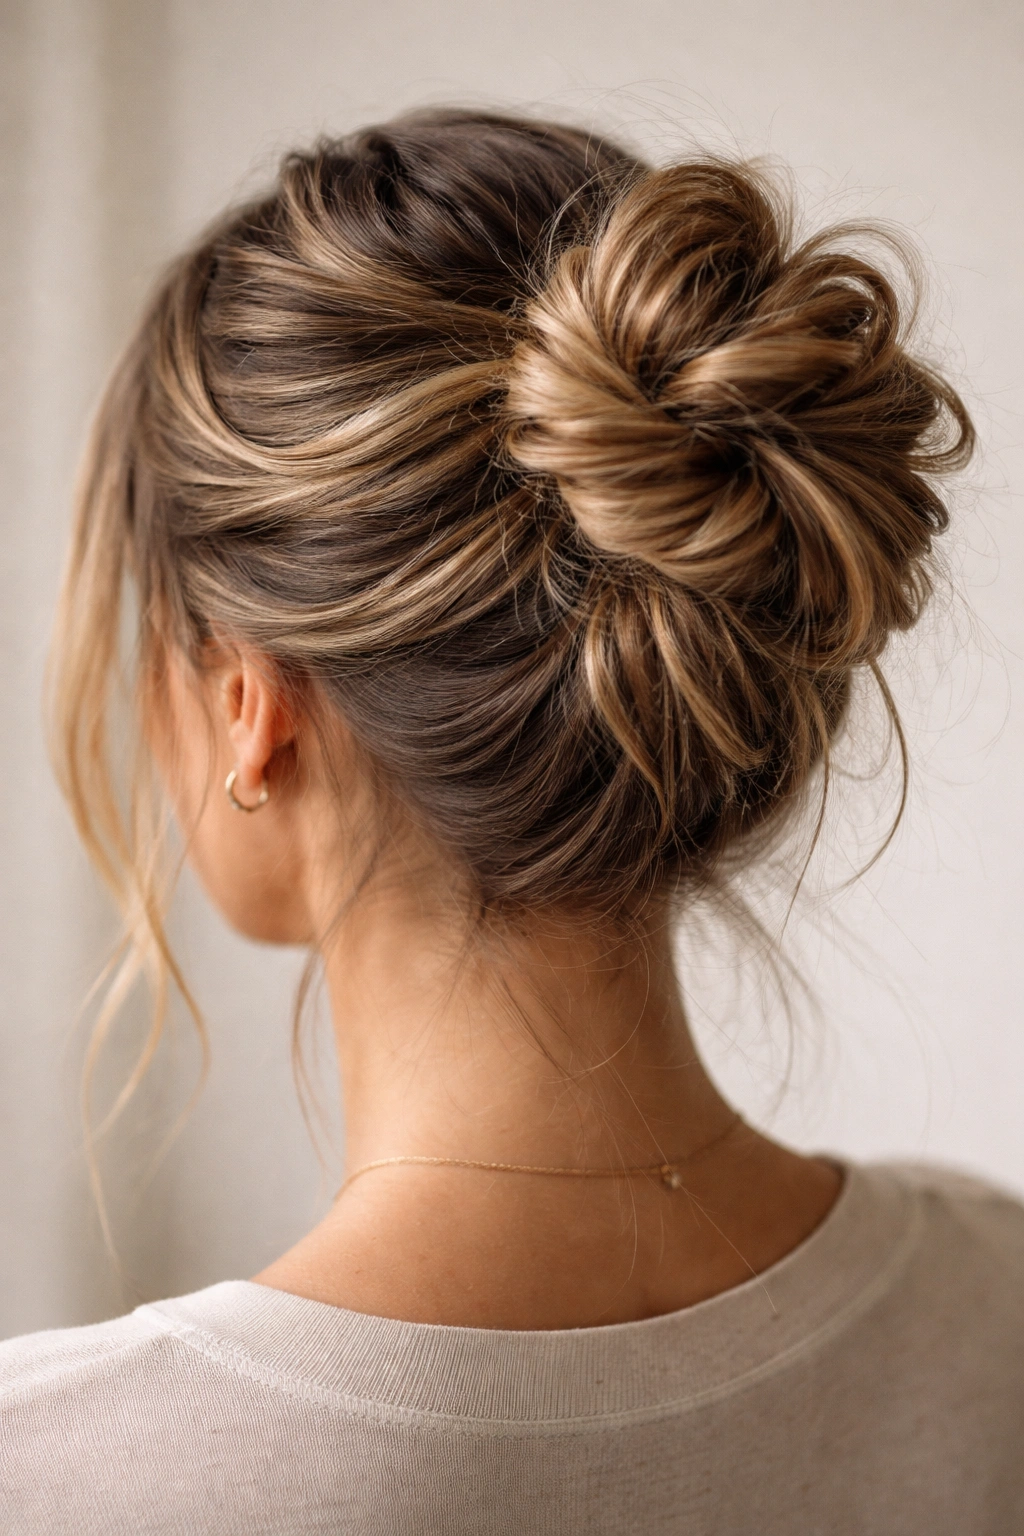
A twisted messy bun differs from the classic version in that you create multiple twists before wrapping them into a bun, rather than creating one single twist. This approach creates more texture and dimension in the finished bun, making it look more intricate and deliberately styled. The multiple twists also help distribute the weight of your hair more evenly, which can improve stability if you have thick or heavy hair.
Creating Multiple Twists for Visual Interest
Divide your ponytail (or loosely gathered hair) into 3-4 sections. Twist each section separately, then gather all the twists together and wrap them around each other to form the bun. Secure carefully with bobby pins, then gently pull sections outward. Because you’ve already twisted individual sections, pulling them out is easier and creates more defined texture—the individual twists remain visible even after you’ve wrapped everything into a bun shape. This creates a more complex, intentional-looking style that actually requires less precision than trying to pull out sections of a single twist.
The Advantage of Distributed Weight
When you create multiple twists rather than one thick twist, you distribute the weight of your hair across several smaller sections. This means each section bears less weight individually, which helps the overall style hold better throughout the day. If you have very thick hair or fine hair that tends to slip, this approach solves both problems—thick hair holds better because the weight is distributed, and fine hair holds better because you have more anchor points created by the separate twists.
Pairing Twists With Texturizing Techniques
Use texturizing spray before creating your twists to add grip and hold. The spray helps individual hairs within each twist maintain their position, so when you pull out sections later, they stay where you place them. You can also roughen up sections of your twists as you wrap them into the bun—rather than creating smooth, neat twists, intentionally create some texture and irregularity within each twist before wrapping. This makes the final pulled-out effect look more naturally tousled and less like you were trying to create a specific pattern.
5. Half-Up Messy Bun
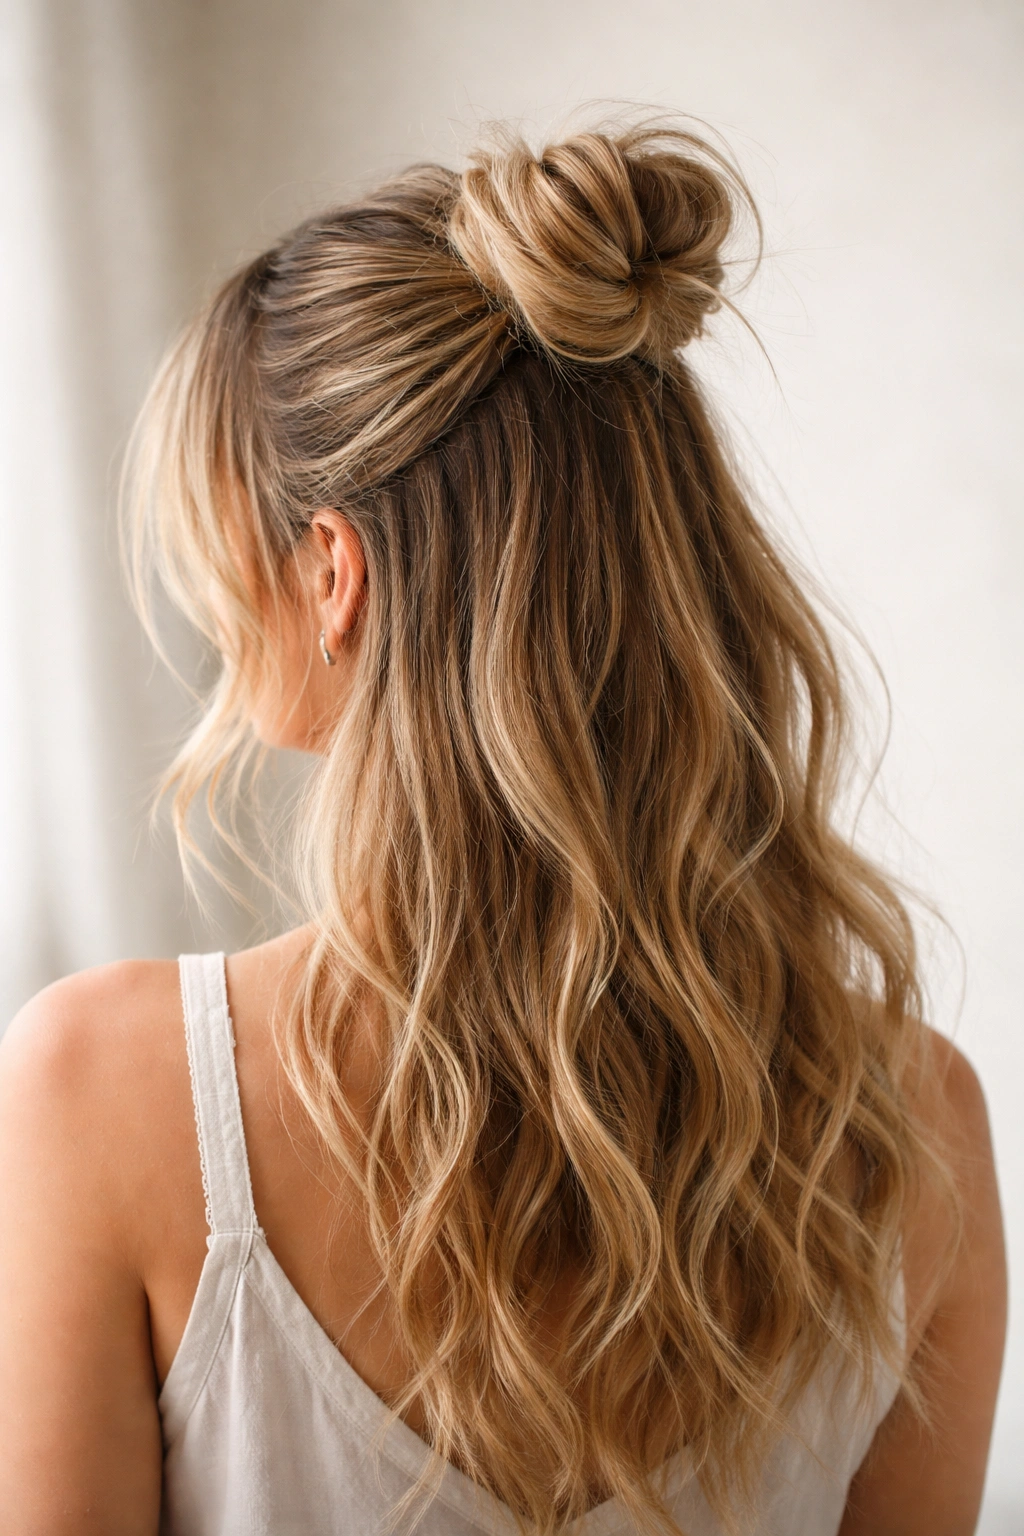
A half-up messy bun keeps approximately half your hair down while the upper half is twisted or gathered into a small bun at the crown or back of your head. This style works beautifully when you want to show off length and texture in the bottom half of your hair while keeping the top half off your face. It’s also an excellent choice if you have very long, heavy hair where a full bun would feel uncomfortable or create too much tension on your scalp.
Why Half-Up Works for So Many Hair Types
This style adapts beautifully to curly hair because it keeps curls intact while pulling away frizz-prone areas from your face. For straight hair, it creates visual interest by combining the sleekness of the gathered top with the flow of the lengths below. For fine hair, it avoids putting all your hair in one bun where weight and tension might make it look thinner, instead distributing the visual weight across the style. The half-up approach is genuinely one of the most universally flattering options available.
Creating Volume in the Gathered Section
Start by backcombing the crown area to create volume and texture, which makes even a small amount of gathered hair look full. Gather only the top half of your hair (approximately the top third to half, depending on how much coverage you want), securing it loosely at the crown or slightly back. Twist or braid this gathered section, then wrap it around itself into a small bun. Secure with bobby pins, then pull out sections of the gathered portion to create a soft, undone look. Leave the bottom half of your hair completely down and free.
Styling the Loose Portion
The hair that’s left down should complement the gathered portion above it. Waves or curls in the bottom half create beautiful contrast with the bun on top, while straight hair left down emphasizes the structured gathered section. You can add texture to the bottom portion with a curling iron, braid waves, or simply by using a texturizing spray. The key is ensuring the bottom half looks intentional, not just “hair that didn’t get put up”—it should feel like part of the overall styling choice rather than an afterthought.
6. Sleek Messy Bun
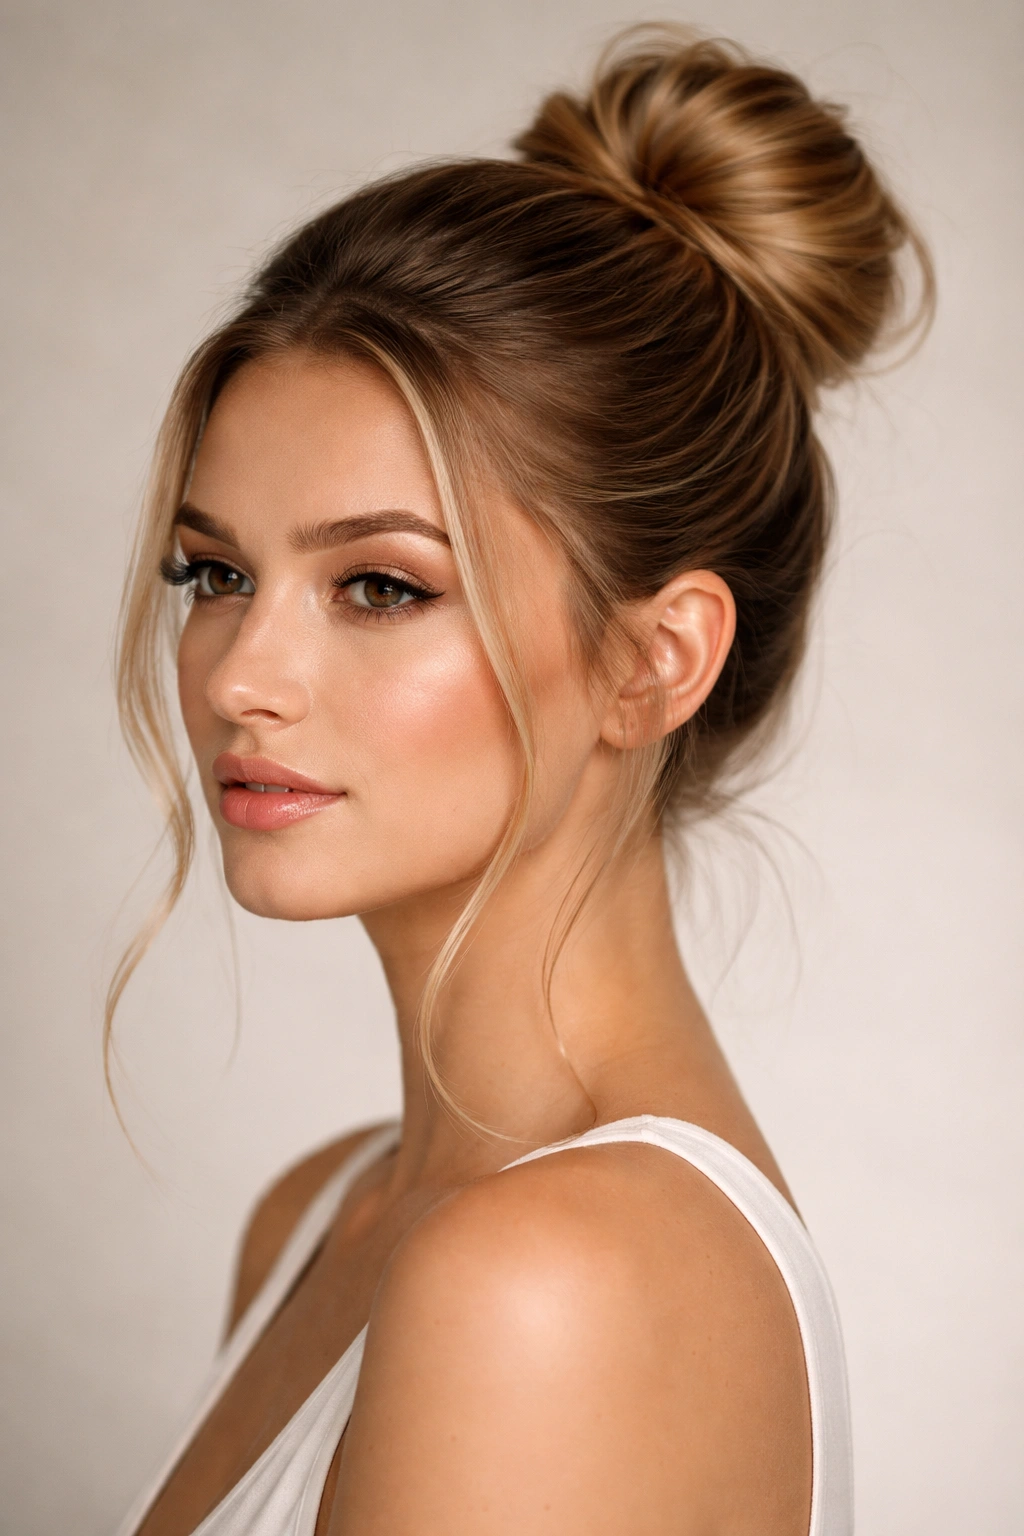
While most messy buns embrace texture and looseness, a sleek messy bun takes the opposite approach: it creates a smooth, polished base with strategically placed loose pieces that soften the look. This version is more formal and sophisticated than a classic messy bun, making it appropriate for work environments, events, or situations where you need to look more put-together while still avoiding a severe style.
The Technique Behind the “Controlled Messy” Look
Smooth your hair back into a tight, sleek ponytail at your chosen position (high, mid, or low). Use a smoothing serum or light pomade to create an almost wet-looking finish—this emphasizes the sleekness and creates a striking contrast with the looser pieces you’ll add. Twist the ponytail tightly into a bun and secure firmly with bobby pins so the base is genuinely secure. Now, strategically pull out a few carefully chosen pieces from around your face and sides—just 3-4 pieces total, not dozens. These pieces should be smooth, not texturized, and they should frame your face rather than blend into the bun.
When Sleek Messy Buns Are Your Best Choice
This style is ideal for professional settings, formal events, or situations where you want to look polished and intentional. The sleek base reads as “controlled and professional,” while the loose pieces soften the severity and add personality. It’s an excellent choice for job interviews, presentations, formal dinners, or any situation where you want to look like you put effort into your appearance. The style also photographs beautifully because the smooth base catches light uniformly while the loose pieces create dimension and movement.
Creating Visual Balance
When pulling out face-framing pieces, consider your face shape. For round faces, pull out longer pieces from the sides to create length and definition. For square faces, pull out pieces that are slightly curled to add softness. For oval faces, you have flexibility—try pulling out pieces from the front and one from the back for an interesting asymmetrical effect. The key is ensuring the loose pieces look intentional rather than accidental, which means positioning them symmetrically or in a clearly thought-out pattern.
7. Textured Messy Bun
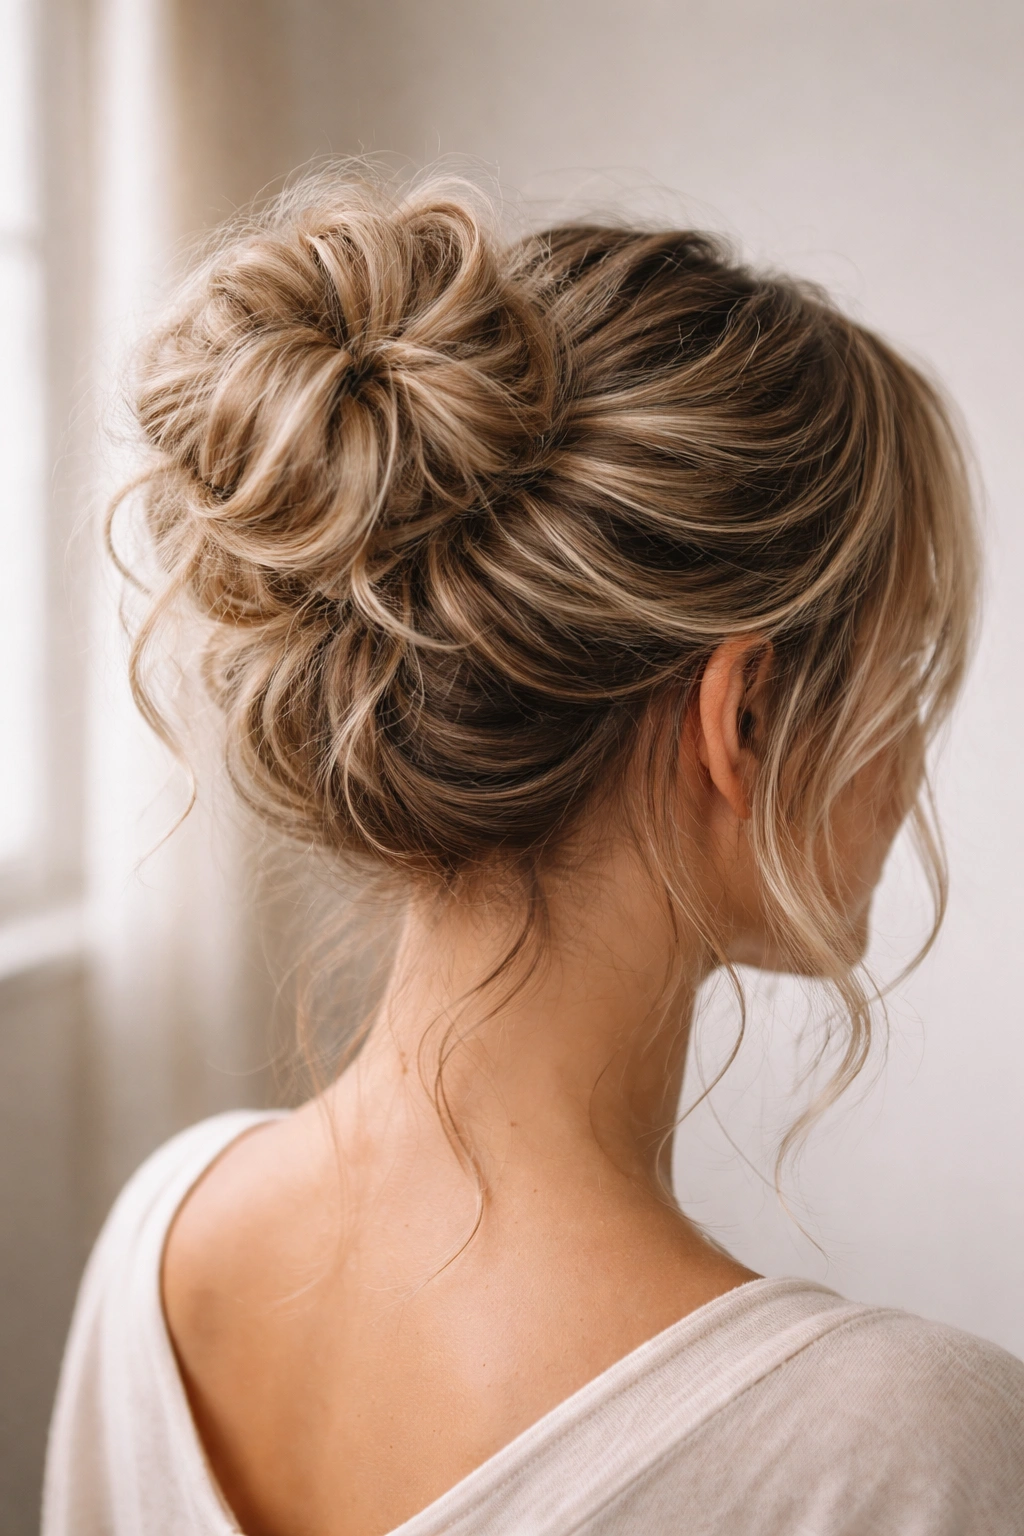
A textured messy bun intentionally emphasizes texture and waves within the bun itself, creating a rich, dimensioned look that’s more visually complex than a simple twisted bun. This version works beautifully with wavy or curly hair but can also be created on straight hair through strategic curling and texturizing. The texture makes the style photograph well and creates a more deliberately styled aesthetic.
Building Texture Before Creating the Bun
Start with pre-textured hair—second-day hair with existing waves, hair that’s been curled with a curling iron, or hair that’s been braided overnight to create wave patterns. Gather your textured hair loosely at your chosen position and create a ponytail that feels relaxed rather than tight. Divide the ponytail into 2-3 sections and gently twist each section, but not tightly—you want to maintain the texture and waves within the twist rather than compressing them. Wrap the twisted sections around the base to form the bun, then gently pull out large sections, being careful to preserve the wave patterns within each section.
The Role of Texturizing Products
Use texturizing spray or sea salt spray on damp hair before creating the bun to enhance natural texture and add grip. These products help waves hold their shape and prevent them from falling flat as the day progresses. For straight hair that you’ve curled, apply texturizing spray after curling to set the waves and make them last longer. A light-hold hairspray applied after you’ve finished pulling out sections keeps everything in place without making the style feel stiff or crunchy.
Styling for Different Hair Textures
For naturally curly hair, skip the twisting entirely—simply gather your curls loosely and pin them into a bun shape, pulling out curls strategically. The natural curl pattern creates all the texture you need. For wavy hair, create loose twists as described above. For straight hair, curl sections with a curling iron before gathering into a bun, then apply texturizing spray to lock in the waves. In all cases, the goal is preserving and enhancing the texture you’ve created rather than compressing it into a smooth shape.
8. Messy Top Knot
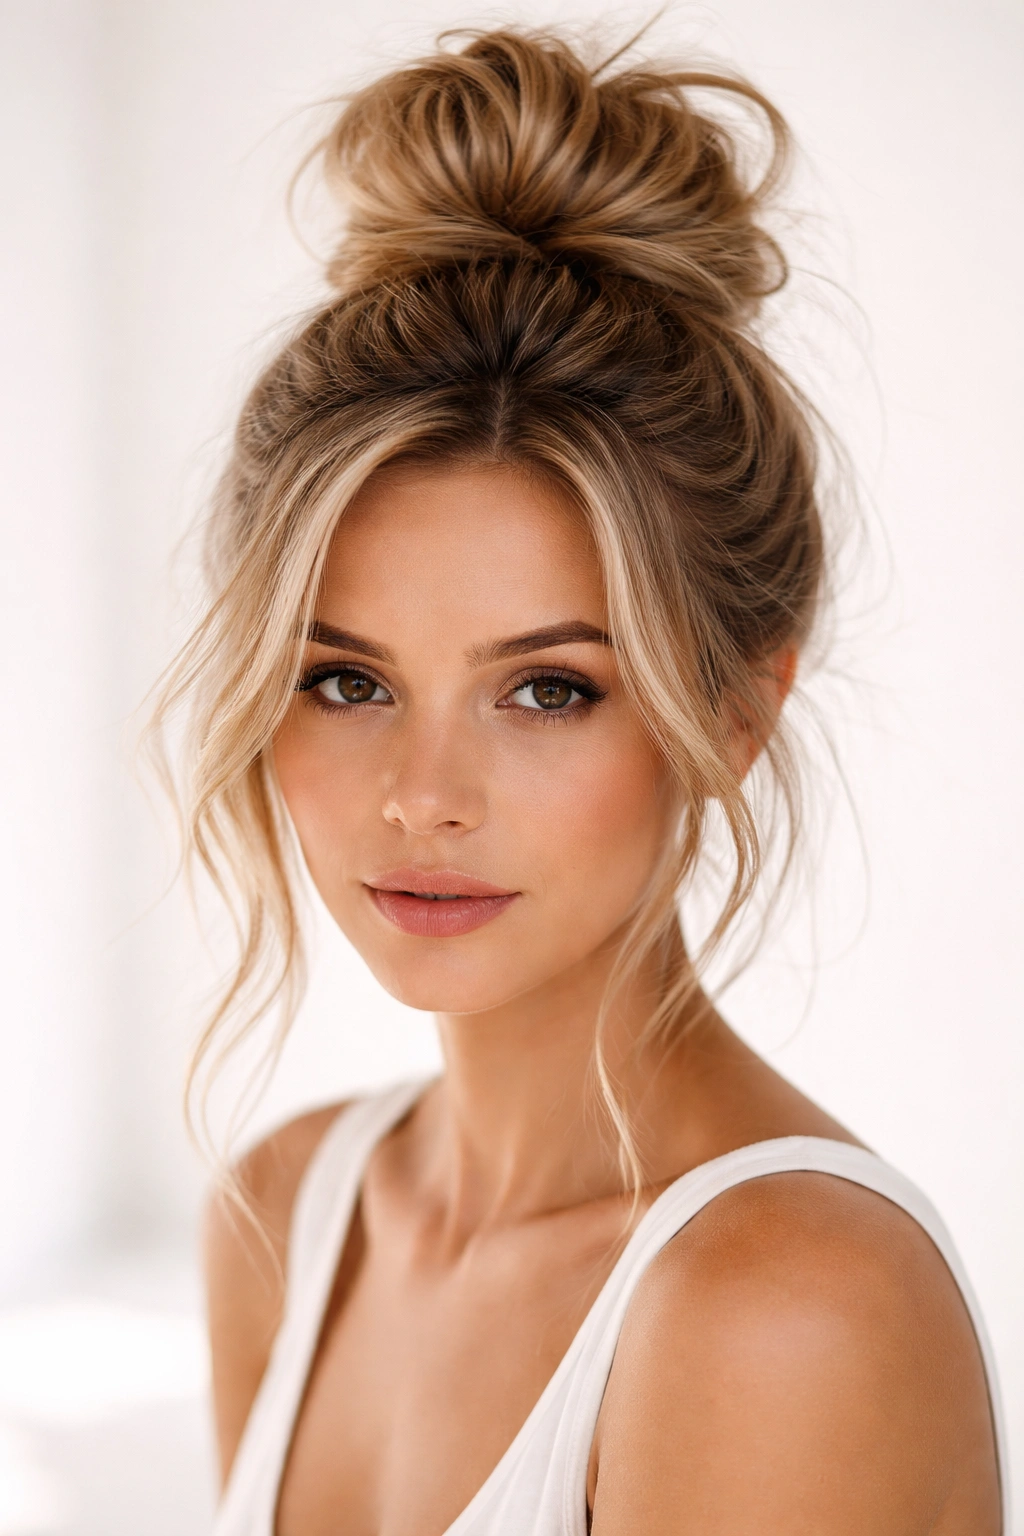
A messy top knot is essentially a very high messy bun positioned at the very crown of your head, often creating a knot-like appearance rather than a traditional bun shape. This style is more fashion-forward and youthful than a traditional messy bun, making it popular for casual settings, creative workplaces, and fashion-conscious styling. It’s also an excellent option if you have finer hair because the high position makes even a small amount of hair appear fuller.
Positioning for Maximum Impact
Create a very high ponytail at the crown by tilting your head slightly forward and gathering hair at the very top of your head. The higher you position this, the more dramatic and statement-making the knot will be. Secure the ponytail with a small elastic, then twist the ponytail section and wrap it tightly around itself into a knot shape rather than a traditional bun. Secure with bobby pins, then gently pull out pieces from around the knot to create softness. Because this style sits so high, even pulling out a few strategic pieces creates significant visual impact.
The Youth Factor and Fashion Appeal
A top knot reads as more playful and youthful than a traditional bun, which is why it’s become so popular in fashion, creative, and casual contexts. The high position draws attention upward and can make the face appear more open and youthful. If you have a longer face, a top knot can help balance proportions by drawing attention to the upper part of the head. For round faces, the high position creates vertical emphasis that can make the face appear slightly longer and more balanced.
Styling Variations on the Top Knot
Create a more intentional top knot by making it larger and slightly asymmetrical—tilt it slightly to one side rather than positioning it perfectly center. This creates a more fashion-forward, editorial look. Alternatively, create a very small, tight top knot and pull out several longer pieces from around it to frame your face—this creates a more feminine, romantic version. You can also create two smaller top knots side-by-side near the crown for a playful, youthful look that works well for casual settings or festivals.
9. Undone Messy Bun
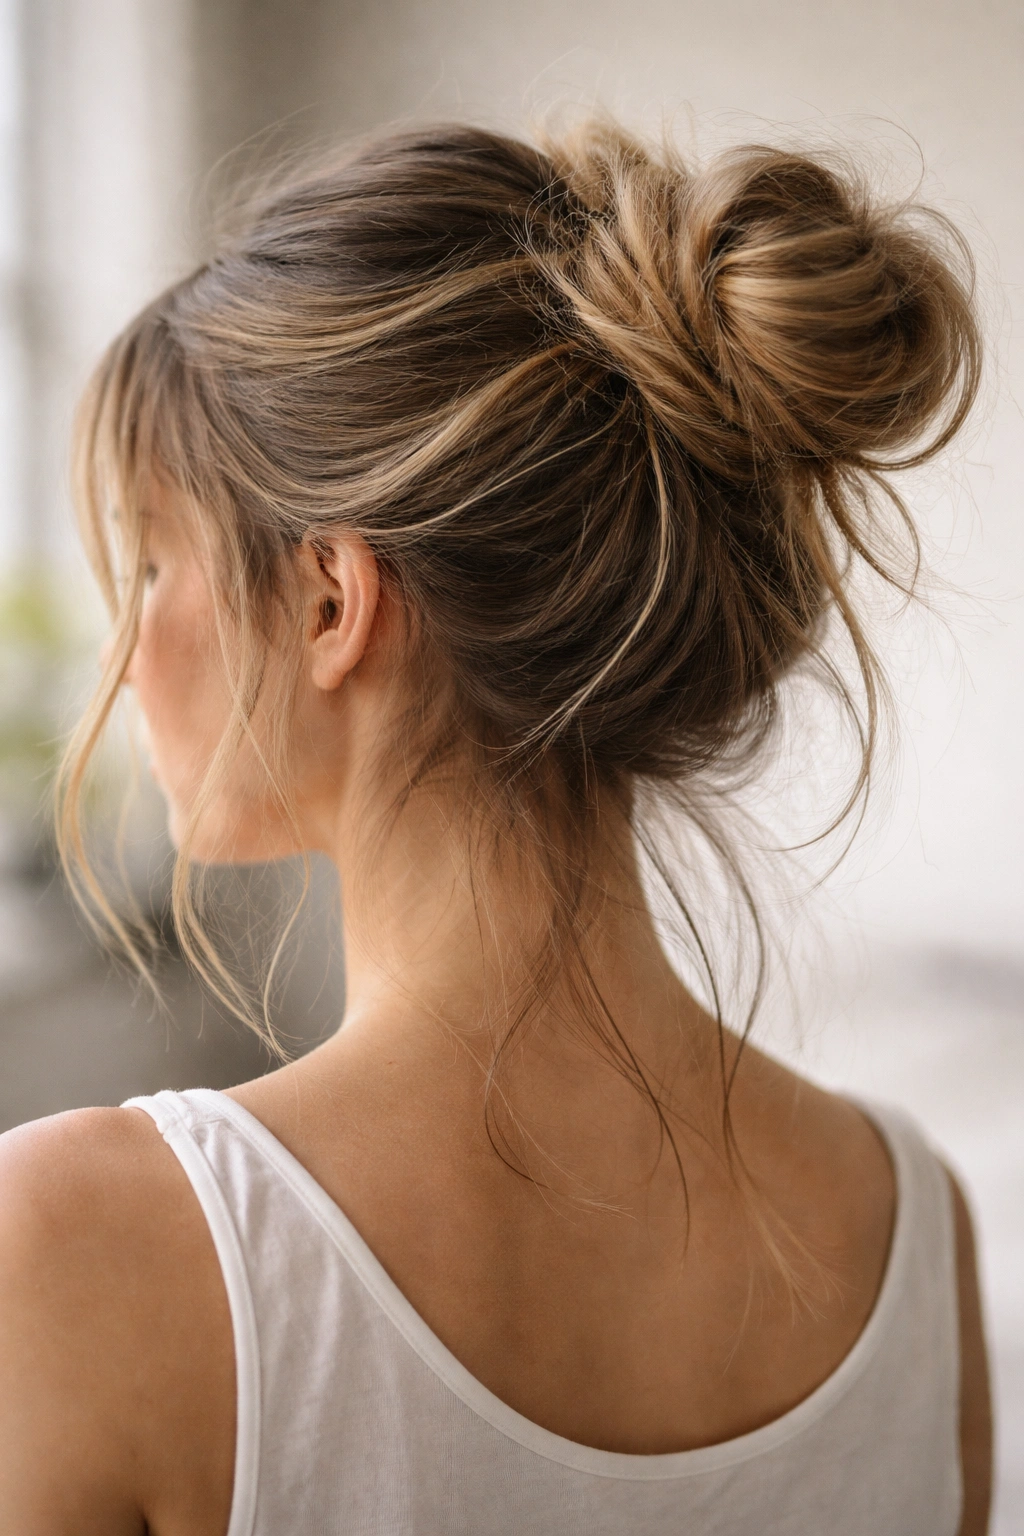
An undone messy bun takes the concept of relaxed styling to its extreme—it looks like you barely touched your hair, grabbed it, twisted it, and called it a day. This version requires surprisingly more technique than it appears to because you’re aiming for a specific level of “undone” that doesn’t actually look sloppy or unkempt. It’s the style you wear when you genuinely don’t have time to style your hair but want to look intentional about it.
The Art of Looking Intentionally Unmade
The key to an undone messy bun is texture and looseness combined with strategic security. You want the bun to feel loose enough that pieces are constantly threatening to fall out, but secure enough that it actually holds throughout your day. Start with hair that’s already textured or wavy—this is essential because straight, slick hair just looks messy rather than intentionally undone. Gather hair loosely, barely twisting it before wrapping into a bun shape. Don’t pull out individual pieces—instead, let pieces fall naturally as you move.
Minimal Effort, Maximum Impact
Use the absolute minimum number of bobby pins required to keep the bun secured. If you typically use 4-5 pins, use 2-3. If you use 3, use 2. The fewer pins you use, the more likely pieces will escape, creating that genuinely undone vibe. Avoid texturizing spray or other products that would add grip and hold—you actually want the bun to feel slightly unstable. The result should be a style that looks like it took thirty seconds to create, even if you spent a bit of time setting up the texture beforehand.
Building Intentional Texture First
The “undone” effect works better when you’ve created texture first. Curl your hair or wear it wavy, use a braiding technique the night before to create waves, or apply texturizing spray to create grip. This texture makes the loose, minimally-secured bun look intentionally styled rather than just messy. Without this foundation, the style reads as genuinely neglected rather than fashionably undone.
10. Multi-Strand Messy Bun
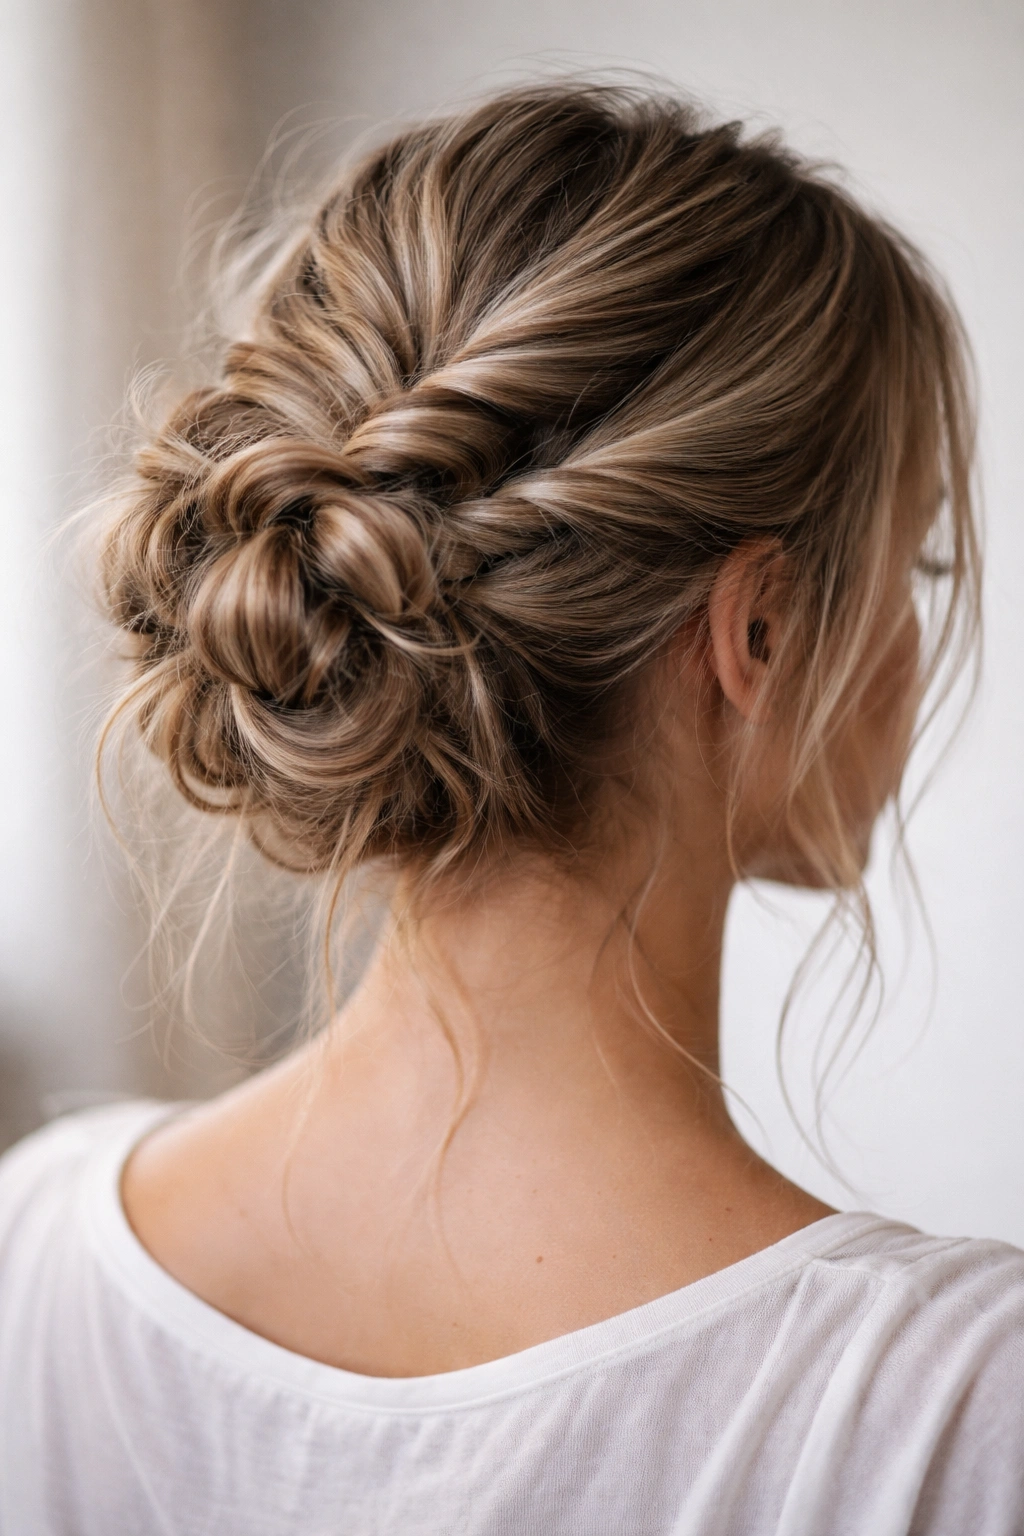
A multi-strand messy bun involves gathering several distinct sections of hair, twisting or braiding each one separately, then weaving them together or wrapping them into a bun simultaneously. This approach creates incredible texture and visual complexity, making it an excellent choice when you want a style that looks genuinely intricate and deliberately crafted. It’s more time-intensive than simpler messy bun versions, but the payoff is a noticeably more sophisticated style.
The Layered Texture Approach
Divide your hair into 4-6 distinct sections, depending on how much texture you want to create. Twist or braid each section separately—some can be loose twists, others loose braids, others might be reverse twists that create a different visual texture. Rather than wrapping them around a central point, gather all the twisted and braided sections together at your chosen position (high, mid, or low) and wrap them around each other in a circular pattern to form the bun. This creates a genuinely complex texture because each strand has a different twist or braid pattern, and they’re all visible in the finished bun.
When to Wear a Multi-Strand Style
This style is ideal for special occasions, events, or situations where you want to demonstrate that you put genuine effort into your appearance. It’s sophisticated enough for formal events, creative enough for fashion-forward settings, and interesting enough to be a conversation piece. The style photographs beautifully because the multiple strands and different textures create dimension and movement, making it ideal for events where photos will be taken.
Adapting for Your Hair Type
For thick hair, divide into more sections (5-6) to avoid creating one massive bun that feels heavy. For fine hair, 3-4 sections creates enough visual complexity without making the bun look sparse. For curly hair, embrace natural curls within each section and avoid twisting too tightly—you want to preserve the curl pattern. For straight hair, curl sections before twisting them, then apply texturizing spray to lock in the waves and definition.
Making Your Messy Bun Last All Day
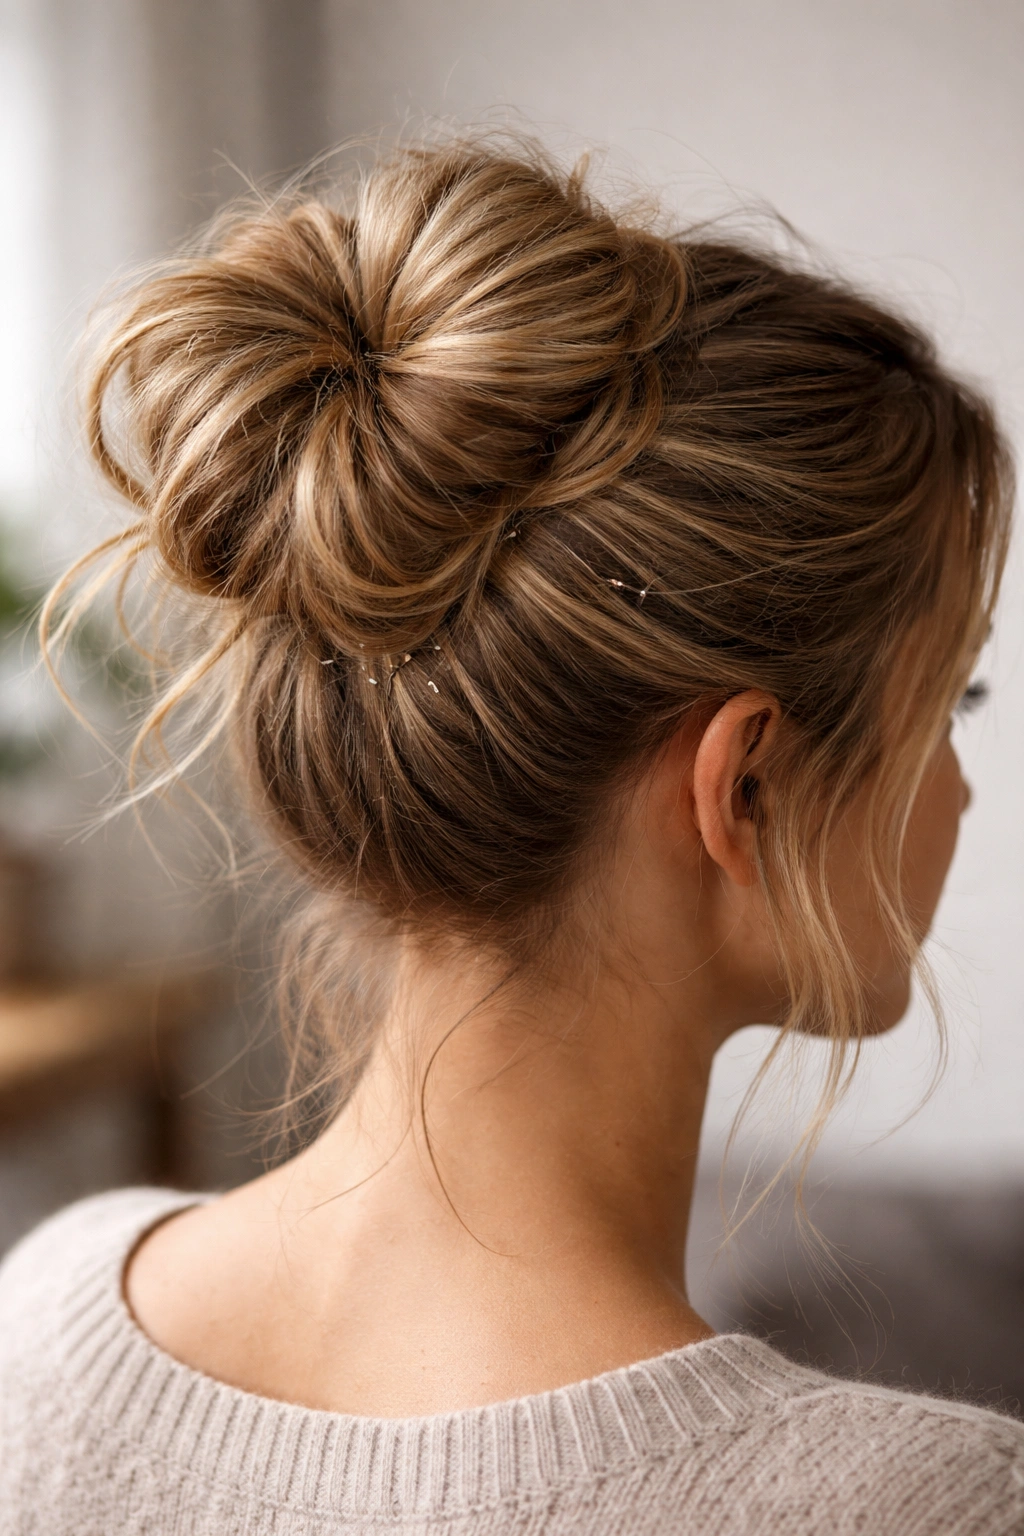
Regardless of which style you choose, a few techniques help any messy bun hold throughout your day. Start with textured hair—either naturally textured or created through curling, braiding, or texturizing products. Use bobby pins that match your hair color and position them strategically around the base of the bun where they’ll be less visible. A light-hold hairspray applied after you’ve finished creating the bun sets everything in place without making your hair feel crunchy or overly stiff. If flyaways are an issue, use a tiny bit of smoothing serum on your fingers and gently smooth them down rather than applying hairspray, which can make the style look rigid.
Throughout the day, your messy bun will naturally relax slightly and pieces will begin to escape—this is actually part of the appeal. Rather than fighting against this natural loosening, embrace it. By evening, your intentionally styled messy bun will look even more relaxed and undone, which often looks even better than when you first created it.
Final Thoughts
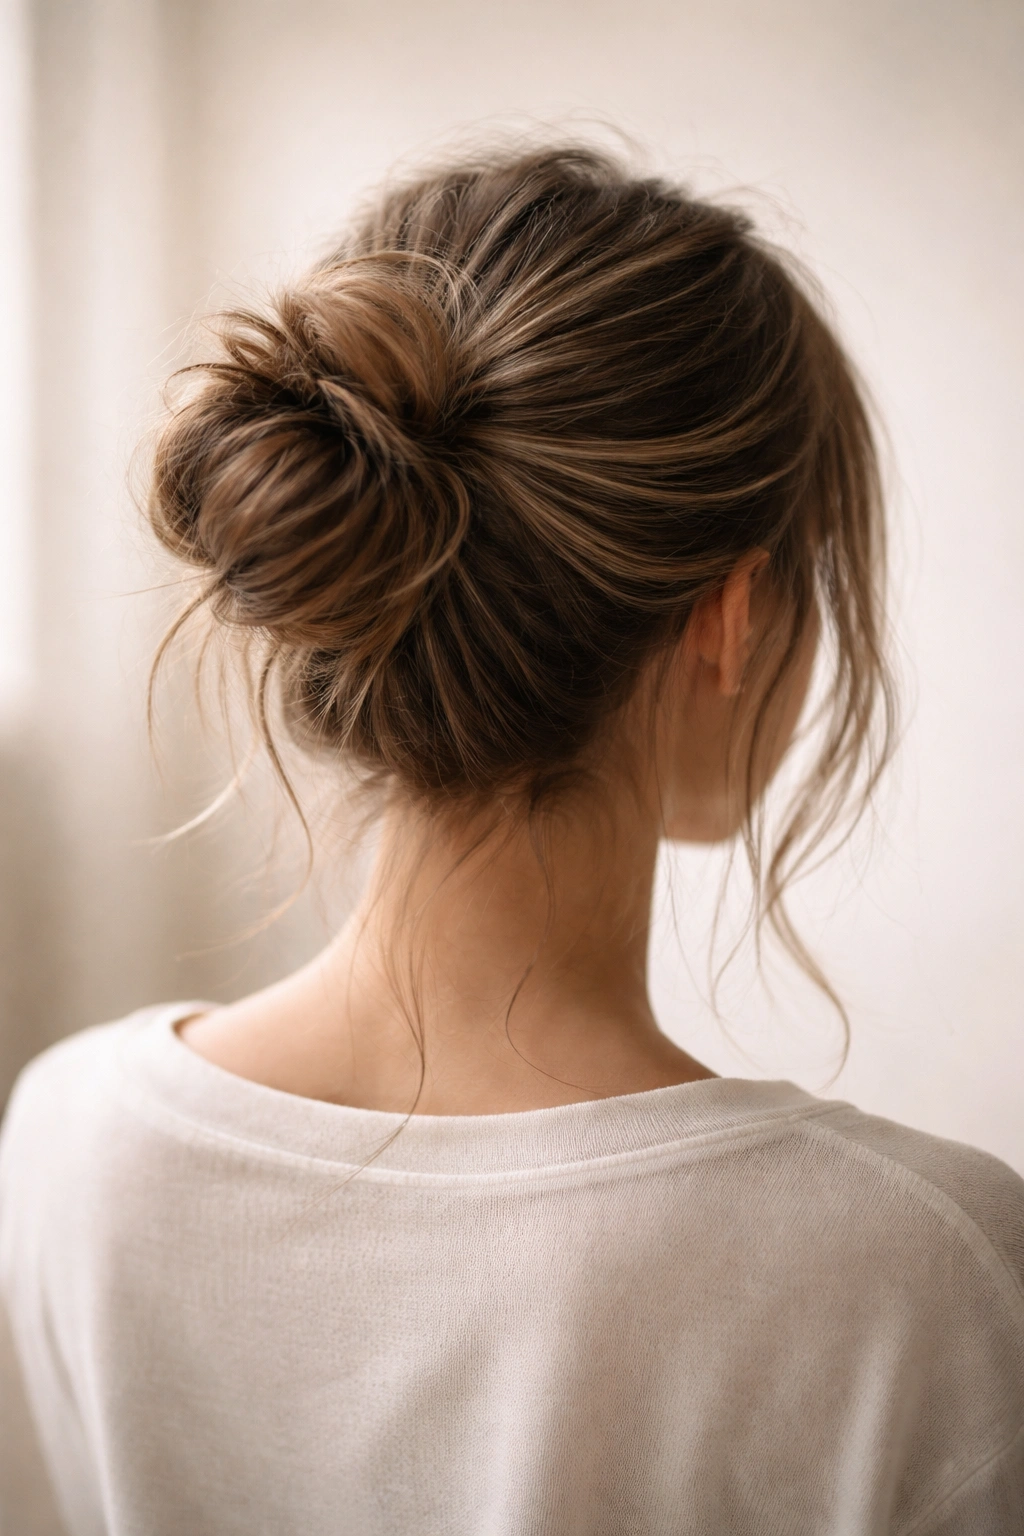
The messy bun’s enduring popularity comes from its incredible versatility and adaptability. Whether you prefer a casual, barely-there version or a more deliberately crafted multi-strand approach, you have options that work with your hair type, face shape, and personal style. The key to mastering messy bun styling is understanding that the “messy” element isn’t about being disorganized—it’s about creating controlled relaxation that looks effortlessly put-together. Start by experimenting with the classic version to understand the basic technique, then branch out to other styles as you gain confidence. You’ll quickly discover which variations feel most natural to you and which ones you find yourself reaching for again and again. The best messy bun is the one that makes you feel comfortable and confident, whether you’re heading to the gym, the office, or out for the evening.
