



Short curly hair is both a blessing and a challenge when it comes to styling options. While many bun tutorials assume you’re working with longer, straighter textures, the unique structure of curls demands a completely different approach — one that actually celebrates the texture instead of fighting it.
Messy buns are perfect for short curly hair because the whole point is embracing that undone, piece-y texture you already have naturally. The challenge isn’t creating a messy bun on curls; it’s creating one that stays put, looks intentional rather than like you just rolled out of bed, and actually shows off the beauty of your curl pattern instead of flattening it. The right technique means you can transform your curls into a styled statement in under five minutes, without heat tools or harsh products that damage your texture.
What makes curly-hair buns different is understanding how your curls want to move. Straight hair creates smooth, tidy lines even when it’s supposed to look undone. Curly hair, by contrast, naturally creates dimension and texture — your job is channeling that energy in a direction that looks polished. Some styles work better if you encourage all your curls to swirl the same direction; others shine when you let them do their own thing. The key is choosing a bun style that works with your natural curl pattern, not against it.
Why Short Curly Hair Demands Different Styling Techniques
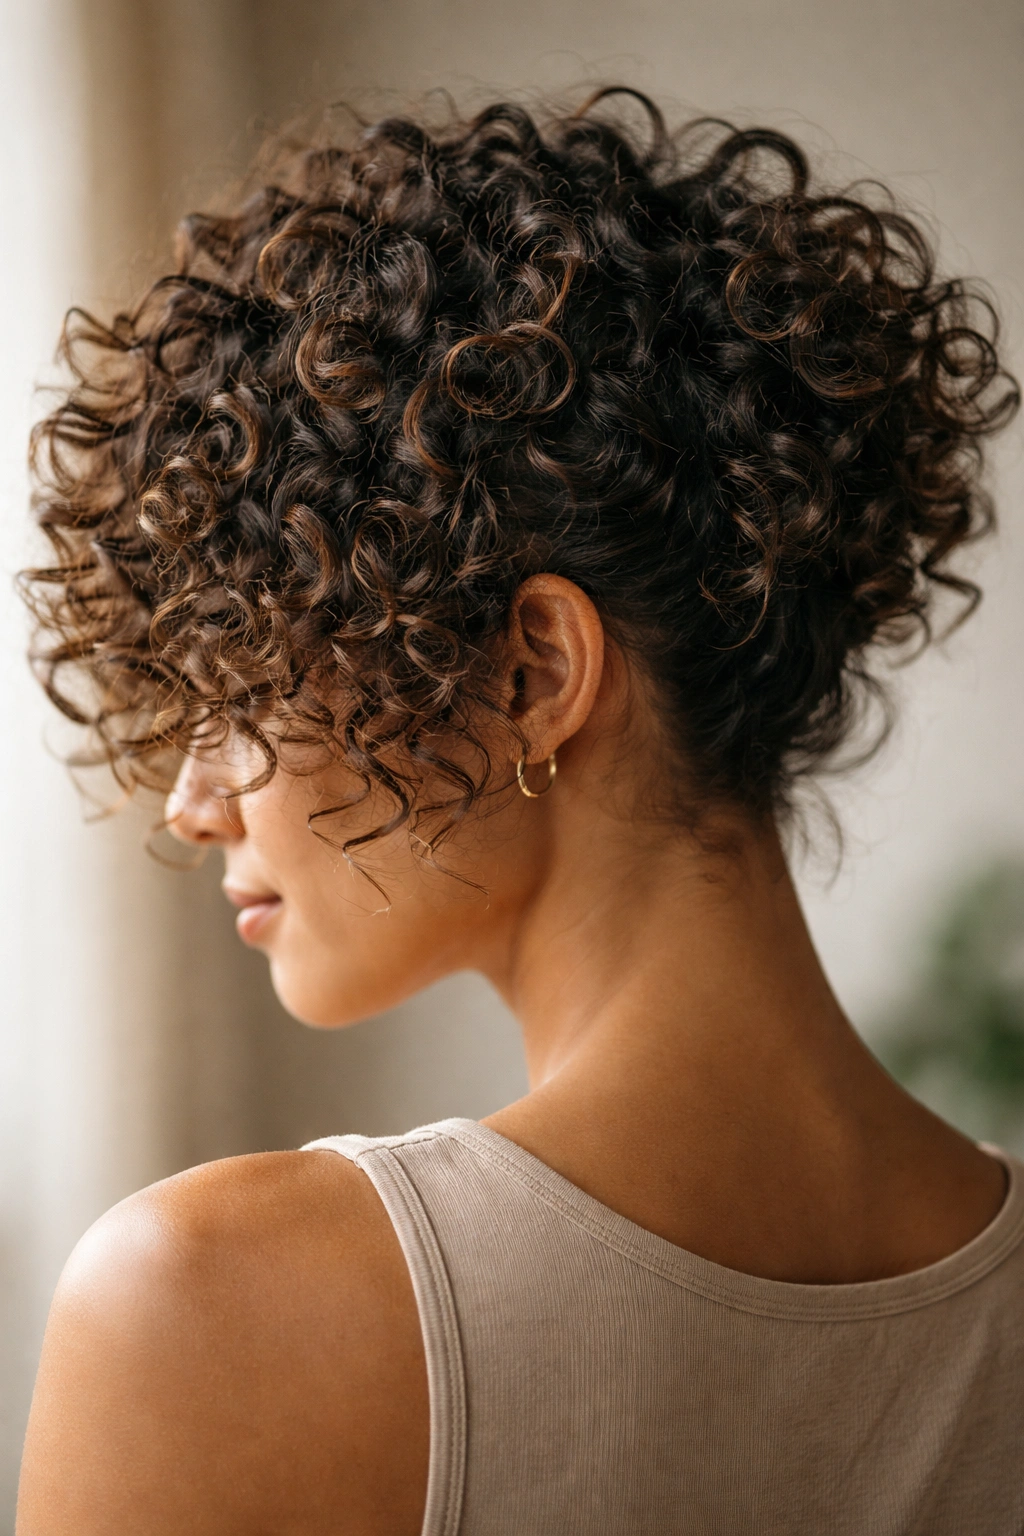
Short curls are delicate — they’re packed tightly together and don’t have the length to distribute tension evenly the way longer strands do. When you pull curly hair into a style, you’re asking multiple curl patterns to work together, and they don’t always cooperate. Some curls naturally spiral one direction while others turn the opposite way, and trying to force them into uniformity usually ends in breakage, frizz, and a style that falls apart within an hour.
The other challenge is that short curls are closer to the scalp, which means they’ve got more natural grip and less slack to work with. This is actually an advantage — it means your buns can sit higher and tighter without slipping — but you need to understand how to leverage that grip instead of fighting it.
Most importantly, short curly-hair buns need holding products that won’t dry out your curls or make them crunchy. Heavy gels and waxes designed for straight hair can weigh down delicate curls and make them look dull. The best approach is using curl-friendly creams, lightweight styling butters, or curl-enhancing gels that hold without stiffening your texture. You’re looking for products that help define your natural curl pattern while keeping it soft and bouncy — not products that flatten it into submission.
1. The Textured Crown Knot
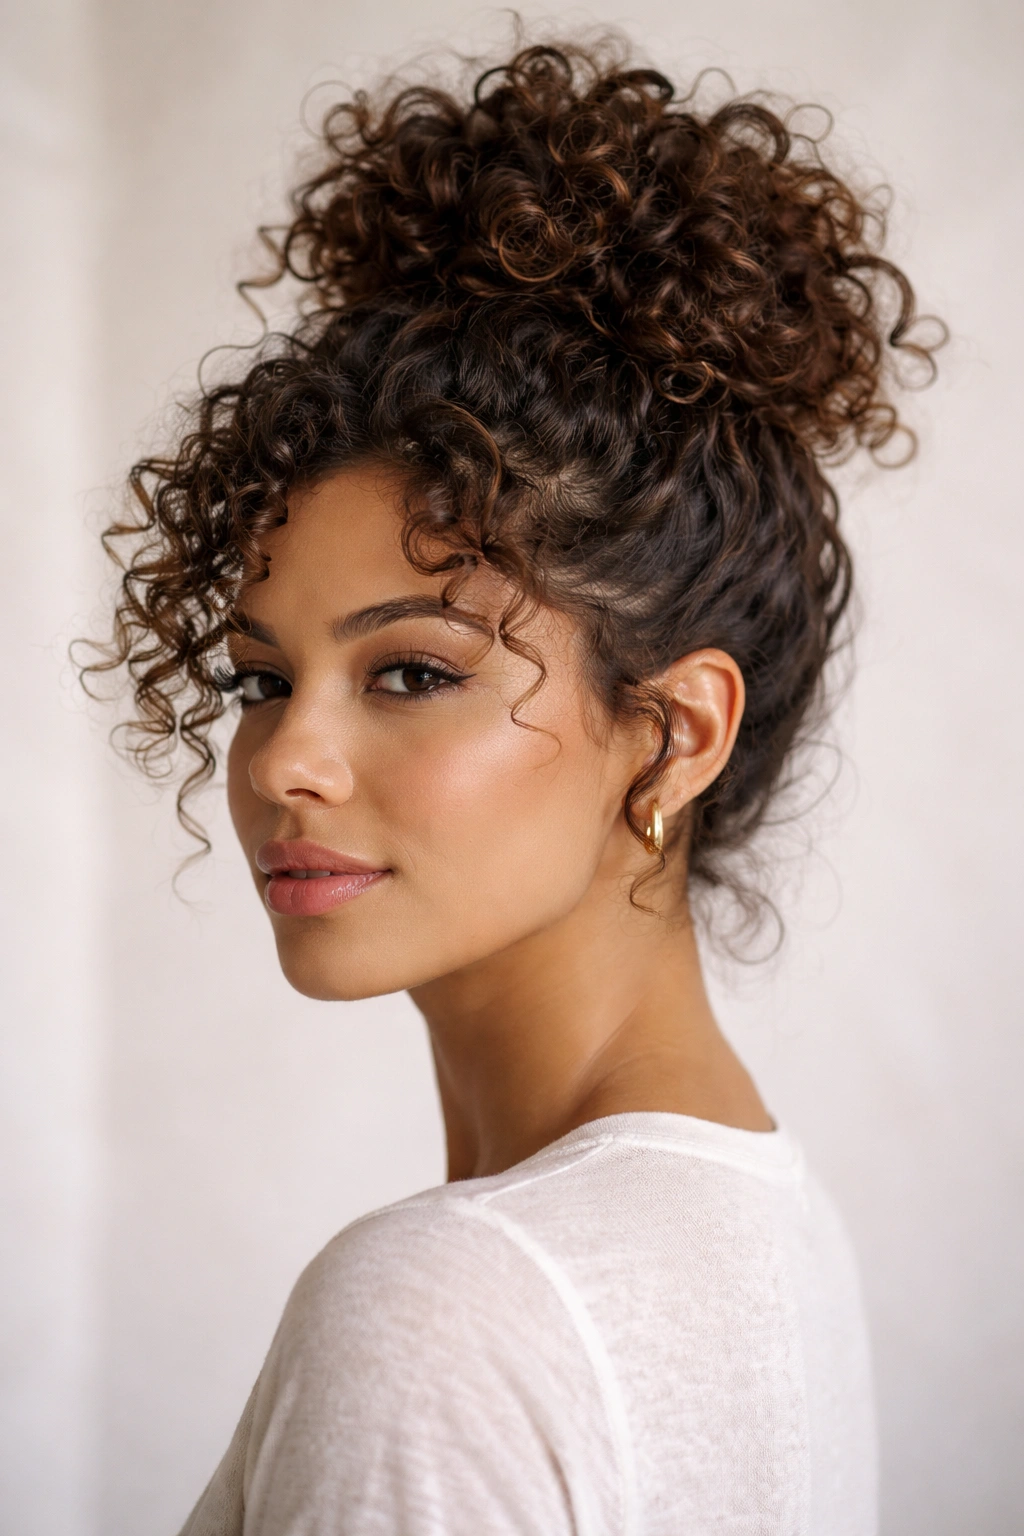
This is the easiest messy bun for short curly hair because it requires minimal manipulation and leans into the natural volume your curls already have. You’re creating a loose knot at the crown of your head that sits high and proud, with curls intentionally poking out rather than being smoothed down.
How to Create This Look
Start with hair that has some texture to it — either air-dried curls or curls refreshed with a misting spray and curl cream. Don’t worry about perfect uniformity; that’s the opposite of what you want here. Flip your head upside down and gather all your hair at the crown, using your fingers rather than a brush to keep your curl pattern intact. Once you’ve got it gathered loosely, twist that section gently once or twice, then form it into a simple knot by looping the twisted section back on itself. Secure with two or three bobby pins placed horizontally to grip multiple curls at once — this distributes the tension and prevents breakage that comes from pinning just one section.
What Makes It Work for Short Curls
The upside-down gathering creates automatic volume and texture because you’re working with gravity to lift your curls away from your head rather than smoothing them down. The fact that individual curls stick out isn’t a flaw — it’s the whole aesthetic. This style works especially well if your hair has mixed curl patterns or if some sections are shorter than others, because those stray pieces actually add to the intentional messiness rather than looking sloppy.
Pro Tip for Maximum Hold
Mist lightly with a flexible-hold hairspray (not the stiff kind) before you pin, focusing on the section you’re about to knot. This gives the knot just enough grip to hold all day without making it look wet or crunchy.
2. The Twisted Side Bun
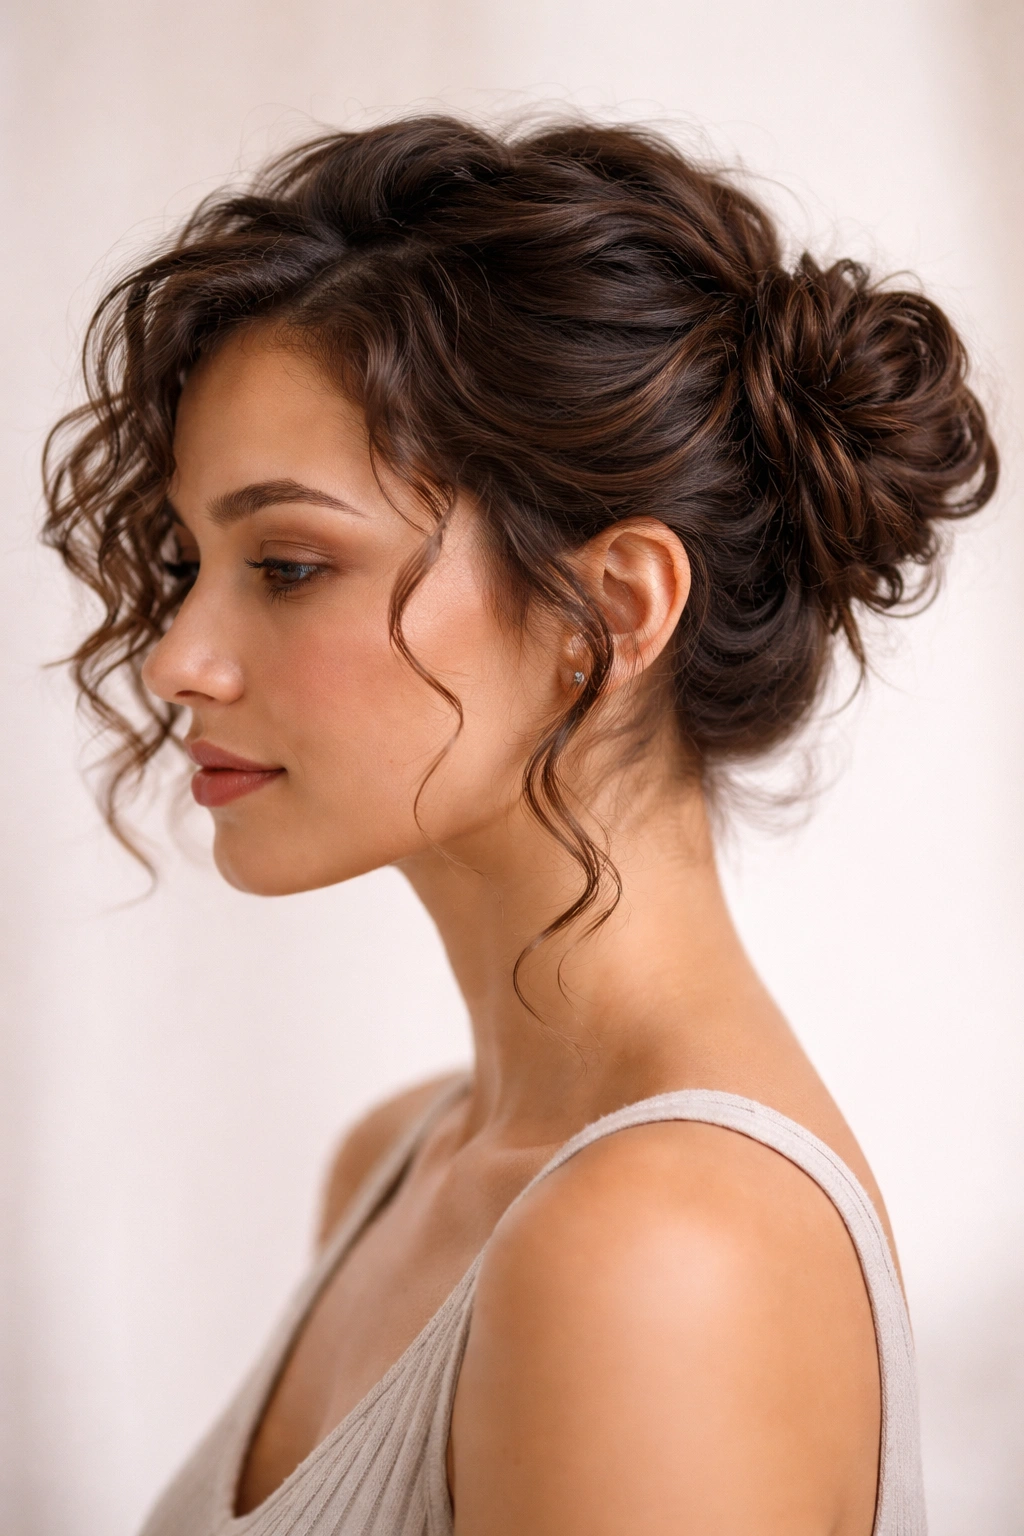
If you’ve got curls that tend to go every direction and you need something that looks more intentional than the crown knot, the twisted side bun is your answer. This style moves the bun to the side of your head, which gives it a playful, fashion-forward vibe that works for both casual and semi-dressy occasions.
Step-by-Step Technique
Apply a lightweight curl cream or styling butter to damp or towel-dried hair, scrunching it in from the ends upward to enhance your natural curl pattern. Once your curls are defined and a bit damp, flip your head to one side — whichever side feels more natural for your hair growth pattern. Using your fingers, gather the hair from that side up toward the nape of your neck, twisting gently as you gather. You want loose, deliberate twists, not tight spirals — think of it as encouraging your curls to coil around each other rather than forcing them into submission.
Once you’ve twisted your way up to about ear level, gently loop that twisted section and secure it with bobby pins. Let some shorter curls fall out around your face and the nape of your neck — these frame the style and make it look intentionally textured rather than like pieces missed the bun.
Why This Style Shines on Curls
The side placement is flattering because it creates an asymmetrical silhouette that feels modern and intentional. Curls naturally add dimension to a side bun, making it look fuller and more interesting than a straight-haired version would. The twist also uses the natural tension of your curls to help hold the shape — you’re not fighting against your texture, you’re channeling it.
Best for Which Curl Types
This works beautifully for curls that lean toward the coil or spiral side (type 3C-4A). If your curls are more wavy or loose (type 2B-3B), you might need slightly more grip from your styling product to keep the twist from unraveling, but it’s still absolutely doable.
3. The Double Curl Bun
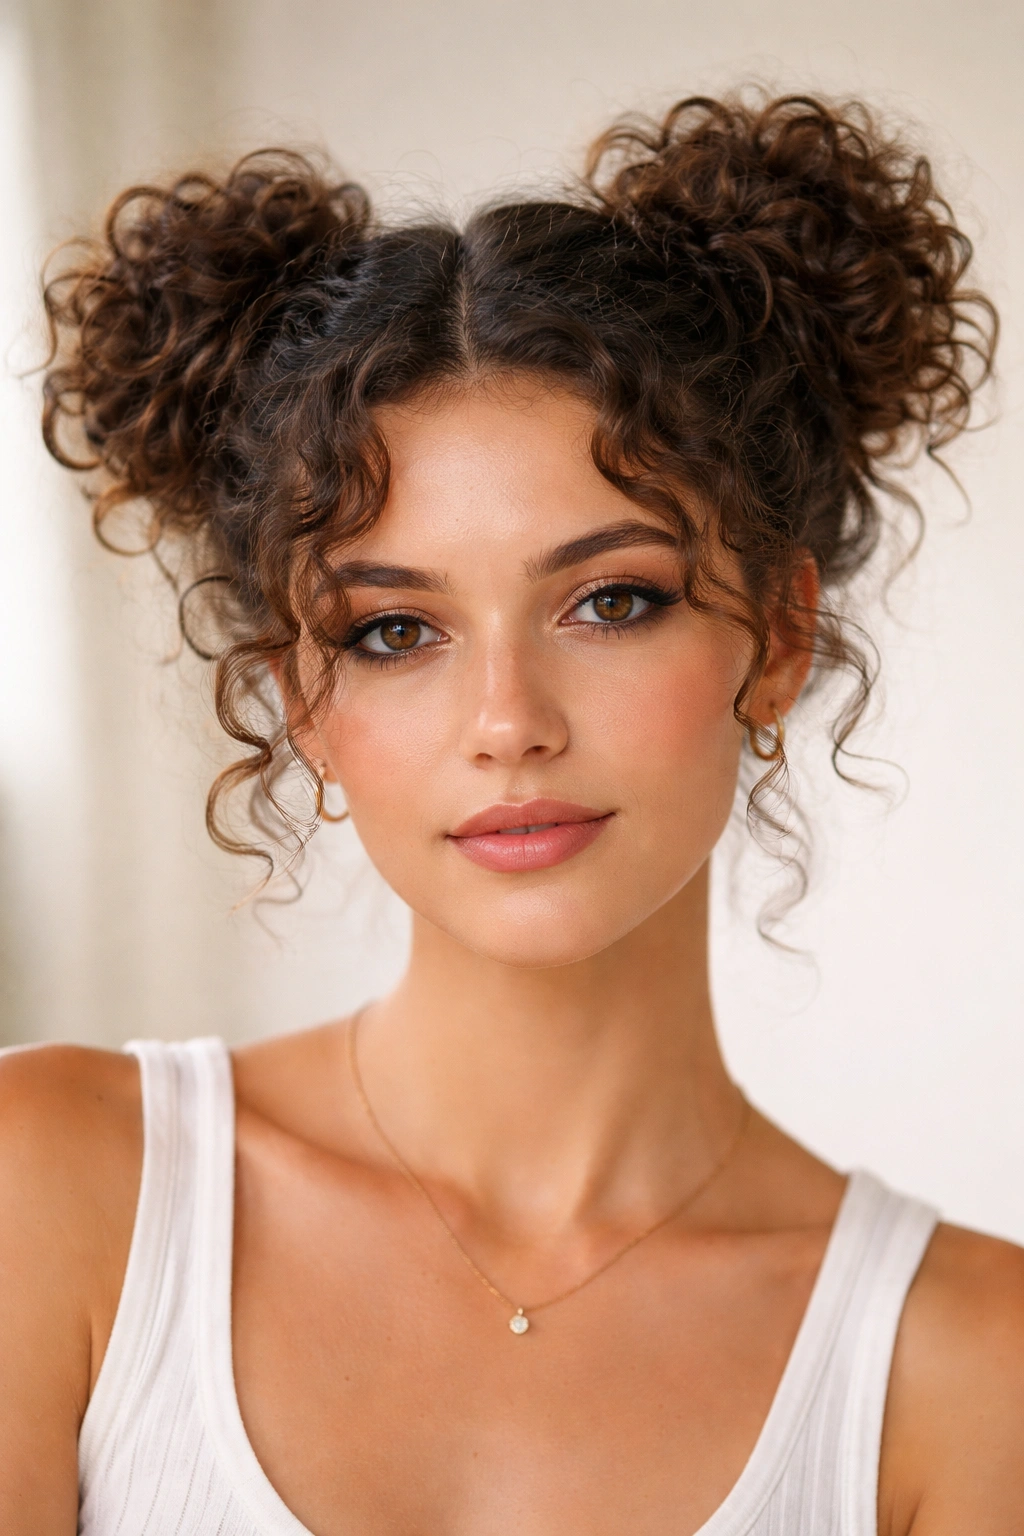
This technique gives you the illusion of fuller, bouncier hair by creating two separate bun clusters instead of one. It’s more work than a single bun, but not dramatically so — and the payoff in terms of visual interest and texture is significant.
How It Works
Part your hair down the middle from your forehead to the back of your neck using your fingers rather than a comb (combing through curls loosens them up and kills definition). Apply curl cream to each side, working it through gently. Gather one side up into a loose bun at approximately ear height, securing it with bobby pins. Do the same with the other side, matching the height and placement as closely as you can.
The magic of this style is that you now have two points of texture and volume instead of one, which draws attention to your curl pattern and makes thin hair look significantly fuller. Gently separate some of the curls around each bun to make them look more intentional and undone.
Why Double Buns Work Magic on Short Curls
Short curly hair can sometimes lack volume because of the density of curls packed near the scalp. Two buns change your head’s silhouette by creating multiple focal points and visual weight. Curls around each bun catch light differently, which makes the texture pop. This is also genuinely the easiest style to throw together on a bad hair day — messy is literally the point.
The Balance Question
The key to making two buns look intentional rather than juvenile is placement. Sitting them at ear height (rather than lower, more childlike placement) and letting slightly longer curls fall forward makes the style read as playful-adult rather than kid-hair.
4. The Casual Spiral Wrap
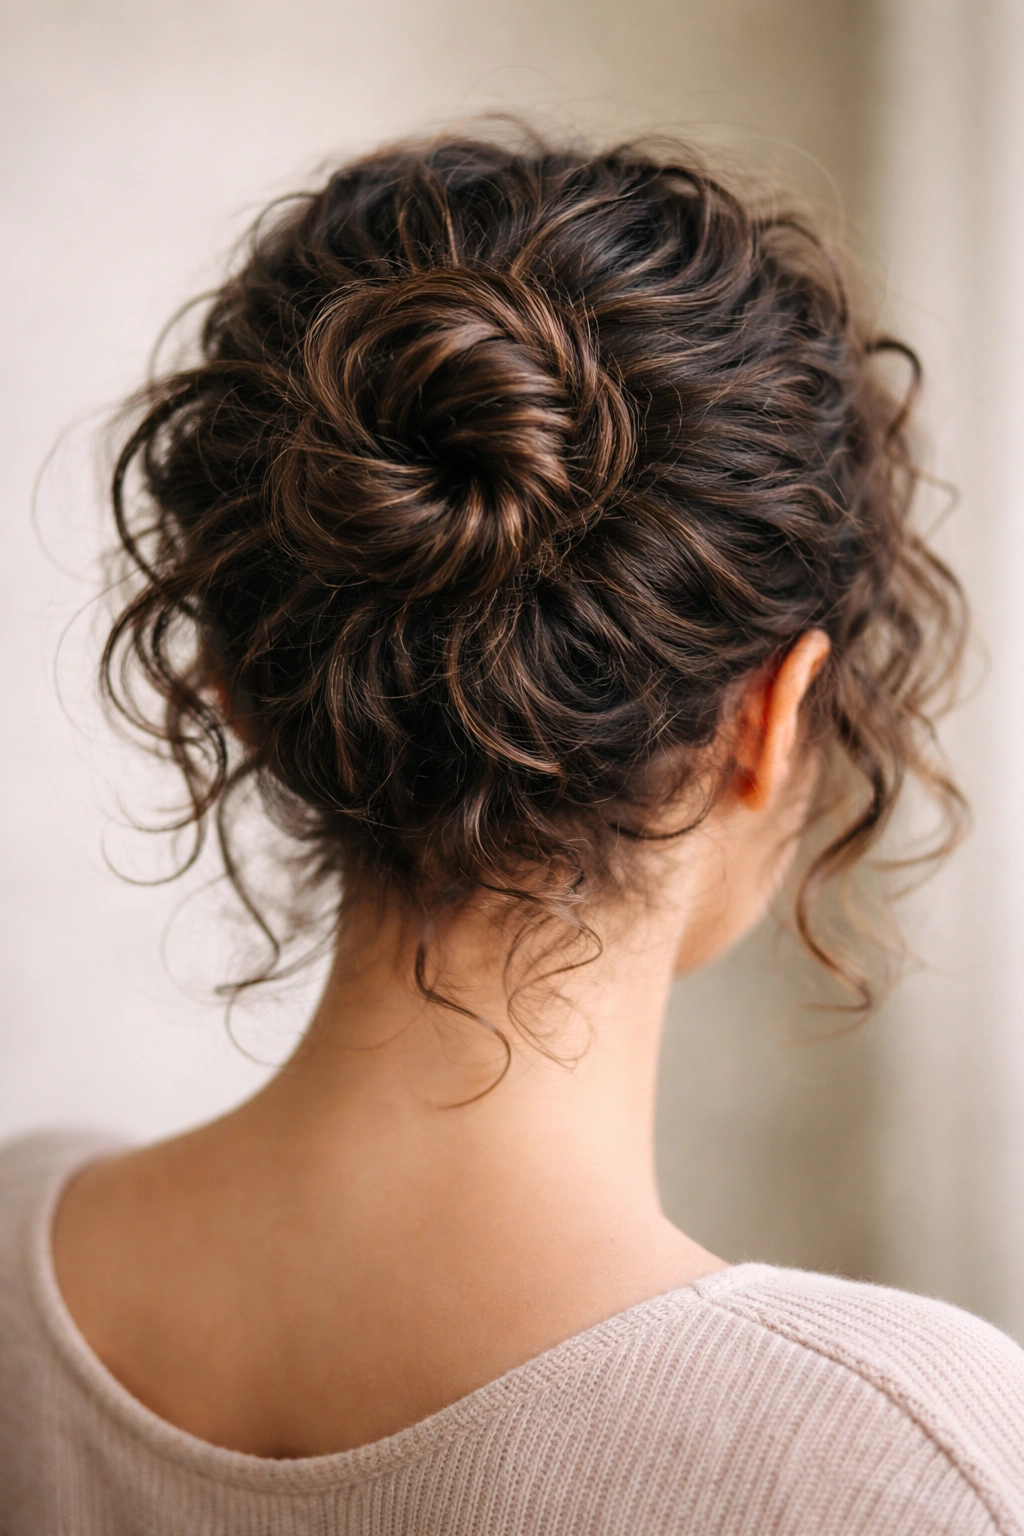
This style is for when you want your bun to look more structured and polished while still feeling completely effortless. Instead of twisting and knotting, you’re gently spiraling your curls around each other to create a naturally textured coil.
The Technique Explained
Gather your hair into a loose ponytail at the nape of your neck or slightly higher, depending on how much hair you’re working with. Don’t use a hair tie — just hold it in your hands for now. Take a small section from the outside of the ponytail and gently spiral it around the base, wrapping it around itself like you’re coiling a rope. As you spiral, you’re naturally incorporating more hair into the coil, so keep going until you’ve wrapped the entire section.
Once you’ve created that spiral coil, secure it with bobby pins placed in the center and around the outer edge. The curls naturally stick out slightly, giving you that textured, intentional-messiness without actually doing anything rough or damaging to your hair.
Why Spirals Suit Curly Hair
Curls naturally want to coil and spiral — you’re not fighting that impulse, you’re amplifying it. This creates a style that looks almost sculptural, with tons of visible texture and dimension. The structure of the spiral also creates natural grip, so your bun stays put even if you don’t use a ton of product or tight securing pins.
Product Recommendation for This Style
A curl-defining gel with medium hold works beautifully here. Apply it before you start spiraling so the curls grip each other more firmly. You’re looking for enough hold that the spiral doesn’t unravel throughout the day, but not so much that your curls look stiff or wet.
5. The Sleek Pinned Cluster
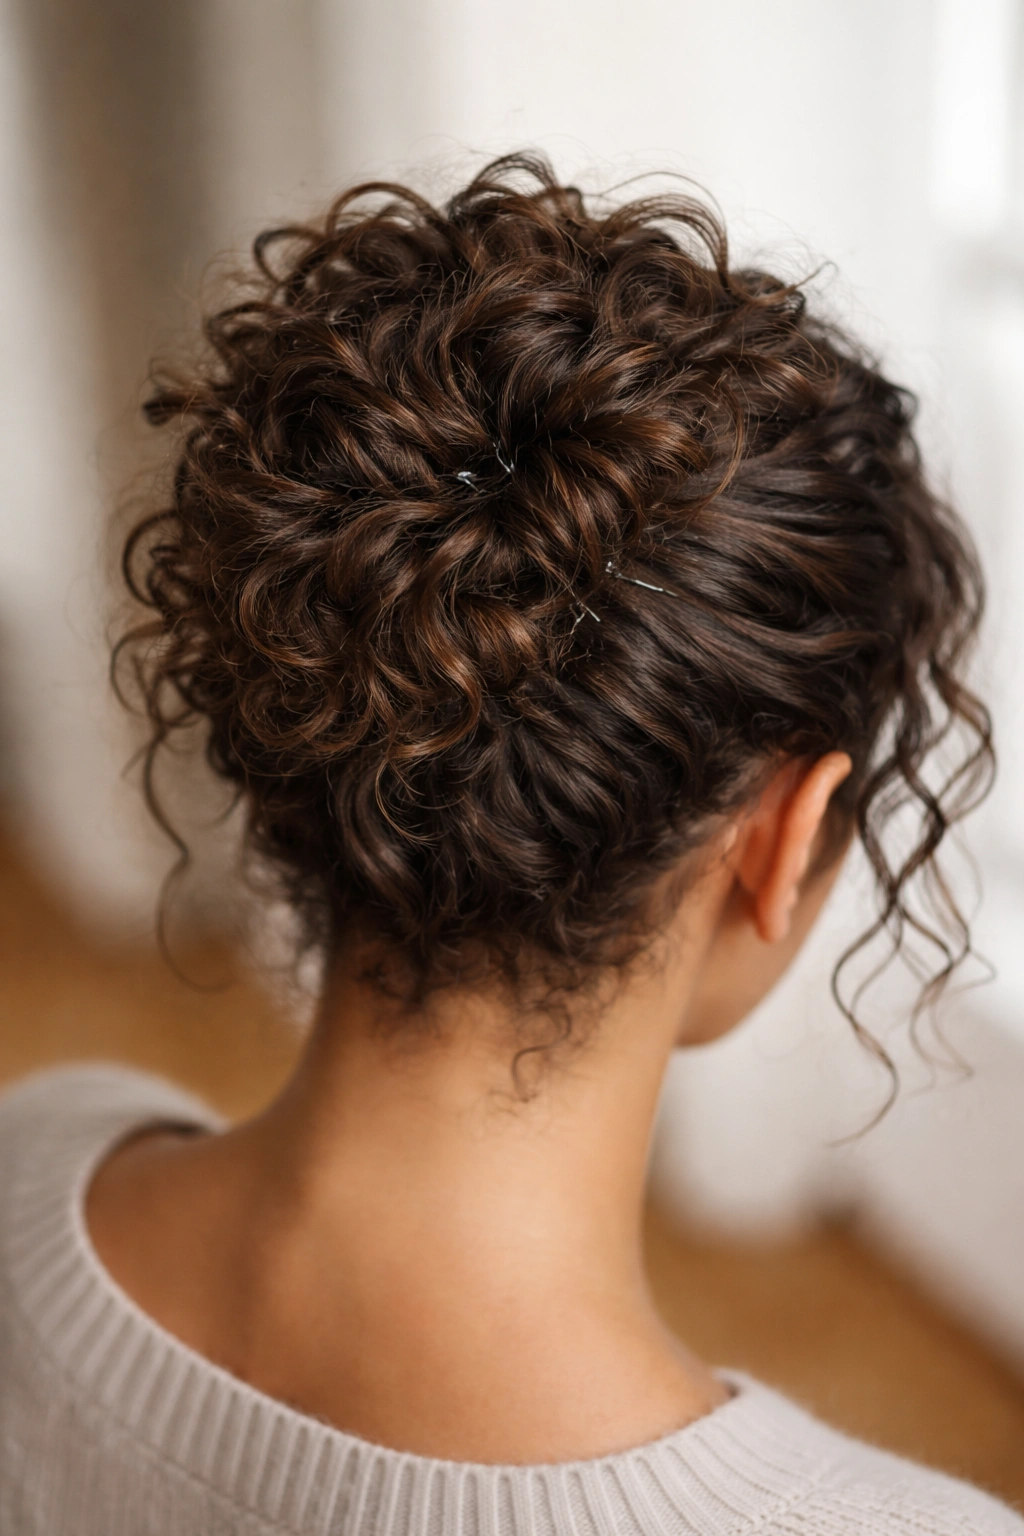
If you’re trying to look polished and put-together rather than casually undone, the sleek pinned cluster is your answer. It’s the most intentional-looking of these styles, with curls grouped together deliberately rather than flying in different directions.
Creating the Polished Look
Apply a curl-defining cream or lightweight gel to slightly damp hair, working it through section by section to ensure even distribution. Using a fine-tooth comb (yes, I know I said avoid combs with curls, but for this style you need defined sections), separate your hair into 4-6 distinct sections, depending on how much hair you have.
Gently gather all your hair at the crown or slightly lower, then take each section and pin it in place individually, clustering the sections together to create one cohesive bun shape. You’re essentially creating a bun from multiple mini-buns, all pinned adjacent to each other. This technique keeps curls from unraveling because you’re securing multiple small areas rather than relying on one or two anchor pins.
Why This Works for Short Hair
Short curly hair often has different lengths throughout because of how curls settle naturally. Instead of fighting those varying lengths, the pinned cluster technique works with them by securing each section independently. Your shorter pieces get pinned in place, your longer curls create a fuller outer edge, and the overall effect is intentional and structured.
The Professional Advantage
This style is what you see on professionals who have short curly hair — it reads as “I got ready” rather than “I just threw my hair up.” It’s still absolutely a messy bun (curls are poking out, texture is visible), but it’s a controlled kind of messy.
6. The Half-Up Messy Bun
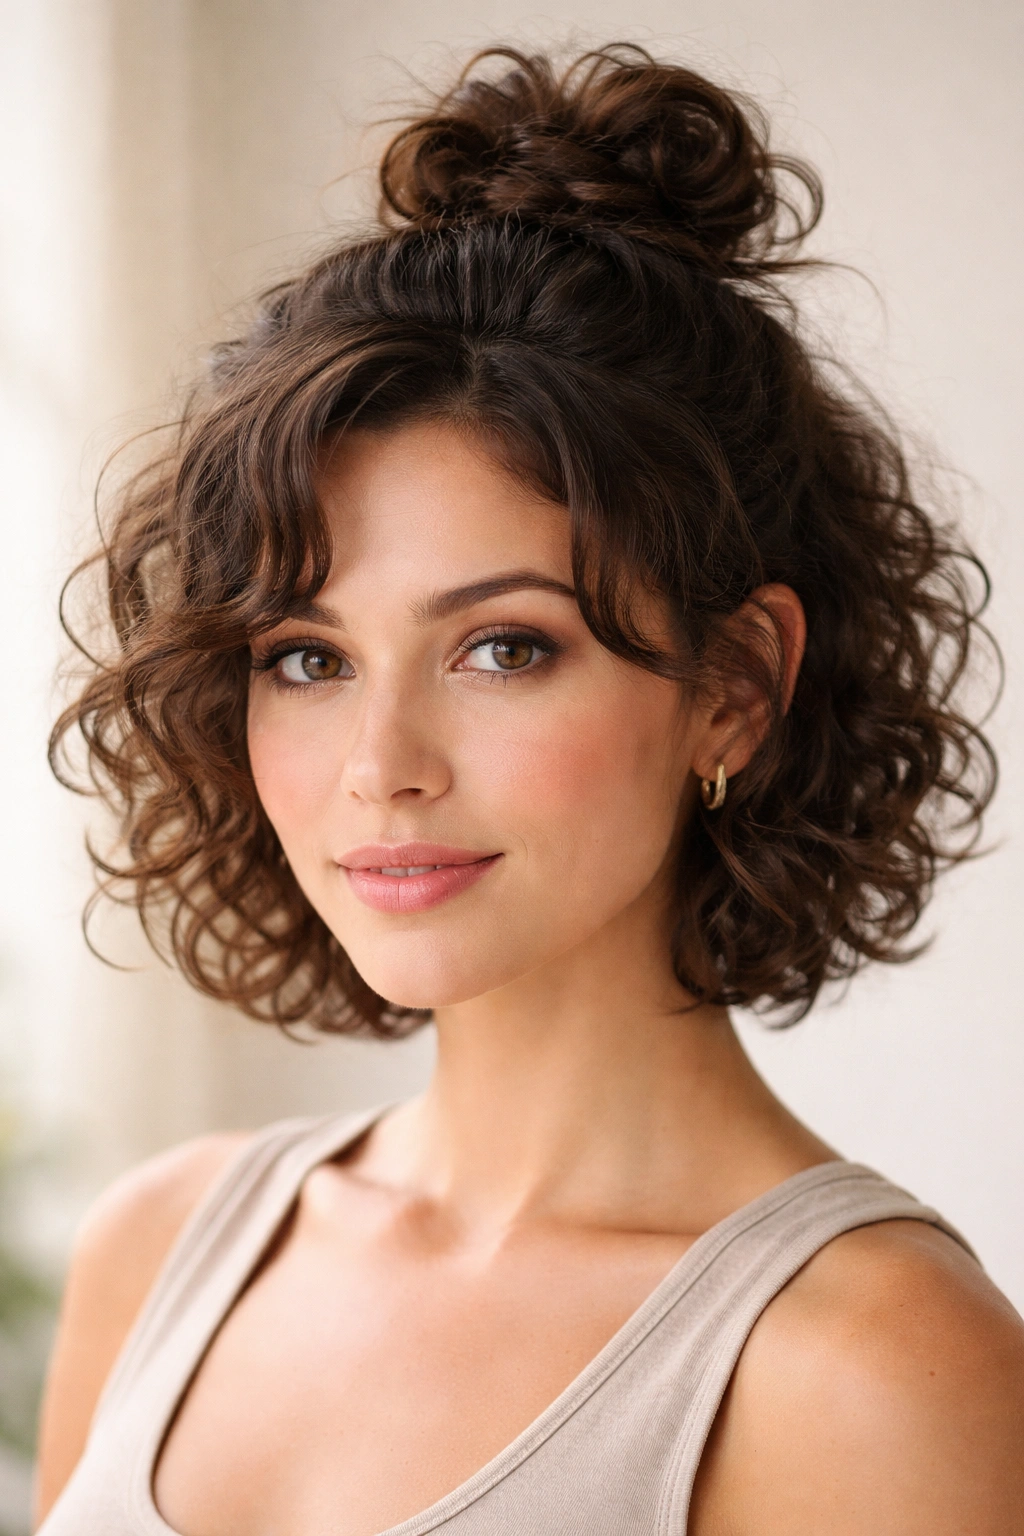
Maybe you’re not ready for a full bun but you need to get hair off your face and add some polish to your look. The half-up messy bun is your compromise — it gathers just the top portion of your hair into a bun while letting the bottom curls flow freely.
How to Execute This Style
Mist your entire head lightly with a refresher spray to wake up your curls, then apply a small amount of curl cream to the top section. Using your fingers, gather the hair from about ear height upward (or wherever feels natural for your hair texture and length). Twist this top section gently as you gather it, creating a loose spiral. Form that twist into a small knot and secure with bobby pins, letting curls frame your face and flow down your back.
The Best Feature of This Style
You get all the benefits of an updo — hair off your neck, hair off your face, a bit more polish — without the commitment of a full bun. This is perfect for warm days, workout prep, or when you need to look slightly more done than usual without actually doing much. The curls flowing down your back balance the texture at the crown, creating a cohesive silhouette.
Why Half-Ups Rule for Short Curls
Short curly hair is actually easier to wear in a half-up than longer hair because you don’t have as much weight pulling the style down. The curls at the crown are supported by less hair below them, so your bun sits higher and tighter naturally. Plus, your released curls at the back flow nicely instead of getting crushed under the weight of a full bun.
Products and Tools That Actually Make a Difference
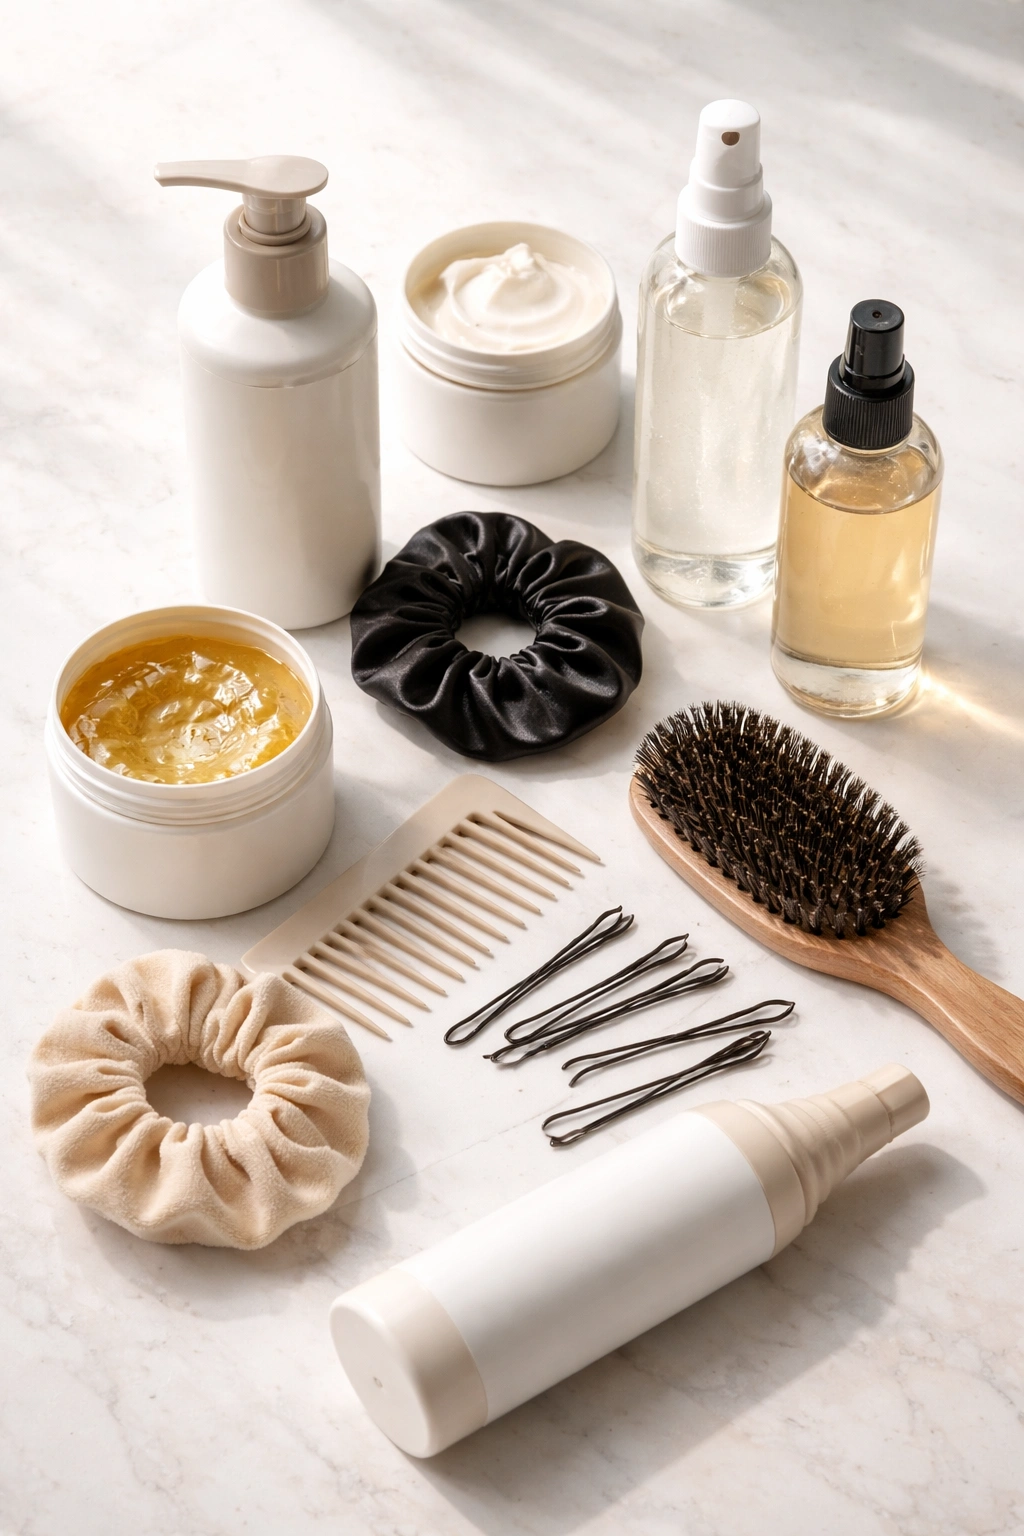
Not all products work the same on curly hair, and using the wrong ones can turn a great bun idea into a frizzy disaster. Curl-specific styling products are non-negotiable — general hair gel is too heavy and will weigh your curls down, leaving them looking limp. Instead, look for products labeled for curls specifically: lightweight styling butters, curl-defining creams, or flexible-hold gels designed to nourish while they set.
Bobby pins matter more than people realize. Thicker pins with better grip are worth buying — thin, cheap pins slip right out of curls or create uncomfortable tension points. Store them in a small container so you always have them handy, and consider keeping two or three styles (small, medium, and large) depending on how much hair you’re working with.
A flexible-hold hairspray (not aerosol if possible — those can be drying) is your secret weapon. Spray before you bun to give curls grip, and spray after to keep everything in place without making it look crunchy or locked down. Light misting is key; heavy-handed spraying defeats the purpose of a soft, messy bun.
A spray bottle filled with water or a lightweight refresher spray is essential for mornings when your bun from yesterday is looking tired. Misting slightly damp curls with a leave-in conditioner or curl cream brings them back to life without requiring a full wash.
Common Mistakes and How to Fix Them
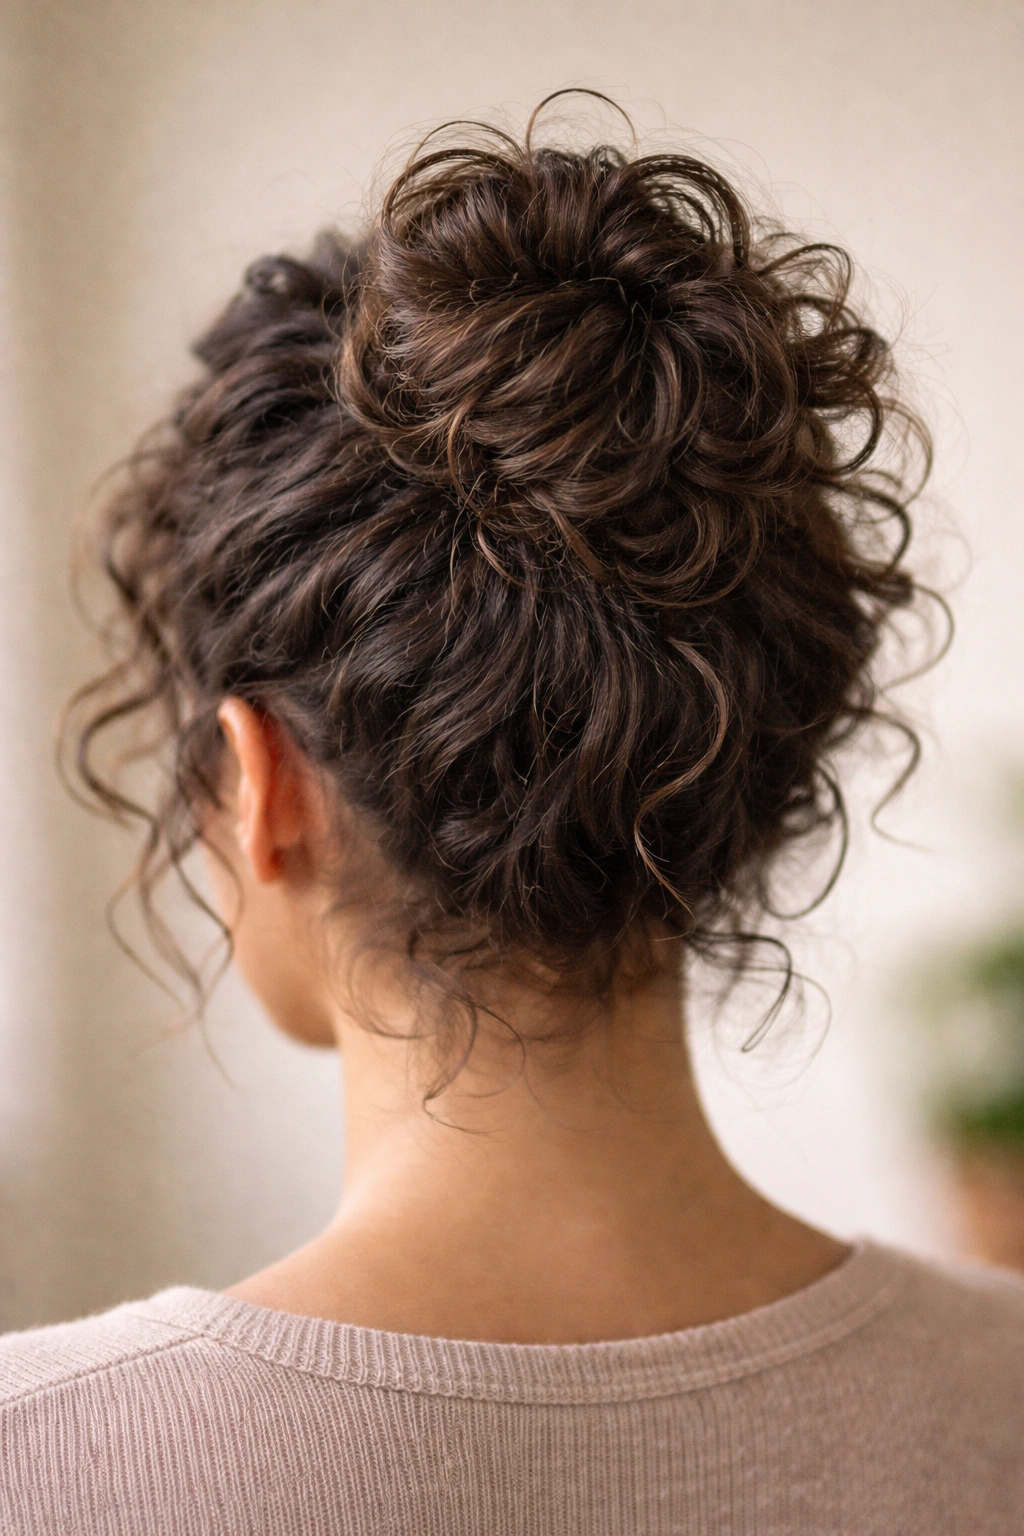
Pulling too tightly is the number-one curl-destroyer. When you gather curls tightly into a bun, you’re breaking the curl pattern and creating tension that leads to breakage. Every single style above uses loose gathering and gentle twists because that’s what keeps your curls alive and bouncy. If your bun feels tight around your scalp, loosen it immediately.
Using the wrong pins leads to buns that slip throughout the day. If you’re constantly re-pinning your bun by 2 PM, your pins are either too thin or your product application wasn’t even enough. Reapply a bit of styling product, switch to thicker pins, and try again — don’t just keep tightening a failing system.
Forgetting to prep your curls before bunning is a classic mistake. Bunning dry, undefined curls gets you a style that looks frizzy and shapeless. Refresh your curls with water and product first, work those products through until your curls are defined and slightly damp, then form your bun. This takes maybe two minutes and changes everything.
Trying to recreate straight-hair bun tutorials on your curls leads to frustration. Most bun tutorials you’ll find online assume straight or wavy hair — following them exactly with curls usually means your style falls apart. Use these techniques instead, which are built specifically around how curls actually behave.
Tips for Different Curl Patterns
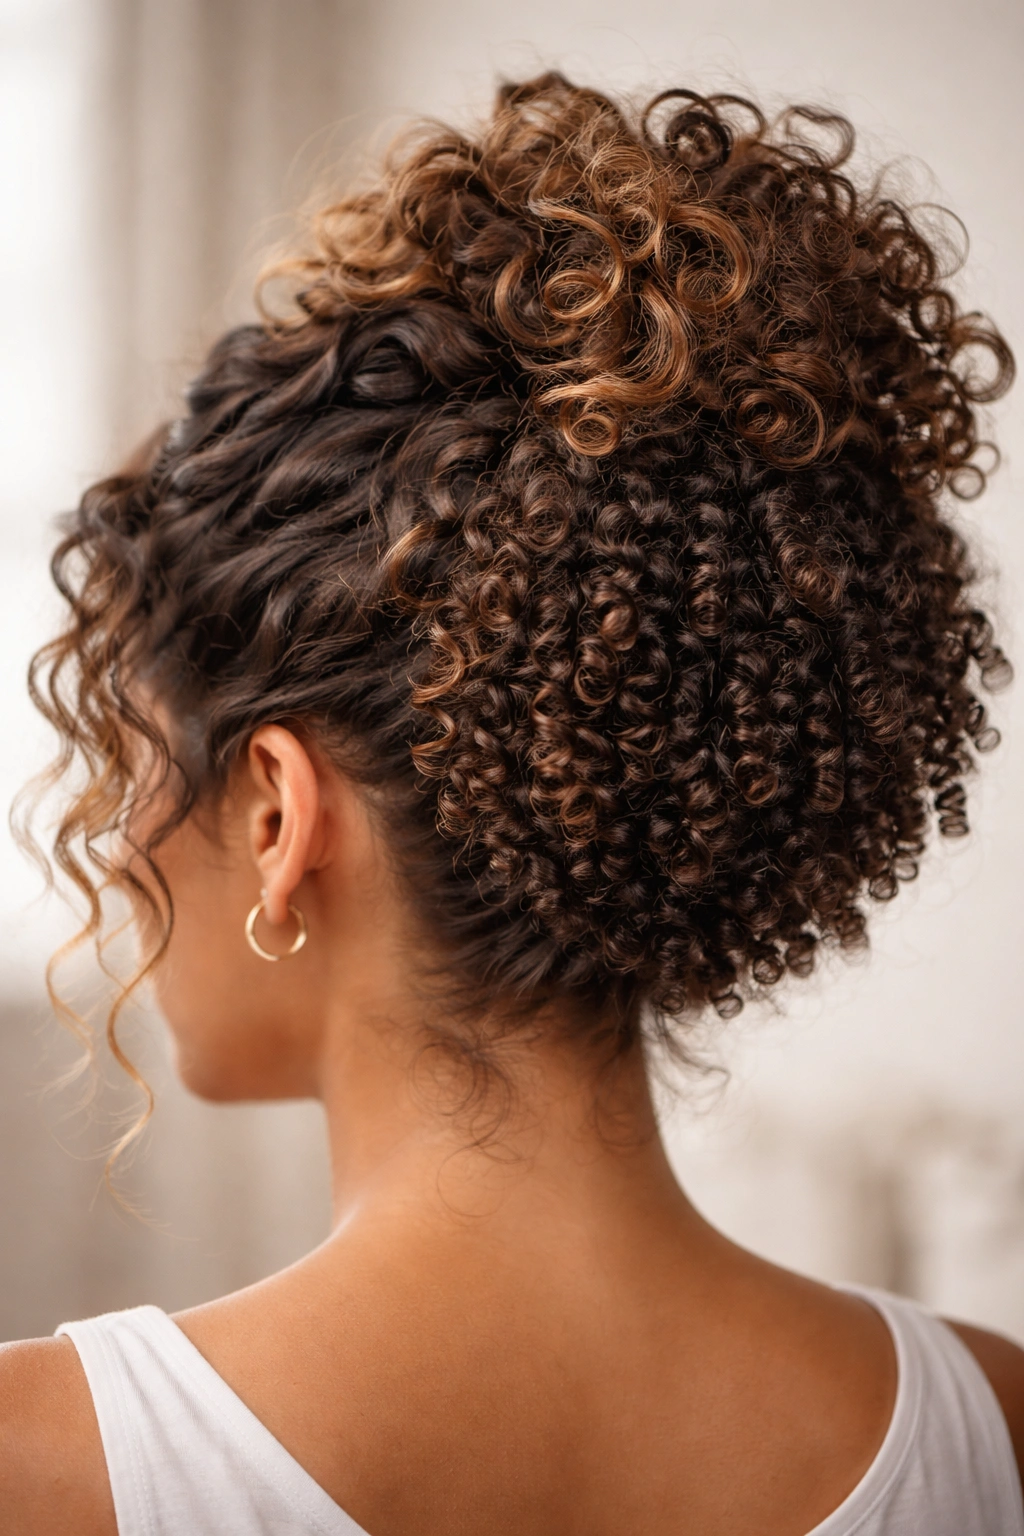
Not all curls are the same, and what works beautifully on loose waves might fail spectacularly on tight coils. Wavy to loose curly hair (types 2B-3B) needs more product support and slightly tighter gathering than you’d intuitively think. These curls benefit from the “pinned cluster” technique because looser curls need more anchor points. Use a medium-hold product and consider using more pins rather than fewer.
Medium to tight curls (types 3C-4B) are your sweet spot for messy buns — they naturally grip and hold shape, so you can use less product and fewer pins. The twisted side bun and spiral wrap techniques shine on this texture because your curls want to coil anyway. You can get away with lighter products and more relaxed gathering.
Very tight curls or coils (type 4B-4C) need respect and gentleness. These curls are drier by nature and break more easily, so use moisturizing products, gather loosely, and consider using even fewer pins than you’d use on other textures. The crown knot and double-curl bun work beautifully here because they don’t require tight twisting.
Heat and humidity affect different curl types differently. If you live somewhere humid, all curl types benefit from a light spritz of hairspray before you bun to combat frizz from moisture in the air. If you’re in a dry climate, focus more on moisturizing product and less on hold — your curls won’t frizz as much but they might be thirsty.
Final Thoughts
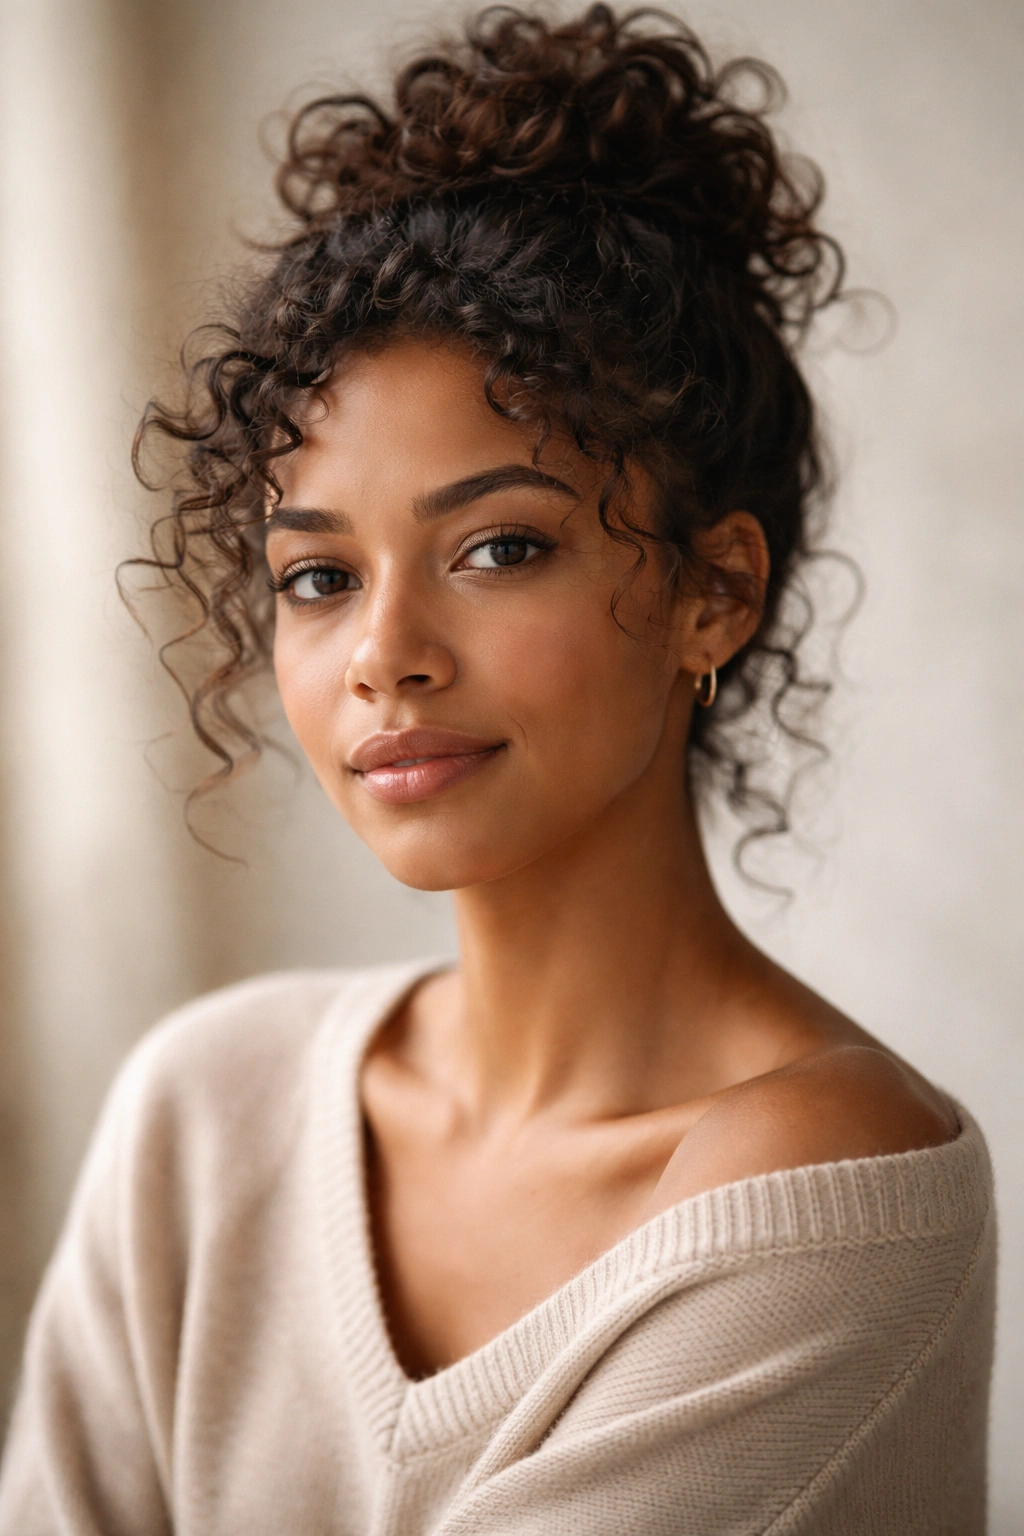
Short curly hair and messy buns were made for each other — once you stop thinking of your natural texture as something to fight and start treating it as your secret weapon, styling becomes so much easier. The styles above all work with your curls instead of against them, which means less damage, less breakage, and styles that actually look better the more you move around in them.
The real key is accepting that your messy bun will never look exactly like a straight-haired version, and that’s the entire point. Your texture is your advantage. Start with whichever technique appeals most to your hair type and lifestyle, get comfortable with it through repetition, then experiment with the others. Each one takes five minutes or less once you’ve done it a couple of times, and you’ll quickly develop a go-to that you can throw together without thinking on rushed mornings.
Your curls deserve styling techniques that enhance them, not styles borrowed from people with different hair types. These six options give you endless ways to look polished, intentional, and completely like yourself — no fighting your natural texture, no apologies, no complicated tools required.
