



Messy buns are supposed to be effortless, but there’s nothing effortless about watching your carefully constructed updo collapse by noon. The truth is, most messy bun tutorials leave out the crucial structural techniques that actually keep your bun locked in place all day—or all night, if you’re heading to an event. There’s a science to building a high messy bun that stays secure without looking overdone, and it comes down to understanding how to anchor your base, create intentional texture, and use the right combination of bobby pins and products to give gravity something to grip.
The difference between a bun that lasts and one that slides down your head isn’t about making it tighter (that often backfires, creating tension and breakage). Instead, it’s about layering techniques strategically—twisting sections to catch more hair, teasing to create friction, and positioning bobby pins at precise angles where they’ll actually hold. Whether you’ve got thick, thin, straight, curly, or textured hair, there’s a high messy bun method built for you that won’t abandon you halfway through your day.
I’ve tested these techniques on different hair types and lengths, and the ones that follow aren’t fluffy fashion advice—they’re actual mechanics that work. Each style in this guide is built to stay put because of how it’s constructed, not despite how it looks. Let’s walk through the methods that earn you all-day hold without a single bobby pin poking out.
1. The Classic High Messy Bun
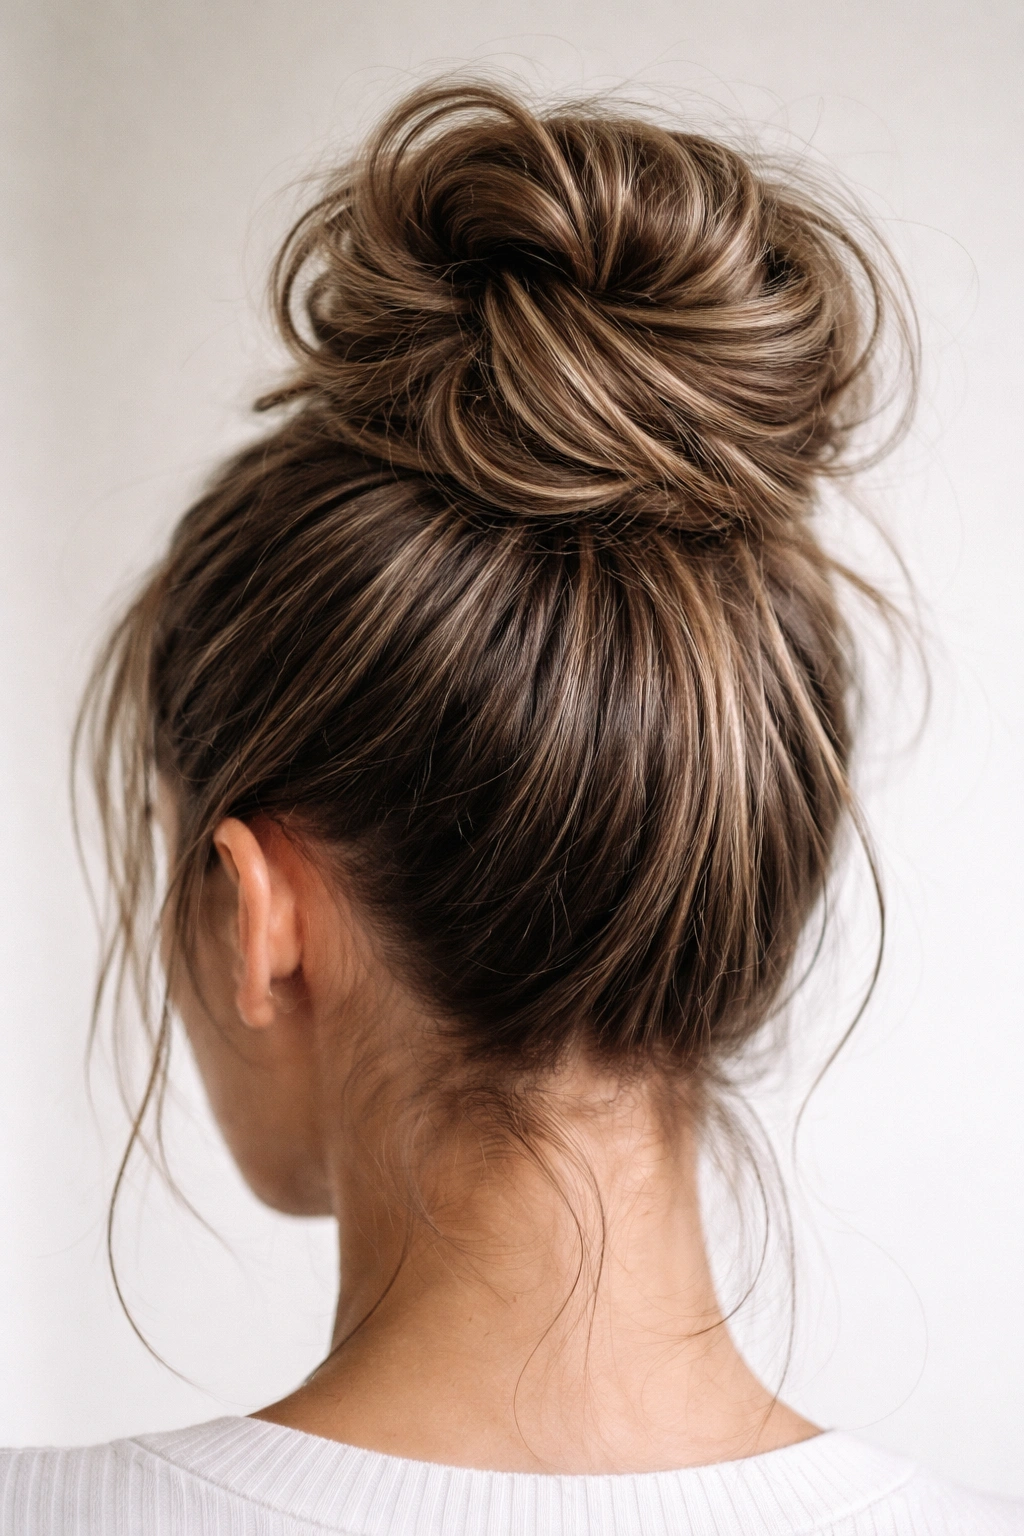
This is the foundation every other bun in this guide builds on, and it’s iconic for a reason: when you nail the technique, it genuinely stays secure. The classic high messy bun works because of the initial ponytail base—a tight, high foundation that anchors everything you build on top of it. Too many people skip this step, creating a loose base and wondering why their bun slides. The magic is in how you twist and wrap the ponytail before you even think about “messing it up.”
Why This Version Actually Holds
The reason the classic high messy bun stays put comes down to the twisted wrap. When you twist your ponytail and wind it around the base into a coil, you’re creating compression—the hair literally wraps around itself, trapping strands under tension. This creates friction against your scalp and against the bobby pins you’ll insert. A true messy texture comes from loosening this coil after it’s pinned, not from starting with a loose bun. Build security first, then add texture.
How to Build and Secure It
- Create a high ponytail at your crown using an elastic—tight enough that it doesn’t slip but not so tight you’re pulling out baby hairs
- Twist the entire ponytail tightly in one direction until it forms a rope
- Wrap this twisted rope around the base of the ponytail to form a coil shape
- Pin the coil in place using at least 3-4 bobby pins inserted at different angles (think of them as anchoring different sections of the coil)
- Gently pull small sections of the bun outward to create that intentionally messy, textured look—this loosens the surface without destabilizing the core
- Finish with a flexible hold hairspray that’ll let you move without setting it rock-solid
Pro tip: Insert bobby pins with the curved side facing your scalp, not the open side. The curve grips hair better and the pin sits flatter against your head, making it less likely to slip out as your hair shifts throughout the day.
2. The Twisted High Bun
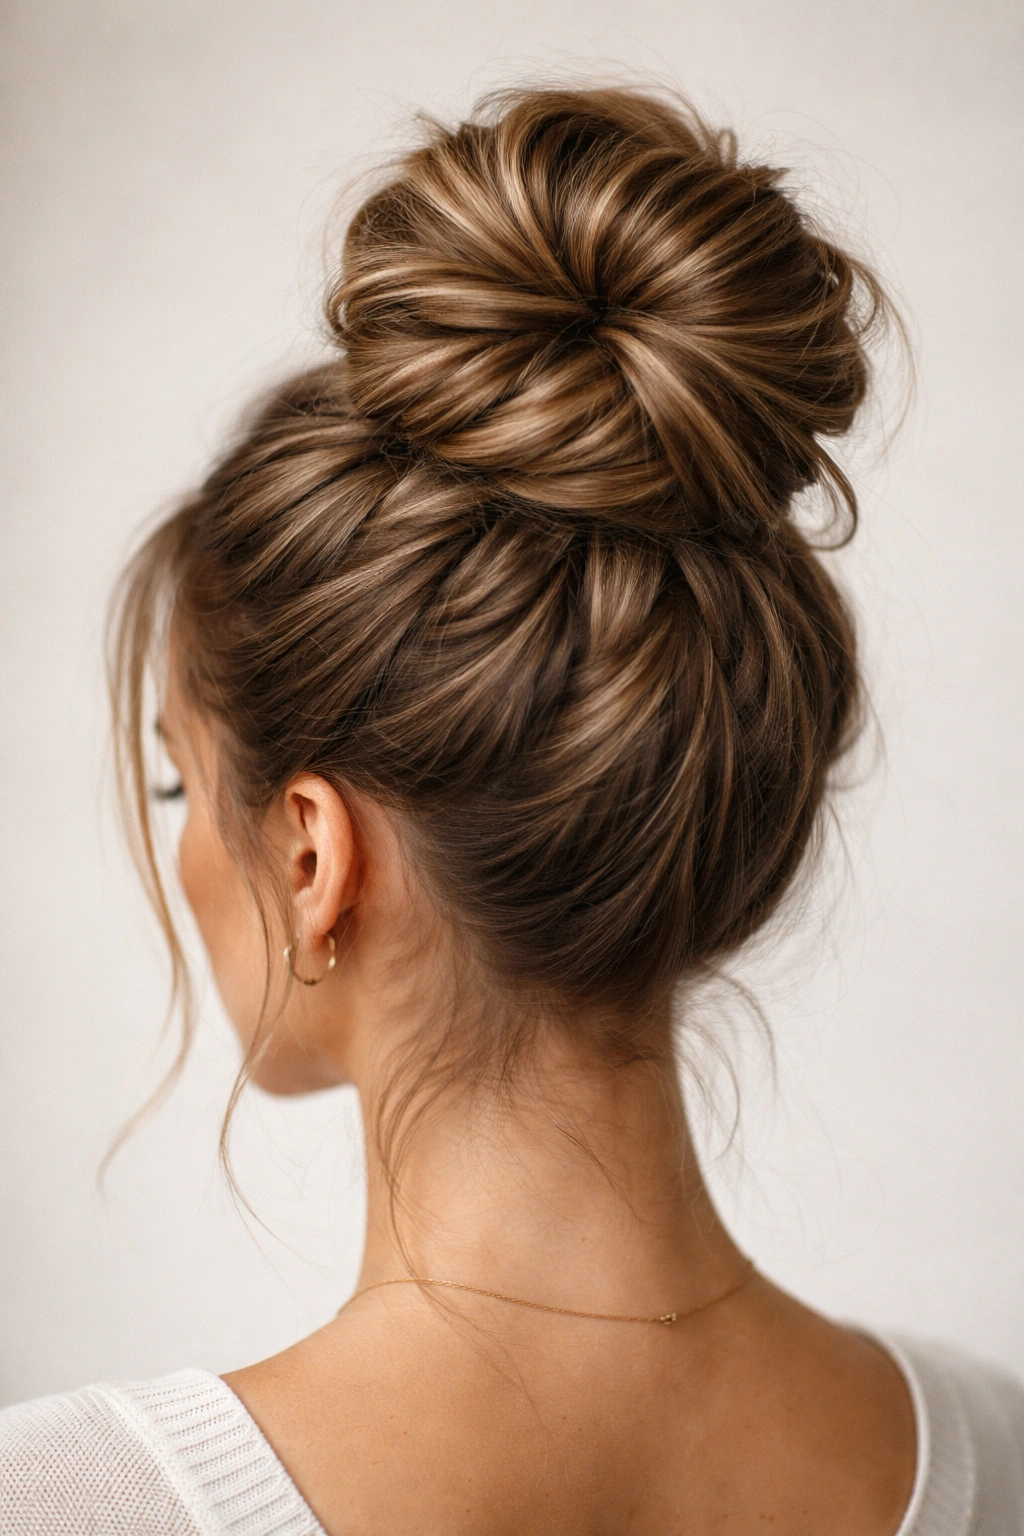
The twisted high bun uses multiple smaller twists instead of one large one, distributing the anchor points across your entire bun structure. This style is genuinely one of the most secure options because no single section carries all the weight. Even if one twist loosens slightly, five other twists are still holding everything together. It looks fuller and messier than a classic bun too, which makes it perfect if you’re working with finer hair and want that volume illusion.
What Makes It So Stable
The stability of a multi-twisted bun comes from geometric distribution. Instead of one central coil depending on a few pins, you’re creating a web of twisted sections that all reinforce each other. Each twist catches and holds other hair strands, so the whole structure becomes more stable than the sum of its parts. The twists also create natural texture without requiring you to pull anything apart, so you can skip the loosening step if you want a neater version.
Building Your Multi-Twist Structure
- Start with a high, tight ponytail as your base
- Divide the ponytail into 4-5 sections of roughly equal size
- Twist each section tightly, one at a time
- Coil the first twist around the base and secure it with a single bobby pin
- Coil the second twist around the first, pinning it in place so it overlaps slightly
- Continue with each remaining twist, layering them around and over previous twists
- Add 2-3 bobby pins total per layer (they’ll catch multiple twisted sections at once, creating redundancy)
- Once all sections are pinned, gently pull at the edges of the twists to create dimension and a softer, undone appearance
This style works beautifully on hair that’s been curled the day before or on second-day hair when you’ve got a bit of natural grip texture already happening.
3. The Double-Twisted Wrap Bun
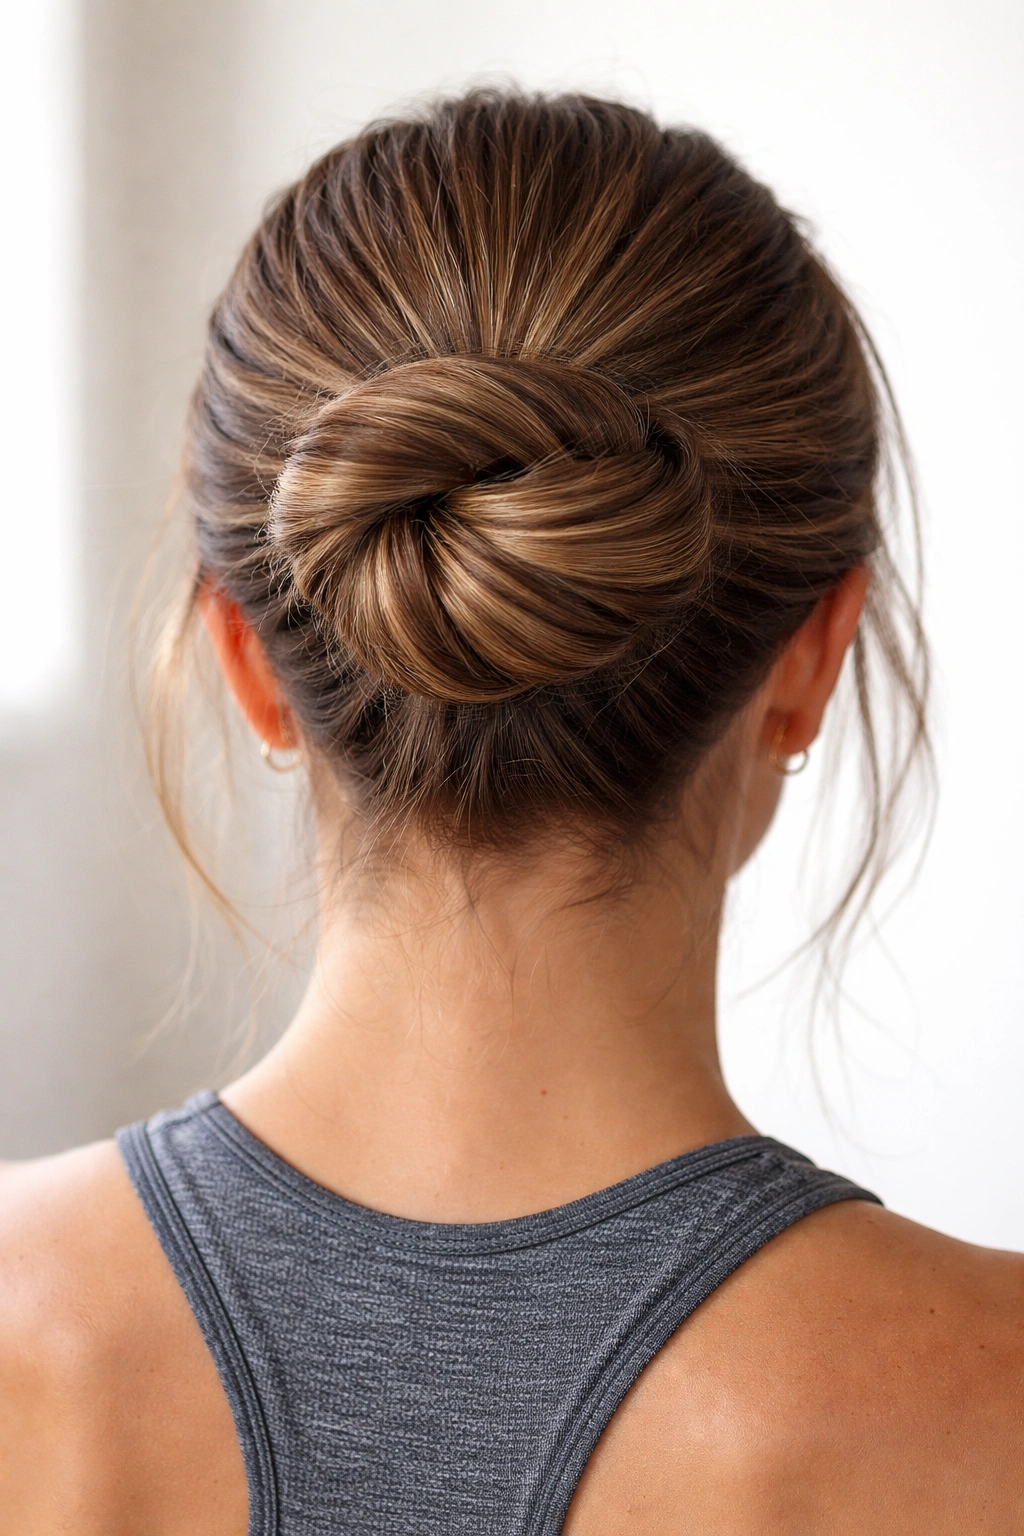
This technique involves creating two separate twists, then wrapping them around each other before coiling them into a bun. It sounds complicated, but it’s actually simpler than the multi-twist version because you’re dealing with just two sections instead of five. The intertwined wrapping creates an incredibly tight, compact bun that barely budges. This is the style to choose if you’re planning serious movement—exercise, dancing, anything athletic.
Why Double-Twisting Locks Everything Down
When two twists wrap around each other in opposite directions, you create tension that pulls inward from multiple angles simultaneously. It’s like the hair strands are held by pairs of hands pulling from opposite sides. A single twist can rotate slightly on the pins, but two opposing twists create a locked, almost immobile structure. The compact shape also means your bun sits higher and doesn’t have loose sections that could shift.
Step-by-Step Double-Twist Construction
- Create a high ponytail, but this time divide it in half before twisting
- Twist the right section clockwise until it’s a tight rope; twist the left section counterclockwise
- Now take these two opposing twists and wrap them around each other, maintaining tension as you spiral them together—they should form one unified, double-twisted rope
- Coil this double twist around your ponytail base, wrapping it into a compact bun shape
- Use at least 4 bobby pins inserted at different angles to secure the coil
- This bun is intentionally compact, so minimal pulling-apart is needed—just soften the edges slightly if desired
You can add a small amount of texturizing spray or salt spray to your hair before starting if you want the final result to look less perfectly coiled and more naturally textured.
4. The Braided Messy Bun
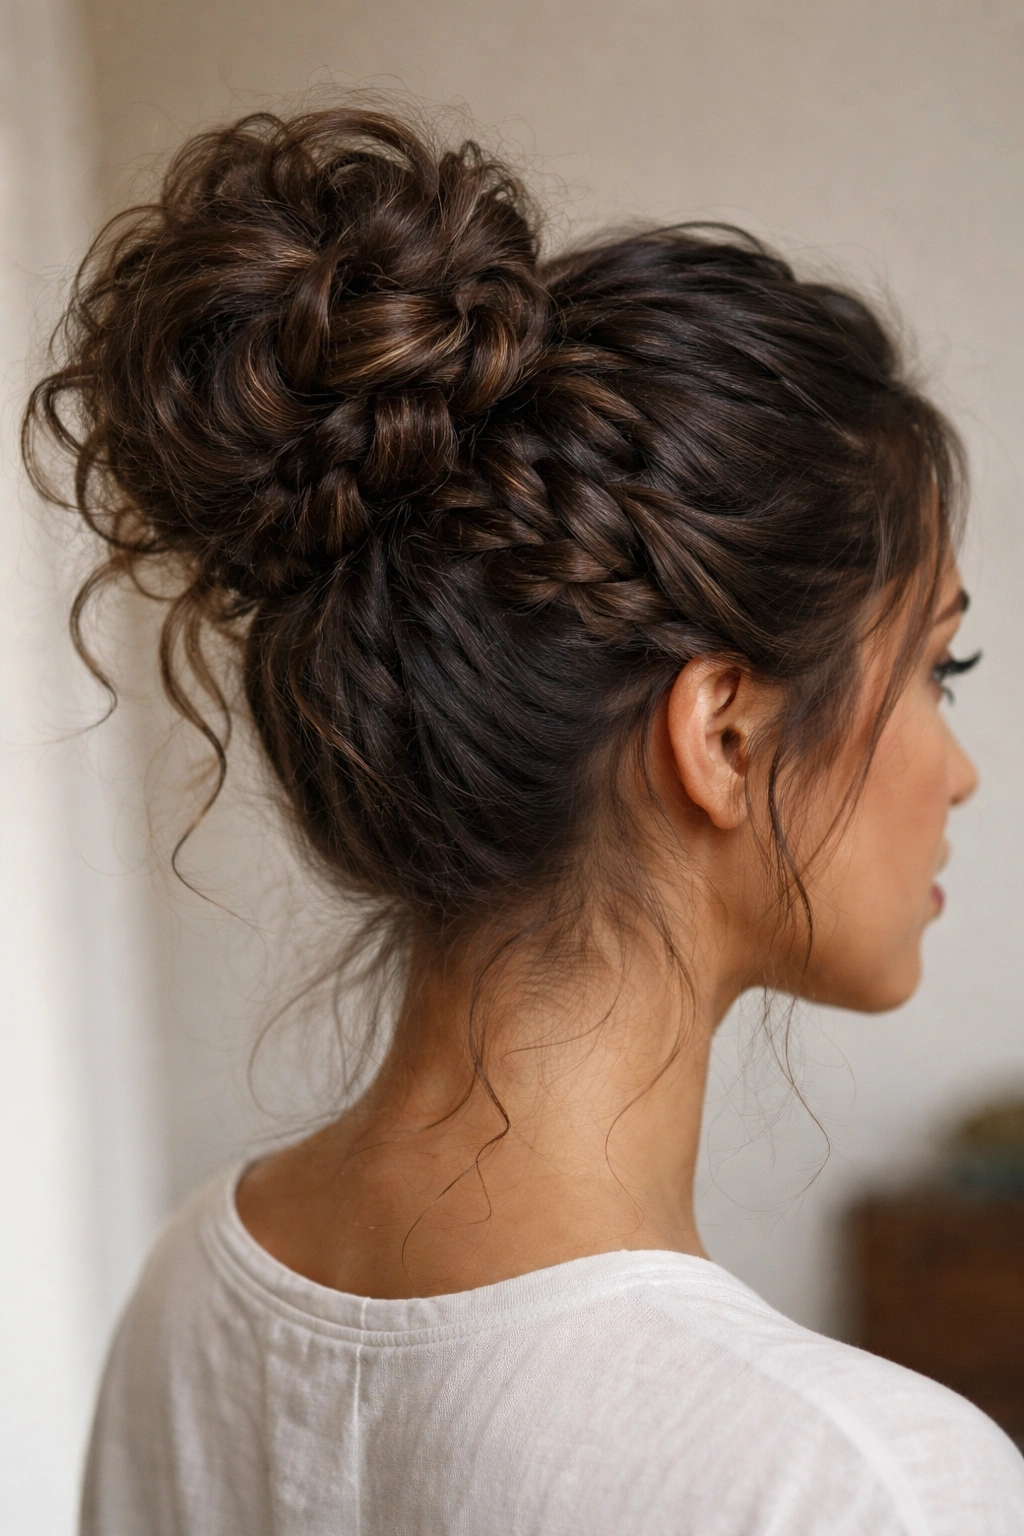
Braids create hold naturally because the braiding pattern itself locks sections of hair together; the tension of the braid keeps everything in place even before you pin it. A braided messy bun combines this built-in security with an inherently textured appearance. You get a bun that looks intentionally messy without needing to destroy a perfectly-formed shape. This is especially brilliant for curly or textured hair, where braids grip and hold beautifully.
How Braids Add Structural Support
The security of a braided bun comes from the crossover pattern of the braid itself. Each time you cross a section over another, you’re creating a mechanical lock that requires tension in multiple directions to undo. Three, four, or even five-strand braids intensify this effect. Once the braid is formed, wrapping it into a bun shape means the entire structure benefits from that built-in hold. You can even braid slightly looser than you normally would because the pins will catch the already-interlocked hair strands.
Creating Your Braided Bun
- Make a high ponytail and secure it loosely with an elastic
- Create a braid starting from where the ponytail begins: you can use a three-strand braid, a four-strand braid, or even a Dutch braid for extra texture
- Braid all the way to the ends, making the braid as loose or tight as you prefer (looser looks more undone; tighter holds more securely)
- Wrap the finished braid around the base of the ponytail, spiraling it to form a circular bun shape
- Tuck the end of the braid underneath the coil and pin the entire structure using 3-4 bobby pins
- Pull small sections of the braid outward gently to create those loose, face-framing wisps and a textured appearance
This style photographs beautifully and genuinely holds better than most “messy” bun tutorials out there, because the braid is doing half the work for you.
5. The Sleek High Bun with Volume
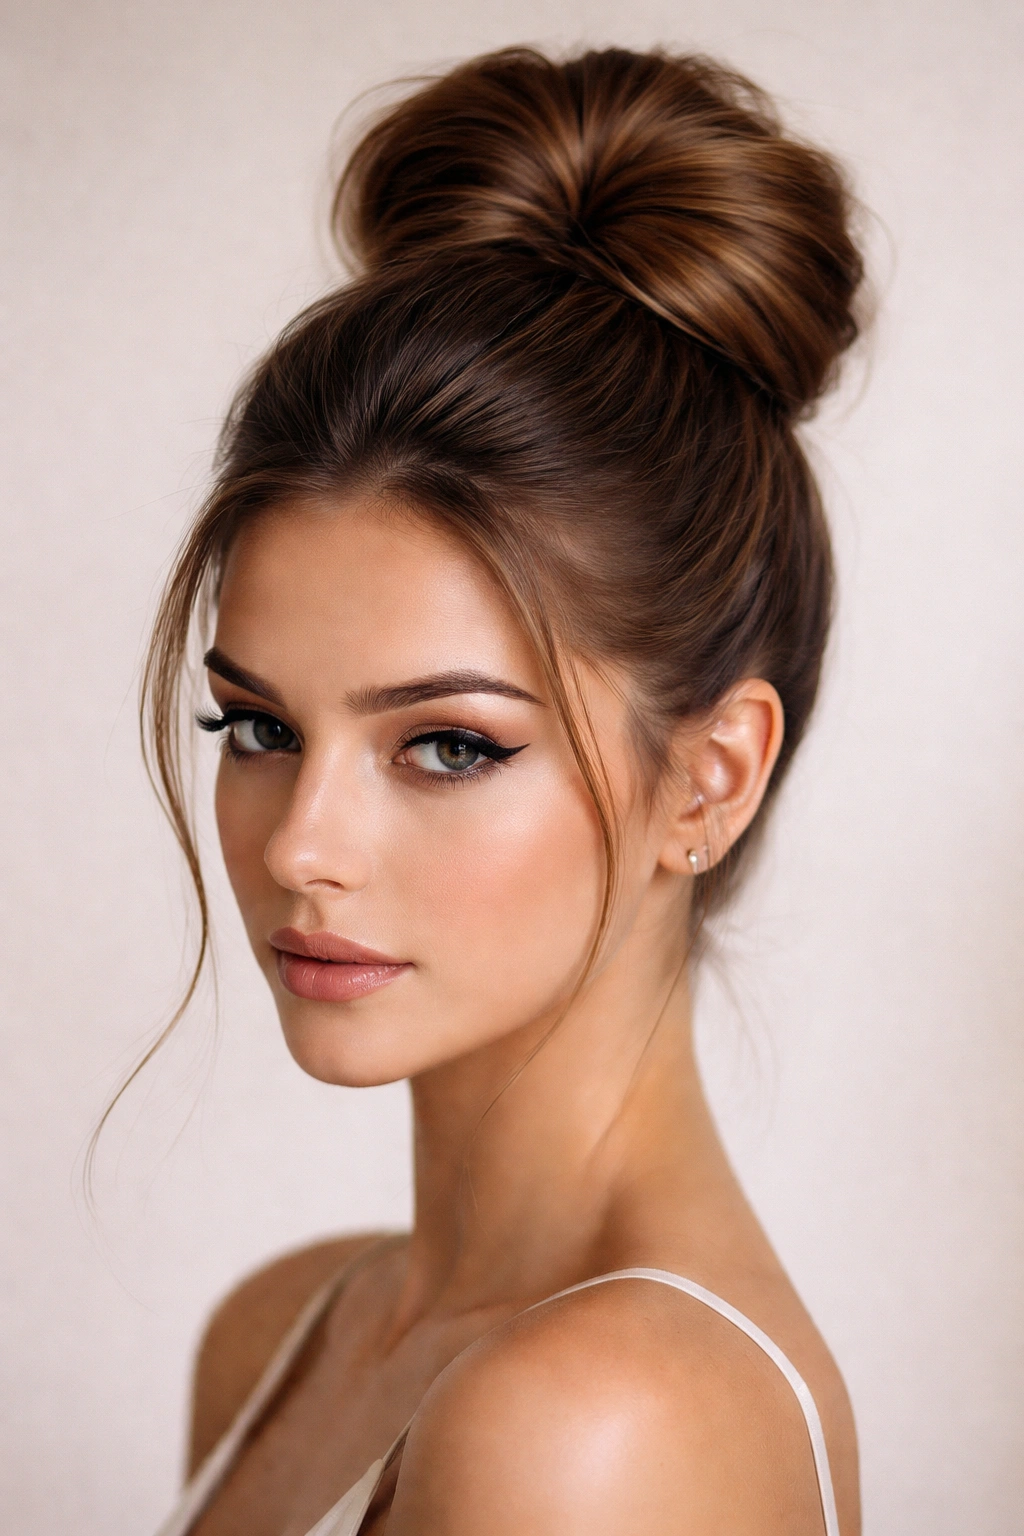
This style splits the difference between a sleek, polished bun and a voluminous, textured one. You create volume at the crown and back of the bun using teasing or layering, but you keep the hairline and base sleek and controlled. The result is a bun that looks intentional and put-together while still feeling comfortable and secure. It’s ideal for occasions where you want your bun to look styled rather than just thrown up.
The Architecture of Built-In Volume
Volume in a high bun comes from two sources: hair texture created at the base, and strategic looseness in the outer layers. When you tease at your crown before forming the ponytail, you create a cushion that makes the ponytail sit higher and fuller. Then, when you wrap the ponytail into a bun, that teased cushion keeps the bun lifted and prevents it from flattening against your head. The outer sections stay looser and fluffier while the interior stays anchored, creating a soft, full shape.
Building Volume with Control
- Prep your hair with a light texturizing spray to give it grip
- Tease the crown section gently, creating a cushioned base—you’re not going for extreme volume, just enough lift
- Smooth the top layer of the teased section to hide the texture
- Gather hair into a high ponytail, incorporating that teased cushion
- Secure with a sturdy elastic that won’t slip
- Instead of a simple twist, separate the ponytail into 2-3 sections and twist each loosely
- Wrap these twists around the base in a layered formation—the first twist forms the core, subsequent twists wrap around it with a bit of overlap
- Pin generously (4-5 pins minimum) to secure every layer
- Carefully pull the outer sections of each twist outward to create dimension while keeping the base compact
This approach gives you a bun that’s fuller and more glamorous while remaining completely stable.
6. The Textured Knot Bun
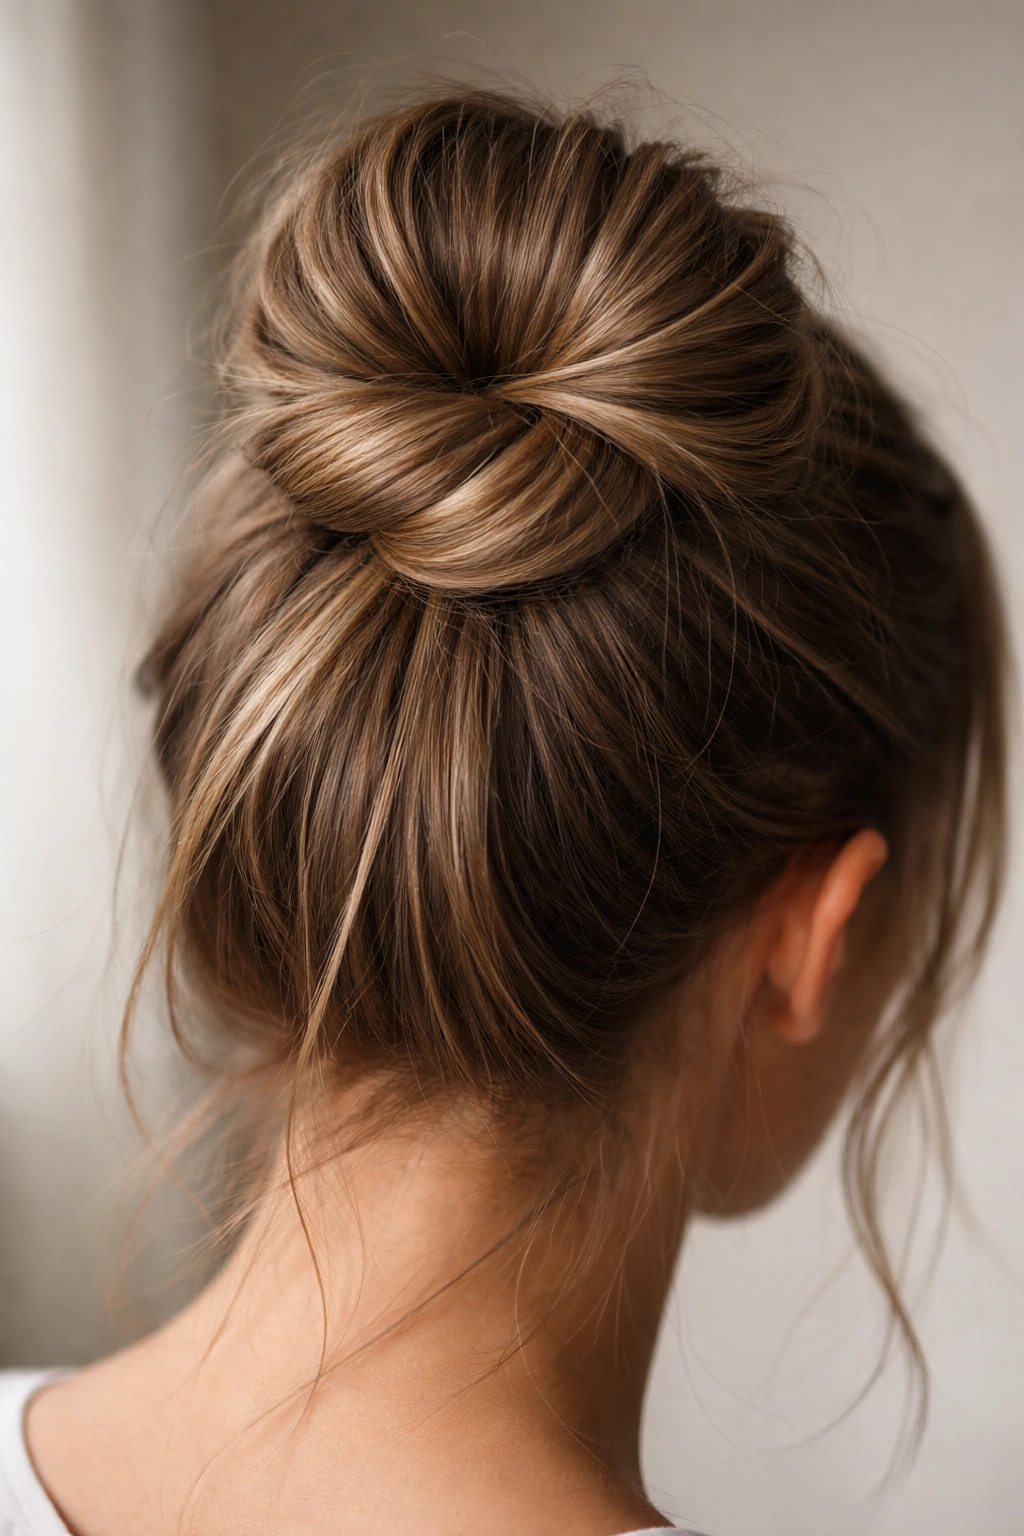
Instead of twisting or braiding the ponytail, you literally tie your ponytail into a knot, then coil the remaining length around that knot. It sounds simple because it is—but simple doesn’t mean it doesn’t work. The knot creates an inherently stable anchor point, and the remaining hair wrapping around it reinforces that. This method works especially well on longer hair because you’ve got more length to wrap and more hair to secure the knot itself.
Why a Knot Creates an Unshakeable Anchor
A knot tightens on itself through tension—the more weight it holds, the more secure it becomes. When you tie your ponytail into a loose overhand knot and then wrap the tail around it, you’re creating a structure where the knot and the wrapped tail reinforce each other. The knot can’t slip past the wrapped sections, and the wrapped sections can’t unwind because the knot is holding them. Add bobby pins through the wrapped sections, and you’ve created multiple redundant anchor points.
Tying Your Knot Bun
- Create a high ponytail as usual, but hold it loosely in your hand
- Tie the ponytail into a single loose overhand knot—tie it the way you’d start tying a shoe, but stop after one loop
- Tighten the knot gently until it sits at the base of your ponytail, right against your scalp
- Take the remaining tail (the length below the knot) and begin wrapping it around the knot, spiraling the tail to form a coil
- Tuck the end of the tail underneath the coil and secure everything with 3-4 bobby pins through both the knot and the wrapped tail
- You can leave this sleek and tight, or pull sections outward for a messier appearance
The beauty of this style is that even if your bobby pins loosen slightly, the knot itself remains secure, so your bun won’t collapse completely.
7. The Dutch Braid High Bun
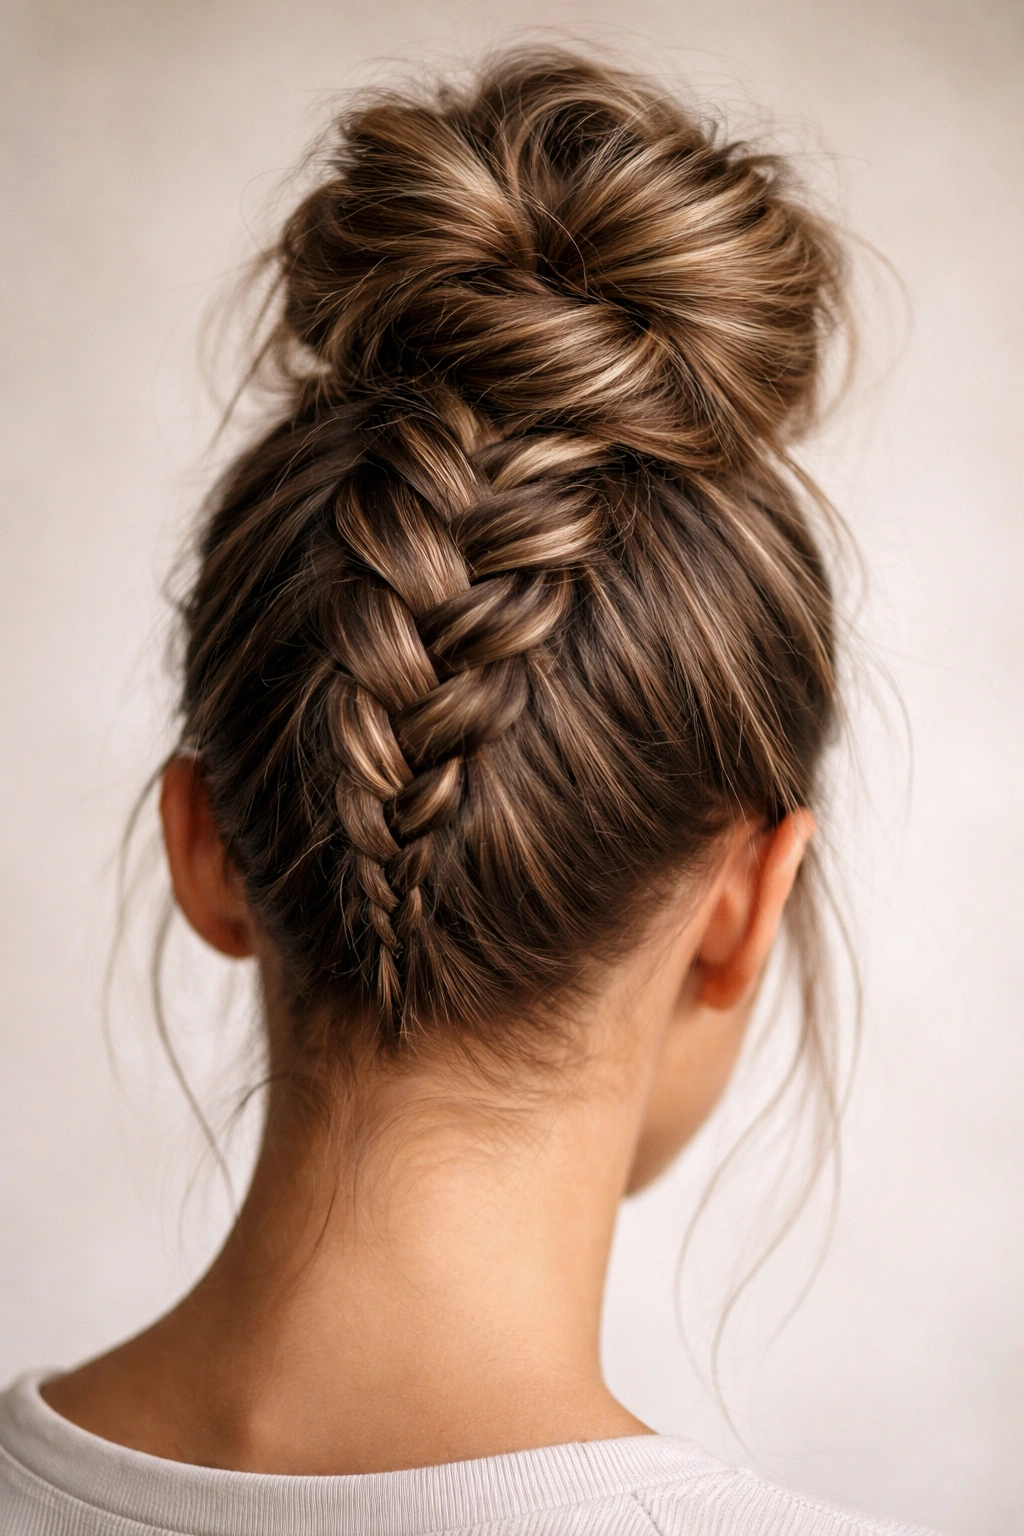
A Dutch braid (where you braid sections under instead of over) creates extra grip and texture naturally. When you incorporate a Dutch braid into your high bun, you’re getting a textured, voluminous appearance with serious structural integrity. Dutch braids look more impressive and intentional than regular braids, and they hold longer because the weave is tighter and catches more hair at each step.
What Makes Dutch Braids More Secure
The underhand technique in Dutch braiding creates a tighter weave than standard braiding, with more surface area where hair strands cross over and lock with each other. The braid actually looks raised and three-dimensional, which means it has more bulk and substance to anchor when you coil it into a bun. Even if the bun loosens slightly throughout the day, the Dutch braid structure itself won’t unravel—it stays intact as a unified element.
Creating a Dutch Braid Bun
- Make a high ponytail, but leave it loose enough to braid from
- Starting at the base of the ponytail, create a Dutch braid: divide the ponytail into three sections and braid by bringing each outer section under the middle section instead of over it
- Continue Dutch braiding all the way to the ends
- As you’re braiding, you can make it slightly looser than you normally would; the underhand technique grips hair tightly even with a loose weave
- Wrap the finished Dutch braid around the base into a coil and secure with 3-4 bobby pins
- Gently pull sections of the braid outward to create a fuller, more textured appearance
Dutch braided buns have an elegant, deliberate look that reads as “styled” rather than “just thrown up,” even though the technique is incredibly stable.
8. The Rolled Fabric Wrap Bun
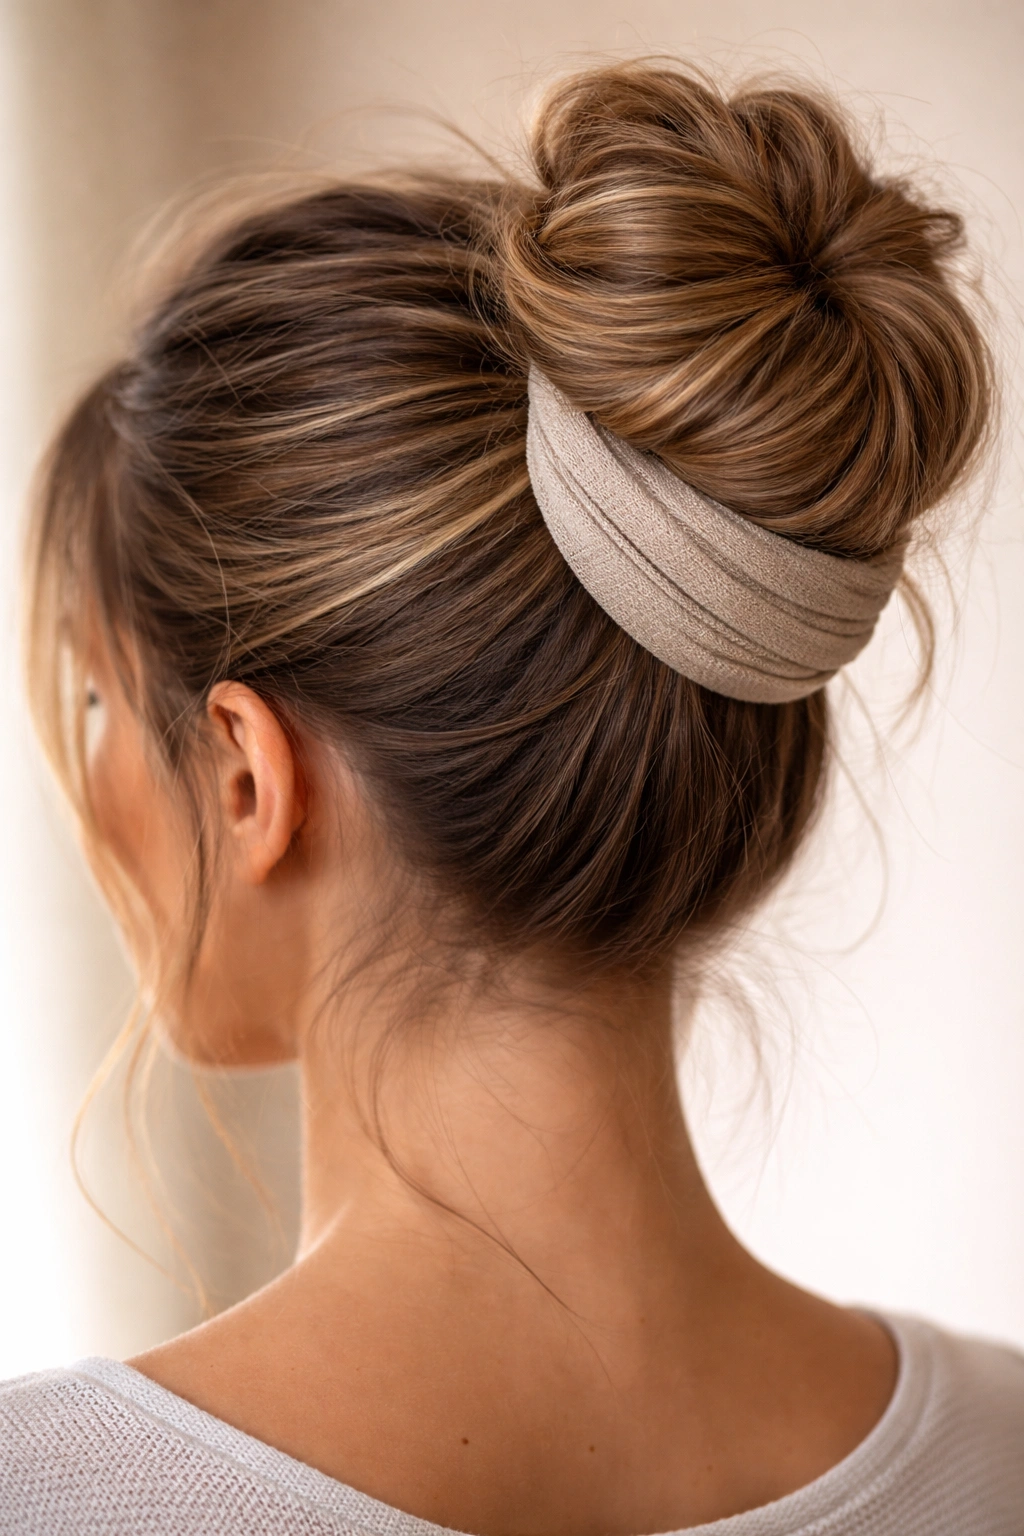
Using a fabric wrap, scrunchie, or cloth elastic instead of a traditional hair elastic changes the entire dynamic of your bun’s hold. Fabric grips hair better than metal or plastic, and the wider surface area of a fabric elastic distributes tension more evenly across your ponytail. This reduces breakage while simultaneously improving hold. Many people switch to fabric elastics specifically to protect their hair, but the side benefit is that your bun stays in place better.
How Fabric Creates Extra Grip
Hair slides easily against smooth, hard surfaces like metal or plastic elastics. Fabric has texture—even smooth cloth has microscopic fibers that hair catches on. A fabric elastic holds your ponytail with grip instead of just cinching, meaning the elastic itself is doing some of the work to keep everything together. The wider surface area also spreads the pressure of the elastic across more hair strands, so individual strands aren’t bearing all the tension, and the whole ponytail is less likely to shift as you move throughout the day.
Building a Fabric-Wrapped Bun
- Use a fabric hair elastic or cloth scrunchie to create your initial ponytail—this is the only difference from a standard high bun
- The fabric elastic already provides excellent grip, so your ponytail will be more secure immediately
- Follow any of the previous methods (twist, braid, knot) to form your bun—the difference is that your base is already holding better
- You may need slightly fewer bobby pins than usual because the fabric elastic is already doing more work
- Fabric elastics also tend to be gentler on hair, so you can make your ponytail slightly tighter without as much breakage concern
- Finish with a flexible-hold spray to set the style
Switching to fabric wraps is a small change that has measurable effects on how long your bun lasts and how much hair damage you accumulate from styling.
9. The Teased Crown Bun
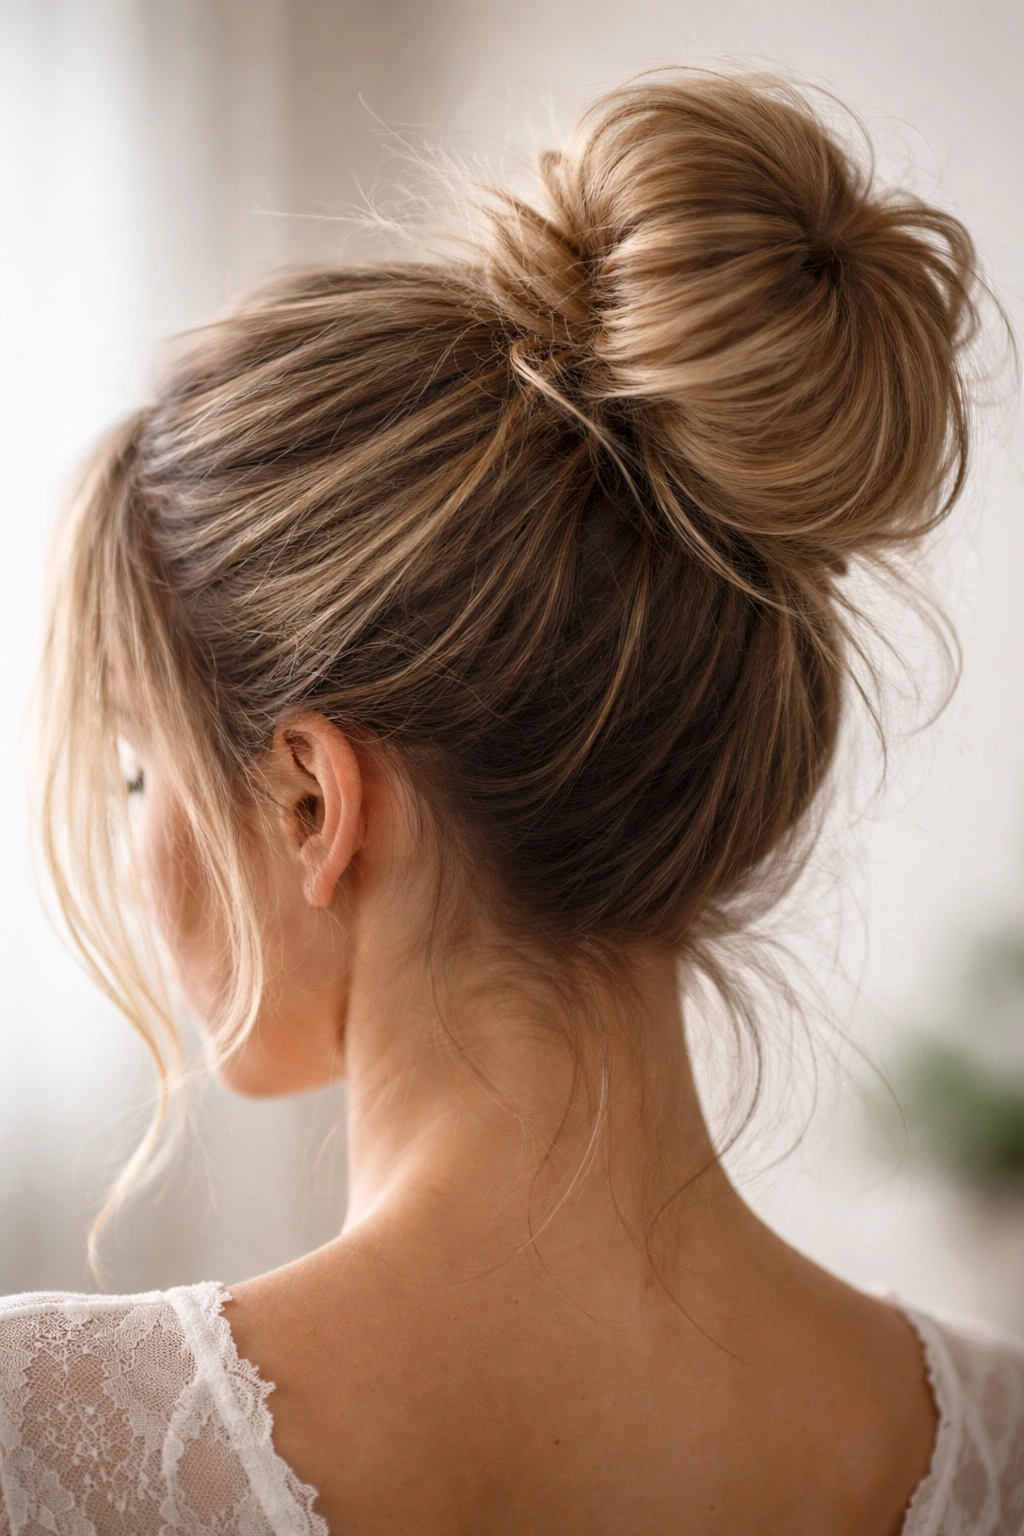
Teasing (also called backcombing) at your crown and upper back before forming your bun creates a texture that bobby pins grab onto like velcro. This technique is particularly valuable if you have fine, slippery hair that normally slides out of bobby pins. The teased hair creates friction that makes pins stay put. You’re not creating a ratted, messy texture you need to hide—you’re creating intentional grip that becomes part of the bun’s structure.
The Physics of How Teasing Improves Hold
When you backcomb hair, you’re roughing up the hair cuticle and creating tiny loops and tangles. These rough spots give bobby pins something to grip. A smooth strand of hair is slippery—a bobby pin can slide right off it. A teased strand has texture—a bobby pin catches on it and stays put. Teasing is especially effective if done in the layers where you’ll actually be pinning your bun, creating multiple points of contact between pins and hair.
Using Teasing as a Hold Technique
- Before making your ponytail, tease sections of hair at your crown and the back upper third of your head
- Use a fine-tooth comb or teasing brush, backcombing gently from the ends toward the roots to create texture
- Smooth the outer surface of the teased sections so they look polished while maintaining the textured interior
- Create your high ponytail as normal—the ponytail now incorporates that teased base, which acts as a cushion and grip point
- Proceed with your bun formation (twist, braid, knot, or whatever method you choose)
- When you insert bobby pins, they’ll catch the teased texture immediately and hold much more securely
- This technique is especially effective combined with the sleek high bun with volume method
If you normally feel like bobby pins just slide out of your hair, teasing is genuinely a game-changer.
10. The Anchored Pin Bun
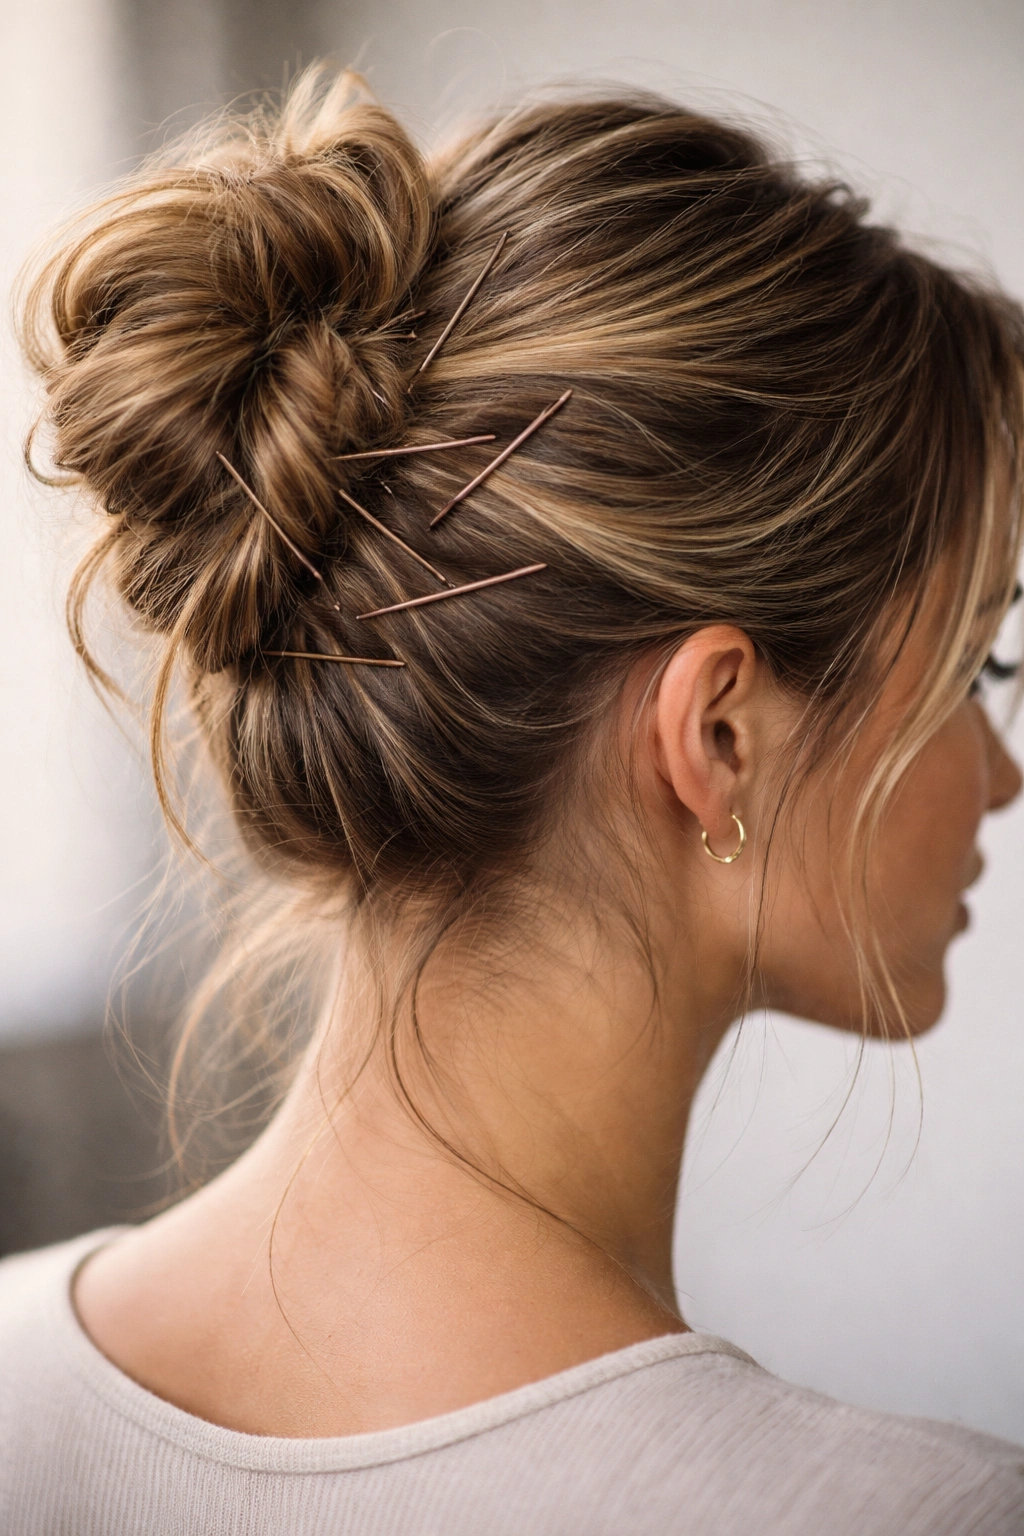
This final method focuses on the actual bobby pin placement and technique, which is where most people go wrong. You can have a perfect bun structure, but if you’re not pinning it correctly, it’ll still slip. The anchored pin method involves placing bobby pins at specific angles and depths to create multiple interlocking anchor points. This is less about the bun style itself and more about the mechanical excellence of securing whatever bun you’ve created.
The Right Way to Actually Use Bobby Pins
Most people insert bobby pins horizontally into their bun, expecting them to hold through friction alone. Smart placement involves inserting pins at angles through multiple layers of the bun simultaneously. A pin inserted vertically (or at a 45-degree angle) through the bun and into the scalp will hold better than one inserted horizontally into just the bun itself. You’re using the pins to anchor the bun to your head, not just to hold the bun together.
The Anchored Pin Technique
- After forming your bun using any method above, assess where the weight is concentrated—this is where you need pins
- Use 4-6 bobby pins minimum (thin hair might need fewer, thick hair might need more)
- Insert the first pin vertically or at a 45-degree angle through the side of the bun, into the hair at your scalp—this pin is anchoring the bun to your actual head
- Insert the second pin on the opposite side, doing the same thing
- Insert additional pins through the top and back of the bun, each one going through multiple layers and reaching down to the hair at your scalp
- Make sure bobby pins are long enough; short pins that don’t reach your scalp won’t anchor effectively
- Consider using bobby pins that match your hair color so they’re less visible if any slip out of position
- Once pinned, test the bun by gently pulling on different sections—if anything moves easily, add another pin to that area
This method turns pinning from a guess-and-check situation into an actual structural engineering problem that you’re solving with intention.
The technique that works best for you depends on your hair texture, thickness, and length, but every method in this guide is built to stay secure because of how it’s constructed. A messy bun that actually stays put isn’t about luck or expensive products—it’s about using structural techniques that create stability naturally. Whether you’re doing the classic twist, a multi-layered approach, or focusing on perfect pin placement, you’ve got options that work all day long.
Final Thoughts
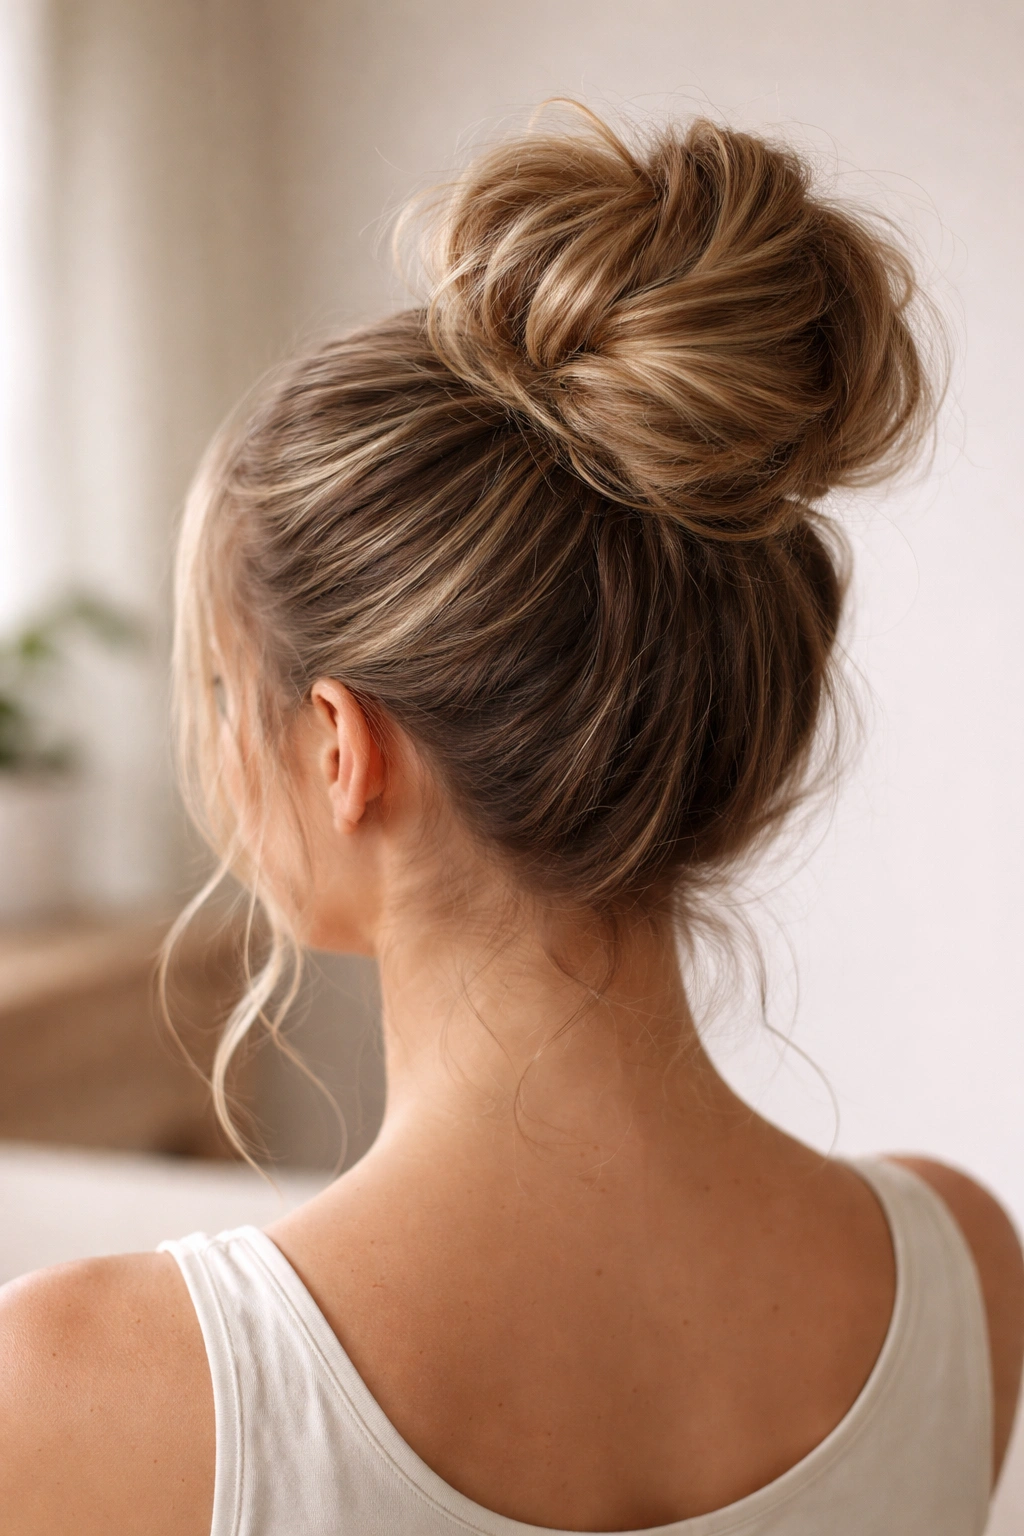
Building a high messy bun that stays in place comes down to two fundamental principles: create an anchored base first, then add texture second. Too many tutorials show you the texture part without explaining the foundation, which is why so many buns fail halfway through your day. Every style in this guide puts security first—whether through twisted wrapping, braiding, knotting, or teased texture—and then adds the soft, undone appearance on top of that stable structure.
The best approach is to experiment and find which method feels most natural for your hair type and the look you’re after. If you’ve got fine hair, the teased crown bun or fabric wrap method will probably feel like a revelation. If you’ve got thick hair, you might love the simplicity of the knot bun or the texture of a Dutch braid. The point is that messy buns don’t have to be a gamble—they can be a reliable style that actually makes it through your entire day without collapsing, and you don’t need any special tricks or expensive products to make it happen.
