



Short hair doesn’t mean you have to give up on bun styles—it just means you get to approach them differently. A high messy bun on short hair has a particular appeal: it looks effortlessly tousled, it keeps hair off your face without requiring excessive length, and when done right, it creates a chic, undone elegance that feels more modern than polished. The trick is understanding that short-hair buns rely on texture, strategic layering, and the right foundation techniques rather than sheer volume.
The misconception that you need long hair for a good bun is exactly that—a misconception. Shoulder-length hair, textured bobs, pixie-length layers, and even some shorter cuts can all rock a high messy bun with the right approach. What matters most is knowing which styles work with your specific length, how to create the illusion of fullness, and which products and techniques will keep everything in place without making it look stiff or overly done.
The versatility is real too. You can wear a high messy bun to work, to the gym, to a casual weekend gathering, or even to something slightly dressier depending on how you execute it. Each variation feels different, which means you’re not defaulting to the same style every time you want to get your hair up. Whether you’re working with naturally wavy texture, straight hair that needs help holding a shape, or curls that cooperate beautifully in a bun, there’s a version here that’ll work for you.
Understanding What Works for Short Hair Buns
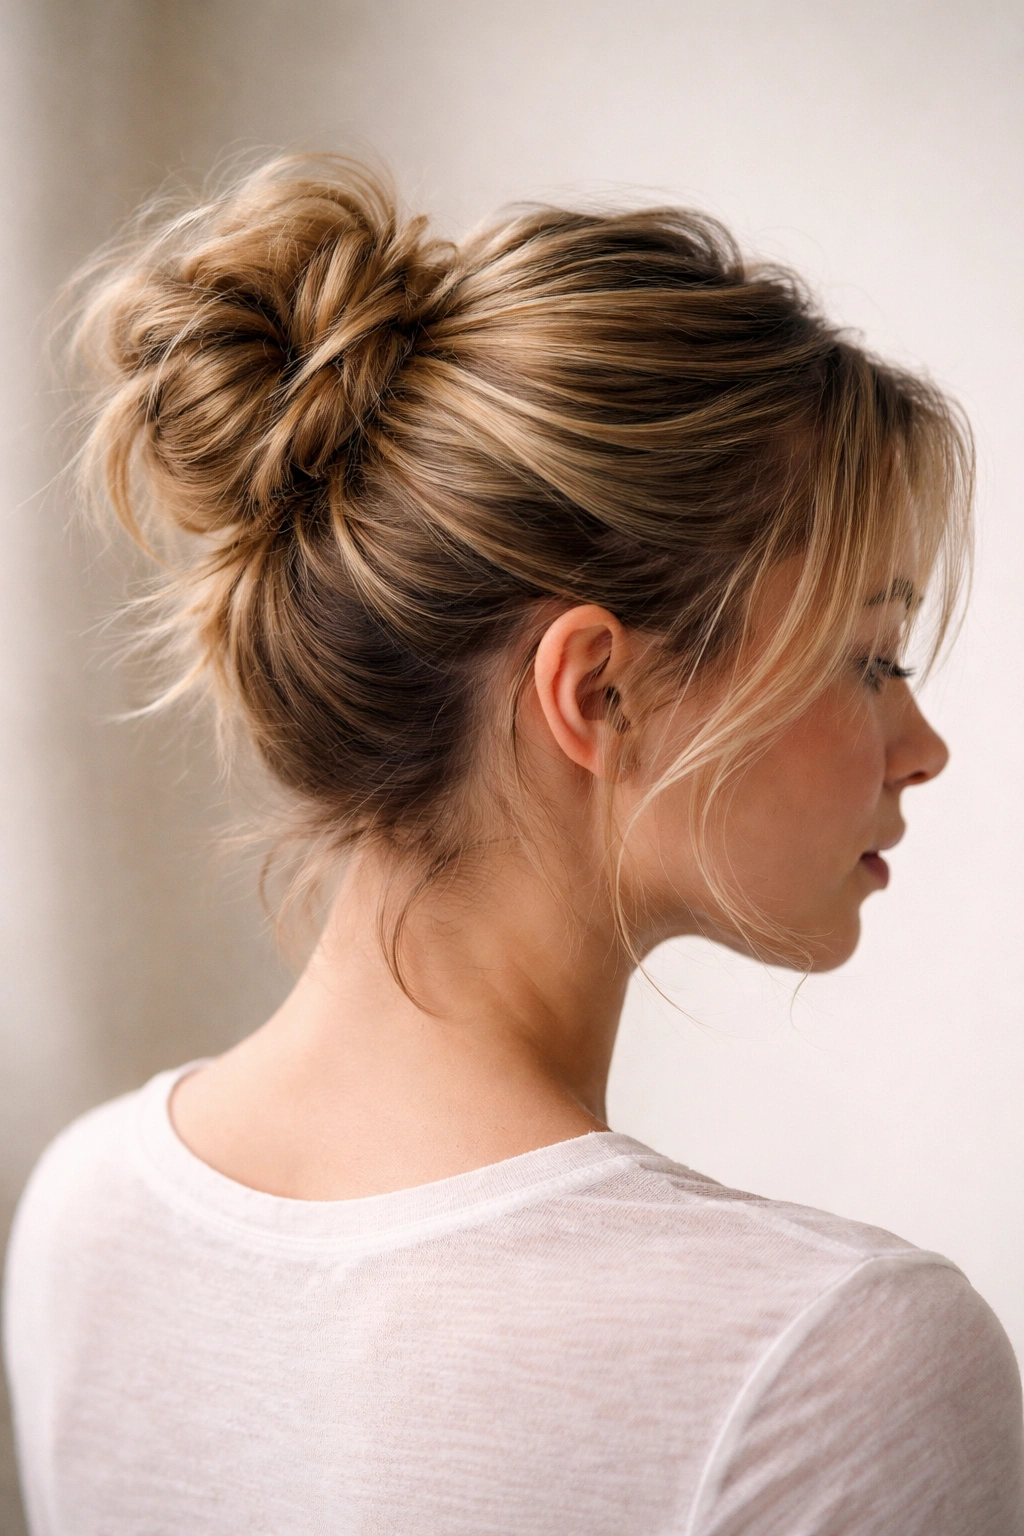
Short hair buns succeed because of strategic placement and intentional texture, not because of length alone. When your hair is shorter, a bun sits higher and tighter against the scalp naturally, which can actually look more polished than buns that hang heavy on longer hair. The key is creating enough dimension that the bun reads as full and purposeful, not sparse or struggling.
The foundation matters tremendously with short hair. If you’re starting with completely straight hair that’s difficult to work with, you’ll want to add texture first—either by creating waves with a curling iron, applying a texturizing spray, or letting your hair air-dry naturally if it’s wavy. Texture grabs and holds better, making it easier to secure everything without using so many bobby pins that your head feels weighed down.
Consider your layers carefully. Short hair with choppy layers throughout will naturally create more visual texture in a bun, while blunt-cut short bobs might need a bit more product help to avoid looking too flat. Neither is better—they just require slightly different techniques to look intentional rather than accidental.
The Best Products for Keeping Short-Hair Buns in Place
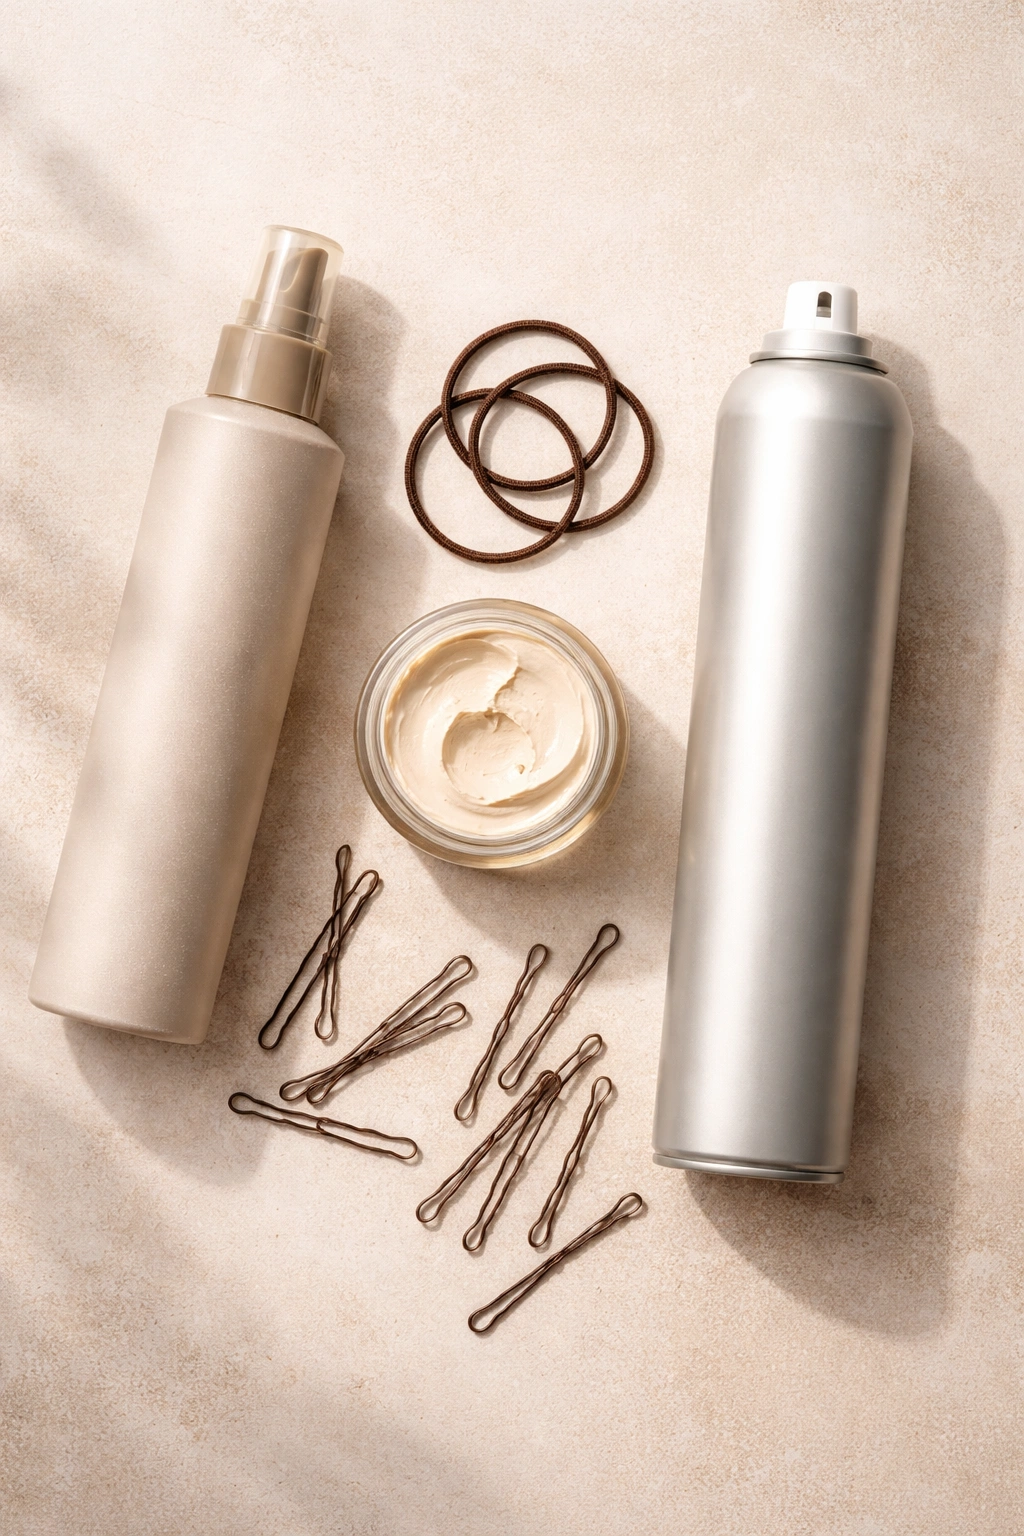
Getting a high messy bun to stay put when you’re working with 2 to 4 inches of hair requires the right arsenal. A good texturizing spray is non-negotiable—this creates grip on slippery hair and allows bobby pins to actually catch and hold. Apply it to damp or dry hair at the roots and mid-lengths, then blow-dry it in for maximum staying power.
Bobby pins come in different sizes, and for short hair, you actually want smaller ones that can tuck discreetly without creating visible bumps. The tiny ballet pins or child-sized bobby pins that look too small are often exactly what you need. Expect to use 4 to 8 pins per bun, depending on how secure you want it and how much texture you’re starting with.
A light-hold hairspray applied during the styling process (not just at the end) helps sections stay in place as you’re gathering and twisting. Many people make the mistake of only hairspraying at the very end, which is fine, but if you spritz as you go, you’ll get better grip throughout the whole process. Avoid heavy-hold formulas if your hair is fine or short—you want something that provides structure without weighing it down or making it feel crunchy.
Velcro rollers can also be a secret weapon. If you roll the lengths upward while blow-drying, then let them cool completely before removing, you’ll have natural curl or wave that’s much more cooperative when you start building the bun. The curls help the bobby pins grip and create that fuller, more textured appearance that makes short-hair buns look intentional.
1. The Twisted Wrap Bun
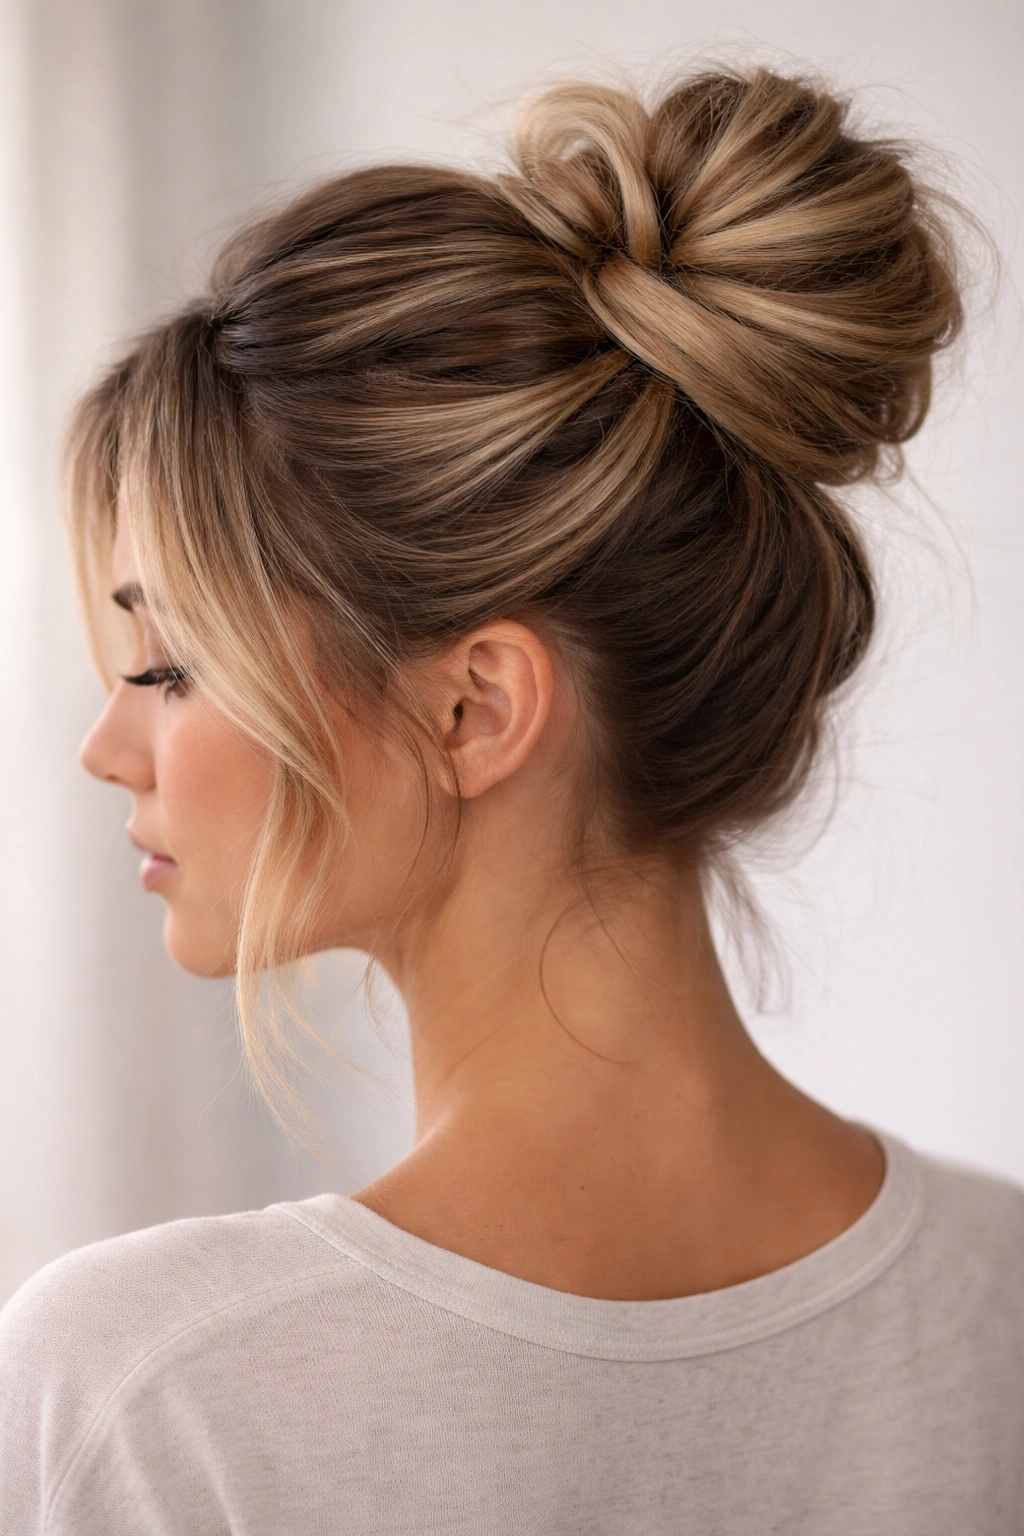
The twisted wrap bun is built entirely on creating two sections of hair that twist together, rather than gathering everything at once. This works beautifully on short hair because the twisting creates natural texture and visual fullness—you don’t need much length for it to read as a complete, intentional bun. Start by creating a side part and lightly texturizing your hair with spray, then blow-dry in some soft waves.
Section your hair into two roughly equal parts using your part line and the area directly behind one ear as your dividing points. Take the larger back section and twist it loosely toward the crown, securing the end temporarily with a small clip. Take the smaller front section and twist it in the opposite direction, then wrap it around the base of the first twist, creating a crisscross effect.
How to Execute the Twisted Wrap
The wrapping action is the magic here—instead of securing both twists into a ponytail and then bunning from there, you’re using one twist as the anchor and the other as the wrap. This creates visual interest and prevents the bun from looking flat or overly tight. Once your second twist is wrapped around the first, secure everything with 4 to 5 bobby pins, tucking the ends of both twists underneath and into the body of the bun.
Why It Works for Short Hair
The twisted wrap bun eliminates the need for a super-high, tight ponytail base, which means less stress on short hair and a more relaxed, undone appearance. The crisscross pattern creates the illusion of more hair than you actually have, which is exactly what short-haired babes need. The twists themselves become the texture, so you don’t need to tease or backcomb your roots—the structure is built into the style itself.
Styling Tips for Maximum Impact
Pull out one or two smaller pieces around your face and frame them slightly before you start twisting. Let these pieces stay out throughout the entire process—they soften the look and prevent the bun from feeling too severe. Once everything is secured, gently pull on the twists with your fingers to loosen and roughen them slightly, creating that undone quality. Finish with a medium-hold hairspray applied from a distance so it settles naturally rather than creating visible shine or crunchiness.
2. The Teased Crown Bun
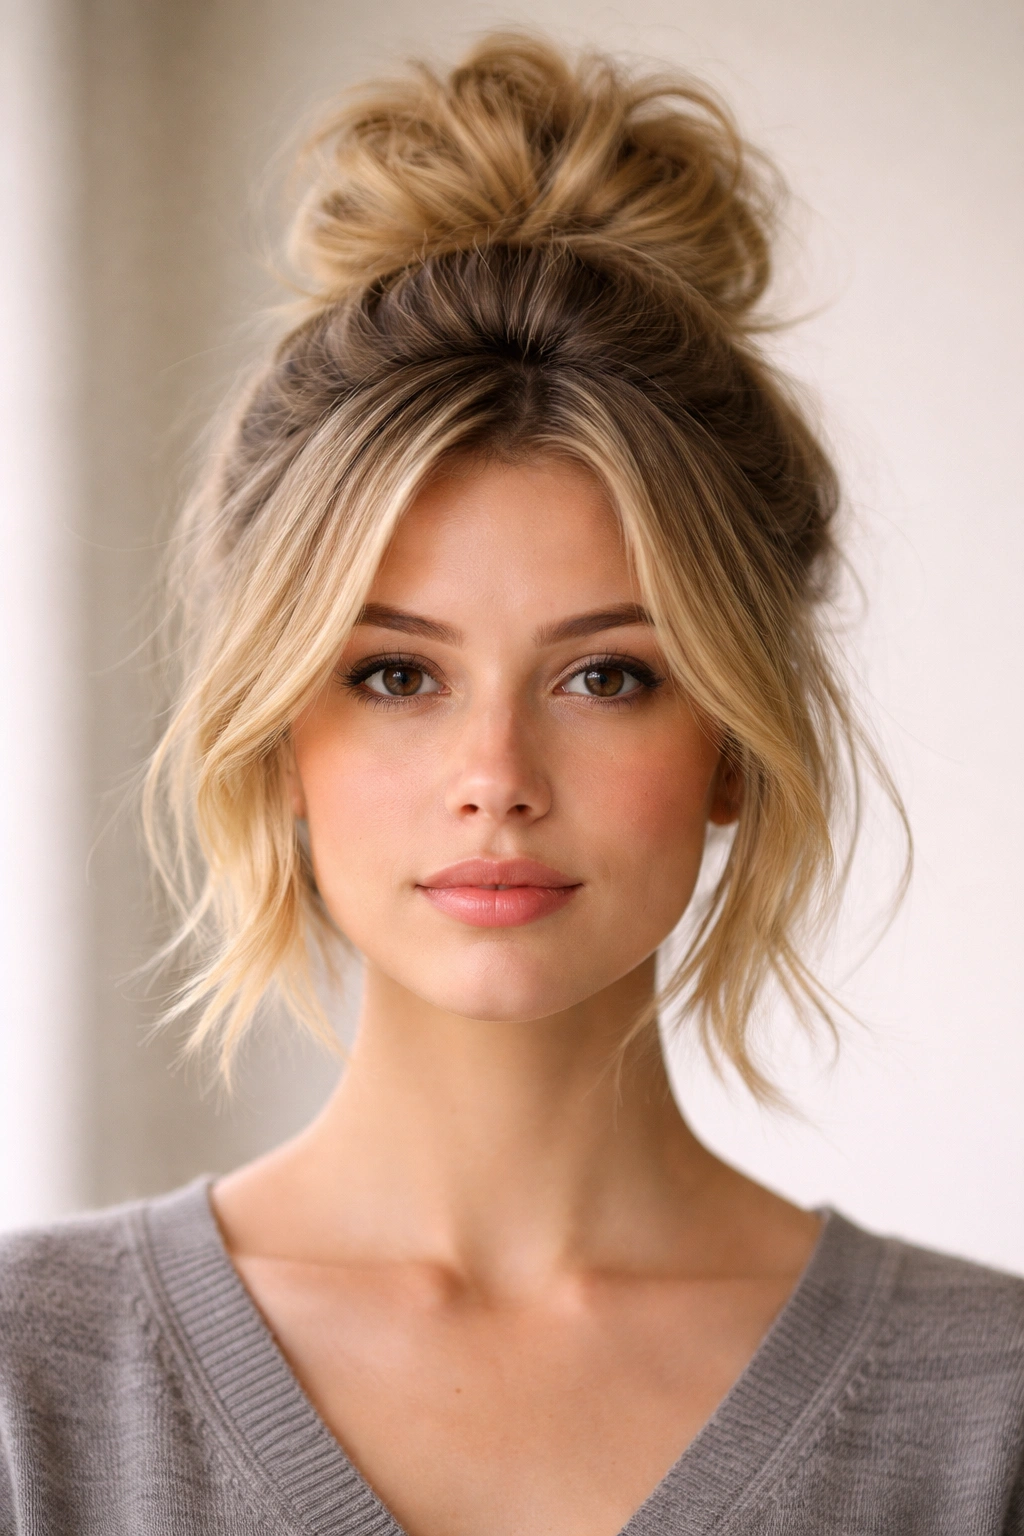
This style relies on strategic backcombing at the roots to create height and fullness, then gathering everything into a compact, purposely messy bun at the crown. It’s especially effective for fine or thin hair because the teasing creates the volume that short lengths sometimes lack. The key is teasing only at the roots where you’re going to build the bun, not throughout your entire head—you want the bun area textured and the rest of your hair smooth.
Start by applying texturizing spray to your roots and mid-lengths. Blow-dry your hair straight or with very soft waves. Using a fine-tooth teasing brush (or an old toothbrush in a pinch), backcomb just the crown area—roughly from your front hairline to the very back, in a strip about 3 inches wide. You’re aiming for noticeable texture here, not a disaster. Once you’ve got good volume at the crown, use a smoothing brush to gently flatten the top layer while keeping all that texture underneath.
Building the Bun Section by Section
Gather your teased crown into a small, loose ponytail at the very top of your head, using just enough tension to hold but not so much that you’re flattening all your backcombing work. Wrap a small elastic around it once—don’t twist it multiple times or you’ll compress the texture. Now take this short ponytail and simply wrap it loosely into a circle, tucking the end underneath and securing with bobby pins around the base of the bun. Leave the bun deliberately loose and textured—don’t try to smooth it out.
Why This Style Reads as Intentional
The teased crown creates legitimate height at the bun, which prevents the whole style from sitting flat against your head. On short hair, this height is the difference between looking like you threw your hair up quickly and looking like you styled it intentionally. The undone texture of the bun itself reads as purposeful rather than messy-by-accident, which is the whole point of a messy bun that actually flatters you.
Pin Placement and Hold
Use bobby pins vertically around the base of the bun, weaving them through both the elastic and the wrapped hair. You’re looking at 5 to 7 pins for a secure hold that’ll last through a full day or workout. The pins should be mostly hidden by the bun itself—they’re doing functional work, not adding aesthetic value. Once the bun is secure, pull out a few baby-fine pieces around your face and temple area to soften the overall look.
3. The Braided Loop Bun
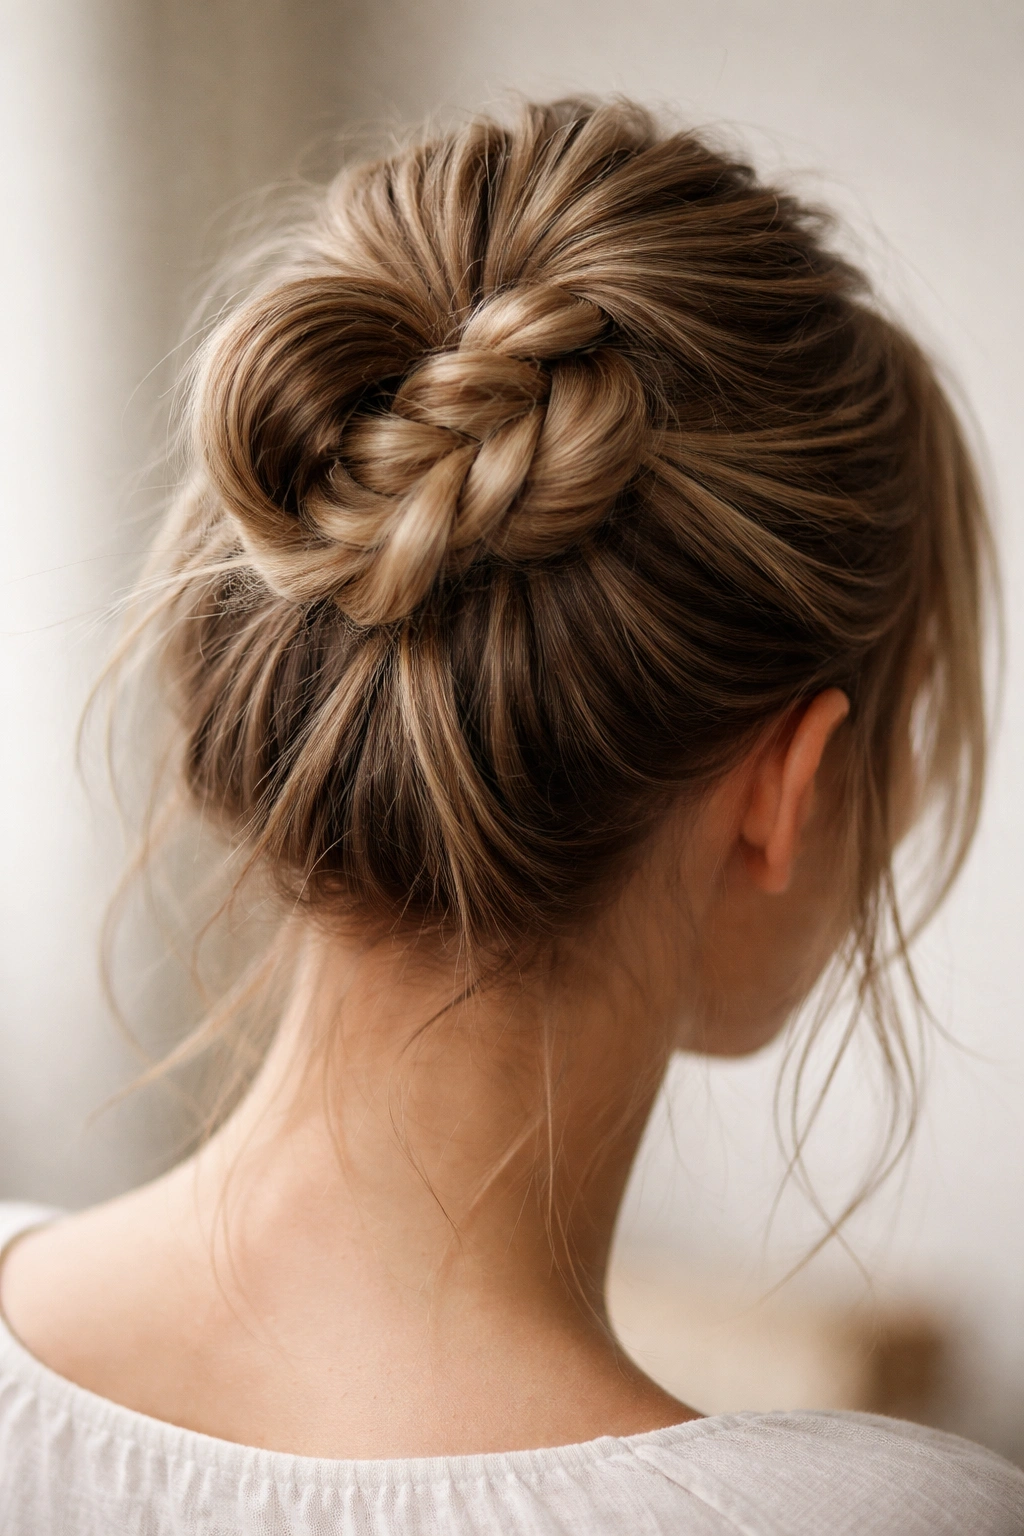
For those with slightly longer short hair—think chin-length or slightly past—a braided loop bun creates shape and visual interest without requiring a ton of length. The braid becomes the main structural element, and it sits beautifully high on the head. This style works on straight hair, wavy hair, and curly hair; the braid just reads differently depending on your texture.
Start with damp or slightly dampened hair. Create a high ponytail at the crown, using an elastic that matches your hair color so it becomes less visible. Take the ponytail and divide it into three sections, then braid loosely—and I mean loosely. You want the braid to have texture and an undone quality, not a tight, perfect plait. Braid down about three-quarters of the way, then stop while you still have 2 to 3 inches of loose hair at the end.
Creating the Loop Effect
Instead of securing the bottom of the braid with another elastic, take the loose ends and wrap them back up and around the base of the braid, tucking everything into the existing ponytail base. The braid now forms a loop rather than a straight tail, and you secure everything with bobby pins woven through the braid itself and the wrapped ends. You want the bobby pins to disappear into the braid—they’re not meant to be visible here.
The Texture Question
If your hair is stick-straight and the loose braid looks too neat, apply texturizing spray to the ponytail before braiding, and use your fingers to pull apart the braid slightly once it’s complete. This roughens the edges and creates that deliberately undone appearance. If your hair is wavy or curly, the braid will automatically have texture and may actually read as even messier than you intended—which is usually a compliment with this style.
Styling the Face-Framing Pieces
Before you start building the bun, pull out two small sections at your temples and let them fall freely. These pieces frame your face and prevent the style from looking too severe. Pin them back loosely if they’re getting in your way, or let them hang naturally if your hair is long enough or textured enough to cooperate. The face-framing softens the whole effect and makes even a deliberately messy bun feel polished.
4. The Twisted Knot Bun
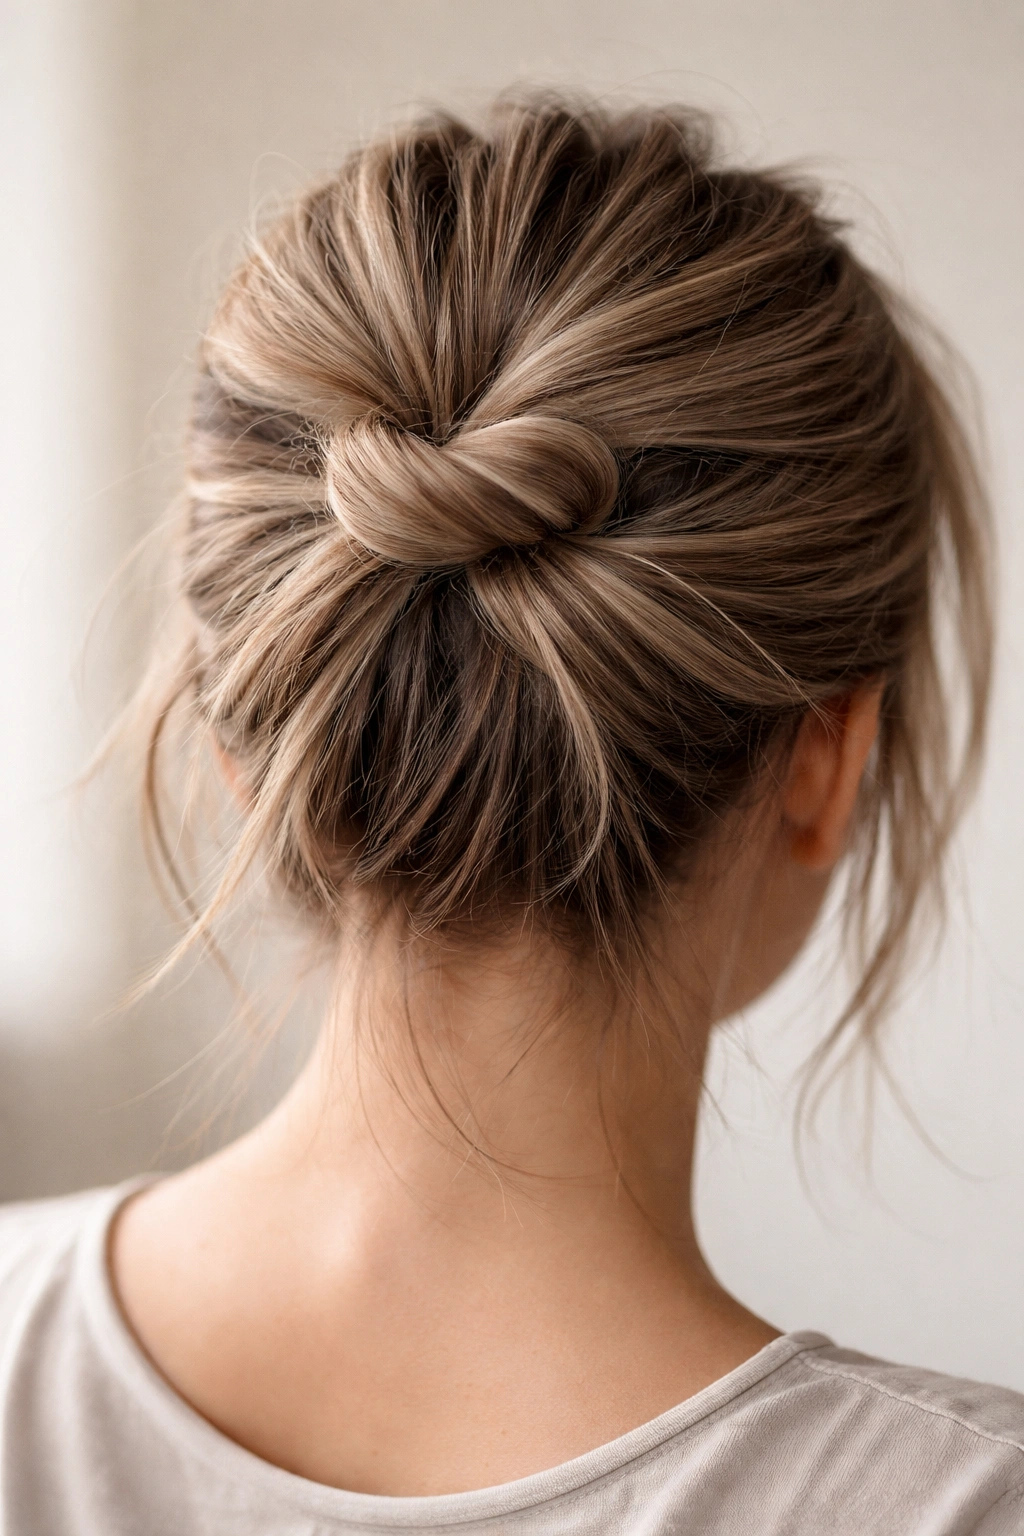
This style is pure texture and requires almost no bobby pins once you understand the mechanics—the twist and knot essentially secure themselves. It works beautifully on wavy or curly short hair where you already have natural grip, but it’s equally effective on straight hair if you apply texturizing spray first. The key is that you’re creating two separate twisted sections that knot together rather than trying to bunny-ear or spiral one section.
Apply texturizing spray to damp hair and blow-dry, or start with air-dried waves if that’s your natural texture. Gather your hair into a high ponytail—loose enough that you’re not creating tension on short hair, but high enough that the bun will sit at the crown. Divide the ponytail into two equal sections. Twist one section tightly, then twist the second section in the opposite direction (if the first twists clockwise, twist the second counterclockwise).
The Knot Assembly
Now cross the two twisted sections over each other and tie them into a simple knot, the way you’d start tying a shoelace. The twists wrap around each other naturally, and the knot anchors them in place. Once you’ve got the knot secure, take the loose ends (which are still twisted) and wrap them around the knot, tucking them underneath. This second wrapping creates the body of the bun and uses up any remaining hair without requiring any additional securing.
Why the Knot Actually Stays
The tension created by two twists knotting together, combined with the natural friction of textured or spritzed hair, is genuinely enough to hold this bun in place for hours. If you’re nervous, you can secure it with one or two bobby pins hidden under the wrapped ends, but many people find they don’t need any pins at all. Test it first with a low-stakes day, then commit to pinless styling once you trust the hold.
The Undone Factor
Unlike some styles that require you to mess up a perfect bun intentionally, the twisted knot bun is inherently undone. The twists are visible, the knot adds dimension, and the whole thing reads as effortlessly styled rather than painstakingly assembled. If anything, you’ll want to tighten some sections rather than loosen them, which is the opposite problem most people have with buns on short hair.
5. The Wrapped Curl Bun
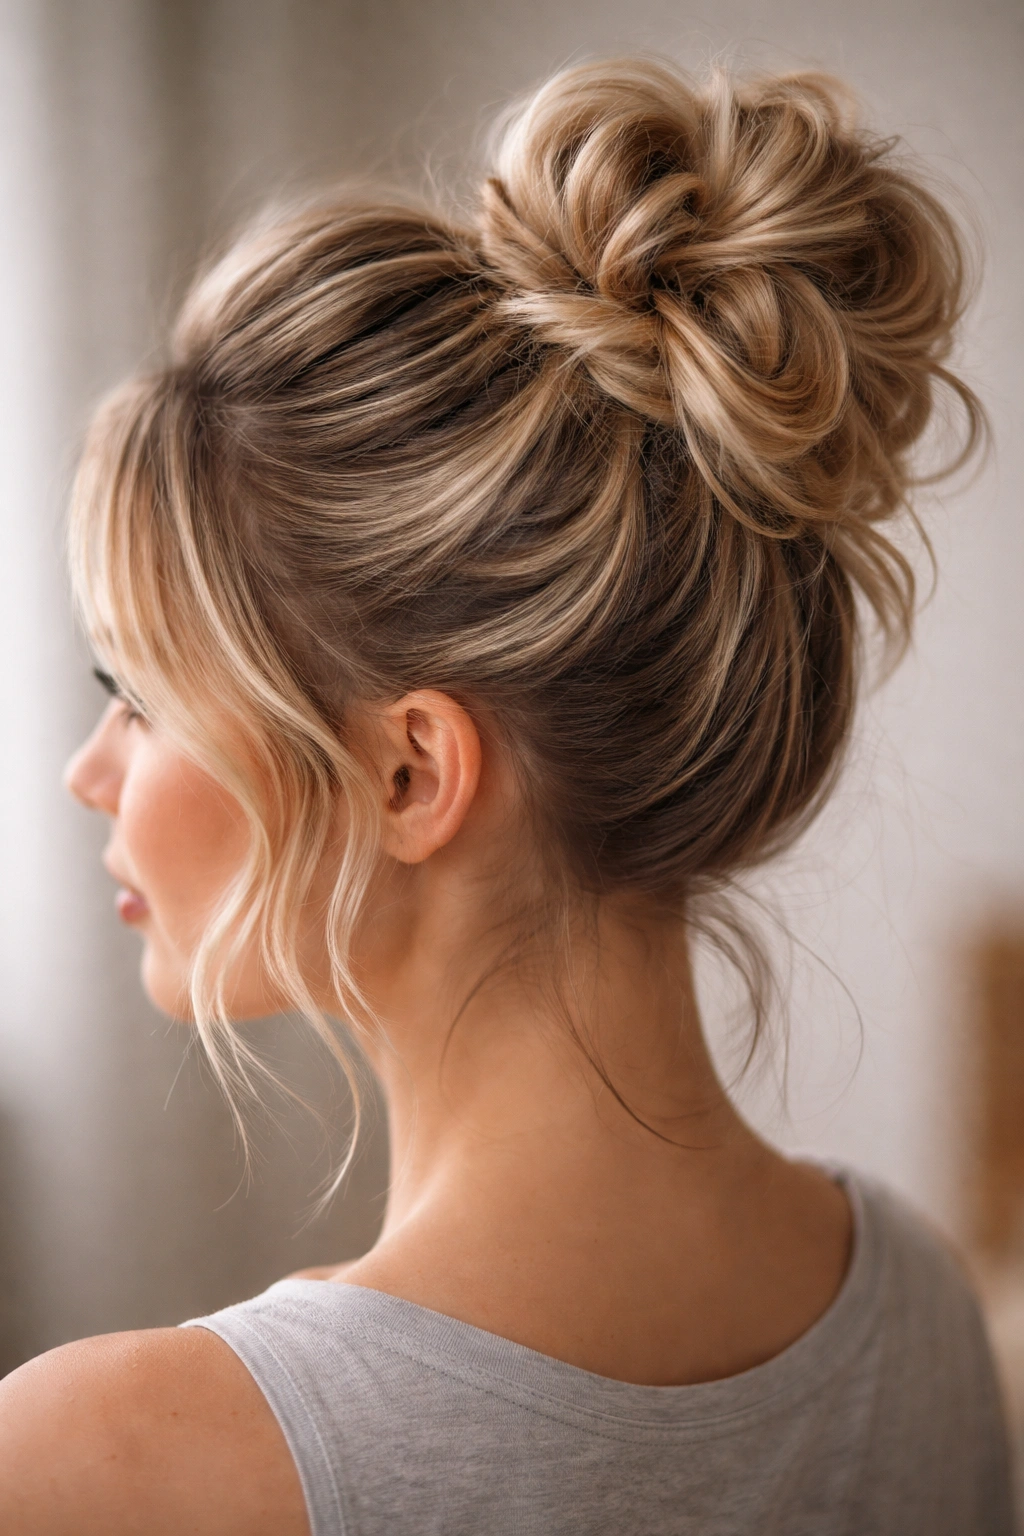
This style plays beautifully with your hair’s natural texture, whether that’s waves, curls, or manufactured curls created with a curling iron. The bun is built from individual curls wrapped and layered rather than twisted or braided, which creates maximum volume and the most obviously textured, undone appearance. It’s a legitimate choice if you’re tired of buns that look too neat, even when you’re trying for messy.
Start with hair that has volume and curl—either your natural texture or curls you’ve created with a curling iron or wand. Spray your hair lightly with texturizing spray while it’s still warm from heat styling; this locks in the curl pattern and improves hold. Create a high ponytail and secure it with an elastic. Now, instead of twisting or braiding, take individual curled sections from the ponytail and wrap them around the base of the ponytail, securing each wrap with a bobby pin as you go.
Layer as You Wrap
This is the secret to the wrapped curl bun: you’re not gathering everything into one big mass, you’re layering individual curls around the elastic base, overlapping each one slightly as you go. One curl might wrap clockwise, the next counterclockwise. You’re creating a three-dimensional effect where the bun reads as full and textured from every angle. This method uses the curls you already have rather than trying to create texture from straight sections.
Pin Placement for Maximum Security
Unlike some bun styles where you can hide pins, the wrapped curl bun works best when pins are slightly visible because they’re holding individual curls in place. Use 6 to 8 bobby pins, placing them horizontally through each wrapped curl and into the base. The pins should disappear visually into the curl itself, not stand out against your hair. Match your pin color to your hair color for best results.
Refreshing the Curls
If you’re making this bun on day-old curls that have lost some definition, activate them again with a light mist of a curl-refreshing spray or even plain water. Blow-dry on a low setting or let air dry, and the curls will spring back to life. This style actually photographs beautifully because the curls create such obvious texture and dimension—it reads as intentional styling even though it’s one of the most effortlessly constructed buns on this list.
6. The Side Sweep Bun
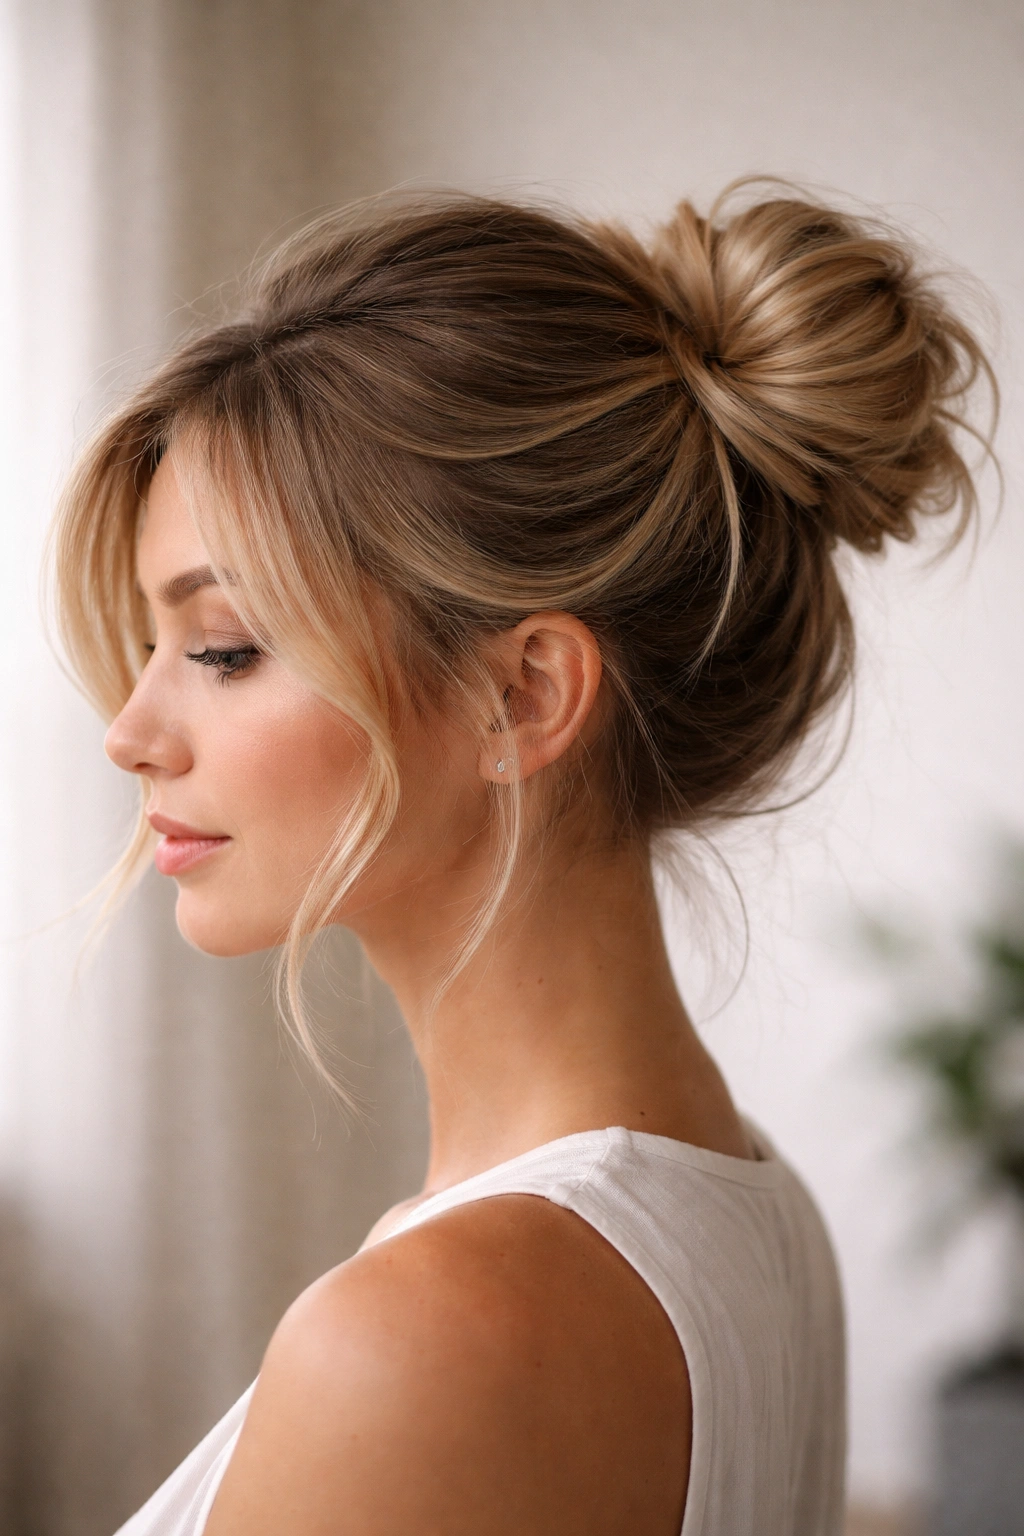
The side sweep bun works by deliberately off-centering your bun toward one side of your head rather than placing it at the crown. This creates an asymmetrical, more fashion-forward look that feels different from a traditional high bun. It’s particularly flattering on round face shapes and works with any hair length from pixie-length layers upward. The side placement also tends to read as more modern and deliberately styled, which eliminates the “I just threw this together” worry that sometimes comes with messy buns.
Create a deep side part, sweeping most of your hair to one side while keeping a smaller piece on the other. Take the larger side and create a high side ponytail positioned just above your ear, tilting the elastic slightly upward. This ponytail sits higher on that side of your head than a traditional low side ponytail would—you’re aiming for roughly crown-height, just off-center. Twist the ponytail loosely and wrap it into a bun, securing with bobby pins around the base.
The Asymmetrical Architecture
The magic of the side sweep bun is that by placing it off-center, you’re creating visual balance even though the placement is asymmetrical. Your head looks more shaped, your face looks more defined, and the whole thing reads as intentional rather than accidental. The smaller side section can be left as a face-framing piece, pinned back loosely, or incorporated into the base of the bun—depending on your hair length and how you want the overall silhouette to read.
Texturizing the Asymmetry
Apply texturizing spray to the side you’re gathering before you create the ponytail. This improves grip and ensures the bun holds throughout the day. The texture on the larger bunned side contrasts nicely with the smoother, smaller section on the other side, creating visual interest. You’re not going for balance here in terms of texture—you’re leaning into the asymmetry and making it feel deliberate.
Who Should Wear This
The side sweep works beautifully if you have longer short hair (chin-length or longer), naturally wavy or curly texture that holds shape well, or if you’re comfortable using enough product to create hold on straight hair. It’s excellent for showing off an undercut or an asymmetrical cut because the off-center bun complements that style. If you have very fine hair that struggles with holding any bun, the weight distribution of a side sweep sometimes actually helps—the asymmetry gives the bun less work to do to stay in place.
Choosing Your Short Hair and Your Style
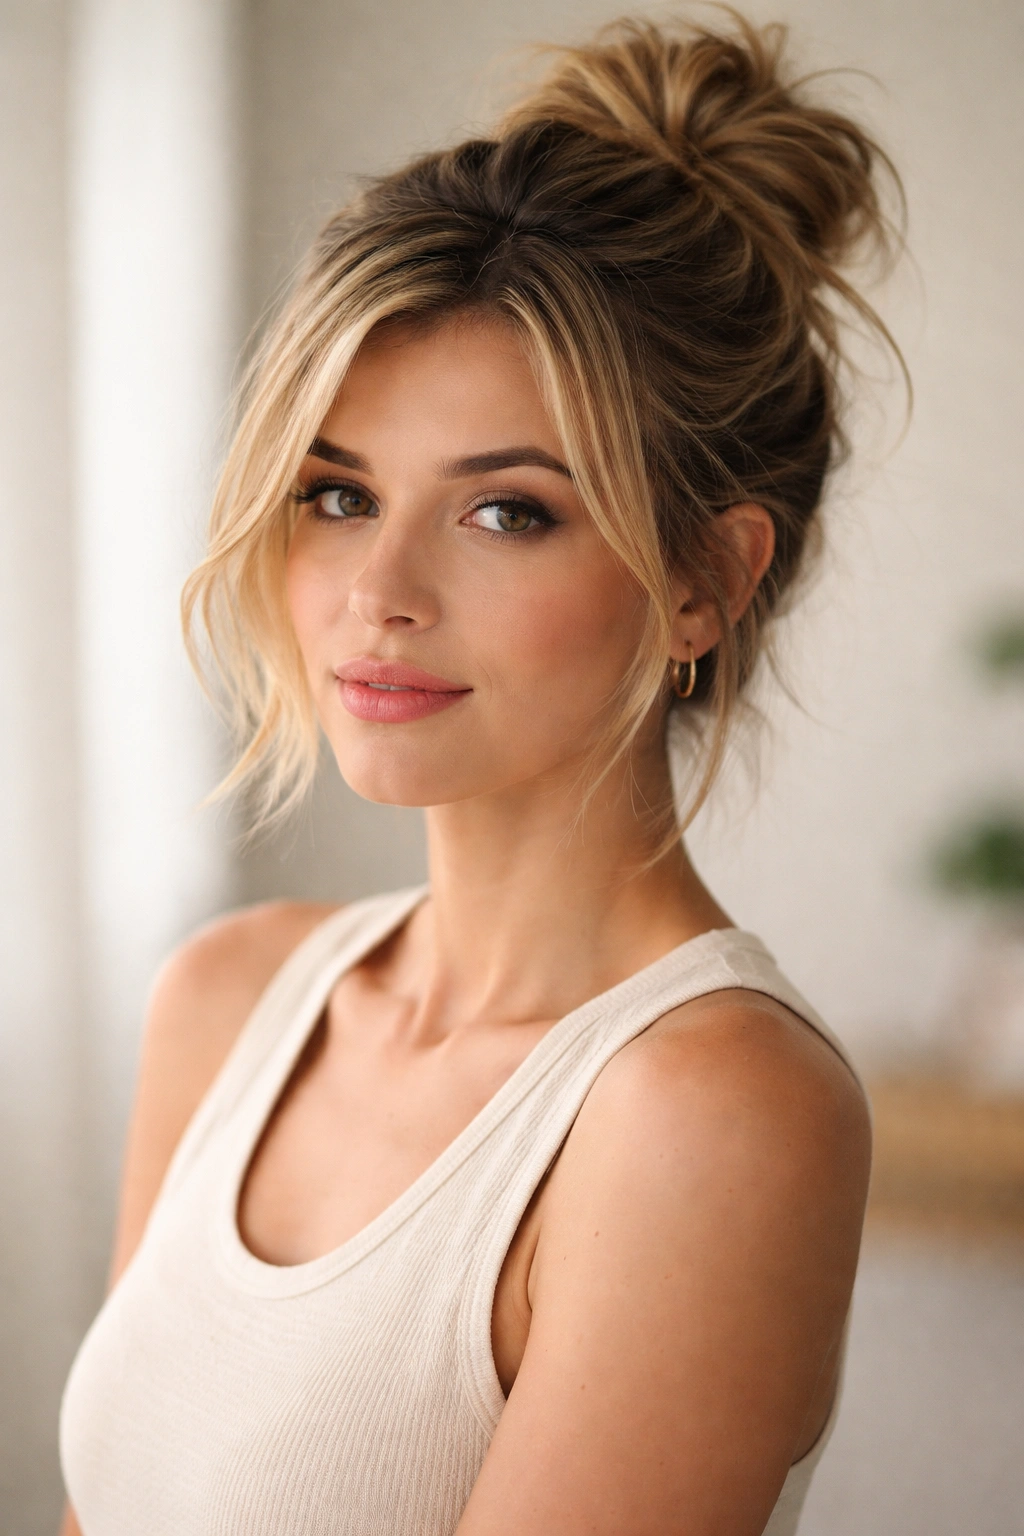
Your specific hair length, texture, and thickness should guide which of these styles you reach for most often. If you have very short, fine hair, the teased crown bun or twisted wrap might be your best friends because they create visible fullness through technique rather than relying on length. If you have shoulder-length hair with layers, you can rock any of these styles; the challenge becomes choosing which one matches your mood and occasion.
Texture is your best asset with short hair buns. Whether your texture is natural or created with heat styling and product, the more you lean into it, the better your bun will look. Straight hair that’s blow-dried smooth will require more product and pin support; textured hair has inherent grip and structure that makes styling faster and holds better throughout the day.
Consider the occasion too. The twisted wrap and braided loop buns skew slightly more polished and intentional, making them great for work or anything slightly dressier. The wrapped curl bun and twisted knot bun read as more relaxed and undone, perfect for weekends or when you want an effortlessly cool vibe. The teased crown bun works everywhere—it looks put-together enough for most situations but undone enough that it doesn’t feel overdone. The side sweep bun is your move when you want to feel fashionable and different from your usual style.
Final Thoughts
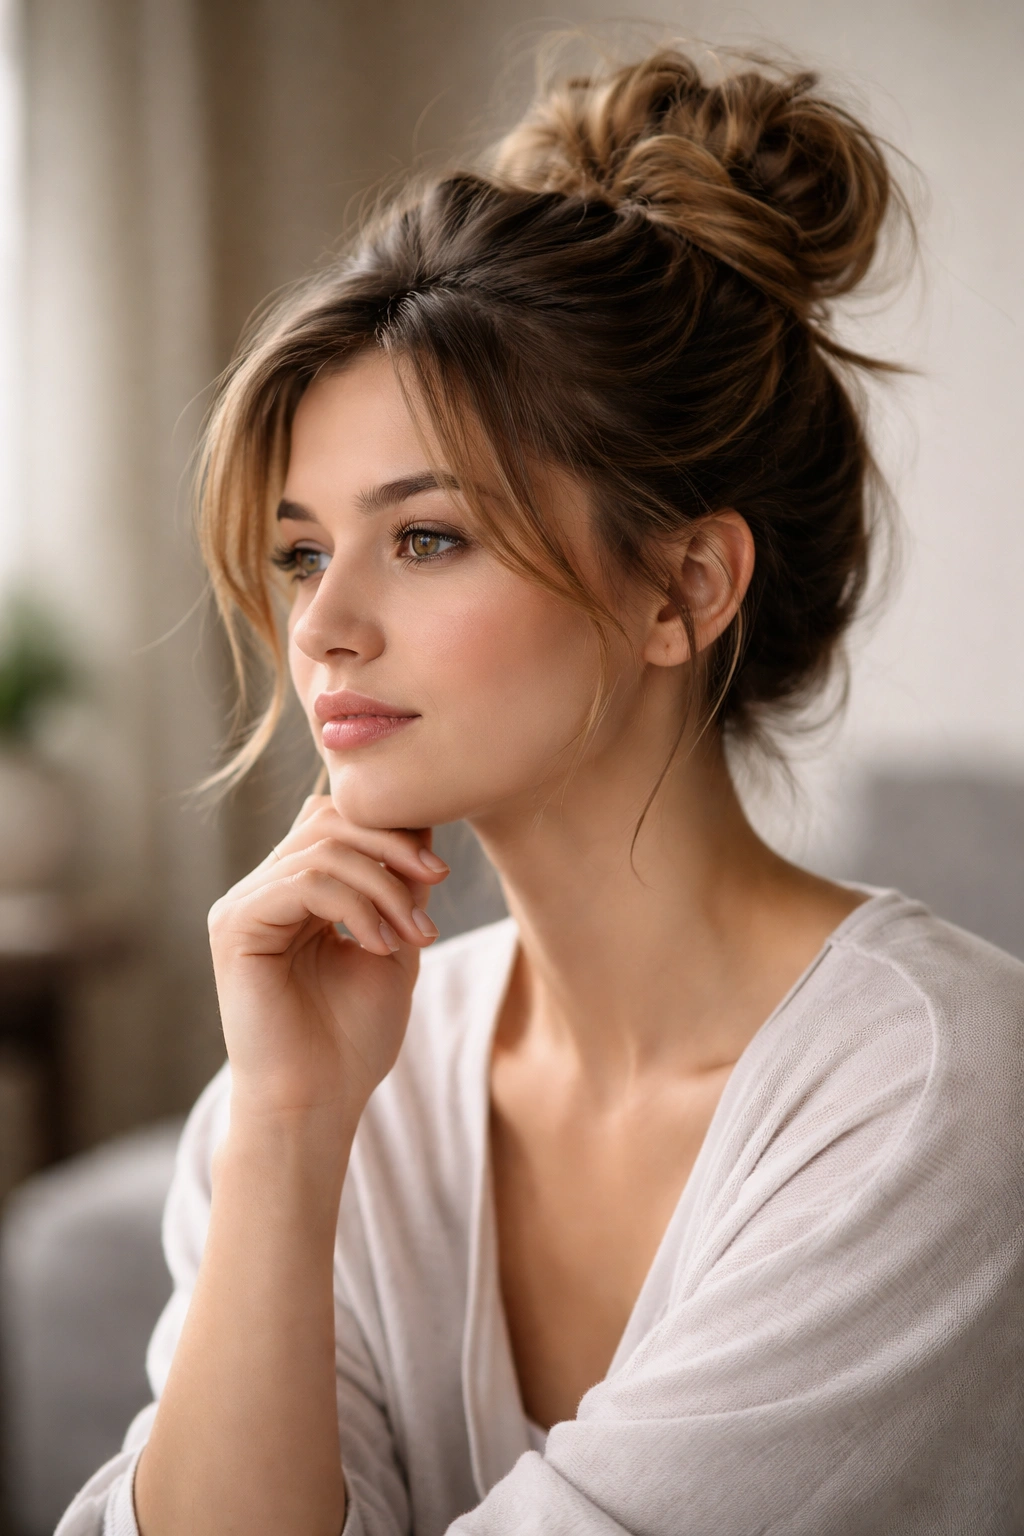
Short hair buns aren’t a compromise—they’re a completely different category with their own distinct advantages. You get a cleaner, more modern silhouette than longer hair buns, the style sits naturally high on your head without requiring massive amounts of hair, and the shorter lengths actually require intentionality that prevents the whole thing from looking accidentally undone. Once you accept that your bun will look different from longer-haired versions and lean into that difference, you’ll find these styles infinitely more wearable and flattering.
The real skill isn’t gathering lots of hair into a bun—it’s creating the illusion of fullness and polish with shorter lengths. That’s a legitimate styling skill, and once you master one or two of these techniques, the others become intuitive. You’ll start noticing which products give you the best hold, which bobby pin placements feel most secure, and how much texturizing spray is just right versus too much.
Rotate between these styles based on how much time you have, what your hair’s doing on any given day, and what vibe you’re going for. Some days will call for the security of multiple bobby pins; other days you’ll want the freedom of the twisted knot. Your short hair is an asset, not a limitation. These six styles prove that you don’t need length to make a high messy bun work—you just need to understand how to work with what you have.
