If your braid slides apart before you even get out the door, the problem usually isn’t your hands. It’s the hair.
Straight, smooth strands — common in many Asian hair types, though hair texture always varies from person to person — do not give a basic three-strand plait much to grip. The strands slip over each other, the tension loosens, and by lunchtime the pretty braid has turned into a soft rope with opinions of its own.
That does not mean braids are off the table. Far from it. It means you need styles that build friction, anchor at the scalp, or lean on pins and elastics in a smart way. A little dry shampoo at the roots, a touch of mousse, or braiding on day-two hair can change everything.
I have a soft spot for braids that look delicate but are secretly sturdy. The best ones for slippery hair are the ones that stay neat without asking you to yank your scalp half to death. Some are classic. Some are a little fussy. All of them can work if you treat smooth hair like what it is: beautiful, sleek, and annoyingly eager to escape.
1. Dutch Braid
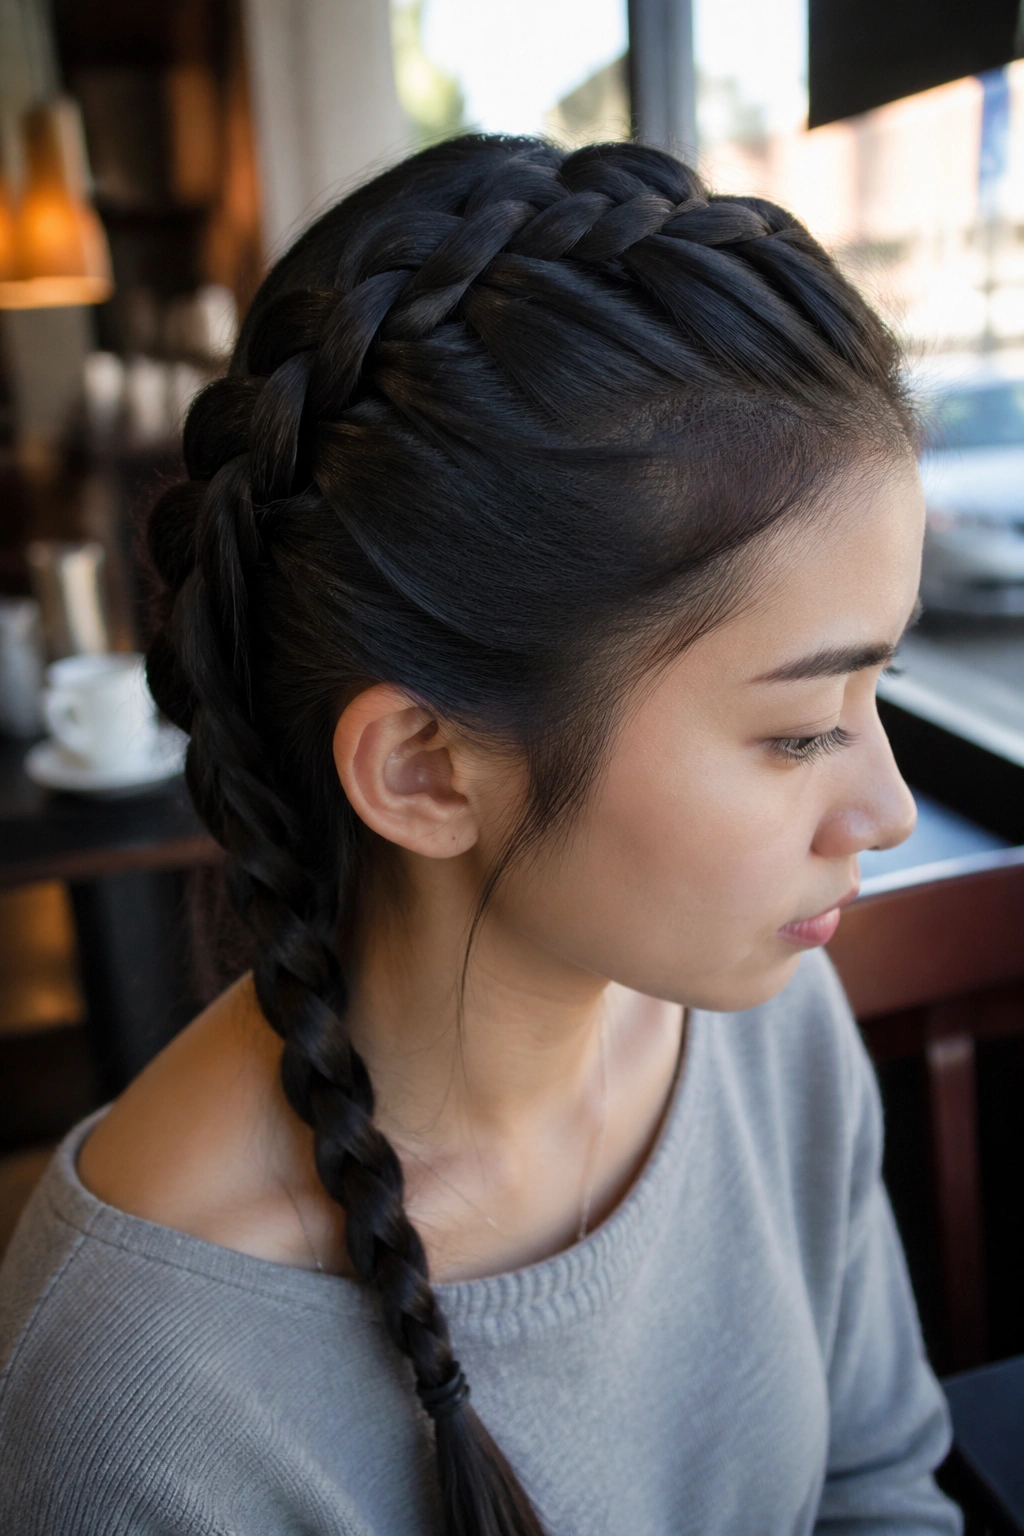
The Dutch braid is the first style I reach for when hair won’t stay put. It sits on top of the hair instead of sinking into it, which gives the braid more shape and more grip right away. That raised ridge is not just pretty; it helps the plait hold its line on hair that likes to slide.
Why It Clings Better
- Cross the side pieces under the middle strand, not over it.
- Start on hair that has a little grit — day-two hair, dry shampoo, or a light texturizing spray helps.
- Keep your first 2 inches tight. That’s the part most likely to loosen later.
Best trick: braid a little tighter than feels natural, then tug the edges a touch after you tie it off. Not a lot. Just enough to make it look full, not stiff.
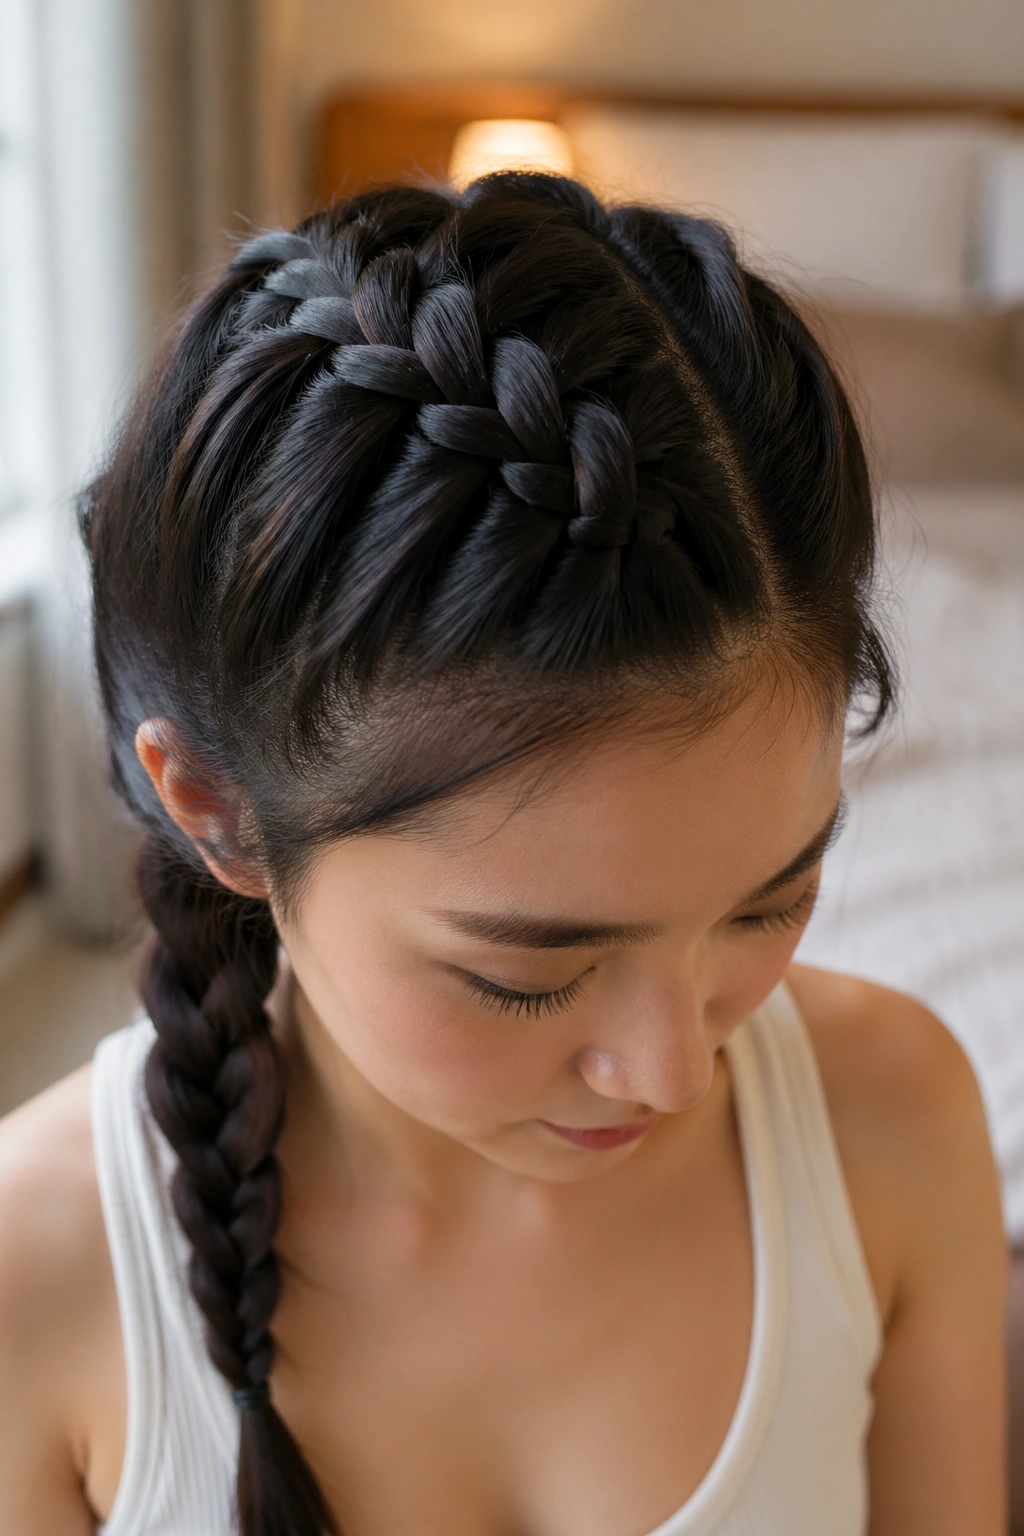
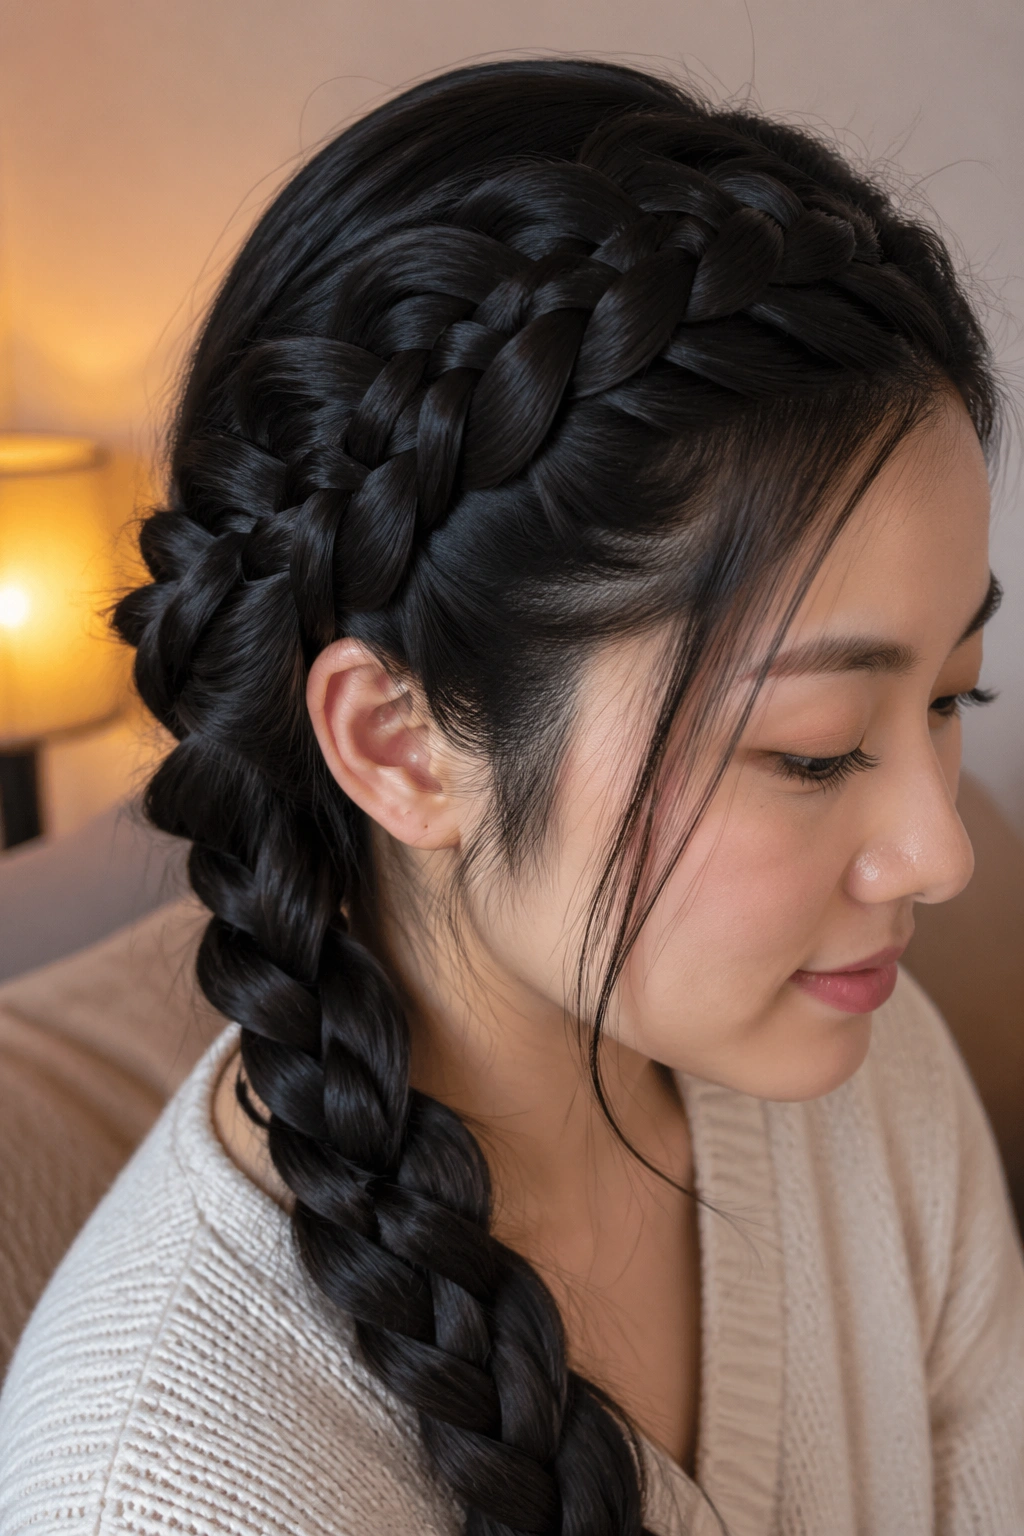
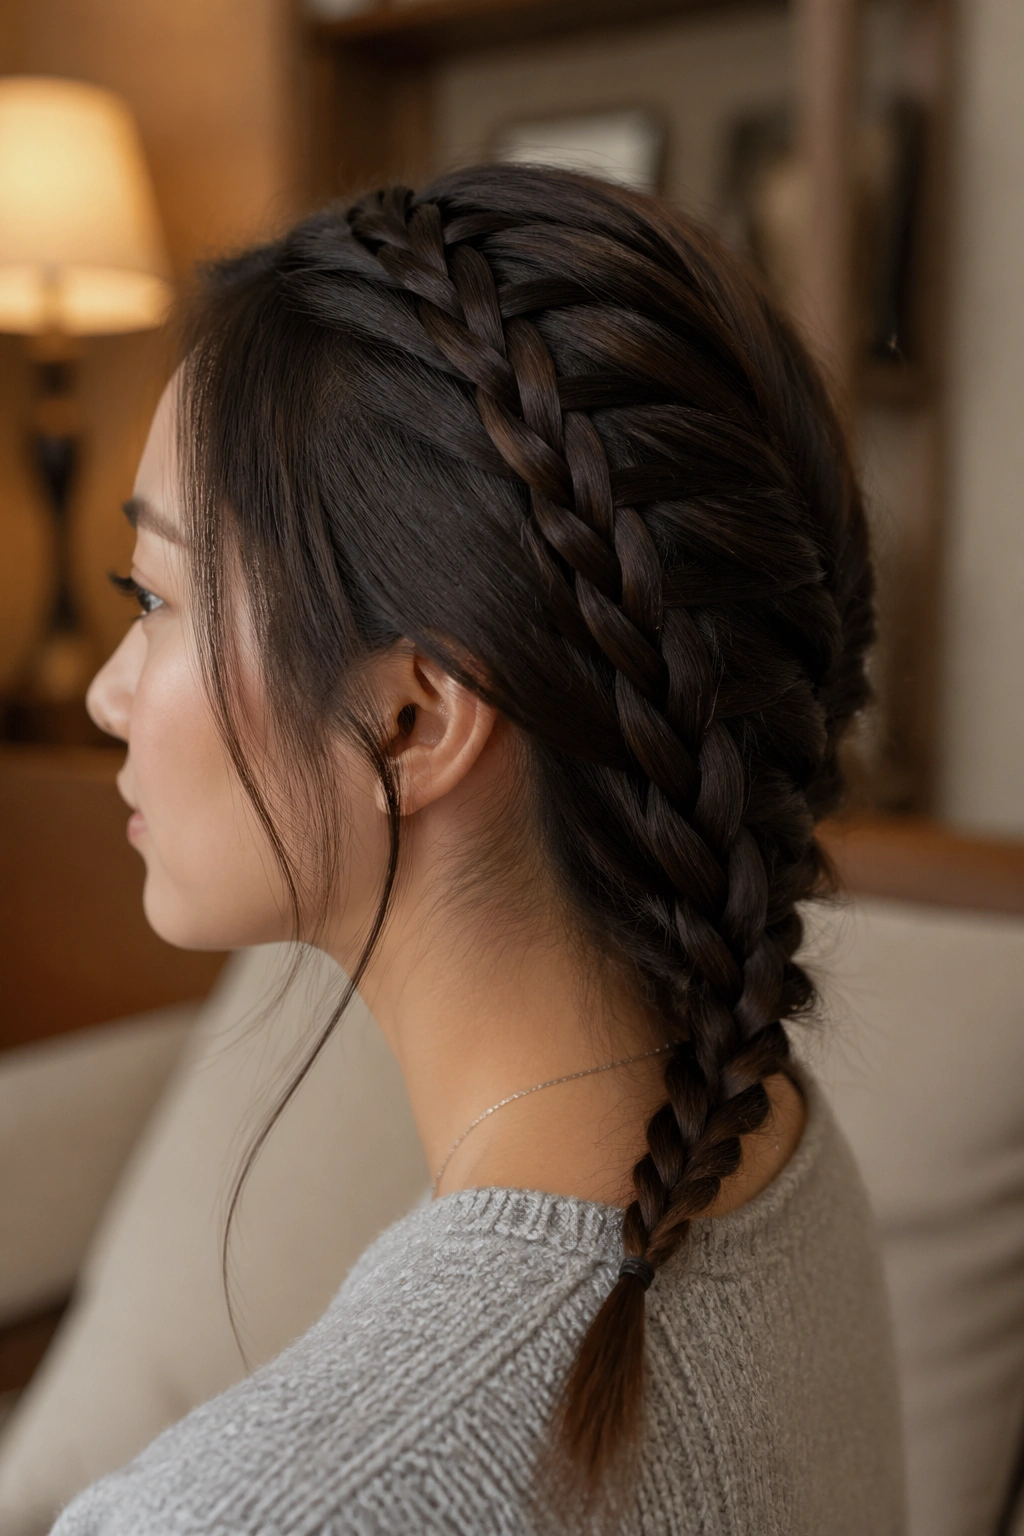
2. French Braid
Why do some French braids stay all day while others fall flat in an hour? Usually, it comes down to the roots. A French braid can work beautifully on silky hair if you keep the tension close to the scalp and don’t start with hair that’s freshly washed and slippery.
I like this braid for people who want a cleaner look than a Dutch braid gives. It sits flatter, so it’s a bit quieter visually, but it still gives the front sections something to hold on to. If your hair is very fine, mist the crown with lightweight mousse before you start. That small step makes the braid behave better without turning it crunchy.
3. Fishtail Braid
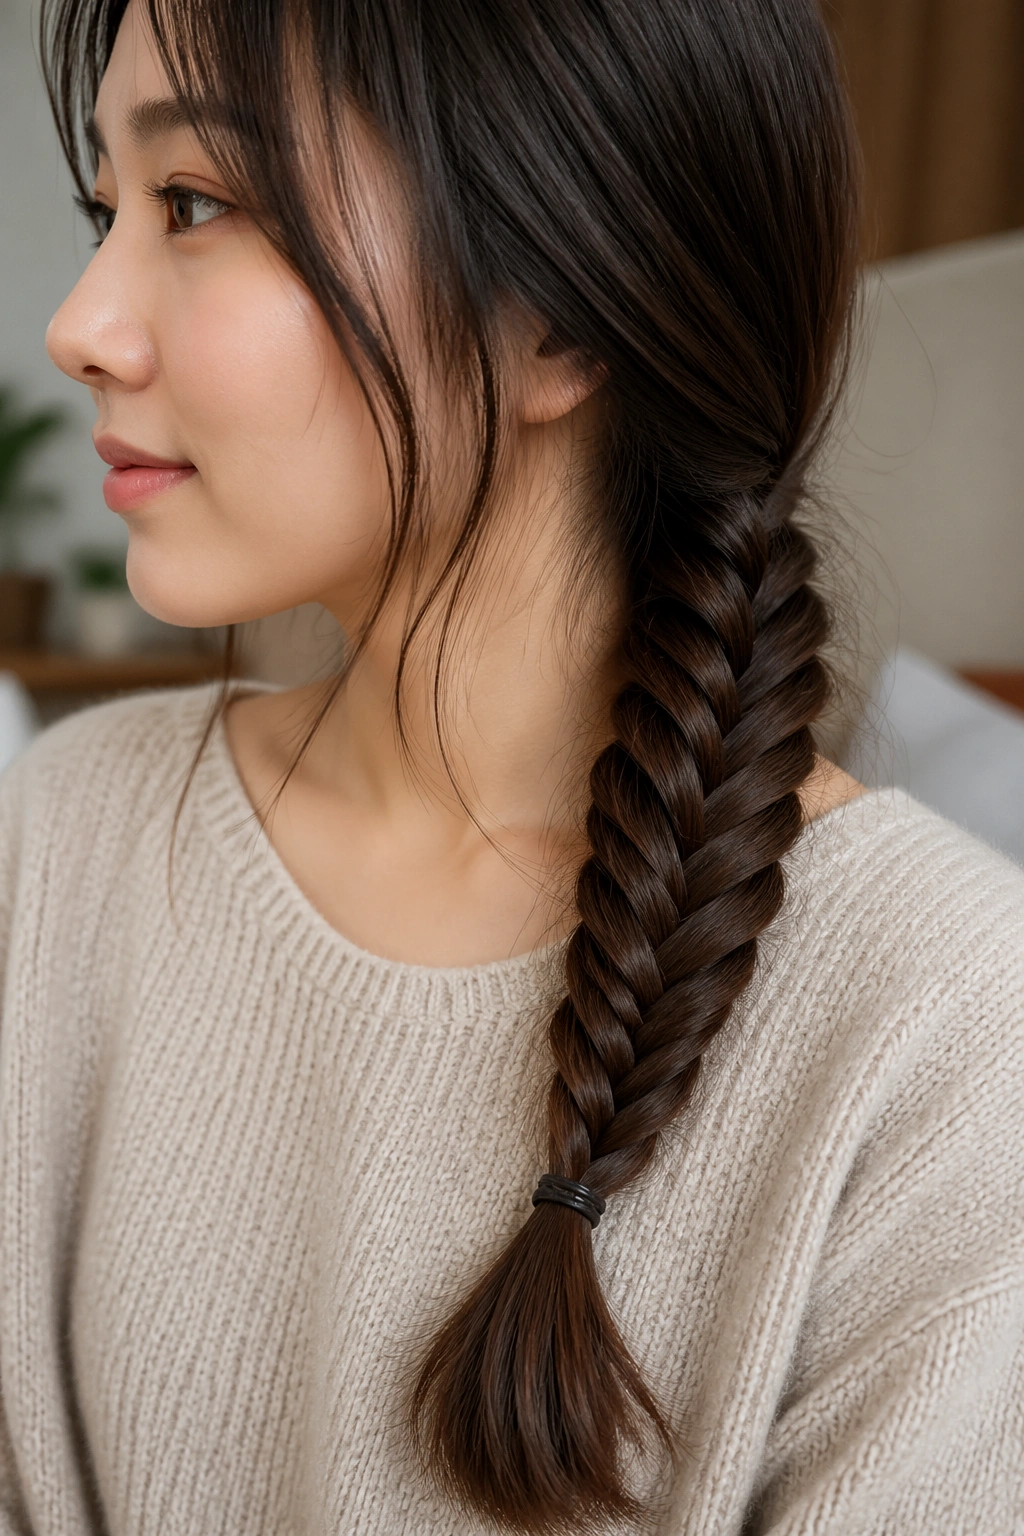
A fishtail braid is a sneaky good choice for slippery hair. Instead of three large sections, you work with tiny pieces from two sides, and that extra detail creates more friction than people expect. It looks intricate, but the hold comes from the small, repeated grabs.
I like fishtails best when they start in a low ponytail or a side sweep. The base gives the braid a little anchor, which matters on hair that sheds plaits fast. Keep the slices thin, too. Thick chunks make the braid look loose and can cause the whole thing to unravel faster than you want.
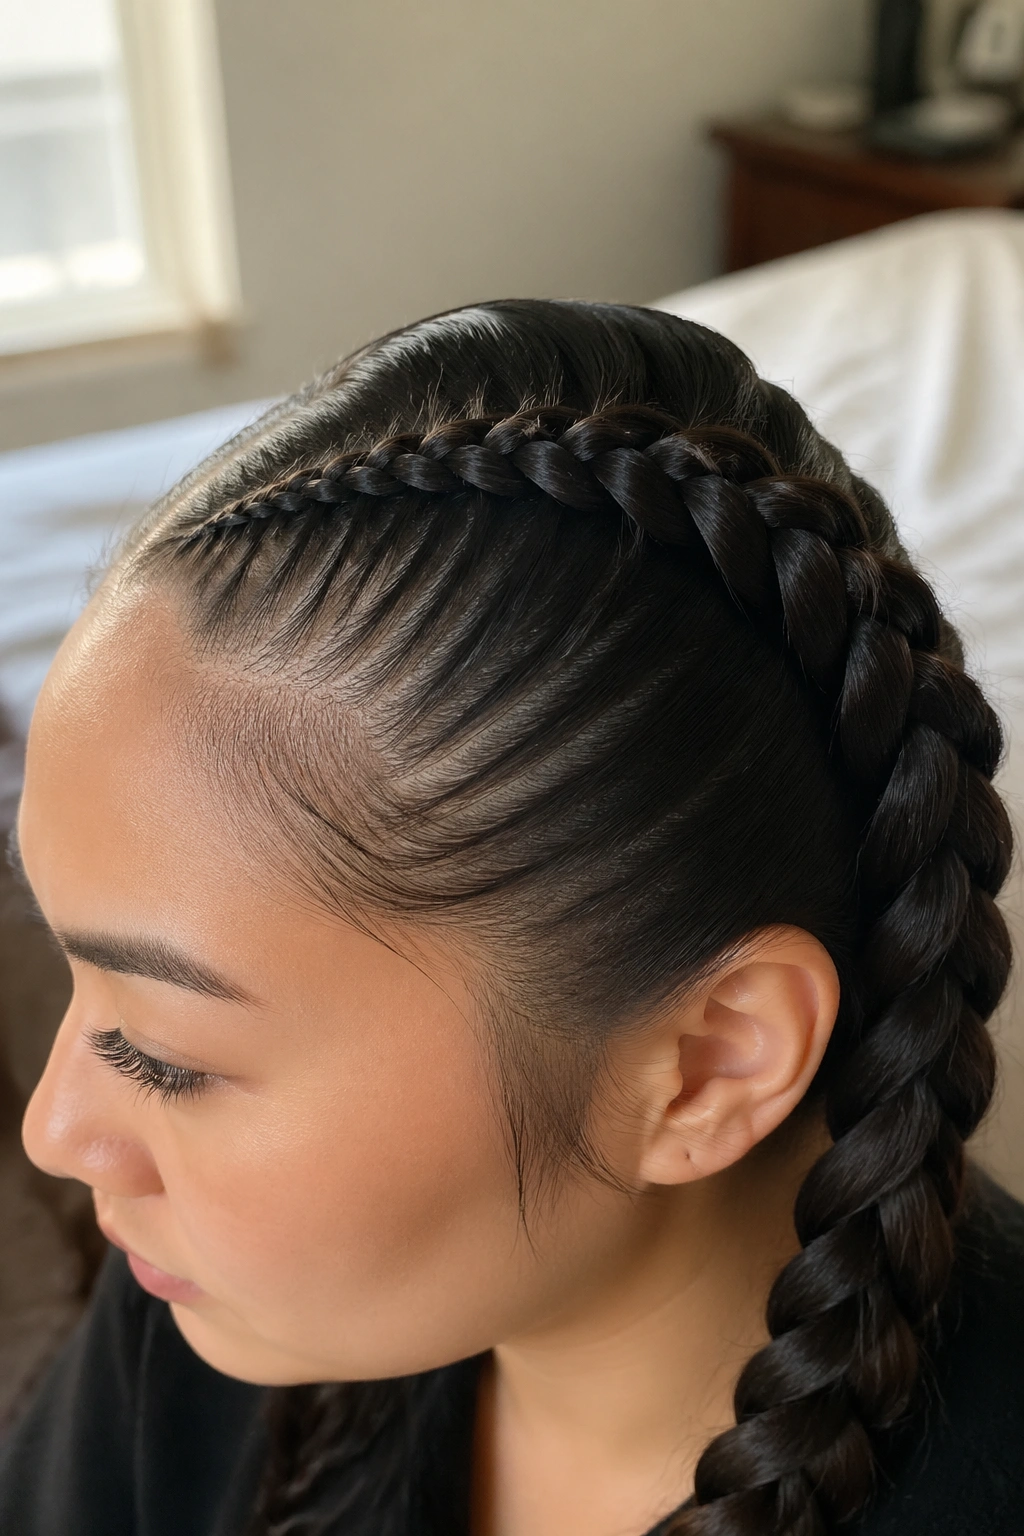
4. Boxer Braids
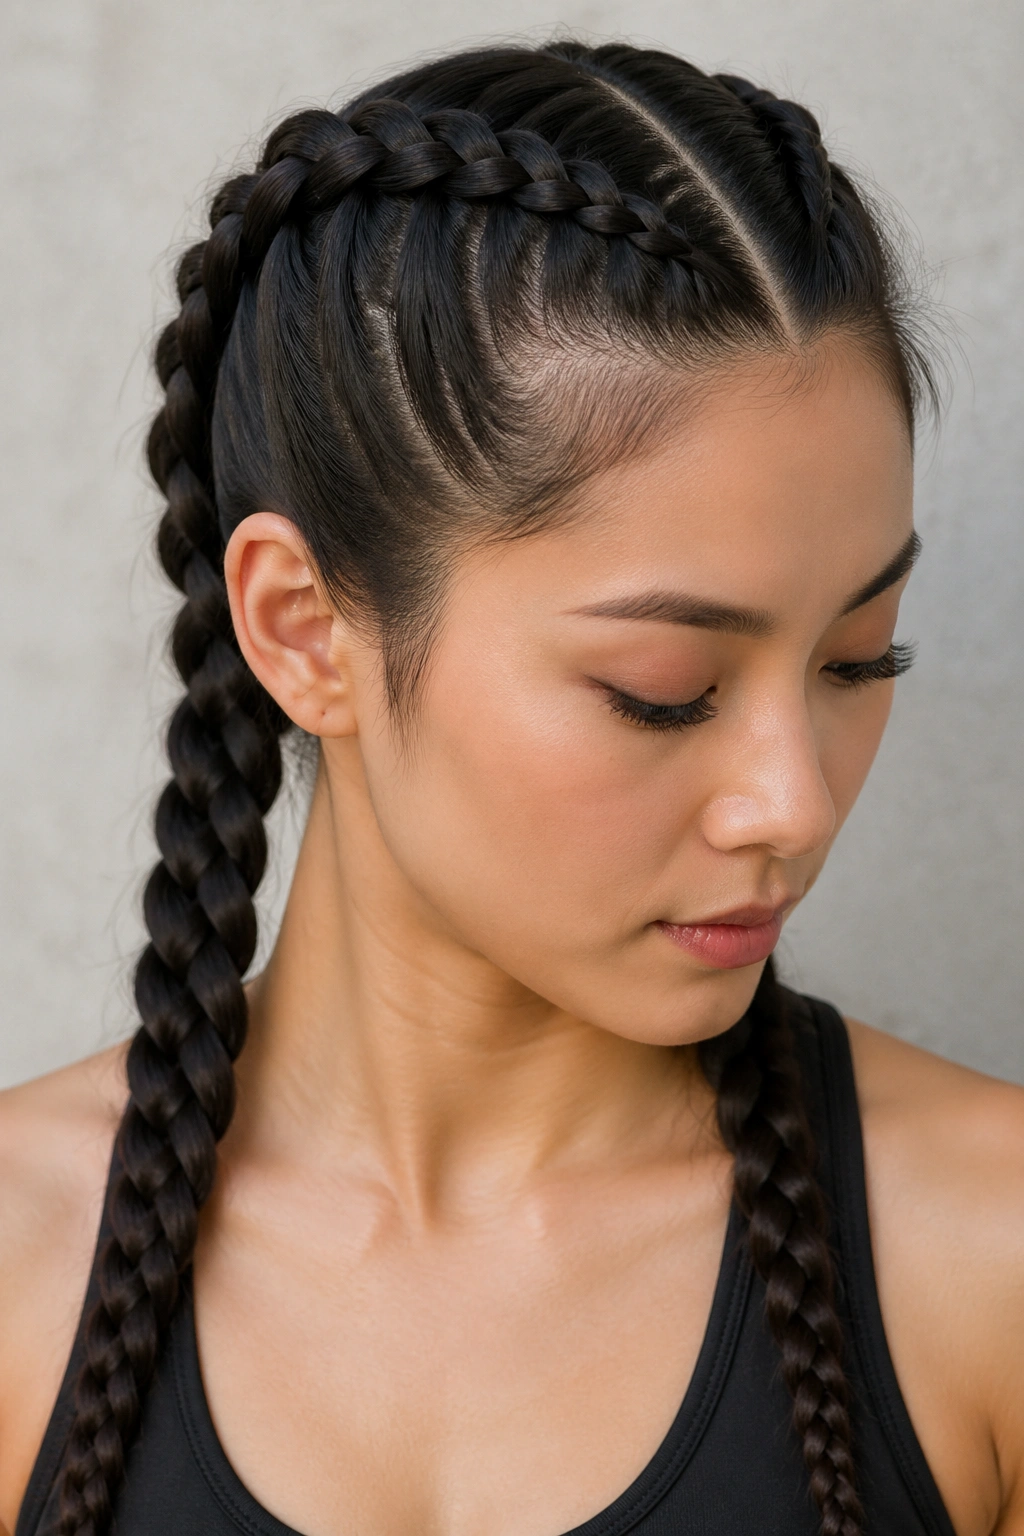
Boxer braids are blunt, practical, and weirdly elegant when done well. They are basically two tight Dutch braids, one on each side of the head, and they are excellent for hair that needs serious control. If your hair slips out of soft styles, this is one of the safest bets.
The reason is simple: the braids start at the scalp and stay close to it. That means less movement, less sagging, and fewer flyaways near the part. I would not pull them so tight that your temples ache, though. Firm is good. Pain is not. A little edge-control cream or pomade at the front can keep the hairline neat without making the braid greasy.
5. Pull-Through Braid
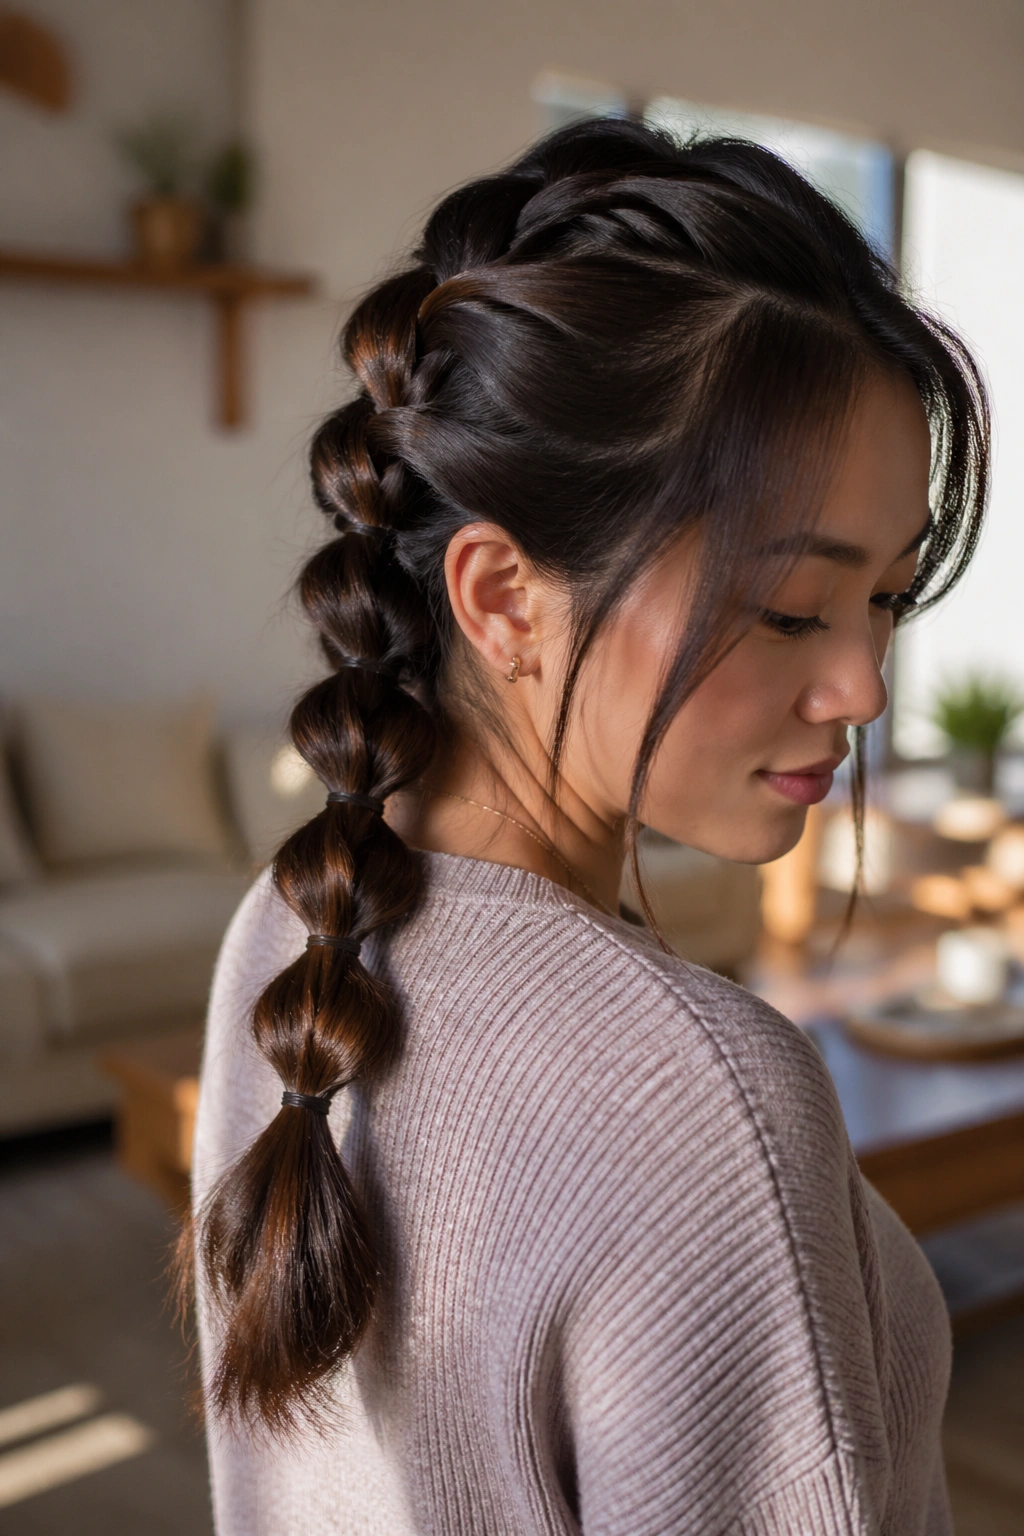
This one feels like cheating, and I mean that in the nicest way. A pull-through braid is built from tiny ponytails looped into each other, so it does not rely on the same strand-over-strand tension as a classic braid. If your hair slips apart fast, this is a very useful workaround.
How It Cheats the Slip Problem
- Tie the first small ponytail at the crown with a clear elastic.
- Make a second ponytail underneath it.
- Split the top ponytail into two halves and pull the second ponytail through the gap.
That repeated looping gives the style a lot of structure. It also works well on fine hair because you can make the sections as small as you need. The tradeoff is time. It takes longer than a plain braid, but the payoff is a style that looks fuller and stays put.
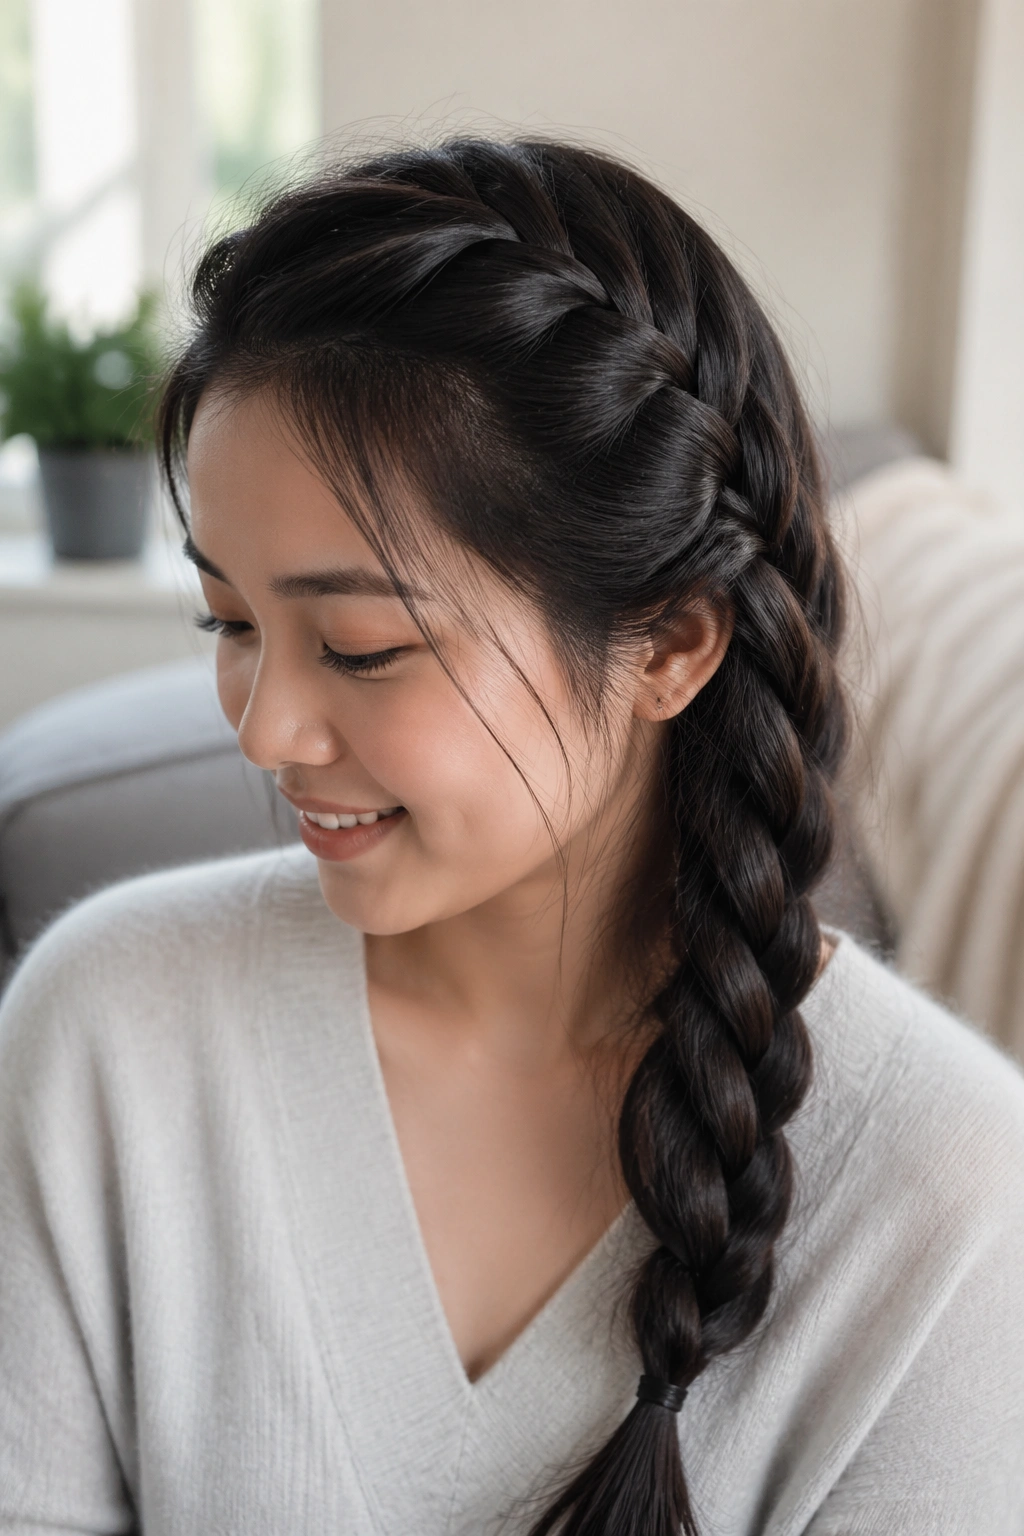
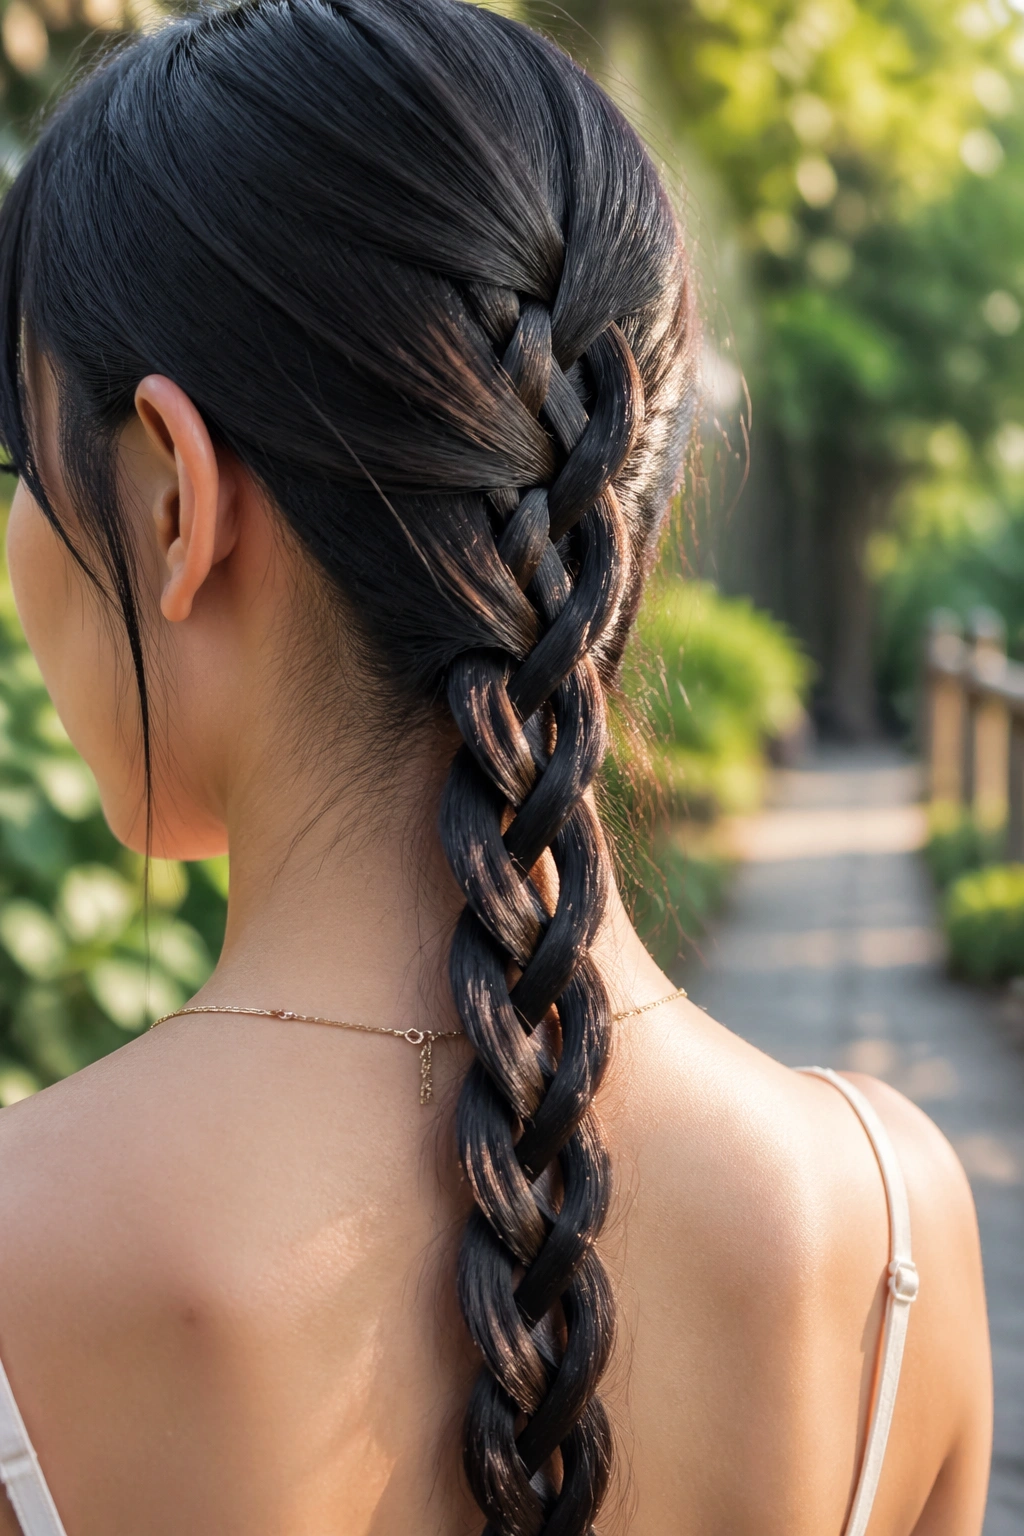
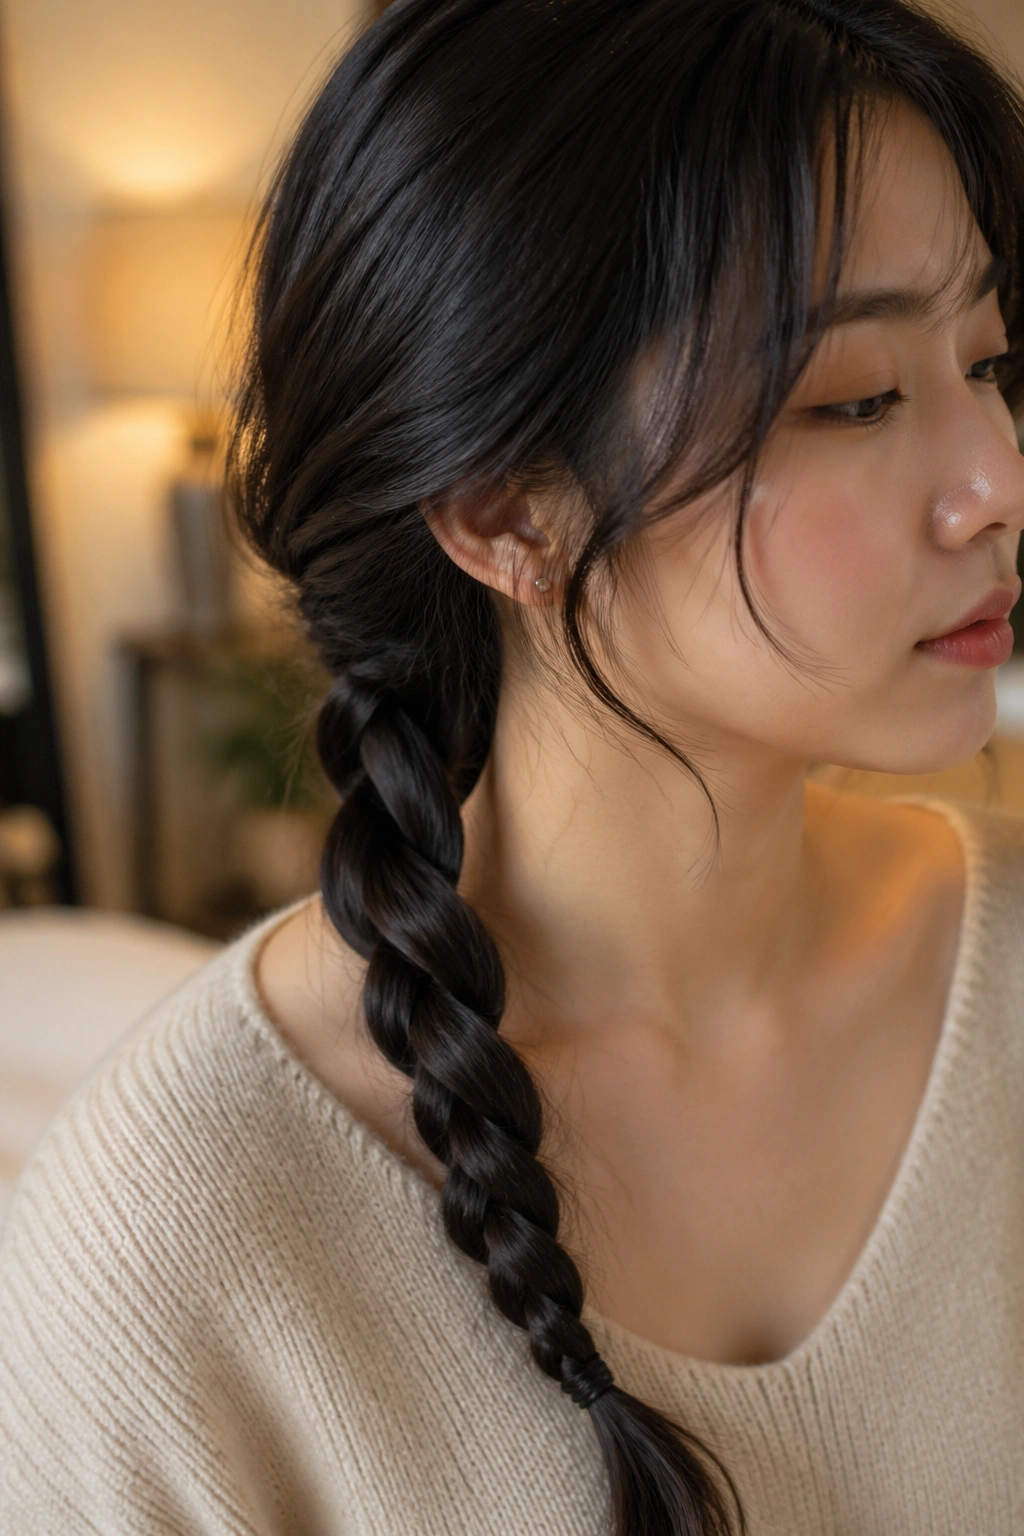
6. Rope Braid
Two strands. That’s it.
A rope braid is one of the easiest answers for hair that won’t hold a three-strand plait because the twist creates its own tension. Twist each section in the same direction, then wrap them around each other in the opposite direction. If you reverse the directions, the braid starts to loosen and look fuzzy fast.
This style is especially nice when you want something clean and glossy. It has a polished, narrow finish that looks good on straight hair, and it takes only a few minutes once your hands learn the rhythm. On very slick hair, a tiny elastic at the end matters more than people think. Use one that matches your hair color if you want the braid to look tidy.
7. Four-Strand Braid
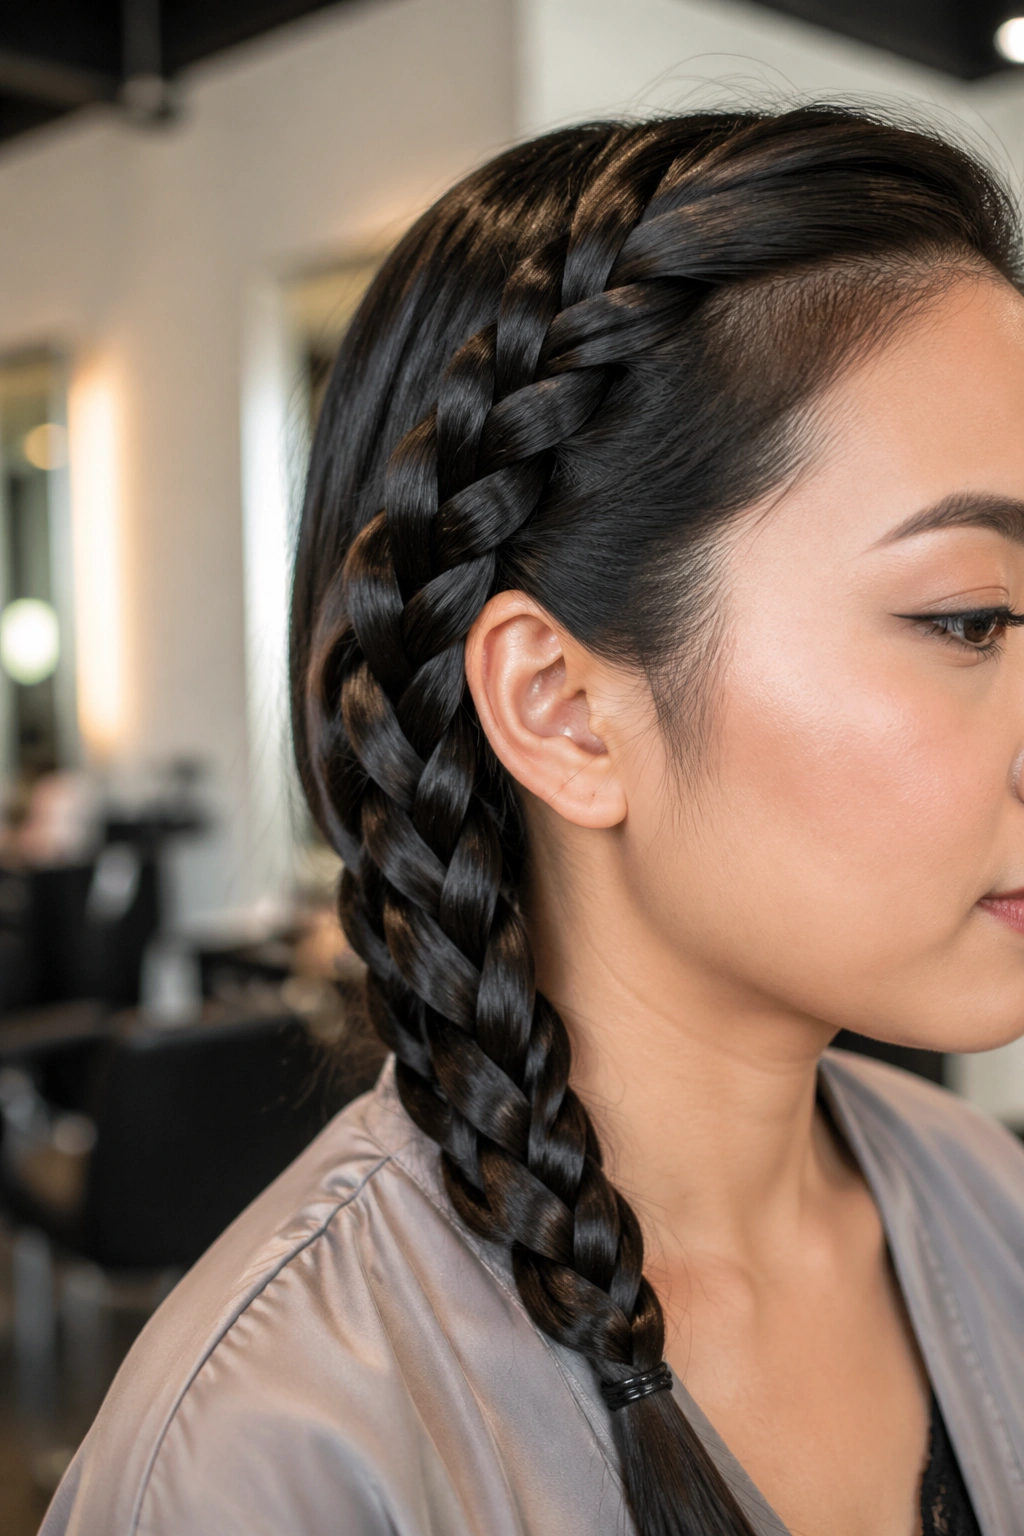
Need more grip than a basic braid, but less fuss than a fishtail? A four-strand braid sits in a nice middle spot. The extra strand makes the braid look denser, and density helps on smooth hair because the pattern has more places to catch and hold.
How to Keep the Tension Even
- Clip the strands apart before you start.
- Work slowly for the first 3 or 4 passes.
- Keep your fingers close to the braid instead of holding the sections far away from your head.
The braid can look a little wonky if you rush the beginning. Once it settles, though, it has a textured, almost woven look that flat hair wears well. It’s one of those styles that looks more complicated than it actually is.
8. Five-Strand Braid
There’s something a little luxurious about a five-strand braid. The finished braid feels fuller in the hand, and that matters when the hair itself is fine or slippery. More strands mean more structure. More structure means less chance of the braid sliding apart before you finish the second side of the pattern.
It does take practice. No way around that. I usually recommend it on medium-to-long hair because the extra length gives you room to correct your hand position if the sections start drifting. If your hair is freshly washed, add a bit of matte powder or dry shampoo first. Clean, silky hair can make the sections glide too much, and then the whole thing starts to feel like a puzzle with no edge pieces.
9. Side French Braid
A braid that starts near one temple and sweeps to the opposite shoulder can hold surprisingly well on straight hair. The side placement gives the braid a little more weight, so it does not sit there fighting gravity all day. It also makes the front pieces easier to manage, which is half the battle with slippery strands.
I like this style when the hair is long enough to drape over one shoulder without falling apart. Pin the section behind the ear first if needed. That little anchor keeps the braid from migrating as you work. A soft bend at the ends is fine. Perfection is not the point here. Stay power is.
10. Cornrow-Inspired Braids
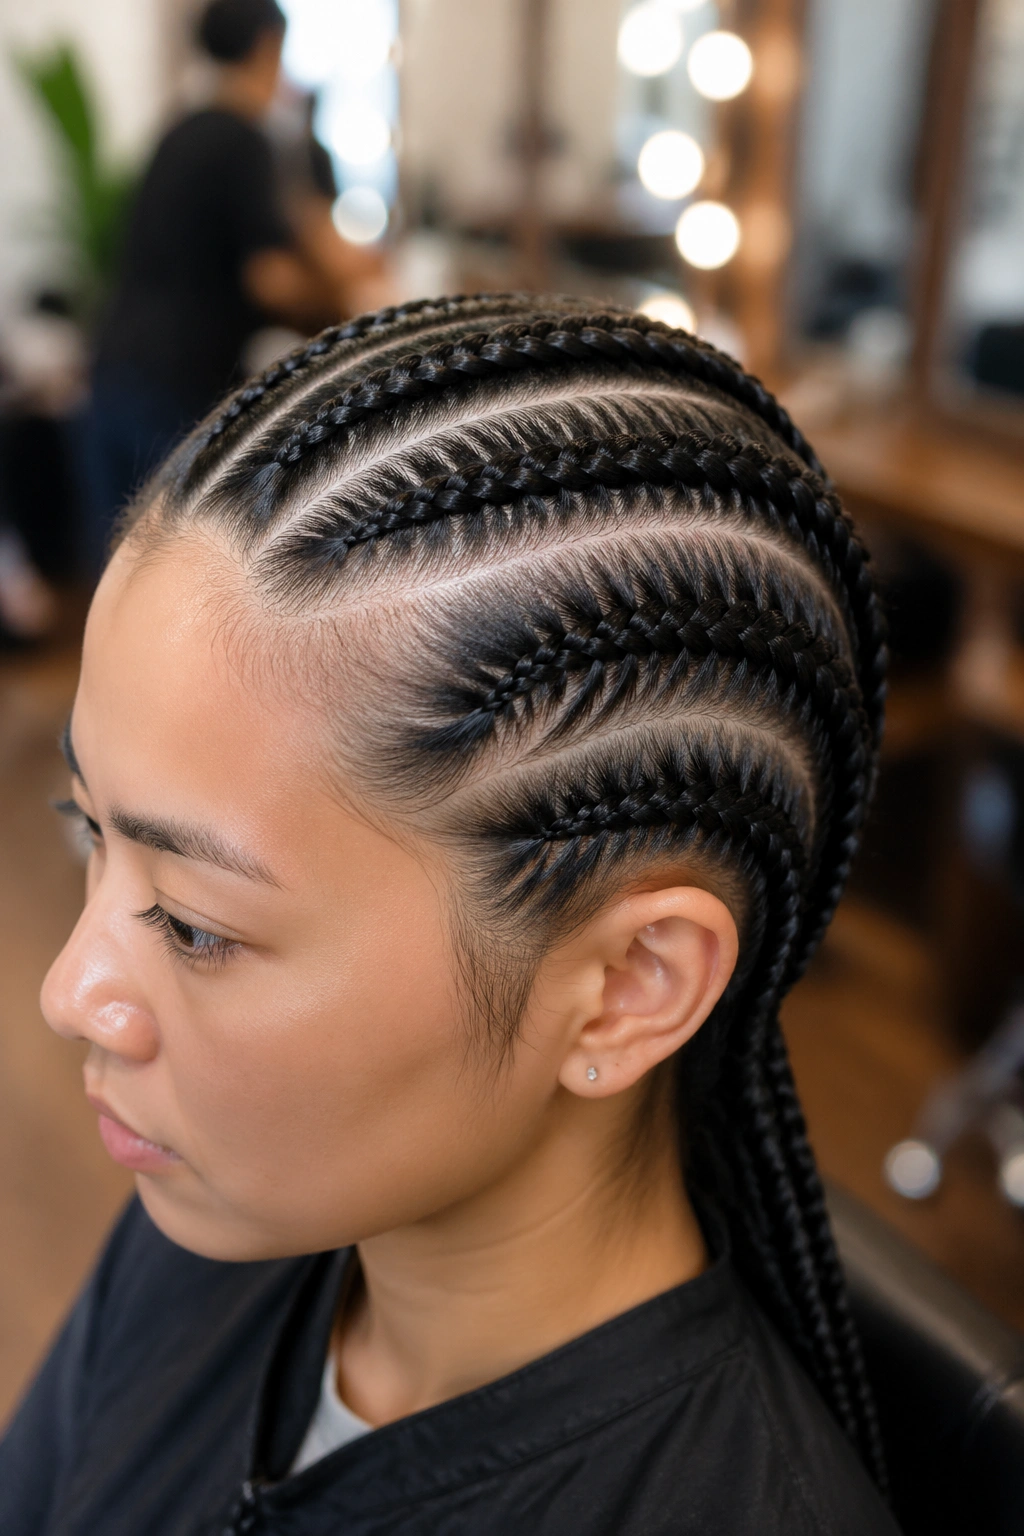
If you need a braid that does not move, this is one of the hardest-working styles on the list. True cornrows are a distinct braid style with deep cultural roots, so if you want a precise version, a skilled stylist is the best call. For home styling, the idea is to keep the braid close to the scalp and build small, controlled rows that hold tight.
Where the Hold Comes From
- Small sections create more friction at the roots.
- A neat part line keeps the braid from drifting.
- Firm tension, used carefully, keeps the braid close to the head.
I would use a light gel or edge cream only if your hair tolerates it well. If not, a little mousse at the roots is enough. The point is control, not stiffness.
11. Feed-In Braid
Want a braid that starts tiny and stays flat? A feed-in braid is a smart choice. Instead of grabbing a huge chunk of hair at the start, you add small pieces gradually, which keeps the base neat and less likely to puff out on smooth hair.
That gradual build is useful for slippery strands because it reduces the “slide” you get when all the tension sits in one spot. The braid grows into itself. If your hair is very fine, this style also avoids the heavy, bulky start that can make a braid sag by afternoon. Keep the sections even, though. Feed-in braids look best when the size grows in a controlled way, not in random clumps.
12. Micro Braid Accents
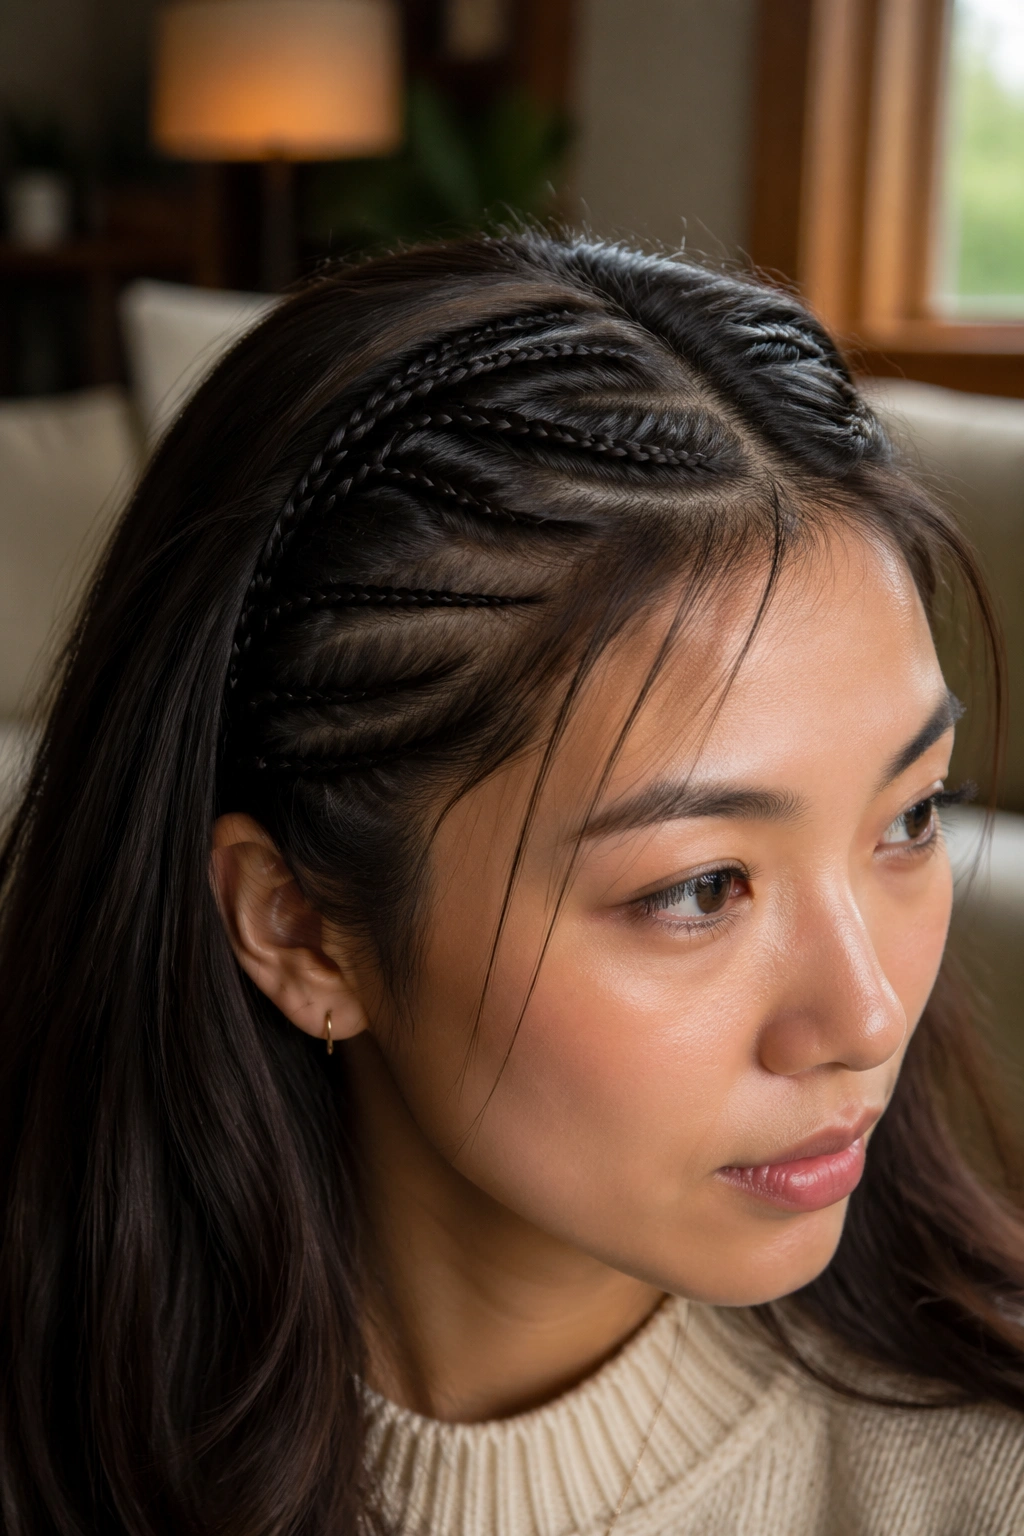
Sometimes the fix is not a giant braid. Sometimes it is a tiny one.
Micro braids at the hairline or around the crown can act like little anchors. They catch loose front pieces, add texture near the roots, and give larger styles something to grip onto. I like them tucked into buns, ponytails, or half-up looks because they calm down the parts of the hair that usually escape first.
They also help when you want a style that feels light. A full head of braids can be a lot. A few narrow accents can do the job without weighing the whole head down.
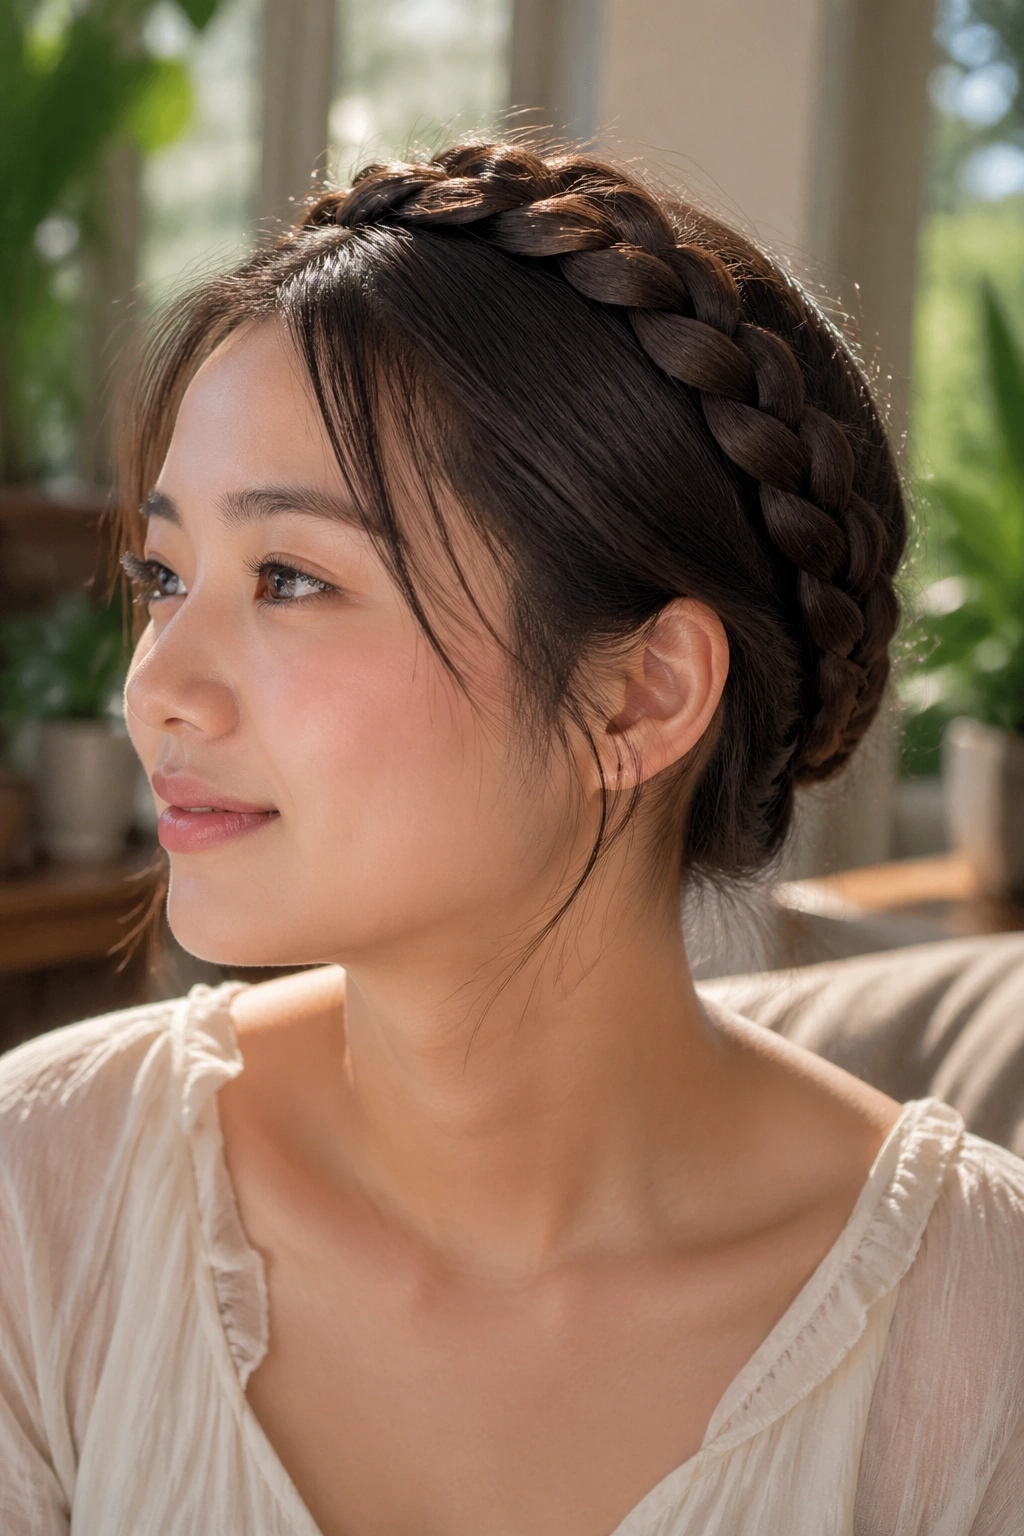
13. Crown Braid
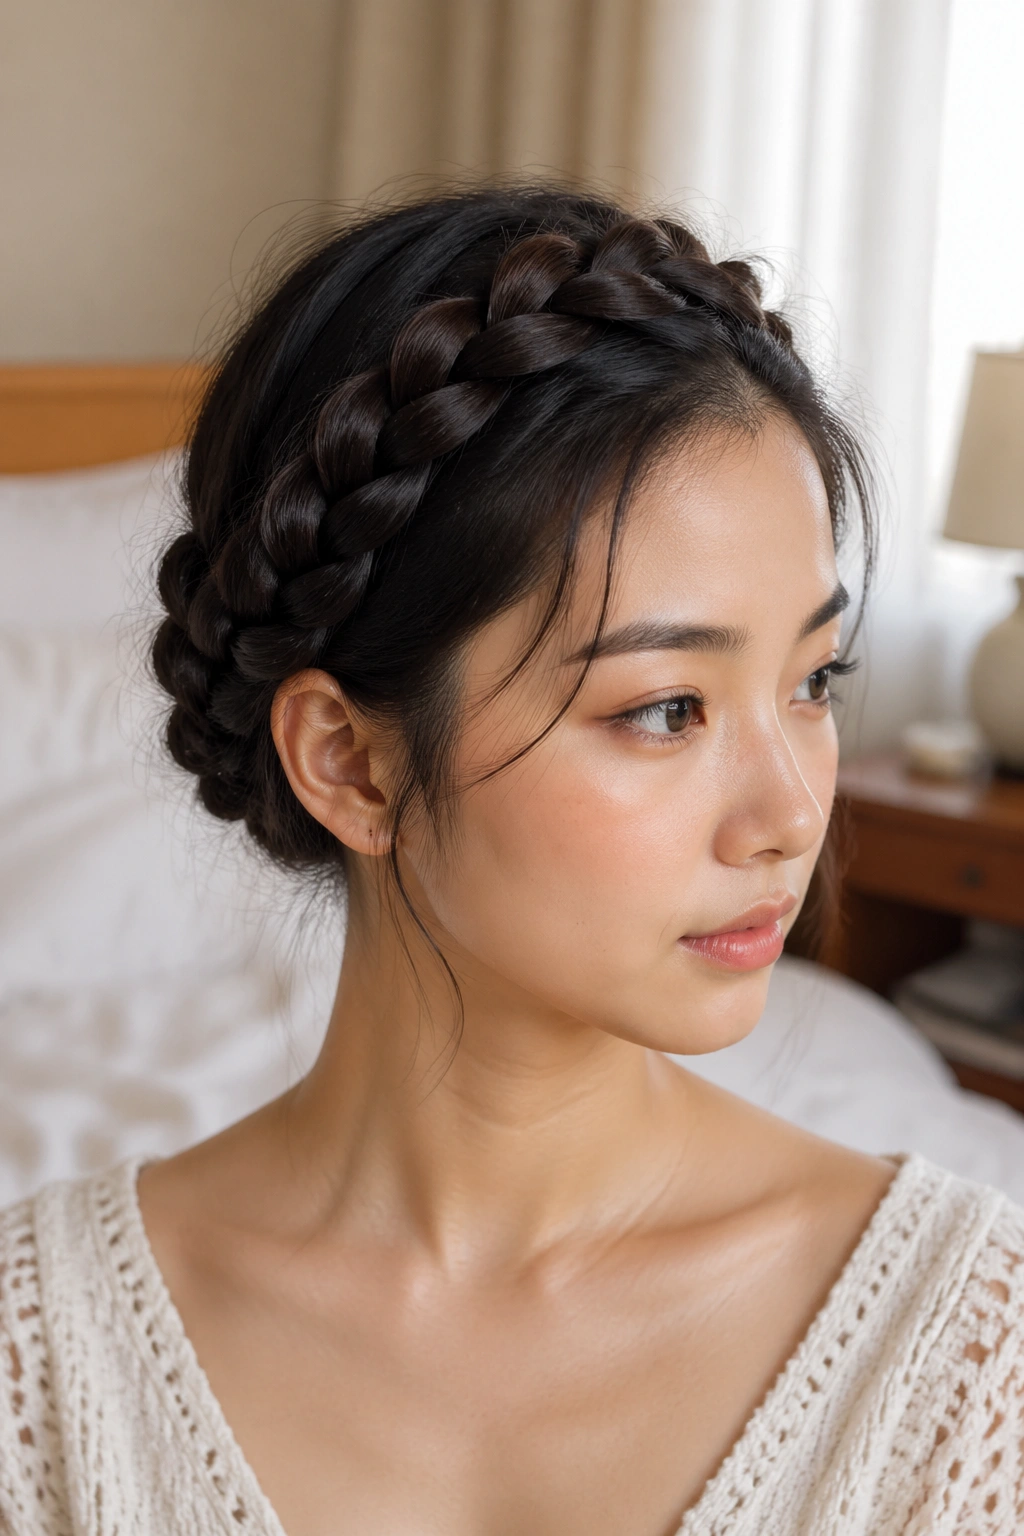
A crown braid circles the head like a halo of rope, and on slippery hair it works best when the braid is pinned in several hidden spots instead of relying on one big tie-off. That matters. One pin is rarely enough.
I usually secure a crown braid every 2 inches or so with U-pins or small bobby pins, especially near the nape and behind the ears. The braid should feel snug, not cramped. If the hairline is soft, leave a few tiny wisps out on purpose. A crown braid with a little breathing room often stays neater than one that’s pulled so tight it starts creeping loose.
14. Halo Braid
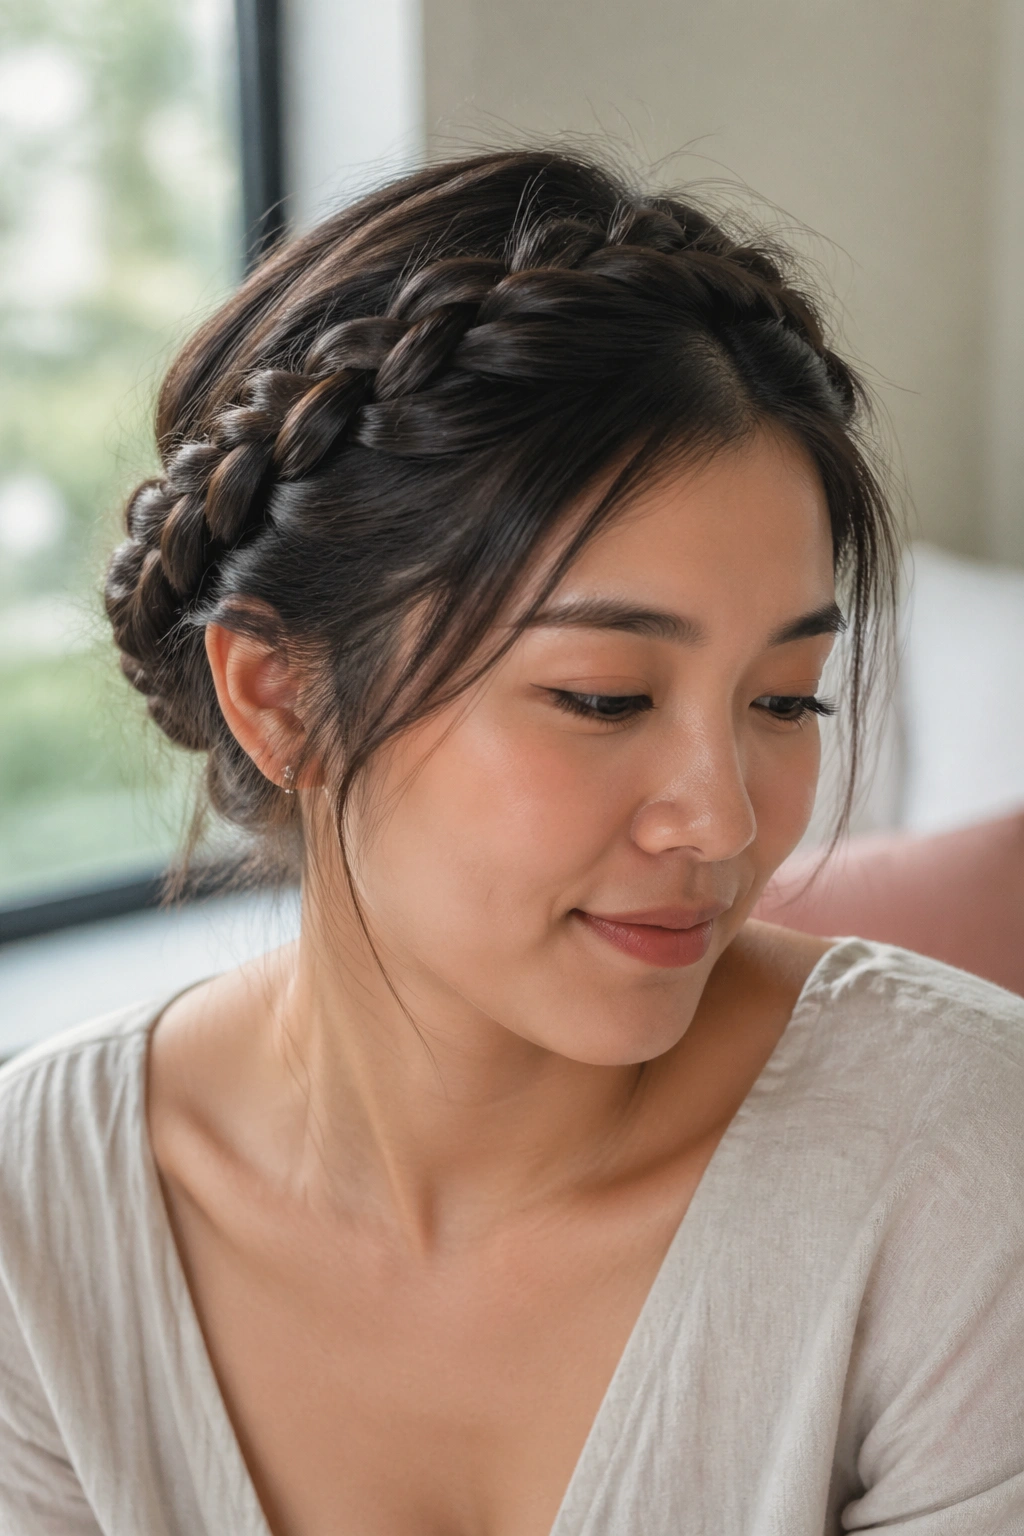
A halo braid looks similar to a crown braid, but it tends to sit a little lower and feel a bit softer around the head. That softer placement can be a plus on straight hair because the braid has more surface to rest against, which helps it stay in place.
This style is lovely when you want a romantic shape without a lot of fuss. Start with texture at the roots, braid close to the head, and pin under the braid rather than on top of it. That way the pins disappear better, and the braid keeps its round shape. If your hair is chin-length or a bit longer, halo braids can still work; you just need more pins than the glossy photos suggest.
15. Milkmaid Braid
Two braids crossed over the top of the head can hold better than one loose braid because each side supports the other. That is why the milkmaid braid is such a useful style for straight hair that slips out of plaits. The weight gets distributed instead of hanging from a single point.
I like this one for medium-length hair as much as long hair. Braid two low pigtails, cross them over the crown, and pin the ends underneath. If the braids are thin, tuck the ends farther under the crossover so they do not poke out. It is a little old-school, in the best way.
16. Half-Up Braid

Why fight all your hair when only the top section keeps escaping?
A half-up braid solves a lot of the slipping problem because it works with less hair at once. The lower section stays loose, which reduces tension, and the braid only has to control the crown and face-framing pieces. That makes it a good choice for fine, straight hair that gets tired under a full braided style.
Small Moves That Help
- Start with a clean part so the braid has a clear path.
- Braid the top section tight enough to hold, but not so tight that the crown lifts.
- Finish with a small elastic and two hidden pins under the braid.
The result is simple, and that is the point. Less hair means less to unravel.
17. Braided Ponytail
A ponytail gives the braid a base, and that base is worth something on slippery hair. Once the hair is banded at the back, the braid starts with an anchor instead of trying to hold itself together from the first pass.
I like a braided ponytail for travel, errands, and gym days because it looks neat without demanding much. Tie the hair first, then braid the tail, and wrap a small strand around the elastic if you want the finish to look cleaner. If the ends are especially smooth, use a second tiny elastic an inch from the tip. That one small extra band keeps the tail from loosening.
18. Braided Bun
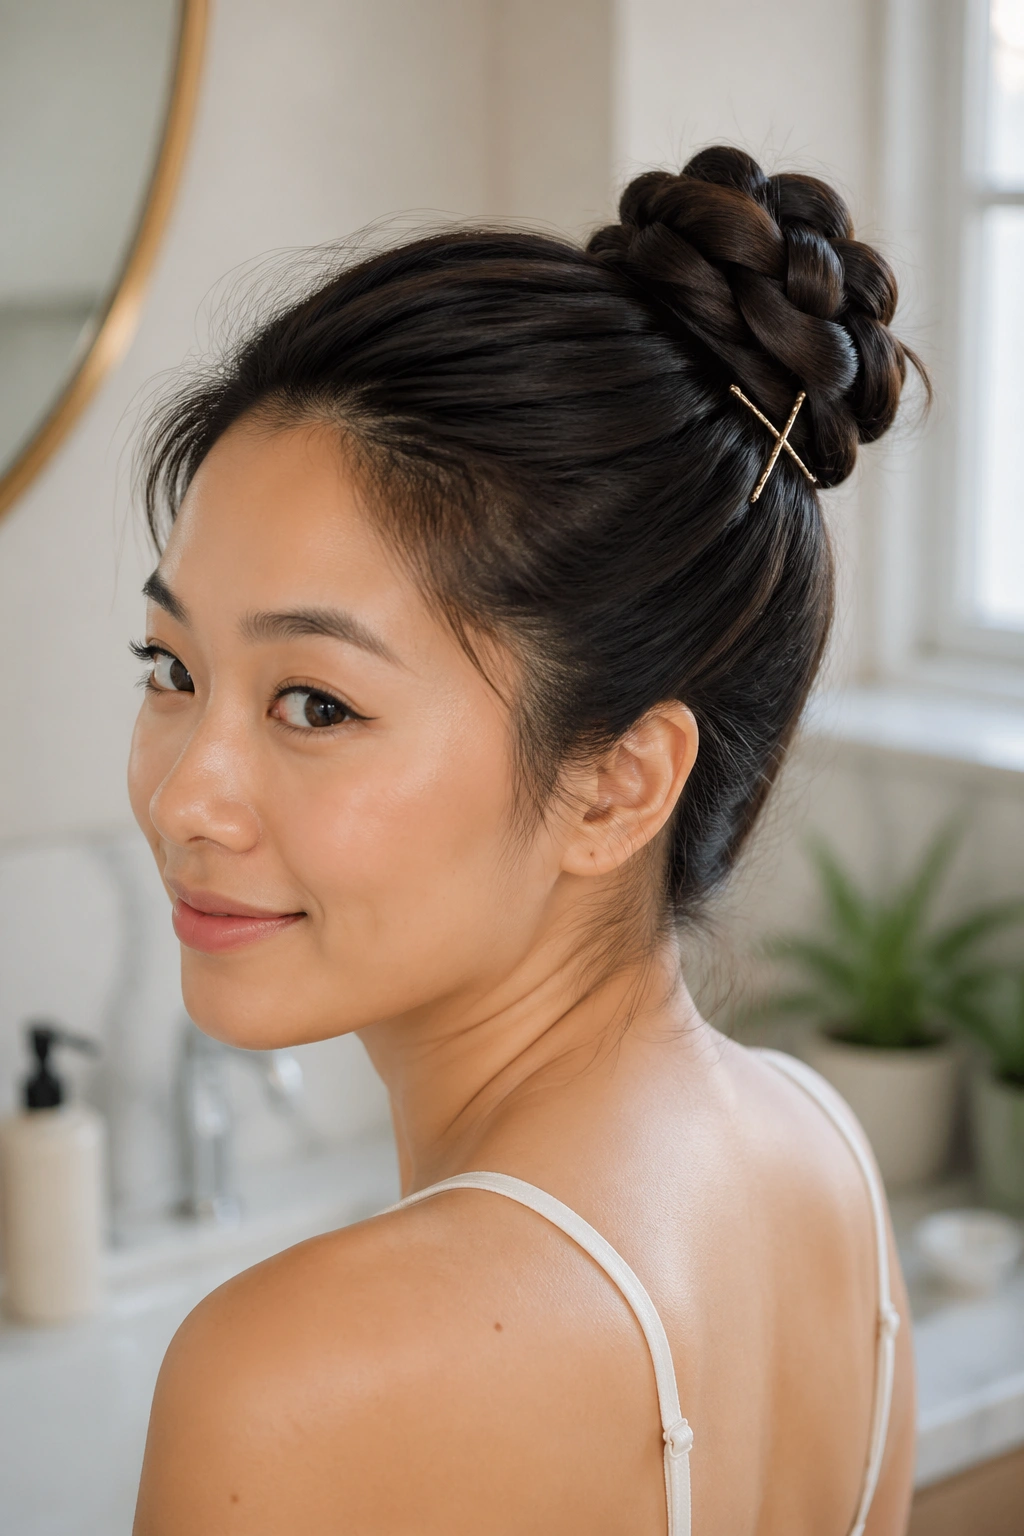
Smooth hair can be rude about buns, too. A braid helps.
Braid the ponytail first, then coil it into a bun and pin across the base and the outer edge. The braid gives the bun some ridges to grip, which keeps it from sliding off the back of the head. I find this works better than a plain knot for anyone whose hair has that satiny, slippery feel.
Use two pins in an X shape for the first anchor point. That is the boring detail that saves the style. If the bun feels too tight, loosen the braid just a little before wrapping it. A slightly softer braid often sits more securely than a hard, tiny one.
19. Waterfall Braid
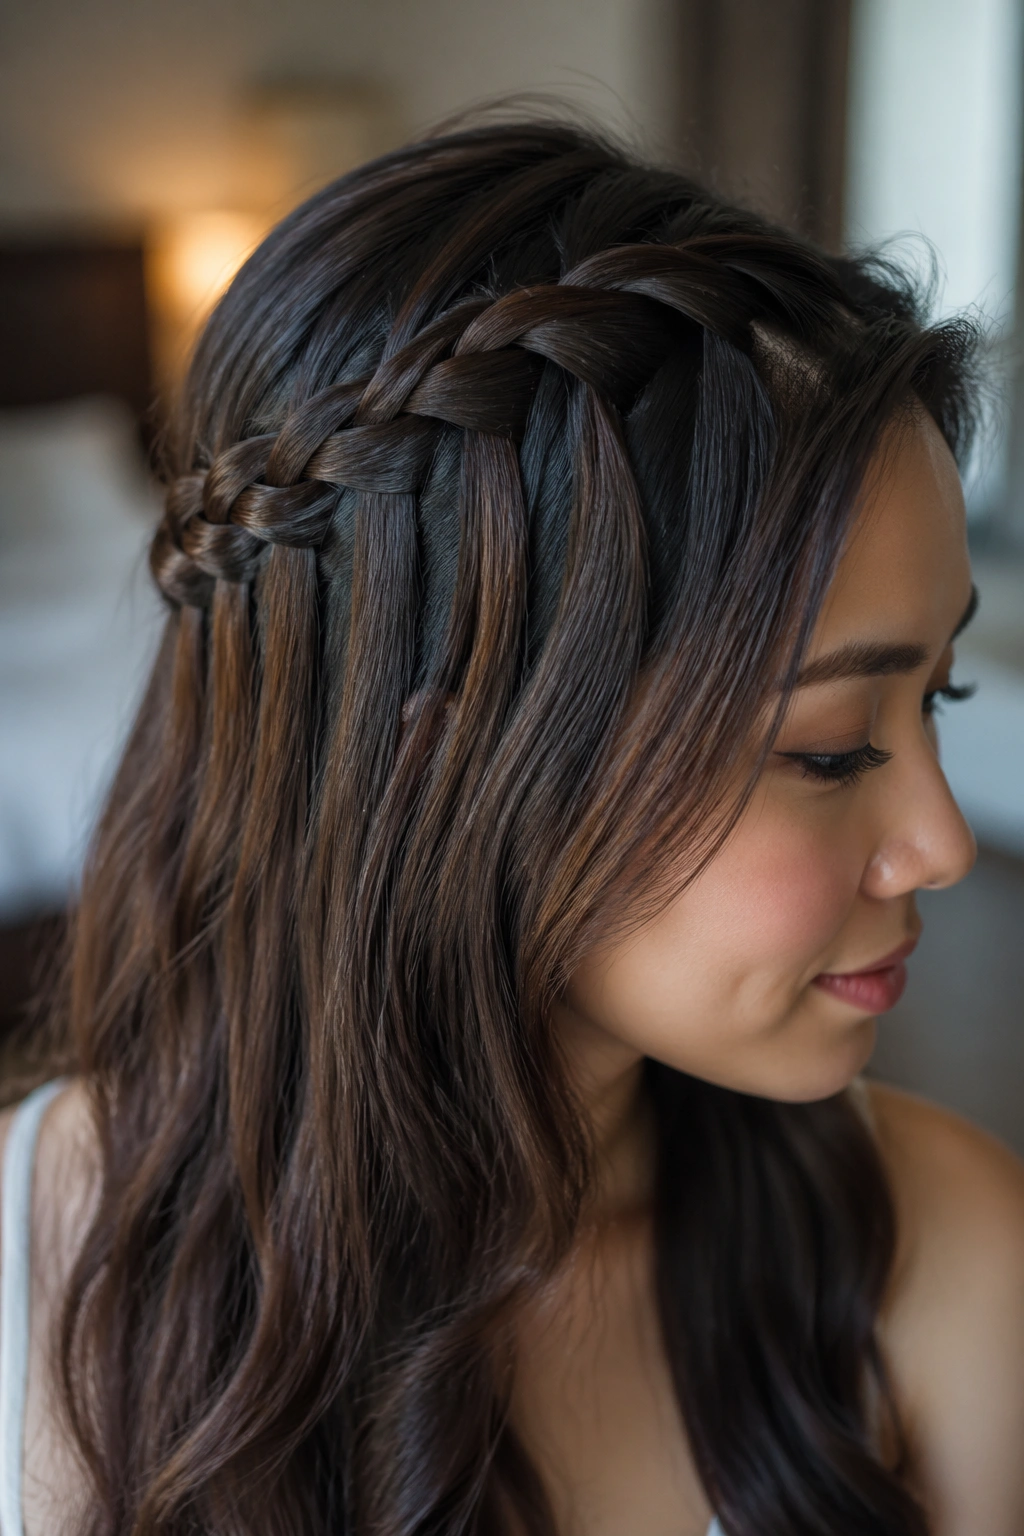
A waterfall braid is pretty, but it has a few opinions of its own. Because it drops strands as it goes, it can look delicate on hair that does not hold plaits well. The trick is to give the crown some texture first and to keep the braid close to the head so it has a solid base.
I would not choose this for a sweaty workout or a humid day when your hair gets slick fast. It’s better for events, dinners, or any time you want something airy. A light mist of texturizing spray before starting helps the dropped pieces blend instead of slipping away. Tiny pins hidden under the top layer can save the whole style.
What Keeps the Dropped Pieces From Sliding
- Start on hair with some grit.
- Keep the braid tight near the roots.
- Pin the ends of the braid where they disappear into the hair, not where they show.
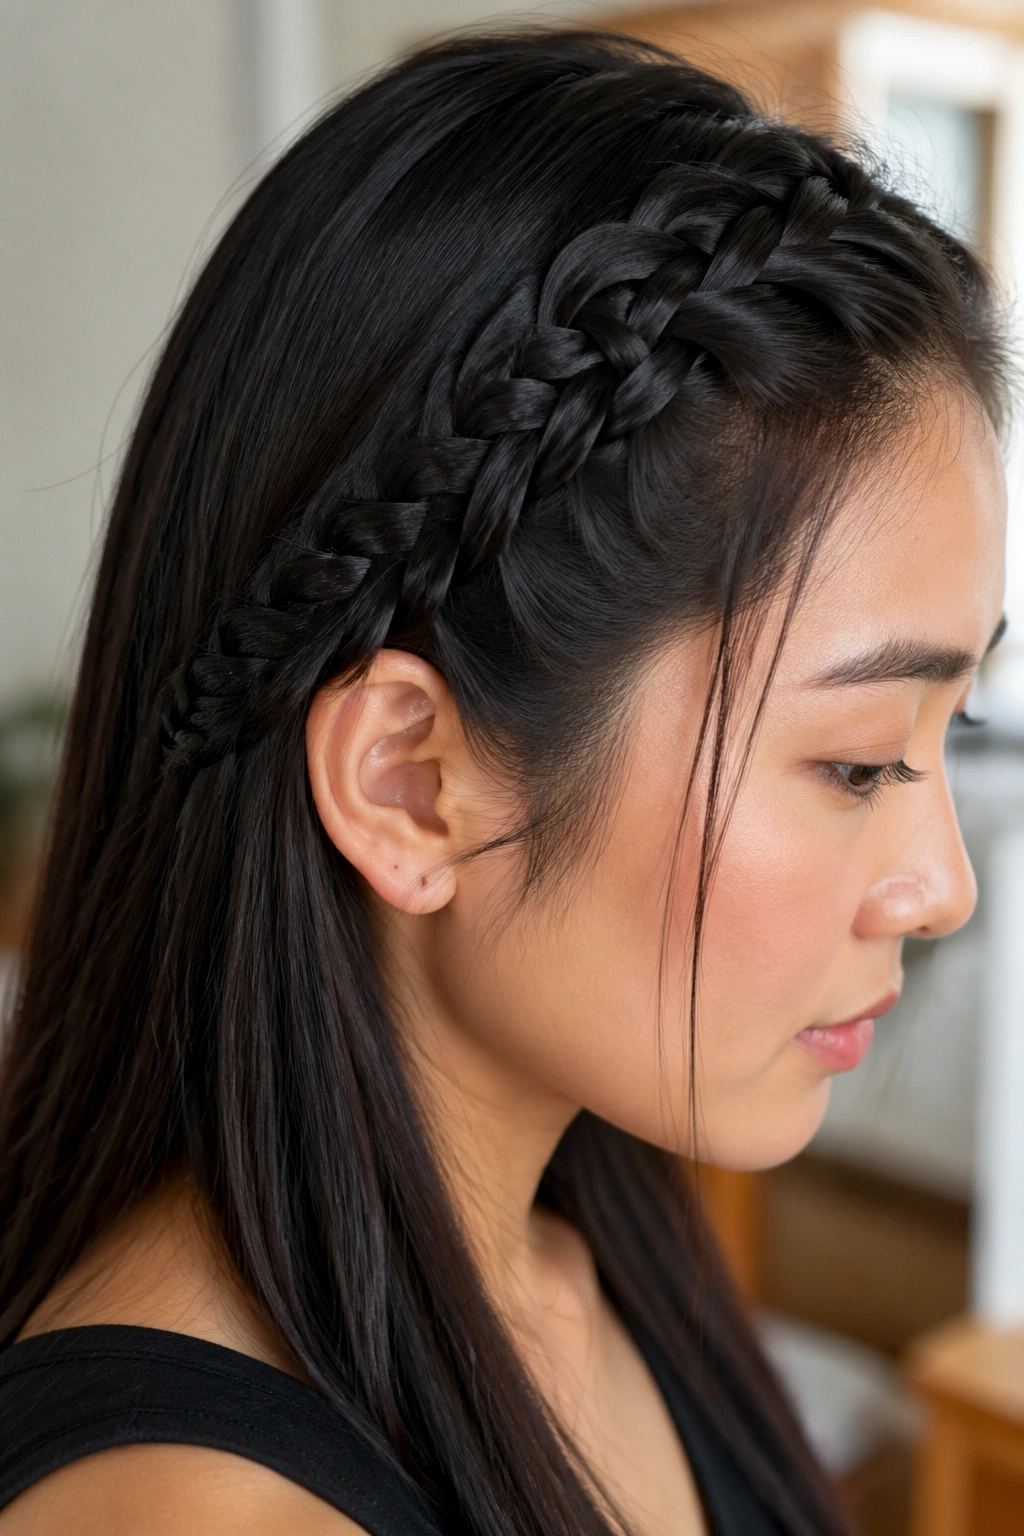
20. Lace Braid
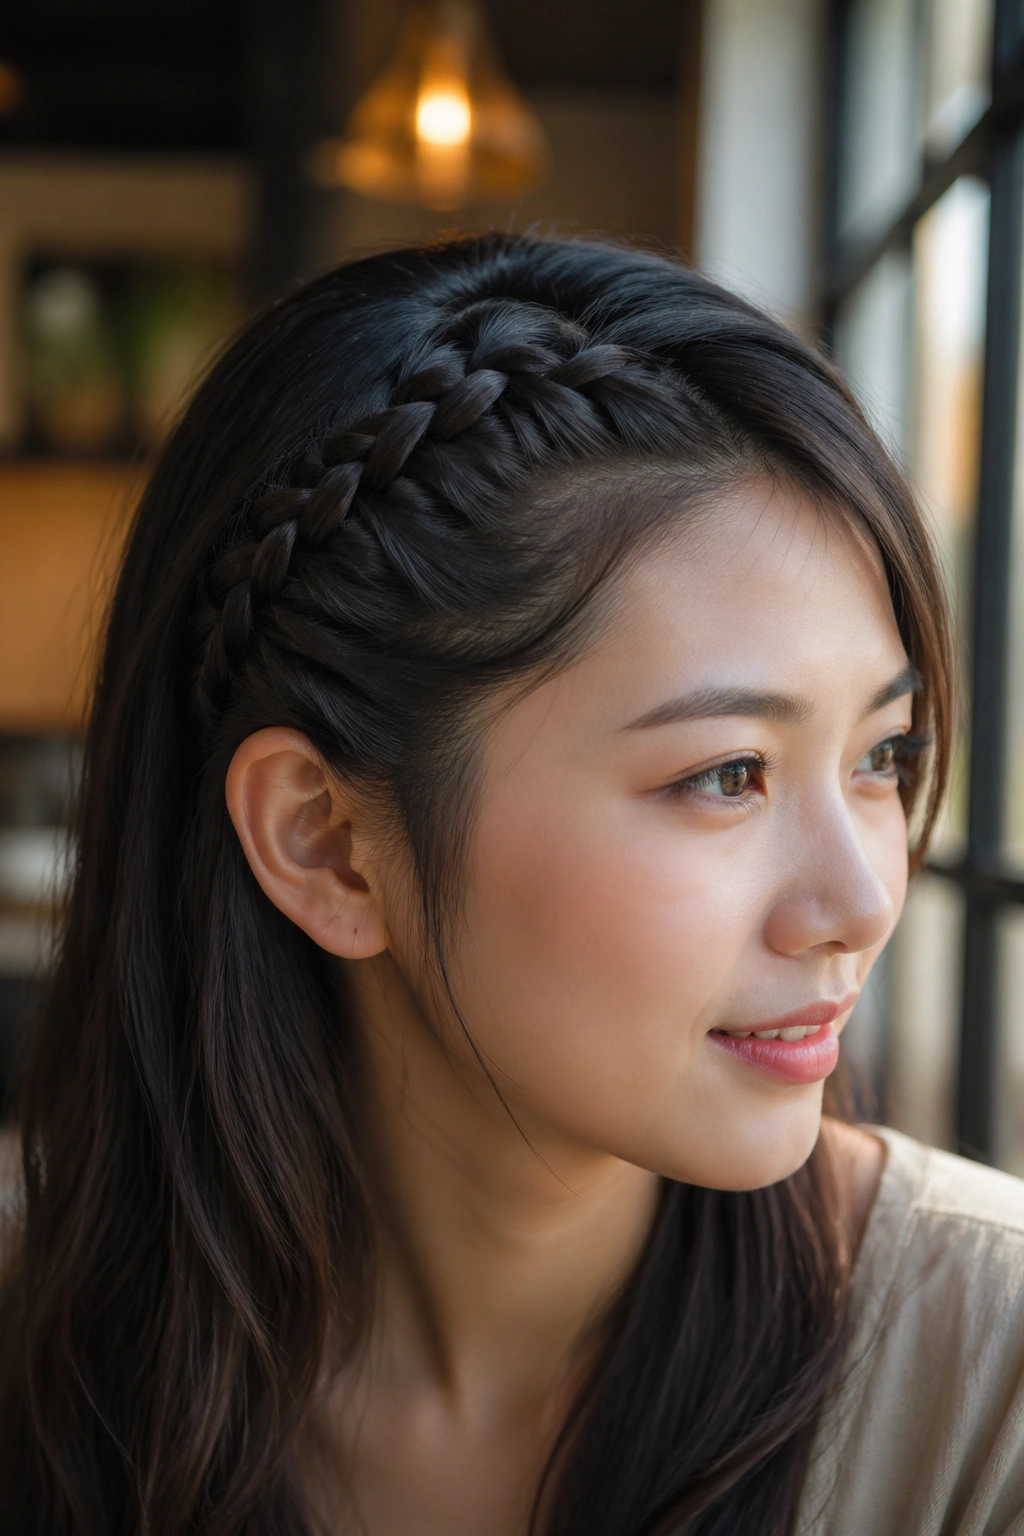
A lace braid is really a one-sided French braid, which makes it a nice choice when you want control without braiding every strand on the head. It pulls hair in from one side only, so the braid has a steadier line and less chance of drifting loose.
This style works well along the hairline or around the side of the head, then can be tucked into a ponytail, bun, or loose end. On slippery hair, the important part is the first few inches. Keep those snug and clean. Once the braid is anchored, the rest behaves much better. A lace braid is one of those styles that looks gentler than it feels to make.
21. Temple Braid

A small braid at the temple is one of my favorite fixes for face-framing pieces that refuse to stay put. It is tiny, practical, and easy to tuck behind the ear or feed into the rest of the hair later.
The shorter the braid, the less chance it has to unravel. That sounds obvious, but it matters. A temple braid can keep your front layers controlled without dragging the whole hairstyle down. If your hairline is smooth and shiny, use a touch of mousse or a little water on the root area before braiding. Not soaking wet. Just enough to give your fingers something to grab.
22. Infinity Braid
An infinity braid looks fancy because the pattern loops over itself in a figure-eight shape, but the real strength is in the repeated crossing. Those loops create a tighter visual weave, which helps slippery hair stay looking neat longer than a loose braid might.
I would call this one a medium-difficulty style. It rewards patience. Once the pattern is set, though, it sits beautifully on straight hair because the braid has a firm, narrow spine. Use small sections and keep the loop sizes even. If one loop gets much bigger than the others, the braid starts to shift sideways and the clean line disappears.
23. Ladder Braid
Want a braid that looks fussy but holds better than it seems? A ladder braid does that well. It uses a main braid and smaller side strands that are threaded across like rungs, so the style has built-in structure.
This is not the most forgiving braid if you rush it. It works best when the hair has some texture and the sections are clipped out in advance. The good thing is that the ladder pattern gives you more places to pin if one side wants to slide. If you’re styling long, silky hair for a photo, a ladder braid can be a very nice compromise between decorative and secure.
24. Mermaid Braid

A mermaid braid is basically a softer, fuller-looking braid built from lots of small sections. That’s why it suits slippery hair. Smaller pieces mean more tension points, and more tension points mean less sliding.
It also looks thicker than it is, which is a gift if your hair is fine. Pull the edges slightly after tying it off — a little, not a lot — and the braid gets that wide, soft shape without losing its structure. I like this one for shoulder-length to long hair because the drape matters. Shorter hair can do it, but you need more control and more pins.
25. Zigzag-Part Braids
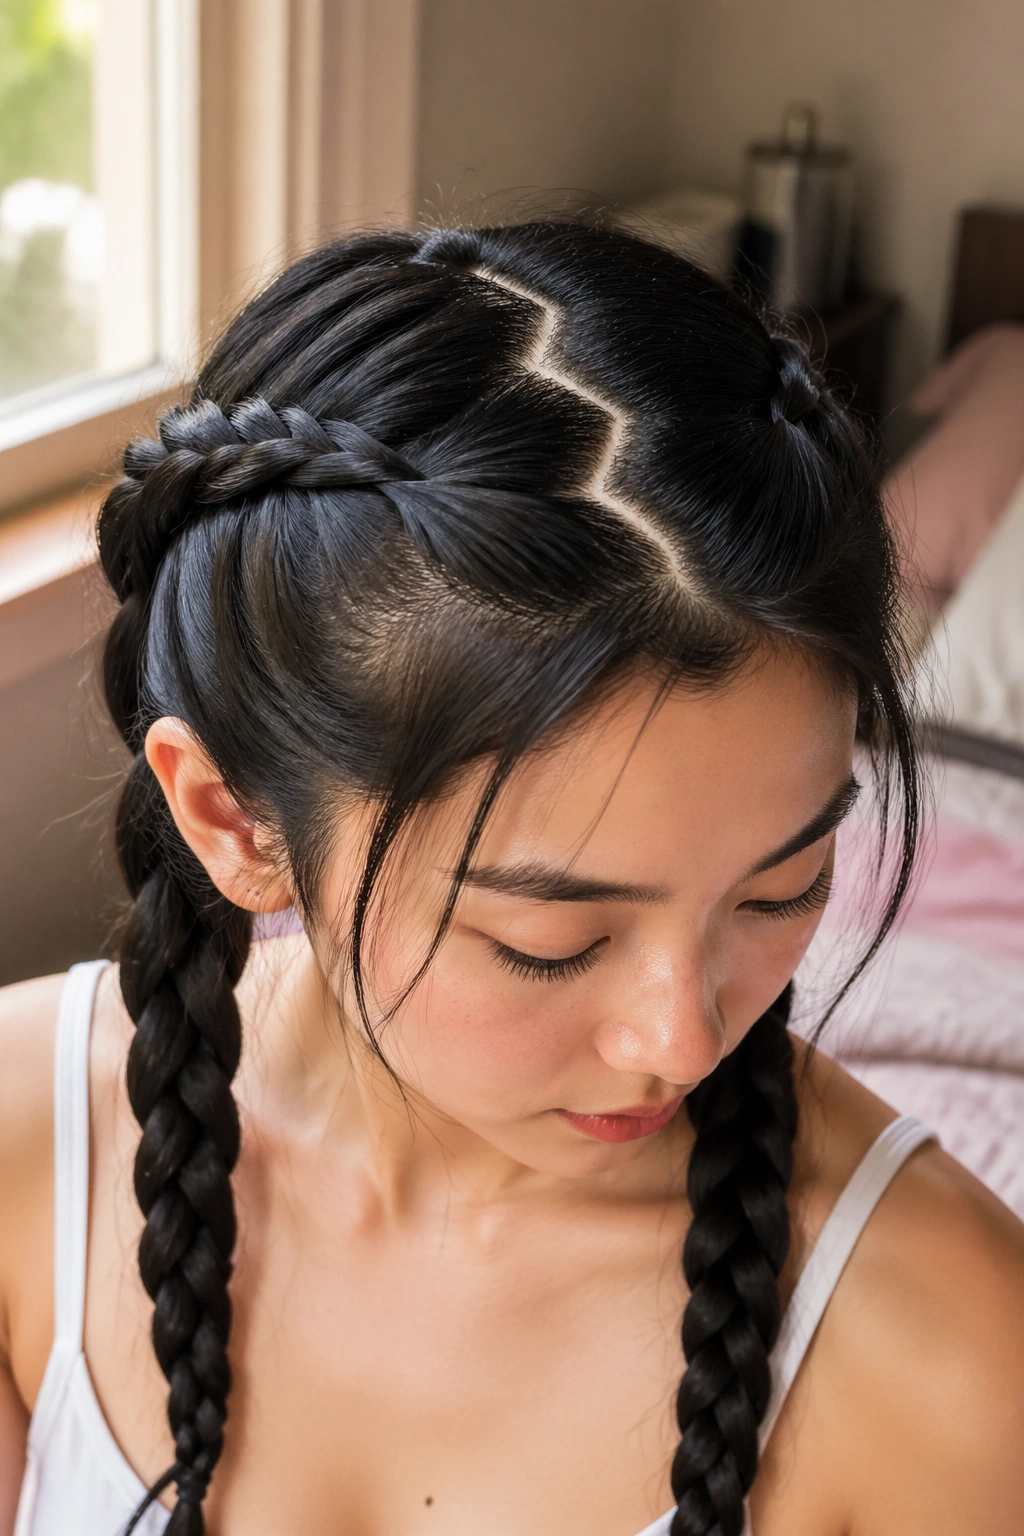
The part matters more than people think. A zigzag part creates a little extra friction at the roots and breaks up the smooth slide that straight hair loves. It also makes simple braids look more intentional, even if the braid itself is basic.
Why It Helps
- The angles give the roots more texture.
- The part hides scalp shine better than a sharp straight line.
- It works especially well with two braids, pigtails, or a half-up style.
I use a tail comb for this and keep the zigzags uneven on purpose. Perfect lines can look flat. Slight irregularity is more natural and gives the hair a better base to hold onto.
26. Braided Pigtails
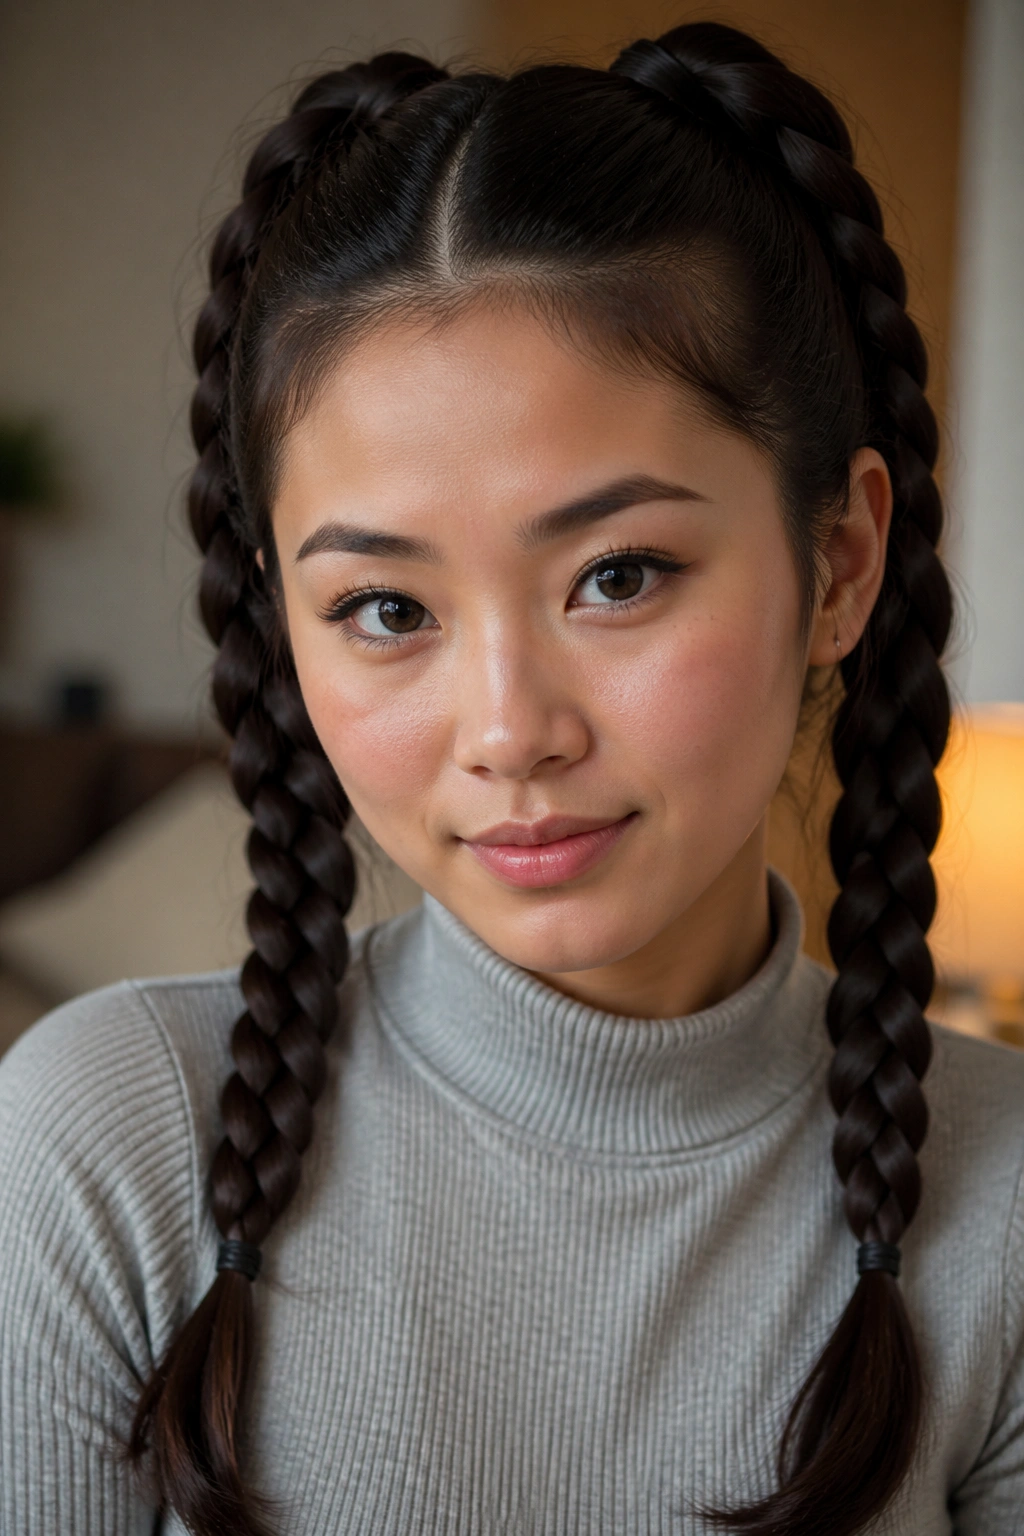
Two braids often stay better than one. There is less weight pulling each side down, and the hair is divided into manageable sections, which matters a lot when the strands are smooth and eager to slip. Braided pigtails can be sporty, neat, or playful depending on how tight you make them.
If your hair is long, start each braid a little higher on the head so the ends do not drag. If it is shorter, braid lower and secure with clear elastics. I like this style for days when I want something simple but not boring. It is also a useful place to hide day-two texture spray. Nobody complains about a little grit here.
27. Chain-Link Braid
A chain-link braid is a nice middle ground for people who like structure but do not want a standard three-strand plait. It has a linked, almost woven look, and that repeated looping gives smooth hair more places to grip.
It takes a bit of patience, but not as much as people expect. The style can be built with ponytail sections or with a series of loops that are threaded through each other. Either way, the visual payoff is big. I reach for this one when I want the braid itself to be the feature, not just the shape. It holds surprisingly well once the links are even.
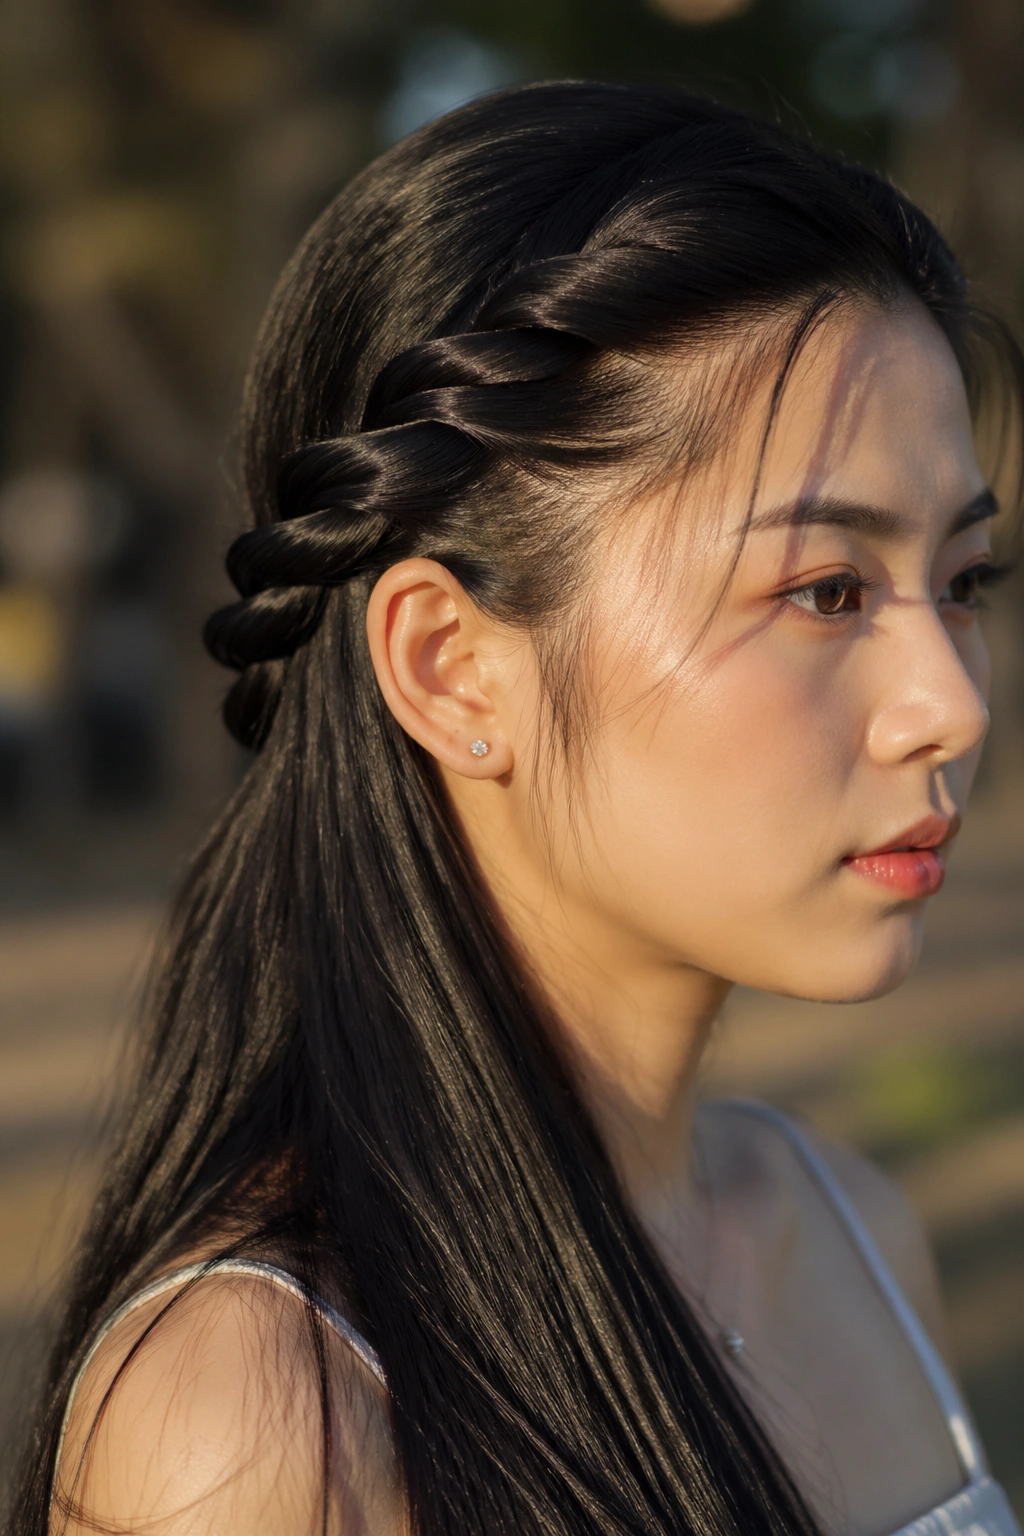
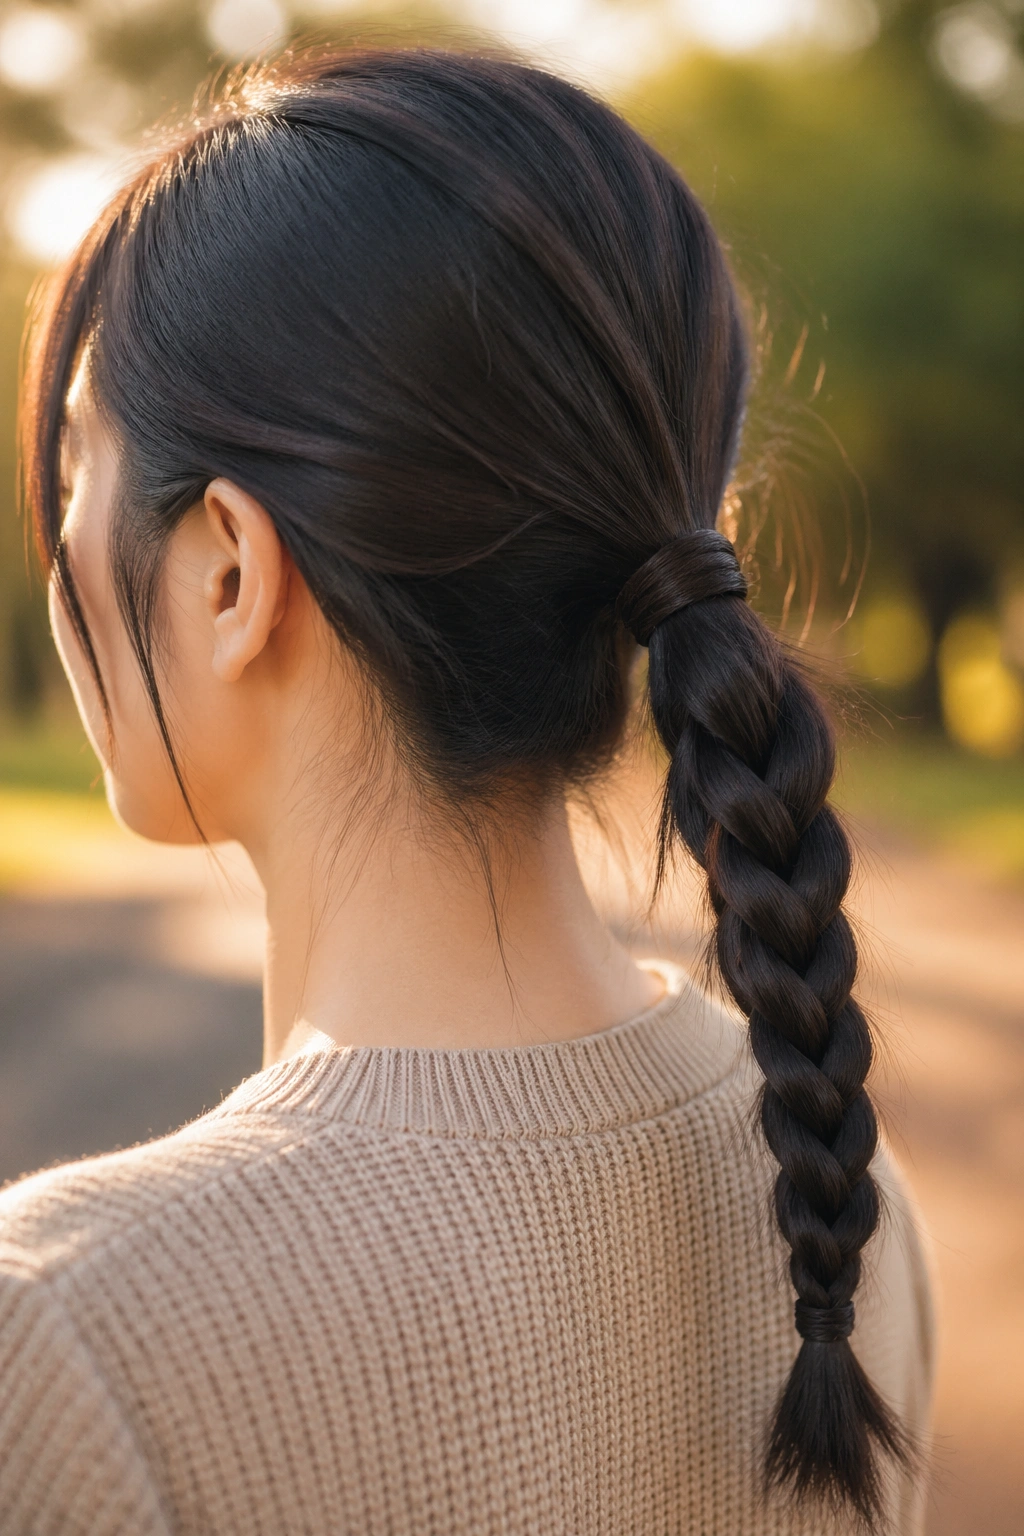
28. Twist Braid
Twists are underrated.
A simple two-strand twist braid can stay put better than a loose three-strand plait because the strands lock around each other instead of crossing and sliding. On straight hair, that little difference matters. If your ends tend to fall apart, twist them in the same direction first, then coil the pair around each other in the opposite direction. That gives the braid some memory.
I like twist braids for half-up styles, side details, and low ponytails. They look clean, work fast, and do not need much length to make sense. Sometimes the simplest shape is the one that survives the day.
29. Braided Headband

A braided headband is a small braid that runs across the hairline or just behind it, then tucks under the rest of the hair. It is excellent for front pieces that shed plaits by lunchtime. Instead of asking all the hair to cooperate, you only braid the section that causes the most trouble.
This is a good style for layered cuts, too. The braid helps corral shorter face-framing pieces that would otherwise slip loose. Keep it snug near the part, then pin it behind the ear or under a layer of hair. The whole style can be tiny, and that is what makes it useful. Little braid, big job.
30. Braided Top Knot
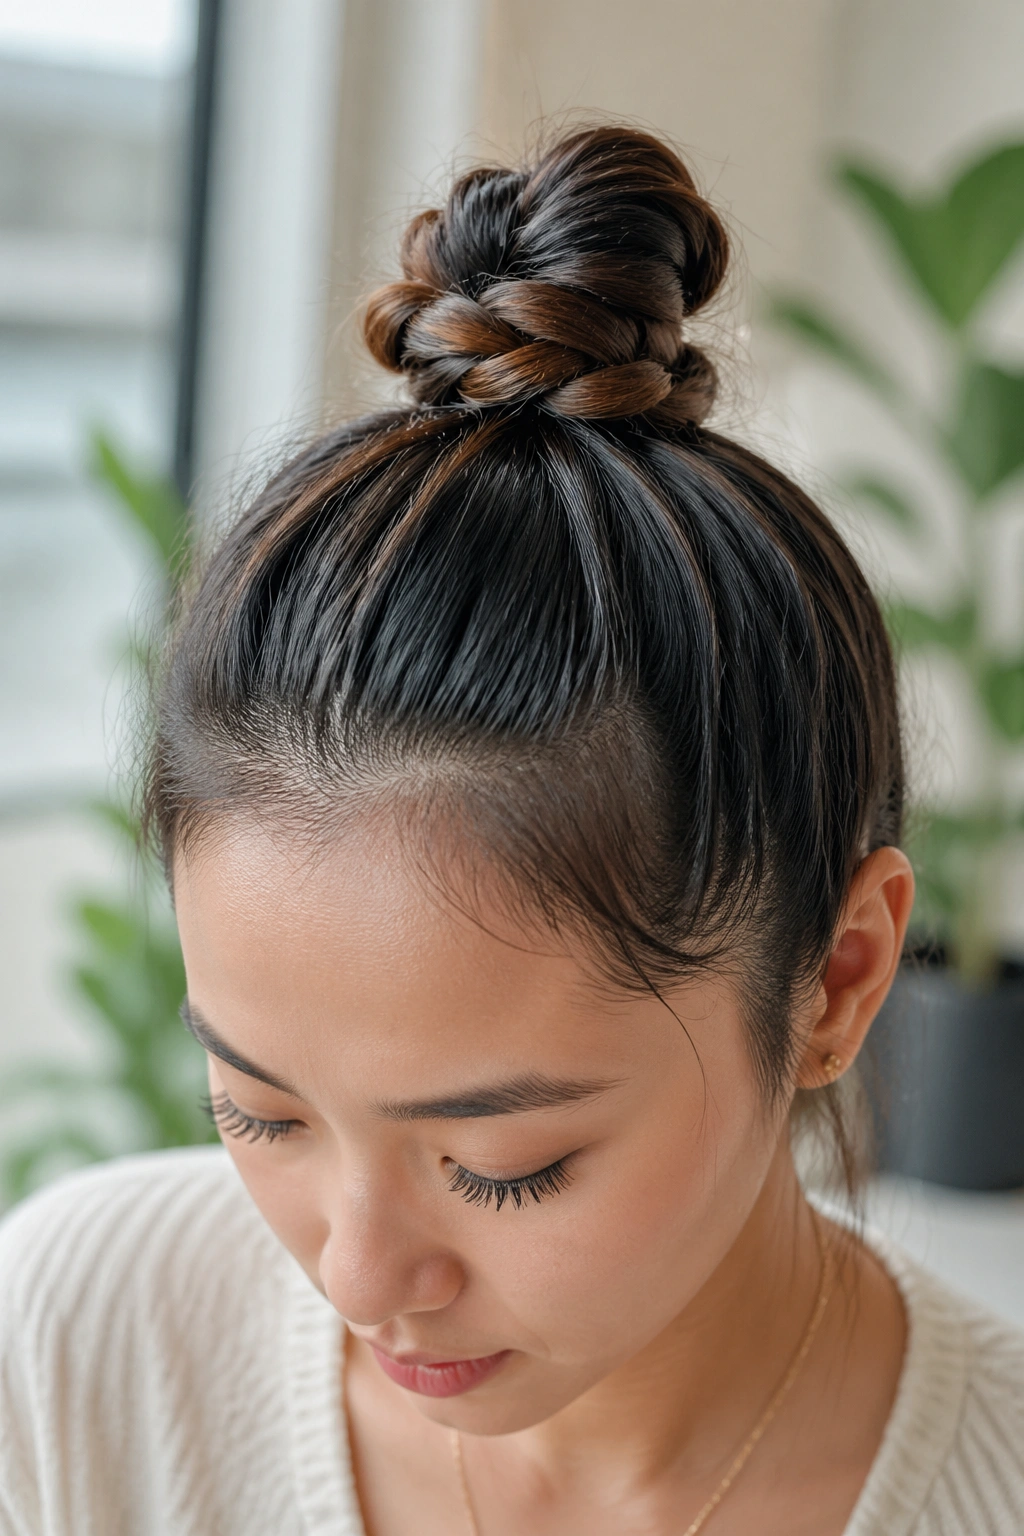
A braided top knot gives you structure where a plain knot would fail. Braid the ponytail first, then wrap it into a knot high on the crown and pin the base before the ends. The braid creates ridges, and those ridges keep the bun from sliding on smooth hair.
Pin the Base First
- Use one elastic to secure the ponytail.
- Wrap the braid around itself into a knot.
- Insert two bobby pins in an X at the base before you hide the ends.
If your hair is very fine, a little teasing at the ponytail base can help, but only a little. Too much and the bun gets bulky in a bad way. The braided version already brings enough shape.
31. Braided Chignon
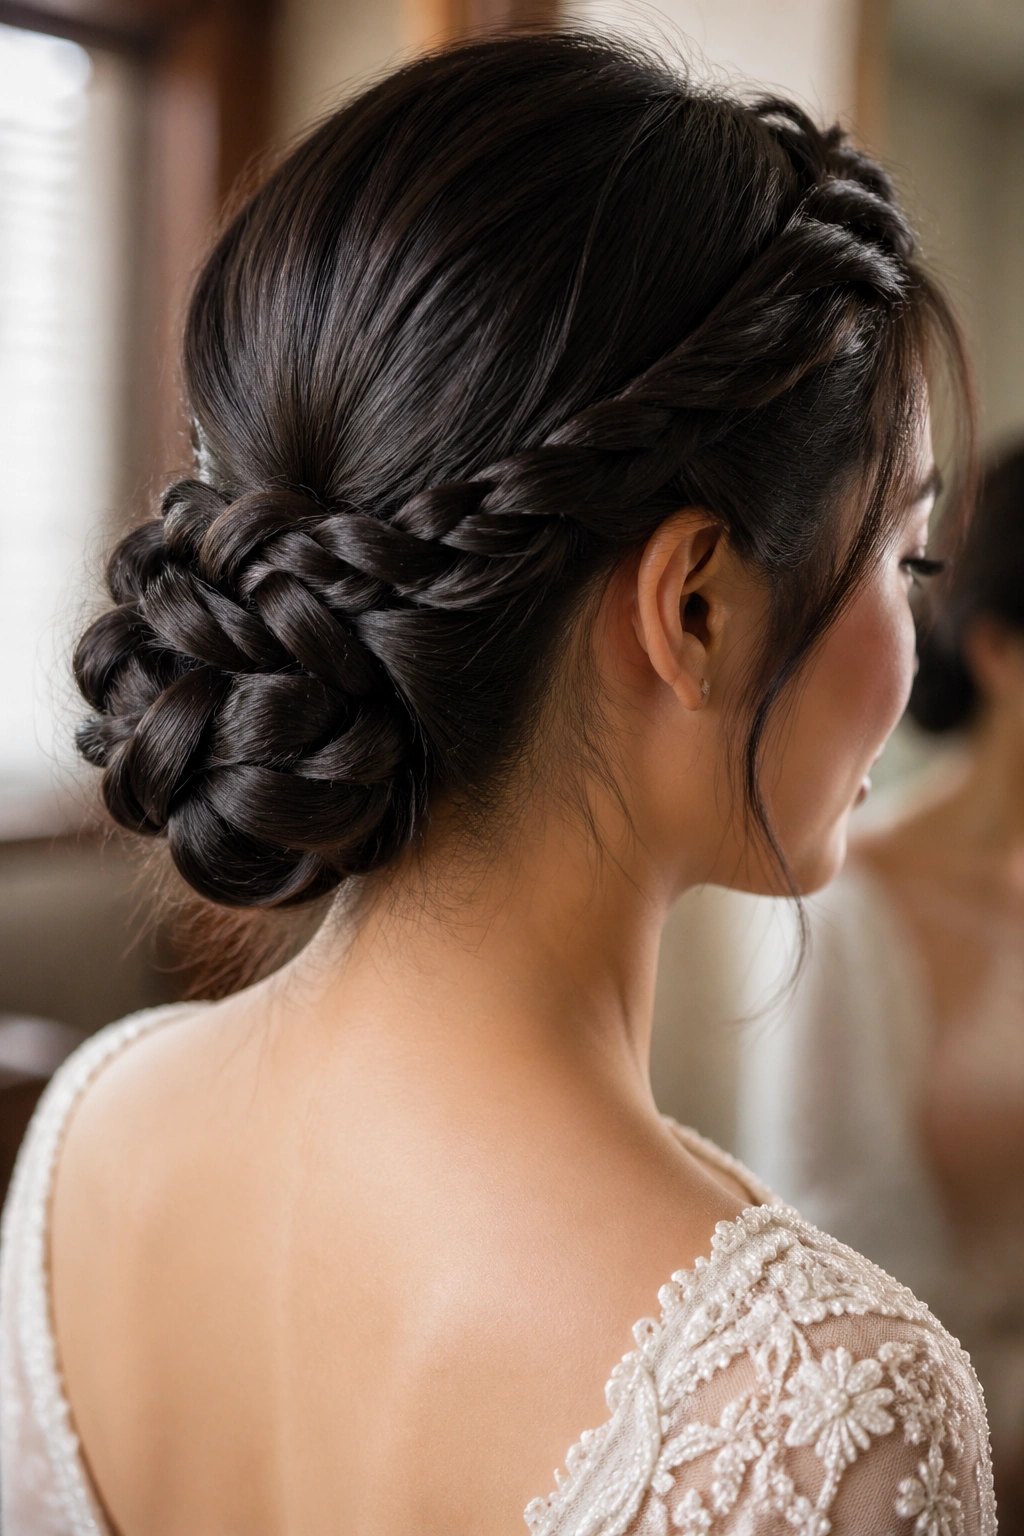
A braided chignon is the elegant cousin of the braided bun. It sits low, usually at the nape, and the braid gives the knot a firmer core so it is less likely to collapse or slip sideways. For straight, silky hair, that core matters a lot.
I like this one for weddings, dinners, or any event where you want your hair to look deliberate without looking stiff. Braid the length first, coil it into a low knot, and pin through the braid itself, not just around the outside. That makes the hold stronger. If a few ends peek out, leave them. A tidy braid is good; a trapped one is not.
Some hair will always need a little extra help. Fine, smooth strands are honest about that. They ask for grip, not drama. Once you know which braid patterns lock in better — and which ones need a couple of pins, a matte powder, or a day-old texture — the whole thing gets easier. You stop fighting the hair and start working with it, which is usually when the styles start looking best.