Some mornings leave almost no room for drama. The shoes are missing, one sock has vanished into the laundry void, and the backpack is somehow still open on the kitchen floor. In that kind of rush, the best braid styles for school-age girls are the ones that hold shape, keep hair out of the face, and do not require a ten-minute battle with a child who has already decided she hates “doing her hair.”
What works on real school mornings is usually pretty plain on paper: a clean part, a little detangling spray, a handful of snag-free elastics, and a braid that matches the hair’s length and texture. Fine hair slips. Thick hair fights back. Curly hair needs more slip and less pulling. Straight hair often needs a touch more grip so the braid does not slide apart before lunch.
And that is the part a lot of braid roundups miss. A pretty braid is nice. A braid that lasts through recess, the bus ride home, and one sweaty game of tag is better. Keep that in mind as you scan these styles, because the right choice is usually the one that fits the child in front of you, not the one that looks hardest on a screen.
1. Classic Side Braid
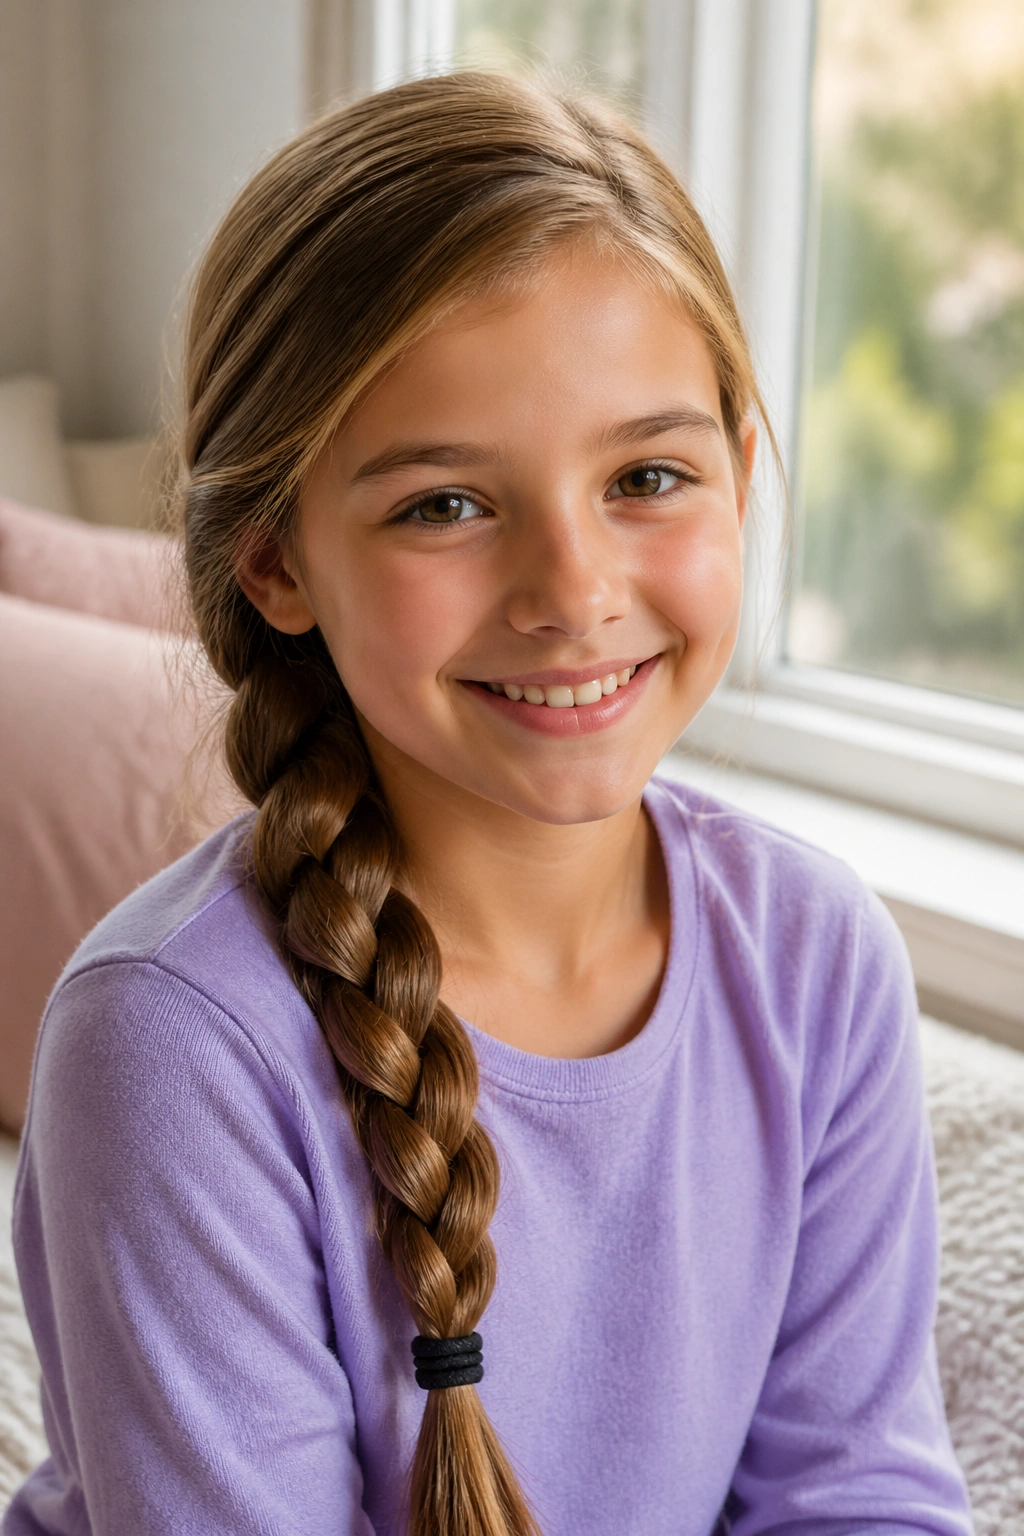
The classic side braid earns its spot because it behaves. It is one of those braid styles for school-age girls that works on clean hair, second-day hair, and the kind of hair that has already been brushed three times and still looks a little wild. Pull everything to one shoulder, divide it into three sections, and braid down to the end.
Why It Works So Well
The side placement makes it easier to control than a braid down the back, especially if the child is restless or you are braiding in a hurry. It also hides uneven layers better than people expect. A few shorter pieces can slip out near the face, and that usually looks soft rather than messy.
Best for: medium to long hair, active mornings, and anyone who wants a neat style without a lot of fuss.
Time: about 3 to 5 minutes once the parting is done.
Skill level: beginner.
Tip: If the ends slip open, tie the braid with a tiny elastic and wrap a small strand of hair around it for a cleaner finish.
2. Low Braided Pigtails
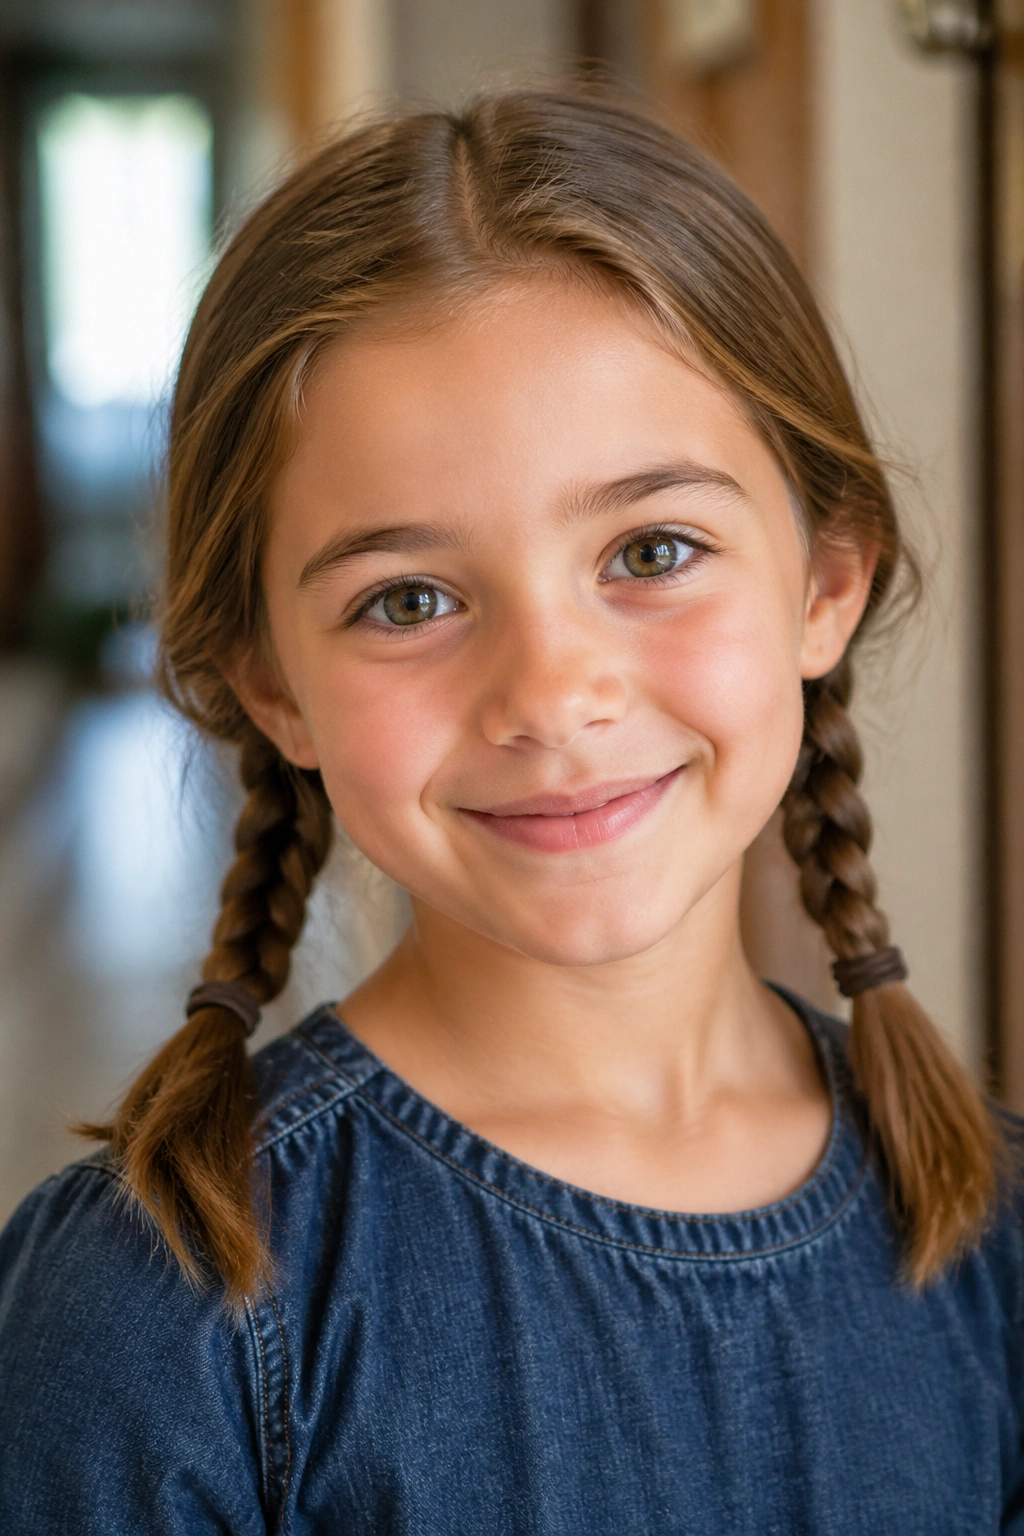
Low braided pigtails are the practical answer when one braid feels too heavy. Split the hair into two low sections near the ears or just below them, then braid each side down. The look is sweet, but the real appeal is balance. The weight gets divided, so the style feels lighter on the scalp.
This one works especially well for kids who move around a lot. It stays put better than loose pigtails and usually survives gym class with less drama. If the hair is thick, keep each section a little looser at the start so the braids do not feel tight by noon. If the hair is fine, a light mist of water helps the strands grip.
Quick Notes
- Part cleanly down the middle if you want a neat, symmetrical look.
- Start each braid just below the ear for a softer shape.
- Use small elastics at the ends so they do not snag during the day.
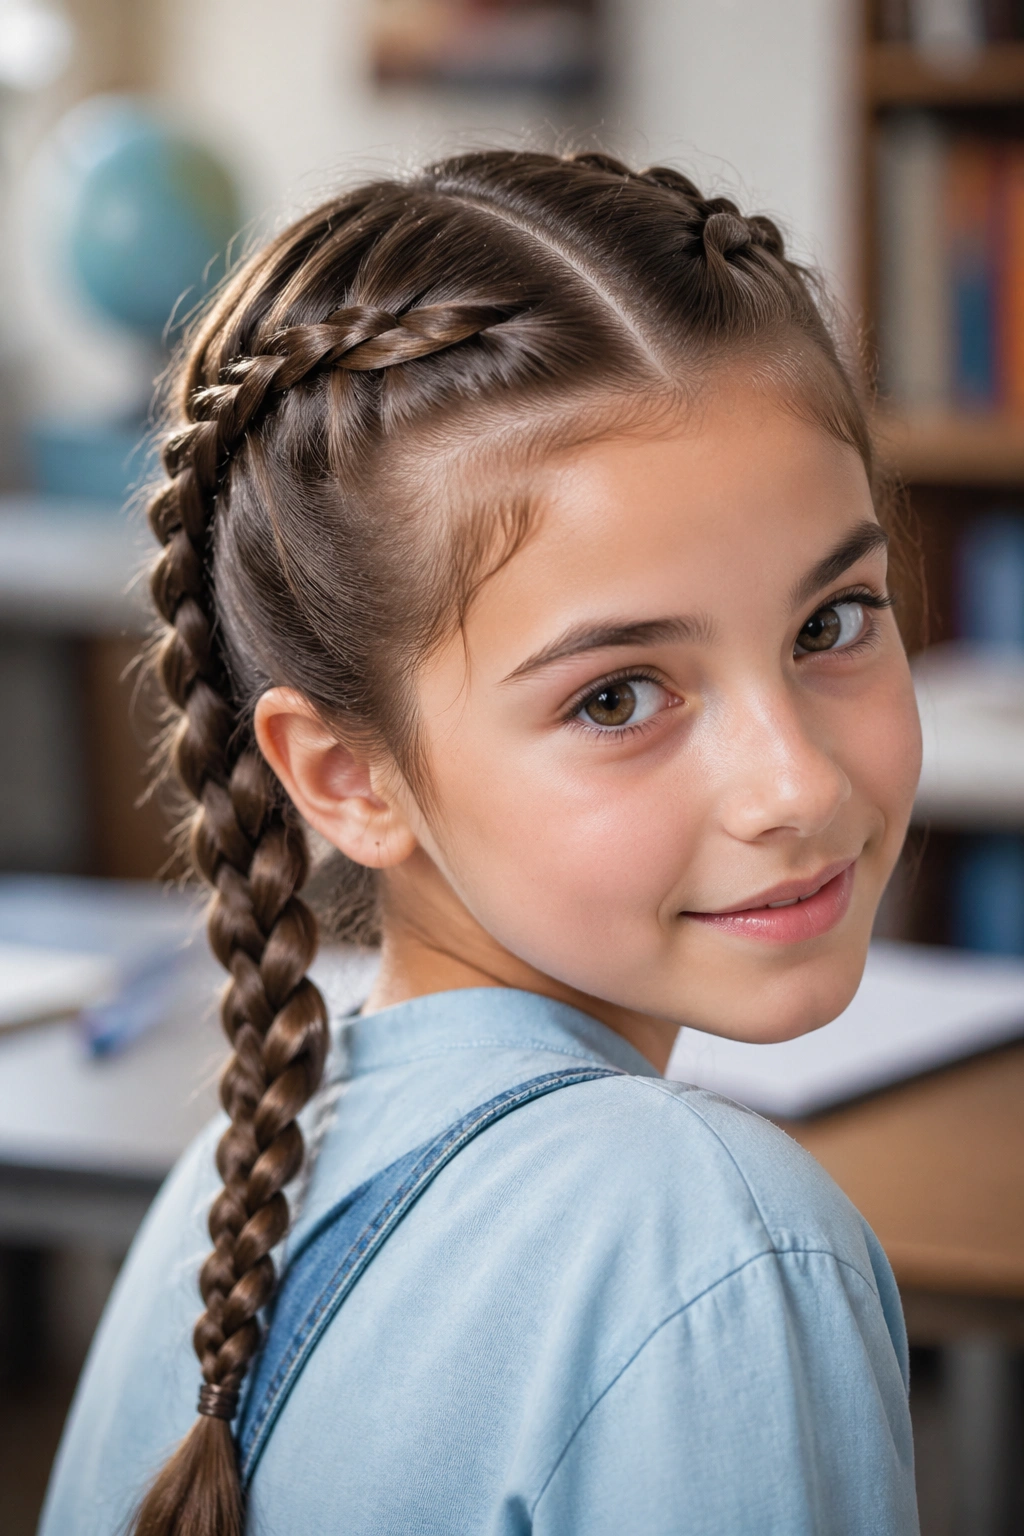
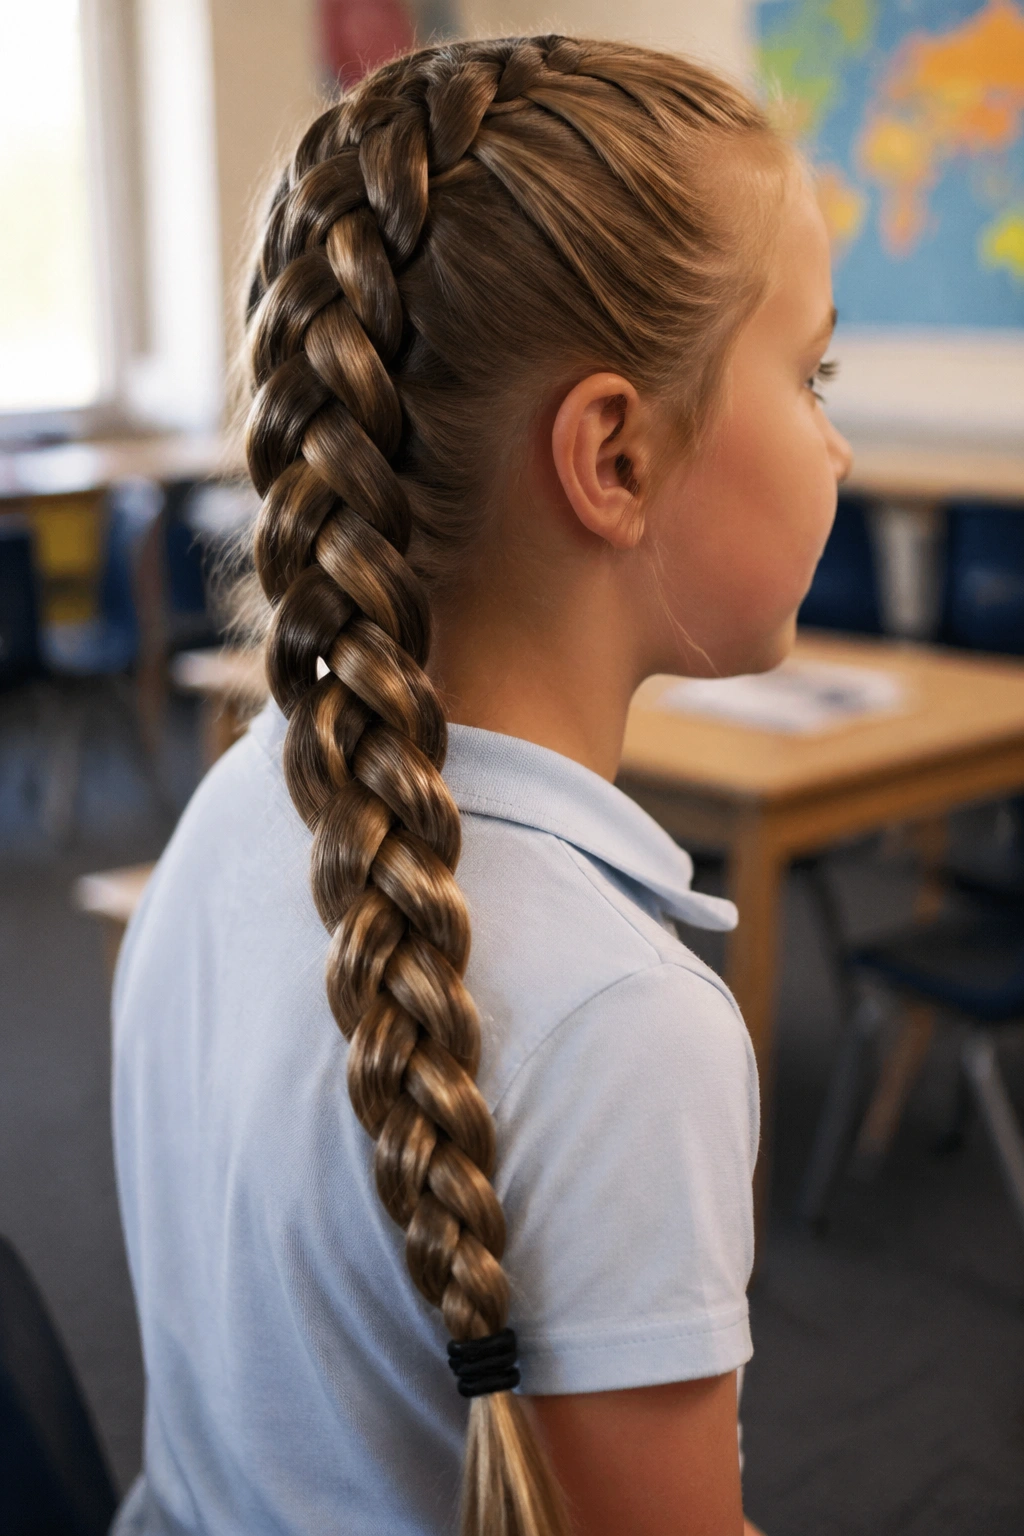
3. French Braid Down the Back
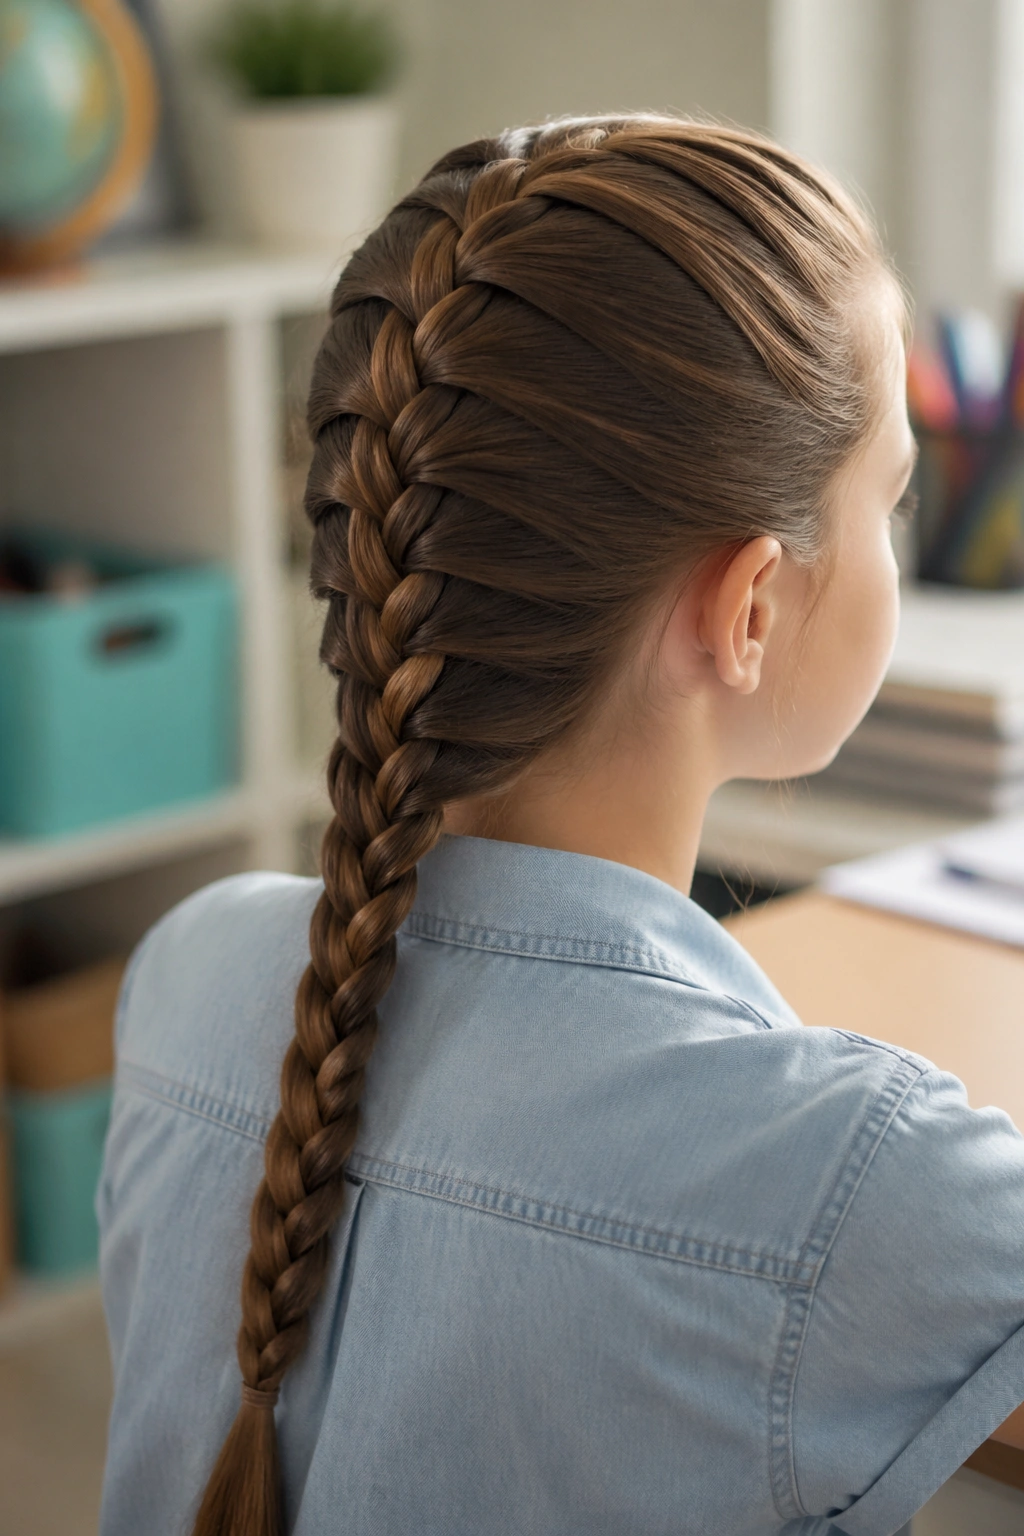
A French braid down the back looks polished, but the technique itself is not as intimidating as it seems. You begin at the crown, add hair as you move downward, and keep folding the outside sections into the middle. The result is a braid that hugs the head and keeps loose pieces from falling into the face.
Why do parents keep coming back to it? Because it stays neat for hours. That’s the real selling point. The braid starts secure near the scalp, which means fewer flyaways and less need for mid-day fixing.
How to Style It
Start with brushed hair and a smooth part at the top if you want a clean finish. Gather a small triangle of hair at the crown, then add side pieces as you braid down the back of the head. Keep the tension even, not tight. If the braid feels like it is pulling at the scalp, loosen it now, not later.
4. Dutch Braid With a Raised Look
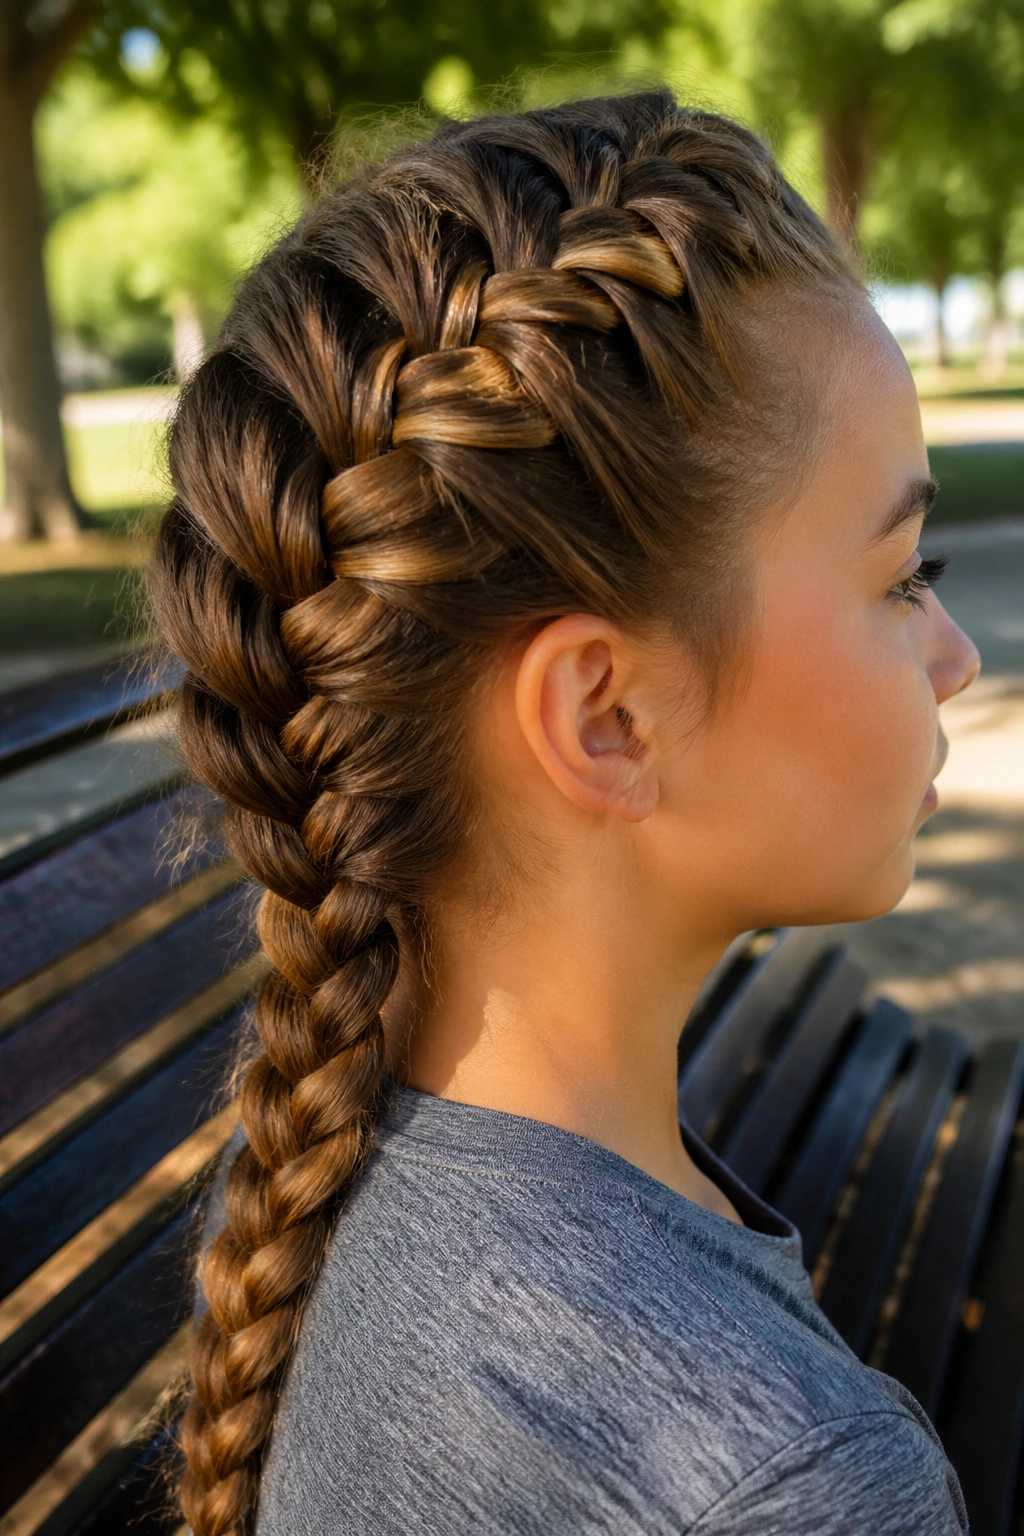
The Dutch braid is the French braid’s bolder cousin. Instead of crossing strands over the middle, you cross them under, which makes the braid stand up from the head a little more. Kids usually notice the shape right away because it has more texture and a fuller profile.
That raised effect is useful on thicker hair, but it also helps finer hair look more substantial without stuffing it full of products. The braid sits clearly on top of the hair instead of blending into it. Some people call it “inside-out braiding,” which sounds fancy, but the hand motion is the same idea once you get the rhythm.
A Small Scenario
Picture a child who wants something neat but not flat. That is the Dutch braid child.
It holds. It shows. It does not disappear into the hair.
Good choice when: you want a style that reads more playful than a French braid and still keeps the hair secure.
Watch for: tight pulling at the front hairline, especially on freshly washed hair that feels slippery.
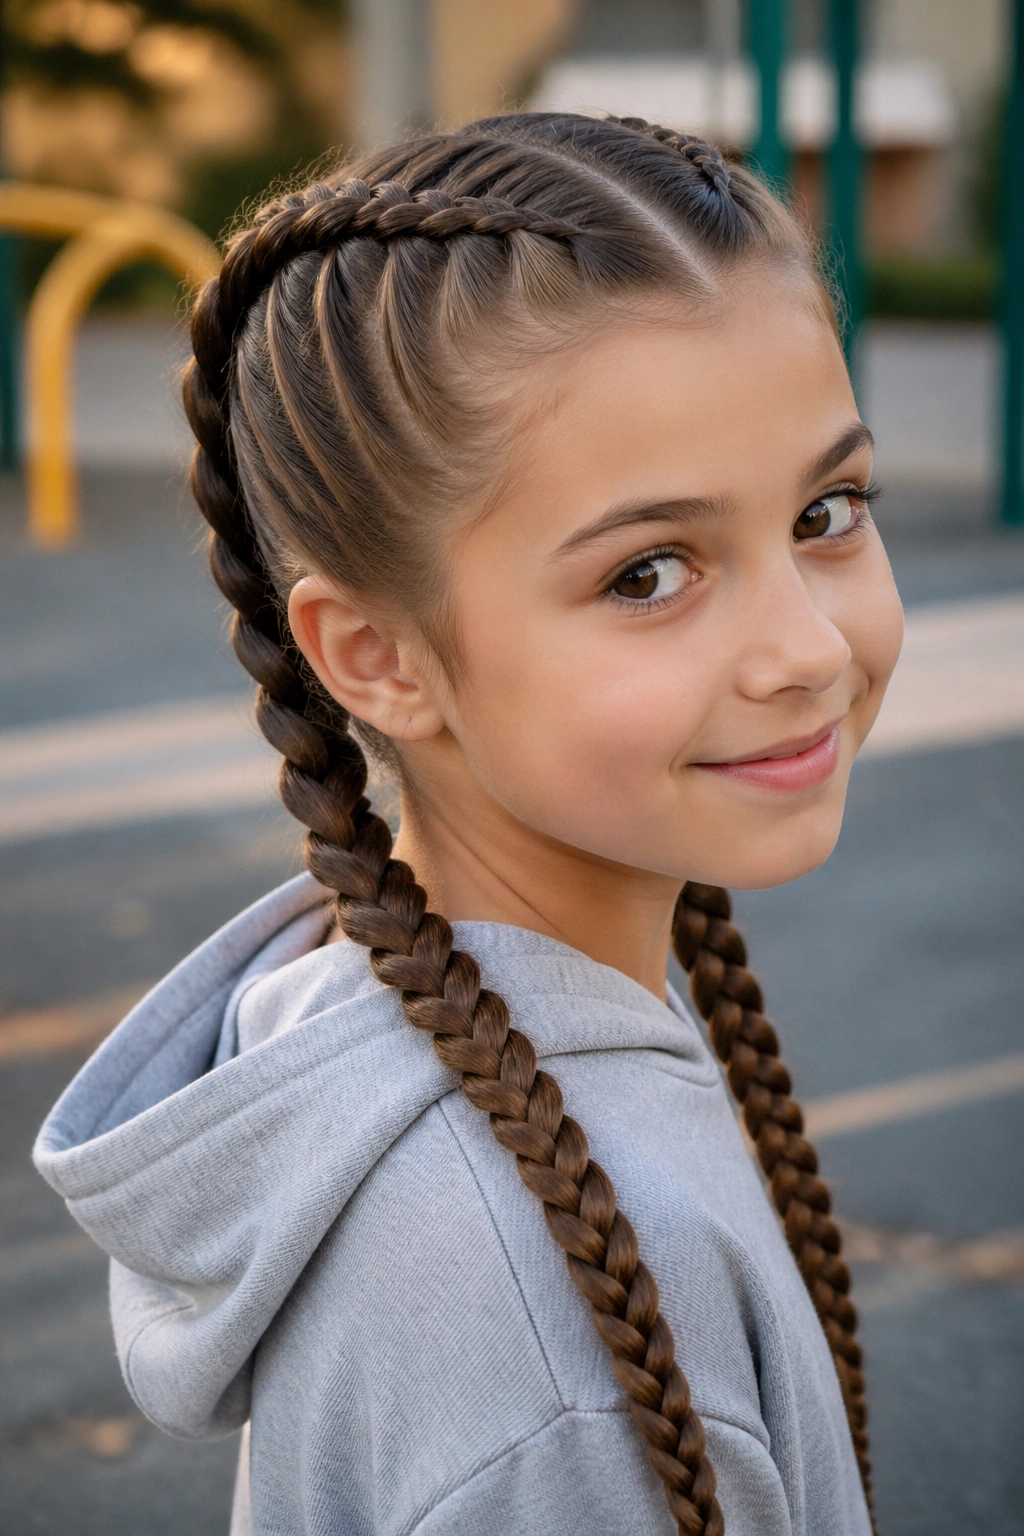
5. Double French Braids
Double French braids are one of those school hairstyles that never really go out of use because they solve a simple problem: how do you keep all the hair controlled without making it feel heavy? Two braids split the workload. They also frame the face nicely, which is one reason they show up so often for picture day, sports, and long class days.
The center part matters here. A straight part gives a cleaner result, but a slightly off-center part can look softer and is easier if one side has more hair than the other. Start each braid near the temple and keep adding small sections evenly so the finished braids match in thickness.
They can look sporty or tidy depending on how tight you make them. Tight for a track meet. Looser for a regular school day. That flexibility is why they stay popular.
6. Double Dutch Braids
If French braids are neat, double Dutch braids are neat with more shape. The raised pattern makes them stand out, and the two-braid format keeps the style balanced on both sides of the head. It is a strong option for thick hair, coarse hair, and hair that tends to puff out when left loose.
What makes them different is the visible texture. Each braid sits on top of the hair instead of sinking into it, so the style still looks clear by the end of the day. That can be a real win for active kids who spend half their time running, climbing, or flipping their heads around for no reason anyone can explain.
Who It Suits Best
- Kids with medium to long hair.
- Hair that gets frizzy by lunchtime.
- Children who like styles that feel sporty.
Practical note: If the scalp is sensitive, start the first few crossings a little looser and work downward with even tension.
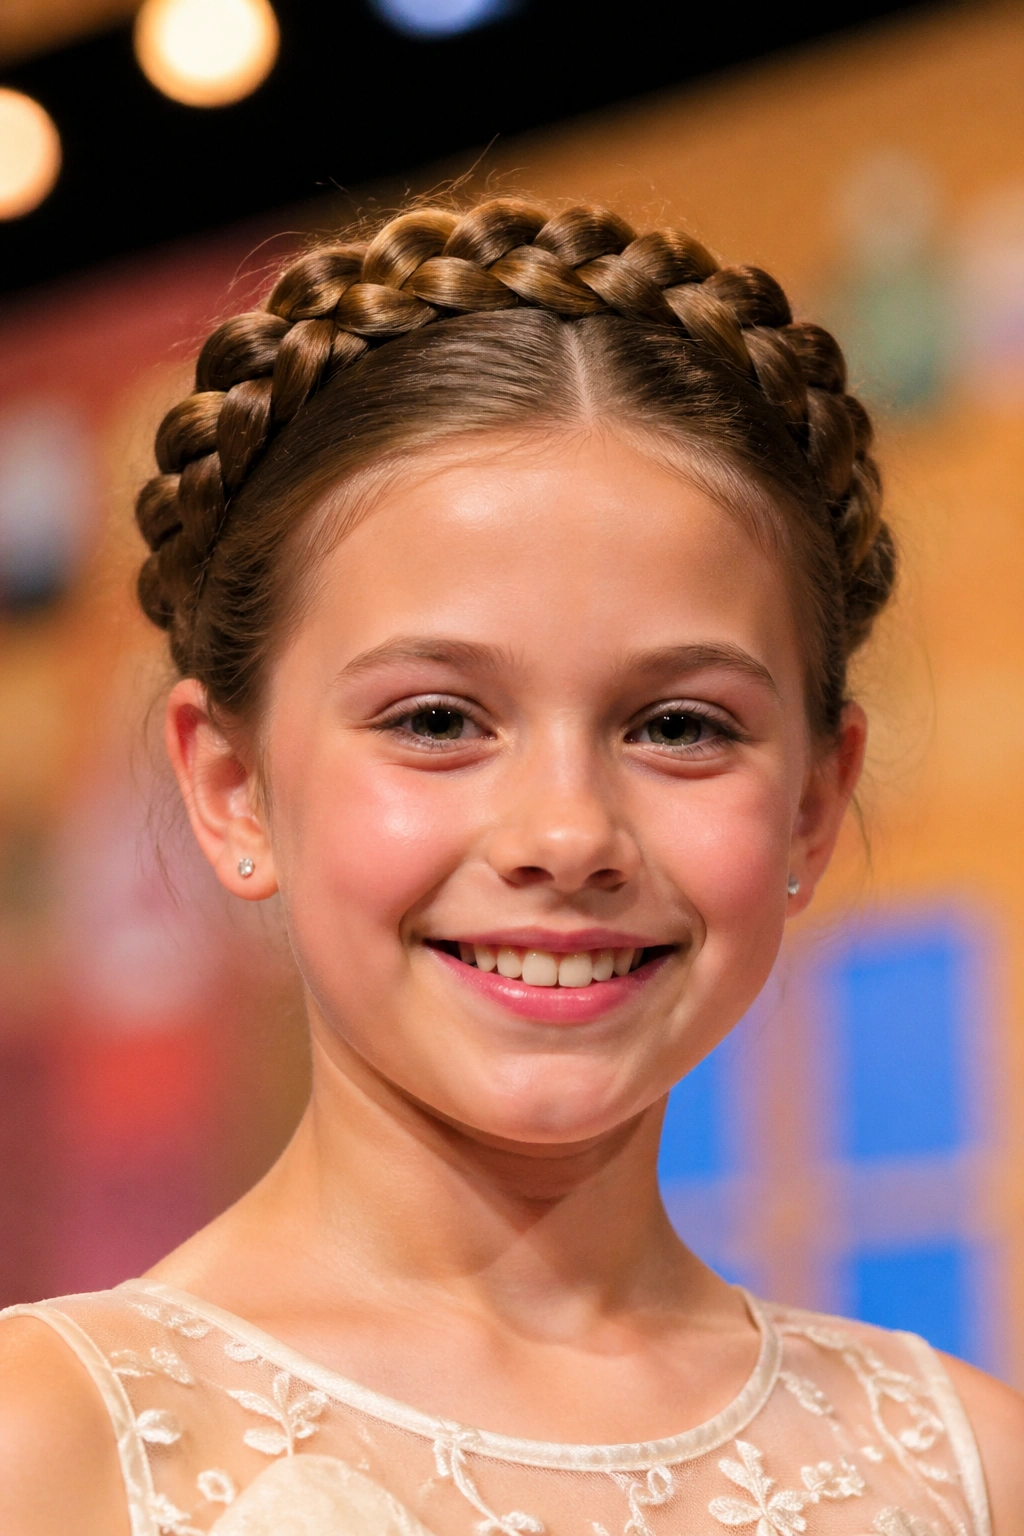
7. Crown Braid
A crown braid wraps around the head like a halo, though I always think of it more as a practical trick than a fancy style. It keeps the front and sides off the face, which is useful on days when bangs, layers, or wispy ends refuse to stay put. The braid can be made from one long braid wrapped around, or from two braids pinned across the top.
It looks more involved than it is. That is half the appeal. Once the braid is pinned, there is not much left to do except tuck in the ends and check that the pins feel secure. If the hair is slippery, use a few extra bobby pins with the wavy side down.
A Small Trick That Helps
- Spray the hair lightly with water before starting.
- Make the braid a little looser if you want a fuller crown.
- Pin at the nape first, then work around the head.
The style feels special without being fussy. That balance matters.
8. Half-Up Braid
The half-up braid is a good answer for kids who want to wear some hair down but still need the front out of the way. Take the top section from temple to temple, braid it, and let the rest of the hair fall loose. It gives structure where it counts and keeps the face clear without committing to a full updo.
I like this one for shoulder-length hair because it adds interest without requiring much length. It also works when the ends are uneven or the child is growing out a cut and the lower layers are doing their own thing. The braid covers that more neatly than a plain clip ever could.
Best part: it looks finished even when the rest of the hair is simple.
Downside: if the top section is too small, the braid can vanish into the loose hair. Go a little wider than you think you need.
9. Fishtail Braid
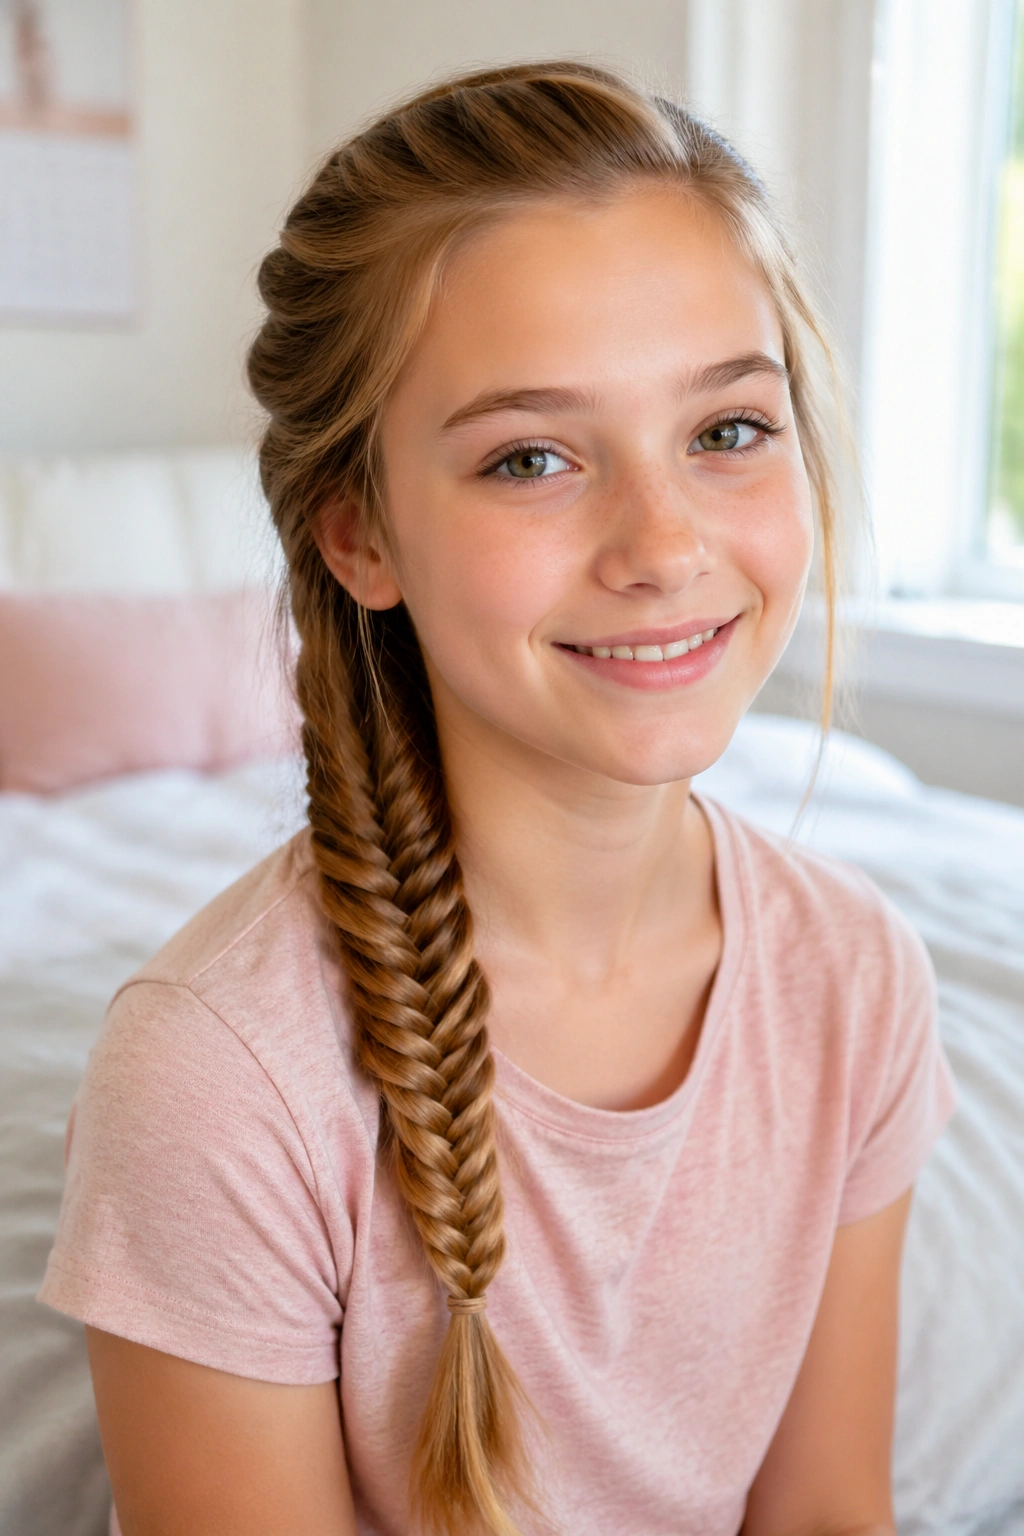
Why does the fishtail braid look so much more complicated than it really is? Because the pattern is finer, not because the handwork is mysterious. You divide the hair into two sections, pull a tiny strand from the outside of one section, cross it over, then repeat on the other side. That’s the whole engine.
The finished braid has a woven, tight look that reads a bit dressier than a basic three-strand braid. It is especially good for medium to long hair and for days when you want something tidy that still feels different from the usual school braid.
How to Get It Started
Use damp hands or a smoothing cream if the hair is frizzy.
Keep the pieces small and even.
Do not rush the first few passes, because that is where the shape gets set.
A fishtail can be a little fiddly the first time. After that, it becomes one of those styles that looks harder than it is.
10. Rope Twist Braid
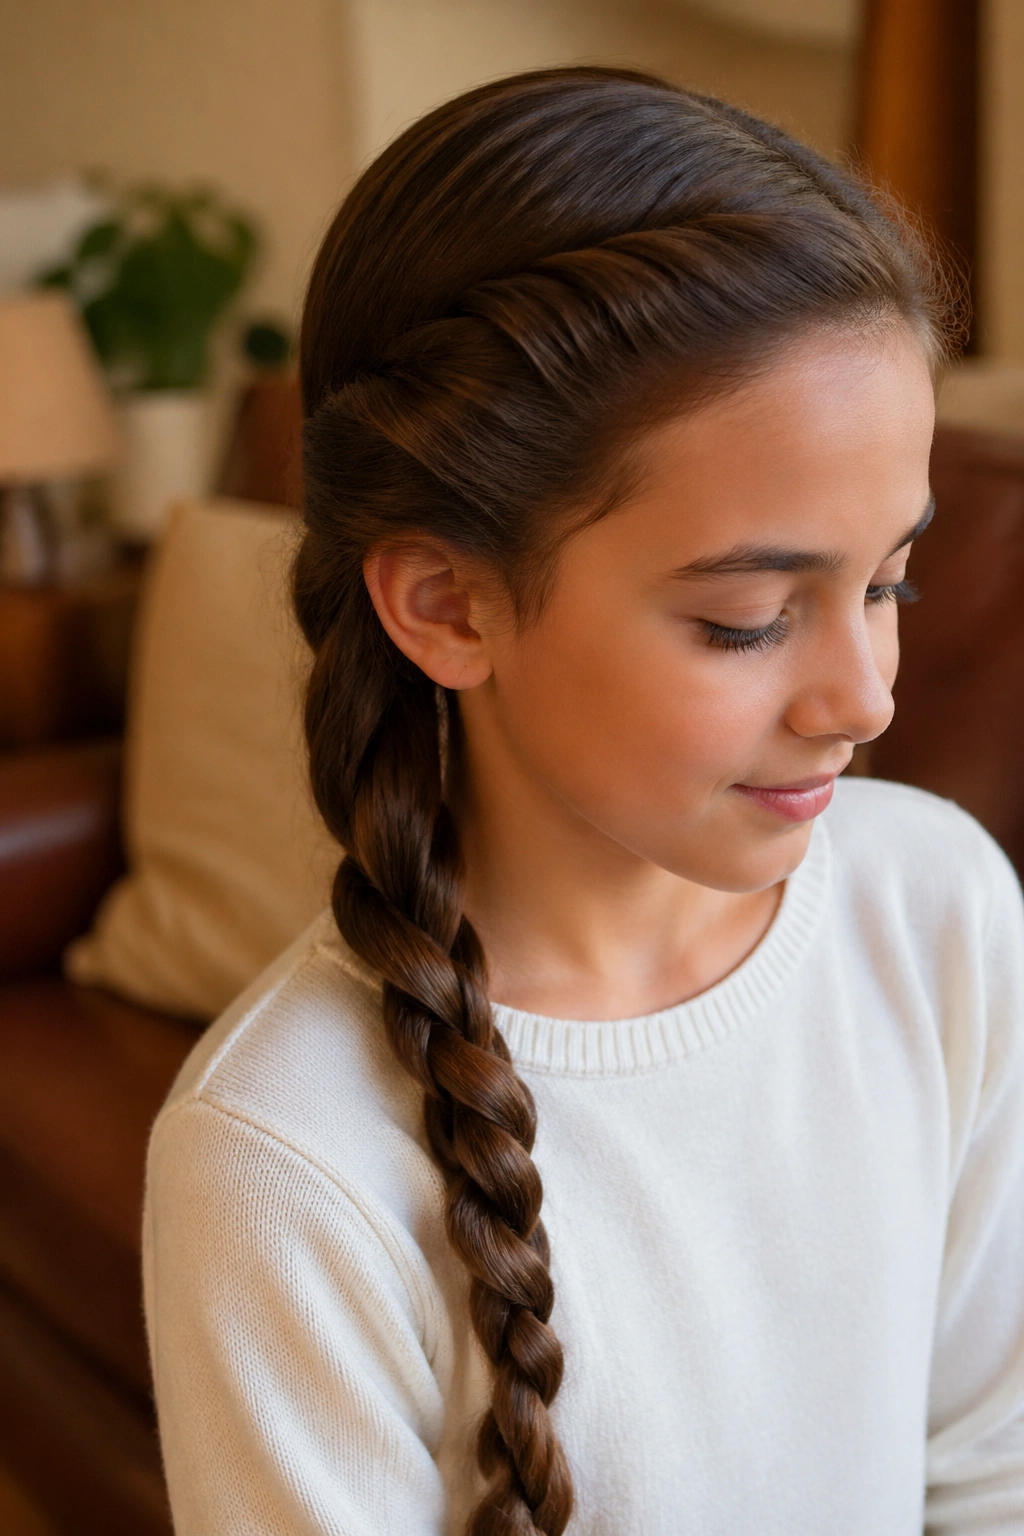
A rope twist braid is what I reach for when the clock is unkind. It only uses two sections, and each section gets twisted in the same direction before the two are wrapped around each other in the opposite direction. That simple rule keeps the braid from falling apart too quickly.
The result is sleek and neat, with a spiral look that works well for straight or slightly wavy hair. It is a good choice for kids who do not want the feel of a heavy braid but still need their hair controlled. Shorter lengths can still manage it if the ends are secured well.
What to Watch For
- Twist each section tightly before crossing them.
- Keep even pressure so one side does not unravel faster.
- Finish with a small elastic, then gently tug the twists for a fuller look.
It is fast. It stays tidy. And on some mornings, that is enough.
11. Pull-Through Braid
The pull-through braid is a clever stand-in for a braided look when the hair is too slippery, too short, or too layered for a traditional braid to behave. It uses a line of small elastics to create a stacked, braid-like pattern, then you split and pull sections through to build the shape. No three-strand weaving required.
That makes it a solid option for parents who can braid a little but not with confidence. It also works well on fine hair because the elastic structure gives the style some grip. Just do not yank the sections hard. A soft pull is enough to create volume without turning the hairline into a sore spot.
Best Uses
- Fine hair that slips out of regular braids.
- Layered cuts with shorter pieces around the face.
- Days when a neat style matters more than speed.
The braid looks full, which kids usually love. The secret is spacing the elastics evenly, about 1 to 2 inches apart, so the pattern stays clean.
12. Waterfall Braid
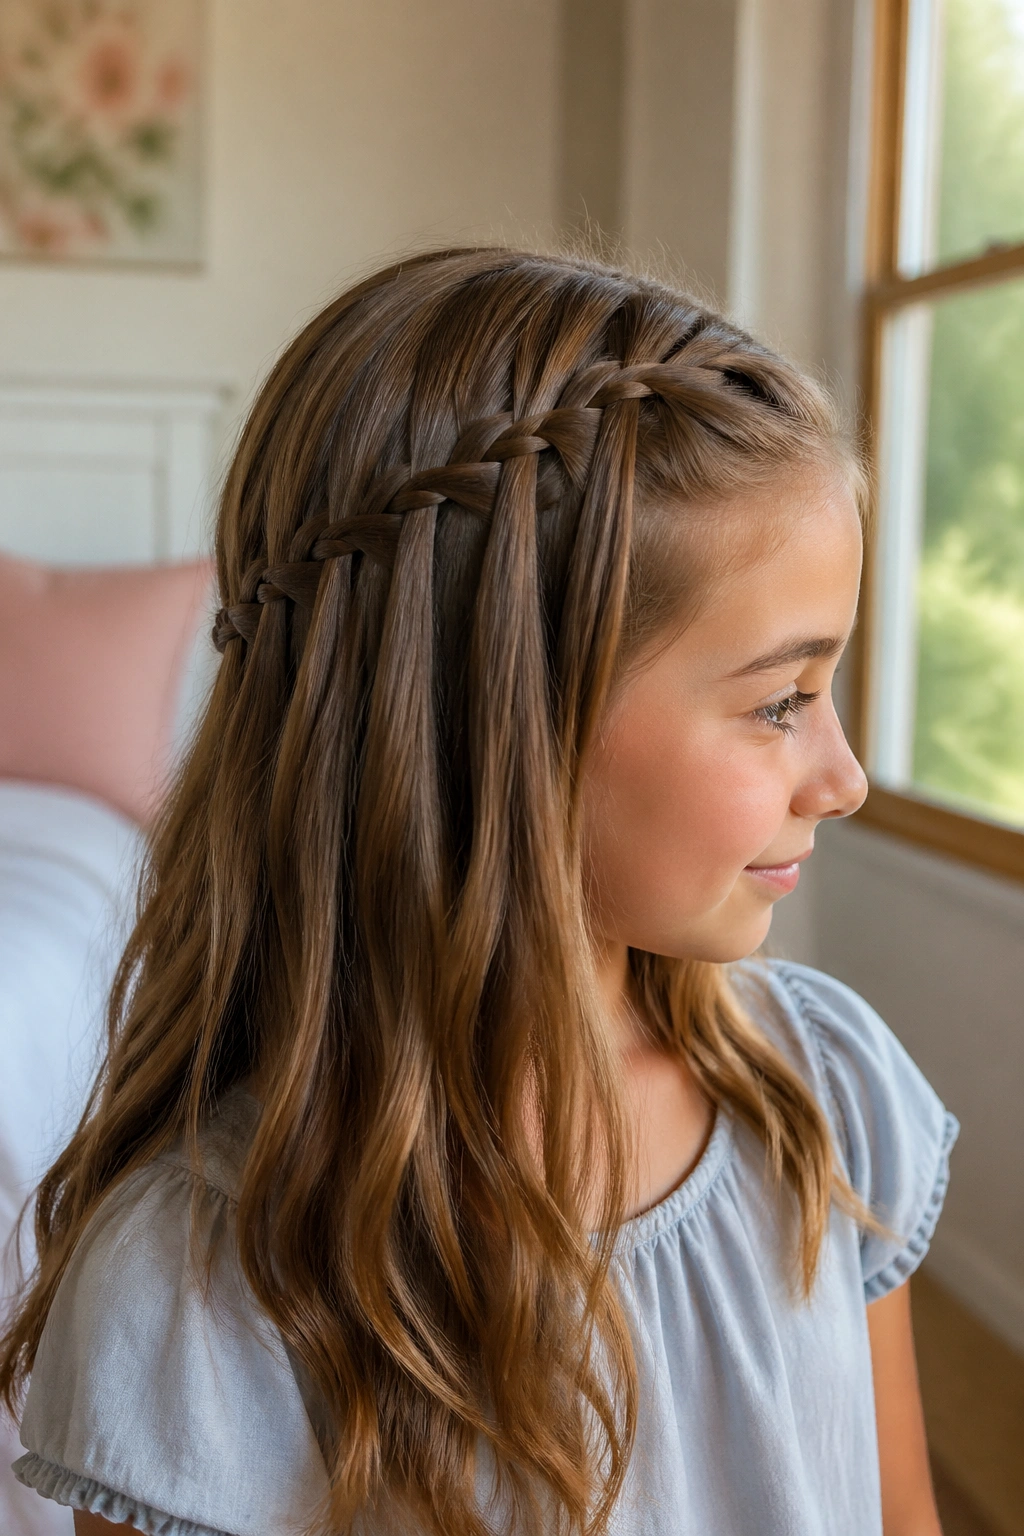
The waterfall braid is one of the prettiest half-down styles, and it has a clear trick behind it: one strand drops through each time you add hair, which creates that flowing, stepped effect along the side of the head. It is not difficult once the hand pattern settles in.
This braid is a good fit for medium to long hair and for children who like having some hair down. It keeps the front tidy while still leaving movement through the rest of the style. If you want a little more hold, start with slightly textured hair instead of freshly brushed hair that is too slick.
What Makes It Different
The braid frames the head without enclosing all the hair. That makes it feel lighter than a full updo. It also gives a nice shape to layered cuts, because the dropped strands blend into the loose hair instead of fighting it.
A small clip at the end can help secure the finished side. A ribbon works too, if the child likes a softer look.
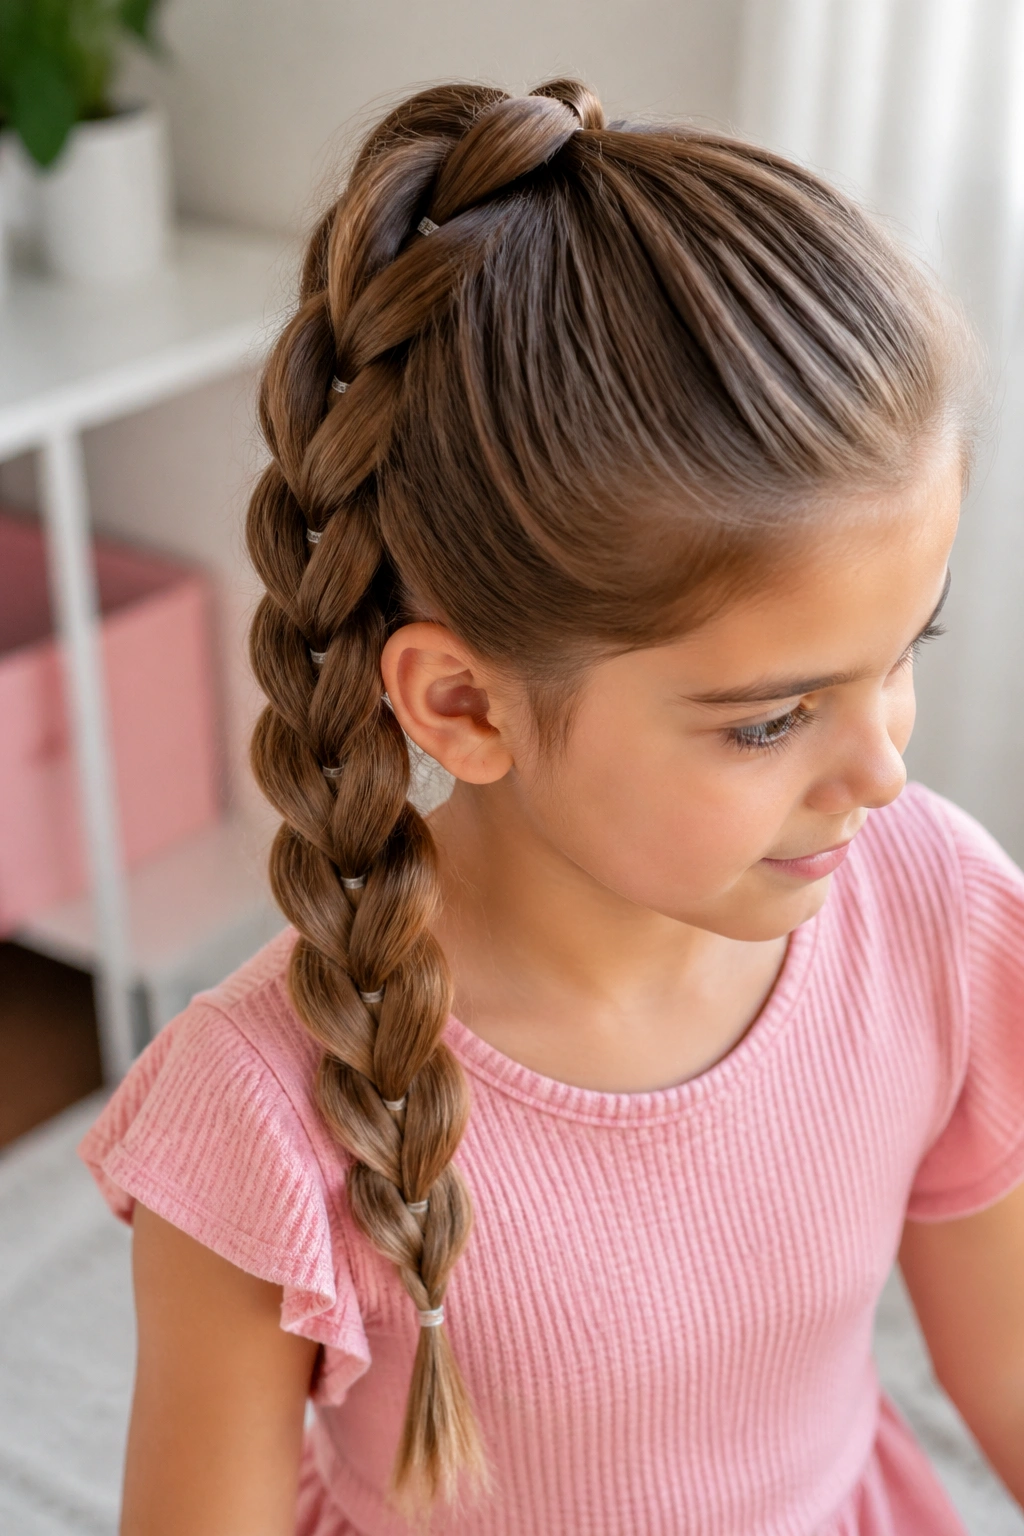
13. Braided Ponytail
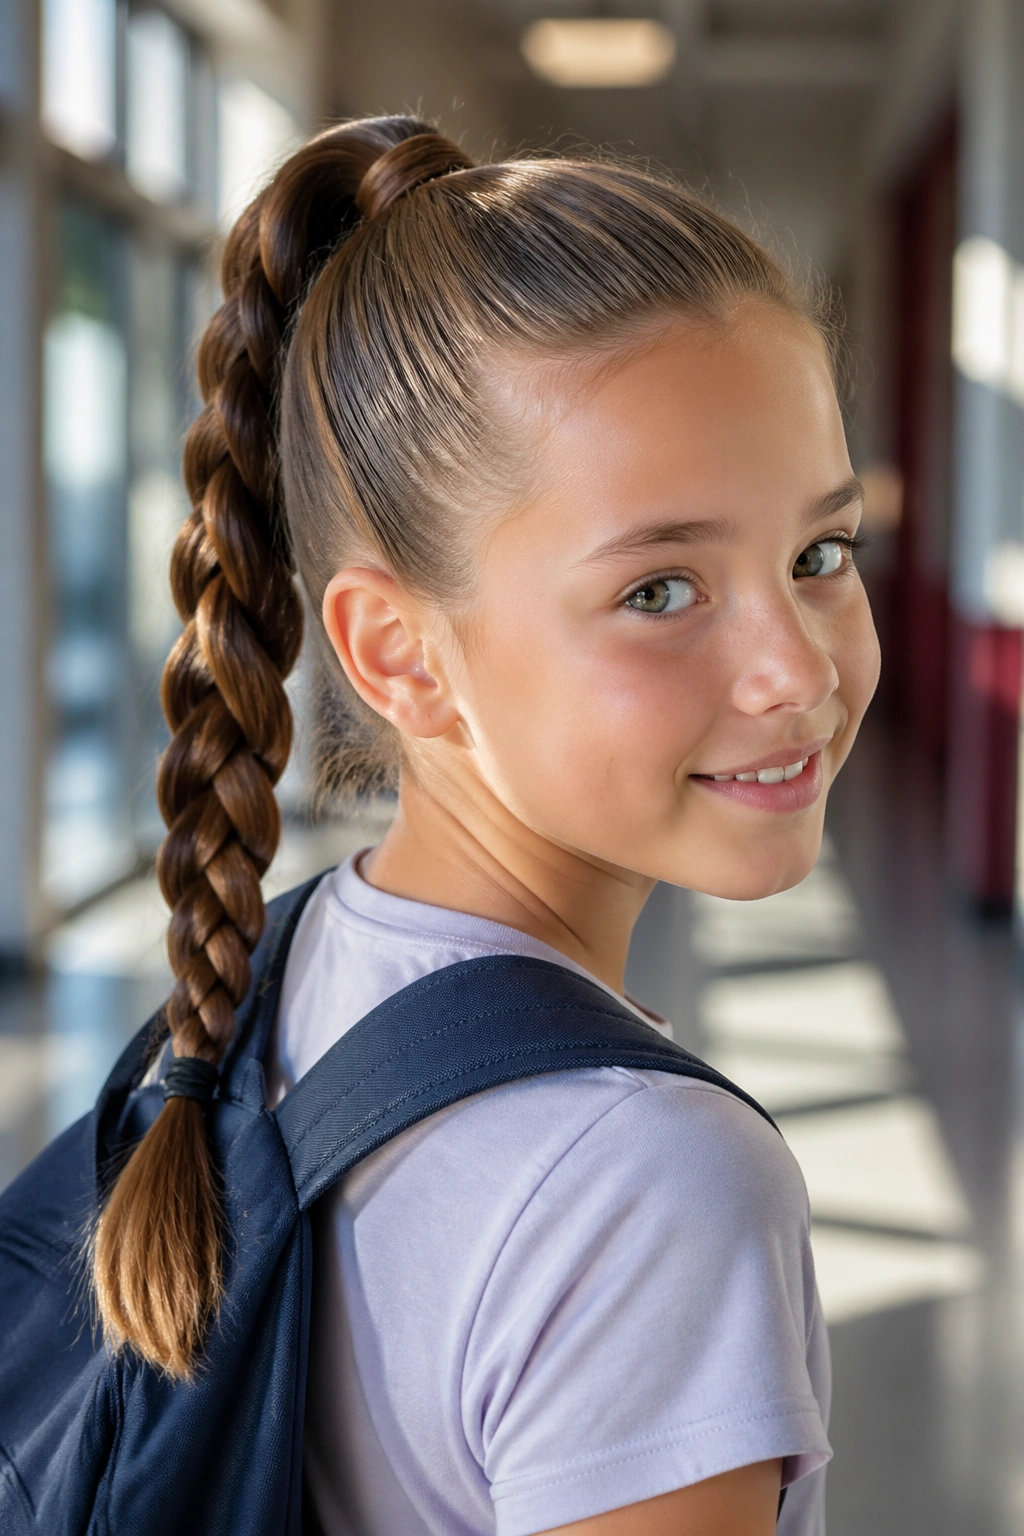
A braided ponytail is plain in the best way. Gather the hair into a ponytail first, then braid the tail and secure the end. That single extra step turns a basic ponytail into something that stays neater and tangles less during the day.
It is a strong choice for sports, class trips, and any day when the hair has to survive a backpack strap, a sweatshirt hood, and a few rounds of tag. The ponytail base keeps everything high and off the neck, while the braid keeps the tail from frizzing into a knot by afternoon.
How to Make It Hold
Brush the hair upward smoothly before tying it off.
Use a firm elastic at the base.
Braid the tail all the way down, leaving only an inch or two at the end for the finishing band.
It is simple. It looks tidy. It works.
14. Braided Bun
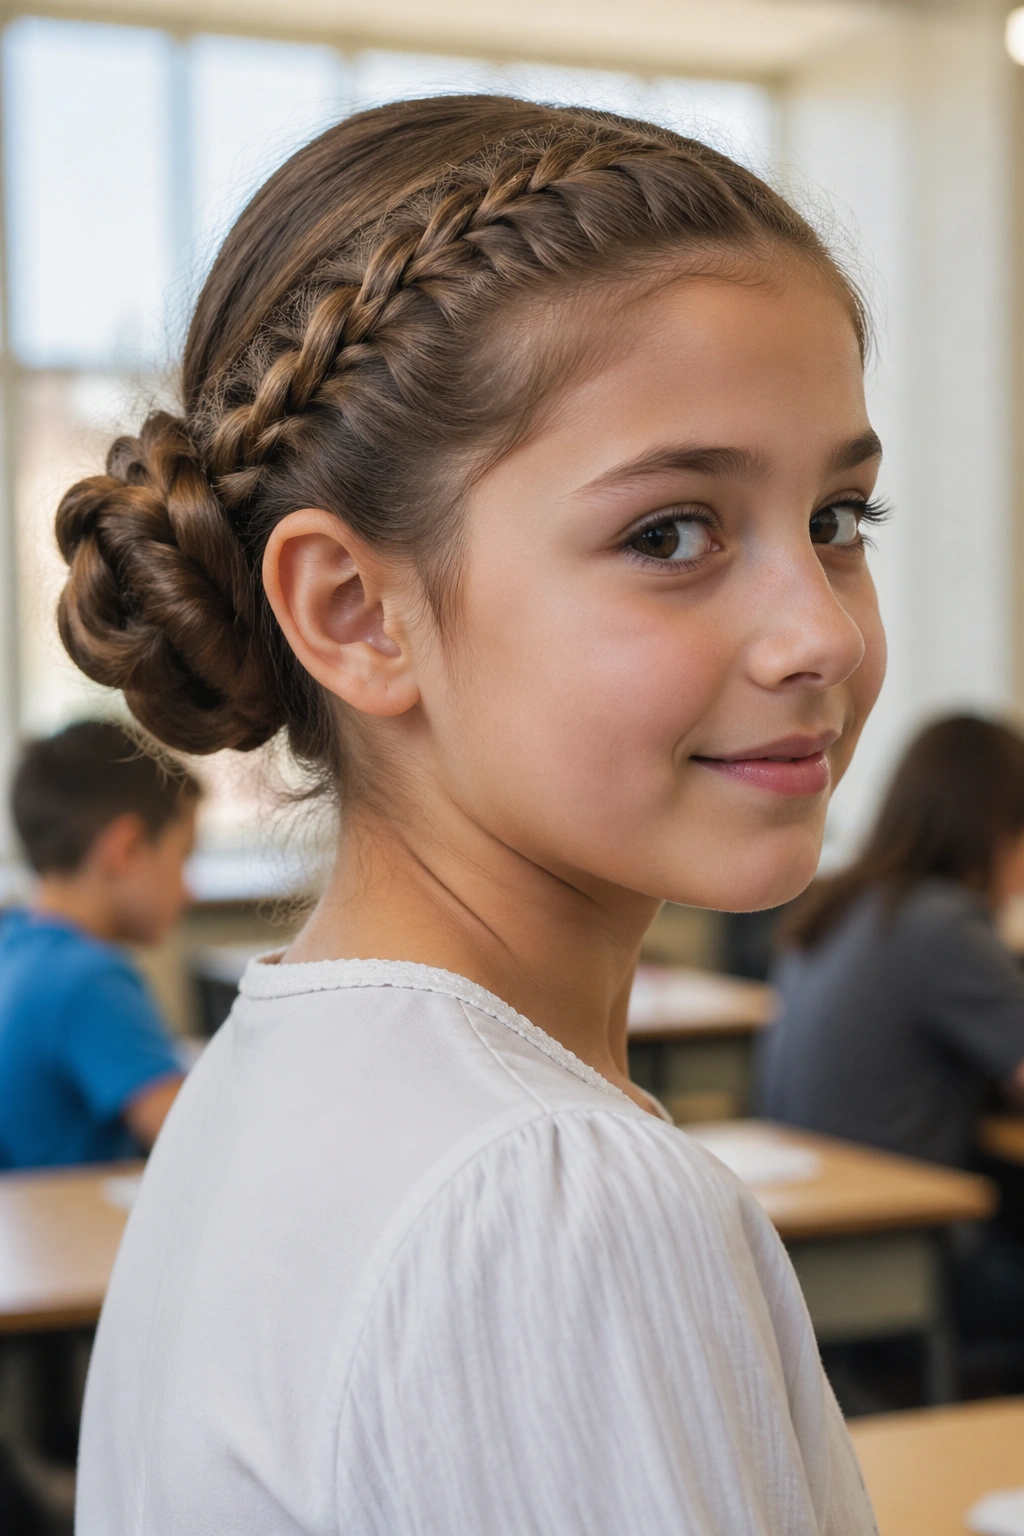
The braided bun is one of those styles that makes sense the second you need hair completely out of the way. Start with a braid, coil it into a bun, and pin or elastic it in place. The braid gives the bun shape, so it tends to look more controlled than a plain twist.
This style is useful when you want to keep the nape cool and the ends tucked in. It also helps with layered hair because the braid locks shorter pieces inside the bun instead of letting them poke out in every direction. If the hair is thick, keep the bun low and anchored well so it does not feel bulky at the back of the head.
Good for: school concerts, dress-up days, dance class, or any morning that calls for a cleaner profile.
Tip: a hairnet over the bun can help if the style needs to last through a long day.
15. Headband Braid
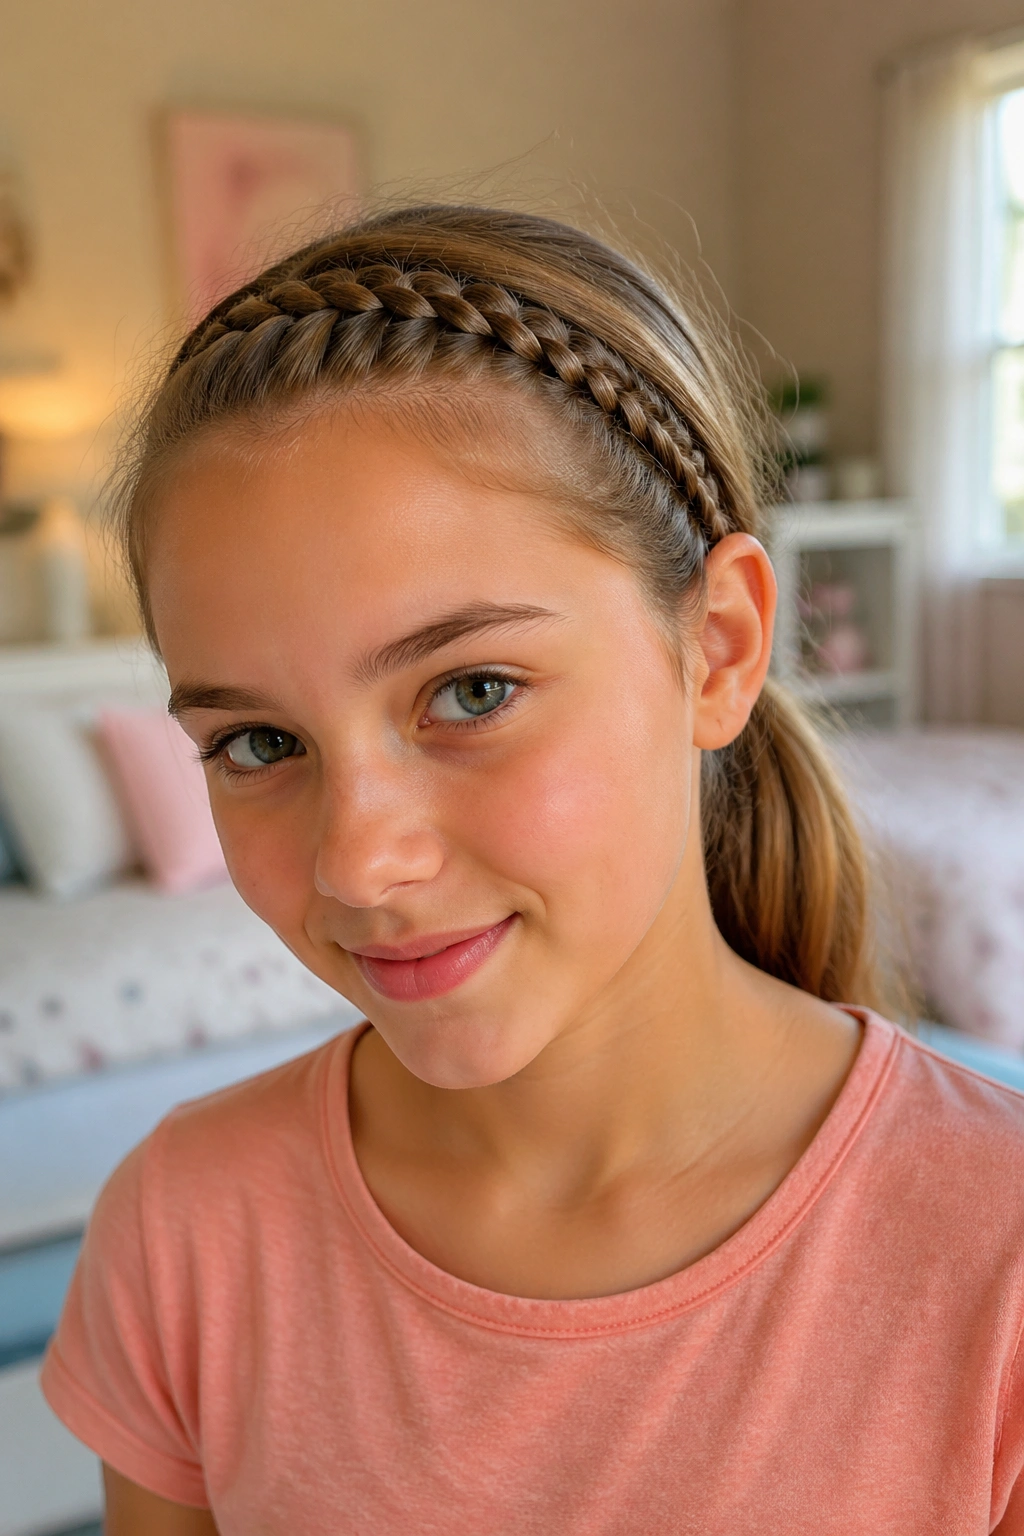
A headband braid solves the bangs problem without cutting bangs out of the equation. Braid a section along the hairline from one side to the other, then pin the end behind the opposite ear so it sits like a band across the top of the head. The rest of the hair can stay loose or get tied back separately.
That makes it a nice choice for growing-out fringe, short layers, or kids who hate hair in their eyes. It also keeps the forehead clear without flattening the whole style. I like that it looks deliberate even when the rest of the hair is casual.
How to Style It
Keep the braid close to the hairline, but not so tight that it pulls.
Use tiny bobby pins under the braid to hide the ends.
If the braid slips, mist the front section lightly and start again.
It is one of the easiest ways to make a regular haircut behave like a planned style.
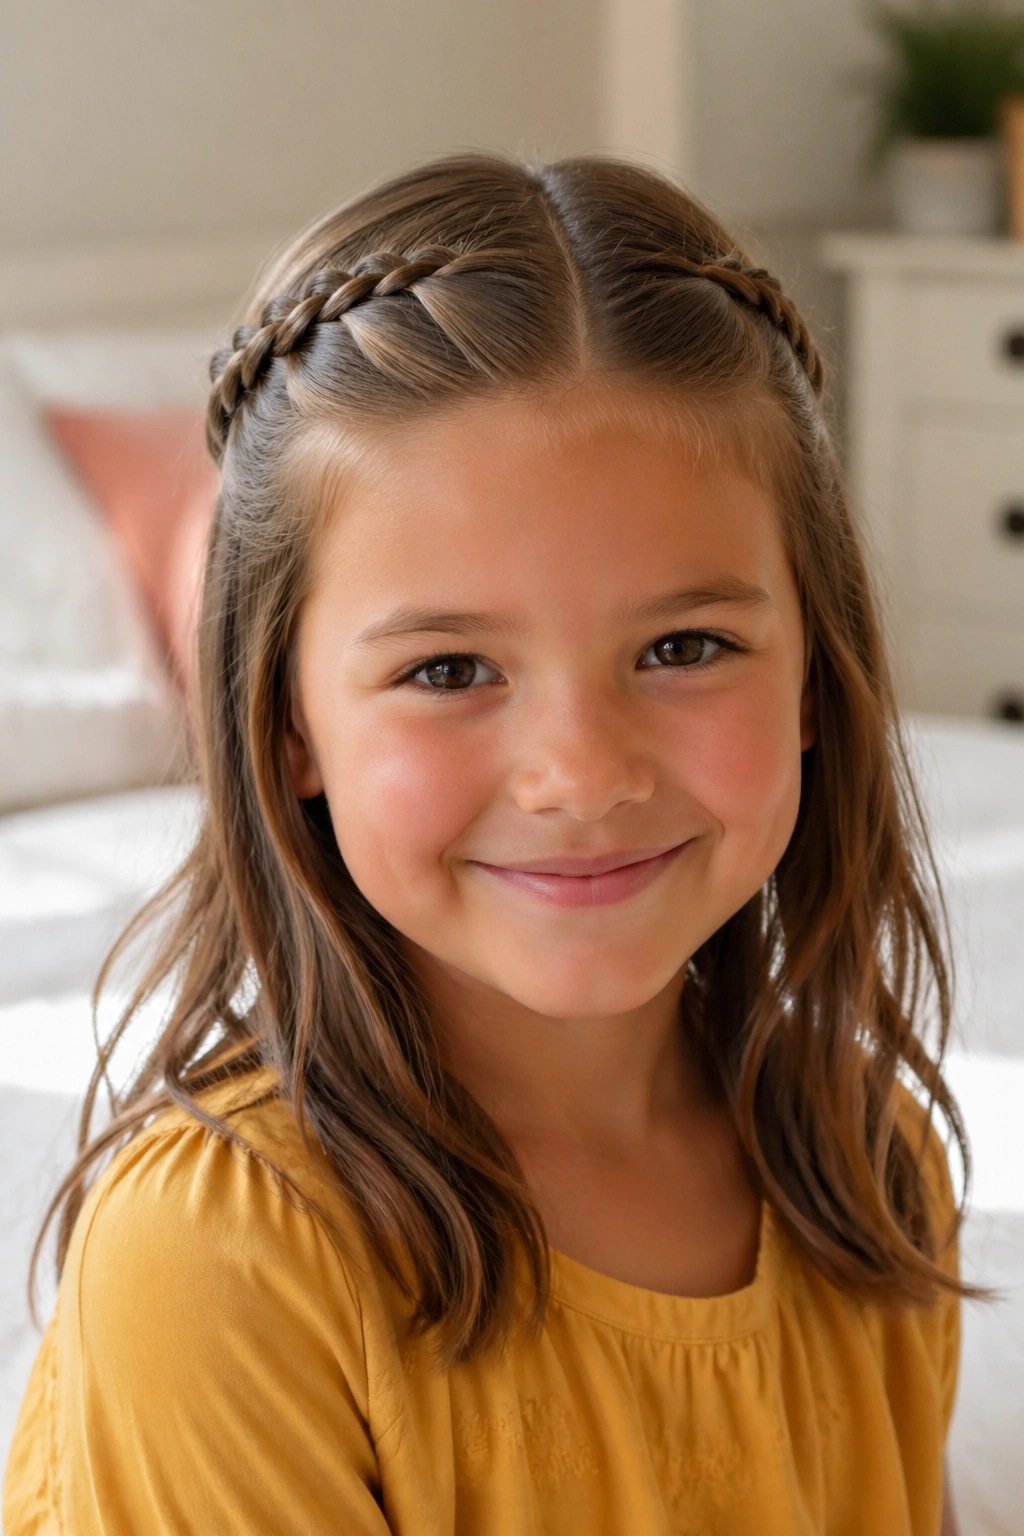
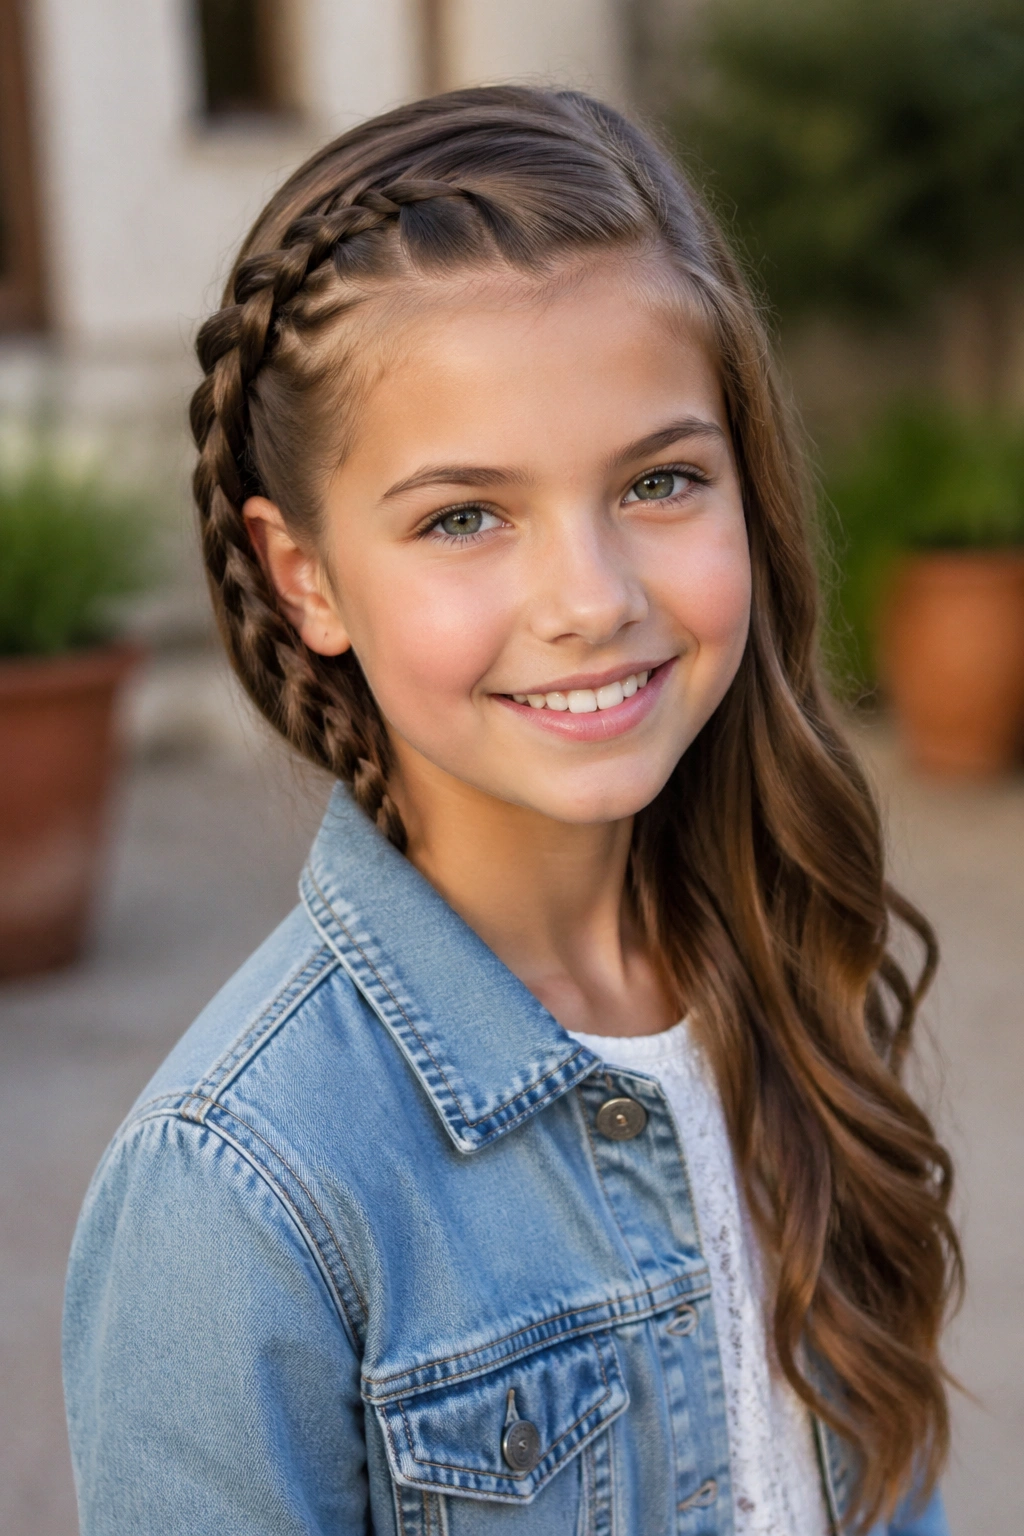
16. Accent Braid With Loose Hair
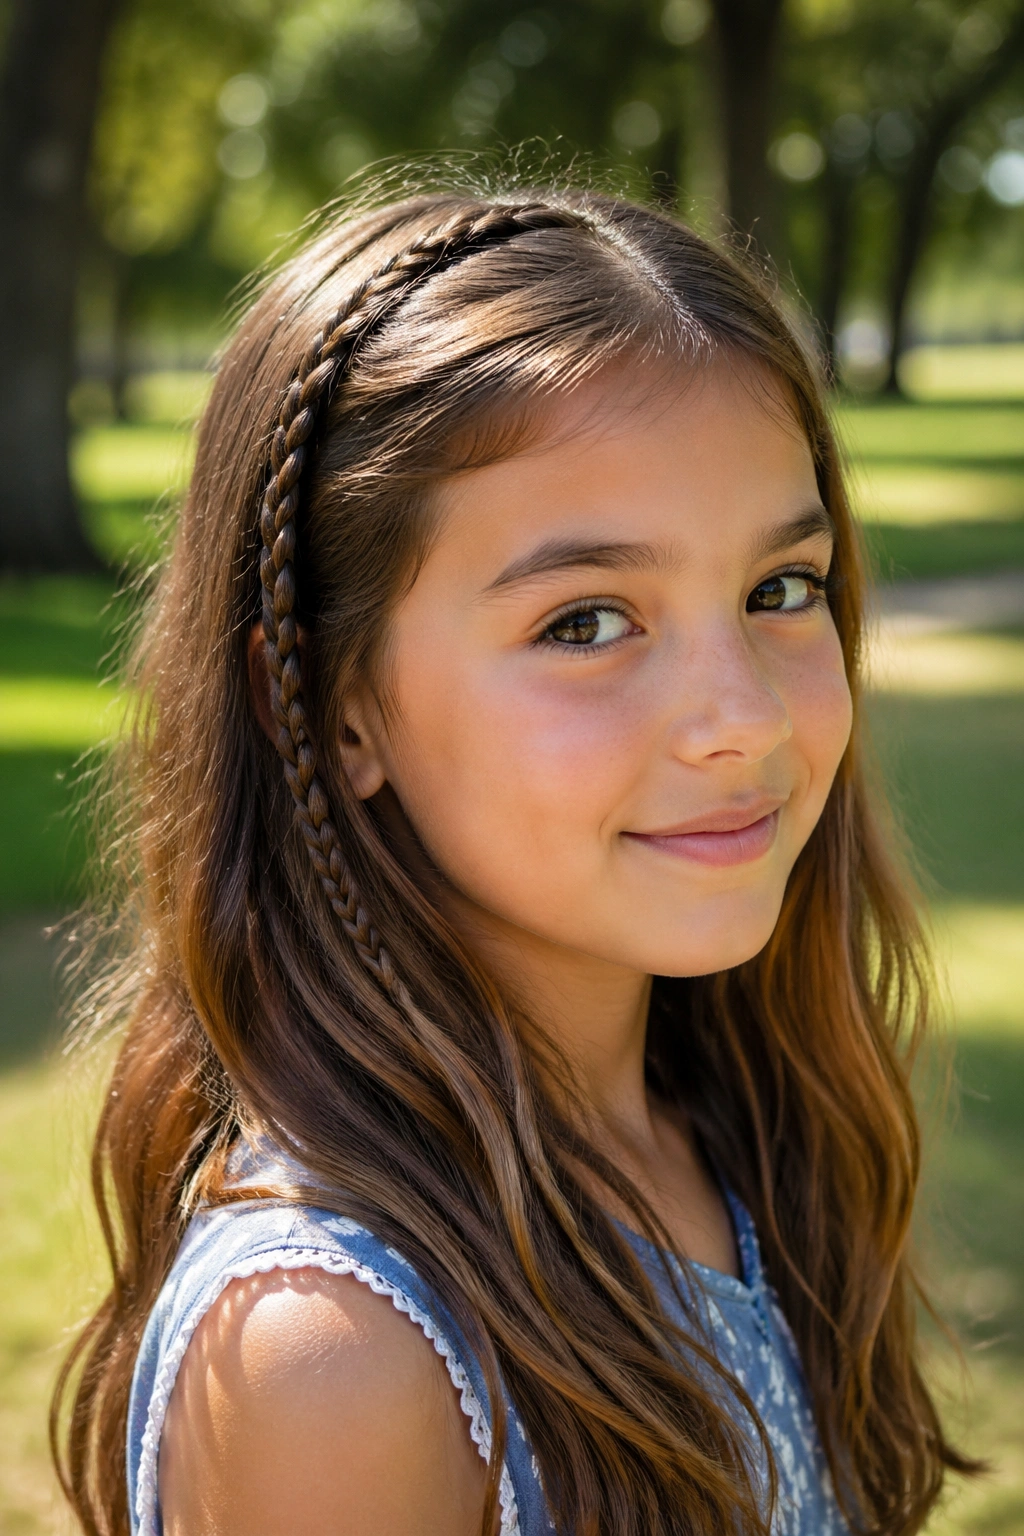
Sometimes the answer is not a full braided look at all. An accent braid uses just a small section near the temple, crown, or front part, then leaves the rest of the hair down. That tiny detail is enough to make the hairstyle feel done without asking a child to sit still for a long session.
This style works especially well for kids who want hair down but still need something off the face. It also comes in handy when the hair is freshly cut and the length is uneven. A single braid on one side can hide awkward layers and add structure without taking over the whole head.
A Simple Way to Think About It
If the child is fine with a clip but wants something prettier, choose an accent braid.
If she wants a full braided style, pick something else.
That blunt rule saves time. And honestly, it saves frustration too.
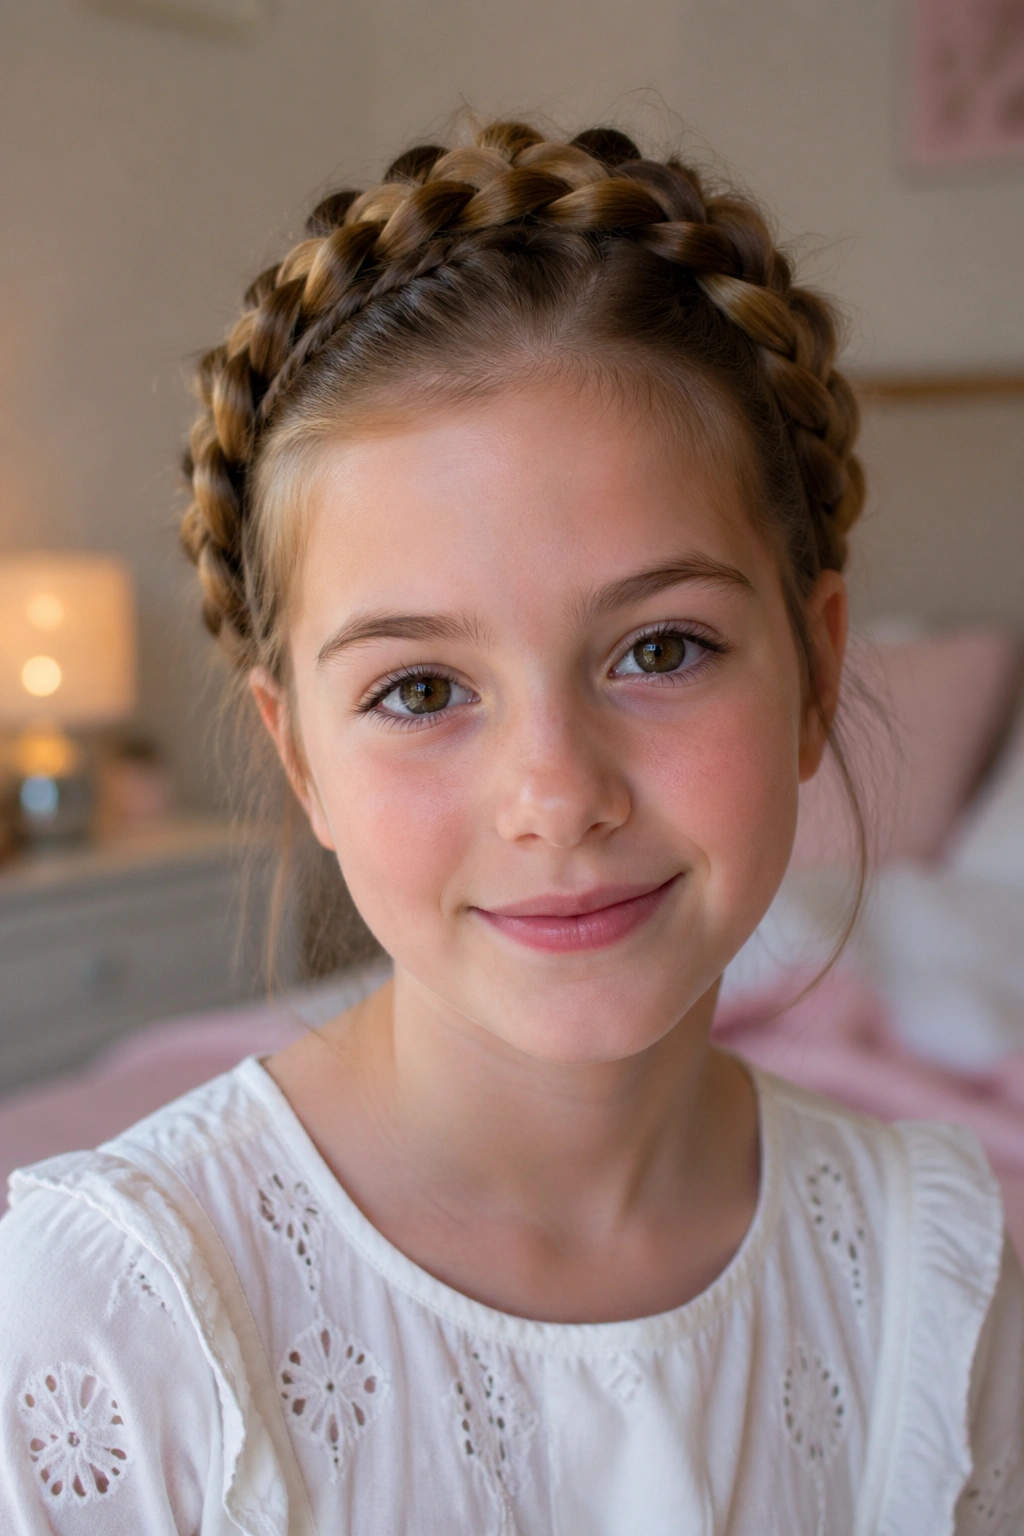
17. Milkmaid Braids
Milkmaid braids are a cousin of the crown braid, but the look is a little more old-fashioned and a little more relaxed. Braid two side sections, then lift them over the top of the head and pin them into place so they cross or sit side by side. The hair stays off the neck, and the style has a soft, rounded shape.
It works best on medium-length hair or longer hair that can reach over the crown without stretching. If the hair is layered, tuck the short pieces with pins before they start escaping. That small detail makes a big difference. Without it, the braid can look loose in a way that is not charming at all.
This is a nice choice for school performances, family photos, or any day when a slightly dressed-up look feels worth the extra five minutes.
18. Lace Braid
A lace braid looks similar to a French braid, but only one side gets new hair added each time. The other side keeps its original section, which makes the braid run along the head like a neat ribbon. The pattern is clean, and it has a little more direction than a normal braid.
What I like most is the way it works with side-swept hair. It can follow the curve of the head, tuck behind an ear, or lead into a ponytail or bun. The style does not scream for attention, but it does give the hair shape that plain loose hair often lacks.
Where It Helps Most
- Hair that grows out unevenly.
- Side parts that need a little structure.
- Children who want one pretty braid instead of two.
A lace braid is one of those styles that seems modest until you see it on a real head. Then it makes sense.
19. Zigzag-Part Braids
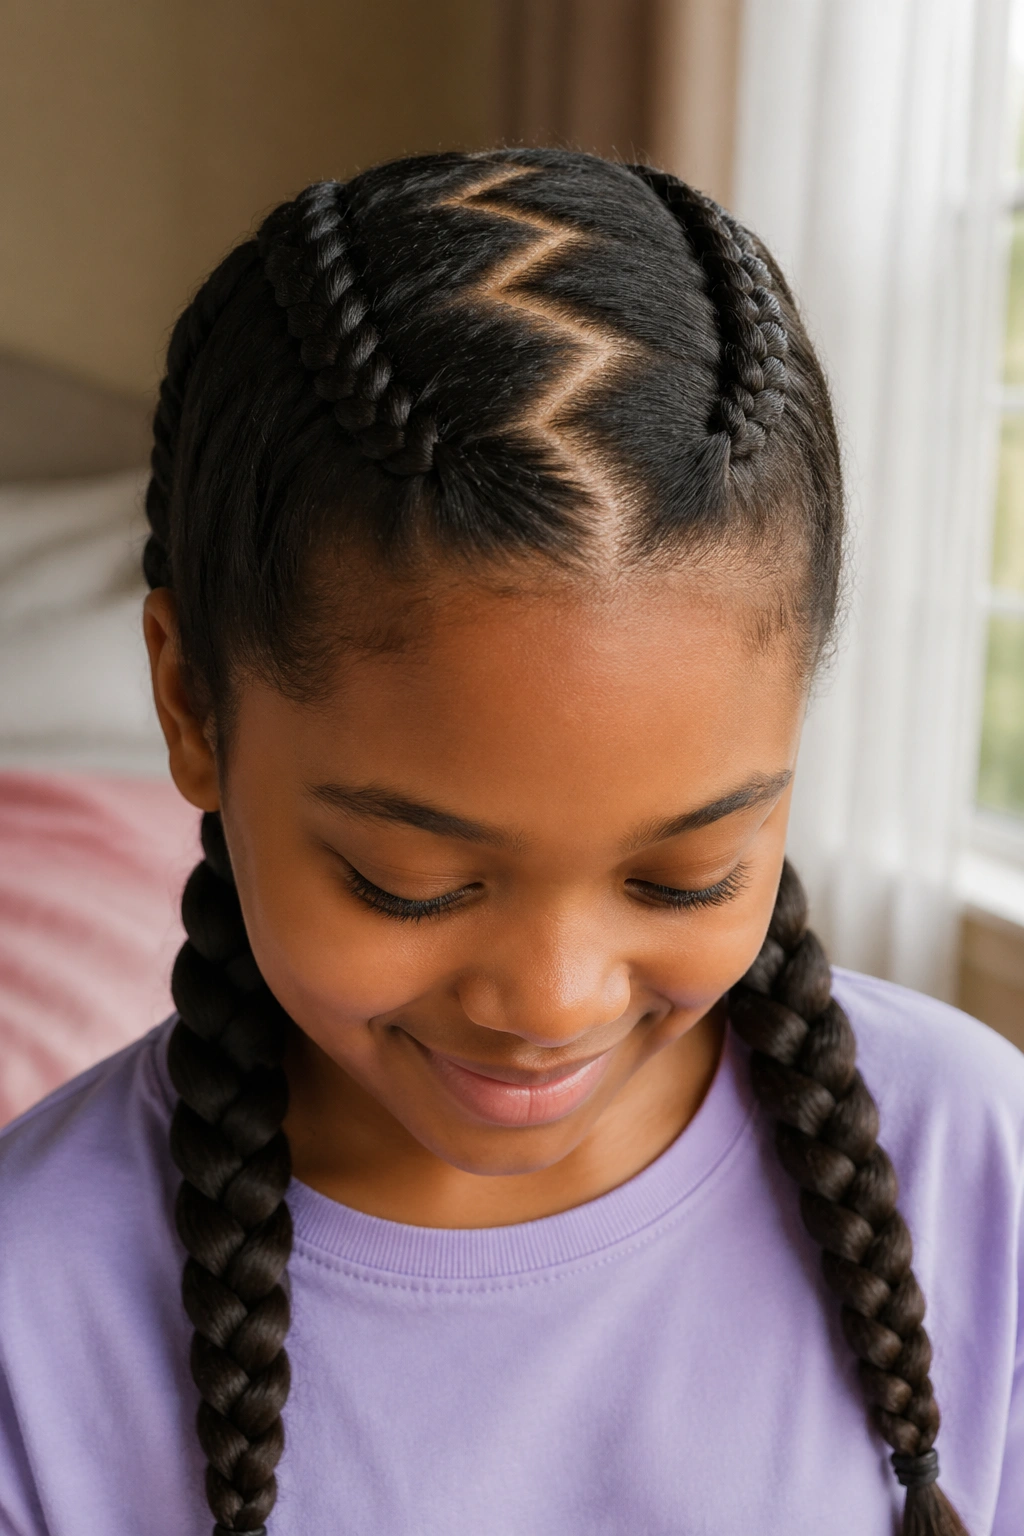
The braid itself is simple here; the part is the fun part. A zigzag part turns an ordinary set of braids into something that feels playful without requiring a complicated hand pattern. Use the tip of a rat-tail comb to draw the line in sharp sections, then braid the hair into pigtails, double braids, or a ponytail.
That small change can be enough to make an ordinary style feel special. Kids notice parts faster than adults do, and they tend to like the surprise of seeing a line that does not go straight down the middle. It looks clever, but it is really just a bit of patience and a steady hand.
Quick Details
- Works best on damp or lightly detangled hair.
- Keep the zigzag wide enough to see, not so tiny that it disappears.
- Pair it with two braids for the clearest effect.
It is a small twist, but it lands.
20. Bubble Braid With a Braided Base
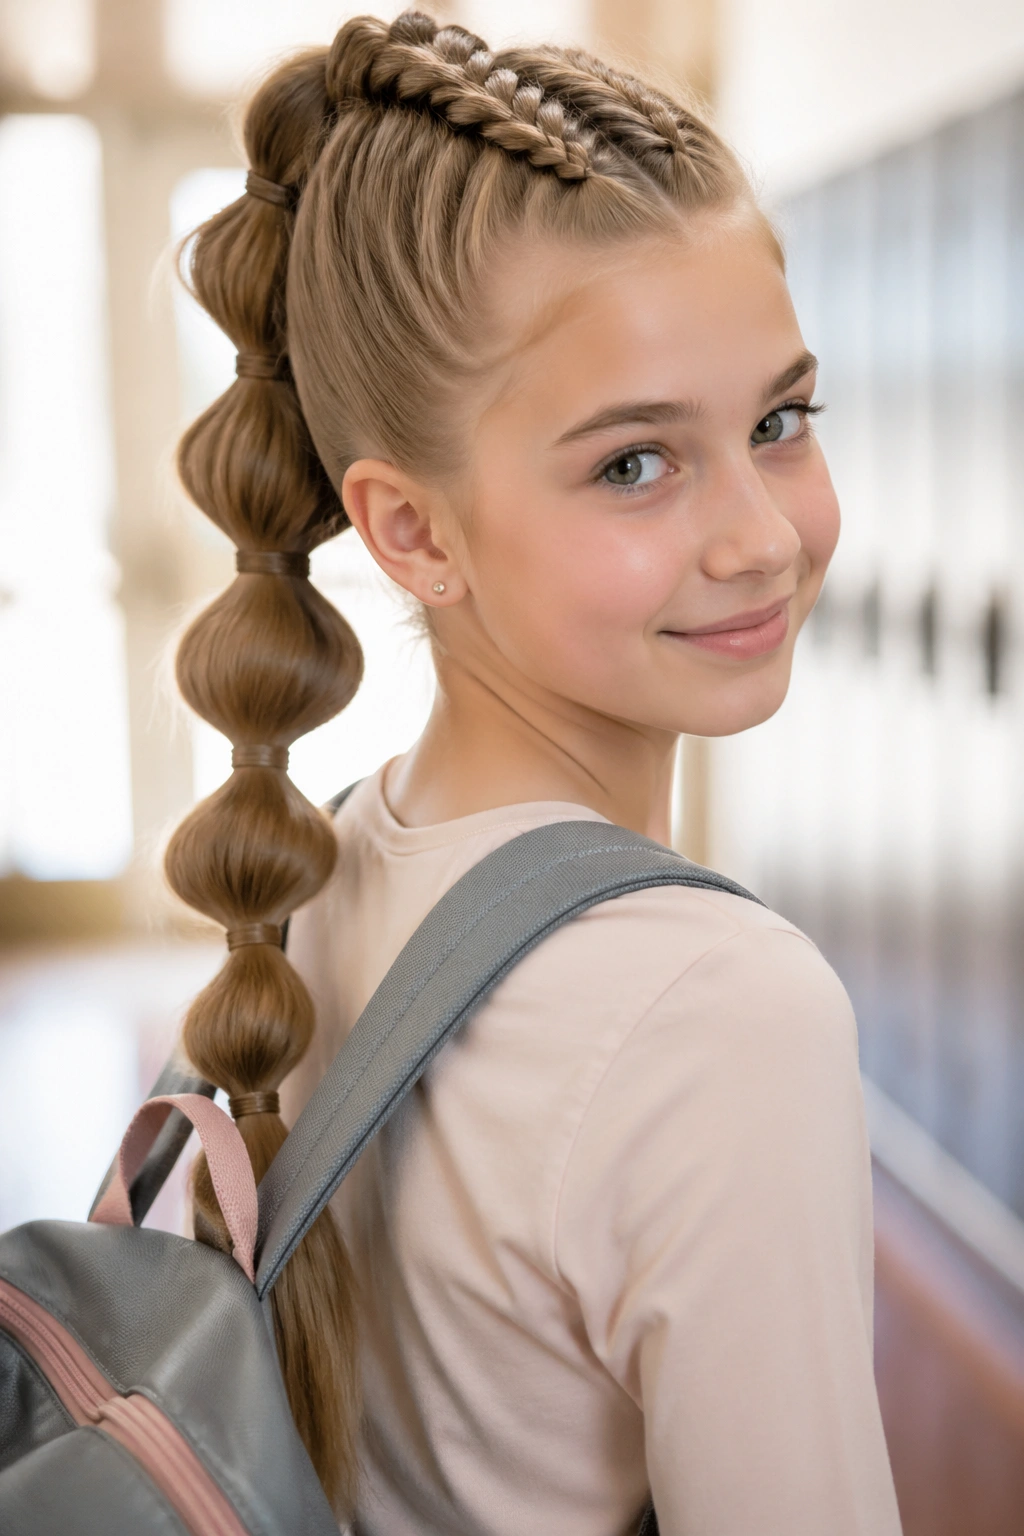
The bubble braid is not a traditional braid, but it fits nicely in a braid roundup because the effect is similar: segmented, tidy, and easy to wear. Start with a small braid at the top or base, then add elastics down the length of the ponytail and gently tug each section into round “bubbles.”
It is a favorite for kids with thick hair because it keeps volume on purpose instead of fighting it. Fine hair can wear it too, though the bubbles may need a little extra puffing to show up clearly. The biggest benefit is speed. Once the ponytail is in place, the rest takes only a few minutes.
Watch for: tight elastics that snag when removing the style. Use soft bands if possible.
Nice touch: wrap a small strand of hair around the first elastic for a cleaner finish.
It has a playful look without becoming fussy.
21. Four-Strand Braid
A four-strand braid looks more woven than a standard three-strand braid, which is why parents often assume it is hard. It is not impossible at all. The pattern is a little different, but once you get the movement, it becomes a repeatable rhythm instead of a mystery.
I like this braid for older school-age girls who want something a bit more interesting without turning the hairstyle into a project. It creates a wider, flatter braid that lies nicely down the back or over one shoulder. If the hair is very slippery, start with a light mist of water or a tiny bit of leave-in conditioner.
How to Keep Track
Think in terms of outside sections moving across the middle.
Go slowly for the first three passes.
Once the braid starts to form, the pattern usually clicks.
It takes a little attention, then it settles into place.
22. Braided Mohawk
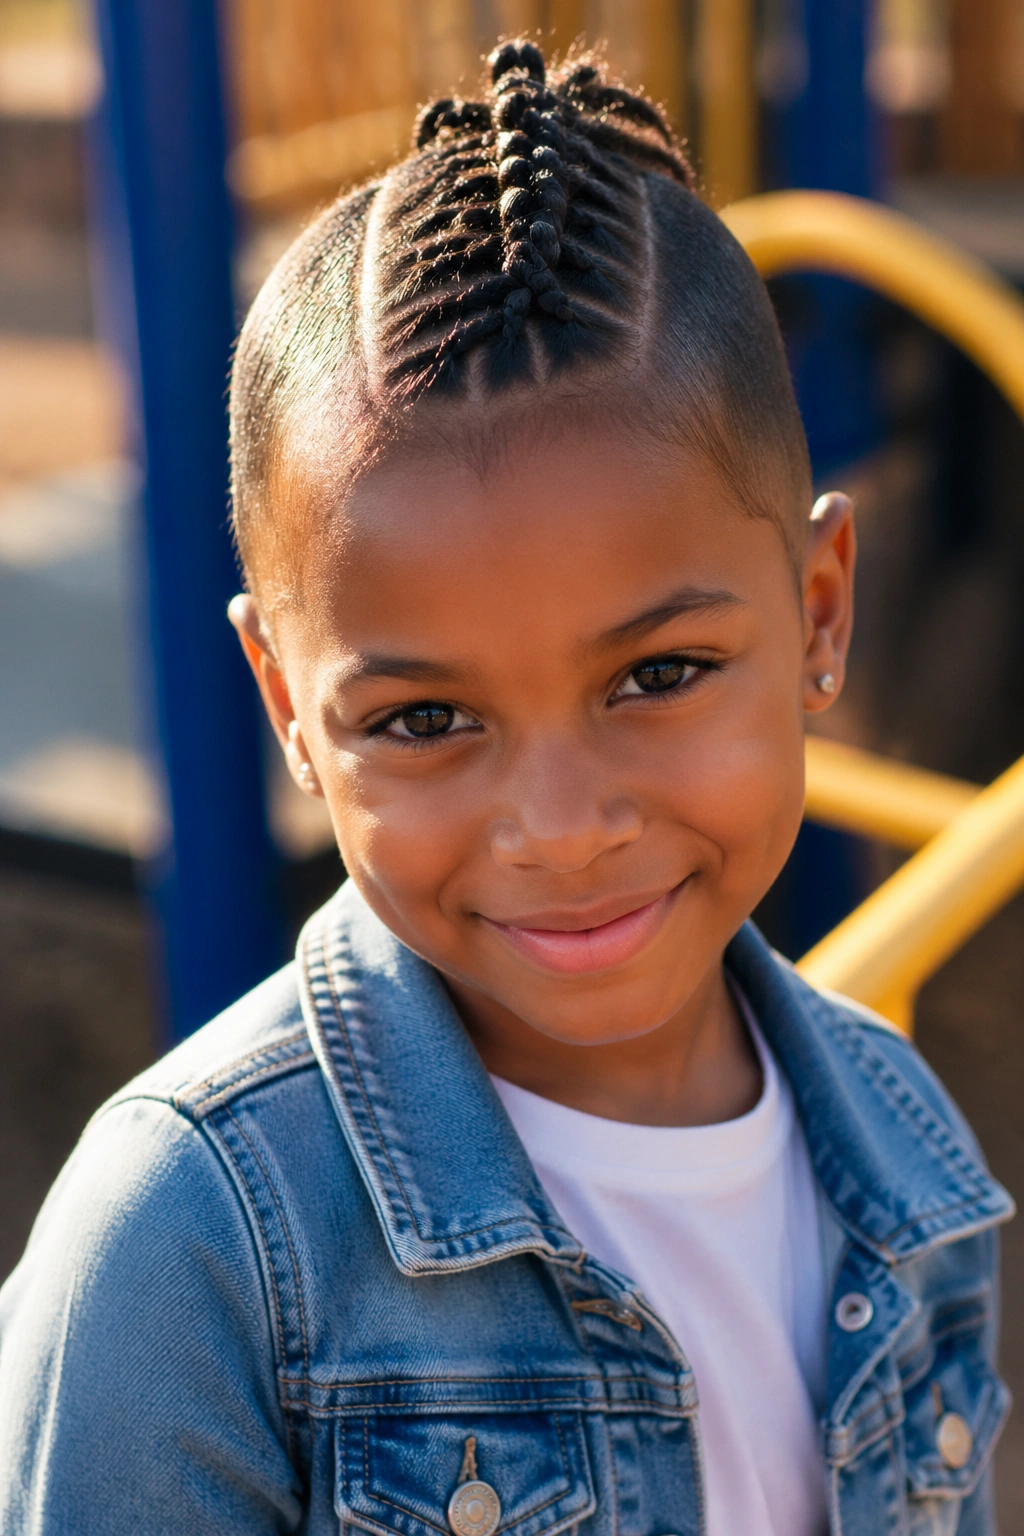
A braided mohawk sounds bold, but in school settings it often reads as just energetic and fun. The center of the hair gets braided in a line from front to back, usually as a French or Dutch braid, while the sides are smoothed down, tucked, or left separate depending on the look you want.
This one is good for kids who like styles that feel a little stronger than a plain braid. It also keeps the center section under control, which is useful if the hair in the middle tends to puff up or fall forward. If the braid runs tight along the scalp, keep the edges soft so it does not feel harsh around the temples.
Best For
- Thick hair with a lot of volume.
- Kids who want a style that lasts.
- Days when a regular braid feels too ordinary.
A little edge. Still practical. That is the sweet spot.
23. Triple Braids Into a Ponytail
Triple braids into a ponytail sound more complicated than they are. Split the front or upper section into three small braids, braid each one, and then gather them into a ponytail at the back. The style gives you texture on top and a simple finish underneath.
It works especially well when the hair has layers, because the small braids help corral the pieces that usually slip out around the face. You can keep the braids thin for a delicate look or make them wider for more visual weight. Either way, the ponytail base keeps the style comfortable and easy to wear all day.
The real advantage is flexibility. Tighten the braids for a school day. Loosen them a little for a dressier feel. That one setup can do both.
24. Heart Braid
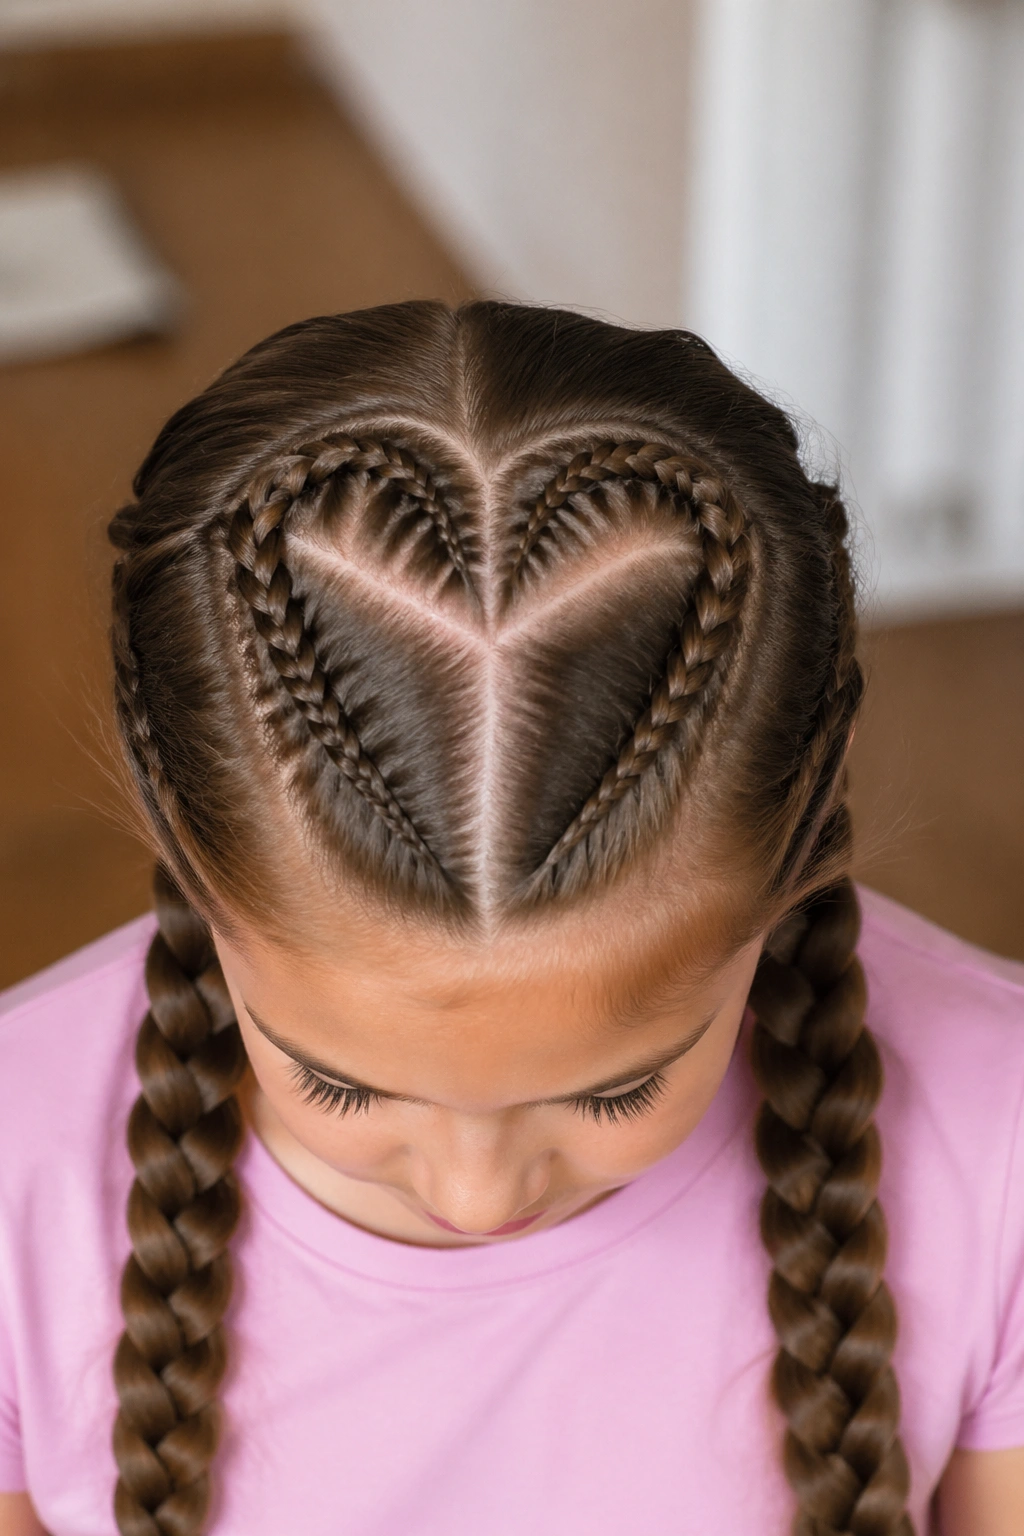
A heart braid is one of those styles that sounds like it belongs only on special occasions, but it can be simpler than it looks. The “heart” usually comes from the parting: two curved sections shaped toward the center, then braided into pigtails, ponytails, or one merged style at the back.
This is a nice choice when the child wants something playful and a little more detailed than a standard braid. The shape is the whole point, so the braid itself does not have to be fancy. Clean parting matters more than advanced finger work. If the lines are a little uneven, the style still reads well once the braids are in.
Who It Suits
- Kids who love themed hairstyles.
- Picture days and celebrations.
- Longer hair that can hold curved parting lines.
It is a style that gets noticed without needing glitter, clips, or a drawer full of accessories.
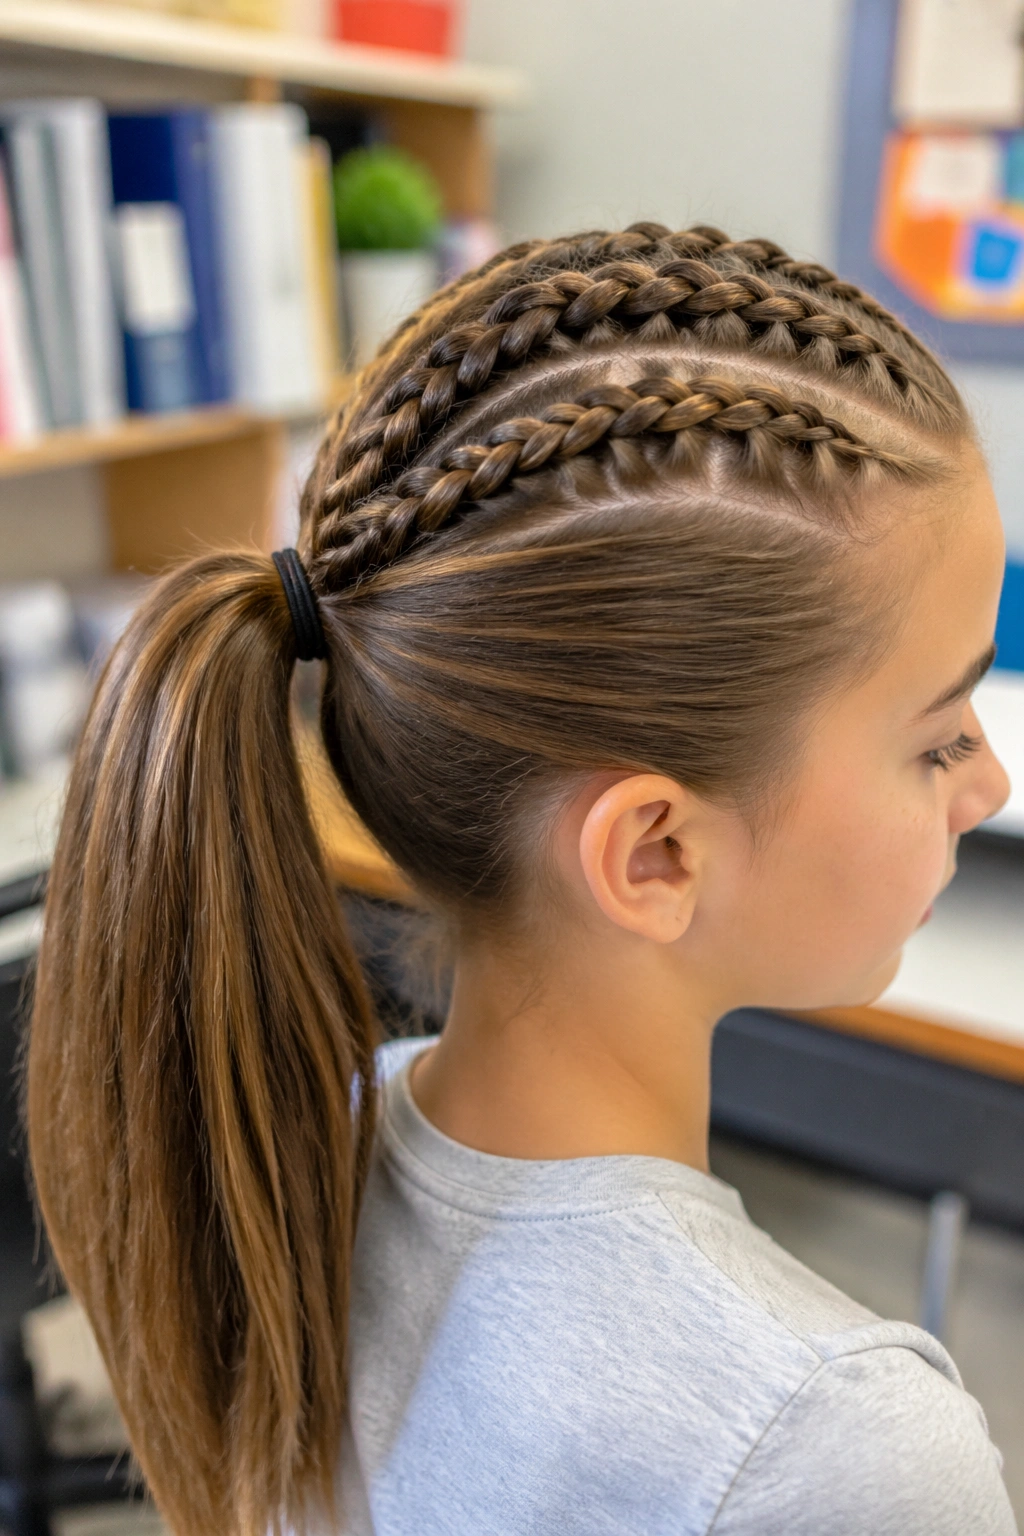
25. Straight-Back Mini Braids Into a Ponytail

Straight-back mini braids are a smart option when the goal is control more than softness. Section the front or top into several narrow braids, braid them straight back, and gather the loose ends into a ponytail at the nape or crown. The look is orderly, and the smaller braids keep shorter pieces pinned down better than one large braid sometimes can.
This style takes a little more time than a basic braid, but it pays off if the hair is dense or naturally frizzy. It also works well when you want the front to stay neat for the whole school day. A light styling cream can help the parts stay visible and reduce puffing at the roots.
Tip: keep the sections even from side to side so the finished ponytail does not tug off-center. Small details like that matter more than people think.
26. Ribbon-Woven Braid
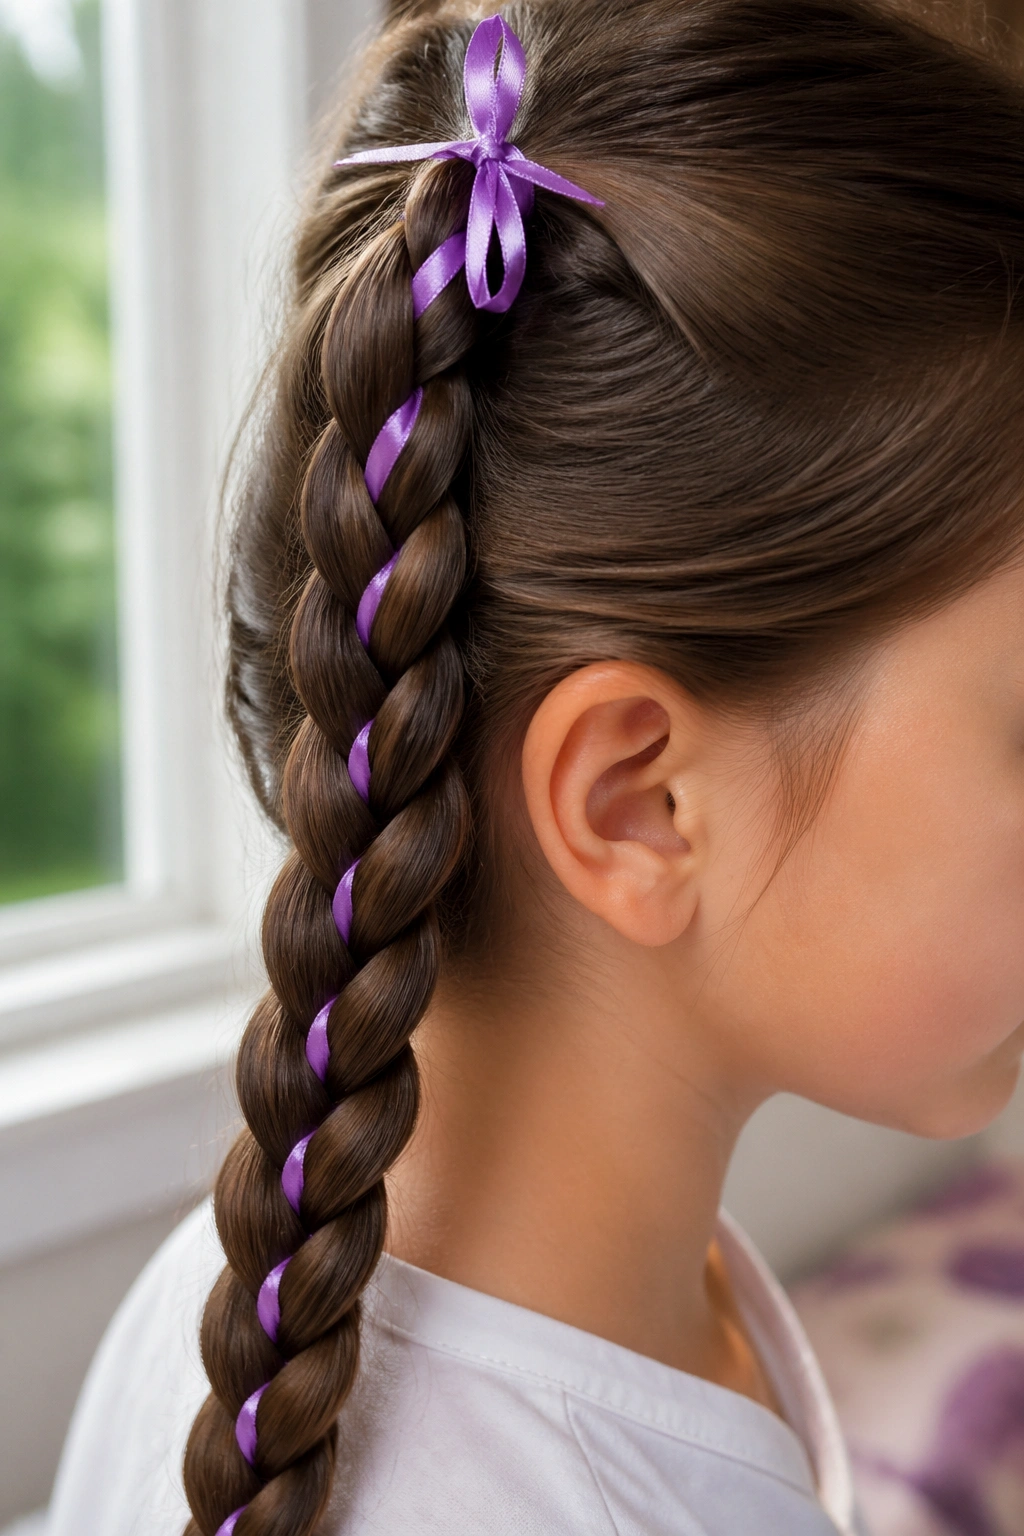
A ribbon-woven braid is a simple three-strand braid with one extra piece tucked in for color. A narrow satin ribbon or fabric strip gets mixed into one section, then braided through so the color appears along the length of the hair. It is an easy way to make an everyday braid feel special without changing the basic technique.
The trick is choosing a ribbon that is not too thick. Wide ribbon makes the braid bulky, and that gets annoying fast, especially on small heads. A half-inch ribbon usually works better than something stiffer. Tie it off securely at the top so it stays anchored while you braid.
A Few Useful Details
- Use a ribbon that does not fray easily.
- Match it to the outfit or backpack if the child enjoys that sort of thing.
- Remove it gently so the ends do not tangle.
It is cheerful without being difficult. That counts for a lot.
27. Braided Space Buns

Braided space buns are the style I’d save for a child who wants something fun at the end of the braid line. Start with two braids or two braided pigtails, then coil each one into a bun high or mid-head. The braids give the buns more shape and help keep the ends tucked away.
This one works nicely when the hair is medium to long and the child does not mind a style that feels a little playful. It is not the fastest braid on this list, but it is sturdy, and kids tend to like the look because it feels lively without being messy. If you want it to last, secure each bun with two pins or a small elastic before moving on.
Braids do not have to be serious to work. Sometimes the best school hairstyle is the one that makes a child smile in the mirror and still looks decent by the end of the day.