Space buns have made a glorious comeback, and if you’ve got wavy hair, you’re sitting on the perfect canvas for this playful style. The thing is, space buns on wavy hair look completely different—and generally more textured, more forgiving, and way more interesting—than when they’re done on straight hair. Wavy texture adds dimension and movement that makes these buns feel effortless instead of cartoonish. Your natural waves give space buns an intentional, lived-in vibe that takes actual effort to achieve on straighter hair types.
The beauty of space buns for wavy hair is that they work across so many moods and occasions. Whether you’re going for editorial-magazine cool, beachy-casual, polished-professional, or straight-up playful, there’s a space bun variation that fits. You can dress them down with a graphic tee and sneakers or dress them up with a slip dress and gold jewelry. They’re equally at home at a music festival, the office, or a night out with friends.
The real secret here is understanding how your waves interact with tension, products, and the height you’re building. Different wave patterns and density levels mean you might need to adjust how you section, how tight you wrap, and what products keep everything locked in place. Some variations work better when your waves are freshly washed and soaking wet; others shine on day-two hair when your texture is fully developed. Let’s walk through nine distinct space bun styles that genuinely work with wavy hair, not against it.
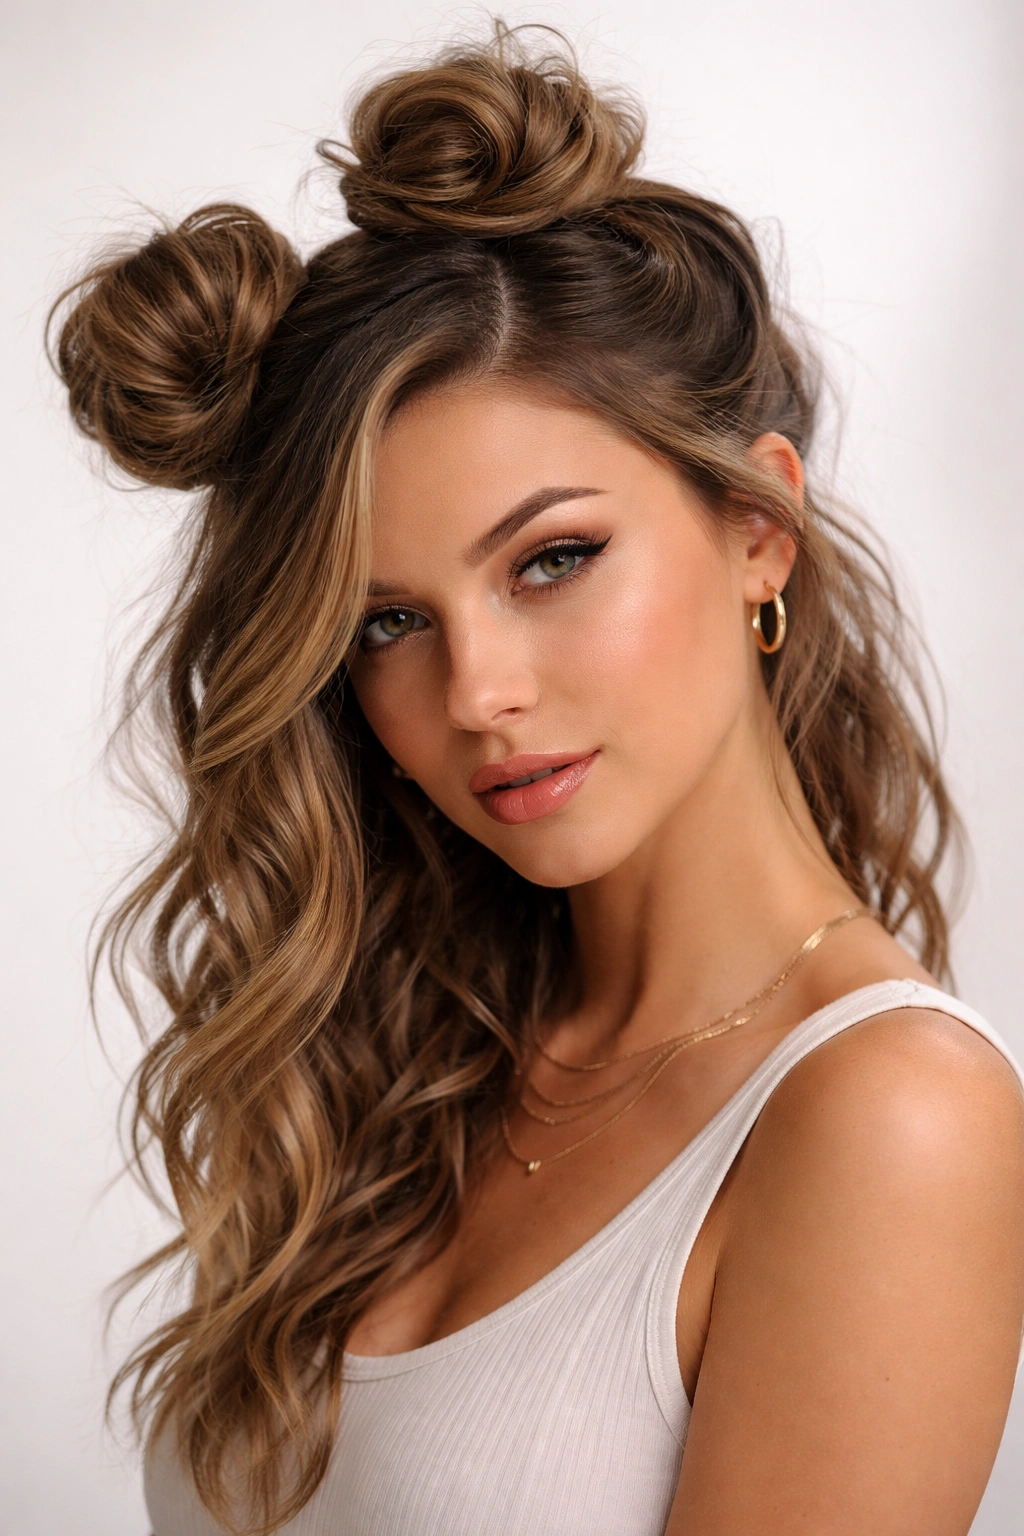
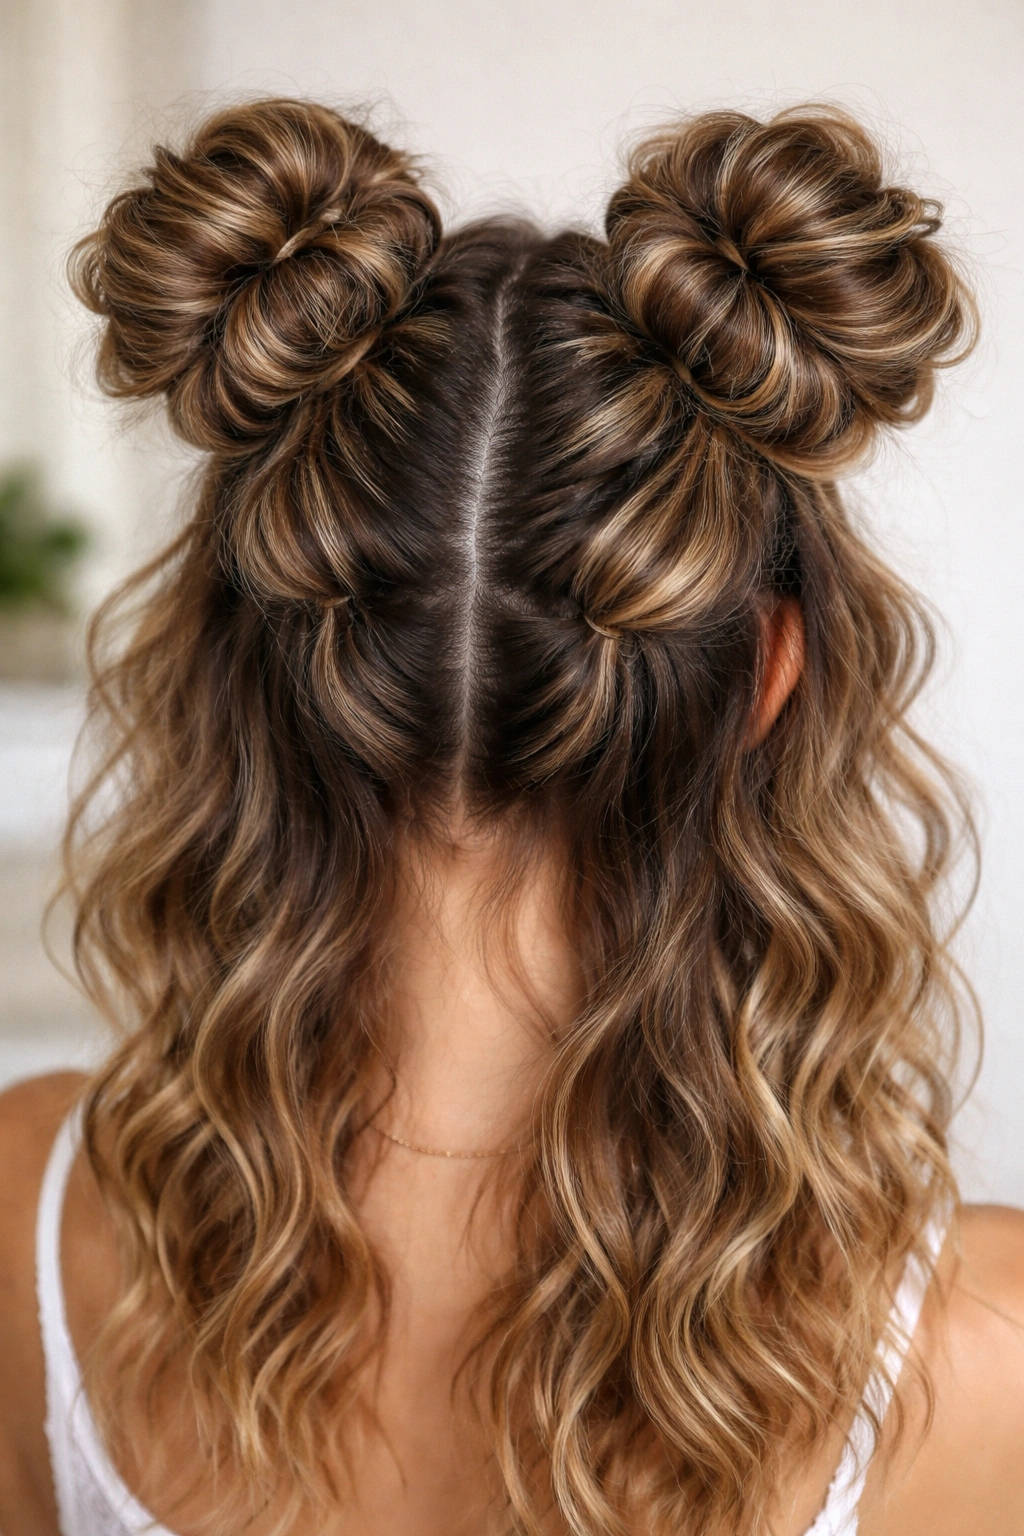
1. Classic Space Buns with Textured Waves
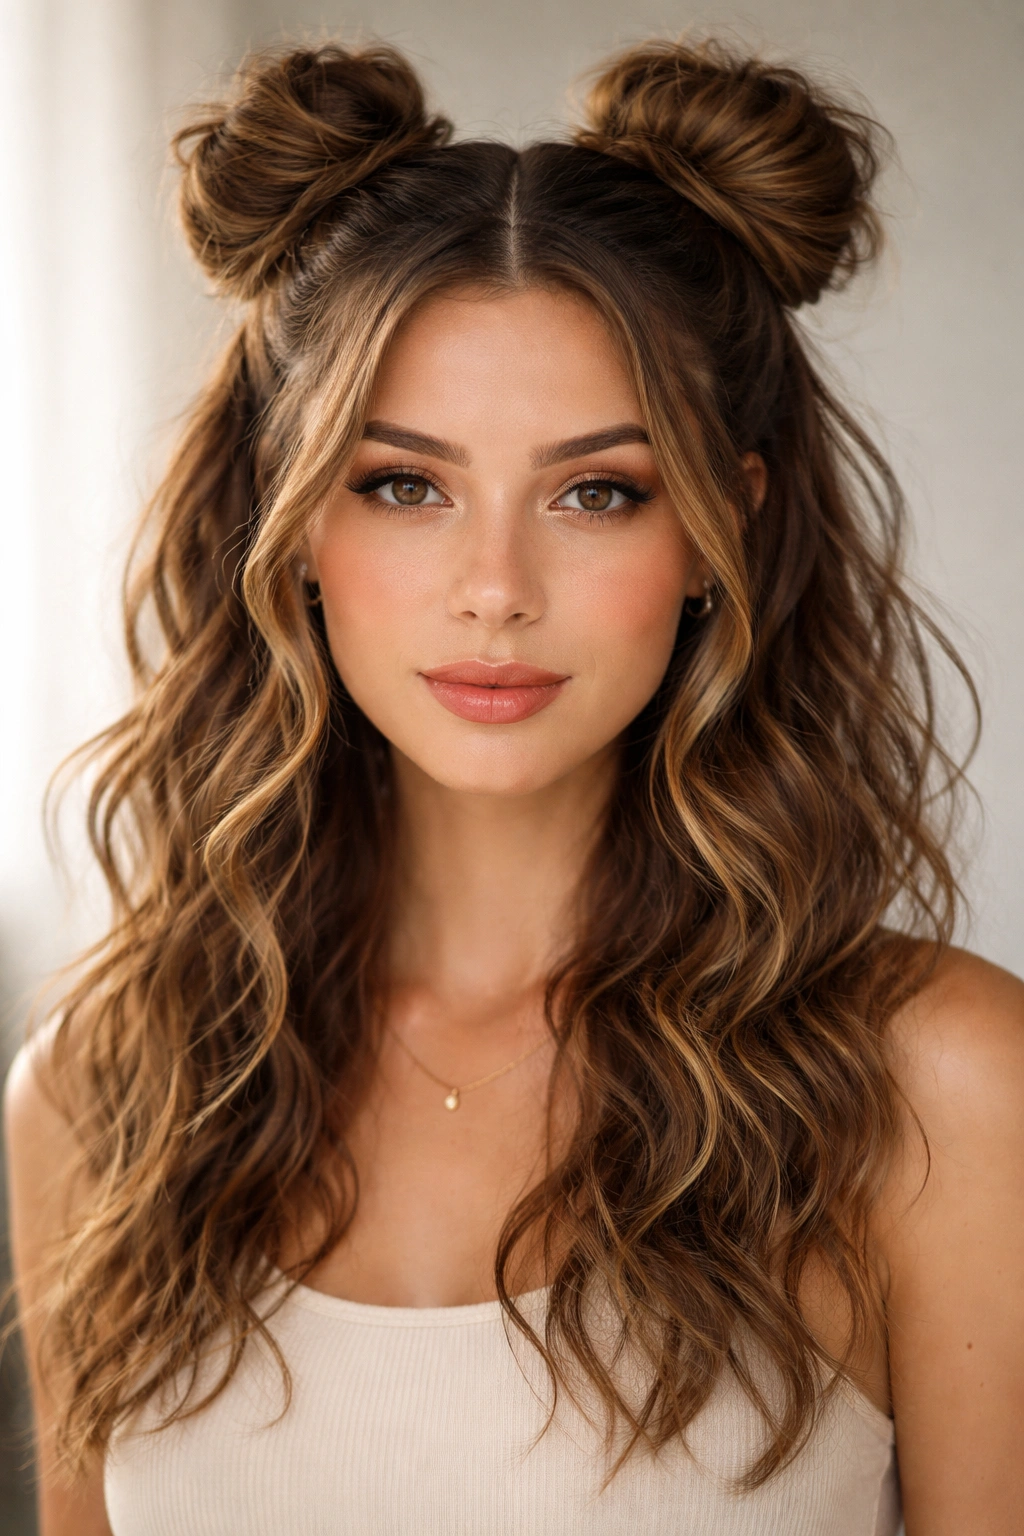
This is the most recognizable version—two equal buns positioned symmetrically on the crown—but done in a way that actually celebrates your waves instead of fighting them. The key difference is that instead of pulling everything tight and smooth, you’re intentionally leaving texture showing through and around the bun structure.
Start with damp or slightly damp wavy hair. Apply a light volumizing mousse or texturizing spray to boost your waves before they dry. Part your hair straight down the center, from your forehead to the nape of your neck. Take the first section (one side of the center part) and gather it loosely at the crown—your placement should feel natural, not overly high or theatrical. Twist the section gently as you wind it into a bun shape, then secure it with bobby pins. The twist creates an anchor that holds wavy strands in place better than just wrapping straight sections.
Building the Structure
Don’t go for a super-tight, polished bun here. Instead, leave some waves deliberately loose and peeking out from underneath. This actually looks more intentional and modern than a perfectly smooth bun. Once you’ve twisted and wrapped the section into a bun, gently pull at the edges to create a slightly undone texture—this is called “breaking up” the bun, and it’s what makes the style work so well with waves.
Styling Techniques for Wavy Hair
- Rough-dry your hair with a diffuser to enhance your natural wave pattern before sectioning
- Use a light-hold product (not heavy pomade) so waves still have freedom to move
- Secure with thin bobby pins rather than thick ones—they grip better in textured hair
- Leave a few face-framing pieces loose and curled around your face for softness
- If your buns feel slippery, use a texturizing spray on the gathered section before twisting
Pro tip: Freshly washed waves (day-one hair) hold this style best, but if you’re working with day-two or day-three texture, use a dry texture spray on the sections right before gathering them—it creates grip and makes the hair more pliable.
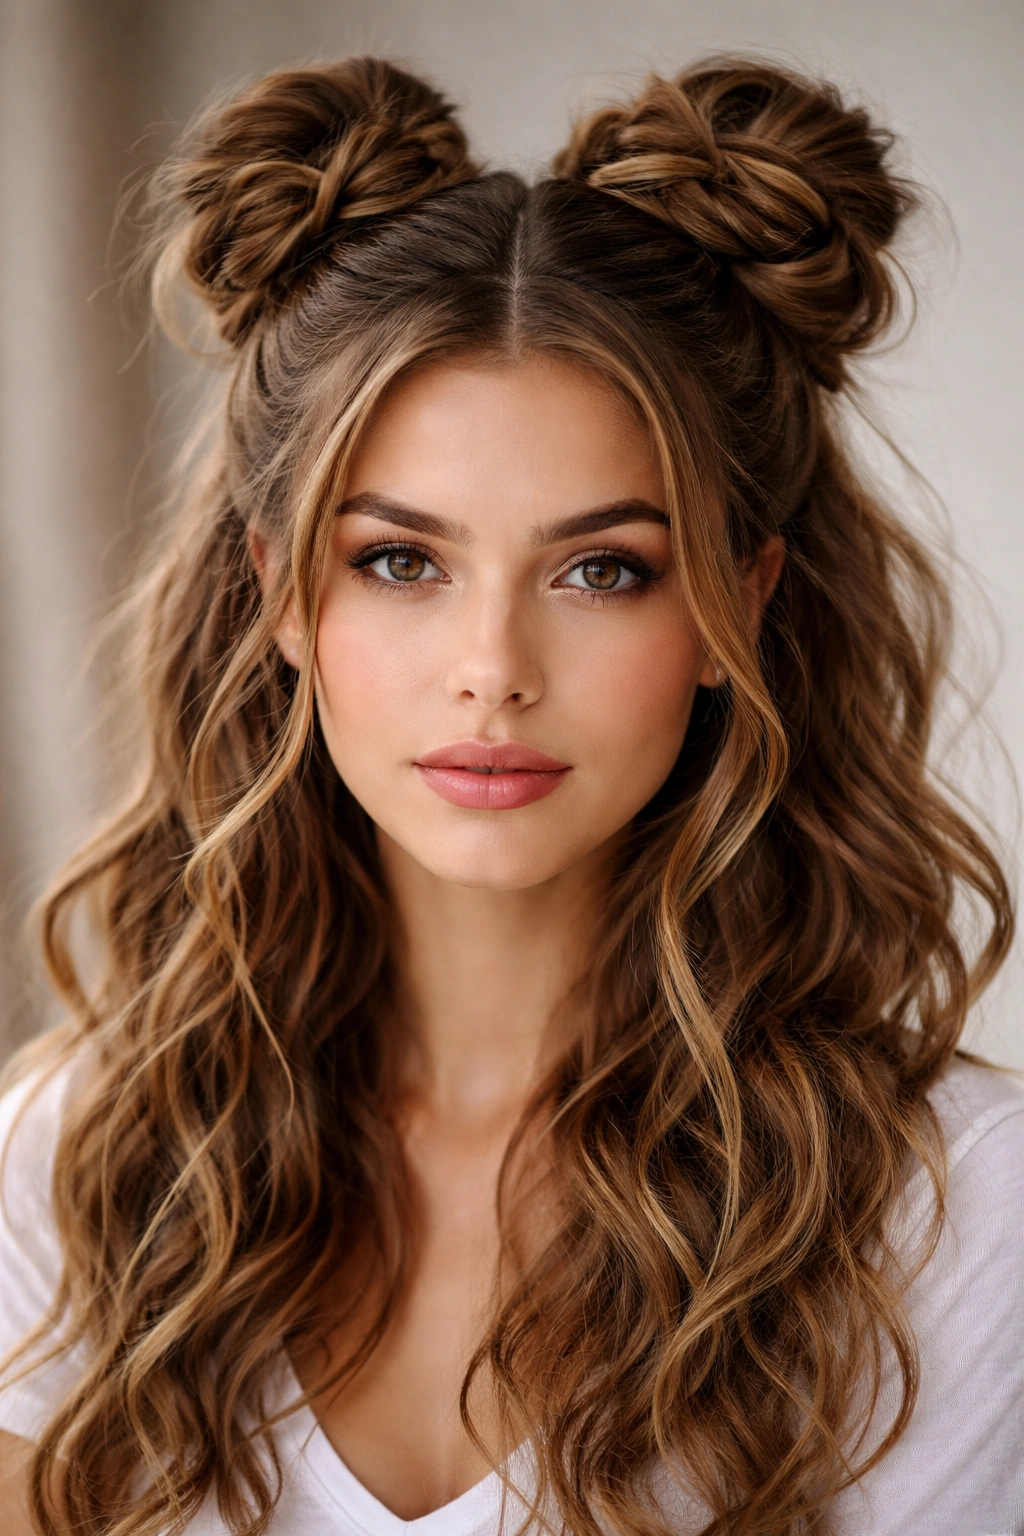
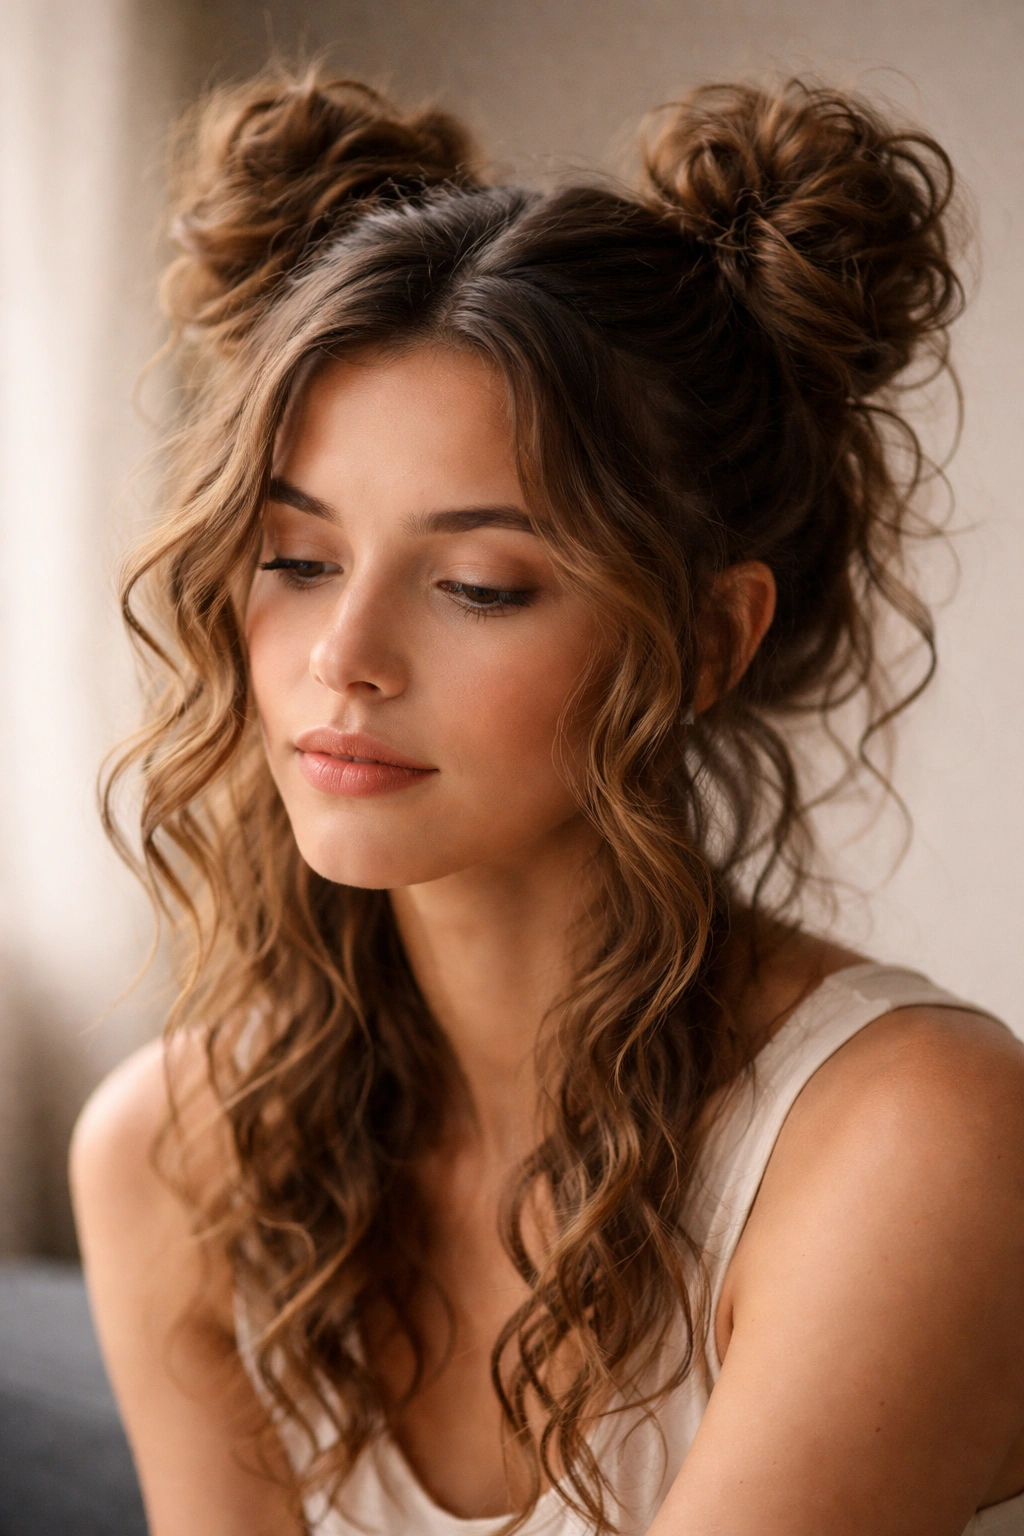
2. Messy High Space Buns
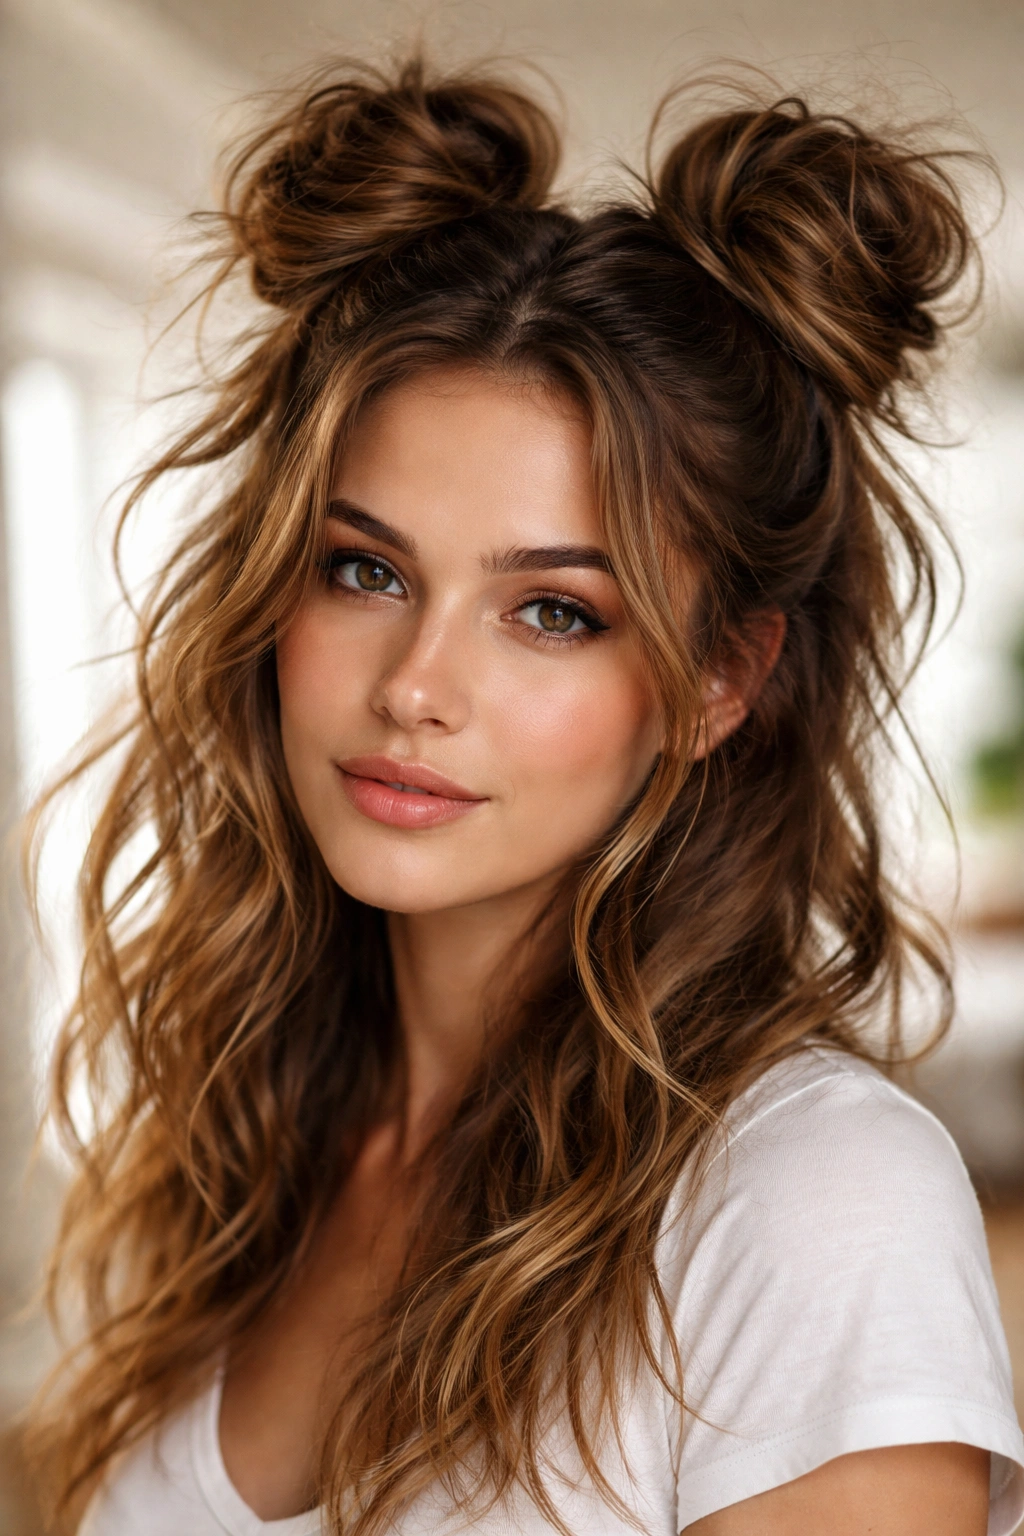
Messy high space buns are basically the anti-corporate version of the classic style—they’re meant to look like you threw your hair up without thinking much about it, even though there’s definitely intention behind them. With wavy hair, this approach actually gives you more flexibility because imperfection is literally the point.
These buns sit noticeably higher on your crown than the classic version, closer to where you’d place a high ponytail. The higher placement makes them feel more playful and energetic, which pairs beautifully with waves because your waves create natural dimension and texture that reads as intentionally undone rather than just lazy.
Start by flipping your head upside down and gathering your hair loosely at what would be your crown when you’re upright again. You want the gather point to feel quite high—imagine you’re aiming for where a high ponytail would sit. Don’t brush or smooth your hair before gathering; the more texture and wave pattern showing, the better this style looks.
Creating Intentional Messiness
Divide your gathered section into two equal parts. Twist each part loosely (or loosely braid, which adds more texture), then wrap it around its gathering point to form a bun shape. The looser your twist or braid, the messier the final look. Leave strands deliberately poking out. Pull gently at the edges of each finished bun to break up the structure and create that perfectly imperfect texture.
Making Them Stay Put
- Mist your gathered sections with texturizing spray before twisting—this helps waves grip the hair as you wrap it
- Use bobby pins at multiple angles (crisscross them rather than all going the same direction) for better hold
- Leave some longer wavy pieces completely loose around your face and neck—they anchor the whole look visually
- If buns keep loosening throughout the day, a light-hold hairspray (not heavy-duty) helps without stiffness
Worth knowing: This style actually looks better as the day goes on and things relax slightly. By evening, more waves fall loose, and the buns look even more intentionally undone than they did that morning.
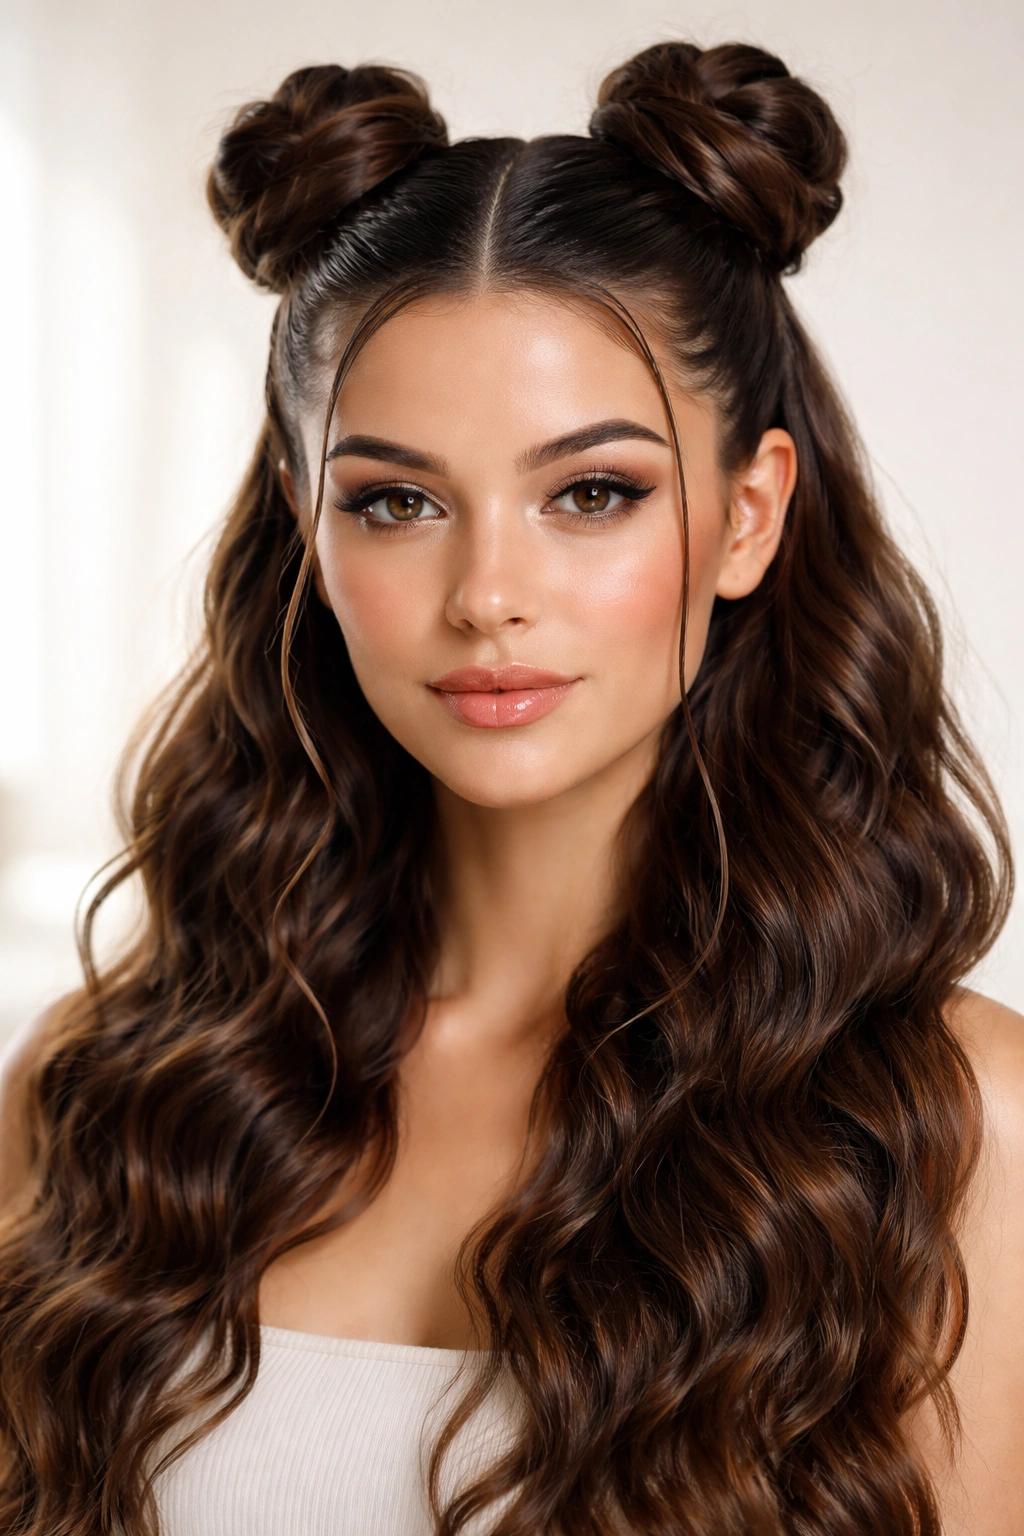
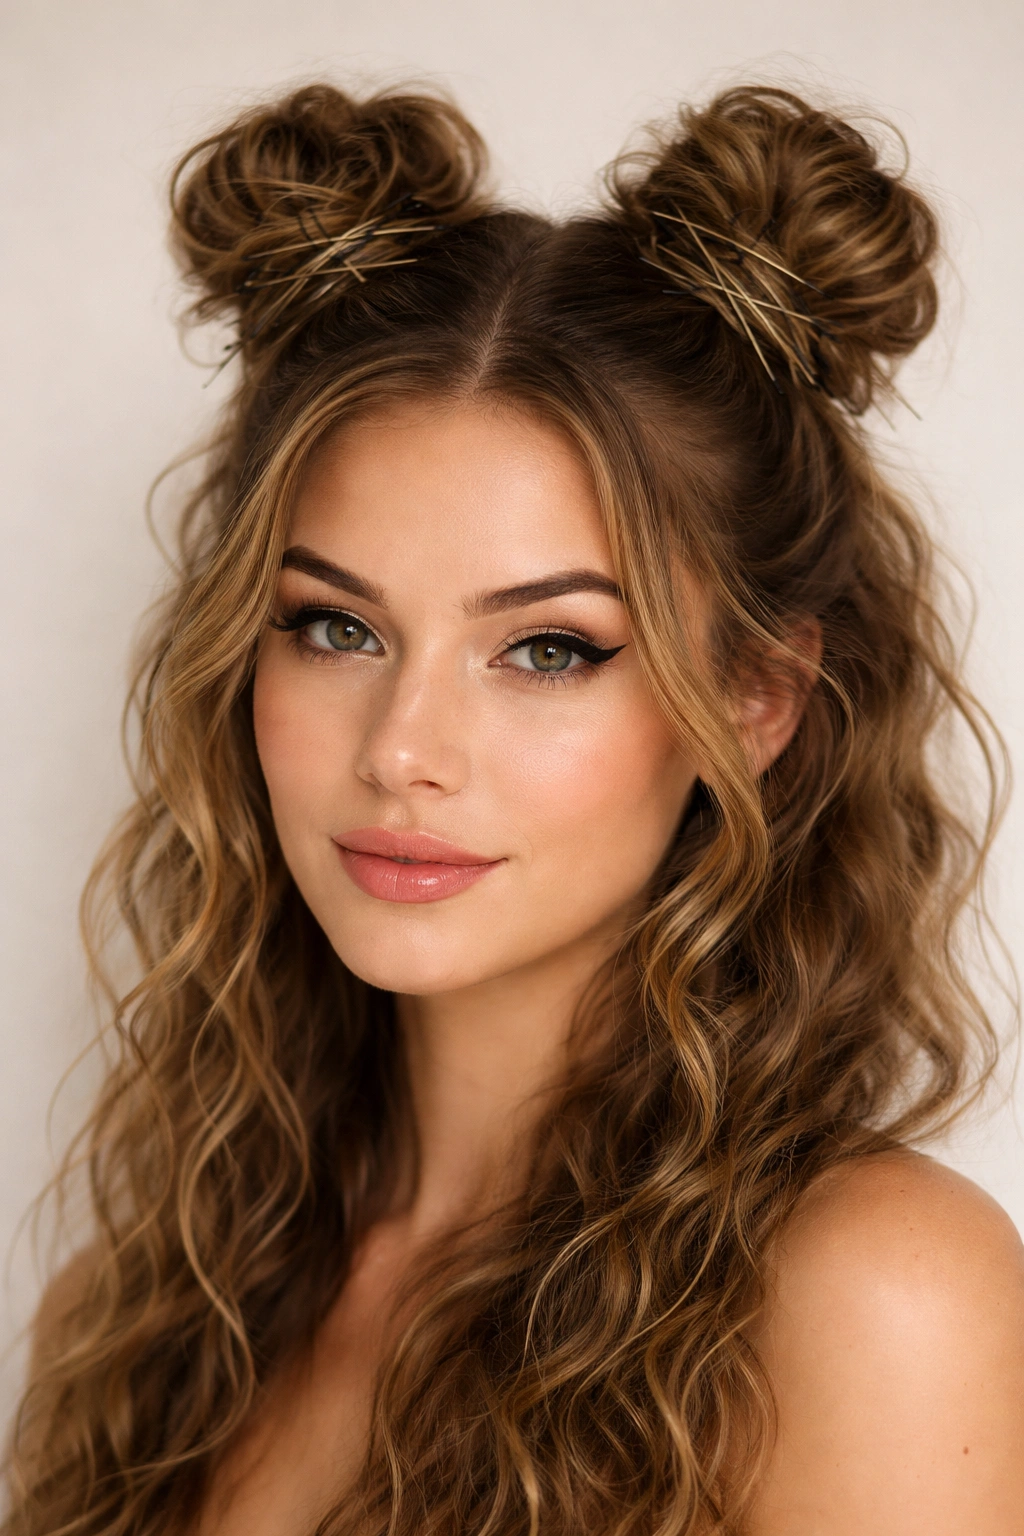
3. Half-Up Space Buns
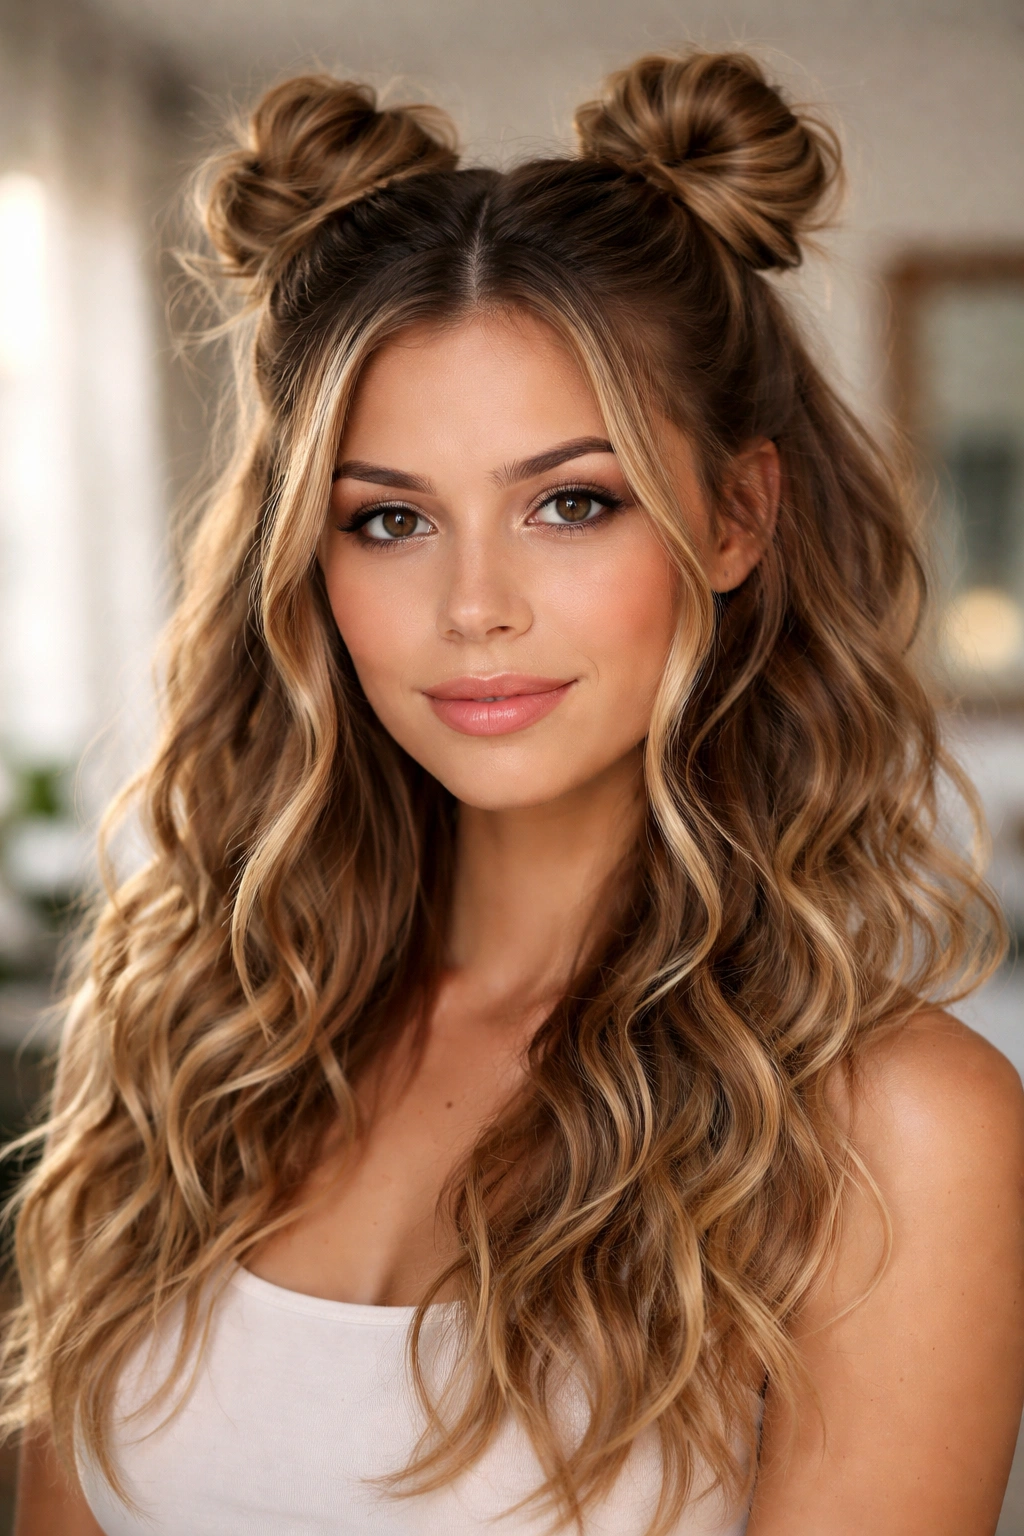
Half-up space buns give you the playful energy of full space buns while keeping more hair down—ideal if you want something less dramatic or if you’re transitioning to a different hairstyle later in the day. This version is sophisticated enough for work while still feeling fun and creative.
The mechanics are nearly identical to full space buns, except you’re only gathering the top half of your head. Create a horizontal part that runs ear-to-ear across the back of your skull, at about the level where your ears end. Everything above that line gets gathered into space buns; everything below stays down and wavy.
Your down-hair continues as waves, which creates a really interesting contrast with the textured buns on top. The waves below anchor the style visually and prevent it from feeling too juvenile or costume-y. This works brilliantly for wavy hair because you get to feature your waves while also having fun with the bun placement.
Sectioning and Securing
Take the upper section and part it straight down the center (front to back). Create two sub-sections on either side of center. Gather each sub-section separately at approximately where the buns would sit in a full space-bun look. Since you have less hair in each section, the buns will be slightly smaller and tighter naturally.
Styling Your Down Hair
- Apply a light styling cream or wave-defining serum to the hair that stays down
- Gently scrunch the lower waves while damp to encourage your natural wave pattern
- You can let the down-waves be completely natural, or loosely braid them on each side for a coordinated look
- Smooth the part line where your two sections meet using a fine-tooth comb and a tiny bit of edge control
Insider note: Clip the buns up temporarily while you style the lower waves. This keeps tension off the gathered sections and lets you focus on making the down-hair look intentional, not like an afterthought.
4. Braided Space Buns
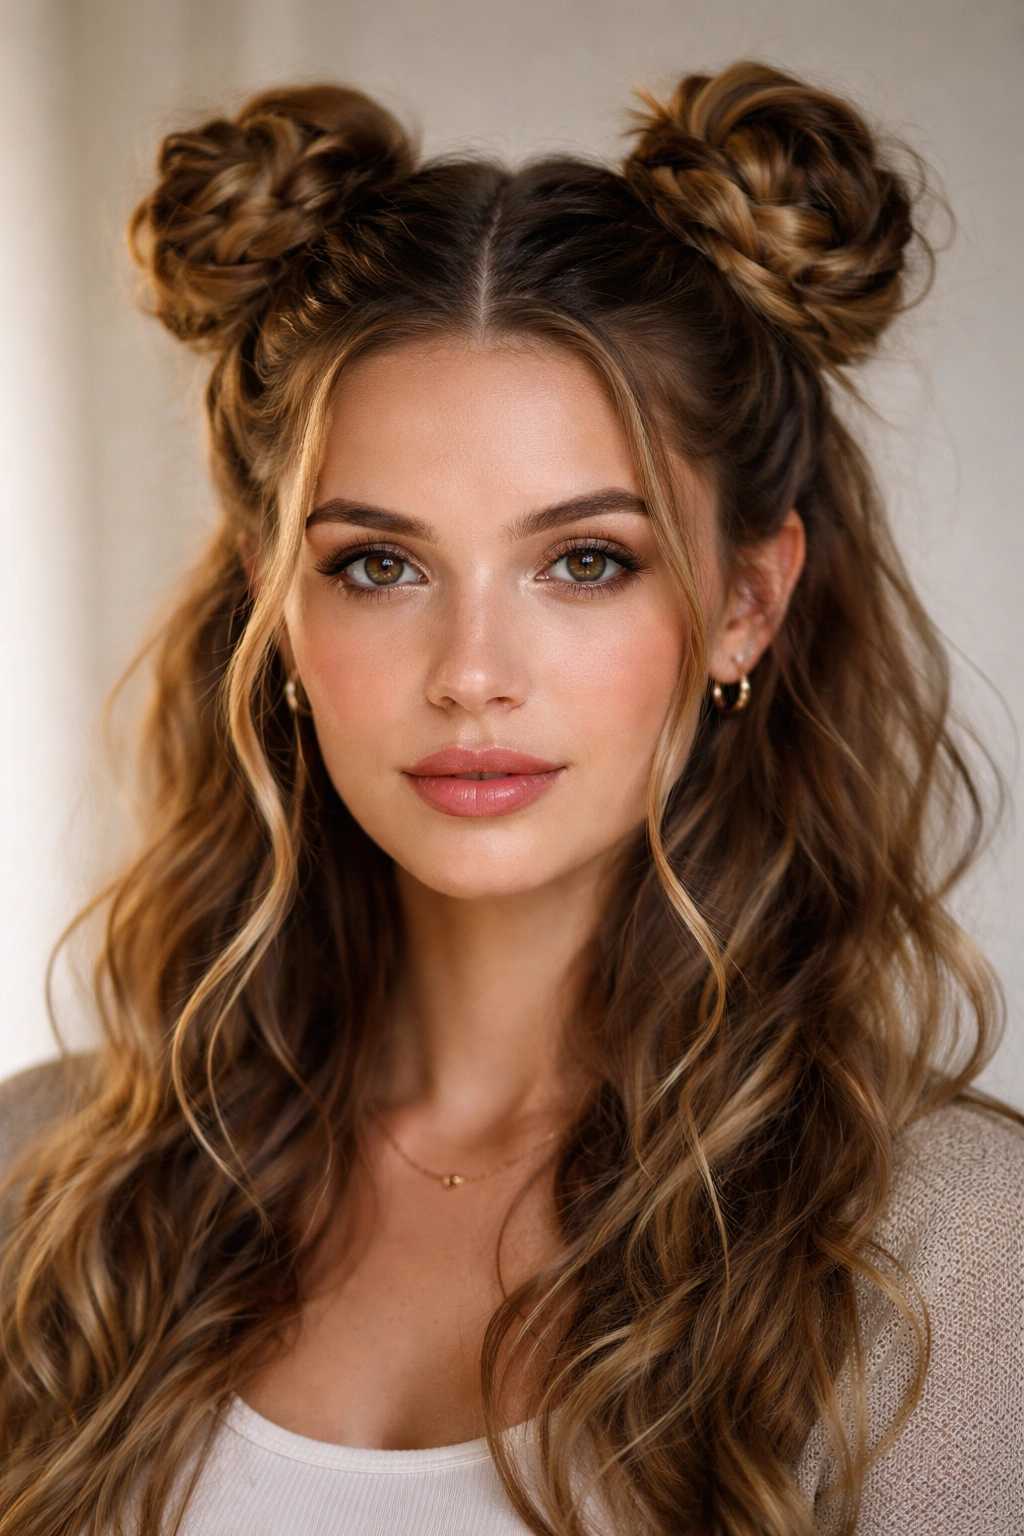
If you want something with more holding power and visual interest, braided space buns are your answer. Instead of twisting your gathered sections into buns, you braid them first, then wrap the braids around themselves to form the bun shape. The result is sturdier, more textured, and genuinely gorgeous on wavy hair.
The braid adds another layer of texture that works harmoniously with your natural waves. It also means the buns will hold their shape significantly longer throughout the day, even if you’re moving around, active, or dealing with wind or humidity.
Start with your standard space-bun setup: center part, two equal sections, gathered at the crown. Instead of twisting each section, take one section and divide it into three strands as if you’re going to French braid. You don’t necessarily need to do a French braid (which incorporates more hair as you go)—a simple three-strand braid works beautifully. Braid loosely so your waves still show through, creating texture in the braid itself.
Forming the Bun from the Braid
Once you’ve braided the first section from roots to ends, wrap that braid around its base in a coiled bun shape. Secure it with bobby pins as you go, tucking the end of the braid underneath so it’s hidden. Repeat with the second section. The braids create natural grip, so these buns tend to stay put even if you don’t use tons of product.
Product and Texture Considerations
- Braid your sections slightly damp so they have better grip and definition
- Use a light texture spray on the sections before braiding—this helps individual strands grip each other
- You can loosely braid or tightly braid depending on how polished you want the final look
- Gently pull the braids slightly to make them look fuller and more textured
Pro tip: If your braids feel too neat and polished, gently pull at the edges of each braid section to break it up and create a messier texture. This reads as intentional rather than just sloppy.
5. Gel-Set Space Buns
Gel-set space buns are the polished, defined version—perfect when you want a clean, graphic look rather than an undone vibe. They work beautifully on wavy hair if you have a decent amount of wave pattern and density. The gel defines each wave and creates a sleek, purposeful aesthetic.
This approach involves using a medium-to-strong hold gel or pomade on your gathered sections before forming the buns. The gel smooths down flyaways while still allowing your wave pattern to show through, creating almost a sculptural effect.
Start with dry or nearly-dry hair. Mist your hair with a light texture spray to create a smooth base without weighing it down. Part your hair straight down the center. Take one section and run a tiny amount of gel through it using your fingers, working it from roots to ends. You want just enough product to tame flyaways and create definition—not so much that it looks wet or heavy.
Creating Definition
Gather the gelled section smoothly at the crown and twist it into a bun. The gel helps you control the twisting so each wave pattern stays visible but organized-looking. Secure with bobby pins. The gel holds the shape without requiring you to pull everything super tight, so your waves still have natural movement and dimension.
Best Practices for Wavy Hair
- Use a lightweight gel or pomade, not a heavy cream—heavy products flatten waves
- Work the product through your hair section by section rather than all at once
- Allow products to set slightly (30 seconds to a minute) before gathering and twisting
- Avoid touching the buns once they’re set—the gel lock means you might disturb the wave definition if you rearrange them
- This style is particularly stunning if you have tight waves or coils, which the gel really defines
Worth knowing: Gel-set buns photograph incredibly well because the definition and shine read clearly in images. If you’re planning to take lots of photos, this is your version.
6. Twisted Space Buns
Twisted space buns take the basic version a step further by incorporating multiple twists into each bun, creating a more complex, intentional texture. Instead of a single twist forming each bun, you’re creating several smaller twists that layer into the bun shape. It’s more involved than the classic version but genuinely worth the effort.
This style works particularly well on wavy hair because the multiple twists create pockets and texture that your natural waves actually fill in and enhance. The final result looks more intricate and thoughtful while still maintaining a relaxed, lived-in vibe.
Gather your first section at the crown. Divide it into four thinner strands (instead of one thick section to twist). Lightly twist each of the four strands individually, then begin wrapping them around each other to form the bun. You’re essentially creating a twisted/braided structure within the bun itself rather than just one simple wrap.
Building the Complex Structure
As you wrap these twisted strands around each other, you naturally create depth and dimension in the bun. Secure with bobby pins as you go, tucking ends underneath. The multiple twists create natural hold because there’s more surface area for bobby pins to grip.
Technique Breakdown
- Section your gathered hair into four parts rather than leaving it as one thick section
- Twist each part gently as you wrap them around the gathering point
- Work slowly so you can see how the twists layer and create the pattern
- Leave some wave texture deliberately visible between the twists
- This style looks best when your waves are fully developed, so day-one or day-two texture works beautifully
Pro tip: Use thin bobby pins crisscrossed through the twisted sections rather than parallel pins. The crisscross approach distributes the weight better and keeps everything locked in place for hours.
7. Sleek Space Buns
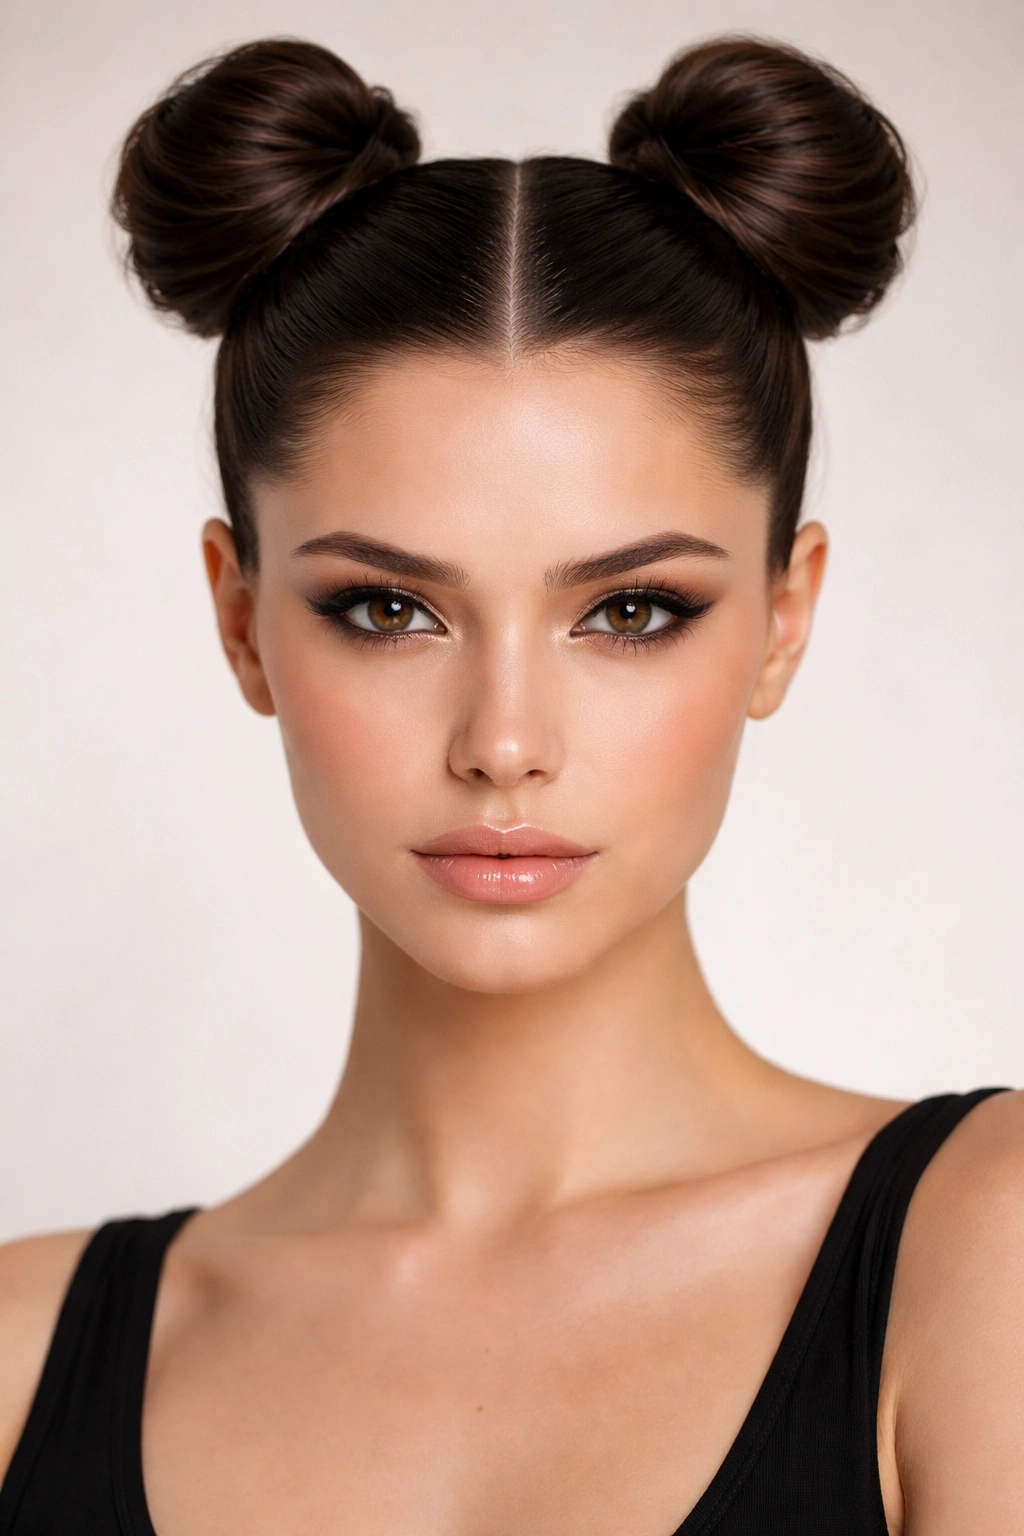
Sleek space buns are the most polished, almost architectural version—ideal for when you want something that reads as intentional and put-together rather than playful or casual. This version minimizes texture and creates smooth, graphic shapes. It’s the version you’d wear to a fashion event, gallery opening, or when you want your style to make a statement.
Sleek space buns require more preparation because you’re working against your natural waves rather than with them. The goal is smooth, controlled lines and minimal frizz. Start by blow-drying your hair completely straight, or at least as smooth as you can get it while maintaining a bit of your wave texture (you don’t need to completely destroy your waves—just smooth them somewhat).
Apply a smoothing serum or lightweight cream to your hair before blow-drying. Part your hair straight down the center with a fine-tooth comb, using a tiny amount of edge control along the part line to keep it crisp and defined. Gather each section smoothly at the crown, pulling firmly but not painfully tight. Twist each section into a sleek bun, keeping the twists smooth and the wraps tight.
Achieving the Polished Look
Smooth any flyaways with a fine-tooth comb or a tiny brush and edge control. Consider finishing with a strong-hold hairspray to lock everything in place. The difference between sleek space buns and messy ones is all about smoothness and tension—sleek buns have tighter gathers, smoother twists, and minimal pieces poking out.
Product Selection Matters
- Use a smoothing serum or frizz-control product before blow-drying to prep
- Choose a strong-hold hairspray rather than flexible hold—sleek buns need locking in place
- Apply edge control to the part lines and gather points for maximum definition
- Avoid texturizing sprays or volumizing products—they work against the sleek aesthetic
Worth knowing: Sleek space buns actually suit wavy hair beautifully from an aesthetic standpoint because the contrast between the smooth buns and your wave pattern (if some texture peeks through at the back of your head or around your face) creates visual interest.
8. Side-Swept Space Buns
Side-swept space buns abandon the symmetrical placement and instead position both buns off to one side of your head. This asymmetrical approach feels modern, editorial, and genuinely flattering. It’s particularly great on wavy hair because the asymmetry echoes the natural randomness of wave patterns.
Instead of partying your hair straight down the center, create a deep side part—imagine a very exaggerated side part where way more hair goes to one side than the other. Gather the larger section into one space bun positioned toward that side of your head. Take the smaller section and form a second bun positioned slightly closer to center or toward the back.
The asymmetry automatically makes this style feel intentional and modern. It’s not a casual accident; it’s a deliberate creative choice. Your wavy texture enhances this modern vibe because waves inherently have an organic, less-controlled quality that pairs beautifully with asymmetrical styling.
Placement and Balance
Position the larger bun slightly higher and more forward than the smaller bun. This creates visual balance even though the placement is asymmetrical. The smaller bun acts as an anchor that prevents the style from feeling like it’s all tipping to one side.
Styling Asymmetrically
- Create a deep, dramatic side part rather than a center part
- Gather sections loosely so your waves show through and enhance the asymmetrical vibe
- Use light-hold product rather than strong hold—asymmetrical styles look better with some movement and softness
- Leave longer pieces loose around your neck and shoulder on the side with less gathered hair
- Consider slightly waving or curling the loose pieces to coordinate with your bun texture
Insider note: This style photographs beautifully from the side-profile angle, so if you’re wearing it for a special event or photo session, pose toward the side your buns are on.
9. Bubble-Topped Space Buns
Bubble-topped space buns are the most decorative, Instagram-friendly version—each bun has a bubble-like appearance created by using hair elastics to section the bun into distinct segments. It’s playful, visually interesting, and honestly really fun to create. On wavy hair, the bubbles create texture interest and movement that reads as deliberately designed rather than just bundled up.
Gather your first section at the crown and secure it with a clear elastic, forming a small ponytail. Now, take that ponytail and pull it up through the elastic, creating a loop (like a pony but with the loop staying somewhat structured). Secure another elastic around that loop, about halfway down the length. Pull the remaining hair through this second elastic, creating a second bubble. Repeat if you have enough hair for a third bubble, or finish here.
The elastic divisions create distinct, almost bubble-like segments of hair. Each segment captures some of your wave texture, so the final effect is layered and dimensional. Gently pull at each bubble to make it slightly fuller and rounder. Then, take the entire structure and wrap it around its base to form the bun shape, securing with bobby pins.
Creating the Perfect Bubble Effect
Each bubble should be approximately the same size, creating visual rhythm. The key is not pulling too tight when you’re creating the elastics—you want rounded, soft bubbles rather than narrow, pinched ones. Gently fluff each bubble outward to maximize the effect.
Technique for Wavy Hair
- Use clear elastics rather than colored ones—they disappear into your hair and let your wave texture show
- Pull the bubbles slightly while damp so they hold their rounded shape as they dry
- Gently scrunch each bubble to encourage your natural waves to show through
- For extra texture, lightly braid each bubble section before wrapping it into the final bun shape
Pro tip: Bubble-topped space buns hold their shape incredibly well throughout the day because the elastics create natural structure. This is the most durable space bun version, making it perfect if you’re active or wear your hair in this style for extended periods.
Prepping Your Waves for Space Buns
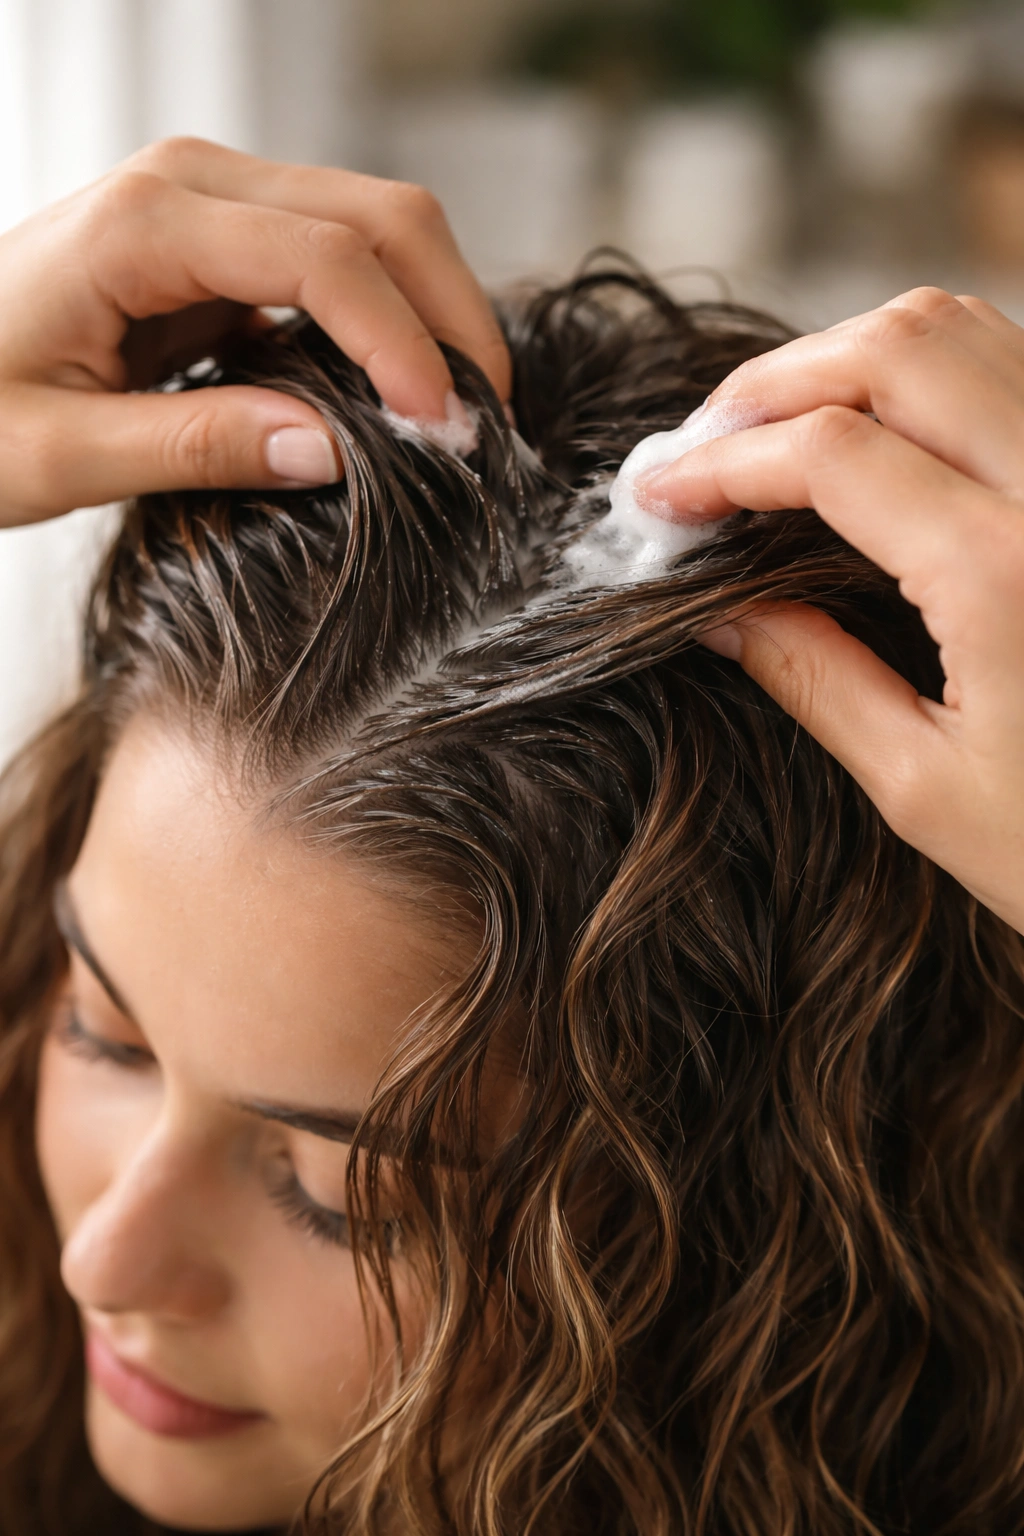
Getting space buns to work beautifully on wavy hair starts with understanding your wave pattern and what your hair needs on the day you’re styling. Different wave textures respond differently to moisture, products, and drying methods—there’s no one-size-fits-all approach.
If you have loose, gentle waves, your hair probably holds a space-bun shape best when it’s slightly damp and has had some product applied to create grip. Loose waves tend to fall flat and separate easily, so you want enough moisture and product to give your hair something to hold onto. A light mousse applied while hair is damp, then rough-dried with a diffuser, creates a great foundation for holding space buns.
Tighter waves or coils have more natural texture and grip, so they often hold space buns beautifully with minimal product. In fact, over-styling tighter waves can sometimes look heavy. You might only need a light texturizing spray and good sectioning technique. The key is working with your specific wave pattern rather than fighting it.
Fresh waves (day-one, right after washing and styling) create the most defined, intentional space-bun look. If you’re aiming for polished space buns, wash and style the night before so waves have time to fully develop and set. If you prefer a messier, more lived-in vibe, day-two or day-three waves often have even more texture and an undone quality that’s genuinely gorgeous.
Keeping Space Buns Secure Throughout Your Day
Space buns stay put or fall out based on a few key factors: sectioning, product choice, and pin placement. Getting all three right means your buns will hold beautifully for 8+ hours.
The foundational element is how you section. Your gather point should be at the crown if you’re doing classic space buns, or higher if you’re doing high space buns. Too low and gravity immediately works against you. Too high (very close to your hairline) and you don’t have enough hair density to create substantial buns.
Product choice matters tremendously. You need just enough to create grip without weighing your waves down. A texturizing spray on your gathered sections before twisting gives your hair something to hold onto as you wind it around itself. Lightweight mousses or texture creams work better than heavy pomades or waxes. If you use hairspray, choose a flexible hold rather than maximum hold—maximum hold can make waves look stiff and feel crusty.
Bobby pins should be thin rather than thick (thin pins grip textured hair better), and you should use more pins than you think you need. Cross your pins at different angles rather than placing them all the same direction. This distributes weight and prevents one pin from bearing all the load.
Final Thoughts
Space buns on wavy hair aren’t just a novelty style you wear for fun (though they definitely are fun). They’re a genuinely versatile way to style waves across different moods, occasions, and days. Whether you’re going for polished and put-together, playful and undone, or editorial and experimental, there’s a space-bun variation that matches your vibe.
The real trick is accepting that wavy hair space buns will look different from straight-hair space buns—not worse, just different. Your waves create natural texture and dimension that makes these buns feel more interesting and intentional than sleek versions. Play with different variations until you find the two or three that feel most like you. And remember that space buns are genuinely forgiving; imperfection is actually the aesthetic for most versions, which means your waves are already doing half the work for you.