Medium-length hair is the sweet spot for wavy hairstyles — long enough to hold soft curls and waves, but short enough to style in under 20 minutes without excessive effort or heat damage. Whether you’re looking for an effortless everyday wave, a polished look for work, or something romantic for a night out, medium length gives you incredible versatility. The best part? Most of these styles require just a few simple tools and basic styling knowledge.
Wavy hair has a natural movement that makes it incredibly forgiving. Even if your waves aren’t perfectly uniform or your technique isn’t flawless, the imperfection often looks intentional and adds character. That’s why so many of the easiest medium hairstyles involve waves — they’re hard to mess up badly, they actually improve with a little texture and movement, and they work with your hair’s natural tendencies rather than fighting against them.
The following 16 styles run the full spectrum from beachy and undone to polished and structured, from 5-minute quick waves to weekend projects. Each one works specifically with medium-length hair and uses styling methods that don’t require professional-grade equipment or years of practice. You’ll find multiple ways to create similar effects, so you can choose the method that best matches the tools you already have at home.
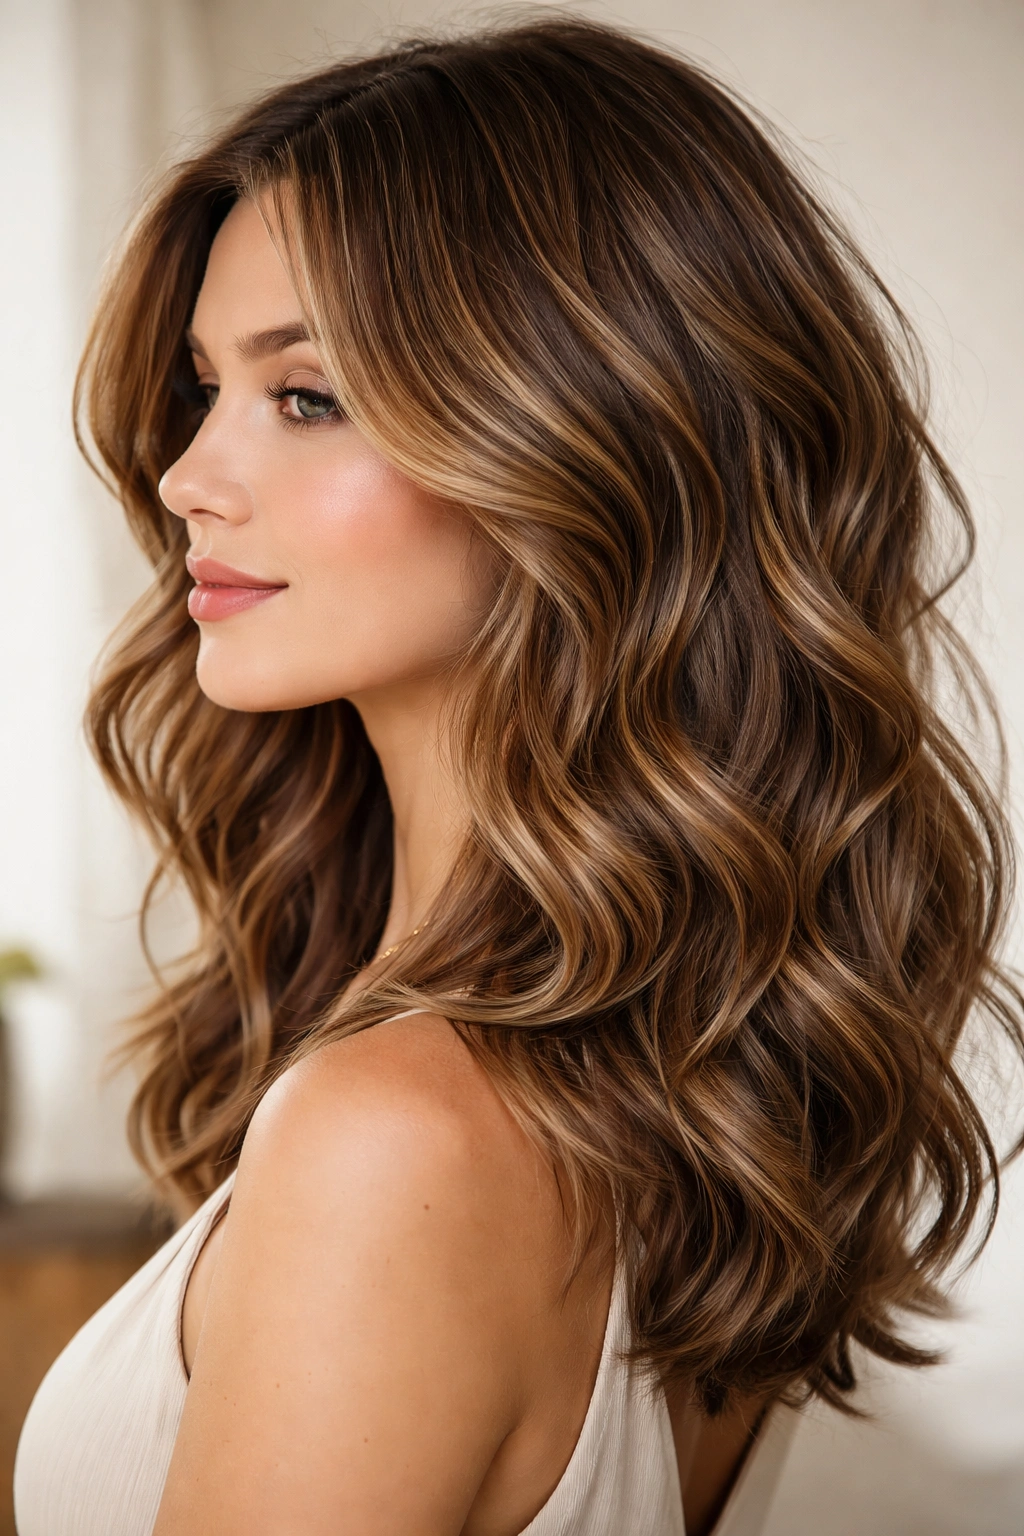
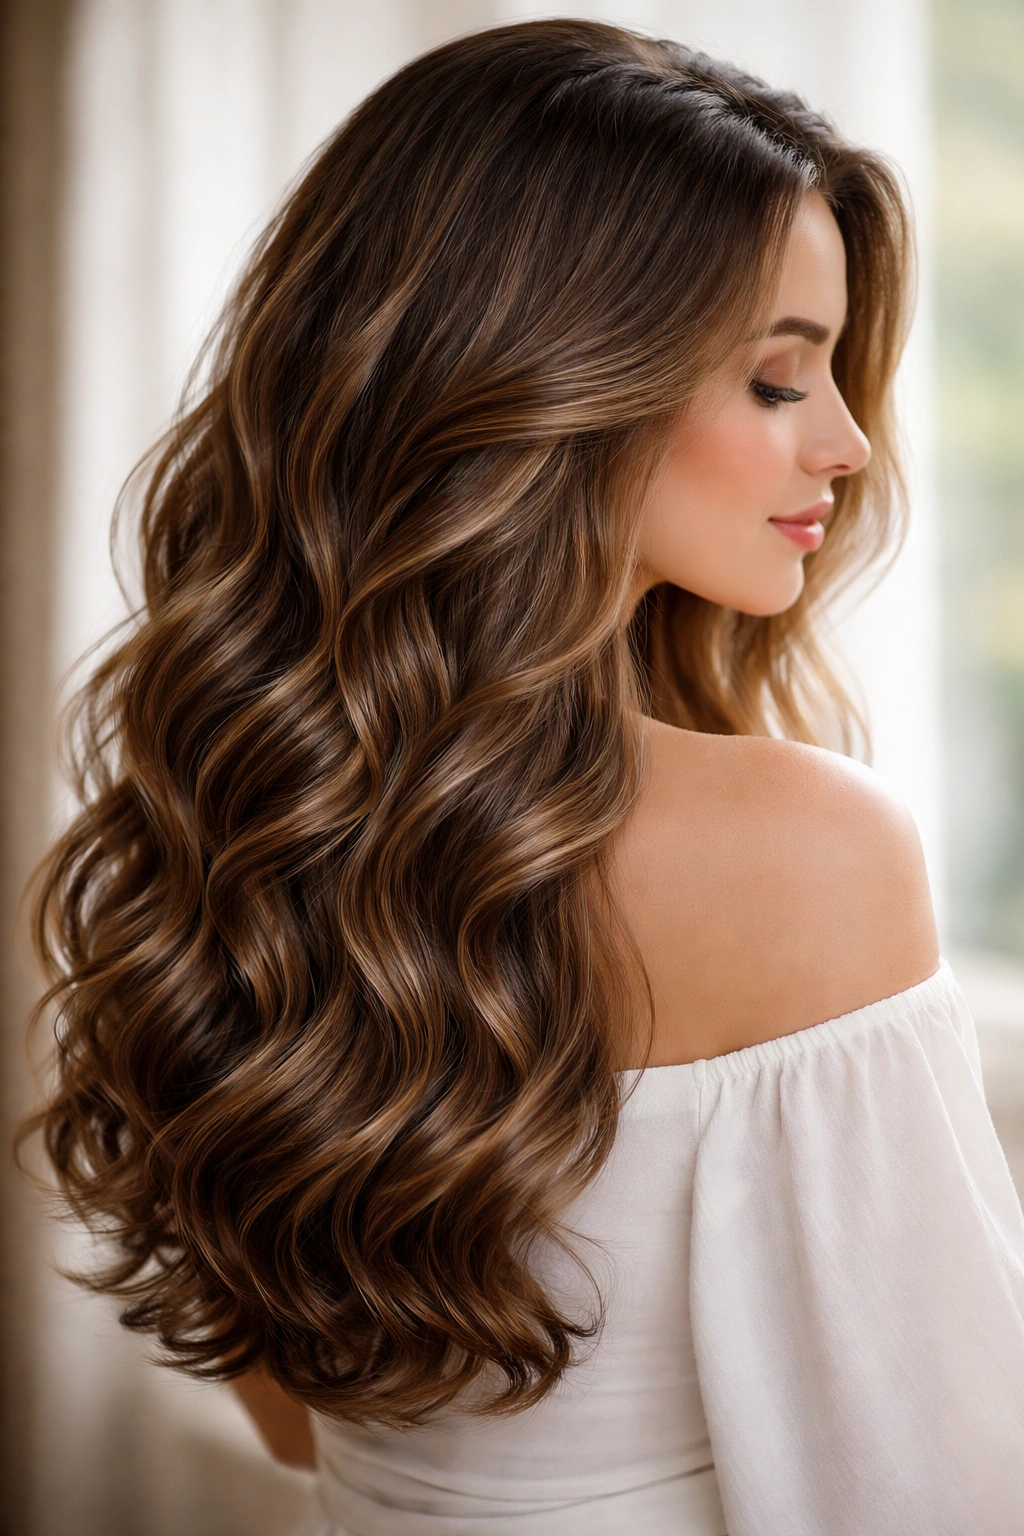
1. Tousled Beachy Waves
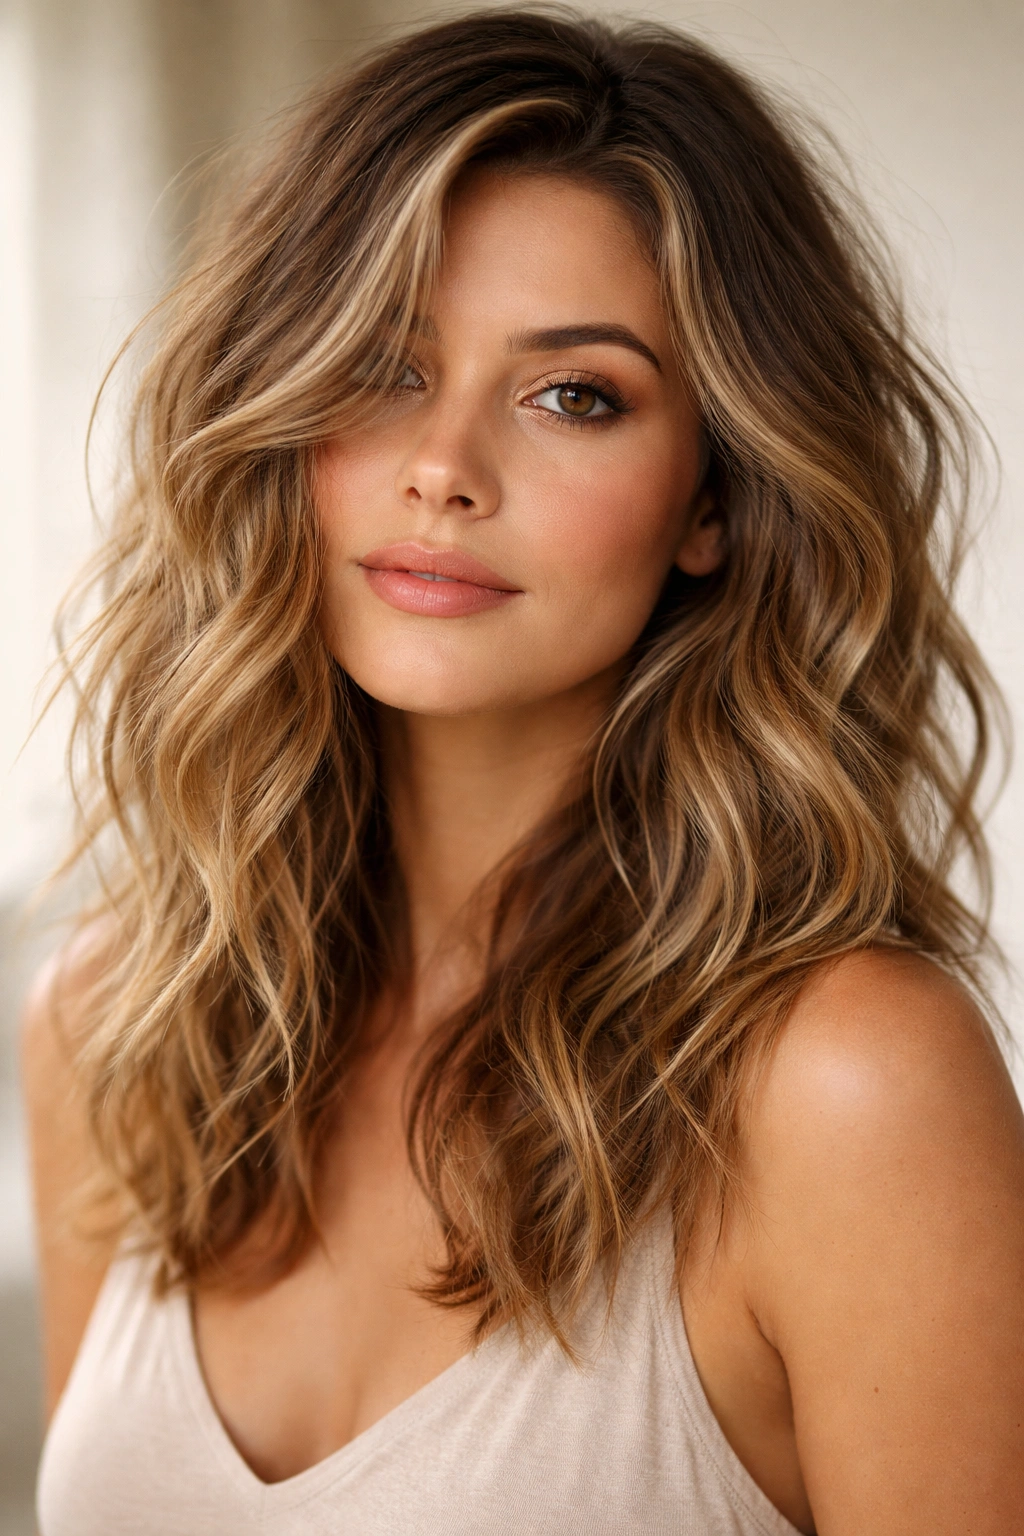
This is the gold standard of easy wavy hairstyles — the kind of deliberately undone waves that look like you just came back from the beach without trying. The key is intentional texture without uniformity, which means each section of your hair waves slightly differently from the next. This creates that effortless, sun-kissed appearance that actually requires zero perfection.
How to Create Textured Beachy Waves
The fastest path to beachy waves is a salt spray applied to damp hair. Apply a lightweight sea salt spray generously throughout your hair, focusing on the mid-lengths and ends. Use your fingers to scrunch sections upward as the spray dries, letting gravity work against your scrunching motion to create random wave patterns. The beauty here is that messy application looks better than careful application — waves that point in slightly different directions look more naturally textured.
What You’ll Need
- Sea salt spray or texturizing spray (or make your own: mix water, sea salt, and a touch of oil)
- A spray bottle if using homemade mixture
- Your fingers and a diffuser (optional, but helpful)
- Time to air-dry or a blow dryer on low heat with a diffuser attachment
- A light finishing spray to hold the texture without crunch
Pro tip: Apply sea salt spray to damp (not soaking wet) hair for better absorption. If your hair is too wet, the spray dilutes and doesn’t create enough grip for waves to hold.
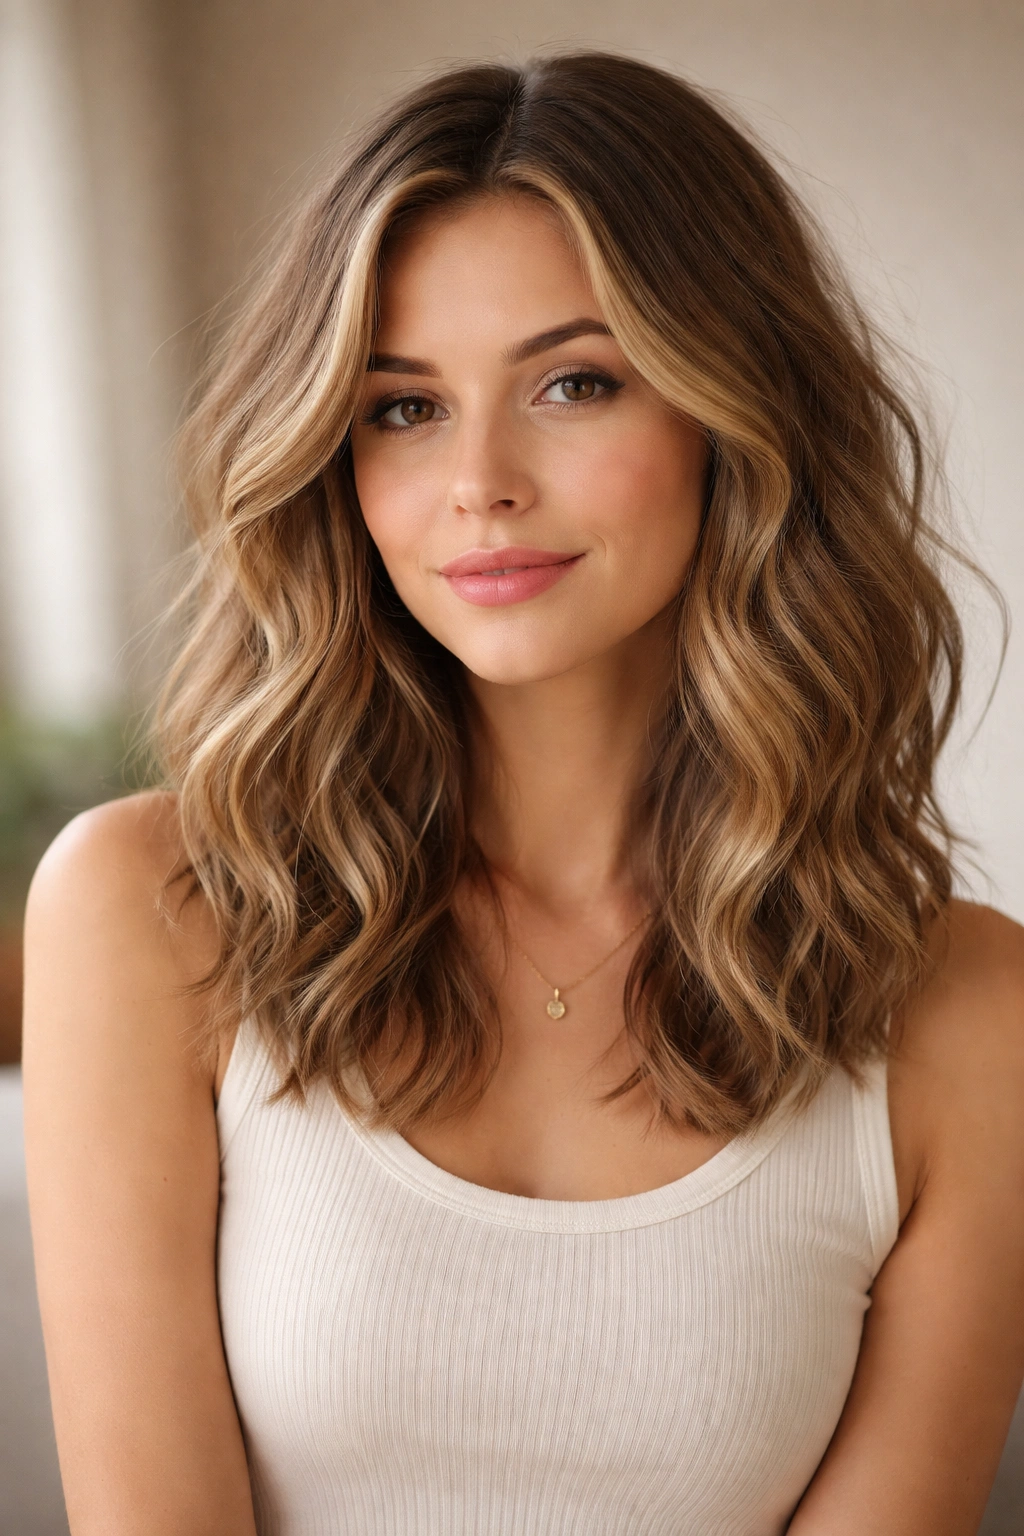
2. Loose Romantic Waves
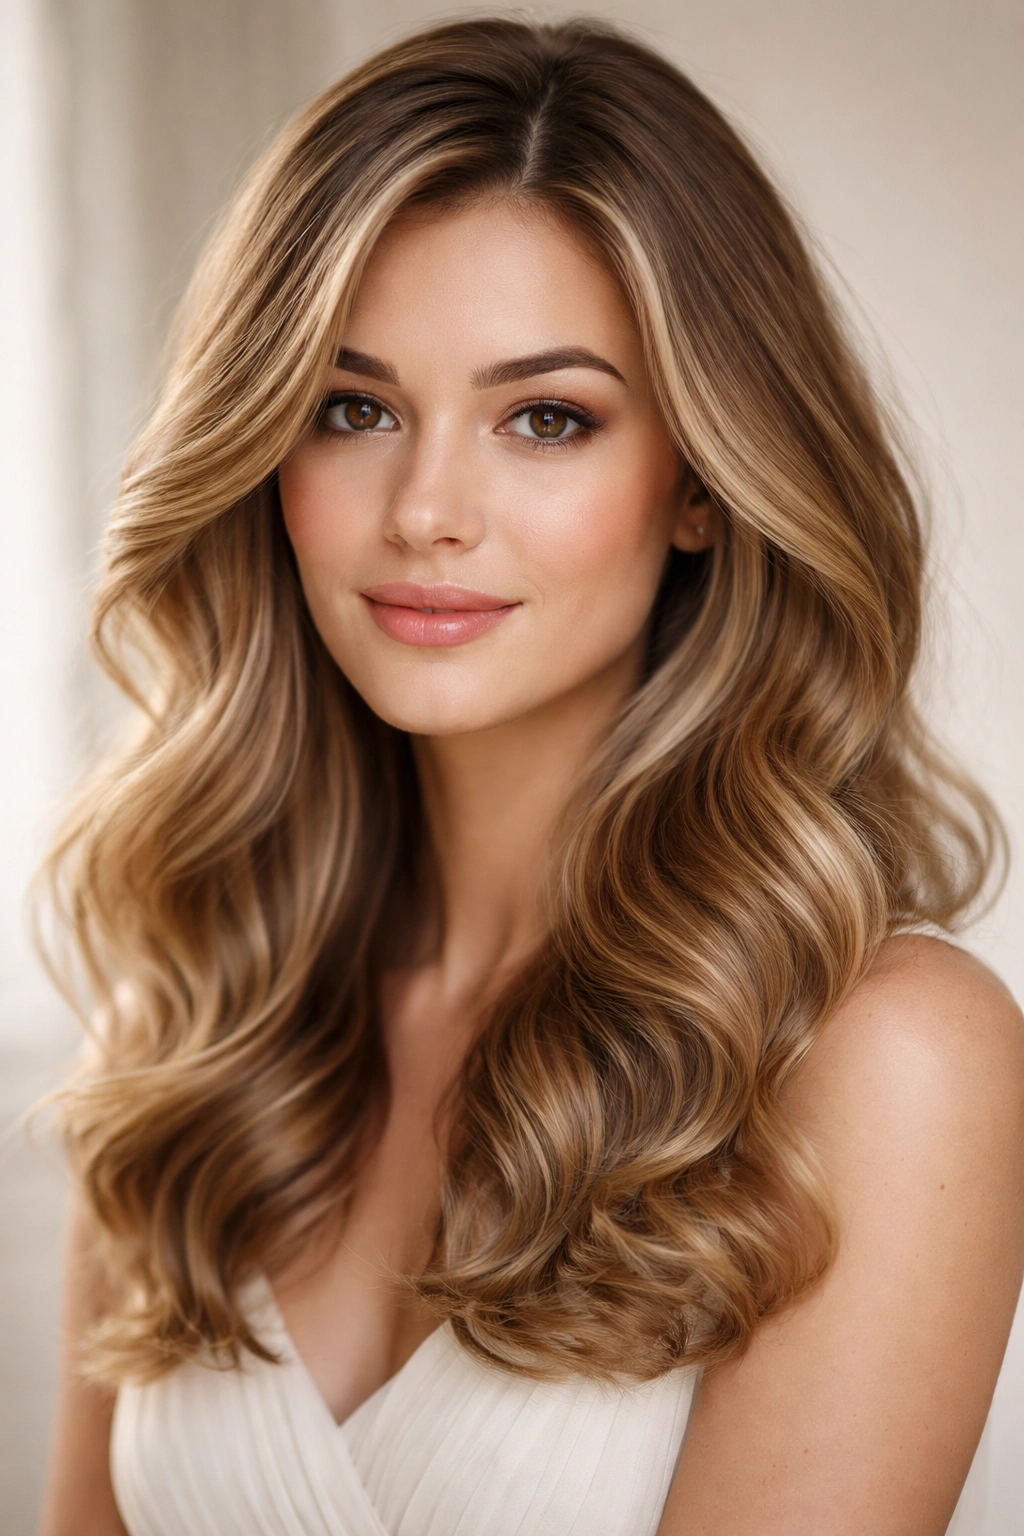
Romantic waves differ from beachy waves by design — they’re more deliberate, with a softer direction and more volume throughout. These waves have a luxurious, swept quality that photographs beautifully and works for everything from casual dates to special occasions. The movement flows gently rather than pointing chaotically in all directions.
The Technique Behind Romantic Waves
This style relies on large-barrel curling or waving tools. Use a 1.5-inch curling iron or wand to take sections about 2 inches wide from your roots, wrap the hair around the barrel away from your face, hold for 5-8 seconds depending on your hair’s texture, then slide the iron out gently. The direction matters here — keep all waves moving the same general way for that romantic coherence. Once your entire head is waved, run your fingers through the waves to break them apart slightly and create a softer, less structured look.
Getting Effortless-Looking Volume
- Curl sections away from your face for a flattering frame
- Alternate the direction of curl (one section away, one section toward) for natural dimension
- Curl hair that’s slightly damp, not bone-dry, for better wave retention
- Don’t brush through curls immediately; let them cool and set for 5-10 minutes first
- Tease gently at the roots under each wave for hidden volume that holds the shape longer
Worth knowing: The warmth of freshly curled hair makes it moldable. As it cools, the wave sets permanently. Don’t try to style or arrange curls while they’re still warm — you’ll undo the shape.
3. Textured Half-Up Waves

This combines wavy texture with an on-trend half-up style that keeps hair off the face while showing off the waves. It’s practical for active days, professional enough for work, and pretty enough for evening plans. The half-up approach also means you can create the textured waves without needing perfect uniformity — the gathered section hides any inconsistencies in the lower waves.
Creating the Structure and Texture
Start with curled or waved hair (either via heat tools or a braid-out method). Gather the top half of your hair at the crown as if you’re making a half-up ponytail, but don’t secure it into a tight elastic yet. Instead, tease the gathered section gently to create volume and texture, then secure with a clip or elastic. The teasing creates a fuller, more dimensional look at the crown, which frames your face beautifully and balances the waves below.
Styling Steps for Perfect Dimension
- Create waves using whatever method works for you (curling iron, air-drying with product, braiding)
- Let the waves cool and set completely before gathering the top section
- Clip or elastic the top section loosely — tight gathering flattens the crown
- Tease gently underneath the gathered section for lift that supports the clip
- Pull a few small face-framing pieces down to soften the overall look
- Finish with a flexible hold spray so waves don’t deflate
Pro tip: Use a jaw clip instead of an elastic for an instantly more modern, polished finish. Jaw clips also grip better in textured, waved hair without requiring excessive tightness that causes headaches.
4. Sleek Side-Swept Waves
This style takes medium wavy hair and deliberately channels all the movement to one side, creating an asymmetrical, dramatic silhouette. It’s sophisticated and works beautifully for work settings, dates, or anytime you want intentional polish. The side-sweep also visually elongates your face and works well across different face shapes.
Directing Your Waves for Maximum Impact
Create uniform waves through your hair using your preferred method (curling iron, wand, or heat-free technique). Once the waves are set, use a fine-tooth comb or brush to sweep all the hair dramatically to one side of your head. This isn’t about hiding the waves — it’s about directing them all toward one focal point. As you sweep, the waves maintain their individual curves but create a unified directional flow rather than scattered texture.
Achieving the Sleek Base
- Blow-dry your hair with a round brush, directing all roots toward your chosen side
- Apply smoothing serum to the surface of your hair for a polished finish without flatness
- Use a ceramic or tourmaline-coated flat iron on low heat to smooth any flyaways or frizz
- Avoid products that make hair look wet or overly shiny — aim for polished matte finish
- A light hairspray holds the direction without visible product buildup
Insider note: The key to sleek side-swept waves is that your waves and your direction work together, not against each other. If your natural waves want to go one way and you’re forcing them the opposite direction, you’ll fight the texture all day. Work with your hair’s natural wave pattern and sweep toward the side where waves naturally flow.
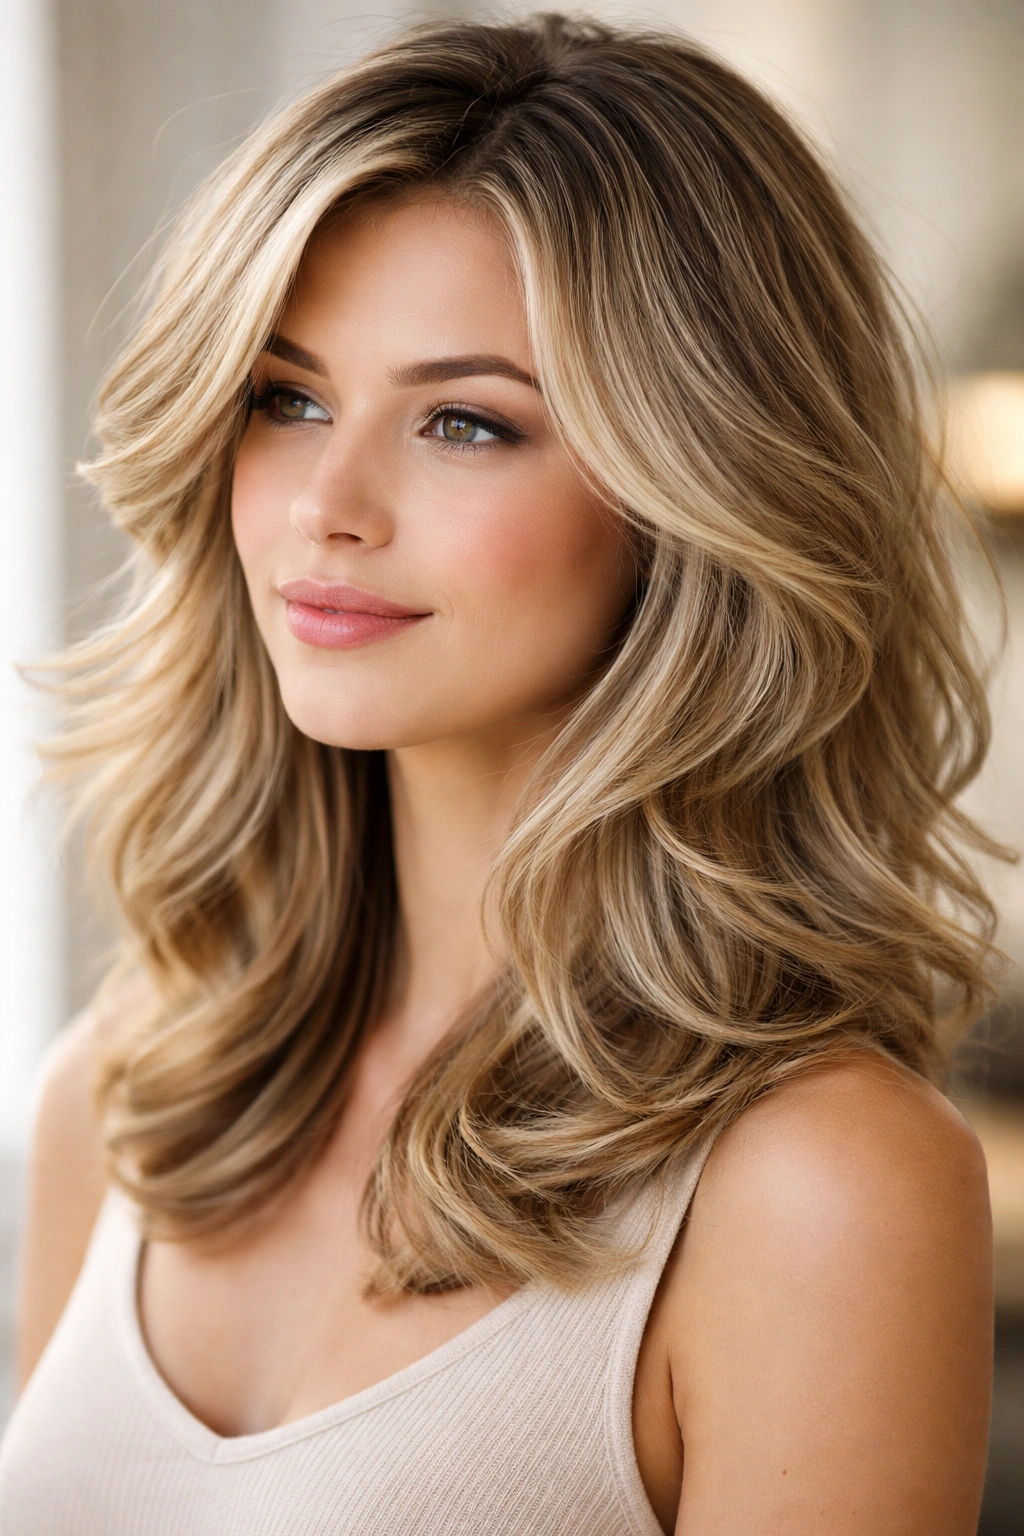
5. Voluminous Crown Waves
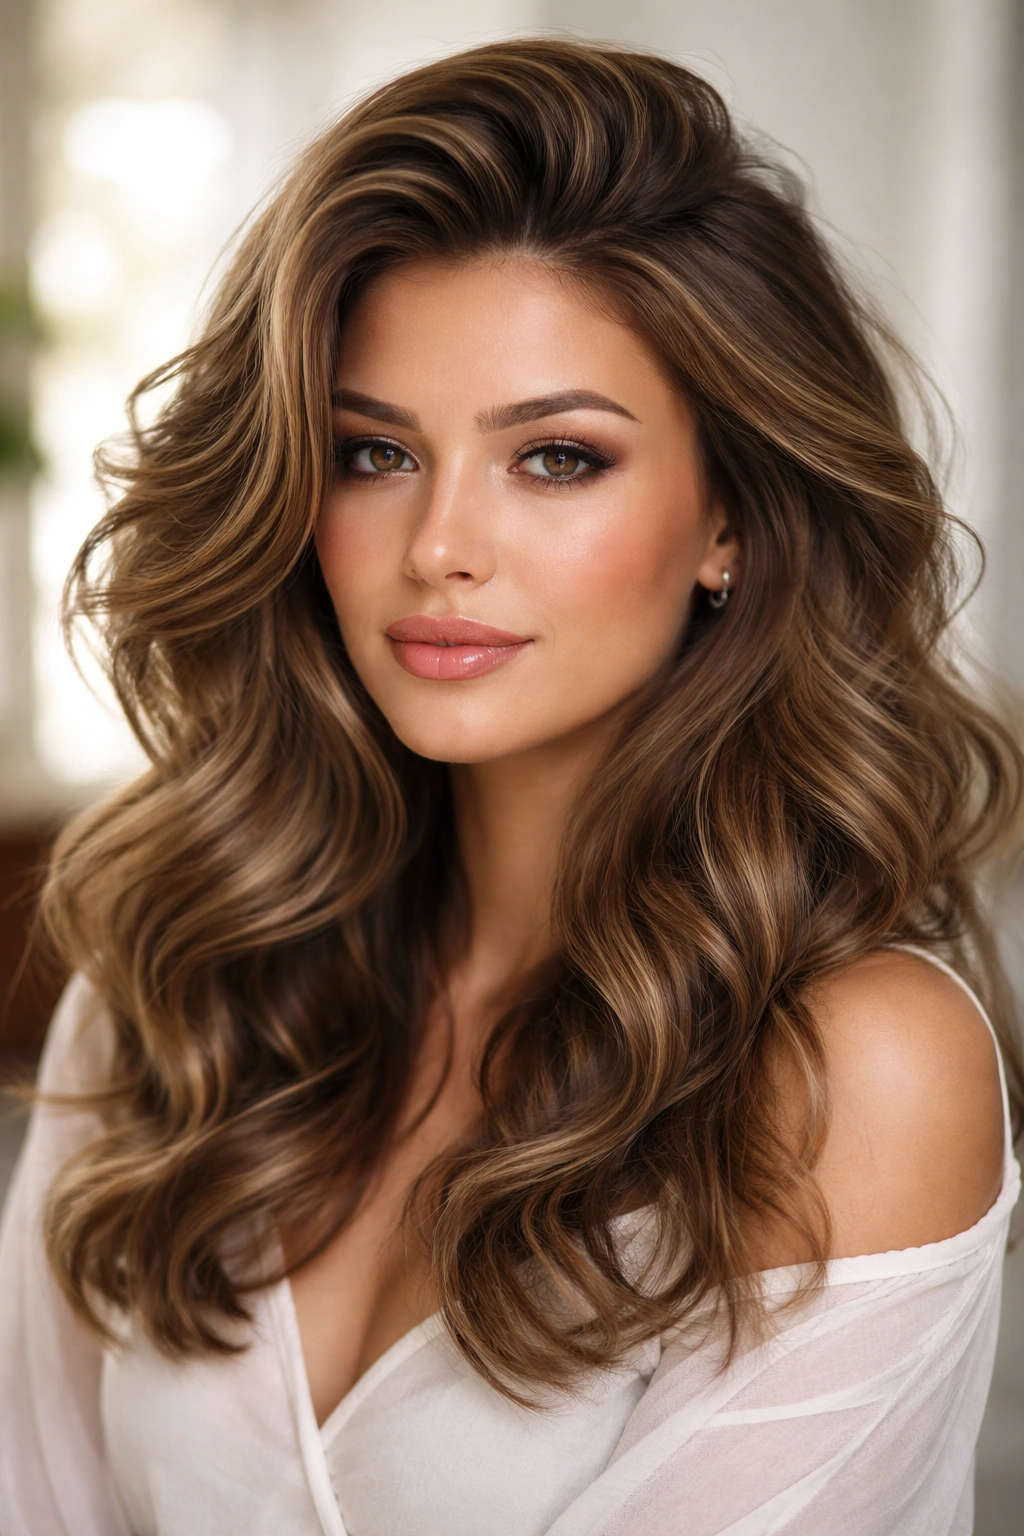
This style maximizes height and fullness at the crown using waves that create dimension rather than flatness. It’s perfect if you’re dealing with fine or thin hair that needs visual thickness, or if you simply want an extra glamorous silhouette. Crown volume makes your whole head look fuller and frames your face with movement.
Building Crown Volume Strategically
The secret to voluminous waves starts at the roots. Blow-dry your hair with a round brush, directing the roots straight up and away from your scalp. This creates a base of volume before you even add waves. Once your base is set, create waves starting about 2 inches down from your roots, leaving that root section smooth and voluminous underneath. This two-layer approach (smooth volume base + textured waves on top) creates more height than waves alone.
Layering for Maximum Fullness
- Tease gently at the crown, then smooth the surface layer for a polished look
- Create larger waves at the crown (1.5-inch barrel) and slightly smaller waves toward the ends for proportion
- Blow-dry the upper sections of hair with your head tilted or turned upside down for extra root lift
- Use volumizing mousse or powder applied to damp roots before blow-drying for lasting fullness
- Backcomb only at the roots, then smooth the surface to avoid a messy appearance
Worth knowing: Volumizing products work better when applied to damp hair and dried in, rather than applied to dry hair. The heat sets the product and helps it grip your hair fibers.
6. Defined Wave Layers
When your medium-length hair has multiple layers, waves become a way to emphasize and celebrate that layering rather than hide it. Defined wave layers mean each layer of your cut gets its own distinct wave, creating movement at different depths throughout your head. This approach transforms a layered cut from static to dynamic.
Making Each Layer Sing
Work section by section, starting with the shortest layers at the top and moving to the longer ones. Curl each layer separately with an iron or wand, keeping each wave tight and distinct. Because each layer is a different length, they naturally create a stacked wave pattern — the short pieces curve dramatically while the long pieces have broader, gentler curves. This natural variation in wave size across layers looks intentional and beautiful.
Technique for Visible Dimension
- Part your hair horizontally into three sections (top, middle, bottom)
- Curl the top section first — these shorter pieces will have tighter, more defined waves
- Curl the middle section next with a slightly larger barrel for looser waves
- Curl the bottom section with the largest barrel to keep end waves soft and flowing
- Run your fingers through gently once everything is cool to separate waves slightly
- The graduated wave sizes create visual depth that flat hair can’t achieve
Pro tip: If your hair naturally falls with certain layers visible and others hidden, style accordingly. Emphasize the visible layers and keep the hidden ones simpler. This works with your hair’s natural fall pattern instead of against it.
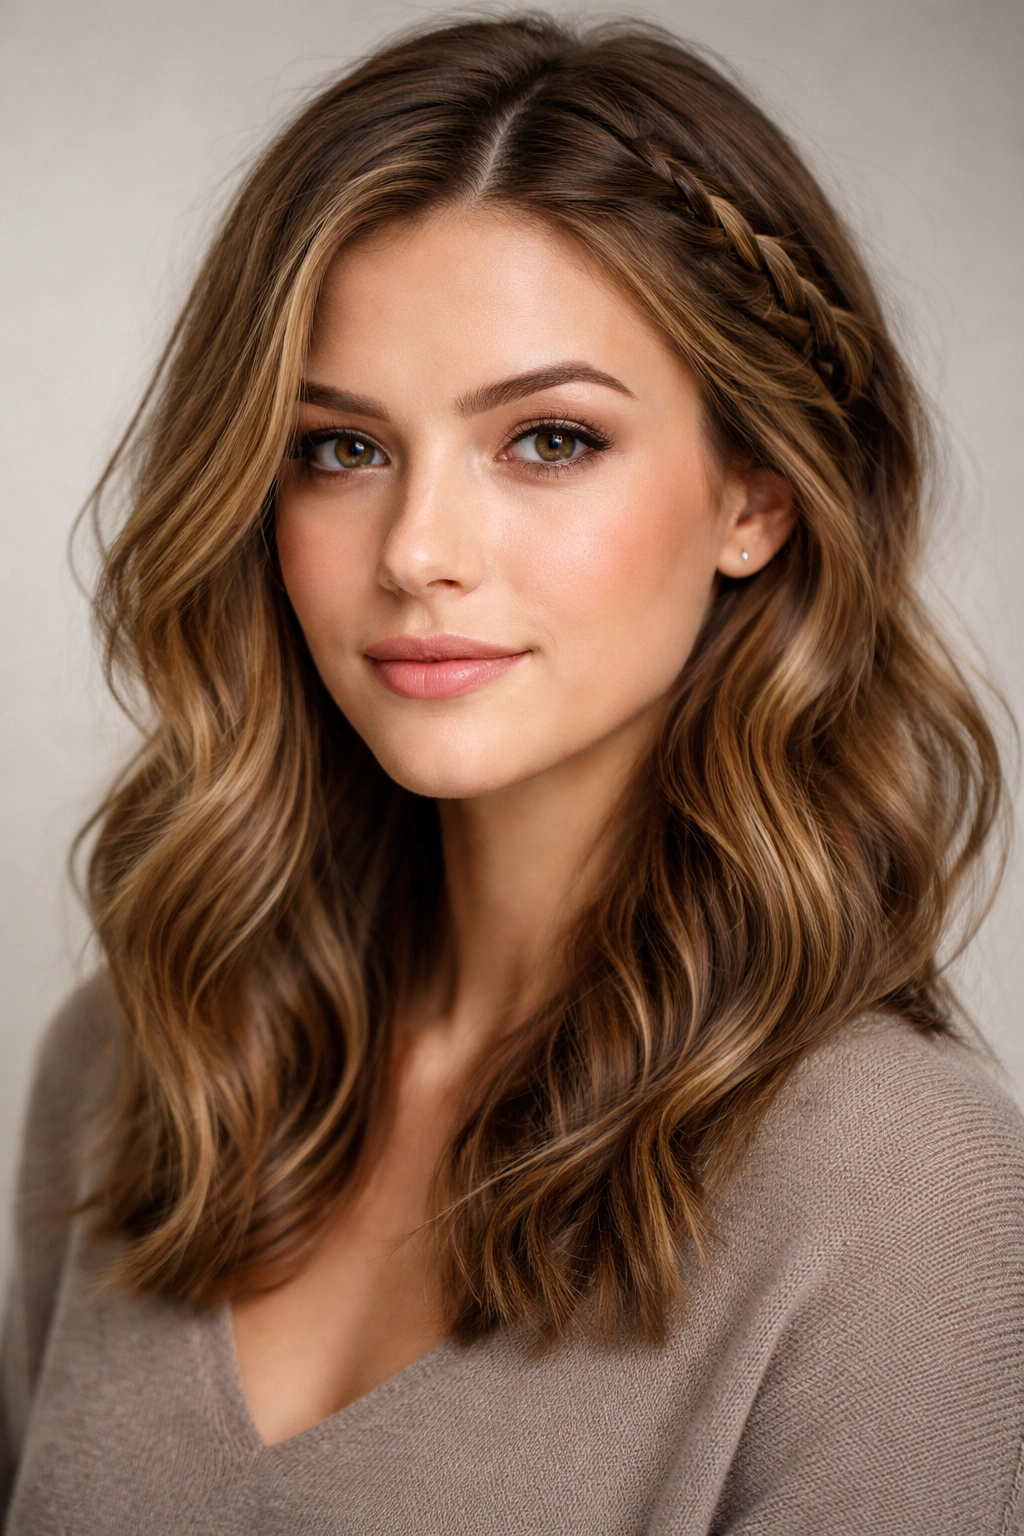
7. Braided Wave Combination
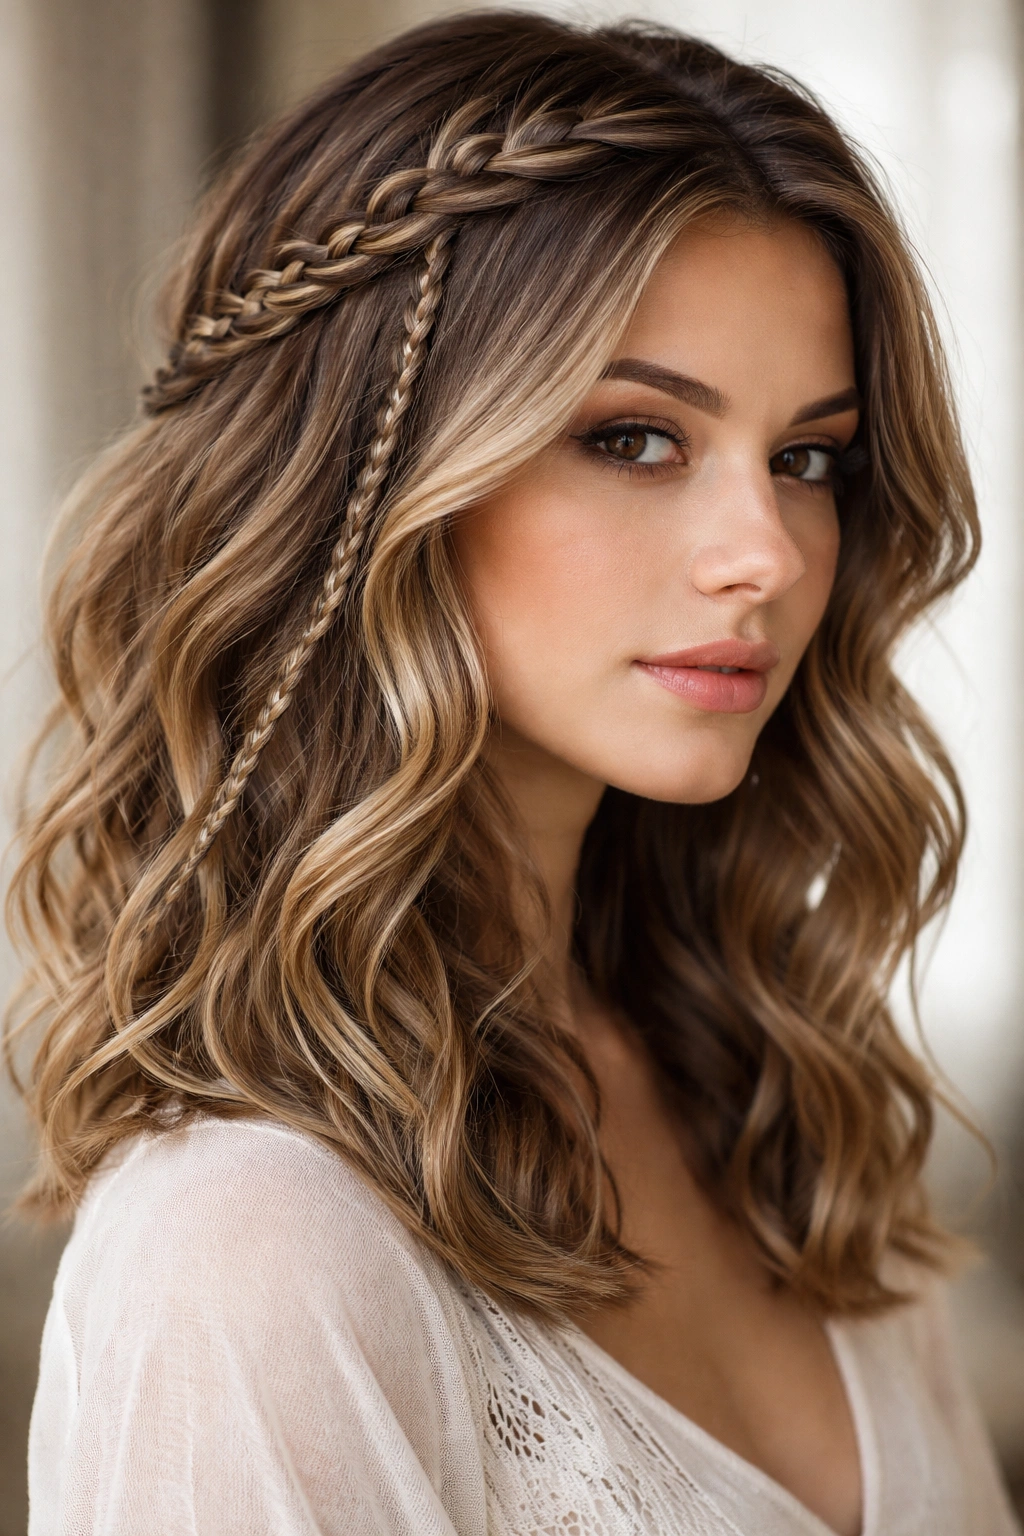
This style uses one or more braids as both a styling element and a wave-creator. Braids add texture and hold waves beautifully, plus they work as a visual anchor point that makes the style feel intentional rather than accidental. The braid creates a clear focal point while the surrounding waves add movement.
Combining Braids and Waves Effectively
Start by creating waves throughout your hair using heat or a braid-out method. Once the waves are set, add a single braid or multiple small braids woven through the waves. A Dutch or French braid at the crown that transitions into regular braids further down creates dimension. Alternatively, create loose side braids that blend into the waves — the braids add structure while the surrounding waves maintain softness.
Integration for a Cohesive Look
- Braid sections that flow naturally with your hair’s wave pattern
- Keep braids loose and textured — tight braids fight against wave movement
- Add small braids as accents rather than trying to braid all your hair if you want waves to dominate
- Use clear or matching-colored elastics so braids don’t create visual breaks in the wave pattern
- Gently tease out the braids slightly once finished — structured braids with loose waves look more intentional than pristine braids
Pro tip: A Dutch braid (braiding underneath instead of over) creates a raised, textured appearance that photographs beautifully with wavy hair and doesn’t flatten the waves like traditional braids might.
8. Wet-Look Waves
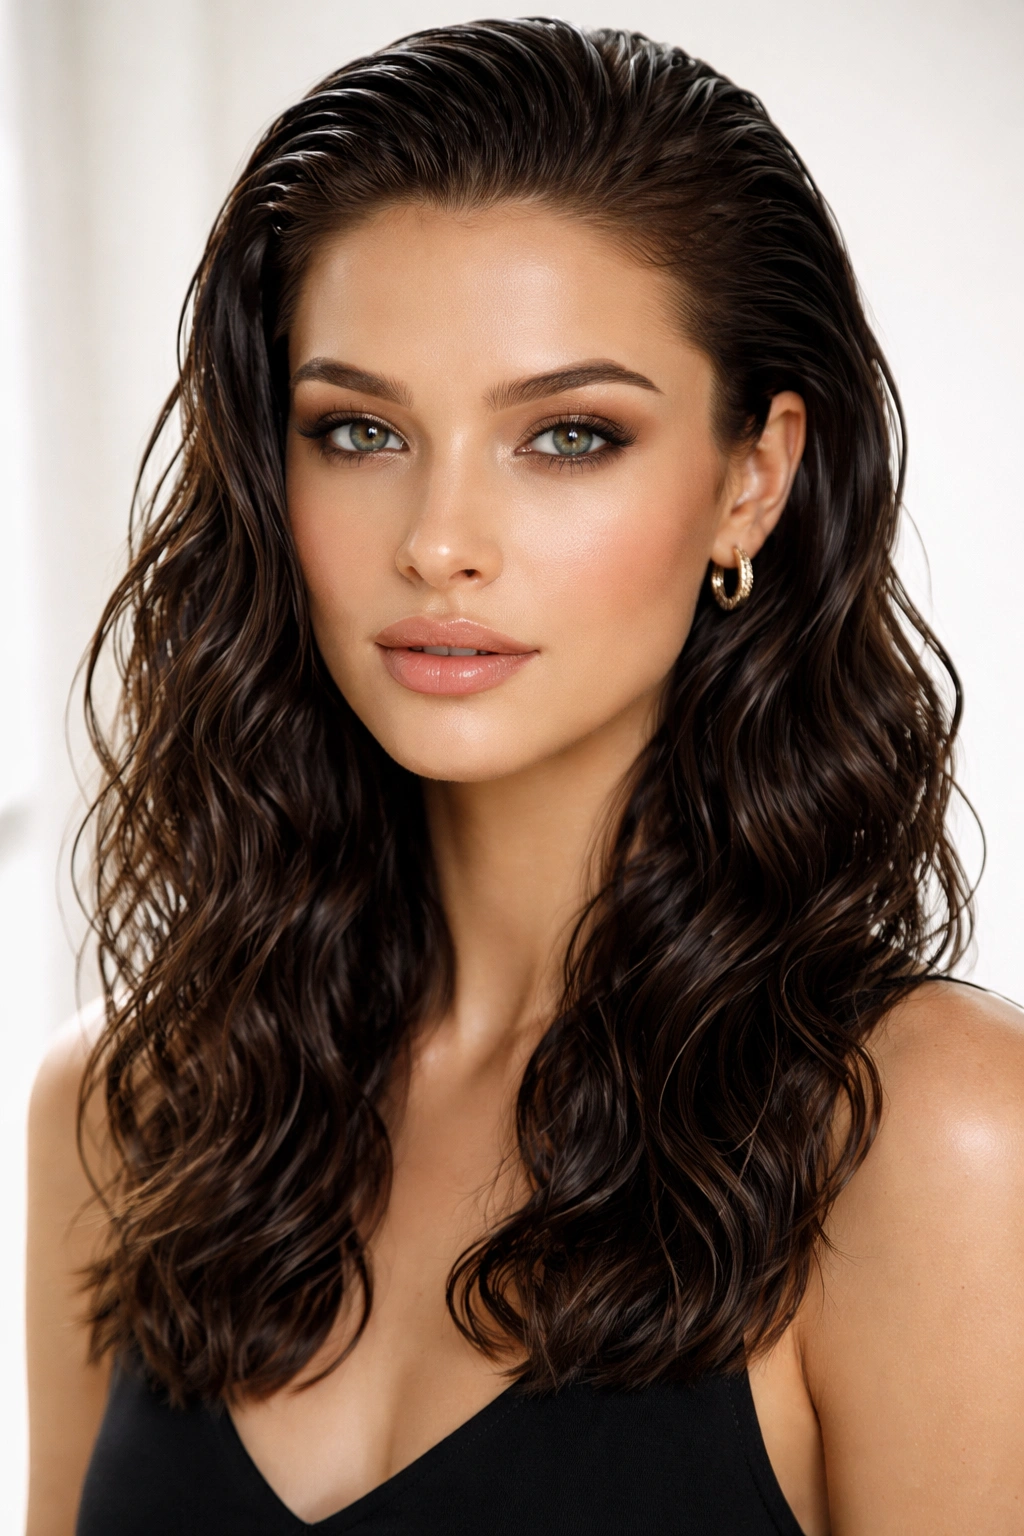
This style uses heavy product and slicked-back styling techniques combined with distinct waves to create a deliberately wet, glossy appearance. It’s edgy, modern, and surprisingly versatile — it works for evening looks, creative professions, and anyone who wants a bold statement. The contrast between the sleek, wet-looking top and the defined wave texture below creates visual interest.
Creating the Glossy Wet Effect
Apply a wet-look gel or mousse to damp hair and blow-dry your hair sleek and straight, directing everything away from your face. Once your base is set and smooth, create defined waves in the lower half of your hair using a curling iron or wand. The upper section stays sleek and glossy while the lower section develops texture and movement. This creates intentional contrast rather than a half-finished style.
Product Selection for Lasting Shine
- Use products specifically formulated for wet-look finishes — they contain shine polymers that don’t dry matte
- Apply to damp roots for the sleekest hold as hair dries
- A light hairspray over the glossy section holds it in place without dulling the shine
- Avoid matte products or dry shampoo near the wet-look section — they’ll dull the intentional gloss
- Reapply shine serum to the sleek section throughout the day as needed
Insider note: The wet-look trend uses intentional product visibility. Unlike other styles where product should be invisible, here the shine and smoothness are the whole point. Embrace the glossy finish rather than trying to make it look natural.
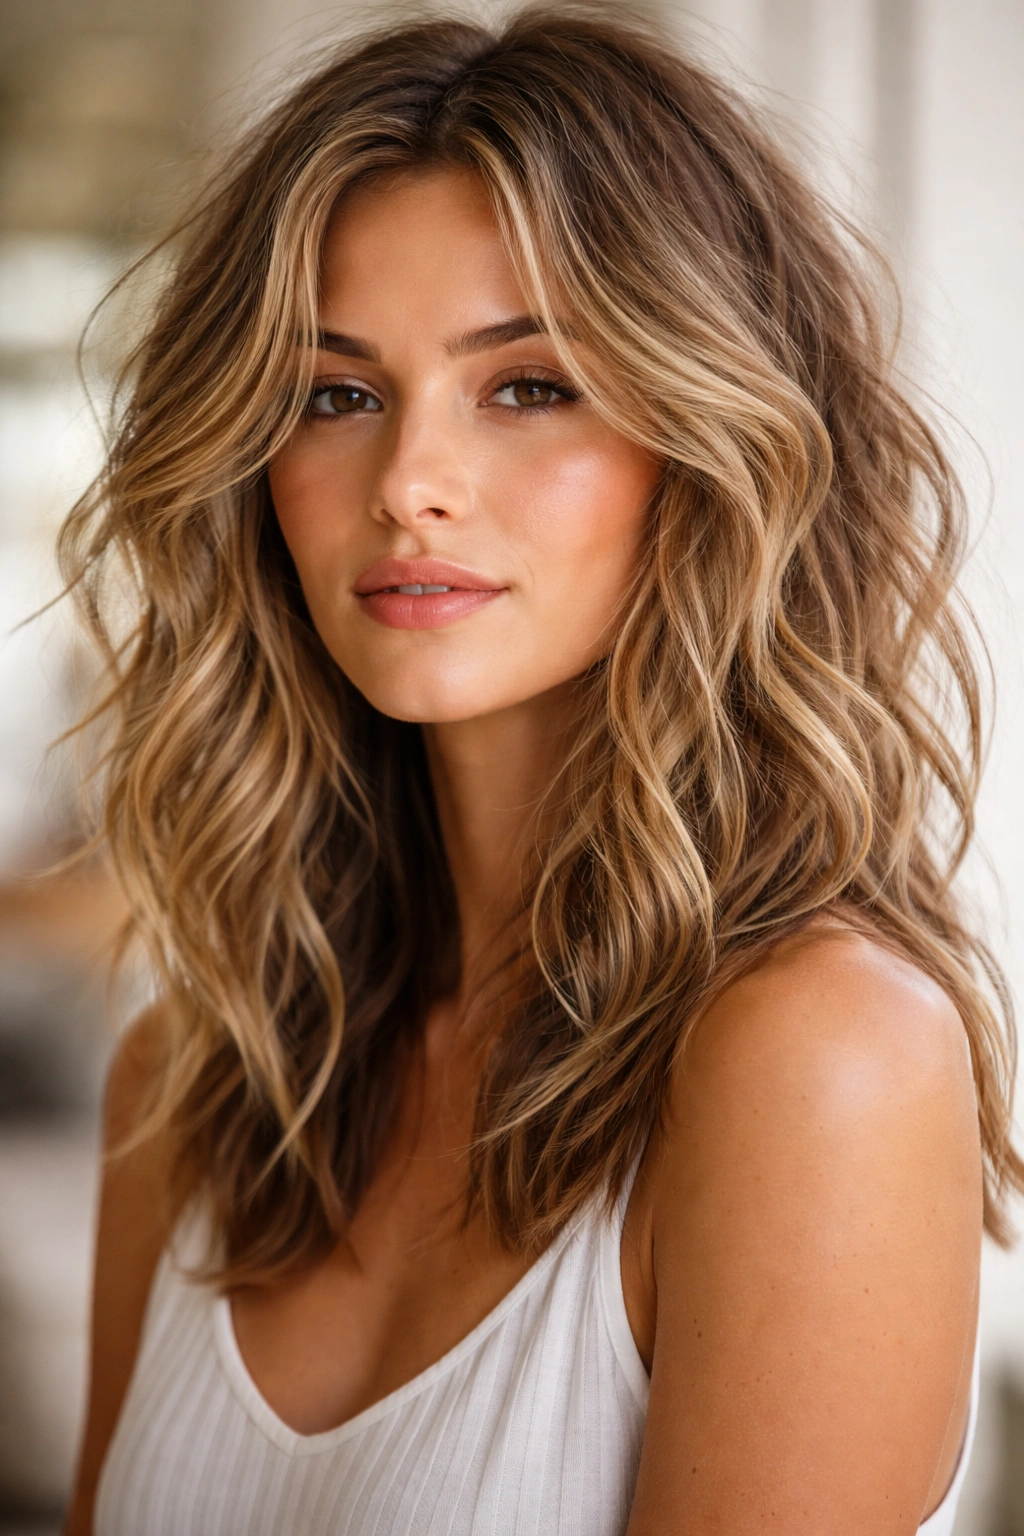
9. Soft Curtain Waves
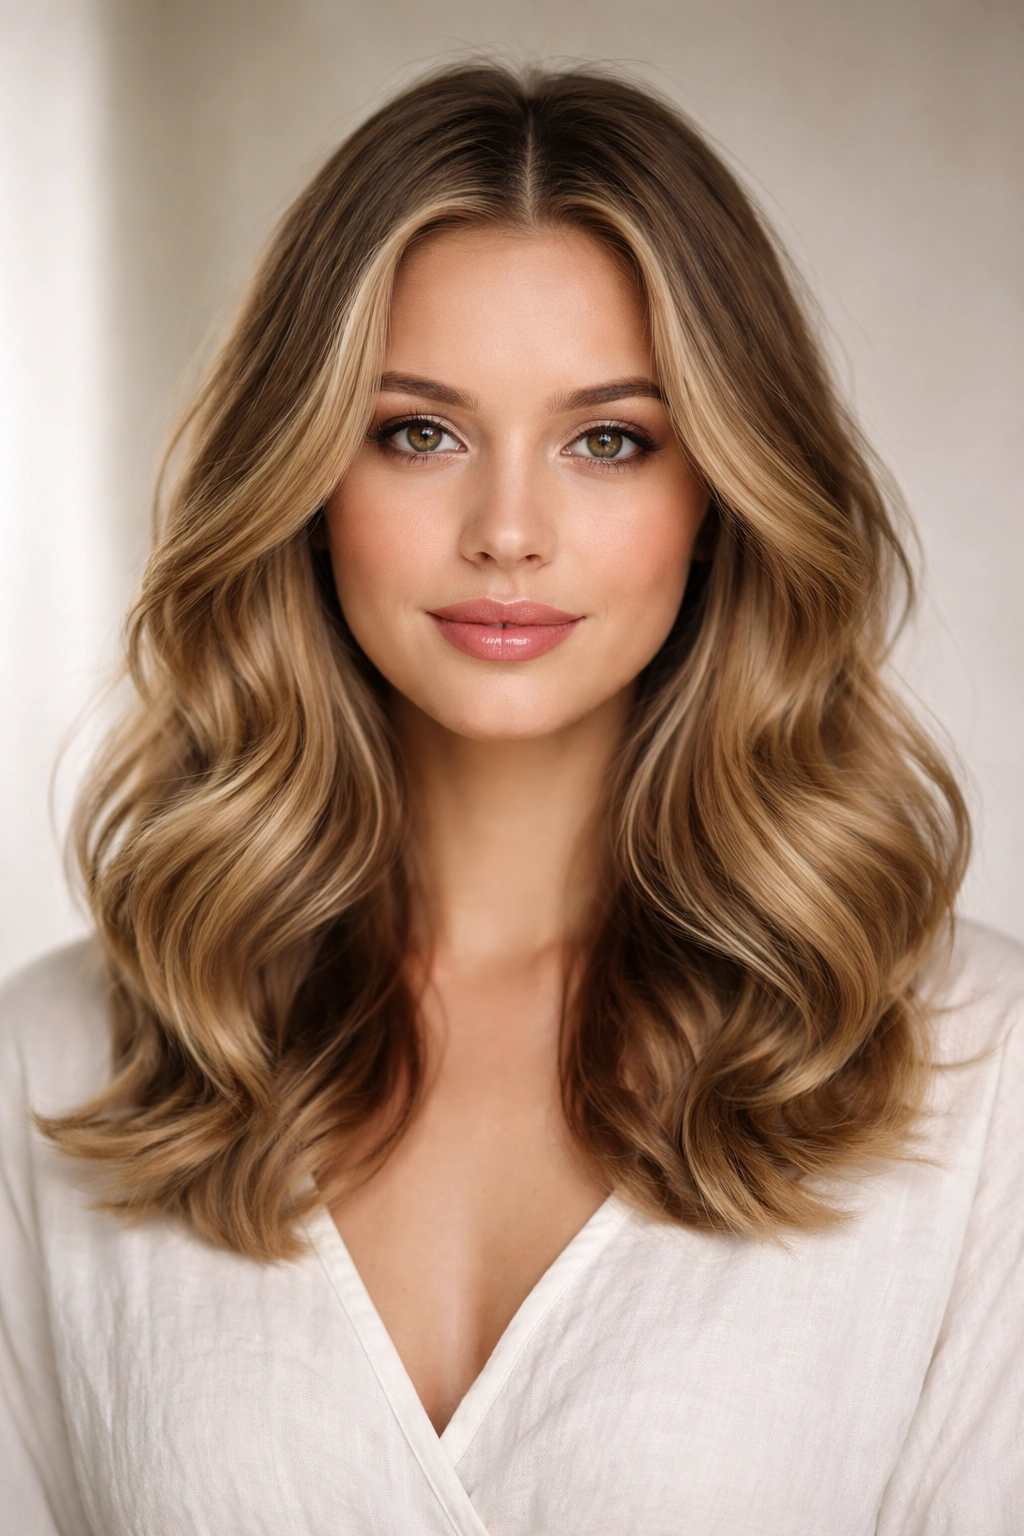
Curtain waves frame your face by creating a center part with gentle waves flowing toward both sides. This style is incredibly flattering because the waves literally point toward your face, emphasizing your features and creating natural face-framing. Curtain waves work across all face shapes and hair textures because the waves are soft and forgiving.
Creating the Face-Framing Effect
Start with a center part and create waves using your preferred method. The key difference here is direction — curl or wave your hair so that it flows away from your center part toward both sides of your face. The waves should be large and loose rather than tight, giving a soft, romantic appearance. As the waves curve away from center, they naturally frame your face from cheekbone to chin.
Styling for Flattering Face Framing
- Create a clean center part first, then base all your waves on this parting
- Curl sections starting from the part, with each wave rotating toward the outer edge of that side
- Use a 1.5-inch to 2-inch barrel for soft, flowing waves rather than tight ringlets
- Apply waves to the front sections closest to your face for maximum face-framing benefit
- The back sections can have waves in any direction — the front is what people see
- Finish with flexible hairspray that holds shape without creating stiffness
Pro tip: Curtain waves look best when they’re slightly tousled. Run your fingers through gently once the waves have cooled, separating them slightly rather than leaving them perfectly structured. This makes the style feel more effortless and romantic.
10. Spiral Rope Waves
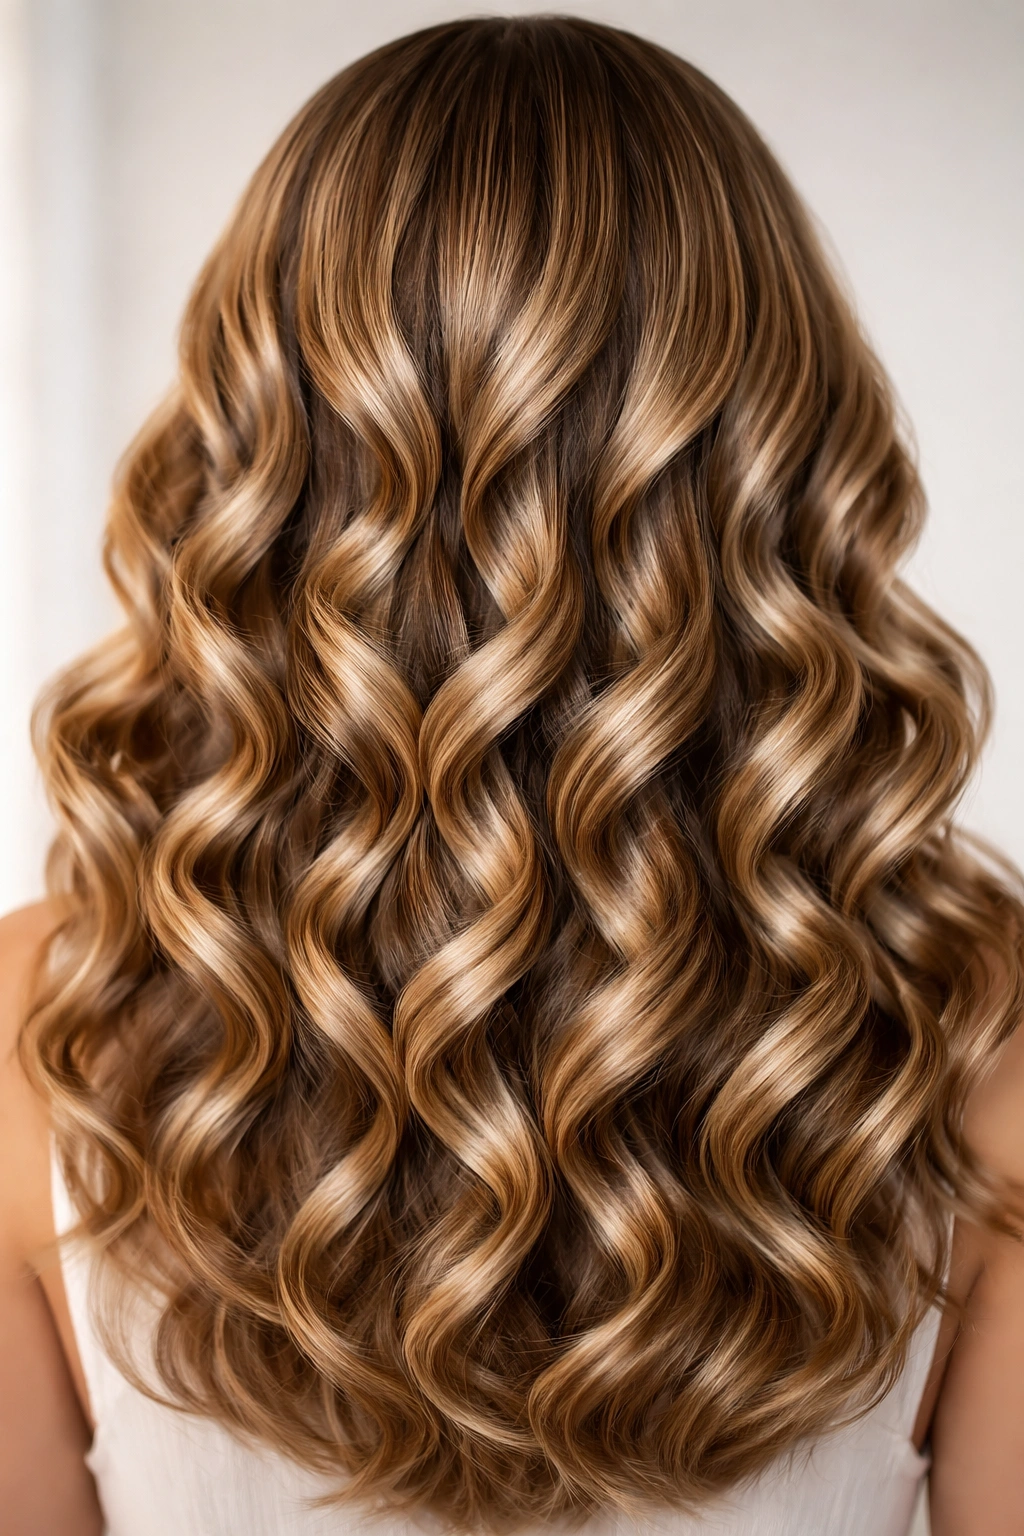
This technique creates perfect, uniform spiral waves by using the rope method — twisting sections of hair tightly, then heat-setting the twist into a wave shape. Spiral rope waves look polished and intentional, with each wave mirroring the others. They’re perfect when you want clear definition and consistency throughout your style.
The Rope Twisting Technique
Take a 2-inch section of damp hair and twist it tightly from root to end, holding the entire twist firmly. Using a flat iron, slowly clamp down and slide the iron down the length of the twisted section, creating heat that sets the spiral shape. Once you release the flat iron, untwist the section gently to reveal a perfect spiral wave. Repeat throughout your head, working in sections.
Perfect Spiral Wave Application
- Work on damp hair for better heat absorption and wave setting
- Keep twists tight while applying heat — loose twists create loose, undefined waves
- Flat iron heat works better than curling irons for this technique because you can apply consistent heat along the entire length
- Let twisted sections cool and set before untwisting them
- Untwist slowly and gently to avoid disrupting the wave shape
- The result is geometric, perfect spirals that look professionally done
Worth knowing: This method works better on hair that’s at least shoulder-length because longer hair holds the twist shape better. Very short medium length might not create defined enough spirals.
11. Messy Tousled Beach Waves
If beachy waves are the polished version of effortless texture, messy tousled beach waves are the deliberately undone version — bigger, chunkier, with visible separation between sections. This style embraces imperfection as a design choice rather than an accident. It works for casual days and creative environments where you want to look like you woke up and did almost nothing.
Creating Intentional Messiness
The trick to pulling off deliberately messy waves is being generous with texture and not blending everything together. Create larger waves using a bigger barrel (1.75 to 2 inches), and leave plenty of texture spray or mousse in your hair so the waves feel substantial. Instead of smoothing and separating waves delicately, use your fingers roughly to pull sections apart and create obvious separation and texture.
Styling for Controlled Chaos
- Use a heavy texturizing spray or dry shampoo as your base product — these create grittiness that holds waves in place
- Create large, loose waves rather than small tight ones
- Don’t brush through the waves; use your fingers to rough them up and create texture
- Leave some flyaways intentionally — these add to the deliberately undone appearance
- Rock product residue visible in your hair — that chalky texture actually enhances the messy aesthetic
- A medium-hold rather than light-hold spray keeps everything in place without looking stiff
Pro tip: This style actually looks better when you wait a day or two to wash it. Second-day hair has natural oils and product buildup that creates better texture and grip than freshly washed hair.
12. Vintage-Inspired Waves
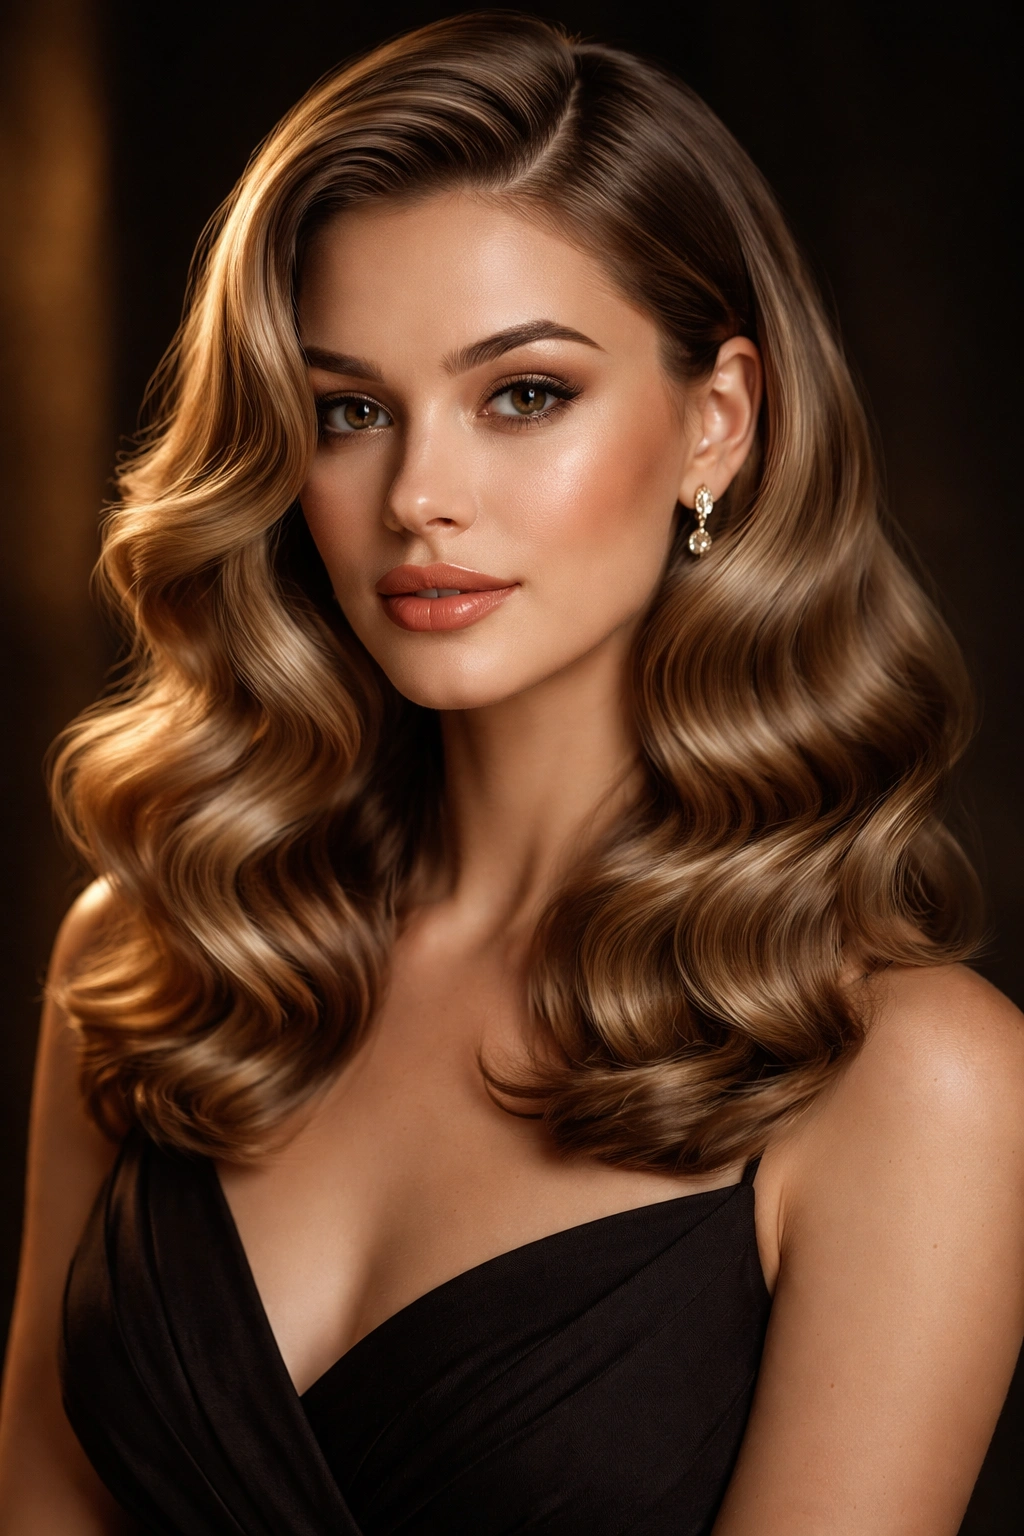
Vintage waves take their cue from classic Hollywood styling — waves that are uniform, intentional, and polished rather than casual. These are the waves that made stars look glamorous, with each wave clearly defined and flowing in the same direction. This style works beautifully for events, date nights, or anytime you want to feel extra put-together.
Achieving Uniform Vintage Waves
The vintage wave technique uses the setting method — curling your hair while it’s damp, allowing the curls to set, then combing them out into waves. Wrap damp sections of hair around large hot rollers or pin curls, and let them cool completely (at least 30 minutes). Once they’re cool, gently remove the rollers and comb the curl out into a wave shape. All waves should flow in the same direction and be roughly the same size for that authentic vintage appearance.
The Traditional Setting Process
- Roll damp hair onto large hot rollers or create pin curls with clips
- Leave rollers in until hair is completely cool and dry
- Gently unroll each section and comb the curl out into an S-wave shape
- All waves should move in the same direction for classic appearance
- Pin curls create tighter, more dramatic waves; hot rollers create softer, looser waves
- Finish with firm-hold hairspray to maintain the wave definition throughout the day
Insider note: Vintage waves look better on certain hair types. If your hair is naturally straight and slippery, you’ll need strong-hold products and longer setting time. If your hair holds curl naturally, the process is faster and easier.
13. Twisted Side Waves
This style combines soft twists woven through your hair with wave texture, creating a styled-but-not-overdone appearance. The twists add visual interest and structure while the waves maintain movement and softness. It’s practical enough for work and pretty enough for weekend plans.
Integrating Twists Into Wave Texture
Create waves throughout your hair using your preferred method. Once the waves are set, take small sections from one side of your head and twist them gently, weaving the twists toward the back of your head. These twists sit on top of and blend with the surrounding waves, adding visual complexity without requiring separate, structured braids. The result is textured layers of movement.
Creating Seamless Twisted Waves
- Create waves first, then add twists to the set waves
- Keep twists loose so they blend with wave texture rather than looking like separate elements
- Small twists (1-inch sections) look more delicate than chunky twists
- Secure twists with bobby pins at the back that match your hair color
- The twists don’t need to be super tight — soft, loose twists look more intentional
- Tease gently at the base of each twist for hidden volume
Pro tip: Twisted waves work best when you bring twists over the shoulder on one side, creating an asymmetrical style that feels more modern than perfectly centered styling.
14. Waterfall Waves
Waterfall waves are dramatic, flowing waves that cascade down your head like water falling in layers. Each wave flows longer and moves more than the wave above it, creating a cascading effect. This style is gorgeous, romantic, and surprisingly easy once you understand the wave direction technique.
Creating the Cascade Effect
The waterfall appearance comes from staggering your waves so each section underneath is curlier and fluffier than the section above it. Start at your crown and create looser, gentler waves. As you move down toward your mid-lengths and ends, use a smaller barrel and tighter technique to create curlier, more defined waves. This creates a graduated effect where top waves gently lead into more textured bottom waves, like water flowing and building intensity as it falls.
Styling for Visual Waterfall Movement
- Use your largest barrel (2 inches or more) for crown waves
- Move down to 1.75-inch barrel for mid-length waves
- Use 1.5-inch barrel for end waves to create more texture
- Apply more product and lighter hold spray to top waves so they move easily
- Use firmer hold on bottom waves to maintain their tighter definition
- The contrast between flowing top waves and textured bottom waves creates the waterfall illusion
Worth knowing: This style can look unbalanced if you’re not intentional about wave size gradation. If your top waves are too curly or your bottom waves too loose, you lose the cascading waterfall effect. Take time to execute the graduated size shift properly.
15. Deep Wave Texture
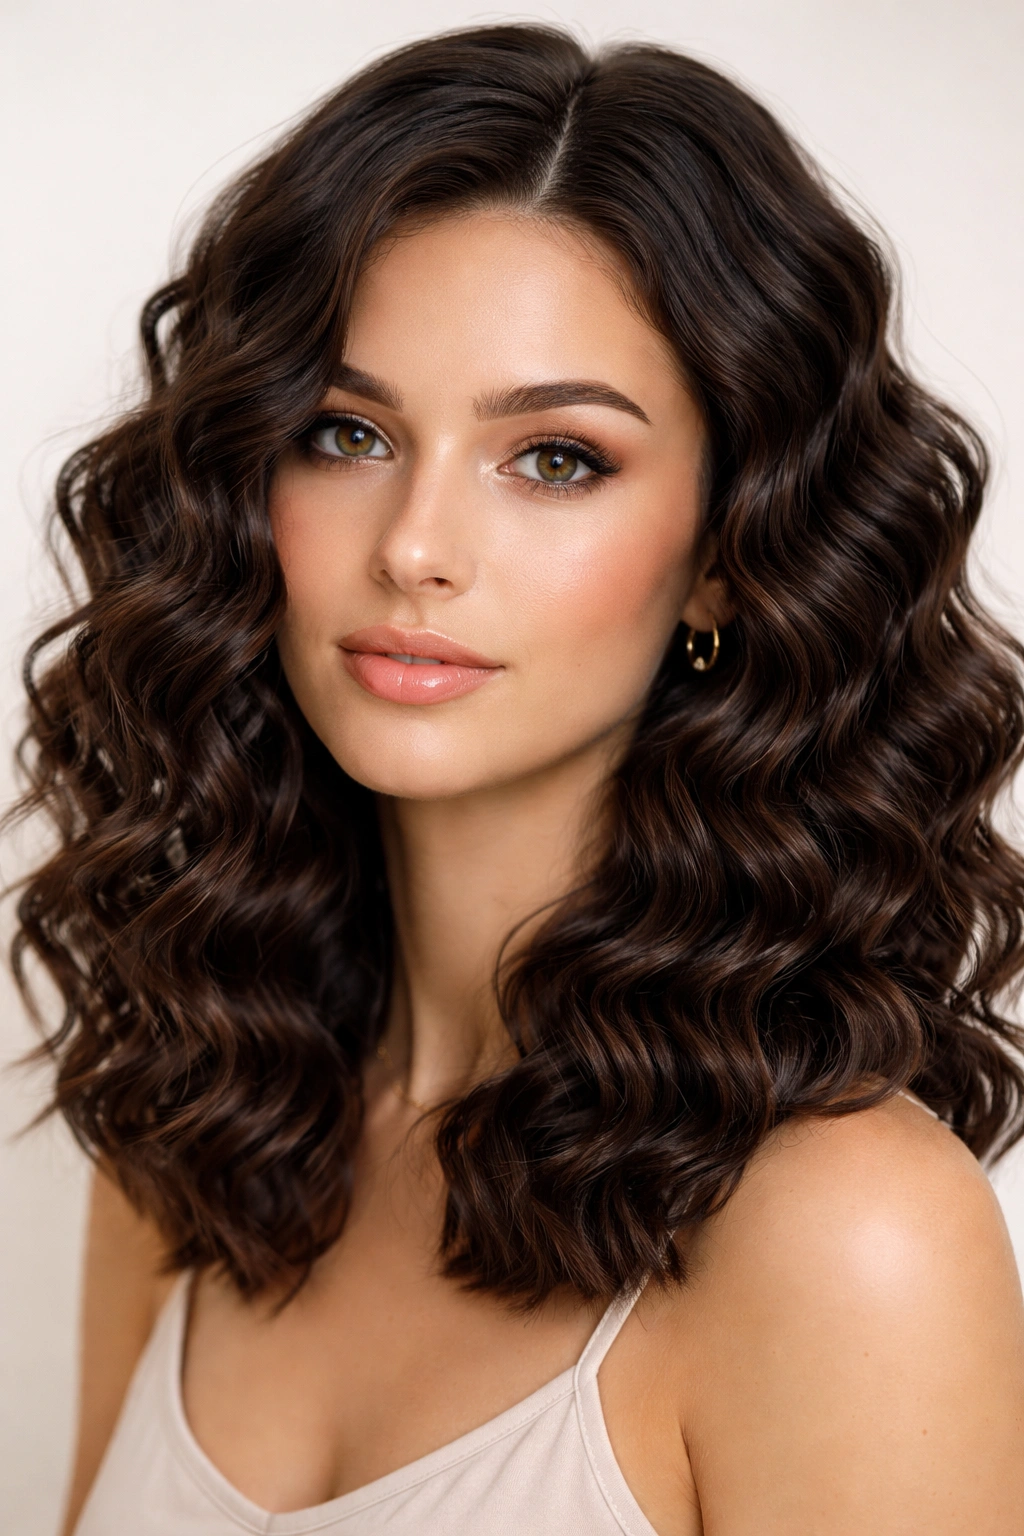
Deep waves are tight, well-defined waves that appear sculpted into your hair. Each wave is clearly visible and distinct from its neighbors, creating a textured, sculptural look. Deep waves require more precision than casual waves but deliver dramatic, intentional styling that lasts all day.
Creating Deep, Defined Waves
Use a curling iron or wand with a smaller barrel (1.25 to 1.5 inches) and take smaller sections of hair (about 1.5 inches). Wrap the hair around the barrel completely, hold for 8-10 seconds to allow the heat to penetrate, then slide the iron out slowly. The tighter wrap and longer heat exposure create more defined, longer-lasting waves. The smaller section size means more waves across your head, creating fullness and texture.
Technique for Precision Wave Definition
- Take smaller sections than you normally would (1.5 inches instead of 2 inches)
- Use a 1.25-inch barrel for dramatic deep waves
- Hold each wrap for 8-10 seconds rather than 5-6 seconds
- Keep the barrel vertical or slightly angled — horizontal holding creates looser waves
- Don’t brush or comb through the waves once cool; leave them structured
- Use strong-hold spray to maintain definition throughout the day
Pro tip: Deep waves look better on clean, product-free hair. If you apply too much mousse or texture spray before creating the waves, they’ll slip and become loose. Start with dry, clean hair and apply product after the waves are set.
16. Soft Feathered Waves
Feathered waves are light, airy waves that point outward and create a feathered effect around your head. Rather than waves moving downward, feathered waves move outward and away from your center, creating a full, open silhouette. This style is incredibly flattering and modern, working well across different face shapes.
Creating Outward-Pointing Feathered Waves
The key to feathered waves is curl direction — every section should curl away from your face and head. Take sections and curl them with your barrel pointing outward and away, so the wave naturally falls away from your face. This creates an open, lifted appearance rather than a closed-in feel. As sections fall around your head, they create a feathered halo effect.
Achieving the Feathered Silhouette
- All waves should point away from center and away from your face
- Use a medium barrel (1.5 inches) for soft, flowing feathered waves
- Curl sections with the barrel tilted slightly upward to encourage waves to flip outward
- Add a light volumizing spray to the roots to enhance the outward movement
- The bottom sections of your hair should flip and point outward more dramatically than top sections
- Finish with flexible hairspray that moves with you rather than stiffening everything
Insider note: Feathered waves look particularly flattering if your hair is slightly longer on the sides and shorter on top — the layering naturally enhances the feathered effect. Work with your cut’s natural proportions.
Final Thoughts
Medium-length wavy hairstyles offer remarkable versatility without requiring salon visits or professional expertise. Whether you’re drawn to effortless beach texture, polished vintage waves, or something in between, you have an enormous range of options that suit different occasions, skill levels, and styling time. The beauty of working with waves is that they embrace movement and variation rather than demanding perfection — a slightly imperfect wave actually looks more intentional than a flawlessly uniform one.
The styling methods across these 16 styles use just a few core tools: a curling iron or wand, a blow dryer, texture spray or mousse, and a good hairspray. If you invest in understanding these basic tools and how they create different wave sizes and textures, you’ll be able to create any of these styles on demand. Start with the method that feels most intuitive for you, master that technique, then branch out to others.
Remember that your hair’s unique texture, density, and wave pattern will influence how each style looks on you specifically. Hair that naturally tends toward waves requires different product choices and techniques than very straight hair. Rather than fighting your hair’s natural tendencies, learn to work with them. Your specific hair type becomes an asset rather than a limitation once you understand how to amplify what’s already there.