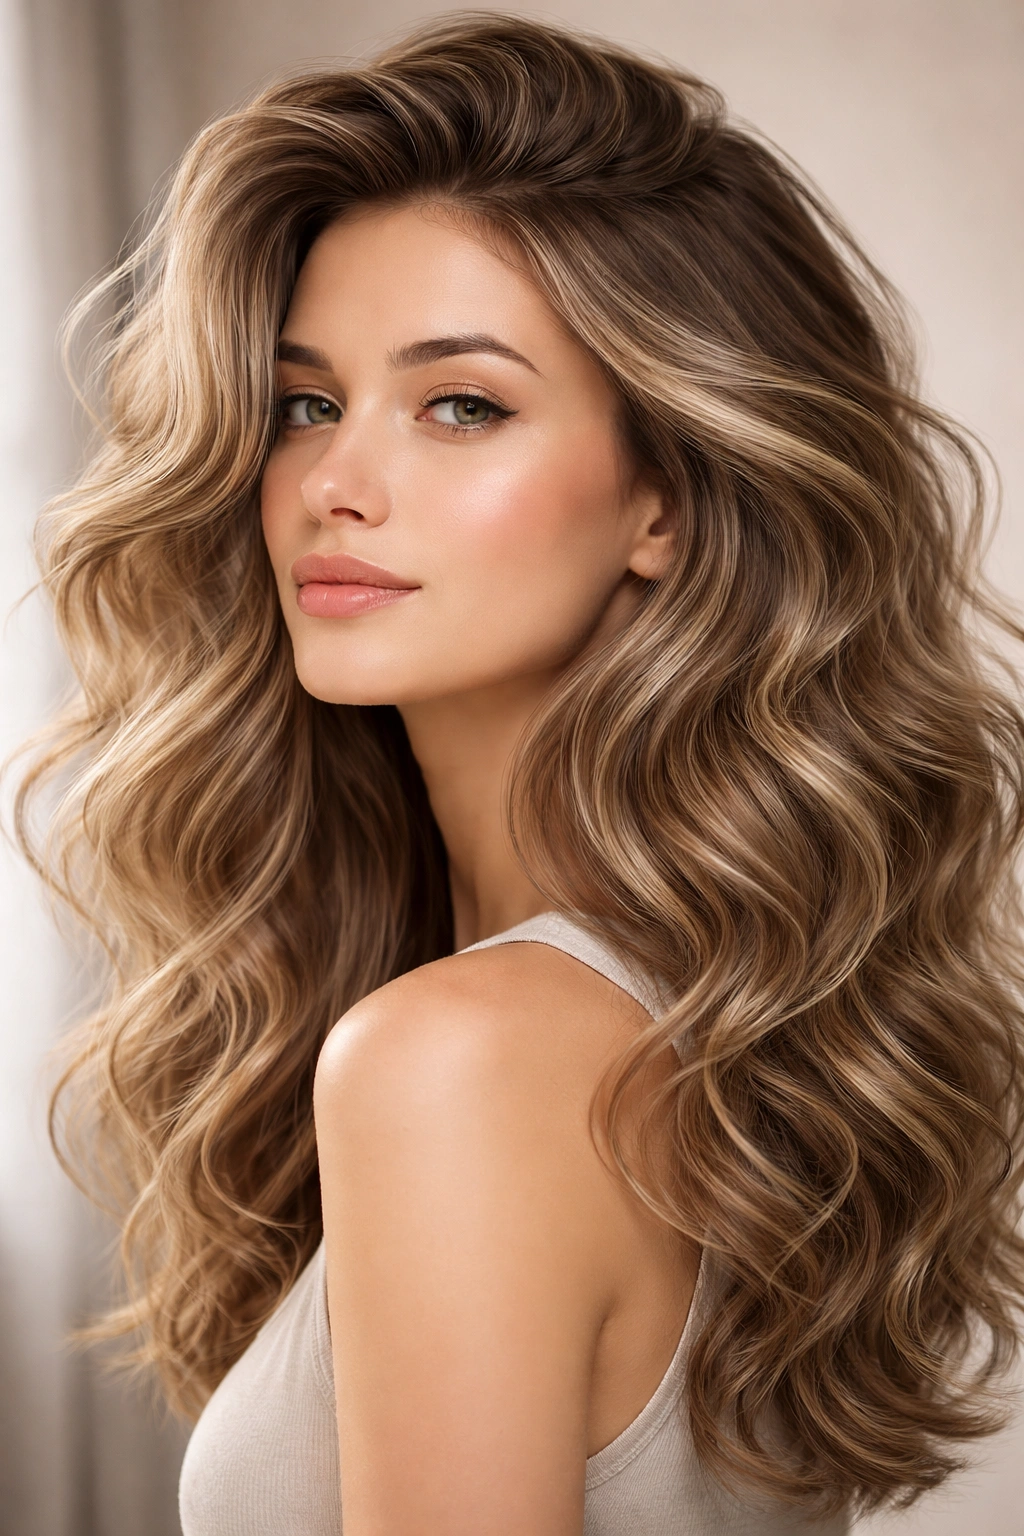
Wavy hair can be absolutely gorgeous — but frizz has a way of turning a beautiful texture into something that feels unmanageable and unpredictable. The thing is, fighting frizz in wavy hair doesn’t require choosing between your waves and smoothness. The real secret is working with your wave pattern instead of against it, and that starts with choosing a hairstyle that actually respects the texture you’re working with.
The right cut and styling technique can make all the difference between frizzy, undefined waves and controlled, intentional texture that looks polished. When you style waves in a way that enhances their natural pattern — rather than trying to force them into submission — you’re working with your hair’s moisture balance, not against it. This is where specific hairstyles become game-changers. Not every style works equally well for frizz-prone waves, and not every technique gives you the same results.
I’ve found that the styles that work best for taming frizz while keeping waves intact are those that use moisture-control products strategically, incorporate techniques that seal the hair cuticle, and distribute weight in ways that reduce flyaways. These aren’t complicated salon-only styles — they’re techniques you can absolutely master at home with the right approach and a bit of practice. Let me walk you through eight hairstyles that genuinely control frizz while keeping your waves looking intentional and beautiful.
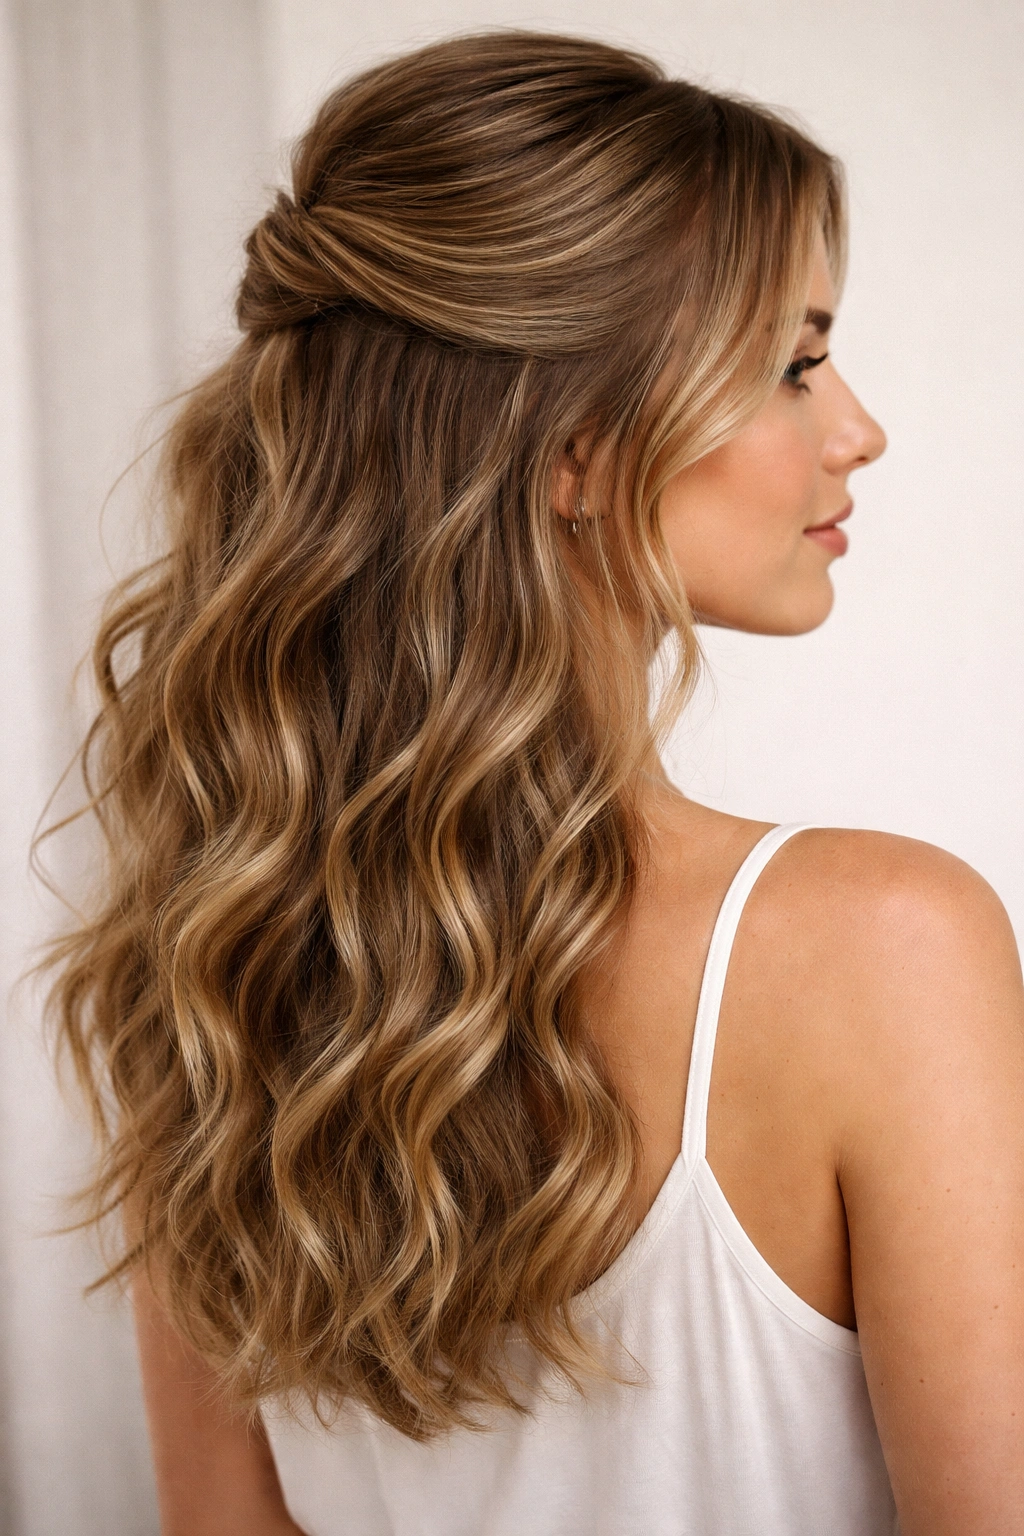
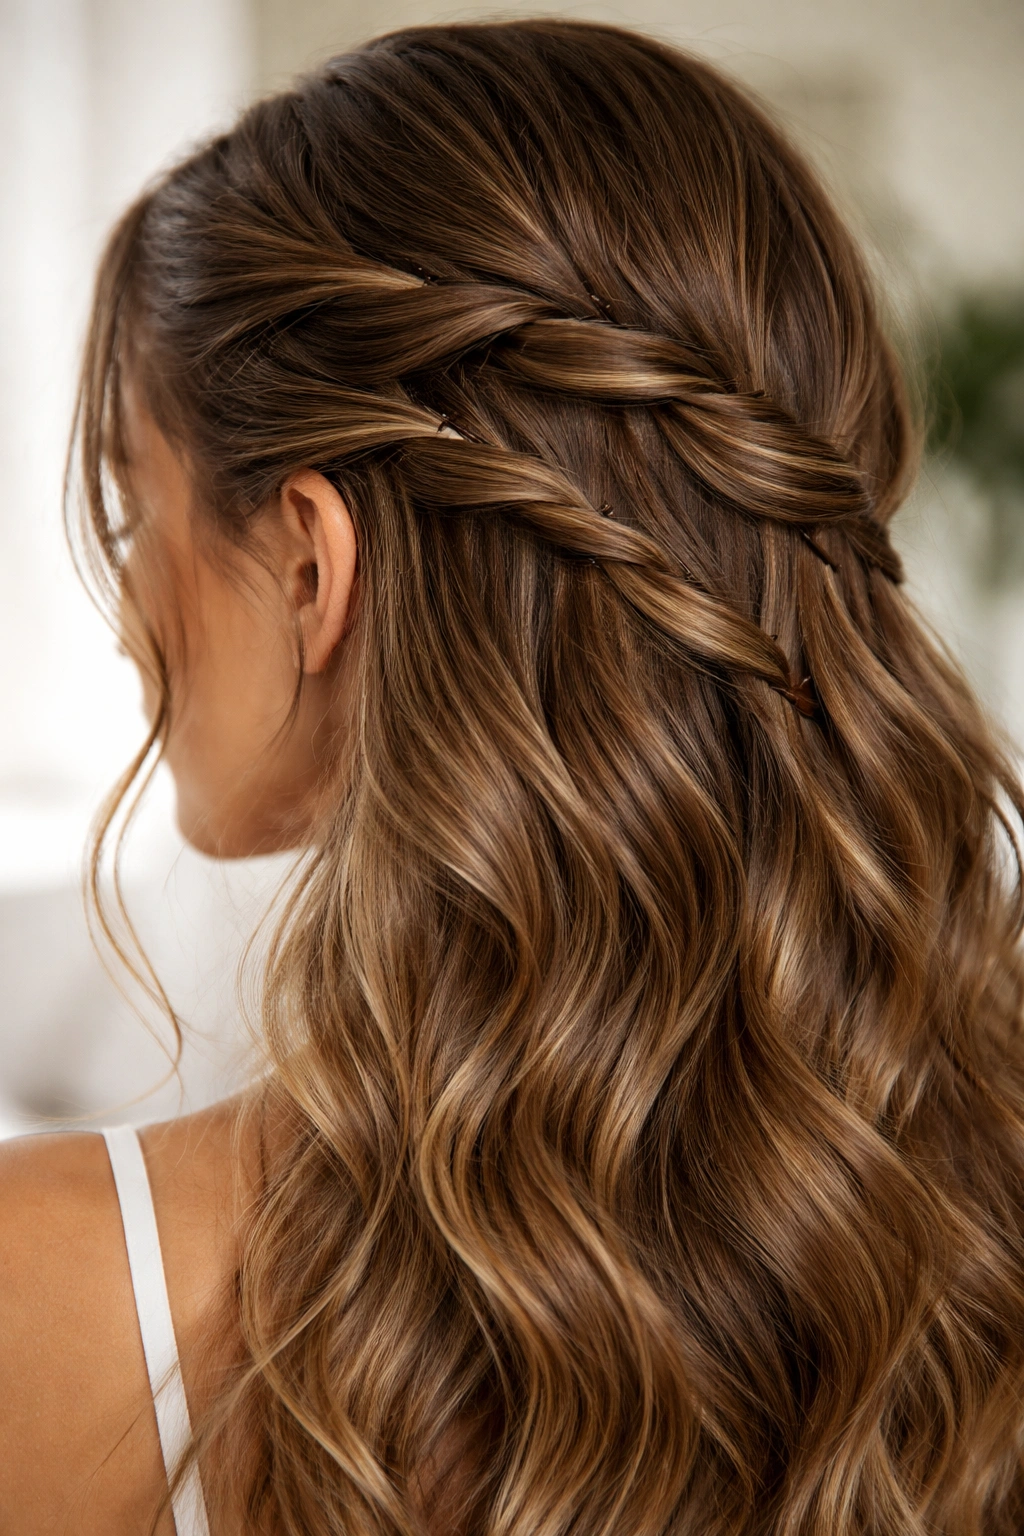
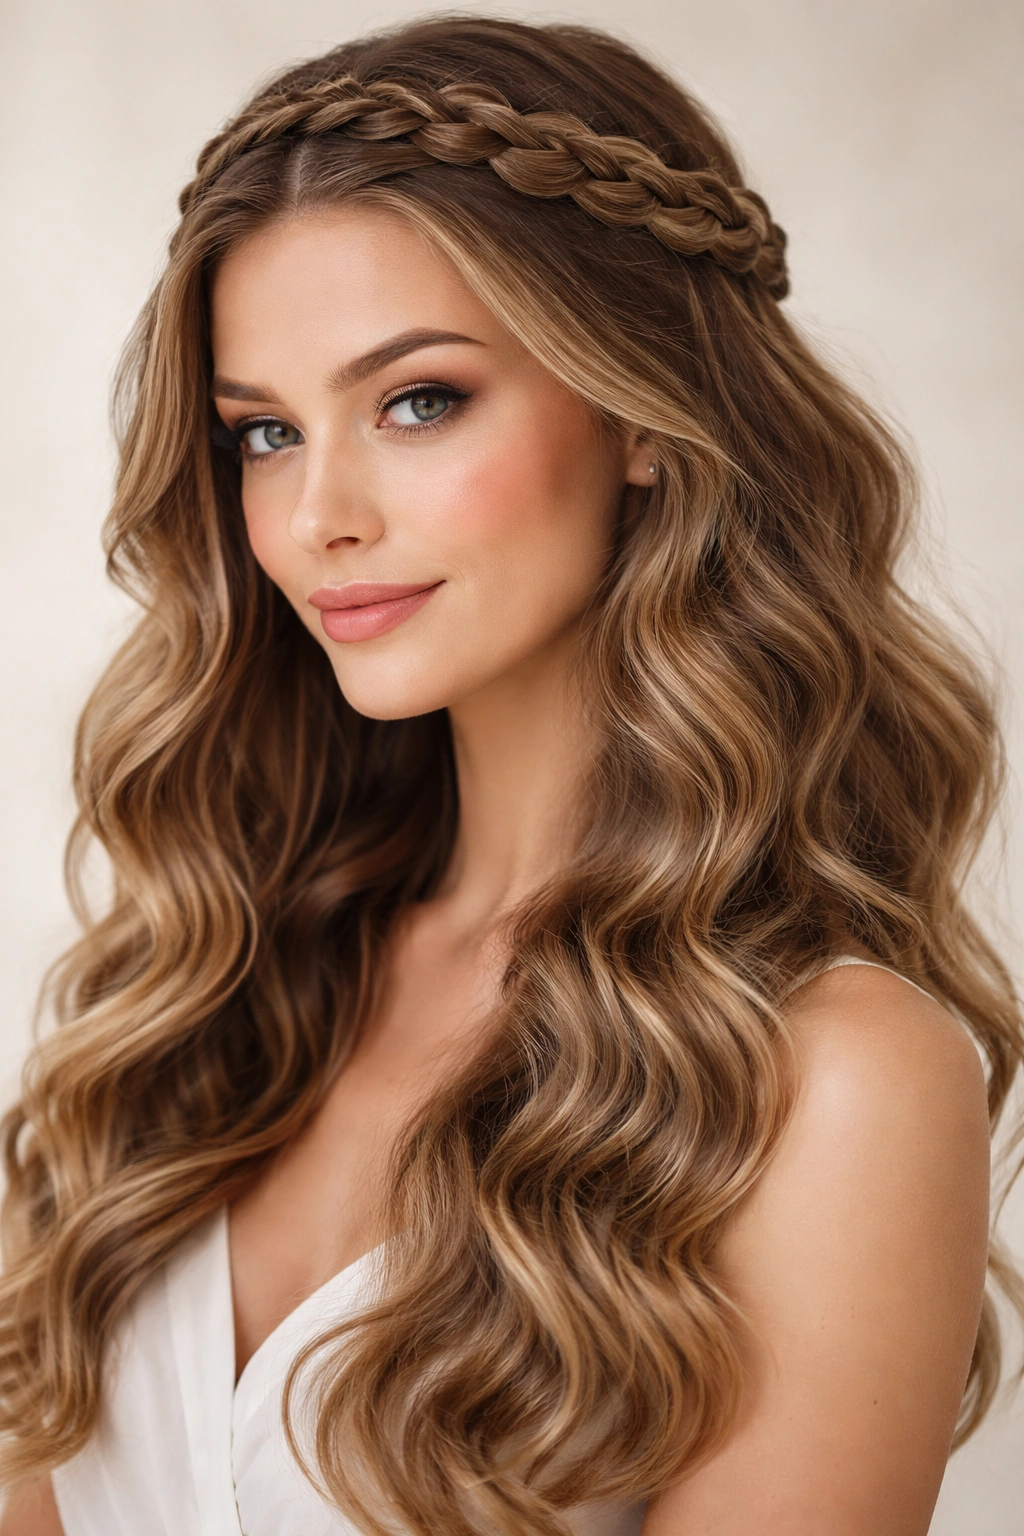
1. Structured Waves with a Braid Crown
A braid crown isn’t just decorative — it’s actually one of the most effective frizz-control techniques because it physically anchors your hair while maintaining dimension. The braid creates a structured frame that prevents loose, frizzy strands from escaping, and the technique naturally enhances your wave pattern without flattening it.
To create this style, start with damp hair that’s been treated with a smoothing serum or leave-in conditioner. Apply your product section by section, focusing on working it through the mid-lengths and ends — this is where frizz typically starts. The moisture from the product helps seal the hair cuticle, which is the actual barrier that controls frizz.
How to Build the Braid Crown
Take a 2-inch section of hair from one temple and Dutch-braid it (braiding underneath rather than over the top creates a fuller look) around the crown toward the opposite ear. As you braid, you’re gently pulling the hair back and locking it in place, which eliminates one major source of frizz — loose strands moving across your face and shoulders. Once the braid reaches the opposite temple, secure it with a small, textured elastic that matches your hair color.
Why This Controls Frizz
The braid works as a physical frizz barrier because it keeps hair secure in a defined shape. Any loose strands that might normally frizz are incorporated into the braid structure itself. The tension of the braid also naturally smooths the outer layer of your hair cuticle. Leave the rest of your hair down in loose waves — the braid anchors your style while showcasing your wave texture.
Pro tip: Spray the finished braid lightly with a hold mist (not a heavy hairspray) to keep individual strands in the braid smooth without the stiffness of traditional hairspray.
2. Textured Half-Up Style with Product Layering
This style works beautifully because it controls the top half of your hair — where most frizz tends to accumulate — while letting your wave texture shine through the bottom half. The key is using a specific product layering technique that creates moisture control without weighing your waves down.
Start with towel-dried or slightly damp hair. Avoid using regular towels, which rough up the hair cuticle and cause frizz — instead, squeeze excess water out using a microfiber towel or even an old cotton t-shirt. Apply a lightweight leave-in conditioner to the lower two-thirds of your hair first. Wait 30 seconds, then apply a light smoothing cream to just the top third where frizz is most likely to occur.
The Two-Product Technique
The reason this works is that you’re using different product strengths in different zones. The leave-in conditioner provides moisture and some frizz control to your wave-rich lower section, while the creamier product on top creates a stronger barrier against environmental moisture, which is what causes frizz. This prevents the heavy feeling that comes from applying the same amount of product all over your hair.
Section the top half of your hair (from ear to ear across the crown) and twist it gently, securing it with a clip or elastic high on your head. As you twist, you’re naturally directing the cuticle in one direction, which helps lock down frizz. Leave the bottom section loose so your waves fall freely. Once everything is secured, gently release the twisted section slightly to add texture and avoid a too-slick appearance.
Why the Placement Matters
By containing frizz to just the upper half, you’re preventing it from spreading throughout your entire hairstyle. Wind and humidity have a harder time affecting pinned-back hair. The secured top half also creates visual interest because it shows you’ve intentionally styled your hair, which makes any remaining waves or texture look deliberate rather than messy.
Worth knowing: This style works best if you apply the smoothing cream when your hair is still slightly damp, not completely dry. Damp hair absorbs products more completely and allows them to set into the cuticle as your hair dries.
3. Loose Waves with Defined Sections
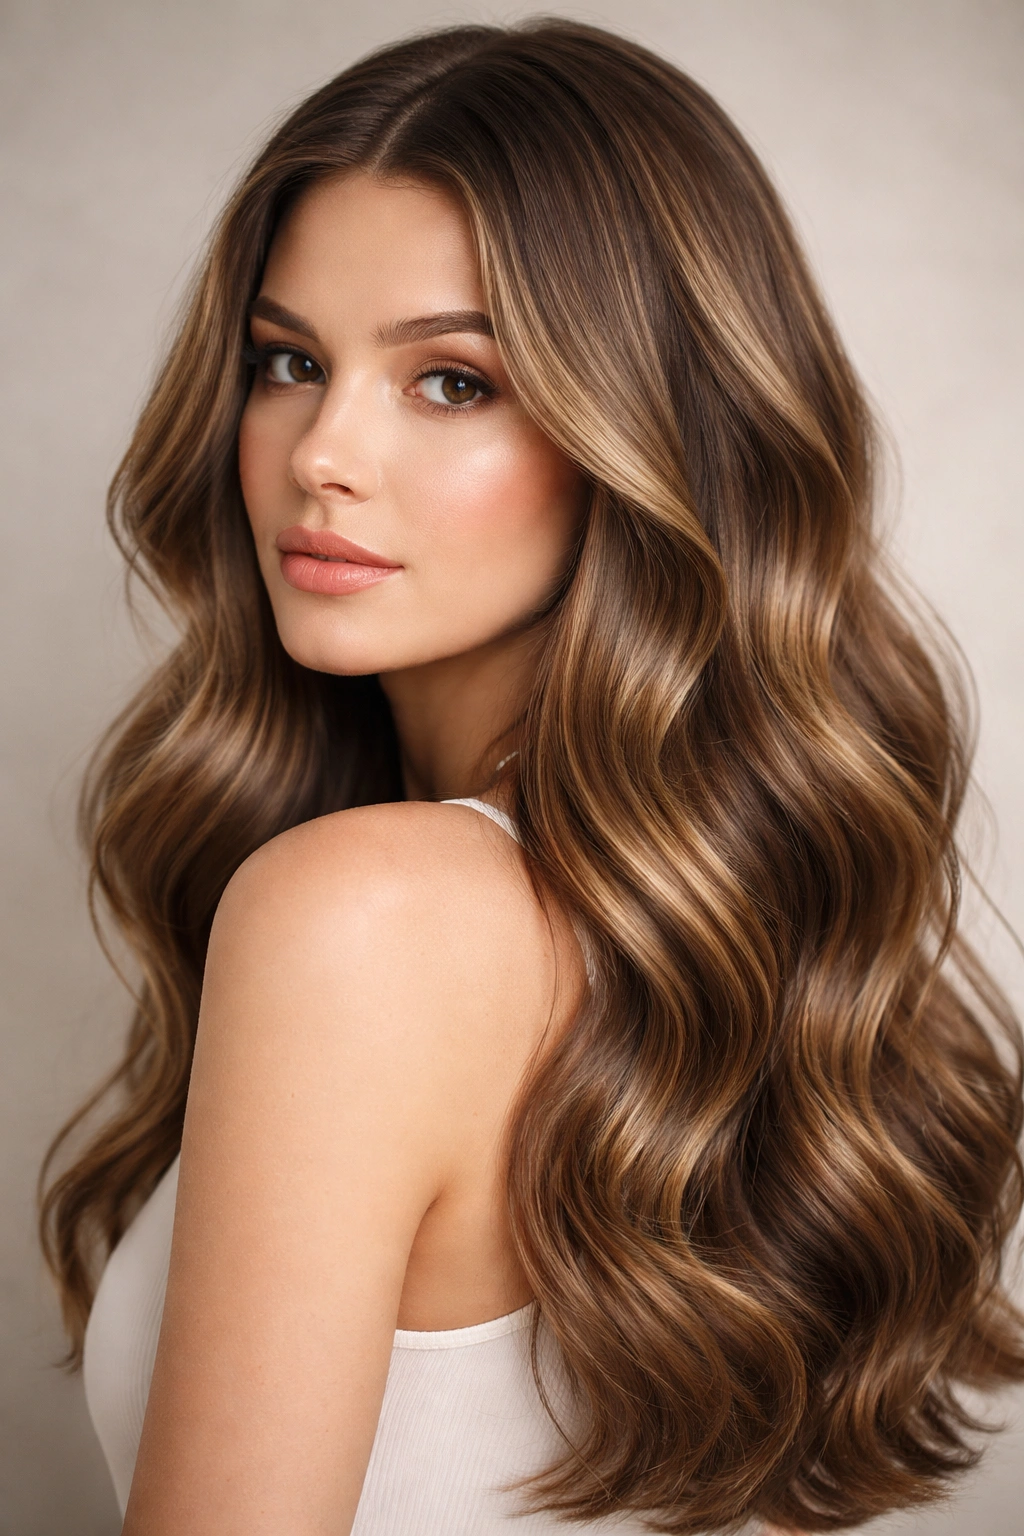
This approach uses a dividing-and-conquering method where you style sections of your hair separately and apply frizz-control products with precision. It might sound labor-intensive, but it’s actually faster than you’d think once you get the hang of it — and the results are dramatically better than applying product randomly.
Divide your dry hair into four to six sections depending on thickness, using clips to keep unused sections out of the way. Starting with one section at a time, apply a smoothing serum to that section, working it through with your fingers in a scrunching motion that encourages your waves. The scrunching motion is critical — it trains the wave pattern to form in a cohesive direction rather than random frizzy directions.
Product Application by Section
For each section, use a dime-sized amount of serum, not more. Too much product flattens waves; too little leaves gaps where frizz can emerge. Once the product is distributed, use a curling iron, flat iron on low heat, or even a straightening brush to gently define the wave pattern. You’re not creating new waves — you’re clarifying and smoothing the waves that are already there in your hair.
The key here is working with your natural wave pattern, not against it. Run the tool down each section in the direction your waves naturally want to go. This simple change prevents the frizz that happens when you fight your hair’s texture. Once you’ve defined that section with heat, release it from the clip and move to the next section.
The Advantage of Sectioning
When you section your hair, you can see exactly where frizz is developing and apply extra product only where it’s needed. You’re not creating an even layer of product everywhere, which is what causes the limp, greasy-looking hair that makes people think frizz control means sacrificing wave texture. You get precise control and beautiful definition.
Insider note: Let each section cool slightly before releasing it from the clip — this sets the wave pattern and keeps it from reverting to frizz once it’s released.
4. Beachy Waves with Moisture-Lock Techniques
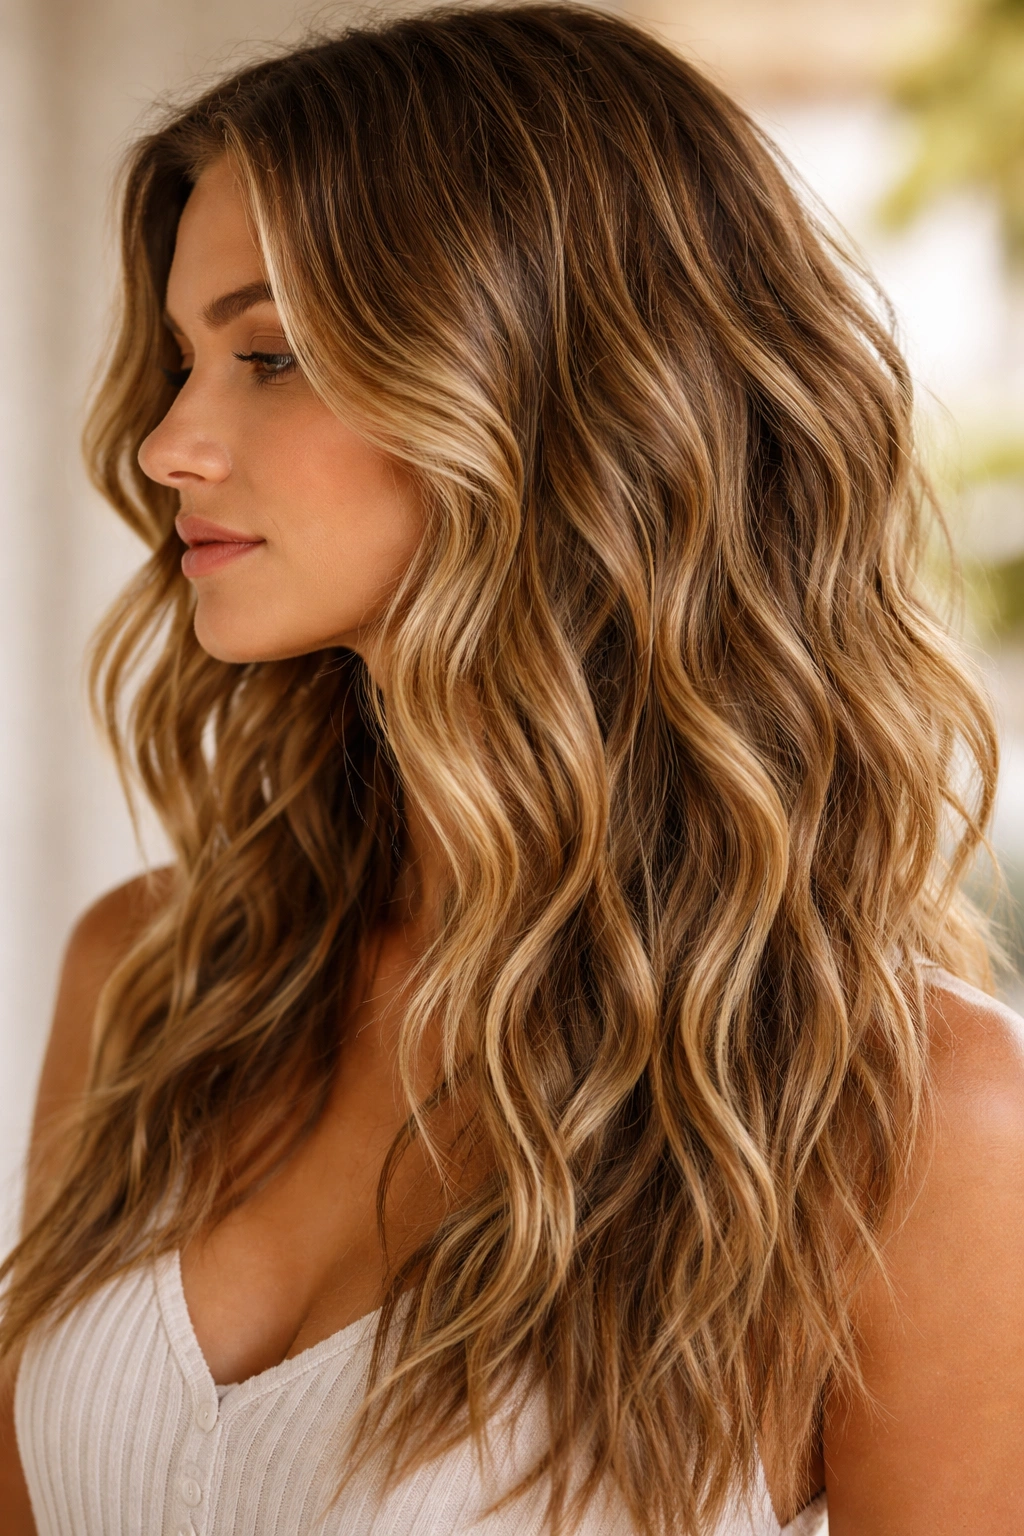
Beachy waves are actually ideal for frizz-prone hair when you use the right approach, because the tousled, undone look disguises minor frizz that would be obvious in a sleeker style. The secret is creating that beachy texture using moisture-sealing techniques that prevent frizz from starting in the first place.
Apply a hydrating hair oil or moisture-lock serum to damp hair, concentrating on the mid-lengths and ends. This is different from a smoothing serum — a hydrating oil has larger, heavier molecules that seal moisture into the hair shaft. Scrunch the product into your hair gently, encouraging your natural waves to form. The scrunching motion, combined with the moisture-sealing product, creates waves that are defined and frizz-resistant.
Using Salt Spray Strategically
Salt spray is often blamed for frizz, but it actually works beautifully when applied correctly. The salt crystals add texture and grip to your waves, which prevents loose strands from flying away. The key is applying salt spray to hair that’s already been treated with a moisture-sealing product, not to bare hair. The moisture barrier goes down first; then the salt spray goes on top. This combination creates textured waves without the brittleness that pure salt spray sometimes causes.
Apply salt spray in light mists, scrunching as you go, until your waves have defined texture and visible dimension. The product should enhance what’s already there, not create a crunchy coating. Once the salt spray is distributed, dry your hair with a diffuser attachment on your blow dryer. The diffuser disperses air gently rather than blasting it, which prevents frizz from forming during the drying process.
Why Diffusers Matter
Regular blow dryer nozzles create concentrated air flow that roughens the hair cuticle and activates frizz. A diffuser spreads that air across a wider area, drying your hair gently while setting your wave pattern. It’s one of the most effective frizz-prevention tools available, and it completely changes the result you get from your styling products.
Pro tip: Finish with a light hairspray mist while your hair is still slightly warm — this sets the wave pattern before it fully cools and helps frizz resist humidity.
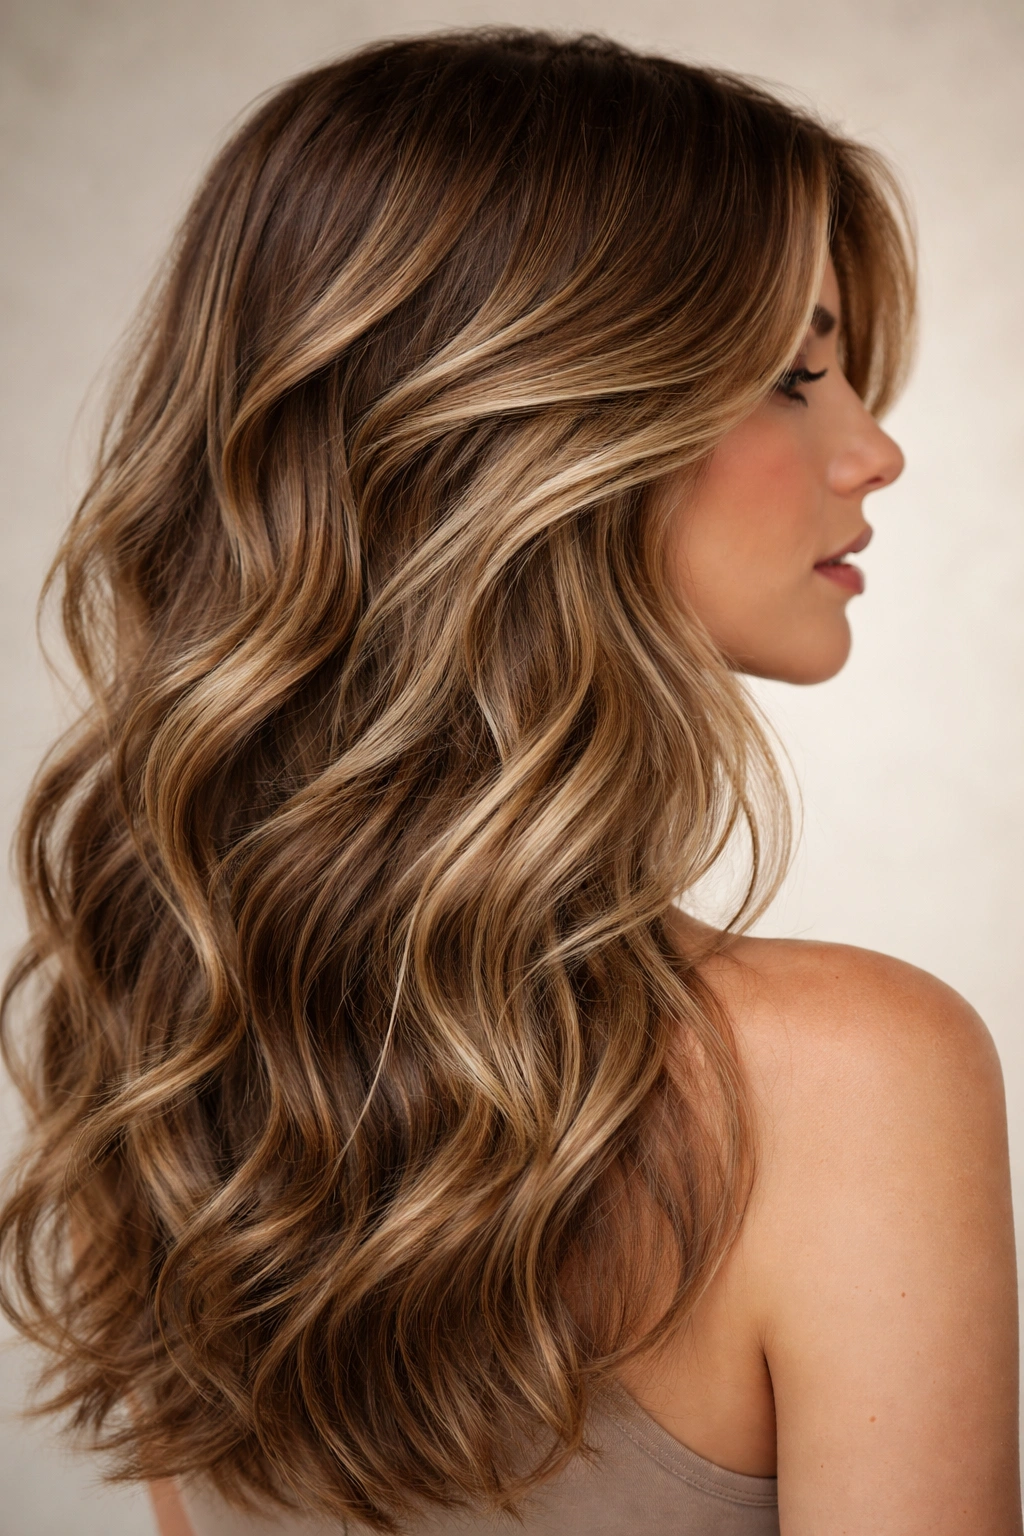
5. Sleek Waves with Smoothing Creams
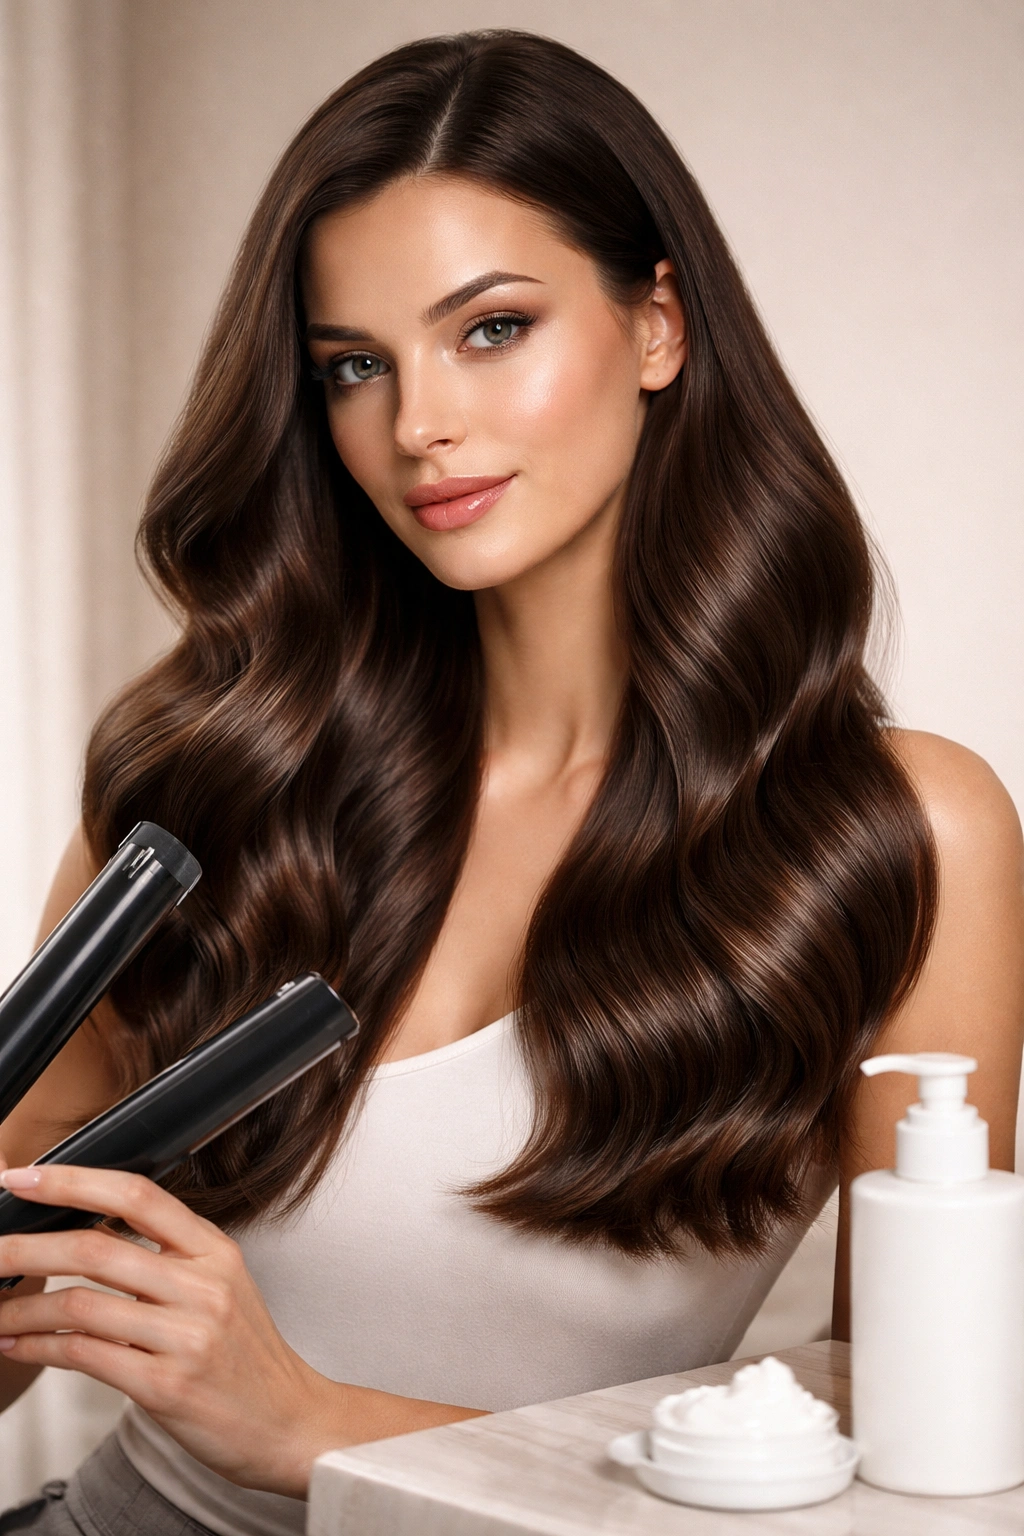
If you want waves that look intentionally sleek and polished rather than tousled, smoothing creams are your best friend. They’re heavier than serums and create a refined appearance while maintaining wave dimension. The trick is finding the balance between smooth and slick.
Start with completely dry hair for this style — wet application of heavy creams can lead to a greasy appearance as your hair dries. Take a small amount of smoothing cream (about a nickle-sized dab) and warm it between your palms. Run your hands down through your hair sections, focusing on the outer layers and any visible frizz-prone areas. You’re creating a barrier on the surface of your hair that catches light and prevents moisture from roughing up the cuticle.
Creating Definition with a Straightening Brush
Use a straightening brush (not a flat iron — the bristles are key) to gently stroke through each wave section. The brush smooths the cuticle while allowing you to maintain or even enhance your wave pattern. Move the brush slowly through each section, slightly rotating it as you go to catch the wave direction. This creates waves that look intentional and controlled, not frizzy and undefined.
The Difference Between Sleek and Slick
Sleek waves have definition and dimension; slick waves look heavy and lifeless. The difference is in how much product you use and how you apply it. Use less product than you think you need — you can always add more. Apply it to the outer surface of your hair rather than working it throughout. This creates a smooth exterior while maintaining the textured interior that makes waves look beautiful.
Worth knowing: Smoothing creams work best on waves that have some existing definition. If your hair is naturally very curly, this technique creates waves that look too forced. But if you have medium to loose waves, smoothing creams can enhance them into something that looks professionally styled.
6. Volumized Waves with Root Lifting
Frizz often looks worse in flat hair because every loose strand becomes visible against the scalp. Creating volume at the roots makes waves look fuller and intentional, which automatically makes minor frizz less noticeable. This style uses a root-lifting technique that adds dimension while maintaining frizz control.
Apply a volumizing mousse to your roots while your hair is still slightly damp. Mousse is lighter than cream and won’t weigh down your waves — it actually adds airiness to your wave pattern. Work the mousse through just the first inch or so of hair at your roots, using upward motions to direct the roots up and away from your scalp. This creates lift that makes waves look fuller.
Using a Blow Dryer for Directional Drying
Once the mousse is applied, use your blow dryer with a concentrator nozzle (not a diffuser, and not wide-open) to dry your roots in an upward direction. Tip your head to one side and blow-dry the roots on that side upward, then switch sides. This technique is called directional drying, and it’s how salon stylists create volume that lasts all day. The heat sets your roots in an uplifted position, and once they dry, they hold that shape.
After your roots are dry and lifted, apply your smoothing product or oil to the rest of your hair and dry the lengths with a diffuser. The combination of lifted roots and defined waves creates a voluminous, polished look where frizz becomes almost invisible because your hair has inherent structure and movement.
Why Volume Matters for Frizz
Hair that’s flat against the scalp shows every frizz particle. Hair with volume has dimension and movement that make loose strands blend in with the overall texture. This is why volumizing techniques are actually frizz-control techniques — they work by changing how visible frizz is within your hairstyle.
Pro tip: If you don’t have a blow dryer with a concentrator nozzle, a regular nozzle works fine — just keep it moving and aim slightly away from your scalp rather than directly at it.
7. Twisted Waves with Strategic Pinning
This style uses twists to lock your waves into place, preventing frizz from developing throughout the day. Twists create a refined, intentional look while the pinning technique keeps everything secure and frizz-free. It’s a combination of technique and product that works beautifully for wavy hair.
Apply a smoothing serum or cream to damp hair, then let your hair air-dry or partially blow-dry until it’s about 60-70% dry — you want it barely damp, not soaking. Divide your hair into four to six sections. Taking one section at a time, twist it gently from root to end. As you twist, the friction creates smoothness along the hair shaft and orients the cuticle in one direction.
The Pinning Technique
Once you’ve twisted a section, pin it up using a flat clip (not a claw clip, which creates creases). Let it sit pinned for 10 to 15 minutes while the moisture sets into that twisted position. This is called setting, and it’s what allows the twist to hold throughout the day without the frizz that would normally develop as the twist releases. The moisture in the hair locks the pattern in place as it dries.
Release one section at a time after the setting period. Your waves will have a softer, more controlled appearance than they would without this technique. If any section feels a bit frizzy after releasing, lightly apply a smoothing cream just to that area and re-pin it for another few minutes.
Why Twists Work Better Than Braids for Some Hair
Braids create a defined texture; twists create smoother, more uniform waves. For frizz-prone hair, twists are often better because they don’t have the textural breaks that braids create. The continuous twist smooths your wave all the way down, reducing frizz along the entire length of your hair.
Insider note: This technique works especially well if you twist your hair in the evening, pin it, and let it set while you sleep. You wake up with beautifully defined, frizz-free waves with zero heat damage.
8. Layered Waves with Texture Control
This final style uses a layering approach where different wave layers receive different treatment to create dimension while controlling frizz at every level. It’s the most detailed technique of the bunch, but it produces results that look like a professional blowout.
Divide your hair into three layers: bottom (below the ears), middle (ear level to crown), and top (crown and above). Apply a lightweight leave-in conditioner to the bottom layer and work it through gently. Apply a smoothing cream to the middle layer, using slightly more product than the bottom. Apply the strongest frizz-control product (a heavier smoothing cream or anti-frizz serum) to the top layer, where frizz is most visible.
Drying Each Layer Strategically
Start by drying the bottom layer with a diffuser, encouraging your natural waves. Once the bottom is mostly dry, move to the middle layer, using a straightening brush to create more defined waves. Finally, dry the top layer with a concentrator nozzle, directing it downward to smooth the cuticle while maintaining wave dimension. This three-stage drying creates waves with depth — some sections are more textured, some more refined — which looks intentional and beautiful.
The layering works because you’re controlling frizz at different intensities throughout your hair. The bottom doesn’t need heavy frizz control because it’s tucked behind; the top needs the most control because it’s most visible. You’re matching your frizz-control intensity to the actual frizz risk in each zone.
The Result You’re Creating
This style produces waves that have visible texture and movement without loose, frizzy strands. The different product weights and drying techniques create a multi-dimensional look where your hair appears to have been professionally styled. The frizz control is built into the structure of the style itself, not just applied as a topcoat.
Worth knowing: This technique takes longer to execute than the others, but the results last well through humidity and wind — sometimes all the way through a full day without needing any touch-ups.
Frizz-Control Products That Actually Elevate Waves
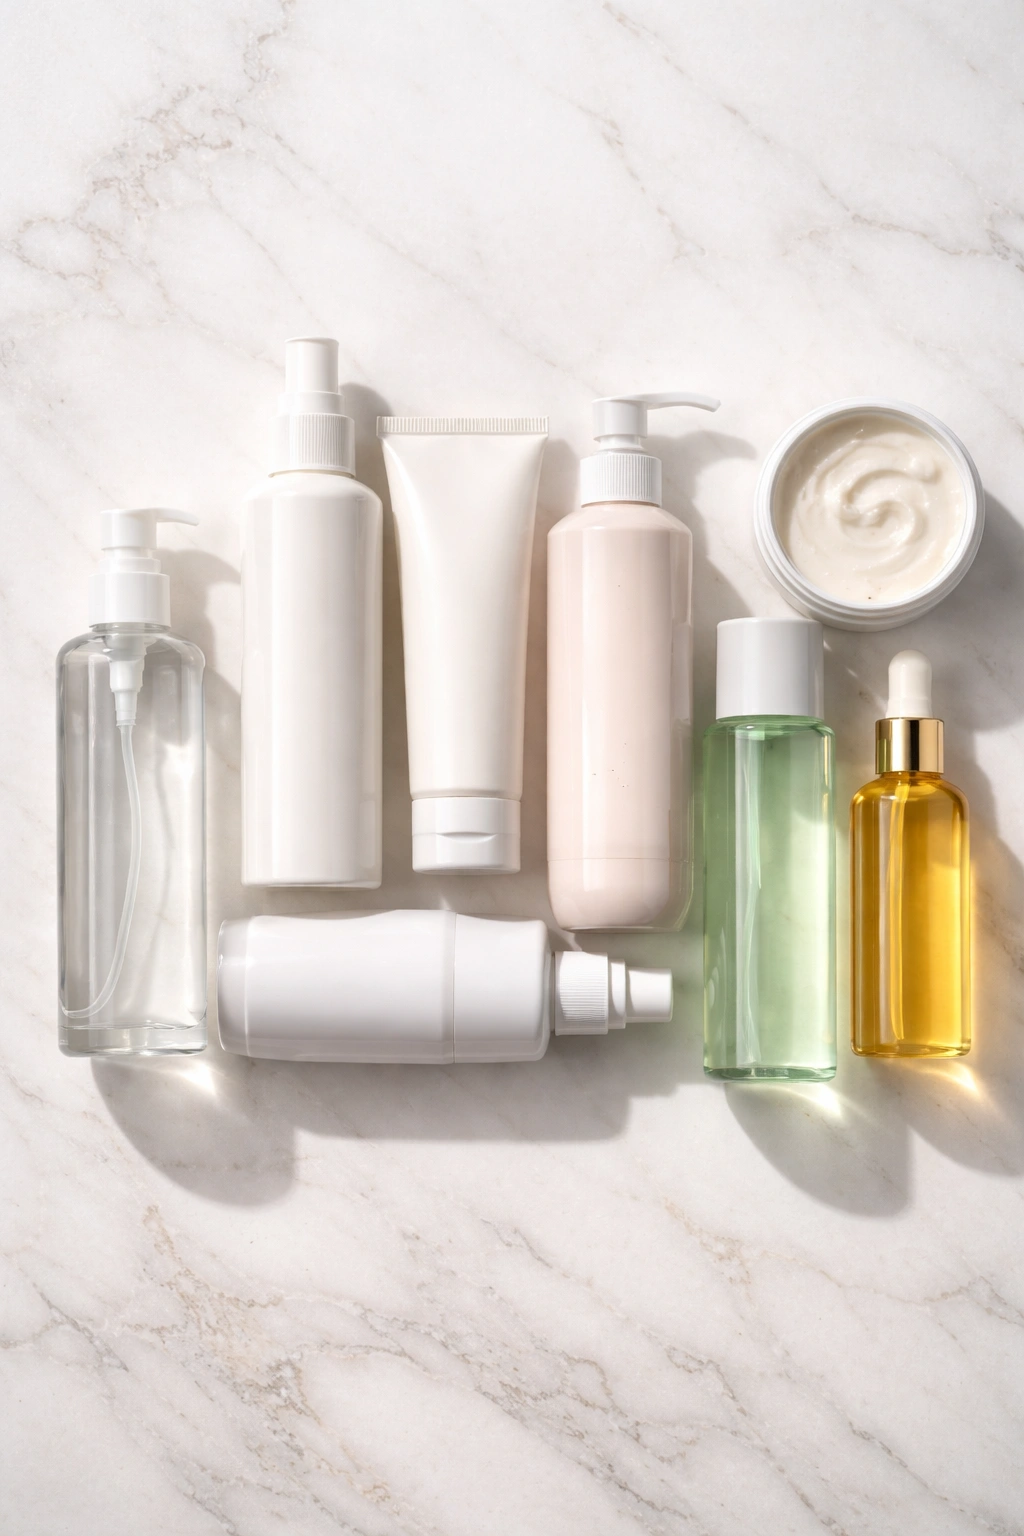
The right products make these styles infinitely easier to execute. Serums work best for lightweight frizz control in fine or thin waves; they provide moisture protection without weight. Smoothing creams work better for medium to thick waves that can handle a heavier product. Leave-in conditioners keep waves hydrated without the frizz that comes from dryness. The specific product you choose matters less than understanding what each type does and using it appropriately for your wave pattern.
Look for products that contain silicones or natural oils — these create the moisture barrier that actually prevents frizz. Ingredients like argan oil, coconut oil, keratin, and dimethicone are frizz-fighters. Avoid products with heavy alcohols that dry your hair out; that dryness is what activates frizz in the first place.
The Real Secret to Frizz-Free Waves

The common thread running through all these styles is that they work with your wave pattern rather than against it. They use product strategically, apply heat carefully, and let your natural texture shine through a structure that controls it. Frizz isn’t about having bad hair — it’s about applying techniques and products in ways that keep your hair’s moisture sealed and your cuticle smooth.
The style you choose depends on your wave pattern, your daily routine, and what kind of finished look you’re going for. A braid crown is perfect if you want an intentionally styled appearance. Loose waves with defined sections work if you have time and want precise control. Beachy waves are ideal if you prefer an undone look. All eight of these techniques will give you waves that look intentional and beautiful — the frizz-free kind that makes you confident about your hair.
Final Thoughts
Taming frizz in wavy hair isn’t about choosing a different hair type or moving to a climate with lower humidity. It’s about choosing techniques and products that work with your waves and applying them with precision. Every single one of these styles is doable at home with practice, and each one produces results that rival professional blowouts. The key is finding the style that fits your wave pattern and your lifestyle, then committing to the technique long enough to see how beautifully your hair responds. Your waves are an asset, not something to fight against — these styles prove it.