A braid-out can give you the kind of heatless waves that look like they took a curling wand and a patient hand, which is part of the appeal. The other part is simpler: once you learn which braid-out styles suit your hair’s density, length, and shrinkage, the whole thing stops feeling random. It starts feeling repeatable.
What catches people off guard is how much the braid pattern changes the final look. Three braids do not behave like ten tiny ones. A deep side part changes the whole mood. And if your hair is still even a little damp when you take the braids down, the result can go from soft wave to fuzzy halo in a heartbeat. That one detail matters more than most people want to admit.
I’ve always liked braid-outs because they’re forgiving in a way heat styling isn’t. You can get a polished finish without frying the ends, and if the set isn’t perfect, it still usually looks lived-in instead of ruined. Still, the set itself needs some discipline: clean parts, enough drying time, and a hold product that does not leave the hair sticky or stiff.
The styles below lean into different shapes, different wave sizes, and different levels of effort. Some are quick. Some ask for patience. All of them can give you heatless waves that look intentional, not accidental.
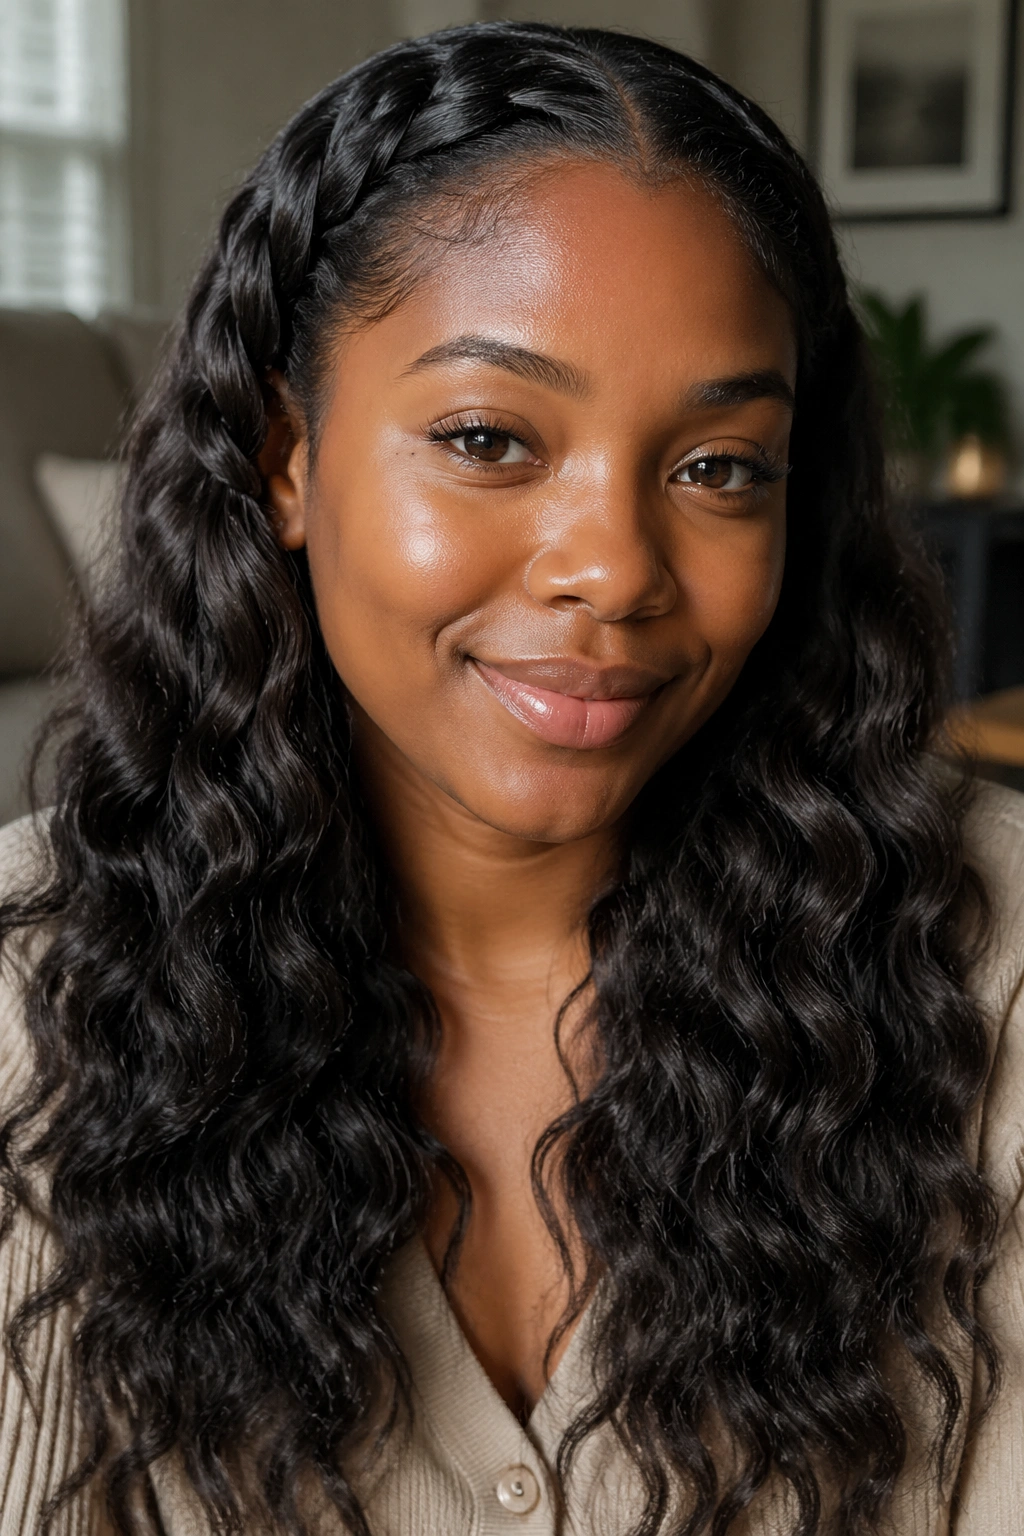
1. Three-Braid Braid-Out for Soft, Loose Waves
Three braids are the sweet spot when you want waves that read soft instead of crimped. The pattern is broad enough to give your hair movement, but not so loose that the shape disappears by lunchtime. On medium to long hair, this is the braid-out I reach for when I want the ends to swing and the roots to stay calm.
Why It Works
A three-braid set splits the head into large sections, so the wave that comes out looks wide and relaxed. You get a bend instead of a tight pattern. That makes it especially good for hair that already has some body, because the texture shows without getting busy.
Quick facts that matter:
- Best for shoulder-length hair and longer
- Works well on medium to thick textures
- Usually sets with 1 to 1½-inch sections inside each braid
- Gives the most natural look when the braids dry fully overnight
- Holds best with a light mousse or foaming wrap lotion
Pro tip: braid the roots snugly and ease up a little through the ends. If every inch is pulled the same way, the finish can look boxy.
The nice part about this style is that it does not try too hard. It looks easy, and that is exactly why it works.
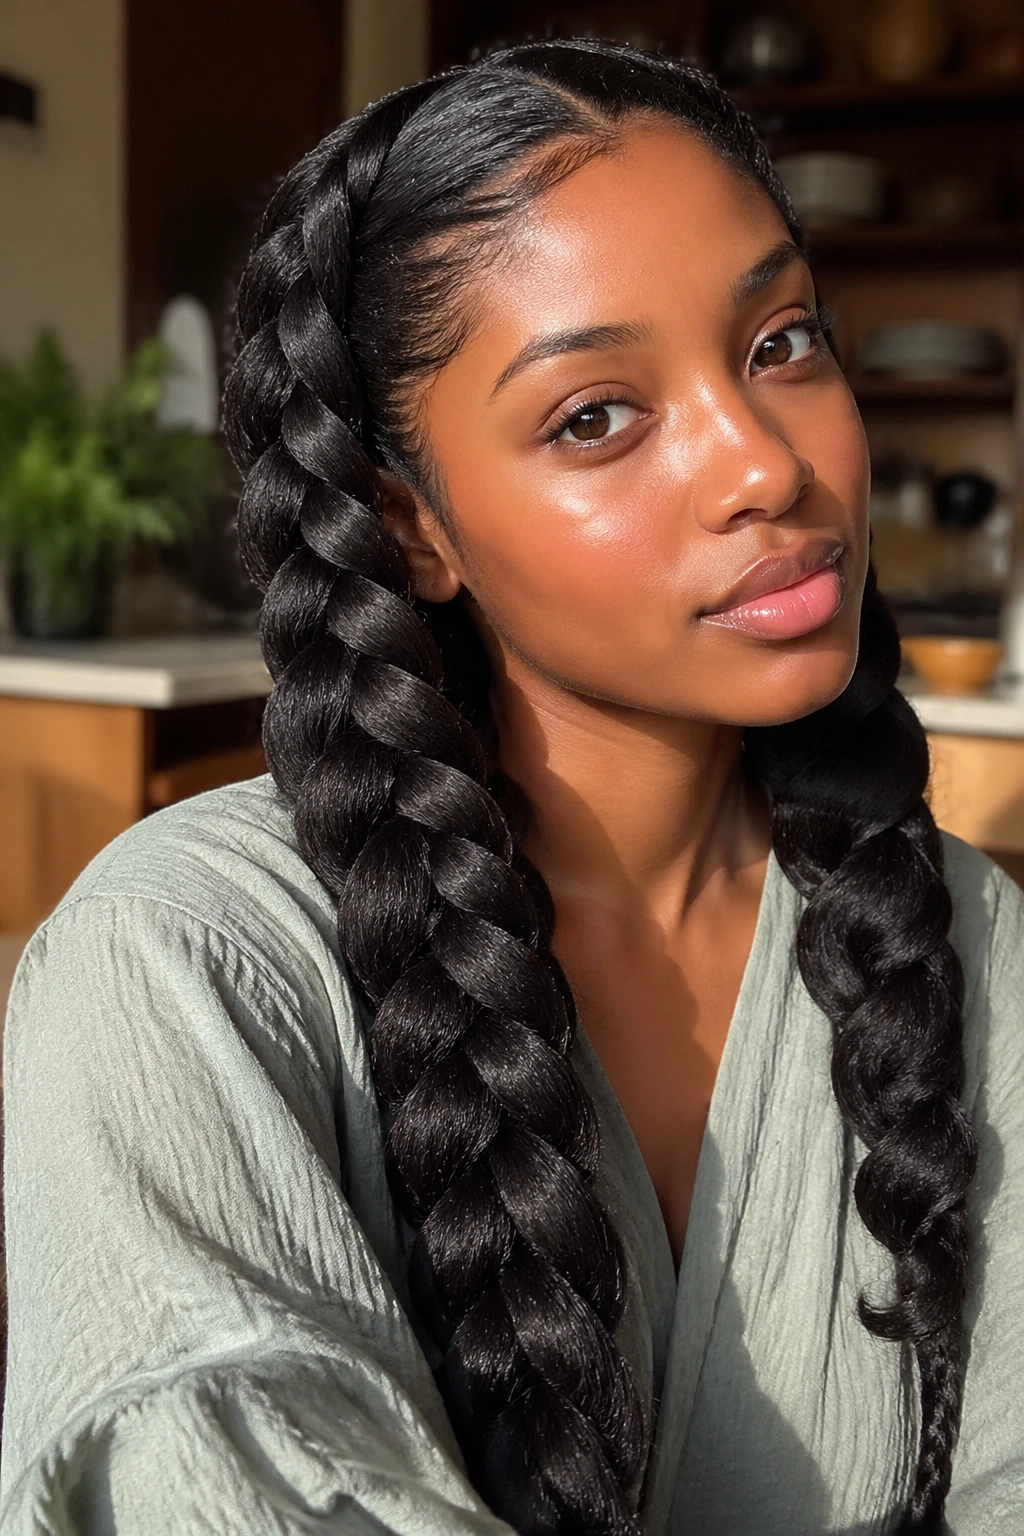
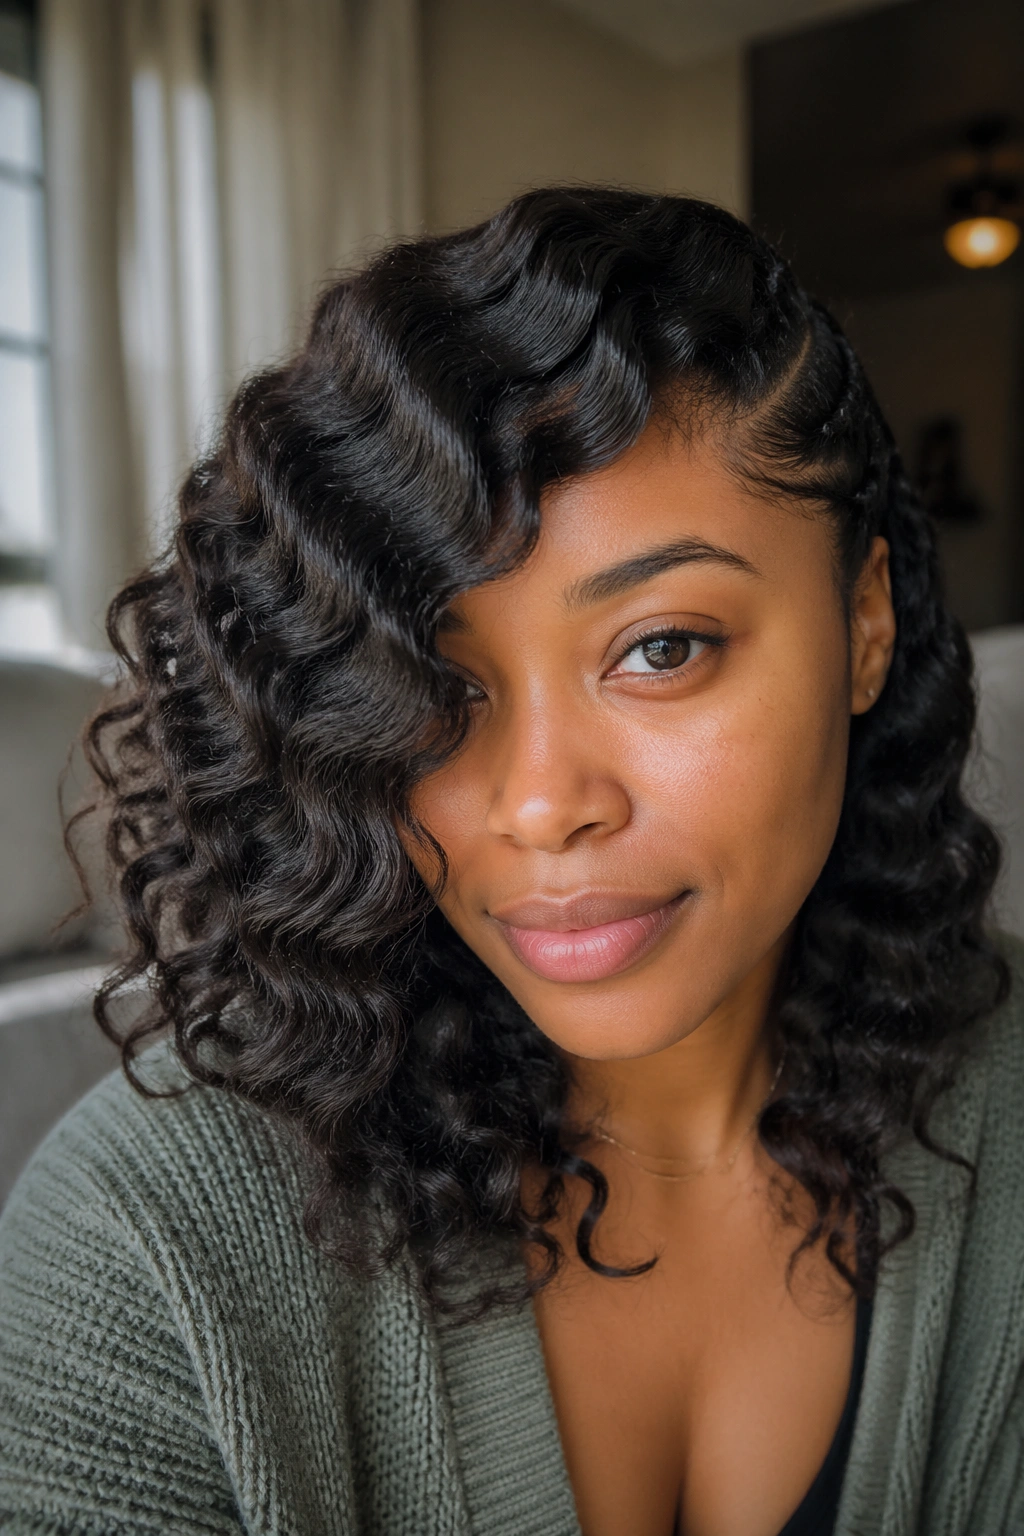
2. Two-Braid Braid-Out for Big, Airy Movement
Two braids give the loosest wave in the bunch. That is not a flaw. It is the point. If you want a braid-out that falls in broad curves and keeps a lot of length visible, this is the one that does the job without piling on texture.
The trick is section balance. One braid on each side of the head sounds simple, but the parts need to be clean and the tension needs to stay even from root to end. If one side is tighter than the other, the finished look leans lopsided in a way you can spot from across the room. Nobody wants that.
I like this style for thick hair that tends to eat up smaller patterns. It also works well when you want a softer finish under hats, scarves, or a collar that would flatten a more detailed braid set. The wave stays broad, so the hair moves instead of puffing into a cloud.
If your hair is fine, keep an eye on this one. It can turn too loose and lose its shape fast. On denser textures, though, it gives that roomy, low-effort wave that looks good in motion and even better after the first day.
3. Four-Braid Braid-Out for Balanced Shape
Want something between loose and defined? Four braids live right in that middle ground. The wave is a little neater than a two-braid set, but it does not have the dense crinkle that comes with micro sections. That balance makes this one feel especially useful.
How to Wear It
I like four braids split front-to-back rather than all across one line. Two in the front, two in the back. That layout gives the crown some lift and keeps the back from collapsing into one heavy panel. If your hair is long enough, let the braids hang straight down rather than wrapping them around the head. The wave comes out smoother that way.
A four-braid braid-out also gives you a little more control over the frame around your face. You can leave the front pieces slightly looser if you want softness near the cheekbones, or tighten them up if you want a neater finish at the roots. Tiny decisions matter here.
The set looks especially good with a touch of shine on the very ends, not the whole head. Too much product and the pattern gets dull. Too little and the hair can puff before the day is over.
4. Jumbo Braid-Out for Fast Dry Time
On a morning when you do not have patience for a long set, jumbo braids are the obvious answer. Fewer braids means less time spent parting, less time braiding, and less chance that the inside of the set stays damp when the outside feels dry. That last part is the one that gets people in trouble.
Jumbo braid-outs give you larger, swingier waves. They also keep the hair from looking overworked. A lot of people assume bigger braids mean less style, but that is not how it lands in real life. The finish looks relaxed and clean, which is often better than ultra-defined texture when you want something simple.
What to Watch For
- Use fewer, larger sections and keep them even
- Apply product lightly so the braid does not dry stiff
- Check the center of each braid before taking it down; the outside can lie to you
- Separate the waves only after the hair feels dry all the way through
- Keep a silk or satin wrap on the set overnight
The main tradeoff is shape retention. Jumbo braid-outs can flatten faster if the hair is fine or if the roots are oily. On thick hair, though, they hold their shape well and give a smooth wave with very little fuss.
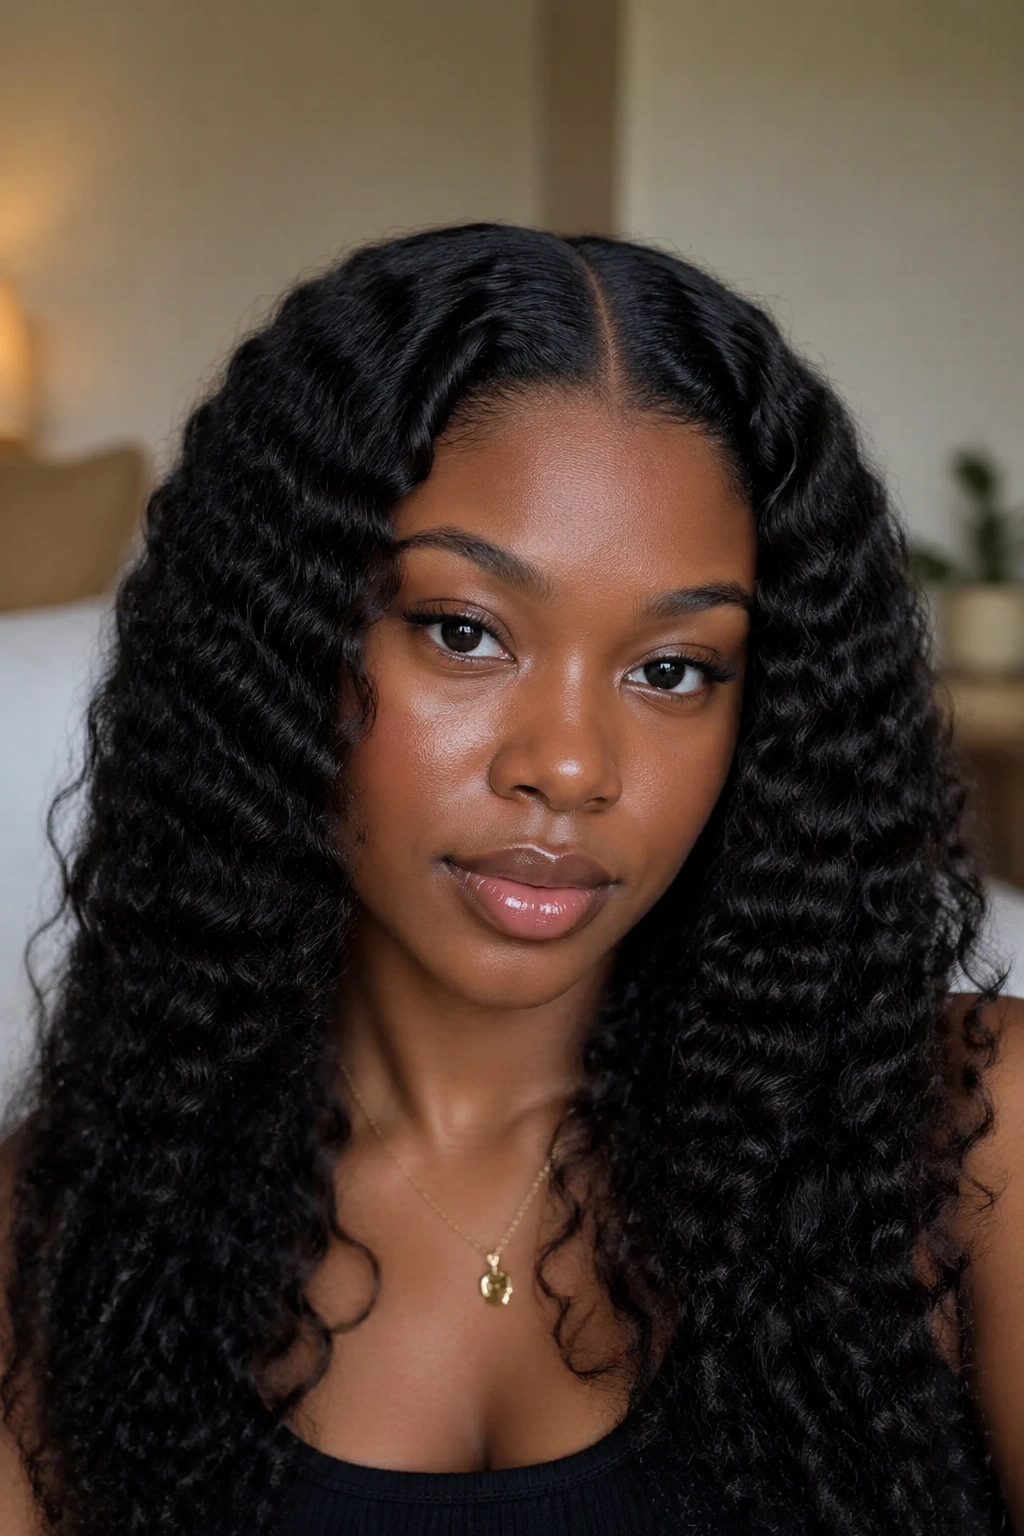
5. Micro Braid-Out for Tight Texture
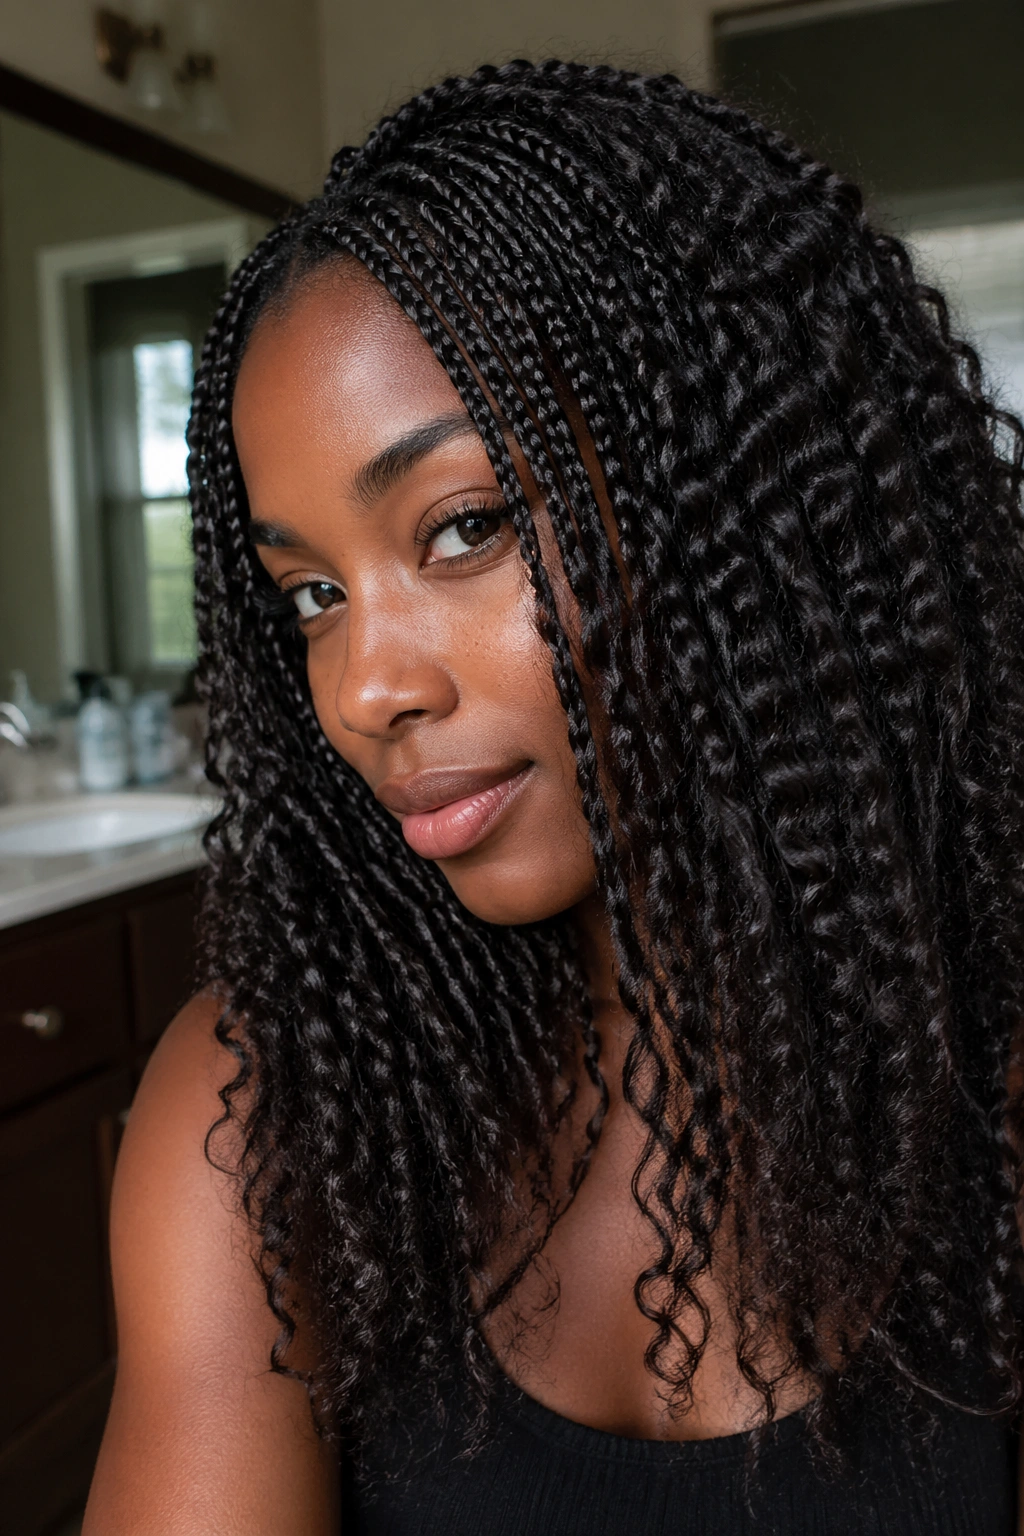
Micro braid-outs are work. No way around it. They take time to install, time to dry, and a little patience when you take them down. But the payoff is a dense, textured wave pattern that looks full from root to tip.
This is the braid-out I like when I want hair to look almost sculpted. The tiny sections create a softer ripple than a curl rod set, but more detail than a loose plait can give. On 4a to 4c hair, especially, the result can be rich and springy without looking stiff. It has body. A lot of it.
The catch is frizz control. Small braids mean more exposed ends, and the ends are where braid-outs start to unravel emotionally and visually. Use enough hold to keep the shape, but not so much that the hair feels coated. A mousse with a clean finish usually works better here than a heavy cream.
If you want volume, this is a good one. If you want speed, not so much. The style rewards the person who is willing to wait until the set is dry and then take it down gently, one braid at a time.
6. Side-Part Braid-Out That Frames the Face
A side part changes the whole conversation. Same braid-out, different mood. The waves fall across the head in a softer line, and the face gets a frame that feels a little more relaxed than the clean symmetry of a center part.
This style is especially useful if you like hair that falls away from one eye and leaves room for earrings, glasses, or a strong brow. It can also help if one side of your hair grows flatter than the other. The side part gives you a little camouflage without making the style look like a fix.
Unlike a center-part braid-out, which can feel strict, the side-part version has a bit of movement built in. The wave pattern does not need to be identical on both sides. In fact, it usually looks better when it isn’t. A slightly deeper part on the heavier side adds lift at the root and keeps the style from collapsing.
I’d pick this one for medium to long hair with enough length to sweep over one shoulder. If you have layers, even better. The pieces fall into each other more naturally, and the waves look like they belong there.
7. Zigzag-Part Braid-Out for Lift at the Roots
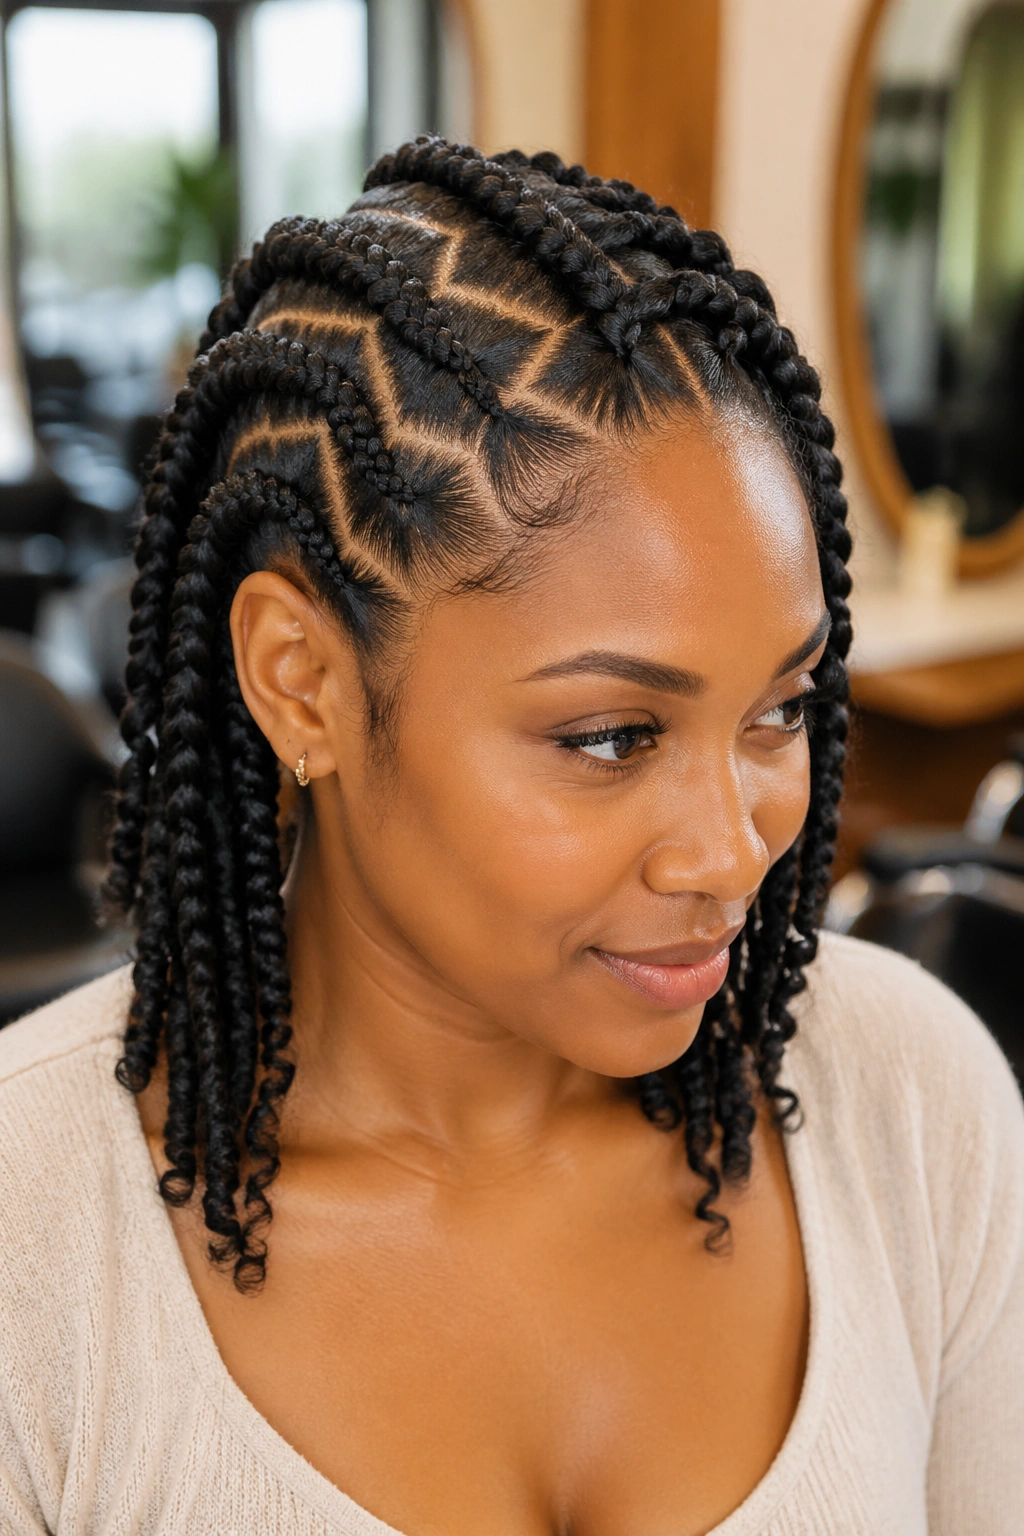
A zigzag part looks fussy until you see what it does. Then it makes sense. The broken line at the scalp keeps the roots from lying too flat, and it breaks up the straight visual line that can make a braid-out feel too neat.
What Makes It Different
A plain part is predictable. A zigzag part is a little less obedient. That matters because the eye reads the scalp first, especially when the hair is dark or very dense. The jagged line distracts from flatness and gives the root area more energy.
How to Get the Cleanest Finish
- Use a rat-tail comb and keep the points shallow
- Trace the line once, then stop fussing with it
- Make the braids on each side similar in size, or the pattern will look uneven
- Keep the parting crisp near the front where it shows most
- Finish with a scarf for the first few hours so the roots stay set
This style is a good choice when you want a braid-out that feels a little playful without being loud. It works especially well on hair that tends to separate straight down the middle no matter what you do. The zigzag gives you a small visual trick, and the trick is enough.
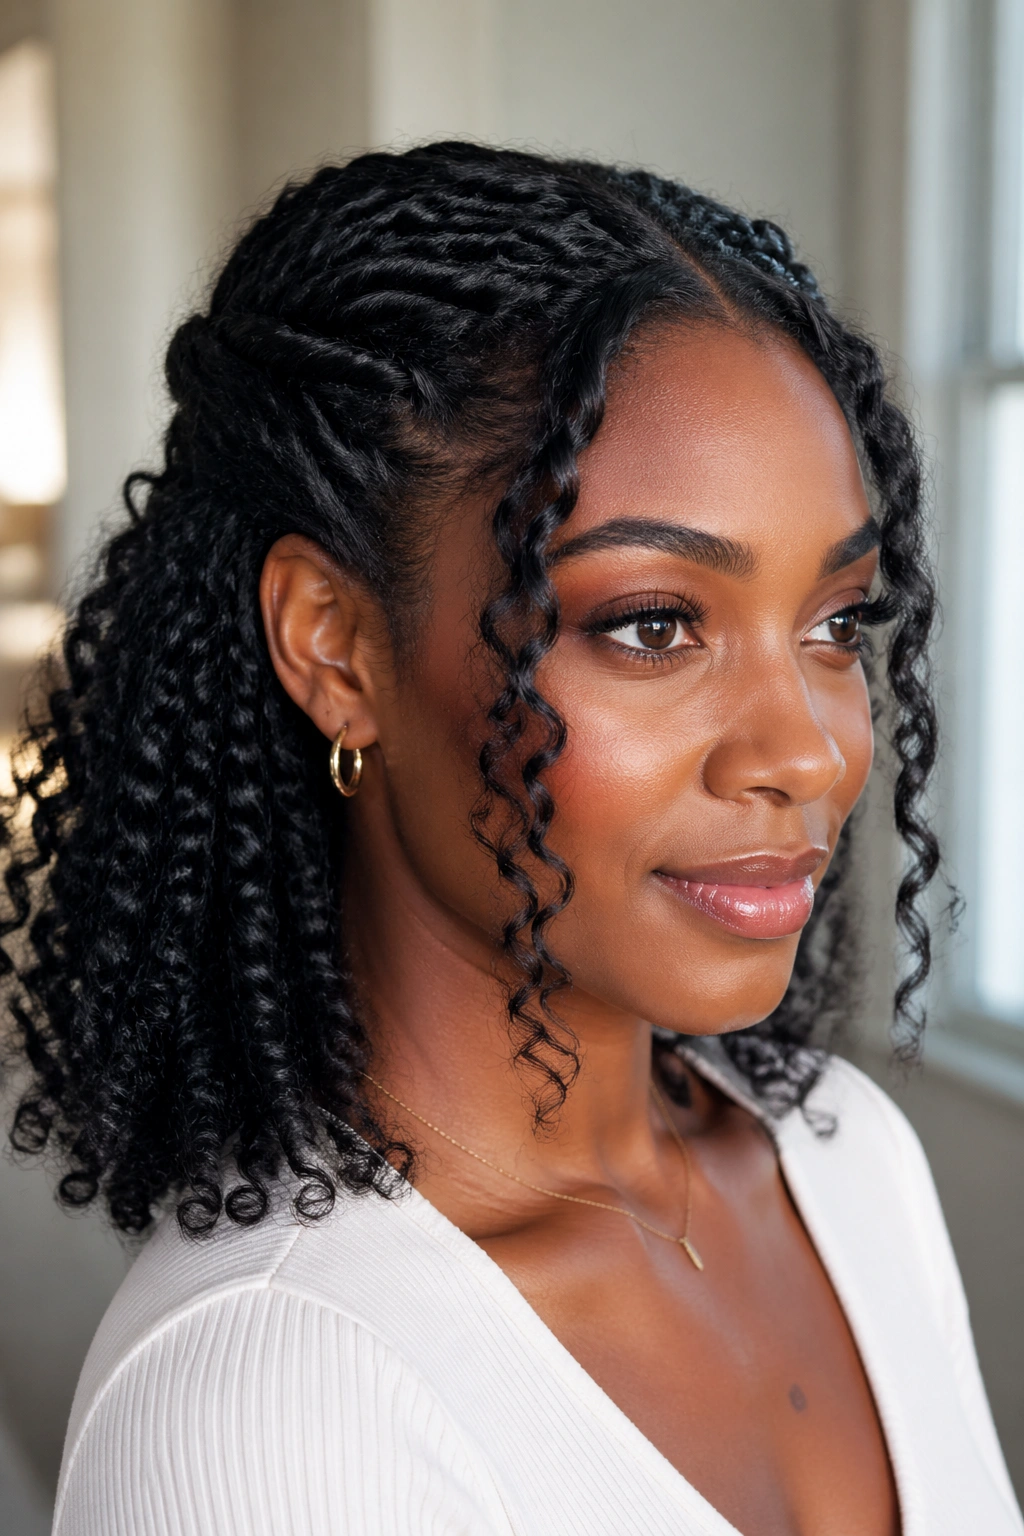
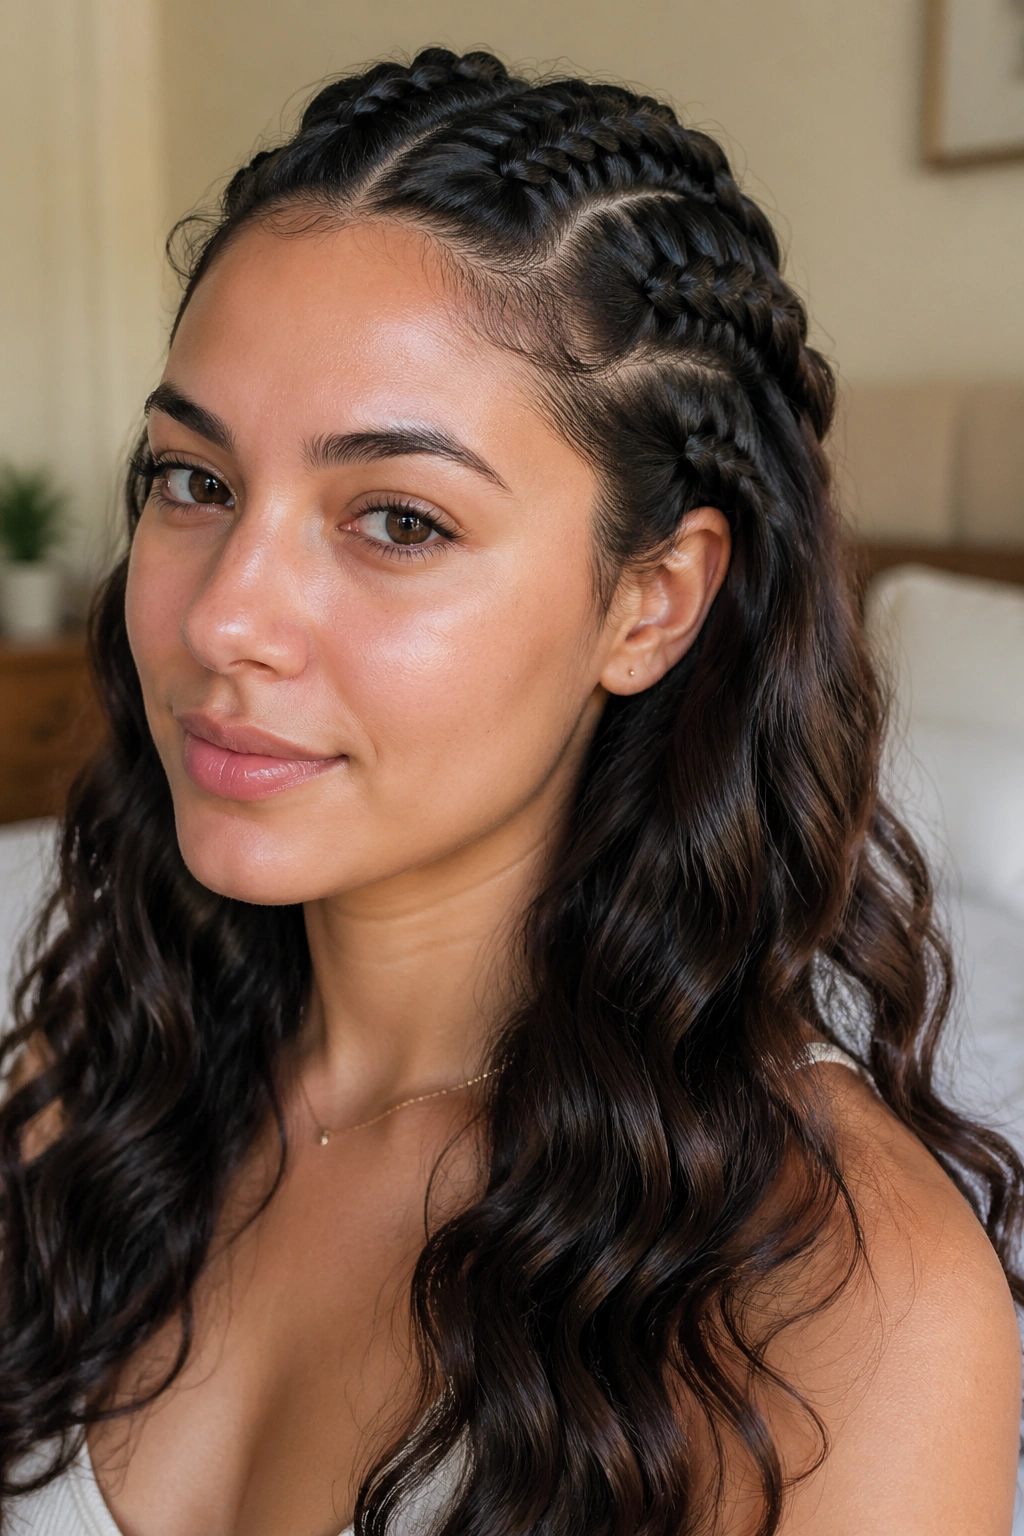
8. Crown Braid-Out with a Halo Shape
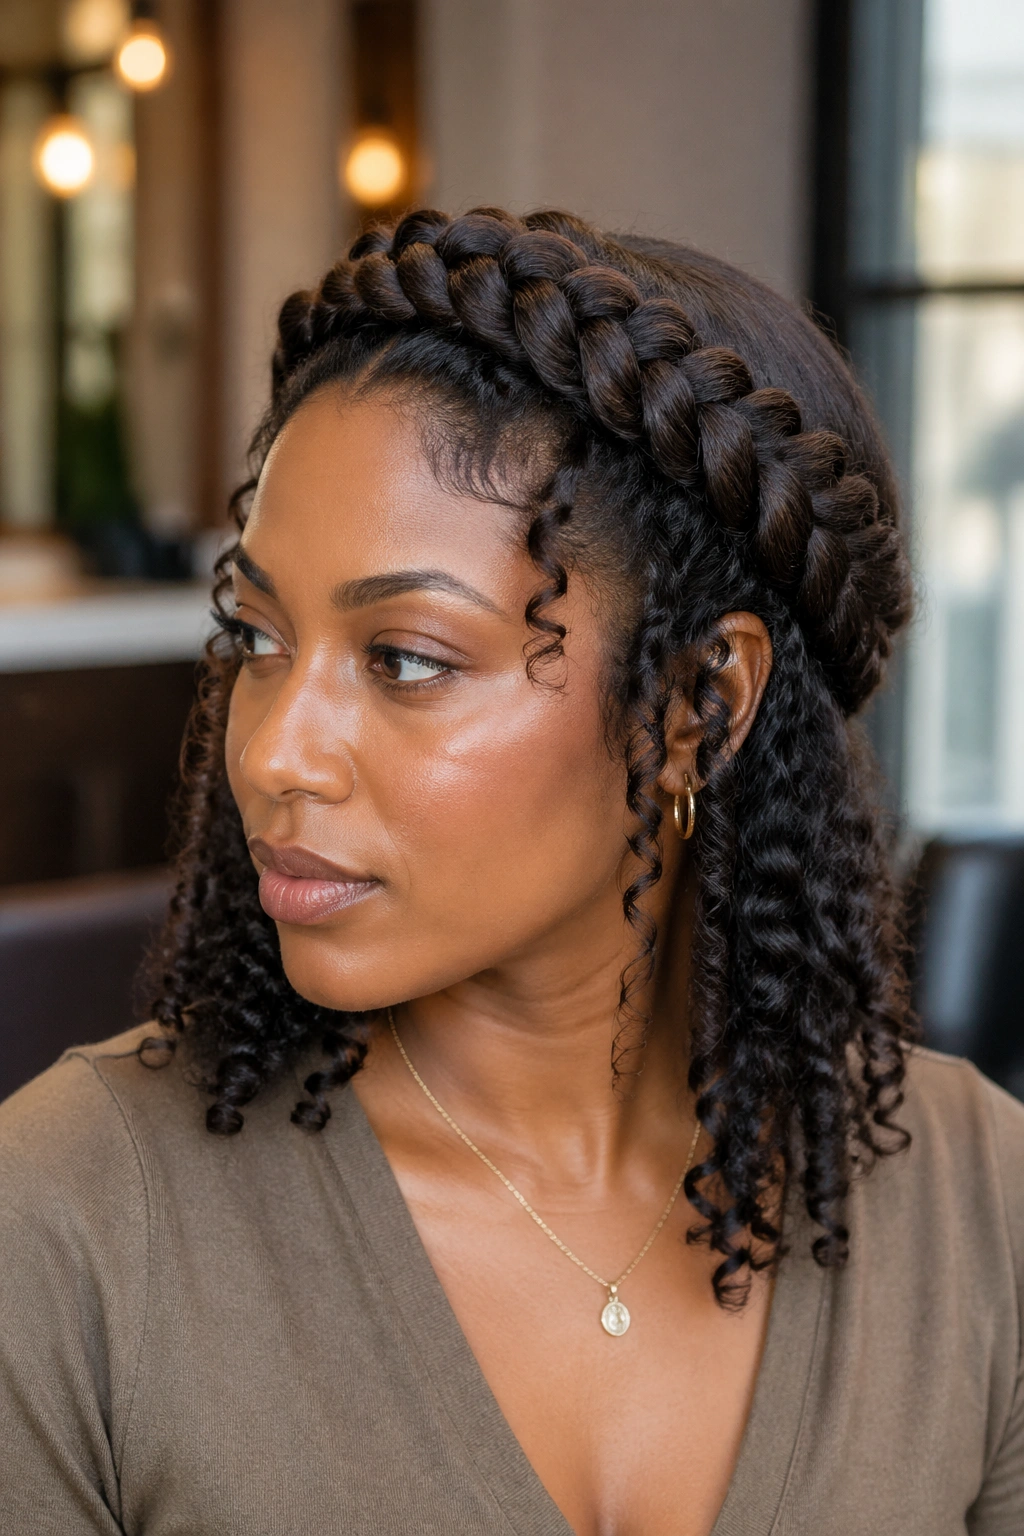
Crown braid-outs sit close to the head near the perimeter and release into softness through the lengths. The result is a halo effect that feels polished without becoming stiff. The front stays smooth, the sides stay neat, and the ends carry the movement.
This style is a smart pick when you want the face open but still want a full wave pattern through the back. It also works nicely on medium-length hair that can lose shape if left to hang in loose sections. The crown placement gives the roots a little support, which keeps the style from puffing too early.
I like this one for occasions when the hair needs to look arranged but not overdone. It reads tidy. It also has a good amount of visual interest from the side, especially if the braids are laid close enough to give the crown a clean curve.
If your scalp is sensitive, go easy on the tension. A crown braid set can be gorgeous and miserable at the same time if it’s too tight. The sweet spot is firm enough to hold shape, loose enough that you are not thinking about your scalp every five minutes.
9. Half-Up, Half-Down Braid-Out
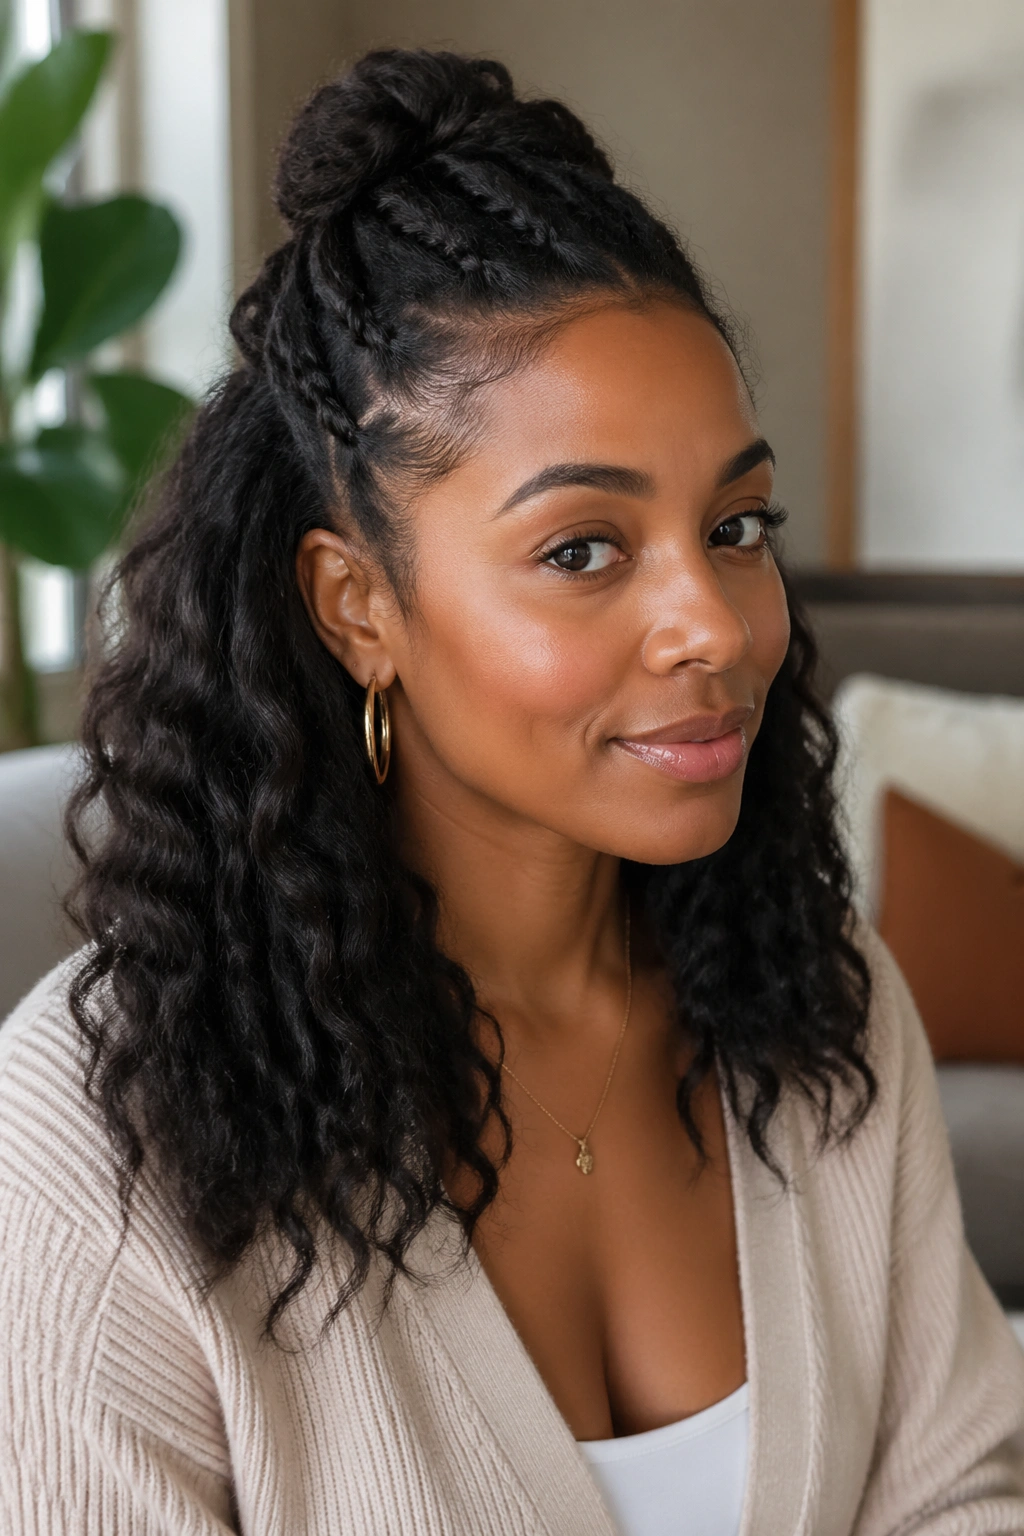
Half-up braid-outs solve a simple problem: what if you want your waves visible, but you don’t want them all in your face? This style keeps the top section controlled and lets the bottom section do the flattering, moving thing braid-outs do so well.
Best on Which Hair?
This one works especially well on hair that has some length through the crown and enough density to hold a clip or small tie without sliding. It is also handy for layered hair, because the upper section can disguise shorter pieces that might stick out if left completely down.
A half-up braid-out can hide a rough root day, too. That matters more than people admit. If the front is a little puffier than you want, pinning or tying the top half back gives the style structure and makes the rest of the hair look intentional.
You can keep the top half simple with a barrette or twist it into a small knot if you want more height. Either way, leave a few face-framing pieces loose. If every strand is pulled back, the style loses the softness that makes a braid-out worth wearing in the first place.
10. Deep Center-Part Braid-Out for Clean, Balanced Waves
A deep center part can look severe, but on the right braid-out it becomes sharp in a good way. The waves fall evenly on both sides, and the symmetry makes the hair look longer and more deliberate. If you like neat lines, this one will probably earn a place in your rotation.
The key is matching the sections. Each side should carry roughly the same amount of hair, and each braid should be installed with the same tension. If one side is looser, the finished waves will sit differently once they are taken down. The difference is small on the hanger and obvious on the head.
I reach for this when the outfit is simple and the hair needs to do more of the talking. A deep center part shows off clean cheekbone lines and gives the waves a nice, even fall. A tiny bit of shine on the mid-lengths helps, but keep the roots light. Heavy product at the scalp makes the middle part go limp fast.
If you want a braid-out that looks tidy without being stiff, this is one of the safest bets.
11. Braid-Out Bob for Short Hair
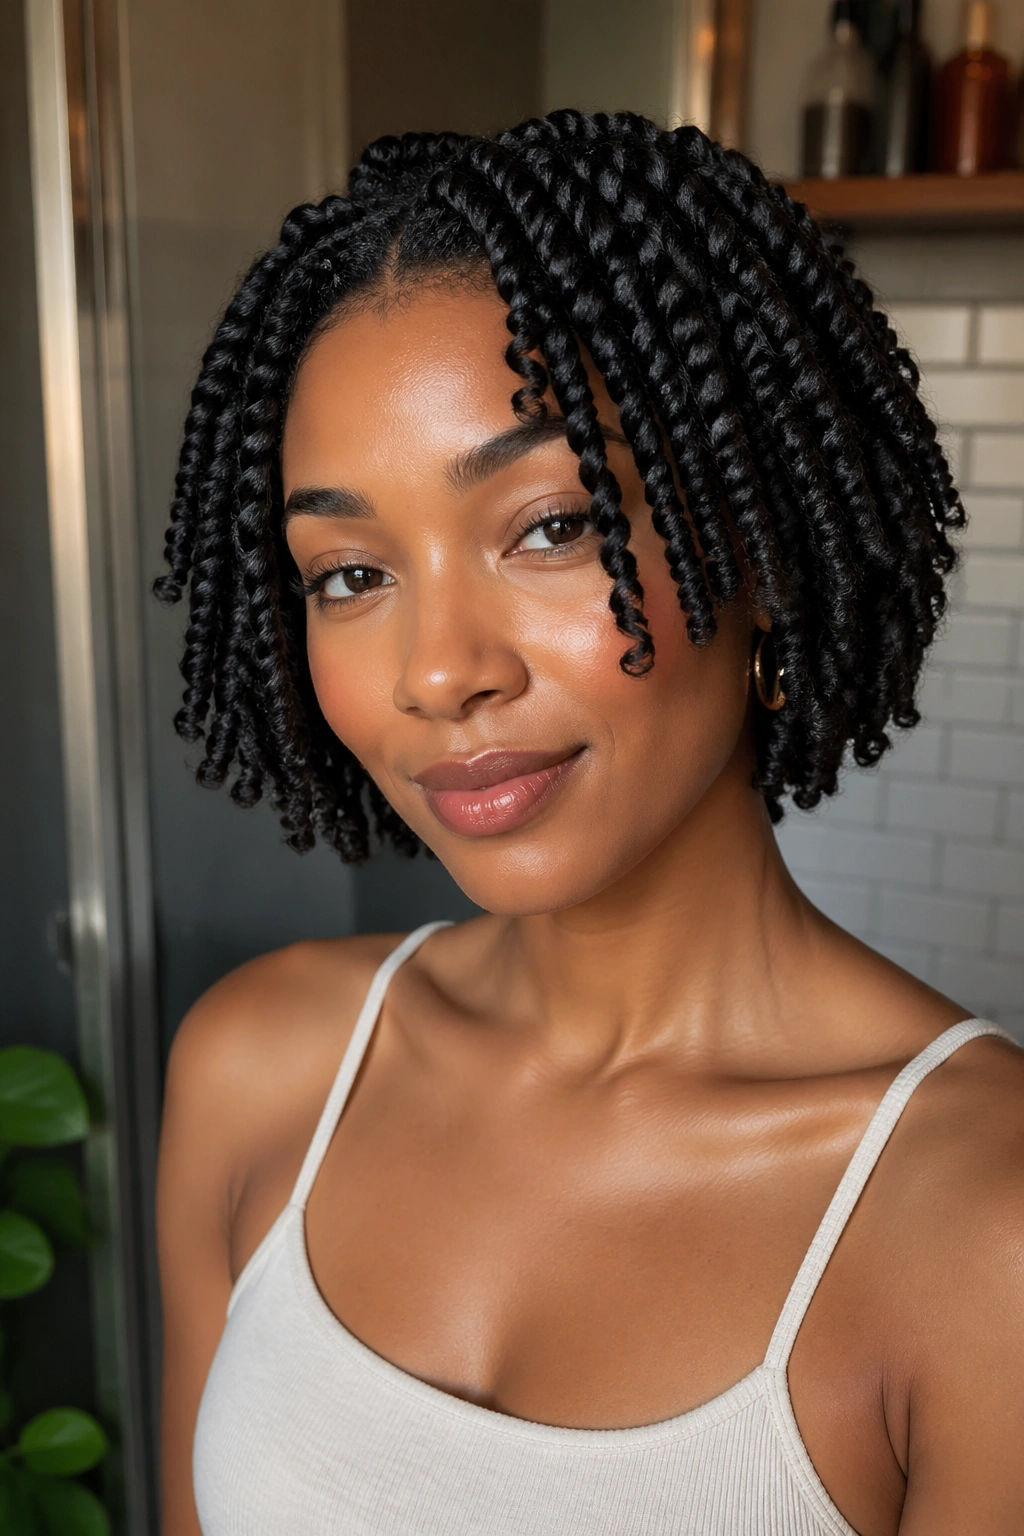
Short hair changes the rules. You do not need long, tumbling waves to get a good braid-out. A chin-length or collarbone-length bob can look sharp with just a few braids, and the shorter shape often makes the texture look fuller.
The trick is to keep the sections small enough that the braids do not balloon out at the ends. On shorter hair, a braid that is too chunky can create a triangle shape nobody asked for. Smaller, even sections keep the silhouette compact and the wave more controlled.
A Few Things That Help
- Start the braids close to the scalp so the root pattern stays neat
- Use small elastics if the ends are too short to secure cleanly
- Unravel with lightly oiled fingertips so the ends do not fray
- Separate only once at first; too much finger-fluffing can make short hair puff
- Sleep on the set with a satin bonnet so the bob keeps its line
Short braid-outs look best when they are a little imperfect. That sounds vague, but it’s true. A bit of roughness gives the style shape. Too much separation and the bob loses the very thing that makes it look good.
12. Stretched Braid-Out for Extra Length
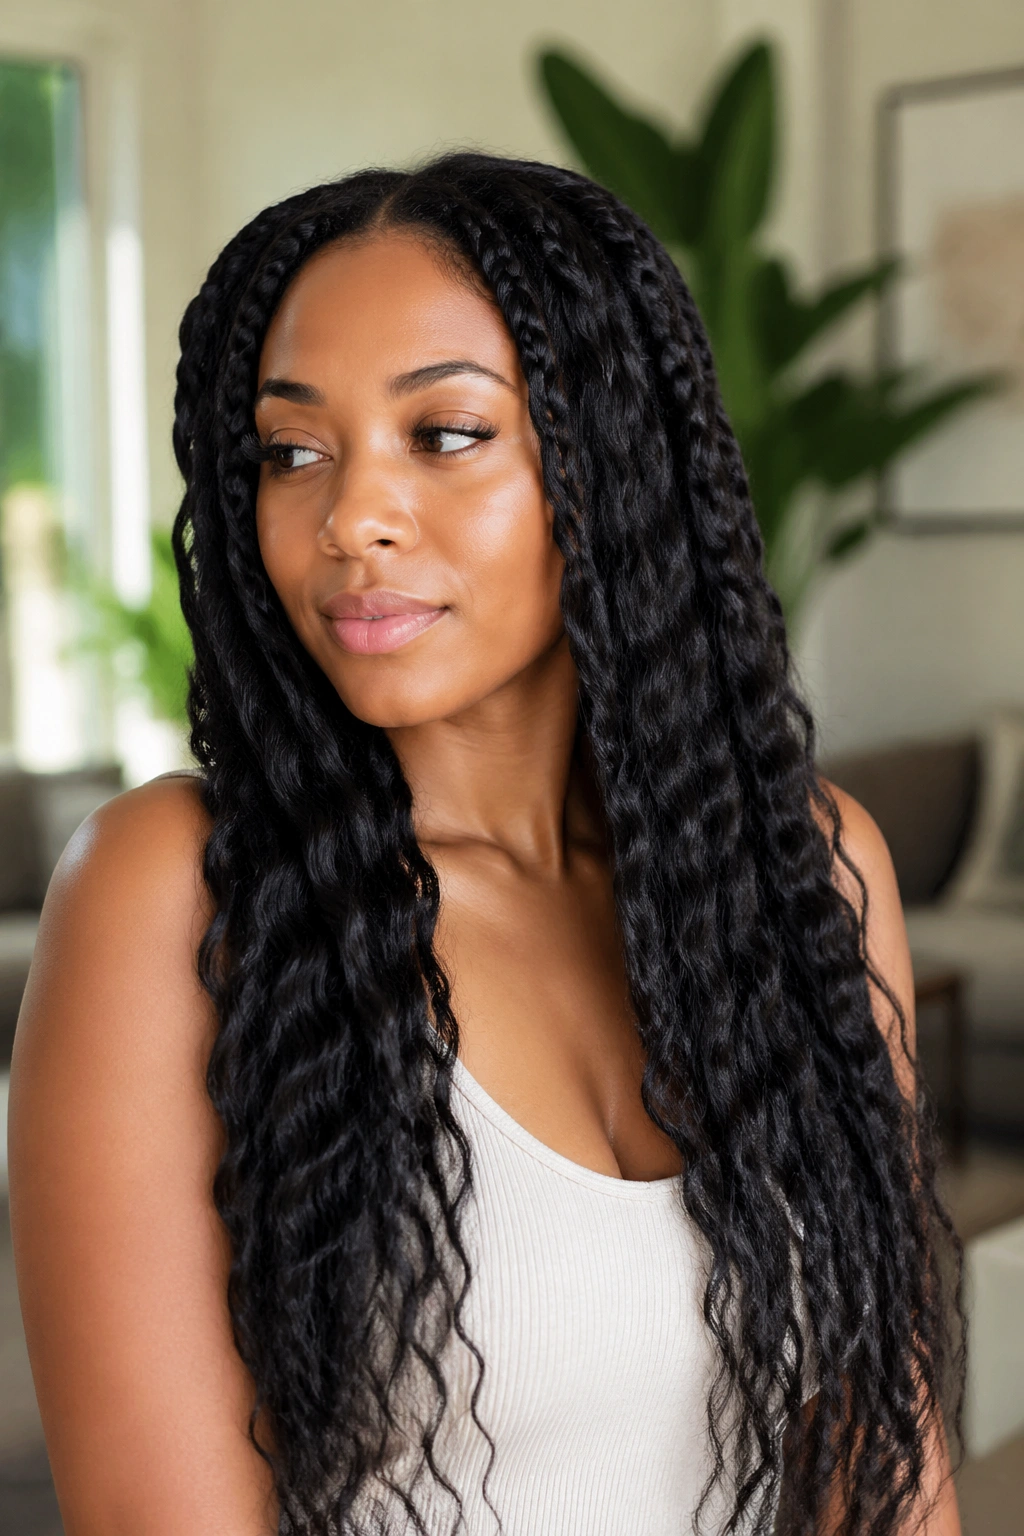
Stretched braid-outs are for people who hate shrinkage. You know the feeling: the hair looked long before styling, then the braid-out pulls it into a smaller shape than you wanted. This version keeps the length visible and lets the waves sit more gently over the stretch.
The easiest way to get there is to prep the hair in a stretched state before braiding. That can mean banding, threading, or letting the hair dry almost all the way before the braids go in. The goal is not to flatten the texture. The goal is to keep the coil pattern from collapsing too hard at the root.
This style works well for thick, dense hair because the length can disappear fast in a standard braid-out. With a stretched set, the waves fall along the shaft instead of compressing it. You get movement and length together, which is the whole point for a lot of people.
It also has a softer finish than a fully fluffy set. The waves are there, but they lie a little more neatly. If your favorite braid-out usually looks too round, this is the one to try next.
13. Fluffy, Separated Braid-Out for Soft Volume
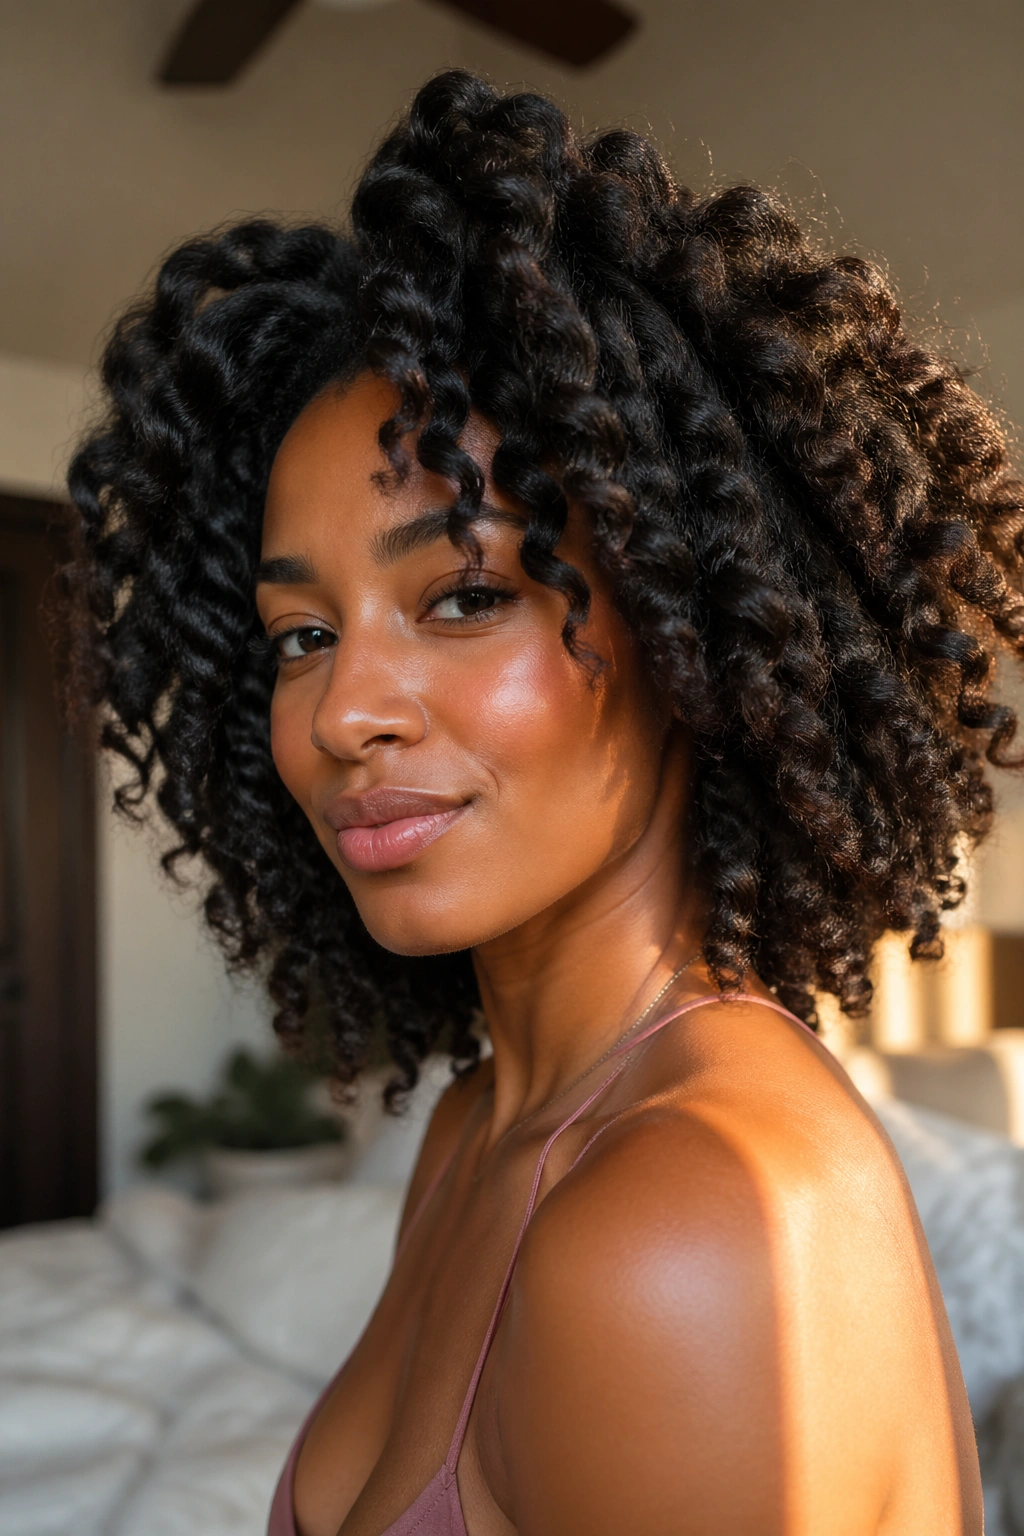
Fluffy braid-outs are what people usually mean when they say they want “big hair” without looking like they tried to make big hair. The waves stay visible, but the sections are separated just enough to create lift and body.
This style starts with a set that is not too tiny and not too loose. After the braids are dry, take them down carefully, then separate each section once or twice with your fingers. Stop there. That is the difference between fluffy and frizzy. The first keeps shape; the second eats it.
A wide-tooth pick at the roots can help once the braids are out. Use it lightly, only under the top layer, and lift rather than rake. If you drag the pick through the length, the wave pattern starts to fray and lose its definition. That is one of those mistakes that looks small until you see the finished style in daylight.
This version is especially good on day two. The hair settles, the volume softens a little, and the whole thing looks lived-in in the best way. Fresh braid-outs can be a touch too neat. A fluffy one breathes.
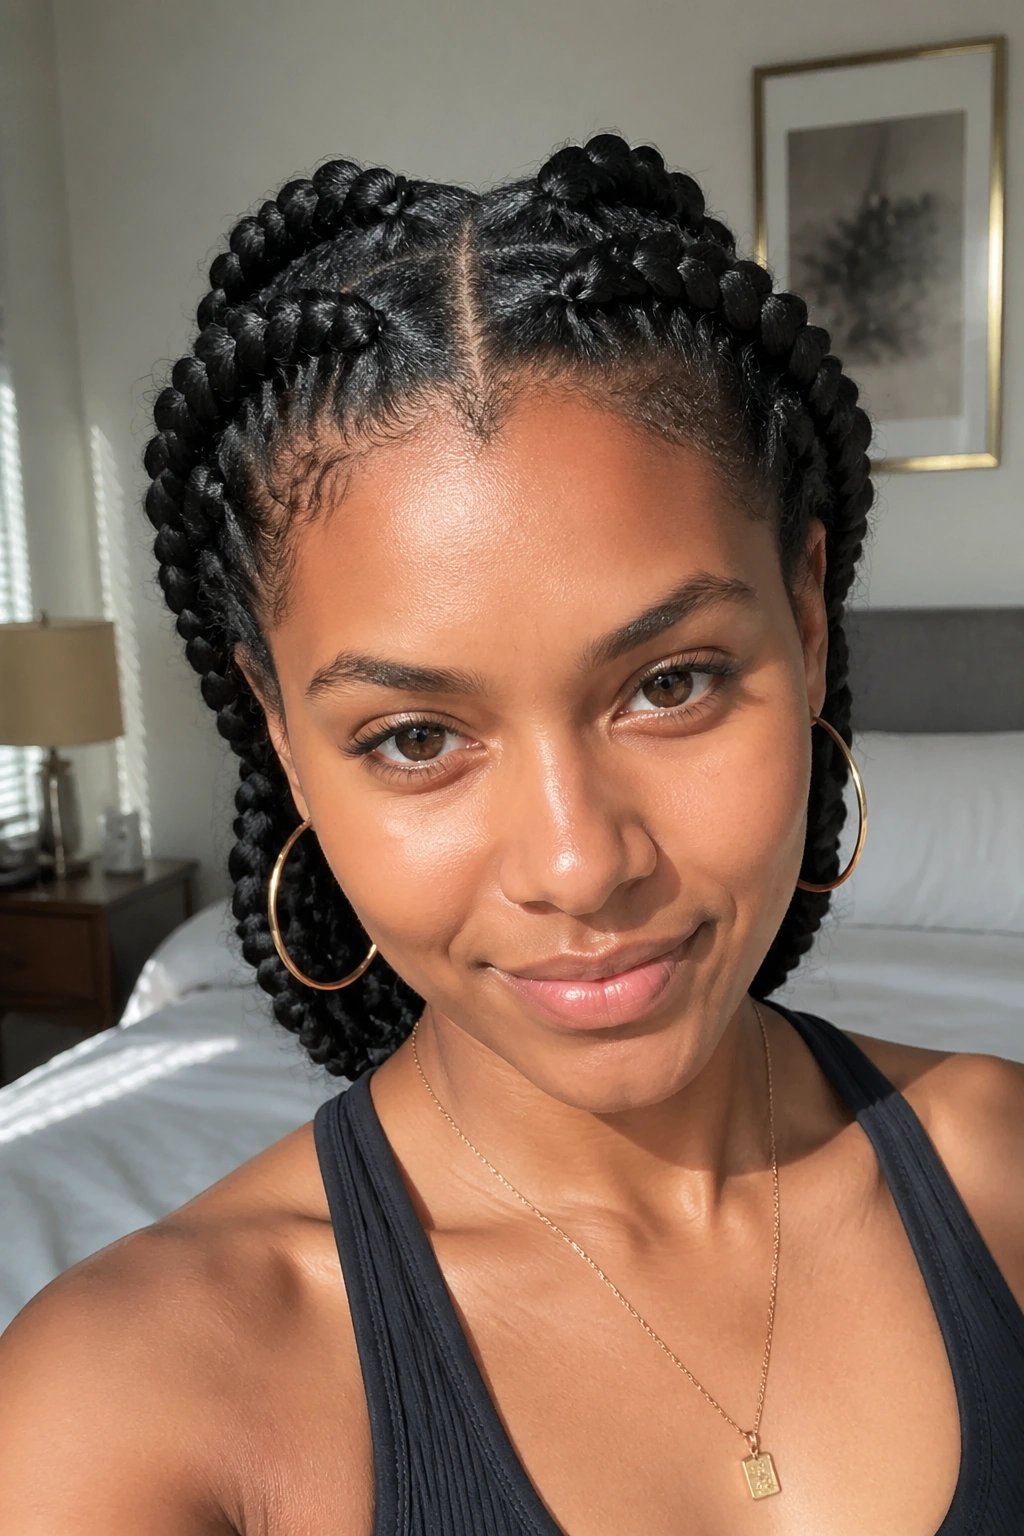
14. Flat Cornrow Braid-Out for Rippled Roots
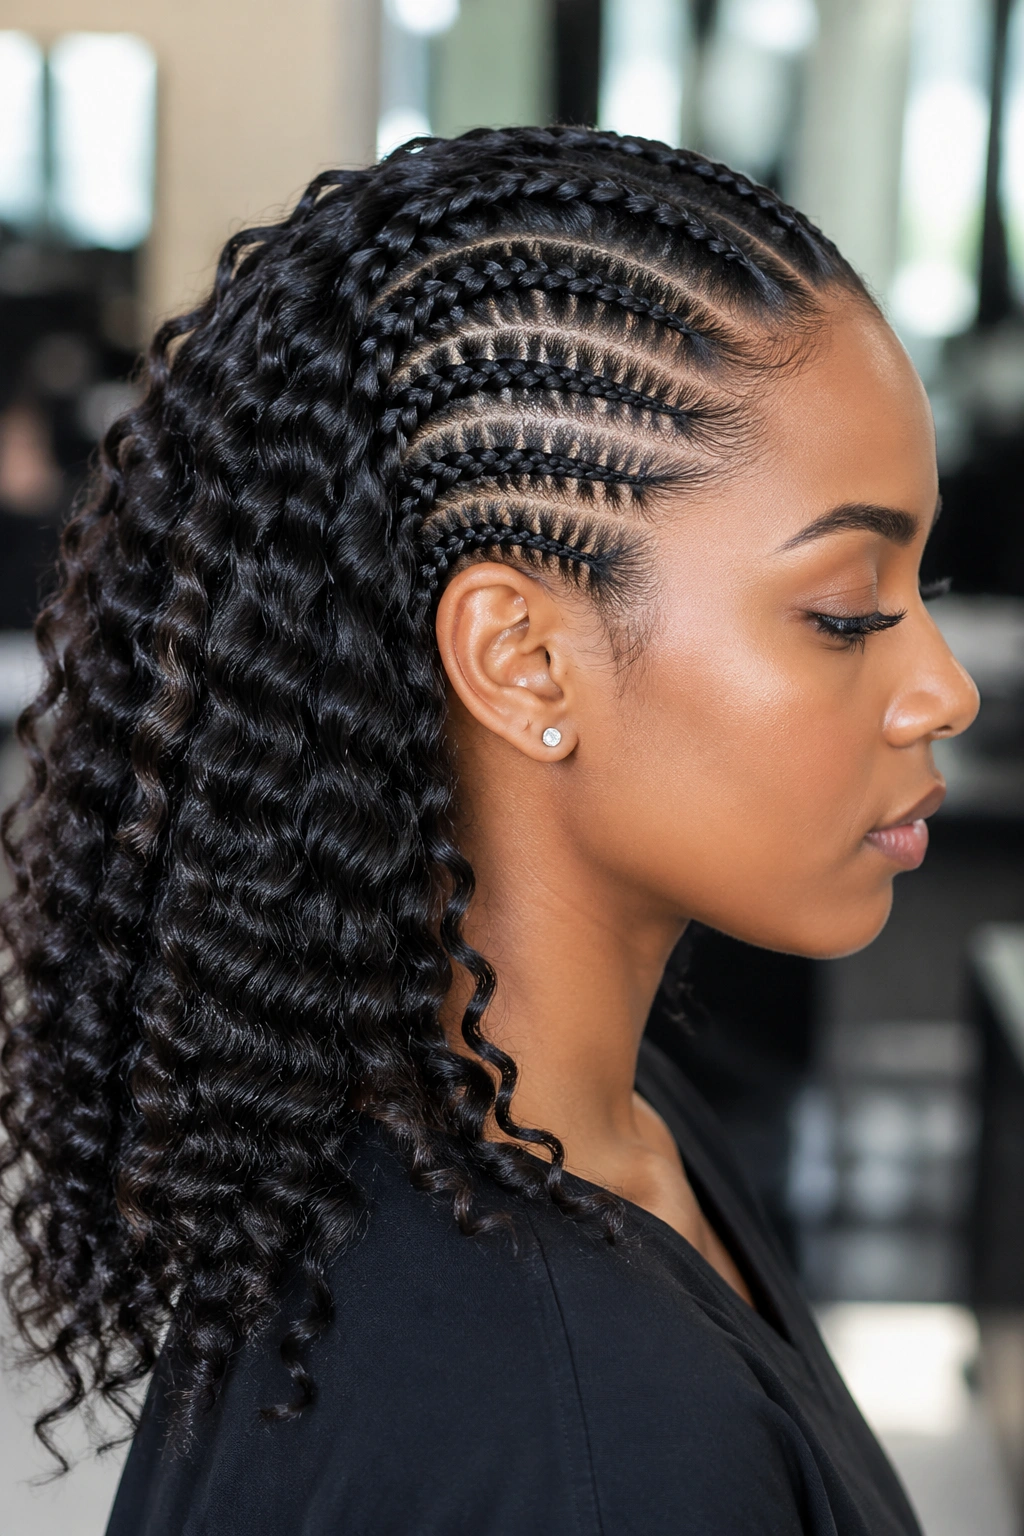
Flat cornrows change the texture from the scalp outward. Because the braids sit close to the head, the wave pattern starts lower and looks more uniform when you take it down. If you want root-to-end ripples with a neat base, this is the style to chase.
Unlike hanging braids, cornrows keep the scalp area smooth. That means less root puff and a cleaner silhouette under hats, headscarves, and jackets with high collars. It also means the style can last a little better through movement, which is useful if your hair usually gets flattened by life before lunch.
I like this for active days or humid weather, though I should say that humidity is always going to test a braid-out. Still, flat braids give you more structure to start with. Four to six cornrows is usually enough for a medium head of hair, but dense hair may want more sections so the waves do not stretch too far apart.
The only thing to watch is tension near the edges. Cornrows that are too tight look neat for about ten minutes and then become a problem. Keep them secure, not harsh. That difference matters.
15. Side-Swept Braid-Out for a Little Drama
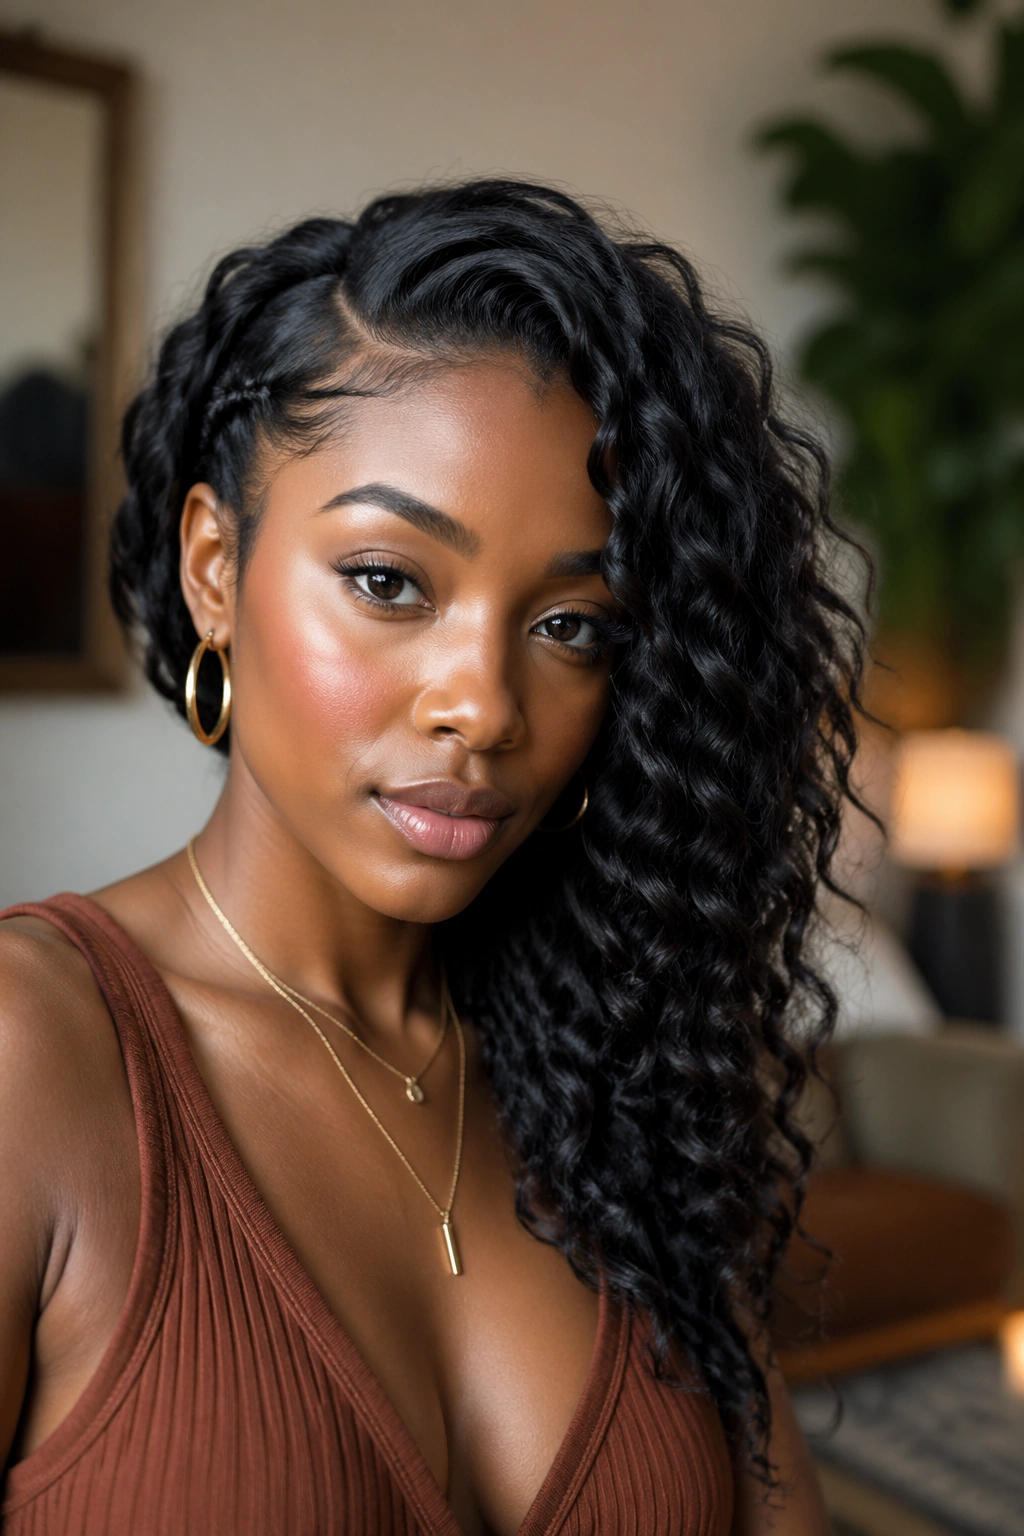
Side-swept braid-outs have a little old-school glamour in them, and I mean that in the best way. The waves spill over one shoulder, the front falls in one clear direction, and the whole look feels deliberate without being stiff.
This style shines on longer hair, especially if you have layers that can move with the sweep. The side part creates a heavier visual line on one side, which gives the waves a place to land. A small clip, comb, or pin behind the opposite ear helps hold the shape without making the style feel trapped.
The best part is how easy it is to dress up. A side-swept braid-out does not need much. A pair of earrings, a little gloss on the ends, and a clean neckline are usually enough. It has that polished look without asking for a curling iron, and I appreciate that more than I should.
If you want movement near the face and a little fullness through the back, this is a strong choice. It has enough shape to feel styled, but not so much that it looks precious.
16. Pinned-Back Braid-Out with Loose Front Pieces
This is the style for people who want their waves to behave at the face and wander everywhere else. The front is pinned or tucked back, but the lengths stay loose, which keeps the braid-out from swallowing your features whole.
What to Pin and What to Leave Alone
- Pin the temples and upper sides back first
- Leave a few front pieces or tendrils loose near the cheekbones
- Use a small, flat clip so the top doesn’t bunch
- Keep the waves in the back untouched so the shape stays soft
- Add shine only to the loose pieces if you want a cleaner frame
This style works well for workdays, school runs, or any moment when hair in the eyes becomes one more thing you do not want to deal with. It also helps if your braid-out gets wider as the day goes on. Pulling back the top sections gives the look some structure without flattening the whole set.
I think the pinned-back version is underrated. It solves the practical problem and keeps the texture visible, which is the point of a braid-out in the first place.
Final Thoughts
The best braid-out styles are the ones that match your hair’s shape instead of fighting it. Bigger braids give you wider waves. Smaller ones give you texture and volume. Side parts, center parts, and pinned-back finishes change the mood more than people expect, sometimes more than the braid size itself.
Drying time matters. So does the way you separate the set. And if you only remember one thing, make it this: don’t take a braid-out down before the center of the braid is fully dry. That is where the frizz starts, and once it starts, you spend the rest of the day pretending not to notice it.
Pick one style that fits the amount of time you actually have, not the amount you wish you had. Then repeat it a few times. Hair has a way of telling you which braid pattern it likes best, and once you listen, the whole process gets easier.