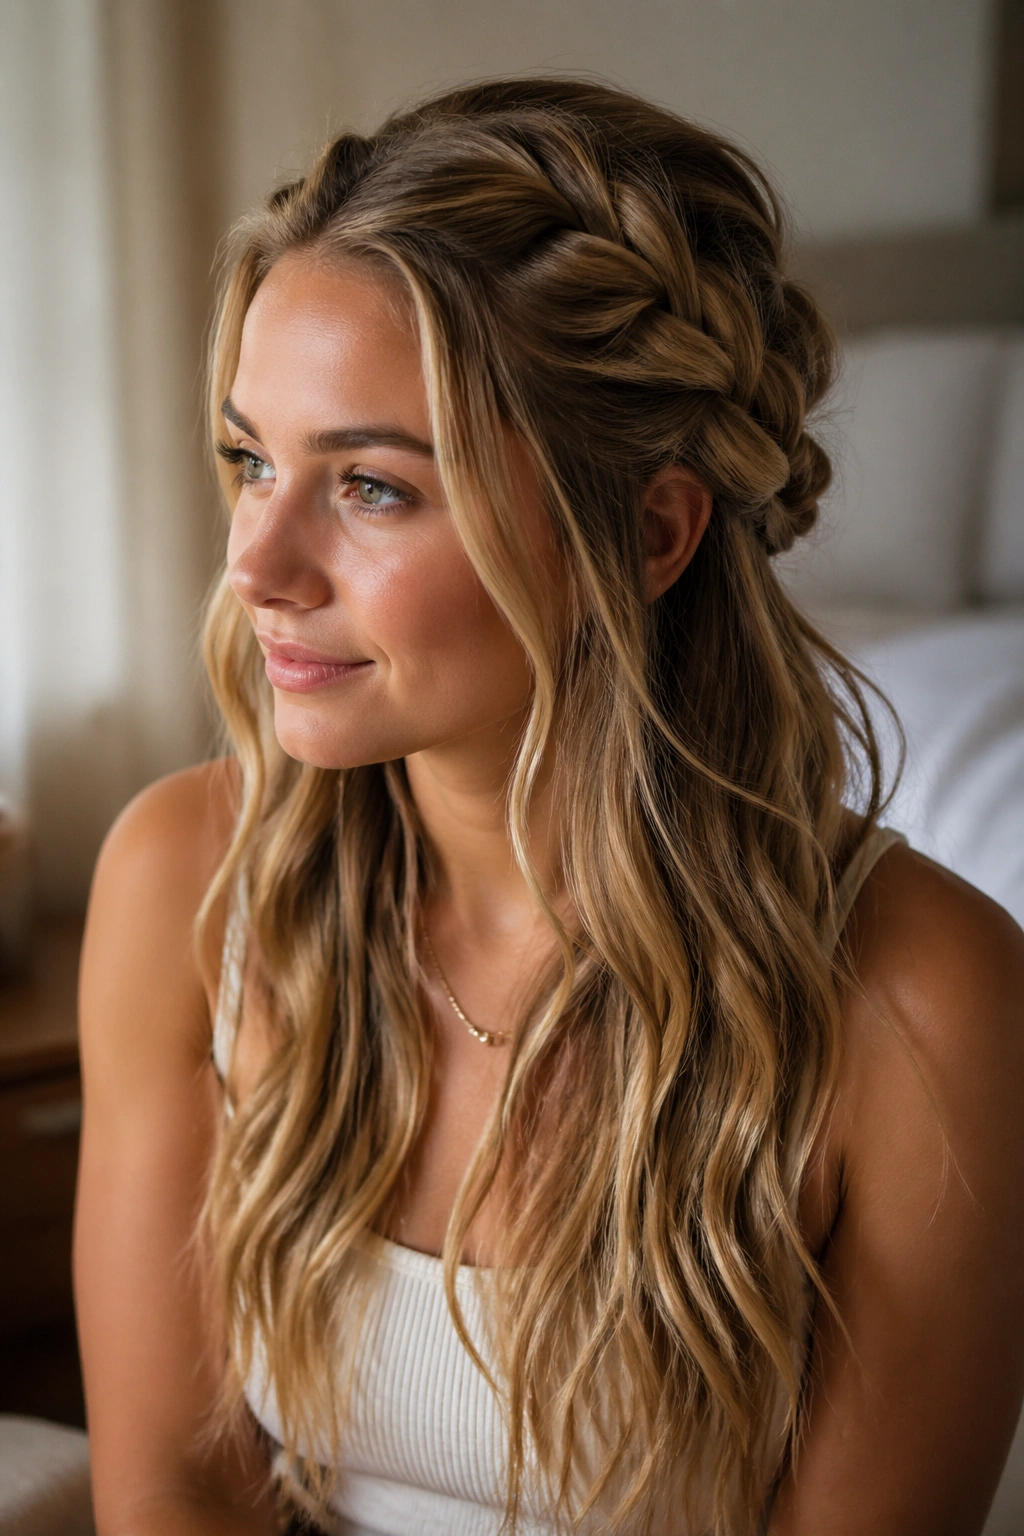
Rope braids are one of the few heatless styling tricks that can leave behind soft beach waves without the clamp marks a curling iron loves to stamp into the ends.
The catch is that the braid itself is only half the story. Hair that is too wet stays limp for hours, hair that is bone dry can resist the bend, and hair that is twisted too tight usually comes out looking more like a crimp than a wave. A little mousse through the mids, a touch of leave-in on the ends, and a braid that feels secure but not strangled make a bigger difference than most people expect.
No heat. No scorch marks. Less drama.
A rope braid is basically two strands wrapped around each other, which gives you a longer, looser bend than a classic three-strand plait. That’s why this trick works so well for that slept-in, salt-air look people keep chasing with hot tools, a diffuser, and a lot of patience. Get the placement right, and the wave falls exactly where you want it. Get it wrong, and you spend the morning picking apart a twist that’s still damp at the nape.
Why Rope Braids Turn Into Beach Waves
The shape is doing the work. A rope braid twists hair into a spiral, and when that spiral dries, the strands “remember” the curve. That memory is what leaves the soft S-bend once you take the braid down.
The result changes a lot depending on three things: how damp the hair is, how much tension you use, and where the braid starts. A low braid gives a longer, softer wave. A braid that starts high near the crown gives more lift and a little more texture through the roots. Tiny sections make a tighter pattern; larger ones make a looser wave.
The small choices that matter most
- Section size: about 1 inch for a tighter bend, 1½ to 2 inches for a softer wave.
- Dryness level: hair should feel cool, not wet, before you braid it if you want it to finish overnight.
- Finish: a drop or two of serum on the palms keeps the ends from puffing up when you release the braid.
A lightweight mousse usually gives better hold than a heavy cream. Thick cream can sit on the hair and flatten the bend before it has a chance to set.
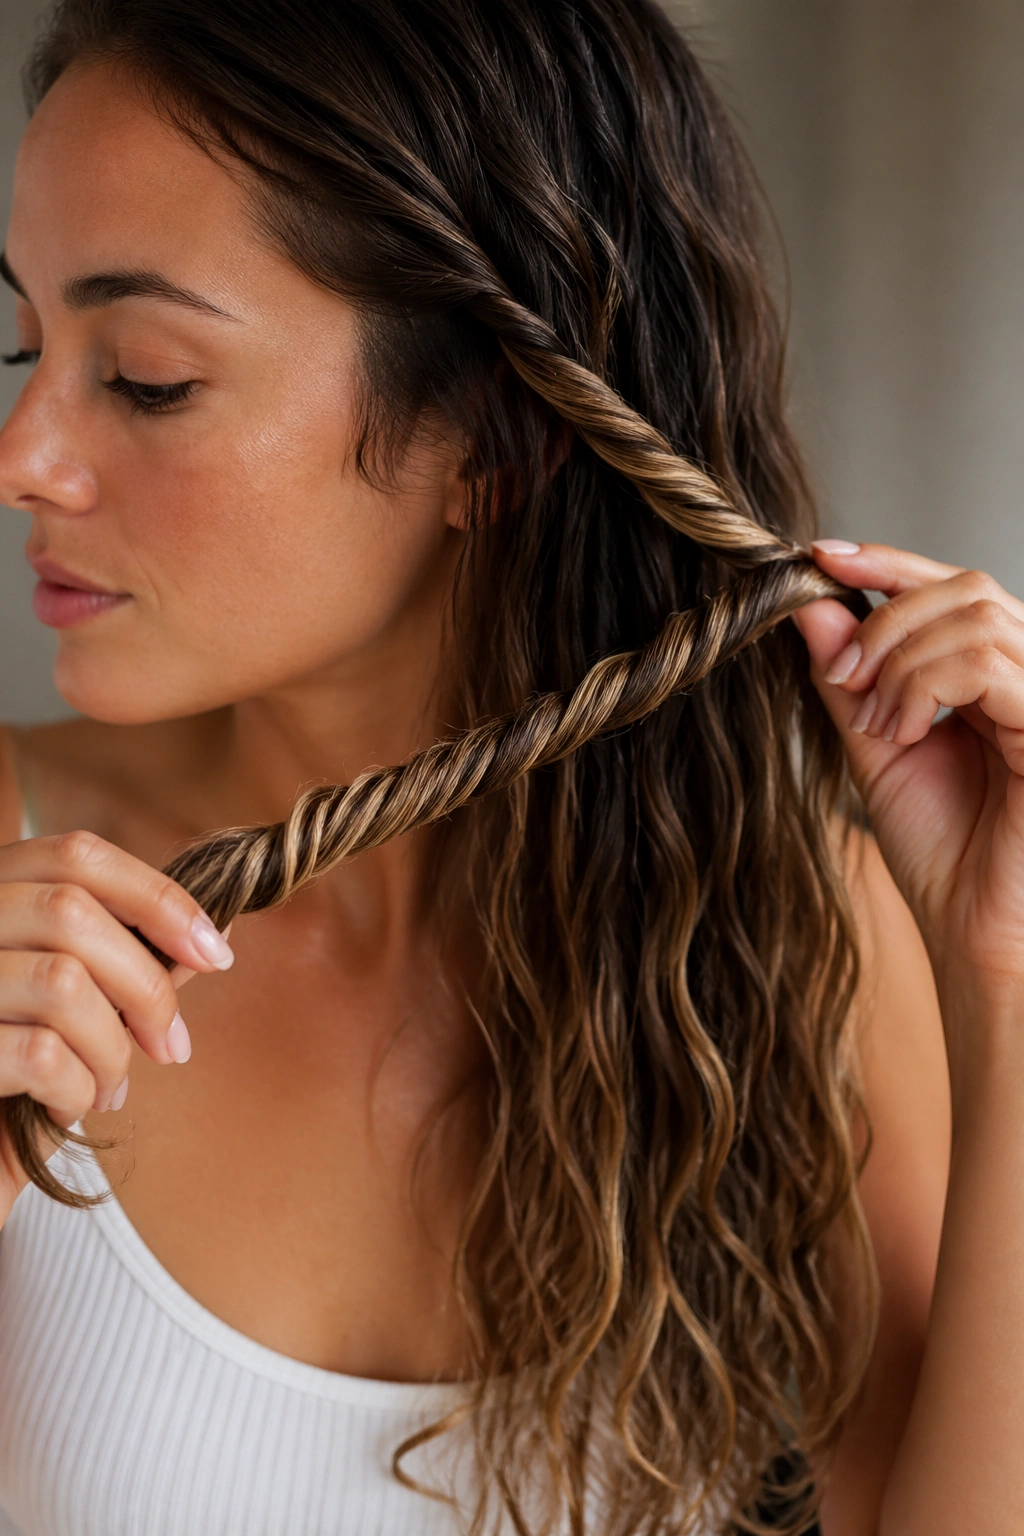
1. Classic Two-Strand Rope Braids on Damp Hair
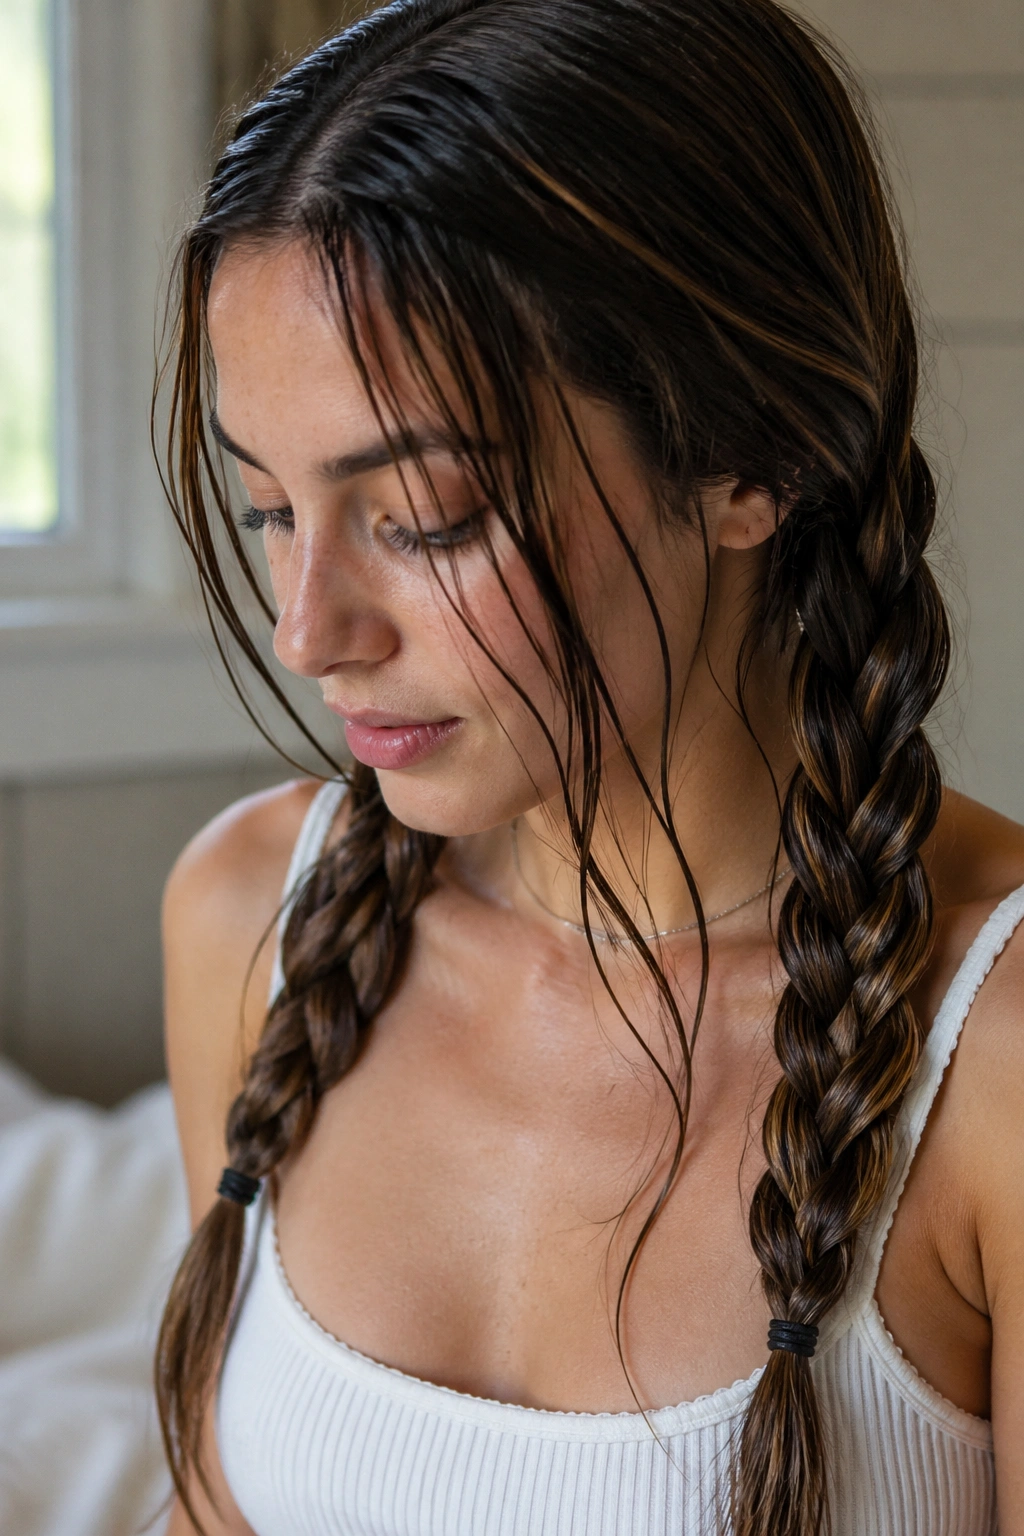
This is the version I reach for when I want the most straightforward heatless beach waves and don’t feel like overthinking it. You section the hair, twist the two strands in the same direction, wrap them around each other, and let the whole thing dry while you live your life. Simple. Clean. Reliable.
Why it works so well
The classic two-strand rope braid gives a soft wave because it doesn’t press as many hard edges into the hair as a tight plait can. If you keep the tension even from root to end, the result is a long, ribbon-like bend that looks relaxed rather than styled to death.
It helps to start with hair that is about 70 to 80 percent dry. If it’s too wet, the braid stays cold inside and never sets evenly. If it’s too dry, the strands can slip and the wave will look patchy.
Quick note: a satin scrunchie at the end is better than a tight elastic. It leaves less of that ugly dent at the bottom.
- Best for medium-length hair and shoulder-length cuts
- Good when you want loose waves that fall in the same direction
- Works especially well with a center part
- Easy to sleep in if the braid sits low
My rule: twist firmly at the top, then ease up a little through the last third of the braid so the ends don’t come out pencil-straight.
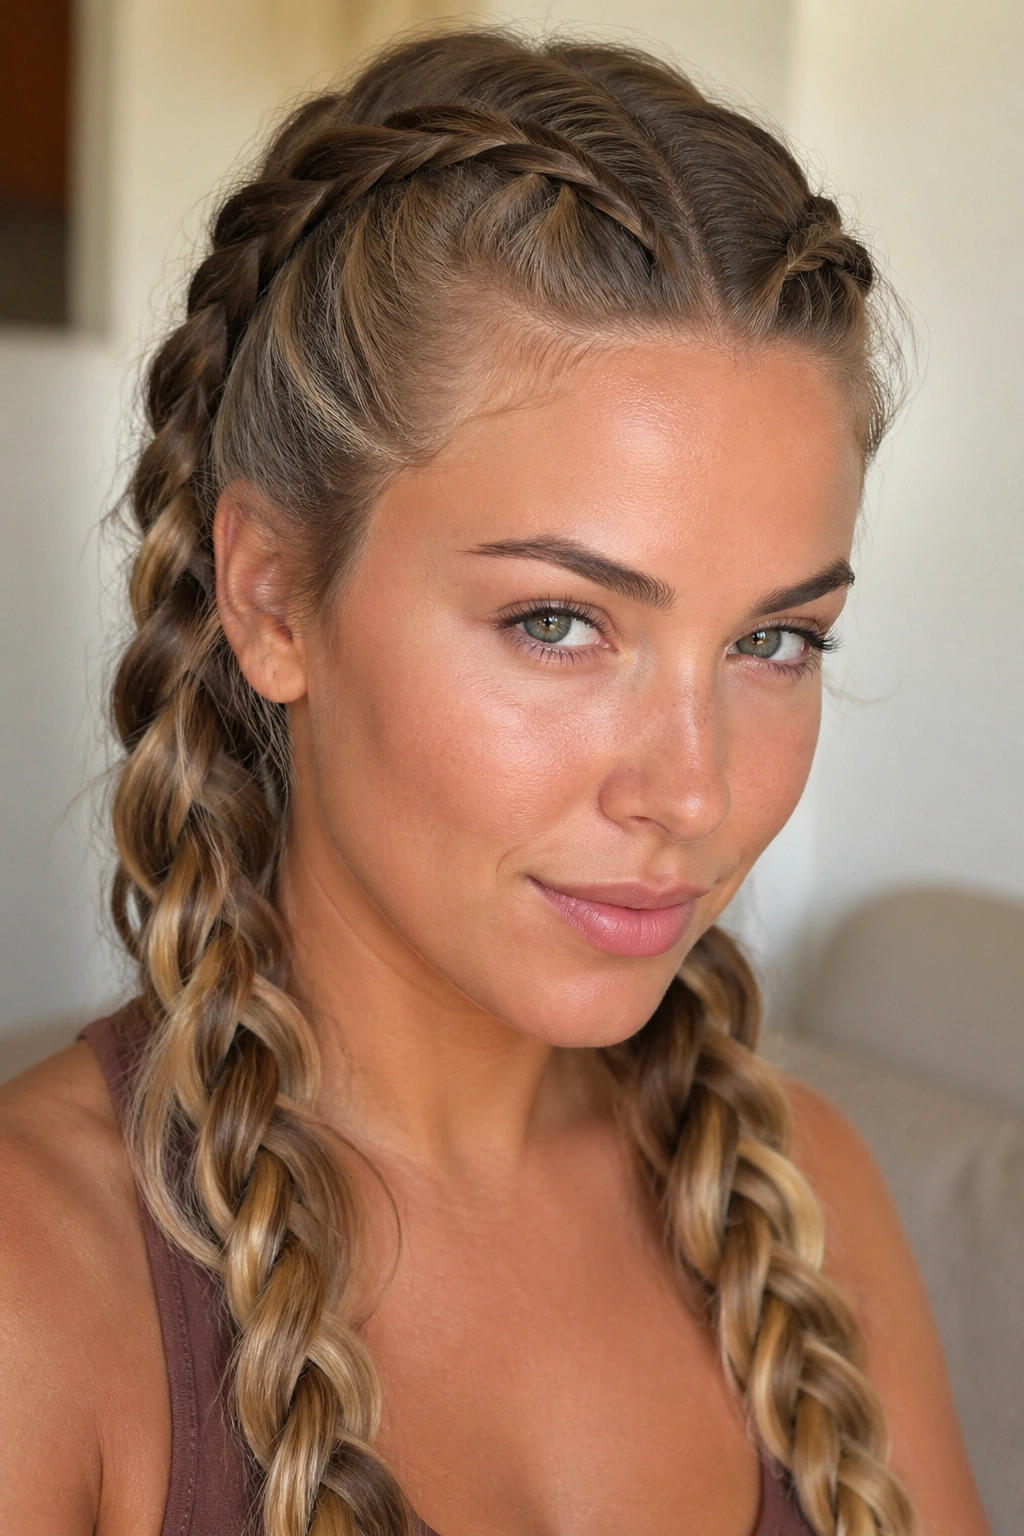
2. Low Rope Braid Pigtails at the Nape
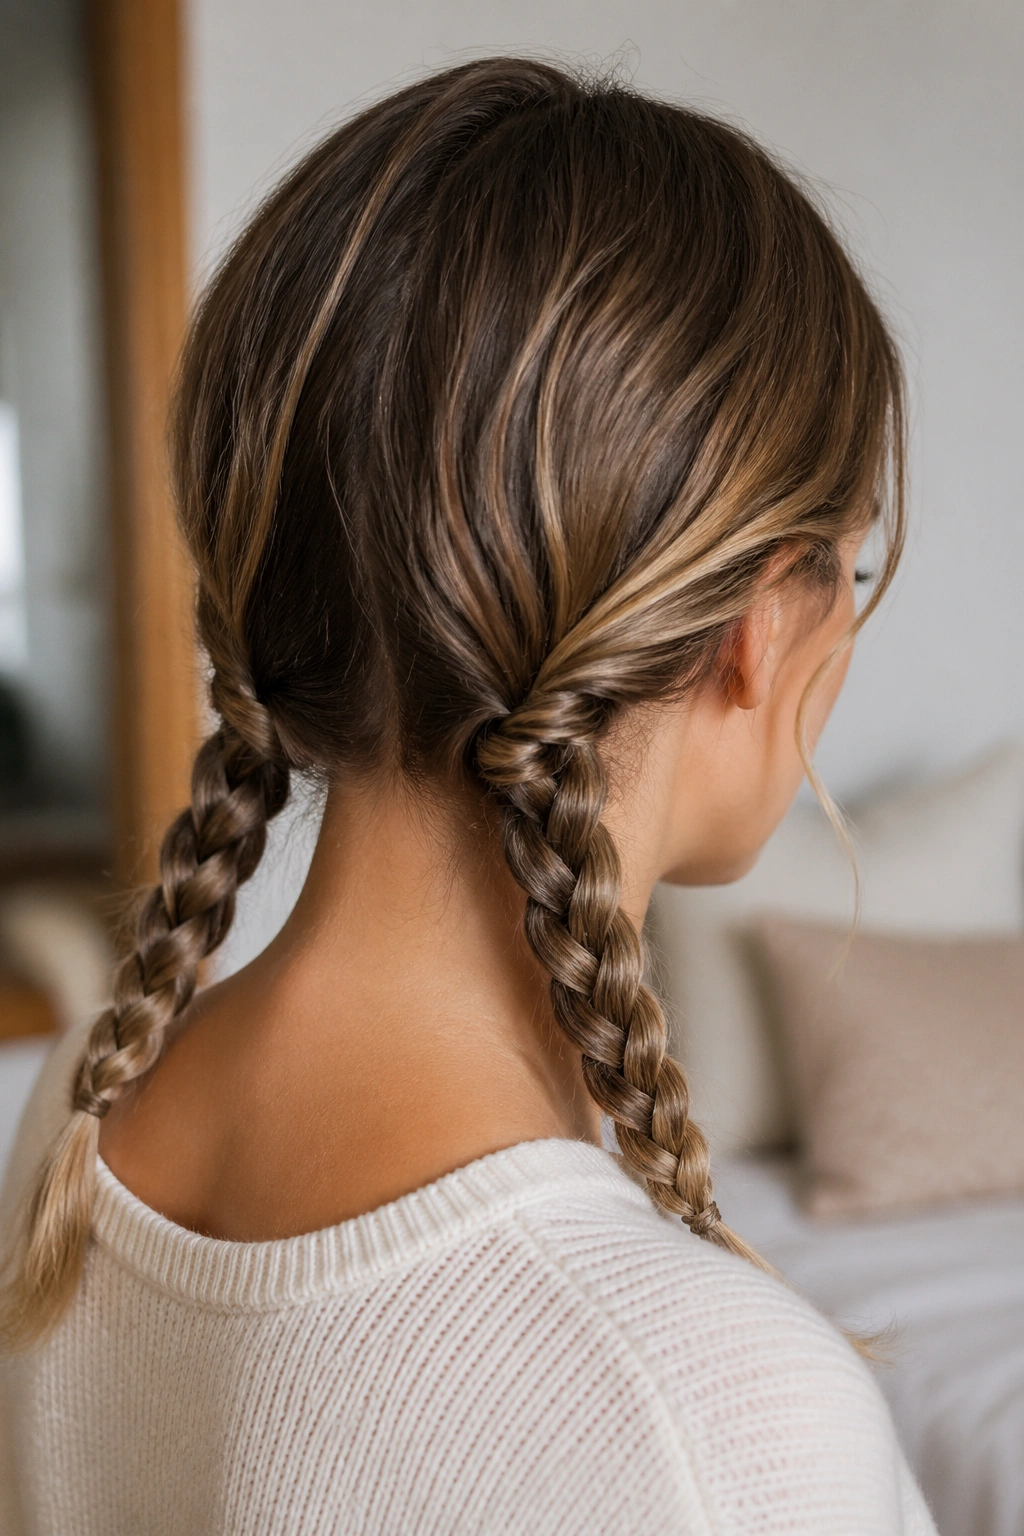
Want waves that sit lower and look softer around the face? Low rope braid pigtails are the move. The placement changes the whole mood of the style. Instead of building volume high on the head, the bend starts near the jawline and drapes downward in a calmer, slower wave.
That lower placement also makes the style easier on the scalp. If your hairline gets tender from tight styles, this one is a friendlier option. The tension can stay light near the crown, which means you’re less likely to wake up with a headache or a weird line across your roots.
How to wear it
Part the hair in the middle or slightly off-center. Gather each side low, just above the nape, and twist the strands away from the face before wrapping them around each other. Keep the braid loose enough that the sections can still move a little. That tiny bit of slack gives the wave room.
These pigtails are especially good for long hair that tends to get stringy at the ends. The low placement lets the length do the work, so you get movement without a lot of puff at the crown. It’s a nicer result than people expect.
3. High Rope Braids for Lift at the Crown
If your roots go flat, move the braid up. That’s the whole story here. A high rope braid starts the wave closer to the scalp, which gives the top section more life and makes the whole style feel fuller.
This one works especially well if your hair falls straight as a board after a blow-dry. The higher braid changes where the bend begins, so the root area gets a little lift instead of lying dead flat against the head. You still end up with beach waves, but they start with more energy.
The trade-off is comfort. High braids can feel more noticeable when you sleep, especially if your hair is dense or long. Keep the tension snug, not tight, and don’t yank the front hairline back. That’s the fastest way to make the style feel fussy.
A side benefit? The wave tends to hold better through the first inch of hair, which makes the whole style look less like it was done in a hurry.
4. Four Mini Rope Braids for Extra Texture

I reach for four mini rope braids when one big twist gives me two broad bends and not much else. A head of hair with four smaller braids usually wakes up with more texture, more movement, and a little more grit in the pattern.
It’s a smart choice for straight hair that tends to drop waves as soon as there’s any humidity in the air. The smaller sections create more places for the hair to bend, so the wave shows up all the way through the mids instead of hanging out only near the bottom.
What makes this version different
- Section size should stay around 1 inch or a touch under.
- The twists need to match in direction so the finished wave looks even.
- Each braid should be dry before you take it out, or the pattern collapses fast.
- A tiny bit of foam mousse usually beats heavy cream here.
Don’t overpack the hair with product. Too much and the braids feel sticky before they dry, which makes the wave look rough instead of soft.
Four braids take a little more time than two, but they give you a more detailed finish. If you like hair that looks touched by wind rather than styled by a curling wand, this version earns its place.
5. Rope Braid Pigtails with a Center Part
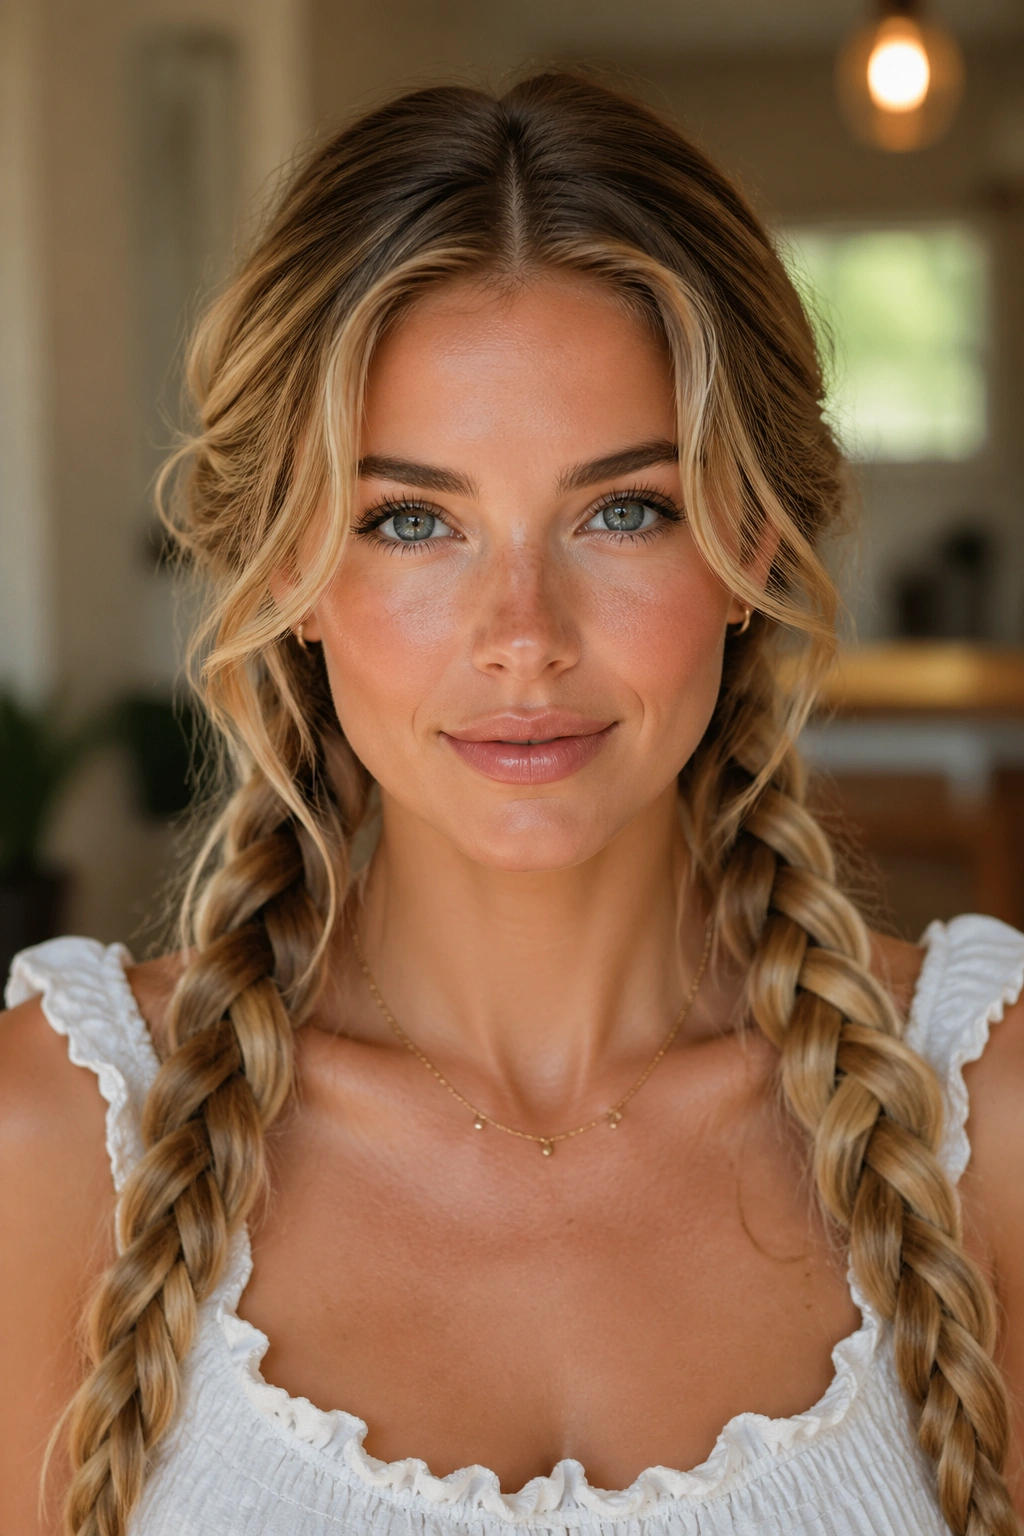
A clean middle part does something useful that people ignore too often: it keeps the wave pattern honest. With rope braid pigtails, the center part creates symmetry, so both sides dry in a matching shape and the face-framing pieces fall in the same place.
That balance matters if your hair tends to flip harder on one side. A center part reins that in. It also makes layered cuts look more deliberate, because the shorter pieces on each side get bent in the same direction instead of fighting each other.
There’s also a very plain reason this style works so well on long hair. The braid line stays visible enough to set the wave, but not so tight that it leaves harsh ridges. You get a soft bend from the cheekbones down, and the roots still move.
I like this version when I want hair that looks polished in the morning without looking overdone. It’s neat at night, loose in the morning, and easy to refresh with fingers instead of a brush.
6. Half-Up Rope Braids That Leave the Ends Loose
Unlike full pigtails, half-up rope braids keep the bottom layer free, so the ends don’t get shoved into a tight pattern. That makes this style one of the better choices if you like movement through the length but don’t want every strand bent the same way.
It’s also kinder to long, thick hair. Only the top half has to dry around the braid, which means less bulk to sleep on and less chance of waking up with squashed ends. The loose bottom layer keeps its natural fall, while the braided section gives you lift near the crown.
Best for
- Long layered cuts
- Hair that goes flat at the roots but has good movement in the ends
- Second-day hair that already has a little grip
- People who hate sleeping with all their hair tied up
The only real downside is that the wave pattern is more selective. You’ll get texture where the braid sits, not all the way through. I think that’s a plus, not a flaw, unless you’re chasing a full-head bend.
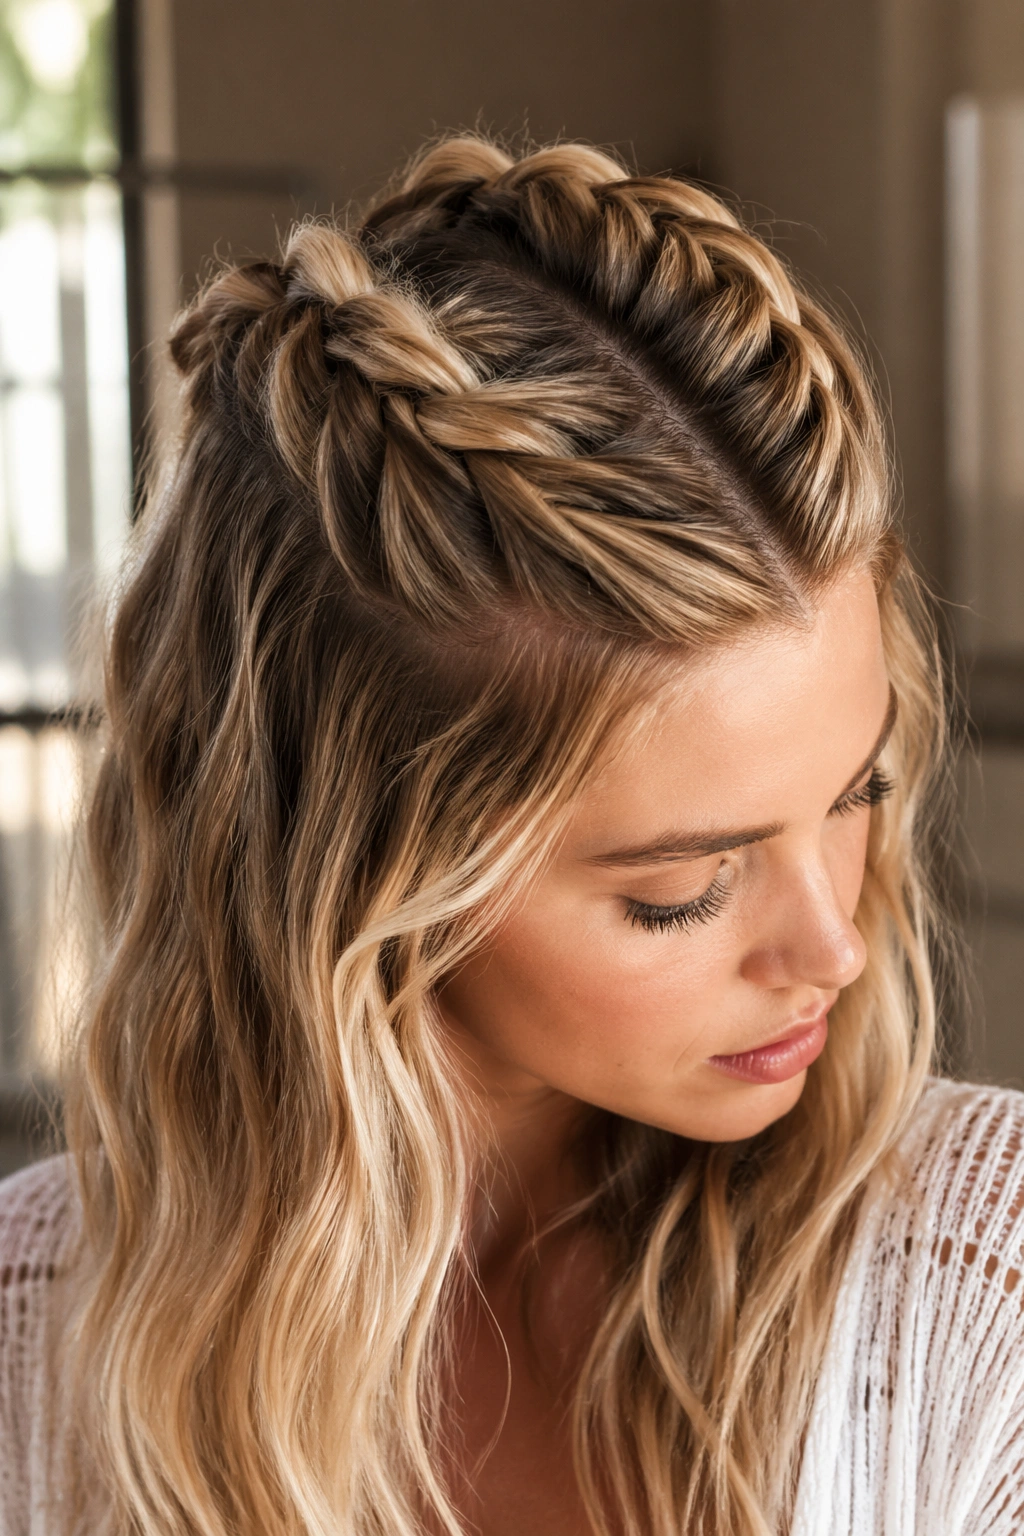
7. Crown Rope Braid Around the Hairline
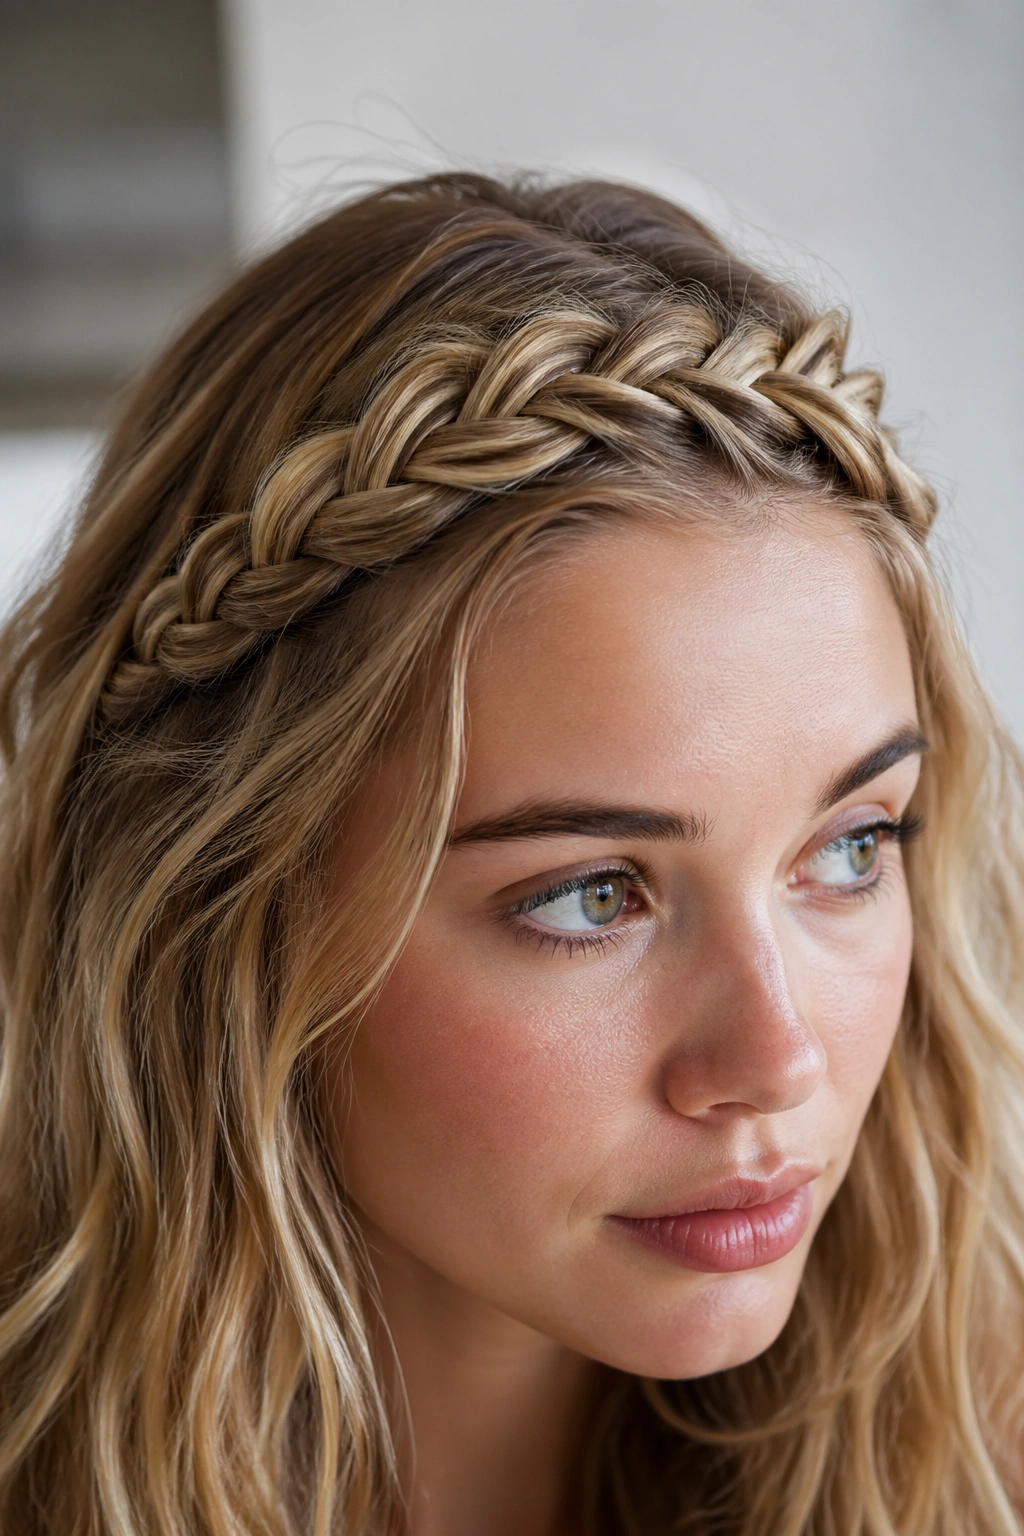
A crown rope braid feels fussy for ten minutes and then does a lot of quiet work. The braid sits along the hairline, almost like a halo, and that placement gives the front sections a gentle bend while leaving the back free to stay loose.
This is a favorite when the front layers need help. Grown-out bangs, curtain pieces, and those awkward short layers around the temples all behave better when they’re guided into a soft loop around the face. The wave ends up looking deliberate without getting stiff.
What to watch for
- Don’t pull the braid too tight across the temples.
- Keep the section at the front a little thicker so it doesn’t look skinny and harsh.
- Secure the braid low at the back with a flat pin or small clip.
- Sleep on a satin pillowcase if you want the crown to stay smooth.
The crown braid can feel more decorative than the others, but it’s not just pretty. It changes how the front of the haircut sits, which is half the battle with heatless styling anyway.
8. Side Rope Braid Swept Over One Shoulder
Why does a side rope braid look so relaxed in the morning? Because all the tension sits off-center, and the wave follows that diagonal line instead of sitting in neat, matching rows. The result is softer, less formal, and a little more undone in the best possible way.
This one is a smart fix for hair that’s too short for pigtails but long enough to twist into one braid. You gather the hair to one side, twist it away from the face, and let the braid hang over one shoulder while it dries. The next morning, the bend falls unevenly in a way that feels natural rather than arranged.
The style also helps if one side of your hair always gets straighter than the other. By moving the whole braid to one side, you can nudge the flatter side into a better pattern without having to fight both halves of your head. Small trick. Big payoff.
I’d use this when I want movement with a little edge, not perfect symmetry. It feels less precious than a center-part set, and sometimes that’s exactly what the hair needs.
9. French Rope Braids That Start at the Hairline
French rope braids are the structured cousin in this group. Instead of twisting two hanging sections from the start, you keep feeding in hair as you move down the head, which means the wave begins higher and stays more connected to the scalp.
That changes the whole finish. A regular rope braid gives you texture through the mids and ends. A French rope braid gives you root-to-end movement, which is handy if your hair usually goes limp up top while the bottom still has some life.
Why the waves start higher
The added hair at the top creates a steadier twist, so the first few inches don’t collapse as easily. That’s useful on medium and long hair, especially if the layers around the face are prone to slipping out. The braid also looks smoother at the crown, which cuts down on that frizzy halo some heatless styles leave behind.
Who should try it
- People with flat roots
- Layered cuts that need extra control near the hairline
- Hair that loosens too quickly when braided low
- Anyone who wants a more sculpted wave pattern
The only catch is sleep comfort. French rope braids can sit higher and feel bulkier at night, so they’re not my first pick if you toss around a lot. Still, the finish is worth the little inconvenience.
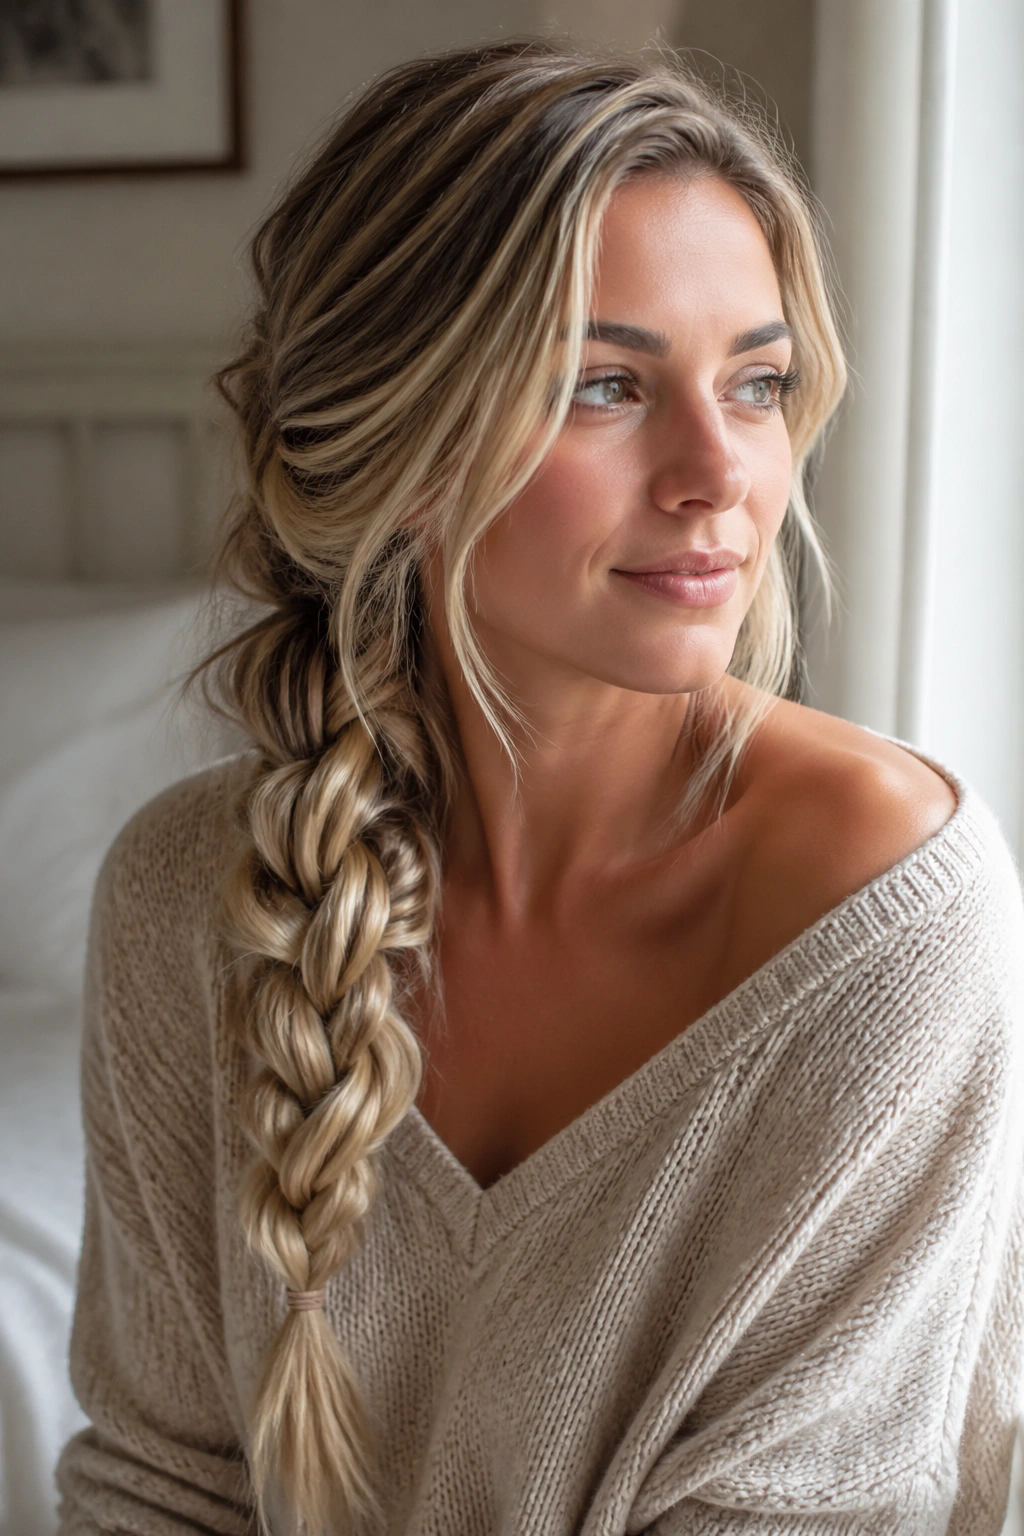
10. Rope Braid Buns for Bigger Mid-Length Waves
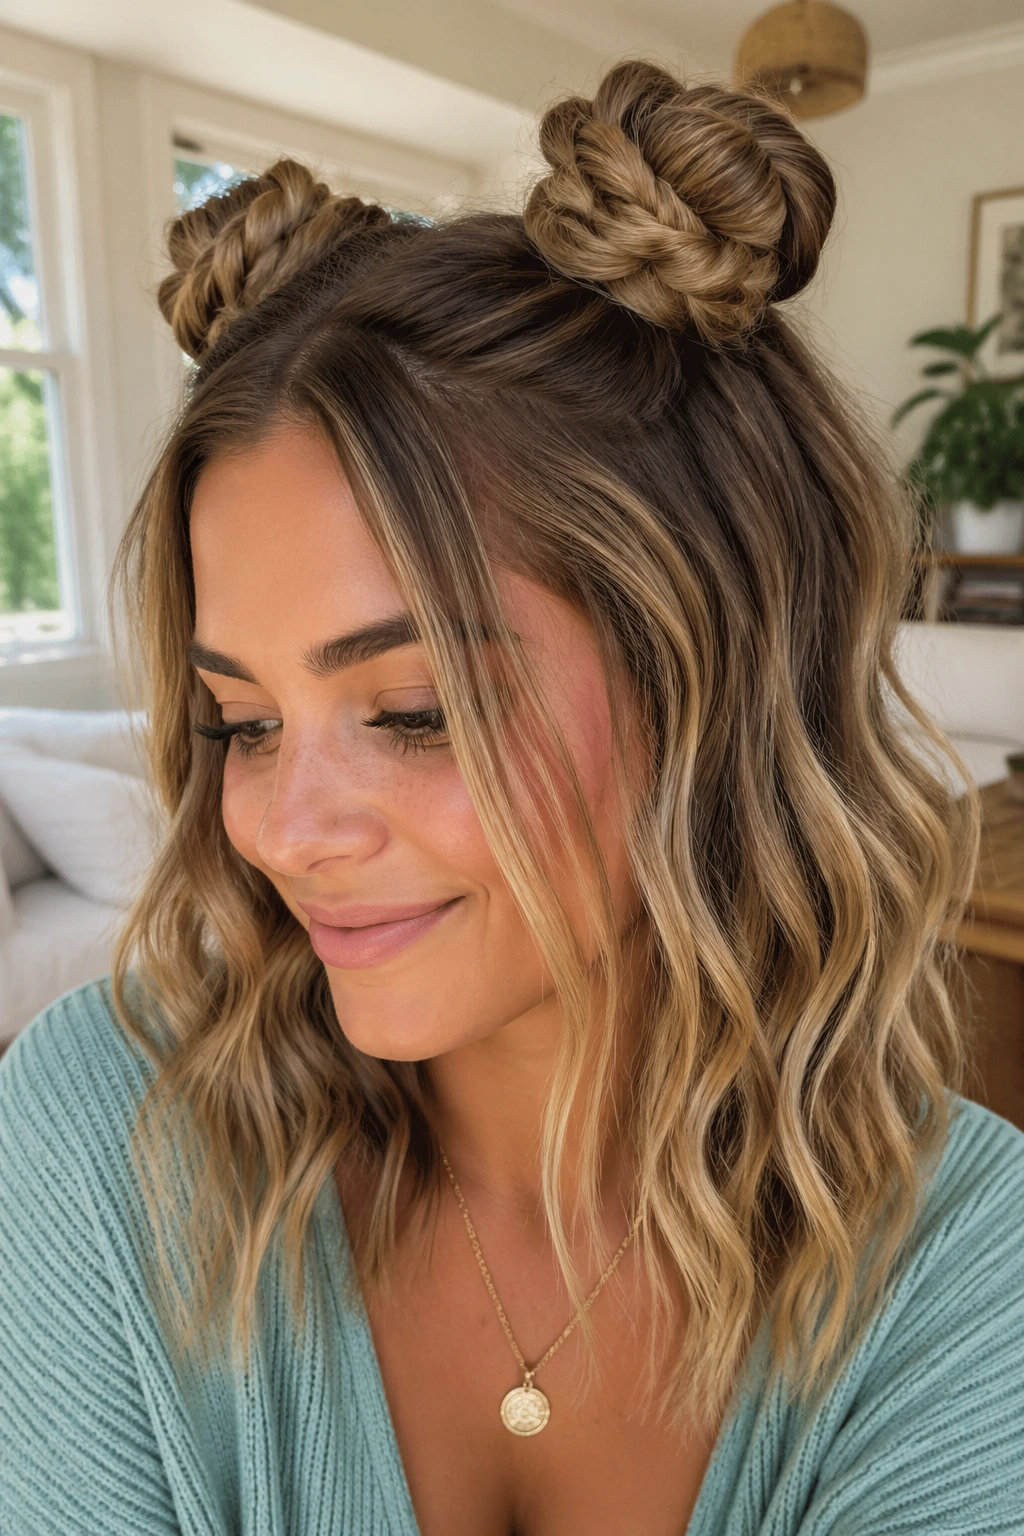
Rope braid buns are the easiest way to fake a fuller wave pattern. Twist the hair, coil it into a loose bun, pin or scrunch it in place, and let the shape dry that way. When you take it down, the wave tends to be rounder and broader than the one you get from straight-down braids.
This is a smart move for shoulder-length hair or a lob that doesn’t quite behave in pigtails. The bun gives the ends a circular bend, which can make mid-length hair look thicker and bouncier without needing a hot tool. Two buns make broad movement. Four smaller buns make more texture.
A low bun keeps the crown smoother. A higher bun creates a little more lift. Neither version needs to be tight; in fact, tight buns can leave an awkward knot-shaped dent that you spend ten minutes trying to smooth out.
If you want loose beach waves with a rounder shape through the mids, this is one of the better tricks in the bunch. It looks less obvious than it sounds.
11. Micro Rope Braids for Fine, Straight Hair
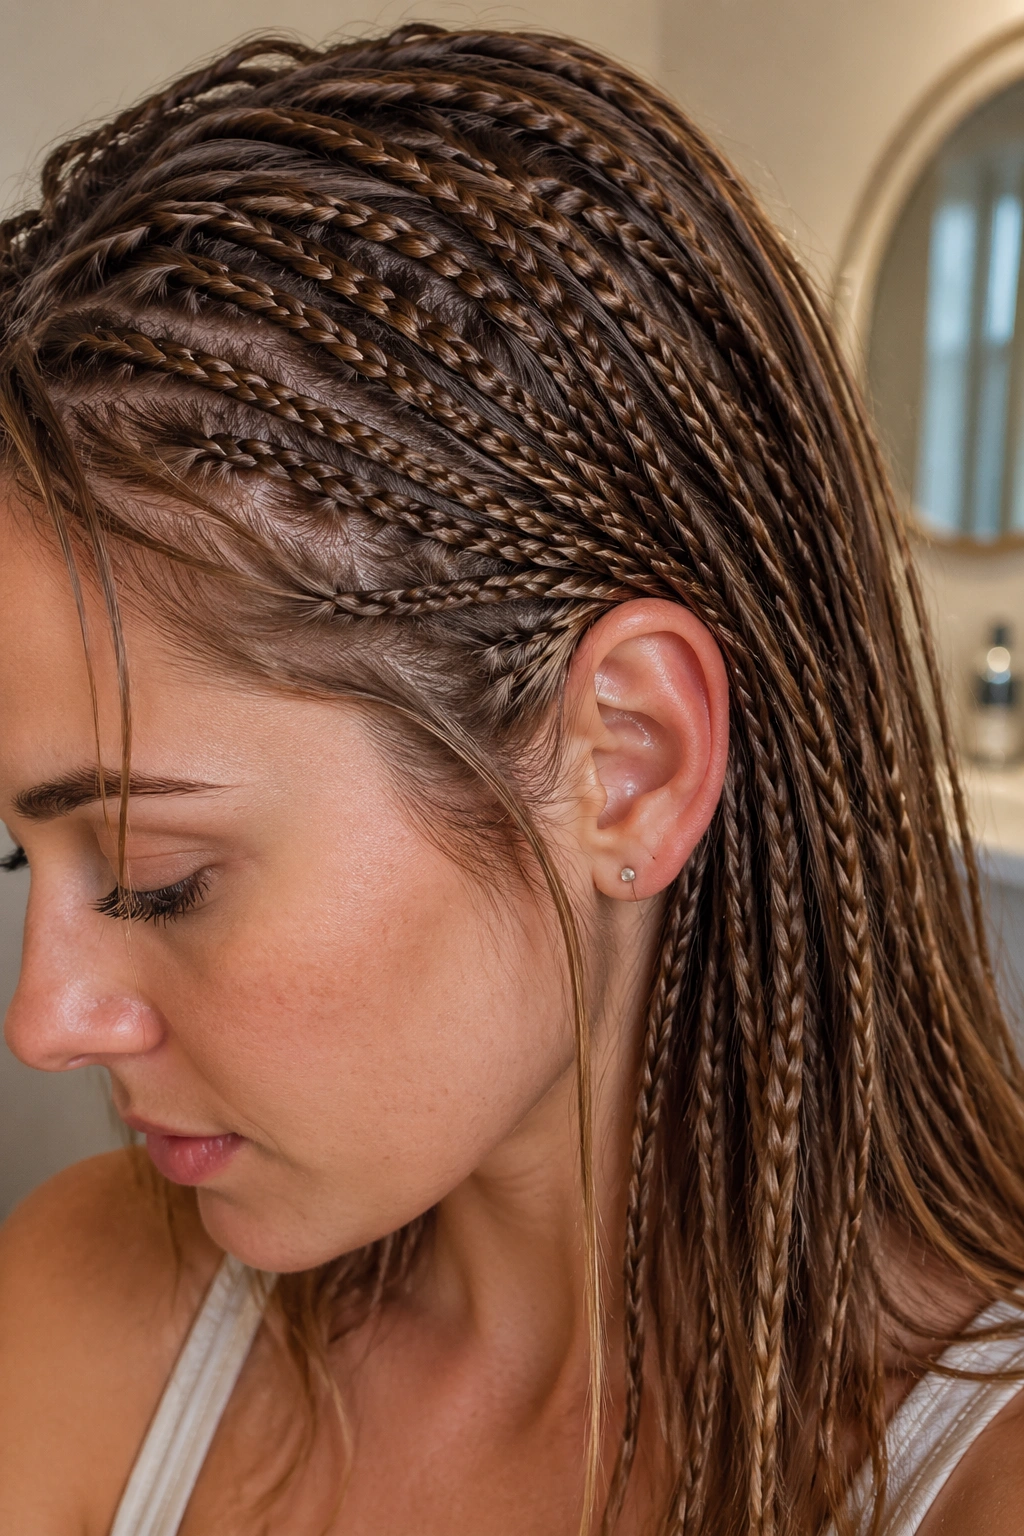
If your hair laughs at mousse and goes flat by dinner, go smaller. Micro rope braids give fine, straight hair more pattern to hold onto, which usually means the wave survives longer and looks more detailed when it comes down.
The trick here is restraint. Tiny braids help, but too much product can kill the movement before it starts. I’d use a light foam or a very small amount of leave-in, then comb it through so the hair still feels clean and not coated. Fine hair needs grip, not grease.
The part people skip
- Let the braids dry fully, all the way to the center.
- Don’t rub them apart. Separate with dry fingers.
- Keep the sections narrow, around ½ to ¾ inch, if you want a more obvious pattern.
- Stop adding product once the hair feels lightly tacky.
Micro braids can look a little too crimped if you leave them overly tight, so the goal is controlled texture, not hard lines. Done right, they leave a soft wave that holds longer than the bigger versions.
12. Chunky Rope Braids for Thick, Heavy Hair
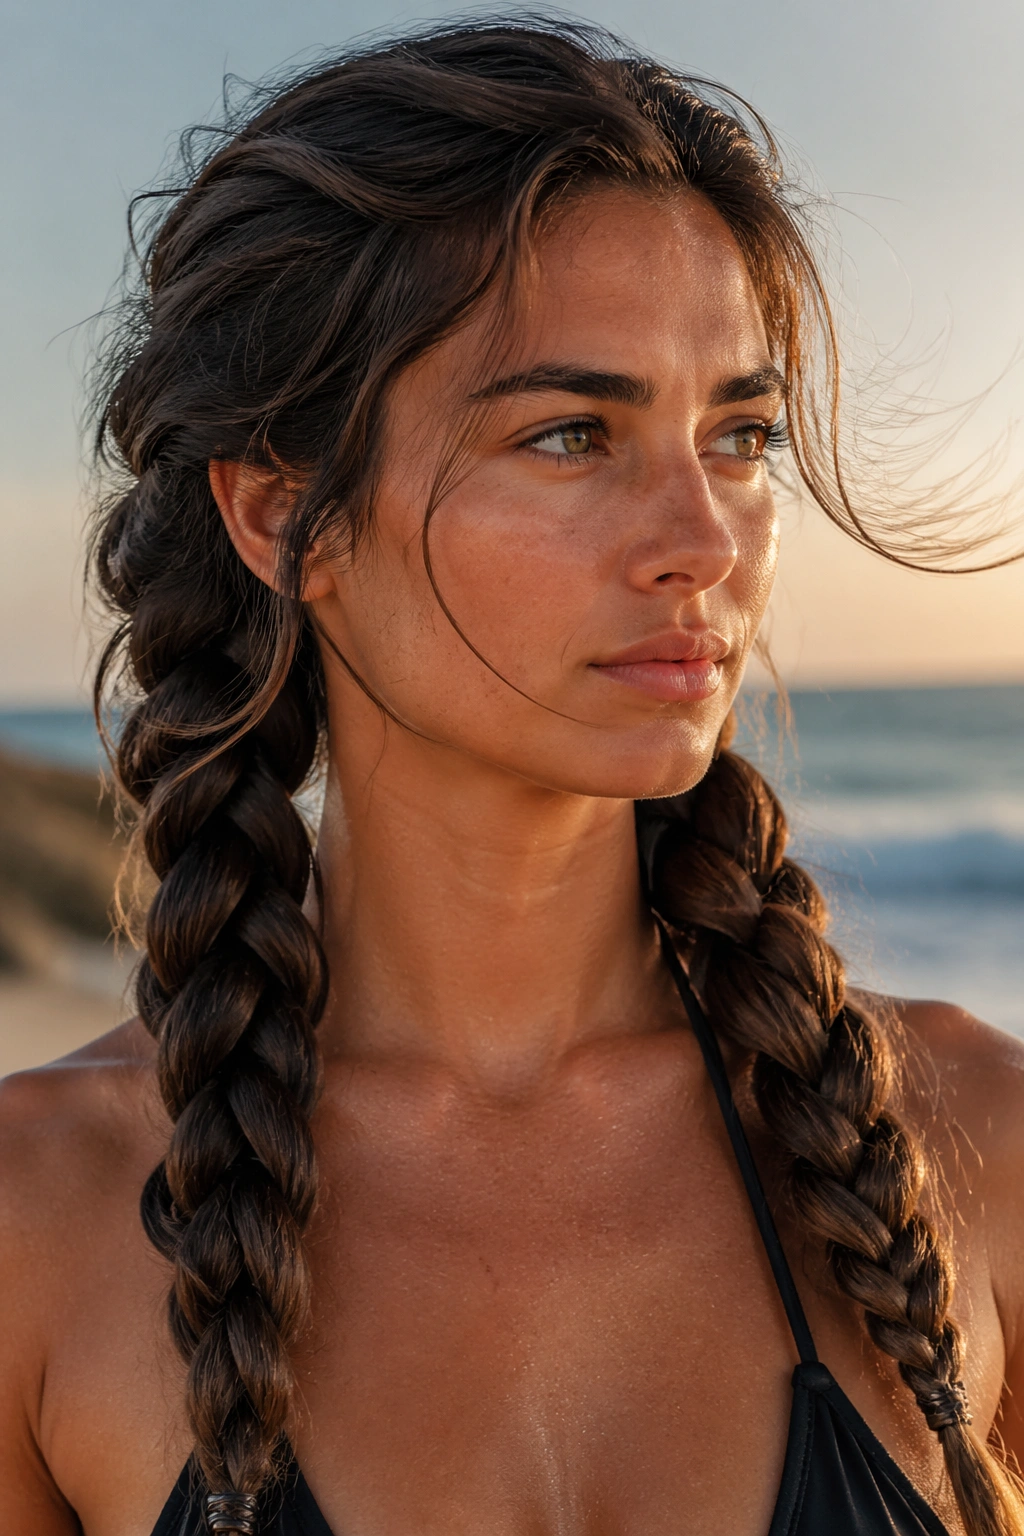
Bigger braids are not lazy braids. On thick hair, they often make the best beach waves because they keep the pattern loose enough to dry evenly and avoid that stuffed, helmet-like finish.
A chunky rope braid gives dense hair room to breathe. If the sections are too small, the braid can trap moisture and the wave ends up oddly narrow in some spots and flat in others. Larger twists solve that problem by letting the length bend as one unit.
This version is also faster. Fewer sections means less time twisting, less time sleeping on a pile of braids, and less of that morning unraveling session where every strand tries to escape in a different direction. Thick hair usually looks better with confidence than with fuss anyway.
I like this set for long, heavy hair that falls flat when it’s over-sectioned. Two large rope braids, tied low, usually give enough movement without turning the head into a tangle of little twists.
13. Satin-Scarf Wrapped Rope Braids for Smoother Waves
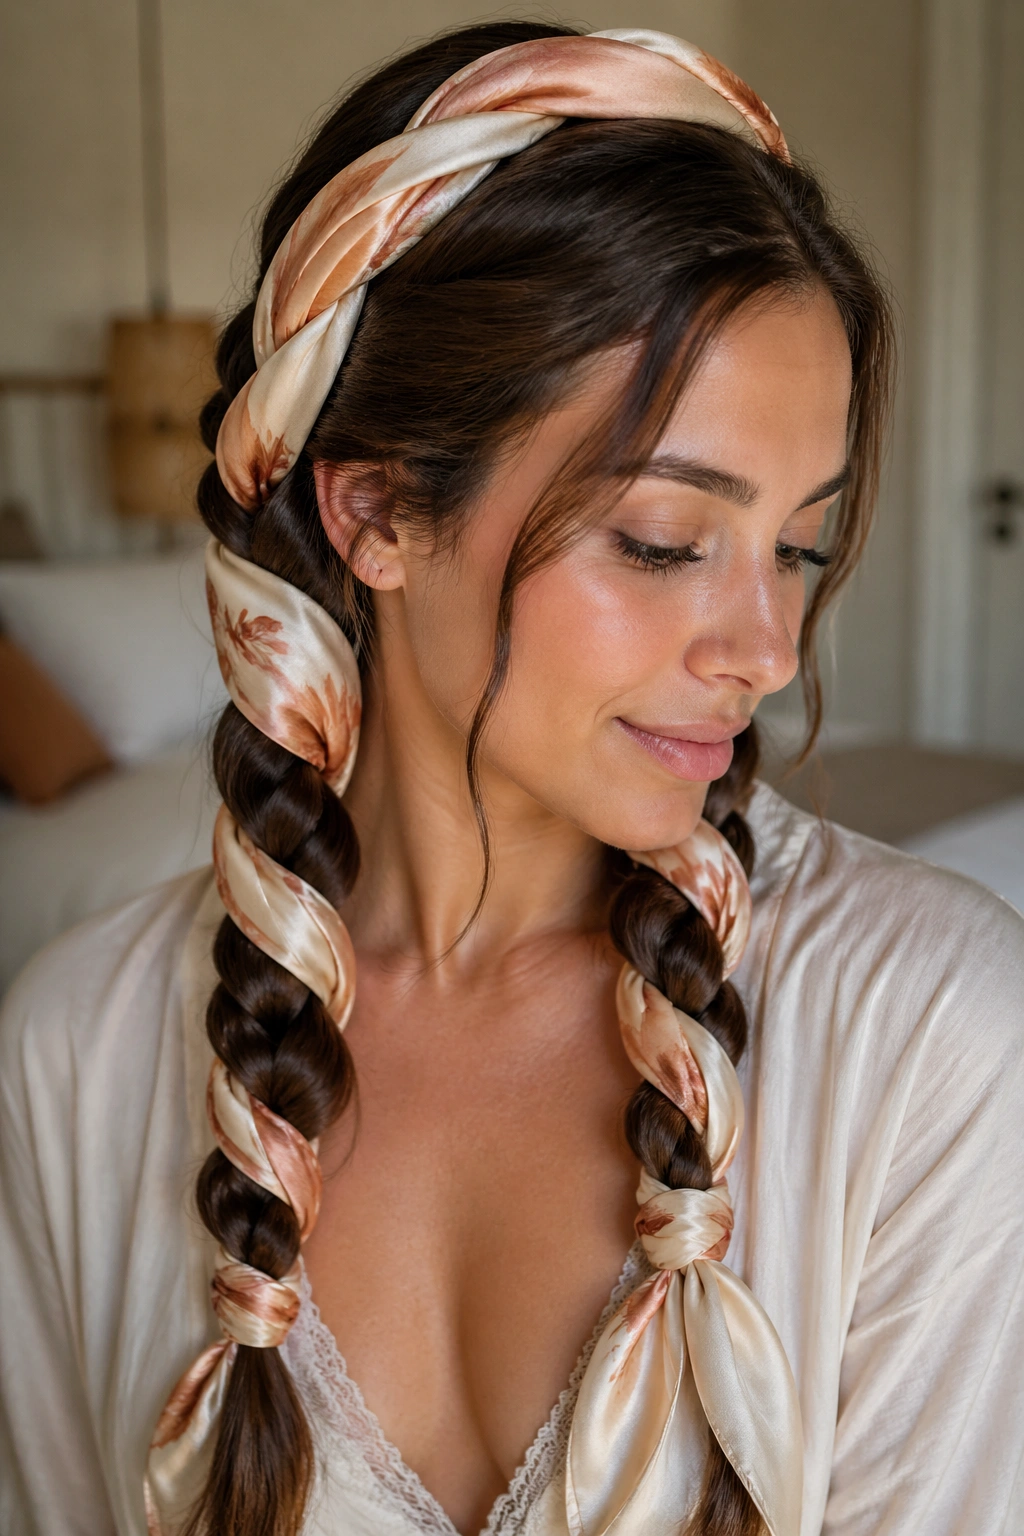
A satin scarf sounds decorative until you use it on a heatless set and realize how much it changes the finish. Wrapped around finished rope braids, it cuts down on rubbing, keeps the twists from collapsing, and helps the wave come out smoother in the morning.
This method is especially handy if you sleep hard or move around a lot. The scarf keeps the braids from getting mashed under a pillow, which means less frizz at the crown and fewer weird dents across the lengths. It also helps if your hair is fine and tends to puff up the second it touches cotton.
How to sleep on it
- Tie the scarf loosely so it holds the braids without squeezing them.
- Keep the ends secured with a satin scrunchie or a soft tie.
- If the hair is very long, tuck the length upward before wrapping.
- Unwrap in the morning only after the hair feels fully dry.
A scarf doesn’t replace the braid. It protects the braid while it sets. That’s a small difference on paper and a big one in real life.
Final Thoughts
The braid placement matters more than people usually think. Move a rope braid two inches higher, and the wave starts to live at the crown instead of the ends. Slide it lower, and the texture softens around the jaw and neck.
That’s the real advantage of heatless rope braids: they let you choose where the bend begins. Some versions give lift. Some stay subtle. Some work better on fine hair, and some make thick hair behave without a fight.
If the first set comes out a little flatter than you wanted, change the section size before you change the whole routine. Tiny adjustments beat dramatic reinvention here. That’s how you get beach waves that look like they happened by luck, not by a tutorial.