Long, thick hair can make milkmaid braids look almost unfair. The braid has all that glossy weight to work with, so the crown can look full and rich instead of wispy, but the same density also means the style can slide, sag, and start tugging at your scalp if you build it the lazy way.
That’s the part people skip. They picture the finished braid and forget the engineering underneath. With thick hair, a milkmaid braid usually needs tighter anchor points, smaller sections, and more pins than you think at first glance. Skimp on those, and the braid starts creeping downward by lunch.
The upside is huge. Once the shape is right, milkmaid braids on long thick hair look polished in a way that thin hair sometimes can’t fake. The braid reads clearly from across the room, the texture shows up in photos, and the style can go soft and romantic or crisp and structured without much extra effort.
A good milkmaid braid should feel secure, not strangled. Keep that in mind, because the styles below lean into the weight of thick hair instead of fighting it, and the difference shows up fast once you start pinning.
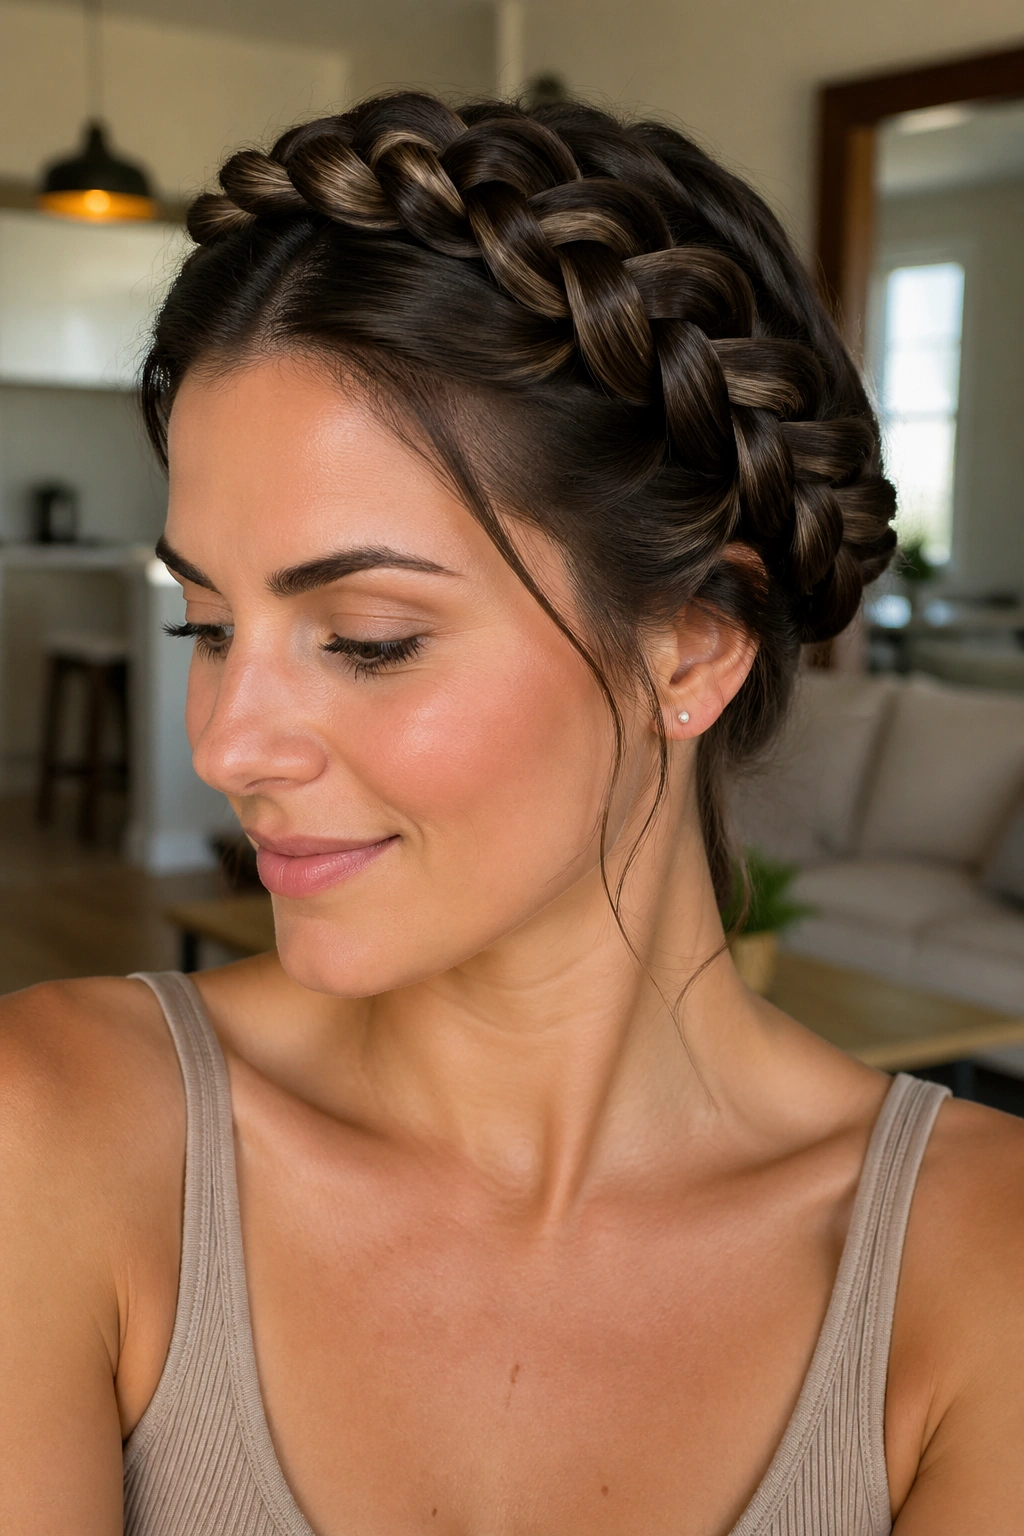
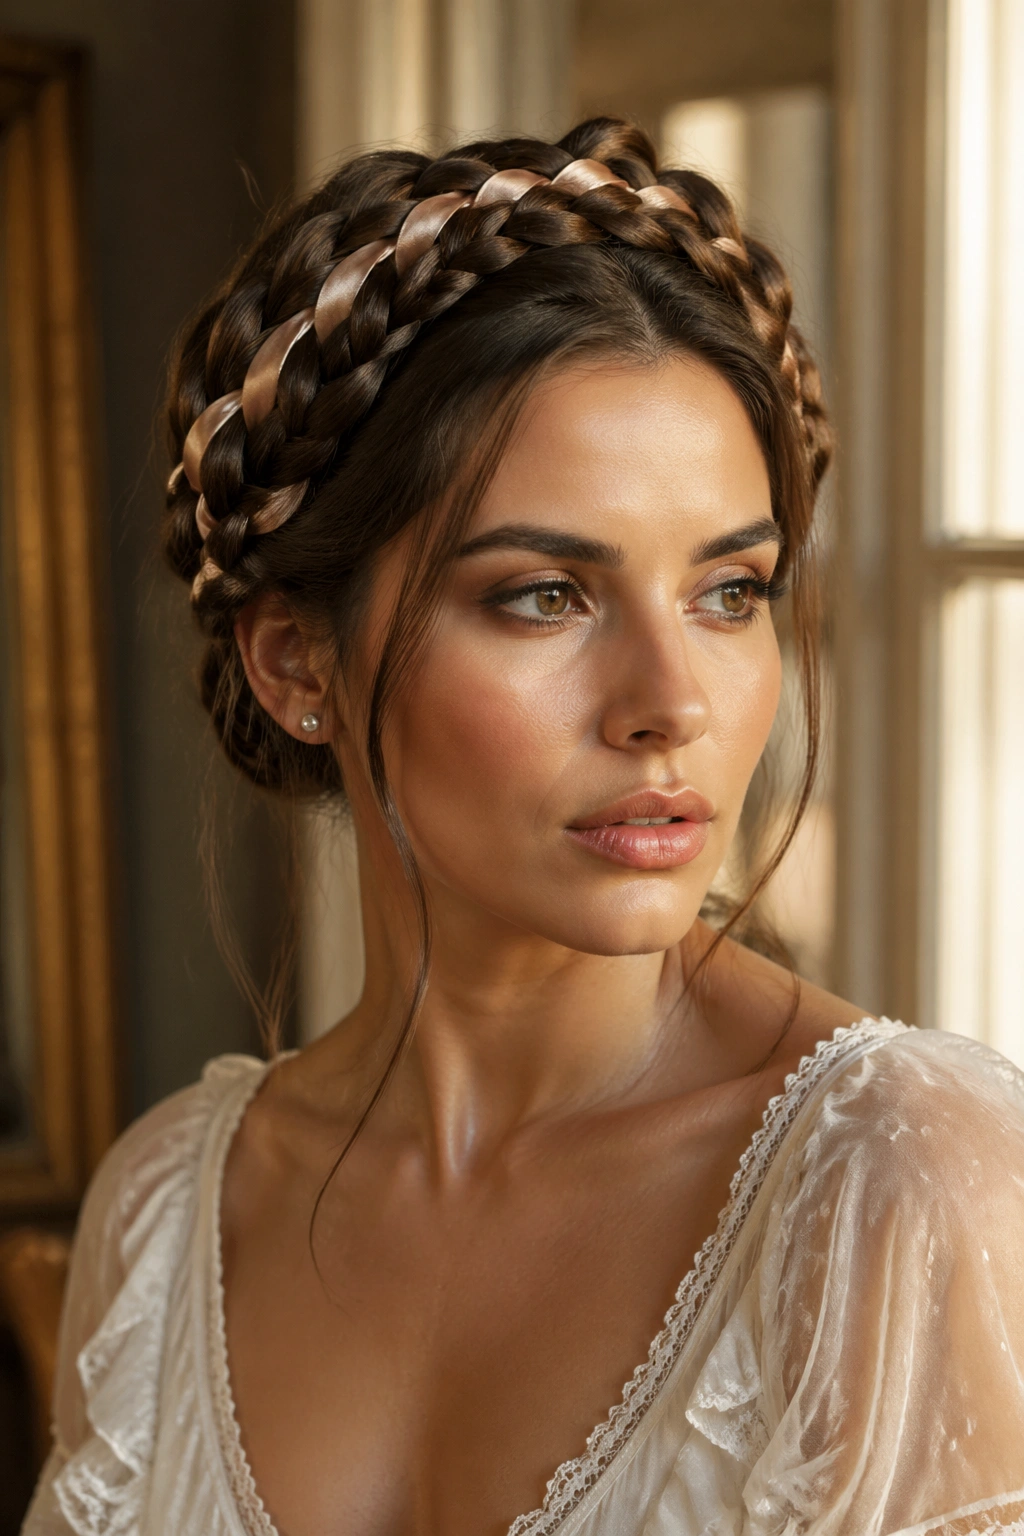
1. Classic Center-Loop Milkmaid Braid
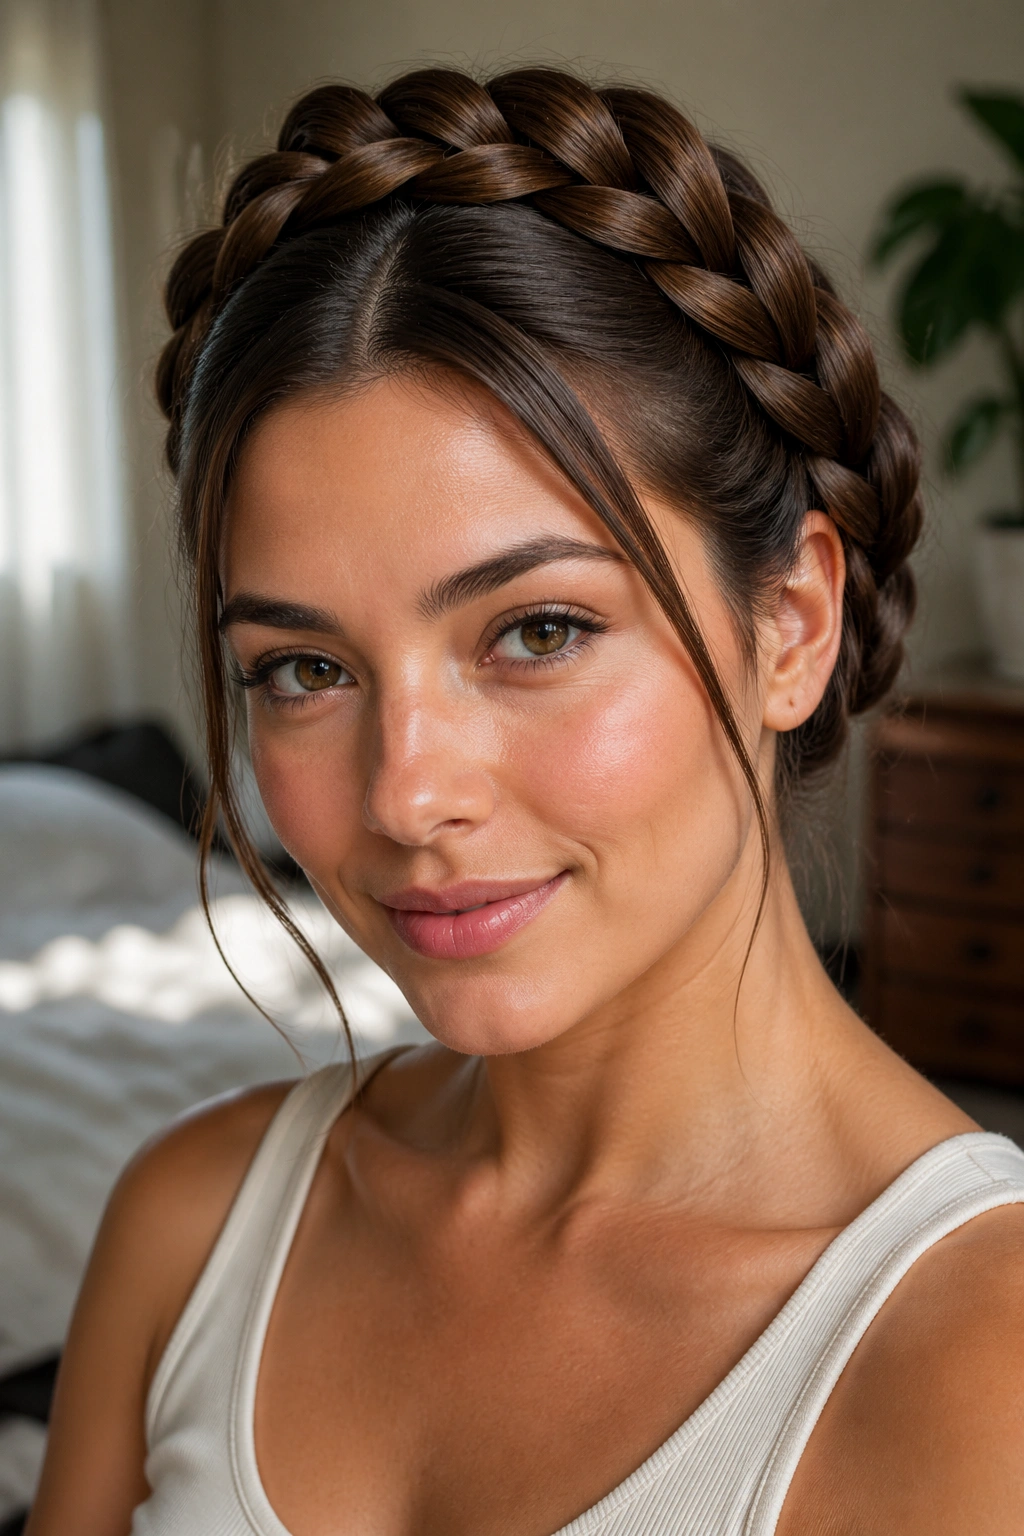
The classic version earns its spot because it gives long thick hair a clean frame and a lot of structure with almost no fuss. Part the hair down the middle, braid each side, then bring the braids up and across the top of the head so they meet near the opposite temple. On dense hair, the trick is to keep the crown line snug at the start and slightly looser as you travel back so the braid doesn’t sit like a hard ridge.
Why It Holds Up So Well
Thick hair has enough body to support the shape, which is half the battle. The other half is pin placement. I like to anchor each braid end with a small clear elastic first, then tuck the tail under the opposite braid and secure it with 2 to 3 crossed bobby pins. That crossing motion matters more than people think.
Quick Setup Details
- Use 1.5- to 2-inch sections at the front so the braid doesn’t get bulky near the hairline.
- Mist the roots with a light texturizing spray if your hair is silky.
- Keep 4 to 6 bobby pins within reach before you start wrapping.
- Aim the braid just above the ears, not halfway up the head, so the shape sits naturally.
Best move: pull the braid forward with your fingers after pinning, not before. Thick hair holds shape better that way, and you keep the crown from looking mashed.
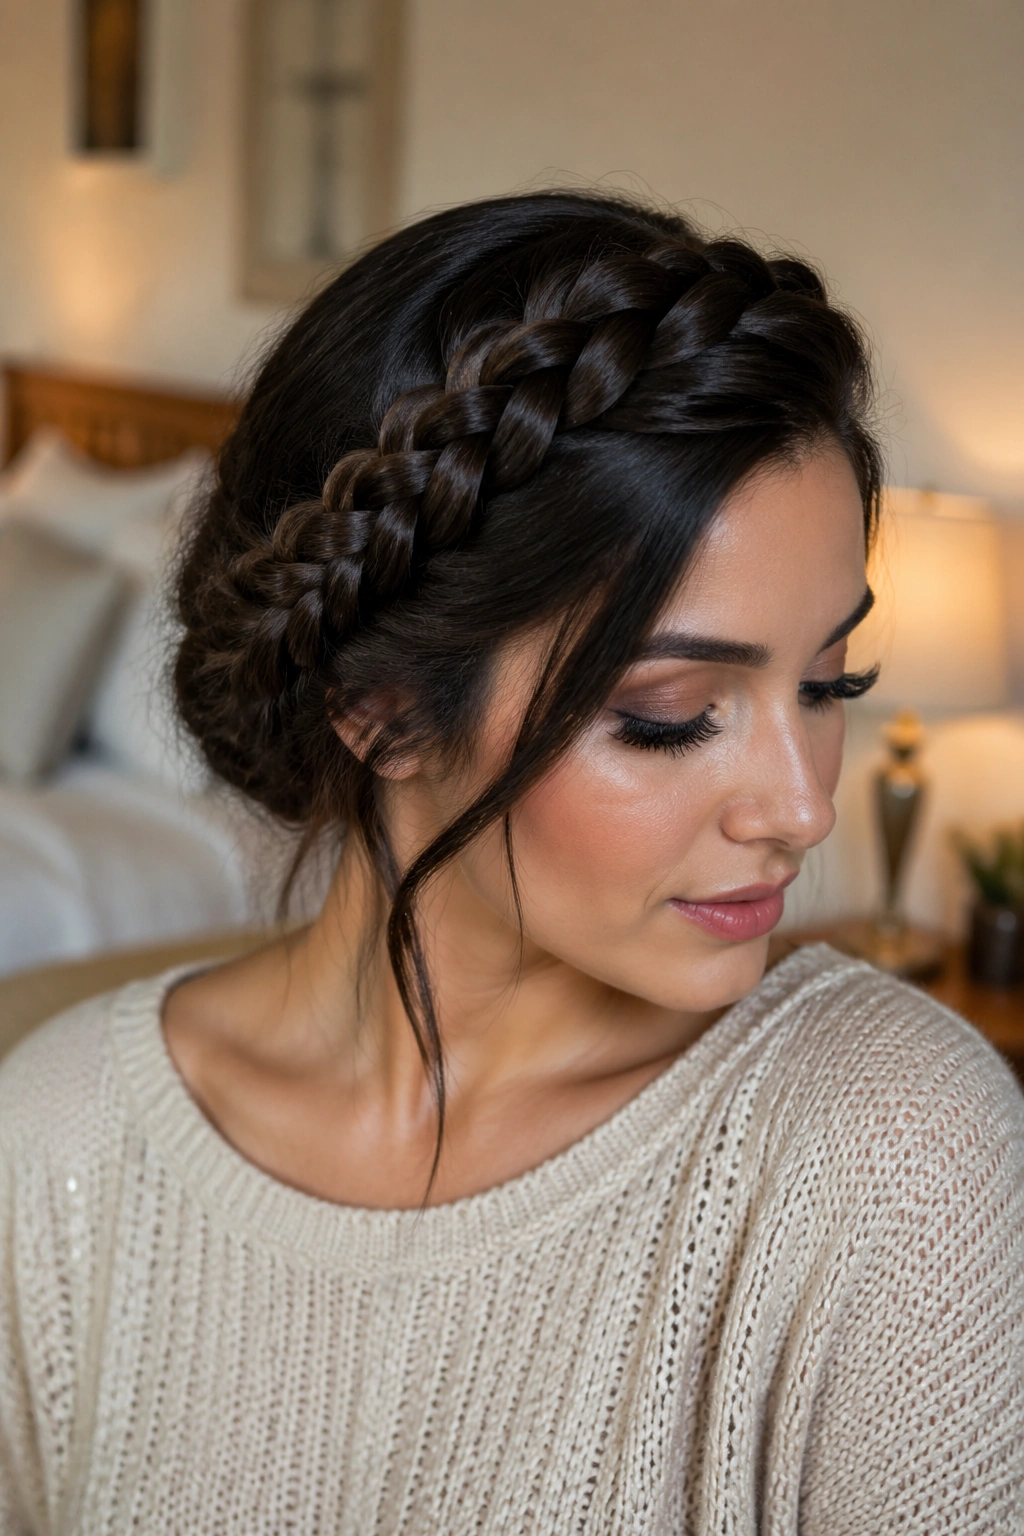
2. Low, Loose Milkmaid Braid With Face-Framing Pieces
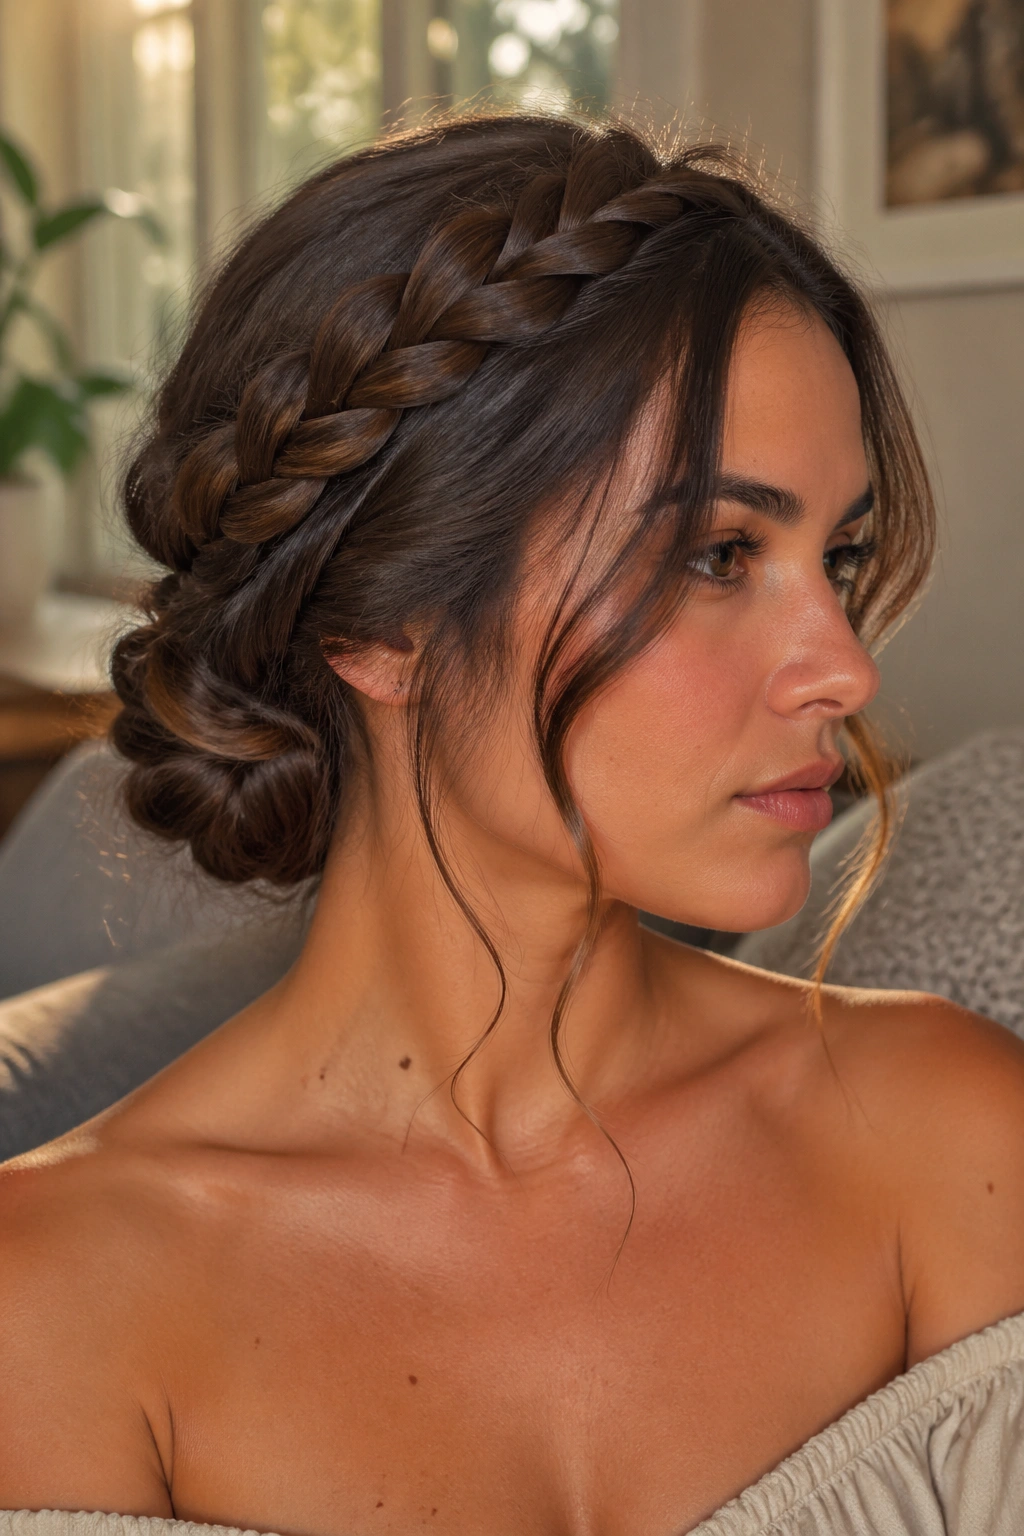
If your braid keeps sliding off the top of your head, drop the whole thing lower. A low, loose milkmaid braid sits closer to the ears and nape, which gives long thick hair less room to fight gravity. It also feels softer around the face, especially if you leave out a few front pieces around the temples.
This version works well when you want the milkmaid shape without the formal, nearly sculpted finish. The braid still wraps around the head, but the loops stay closer to the hairline instead of sitting high and tight. That lower placement takes pressure off the crown, and on thick hair that can be the difference between a style that lasts and one that loosens every 20 minutes.
Keep the face-framing pieces deliberate. Too many loose strands, and the style looks unfinished. Too few, and it can feel severe. I like two slim pieces, each about ½ inch wide, curled once with a 1-inch iron or smoothed with a flat iron if your hair has a bend already.
This version is also kinder to layered hair. The braid can hide some shorter pieces, while the loose front sections keep the whole thing from looking helmet-like. That balance matters. Thick hair already brings enough volume on its own.
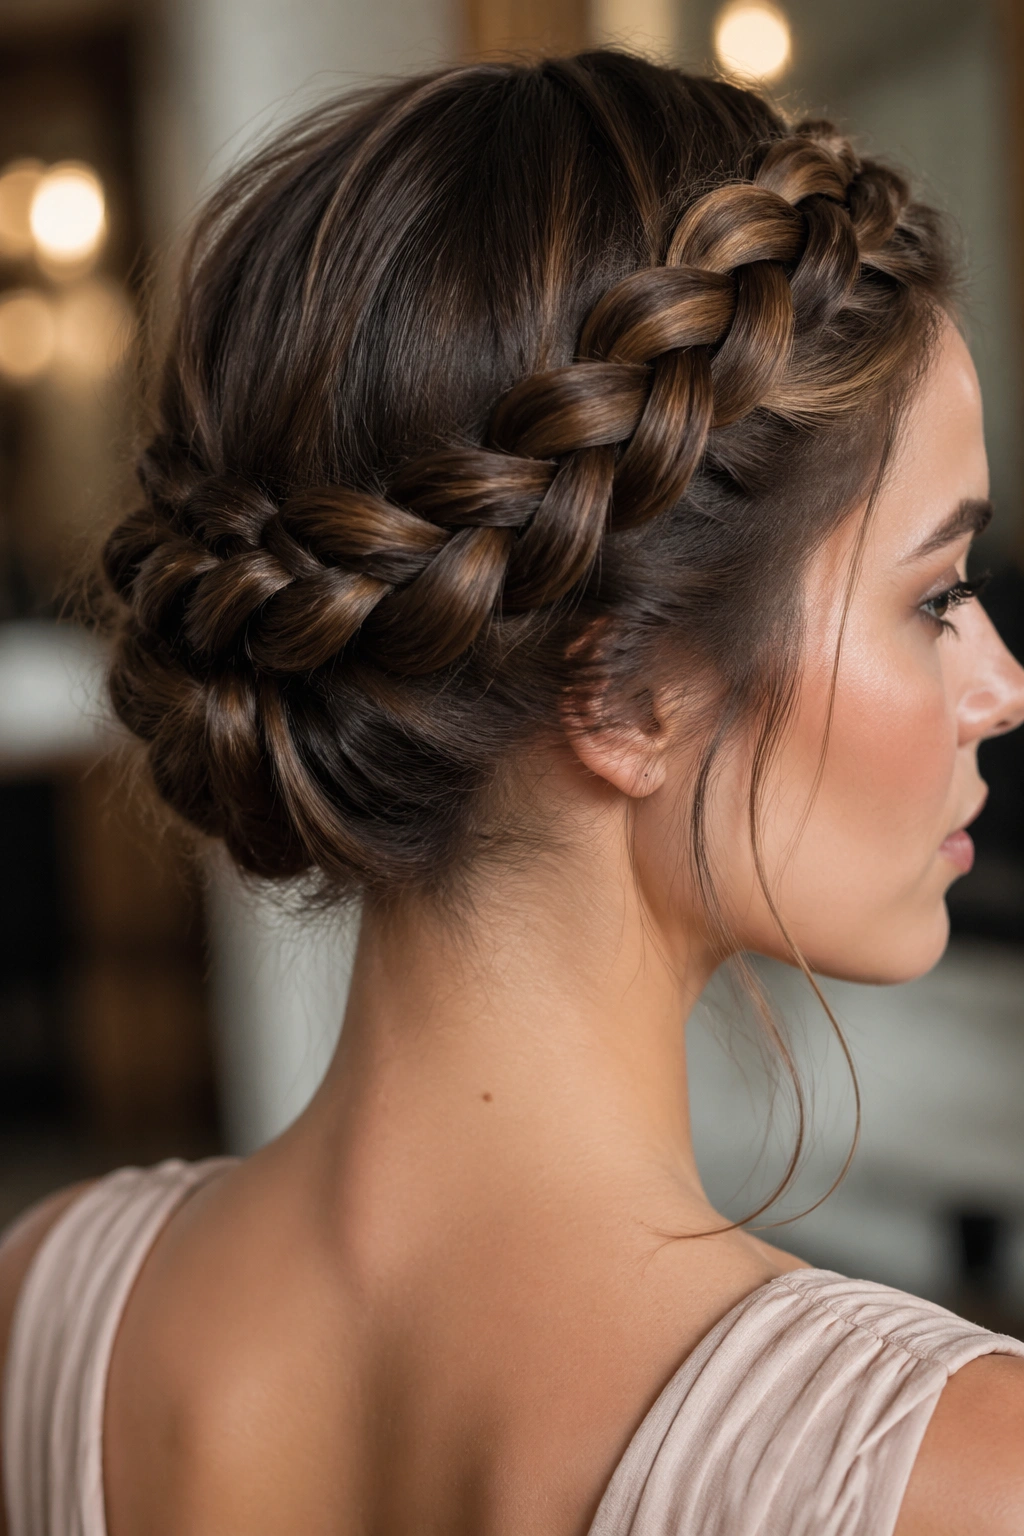
3. Double Dutch Milkmaid Braid
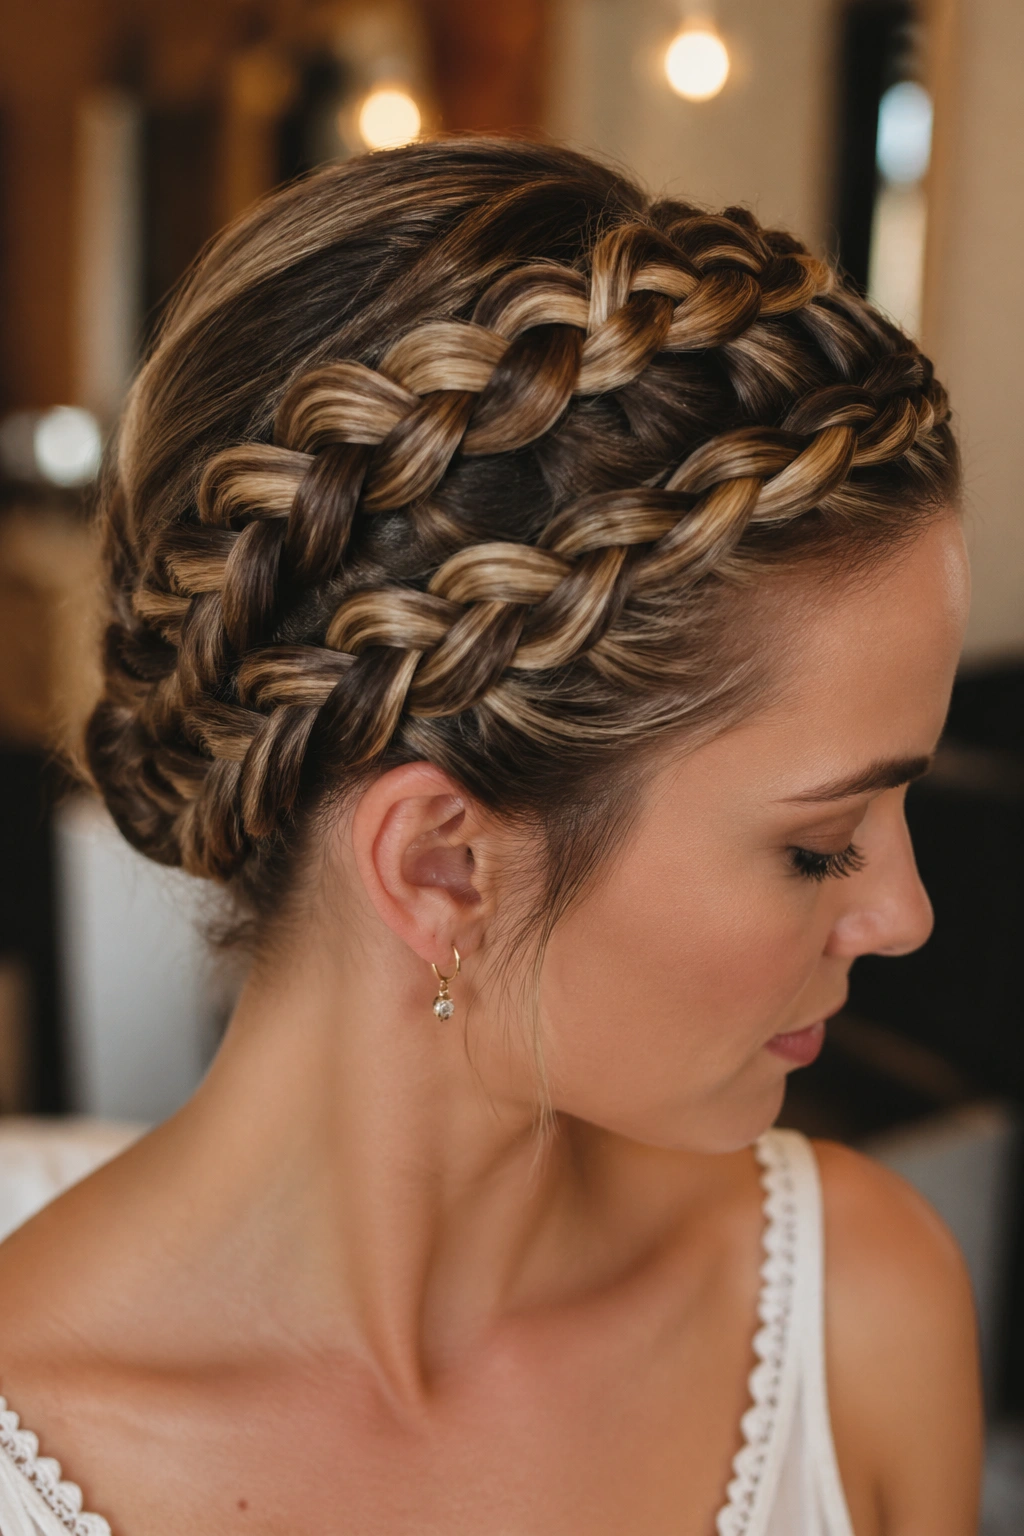
A Dutch braid gives the milkmaid shape a stronger spine, and that matters when your hair is heavy. Instead of crossing sections over the middle, you braid them under, which makes the braid sit up off the head with a clear, raised pattern. On long thick hair, that extra lift makes the style easier to see and less likely to flatten out by the time you leave the house.
Why It Works on Dense Hair
Dutch braids create a firmer ridge than a basic three-strand braid. That ridge helps the crown hold its shape even when the hair underneath is packed with weight. It also gives you more grip for pinning, because the braid has more structure to catch onto the scalp.
What to Watch For
- Keep the first three crossings tight.
- Braid evenly from root to tail; don’t widen one side and tighten the other.
- Finish with small elastics so the ends stay neat.
- Pin the braid at the nape first, then bring it across the crown.
There’s a catch, though. If you braid too loosely at the start, the whole look turns fuzzy fast. Thick hair exaggerates that sloppiness. Start firm, then soften the braid by tugging the outer loops a little after it’s secured. Not during. After. That order matters.
4. Fishtail Crown Milkmaid Braid
Why does a fishtail braid make such a good milkmaid style on thick hair? Because it controls bulk without killing texture. A fishtail pulls the hair into smaller, tighter bites, which creates a delicate look even when the ponytail itself is huge. That makes it a smart choice when your hair tends to swallow ordinary braids whole.
The braid also travels neatly across the crown, so it gives you that wrapped, halo-like shape without needing a huge amount of pinning. I like this version for hair that is thick but smooth, especially if the strands are long enough to keep the fishtail pattern visible all the way to the end. If your hair is extremely layered, the ends can fray a bit, and that’s normal. You can hide the tail under the opposite braid.
How to Use the Texture
Start with two sections, not three. Cross tiny outer pieces from one side to the other, working slowly so the braid stays tidy. Keep the tension even, because fishtails get messy fast when one hand pulls harder than the other. Once the braid is wrapped, pinch the outer edges gently to widen it. A little widening goes a long way.
This is one of those styles that looks more complicated than it is. It isn’t. It just rewards patience.
5. Rope-Twist Milkmaid Braid
Rope twists look fancier than they are, which is probably why I like them so much. They’re fast, they hold shape well in thick hair, and they have a clean, almost glossy finish that reads differently from a standard braid. If you want a milkmaid style without the visual texture of a classic three-strand braid, this is the one.
The technique is simple. Split each side into two sections, twist both sections in the same direction, then wrap them around each other in the opposite direction. That opposite-direction wrap keeps the rope from unraveling. Thick hair loves this method because the twist shows off density instead of flattening it.
A Few Details That Matter
- Use two sections of about 1 to 1.5 inches each.
- Twist each side tightly before wrapping.
- Secure the ends with small elastics, not big snaggy ones.
- Pin the ropes under the opposite side with 3 to 4 pins.
The rope-twist version is also a nice fix for hair that breaks into layers. Shorter pieces tuck into the twist more easily than they do into a perfect braid, so the overall shape tends to look cleaner. If you want a softer finish, tug the rope gently once it’s pinned. Just don’t overdo it, or the style loses the neat spiral that makes it work.
6. Braided Crown With a Hidden Elastic Base
A tiny elastic at the nape changes everything. That’s especially true with long thick hair, where the weight of the braid can pull the whole crown downward if it’s only held by pins. This version starts with a low anchor point under the hair, then the braids are wrapped over the top and hidden into place. The elastic does the real work; the pins clean up the look.
This style is my pick when the hair is extra heavy or freshly washed and a little slippery. It feels more secure than a purely pinned milkmaid braid, and it usually stays put longer on straight, smooth hair. The hidden base also helps if your braid ends are too thick to tuck neatly on their own. You can anchor them low, tuck them under, and pin the ends flat.
The key is to keep the elastic small and placed low enough that it disappears under the braid. A clear mini elastic or a very thin hair tie works best. Big elastics make the base bulky, and bulky turns into lumpy fast under a crown style.
One clean anchor point. That’s the whole trick.
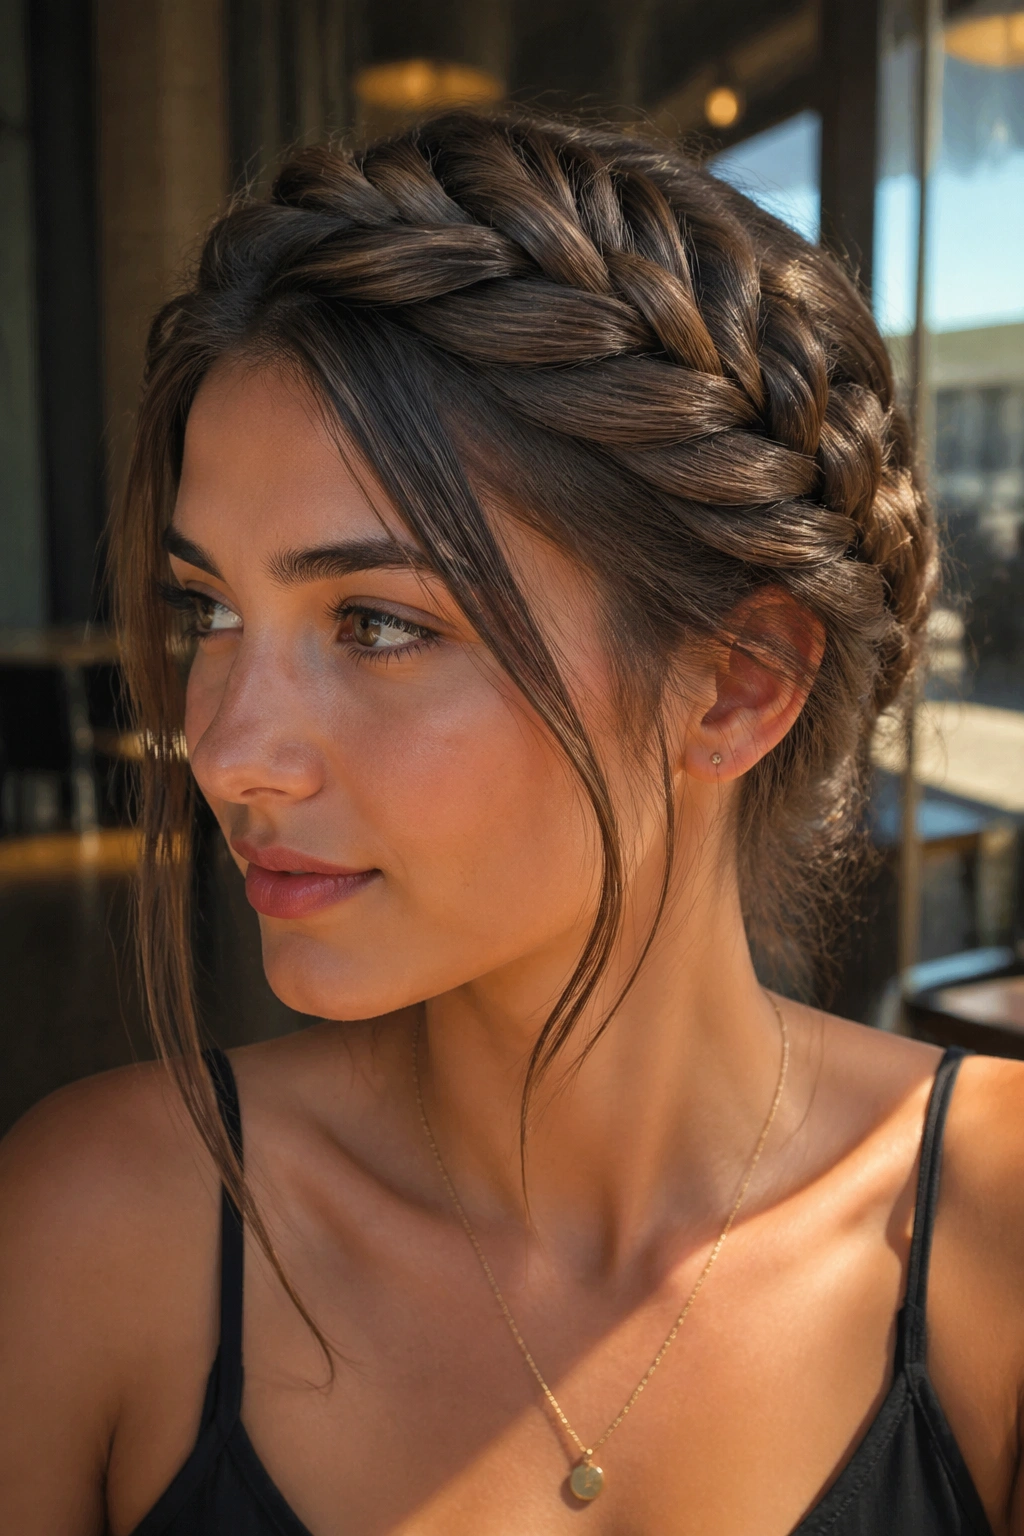
7. Side-Swept Milkmaid Braid
Symmetry is overrated here. A side-swept milkmaid braid can look more relaxed and more flattering on long thick hair, especially if you have layers or a deep side part already built into your haircut. Instead of dividing the hair evenly down the middle, shift the part and let one braid travel slightly lower than the other. The shape still reads as a crown, but it feels less rigid.
Where the Weight Should Sit
You want the heavier side to fall where your hair naturally wants to live. Fight the part too hard, and the braid starts to puff up in odd places. Work with the bend instead, then pin the looser side a little tighter near the ear so it doesn’t sag. That one adjustment keeps the style from sliding into your cheek by the end of the day.
This version is especially useful if one side of your hair is denser than the other. Most people have a side that behaves better, and honestly, that’s the side I’d use to help carry the braid across the top. The off-balance look feels intentional, not messy, when the front section has a clean line and the back section stays close to the head.
A slightly uneven milkmaid braid often looks more natural than a perfect one anyway. Hair has its own opinions.
8. Half-Up Milkmaid Braid for Extra Length
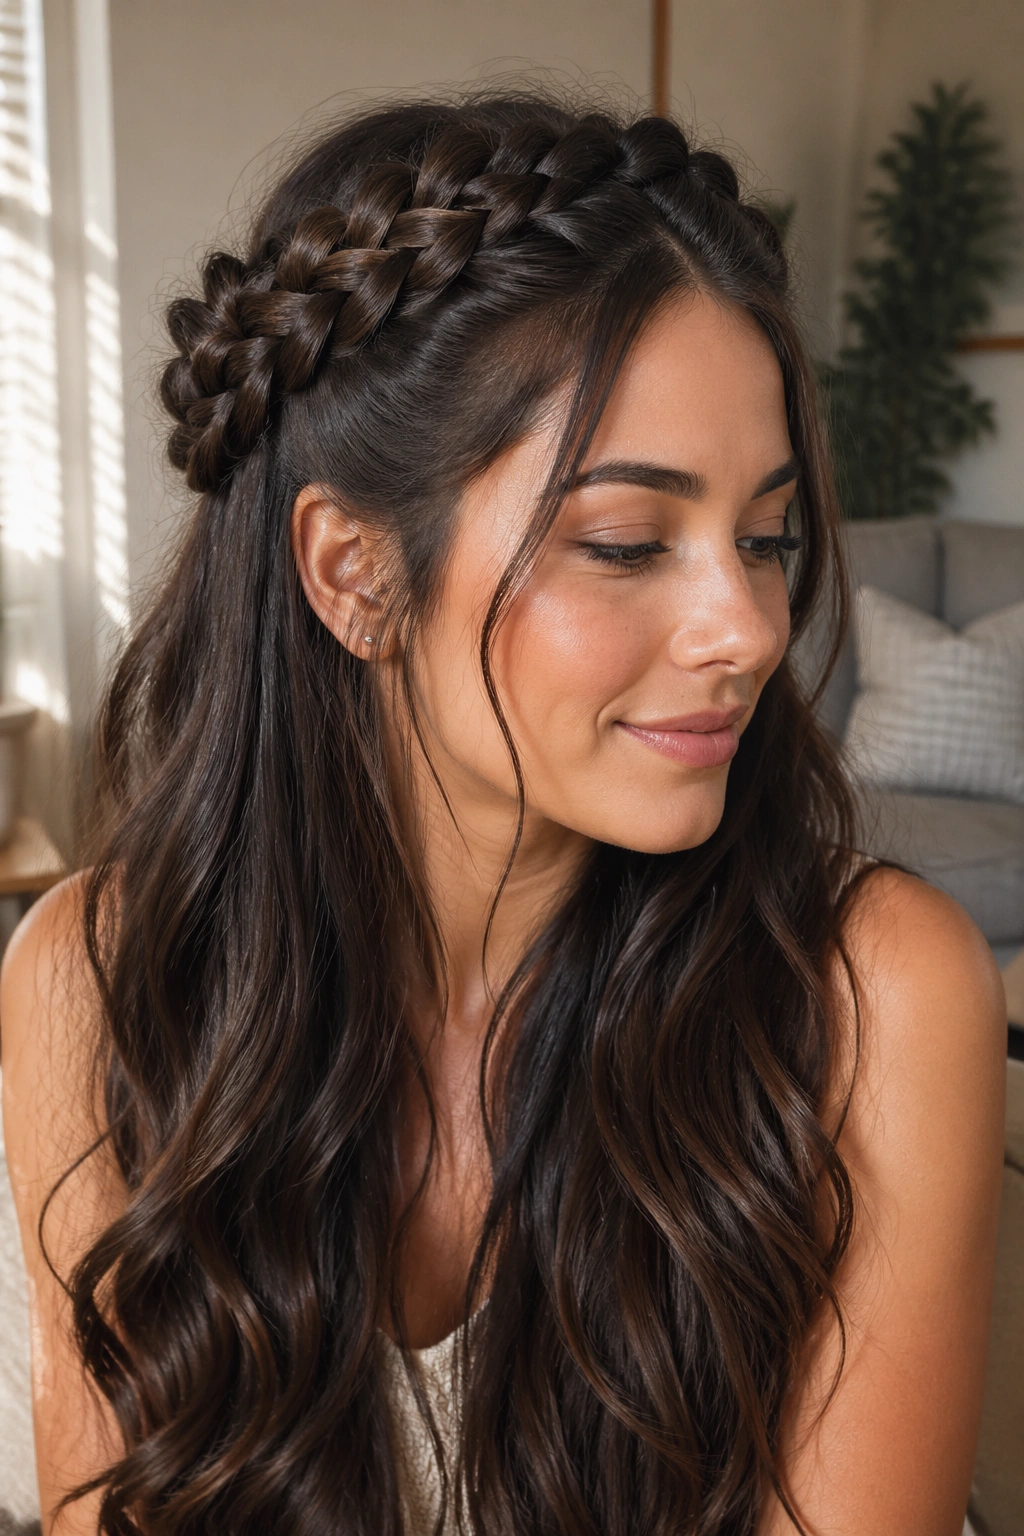
Half-up milkmaid braids solve the one problem full crowns can create on very long hair: the style can start to feel heavy before it even leaves the bathroom. By braiding only the top half and leaving the rest loose, you keep the crown detail while letting the length hang free. That gives thick hair a lighter feel and a little movement.
The look works especially well if your hair has loose waves or a smooth blowout underneath. Straight lengths make the contrast sharper; waves make the whole thing feel softer. Either way, the braid acts like a frame instead of a full updo, which is useful when you want your hair off your face but still want to show off the length.
I like to keep the braided section fairly tight at the temple and then tuck the ends under the back of the head. From there, the loose lengths fall over the shoulders and balance the crown. If your hair is ultra-thick, this version can be easier on the scalp because the weight is shared instead of piled onto the top of your head.
It also photographs well from the side. The braid line stays visible, and the loose hair gives the style some breathing room.
9. Milkmaid Braid Into a Low Bun Hybrid
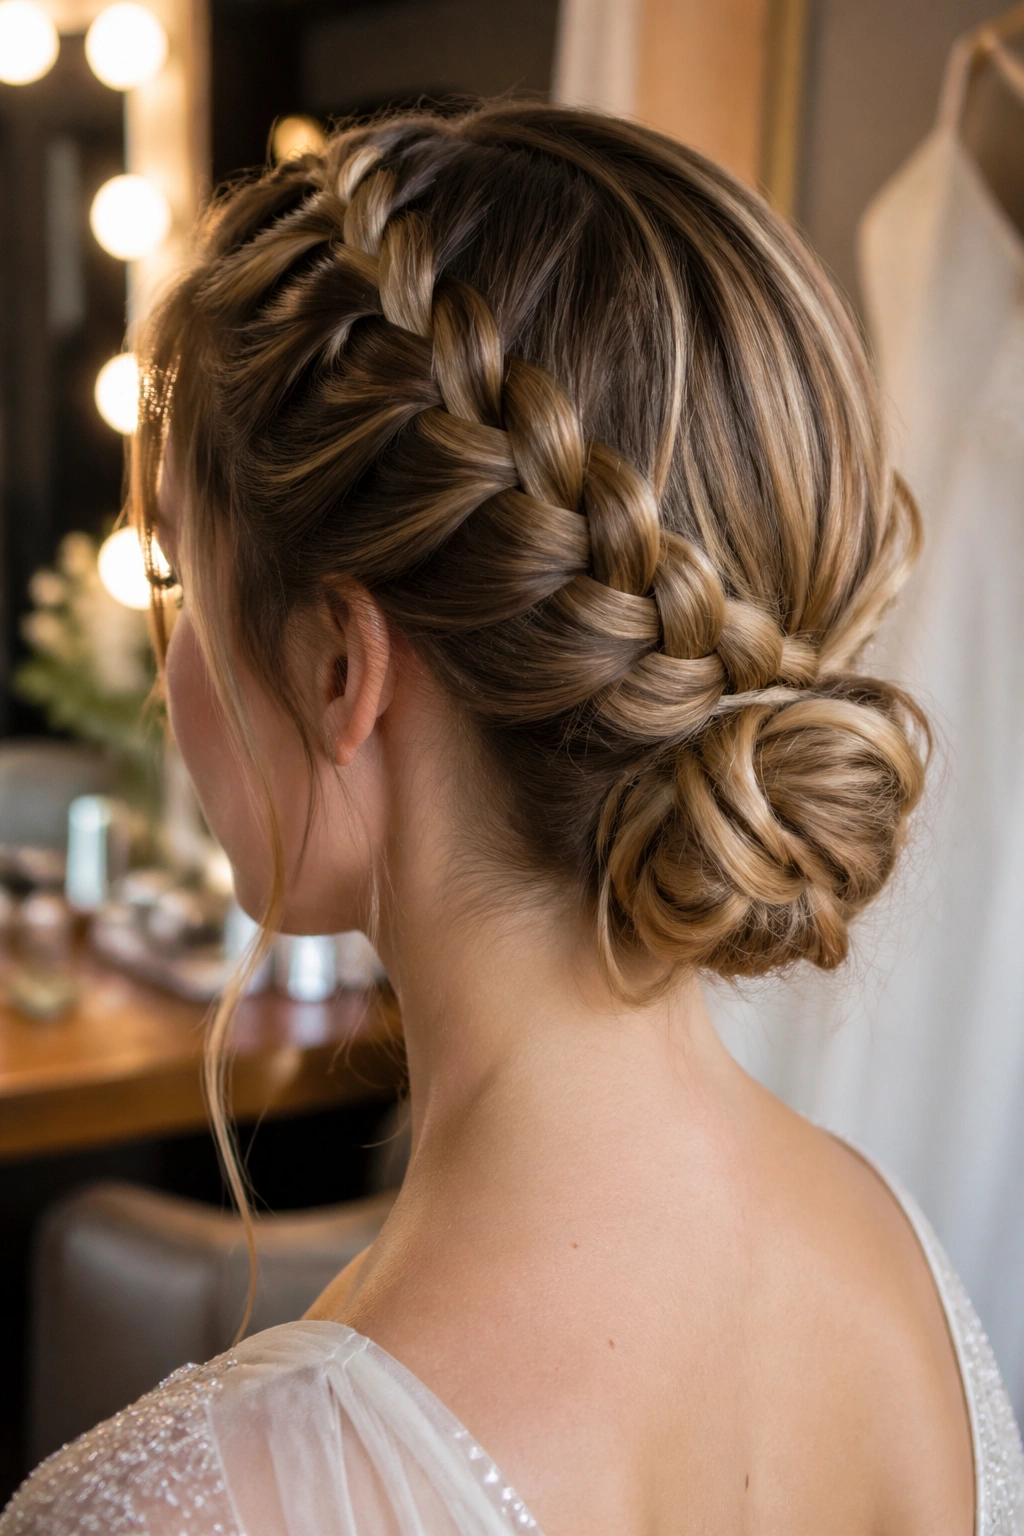
The hybrid version sits somewhere between a crown braid and a bun, and that makes it a smart choice when you want the feel of an updo without the full wrap-around commitment. Braid each side as you normally would, bring them across the crown, then tuck the remaining tails into a low bun at the back of the head. On thick hair, that low bun gives the style a solid landing spot.
This is one of the most practical versions for long days, formal settings, or humid weather. The bun removes some of the weight from the crown, while the braid keeps the front clean. It also helps if your hair is so long that the ends would otherwise need a ton of pins to hide. A bun swallows those tails neatly.
Small Details That Help
- Form the bun just above the nape, not at the center of the back of the head.
- Use 2 elastics total if your hair is heavy and wants to slip.
- Insert pins from the outside in so the bun feels anchored, not stacked.
- Keep the braid line snug at the temple so the front doesn’t loosen first.
The result feels polished without looking stiff. That’s hard to pull off, and this version does it well.
10. Ribbon-Woven Milkmaid Braid
A ribbon changes the whole mood. Satin, grosgrain, or even a matte velvet strip can soften the look of a milkmaid braid and make thick hair feel more dressed up without adding more braid volume. The key is to pick a ribbon that’s narrow enough to thread through the sections without puffing them out. Width matters more than color here. A ribbon that’s about ¼ to ½ inch wide usually behaves best.
This style works by weaving the ribbon through one or both braids as you braid, or by tying it at the base and letting the ends trail a little before you pin them in. I prefer the first method if I want the ribbon to disappear into the style, and the second if I want the ribbon to show more clearly near the ear or temple.
The nice part is that ribbon helps break up the density of thick hair. A huge braid can sometimes look a little too solid from the front. Ribbon adds a line of contrast and makes the braid feel lighter, even though the hair underneath hasn’t changed at all.
Choose a ribbon that doesn’t slip too much. Satin looks lovely, but it can slide out of a braid if the hair is very smooth. A slightly textured ribbon holds better.
11. Pulled-Apart Pancake Milkmaid Braid
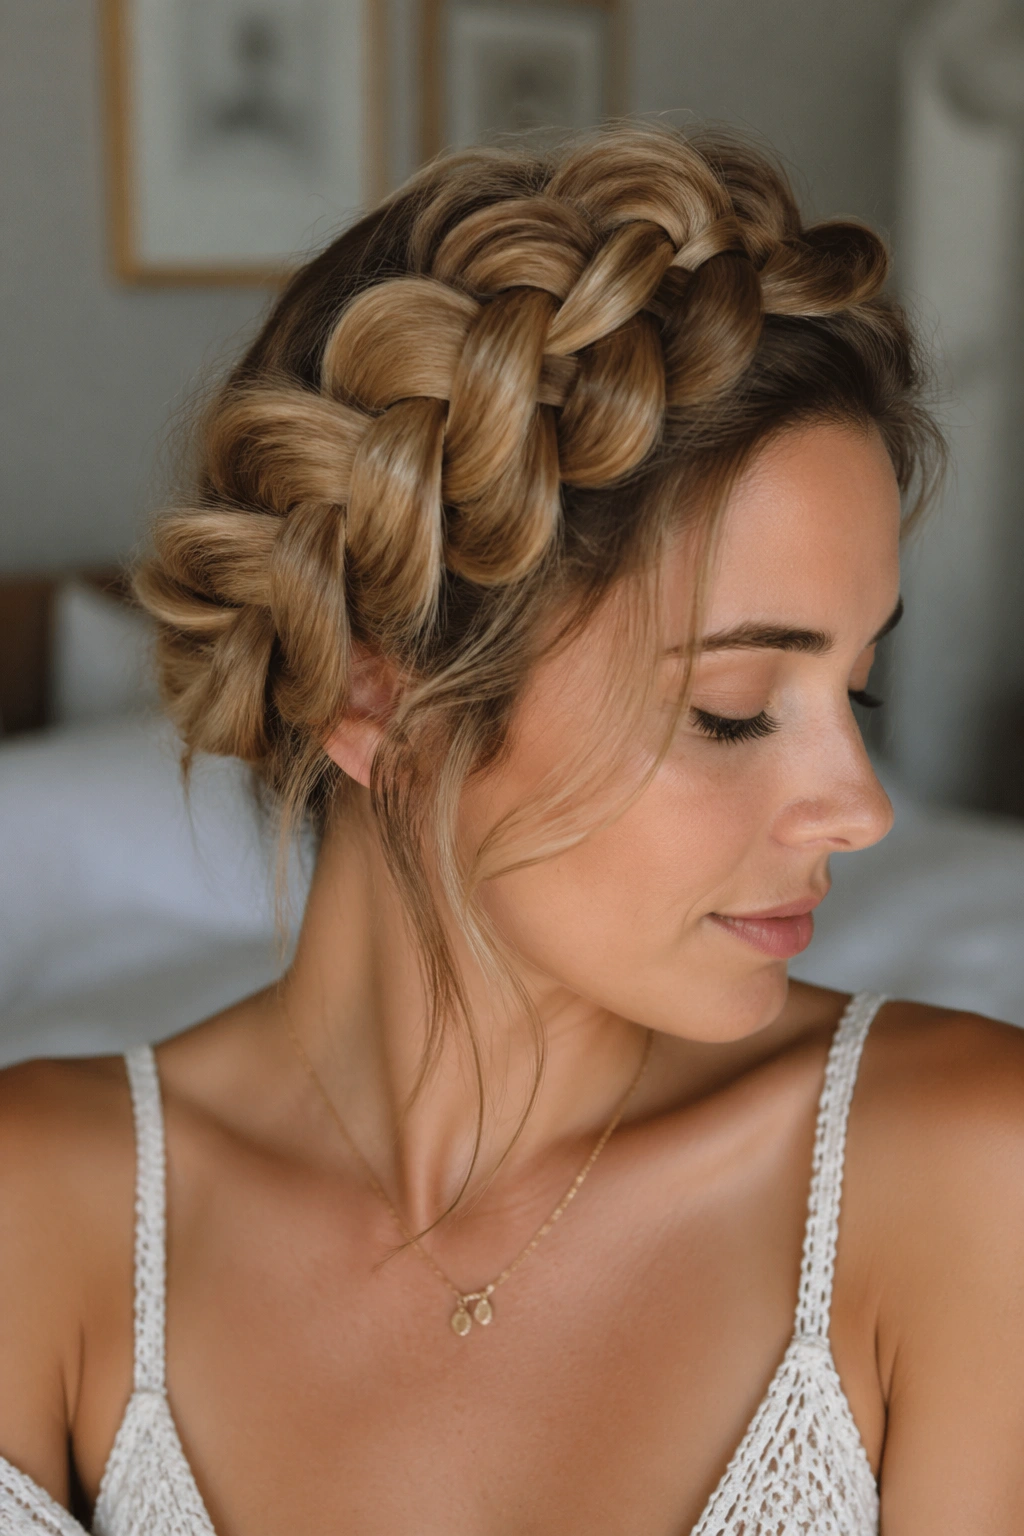
Pancaking is where the style gets its width. Once the braid is secured, you tug the outer edges of each loop gently to fan it out, which makes the braid look fuller and more woven. On long thick hair, this can be gorgeous because the braid already has the body to support the extra width. Done right, it looks rich and soft instead of tight and flat.
When to Pancake
Not too soon. If you pull the braid apart before it’s pinned, the shape can loosen in places you did not want to loosen. Secure the braid first, pin it, then work your fingers along the outer loops one small section at a time. I usually start near the temple and move toward the back, checking the mirror after each pass.
What Not to Do
- Don’t yank the braid from the middle.
- Don’t pancake every loop equally hard.
- Don’t use this method on freshly layered hair without a few extra pins.
The best part is the finish. A pancaked milkmaid braid has a softer edge and a broader silhouette, which suits thick hair especially well. You get the feeling of volume without having to backcomb anything. And thank goodness for that, because backcombing on long thick hair can turn into a tangled mess if you go too hard.
12. Braided Bangs Milkmaid Style

Braided bangs and milkmaid braids get along better than you might expect. If you have curtain bangs, grown-out fringe, or shorter face pieces that refuse to stay put, braid those sections into the front of the style and let them feed into the crown. It tidies the hairline fast, which is useful on thick hair because the front tends to puff first.
A lot of people think they need long fringe to make this work. Not really. Even a short front layer can be twisted or braided back and pinned just above the temple. The point is to get those pieces out of your eyes while still keeping the style soft at the front. If the bangs are very short, a tiny braid or rope twist can work better than a full three-strand braid.
I like this version when the rest of the hair is long and heavy but the front is a little messy. It gives the braid a cleaner start, and it keeps the crown from looking too bulky where the hairline meets the braid. That seam is where many milkmaid styles go wrong. Too much hair at the front makes the whole thing feel top-heavy.
Use a dab of light styling cream on the bang pieces first. A pea-sized amount is enough. Any more, and the front can start to separate in a way that looks oily instead of smooth.
13. Protective Milkmaid Braid for Heavy Hair Days
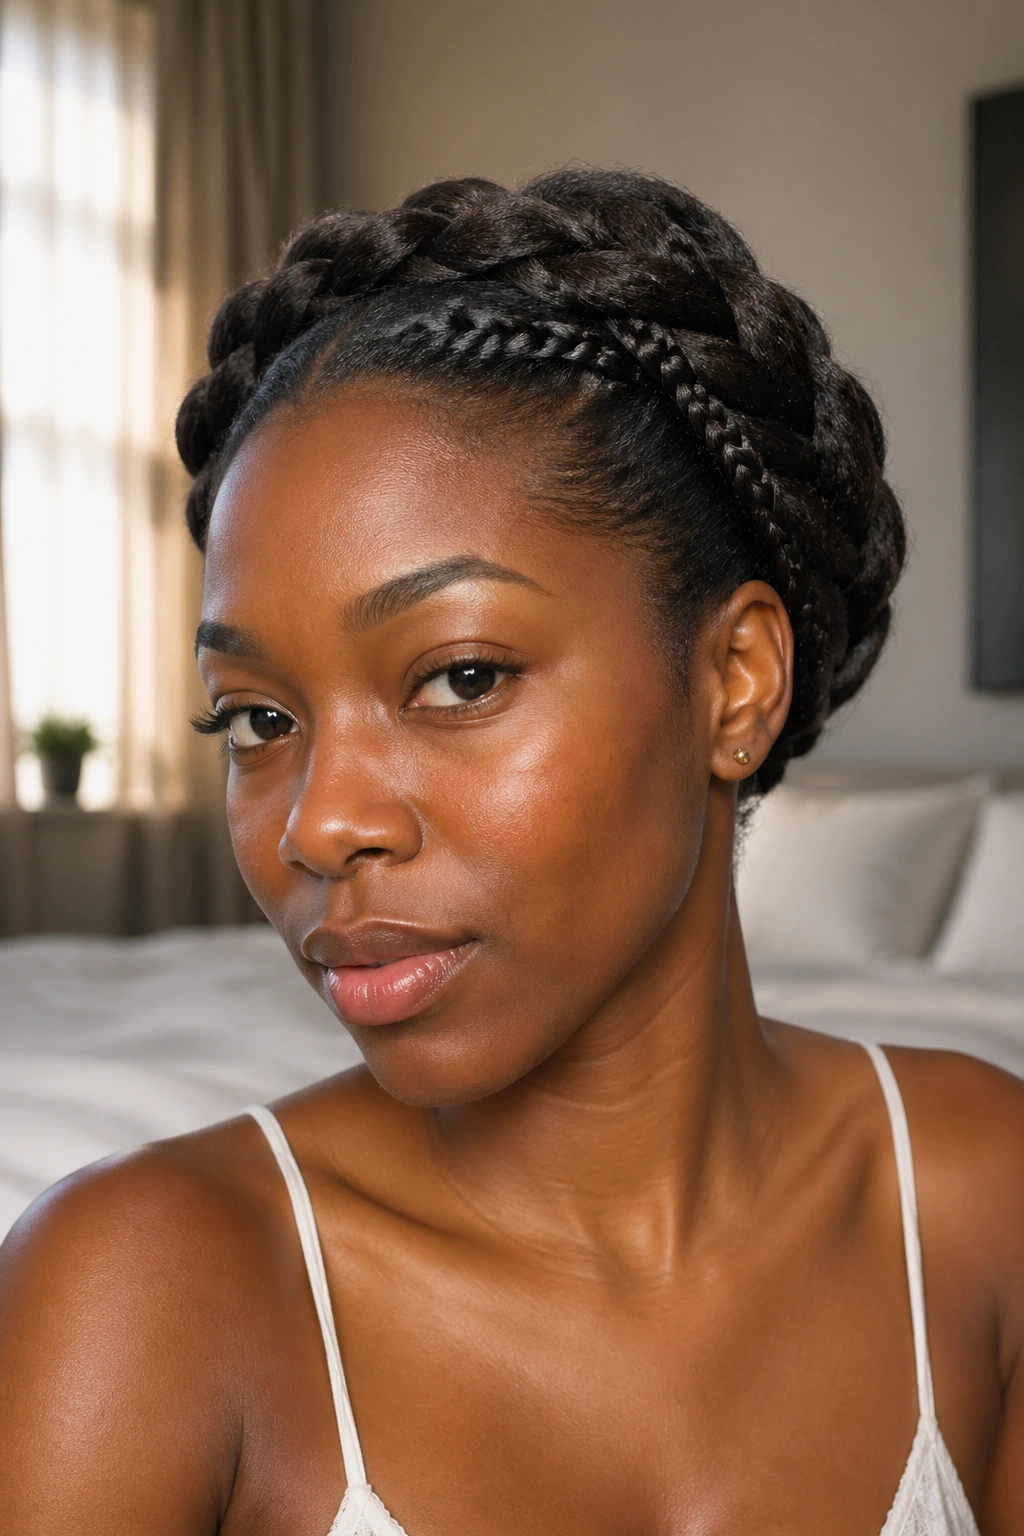
Heavy hair days call for the least fussy version, and this one is the workhorse. Start with a low side part, braid each side firmly, wrap the braids low around the head, and pin them with more support than you think you need. The goal is not a soft, floaty crown. The goal is a braid that keeps your hair contained, your neck cooler, and your scalp happier for a full stretch of wear.
This is the version I’d reach for when the hair feels too dense to cooperate. It works well after a stretch of dry weather, after a long wash cycle, or on days when you want the ends tucked away and the front pieces controlled. Thick hair can get heavy fast, and a more anchored milkmaid braid takes some of that strain off the temples.
Small Habits That Help
- Start on hair with a little grip, not freshly silk-smooth strands.
- Use 6 to 8 pins if your hair is very long or coarse.
- Cross the pins in an X when the braid wants to slide.
- Keep the braid line close to the head instead of lifting it high for drama.
This is the style that proves milkmaid braids do not have to be delicate or fussy to look good. Sometimes the smartest version is the one that holds all day and still looks intentional by evening. That’s the one I’d keep in your back pocket.