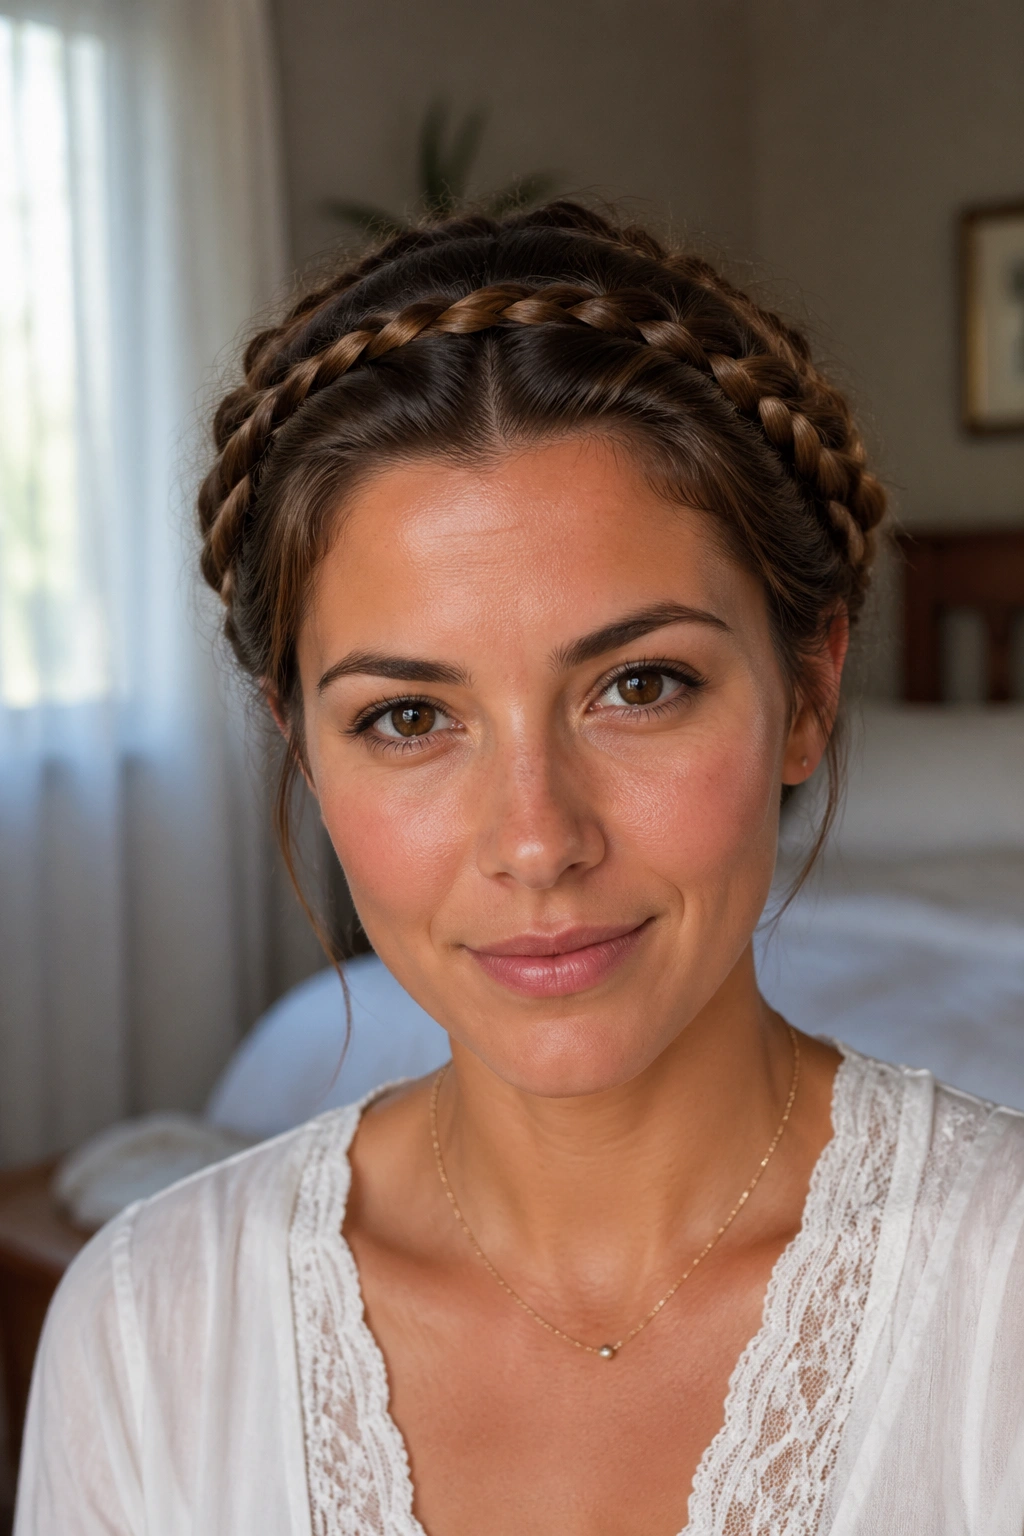
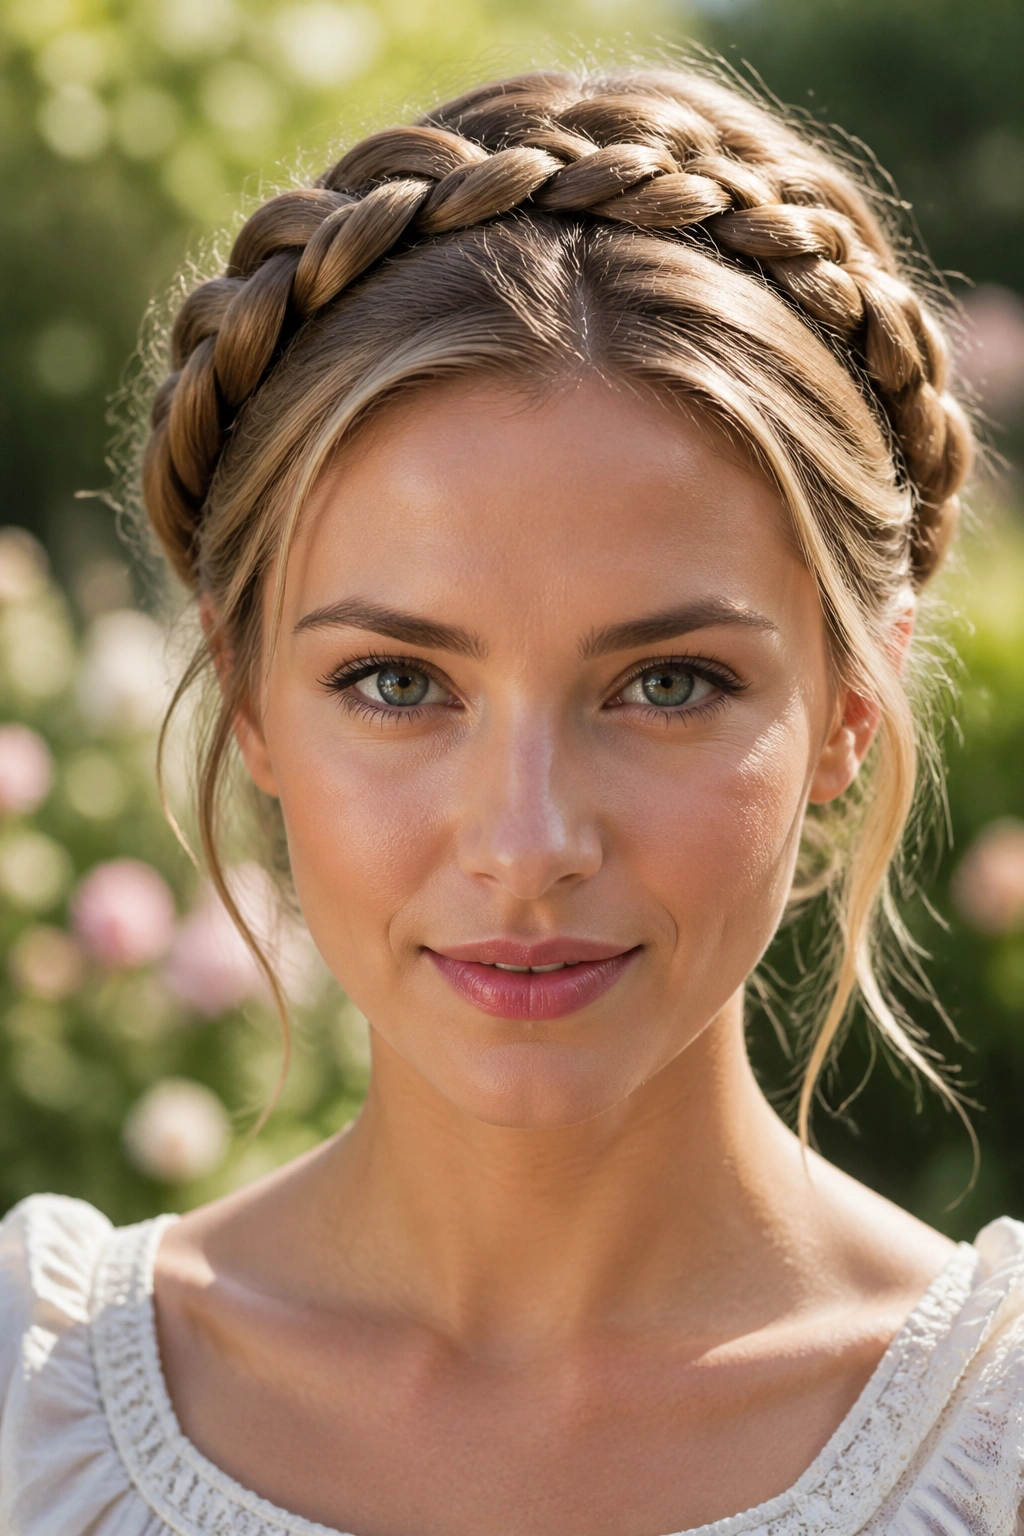
Crown braids look more complicated than they are. The real challenge is not the braid itself; it’s reaching the right sections of your own head without turning the whole thing into a wrestling match with a mirror.
Once you figure out the hand positions, the rest gets a lot easier. A tail comb, a few small elastics, and hair with a little grip — day-two hair, or hair misted with dry shampoo — can make the difference between a braid that slips apart and one that stays put all afternoon.
The best crown braids on yourself are not always the fanciest ones. Sometimes the clean Dutch version wins. Sometimes a rope twist is smarter because your fingers can handle it faster. And sometimes the best choice is the one that looks like you spent far more time on it than you actually did.
Start with the styles that give you room to breathe. Once your hands learn the path around your hairline, you can get a little more ambitious.
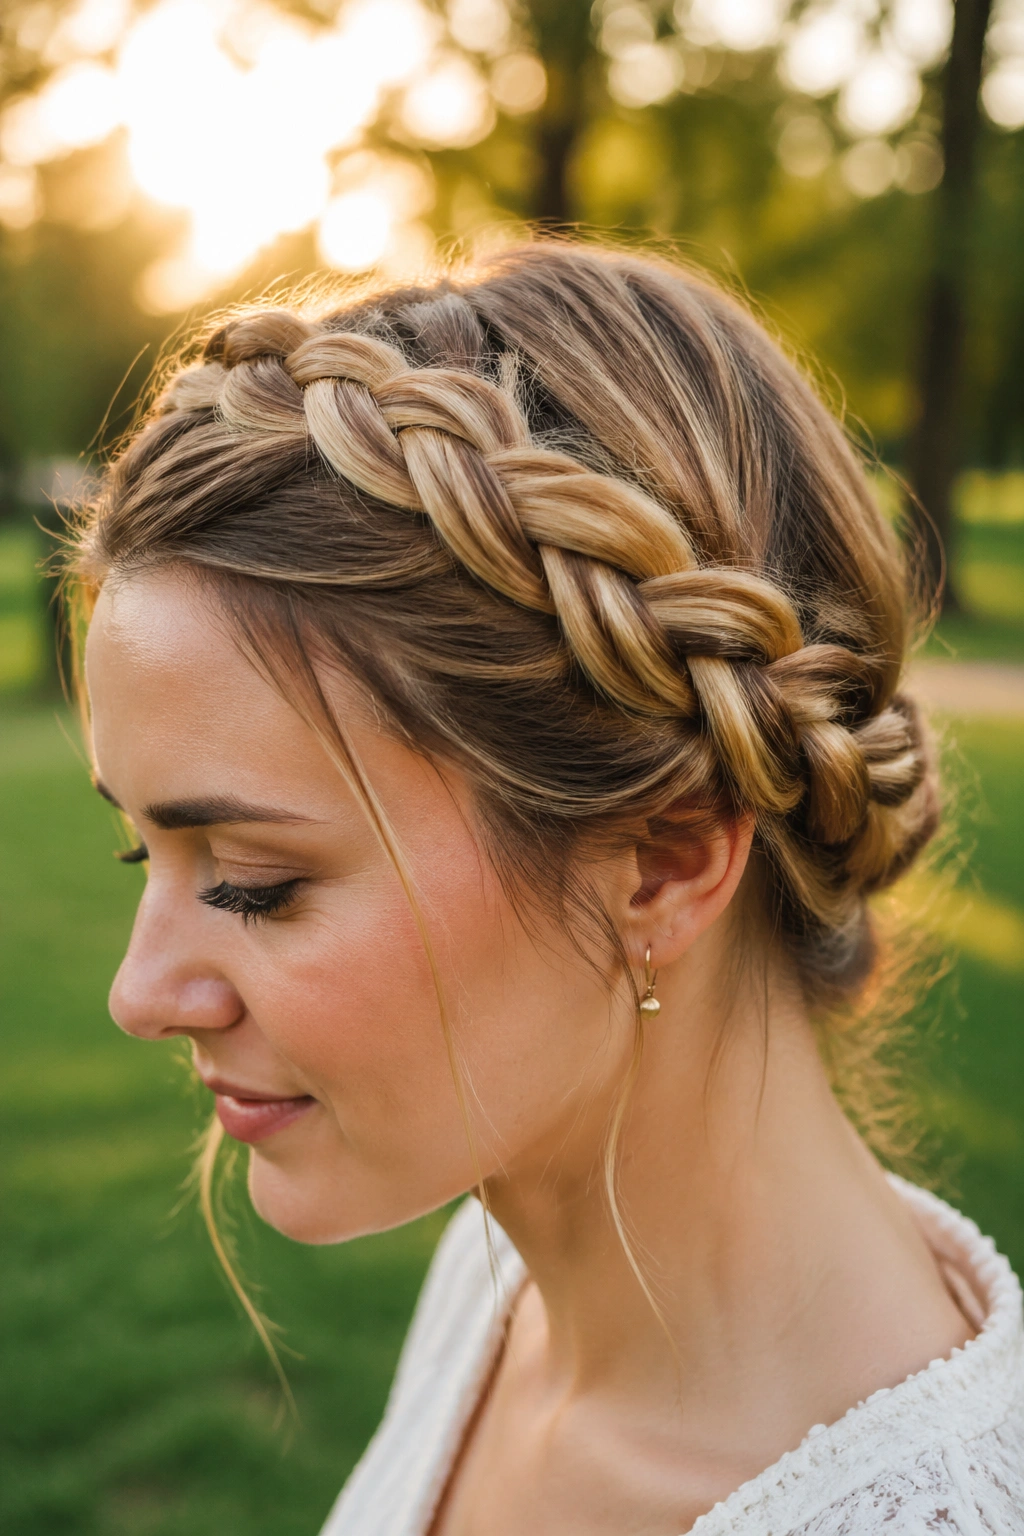
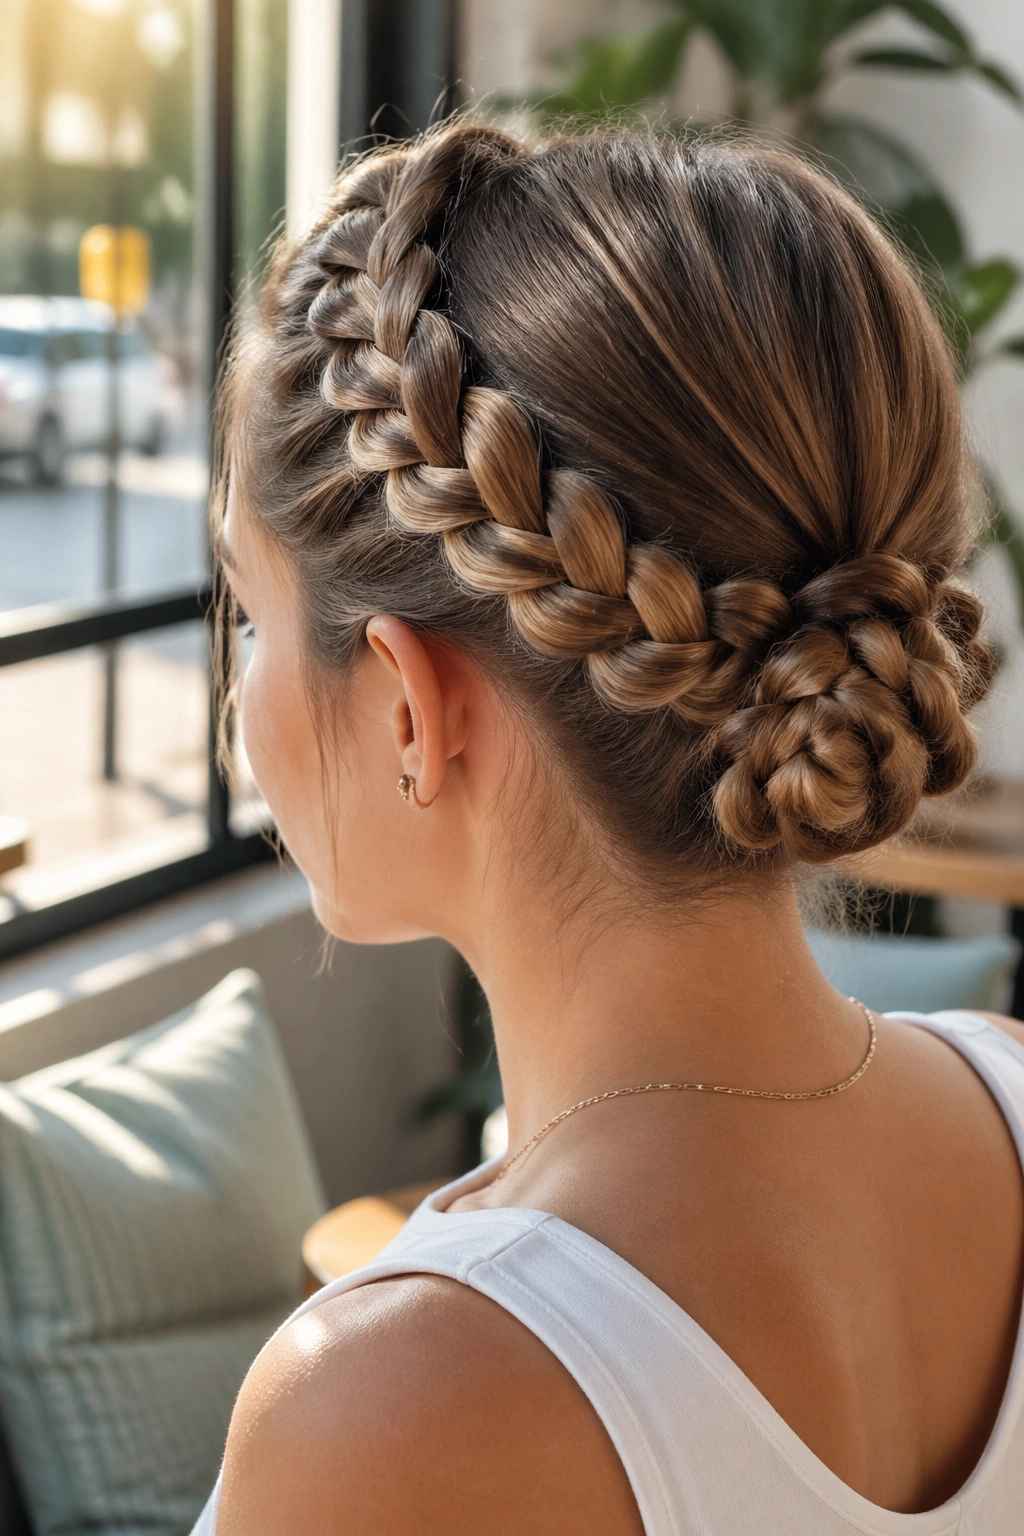
1. Classic Dutch Crown Braid
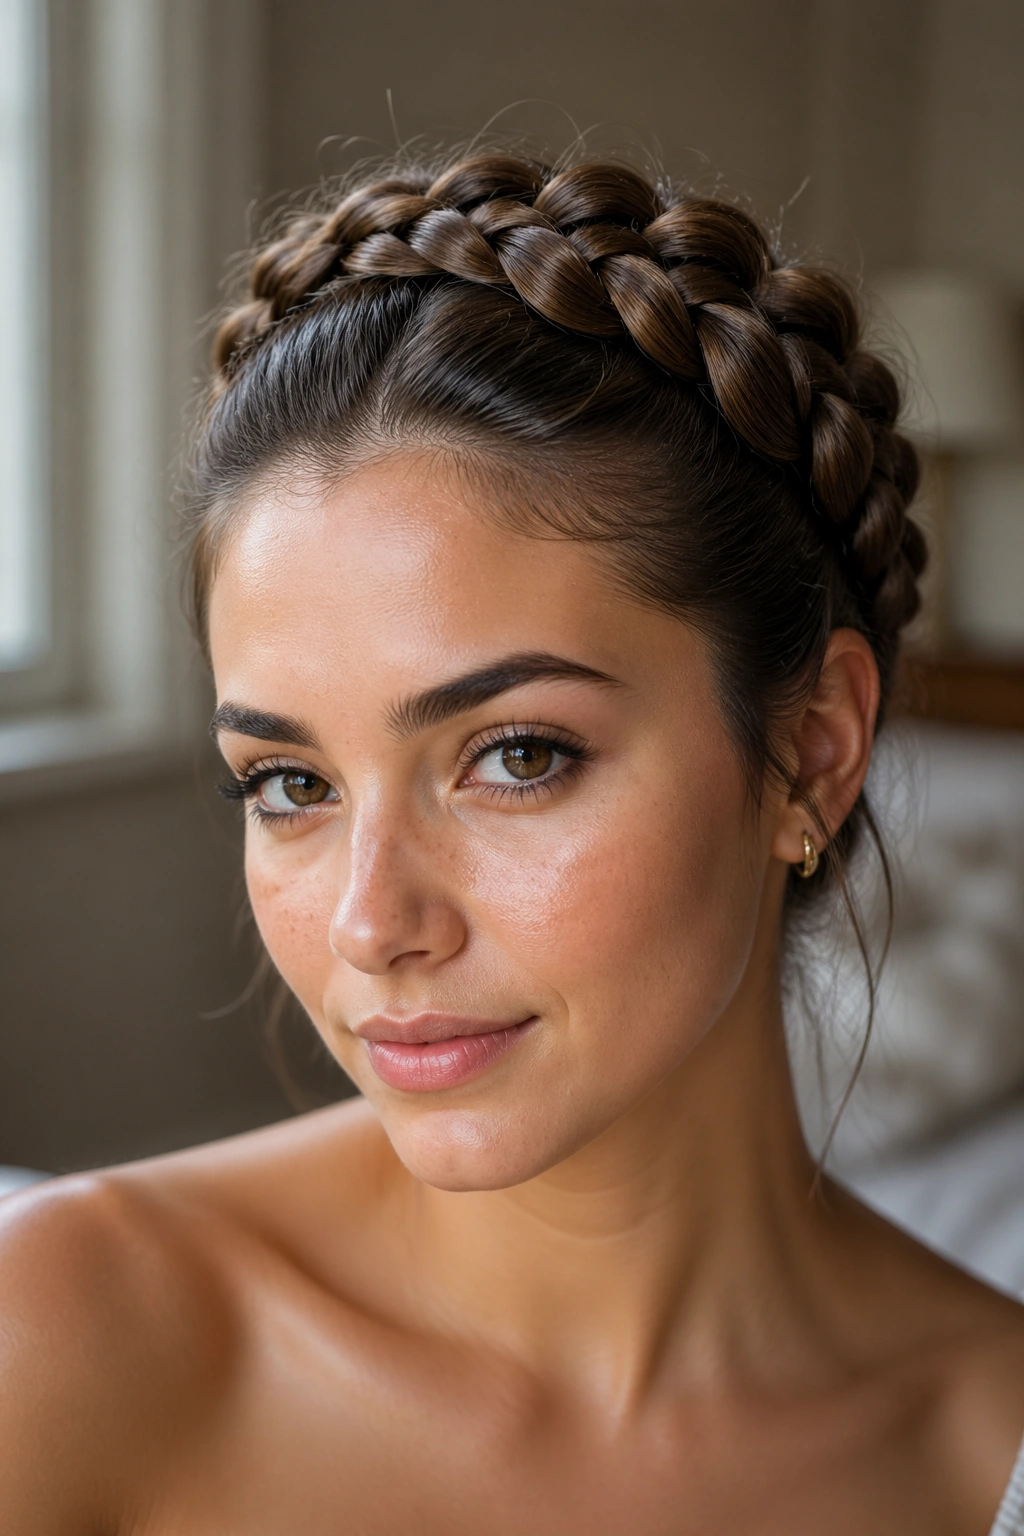
This is the braid I’d hand to almost anyone learning to braid around their own head. A Dutch crown braid sits on top of the hair instead of sinking into it, which makes the shape easier to follow when you can only see part of the section at a time.
Why It Works on Your Own Hair
The braid gives you a clear raised line to track. That matters more than people admit. When you’re braiding around the back of your head, tiny shifts in tension can make one side puff out while the other side goes flat, and the Dutch structure is forgiving enough to hide a little unevenness.
Start at one temple with a clean section about 1 inch wide. Braid along the hairline, adding small pieces from the front and from the top as you move toward the opposite ear. Keep the braid snug, not tight. If you yank it flat, it will feel stiff and look smaller than you wanted.
Quick Facts
- Best on medium to long hair with some texture.
- Easier with a side mirror and a hand mirror.
- Holds better when hair is not freshly washed.
- Works with one small clear elastic at the end and 4 to 6 bobby pins.
Tiny tip: keep your fingers close to the scalp and move in small grabs. Big sections are where the braid starts to wobble.
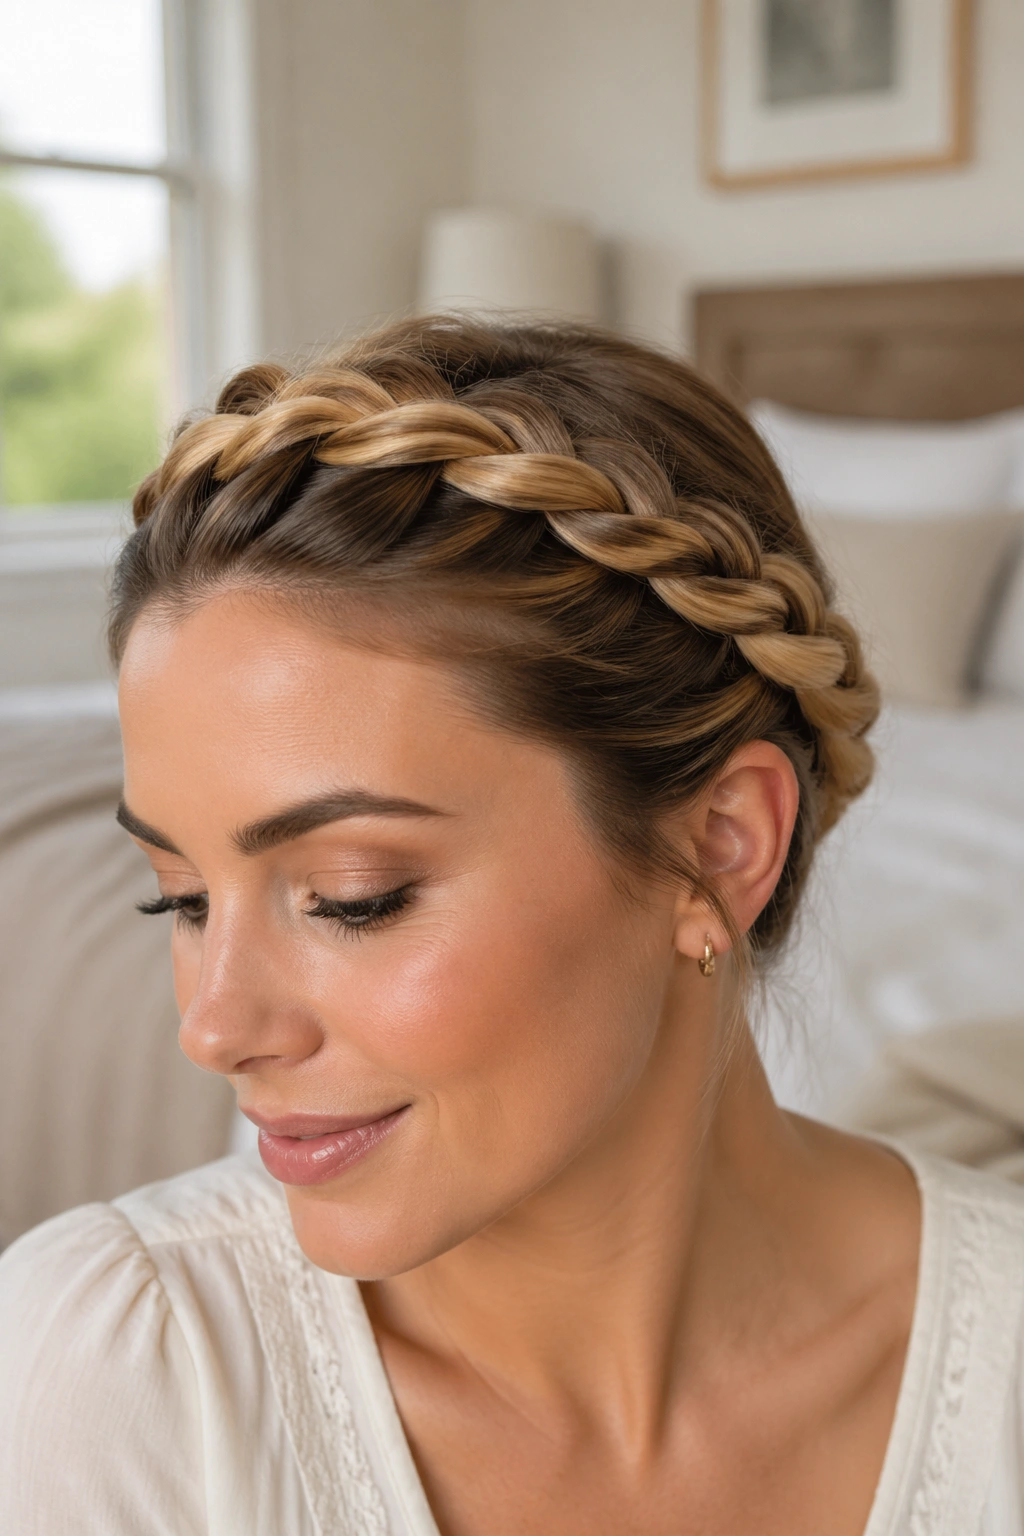
2. French Crown Braid with Tucked Ends
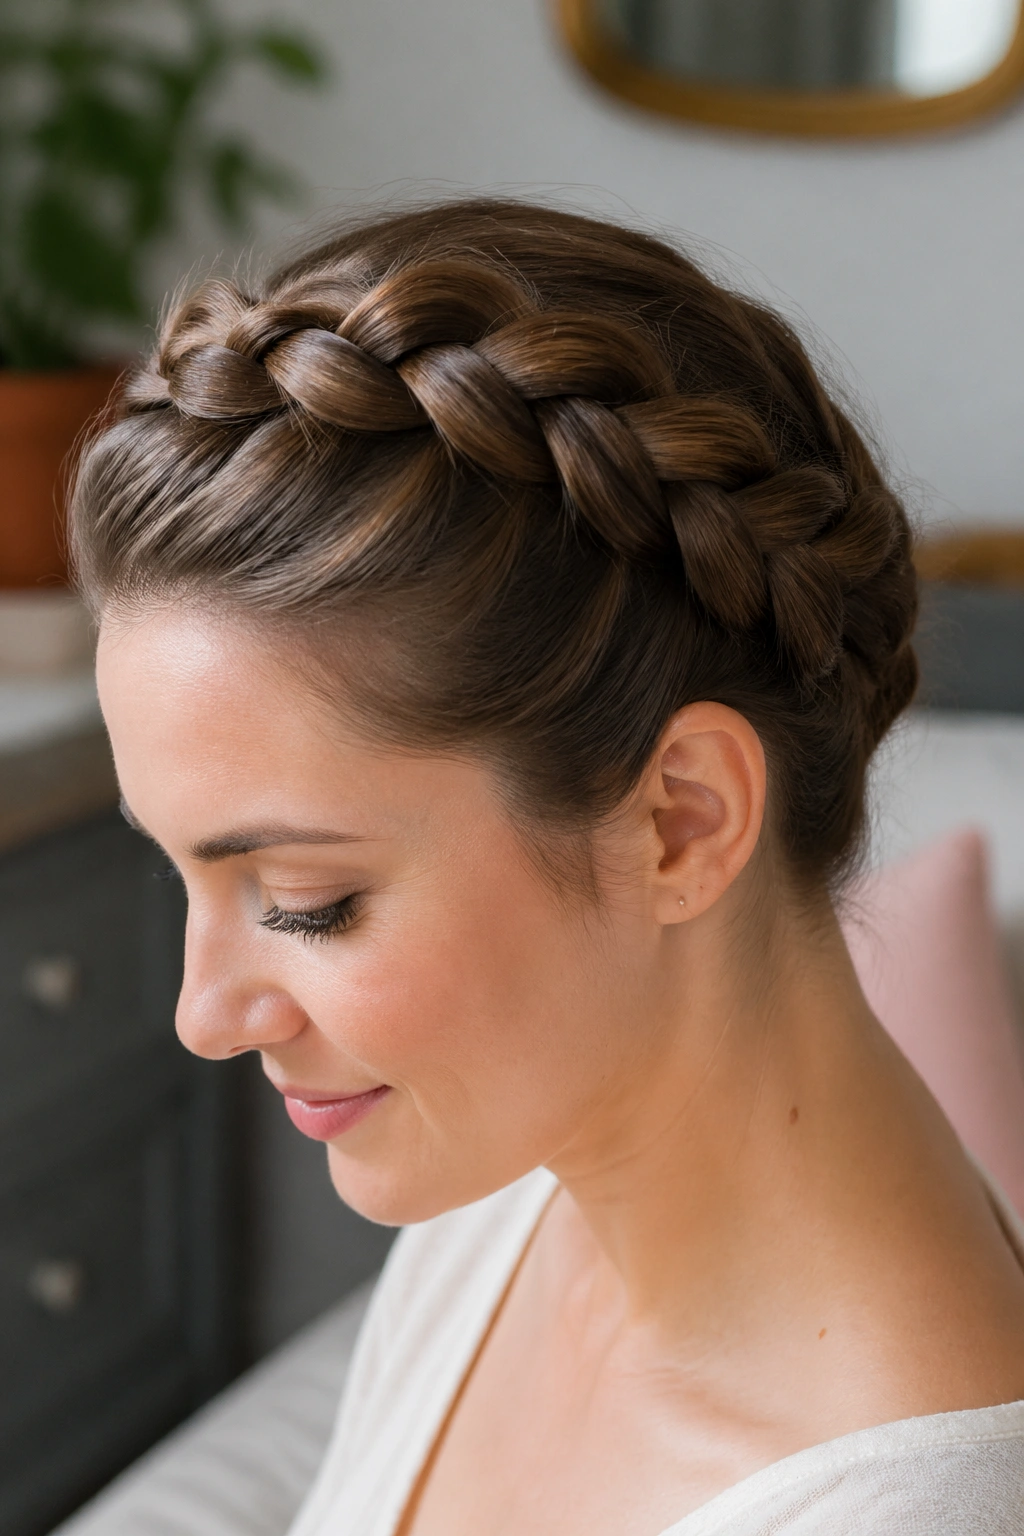
A French crown braid has a softer, flatter finish than the Dutch version, and that makes it a smart pick if you want the braid to blend into the hair instead of sitting on top like a thick rope. It looks especially nice when the goal is polished, not severe.
The trick is to let the braid hug the head. Cross the strands over the center as you add hair, and keep the part line clean as you move from temple toward the nape. The shape matters here more than the tension. If the braid rides too high, it stops looking like a crown and starts looking like a random braid that took a wrong turn.
Tucking the ends is what makes this one feel finished. Once you reach the back, secure the tail with a tiny elastic, fold it under the braid, and hide it with 2 or 3 crossed bobby pins. That tucked finish keeps the neckline neat and avoids the little tail that often peeks out from the side.
I like this version for finer hair. It gives the impression of fullness without needing as much bulk, and it sits flatter against the head, which can be a relief if your hair slides out of everything.
3. Half-Up Crown Braid

What if your hair isn’t long enough for a full loop? A half-up crown braid solves that fast. It gives you the crown look across the top and sides while leaving the length free, which also means fewer awkward reaches behind your head.
Begin with two sections near each temple, each about 1½ to 2 inches wide. Braid them back along the head, either as two separate braids that meet at the back or as one continuous braid that only wraps the upper half of the head. Either way, you end with a shape that looks intentional and stays friendly to shorter layers.
How to Wear It
- Let the rest of the hair stay straight for a clean, graphic finish.
- Add loose waves first if you want the braid to feel softer and fuller.
- Pull out a few thin face-framing pieces if your hairline likes movement.
- Pin the braid low at the back, just above the occipital bone, so it does not slide upward.
The nice thing about this style is that it doesn’t ask for perfect symmetry. If one side is slightly fuller, the whole look still works. It actually helps.
4. Double Braided Crown
A lot of people hit the same wall with a single crown braid: the back of the head gets awkward, the arm tires out, and the braid starts to sag before you’re halfway around. Two shorter braids fix that neatly.
This version uses one braid on each side of the head. You braid from each temple back toward the nape, then cross the ends over one another or pin them into a small overlap at the back. Because each braid is shorter, the hand position stays manageable and the tension is easier to control. It’s one of those styles that looks more complex than the process feels.
Key Details
- Part the hair down the middle or slightly off-center.
- Keep both braids narrow so they sit close to the head.
- Hide the seam where the two braids meet with crossed pins.
- If your hair is thick, flatten the join with a little finishing cream on your palms.
This is the crown braid I’d choose for thick hair that tends to puff up. The two-braid structure spreads the weight better, so the style holds its shape instead of collapsing into one bulky lump at the back.
5. Loose Boho Crown Braid
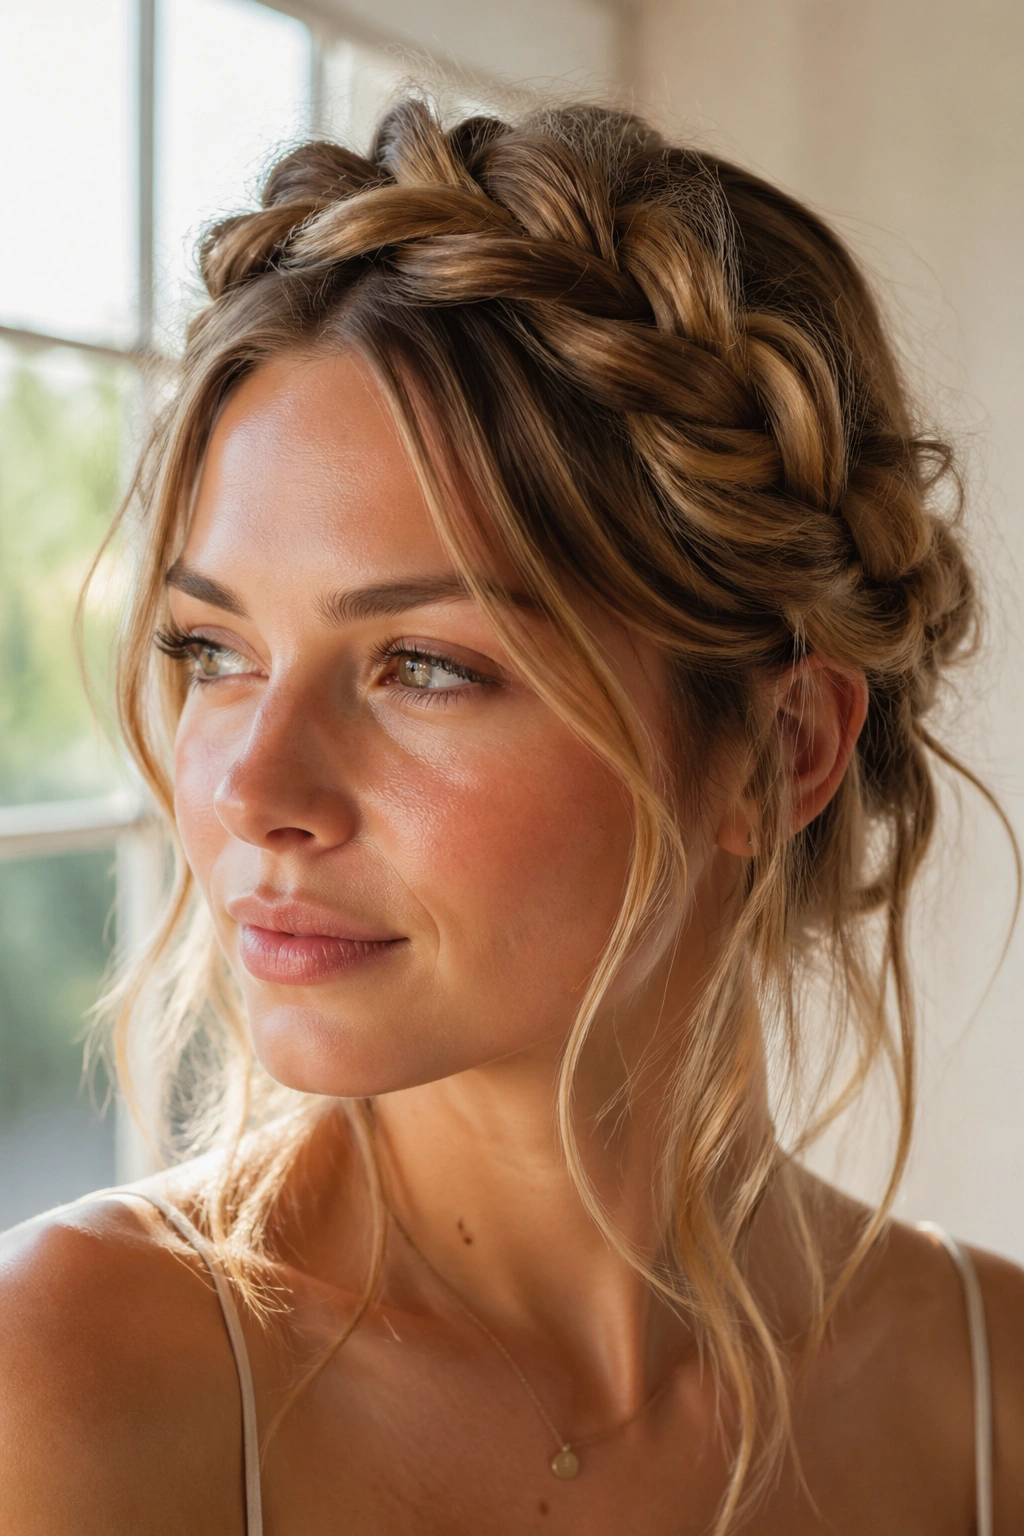
The loose boho crown braid is for days when you want the shape of a crown without the hard edges. It’s softer at the hairline, looser through the braid itself, and a little less polished in the best way.
Start with a standard Dutch or French braid near the temple, then braid with a lighter hand than you think you need. Once the braid is in place, gently tug at the outer loops with your fingertips. Not too much. You want width, not frizz. That little pull makes the braid look fuller and more relaxed, especially if your hair is fine and tends to disappear into itself.
A few face-framing pieces change the whole feeling of this style. Keep them thin enough to curl around the cheek, not so thick that they fight the braid. If your hair is very clean and slippery, mist the roots lightly with texturizing spray before you start. A brush alone won’t give you enough grip.
One thing I like about this version: it forgives small mistakes. A slightly uneven section gets lost in the looseness. So does a pin that isn’t quite invisible.
And that is the point.
6. Side-Part Crown Braid
A side-part crown braid follows the hair you already have instead of forcing a neat, centered halo. If your part is naturally deep, or if your bangs are in that awkward grow-out stage, this style feels less fussy right away.
The braid begins on the heavier side of the part and sweeps around the head in a gentle arc. Because one side usually has more hair to work with, the braid often looks fuller without needing extra teasing. That fuller side can anchor the shape, while the lighter side keeps the outline clean. The result is a crown braid that feels less symmetrical and more lived-in.
This version also plays nicely with wavy hair. The bend in the part gives the braid a little visual movement before you even start weaving. On straight hair, it can look sharper and more graphic, which is not a bad thing if you like a cleaner finish.
I’d choose this style when the center part looks too severe or when the front pieces fall in a way that makes a straight-across crown look forced. Let the braid follow the hair you actually have. It usually looks better that way.
7. Rope Twist Crown
A rope twist crown is what I reach for when I want something quicker than a braid but still want that wrapped-around-the-head look. It uses two sections instead of three, so your fingers have less to track, and that makes a difference when you’re working blind at the back.
Why Twists Beat Braids on Fine Hair
Twists often hold better on slippery hair because the strands compact together instead of separating into three distinct pieces. That means the style can look cleaner on hair that is too soft for a big Dutch braid. It also gives a sleek, glossy surface that reads as deliberate rather than messy.
- Split the section into two even pieces.
- Twist each piece away from the face first.
- Cross the two twisted sections around each other as you move along the head.
- Pin the twist every 2 to 3 inches if your hair tends to unravel.
The finish is slightly different from a braid — smoother, a touch tighter, and more rope-like. If you want volume, tug the twist apart after pinning. If you want it neat, leave it alone and let the shine do the work.
Best trick: do not rush the twist direction. If both strands aren’t twisted firmly first, the whole crown relaxes faster than you want.
8. Halo Braid with a Hidden Elastic
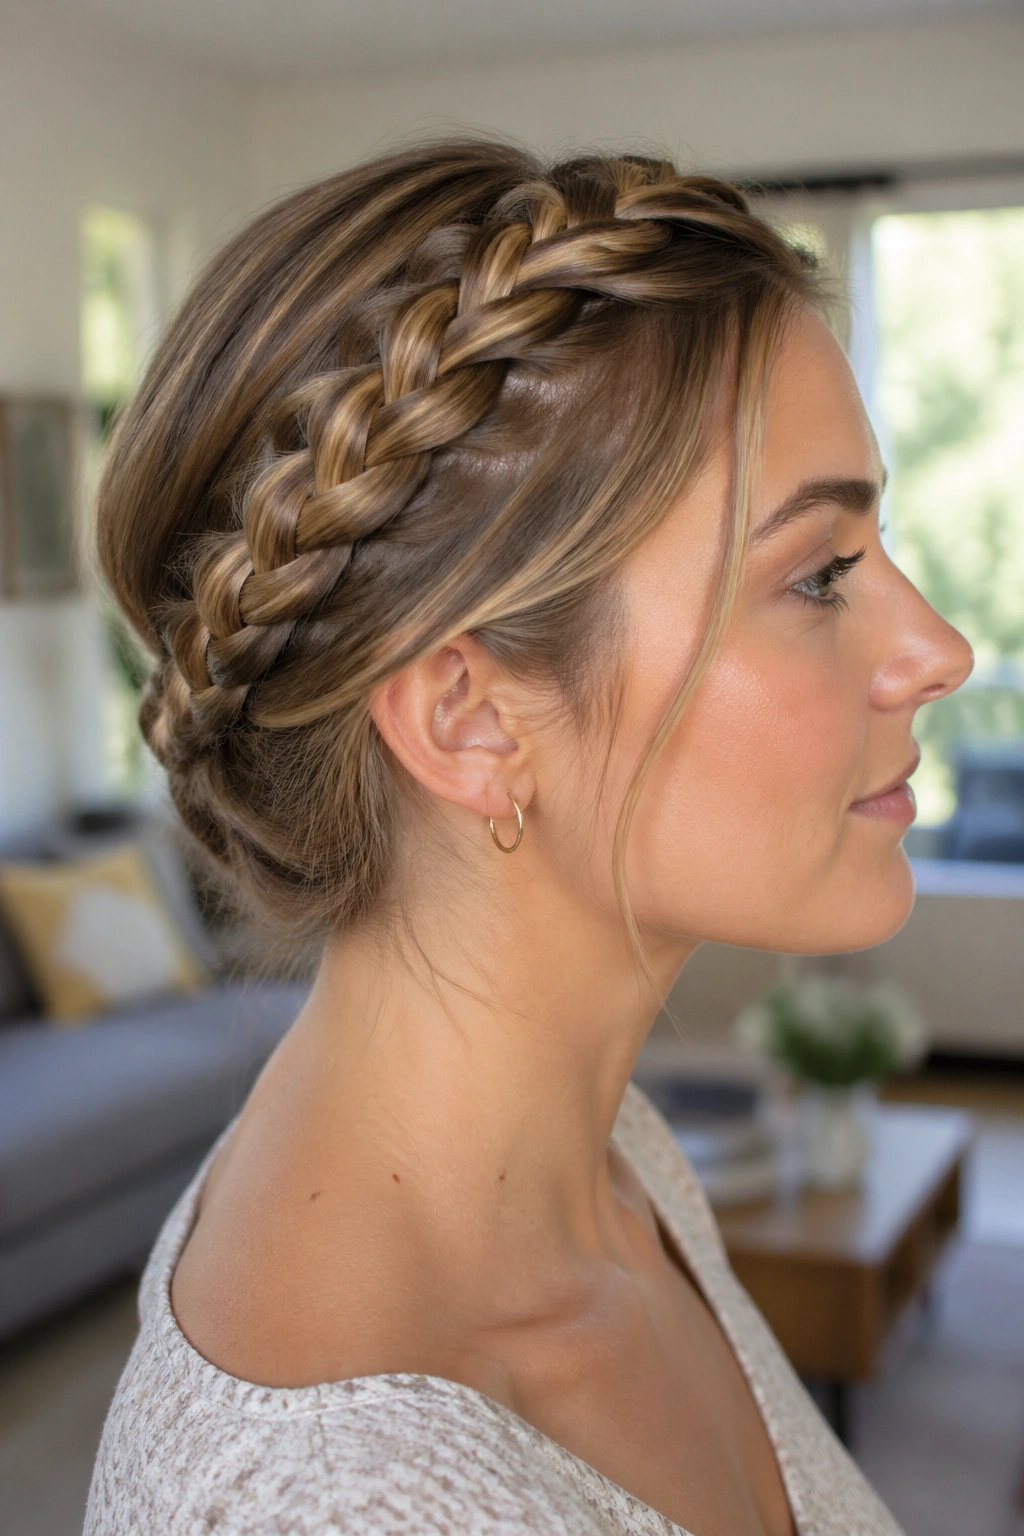
A halo braid with a hidden elastic is the cleaner, less fussy cousin of the classic crown braid. The braid runs around the head, but the tail disappears under the finished shape instead of hanging out or getting pinned into a little nest of clips.
That hidden finish matters. It gives the crown a smoother back edge, especially if your hair is layered and the ends like to stick out at weird angles. Once the braid reaches the starting point again, secure it with a tiny elastic, fold the tail under the braid, and slide a pin in from underneath so the pin catches both the tail and the braid base.
This style is especially good if you hate visible bobby pins. I get it. Some styles look better when the hardware stays out of sight. The halo braid delivers that cleaner look without needing salon-level dexterity.
It also works well for medium-thick hair because the braid itself has enough body to support the tucked tail. If your hair is short, the hidden elastic still helps, but you may need to let the tail rest lower against the neck rather than trying to bury every last inch.
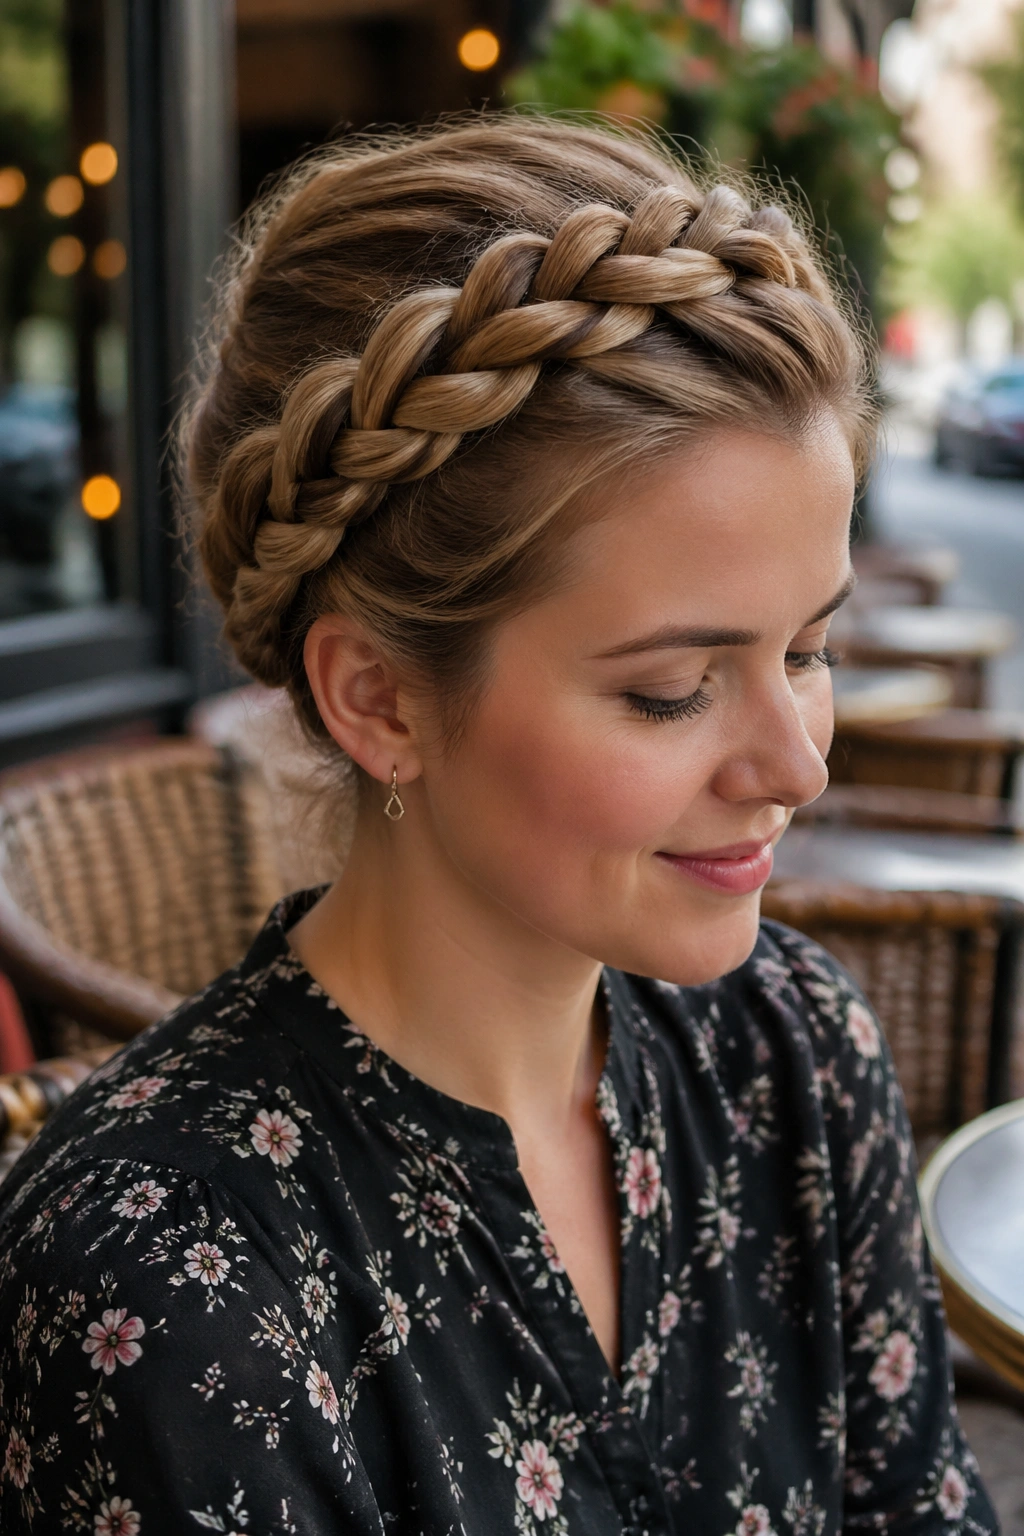
9. Milkmaid Crown Braid
The milkmaid crown braid is basically two braids that meet over the top of the head, and that makes it one of the friendliest crown styles to do on yourself. Each braid stays short, which means less arm strain and fewer chances to lose your place halfway around the back.
The real win here is control. You braid each side separately, then bring the braids across the crown and pin them where they meet. If your hair is layered, this version gives you more places to hide loose ends. If your hair is thick, the two-braid structure distributes the bulk better than one long wrap.
How to Place the Braids
Start behind each ear or at each temple, depending on how much hair you want to leave out at the front. Keep the braids low and close to the head. Cross them over the top, one slightly behind the other, and pin the ends under the opposite braid so the join doesn’t show.
This is one of those styles that looks romantic without being delicate. It stays in place on normal pins and doesn’t need a pile of accessories. That’s a relief.
10. Braided Bun Crown
Sometimes you want the crown braid look, but you also want your hair completely off your neck. The braided bun crown handles both jobs at once. It wraps the braid around the head, then folds the leftover length into a bun instead of leaving the ends loose.
That bun changes the whole feel. It makes the style a little sturdier and keeps the weight centered, which helps if your hair is long or heavy. Start the braid at one temple, work around the head, and once you reach the back, coil the tail into a compact bun where the braid ends meet. Pin through the bun in crossed directions so the shape does not roll loose.
Key Details
- Use 6 to 8 bobby pins if your hair is thick.
- Tuck the bun slightly lower than the crown line so it does not bulge.
- Wrap a small strand around the bun base if you want a cleaner finish.
- Mist the finished style with a light-hold spray, not a stiff shell of it.
This is a smart choice for warm weather, formal events, or any day when you want the braid to look deliberate and stay there.
11. Fishtail Crown Braid
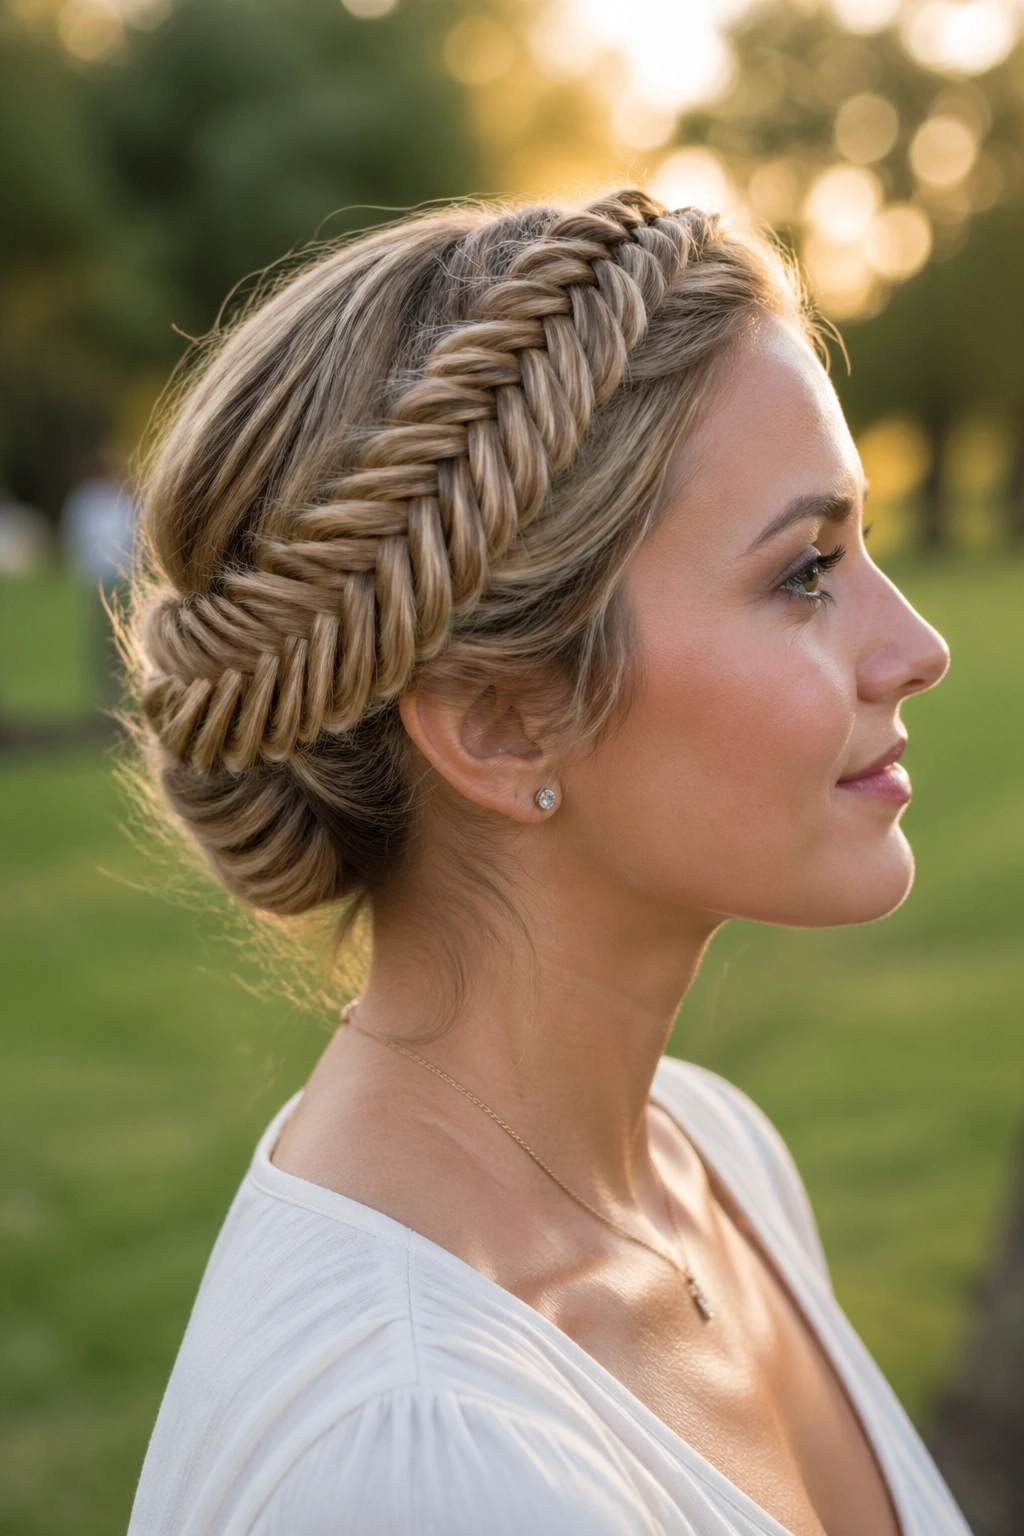
A fishtail crown braid has a stitched, almost woven look that a regular three-strand braid can’t quite mimic. It takes more time on yourself, yes, but the texture is worth the extra minute or two if you like hair that feels a little more detailed.
The process is slower because you’re moving tiny pieces from the outer edge of one section to the other. That’s the whole point. Smaller pieces create a tighter, more patterned braid, and around the head that pattern reads beautifully because it catches the eye in a different way than a standard braid does. The texture looks especially good on hair that has a bit of bend or wave already.
This one rewards prep. A puff of dry shampoo at the roots and a touch of texturizing spray through the mid-lengths can make the sections easier to grip. If the hair is too slippery, the small pieces keep slipping out of your fingers before they’ve even had a chance to cross. Annoying. Very annoying.
I would not call this the fastest crown braid to do on yourself. But if you like a braid that looks more intricate without adding accessories, it’s a strong choice. And if the fishtail isn’t perfect? Good. A slightly uneven fishtail around the crown still looks rich and full.
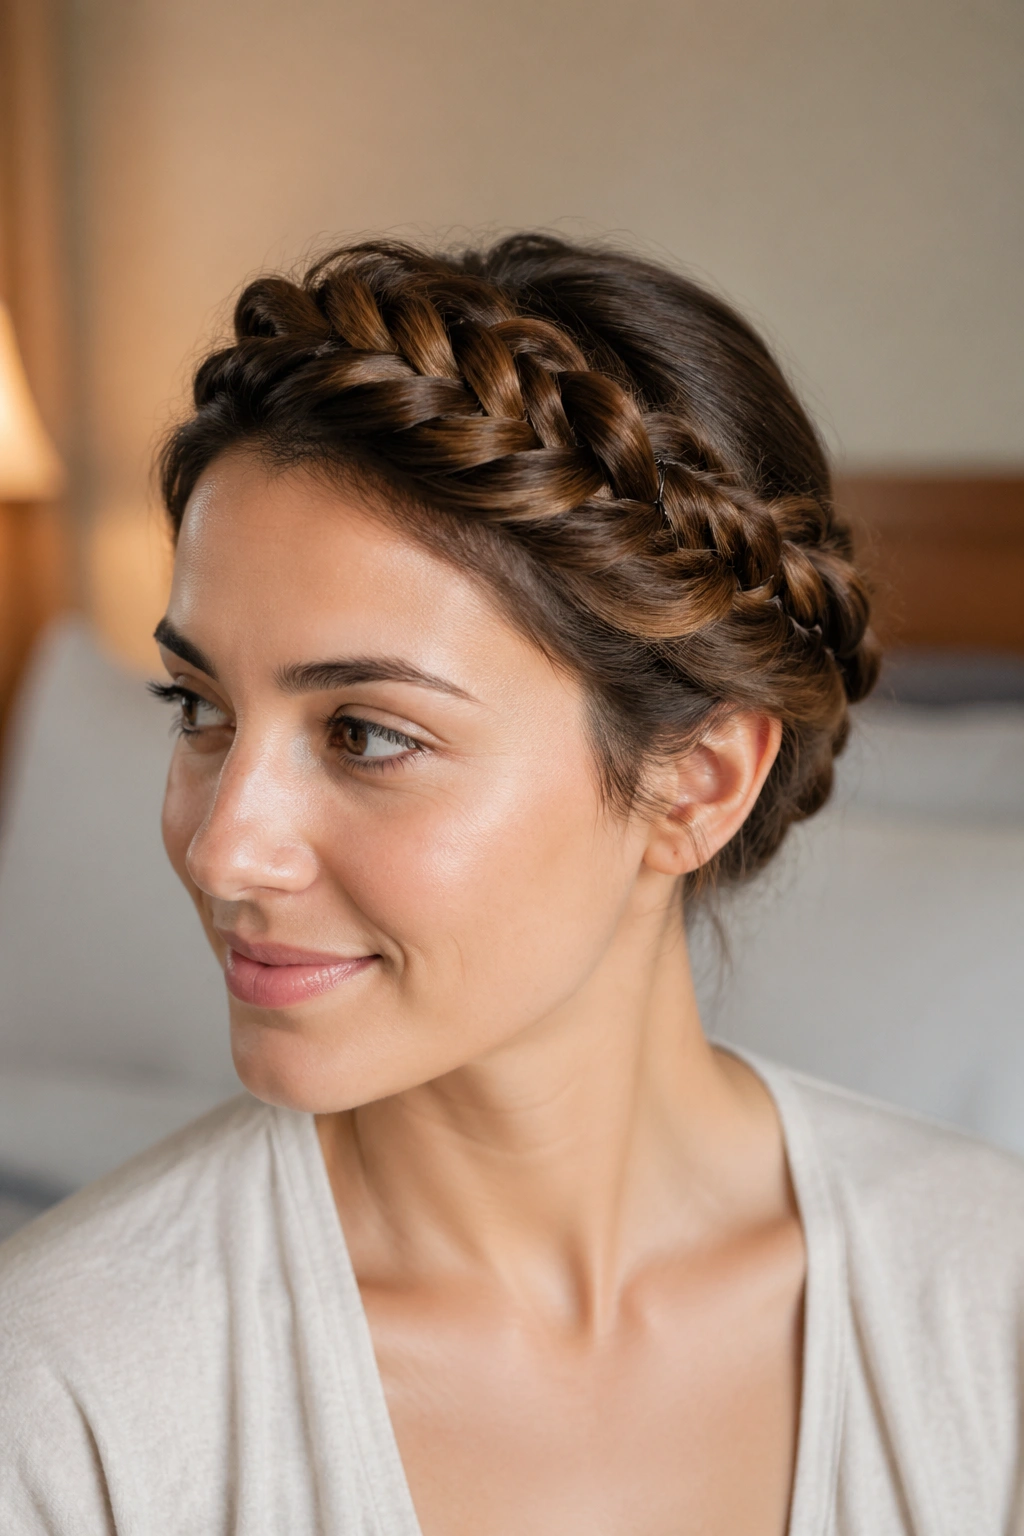
12. Four-Strand Crown Braid
A four-strand crown braid gives you more visual weave than a classic braid, and that extra pattern is what makes it worth the trouble. Unlike a three-strand braid, which has a familiar rope look, the four-strand version lies flatter and reads almost ribbed along the head.
That difference matters if you want the braid itself to be the detail. The style looks especially good on medium-thick hair because there’s enough material for the pattern to show clearly. On very fine hair, the extra strand can start to disappear unless you rough up the roots first.
What Makes It Different
The structure is more technical, but not impossible on yourself. Keep the first section clipped while you map the strand order with your fingers. Once the pattern clicks, the braid becomes much easier to repeat around the head. The hardest part is usually the first 2 inches, not the whole style.
Who It’s Best For
- People who like a braid with a woven, orderly finish.
- Hair that has enough length to stay in your hands while you cross the strands.
- Anyone who wants a more textured crown without adding curls or waves first.
If you want to try one braid that feels a little more dressed up, this is the one. Just don’t rush it. The four-strand pattern punishes sloppy fingers.
13. Faux Crown Braid with Twists and Pins
If your arms get tired, your layers keep escaping, or your braid line refuses to behave, this is the rescue style. A faux crown braid uses twists, small pinned sections, and a bit of strategic hiding to create the look of a braided halo without asking your hands to do all the work.
Why It Works
You’re not building the shape all at once. You’re creating a path around the head with small twisted pieces, then pinning each one into the next so the outline reads like a crown from a normal viewing distance. That makes it a very useful option for shorter hair, busy mornings, or anyone whose layers never stay where they’re told.
- Take 1-inch sections near the temples and twist them back.
- Pin each twist under the next section so the pins disappear into the hair.
- Cross the pins in an X if a section keeps slipping.
- Leave the ends tucked low at the back or curl them under a small fold of hair.
This style is not pretending to be a full braid. That is exactly why it works. It gives you the look, keeps the front tidy, and takes less patience than a full wrap around the head.
One last thing: pin into the hair underneath, not just across the surface. Surface pins slide. Anchored pins stay.
The best crown braid is usually the one you can repeat without muttering at the mirror.