A braid length chart is only useful if it tells you what the hair will actually do once it’s parted, folded, and hanging off a real head. I keep a soft tape measure in my kit for exactly that reason. A 24-inch pack does not land like 24 inches of straight hair, and a client asking for “long braids” might mean bra-strap length, mid-back, or something that brushes the waist when she moves.
That mismatch causes more confusion than people admit. The fold at the root steals inches. Knotless braids settle differently than box braids. Curly ends can make a style look shorter or longer depending on how tight the curl is and how much hair you leave loose. If you’ve ever finished a set and thought, wait, that’s not the length we talked about, you already know why a saved reference chart matters.
The best charts are the boring ones. The ones with real inch ranges, real landmarks, and no guessing. That’s what saves time at the chair, keeps consultations clean, and stops the “I thought it would be longer” conversation from eating up your whole afternoon.
1. Box Braid Length Chart for Short, Medium, and Long Hair
Box braids are where length confusion starts for a lot of braiders. The style is simple to explain, but the finish is not simple to predict. A braid that looks shoulder-skimming on one client can land closer to the collarbone on another, and the difference usually comes down to starting hair length, fold size, and how much added hair you pack into each section.
How the chart usually shakes out
- 4 to 6 inches of stretched natural hair: a 16 to 20 inch extension pack usually gives a shoulder-length finish.
- 7 to 10 inches of stretched natural hair: 18 to 24 inches usually lands around bra-strap or just below it.
- 10 inches and up: 24 to 30 inches can push into mid-back or waist territory, depending on how tight the braid is at the root.
- Very short hair, under 4 inches: box braids can still work, but the root needs more care and the braid often reads shorter than the package length.
A small thing causes a big difference here: the fold at the top. When you double the extension hair over to start the braid, you lose a few inches before the braid even leaves the scalp. That is why a client who wants bra-strap length often does better with the next size up, especially if her torso is long or her shoulders are broad.
My blunt rule: if the goal is for the braids to hit a landmark, choose the pack that reaches one landmark past it. That one inch of breathing room saves arguments later.
2. Knotless Braid Length Chart for a Softer Drop
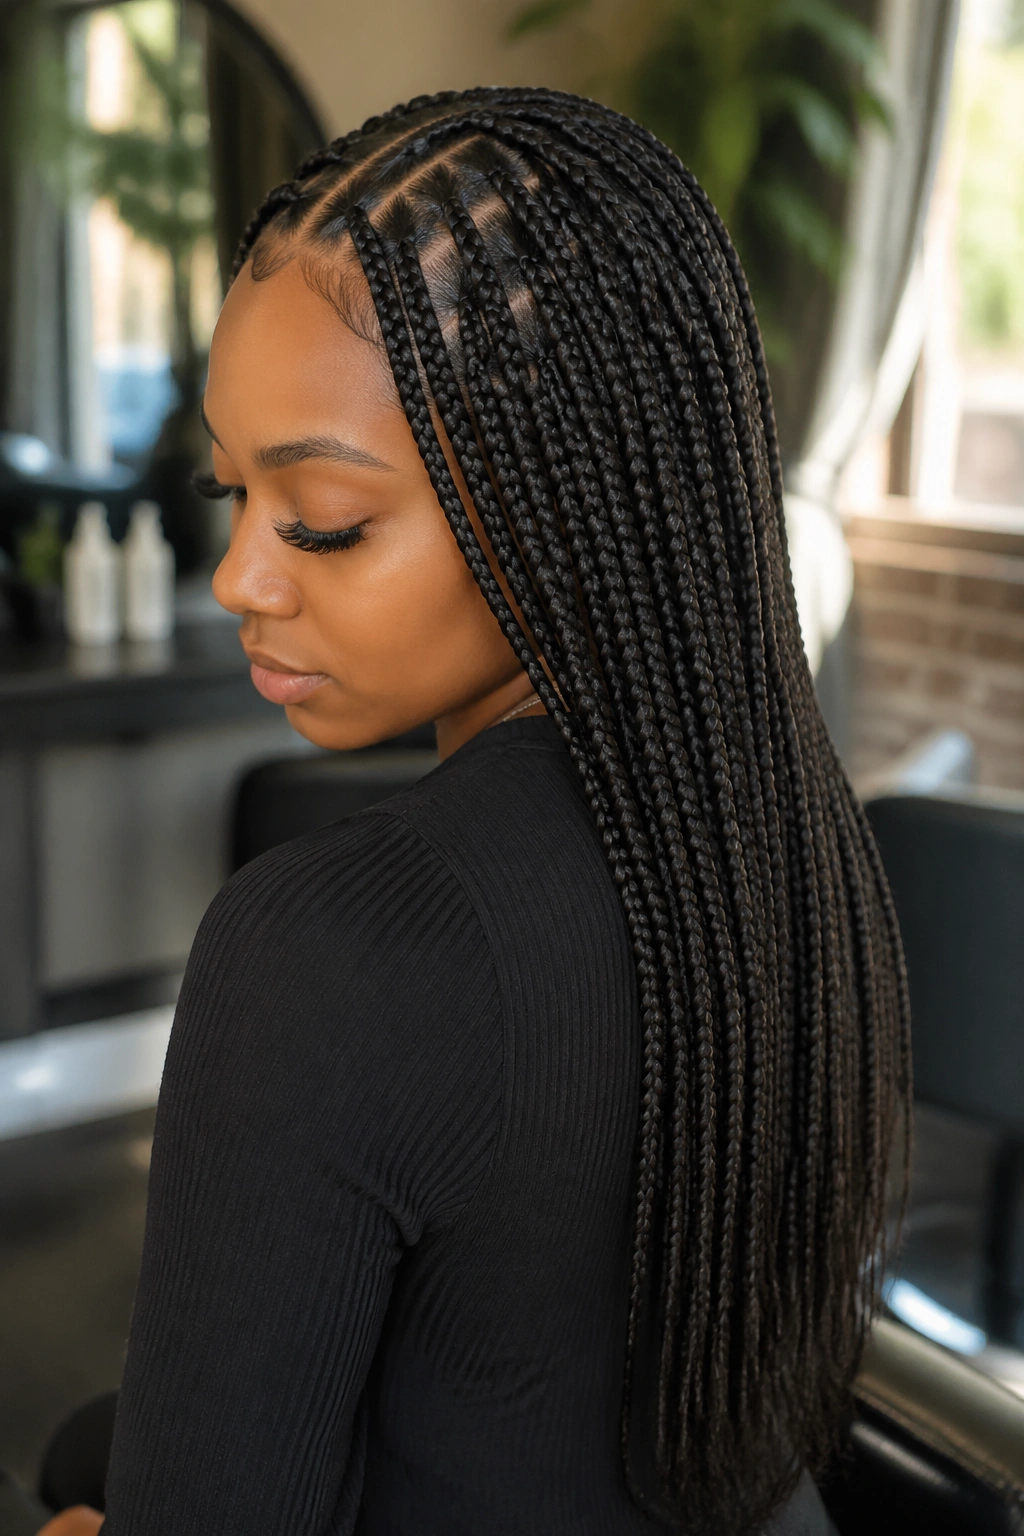
Why do knotless braids seem a little shorter than the package suggests? Because the eye reads them differently from the start. There is no bulky knot at the base, so the braid flows cleanly from the scalp, but that softness can make the whole style feel less dramatic than a same-length box braid.
How to read the numbers
The length you buy is still useful, but the finish usually settles a touch lower than the raw package measurement would suggest. A 16-inch knotless braid often sits around the shoulder on average heads. A 20-inch set usually lands near the bra strap. A 24-inch install can sit at mid-back, and 30 inches starts to look dramatic fast, especially on a smaller frame.
The other thing people forget is that knotless braids are built in stages. The first few inches are your own hair, then the added hair gets fed in gradually. That means the braid looks lighter at the root and a little more fluid through the length. Pretty? Absolutely. But it also means you should not use a box-braid chart and expect the same visual result.
What I tell clients during a consultation
- Shoulder-length request: start around 14 to 16 inches.
- Bra-strap request: look at 18 to 20 inches.
- Mid-back request: 22 to 24 inches is usually the safer call.
- Waist-length request: go longer than the first instinct, because knotless braids settle flatter and can read shorter on the body.
If you work with knotless braids often, save this chart. It prevents the most annoying kind of redo: the one where the client is technically happy with the braid, but not happy with the length.
3. Cornrow and Stitch Braid Length Chart for Scalp Styles
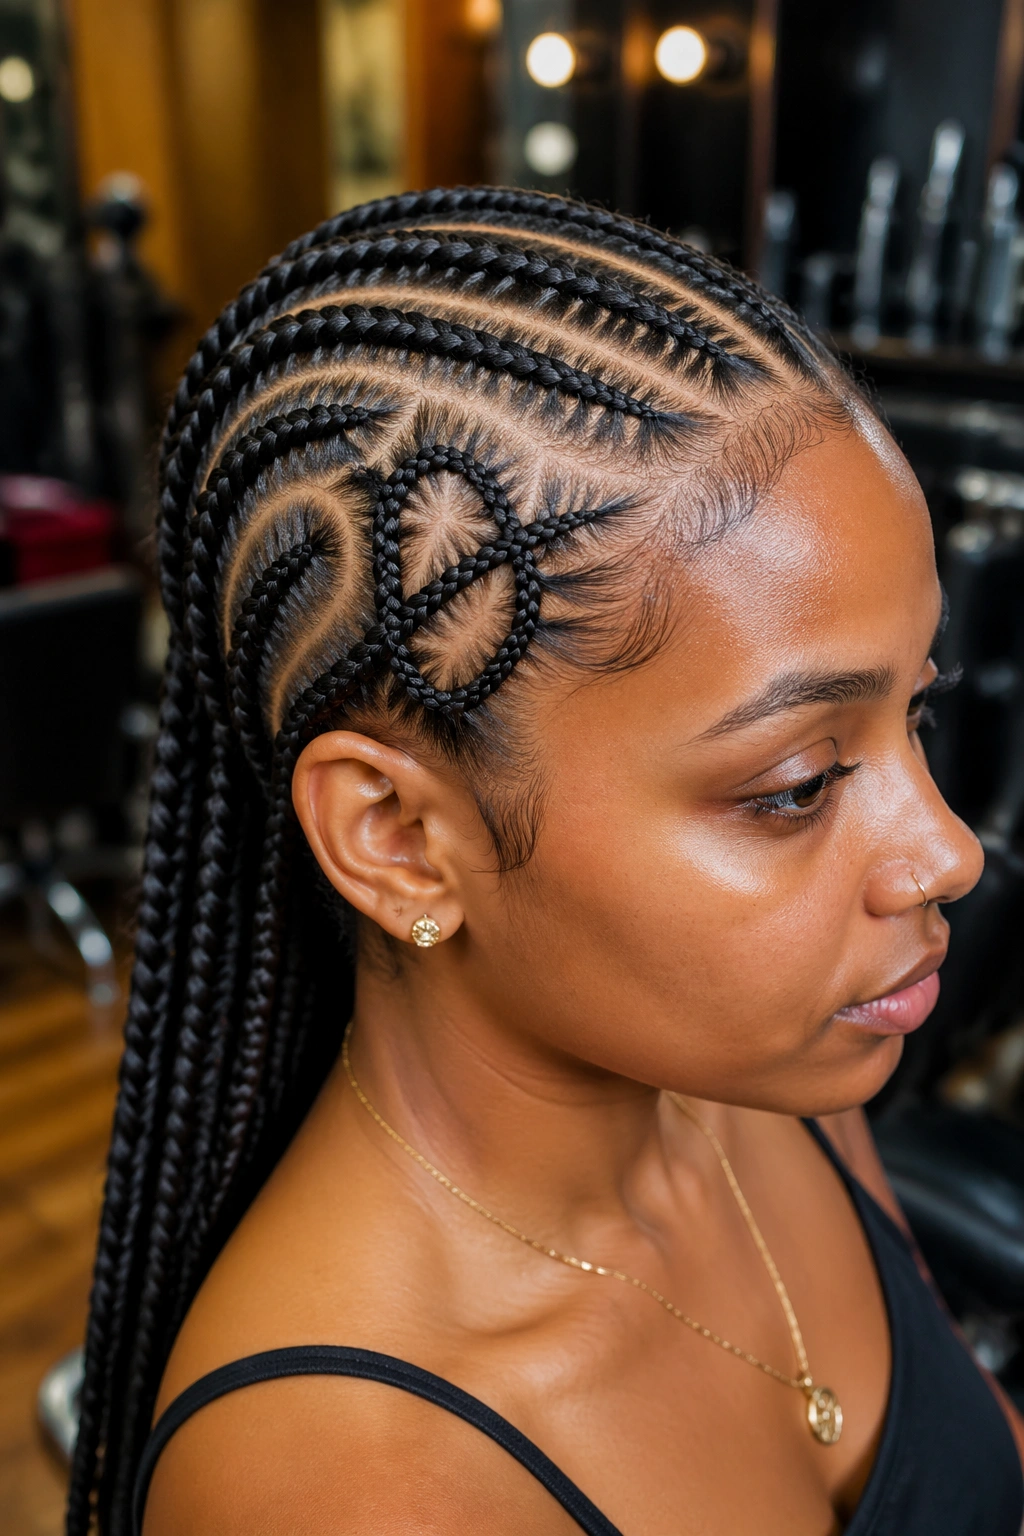
A client can point to a photo of cornrows and still mean three different lengths. That is because scalp styles are measured along the head, not in a straight line. The braid travels from one point to another, curves around the scalp, and only then drops into a tail or bun.
A straight-back cornrow from the front hairline to the nape usually covers about 6 to 8 inches of scalp travel on an average head. Temple-to-neck designs often run a touch longer, closer to 7 to 10 inches, because of the curve around the side of the head. Stitch braids with feed-in tails are their own thing; once the tail is added, the visual length can jump fast.
Quick reference points
- Hairline to nape: about 6 to 8 inches of braided path.
- Temple to low ponytail base: about 8 to 10 inches.
- Crown to nape with feed-in tail: about 9 to 12 inches before the hanging length starts.
- Straight-back stitch braids with extended tails: usually need 12 inches and up if the client wants obvious swing.
The braid can feel shorter because it hugs the head so closely. That is normal. A lot of the drama in cornrows comes from parting pattern, stitch spacing, and where the tail begins, not from raw length alone.
A clean chart note: if the braid is meant to end in a bun or tucked style, measure the scalp path, not the visible drop. Those are two different conversations.
4. Feed-In Braid Length Chart for Ponytails and High Tails
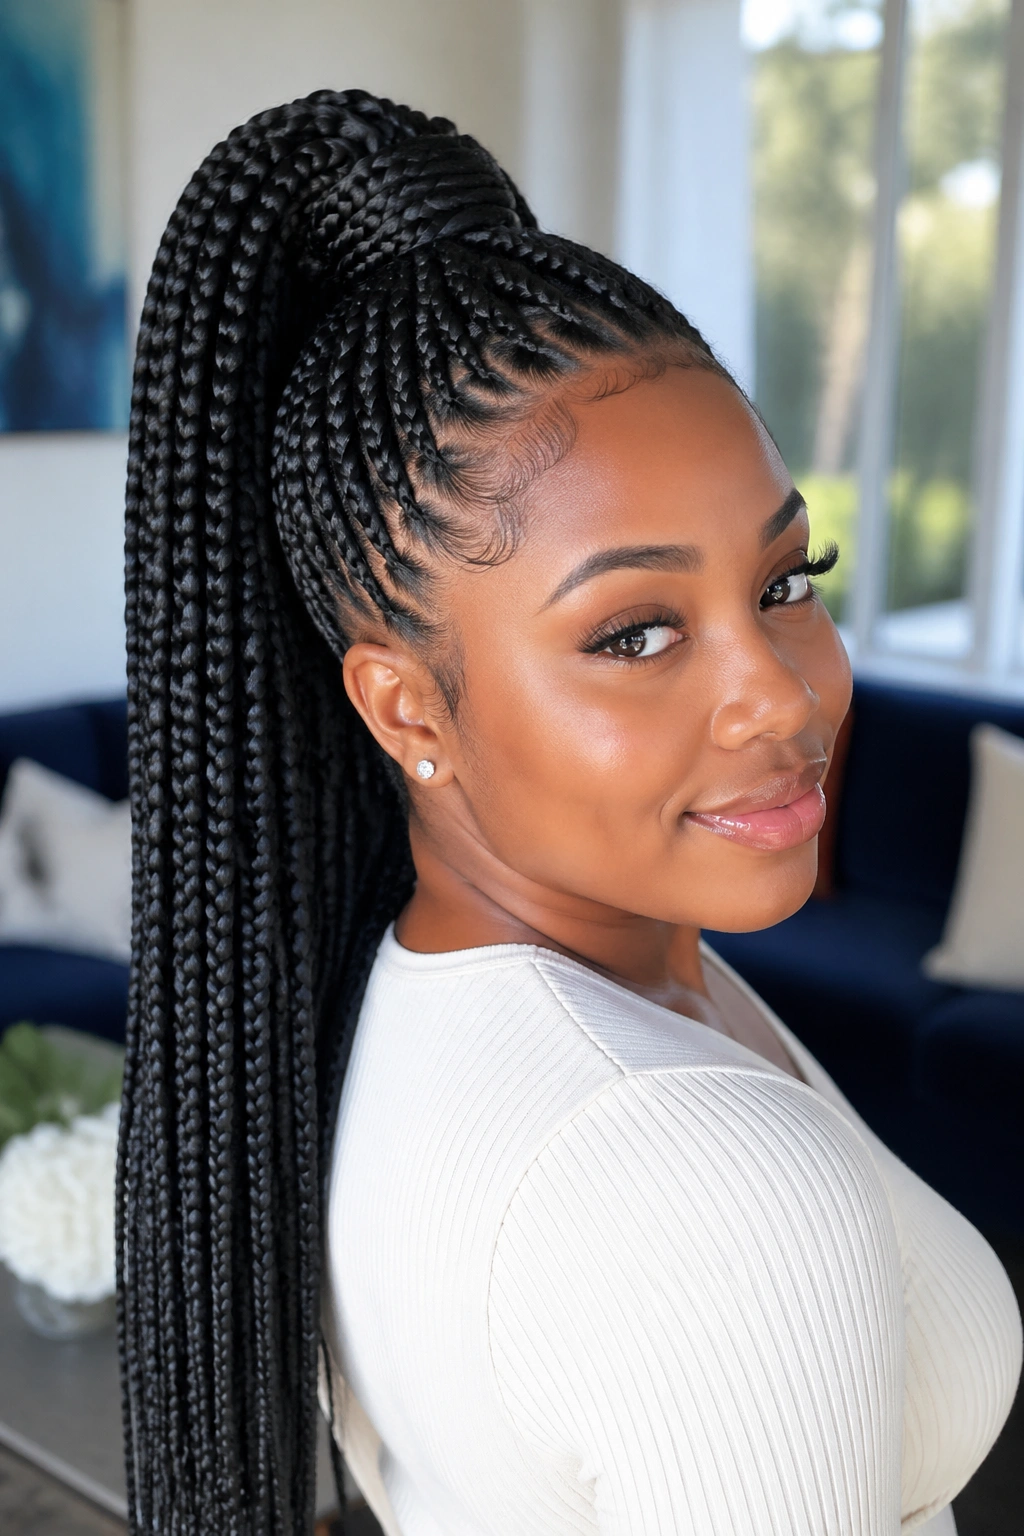
Feed-in braids are sneaky. They create length without a heavy knot, which is exactly why they are so useful for sleek ponytails and long sculpted styles. But they also make people overestimate the final drop. A high ponytail starts at a lifted point on the head, so the braid loses visible inches just by sitting up there.
If a client wants a ponytail that rests near the collarbone, a 14- to 16-inch braid is usually enough. For a bra-strap finish, I reach for 18 to 20 inches. A mid-back ponytail often needs 22 to 24 inches, and anything longer than that starts asking for more care, more time, and more patience with the weight.
Heavy feed-ins behave differently. Period.
The braid may be the same measured length as a looser style, but the root lift, wrapped base, and thickness of the ponytail change how it reads on the body. I’ve seen a 20-inch feed-in ponytail look shorter than a 20-inch box braid simply because the ponytail was anchored high and sleek, with no slack to fall forward.
What matters most in this chart
- High ponytail placement eats visual length.
- Thicker feed-in sections look shorter than fine ones.
- Wrapped bases remove another inch or two from what the eye sees.
- Longer necks and taller clients need extra length more often than people expect.
If the style is meant to swing, give yourself a little extra. If it’s meant to sit clean and sharp, a shorter length often looks better anyway.
5. Fulani Braid Length Chart for Center Parts and Side Pieces
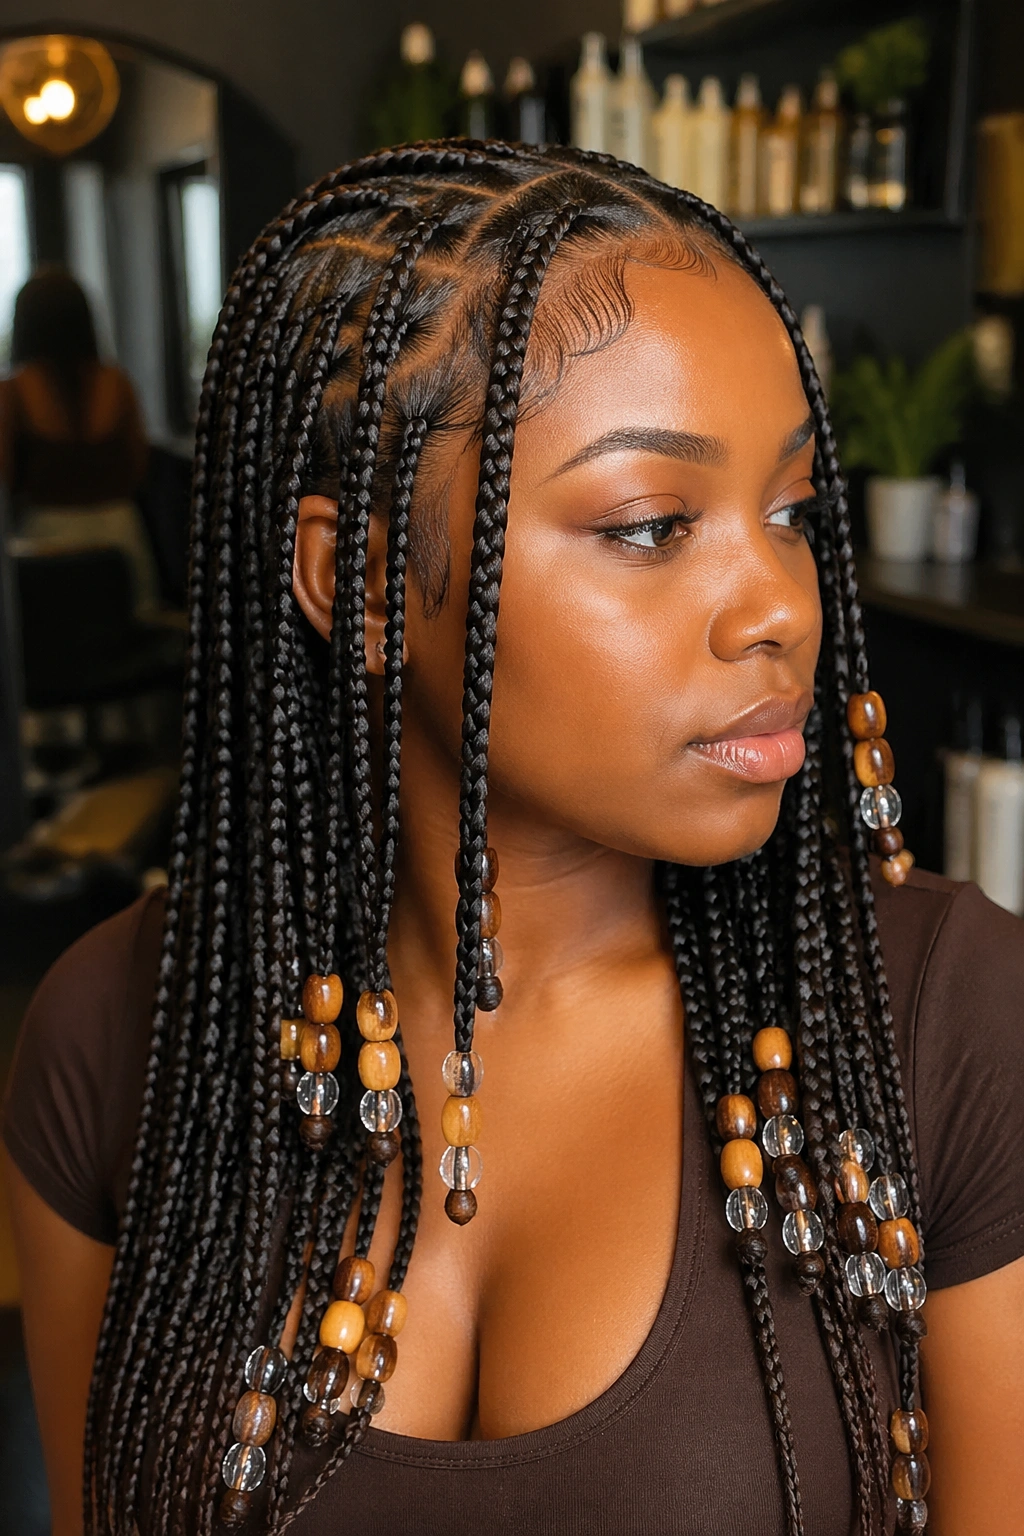
Fulani braids do not read as one single length. That is the whole charm of them. The center braid, the side braids, and the back sections each play a different role, and if you force them all to match, the style starts looking stiff instead of balanced.
The center braid is often the longest visual line. It pulls the eye straight down the face and chest, so even a moderate length looks dramatic there. The side braids are usually a touch shorter so they can frame the face without dragging too hard across the shoulders. Back braids can sit anywhere from nape length to mid-back, depending on whether they are tucked, beaded, or left loose.
Three-length logic that works
- Center braid: usually 18 to 24 inches if you want it to show.
- Side braids: often 12 to 18 inches, especially when beads or cuffs are added.
- Back braids: 14 to 22 inches is a common range for a balanced finish.
Beads matter here more than most people think. A row of wooden or glass beads can make a braid look longer simply because the eye follows the line to the end of the ornament. Metal cuffs do something a little different; they make the section feel heavier and more structured, even when the actual length is the same.
I like this style because it has rhythm. The lengths do not need to match. They need to talk to each other.
6. Goddess Braid Length Chart with Curly Ends
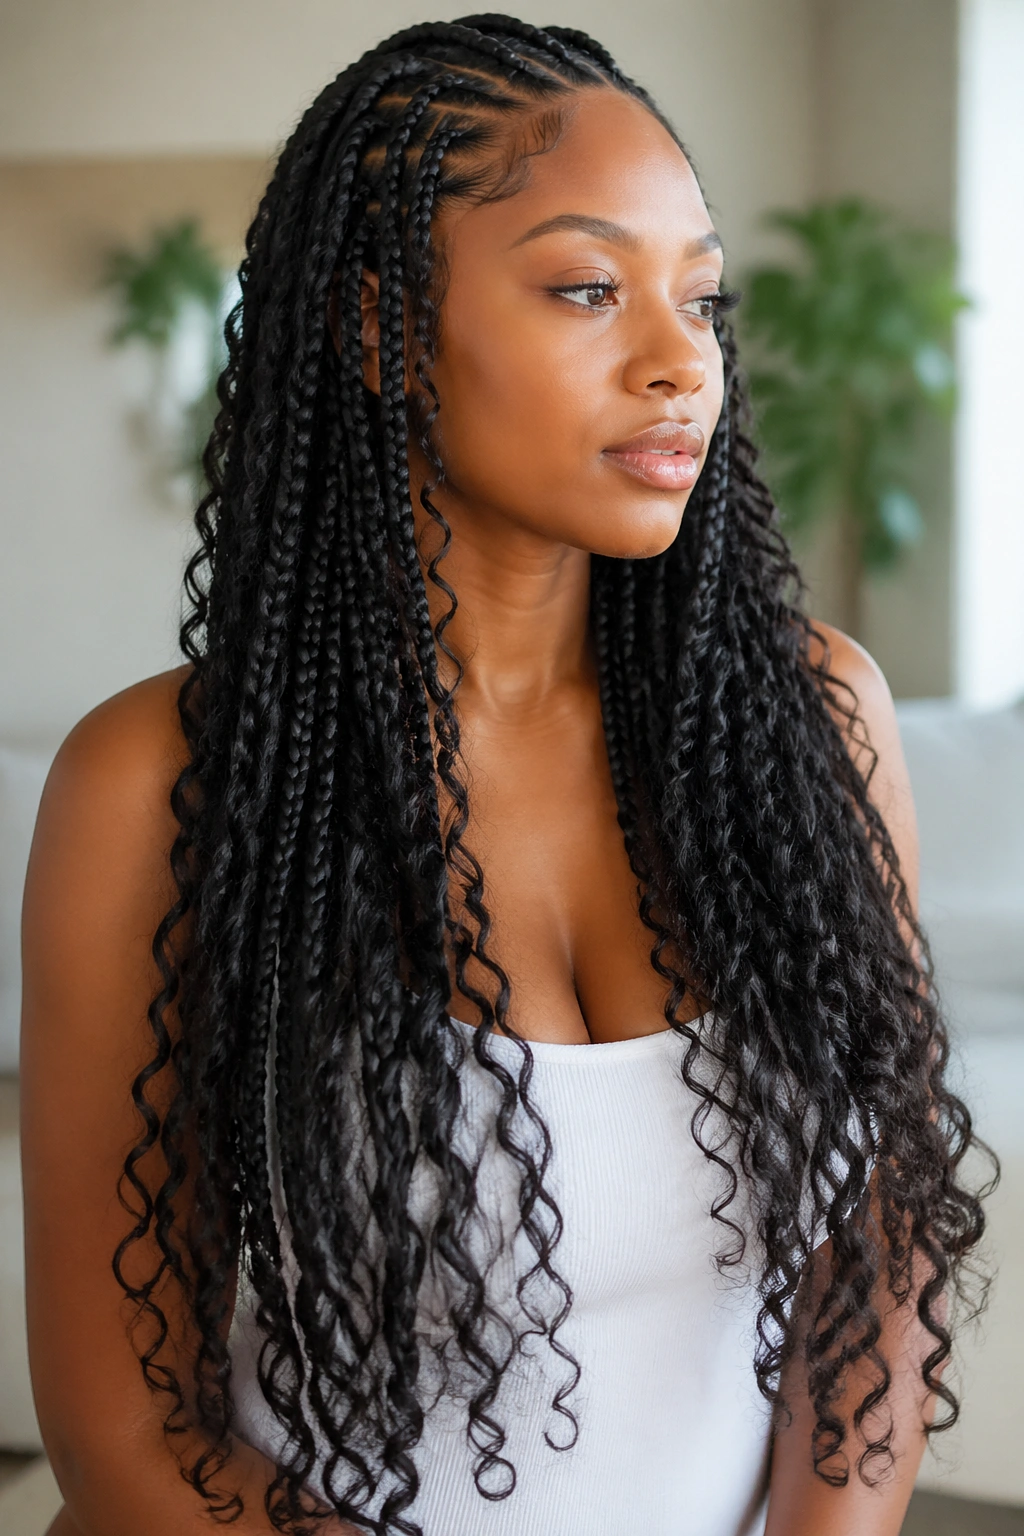
Thickness changes everything. A goddess braid with loose curly pieces does not read the same way as a plain braid of the same length. The extra texture gives softness, but it also steals a little visual length because the eye lands on the curls first and the braid second.
Why the bulk changes the chart
A 20-inch goddess braid can look shorter than a 20-inch box braid. That sounds odd until you see it. The braid itself may be the same length, but the curly pieces create a wider silhouette, and wide styles often look a touch shorter from a distance. Add bigger parting sections, and the effect gets even stronger.
The curl drop is what changes the math. If the braids themselves are meant to hit the bra strap, I usually size the straight braid a little longer than I would for a plain set. The curls then soften the finish without turning the whole style into a heavy curtain.
Best length targets
- 12 to 14 inches: crown accents, half-up styles, and fuller buns.
- 16 to 18 inches: shoulder to collarbone length with some movement.
- 20 to 24 inches: mid-back looks with curls that hang and separate well.
- 26 inches and up: long, dramatic installs that need lighter parting and careful weight control.
If you want the curls to stay visible, don’t crowd them. Too many loose pieces packed too tightly into the braid make the style puff out and hide the actual length. A little restraint goes a long way here.
7. Lemonade Braid Length Chart for One-Sided Styles
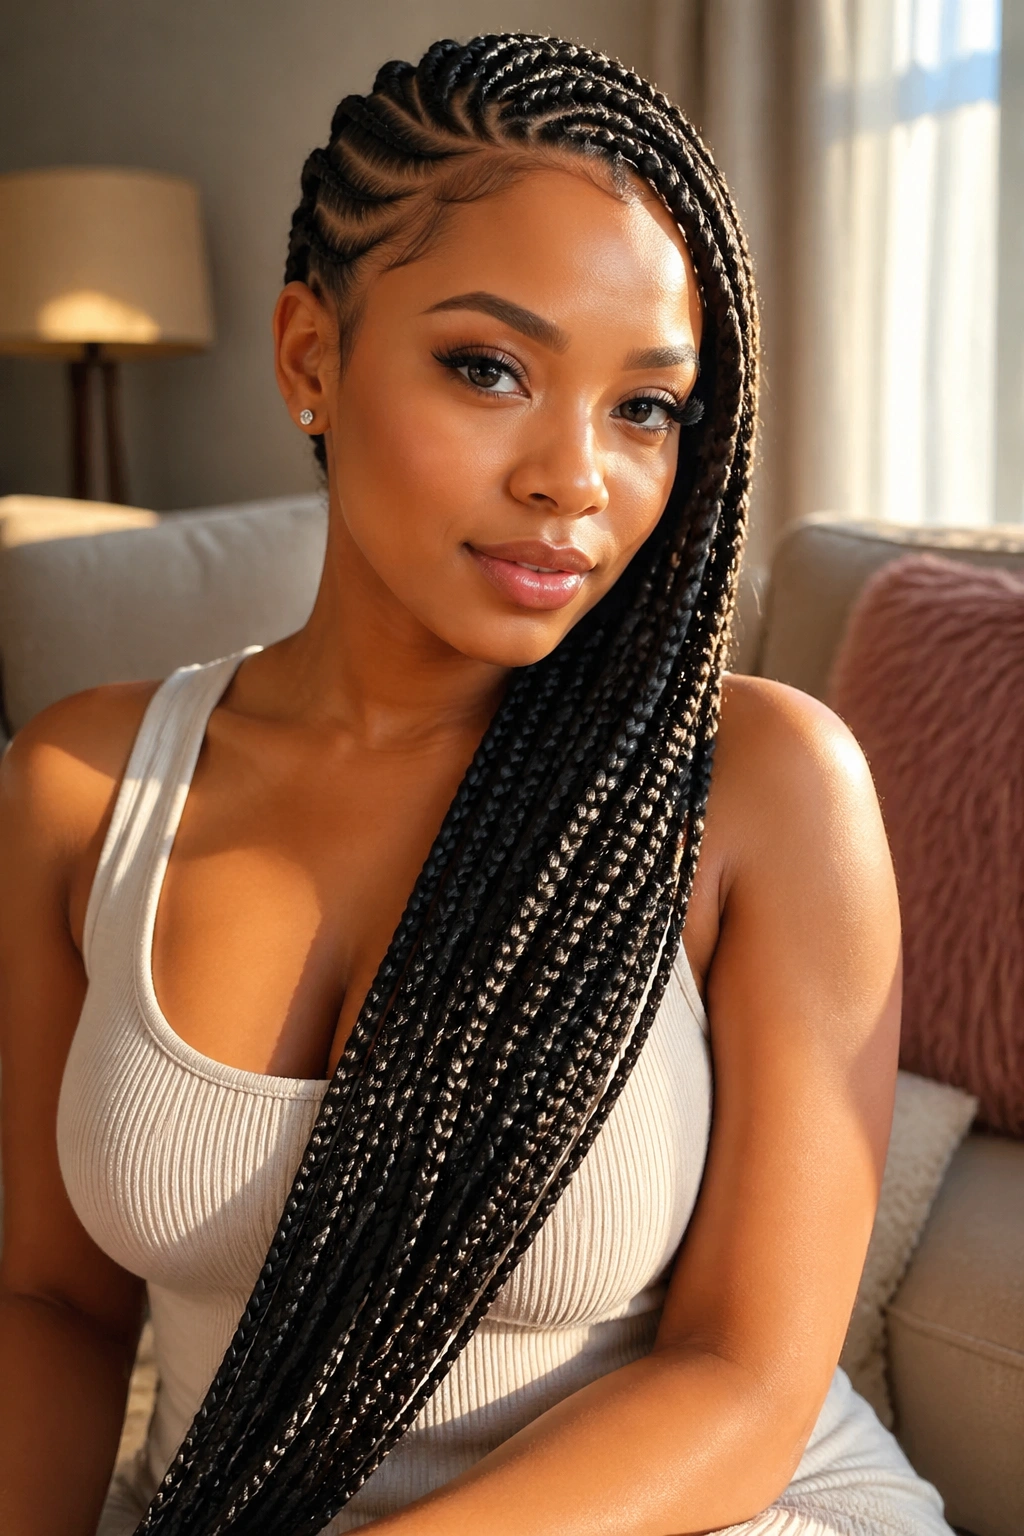
Why do lemonade braids look longer on one side than they measure? Because the eye follows the diagonal. A braid swept over one shoulder travels across the body, not straight down it, and that crossing changes how the length lands.
The best way to think about this chart is in relation to the shoulder line. A 12- to 14-inch lemonade braid usually grazes the collarbone or upper chest. 16 to 18 inches often lands around the bra strap. If the client wants the ends to fall near the mid-back on the heavy side sweep, 20 to 24 inches is usually the safer range.
How to read the sweep
- Short sweep: ends near the collarbone and frames the face.
- Medium sweep: ends near the bra strap and feels balanced.
- Long sweep: hits mid-back and starts to swing when the client turns her head.
- Extra-long sweep: reaches waist territory, but the side angle can make it feel longer than it measures.
One thing I like about lemonade braids is that they give you more room to play with the visual line. A braid that would feel plain if it fell straight down can look sharp and polished once it curves across the chest. But that same curve also means you need to talk about length in landmarks, not just inches. A client hears “20 inches” and imagines one thing. She sees “mid-back sweep” and understands another.
8. Boho Braid Length Chart with Loose Curly Pieces
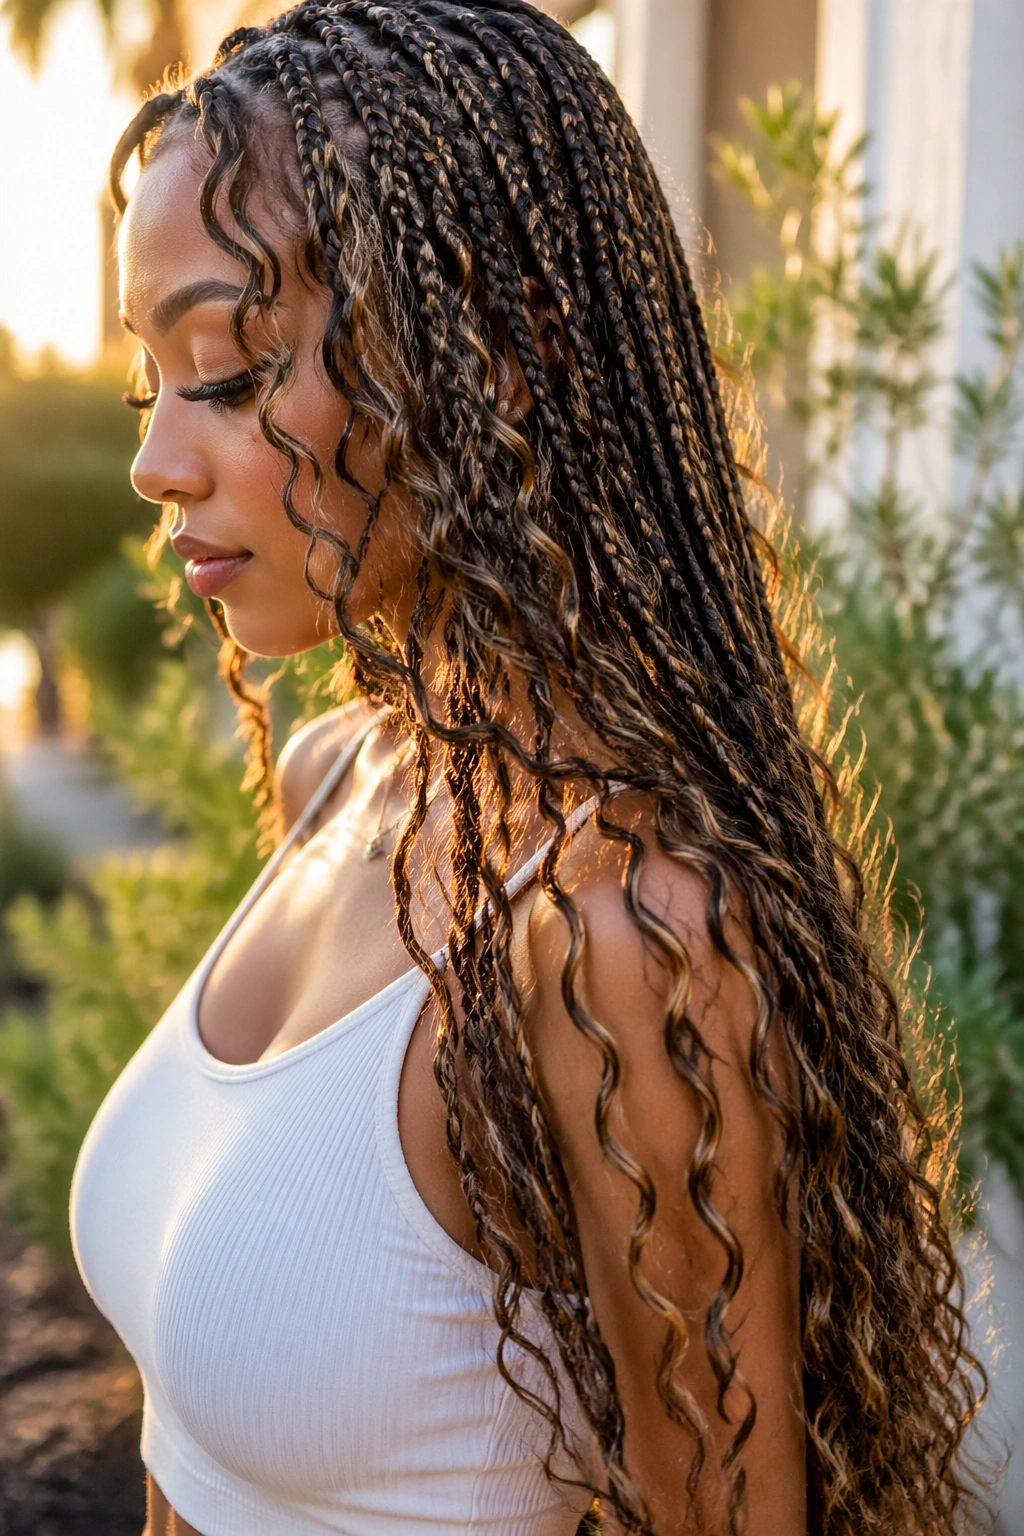
I have watched a 24-inch boho braid look like a 20-inch style the second the curls were fluffed. That is not a flaw. It is the whole point. The loose pieces make the style feel airy and lived-in, but they also change how the finish reads from a distance.
Boho braids need a little extra length if the goal is for the straight braid to still hit a specific landmark after the curly strands are added. If a plain box braid would land at bra-strap length, I usually push the boho version a little longer so the curls can sit on top without making the braid look clipped off.
Useful reference points
- Shoulder-length boho braids: usually need 14 to 16 inches of straight braid.
- Bra-strap look: closer to 18 to 20 inches.
- Mid-back finish: 22 to 24 inches works better once curls are added.
- Waist-length boho braids: often need 24 inches and up, because the curls shorten the read.
The curl length matters too. 6- to 8-inch curls keep the style soft and light. 10- to 12-inch curls make the braid look fuller and longer, but they also need more maintenance because they tangle faster and lose shape sooner. A water-based foam helps; heavy grease only weighs the curl down and turns the ends sloppy.
My honest take: boho braids are gorgeous, but they are not the style to choose if a client is obsessed with a razor-clean length line.
9. French Curl Braid Length Chart for Curled Ends
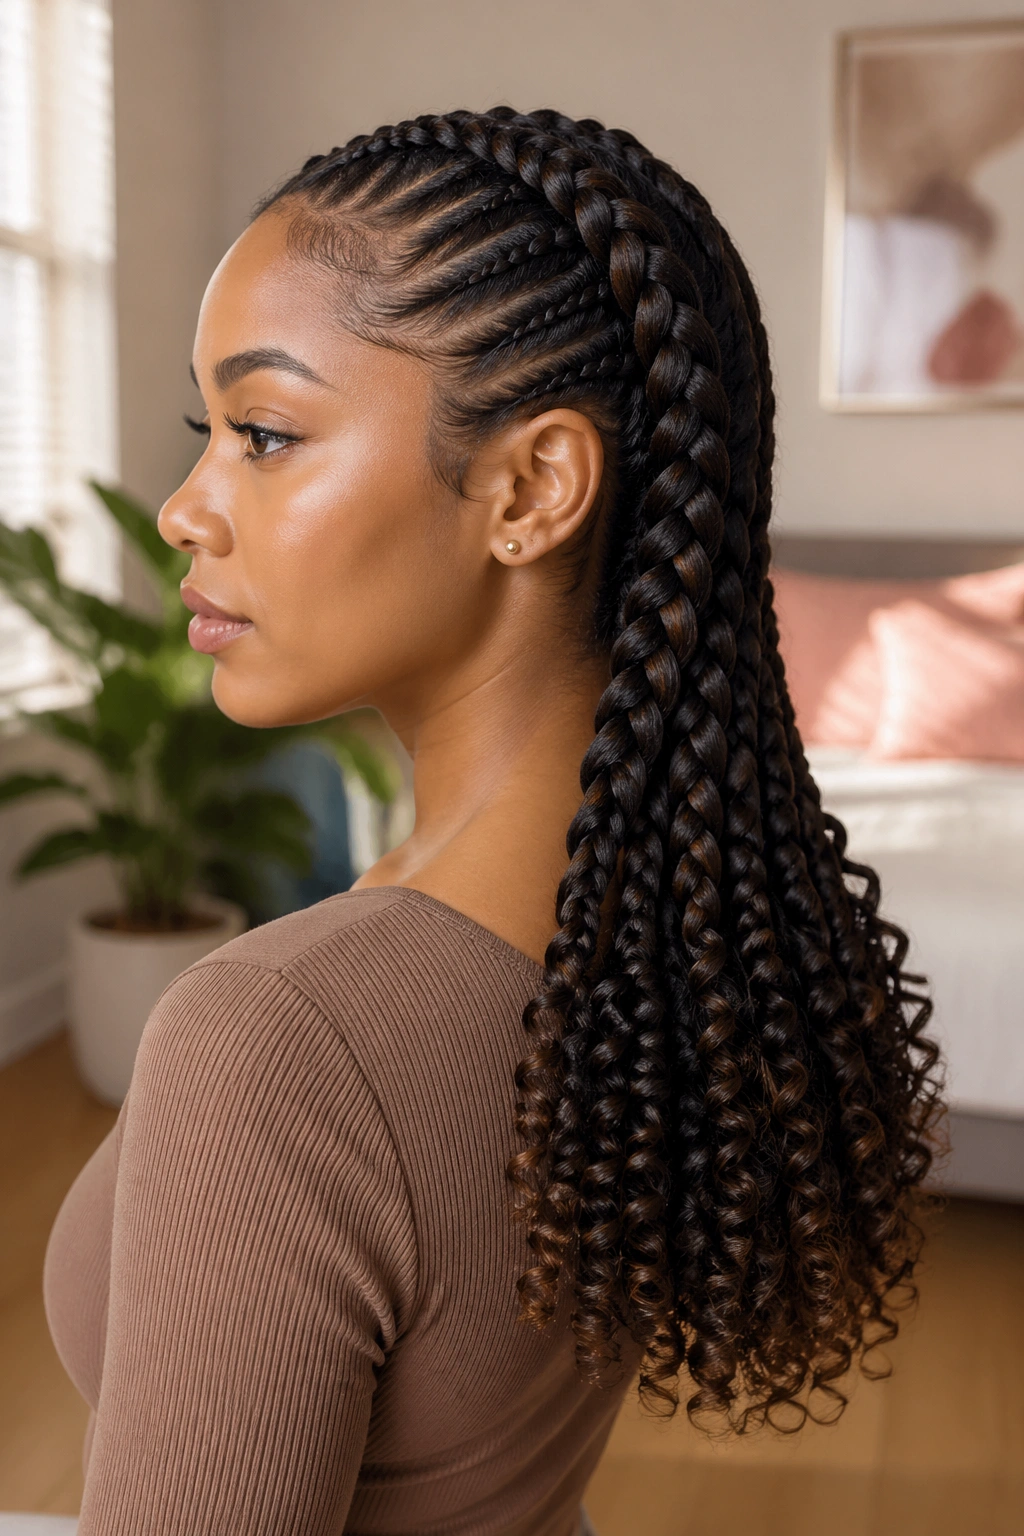
French curl braids sit in a strange little spot between polished and playful. The braid itself is neat, but the curled end gives the style a soft drop that changes everything about how the length reads. A straight braid and a French curl braid with the same package length do not look the same at all.
The cleanest way to think about this chart is to separate the straight braided section from the curled finish. A 20-inch French curl braid often lands around shoulder to bra-strap range once the curl is counted in. A 24-inch set can sit near mid-back on many heads, though a shorter torso will make it feel longer. At 30 inches, the style starts to fall with a real swoop, and the curled ends do a lot of the visual work.
The curl itself usually adds another 3 to 6 inches of visual drop, depending on how tight the curl pattern is and how much the braid has been manipulated after install. Looser curls hang longer. Tighter curls spring up more.
What I watch for
- Curl density: too much curl makes the ends look heavy.
- Curl pattern: loose spirals read longer than tight ringlets.
- Braid placement: high placements lose visible length fast.
- Client height: taller clients often need one size longer than they think.
I prefer French curl charts over pure package-length charts because they force the conversation to stay visual. Clients understand “where it lands” better than they understand a package number.
10. Kids’ Braid Length Chart for Short Hair and Safe Tension

Kids’ braid charts should run shorter than adult charts, and not only because children are smaller. Their scalps are more sensitive, their heads move more, and long braids can start rubbing at the neck, shoulders, car seat, and backpack straps. That friction matters.
What I usually keep in range
- Collarbone length: best for active kids, especially if the hair is fine or the scalp is tender.
- Bra-strap length: works when the hair is dense and the parts are light.
- Mid-back length: only when the braids are larger, the install is balanced, and the child can handle the upkeep.
Shorter is not boring. It is practical. A 12- to 14-inch braided bob can look polished and stay out of the way at school. A 16-inch set gives enough swing without turning the back of the neck into a tug zone. Once you get into longer lengths, weight becomes the issue, especially with beads, cuffs, or thick added hair.
A few small things that matter a lot
- Smaller beads reduce weight at the ends.
- Larger partings can make the style easier to wear.
- Neck-length styles are easier for sleeping and detangling.
- High ponytail braids can pull more than they look like they should.
I like keeping kids’ charts simple. Use the landmark, check the density, then leave a little cushion. Children move around. Their braid length should account for that, not fight it.
11. Jumbo Braid Length Chart for Fast Installs
Jumbo braids are heavy fast. That is the part people underestimate. A jumbo braid that reaches 24 inches does not feel like a 24-inch small braid, because the width adds weight, bulk, and a slower swing at the ends.
A quick length guide for jumbo styles
- 12 to 14 inches: chunky bob, easy to wear, good for shorter sessions.
- 16 to 18 inches: shoulder-length with enough movement for a full look.
- 20 to 24 inches: long statement braids that need a secure base.
- 30 inches and up: dramatic territory; only worth it when the client really wants the length and understands the weight.
The trick with jumbo braids is that the braid itself creates its own shape. It does not drape like a skinny braid. It holds more of an arc, so a 20-inch jumbo braid can appear a touch shorter than the same exact measurement in a smaller size. That is not a mistake. It is physics doing what physics does.
If a client wants “big but not too long,” I usually steer her to a 16- or 18-inch target. That range gives the braid enough room to show off the thickness without turning the install into a shoulder workout.
One-line truth: the thicker the braid, the less forgiving the length.
12. Stretched-Hair vs Shrinkage Length Chart for Better Measuring
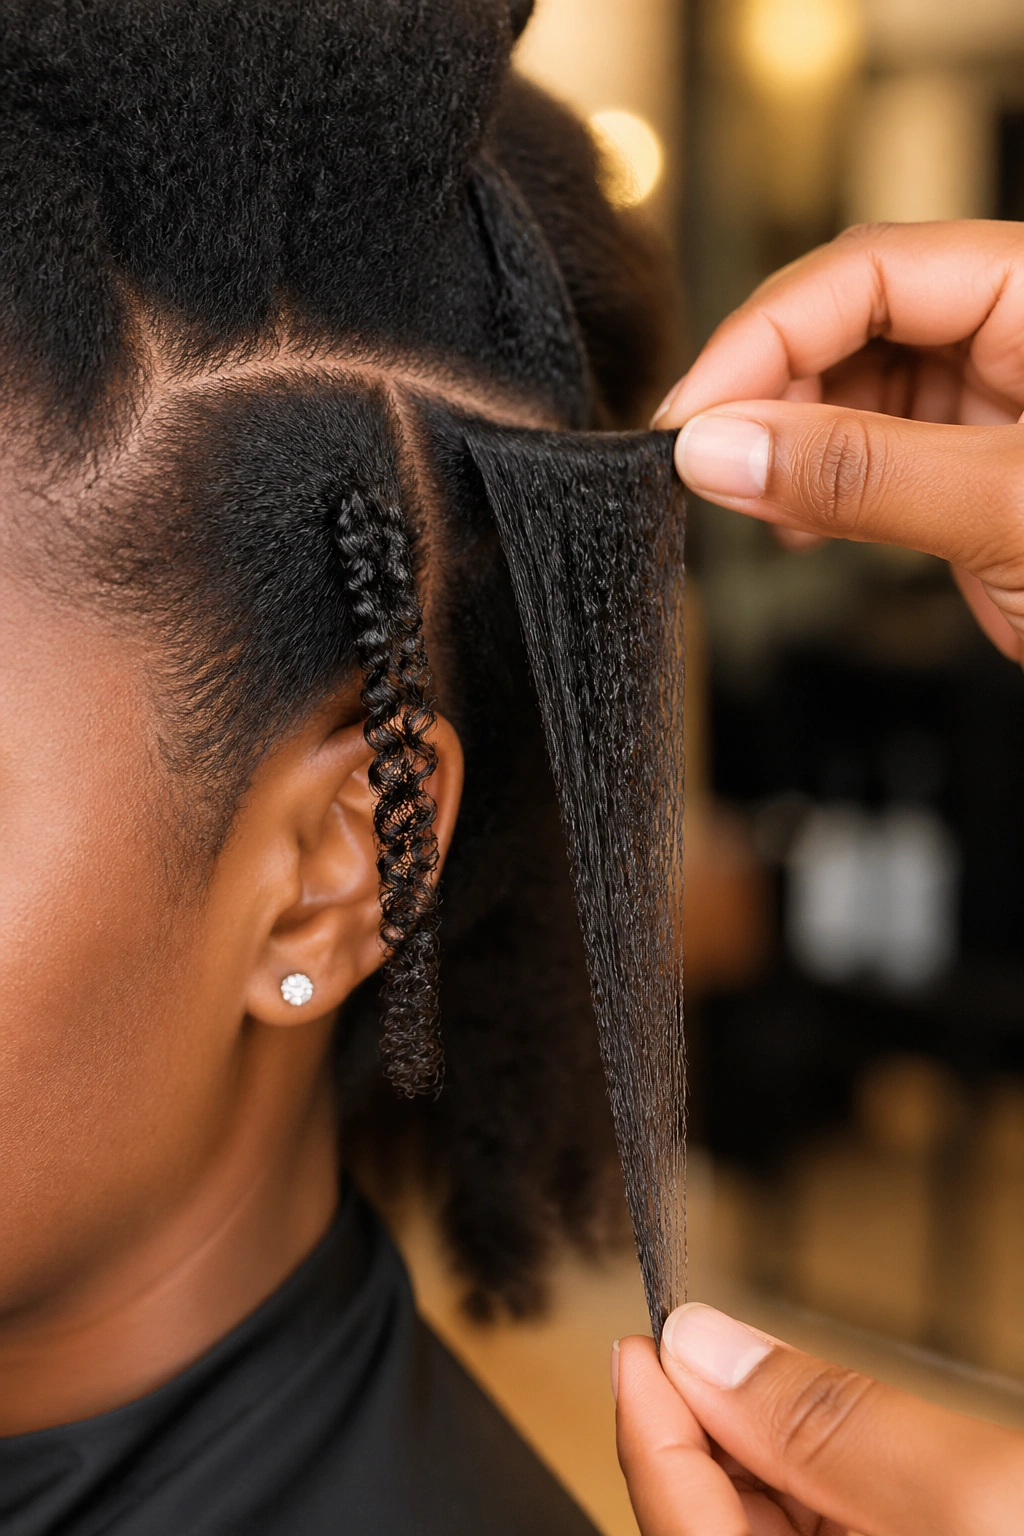
What happens when you measure coils in their shrunken state? You guess wrong. That’s what happens. A braid length chart built on unstretched hair is usually off by several inches, and the error gets worse when the hair is dense, humid, or freshly washed.
How much shrinkage can hide
- Mild shrinkage: about 20 to 30 percent of the stretched length may disappear visually.
- Heavy shrinkage: 40 percent or more can vanish, especially on tight coil patterns.
- Blow-dried or tension-stretched hair: gives the most reliable braid measurement.
- Band-stretched or threaded hair: lands somewhere in the middle and works well when heat is not the plan.
The point is not to force every client into a blowout. The point is to measure the hair the same way every time you quote length. If one consultation is based on shrunken coils and the next is based on stretched hair, your chart stops being a chart and becomes a gamble.
A simple way to save yourself trouble
- Stretch first, measure second.
- Use the same method for every client.
- Measure from the base of the part to the tip of the stretched strand.
- Leave room for the fold at the root if the style is braided with added hair.
A braid length chart built on stretched hair is boring in the best way. It gives you a clean number, a clean quote, and far fewer surprises once the braids are finished.
13. Shoulder, Mid-Back, Waist, Hip, and Thigh Length Chart
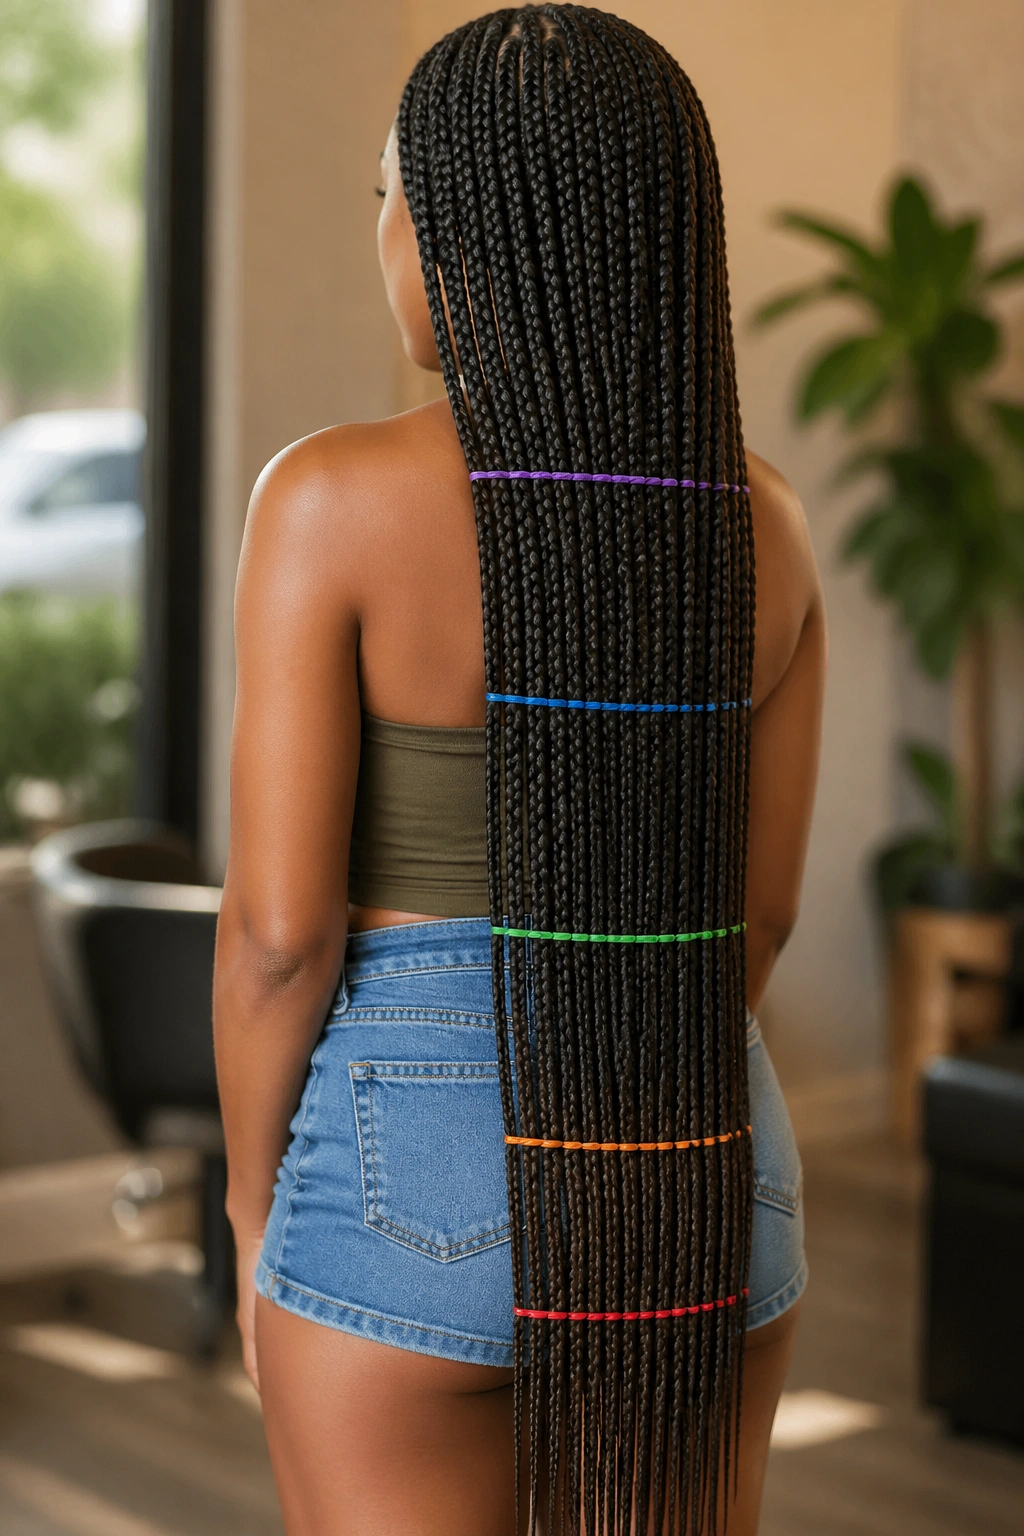
I like one clean landmark chart more than a pile of style notes. Landmark lengths are the language almost every client understands, even if she does not know the inch count yet. Shoulder. Bra strap. Mid-back. Waist. Hip. Thigh. Those words mean something to people before they ever start thinking about a tape measure.
A practical landmark chart
- Collarbone: about 10 to 12 inches on many heads.
- Shoulder: about 12 to 14 inches.
- Bra strap: about 18 to 24 inches, depending on torso length.
- Mid-back: about 22 to 26 inches.
- Waist: about 24 to 30 inches.
- Hip: about 30 to 34 inches.
- Thigh or tailbone range: 36 inches and up.
Those ranges move around with height, torso length, neck length, and where the braid starts. A braid measured from the top of the head lands differently than one measured from the nape. A tall client with a short torso can make a 24-inch braid look waist-length. A shorter client with a long torso may need more than that to reach the same place.
That is why I prefer to ask the client to show me the exact spot with her hand or point to a photo first, then translate that into inches. The chart becomes a tool, not an argument.
Best habit of all: keep a tape measure in the chair, and measure the hair the way you’ll braid it. That tiny pause saves a lot of awkward smiling later.
Final Thoughts

Length charts are not about making braids sound technical. They are about making the finish predictable. Once you know how much the fold eats, how curls change the read, and how a style sits on the body, the whole consultation gets easier.
The smartest chart is the one you actually use. Save the landmark ranges, keep an eye on stretched length, and stop trusting package size alone. It’s a neat little lesson, and a useful one: the best-looking braid is usually the one that was planned with a real head, a real texture, and a real measurement from the start.