A sleek high ponytail isn’t just a quick solution for bad hair days—it’s a polished, versatile style that works whether you’re heading to the office, the gym, a dinner party, or a casual brunch. What makes a high ponytail genuinely sleek, though, goes beyond simply pulling your hair up. The difference between a basic, messy ponytail and a showstopping sleek version comes down to technique, product choice, and understanding how to work with your specific hair texture. The placement matters. The smoothness of your base matters. Even the way you wrap and finish the elastic makes a visible difference in how put-together you look.
The beauty of the sleek high ponytail is its incredible range—it adapts to your hair type, your personal style, and the occasion without sacrificing that clean, refined look. Whether you’re working with fine, straight hair that needs texture-boosting tricks, thick curly hair that requires proper product and technique, or something in between, there’s a sleek high ponytail approach that’ll work for you. Some versions pair perfectly with a business suit and minimal makeup; others look equally at home at a music festival or a gym session. The key is knowing the foundational techniques that make ponytails look salon-quality, then learning how to adapt and personalize them.
Beyond just the hairstyle itself, sleek ponytails are incredibly practical. They keep your hair completely off your face and neck, making them perfect for workouts, cooking, or any activity where you need zero distractions. They’re also timeless—a well-executed sleek high ponytail photographs beautifully and flatters nearly every face shape when positioned correctly. Once you understand the core techniques and try a few variations, you’ll find yourself reaching for this style constantly because it’s reliable, looks intentional, and takes just minutes to create once you’ve practiced.
1. The Classic High Ponytail
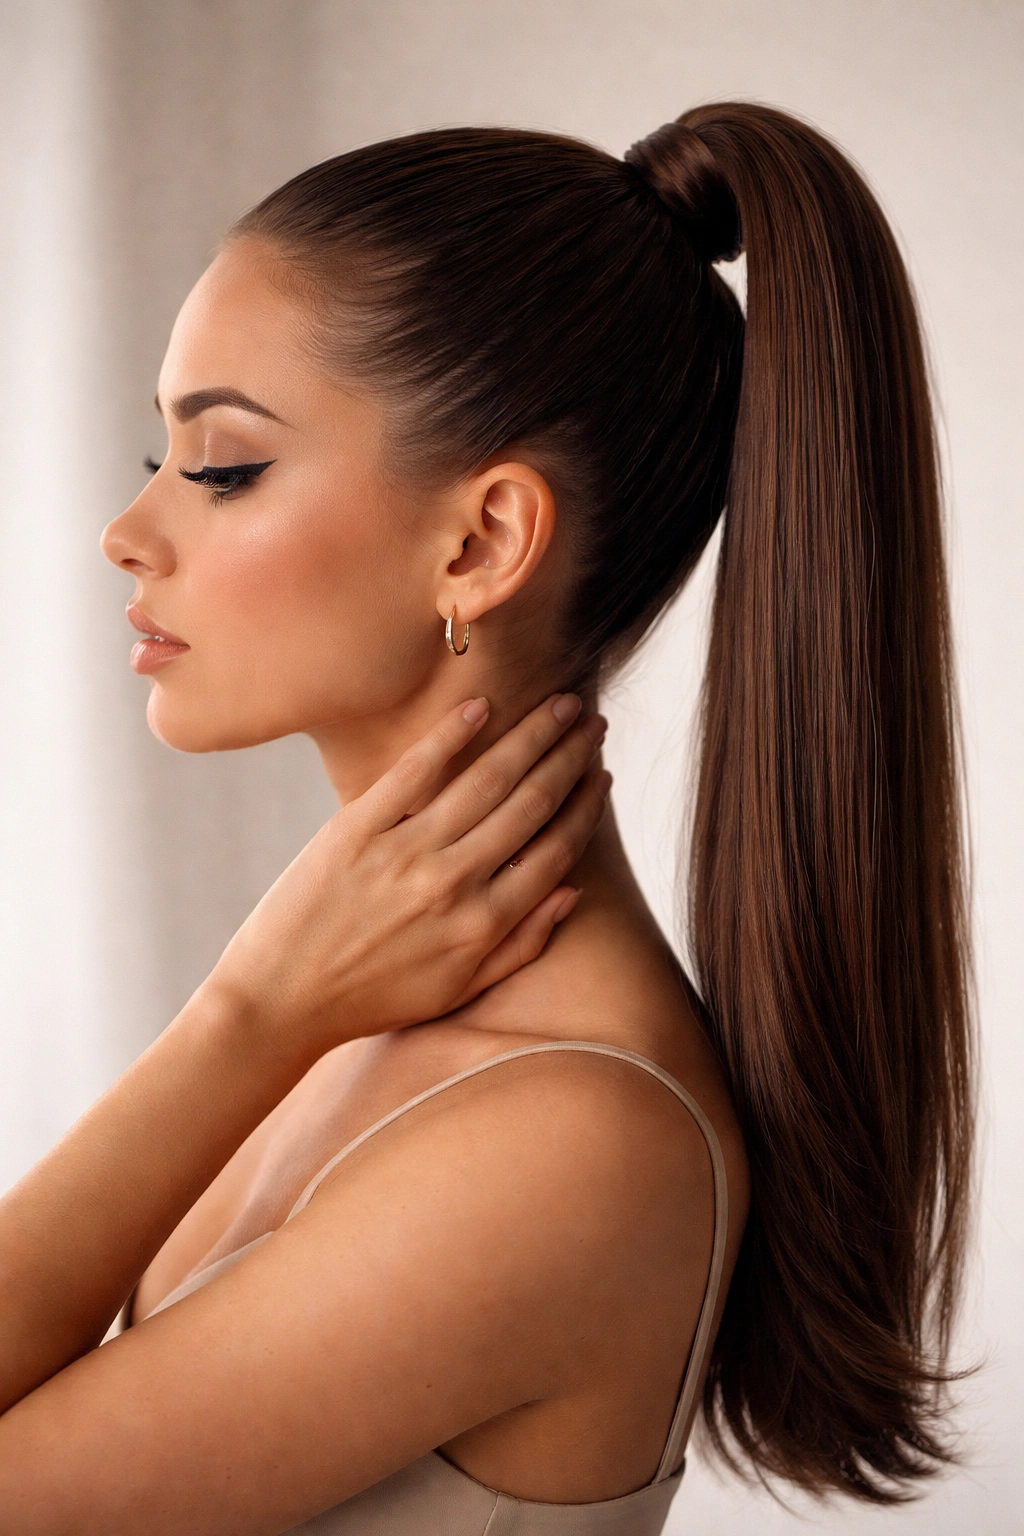
The classic high ponytail is the foundation for nearly every other version on this list—master this one, and everything else becomes infinitely easier. Position it at the crown of your head, roughly where you’d wear a tiara, and you’ve got the perfect starting point. This placement creates an instant flattering effect, lifting the face and elongating the neck without looking extreme or uncomfortable.
How to Build It Perfectly
Start with a clean base—either freshly washed hair dried smooth, or second-day hair that’s been lightly misted with dry shampoo for grip. Use a fine-tooth comb or a brush to gather your hair at the crown, smoothing as you go. The key here is tension: pull firmly but not painfully, as loose ponytails look slouchy and unfinished. Use a clear elastic if you want a seamless look, or choose a color-matched elastic that disappears into your hair. If you have any flyaways or baby hairs, a tiny dab of gel or edge control on your hairline before gathering the ponytail will make the entire style look more intentional.
What Makes It Work
- The placement sits at the crown without tilting forward or backward
- All hair is smoothed back without bumps, dents, or twisted sections
- The elastic sits right at the base without visible gaps
- The ponytail itself hangs straight with volume that looks deliberate, not accidental
- Face-framing is optional; some prefer everything swept back, while others love a few pieces loose around the face
Pro tip: If your ponytail looks fine during the day but shifts or droops by evening, try using two thin elastics instead of one thick one. Wrap the first elastic around your gathered hair, then wrap a second one just slightly lower, overlapping slightly. This distributes the weight and keeps everything locked in place for 12+ hours.
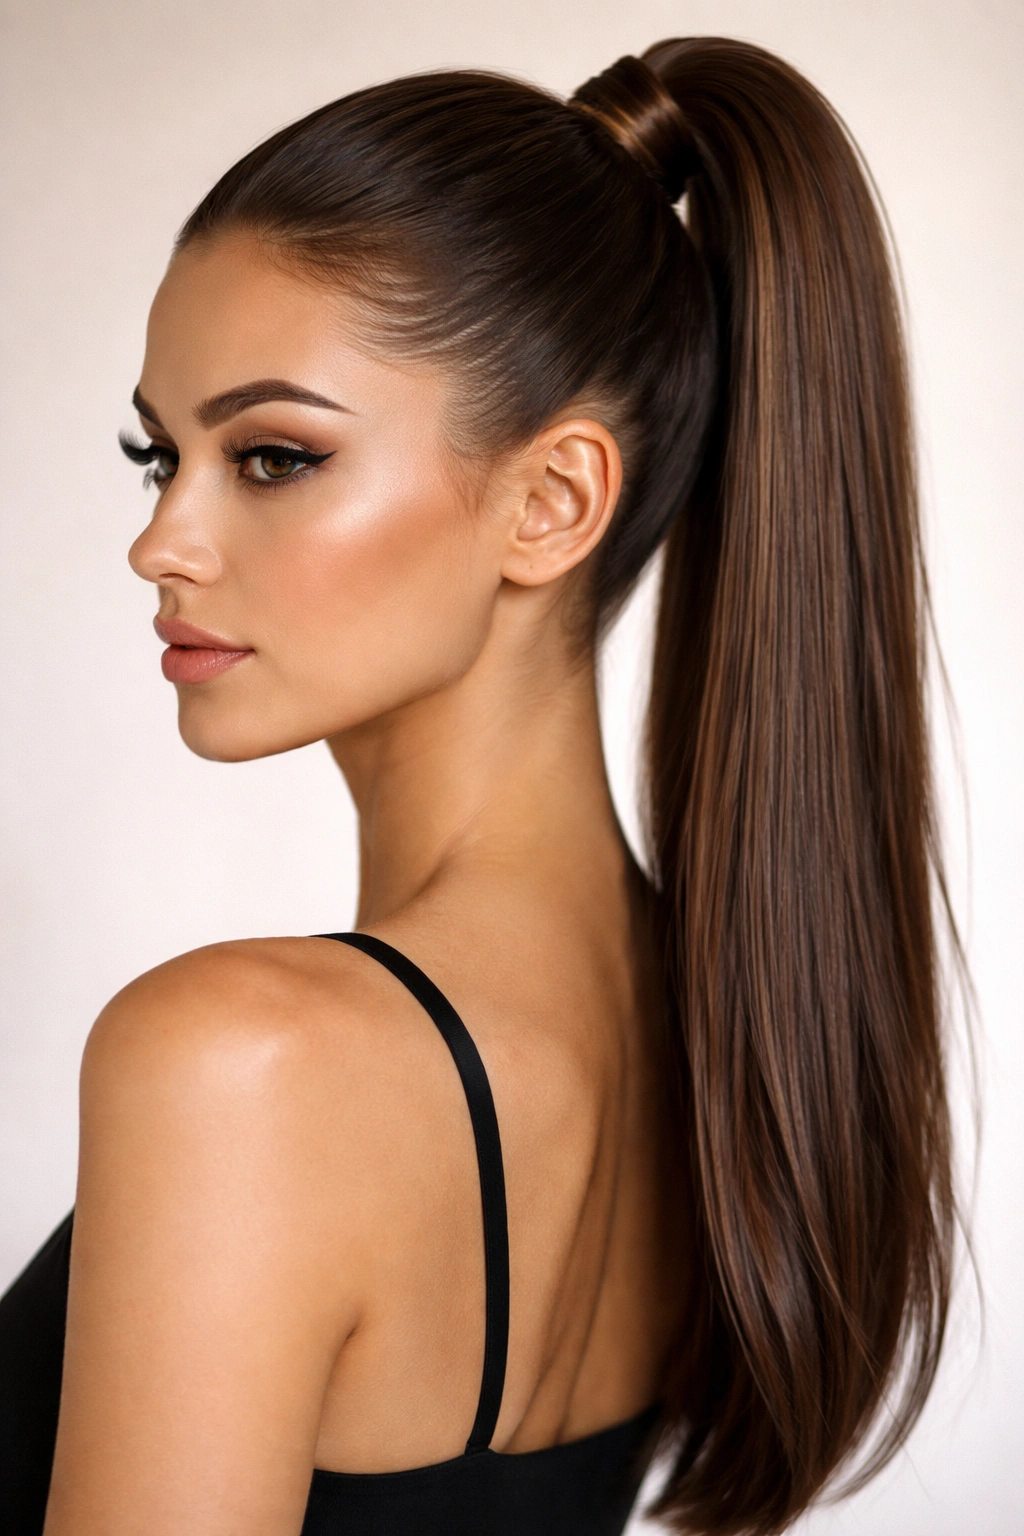
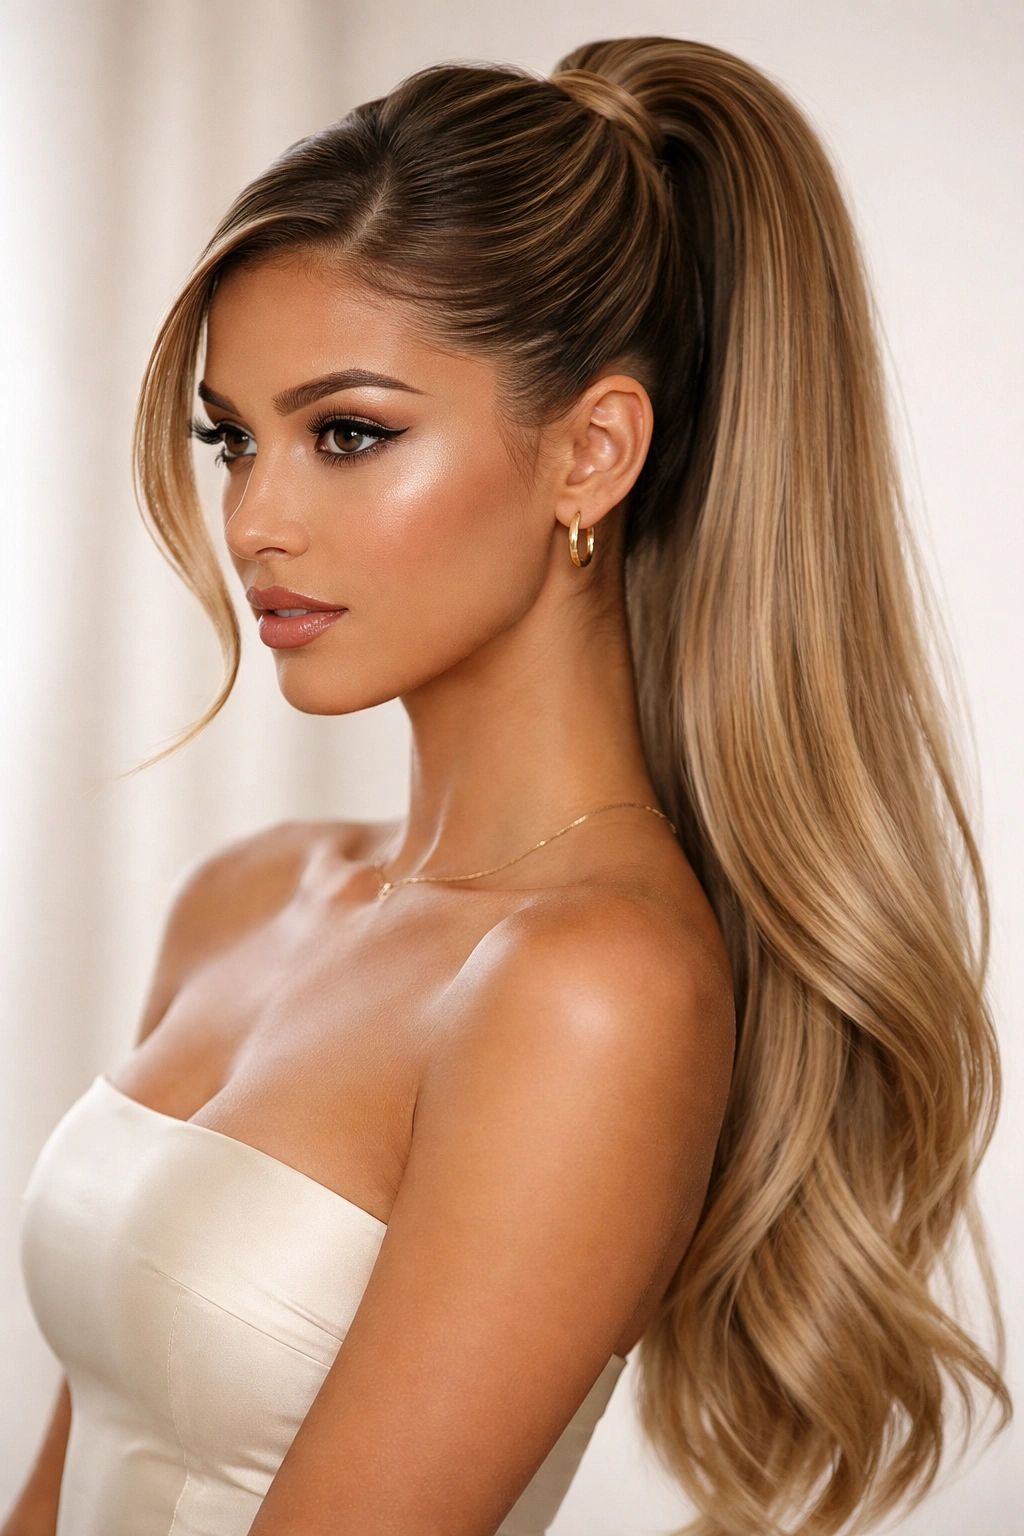
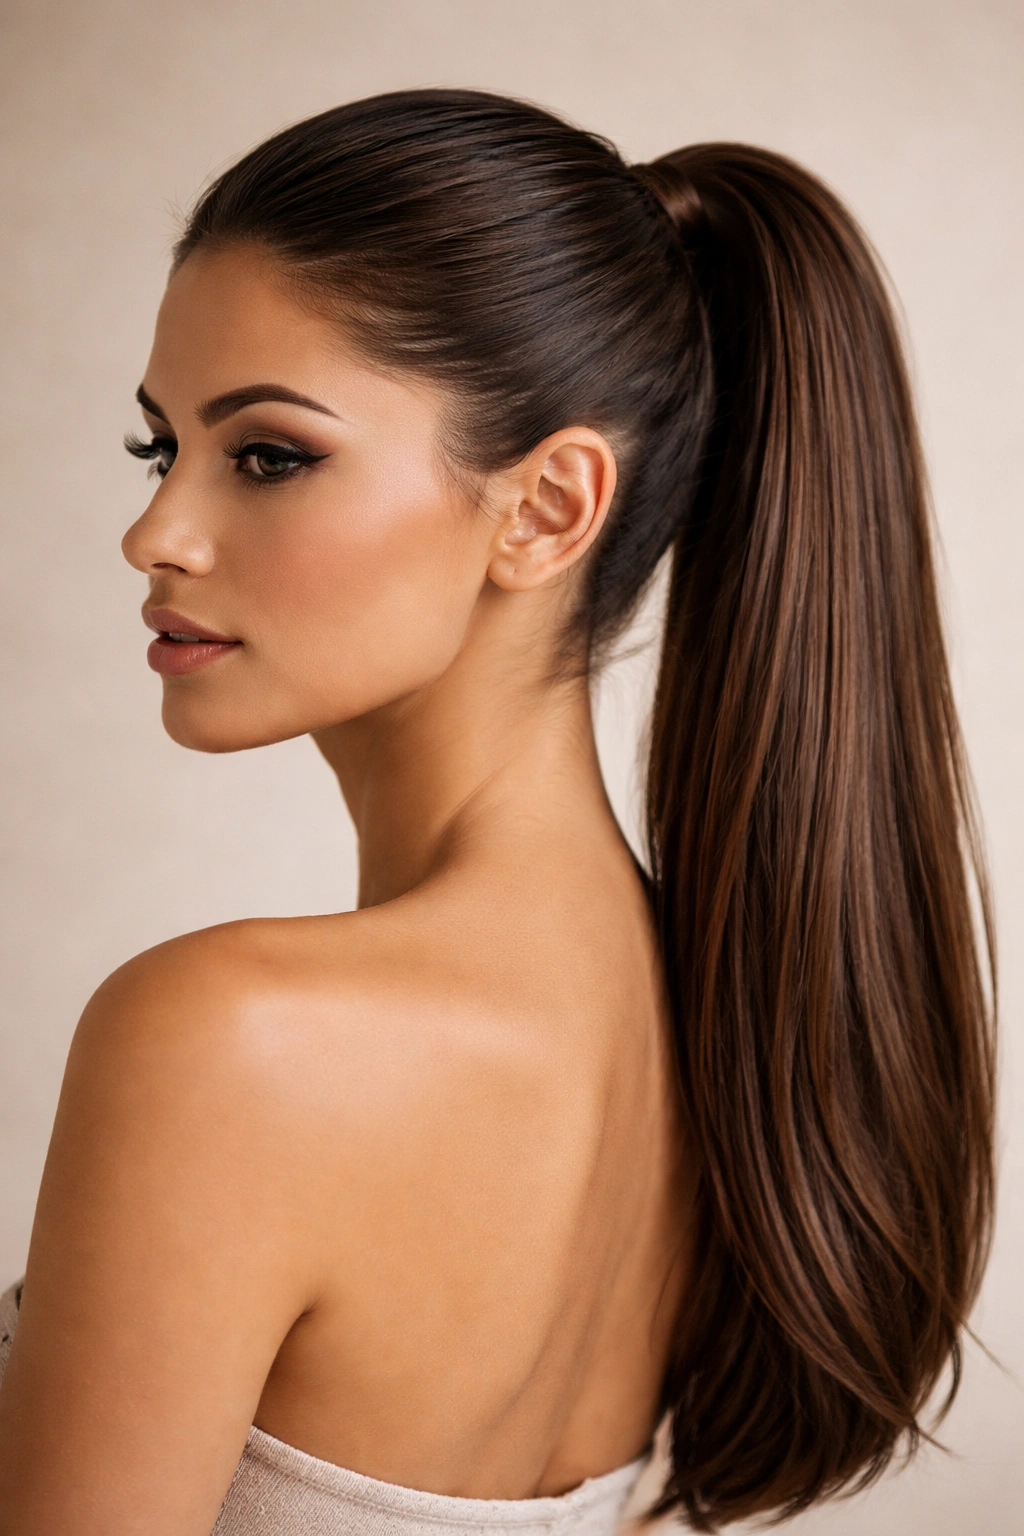
2. The Sleek Smooth High Ponytail
This is the version that looks like you just walked out of a high-end salon—pristine, refined, and effortlessly polished. Every strand lies flat and smooth against your scalp with zero texture, bumps, or visible sections. It’s the go-to for professional settings, formal events, and anywhere you want to project maximum polish.
The Smoothing Technique That Changes Everything
The difference between this and a basic ponytail is all about product and tools. Start by applying a smoothing serum or anti-frizz cream to damp hair before blow-drying. Blow-dry your hair completely straight using a paddle brush or round brush, working in sections and making sure no moisture remains. Once dry, use a fine-tooth comb to gather your hair, and as you pull it up, smooth each section with the comb as it moves upward into the ponytail. This prevents bumps and creates that glass-like smoothness.
Product Application Strategy
- Apply smoothing serum to damp hair roots-to-ends before blow-drying
- Use a tiny amount of pomade or gel along your part line and hairline for sleekness
- Spray the finished ponytail lightly with flexible hold hairspray—not so much that it feels stiff, but enough to tame flyaways
- Consider a smoothing spray designed specifically for ponytails; these create an invisible coat that seals flyaways without greasiness
Worth knowing: The sleeker the look you’re going for, the less texture you want in your base hair. If you have naturally wavy or curly hair, you’ll need to either blow-dry it fully straight or use a flat iron on low heat to smooth it before pulling it up. This takes extra time upfront, but the result is undeniably polished.
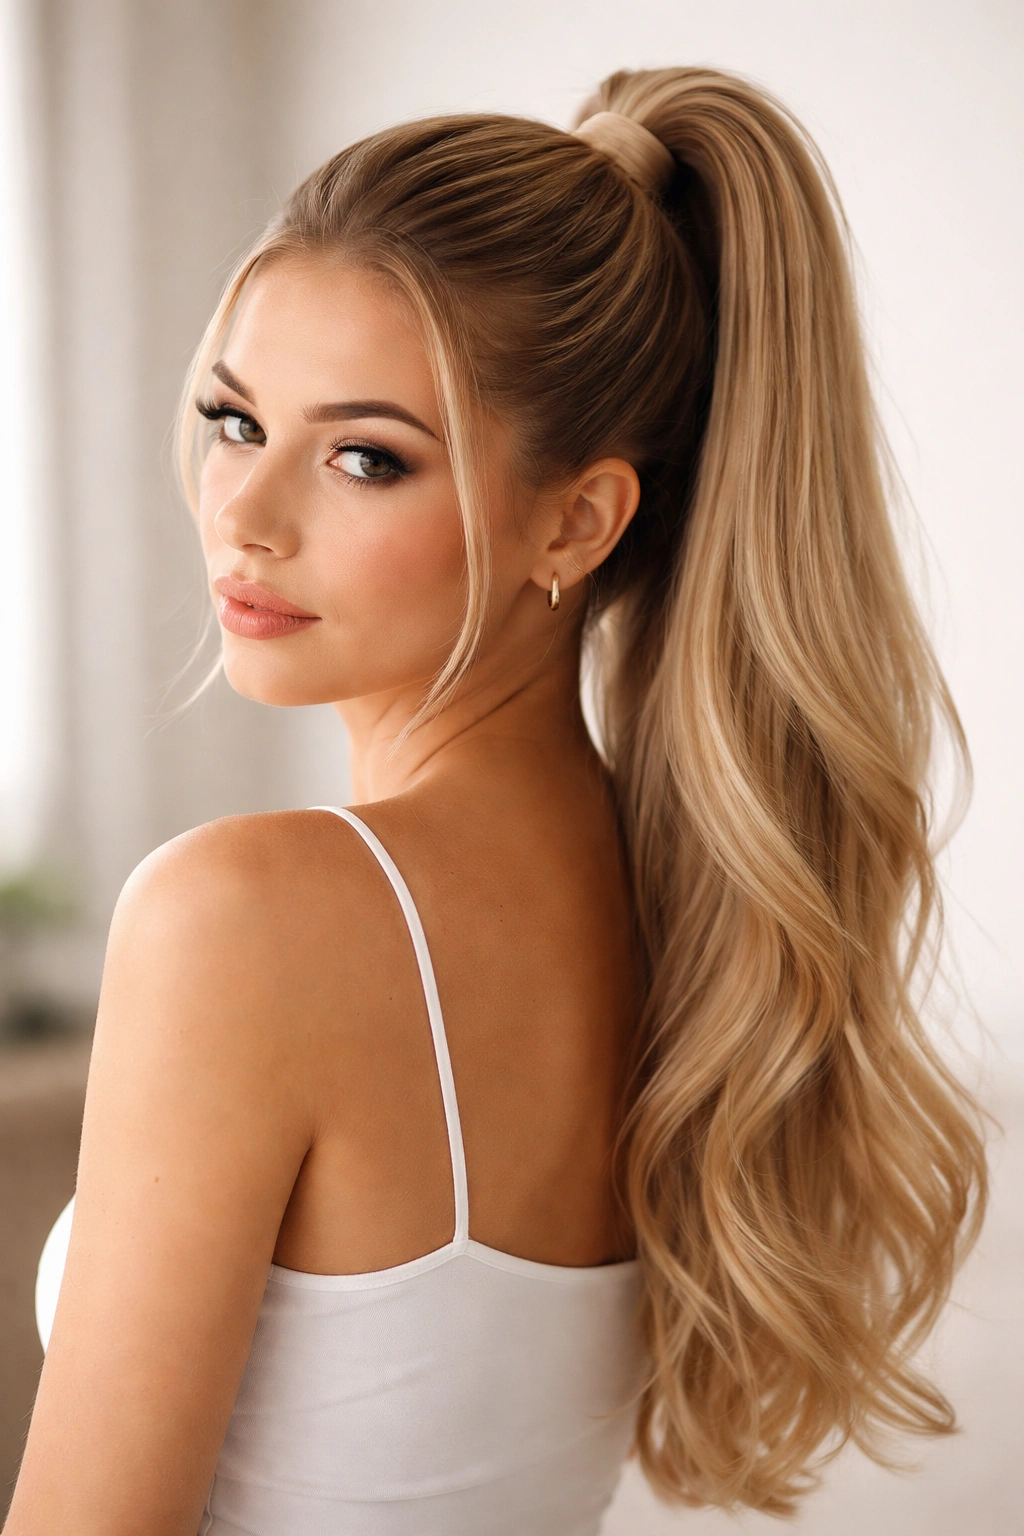
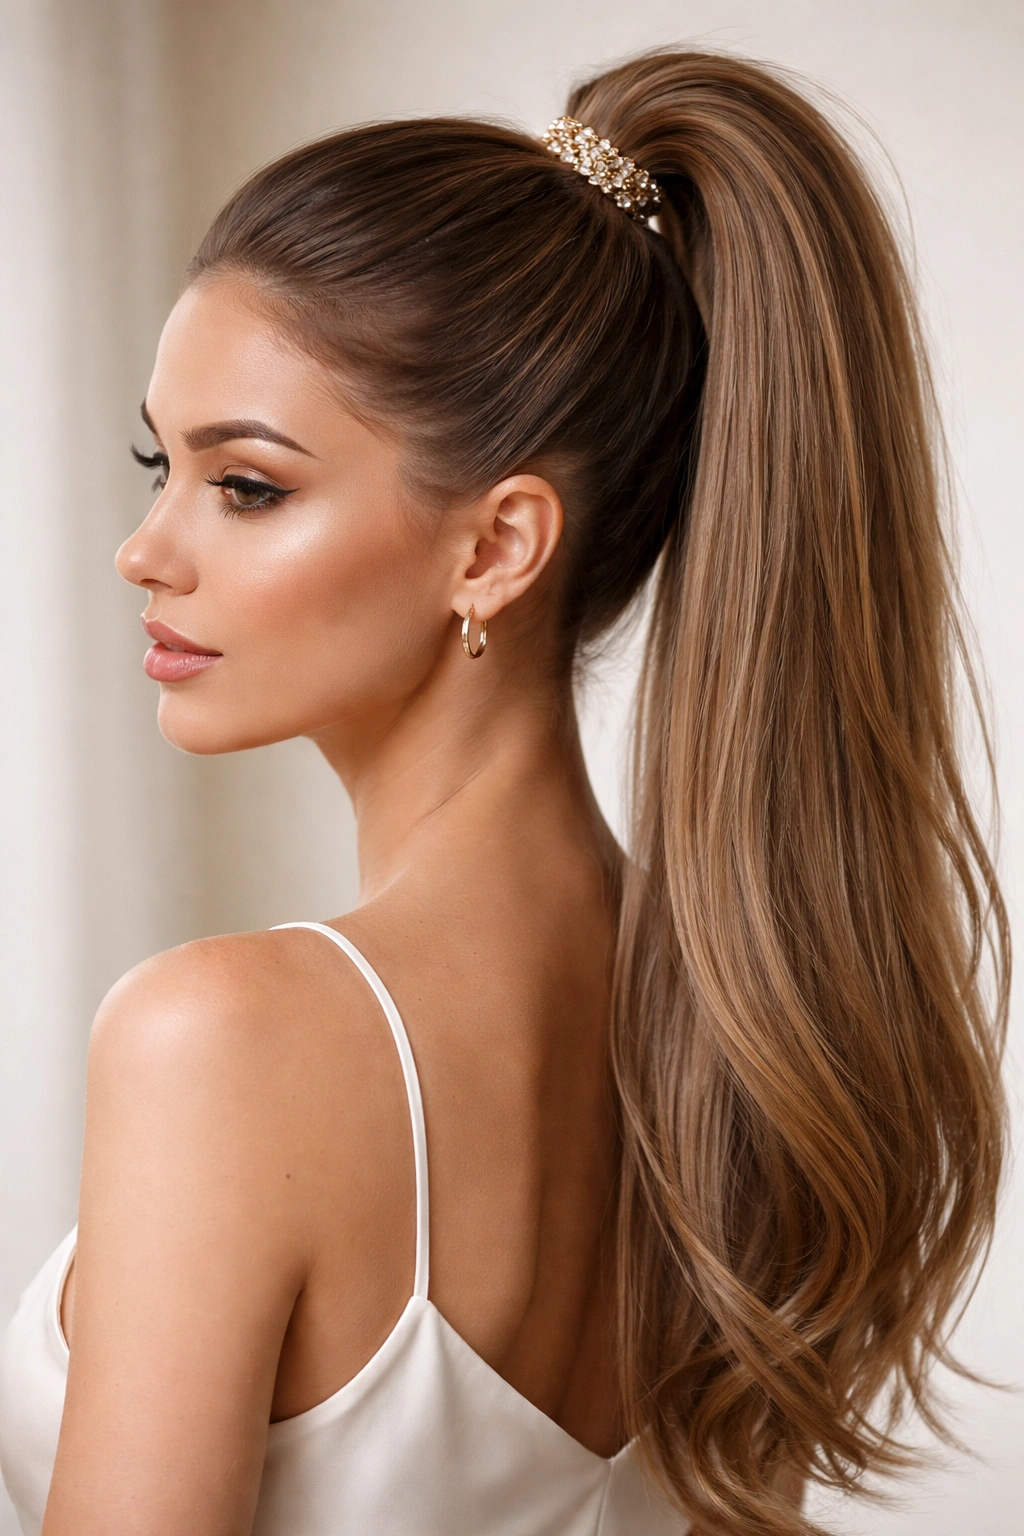
3. The High Ponytail with Face-Framing
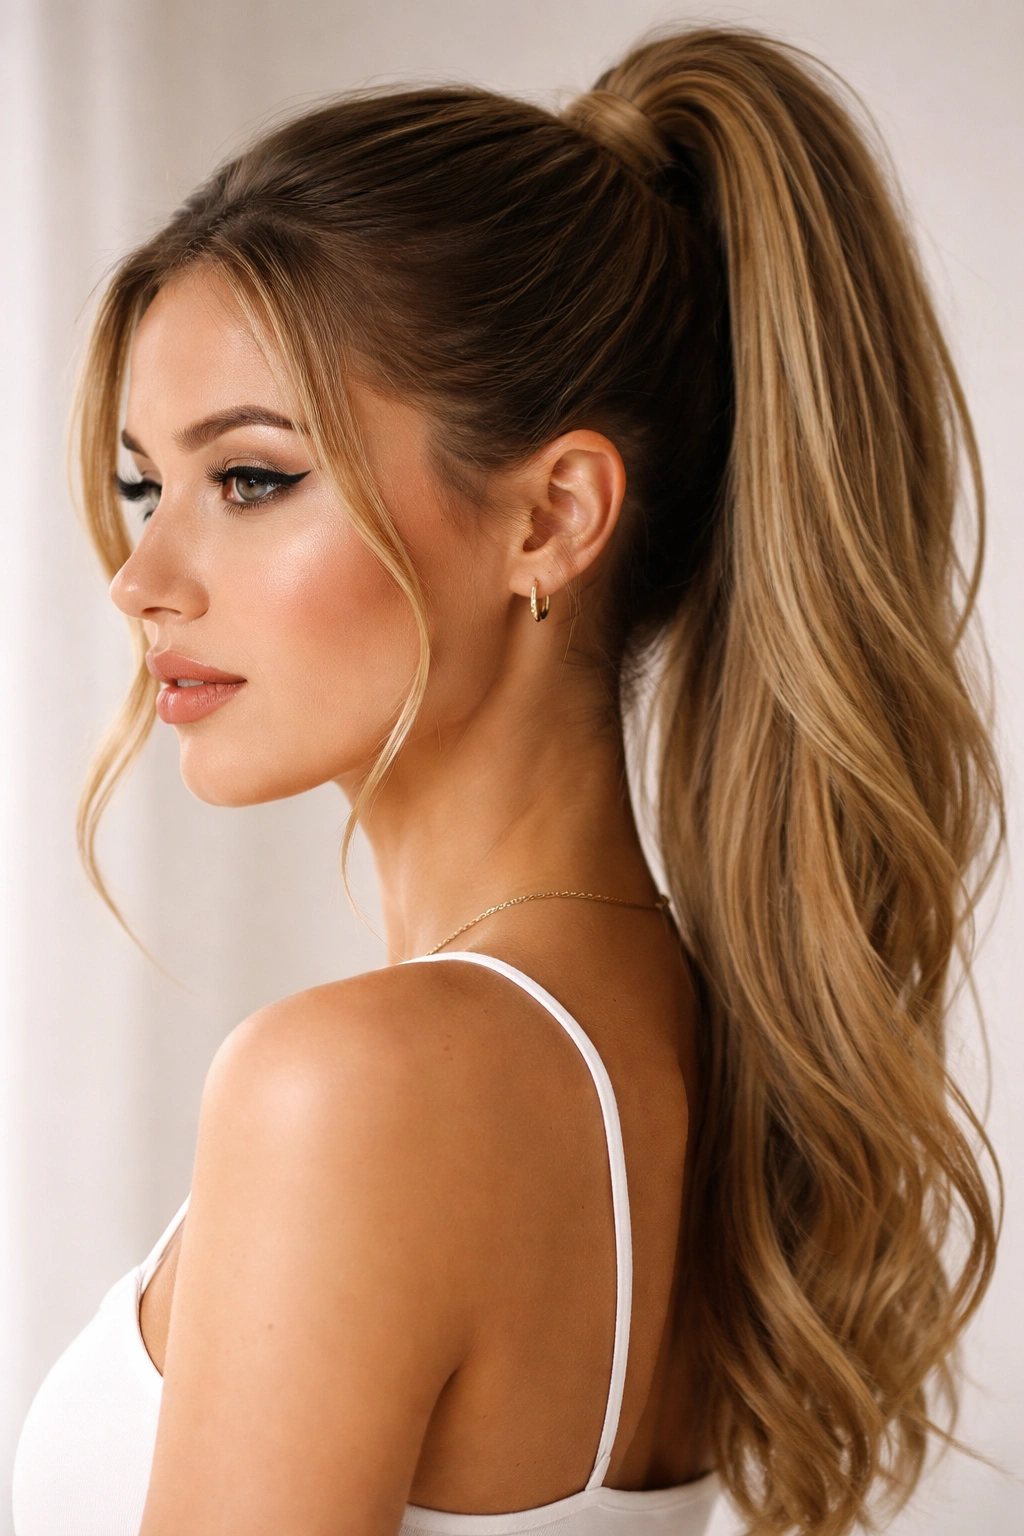
Not everyone wants every single strand pulled back tight, and that’s where face-framing pieces come in. This version keeps the sleek high ponytail structure but intentionally releases a few pieces around the face—creating softness, dimension, and a more approachable, less severe look. It works beautifully for creative professionals, date nights, or casual settings where you want polish without feeling overly done.
How to Release Pieces Without Losing the Look
Pull your ponytail up as usual, aiming for that high crown placement and keeping everything smooth and tight. Once the elastic is secured, gently pull out a thin piece from each side of your face—roughly one-quarter to one-half inch of hair—and let it rest in front of your ear. You can leave these pieces perfectly straight, or curl them gently with a curling iron for a softer frame. The key is restraint: just a few delicate pieces, not half your hair escaping.
Styling Variations for Different Effects
- Romantic version: Curl the face-framing pieces into soft waves that graze your cheekbones
- Modern version: Keep the pieces completely straight and sleek, just separated from the ponytail
- Undone version: Slightly tousle and texture the face-framing pieces while keeping the ponytail smooth and controlled
- Polished version: Smooth the pieces completely and secure them behind your ear with a tiny clip if they slip throughout the day
Quick win: Face-framing pieces add an instant touch of softness that makes the overall look more wearable for everyday occasions, even as you maintain that sleek, polished aesthetic.
4. The Twisted High Ponytail
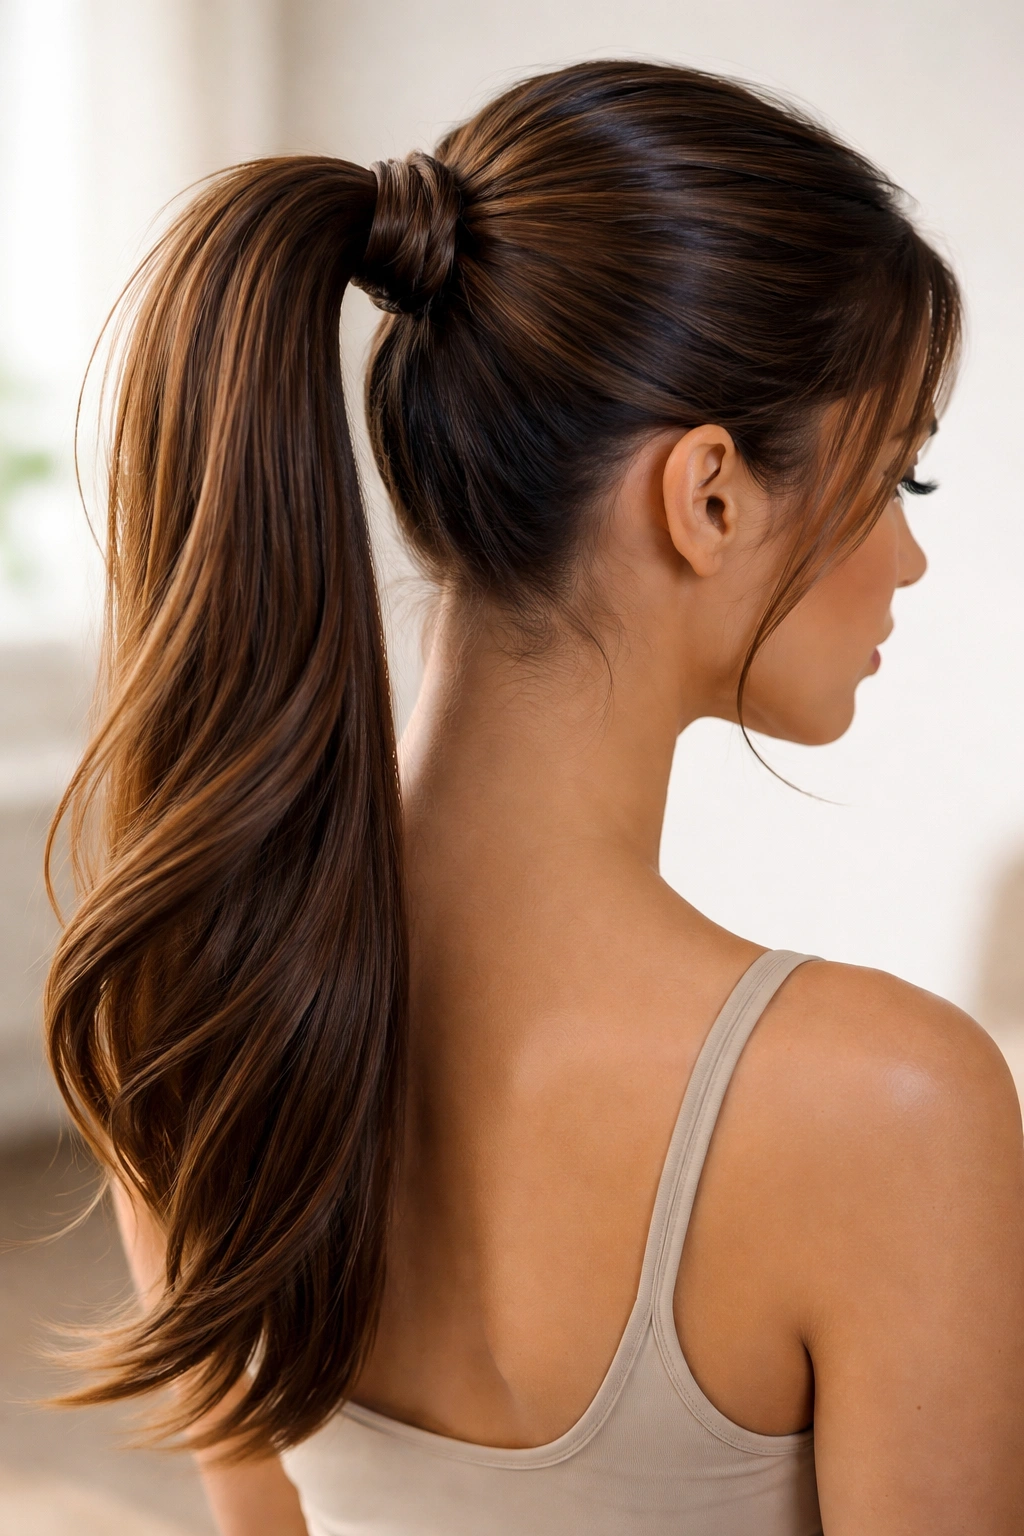
This version adds textural interest and visual complexity without requiring actual braiding skills. Two simple twists wrapping around the base of the ponytail create the illusion of an intricate updo, and the technique takes less than a minute once you’ve mastered the basic high ponytail.
The Twist Technique Broken Down
After securing your high ponytail, take a thin section of hair from the underside—roughly the thickness of a pencil—and twist it loosely (not tightly) around the base of the ponytail where the elastic sits. As you wrap it around, tuck the end under itself or secure it with a bobby pin that matches your hair color. For extra visual interest, take a second thin section from the opposite side and twist it the other direction, overlapping slightly with the first twist. The twists should cover the elastic entirely and create a defined, intentional look.
Why This Works So Well
- Adds textural dimension that makes a simple ponytail look more styled
- Works on any hair type—straight, wavy, curly, thick, fine
- Disguises the elastic completely so no band is visible
- Takes minimal time once you’ve done it a few times
- Looks polished enough for professional settings but creative enough for casual wear
Insider note: If you have very fine hair and worry the twist won’t stay secure, use a tiny dab of gel on the twist before wrapping it, or secure each wrap with a bobby pin as you go. This prevents unwinding throughout the day.
5. The Braided High Ponytail

Adding a braid to a high ponytail elevates the entire look—it shows intention and effort without requiring advanced braiding skills. The braid can wrap around the base like the twisted version, or you can braid the ponytail itself for a completely different effect.
Two Approaches: Base Braid vs. Ponytail Braid
The base braid: Secure your high ponytail first, then take a thin section from the underside and braid it loosely. As you braid, gently pull each loop slightly to make the braid appear fuller and more textured. Wrap the finished braid around the base of the ponytail and secure the end with a bobby pin. This looks intricate but only requires a basic three-strand braid.
The ponytail braid: After securing the high ponytail, divide the ponytail itself into three sections and braid downward, keeping the braid loose and slightly pulling each section for texture. This version works beautifully for people with longer hair and creates a romantic, dressed-up effect.
When Each Version Shines
- Base braid: Perfect for work, events where you want polish, any time you want the sleek ponytail base to remain clean
- Ponytail braid: Ideal for outdoor events, festivals, casual hangouts, or situations where textured hair looks appropriate
- Combination (braid the ponytail AND wrap the base): The most dramatic version—stunning for special events, engagement parties, or formal occasions
Pro tip: Loose braids look more modern and romantic than tight ones. After braiding, gently pull each section of the braid outward to create texture and dimension. This transforms a basic braid into something much more visually interesting.
6. The Half-Up High Ponytail
This hybrid style splits the difference between wearing your hair down and pulling it all up—taking the upper half of your hair and securing it into a high ponytail while leaving the lower half to flow freely. It’s perfect for people who want to keep hair off their face without committing to a full updo, or for those who have longer hair and want to show off its length.
Building the Half-Up Structure
Divide your hair mentally into an upper half and lower half using an imaginary line from ear to ear. Gather only the top half, working from the crown backward, and secure it into a high ponytail at that crown point. The bottom half remains down, framing your shoulders and back. For extra polish, you can straighten or curl the bottom half independently, creating contrast between the neat ponytail and the textured loose hair.
Style Combinations That Work
- Sleek top + straight bottom = Modern, minimalist look
- Sleek top + curled bottom = Romantic, date-night ready
- Twisted or braided top + textured bottom = Bohemian, creative energy
- Sleek top + tousled waves bottom = Effortless, editorial feel
What makes it special: The half-up ponytail is incredibly flattering because it shows your full hair length while still clearing your face and neck. It works for nearly every occasion and hair type, from fine hair that needs visual tricks to thick hair that can handle the volume of both styles at once.
7. The Sleek Wrapped High Ponytail
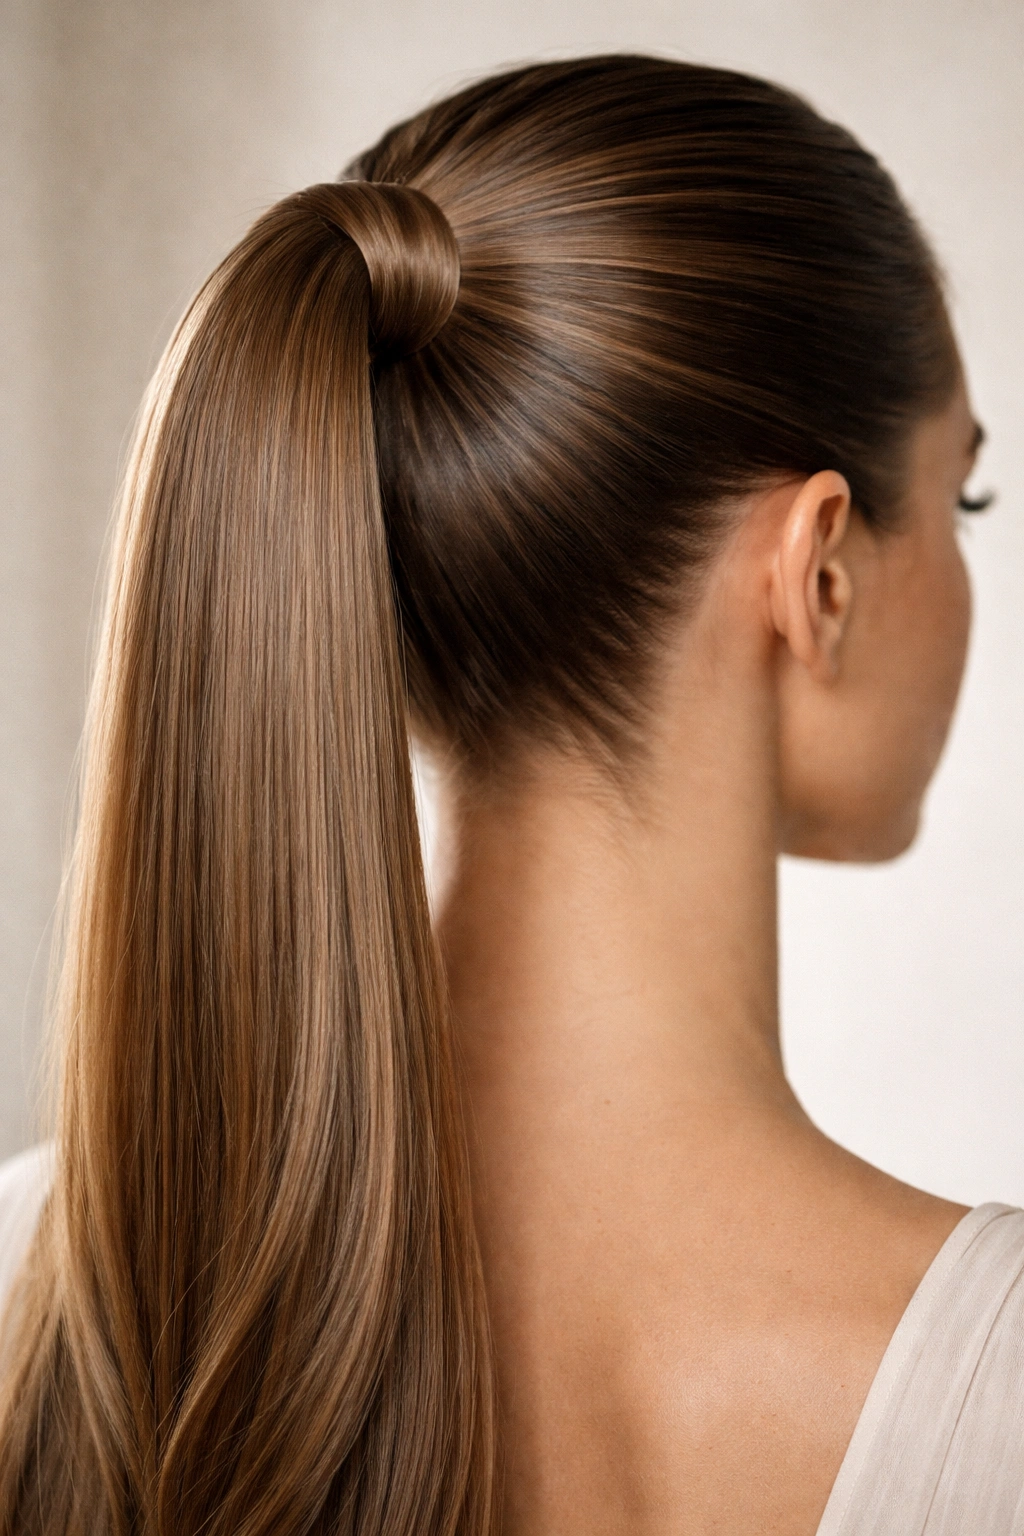
This is the polished version where not a hint of the elastic is visible—a thin strand of hair wraps completely around the base, creating a finished, professional appearance. It’s a small detail that signals that you’ve put thought into your appearance.
Wrapping Technique for an Invisible Elastic
Secure your high ponytail with a clear elastic, then take a thin, one-inch-wide section of hair from underneath the ponytail. Gently wrap it around the base, covering the elastic completely. Once you’ve wrapped all the way around, tuck the end section under the wrap or secure it with a bobby pin that matches your hair color and tuck it underneath where it won’t show. The wrapped section should look like it’s naturally part of the ponytail, not like you’ve tied something around it.
Variations for Different Looks
- Single wrap: One strand wrapped around the base for a clean, minimal look
- Double wrap: Wrap around twice for extra coverage and a more defined finished edge
- Colored wrap: If you have highlights or darker pieces, strategically use those sections for the wrap to add visual interest
- Textured wrap: Use a slightly thicker section and gently tease it before wrapping for a fuller appearance
Worth knowing: The wrapped base makes the entire ponytail look intentional and finished. This small detail is what separates casual ponytails from styled ones, and it works on all hair types and textures.
8. The High Ponytail with Swooped Sides
This version incorporates side-swept waves at the crown while maintaining a sleek, tight ponytail at the back. It’s more dimensional and textured than a fully sleek version, making it perfect for people who want polish without severity, or for situations where you want to show off your hair’s natural texture while keeping it controlled.
Creating the Swooped Crown
After blow-drying your hair, create a deep side part and blow-dry the front section in the direction you want it to sweep. Use a round brush to create a gentle wave or curve that follows the contour of your head. While the hair is still warm, smooth it with your hands or a flat brush to set the wave. Once the wave is set, gather your hair at the crown for the ponytail, letting the swooped section maintain its shape and flow downward from the crown slightly.
The Balance Between Texture and Sleekness
The key to this style working is the contrast: the crown has intentional, beautiful texture and movement, while the gathered ponytail remains smooth and controlled. This prevents the style from looking messy while keeping it from looking too severe. The swooped section adds sophistication and shows that you’ve styled your hair deliberately.
Quick facts:
- Works best with shoulder-length or longer hair
- Easier to execute on second-day hair or textured hair types
- Requires a side part for the best effect
- Takes 5-10 minutes once you’ve practiced the wave technique
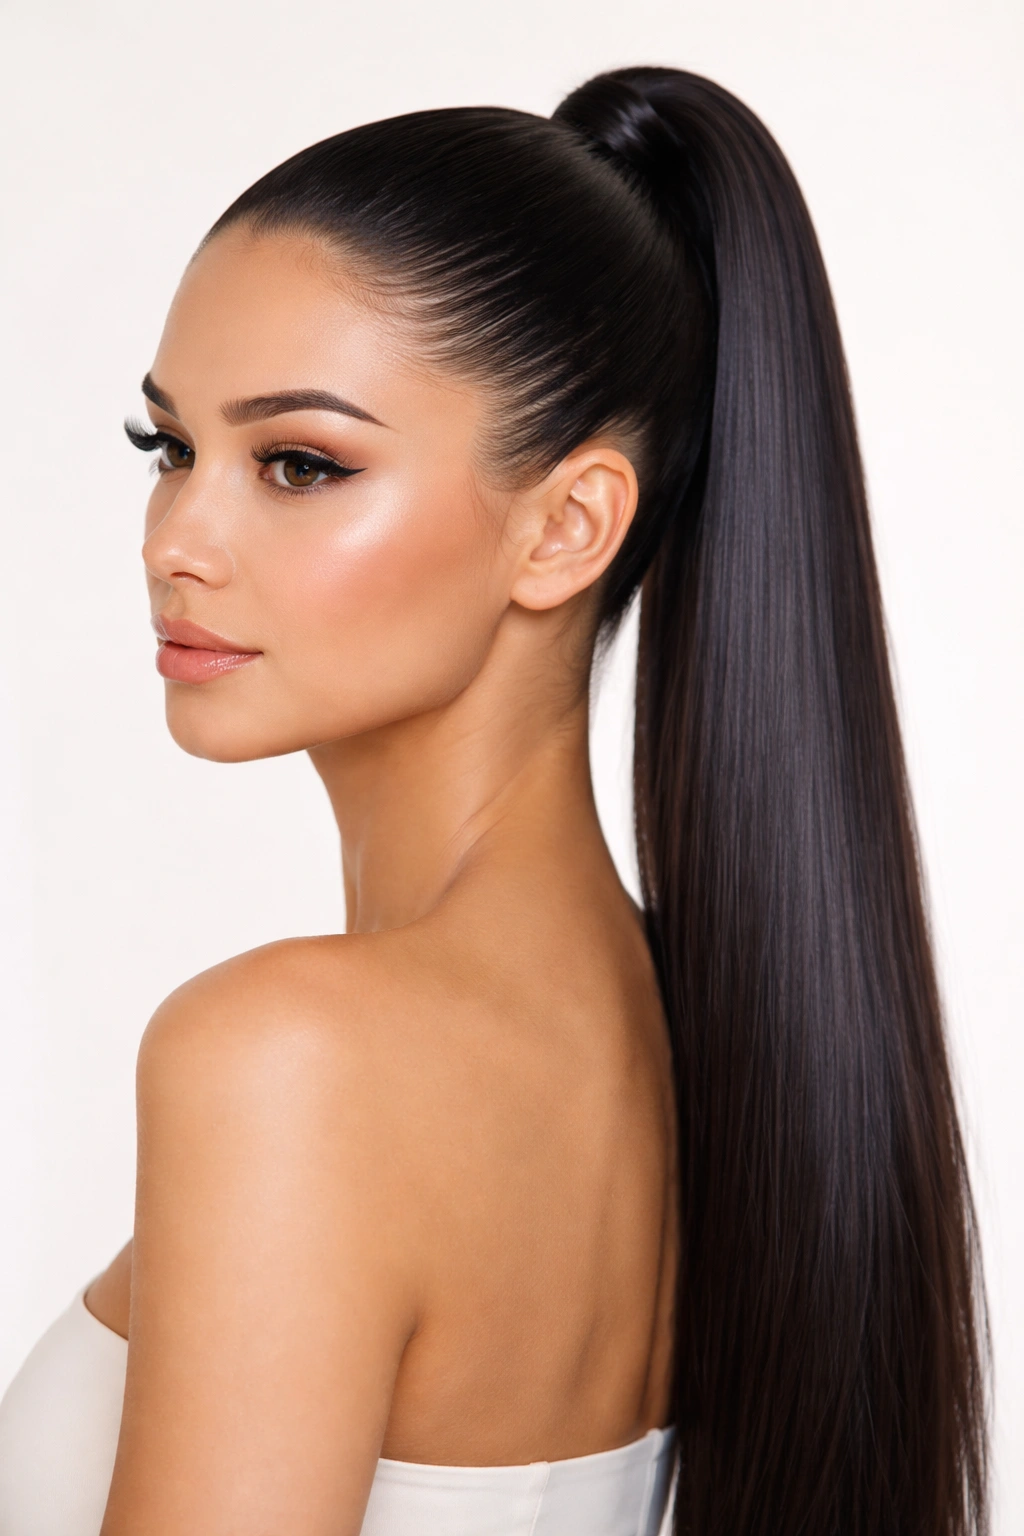
9. The Sleek Slicked-Back High Ponytail
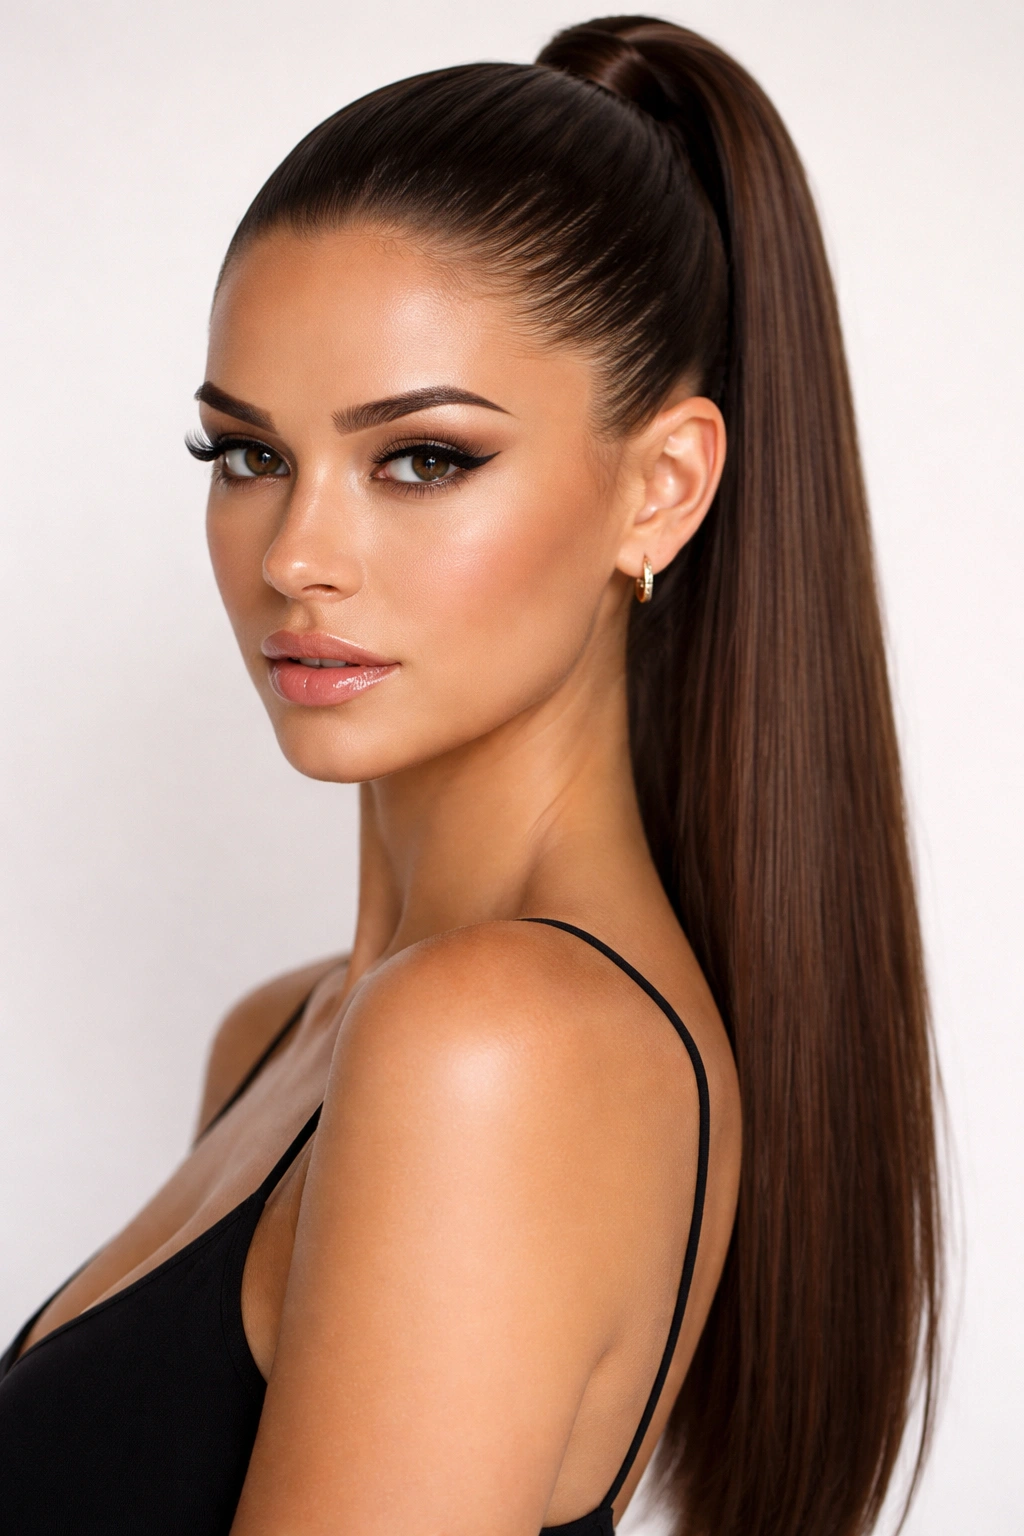
This is the most severe, most polished version—every hair smoothed straight back from the hairline with no parts, no texture, no variation. It’s the style you see on runways, in professional sports, and in high-fashion editorial shoots. It requires confidence and a face shape that works with complete exposure, but when it works, it’s absolutely striking.
Achieving Maximum Sleekness
Use a fine-tooth comb and a strong-hold gel or pomade to comb every single hair straight back from your face. Work methodically, section by section, smoothing as you go. Pay special attention to your hairline, using the comb to get every baby hair smoothed back. Gather everything at the crown and secure tightly with a clear elastic. Once the ponytail is secured, apply a tiny amount of gel around your entire hairline and temples, smoothing it down so not a single piece sticks out. Finish with a light flexible-hold hairspray to tame flyaways without creating visible product.
Who Should Wear This Style
- People with strong facial features who look striking with zero framing
- Anyone with a naturally high forehead (this style actually shows it off beautifully)
- Professional athletes, dancers, and performers who need hair completely secure
- People with very fine hair (this style works better on fine hair because there’s no bulk to create an unbalanced look)
- Anyone seeking maximum editorial, high-fashion impact
Real talk: This style isn’t for everyone, and that’s okay. If you have a round face or prefer softness around your features, one of the other versions with face-framing will be more flattering. But if your face and features can handle it, this style projects power and polish like nothing else.
10. The High Ponytail with Accessory
Sometimes the simplest way to elevate a sleek high ponytail is to add a beautiful accessory. This might be a silk scrunchie, a decorative clip, a jeweled hair cuff, ribbon woven through the base, or even fresh flowers tucked into the wrap. The accessory instantly signals that this ponytail is intentional and styled, not a rushed “I didn’t do my hair” situation.
Accessory Choices for Different Occasions
Everyday/professional: Minimal metal clips, tortoiseshell claw clips, or neutral fabric scrunchies that blend with your hair color
Special occasions: Jeweled hair cuffs, rhinestone clips, pearl-adorned elastics, or metallic scrunchies that catch the light
Romantic/date night: Silk ribbons, fresh flowers, delicate gold clips, or velvet scrunchies in jewel tones
Athletic/casual: Colorful athletic scrunchies, metallic ponytail holders, or minimalist metal clips that won’t catch or tangle
Creative/artistic: Oversized claw clips, decorative hair sticks, sculptural metal clips, or unconventional accessories that show your personality
How to Integrate Accessories Seamlessly
Position the accessory at the base of the ponytail where the elastic is, or slightly below for a different effect. If using ribbon, weave it through the wrap or through the elastic itself. If using a clip, make sure it sits securely and doesn’t slip throughout the day. The accessory should feel intentional, not haphazard—it’s the final detail that completes the look.
Pro tip: Accessories are especially effective if you’re wearing the same outfit repeatedly or if you want to transform a basic ponytail without redoing your entire hairstyle. Change the accessory and completely change the vibe.
11. The Sleek Low-Set High Ponytail
This might sound contradictory, but a “high” ponytail is technically positioned at the crown, while this version positions the actual ponytail itself slightly lower—still above the ear, still in the upper portion of the head, but not at the absolute crown. This creates a more relaxed, approachable look than an extreme high placement, while still maintaining all the sleek, polished qualities you want.
Placement and Balance
Instead of gathering hair at the crown (where a tiara would sit), gather it about an inch lower, roughly at the top of the back of your head. This creates a balanced look that’s still clearly high, still elongates the face, but feels less severe and more wearable for everyday settings. The angle of the ponytail changes slightly too—it doesn’t pull quite as tightly upward, creating a softer silhouette overall.
When This Placement Works Best
- For people who find a crown-level ponytail uncomfortably tight
- When you want to maintain length in the crown area for volume and dimension
- For office and professional settings where you want polish without drama
- When combining with face-framing pieces, as the lower placement doesn’t accentuate the face as intensely
- For people with smaller or more delicate facial features who might look overwhelmed by an extremely high placement
Quick facts:
- This placement is more forgiving than a true crown ponytail
- Works beautifully on all hair types and textures
- Pairs well with side parts or center parts equally
- Creates a modern, editorial look that’s less extreme than a slicked-back crown version
12. The High Bubble Ponytail
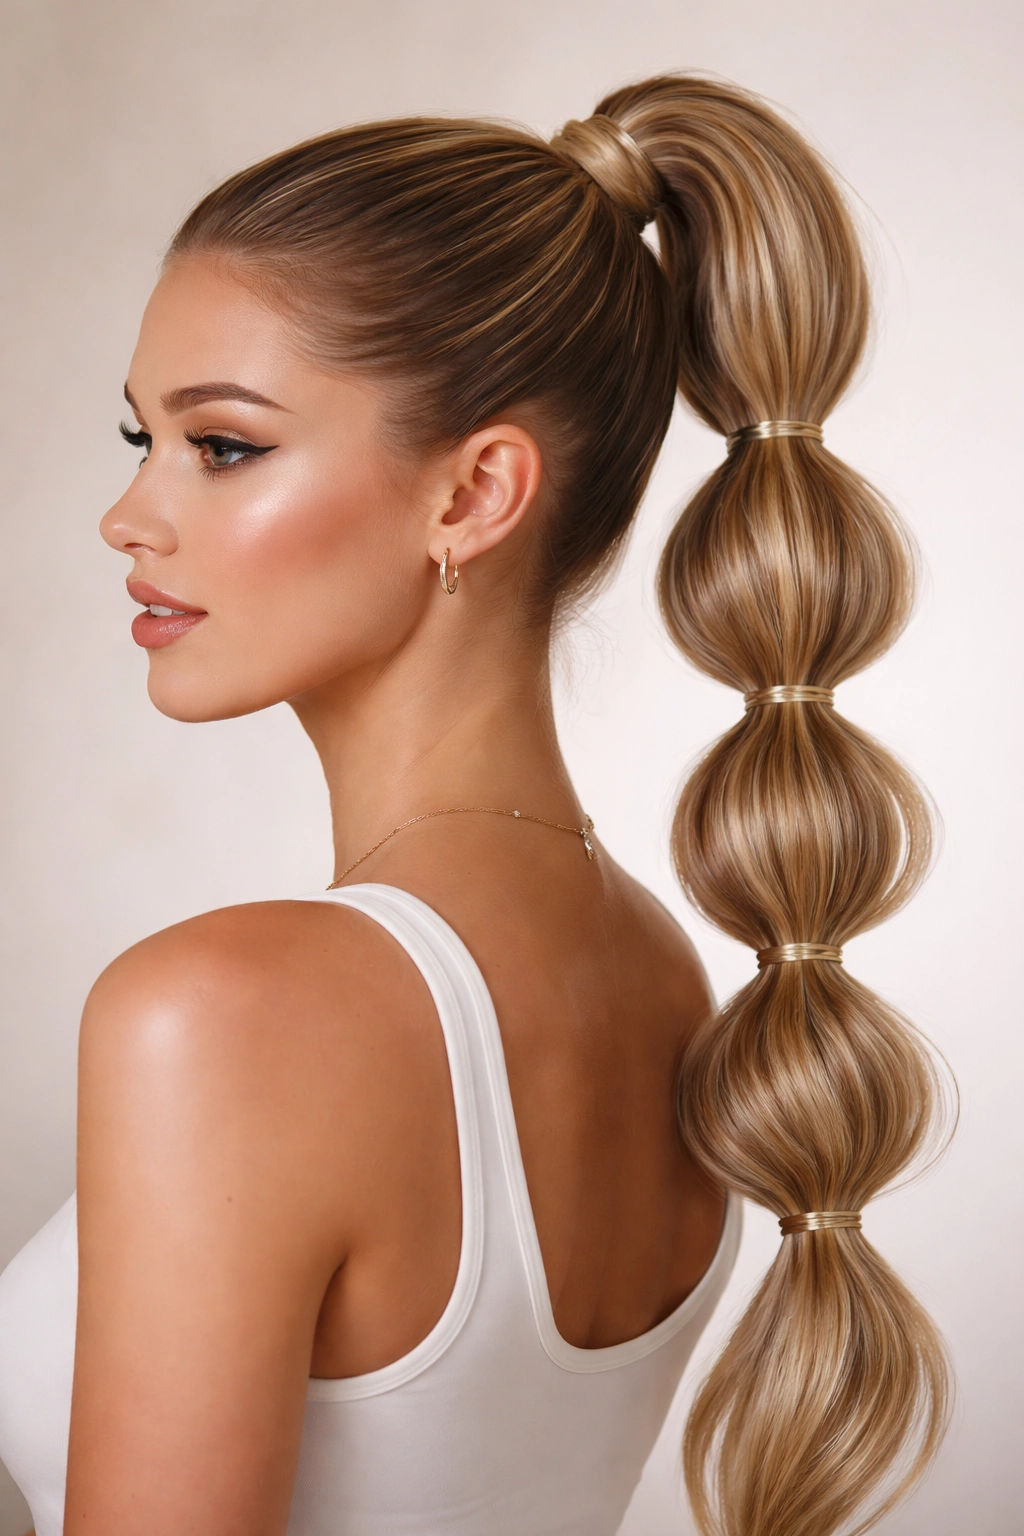
This version takes the sleek high ponytail and adds playful, graphic sections created by strategically placing multiple smaller elastics down the length of the ponytail. Each elastic creates a “bubble” of hair that puffs out slightly, making the style look textured, voluminous, and intentionally styled. It’s perfect for anyone who wants high-style impact without needing elaborate braids or complicated techniques.
How to Create Perfect Bubbles
Secure your high ponytail as usual with your main elastic. Once it’s in place, position a second elastic about 2-3 inches down the ponytail, wrap it tightly, and very gently pull the hair between the first and second elastic outward to create a puff. Repeat this process down the entire length—placing elastics every 2-3 inches, then gently pulling each section outward. The number of bubbles depends on your hair length; longer hair can accommodate 4-6 bubbles, while shorter ponytails work better with 2-3.
Why This Style Works So Well
- Creates the illusion of much thicker, fuller hair
- Works beautifully on fine or thin hair types that struggle with volume
- Looks modern and intentional, not accidental
- Takes only slightly longer than a basic ponytail once you understand the technique
- Photographs incredibly well, making it perfect for events where you’ll be taking pictures
- Can be worn sleek (by not pulling the bubbles out much) or textured (by pulling each section significantly)
Insider note: The tighter and more deliberate your bubble pulls are, the more graphic and modern the look. If you prefer a softer, more romantic version, pull the bubbles out just slightly so they blend together slightly. This gives you a full range of styling options with a single technique.
Final Thoughts
The beauty of sleek high ponytails is that they’re never actually boring—even once you’ve mastered the basic technique, endless variations let you adapt the style to your mood, the occasion, your hair type, and what you’re trying to communicate with your appearance. A few minutes of practice with the foundational sleek high ponytail will build muscle memory, and from there, adding twists, braids, swooped sides, or accessories becomes second nature.
What matters most is understanding the core principles: securing the ponytail at the right placement so it’s flattering to your face, smoothing your base so it looks intentional rather than rushed, and taking the small extra step—whether that’s a wrapped base, an accessory, or a simple twist—that signals you’ve put thought into your appearance. These details are what separate a quick ponytail from a polished, styled one.
The most versatile versions to master first are the classic high ponytail, the sleek smooth version with all flyaways tamed, and the wrapped-base version where no elastic shows. Once those three are automatic, every other variation becomes accessible. Build from there based on what occasions you dress for most frequently and what works with your hair type. Your everyday style might be the half-up version or the swooped-sides version, while you reserve the slicked-back extreme look for special events or when you’re feeling confident and bold. The point is that you have real, wearable options that actually work, not just theoretical hairstyles you’ve seen on Instagram.