A frontal ponytail can transform your entire look in seconds—but only if those face-framing pieces fall exactly right. The difference between a chic, intentional style and one that looks like you just threw your hair back is surprisingly small. It’s all about which strands you leave loose, how you position them, and whether you embrace texture or go sleek. Most people either over-complicate frontal ponytails or make them too messy, landing somewhere between “I just woke up” and “trying too hard.” The sweet spot lives in the middle: a ponytail that looks effortlessly put-together because you’ve strategically planned every piece.
The key to a natural-looking frontal ponytail isn’t actually complicated. You’re working with face-framing layers that soften your features, create movement around your cheekbones, and keep the style from feeling severe or dated. Whether you prefer loose waves or polished sleekness, there’s a frontal ponytail technique that works with your hair texture, face shape, and lifestyle. The styles that follow aren’t fussy—they’re built on one fundamental principle: the most flattering frontal ponytails honor your natural hair patterns rather than fighting them. Once you understand how to adapt these styles to your own hair, you’ll have the foundation for creating dozens of variations that feel fresh and intentional every single time.
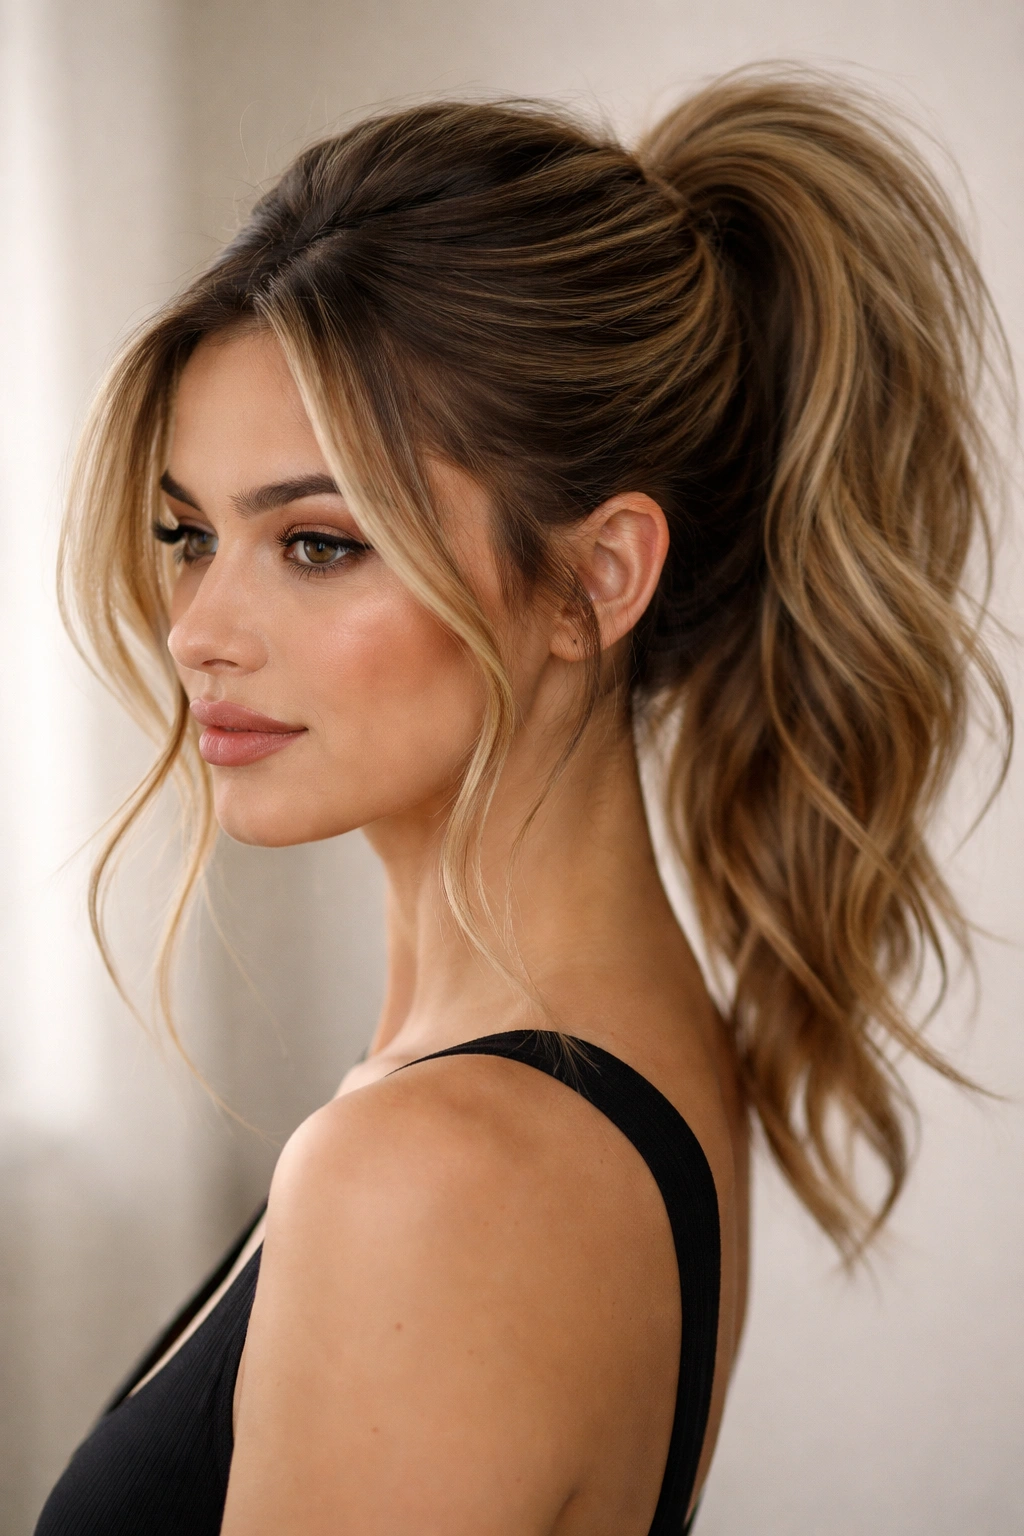
1. The Soft Wave Frontal with Textured Base
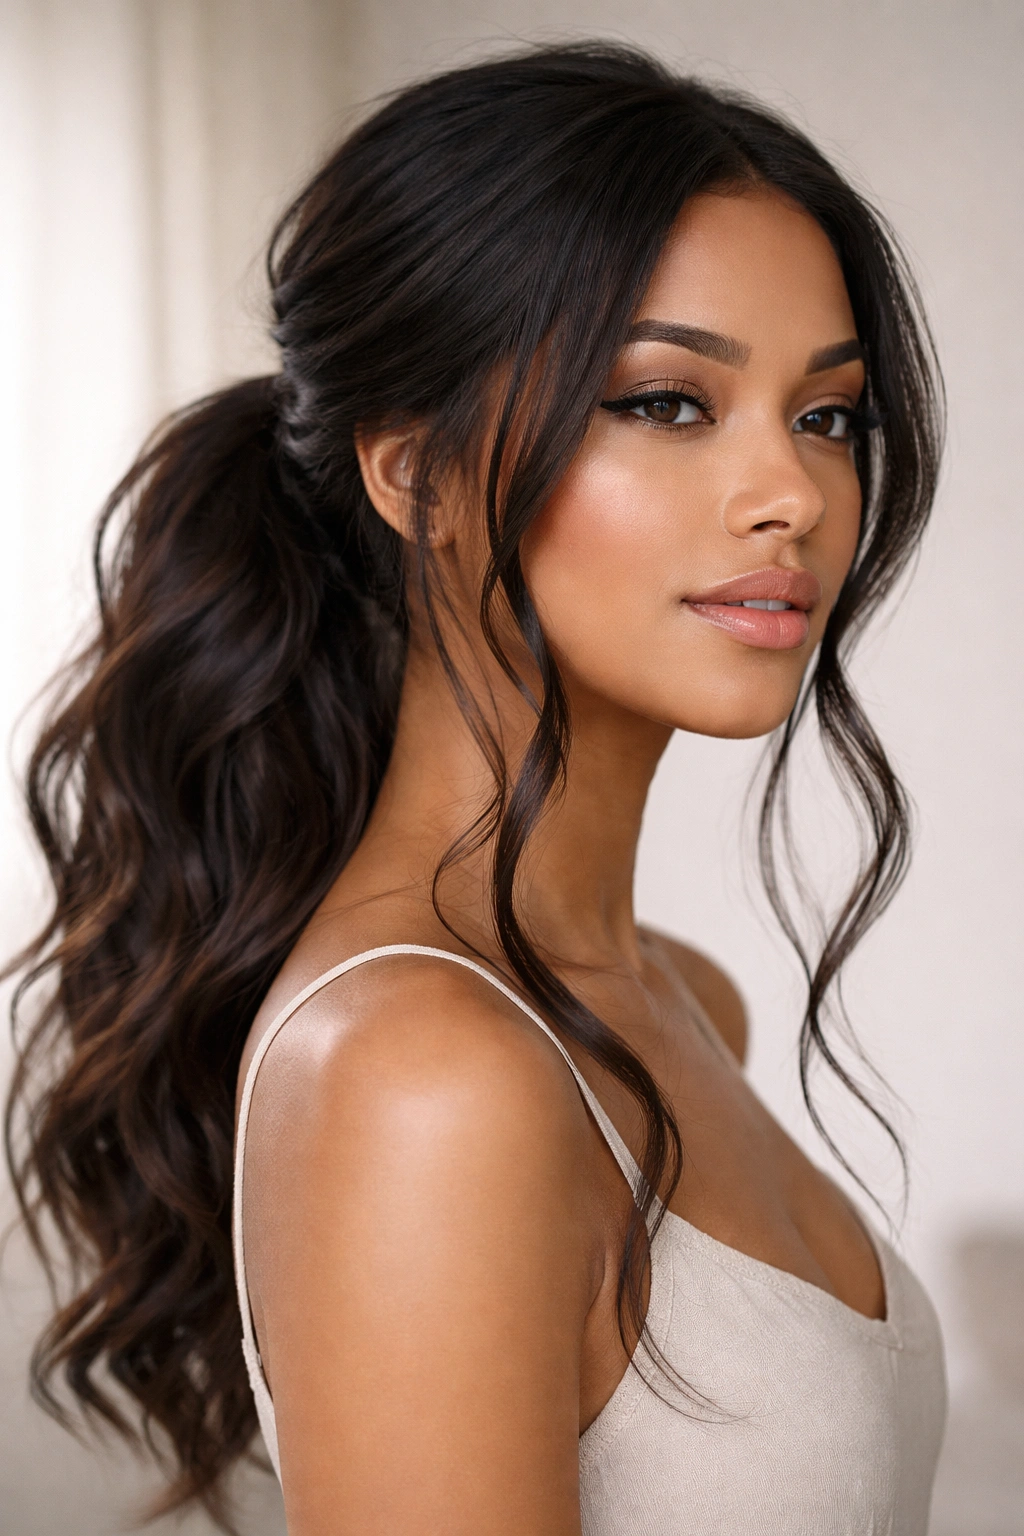
This style starts with loose, flowing waves throughout your hair, then brings everything into a low ponytail while deliberately leaving two or three thicker strands hanging in front of your face. The magic is in the textured base—your ponytail itself should feel loose and slightly undone at the bottom, with pieces escaping deliberately. You’re not going for surgical precision here; instead, you want that lived-in quality that says you spent time on this, not that it took fifteen minutes.
How to Build It
Start by curling your entire head with a 1.5-inch barrel, working in diagonal sections for a more natural-looking wave pattern. Let those curls cool completely before you touch them—this step matters more than most people realize. Once cooled, gently run your fingers through to soften the waves into something that looks more effortless than spiral curls. Flip your head over and lightly tease the base at your crown, then flip back and smooth the surface layer with a fine-tooth comb.
The Face-Framing Strategy
Section out two pieces on each side of your face at about ear level, making sure they’re thick enough to actually frame your features (thin pieces tend to disappear). Pull the remaining hair back into a low ponytail at the base of your skull—not at the nape, but slightly higher so there’s room for movement. Secure with a elastic, then take each face-framing piece and gently wrap it once around the base of your ponytail before tucking the end underneath. This anchors them in place while maintaining that soft, natural appearance.
Quick styling notes: Use a texture spray on damp hair before blow-drying for extra grip and movement. Mist the finished style with a light-hold hairspray—anything too heavy will flatten those carefully constructed waves.
2. The Sleek Low Frontal with Wispy Pieces
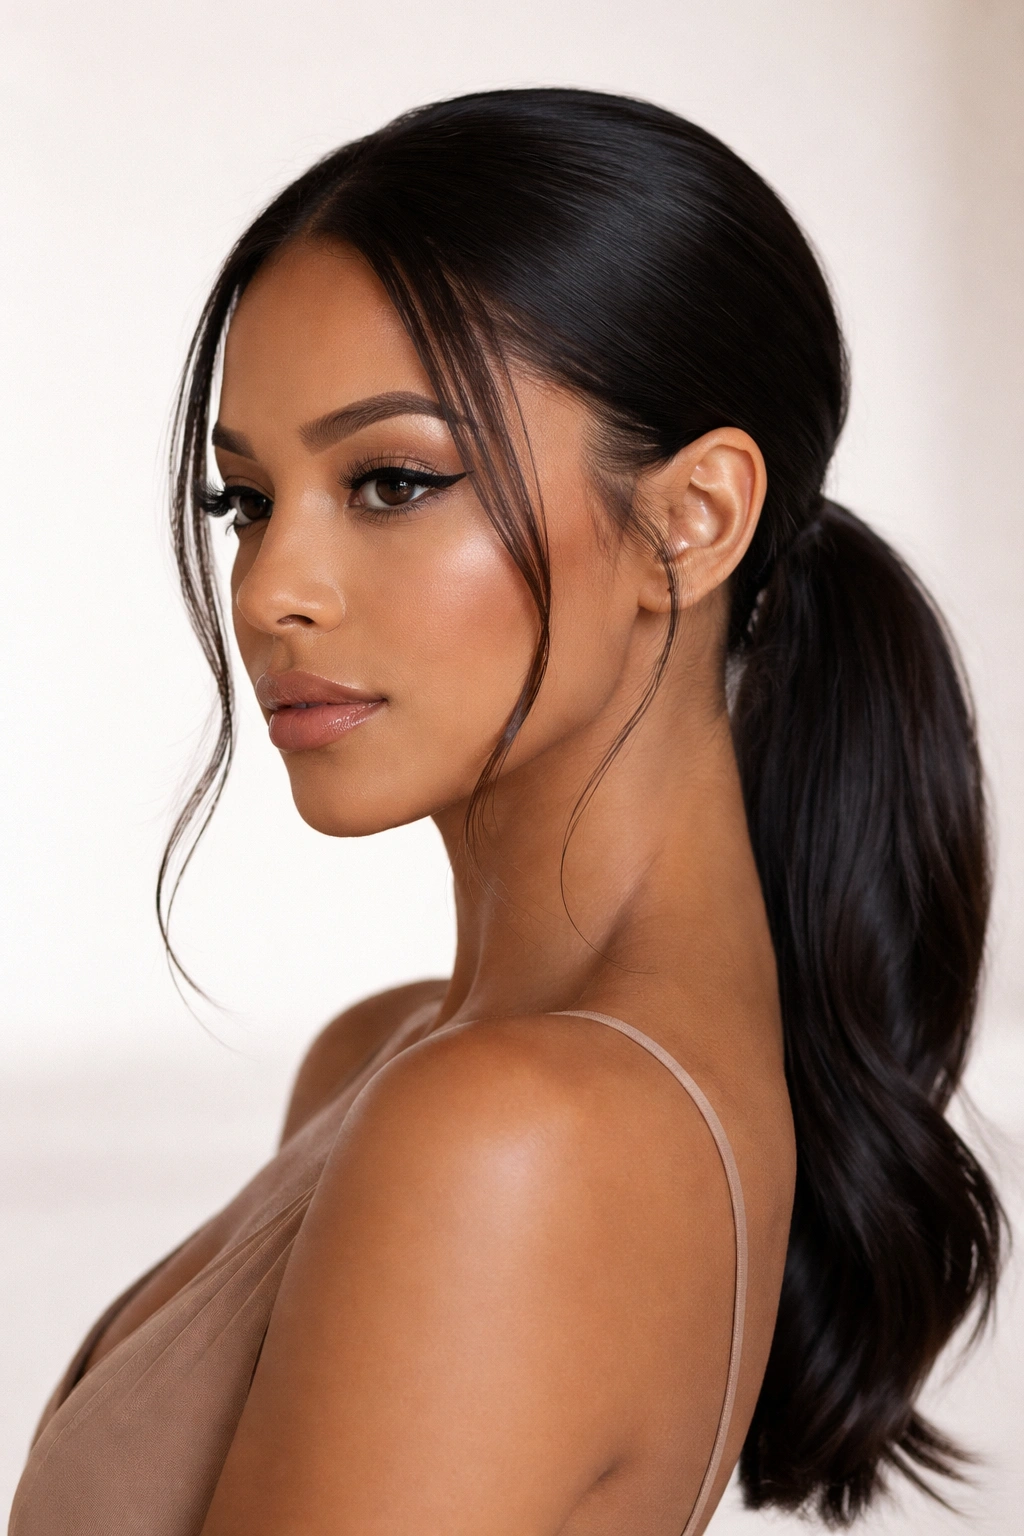
Clean, polished, and impossibly elegant—this is the frontal ponytail for days when you want to look thoroughly put-together without appearing overdone. Everything is smooth except for two delicate pieces that frame your face with soft, wispy texture. The ponytail itself sits low at the nape, and those face-framing strands create the only movement in the entire style. It works beautifully on straight hair and on hair that’s been smoothed with a straightener or blow-dryer.
Creating Sleek Smoothness
Blow-dry your hair completely straight, section by section, using a paddle brush for the crown and a round brush for the sides. The smoother you get your base layer, the more polished the final style will appear. Once dry, run a flat iron over each section one more time—not to add waves, but to seal the cuticle and create that glossy, healthy shine that defines this look. Use a smoothing cream or anti-frizz serum before straightening to protect your hair and add slip.
The Face-Framing Technique
Before gathering your ponytail, identify and section out two pieces from your front hairline—one on each side, starting roughly where your sideburn would be. These pieces should be about half an inch to three-quarters of an inch wide, depending on your hair thickness and face size. Pin them temporarily to the side, then smooth the rest of your hair straight back into a low ponytail, securing it tightly at the nape with an elastic. Release your face-framing pieces and gently curl each one away from your face using a 1-inch curling iron—just one slow curl per piece, focusing the heat on the mid-length and ends. This creates a soft wave that looks intentional rather than like you forgot those pieces.
Pro tip: Use a fine-tooth comb and pomade to smooth any flyaways back from your face, but leave your face-framing pieces intentionally loose and slightly undone.
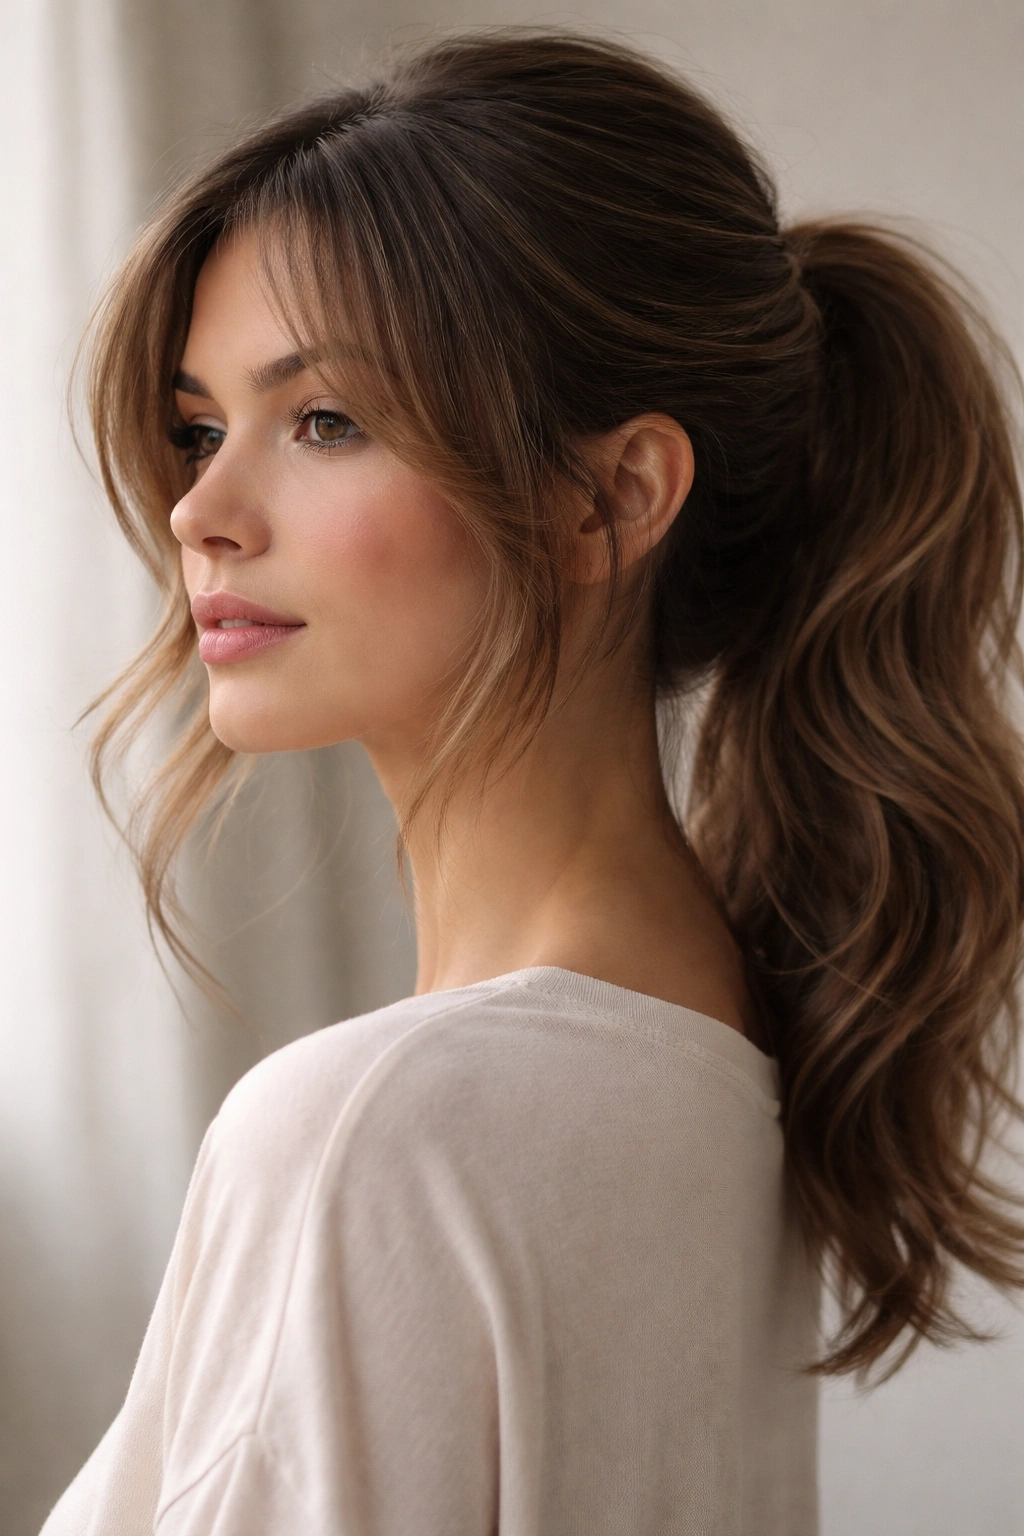
3. The Textured Half-Ponytail with Front Release
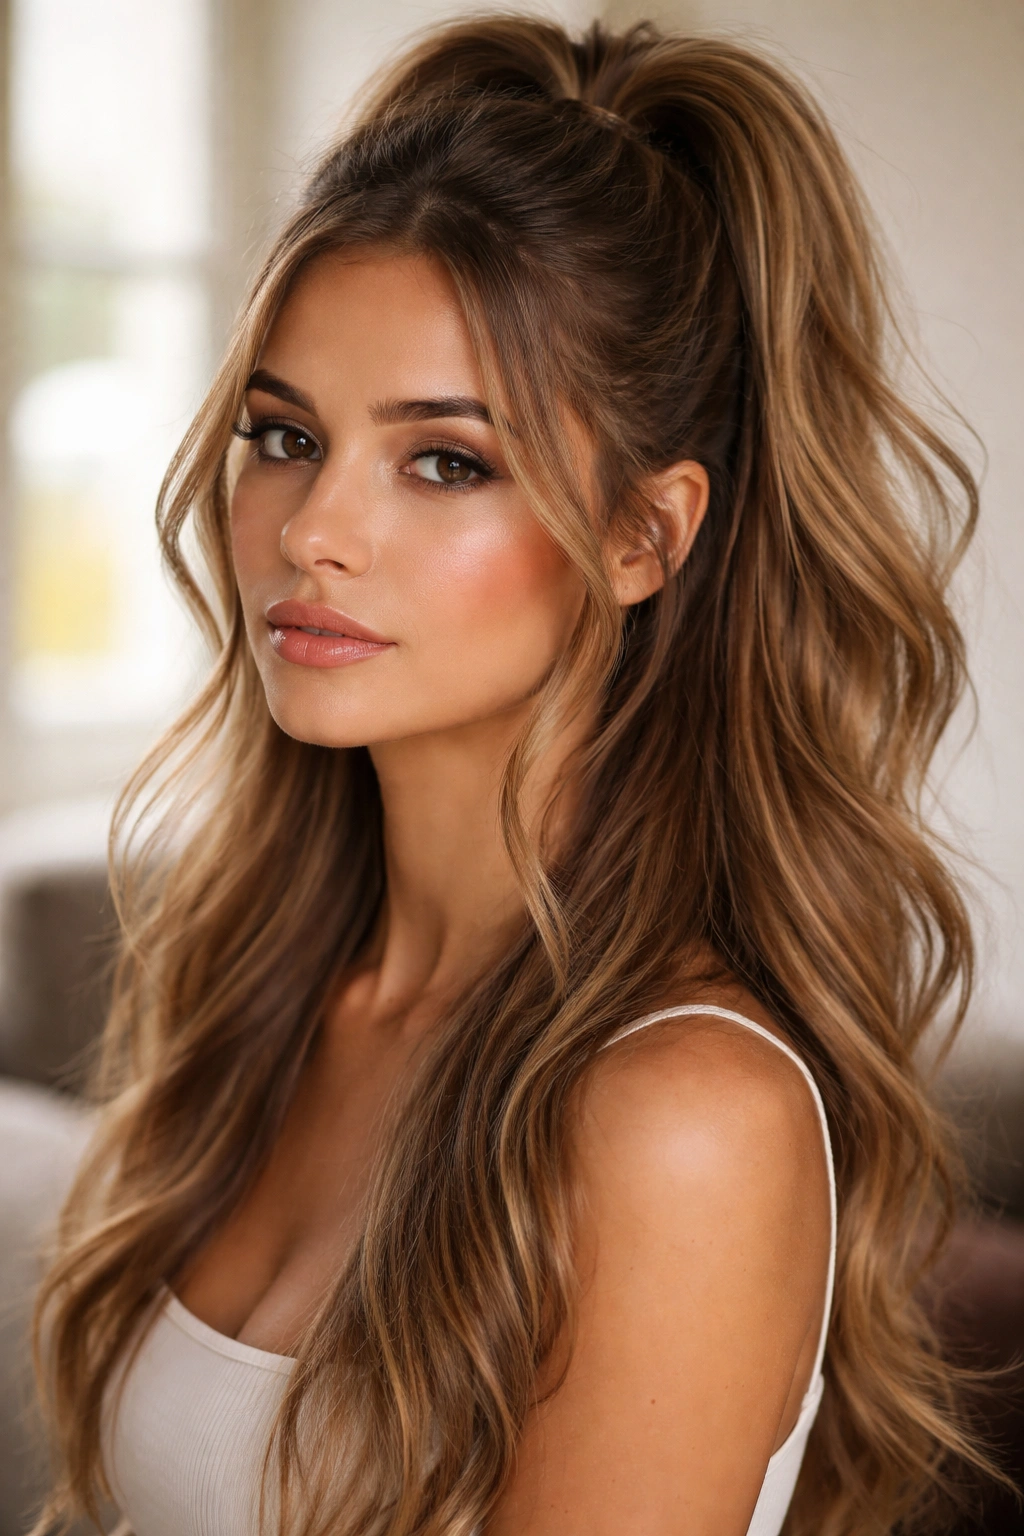
This is technically a half-ponytail, but with a twist that makes it feel like a full ponytail with dramatic face-framing. You’re creating volume at your crown, gathering the top two-thirds of your hair into a ponytail, then releasing deliberately undone pieces from the front sections. The bottom third of your hair stays completely down, creating a hybrid style that’s surprisingly versatile and flattering on almost every face shape.
Building Crown Volume
Start by blow-drying your crown section against the direction of growth, lifting your hair straight up and back. Once that section is completely dry and set, spray it lightly with texture spray. Use a teasing brush at the very crown and gently backcomb just the roots, smoothing the surface layer afterward so you see volume rather than visible texture. This base will anchor your half-ponytail and create the height that makes the style work.
Creating the Hybrid Effect
Gather everything from your temples back and upward, creating a half-ponytail at the crown area (not at the nape). Secure this tightly with a clear elastic or a small hair tie that matches your hair color. Now, take the two front sections that naturally frame your face and leave them completely loose—don’t pin them, don’t secure them, just let them fall. These pieces should reach roughly your collarbone. Gently curl these front pieces away from your face, keeping the curls loose and undone. The key to this style is contrast: a strong, voluminous half-ponytail at the crown paired with soft, wispy, completely free pieces in the front.
What makes it work: The volume at the crown makes this style feel modern and intentional, while the released front pieces keep it from feeling too structured or formal.
4. The Tousled Ponytail with Piece-Out Design

This is deliberately imperfect in a calculated way. You’re creating the illusion that you grabbed a few random pieces, pulled your hair back, and somehow ended up with a effortlessly chic style. In reality, you’ve strategically left out specific pieces at specific widths to create this effect. The ponytail itself is textured and slightly loose at the ends, and your face-framing pieces have soft waves that interact beautifully with the rest of your style.
The Intentional Piece-Out Strategy
Before doing anything else, identify three or four sections you’re going to leave out: one thicker section just in front of each ear, one thinner piece at your hairline, and possibly one at your temple. Pin these sections up and away temporarily. Blow-dry the rest of your hair with texture spray already applied, using a round brush to create gentle volume and movement. Once dry, gather all the unpinned hair into a low ponytail and secure it, but don’t smooth it too much—you want to see some texture in the ponytail itself.
Styling the Released Pieces
Release your pinned sections one at a time. Use a 1.25-inch curling iron to create soft waves in each piece, curling away from your face and letting the curl relax slightly before combing it out. The goal is shape without obvious spirals. Once all your pieces are curled, gently tousle everything with your fingers, breaking up the waves slightly. Some strands should wrap around the base of your ponytail, while others should hang completely free. Use a light-hold hairspray to set this—too much product will destroy the tousled effect you’ve worked to create.
Styling secret: Work with textured, wavy hair rather than trying to create this look on freshly straightened strands. The existing texture in your hair will cooperate with this style naturally.
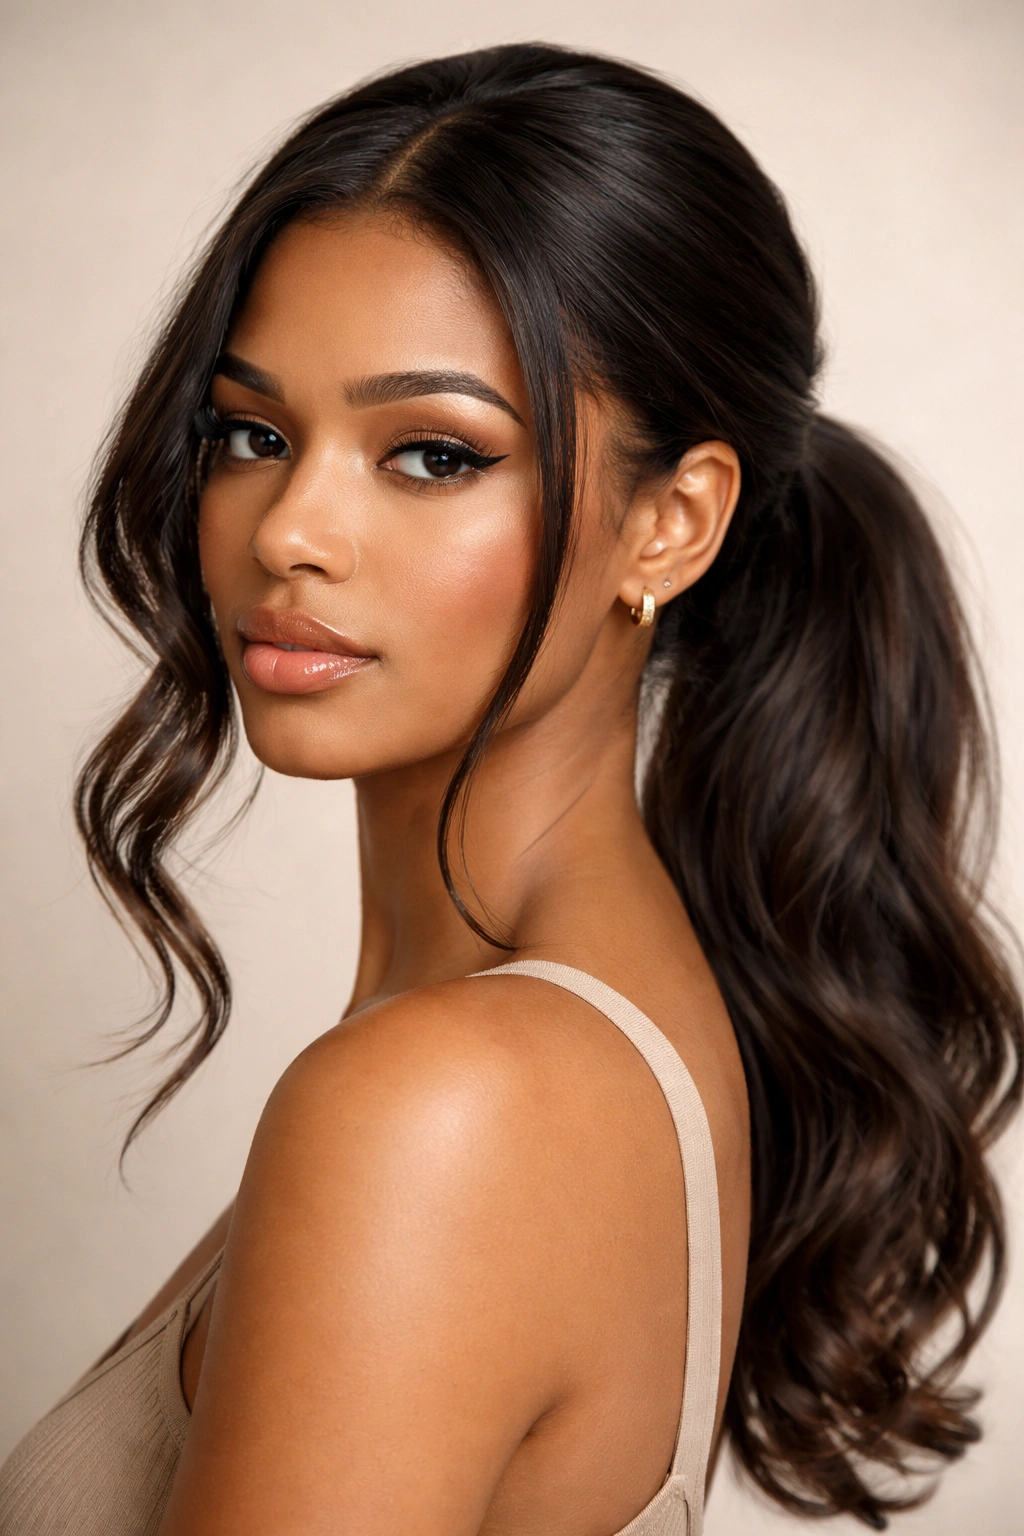
5. The Refined Ponytail with Subtle Layers
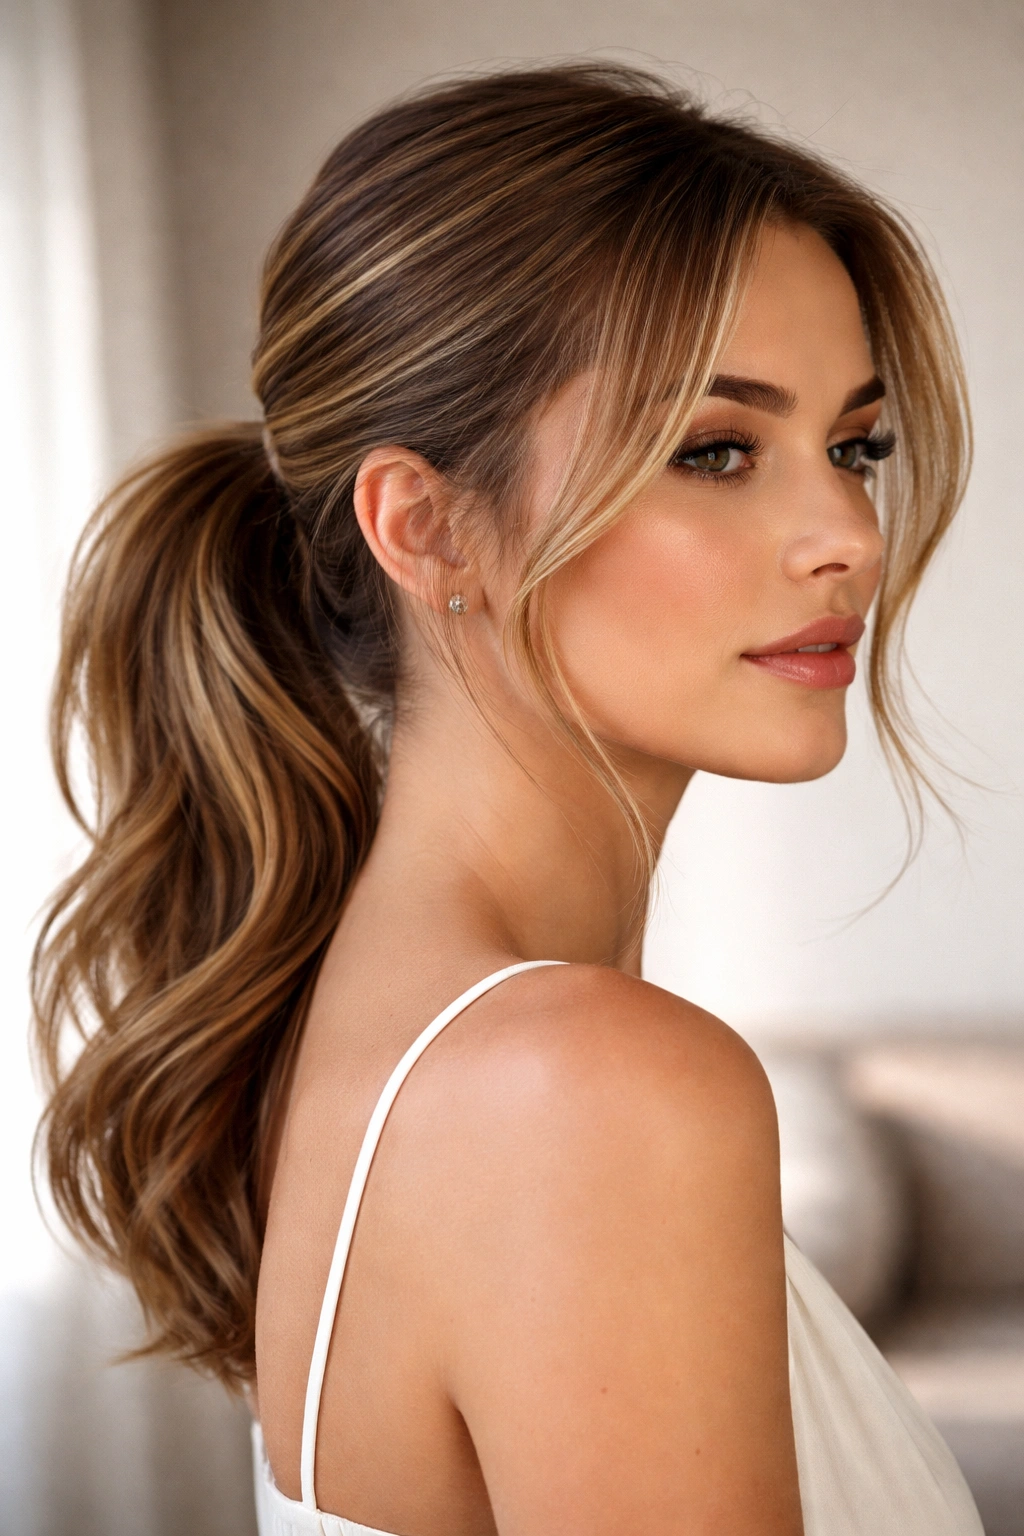
This style works beautifully if you have layers in your hair already, or if you’re willing to create subtle movement through strategic styling. Rather than leaving face-framing pieces completely loose, you’re incorporating your layers into a low ponytail while letting their natural shorter length create soft movement around your face. It looks polished, intentional, and remarkably flattering because the layers add dimension without the style feeling chaotic.
Working with Layer Structure
If you have layers, you have a built-in advantage for this style. Blow-dry your hair as you normally would, allowing your layers to fall naturally around your face. Don’t over-straighten or over-curl—let your natural texture play a role here. The layers should sit roughly at your jawline, cheekbones, and chin, creating a soft frame whether your base layers are straight, wavy, or curly.
Creating the Ponytail with Movement
Gather your longest layers at the nape of your neck and secure them with an elastic, but don’t pull everything back aggressively. A slightly loose ponytail actually looks more sophisticated and intentional here. Your shorter layers won’t fit in the elastic—that’s the point. They’ll fall around your face, creating soft movement and dimension. Take a few pieces from the sides and gently wrap them around the base of your ponytail for a finished look. If you want to add texture to the ponytail itself, lightly tease the base and use a dry shampoo or texture spray for grip and volume.
Why this works: Layers create natural movement without requiring you to leave obvious face-framing pieces. The style looks intentional because it’s clearly styled, but not severely pulled back.
6. The Glossy Ponytail with Gold or Silver Accents
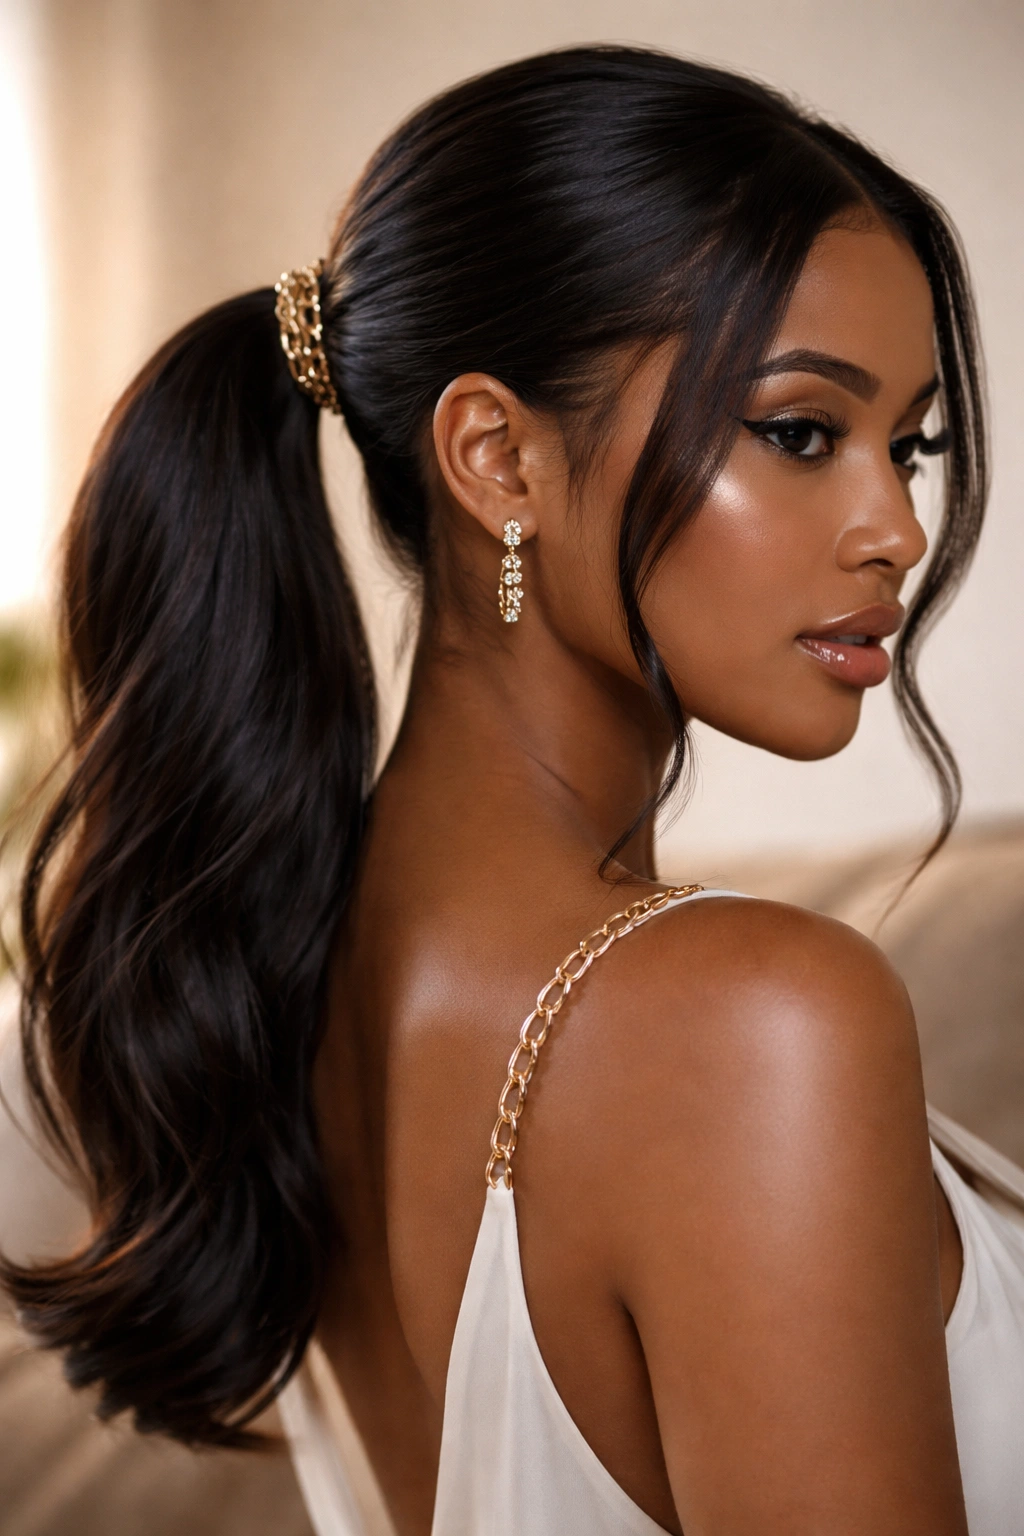
Here’s where a simple ponytail becomes special: strategic metallic accents. You’re creating a sleek, polished ponytail with two face-framing pieces, then weaving a delicate gold or silver chain, ribbon, or piece of shimmering hair jewelry through the base. The accessories catch light and draw attention to your face, making even a simple style feel intentional and current.
The Base Ponytail
Blow-dry your hair straight or wavy, depending on your preference. A sleek base works beautifully with this style, but soft waves add movement and romance. Gather everything into a low ponytail and secure with a clear elastic. Release two face-framing pieces from the front, one on each side, and lightly curl or wave them away from your face. Smooth any flyaways with a fine-tooth comb and smoothing serum, then you’re ready for the accessory step.
Adding Metal Accents
This is where the style gets elevated. Take a delicate gold or silver chain, or even a thin metallic ribbon, and wrap it around the base of your ponytail two or three times, tucking the ends underneath. You want the metal to be visible but not overwhelming—think subtle luxury rather than costume jewelry. Alternatively, weave a thin metallic hair thread through your ponytail, starting at the elastic and continuing down for two or three inches. The metal catches light with every movement, adding dimension and visual interest.
Material options: Thin gold or silver chains work beautifully, but you can also find delicate hair jewelry specifically designed for this purpose. Metallic ribbons add a softer touch if you prefer less shine.
7. The Bubble Ponytail with Soft Face-Framing
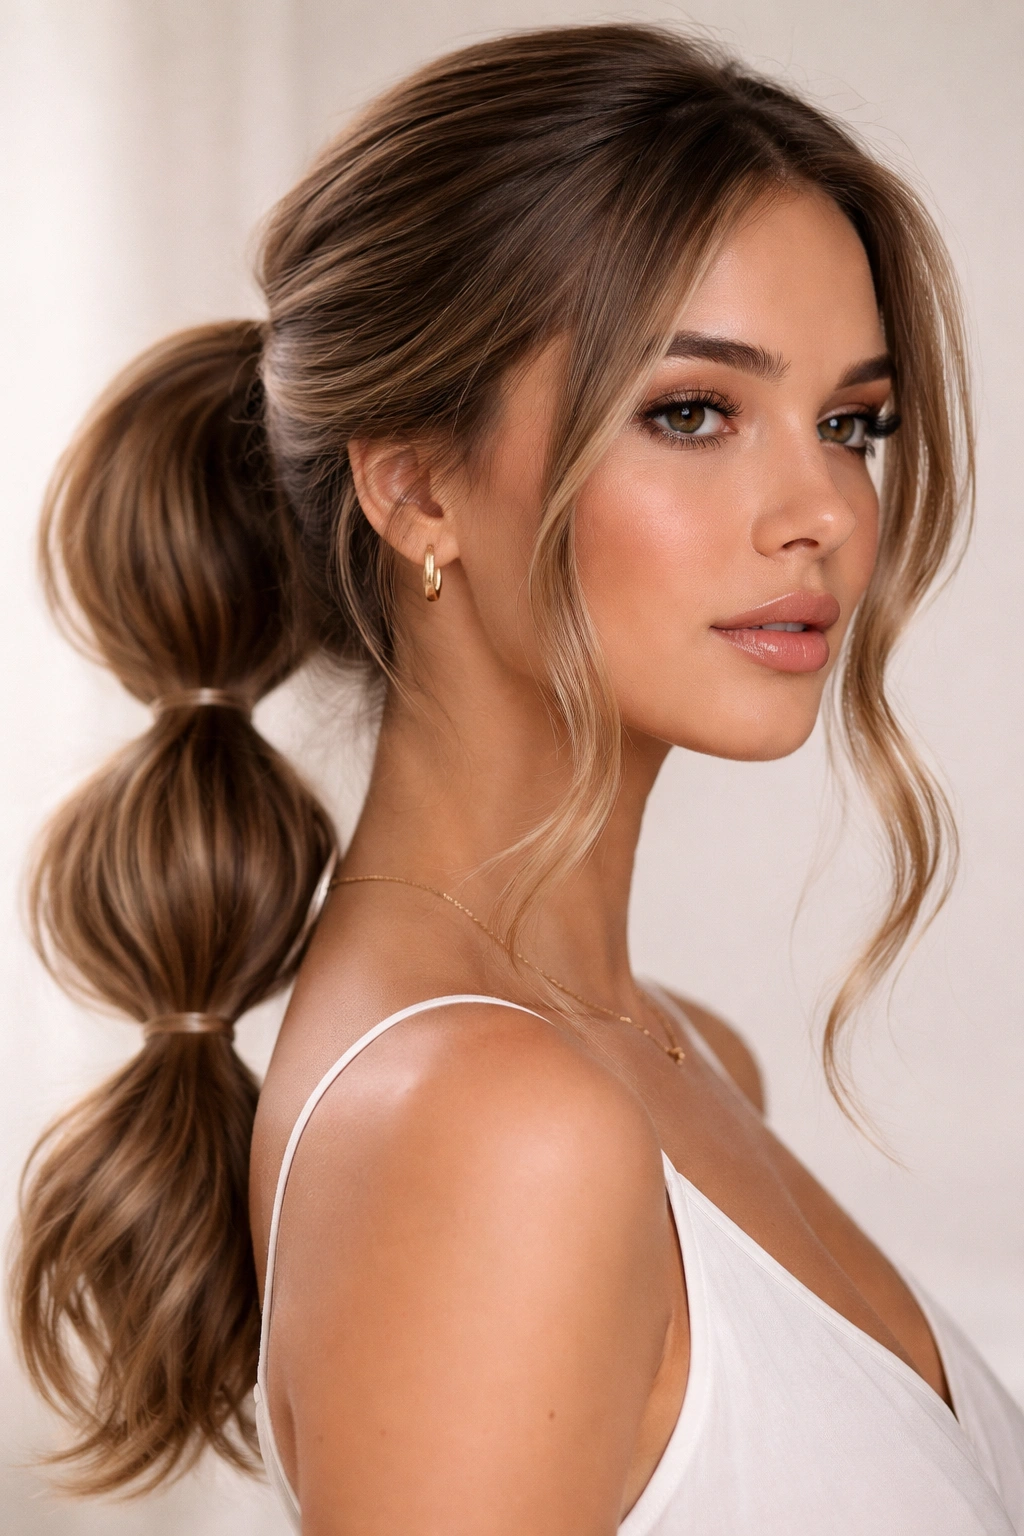
This is a modern variation where you create distinct sections down your ponytail using multiple elastics, creating a bubble or stack effect. Despite the geometric structure, it can look incredibly natural and effortless if you leave your face-framing pieces loose and undone. The contrast between the structured ponytail and the soft face-framing creates visual interest and flatters most face shapes.
Creating the Bubble Effect
Pull your hair into a low ponytail and secure it with an elastic. Now, place a second elastic about two inches down from the first, and gently push the hair between the two elastics upward to create a soft bubble. Continue this pattern down your ponytail, spacing each elastic about two to three inches apart, depending on how many bubbles you want. The number of elastics depends on your hair length—usually three to five work well. Each bubble should be slightly different in size for a more natural appearance rather than perfectly uniform bubbles.
Softening with Face-Framing
Before you finish the bubble effect, release two pieces from your front hairline and pin them temporarily to the side. Once your bubbles are set, release these pieces and curl them gently away from your face. Let them fall completely free—don’t tuck them into any of your bubbles. Gently tousle the bubbles with your fingers to make them look slightly loose and undone rather than rigid and structured.
Texture matters: This style works better on wavy or textured hair than on completely straight hair. If you have straight hair, add texture spray before creating the bubbles so they look intentionally soft rather than just flat.
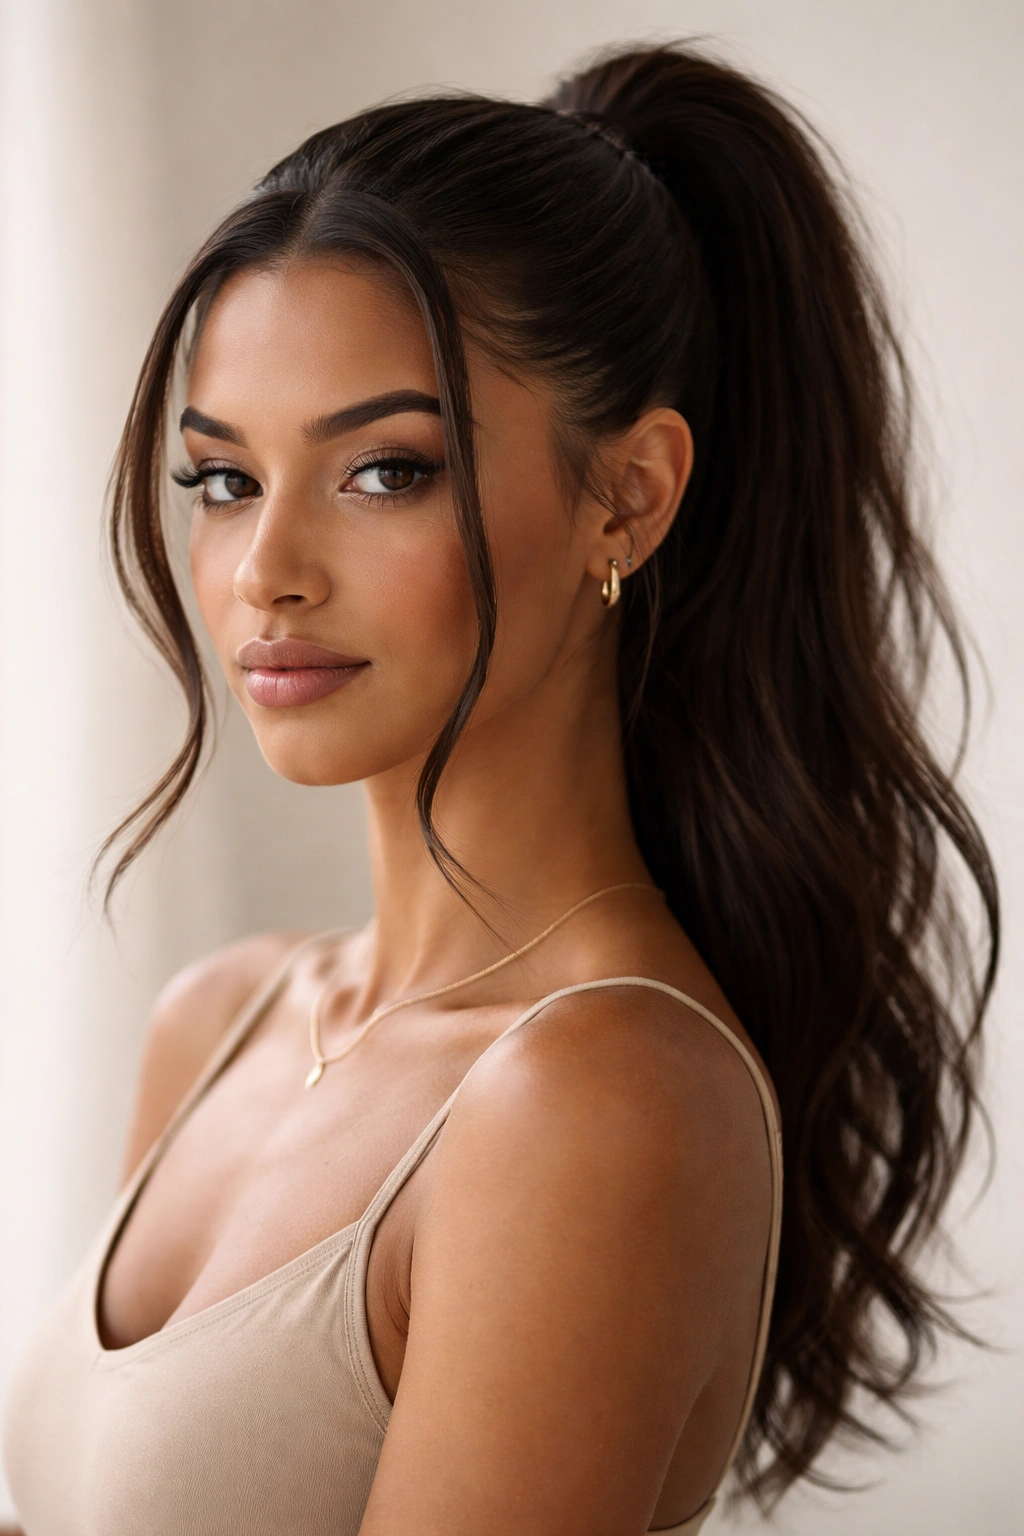
8. The Sleek Frontal with Defined Waves
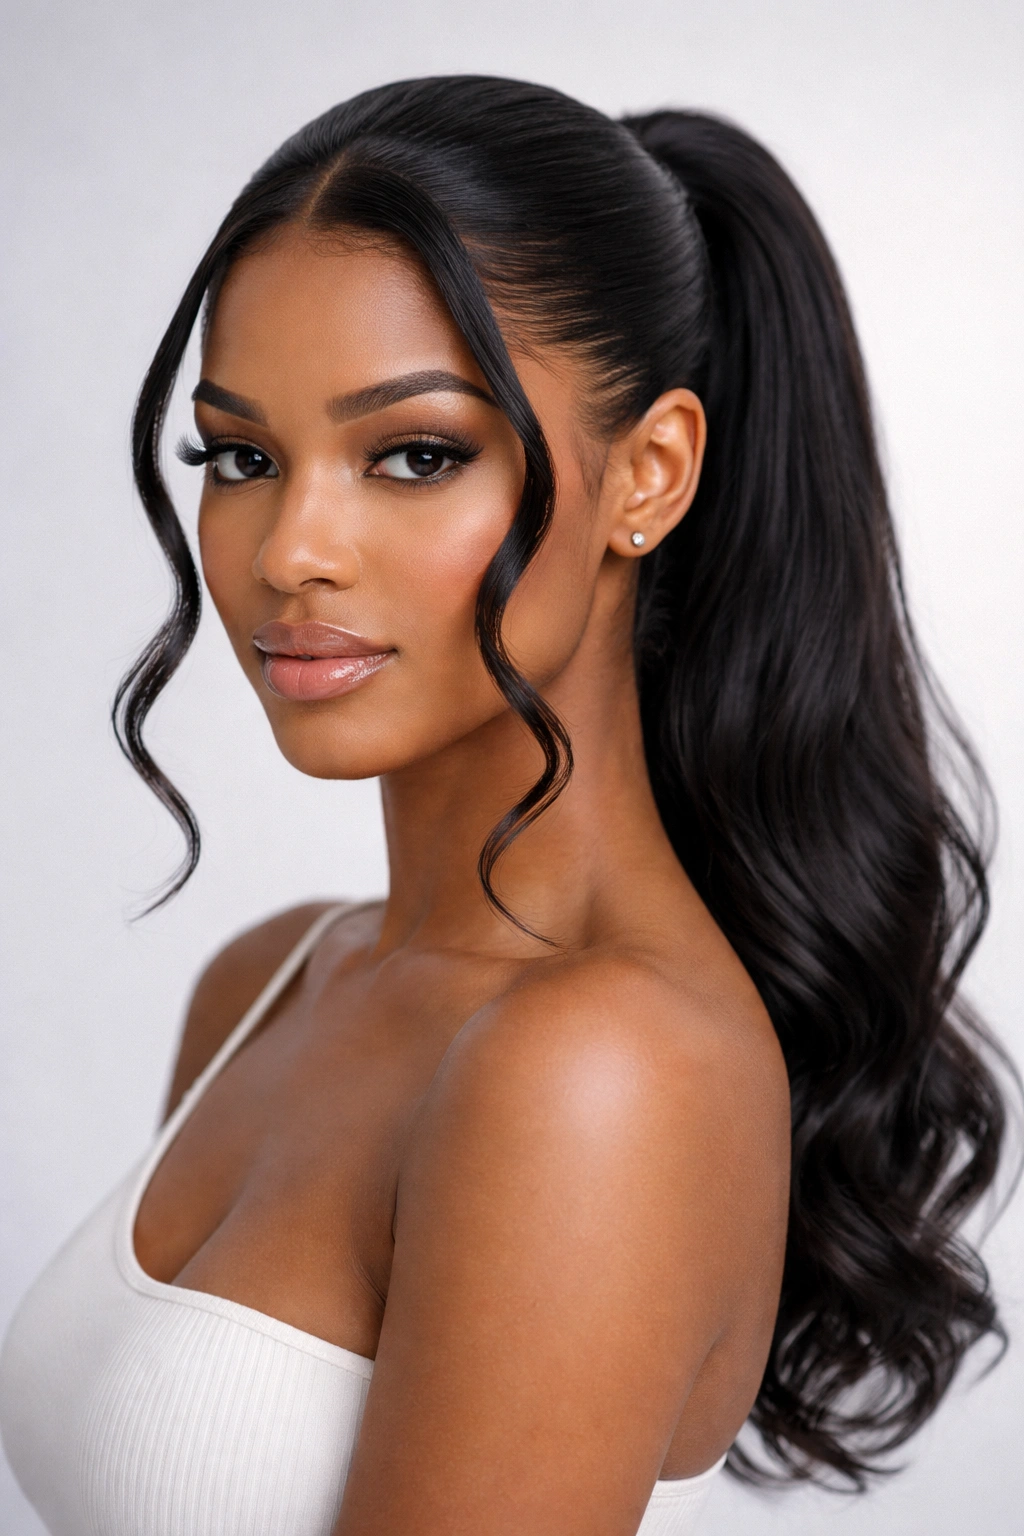
This style combines the polish of a sleek ponytail with the softness of defined, deliberate waves in your face-framing pieces. Everything is smooth and refined except for those two front sections, which feature distinct, controlled waves that frame your face beautifully. It’s polished enough for professional settings but has enough softness to feel modern and flattering.
The Smooth Base
Blow-dry your hair completely straight using a paddle brush and smoothing product. Once dry, use a flat iron to seal the cuticle and create shine. Pay special attention to getting your ponytail area smooth—you’re gathering everything into a low, tight ponytail at the nape, so this base needs to be flawless. Secure with a clear elastic and smooth any flyaways with pomade and a fine-tooth comb.
Defining the Front Waves
Section out two pieces from your front hairline, starting roughly at your temple and extending back about three inches. These pieces should be roughly the width of your index finger for a subtle effect. Using a 1.5-inch barrel curling iron, curl each piece in one complete curl away from your face, wrapping the entire length of the piece around the barrel. Hold for a few seconds, then release. These should be defined, deliberate waves, not loose spirals—the wave should be visible and intentional. Let the waves cool completely before touching them, which sets the shape more firmly.
The difference this makes: Defined waves on your face-framing pieces add movement and dimension while the sleek ponytail keeps everything looking intentional and refined.
9. The Romantic Ponytail with Braided Accent
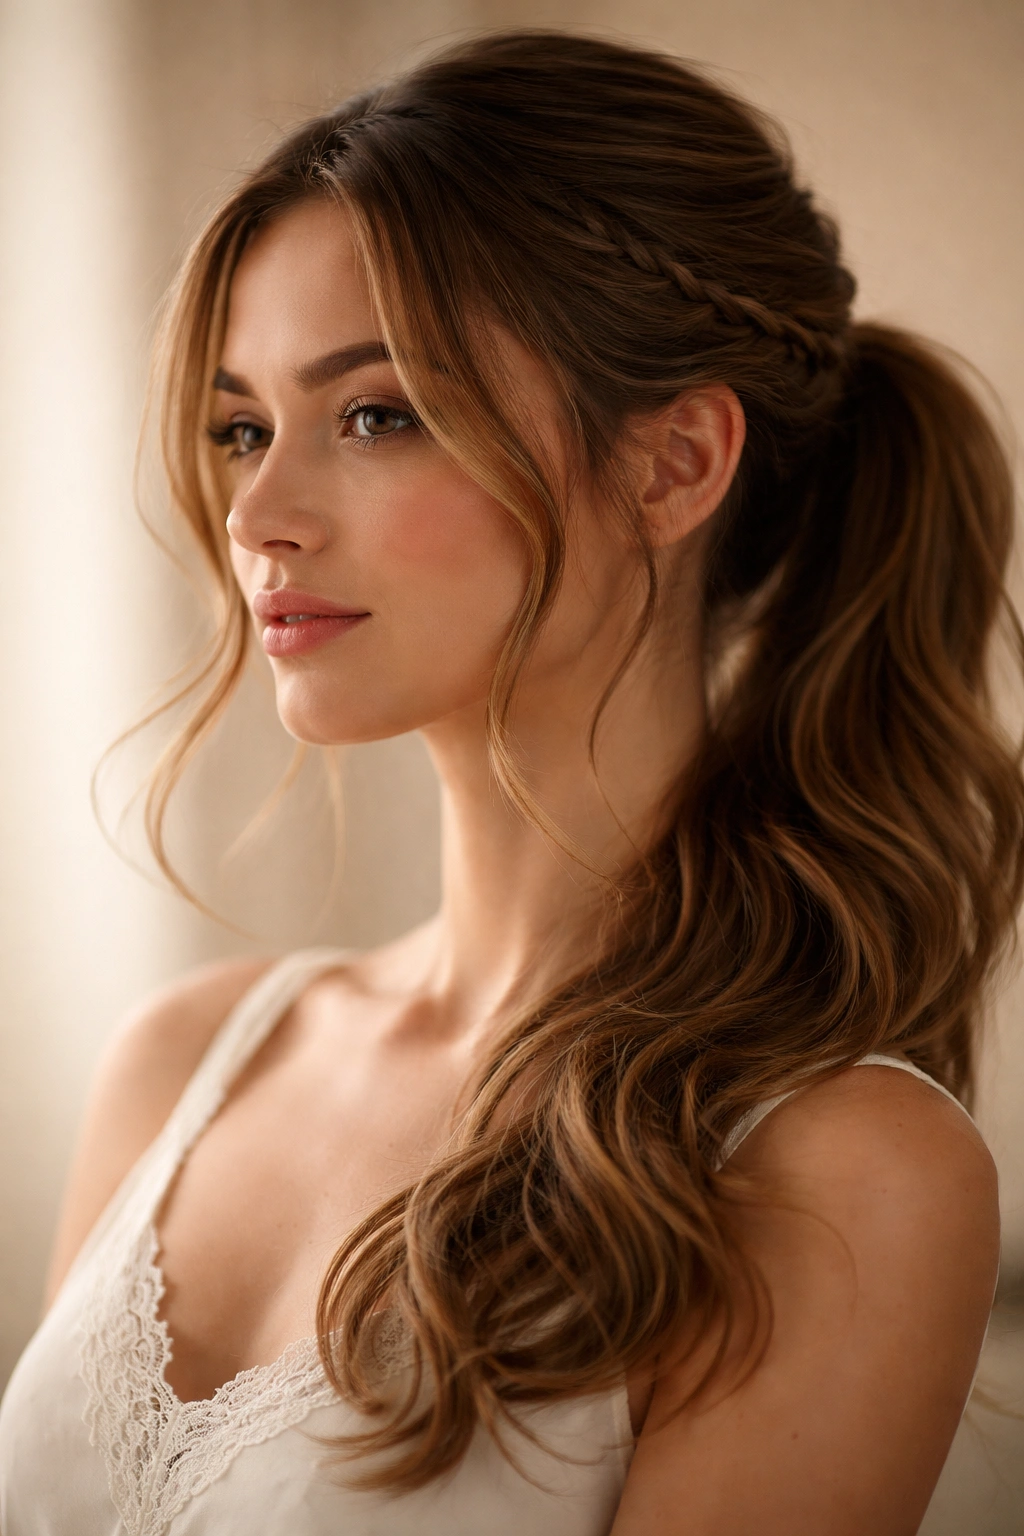
A thin braid woven into your face-framing pieces, or wrapping around the base of your ponytail, adds romantic texture and visual interest. You’re not doing a full braided style—just incorporating one delicate braid as an accent that draws the eye and creates movement. This works beautifully on wavy hair and adds sophistication without being overly complicated.
Building the Wavy Base
Blow-dry your hair with texture spray applied, creating soft waves throughout. You want movement and body in your base hair, so use a round brush and curl sections as you dry. Let these waves cool completely, then gently finger-comb them for a softer, more natural appearance. Gather everything into a low ponytail at the nape, leaving two thicker pieces in front of your ears completely unpinned.
Adding the Braided Detail
Take one of your face-framing pieces and create a thin three-strand braid starting at your temple and extending down roughly to your collarbone. Don’t braid too tightly—the braid should look soft and romantic, with some volume rather than a sleek, geometric plait. Once you’ve finished the braid, gently pull the sides slightly to soften it further. Do the same with the other side. Both braids should frame your face, with the loose ends falling softly. If you want additional texture, you can wrap one of these braids around the base of your ponytail, securing the end underneath with bobby pins.
Why it works: The braid creates a soft, romantic line that draws attention to your face while the ponytail keeps everything neat and intentional.
10. The Tousled Crown Ponytail with Piece Release
This style creates a voluminous, textured effect at your crown, gathering hair into a ponytail while leaving strategic pieces completely free in the front. The crown area should look deliberately undone—like you’ve teased and styled for height, then casually pulled it back. It’s edgy, modern, and incredibly flattering on most face shapes.
Building Crown Texture
Use dry shampoo or texture spray on dry or damp hair before blow-drying. Once dry, use a teasing brush at your crown to backcomb the roots, creating volume. Smooth the surface layer so you see height rather than visible texture. Mist lightly with hairspray while it’s still hot from your blow dryer—this helps set the volume.
Creating the Hybrid Effect
Gather the back and sides of your hair into a low-to-mid-height ponytail, pulling everything back from your crown area. The crown section should remain voluminous and slightly undone—don’t smooth it down. Secure the ponytail with an elastic, but keep two sections in front of your ears completely free. These pieces should be thick enough to feel substantial, not wimpy. Let them fall naturally, curling them gently away from your face if desired. The contrast between the deliberate volume at the crown and the soft, free pieces in front creates a modern, intentional look.
The key detail: This style works best when your crown is noticeably voluminous and your front pieces are noticeably loose. The contrast is what makes it special.
11. The Curved Frontal with Asymmetrical Balance
Instead of two identical face-framing pieces, this style features one thicker piece on one side, creating asymmetrical balance. It’s slightly edgier than traditional frontal ponytails but still soft and flattering. The asymmetry makes the style feel modern and intentional, like you made a deliberate choice rather than defaulting to a standard look.
The Asymmetrical Piece-Out
Decide which side will have the thicker piece—this usually looks best on the side of your face you prefer, or the side opposite your part. On that side, release a piece that’s roughly the width of two fingers, starting from your hairline and extending back toward your ear. On the other side, release a much thinner piece, only about half an inch wide. Gather the remaining hair into a low ponytail and secure it.
Styling the Asymmetrical Pieces
Curl both face-framing pieces away from your face, but make the thicker piece on your chosen side curly and textured, while keeping the thinner piece on the opposite side slightly straighter or with a subtler wave. This furthers the asymmetrical effect. Both pieces should fall freely, not wrapped around your ponytail. The asymmetry draws attention to your best features—if you have great cheekbones, choose the side that shows them off best for your thicker piece.
Why asymmetry matters: A single, deliberate choice feels more editorial and intentional than two identical pieces.
12. The Soft Textured Ponytail with Feathered Layers
This style celebrates hair texture, working beautifully on naturally curly, wavy, or textured hair. Rather than trying to smooth everything, you’re enhancing your natural pattern in your ponytail while leaving face-framing pieces to frame you beautifully. The result is a style that looks intentional, flattering, and completely natural to your hair type.
Working with Your Natural Texture
Define your natural waves or curls with a curl-enhancing product applied to damp hair. Use a diffuser on your blow dryer, or air-dry, allowing your hair’s natural pattern to set. Don’t aim for uniform curls—the beauty of this style is its natural variation. Once dry, gently separate your curls with your fingers rather than combing through, which can cause frizz and disrupt your pattern.
Creating the Ponytail with Dimension
Gather your hair into a low ponytail at the nape, but don’t secure it too tightly—a slightly loose ponytail actually looks more sophisticated on textured hair. Secure with an elastic, then take a few sections and gently lift them away from your scalp, creating dimension and movement. Your face-framing pieces should include layers that naturally sit at your cheekbone and jaw line. Gently scrunch these pieces to enhance their curl pattern, and let them fall completely free.
The finishing touch: Use a lightweight, curl-friendly styling cream to define your curls and add shine, but avoid anything heavy that would weigh down your ponytail.
Final Thoughts
The most natural-looking frontal ponytails work with your hair texture rather than against it, leaving strategic pieces in front while pulling everything else back with intention. Whether you prefer sleek polish, romantic waves, or tousled texture, the key is understanding how to balance a structured back section with deliberately undone front pieces. Once you master these techniques, you’re not just creating a hairstyle—you’re creating a style that feels authentically yours while looking like you put genuine effort into it. The best part? These styles work on every hair type, every face shape, and every occasion. You can dress them up or down, change your accessories, switch your texture, and they remain fundamentally flattering. Start with whichever style speaks to you, practice it a few times to find your rhythm, then branch out to explore variations. Your go-to frontal ponytail is waiting somewhere in these twelve options.