Curly hair and ponytails used to feel like an impossible pairing—either your curls would frizz the second you pulled them back, or the elastic would create a dent that refused to release for days. But here’s what most curly-haired people don’t realize: ponytails can actually be easier with curls than with straight hair, and they can look exponentially more voluminous and interesting. The texture you’ve been fighting against is actually your secret weapon once you know how to work with it.
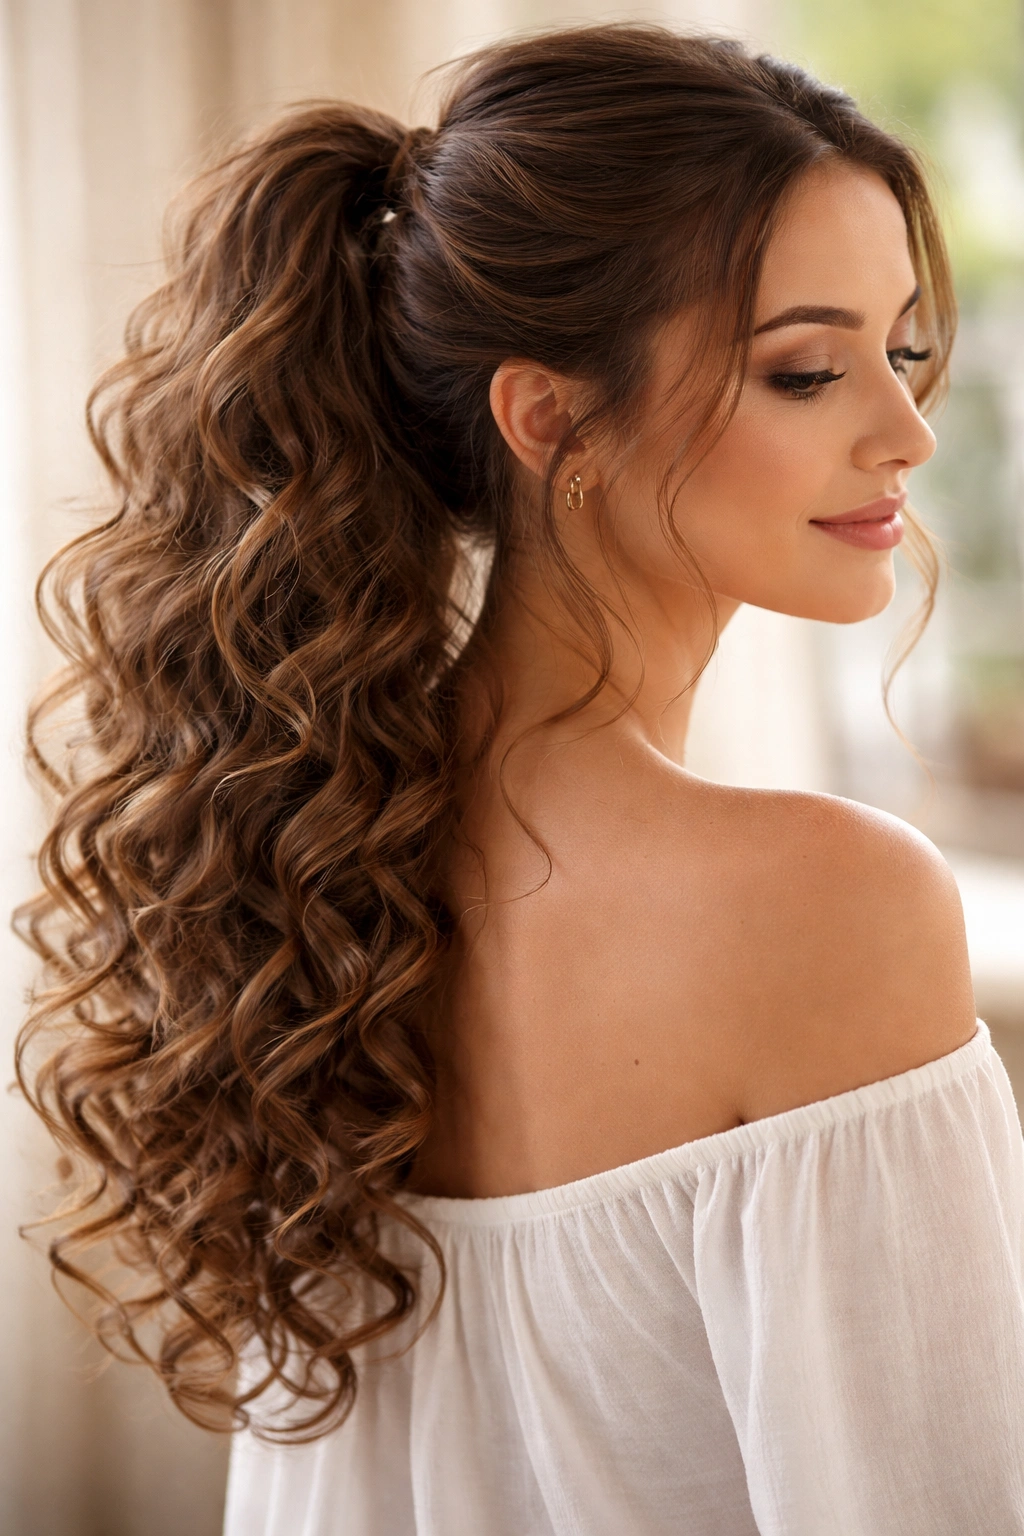
The key difference is understanding that curly hair wants to do its own thing, and the best ponytail styles leverage that natural texture rather than fight it. Instead of slicking your curls smooth and flat (which usually flattens definition and invites frizz), the most flattering ponytail styles for curly hair embrace texture, create dimension, and actually look better slightly undone. A high puff ponytail on curly hair has presence that straight hair can only approximate with backcombing. A tousled side ponytail plays off natural curl patterns. Even a simple low ponytail reads as effortlessly chic when your curls are doing the work.
The styling approach is completely different too. Where straight hair needs smoothing and taming, curly hair benefits from finger-styling, piece separation, and strategic use of curl creams and lightweight gels to enhance definition rather than flatten it. The right products, the right technique for gathering your curls, and the right finishing touches can transform a basic ponytail into something that looks professionally done while still honoring your natural texture. Moisture is non-negotiable—your curls will frizz if they’re dry, and a dry ponytail looks limp—but the right hydrating products keep curls bouncy without weighing them down.
Let’s explore the styles that work best with curly hair textures, the techniques that prevent frizz and damage, and the variations that let you adapt each style to your specific curl pattern, hair length, and the occasion.
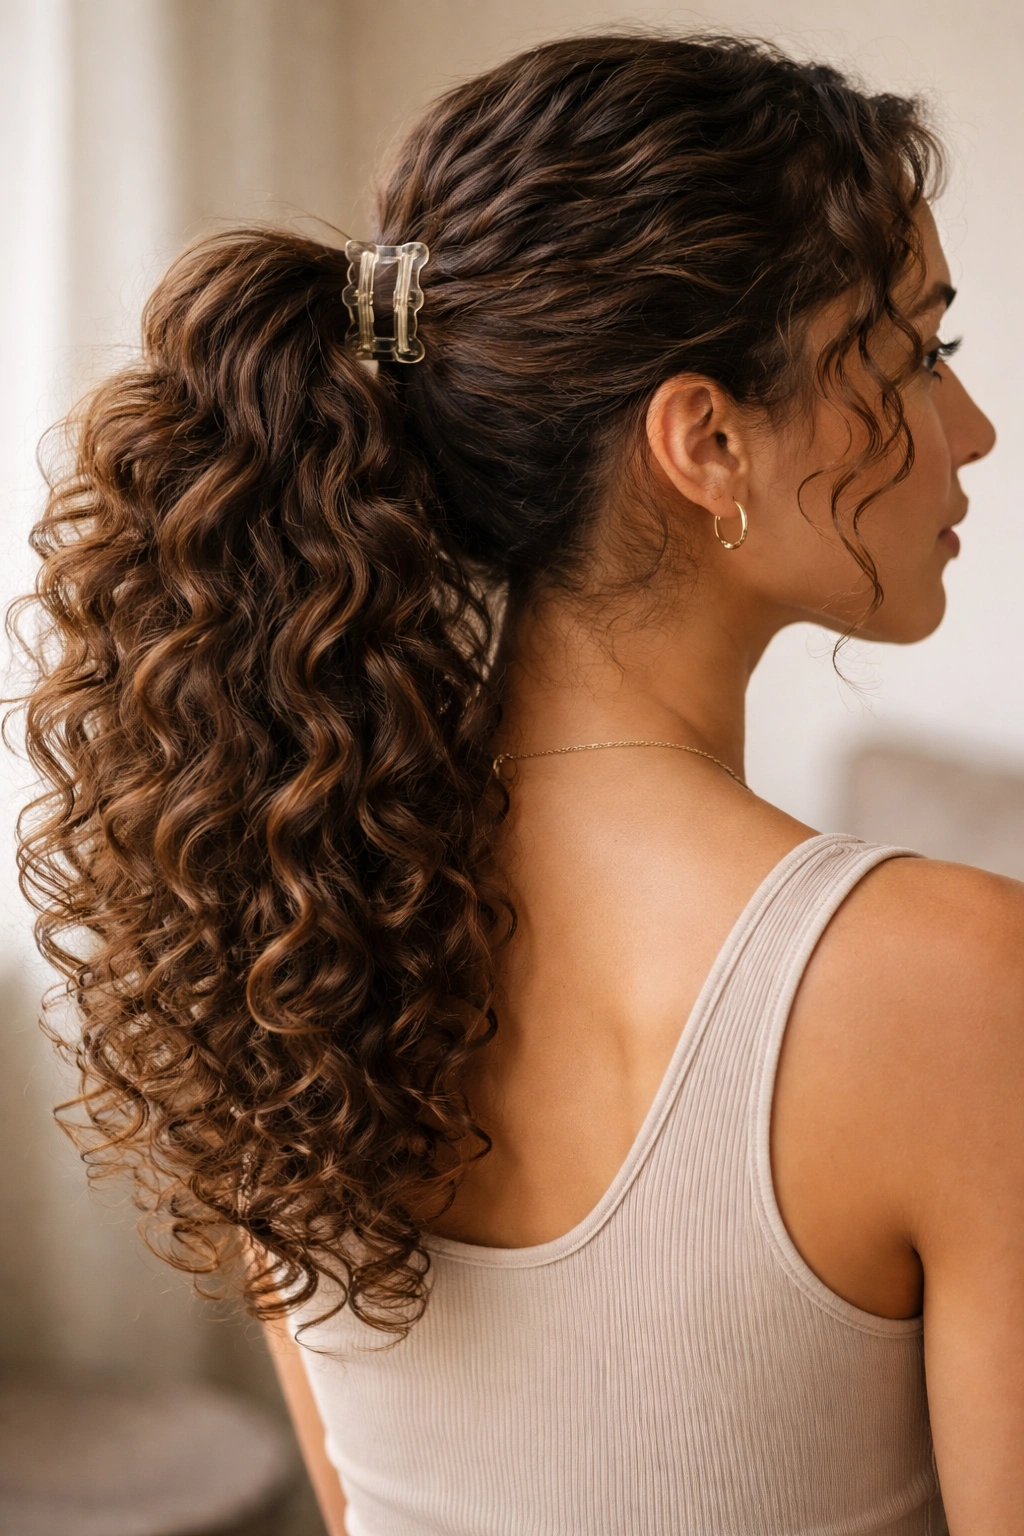
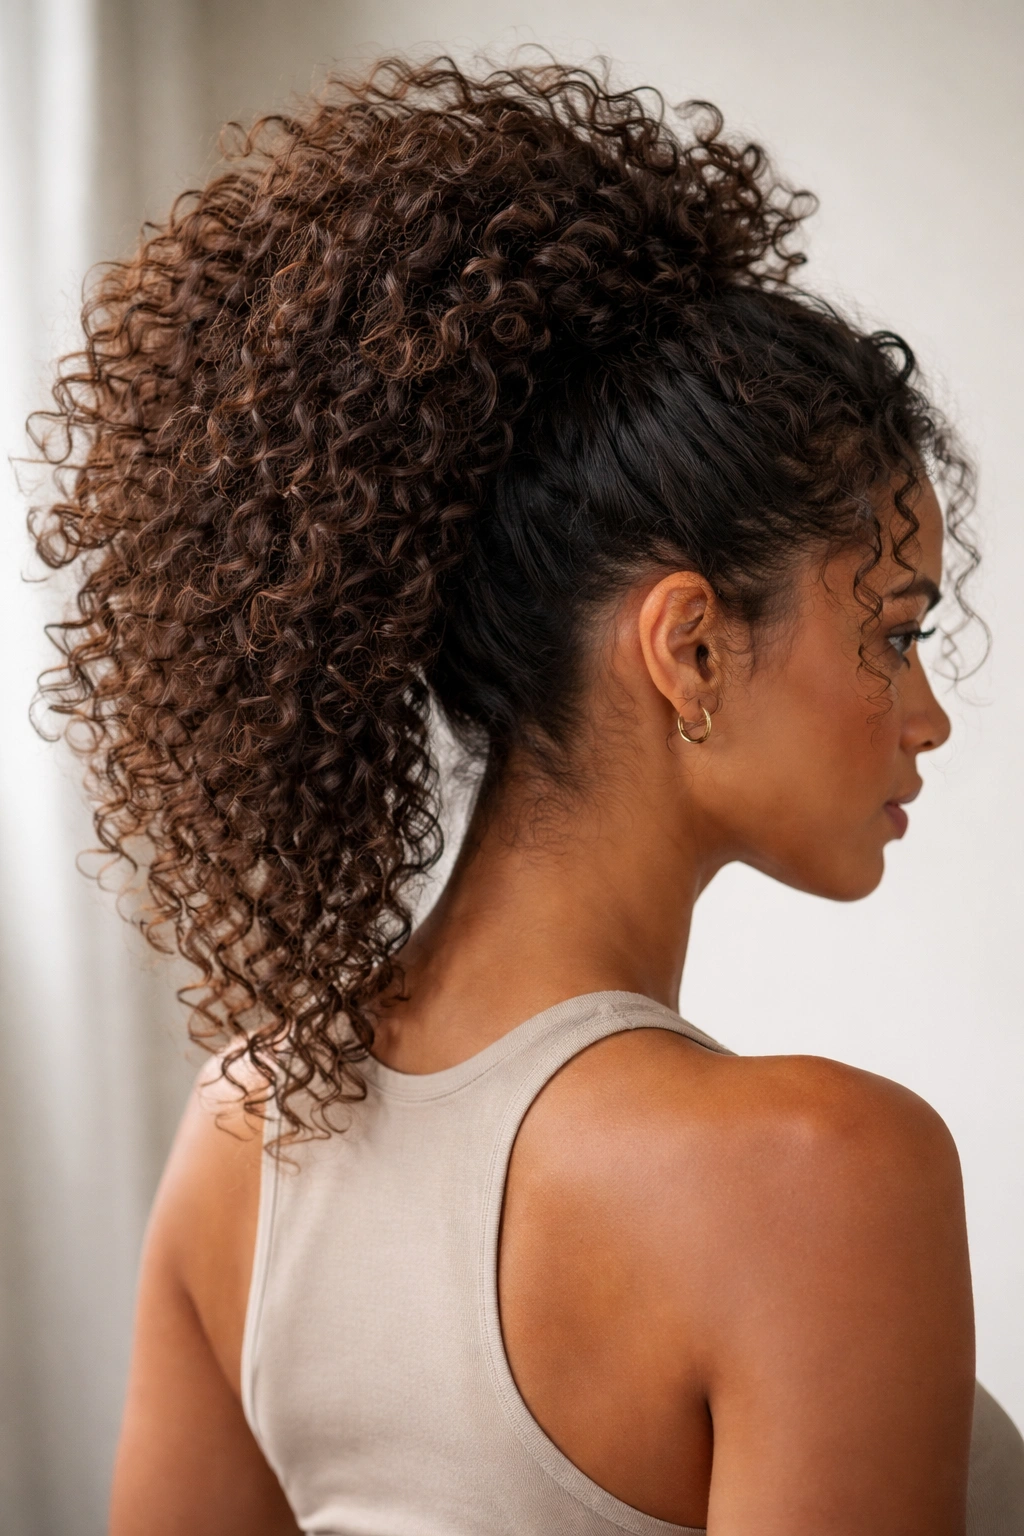
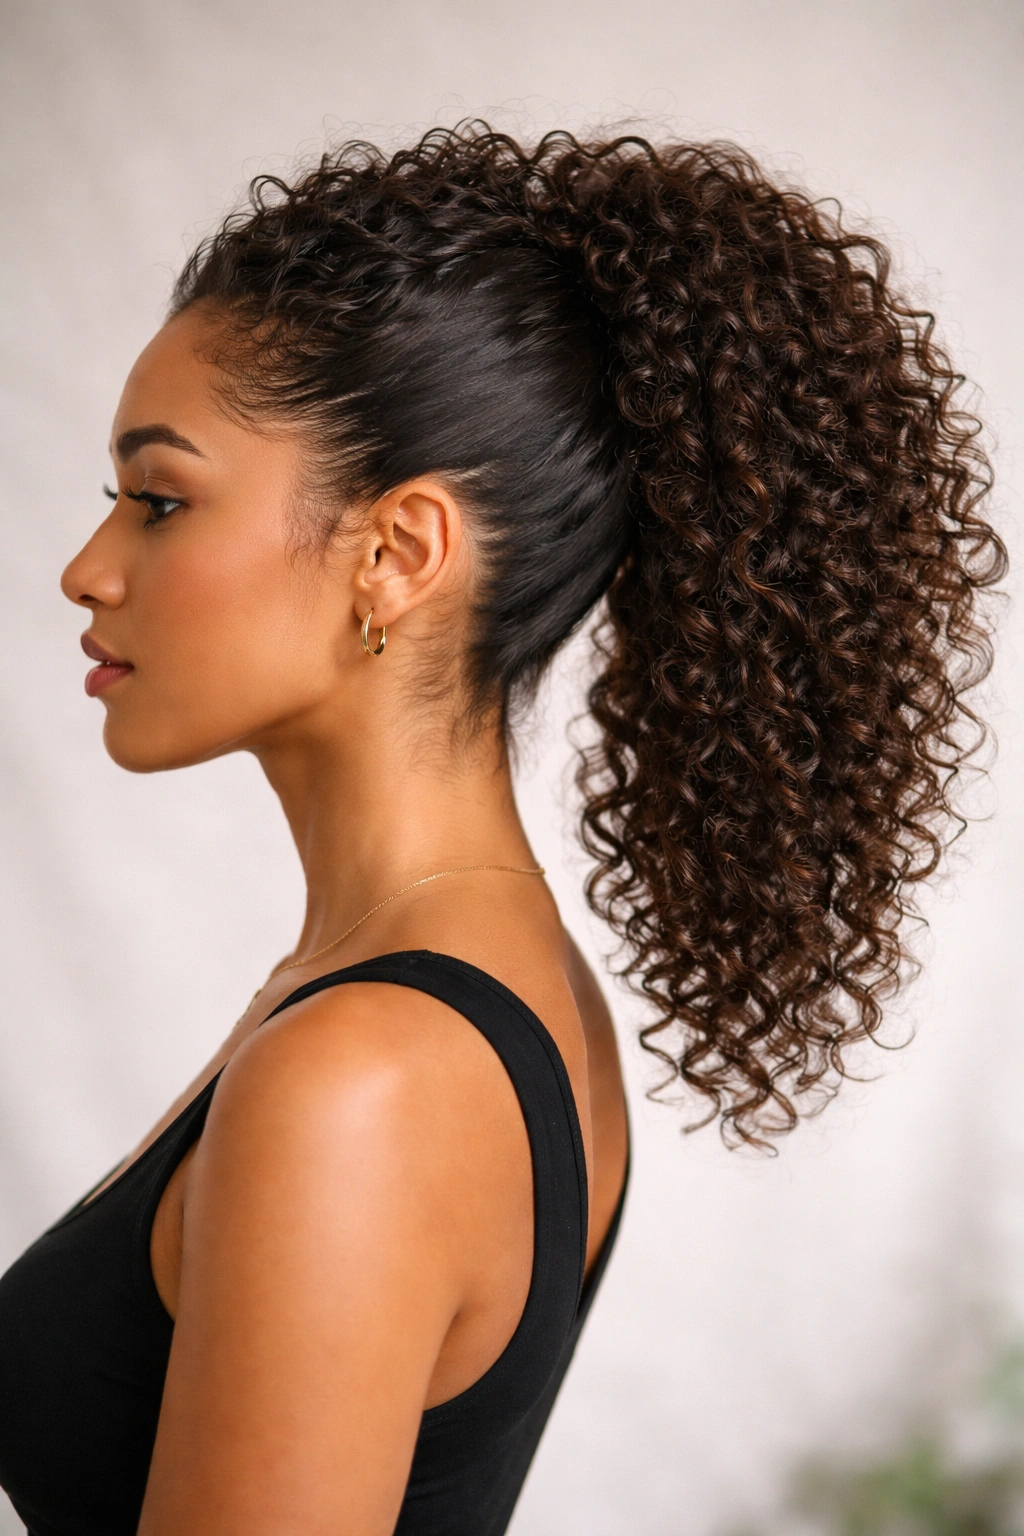
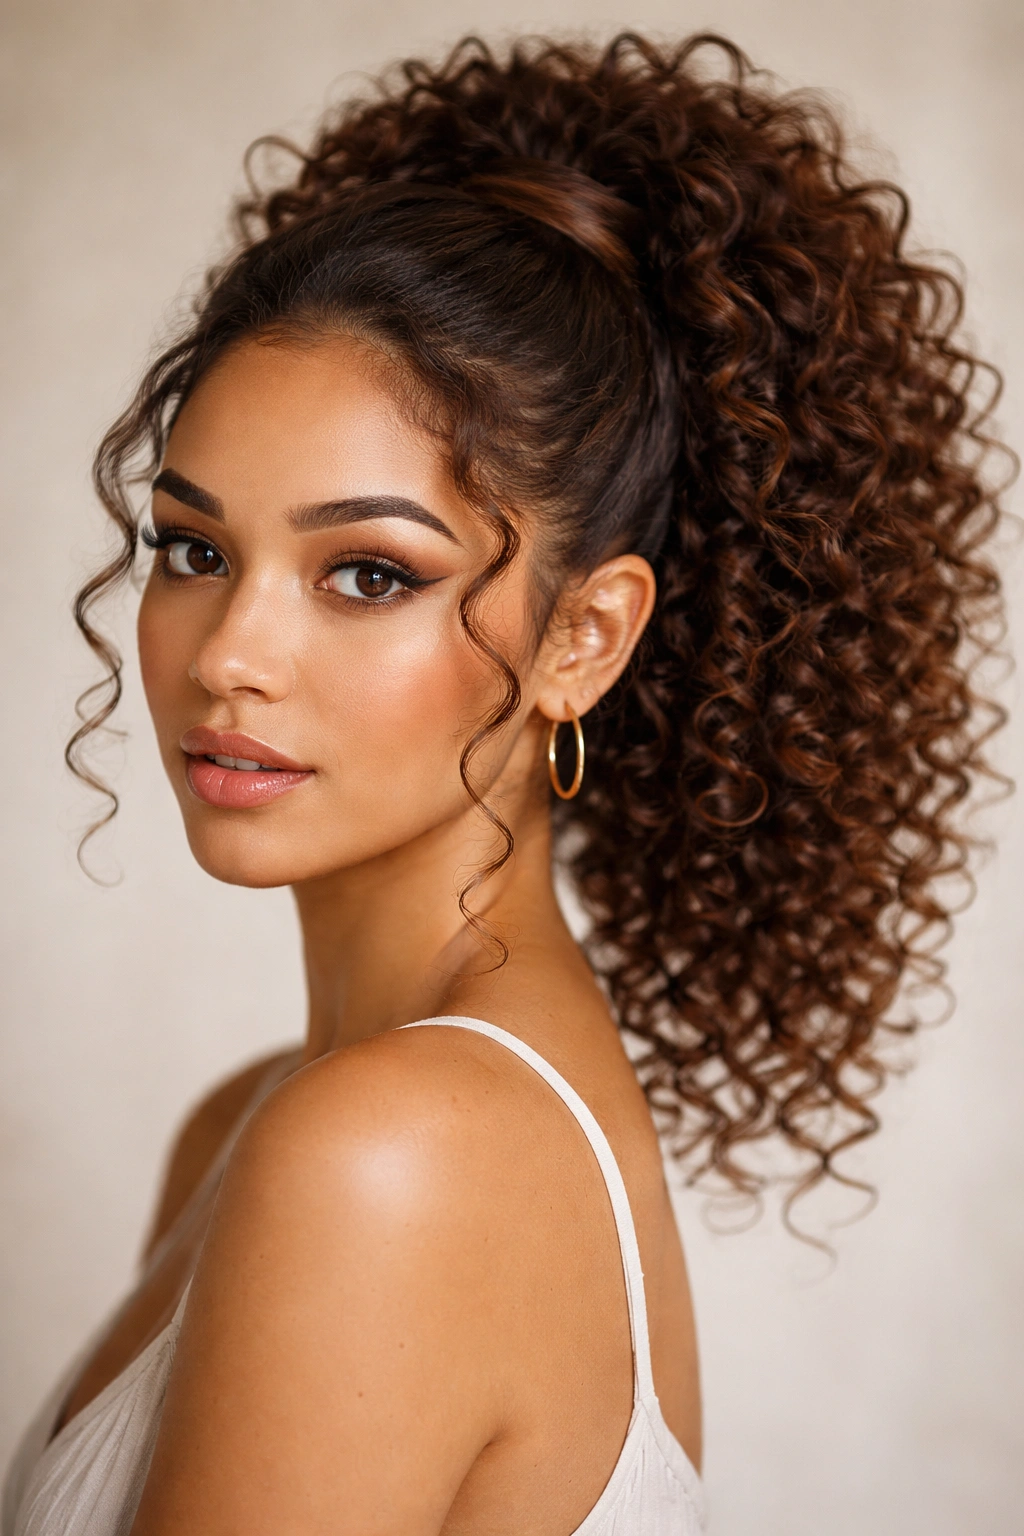
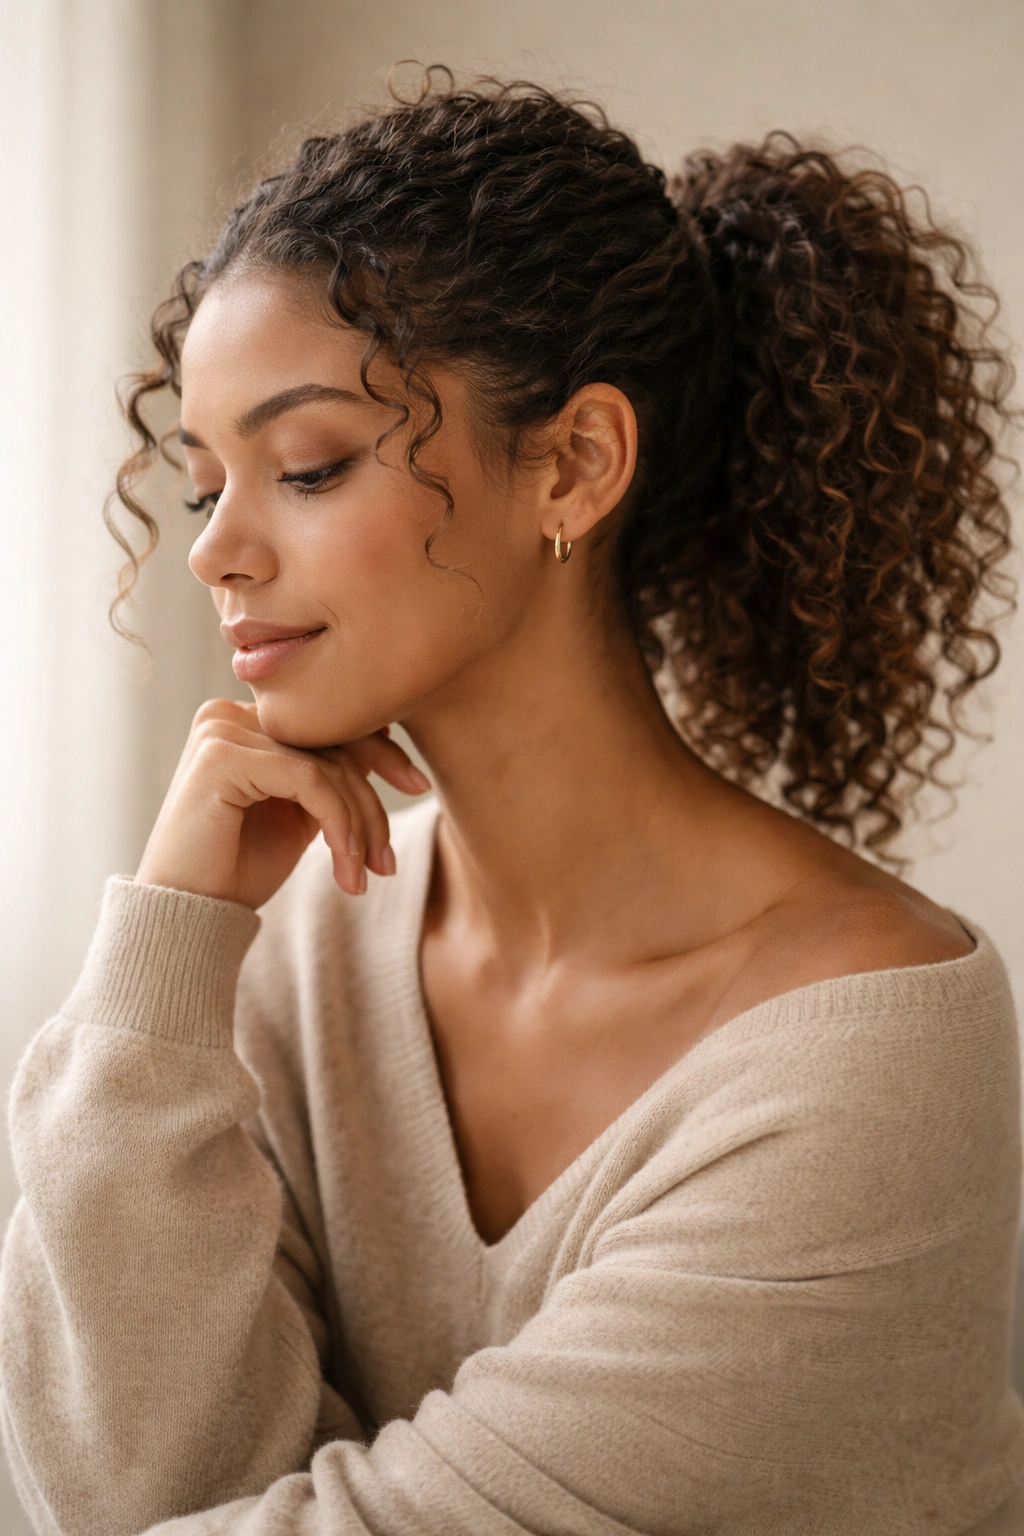
1. The Elevated Curly Puff Ponytail
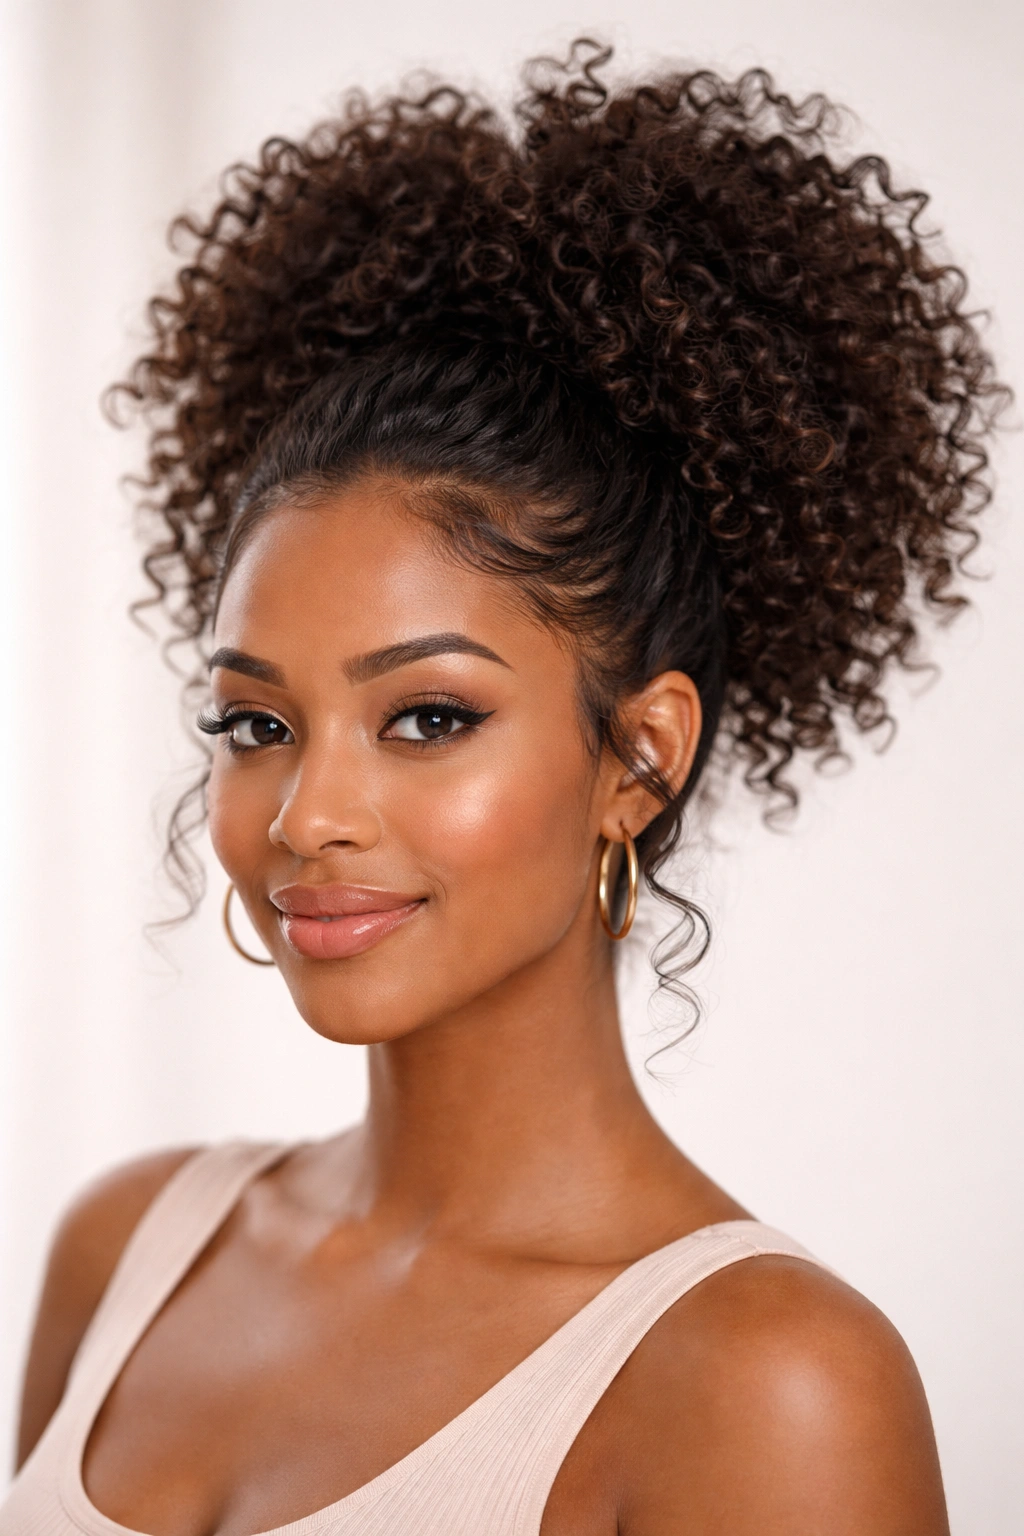
A puff ponytail on curly hair is pure magic because it celebrates volume rather than trying to minimize it. This style gathers curls at the crown or slightly higher, letting them cluster naturally without compression or flattening. The key is pulling your curls up and away from your face while maintaining their shape and bounce—think of it as a structured but textured look, not a sleek puff.
Why This Style Looks So Good on Curly Hair
Curly hair has inherent volume that works beautifully when channeled upward. The puff creates a focal point at the crown, which draws the eye up and elongates your entire face. Unlike sleek ponytails that can look harsh on some face shapes, a textured puff is soft and forgiving. The curls catch light differently at each angle, creating depth and movement even though the hair is gathered.
How to Create and Maintain the Look
- Refresh your curls with a curl refresher spray or light mist of water mixed with leave-in conditioner the morning you want to wear this style
- Apply a lightweight curl-defining cream or gel to damp curls, distributing from roots to ends—use about a quarter-size amount for medium-length hair
- Let your curls air-dry or diffuse until fully dry; never create a puff with damp curls as they’ll deflate as they dry
- Use your fingers (not a brush or comb) to gather curls at your crown, creating a loose cluster rather than pulling tightly
- Secure with a claw clip or silk scrunchie positioned at the base of the puff—silk reduces friction and prevents creasing
- Gently finger-fluff the gathered curls to increase volume and separate clumps, creating that textured effect
Pro tip: A puff ponytail actually works beautifully at night—sleep on a silk pillowcase to prevent frizz, then refresh in the morning by misting with water and a tiny touch of gel, fluffing with your fingers, and you’ve got a second-day style.
2. The Tousled Side Ponytail
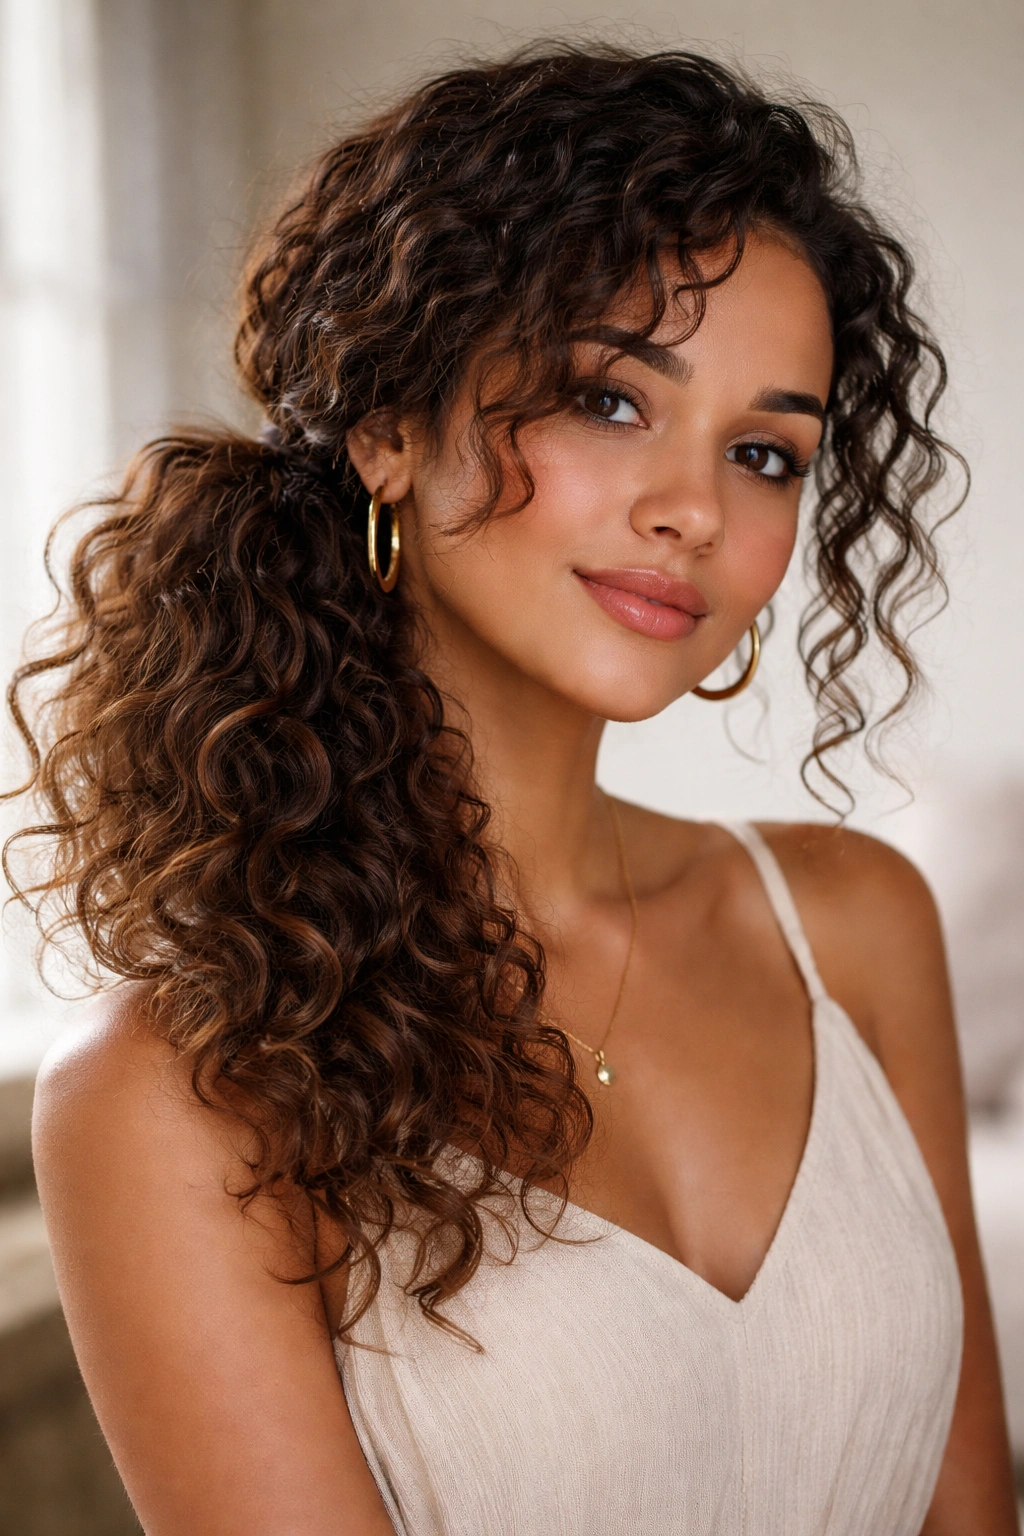
A side ponytail works especially well for curly hair because the angle plays off natural curl patterns beautifully. Instead of a sleek side part, you’re creating a loose, romantic gather that sits over one shoulder, with curls breaking free and framing your face. It’s simultaneously polished and relaxed—the perfect style for date night or casual gatherings where you want to look intentional but not overdone.
What Makes This Version Different for Curly Hair
Straight-haired side ponytails often need heavy product and smoothing to look polished. With curly hair, you’re doing the opposite—you want movement and texture to show. The side placement lets your curls fall in a way that looks naturally beautiful rather than styled. Some curls will naturally slip out of the ponytail, and that’s exactly what you want. The asymmetry actually flatters more face shapes than a centered ponytail would.
Step-by-Step Creation Process
- Start with curls that are at least 24 hours post-wash (second-day or third-day curls are actually ideal for this style because they have more grip and hold structure)
- Use your fingers to create a loose, off-center partition—not a razor-straight line, but more of a suggestion of where the bulk of hair will go
- Gather hair loosely on one side, positioning the ponytail holder about an inch behind your temple or ear
- Leave several face-framing pieces loose deliberately; these create softness and let texture show
- Use a decorative clip, minimalist gold cuff, or silk scrunchie to secure the ponytail
- Gently tousle the gathered ponytail with your fingers to break it up and create separation
Worth knowing: The tousled side ponytail actually looks better if you don’t secure it too tightly. A slightly looser gather means more curls can move and shift throughout the day, which keeps the style looking fresh and textured rather than rigid.
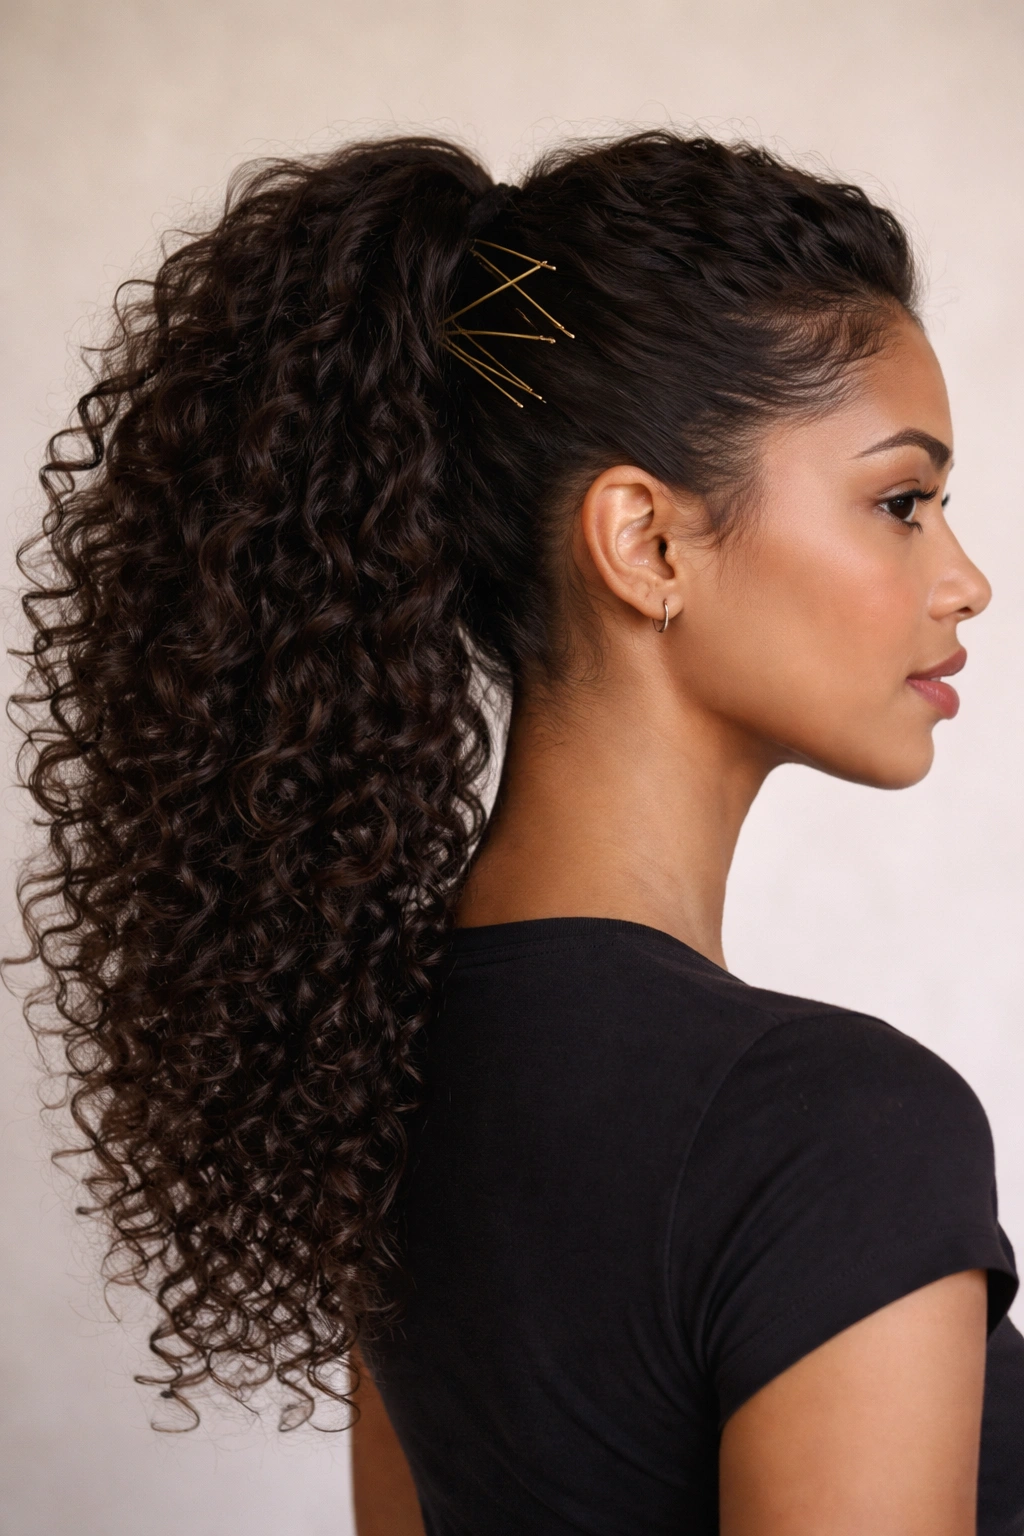
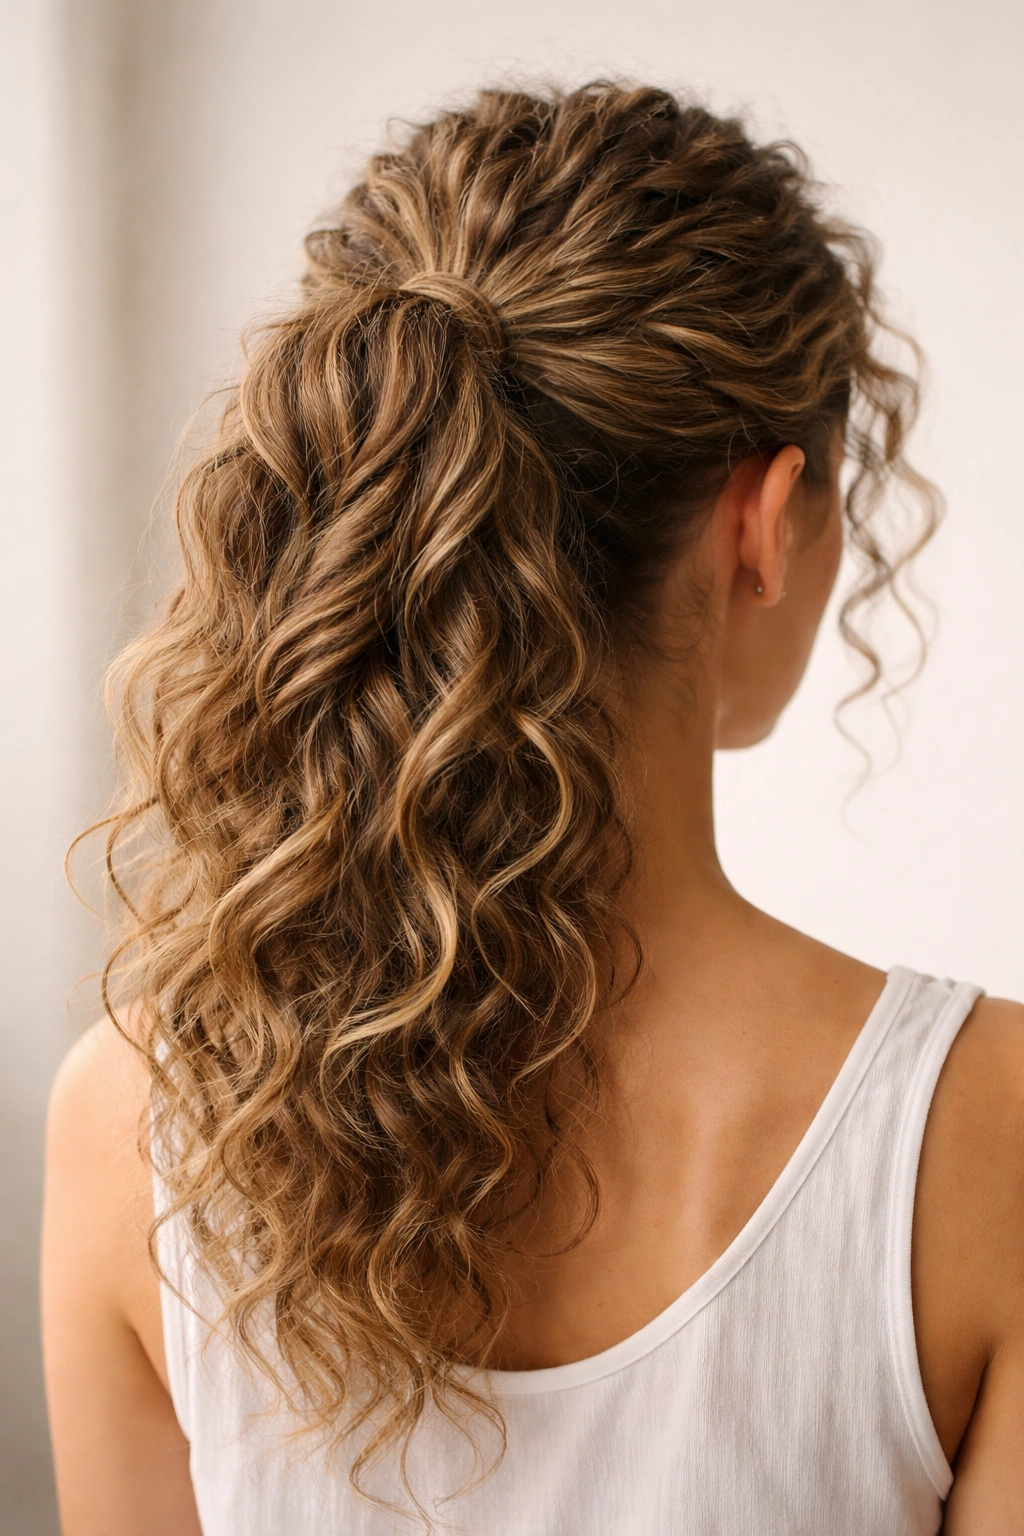
3. The Pineapple Ponytail
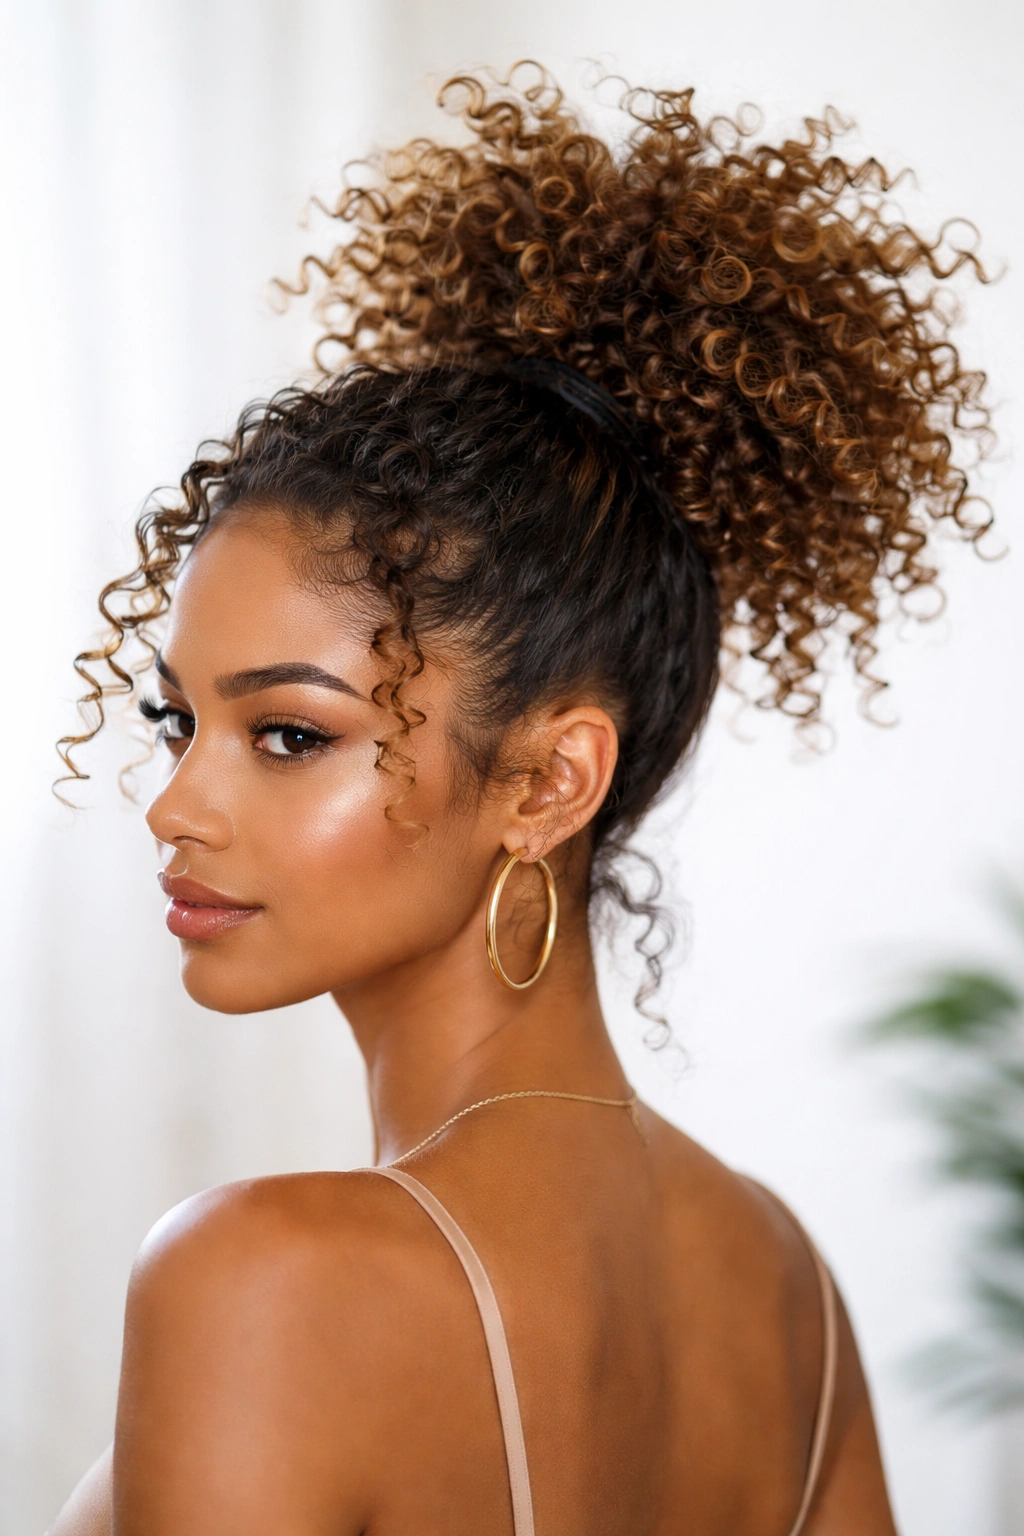
If you’ve spent any time in curly hair communities, you know about the pineapple method for protecting curls while sleeping. The pineapple ponytail takes that protective styling concept and turns it into an intentional, casual daytime look. It’s gathered at the crown (much higher than a traditional ponytail), creating a clustered effect that looks purposefully spiky and modern rather than sleepy.
Why It Reads as Intentional Style, Not Protective Styling
When you position a ponytail at the very crown of your head with curls fanning out and upward, it reads as a deliberate design choice rather than a quick protective gather. The height is the key—it’s dramatic and confident. Add a silk scrunchie or a decorative clip, and suddenly it’s a style statement. This works especially well if you have natural texture that reads as intentional and textured rather than trying to look controlled or sleek.
Product Application and Gathering Technique
- Apply a lightweight hold product to your curls before gathering—a curl cream or mousse works better than heavy gel for this style
- Use your hands to gather curls at the very crown, positioning higher than you might think comfortable initially
- Secure with a silk scrunchie or a claw clip that complements your personal style
- The gathered cluster should be full and bouncy, not tight or compressed
- Allow several shorter curls or baby curls to break free around your face and hairline—this is actually part of the design
- If you want additional texture, gently separate the gathered curls with your fingers after securing
Pro tip: This style actually looks cooler if your ponytail slightly deflates throughout the day. By evening, it will have relaxed into a softer, more textured look—and that’s exactly when it’s at its best.
4. The Twisted Double Ponytail
Two ponytails at different heights sound like a complicated style, but on curly hair they create interesting dimension without requiring smoothing or sectioning. You’re creating one ponytail at the crown, then another at the nape, twisting sections of hair as you gather them. This style adds visual interest and works beautifully for longer curly hair.
How Twisting Enhances Curly Hair Texture
When you gently twist sections of curly hair, you’re not fighting the curl pattern—you’re enhancing it. The twist adds definition and helps organize the curls within each ponytail so they look intentional rather than chaotic. It also helps distribute the weight more evenly across your head, which means less strain on your hairline and healthier hair overall. The two-ponytail structure creates a visual line that’s flattering on almost every face shape.
Building This Style Layer by Layer
- Start with refreshed curls, lightly misted with water and leave-in conditioner if needed
- Section off the top third of your hair, from ear to ear across your crown
- Twist this section gently, working your way from one side to the middle, then the other side to the middle, gathering the twists into a ponytail at your crown
- Secure the top ponytail with a silk scrunchie
- Gather the remaining hair into a second ponytail at the nape of your neck, twisting sections if you want added texture
- Separate and fluff both ponytails gently to increase volume and break up the twists slightly
- You can add a clip or decorative element to either or both ponytails
Insider note: If you sleep in this style, the twists create loose waves in your curls by morning—essentially giving you different texture that lasts into the next day.
5. The Clipped and Separated Ponytail
This style uses a claw clip to create intentional separation within a ponytail, letting individual curl clusters show rather than smooshing everything together into one solid mass. It’s particularly stunning on spiral or corkscrew curls because it highlights each individual curl pattern. The separation also helps prevent frizz because the curls aren’t being compressed against each other.
Why Separation Changes Everything for Texture
When curls are tightly gathered, they compress and can frizz where they’re touching each other. But when you deliberately separate them with a clip positioned at the base of the ponytail, each curl gets space to exist independently. This actually reduces frizz because there’s less friction between curl strands. Visually, it looks more intentional and artistic—more “curated curls” and less “threw my hair in a ponytail.”
Technique for Maximum Impact
- Gather curls loosely into a low or mid-height ponytail using a silk scrunchie
- Position a decorative claw clip horizontally just below the scrunchie
- Using your fingers or a wide-tooth comb, gently separate the gathered curls into distinct sections—you’re creating visual separation, not necessarily perfect clumps
- The clip itself becomes a design element, so choose one that coordinates with your outfit or personal style
- Allow some curls to fall slightly out of the separation—a few loose pieces look better than trying to make everything perfect
- Check the look from the back; you should see clear separation between curl sections rather than one solid mass
Worth knowing: This works beautifully as a work-appropriate style because it looks polished and intentional, but it’s simple enough to do in five minutes with no special skills required.
6. The Soft Updraft Ponytail with Loose Spirals
This style is half-gathered and half-loose—some of your curls are up in a ponytail while longer spiral curls are left down and positioned over your shoulder or cascading down your back. It requires longer hair, but the result is romantic and effortless-looking while still keeping hair off your face and neck. Perfect for occasions where you want softness and movement without completely letting your hair down.
Why Partial Updos Suit Curly Hair Best
Completely sleek updos often require straightening or heavy smoothing on curly hair. But a partial updo celebrates your natural texture by letting most of it move freely while just managing the amount in front of your face. The gathered portion stays put and controlled, while the loose curls below provide movement and visual interest. This balance actually looks more sophisticated than a fully up style because it shows intention and artistry.
Creating the Half-Up, Half-Down Effect
- Determine how much hair you want gathered—usually this is from ear to ear across the crown, leaving the bottom half or bottom third down
- Section off the top portion using a horizontal line from ear to ear
- Gather this section loosely at the crown, securing with a silk scrunchie
- Leave the longer hair in this gathered section positioned to cascade down over the ponytail slightly—don’t hide it behind
- The hair that’s down should be curled and defined, not straight
- Arrange some of the loose curls over your shoulder for a romantic effect
- You can add a clip or cuff to the ponytail for definition
Pro tip: This style works beautifully when you let a few curls escape and frame your face. They shouldn’t look accidental—position them intentionally for maximum flattering effect.
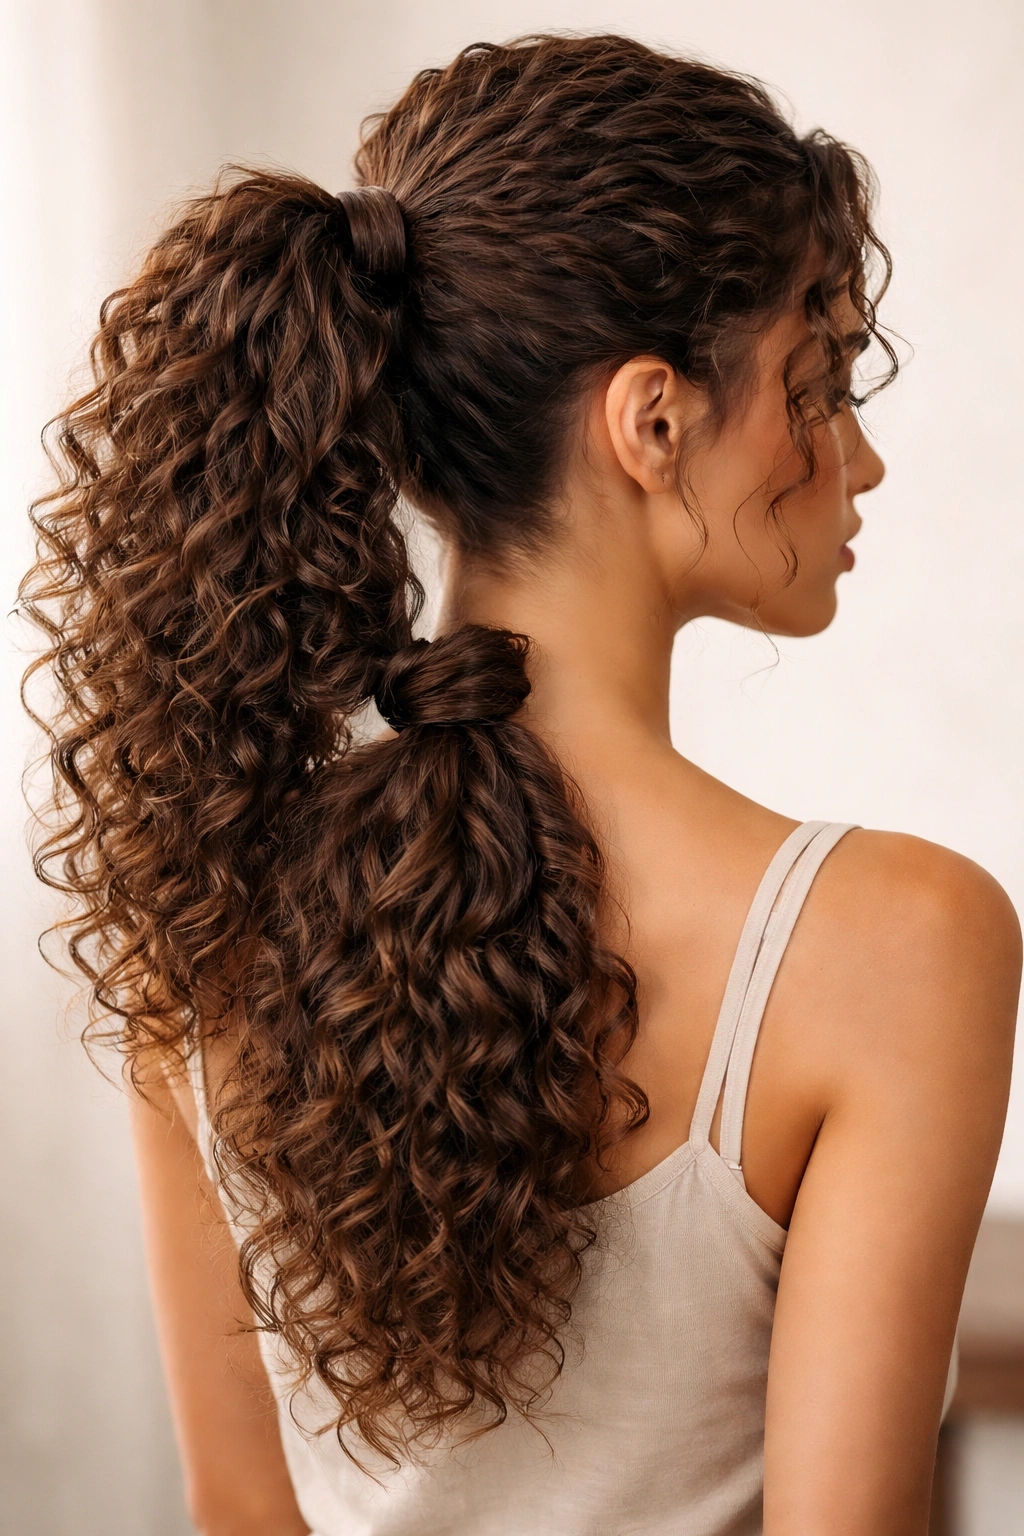
7. The Bubble Ponytail with Textured Sections
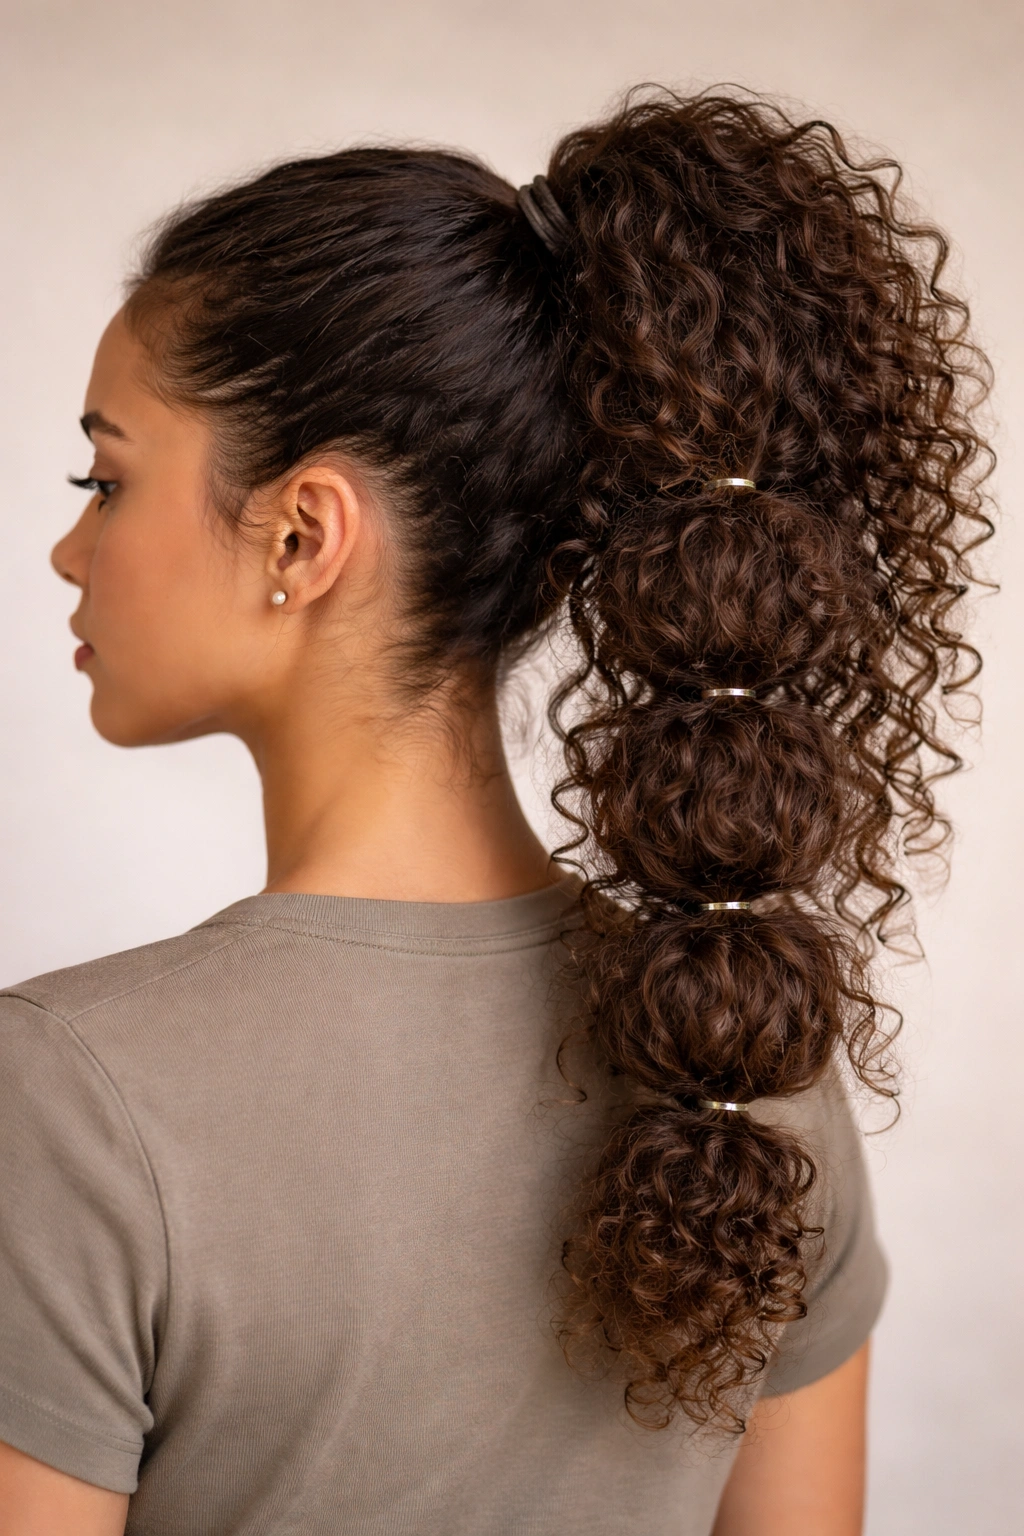
A bubble ponytail uses multiple small hair ties to create distinct sections stacked on top of each other, and on curly hair this creates a playful, textured look that’s absolutely show-stopping. Each bubble or section naturally has volume because of your curl pattern, and the overall effect is eye-catching and fun without being overly complicated to create.
How Curls Make Bubbles Look Naturally Full
With straight hair, bubble ponytails need teasing or backcombing to create the full, bubble-like effect. Your curls do this work naturally. Each section naturally sits out and away from the sections above and below it, creating clear definition and visual separation. The curl pattern actually prevents the bubbles from looking flat or limp—they have inherent bounce that makes the whole style feel dynamic and modern.
Building Beautiful Bubbles with Curly Hair
- Gather all your hair into a high ponytail and secure with a silk scrunchie
- Position a second silk scrunchie about 2-3 inches below the first one (the distance depends on your hair length and how many bubbles you want)
- Gently fluff the hair between the two scrunchies to create the first bubble, fan it out slightly
- Position a third scrunchie 2-3 inches below the second, fluff the second bubble
- Continue this pattern down your ponytail for as many bubbles as you want (usually 3-5 looks best)
- After creating all bubbles, gently separate and fluff each section to maximize volume
- You can add delicate clips within the bubbles for additional visual interest
Worth knowing: Silk scrunchies are essential for this style—regular elastics will crease curly hair and look messy. Invest in quality silk scrunchies and you’ll use this style repeatedly.
8. The Faux Hawk Ponytail with Volume
A faux hawk captures the edgy drama of a real hawk while keeping your hair long and flexible. On curly hair, you’re creating height and volume down the center of your head while leaving the sides naturally textured and full. This style works beautifully for active days or when you want a statement look that still manages to be functional and comfortable.
Creating Drama and Height on Curly Hair
The faux hawk works because you’re not trying to make curls look sleek or controlled—you’re amplifying the volume they naturally have and directing it upward. The sides stay full and textured, which actually grounds the look and makes it less severe than you’d expect. It’s edgy without being aggressive, dramatic without requiring extreme styling.
Styling Steps for Maximum Faux-Hawk Impact
- Apply a strong-hold mousse or curl gel to damp hair, working it through from roots to ends
- Blow-dry your curls using a diffuser attachment, cupping sections in your hands to encourage upward volume and curl formation
- Once fully dry, use your fingers to gather hair from behind your ears upward toward the crown, creating a defined center line
- Secure the gathered section at the crown with a claw clip or small ponytail holder
- Tease gently at the roots of the gathered section to add height (don’t worry about smoothness—texture is the goal)
- Flip your head forward and spray the back section with light-hold hairspray to lock everything in place
- The sides should remain voluminous and textured, creating contrast with the gathered center
Pro tip: This style is actually easier to manage if you use a bit more product than you normally would—curls stay defined and frizz-free while also holding the gathered structure.
9. The Sleek-Bottom, Textured-Top Ponytail
Here’s the compromise for anyone who loves the look of a sleek, polished ponytail but doesn’t want to straighten or heavily smooth their curls. You’re keeping your curls natural and textured where they matter most (the visible top and sides) while smoothing just the lower section that gets gathered into the ponytail. The result is sophisticated but still celebrates your texture.
Making Smoothing Work Without Sacrificing Curl Definition
This style lets you use smoothing techniques strategically rather than all-over. Your curls stay defined in front and on the sides where they frame your face and are visible to the world. Only the hair at the base of your ponytail gets smoothed, and because it’s gathered, that smoothing serves a purpose (creating a clean, polished base) rather than just flattening your curl pattern. You’re working with your texture, not against it.
Technique for Achieving This Balance
- Apply smoothing serum or gel to the lower 2-3 inches of your hair—the section you’ll gather into a ponytail
- Use a fine-tooth comb or smoothing brush to gently comb this section smooth, working upward from the ends
- Let your upper curls remain natural and textured; don’t touch them with a brush or comb
- Gather the smoothed lower section into a ponytail at your desired height
- Secure with a silk scrunchie positioned right at the line where smooth meets textured
- Use a light hairspray to lock in the smoothed section and prevent flyaways
Insider note: This approach actually works for people with mixed curl patterns—you can smooth the curlier lower sections while letting looser curls stay in their natural state.
10. The Wrapped Ponytail with Textured Crown

Taking a section of hair from your ponytail and wrapping it around the base is a classic technique, but on curly hair you can make it even more interesting by using a textured curl or a twisted section rather than a smoothed strand. This adds visual detail and artistry to an otherwise simple ponytail.
Why Wrapping Adds Sophistication
A wrap doesn’t just hide the elastic—it transforms the whole look from casual to intentional. On curly hair, a textured wrap is even more striking because it creates visible detail and contrast. The wrap says “I meant to do this,” whereas an unwrapped ponytail can read as either polished or casual depending on context. Adding texture to the wrap itself makes the entire style feel more curated.
Creating the Wrapped Effect
- Gather all your hair into a ponytail at your desired height and secure with a small elastic
- From the ponytail, separate a small section of 1-2 inches of hair (about the size of your pinky finger)
- You can either leave this section curly and textured, or gently twist it if you want added definition
- Wrap this section tightly around the base of your ponytail, covering the elastic completely
- Pin the wrapped section in place using bobby pins that match your hair color, tucking the end underneath
- Set with light hairspray to ensure it stays throughout the day
- Fluff your ponytail and the wrapped section to maximize volume and texture
Pro tip: If you want the wrap to really stand out, separate a section with more curl definition than the rest of your hair, and let that texture show in the wrap.
11. The Slicked-Top High Puff Ponytail
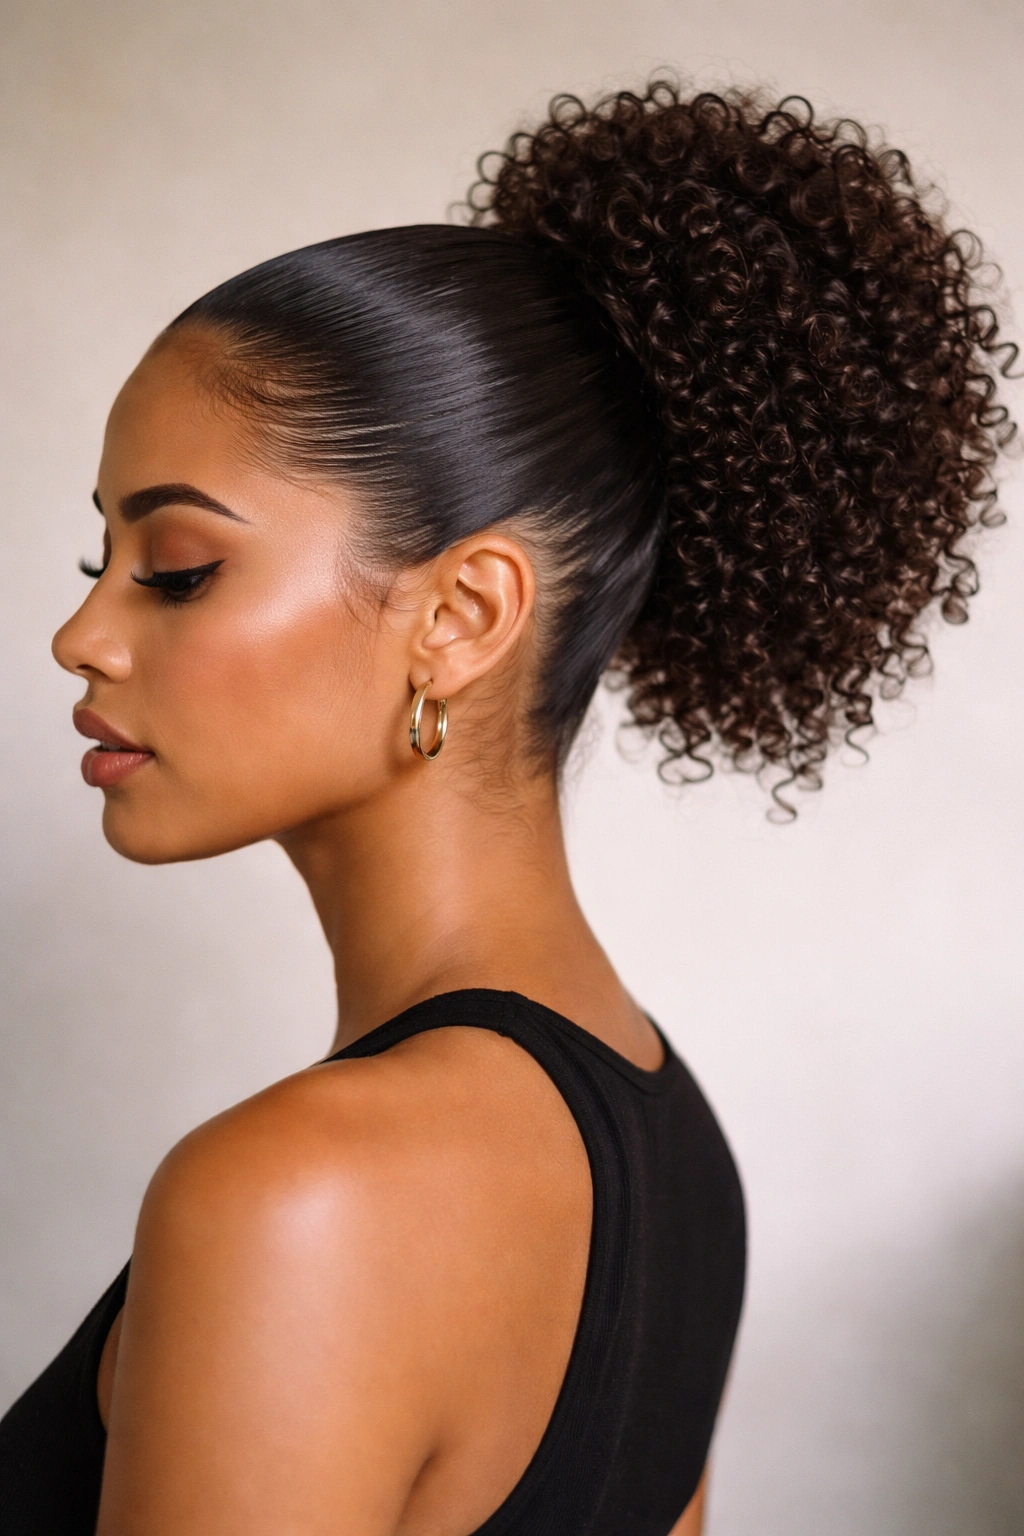
This style creates a dramatic contrast—smooth, polished hair from your hairline back to your crown, then an explosion of textured curls gathered into a high puff. It’s striking and modern, perfect for anyone who wants a statement look that still manages to look intentional and well-groomed rather than just “threw my hair up.”
Why Contrast Between Smooth and Textured Works
The human eye is drawn to contrast, which is why this style is so visually interesting. The smooth top portion frames your face beautifully and creates a polished effect, while the textured puff shows off your natural curl pattern at its most dramatic. It’s a style that works especially well for important meetings or events where you want to look put-together and confident. The smooth-to-textured transition actually makes your curls look more intentional because the juxtaposition shows you’ve styled them deliberately.
Styling This Contrast Look
- Apply a gel with strong hold to the front section of your hair—from your hairline back to an inch beyond your crown
- Use a fine-tooth comb or smoothing brush to comb this section very smooth and sleek, pulling it straight back toward the crown
- Gather all your hair (the smooth front section plus the textured back) into a high puff at your crown
- Secure with a silk scrunchie or claw clip
- Use bobby pins to secure any flyaways in the smooth section, then spray lightly with hairspray
- The gathered puff should remain textured and full—don’t smooth it
- Optional: add a decorative cuff, clip, or headwrap to enhance the polished effect
Worth knowing: This style requires a strong-hold gel, but the payoff is a look that lasts throughout the day without frizz or deflation.
12. The Curly Braided Ponytail Base
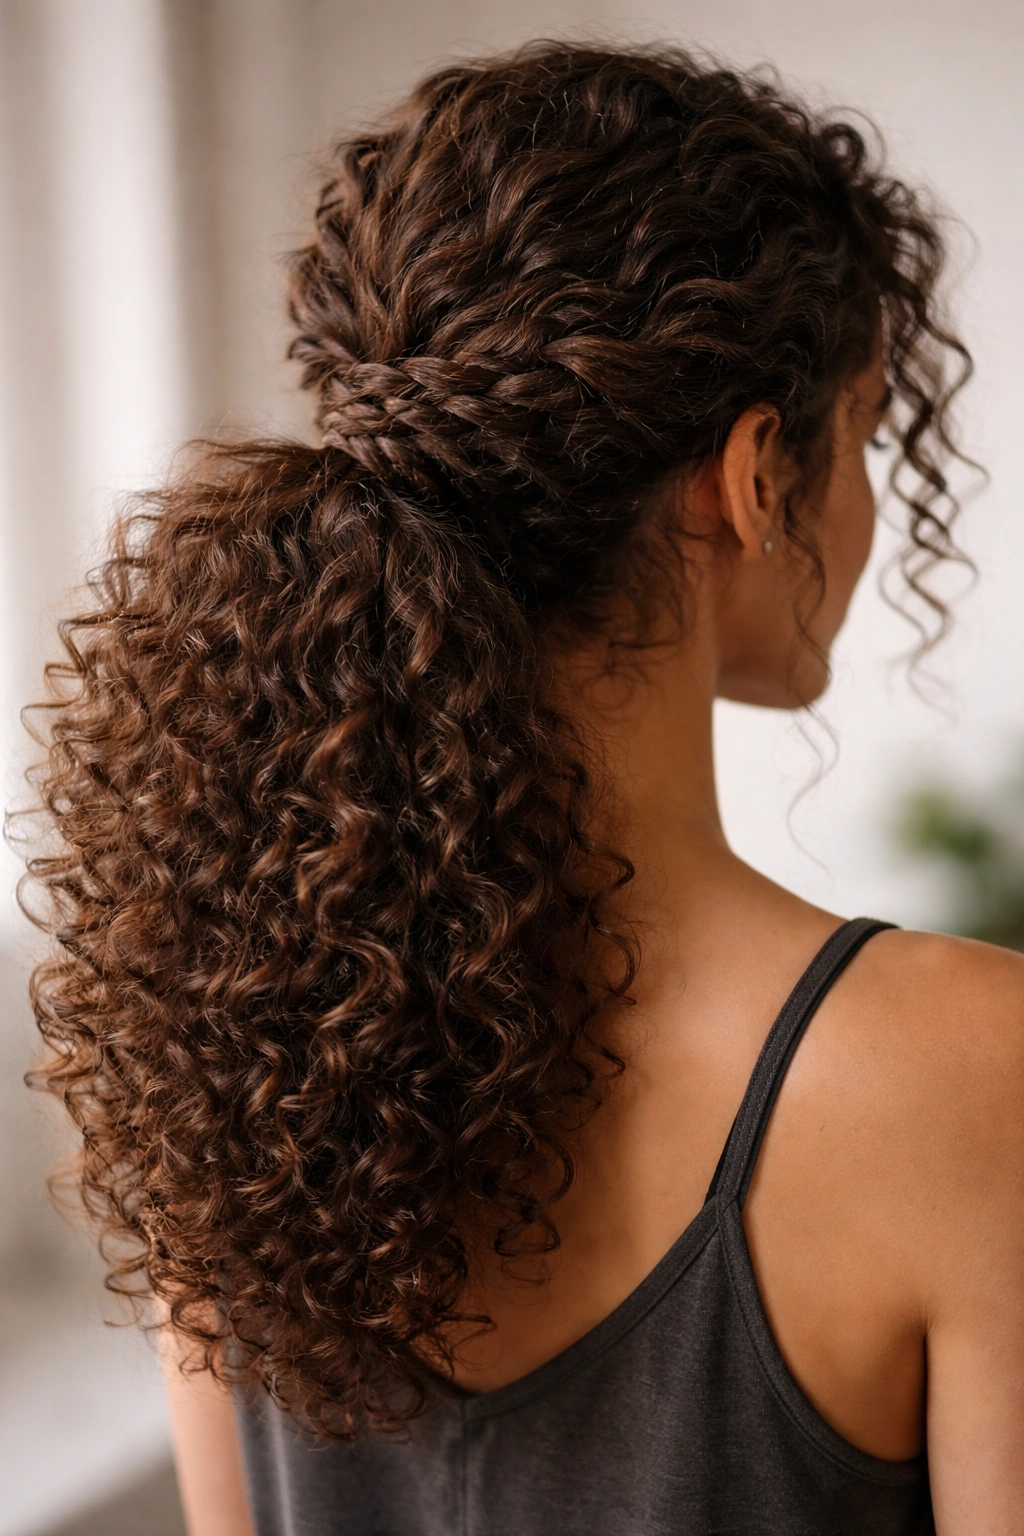
Instead of using a plain elastic to secure your ponytail, create a small braid from sections of your hair and use that braid to tie everything together. This adds texture and visual interest right at the most visible part of your ponytail—the base. It’s particularly beautiful on very curly or kinky hair because the braid actually enhances the texture.
How Braids Enhance Rather Than Flatten Curly Hair
Unlike smoothing or slicking, braiding actually works with your curl pattern to create something beautiful. A braid on curly hair can be loose and textured rather than tight and controlled, which means it looks naturally beautiful rather than forced. The braid becomes a design element that shows off your texture rather than hiding it. This approach is especially flattering if you have consistent, defined curls.
Executing the Braided Base
- Gather your hair loosely into a ponytail at your chosen height
- Before securing with an elastic, divide the gathered ponytail into three sections (like you’re about to braid it)
- Create a loose braid using these three sections—don’t pull tightly; let the curl pattern show through and create texture
- Wrap this braid around the base of your ponytail, using it as both the tie and the design element
- Secure the end of the braid with a tiny clear elastic or bobby pin tucked underneath
- Gently separate the braid strands slightly to enhance texture and let curls show through
- The rest of your ponytail flows below the braided base, full and textured
Pro tip: A three-strand braid is the easiest, but if you want additional texture, try a four-strand or five-strand braid in the base—the extra strands create more visual interest.
13. The Side-Swept High Ponytail with Pins
Rather than pulling your ponytail straight back, sweep it dramatically to one side and secure it with bobby pins and clips rather than a traditional elastic. This creates a shape that’s simultaneously polished and textured, elegant and modern. It works beautifully for events where you want your curls to look intentional and styled without looking overdone.
Why Pins Create Different Visual Impact Than Elastics
An elastic makes a clean line and gathers everything tightly. Pins, on the other hand, let you position curls more organically and maintain more movement and texture. The curls can move slightly throughout the day because they’re not being compressed by an elastic, which actually keeps them fresher-looking longer. Visually, it reads as more sophisticated because it shows intentionality and artistry—you’ve positioned individual curls rather than just gathered them all together.
Creating the Side-Swept Gathered Look
- Brush curls gently into a loose side style, sweeping all hair to one side of your head
- Gather the hair at your preferred height (usually high and toward the back) using your hands
- Instead of an elastic, use 3-4 bobby pins to secure the gathered section, positioning them horizontally and crisscrossing them through the hair
- You can add decorative clips or cuffs over or near the bobby pins for visual interest
- Gently fluff the gathered curls to create separation and volume
- Allow a few curls to remain loose and frame your face for softness
Worth knowing: This style works best if you have some hair texture or second-day curls that have a bit of grip. Fresh, freshly-washed curls can be too slippery to hold with just pins.
14. The Curly Crown Ponytail with Wrap-Around Detail
This style positions your ponytail not at the back or side, but around your crown like a halo. It’s romantic, unusual, and absolutely stunning when done on curly hair because the natural texture adds softness and visual interest. It works best for longer hair and occasions where you want something special and different.
Why Crown Placement Transforms the Look
When you position a ponytail along your crown rather than gathering it to one central point, you create completely different visual balance. It frames your entire face, which is incredibly flattering. The style reads as special-occasion-worthy or romantic without being overly formal. The crown placement also means your curls have more freedom to move and showcase their texture because they’re distributed around your head rather than pulled to one tight point.
Building the Crown Ponytail
- Divide your hair mentally into a top section (what will be gathered) and a bottom section (what will be left down or loosely styled)
- Starting from one side, gather the top section and begin wrapping it toward the center back, like you’re creating a crown
- Add sections as you go, creating a loose gather that follows the curve of your head
- Secure the gathered crown with bobby pins positioned at intervals along the back
- The gathered section should sit along your hairline and across your crown, not tightly pulled
- Leave longer curls down in the back or pulled loosely over your shoulder
- You can weave small clips or decorative elements into the crown for additional styling
Pro tip: This style looks even more beautiful if you use a lightweight product that adds shine and definition without weight—your curls need to be bouncy and visible.
15. The Texturized Twisted Ponytail for Volume and Motion
Creating twisted sections throughout your hair before gathering them into a ponytail adds visual texture and movement while actually helping the ponytail hold better. This works beautifully on all curl types and creates a deliberately undone, textured aesthetic that looks effortlessly cool.
Why Twisting Adds Both Beauty and Function
Twists not only look beautiful—they actually serve a practical purpose by organizing your curl pattern and distributing weight more evenly. When you gather hair straight, all the weight pulls in one direction. When you twist it first, you’re creating structure that helps hold everything in place while showcasing your texture. The twists catch light differently, creating visual interest and dimension throughout your ponytail.
The Complete Twisting Process
- Apply a curl-defining product to damp or slightly damp hair, distributing evenly from roots to ends
- Divide your hair into 4-6 sections depending on thickness and curl pattern
- Twist each section gently, working from roots to ends—these twists should be loose enough that your curl pattern still shows through
- Let twisted sections air-dry or diffuse until completely dry; never gather while damp
- Once dry, bring all twisted sections together at your desired ponytail height
- Secure with a silk scrunchie positioned at the base of the twists
- Gently separate the twists slightly and fluff them to enhance texture and create separation
- The overall effect should look textured and dimensional, not slicked or controlled
Insider note: If you sleep in this style, the twists will set an entirely new wave pattern into your curls—so by morning, you have completely different texture to work with.
Final Thoughts
The beauty of styling curly hair into ponytails isn’t about fighting your texture or trying to make it look like straight hair. It’s about working with what you naturally have and making choices that celebrate your curl pattern rather than minimize it. Every style here—whether it’s a simple high puff or a more complex twisted wrap—is designed around the premise that your curls are an asset, not a problem to solve.
The products you use matter tremendously, but perhaps more importantly, the mindset you bring to ponytail styling changes everything. Instead of thinking about how to smooth and control your curls, think about how to enhance definition and let texture show. Silk scrunchies, curl creams, and lightweight gels become your tools for creating styles that look intentional and beautiful rather than frizzy and undone.
Experimentation is your real secret weapon here. Your specific curl pattern, curl density, and hair length will mean that some styles feel absolutely perfect while others need tweaking to work for you. That’s not failure—that’s personalization. A style that looks amazing on someone with tight coils might need adjustment for someone with loose waves, and that’s exactly how it should be. Give yourself permission to adapt these styles, combine elements, and create something that’s uniquely suited to your curls and your life.