



Natural hair textures—from coils to curls to waves—deserve hairstyles that celebrate their unique beauty rather than fight against it. Messy buns, when done right for textured hair, become a genuinely practical and stunning way to style your hair without excessive manipulation or heat. Unlike the flat, perfectly polished bun styles that work best on straight hair, textured buns shine when they embrace a bit of volume, character, and natural texture. The key is understanding how your specific curl pattern, coil tightness, and hair density interact with the techniques and products you use.
What makes a messy bun work for natural hair isn’t accident—it’s strategy. You’re not aiming for the undone-but-still-somehow-perfect aesthetic that dominates social media. Instead, you’re creating a style that’s genuinely easy to execute, keeps your curls protected, and looks intentional while feeling effortless. The best messy bun styles for textured hair prioritize moisture retention, minimize breakage from tight pulling, and actually enhance the texture rather than flatten it. Whether your natural hair is in its curl-defining prime or in a protective styling phase, there’s a messy bun approach that fits both your hair type and your lifestyle.
The beauty of these styles is their flexibility. You can wear them to the gym, the office, a casual hangout, or even dress them up for an evening out with minimal adjustment. Many of these techniques work whether your hair is freshly washed or a few days into your curl pattern, making them genuinely versatile for real life. Let’s explore the messy bun styles that actually work with natural hair textures, not against them.
1. The Pineapple Top Knot
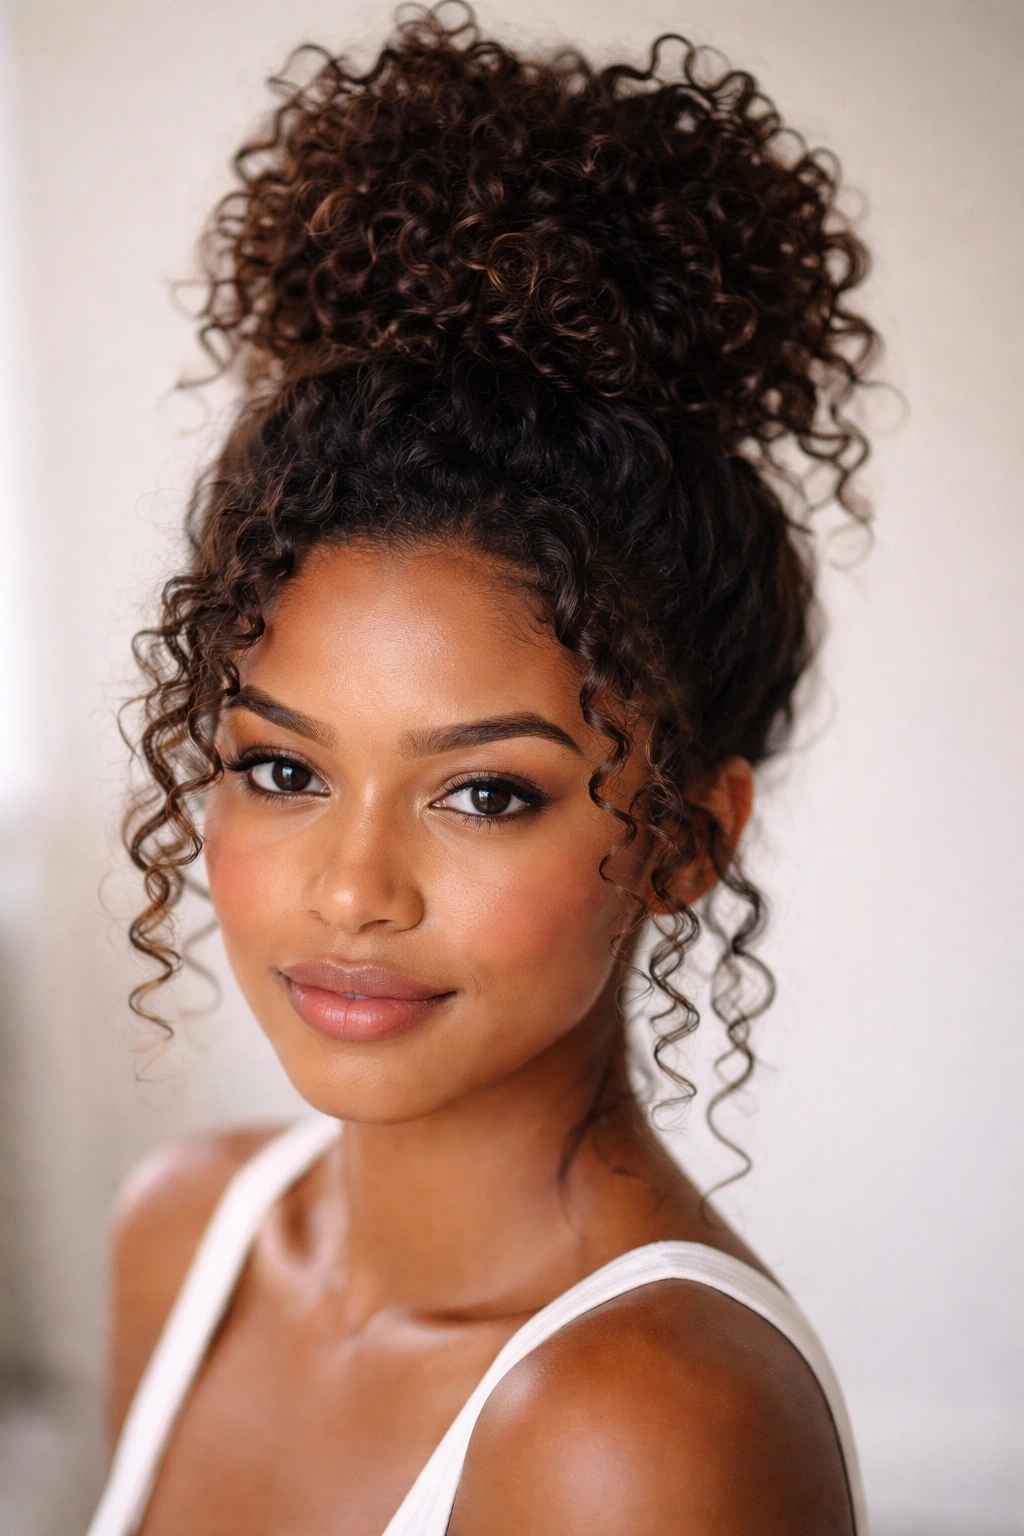
The pineapple top knot is protective styling at its most elegant. Instead of gathering your hair straight up from the crown like a traditional pineapple ponytail, you’re taking that pineapple—the gathered curls at the very top of your head—and twisting or coiling it into a loose bun. This style works beautifully because it keeps your curl pattern intact while still getting hair off your face and neck.
Why It Works for Textured Hair
The pineapple method preserves the natural shape of your curls by avoiding a tight, pulling base that flattens your coil pattern. You’re only securing curls that are already gathered at the crown, so there’s minimal tension on your scalp and hairline. This approach is particularly effective for maintaining curl definition overnight or between wash days.
How to Create This Style
- Flip your head forward and gather curls at the crown with a silk or satin-lined scrunchie
- Flip back upright and gently twist or coil the gathered hair into a loose shape
- Secure with bobby pins or a second scrunchie, letting pieces fall naturally
- Use a bit of curl cream or leave-in conditioner to encourage texture definition around your face
Styling tip: Sleep on this bun by wrapping it loosely in a silk bonnet or covering it with a silk pillowcase—you’ll wake up with bouncy, re-activated curls.
2. The Finger Coil Bun
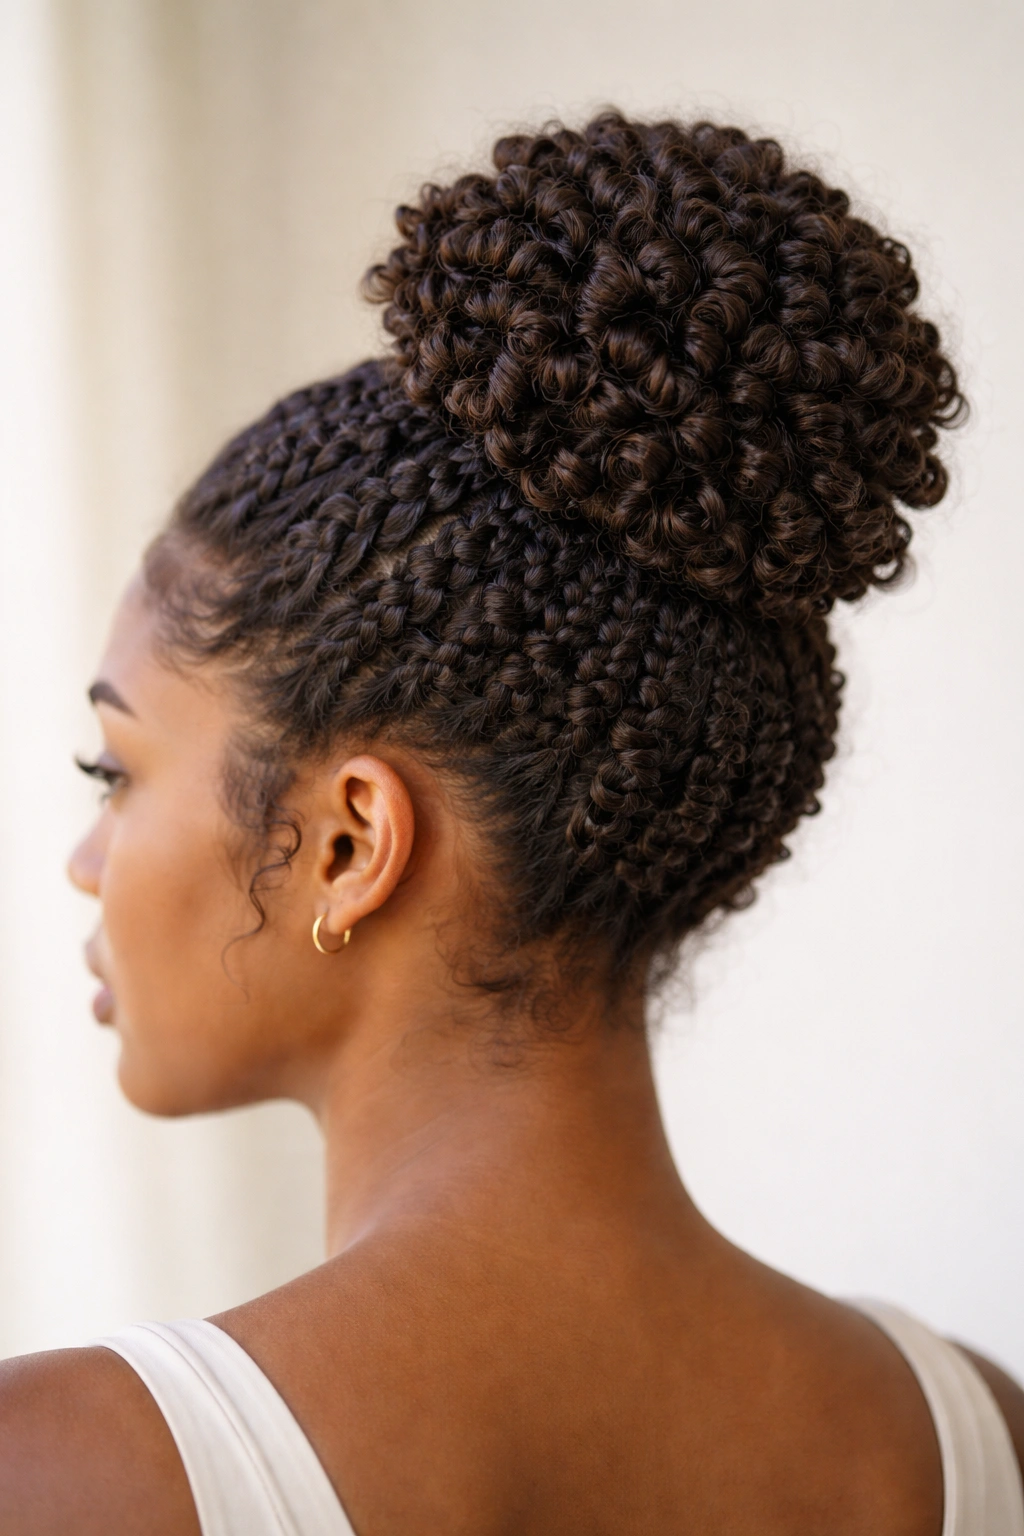
Finger coils create the most defined, sculptural messy bun possible for natural hair. Instead of simply gathering and bunching your curls, you’re deliberately coiling sections of hair around your fingers, then loosely collecting all those coils into a bun shape. The result looks intentional and styled while being remarkably protective.
What Makes This Different
Finger coils are a styling technique, not just a hairstyle—they actively reinforce and define your natural coil pattern. When you gather finger-coiled sections into a bun, you’re creating a structured, deliberate look that photographs beautifully and lasts several days with minimal frizz.
Creating Finger Coils Into a Bun
- Apply curl cream or gel to slightly damp hair, working in small sections
- Take a two-inch section and wrap it around your index finger, creating a tight coil from root to tip
- Gently slide your finger out, letting the coil hold its shape
- Repeat across your entire head, then gather all coils into a bun at your desired height
- Secure loosely with bobby pins, allowing coil texture to show
Pro insight: This style takes 20-30 minutes to create but lasts 5-7 days, making it one of the most time-efficient protective styles week-to-week.
3. The Twisted Crown Bun
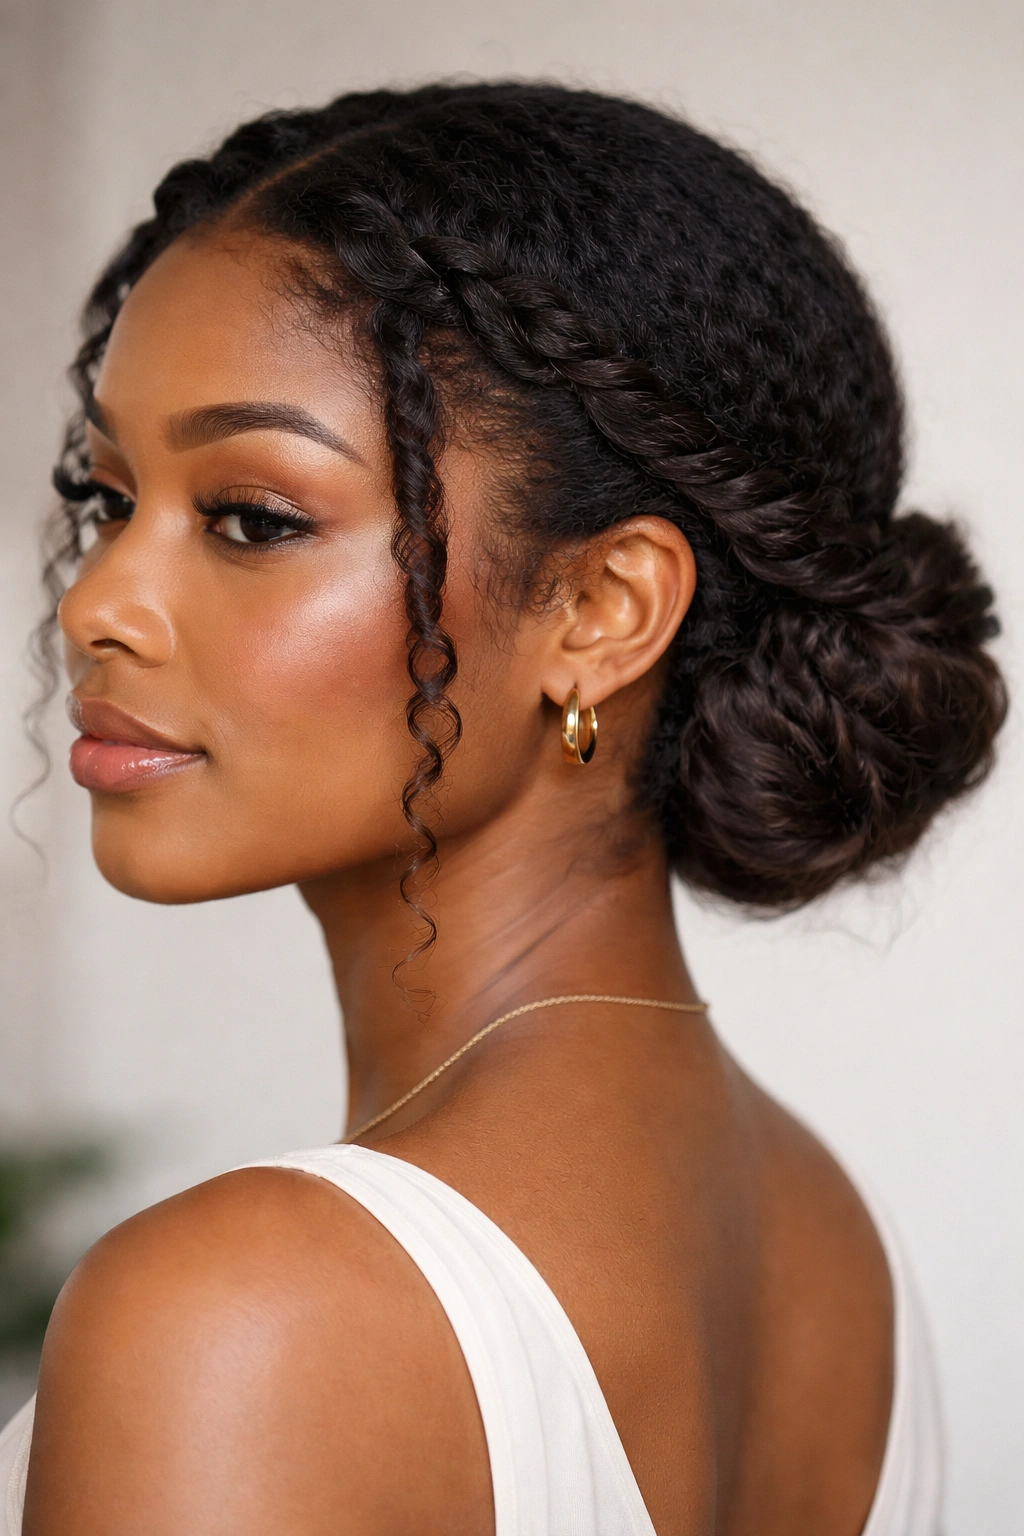
A twisted crown bun takes two thick twists that frame your face and wrap them around into a bun at the back or side of your head. This style is sophisticated enough for professional settings while maintaining the relaxed, textured aesthetic that defines genuine messy bun styling.
Why This Is Ideal for Textured Hair
Twists are inherently protective—they bundle hair together without requiring extreme tension. When you wrap twists into a bun, you’re creating a style that maintains moisture, reduces daily manipulation, and actually allows your curls to rest and regain elasticity between styling sessions.
Executing the Twisted Crown
- Create two thick two-strand twists starting at your temples and extending back toward your ears
- As you twist, add hair along the way, following a curved path toward the back of your head
- Gather the ends of both twists and any remaining loose hair into a low bun
- Wrap one twist around the bun base, securing with bobby pins
- Wrap the second twist in the opposite direction, creating a woven effect
Worth knowing: Two-strand twists hold better and look cleaner than three-strand braids when incorporated into buns, making them the better choice for this style.
4. The Puff Bun With Loose Tendrils
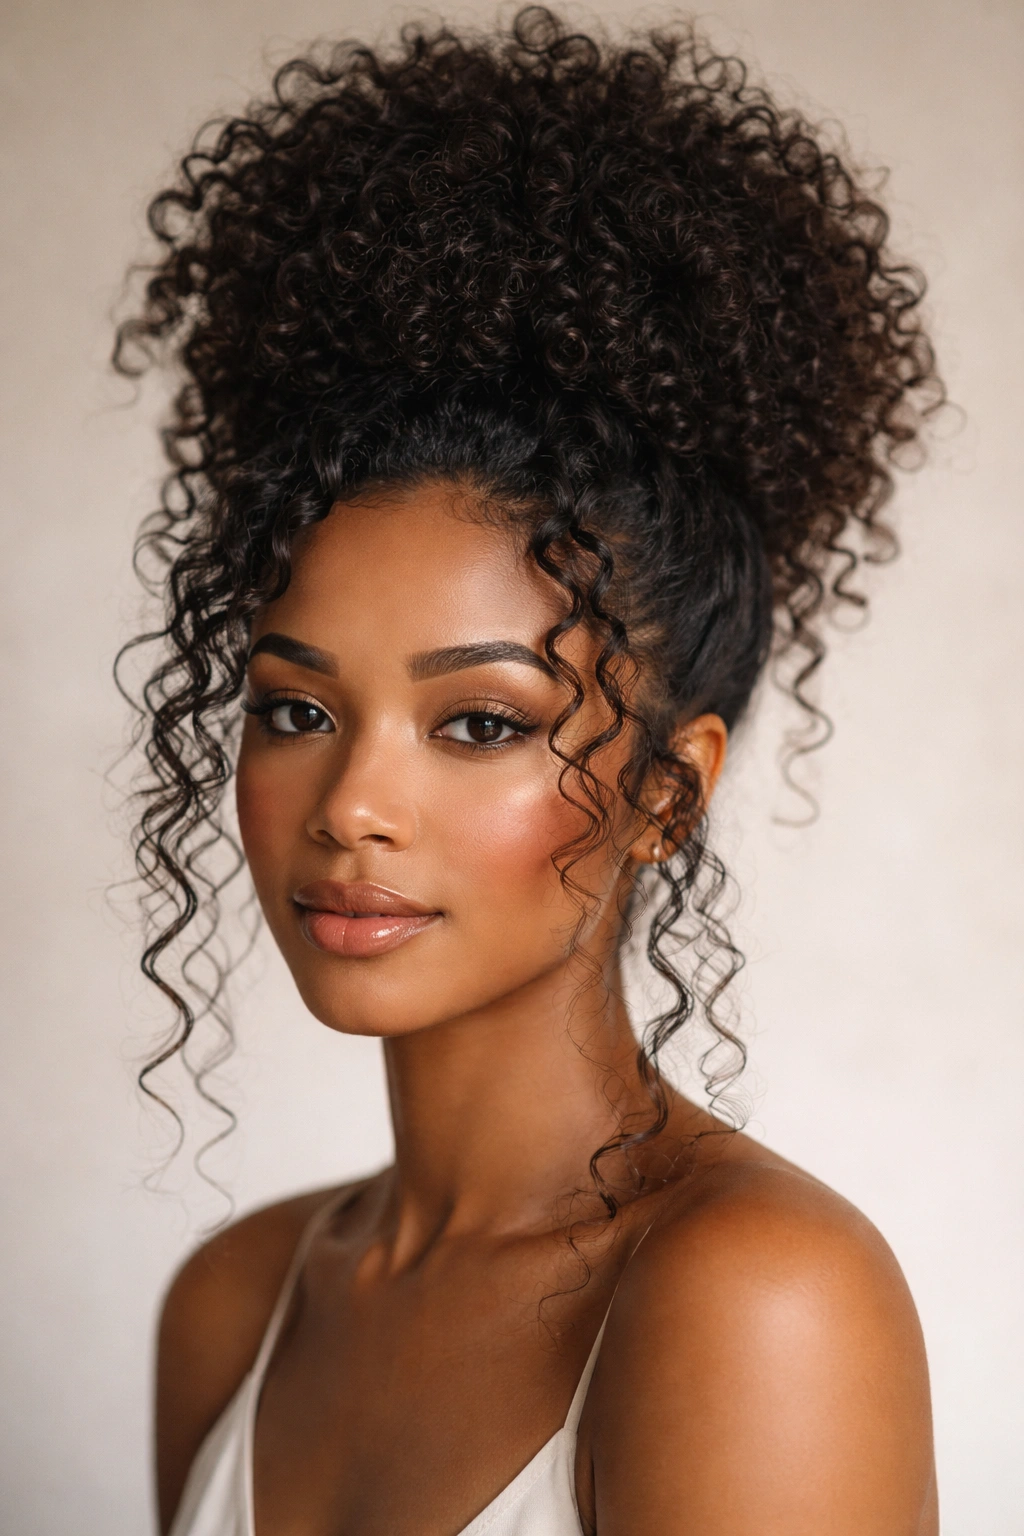
The puff bun with loose tendrils is the most versatile messy bun for natural hair because it adapts to any hair length, density, and curl pattern. You’re creating a voluminous puff at the crown or top of your head, then intentionally leaving face-framing pieces loose to soften the overall look. This style is especially flattering because it celebrates volume rather than fighting it.
The Magic of Strategic Looseness
What separates this from a standard bun is deliberate imperfection. You’re not trying to achieve a perfectly smooth, compact bun—instead, you’re creating a textured, dimensional shape that showcases your curl pattern. This approach works for everything from tight coils to loose waves.
Building Your Puff Bun
- Gather hair at your crown into a high or mid-level ponytail, securing with a silk scrunchie
- Gently fluff and separate the ponytail to create volume, using your fingers to coax curls outward
- Use a toothbrush to brush the base smooth while keeping the ponytail voluminous
- Gently twist or coil the ponytail tail into a loose bun shape and secure with bobby pins
- Pull 3-5 small sections from around your hairline, leaving them loose to frame your face
Insider detail: For maximum volume and a truly textured look, create your puff with slightly damp hair that has product in it, then let it air-dry in the bun shape—you’ll get more definition and longer-lasting hold.
5. The Bantu Knot-Out Bun
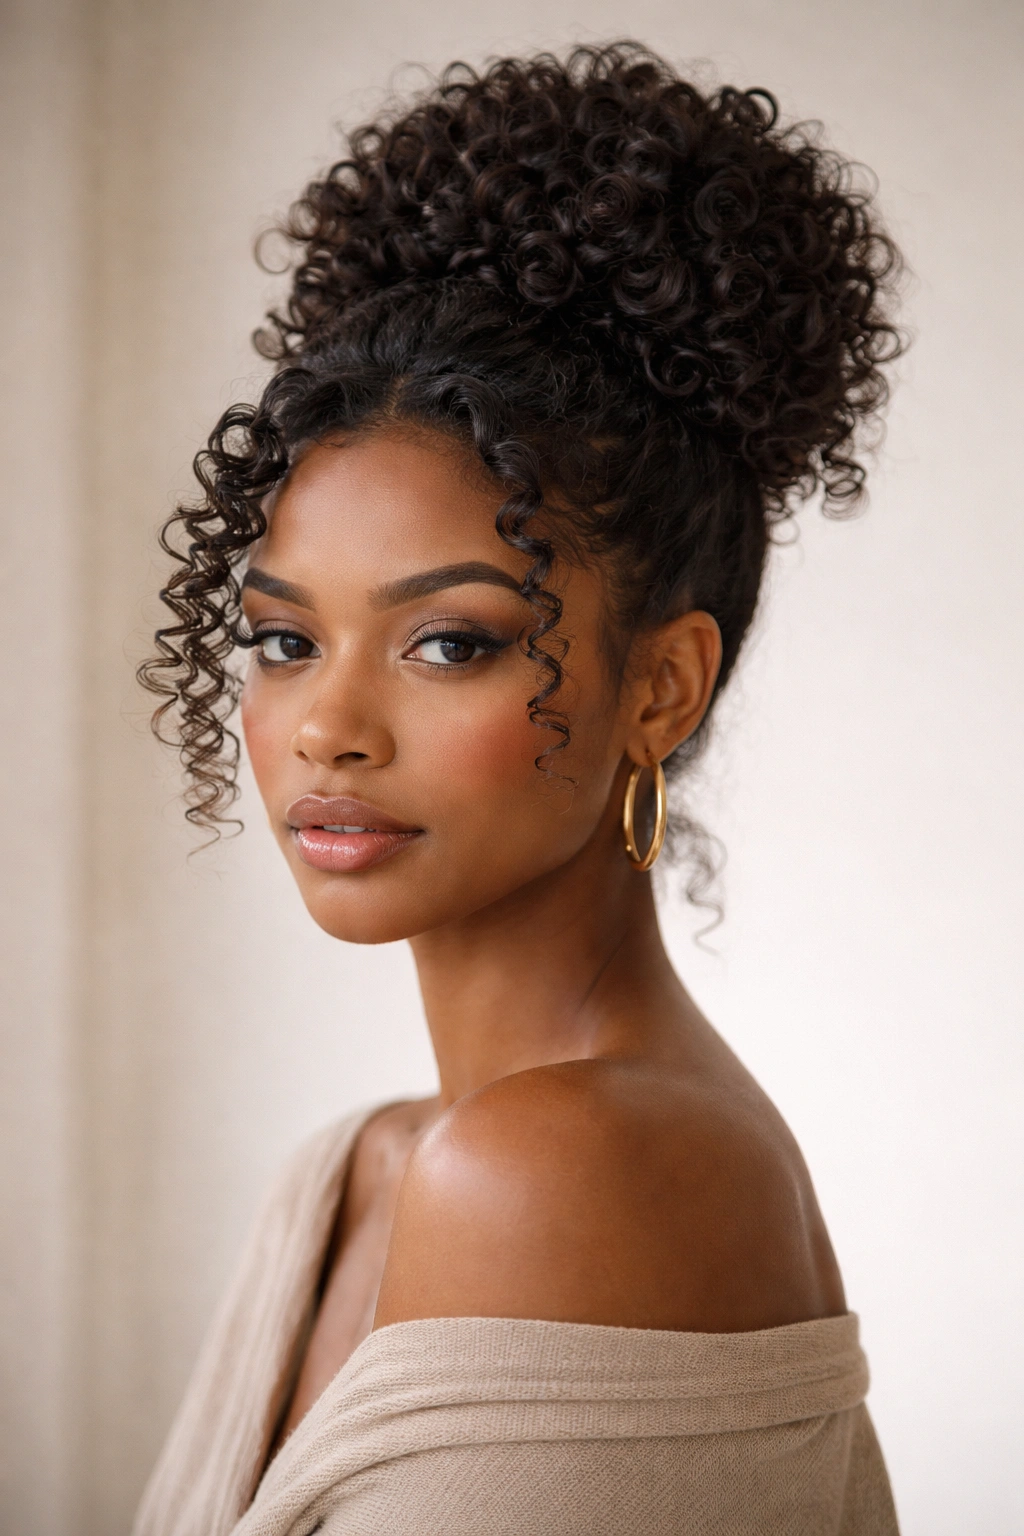
Bantu knots, when unraveled, create the most beautiful, defined ringlet curls possible. But instead of letting all those curls loose, you can gather the finished knot-outs into a sculptural bun that looks both protective and intentionally styled.
How Bantu Knots Create Texture
Bantu knots are two-strand twists coiled tightly at the base and wrapped around themselves. When you unravel them, you get perfect ringlet coils that hold shape and definition for days. Gathering these into a bun celebrates the texture while keeping it off your neck and out of your way.
Creating Your Bantu Knot-Out Bun
- Divide damp hair into 8-12 sections depending on your desired curl size and hair density
- Create small two-strand twists in each section, then coil the twist around its own base into a tight knot
- Let the knots fully dry (ideally overnight with a bonnet)
- Gently unravel each knot to reveal perfect ringlet curls
- Gather all ringlets into a bun, securing loosely so the curl texture remains visible
What to know: Bantu knot-outs typically hold their curl definition for 5-7 days, so you can wear the bun for several days without restyling if you protect it nightly.
6. The Side-Swept Bun With Layered Movement
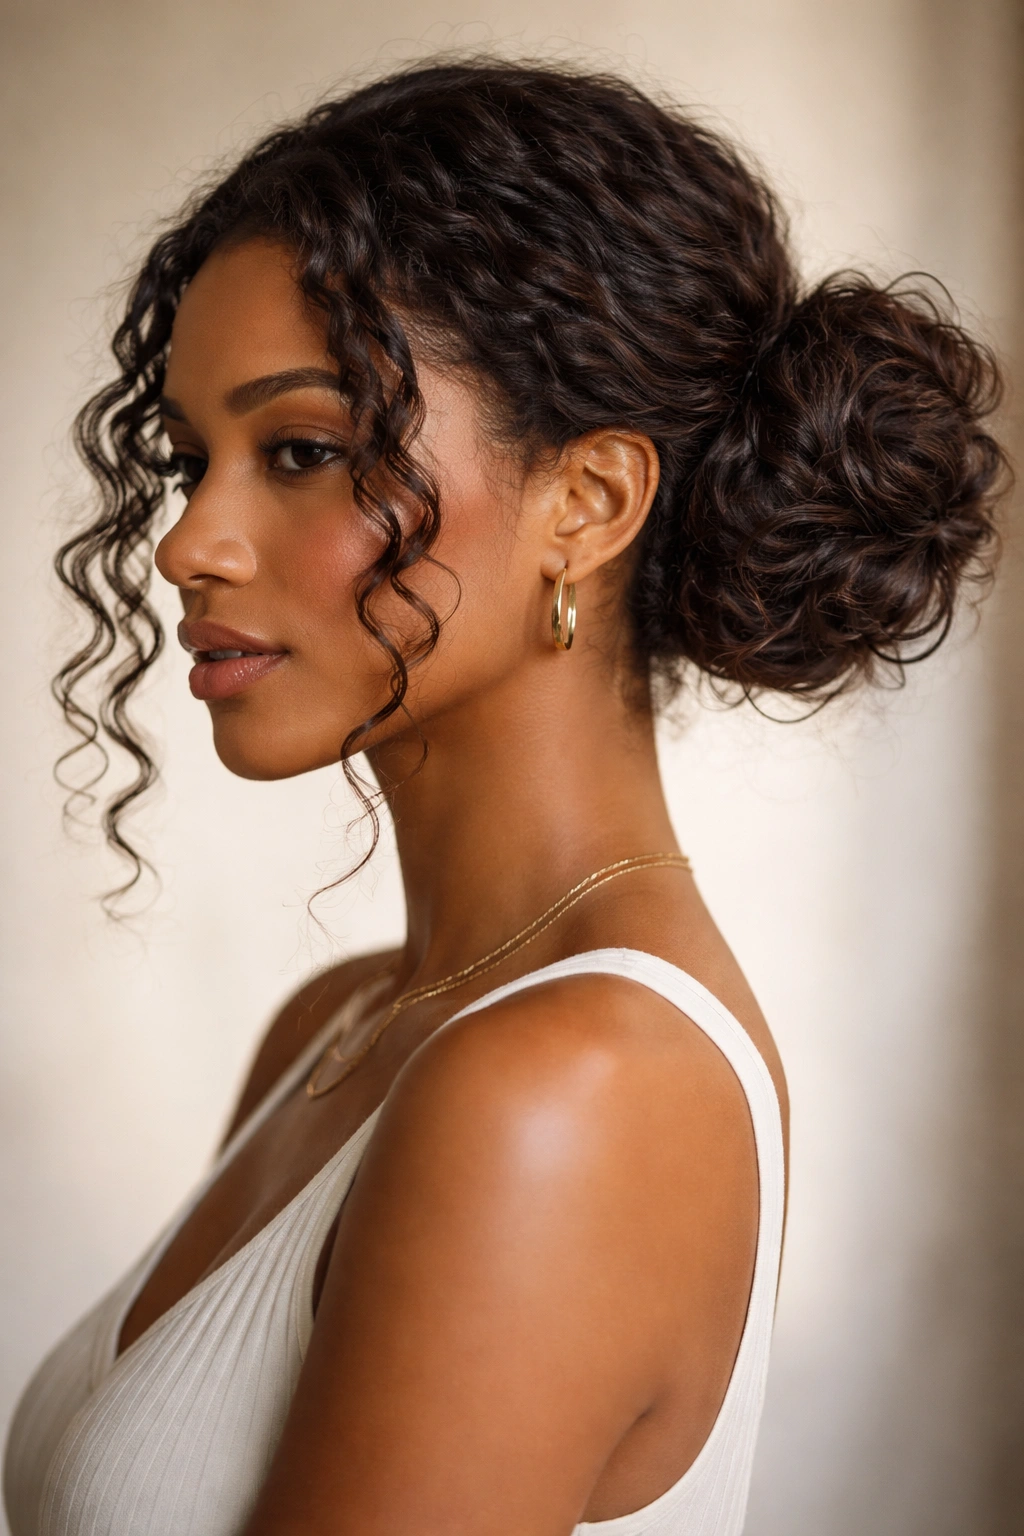
A side-swept bun moves away from the traditional centered crown placement and instead gathers hair to one side—usually the back side of your head. This placement creates an entirely different silhouette and flatters a wider range of face shapes while showcasing your curl pattern from a fresh angle.
Why Side Placement Changes Everything
When you move your bun to the side, you’re creating asymmetrical visual interest. This style works beautifully for textured hair because it allows some of your curls to fall naturally along one side of your face while the bun itself showcases density and volume on the other side.
Styling Your Side-Swept Bun
- Create a deep side part, moving hair predominantly to one side of your head
- Use your fingers or a wide-tooth comb to gently smooth the smaller side against your head
- Gather the larger section at the base of your skull on the side with more hair
- Twist or loosely coil that section into a bun, securing with bobby pins
- Allow a few face-framing pieces to remain loose and fall naturally
Practical note: This style photographs exceptionally well and creates a more romantic, less athletic aesthetic than a centered bun—great for dressing up your look.
7. The Two-Bun Style (Double Buns With Dimension)
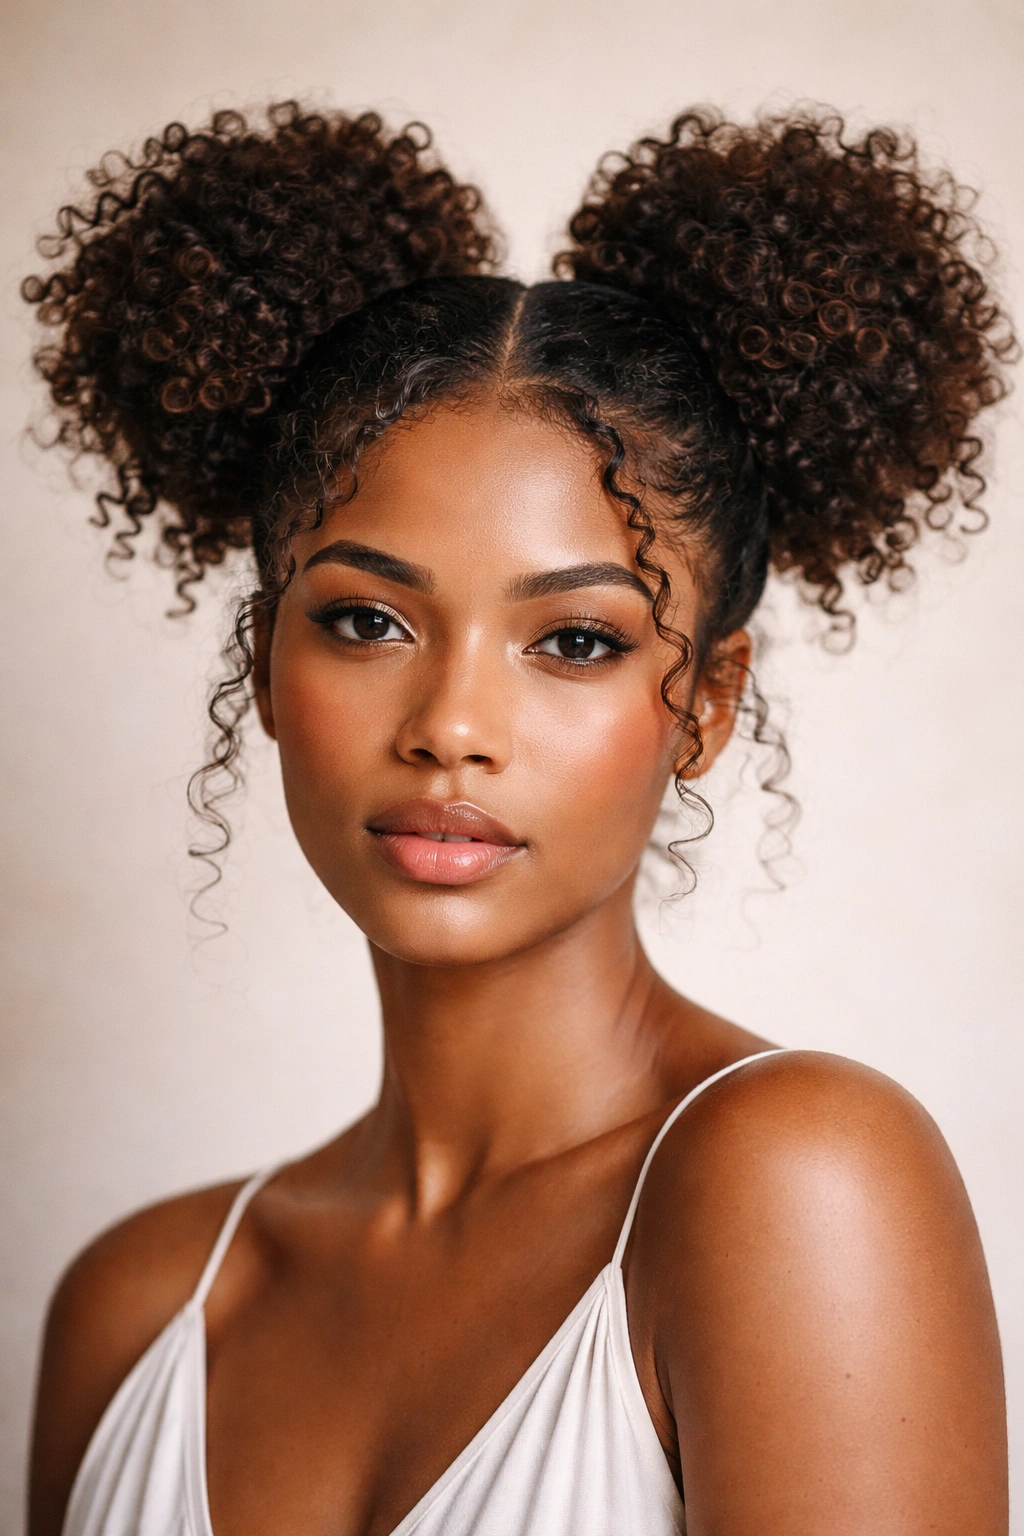
Double buns used to be considered juvenile, but when executed with textured hair and strategic spacing, they become a genuinely sophisticated style. You’re creating two voluminous buns positioned intentionally to frame your face and showcase curl pattern on both sides.
Making Double Buns Look Intentional
The key to elevating double buns is placement and volume. Instead of creating two identical, tightly packed buns positioned symmetrically, you’re making deliberately sized, textured buns with strategic spacing that celebrates your natural hair’s dimension.
Creating Double Buns With Texture
- Create a vertical or slightly diagonal center part depending on your face shape
- Divide hair into two sections at the parting line
- Gather one section into a high or mid-level ponytail on one side, securing with a silk scrunchie
- Repeat on the other side
- Fluff each ponytail for volume, then gently twist or coil into loose bun shapes
- Allow smaller pieces to escape around each bun for an intentionally imperfect look
Worth trying: Experiment with different sizes for each bun—a slightly larger bun on one side and smaller on the other creates dynamic visual interest that’s more contemporary than symmetrical double buns.
8. The Chunky Braided Bun
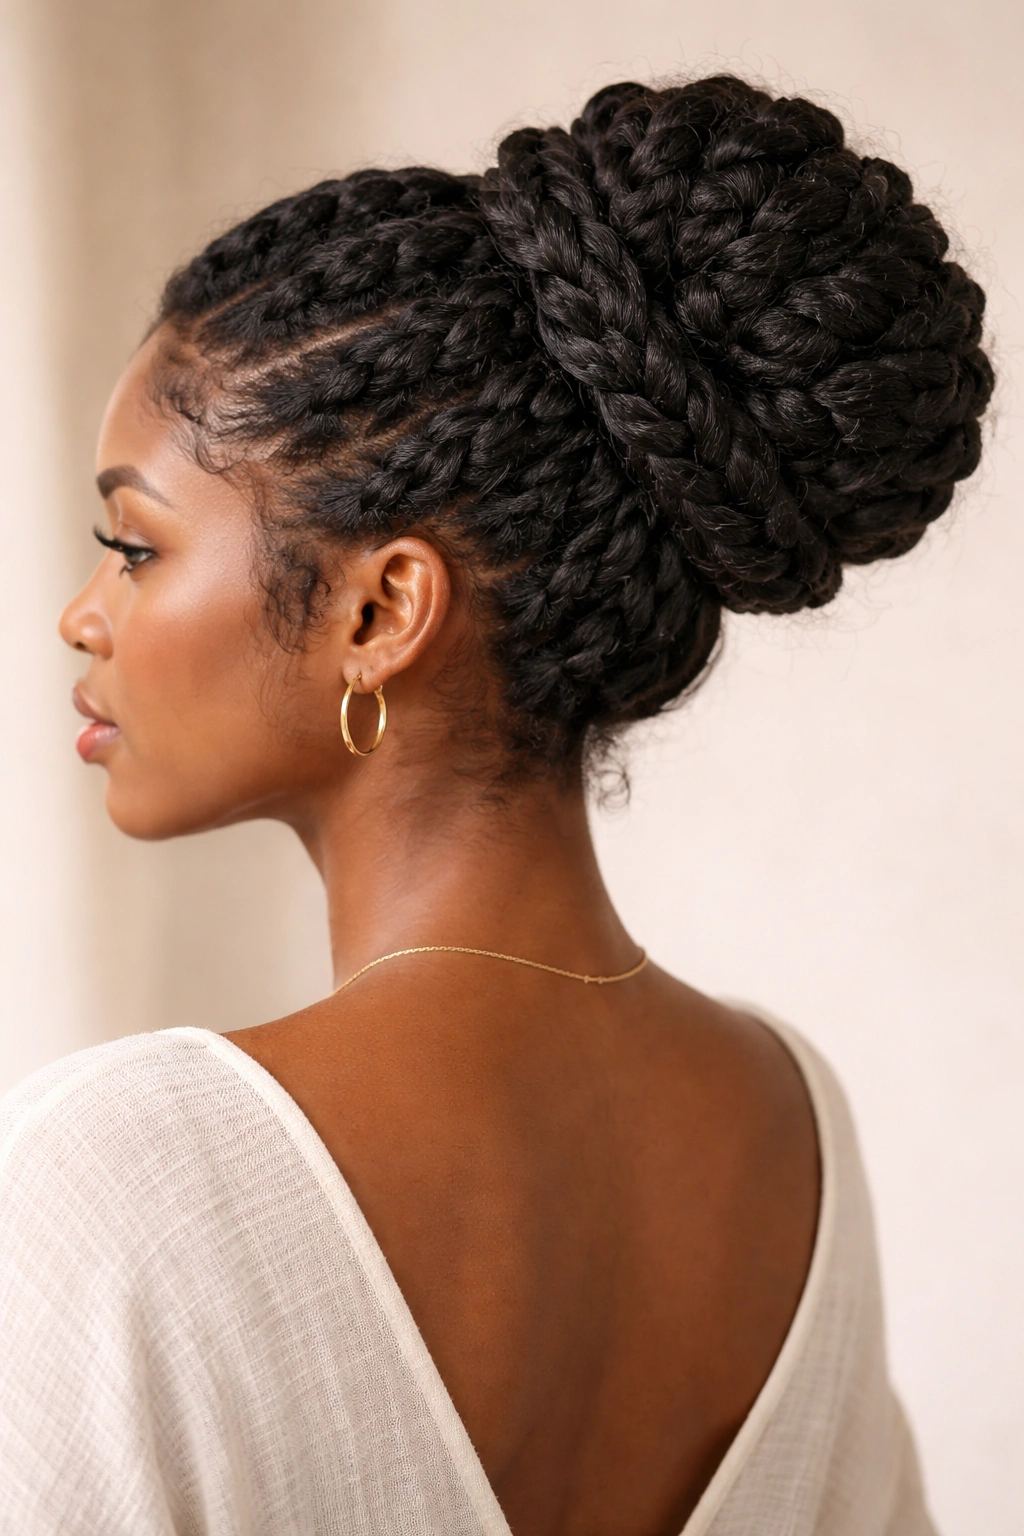
Instead of gathering loose curls into a bun, you can create thick, chunky braids and coil those braids into a bun shape. This technique is exceptionally protective because braids distribute tension across multiple strands, and the bun placement further reduces daily manipulation and friction.
Why Braids Into Buns Offer Superior Protection
Chunky braids are less dense than tight cornrows but more protective than loose curls gathered into a bun. When you braid sections and gather them into a bun, you’re reducing the surface area exposed to friction while still maintaining excellent curl definition when you unravel the style.
Constructing Chunky Braided Buns
- Divide hair into 3-4 large sections depending on your hair thickness
- Create a loose three-strand braid in each section, working from near your roots toward your ends
- Gather the braided sections together at a desired height (usually low to mid-back)
- Coil the braided sections into a bun shape and secure with bobby pins and a silk scrunchie
- Pull out smaller braid details to showcase the braided texture rather than hiding it
Styling insight: You can wrap each braid around the bun base individually, creating a woven, concentric circle effect that looks more intentional than simply bunching braids together.
9. The Knotless Twist Bun
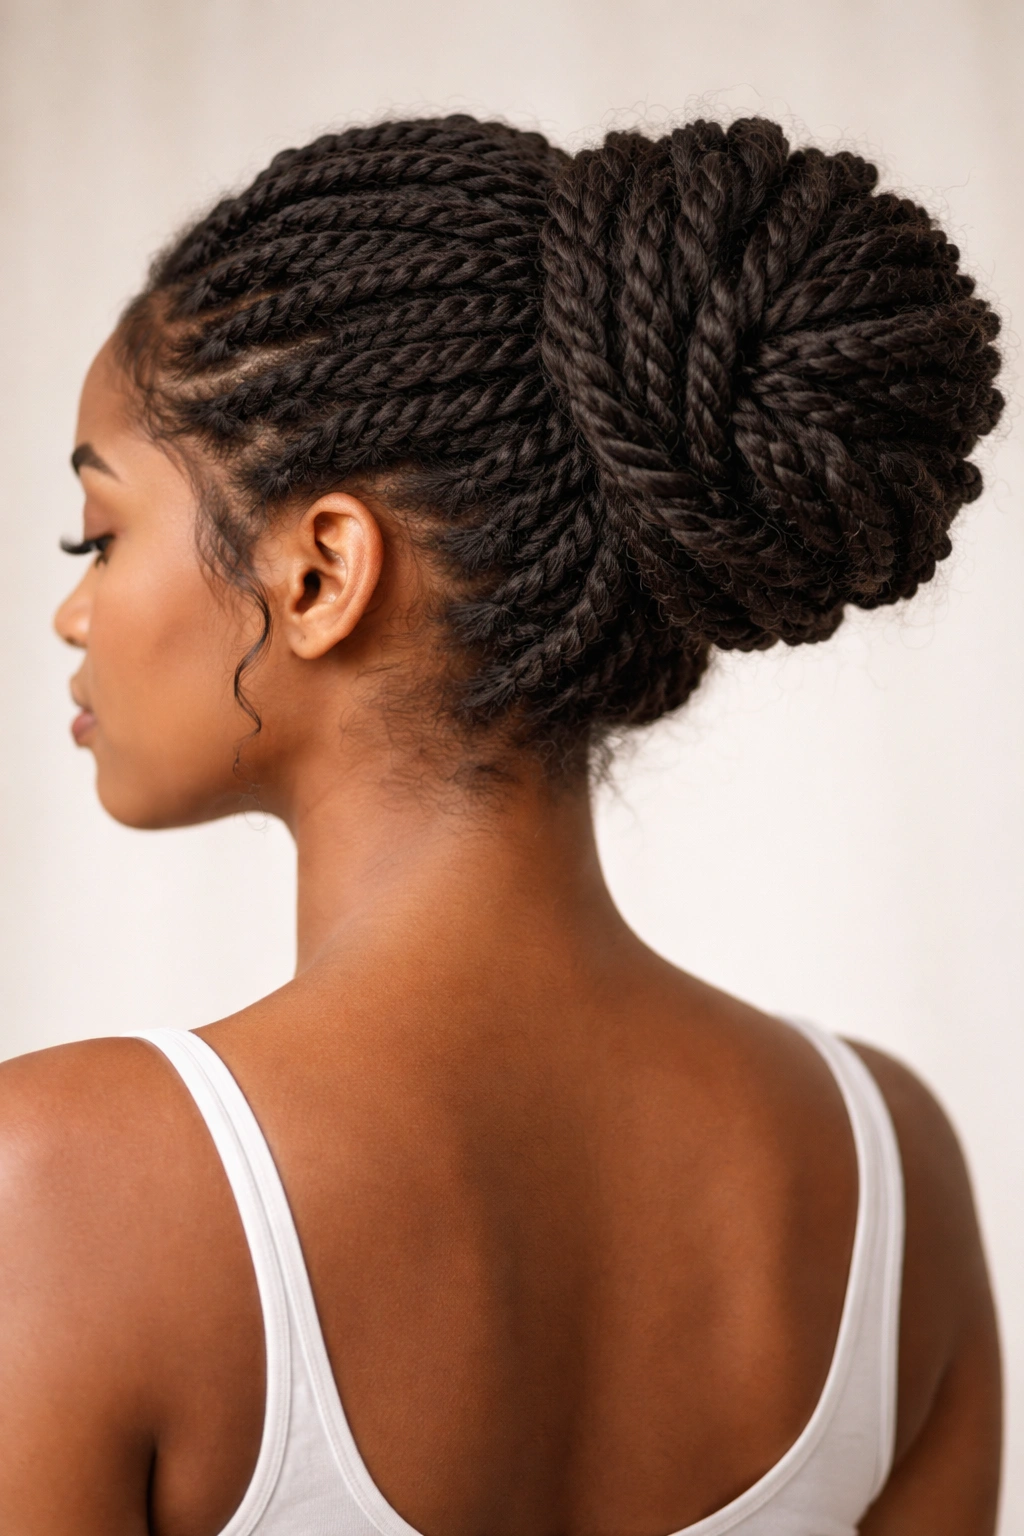
Knotless twists create a protective style that’s less dense than traditional box braids but still protective enough for long-term wear. Gathering knotless twists into a bun combines protective benefits with a textured, voluminous aesthetic that works beautifully for natural hair.
The Advantage of Knotless Twists
Knotless twists start without creating a tight knot at the base, distributing tension more evenly across your scalp and hairline. When you gather these into a bun, you’re getting protective styling that’s genuinely gentle on your edges and maintaining moisture in your natural hair underneath.
Building a Knotless Twist Bun
- Create 4-6 thick knotless twists across your head, beginning each twist without a tight base knot
- As you twist, add slight texture to each section by occasionally releasing and re-gripping the twist
- Allow twists to fall naturally down your back and sides rather than pulling them tightly
- Gather the ends of all twists into a bun shape at your nape or lower crown
- Secure loosely with bobby pins, letting individual twists maintain their definition
Real talk: This style is gentler on your hairline than traditional cornrows and actually allows your scalp to breathe better, making it excellent for long-term protective styling.
10. The Zig-Zag Part Bun With Textured Definition
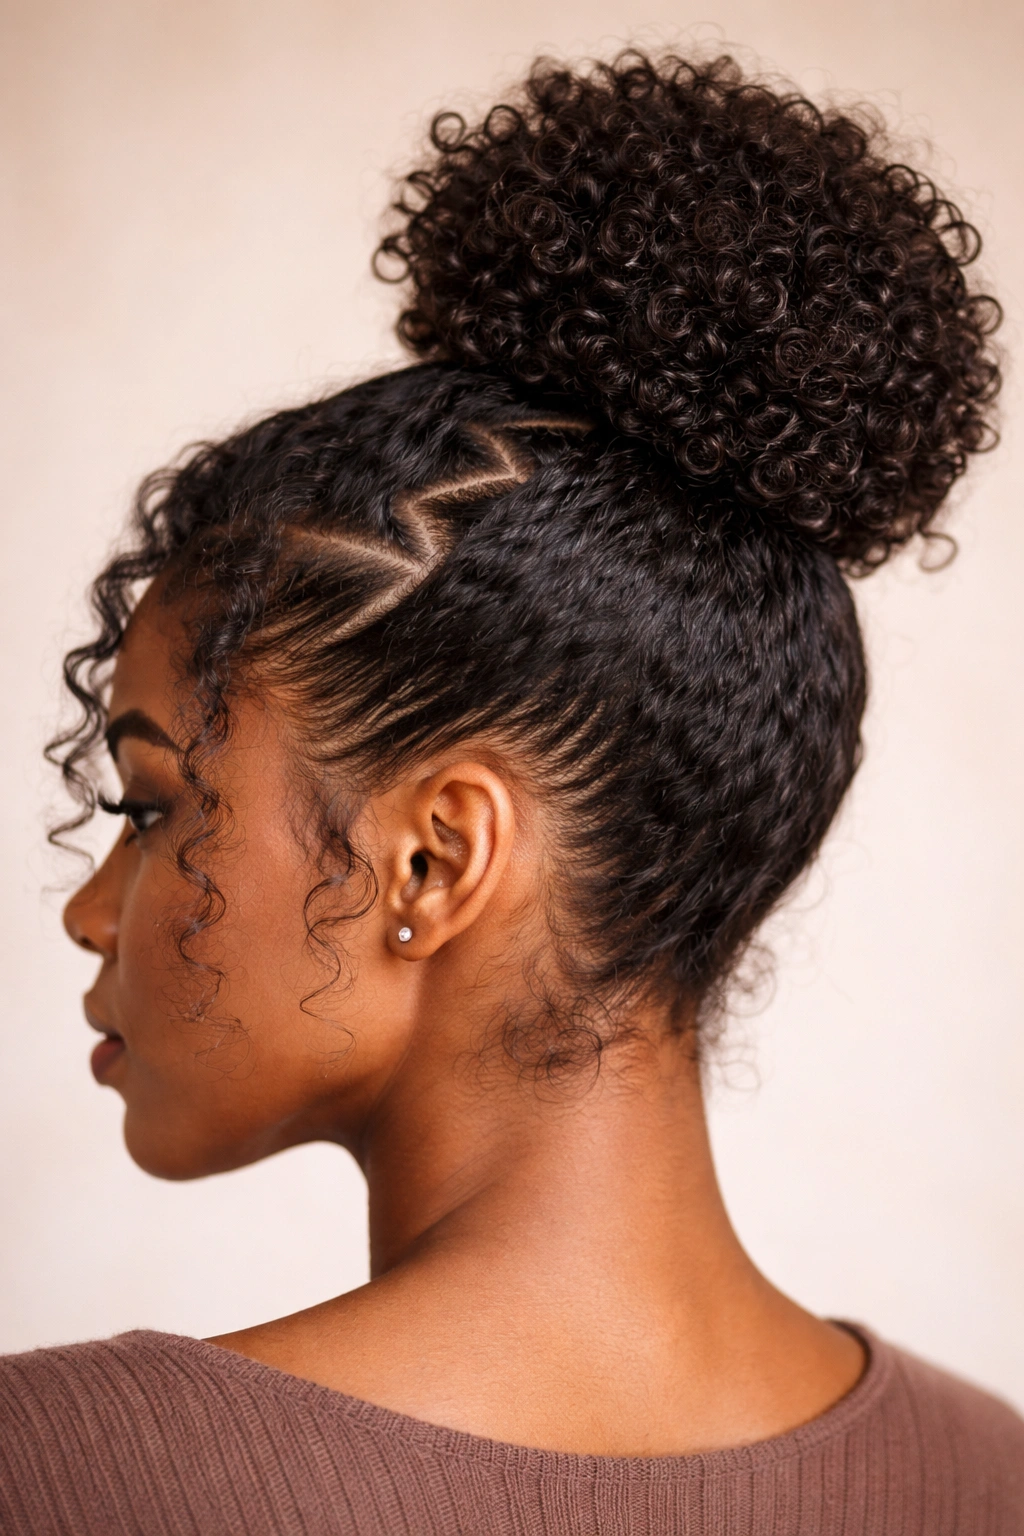
The final style is about using your parting itself as a design element. Instead of creating a straight center or side part, you’re making a zig-zag or zigzag pattern with your part line, then gathering hair into a bun. This transforms an otherwise simple bun into something visually distinctive and intentionally styled.
Why Parting Technique Matters
Your part line is one of the most visible elements of any hairstyle, especially when you’re gathering hair into a bun. Using a zig-zag or creative pattern draws attention to your hairline and scalp health while creating visual movement that makes your bun look more deliberately styled.
Creating a Zig-Zag Bun
- Use a rat-tail comb to create a zig-zag pattern from your forehead to your nape, moving side-to-side in deliberate angles
- Optionally, create smaller zig-zag sections within the main part for added dimensionality
- Gather hair to one side or into a center bun, depending on your preference
- Create a high or mid-level bun, securing gently with bobby pins
- The zig-zag part remains visible and becomes part of your style’s aesthetic
Finishing detail: Add a few drops of edge control gel or curl cream along your part line to enhance definition and show off the zig-zag pattern—this small touch makes the whole style look more intentional.
Final Thoughts
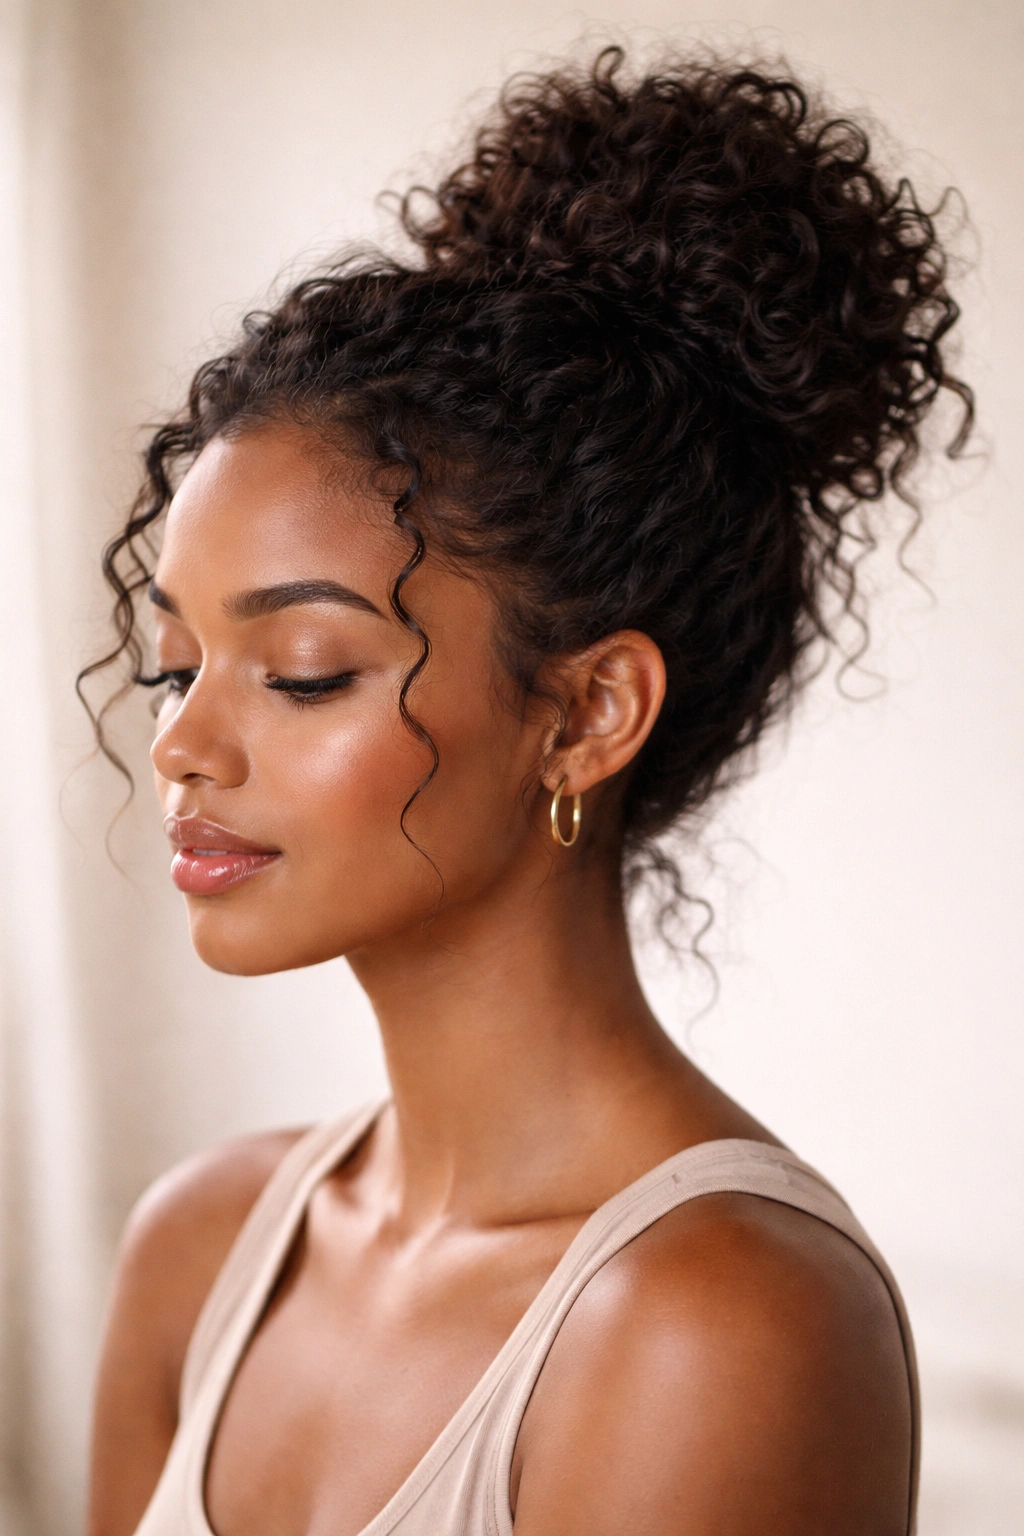
The right messy bun for your natural hair texture isn’t about forcing your curls into a style designed for straight hair. Instead, it’s about embracing what your texture naturally does and building a style around that reality. Whether you choose protective techniques like twists and braids or simply gather your curls with intention and volume, these ten approaches offer something for every hair type, length, and lifestyle.
The versatility of messy buns for textured hair means you can rotate between styles throughout the month, keeping your hair healthy while maintaining genuine styling variety. What works beautifully at the start of your wash week might need a different approach by day five, and that’s not a failure—that’s your hair adapting, and you adapting with it.
The most important part isn’t which specific technique you choose, but that you’re styling in a way that prioritizes your hair health, embraces your natural texture, and actually works with your daily life. When a messy bun style checks all three of those boxes, it becomes something you reach for again and again—not because you have to, but because you genuinely want to.
