



Long curly hair has a natural texture and volume that makes it absolutely ideal for messy bun styles — and honestly, it’s often easier to work with than people think. The key is understanding how to work with your curl pattern rather than fighting it, and knowing which techniques actually enhance those beautiful waves and coils instead of flattening them out. Unlike pin-straight hair, curly hair holds structure naturally, which means your messy bun won’t fall flat halfway through the day. That said, there are definitely better and worse approaches to styling curly hair up, and the difference between a bun that looks intentionally effortless versus one that just looks sloppy comes down to technique, product choice, and knowing your specific curl type.
The styles we’re covering here work across different curl patterns — whether you have loose waves, defined ringlets, coils, or a mix of everything. Some of these buns celebrate your curls and let them show, while others create a more polished-but-still-undone vibe that works for casual days, the gym, or when you want your hair off your face without the commitment of a sleek high pony. You’ll find that a few key techniques and the right products make all the difference in how long your bun lasts, how it looks throughout the day, and whether your curls actually look better after you take it down (they often do, thanks to the texture the bun creates).
1. The Piecey High Bun
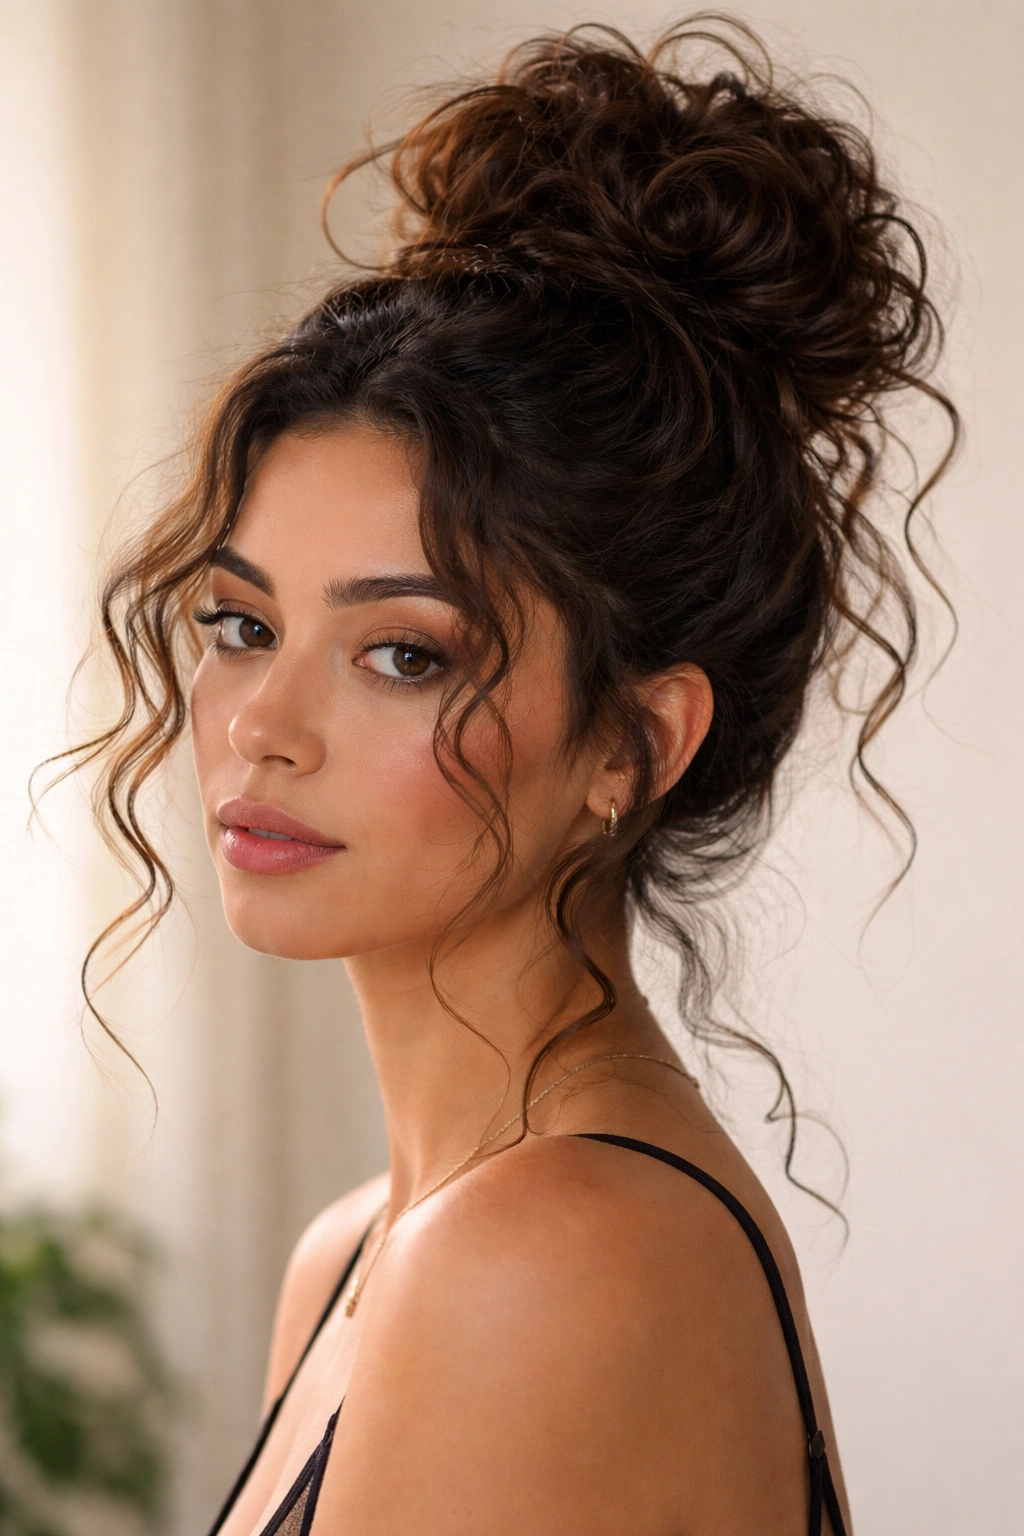
This style celebrates your curls instead of hiding them — it’s literally just a high bun with intentional pieces pulled out throughout for that lived-in, effortless vibe. The whole point is that it looks undone while actually being strategically placed, and curly hair is naturally perfect for this because the texture reads as intentional even when you’re not trying that hard.
Why It Works So Well for Curly Hair
The piecey high bun works because it plays to your hair’s natural texture. You’re not trying to smooth everything into a tight knot; instead, you’re leaning into the volume and letting wisps frame your face. The pieces that fall out actually look like they’re supposed to be there, not like your bun failed. For curly hair specifically, this style prevents the tension that comes from pulling everything back tightly — which means less breakage and less frizz at your hairline.
How to Create the Piecey Effect
- Flip your head upside down and gather hair into a high ponytail at the crown, but don’t pull it too tight — leave it loose enough that you can move things around
- Twist or braid the ponytail loosely, then wrap it into a bun shape and secure with a few bobby pins (not a ton — you want it to feel relaxed)
- Pull out small sections around your face, at your temples, and along the back to frame everything
- Use a texturizing spray or sea salt spray to enhance the piecey effect and add definition to individual curls
- Gently tease or backcomb some of the bun itself to increase volume and make it look fuller
Pro tip: Spray the finished style with a flexible hold hairspray rather than a super-heavy one — you want your curls to be able to move slightly, which makes the whole style look more natural and prevents that “crunchy” feel.
2. The Twisted Wrap Bun
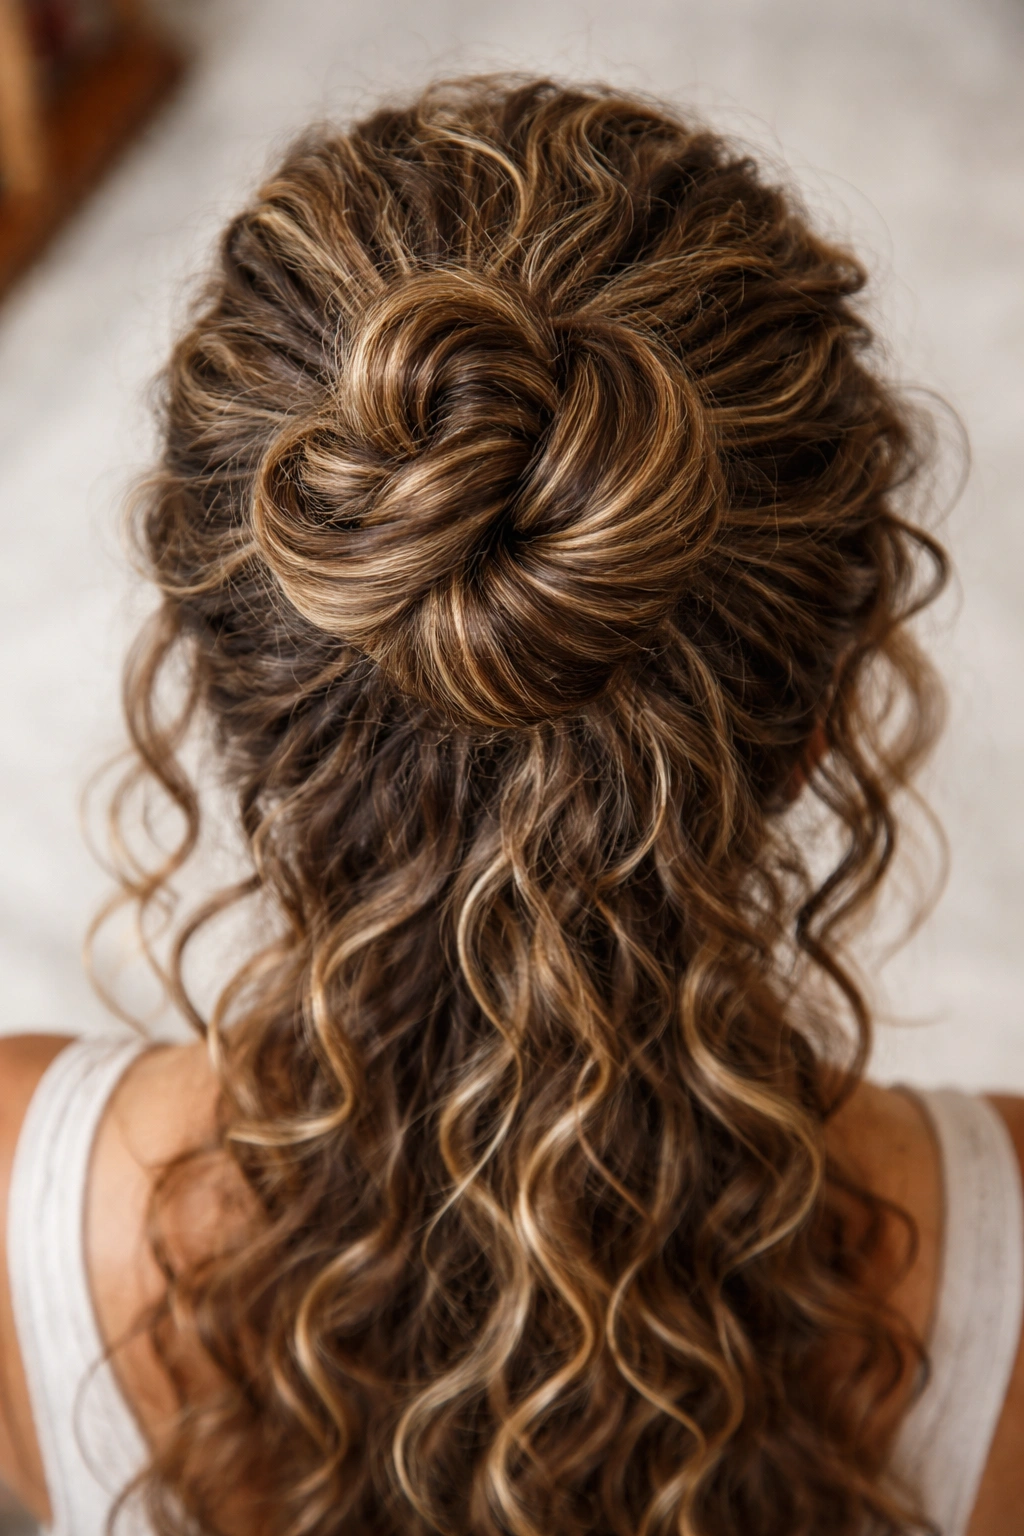
This style involves twisting sections of your curly hair and wrapping them around each other before pinning into a bun. It creates beautiful visual texture from the top view while keeping your curls relatively controlled without flattening them. The twisted elements add dimension and look intentionally styled without being overly polished.
What Makes the Twisted Approach Different
Instead of just gathering and twisting one section, you’re creating multiple twisted “ropes” that you wrap together. This technique works especially well for long curly hair because it uses the natural length to create visual interest, and the twists themselves actually help define and enhance your curl pattern rather than fighting it. You end up with a bun that looks way more textured and deliberately styled than a basic twist-and-pin bun.
Step-by-Step for Maximum Texture
- Divide hair into three sections: one from each temple and one from the crown
- Twist each section tightly, keeping tension even so the twist stays defined
- Wrap the first twisted section around itself to form a small coil at the crown, pin it in place
- Take the second twisted section and wrap it around the first coil, then pin
- Wrap the third section around the outside to create layers, and secure everything with bobby pins
- Loosen the twists very slightly by gently pulling at them — this adds volume without unraveling them completely
Worth knowing: Do this on second-day hair if possible, or apply a light texturizing spray before twisting. Fresh-from-the-wash curls can be slippery and the twists may unravel faster than you want.
3. The Double Bun with Curly Details
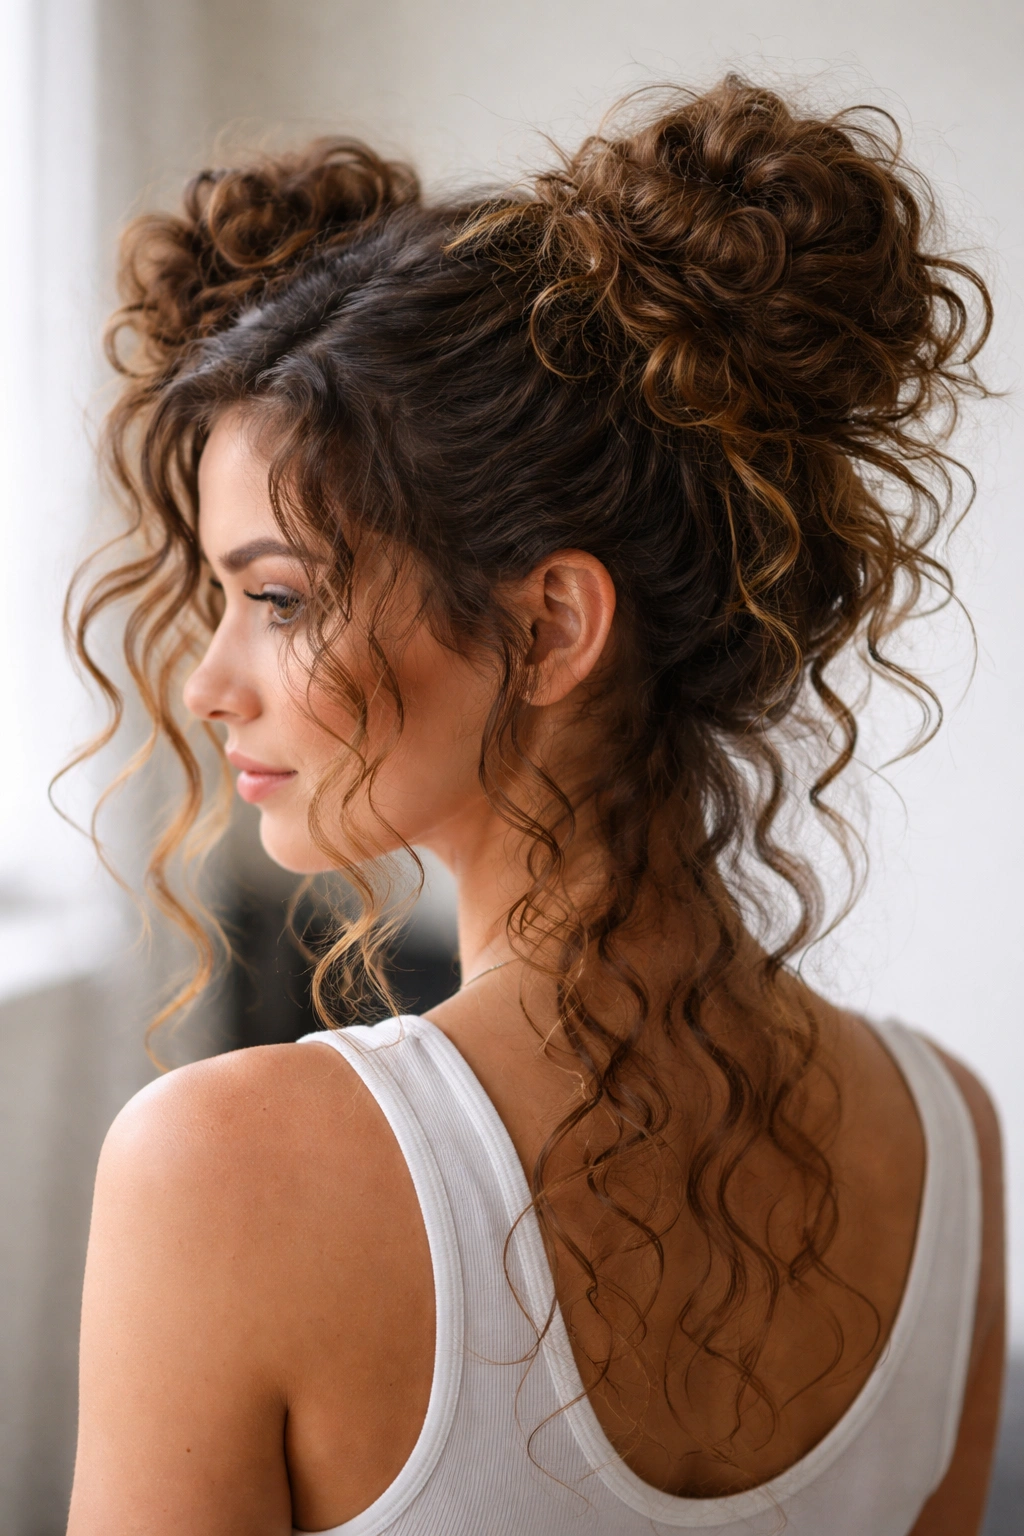
Double buns instantly feel more playful and creative, and curly hair makes them look intentional rather than childish because of the texture. You’re creating two separate buns that sit on either side of your head, each one intentionally loose and showing off your curl pattern. This is the style to choose when you want something fun and different that still keeps all your hair secured.
How Curly Hair Changes the Double Bun Look
Double buns on straight hair can sometimes read as trying-too-hard, but on curly hair they look cool and deliberately styled because of the inherent texture. Your curls add sophistication to a style that might otherwise feel too precious. The key is making each bun sit at a slightly different height and keeping them intentionally messy rather than trying to make them symmetrical or perfect.
Creating Perfectly Imperfect Double Buns
- Part your hair down the middle from forehead to nape
- Gather one half into a ponytail at the temple area, slightly higher than ear level
- Twist or braid the ponytail loosely, wrap into a bun shape, and pin — don’t worry about tightness
- Repeat on the other side at the same height
- Pull out face-framing pieces from each side and around the buns
- Gently separate sections of each bun by pulling at them to add volume and show your curl texture
- Use bobby pins that match your hair color so they disappear into your curls
Pro tip: Make one bun slightly messier than the other — asymmetry is what makes this style feel editorial and intentional rather than costume-y.
4. The Curly Crown Bun with Face-Frame
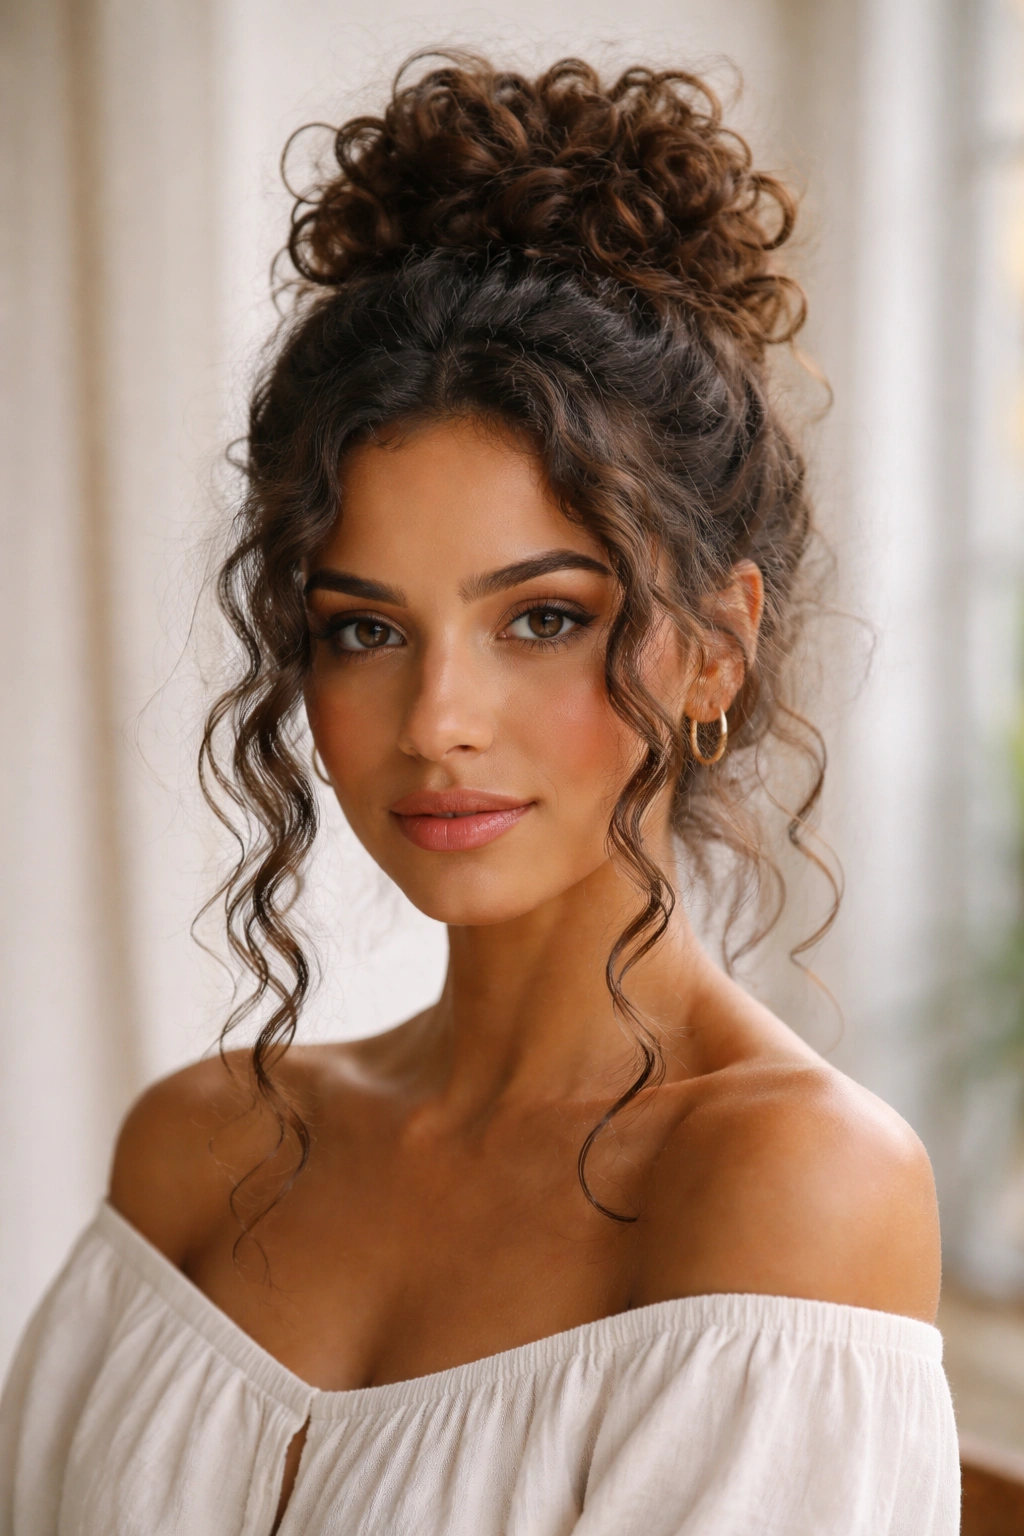
This style gathers hair into a high bun at the crown while leaving two thick, curly sections down on either side of your face. It combines the practicality of keeping most of your hair secured with the beauty of having your front curls visible and framing your face. You get the best of both worlds — hair off your back and neck, but your curl definition showing everywhere it matters.
Why This Works for Different Curl Types
This style accommodates pretty much any curl pattern because you’re only controlling the back section. Your front curls can do whatever they naturally want to do, which means they look their most defined and beautiful. If you have looser waves in front and tighter curls in back, this style actually emphasizes that texture variation in a flattering way. And if your curl pattern is inconsistent throughout, having visible curls at the front actually makes the whole look feel intentional and editorial.
Building the Crown Bun Framework
- Leave two thick sections of hair on either side of your face — about 2-3 inches thick from temple to ear
- Gather everything else into a ponytail at the crown, making it secure but not uncomfortably tight
- Twist the ponytail loosely and wrap it into a bun, pinning at multiple points for security
- Apply a curl cream or defining gel to the face-frame sections to enhance definition
- Arrange those front sections so they curve slightly and frame your cheekbones
- Let them dry in that position if you have time — even 10 minutes helps set the shape
- Use bobby pins to anchor the bun but let the face-frame pieces move freely
Insider note: Braid the face-frame sections loosely instead of leaving them straight if you want more texture, or twist them very lightly for a softer, wave-like effect.
5. The Braided Bun Hybrid
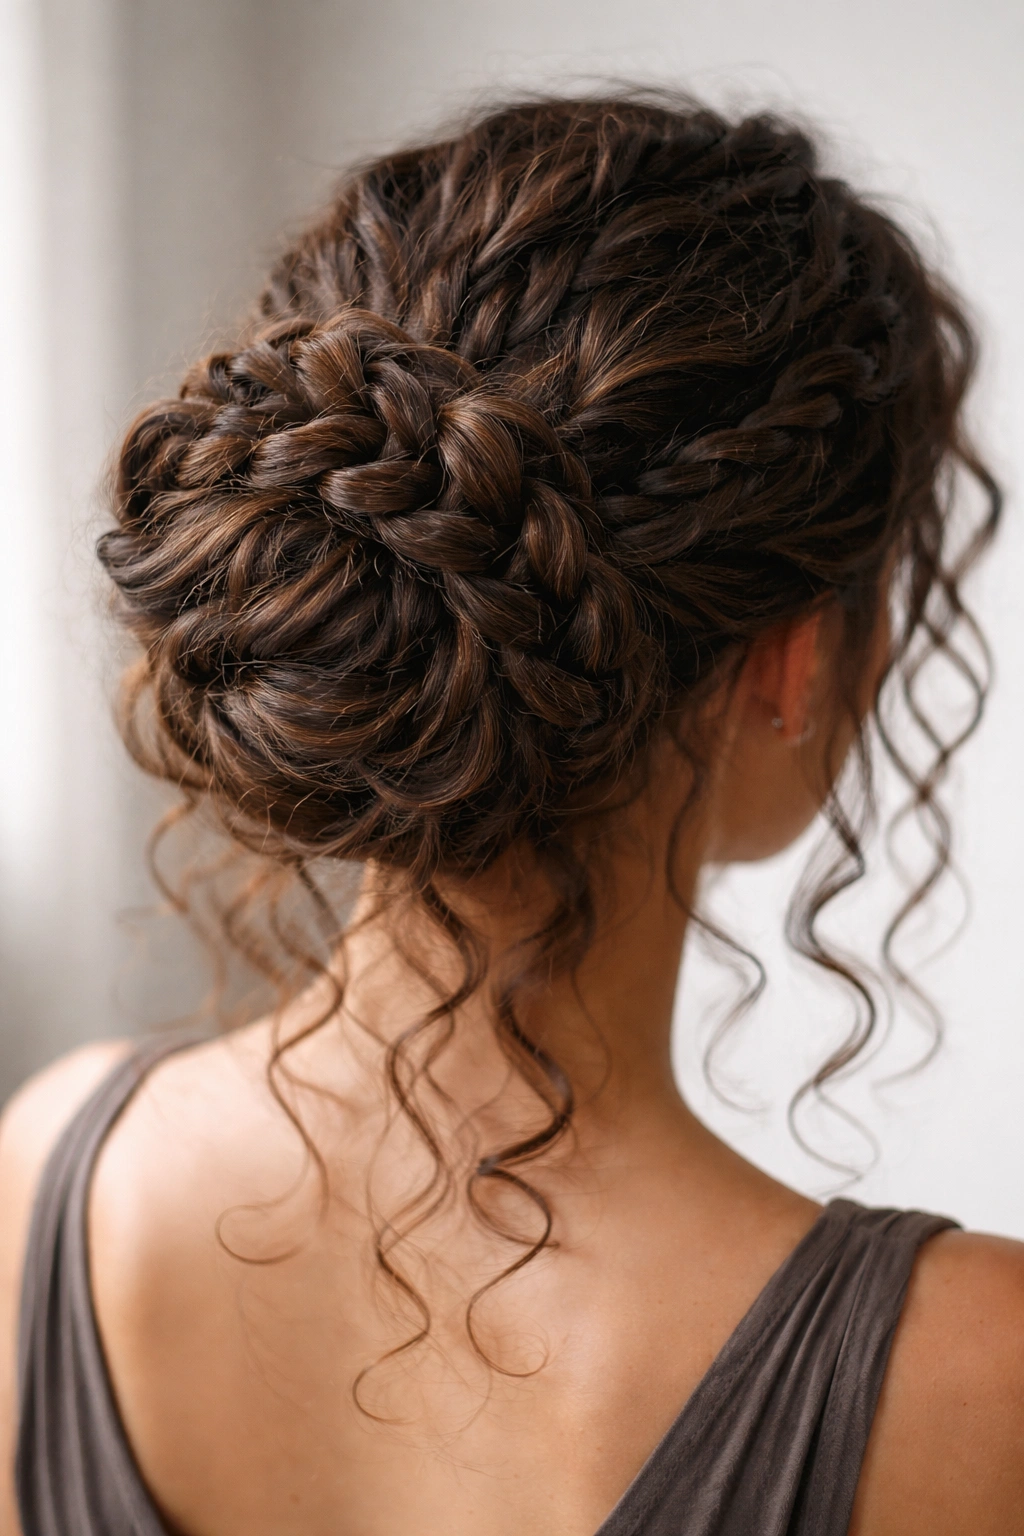
This style combines braiding with bun construction — you’re braiding sections of hair and then wrapping those braids around each other to form the bun. The braids add visual structure and texture, and they actually help hold the bun shape better than just twisting, especially if your curls are very soft or fine. The finished result looks way more intentional and textured than a regular bun.
How Braiding Enhances Curly Texture
When you braid curly hair, the braid itself becomes textured and defined rather than smooth and sleek like it would on straight hair. This is actually beautiful — it means your braids read as sophisticated and intentional rather than looking like you just threw a braid in. The braid structure also creates a framework that holds your curls in place without needing tons of pins or product, and it keeps frizz down better because each curl is cradled within the braid rather than exposed.
Creating the Braided Bun
- Gather hair into a high ponytail, but keep it loose
- Divide the ponytail into two or three sections
- Braid each section loosely — don’t braid tightly or you’ll lose curl definition
- Wrap the first braid around itself into a coil and pin it at the crown
- Wrap the second braid around the first, then the third braid around the outside
- Gently tease the braids and the bun itself to add volume — you want it to look full and textured
- Pull out a few individual curls around the perimeter to soften the edges
- Apply a flexible-hold spray to finish
Worth knowing: Braid your hair the night before or in the morning before it fully dries for braids that have more grip and hold better throughout the day.
6. The Wrapped Low Bun
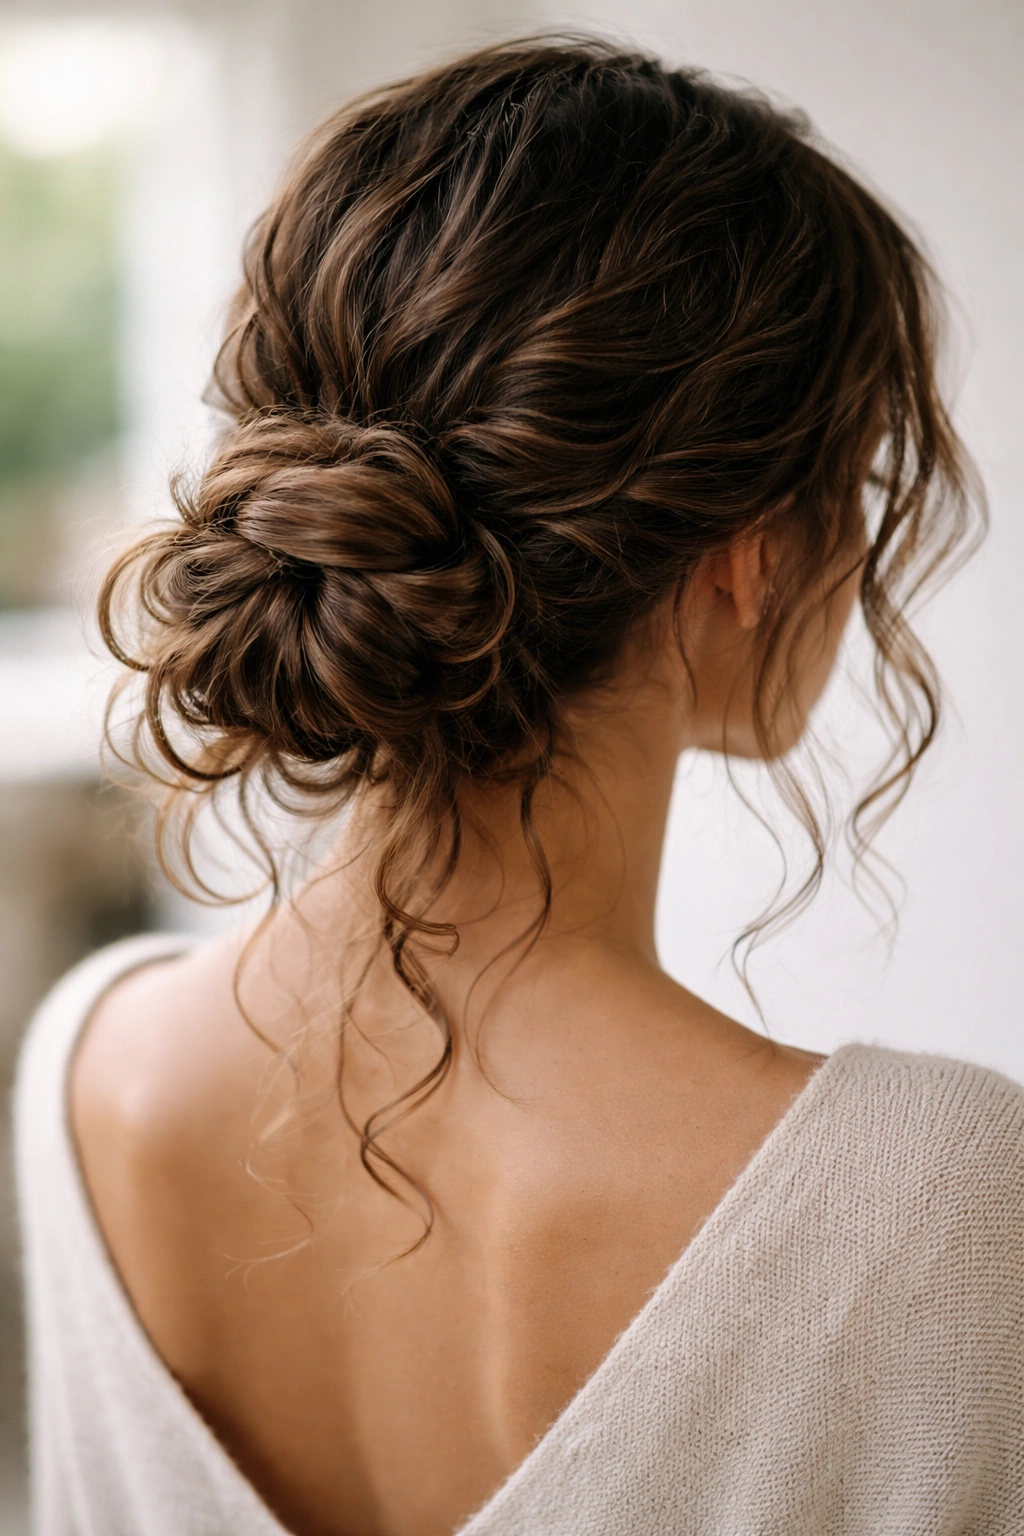
This style sits lower on your head — more at the nape of your neck — and involves wrapping sections around the base to create a defined, almost architectural look while still keeping your curls visible. It’s more polished than the other styles here but still intentionally messy, and it works beautifully when you want something that reads as “styled” but still celebrates your texture.
The Low Bun Advantage for Curly Hair
Low buns are actually easier to manage on curly hair than high buns because you’re working with gravity — your curls naturally want to hang, and a low bun works with that rather than against it. The lower placement also means less tension on your hairline, which is gentler on your curls and helps prevent breakage. And visually, a low bun has a more sophisticated, polished feel while still being undone, which makes it perfect for days when you want to look put-together without trying too hard.
Constructing a Secure Low Bun
- Gather your hair into a low ponytail at the nape, slightly to one side for a softer look
- Don’t pull it tight — keep enough slack that you can fit two fingers under the elastic
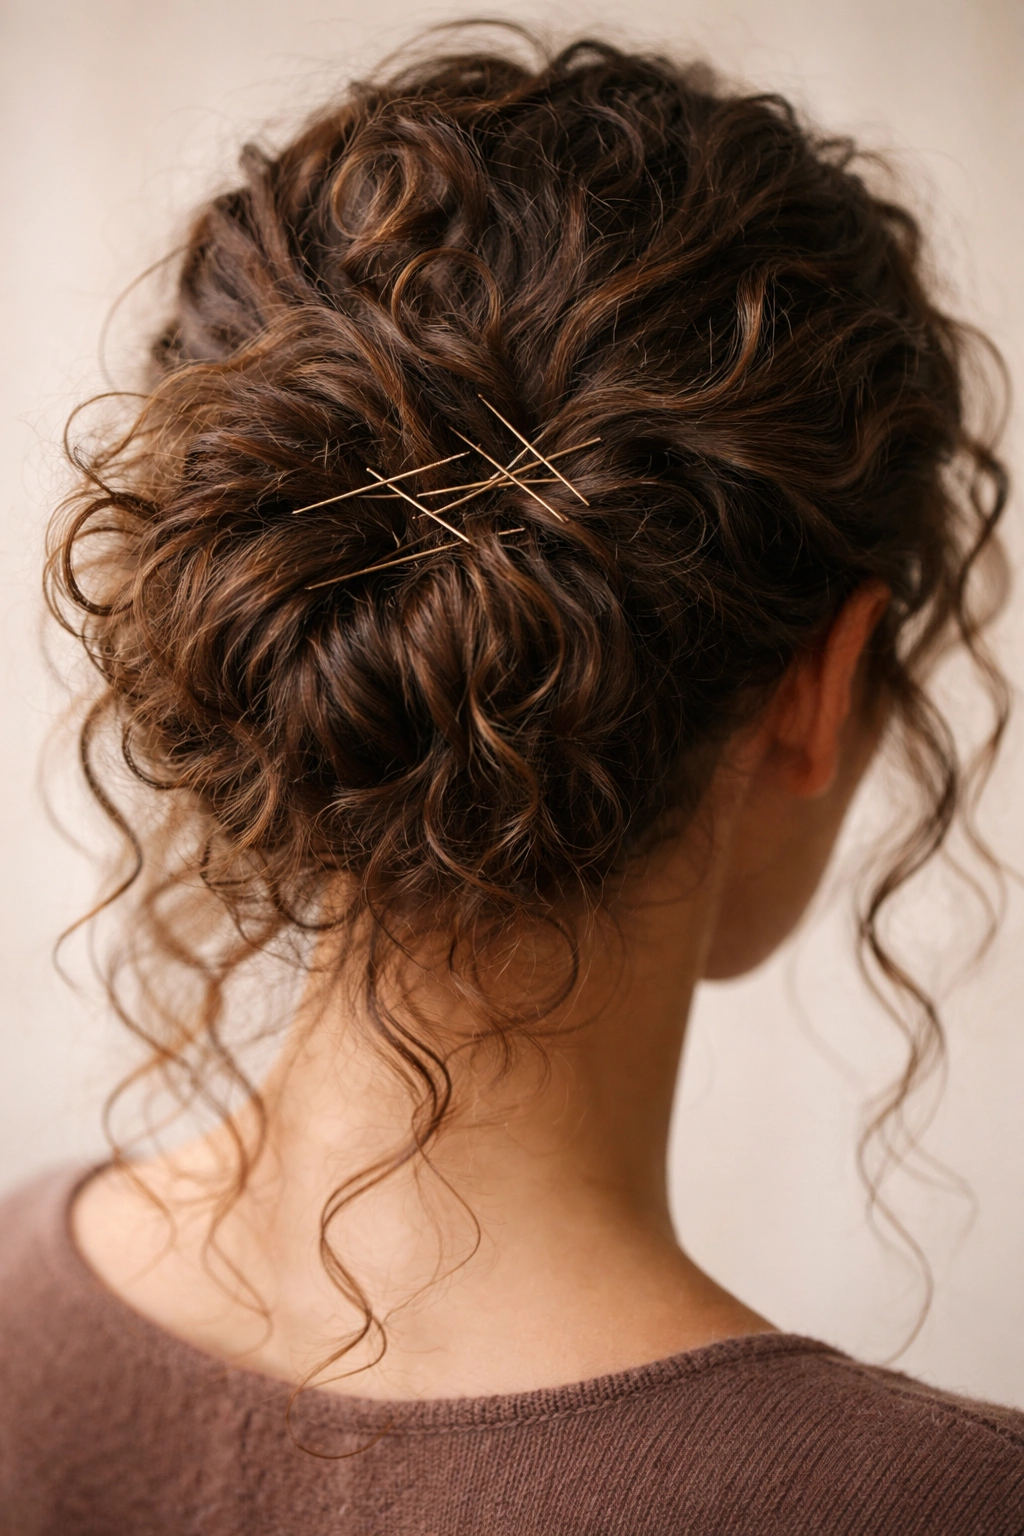
- Twist the ponytail loosely, wrap it into a bun shape, and secure with bobby pins in a crisscross pattern
- Take a small section from the twisted hair and wrap it around the base of the bun where the elastic is — this hides the elastic and adds texture
- Pin that wrapped section in place
- Gently pull at the bun to loosen it and create volume — you want it full and textured, not tight and sleek
- Use a curl-defining cream before styling to make sure your curls read as intentional, not frizzy
Pro tip: Tease your low bun slightly before wrapping to give it more volume, especially if you have finer curls.
7. The Asymmetrical Curl Bun
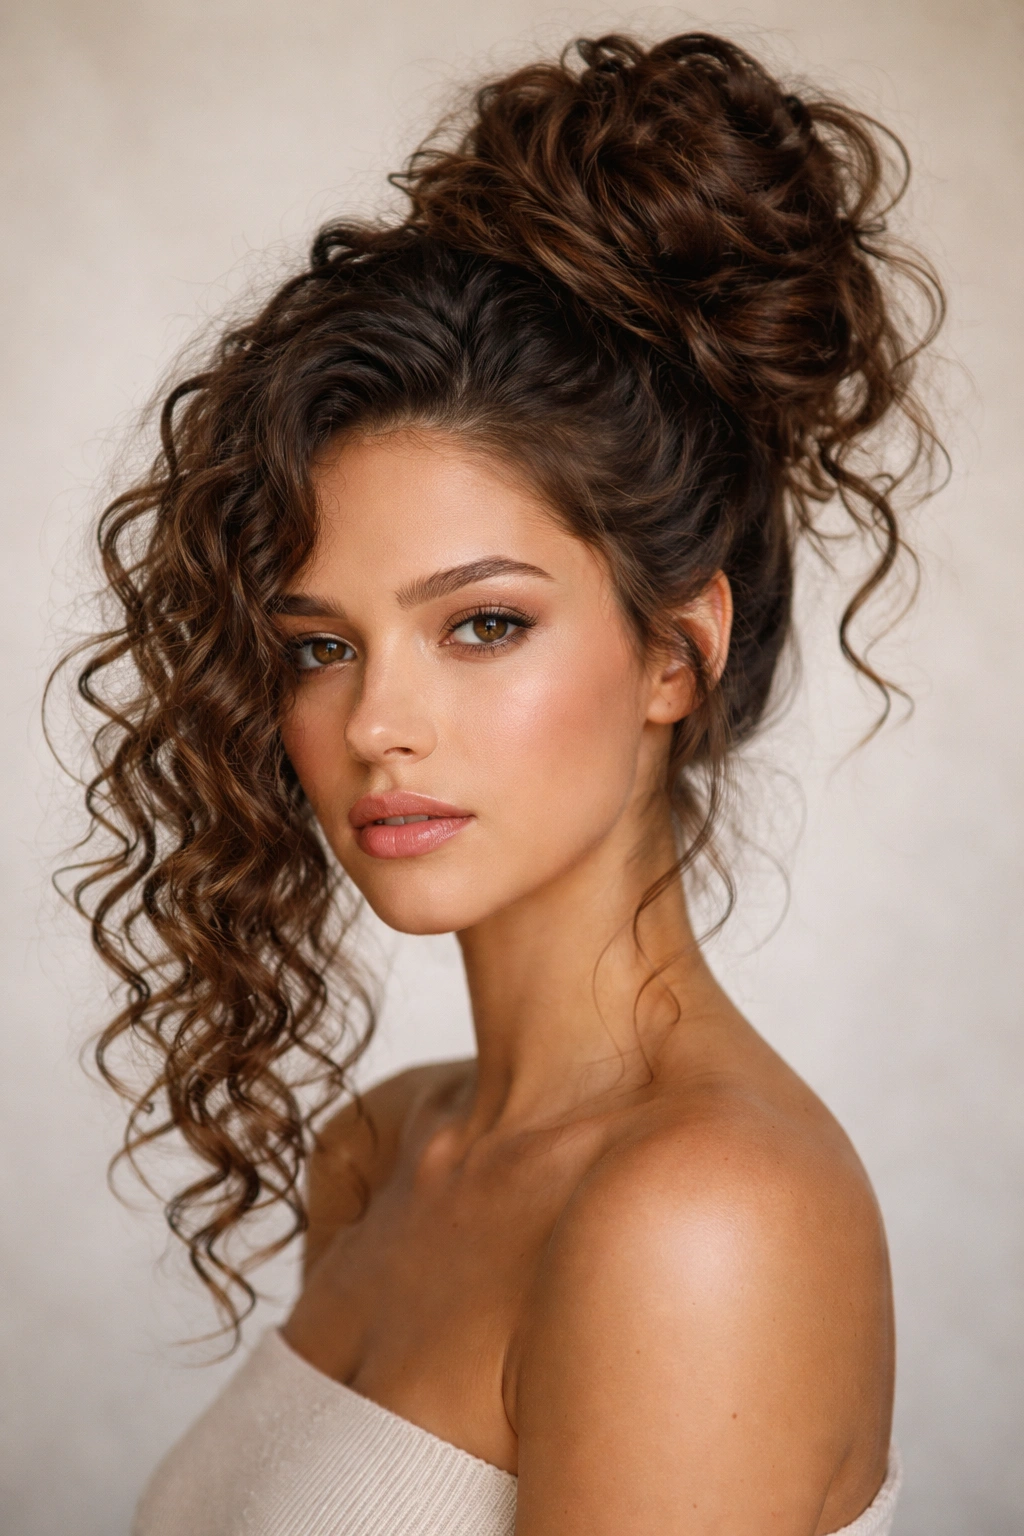
This style creates an intentionally off-center bun while leaving more hair down on one side than the other. It’s edgy and modern while still being practical, and the asymmetry makes it feel editorial rather than basic. For curly hair, this works beautifully because the texture on both the bun and the down side creates visual interest that makes the asymmetry feel intentional.
Why Asymmetry Works with Curls
Curly hair is naturally textured and has movement, which means asymmetrical styling looks deliberate and styled rather than accidental or unbalanced. You’re using the natural texture to your advantage — one side has a full, dimensional bun while the other side has flowing curls, and together they create a cohesive, intentional look that reads as confident and creative.
Building the Asymmetrical Style
- Create a deep side part, leaving more hair on one side than the other
- Gather the smaller section at the crown or temple area into a ponytail
- Twist that ponytail loosely and wrap into a small, loose bun — pin it securely but with texture showing
- Leave the larger section down — you can flip it, braid it loosely, or just let your curls be
- If you want, loosely twist or braid the down section to add more texture and shape
- Pull out pieces from both the bun and around the down section to create movement and definition
- Apply a defining spray to enhance your curls throughout
Worth knowing: This style looks especially cool if you add a hair accessory like a claw clip or vintage pin to the bun side — it adds intentionality and visual interest.
8. The Soft Scrunchie Bun
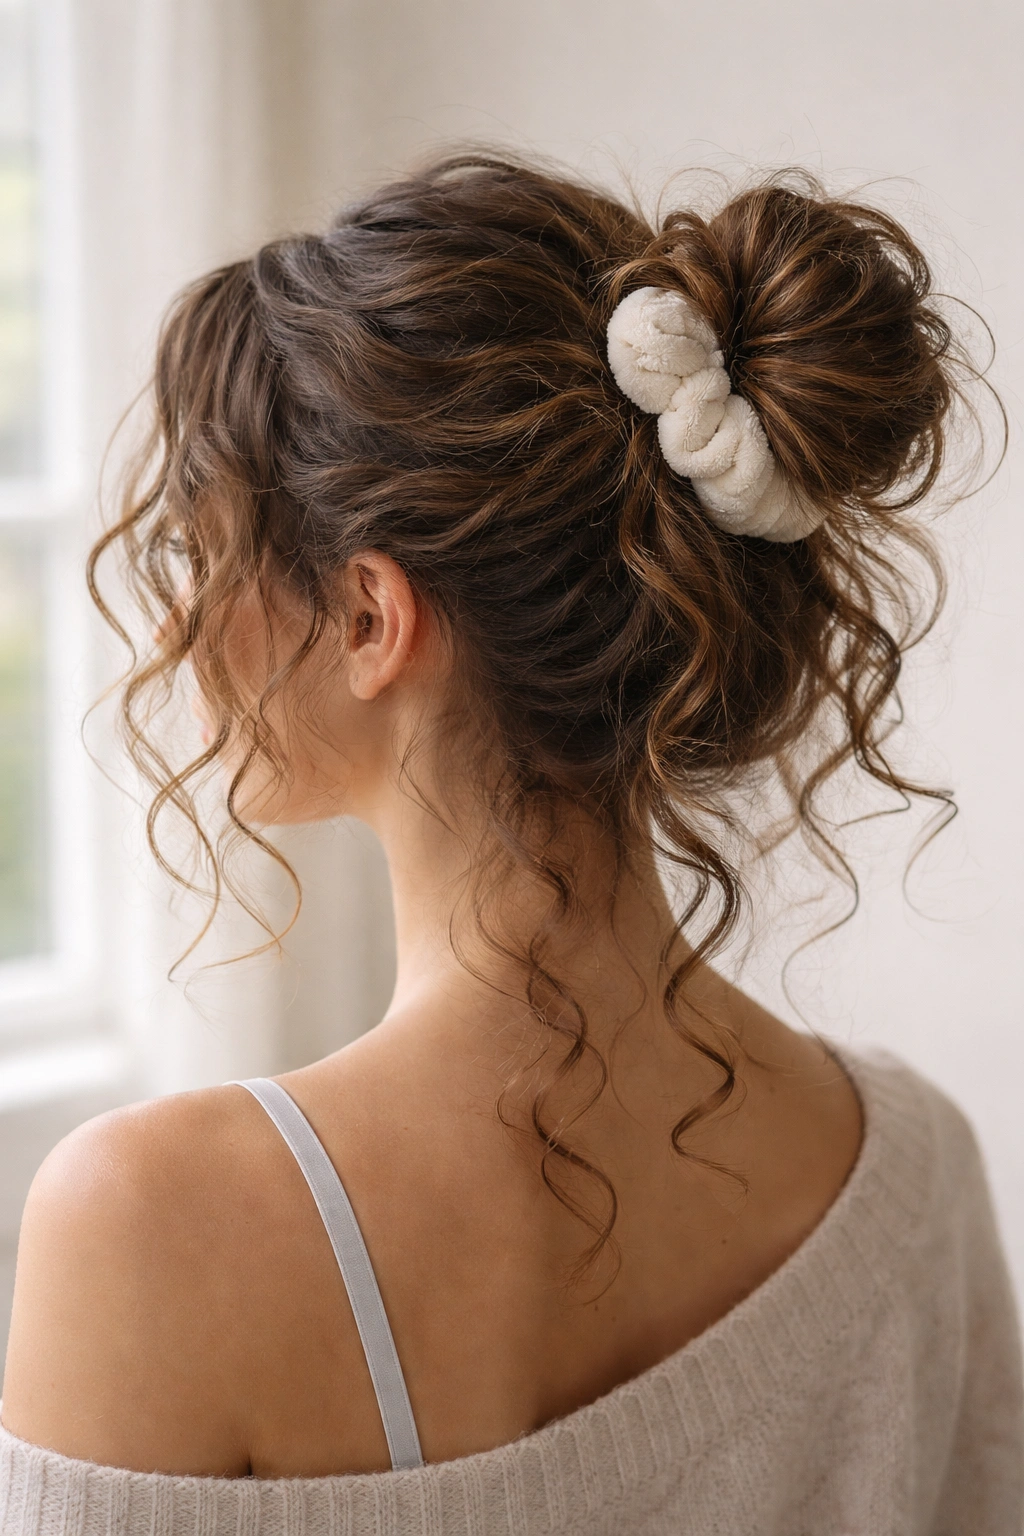
This final style is all about looseness and comfort — you’re literally just gathering your hair into the gentlest possible bun using a soft scrunchie and then pulling pieces out to add dimension. It’s perfect for second-day curls, lazy mornings, gym days, or when you want something that genuinely feels effortless. The beauty is that because curly hair naturally has volume and texture, a super-loose bun actually looks intentional and styled rather than sloppy.
Why Soft Scrunchies Matter for Curls
Hard elastics pull your hair and create kinks, crimp marks, and breakage — especially problematic for curly hair, which is more delicate at the breakage point. Soft scrunchies distribute pressure evenly across more hair surface, which means less damage and healthier-looking curls both during and after styling. Plus, a soft scrunchie bun just looks more undone and beautiful because it’s genuinely loose rather than pinched tight.
The Easiest Bun Ever
- Flip your head upside down and gather all your hair up loosely
- Flip back and secure at your crown or temple with a soft scrunchie — keep it genuinely loose, not tight
- You’re not even going to try to make it look neat; the whole point is effortless
- Pull out pieces all around, especially from the face and crown, so it looks naturally textured
- Let some curls escape from the scrunchie itself — they should be visible, not hidden
- Gently separate the bun by pulling at it to add volume and show your curl texture
- You don’t even really need product for this style, but a bit of sea salt spray adds texture
Pro tip: Do this style on second or third-day curls when your hair already has texture and separation — it looks way better than trying it on freshly washed hair.
Products That Make a Real Difference
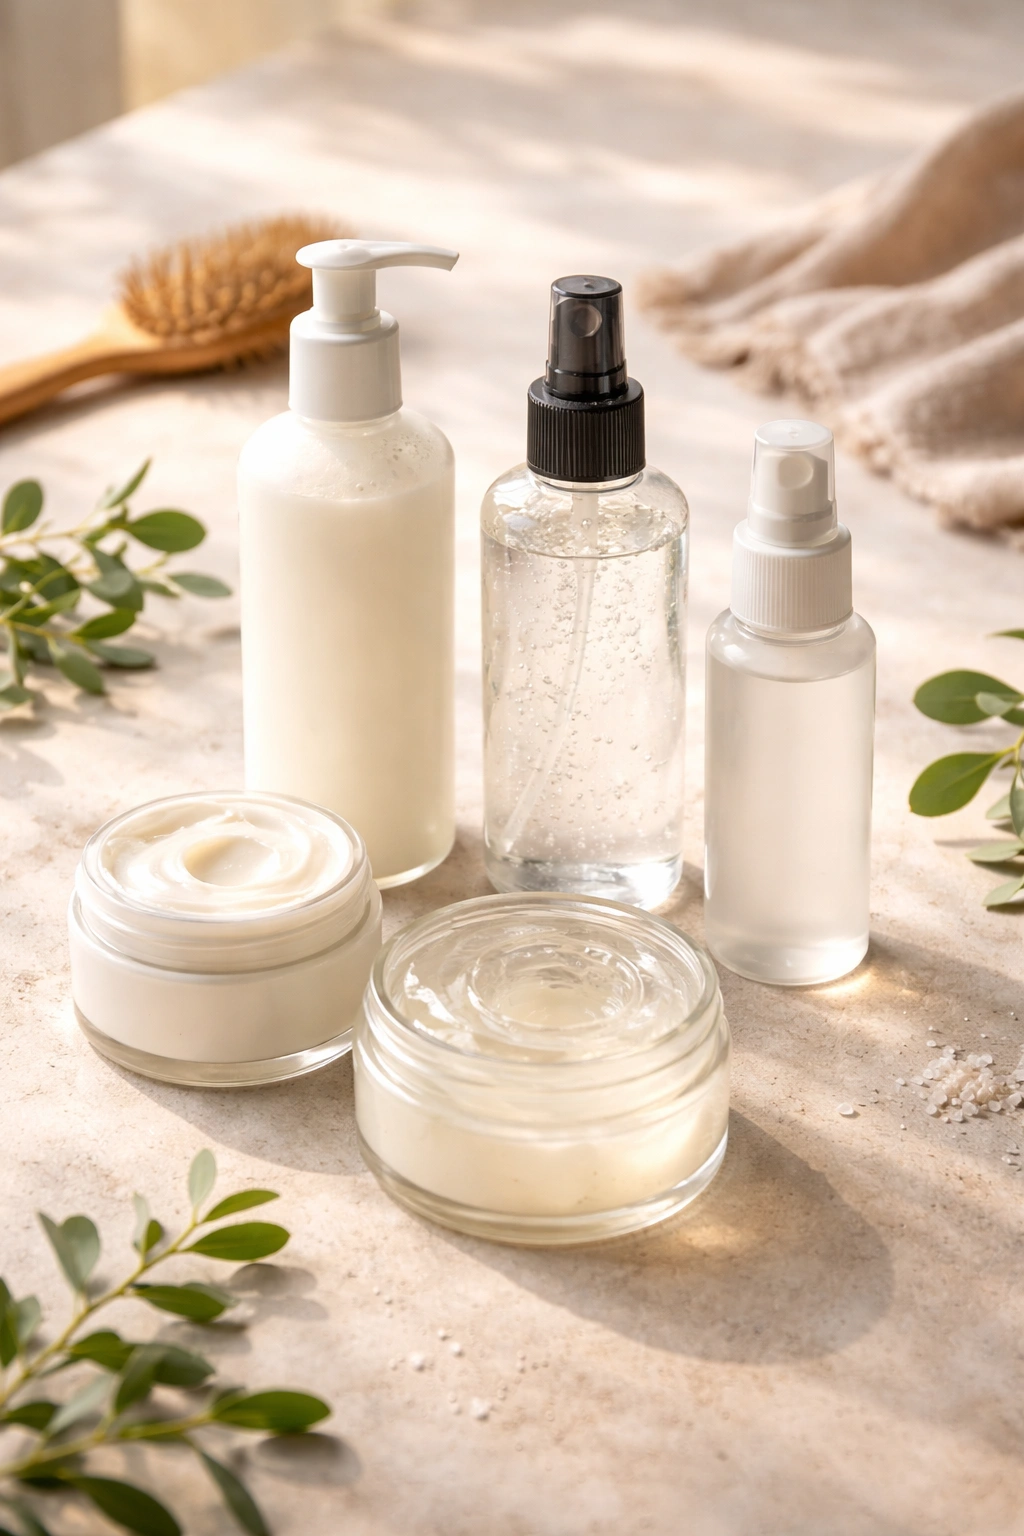
Getting these styles to last all day and keep your curls looking beautiful requires the right products, but you don’t need expensive or complicated things. A lightweight curl cream or gel applied to damp hair before styling gives definition and helps your curls hold their shape throughout the day. Sea salt spray adds texture and grip, making it easier to twist and braid sections without everything slipping, and it’s especially helpful for looser wave patterns that can be trickier to work with.
For holding the buns themselves in place, stick with bobby pins rather than thick elastic bands — pins give you more control and create less tension. Use at least three pins per bun, arranged in a crisscross pattern for security. A flexible-hold hairspray (not the super-heavy stuff) finishes everything off without making your curls stiff or crunchy. The goal is to enhance your natural texture, not mask it with product.
Tips for Making These Styles Actually Last
The most important thing to understand is that messy bun styles for curly hair actually improve throughout the day as they settle. What looks slightly loose in the morning becomes more defined and beautiful by afternoon because your curls are setting into that shape. Don’t panic if it doesn’t look perfect right away — give it a few hours.
Make sure you’re using enough pins to actually secure the bun, but not so many that you’re creating tension and potentially breaking your hair. Three to five pins is usually the sweet spot, depending on how thick your hair is. Arrange them in a crisscross pattern rather than all going the same direction — this distributes weight better and keeps the bun from slipping.
If you’re planning to wear one of these styles for a full day, do your styling when your hair is about 80% dry. Fully dry hair is sometimes too slippery for twisting and braiding, while very wet hair takes forever to set. That sweet spot in between is when you get the best combination of structure, definition, and control.
Sleep in the bun if you want next-day texture — this is actually genius on curly hair. Take it down in the morning and your curls will have beautiful volume and pattern that lasts all day. The bun essentially acts as a curling tool overnight, making your texture even more defined than it would be naturally.
Final Thoughts
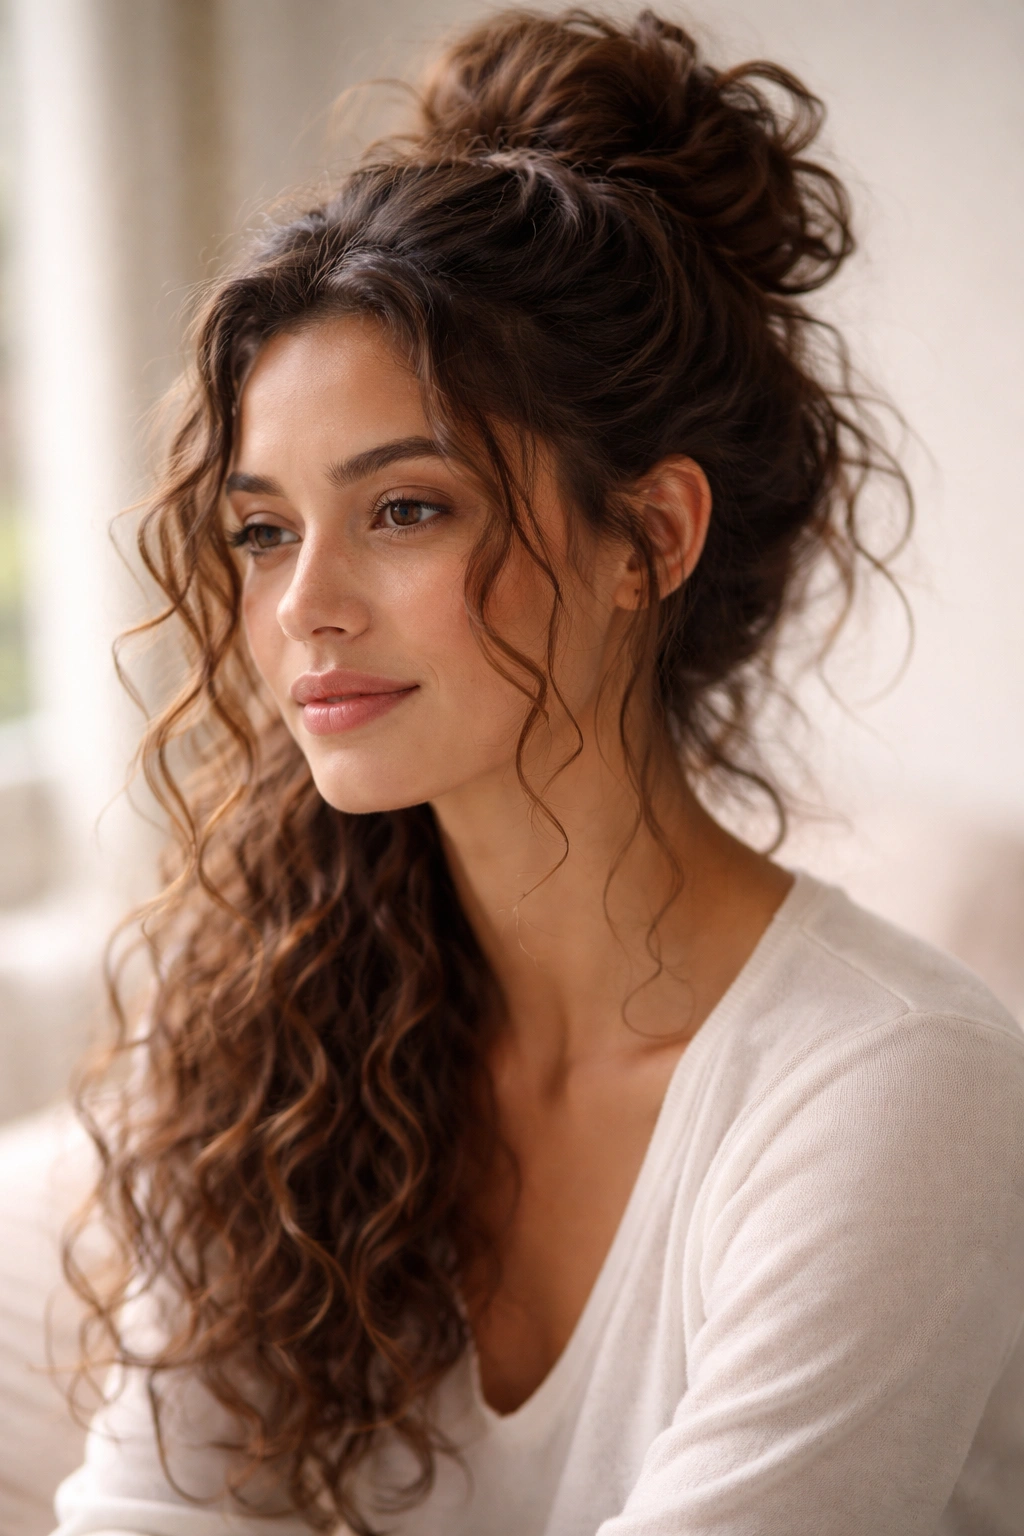
Messy bun styles are genuinely some of the easiest and most flattering options for long curly hair because they work with your texture instead of against it. Your curls naturally provide the dimension, texture, and volume that makes these styles look intentionally styled rather than sloppy — something that straight-haired people have to work much harder to achieve.
The real secret is understanding that “messy” doesn’t mean careless. It means intentionally loose, strategically placed, and celebrating your natural texture. Pick whichever of these styles speaks to your curl pattern and lifestyle, and remember that a bun that looks relaxed after an hour actually looks better than one that’s overtightened from the start. Your curls will thank you, your scalp will be more comfortable, and honestly, you’ll look effortlessly put-together without actually putting in much effort at all.
