



There’s something undeniably effortless about a messy bun that actually takes work to perfect. Shoulder-length hair sits in that sweet spot where it’s long enough to gather into a bun but short enough that gravity and your own hair texture work against you—which is exactly why nailing the right style matters. The best messy buns for shoulder-length hair aren’t about looking like you just rolled out of bed and twisted your hair up. They’re deliberate, thoughtfully undone, and designed to work with the specific challenges that come with hair that lands right at your shoulders.
Shoulder-length hair is tricky. It’s not quite long enough to pile effortlessly into a high, voluminous bun, but it’s long enough that you can’t just grab it all in one go and call it done. Shorter layers fall out. Wispy pieces escape before you’ve even finished securing the elastic. The crown tends to look flat instead of that coveted tousled texture. But when you understand how to work with these constraints—not against them—shoulder-length hair actually creates some of the most interesting, dynamic messy bun variations.
The difference between a messy bun that works and one that looks sloppy comes down to technique, placement, and knowing which style actually suits your hair texture and face shape. Some messy bun styles rely on pre-texture to look intentional; others work best with completely smooth hair first. Some sit high and perky; others nestle low for a more relaxed vibe. Understanding your options means you can choose the right style for the occasion, your hair’s current condition, and the message you want to send.
Why Shoulder-Length Hair Is Ideal for Messy Bun Styles
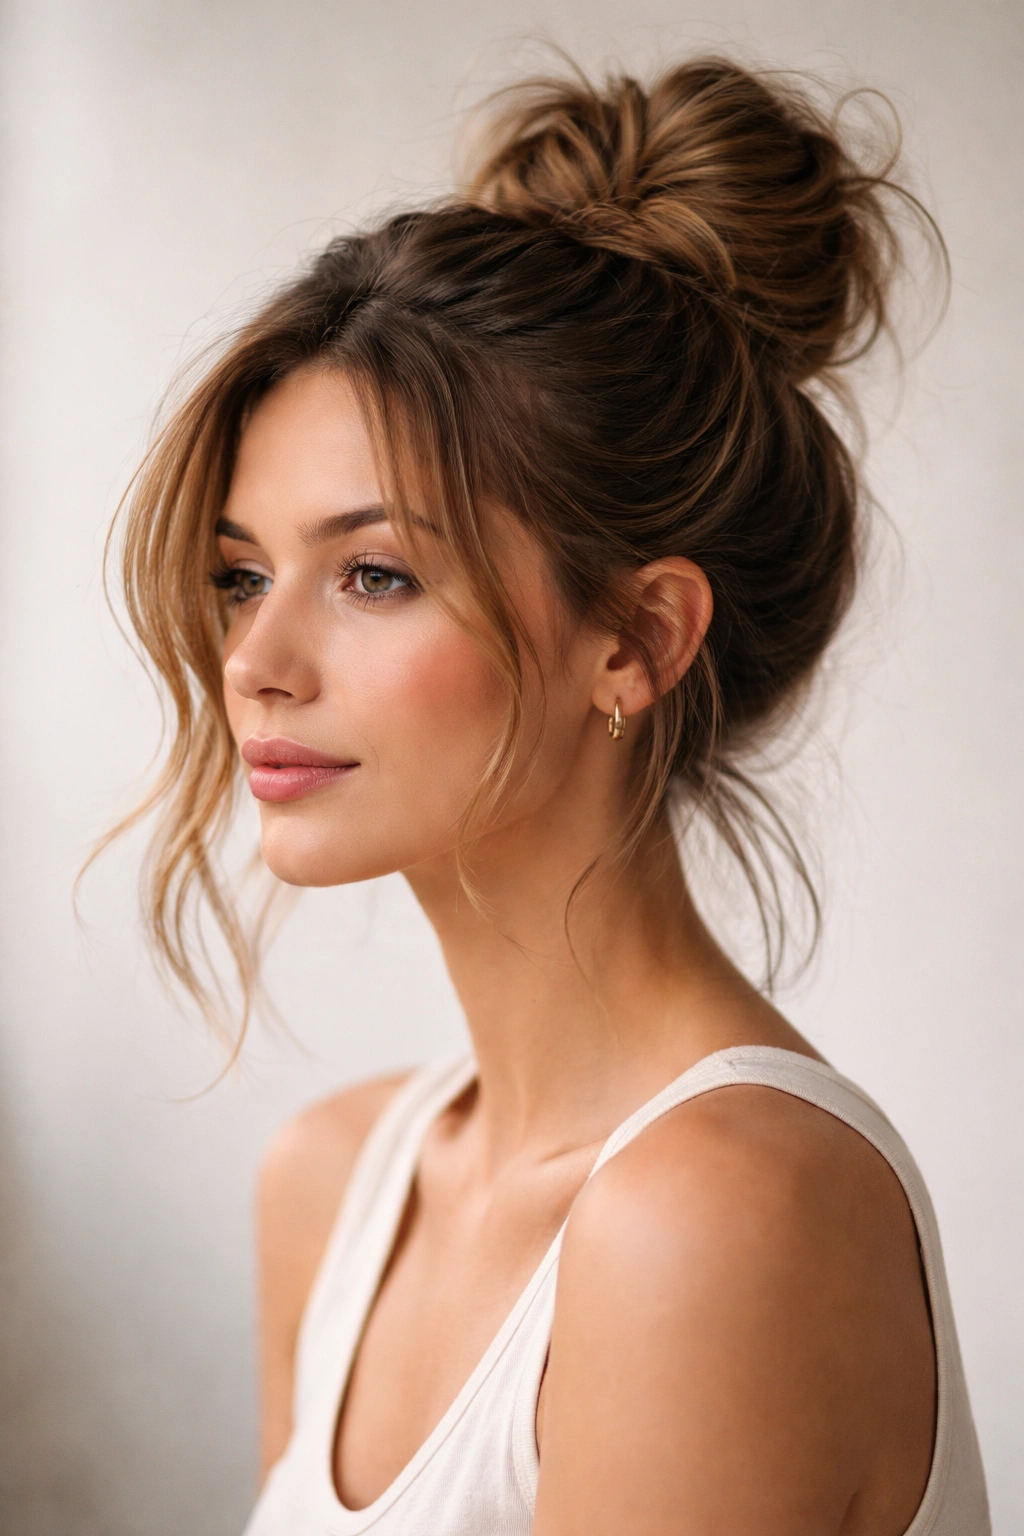
Shoulder-length hair occupies a unique position in the bun hierarchy. It’s long enough that you can actually gather it all into a cohesive shape, but short enough that you can’t hide behind volume and length the way longer hair can. This constraint actually forces you to be more intentional, which makes the final result look more polished and designed—not accidentally unkempt.
The sweet spot of shoulder length means you can experiment with placement and height without fighting gravity constantly. A high bun would feel precarious or oddly proportioned on shorter hair, but with shoulder-length strands, a high bun hits at the right spot on your crown. Similarly, a low bun doesn’t drag down quite as much, so you can wear it looser without worrying it’ll unravel by mid-afternoon.
Shoulder-length hair also shows texture beautifully in a messy bun. When your hair is really long, individual waves and wispy pieces can get lost in the volume. But with shoulder-length hair, each strand of texture reads clearly—a few carefully planned loose pieces frame your face, and the overall shape feels intentional rather than accidental.
The Texture Advantage
Different hair textures create different effects with messy buns. If you have naturally wavy or curly hair, your texture does a lot of the visual work for you—those waves read as intentional movement and dimension even if you’ve just twisted your hair up and pinned it. If you have straight hair, you may need to add texture first with a curling iron or waves, or lean into the sleeker, more graphic versions of messy buns. Neither approach is better; they’re just different.
Essential Tools and Techniques for Messy Buns on Shoulder-Length Hair
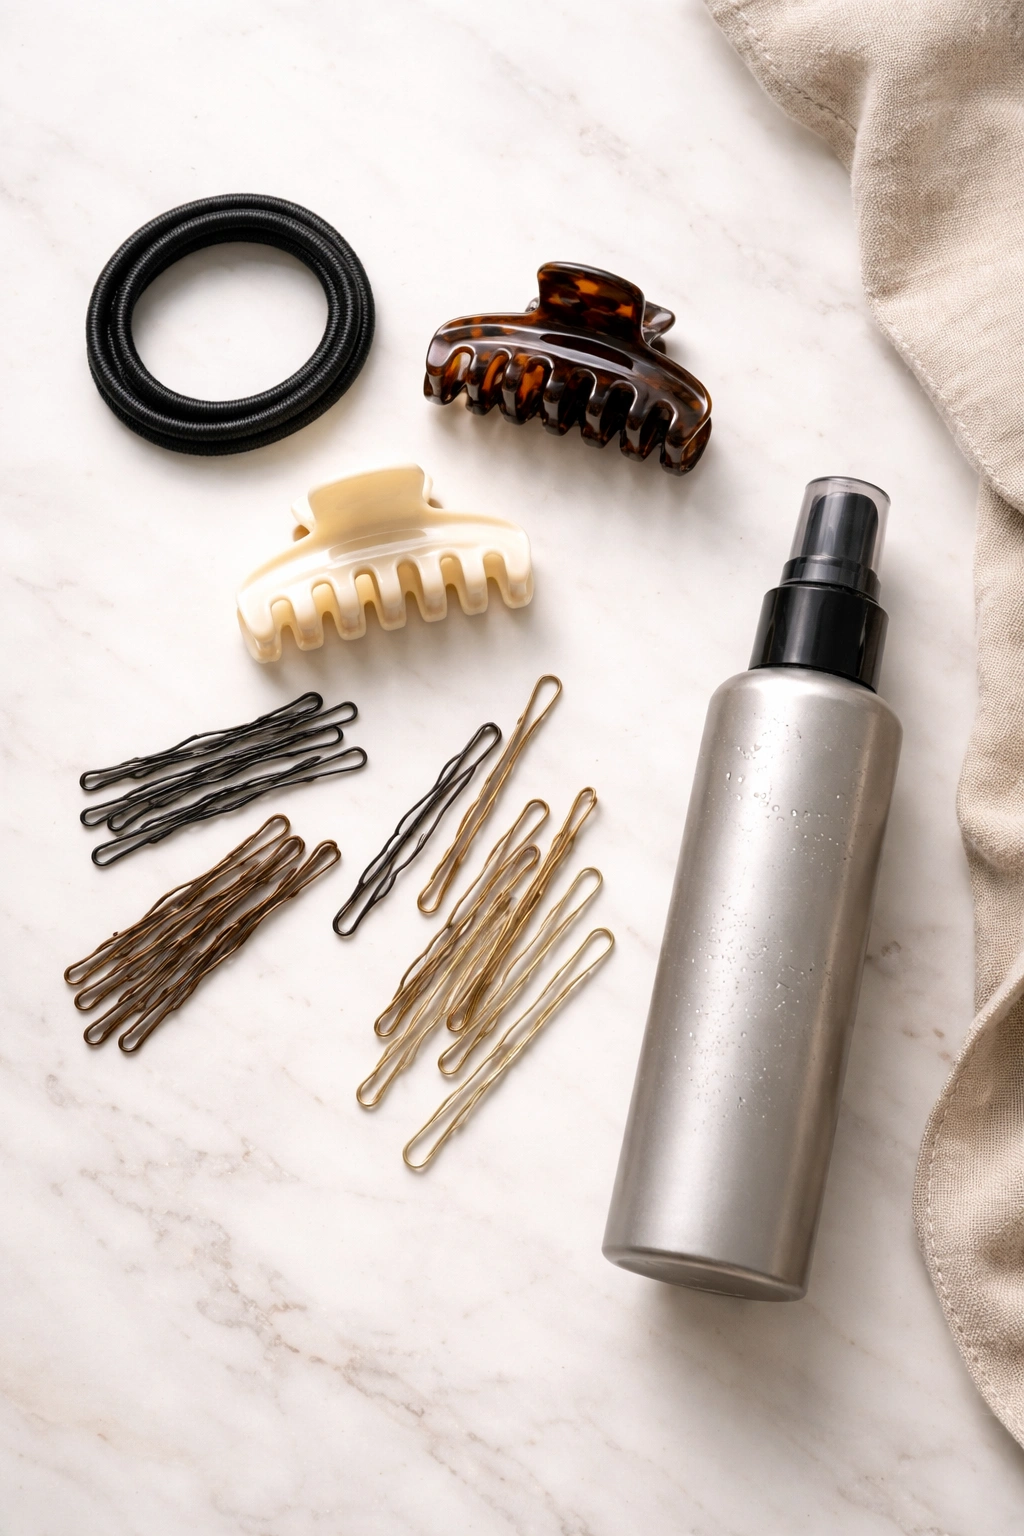
Before diving into specific styles, you’ll need the right tools. A good elastic—not a regular rubber band—makes a massive difference. The elastic should be thick enough that it grips your hair without slipping, but not so thick that it creates a lumpy base. Claw clips, bobby pins (in a color that matches your hair), and a texturizing spray are your messy bun essentials.
Texture spray isn’t optional for most shoulder-length messy buns. Even if you have naturally textured hair, a light mist of texture spray makes strands grip each other better so the bun holds shape longer and those wispy pieces frame your face intentionally rather than falling out randomly. Look for dry texture sprays that add grip without visible residue.
Bobby pins do crucial work in messy buns. You’ll typically need 4-6 pins per bun, depending on how secure you want it and how slippery your hair is. The trick is pinning strategically—not randomly stabbing pins everywhere, but anchoring the sections that actually need it: the base where the bun sits, any loose twists that need securing, and the wispy pieces you want to keep framing your face exactly where you’ve placed them.
Pin Placement Strategy
The base of your bun—where the elastic sits—needs at least two pins going in opposite directions to anchor it firmly. Then pin any loose sections that are meant to stay out: if you’ve twisted pieces around the bun or left a section untwisted for texture, pin those so they stay exactly where you’ve designed them. The wispy pieces framing your face don’t usually need pins unless your hair is very slippery or you need them to last through an active day.
1. Classic Undone Messy Bun
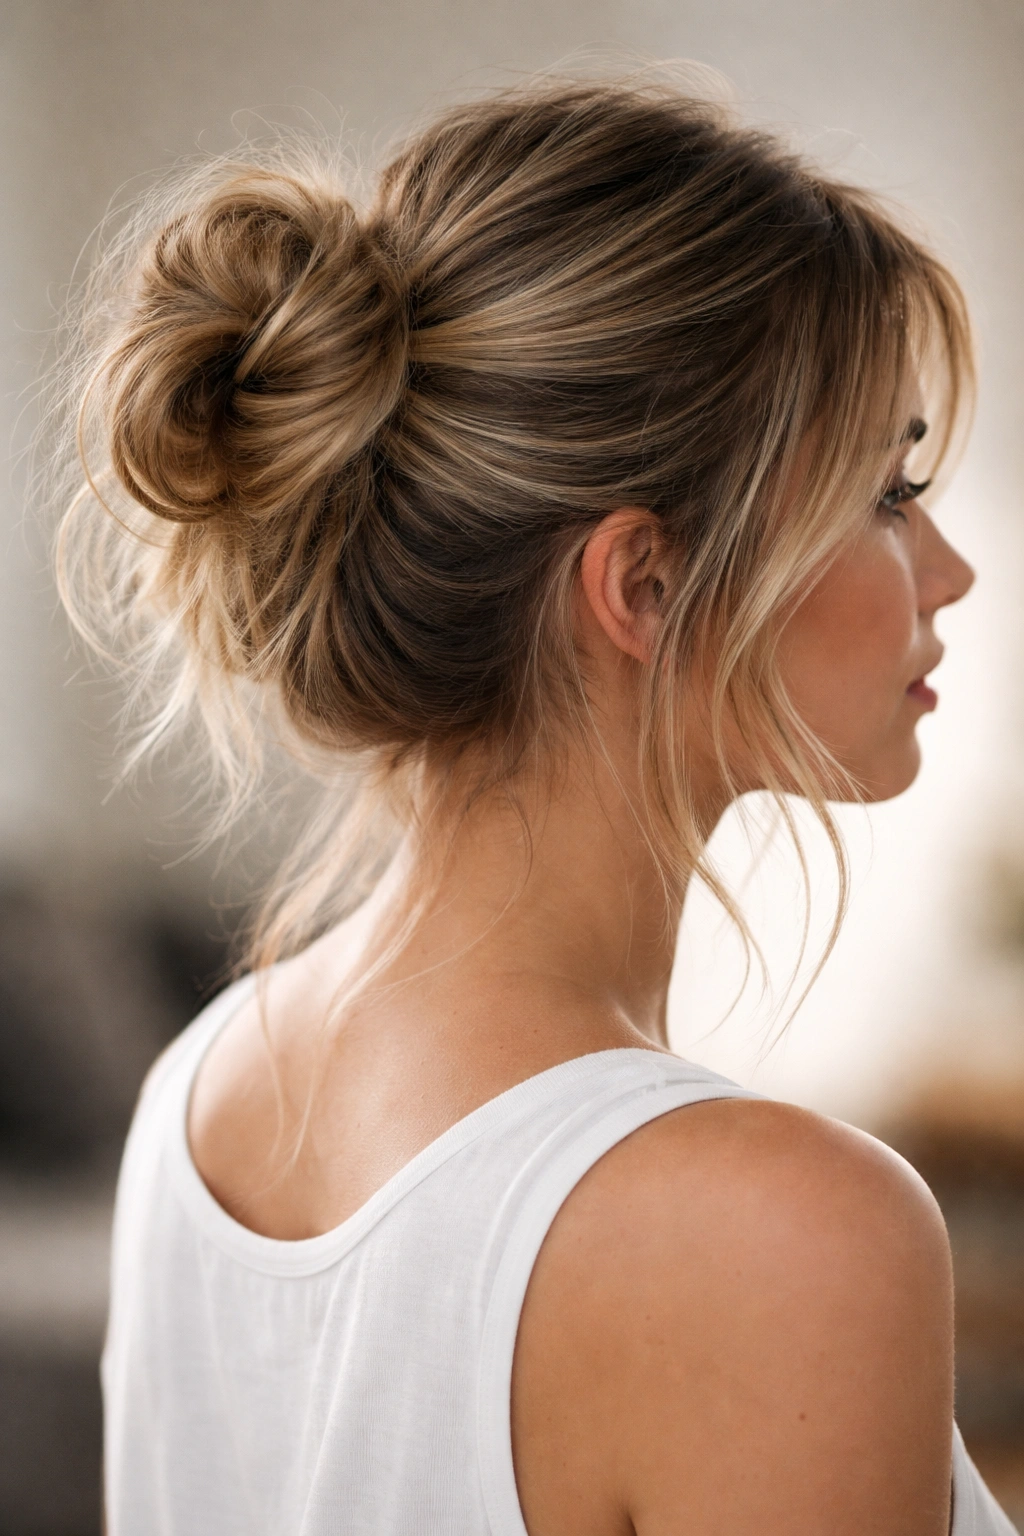
This is the foundation style—the one that looks effortless but absolutely requires intention. You’ll see this messy bun everywhere because it works. It’s high enough to feel polished, loose enough to look relaxed, and textured enough that your shoulder-length hair doesn’t look like you just grabbed it all and twisted. The key is that it’s not actually random; every loose piece is either intentional or placed to look intentional.
Start with slightly textured hair—either natural texture, waves from the night before, or a quick pass with a curling iron. Gather your hair into a high ponytail, securing it with an elastic at the crown. Don’t make the ponytail perfectly smooth; you want it loose enough that there’s already some texture happening at the base. Twist the ponytail loosely, then wrap it around the base of the elastic to form a bun shape. Secure with bobby pins as needed.
Here’s where the “messy” part actually matters: pull a few small sections of hair from around the bun—especially near your face and temples—and gently loosen them so they frame your face. Don’t yank them out or create a stringy effect; instead, lightly tease the bun itself so the whole thing gets a bit fluffier and less defined. The result should look like you made a bun and then finger-combed it gently, not like you forgot to finish getting ready.
Why This Works for Shoulder-Length Hair
On shoulder-length hair, this style avoids looking too sparse because your hair naturally has more density at the scalp. The high placement balances your proportions well—not so high that it emphasizes the shortness of your hair, but high enough that it reads as intentional. The loose pieces frame a shoulder-length face beautifully.
Variations and Adjustments
If you have very straight hair, curl it first—even loose waves make a massive difference in how a messy bun reads. If your hair falls out of buns easily, use a heavier-hold texture spray and more bobby pins. For a softer effect, leave more pieces out; for a cleaner look, tuck more back into the bun shape. This style works for every hair texture and every occasion from running errands to casual Fridays at work.
Pro tip: The night before you wear this style, sleep on braids or braid-waves so your hair has built-in texture. You’ll need far less styling time, and the texture lasts all day.
2. Twisted Crown Messy Bun
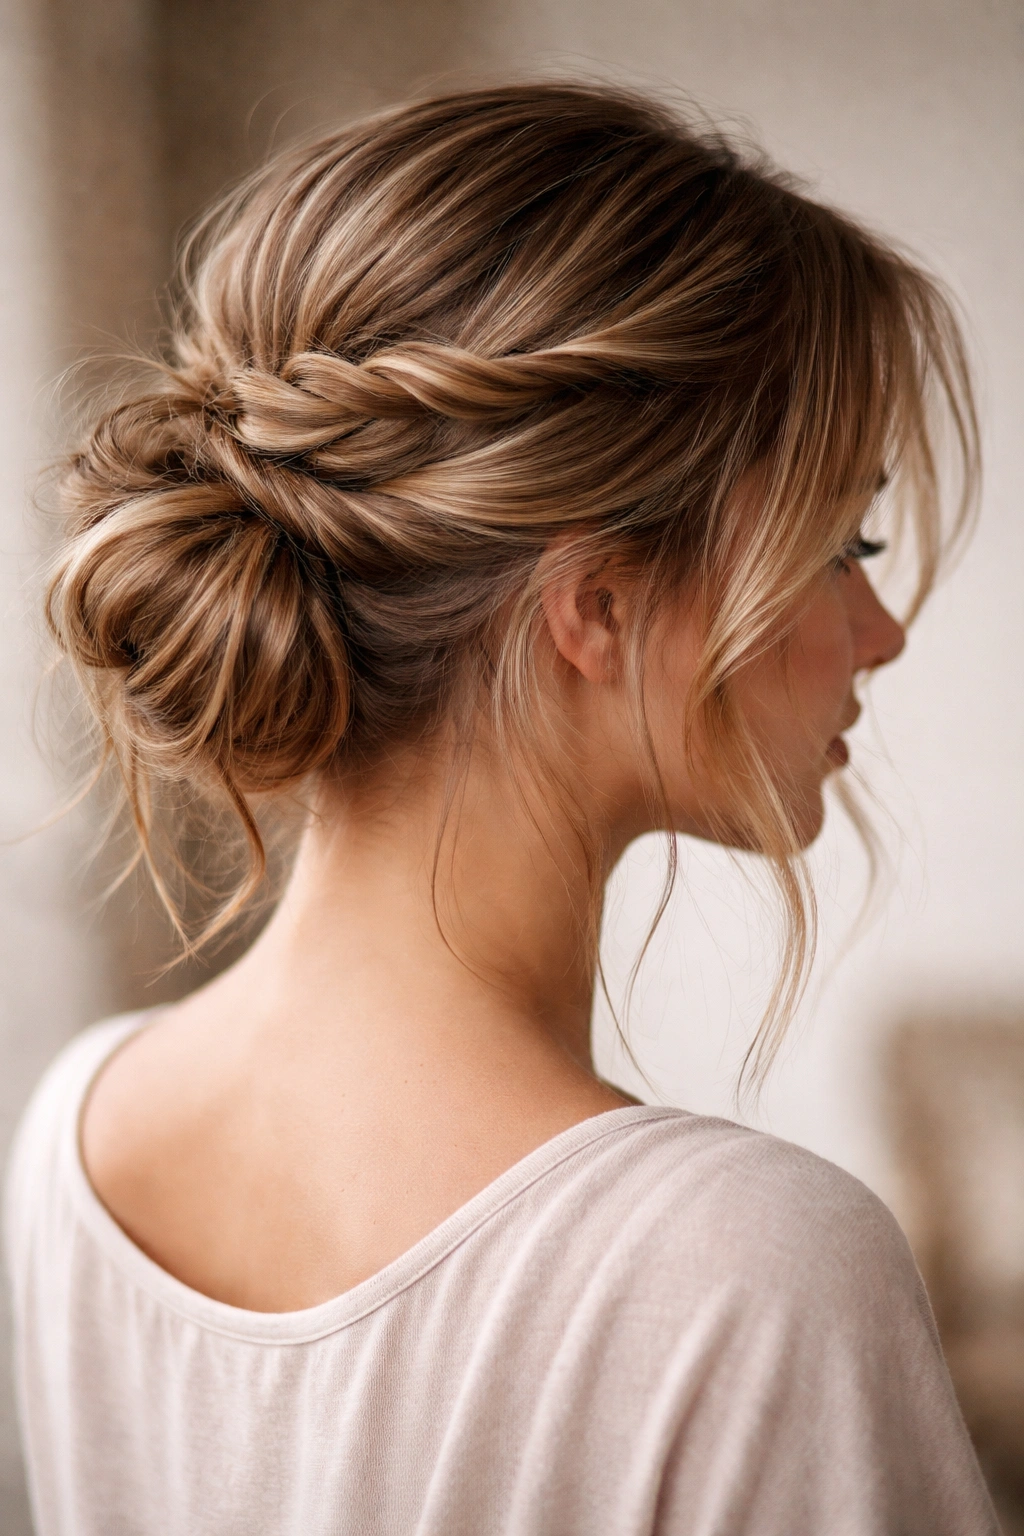
This style creates a more graphic, intentional look than the classic messy bun. Instead of a simple ponytail twisted into a bun, you’re creating defined twists that wrap around the crown of your head, then securing them into a low bun at the nape. On shoulder-length hair, this creates a really elegant frame and works beautifully for dressier occasions.
Divide your hair into two sections—one from each side of your head. Starting at your temple, twist each section loosely, pulling the twist from temple toward the back of your head. As you twist, pull out small pieces of hair so the twist looks intentionally wispy from the start. When both twists meet at the back, gather everything into a low ponytail and secure with an elastic. Twist or braid the ponytail loosely, then wrap it into a bun shape, securing with bobby pins.
The effect is a bun with defined twisted sections framing your face and head. This works beautifully on shoulder-length hair because those twists create visual interest and texture that makes the bun look fuller than it actually is. The low placement is flattering for most face shapes and works with everything from jeans to dresses.
Managing Flyaways with This Style
The twisted crown technique naturally creates flyaways because you’re pulling and twisting. Use a lightweight smoothing serum on the twists before you start so they stay sleek and defined. Pin the twists occasionally as you create them so they don’t unwind as you work. After the bun is complete, smooth any remaining flyaways with a fine-tooth comb and a tiny bit of serum.
How to Adjust Tightness
The beauty of the twisted crown is that you control how tight or loose the twists are. Tighter twists look more polished and work well for professional settings or evenings out. Looser, more relaxed twists create a softer, more romantic vibe and work beautifully for weekend plans or casual gatherings. The same technique just changes personality based on how much tension you use while twisting.
Worth knowing: This style looks stunning with a delicate hair accessory—a pearl bobby pin or small comb clipped into the bun adds instant elegance without reading as overdone.
3. Braided Messy Bun
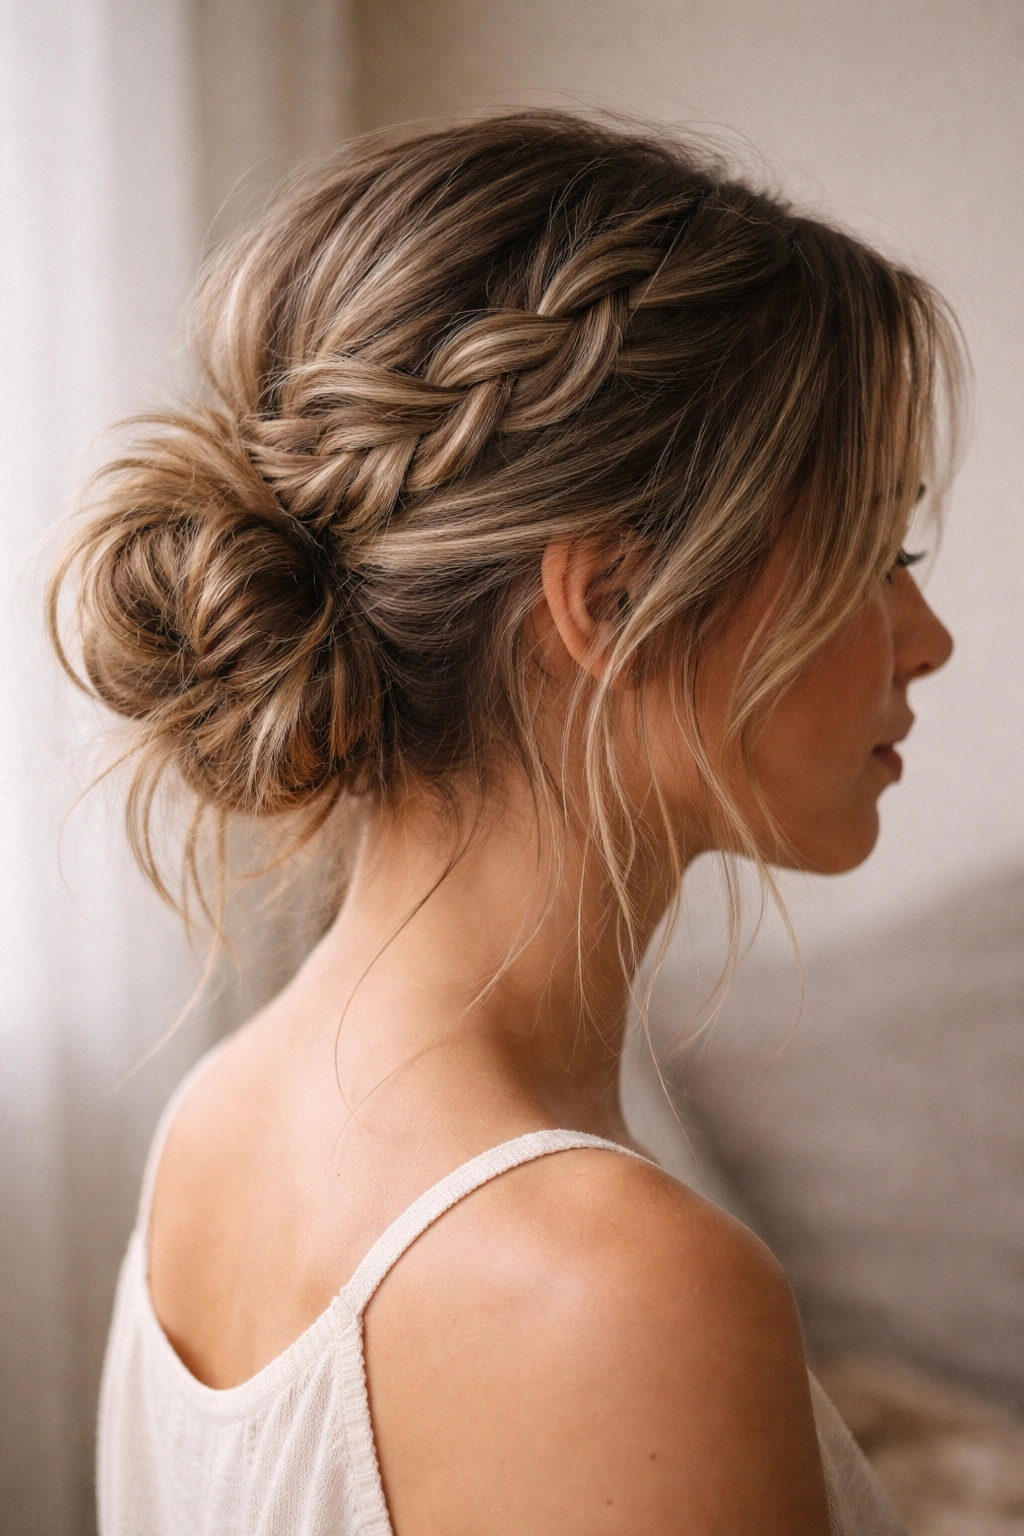
Braids create instant, built-in texture and visual interest that works perfectly on shoulder-length hair. A braided messy bun looks more intentional and intricate than a twisted bun, but it’s actually just as easy once you get the basic braid down. This style works particularly well if your hair is on the straighter side since the braid creates all the texture you need.
Start by creating a French braid from your hairline toward the back of your head—or multiple braids, depending on how you want them placed. A single loose French braid from one temple to the back works beautifully, as does a braided crown created from two braids on either side meeting at the back. As you braid, intentionally loosen the braid so it looks undone and textured rather than tight and uniform. Pull small pieces of hair out of the braid so it reads as intentionally wispy.
Gather all your hair at the back of your head into a low or mid-height ponytail and secure. Braid the ponytail loosely, then wrap it around the base to form a bun, pinning as needed. The effect is a bun with one or more defined braids creating height and texture, with the bun itself being looser and less structured.
Braid Texture for Short Hair
On shoulder-length hair, looser braids read much better than tight ones. A tight braid can look overly formal or stiff, especially if your hair is already shorter. Loose braids create a relaxed, modern vibe that works for more occasions. You can control how loose your braid is by pulling the sides gently as you create it—don’t wait until the braid is finished to add texture; do it while you’re braiding.
Single vs. Multiple Braids
A single French braid creates a sleek look with clear visual interest. Two braids (one from each side meeting at the back) create a more playful, boho vibe. Three smaller braids pulled into the bun create an even more textured, intricate effect. Experiment to see which visual works with your hair texture and face shape.
Quick facts:
- Braids hold longer than twisted buns, so this style is ideal if you need it to last all day or into the evening
- This works beautifully on wavy, textured, and curly hair since the braid shows off natural texture
- The braided crown effect works across all face shapes and reads as polished enough for work or special occasions
4. Textured Pixie Messy Bun
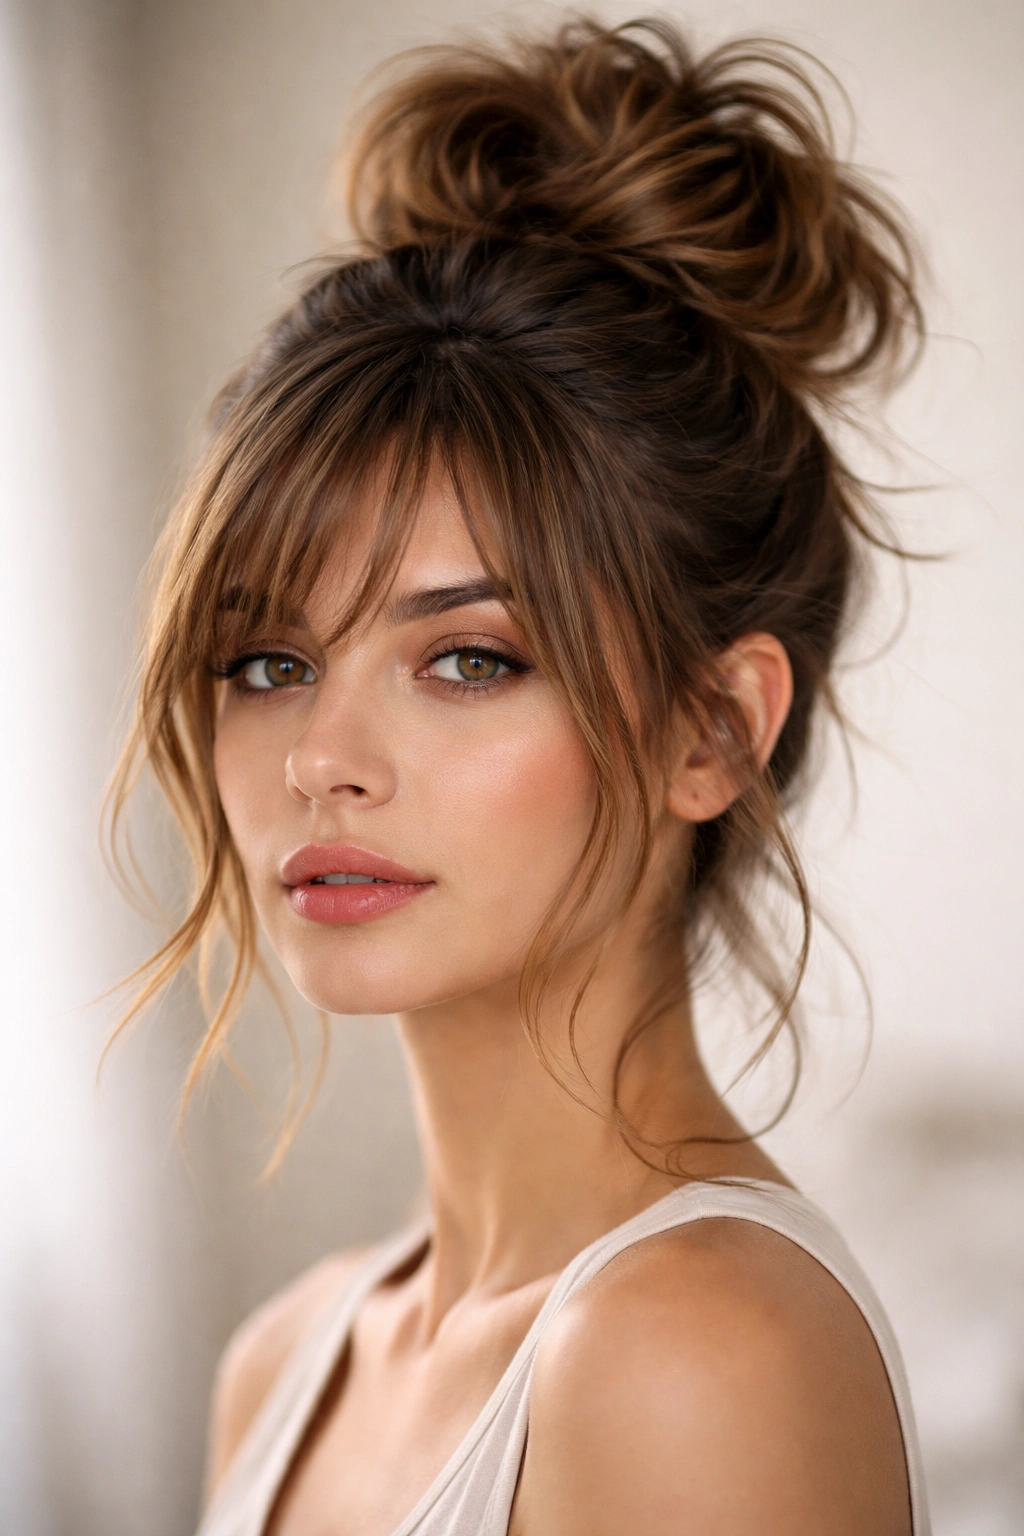
This style is somewhere between a pixie cut and a proper messy bun—it sits high on your crown and stays relatively compact, creating the illusion that your hair is shorter and choppier than it actually is. It’s perfect for shoulder-length hair because the shorter appearance is actually flattering and interesting, not unfinished.
Start by creating heavy texture through your hair with a curling iron or waves, or work with your natural texture if you have it. Gather your hair into a high, tight ponytail at the crown. Create a loose twist or braid with the ponytail, then wrap it compactly around the base so the bun sits high and relatively close to your head rather than sprawling out. Secure with multiple bobby pins so it stays tight and structured.
The key to this style is the texture. The waves or curls show through the bun, creating visual interest and making the bun read as intentional rather than sparse. Pull out a few face-framing pieces and let them be slightly messier than the bun itself—the contrast between the structured high bun and the loose pieces framing your face creates the whole vibe.
Achieving Maximum Texture
Use a curling iron with a 1-inch barrel for waves, or a smaller 3/4-inch barrel if you want tighter curls. Curl away from your face on the front sections, which automatically creates flattering pieces that frame your face. Apply texture spray before curling if your hair is slippery, so the curls hold better.
The High Crown Placement
On shoulder-length hair, a high bun can sometimes look unbalanced if it’s too sparse. This style works because the texture creates the illusion of fullness. If your bun still looks too small, pin hair in such a way that you create a slightly larger base—pin the ponytail at a slight angle so it creates a wider foundation, then wrap the bun around that base.
Real talk: This is the most high-maintenance messy bun style because the texture needs to look fresh all day. If you go this route, commit to curling your hair morning-of or using a texture spray that reactivates with a little humidity and finger-combing.
5. Smooth Side Messy Bun
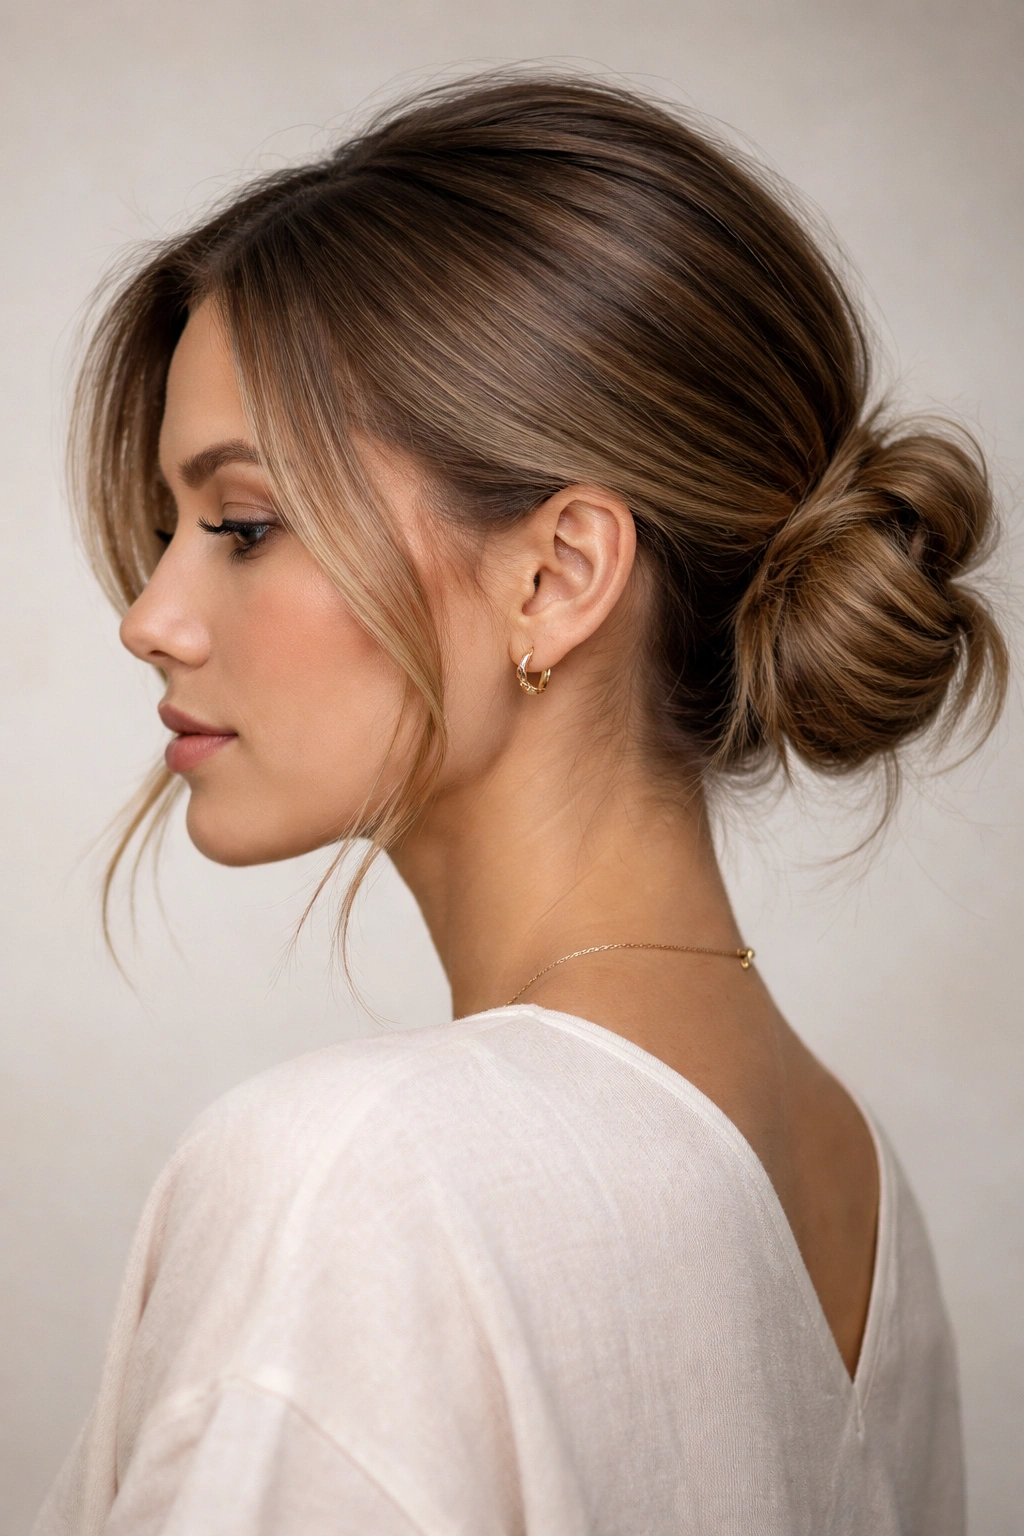
This style is for when you want your messy bun to read as actually polished rather than actually messy. It works beautifully on shoulder-length hair and is sophisticated enough for professional settings or dressier occasions. The “smooth” part creates graphic elegance, while the “messy” part keeps it from looking too severe.
Brush your hair smooth and sleek. Create a deep side part and brush everything to one side of your head. Gather your hair into a low bun on that side—so you’re creating an off-center, asymmetrical placement. Secure the ponytail with an elastic, then twist or braid the ponytail loosely and wrap it around the base to form the bun. The smooth, slicked side creates a strong visual statement while the low, slightly loose bun on the other side prevents it from feeling too uptight.
Pull a few very small pieces of hair around the bun to add softness—you’re not going for maximum messiness here, just enough texture to keep it from reading as a tight ballet bun. This style works beautifully with an exposed undercut or shaved side because the smoothness on one side creates a canvas for any design or gradient you have.
The Low Placement Advantage
On shoulder-length hair, a low bun is easier to balance than a high one. The low, side placement creates an elegant line down the back of your head and neck, which is flattering for most people. It also keeps the bun from feeling sparse because you’re using the length of your hair to your advantage.
When to Use Texture Spray vs. Gel
For this style, if you want the slicked side to stay smooth all day, use a lightweight gel or smoothing serum rather than texture spray. You want that side to read as intentionally smooth, not naturally textured. Reserve the texture spray for any undone pieces around the bun itself.
Insider note: This style photographs beautifully because the side placement and smooth-meets-messy contrast creates visual depth and sophistication that reads well on camera.
6. Double Messy Bun
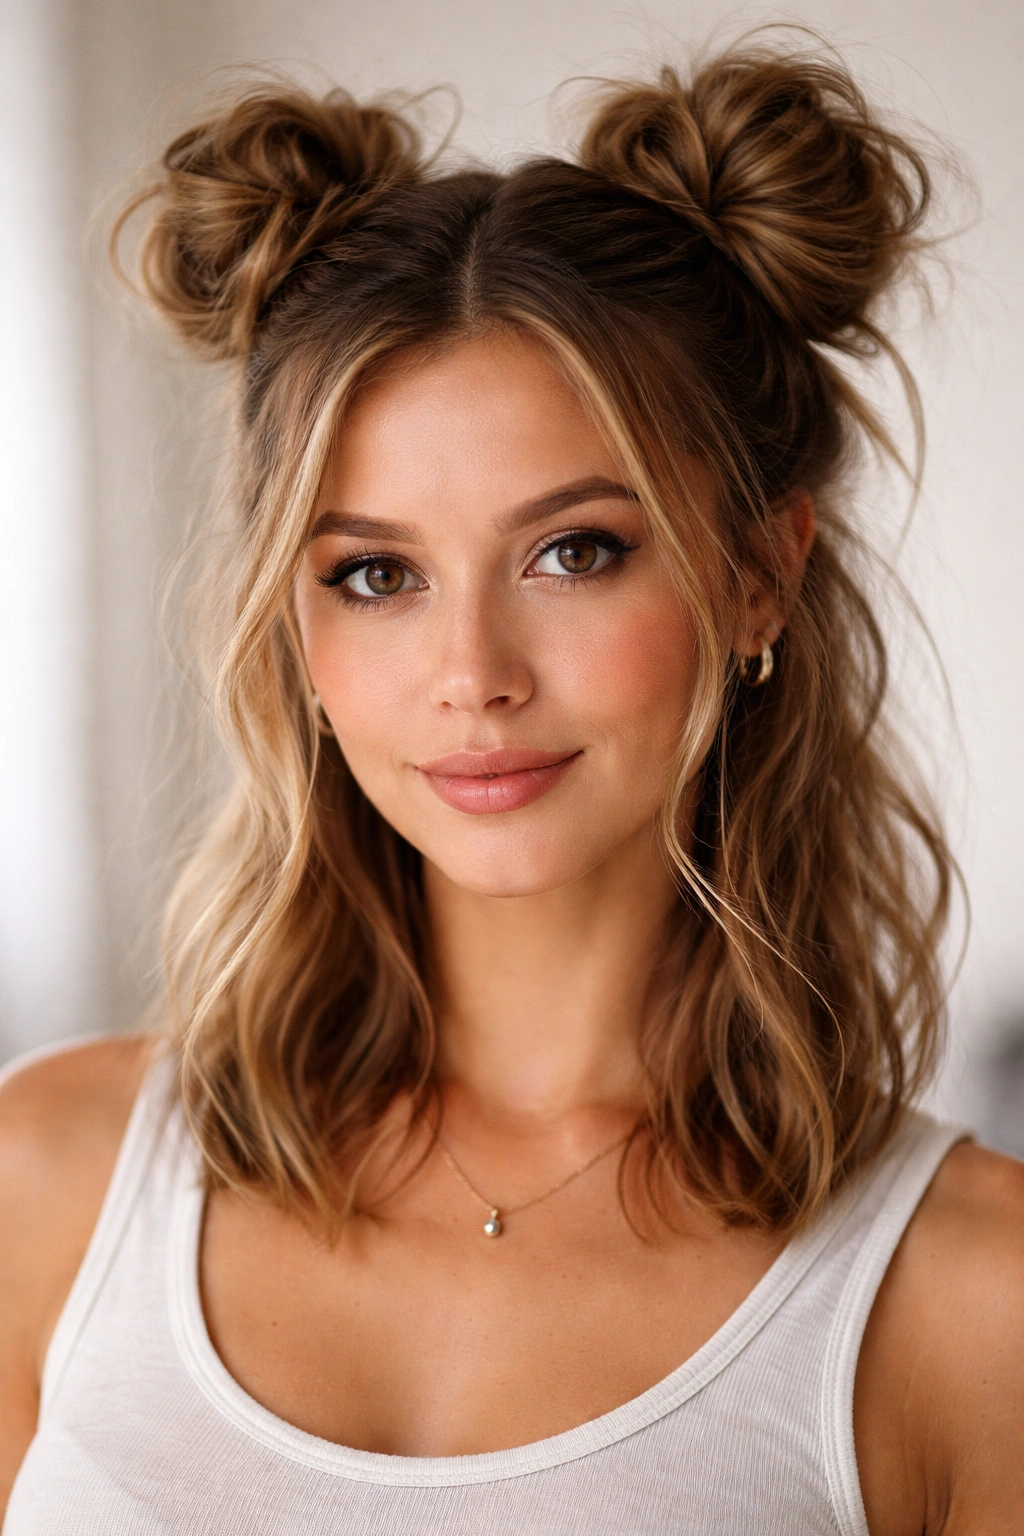
This is the playful, trend-leaning option—two smaller buns instead of one, usually placed one on each side of your head. On shoulder-length hair, this creates a fun, youthful vibe that works for casual occasions, creative industries, or when you just want to feel a little different. It’s also more secure because you’re distributing your hair weight across two anchors instead of one.
Divide your hair into two even sections from front to back, creating a center part. Gather one section into a ponytail at ear level on that side, then twist or braid it loosely and wrap it into a small bun, securing with bobby pins. Repeat on the other side. You now have two matching buns, one on each side of your head.
The beauty of this style on shoulder-length hair is that you can make the buns as loose and wispy or as compact and structured as you want. Looser buns with more pieces pulled out create a softer, more romantic feel. Tighter, more compact buns look sharper and more graphic. The scale also works better on shoulder-length hair—two smaller buns read as intentional and cute rather than overdone or childish.
Placement Options
The most common placement is one bun on each side at roughly ear level. But you can also place them higher for a more whimsical effect, or lower and closer to the nape for a softer look. Experiment with placement to see what flatters your face shape and hair texture.
Making Them Match or Intentionally Uneven
Twin buns should match in size and texture for a cohesive look. Create them in the same order every time (ponytail, twist, wrap, pin) so they have consistent shape. If you intentionally want them to be uneven or one messier than the other, commit to that choice—make it look deliberate rather than like you got interrupted halfway through.
Quick facts:
- This style distributes weight evenly, so it’s comfortable to wear for long periods
- It works beautifully with any hair texture and reads as fun on any face shape
- The double structure means the buns stay secure much longer than a single bun—they won’t unravel mid-day
- You can wear this exact style sleeker for athletic purposes or messier for casual wear, just by adjusting how tight or loose you make the buns
Pro Tips for Messy Buns That Actually Last
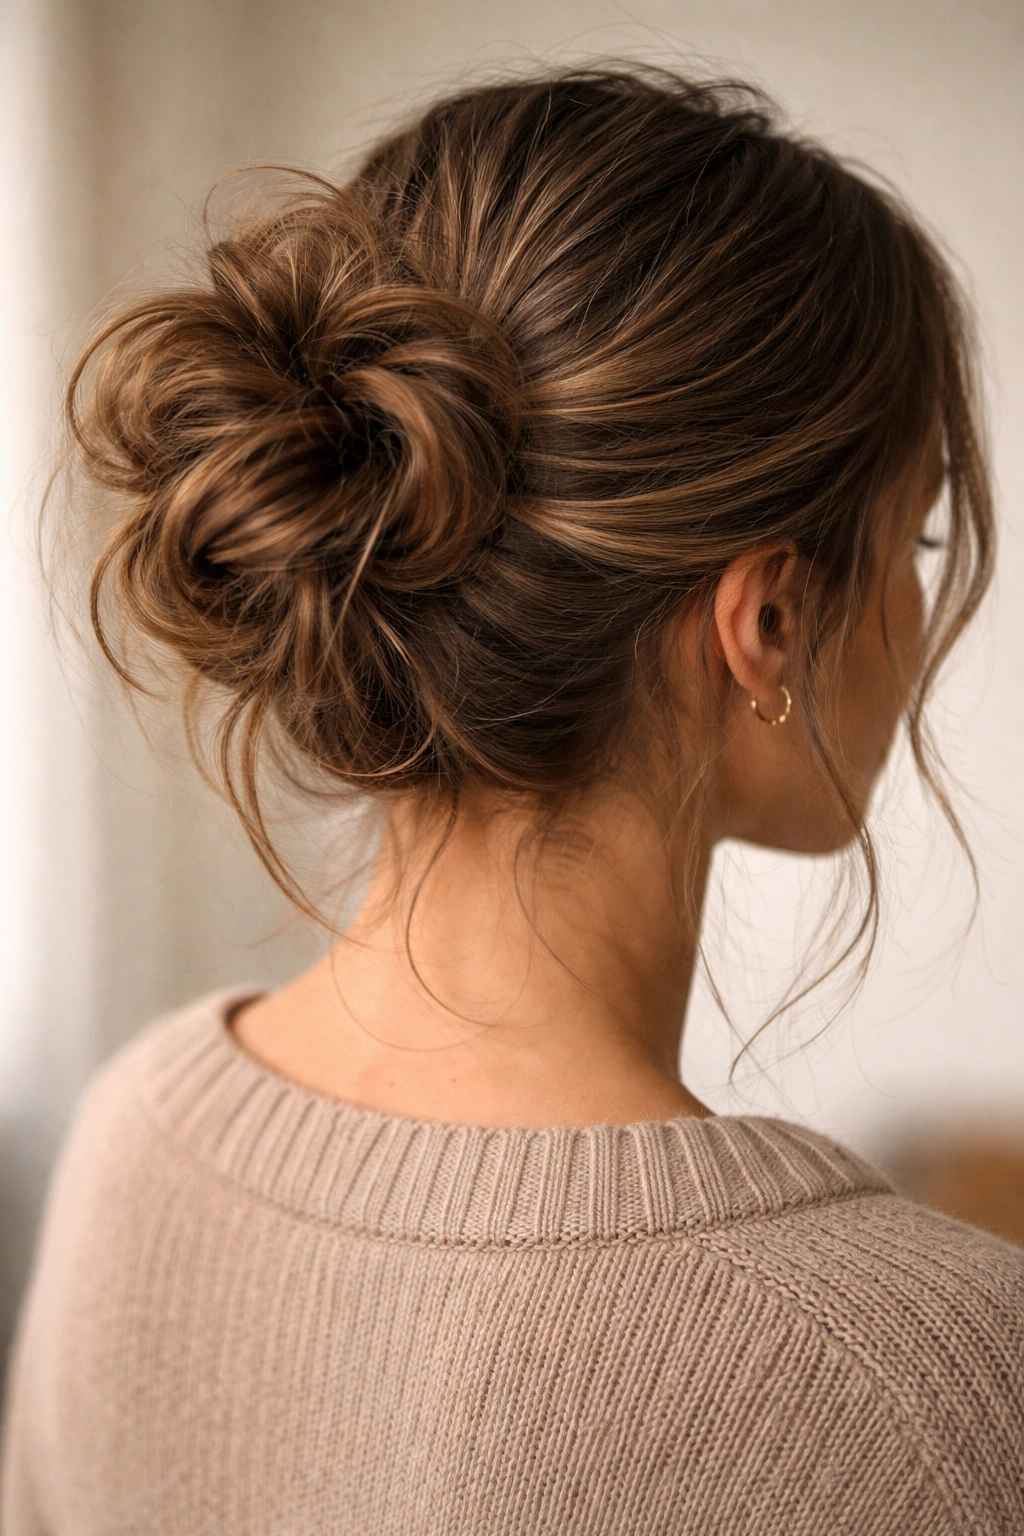
The difference between a messy bun that survives your entire day and one that falls apart by 2 p.m. comes down to a few specific techniques. First, texture is your friend—use texture spray or create waves before you start gathering your hair into the bun. Hair with texture grips itself better than completely smooth hair, so everything stays secure longer.
Second, the base matters enormously. Your bun is only as secure as where the elastic sits and how firmly it’s pinned. Create a ponytail that’s tight enough to hold but loose enough that you can still tuck sections into the bun. Once the elastic is in place, secure it with at least two bobby pins going in opposite directions—this prevents the entire bun from rotating or sliding.
Third, understand that some hair types just won’t hold a bun as well as others. If you have very straight, slippery hair, you’ll need more texture spray, a firmer elastic, and more bobby pins than someone with naturally wavy hair. This isn’t a failure; it’s just working with what you have. Adjust your technique to your hair’s reality rather than expecting it to behave like someone else’s hair.
Heat Protection While Styling
If you’re using a curling iron to create texture before your bun, always use a heat protectant spray first. Heat damage makes hair more fragile and slippery, which means your bun won’t hold as well. A heat-damaged ponytail is also more likely to snap and break while you’re trying to style it.
Refreshing Messy Buns the Next Day
If you’re trying to make a messy bun last more than one day, refresh the texture before rewearing it. A light mist of dry texture spray and a little finger-combing revives the shape. You can actually wear some messy buns two or three times before needing to wash your hair again—the bun actually sets your hair wave pattern slightly, so the second or third day sometimes looks even better than the first day.
Working With Different Hair Textures and Lengths
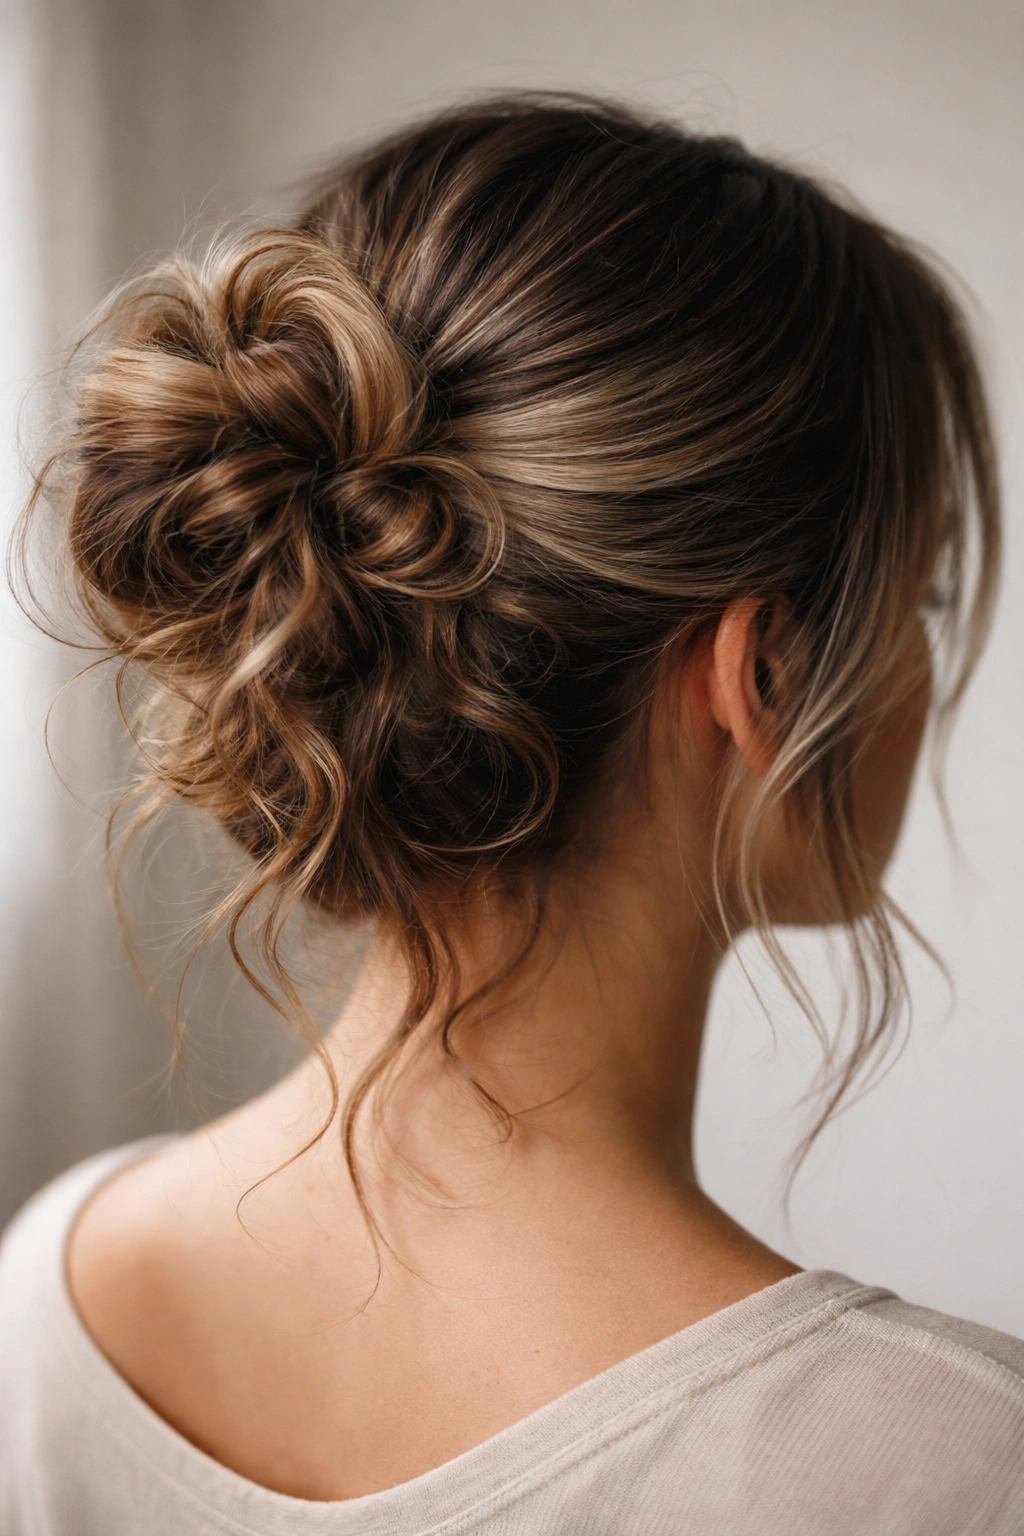
Straight hair needs the most help creating texture—consider that non-negotiable if you have straight hair and want your bun to look intentionally undone rather than accidentally sparse. Wavy and curly hair already has built-in texture, so you can often skip the curling iron and just refresh your waves with texture spray. Textured and coily hair creates beautiful, graphic bun shapes and benefits from heavier-hold products and more bobby pins since the bun shape naturally reads as structured rather than limp.
Very fine or thin hair looks best in tighter, more compact bun styles rather than loose, sprawling versions. A classic undone messy bun might look sparse on fine hair, while a textured pixie bun or braided bun creates the illusion of more volume. Thicker hair is more forgiving and can carry off looser, more relaxed bun styles without looking empty.
Shoulder-Length Hair With Layers
If your shoulder-length hair has face-framing layers, you can either tuck them into the bun or let them frame your face. Tucked in, the bun reads cleaner and more polished. Framing your face, those layers add softness and movement. Decide which aesthetic you want before you start styling—if you want layers framing your face, pull them out and style them separately rather than expecting them to accidentally fall into place.
Short Layers and Breakage Prevention
Shorter layers are more likely to fall out of a bun or stay stubbornly outside the shape you’re creating. Smooth them down with a little serum or light gel before gathering your hair, which helps them grip and stay where you’ve placed them. Short layers also benefit from bobby pins more than longer, heavier hair does.
Styling These Buns for Different Occasions
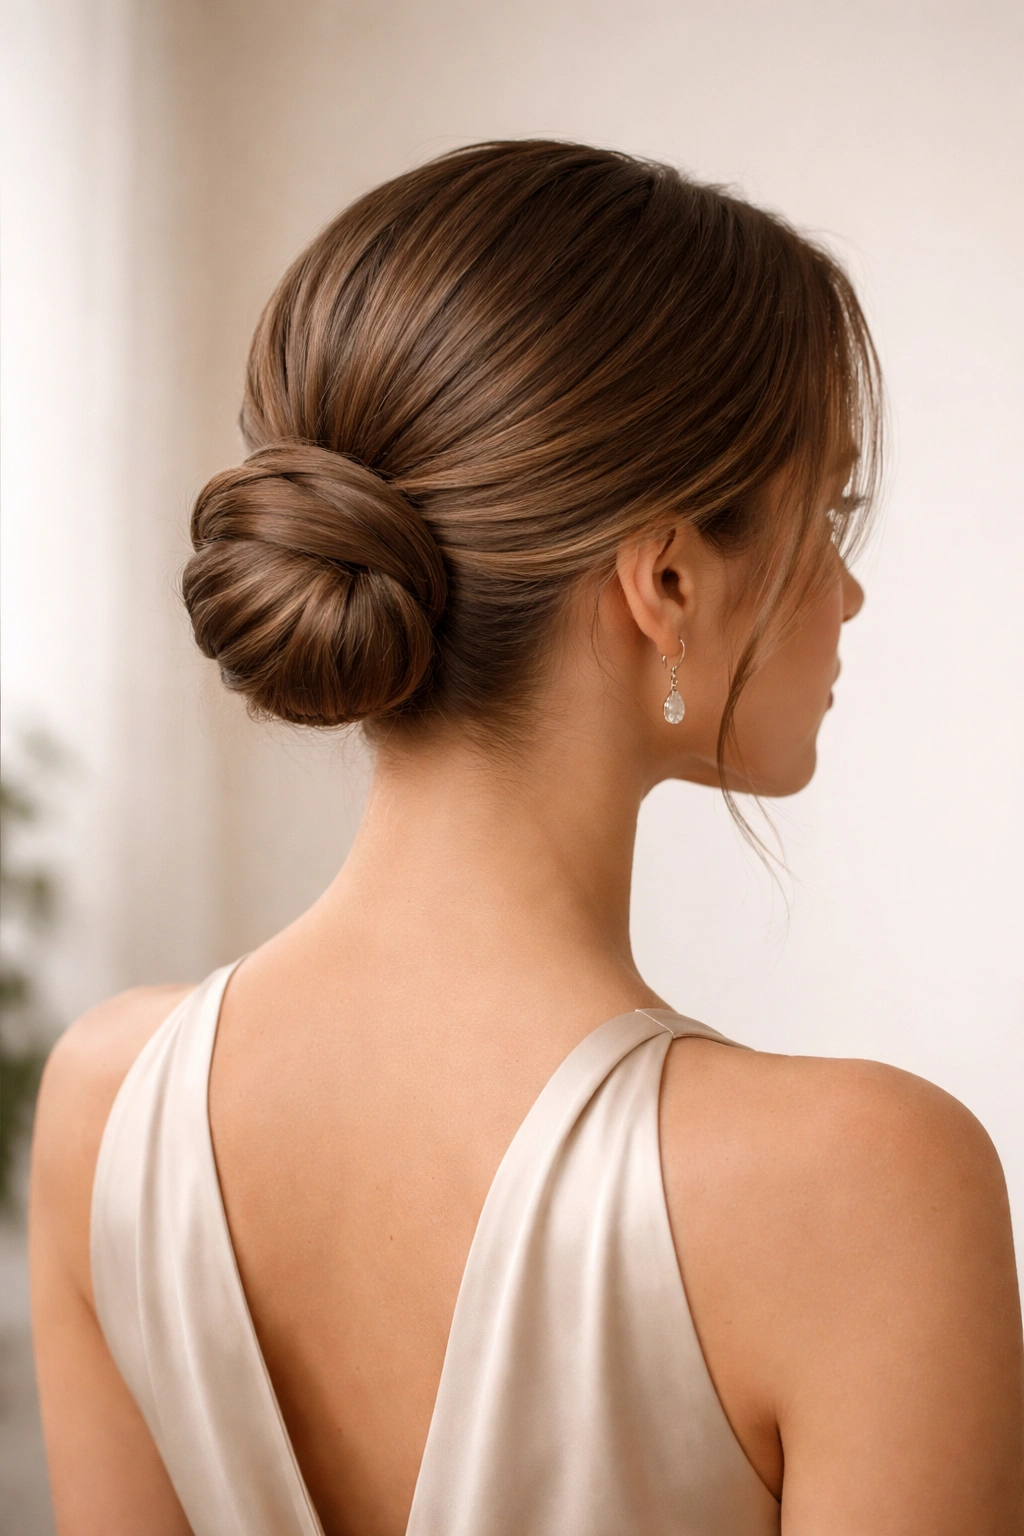
A messy bun can read casually or polished depending on what you pair it with. The exact same bun style looks different with a crop top and sneakers versus a blazer and heels. Use your bun as the foundation and let the rest of your styling determine formality.
For casual days, lean into the messiness—pull out more face-framing pieces, use lighter hold products, and keep makeup minimal and natural. For work or more formal occasions, tighten your bun slightly, secure it well, and pair it with polished makeup and put-together clothes. The bun itself can stay the same; the context around it changes how it reads.
Accessories elevate a messy bun instantly. A delicate comb, decorative bobby pins, or a silk scrunchie visible as part of the bun adds intentionality and luxury. For athletic activities or really active days, just focus on making the bun very secure rather than adding accessories.
Bun Styling for Special Occasions
For formal events, consider the textured pixie bun or smooth side bun—both read more polished and intentional than a truly undone messy bun. You can still incorporate messy elements (a few loose pieces, wispy texture), but the overall structure should feel deliberately designed. Pair with an exposed neck (no hair blocking your neckline), and consider that the back of your head, your neck, and your ears are now exposed—make sure your makeup includes these areas and your outfit complements the exposed shape of your head and neck.
Final Thoughts
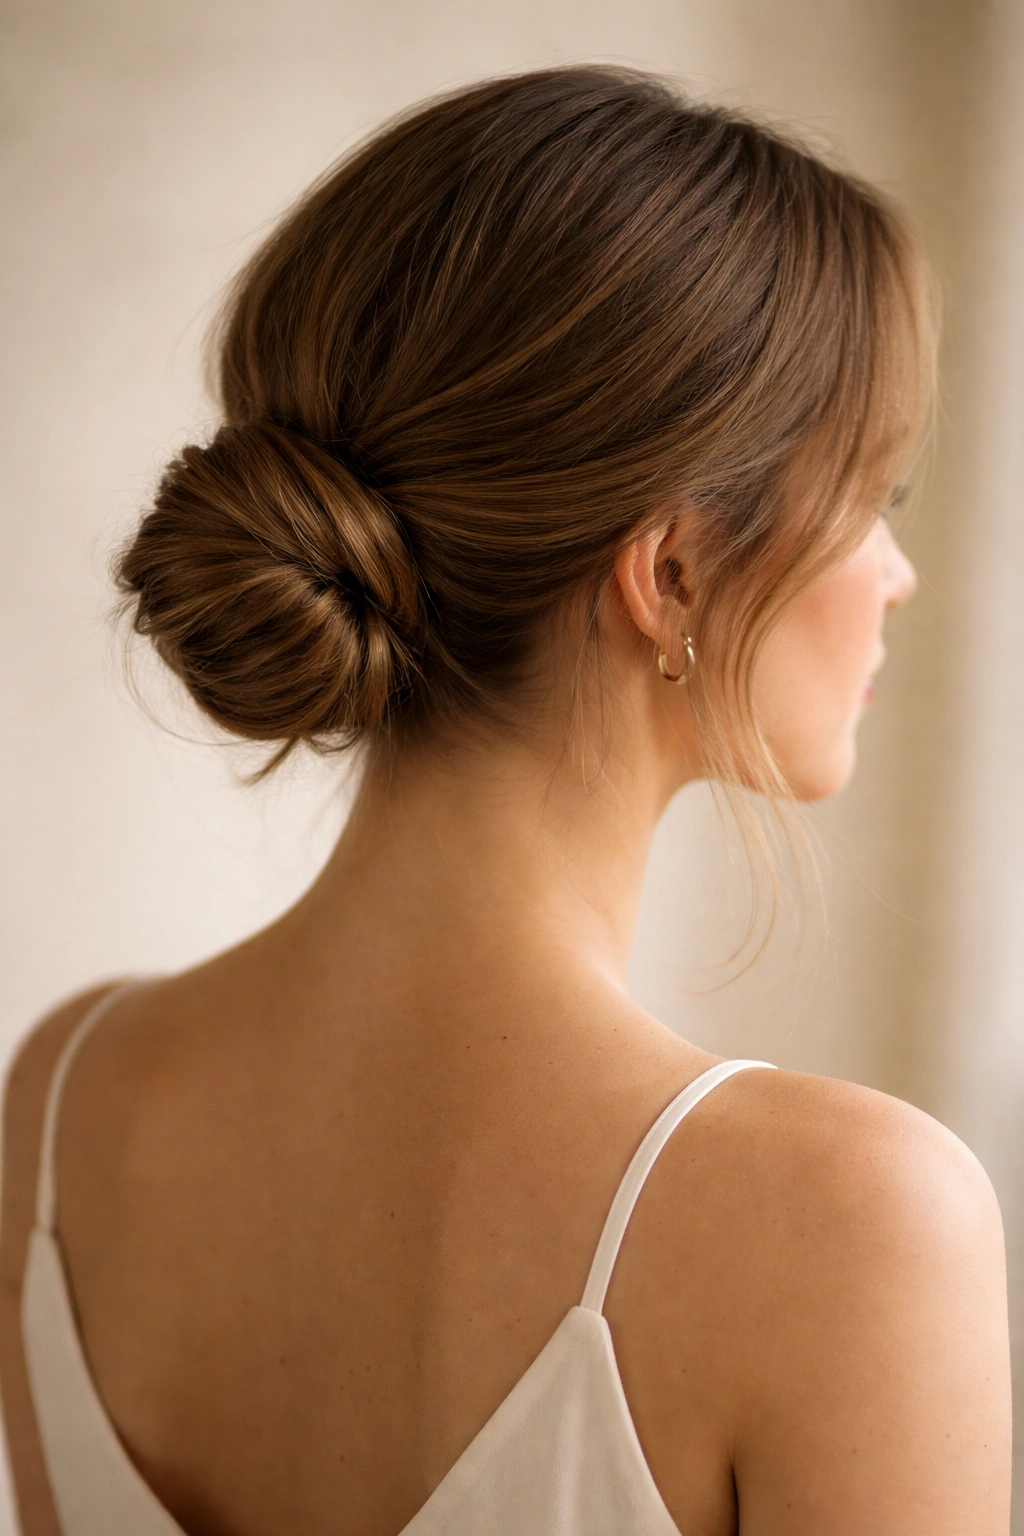
The best messy bun for your shoulder-length hair depends on your hair texture, face shape, the occasion, and how much time you want to spend styling. A classic undone messy bun works for nearly everyone and takes about five minutes. A braided or twisted bun requires a bit more finesse but lasts longer and reads as more intentional. A double bun is fun for casual wear and genuinely one of the most secure options. A textured pixie bun works if you’re willing to curl your hair first.
What actually matters is that you stop thinking of “messy” as random or unfinished. The best messy buns are deliberately undone—they’re designed to look relaxed while actually being very intentionally constructed. Spend two minutes understanding your hair’s texture and how it behaves, invest in good bobby pins and texture spray, and practice your chosen style once or twice before you wear it somewhere important. After that, it becomes automatic.
Shoulder-length hair is actually the ideal canvas for experimentation because these styles work on this length in ways they might not work on hair that’s significantly shorter or longer. Use that to your advantage, try more than one style, and notice which ones make you feel most like yourself.
