Sitting in a salon chair for eight to twelve hours is a rite of passage for anyone serious about micro braids. It is a marathon, not a sprint, both for the person doing the braiding and the one getting them. We have all been there—neck cramping, scrolling through your phone until the battery hits 5%, and wondering if the end result will actually justify the time spent. But when you finally stand up and see that waterfall of tiny, intricate braids cascading down your back, the soreness fades. The real magic of micros isn’t just how they look on day one; it’s the fact that, with the right technique and hair choice, you can wake up with a “done” look for the next three months.
The secret to making micros last twelve weeks lies in the tension and the hair quality. If the braids are too tight, you risk losing your edges before the first month is up. If the hair is too cheap, it will matted into a bird’s nest by week six. Historically, those who get the most longevity out of this style opt for human hair or high-quality blends that can handle a bit of moisture and movement. You want a style that doesn’t just sit there but grows with you. As your natural hair begins to show at the roots, the braids should look like a deliberate, lived-in choice rather than a mess that needs an immediate takedown.
Twelve weeks is a long time for any protective style, and it requires a specific maintenance strategy. You cannot just “set it and forget it” if you want to reach that three-month milestone without breakage. It starts with a clean, protein-strengthened foundation and continues with a dedicated scalp care routine. We are talking about keeping the scalp hydrated without drowning the braids in heavy oils that attract lint and dust. If you manage the “new growth” transition well around the halfway mark, your micros will look just as intentional at week ten as they did at week two.
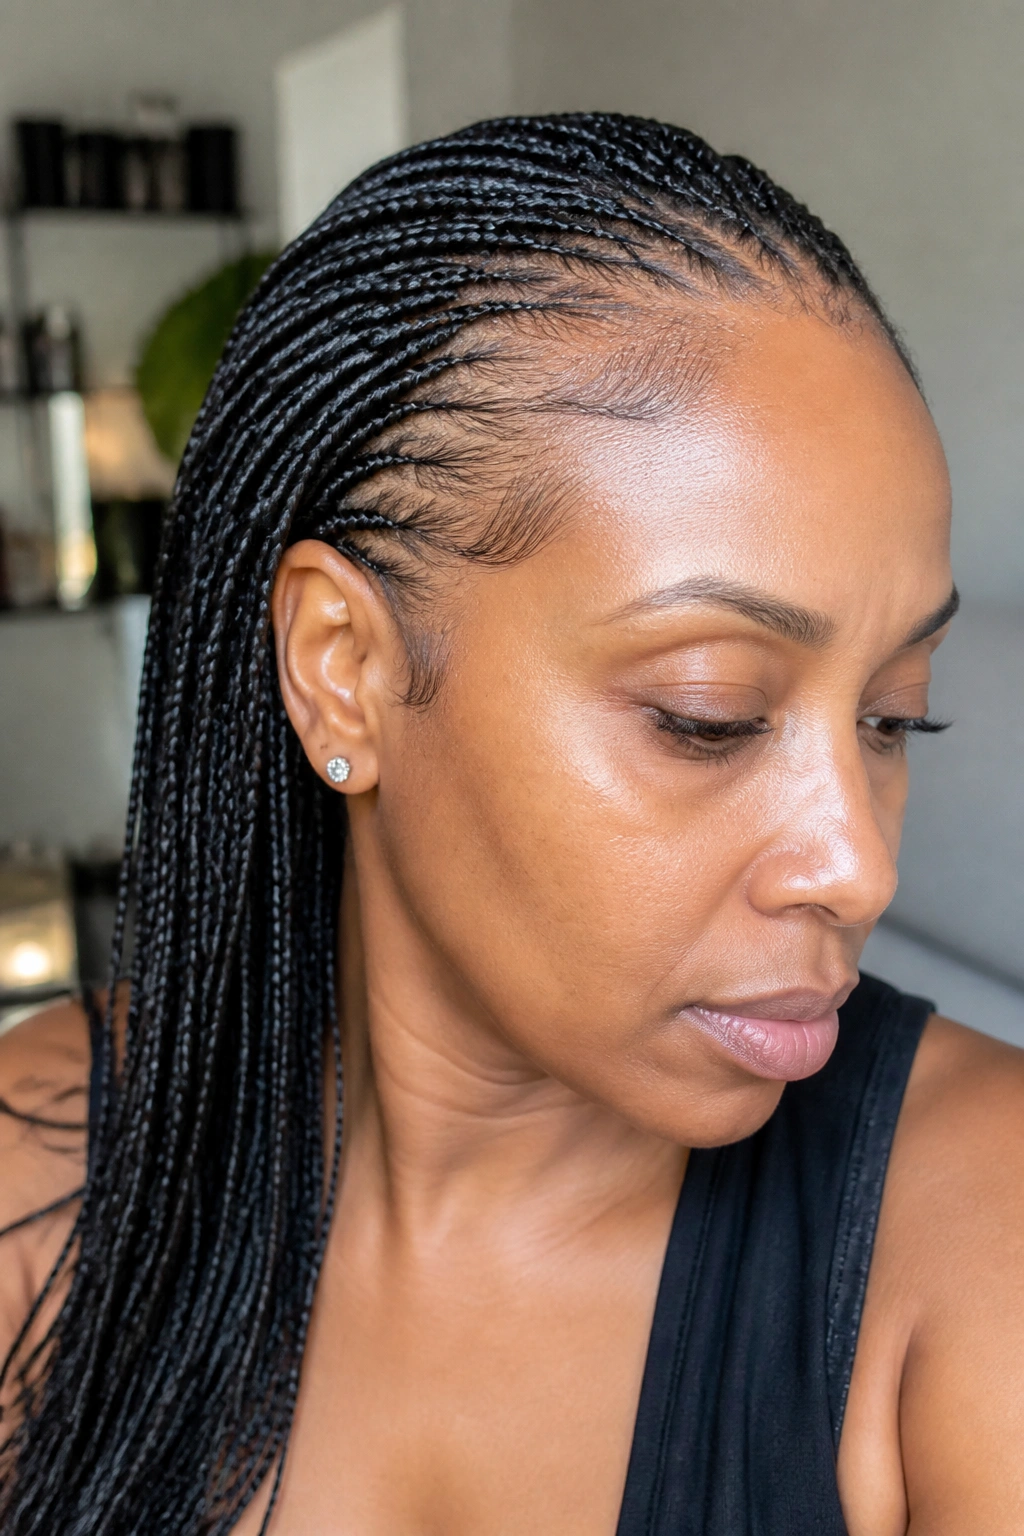
1. Classic Human Hair Micros
There is a reason why human hair remains the gold standard for micro braids that need to go the distance. Unlike synthetic fibers, human hair has a natural weight and swing that mimics your own texture. It doesn’t tangle nearly as much when you sleep on it, and more importantly, it allows you to wash your scalp without the ends turning into a frizzy mess. When you use bulk human hair—meaning hair that isn’t on a track—the braider can blend it seamlessly with your natural strands.
Why It’s the Best Choice for Longevity
Human hair is incredibly resilient. You can apply heat to it, use light leave-in conditioners, and even re-dip the ends if they start to look a bit tired. Because the hair is breathable, your scalp stays healthier over a twelve-week period. Synthetic hair often creates a “suffocating” effect on the natural hair shaft, leading to more itching and buildup.
Maintenance Checklist
- Use a silk or satin pillowcase every single night.
- Focus your washing on the scalp, not the length of the braids.
- Apply a lightweight anti-itch serum if you feel tension.
- Trim any tiny “flyaway” natural hairs that poke through after the first month.
Pro tip: If you notice the braids looking dull around week seven, a very light application of high-shine serum can restore the luster without making the hair feel greasy.
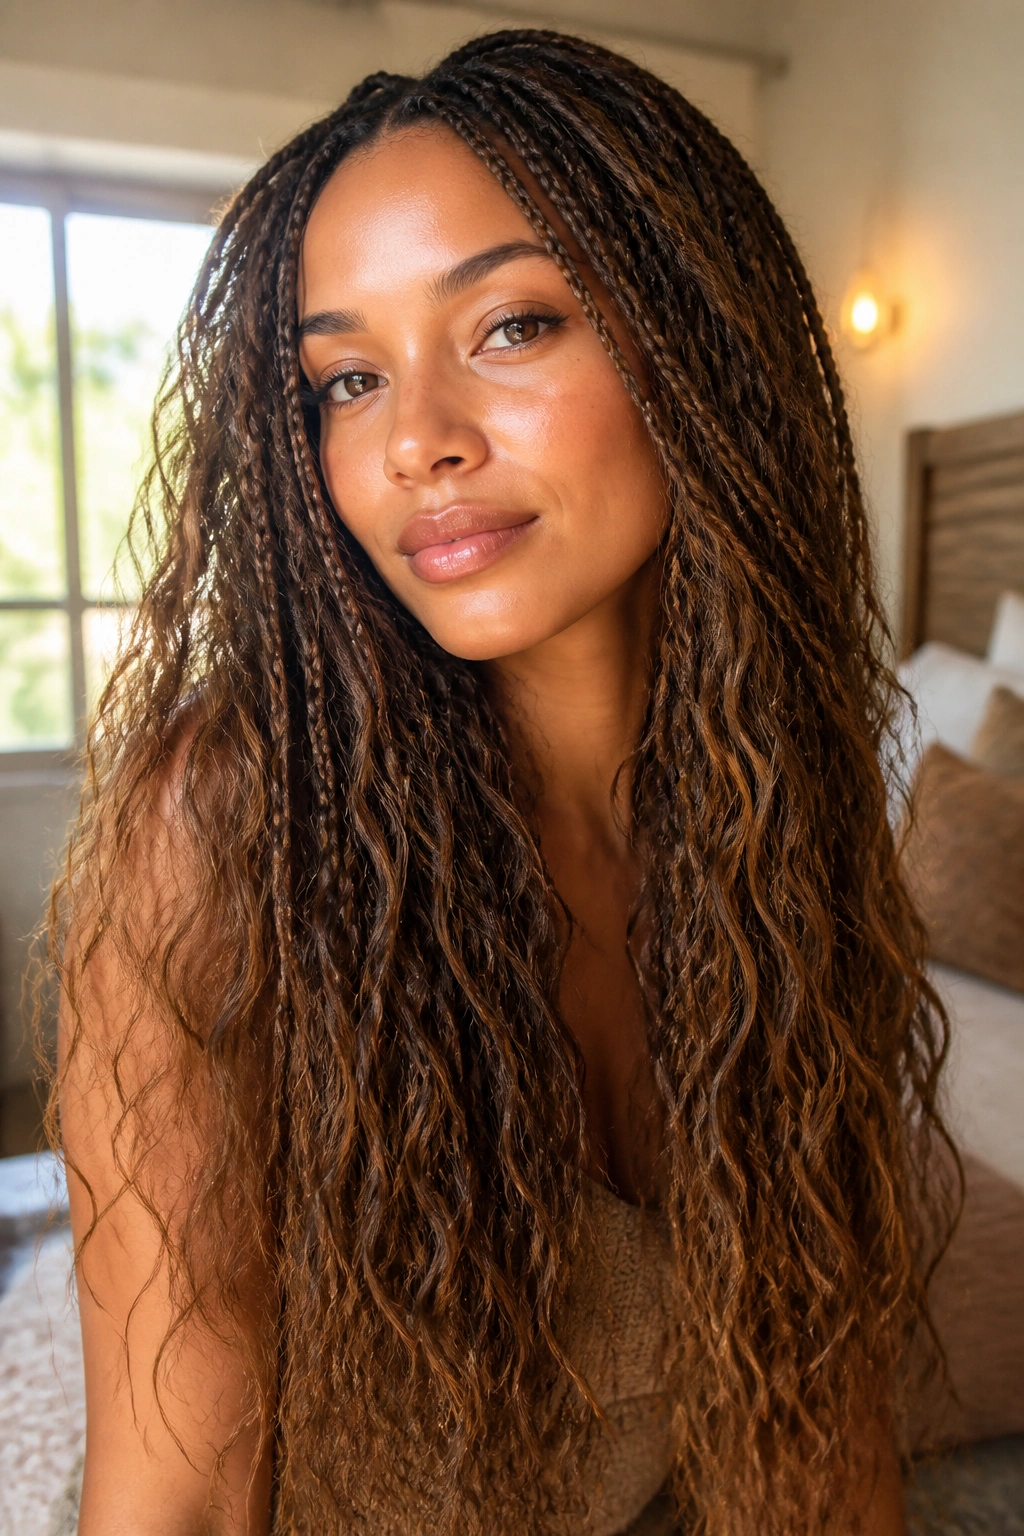
2. Wet and Wavy Micro Braids
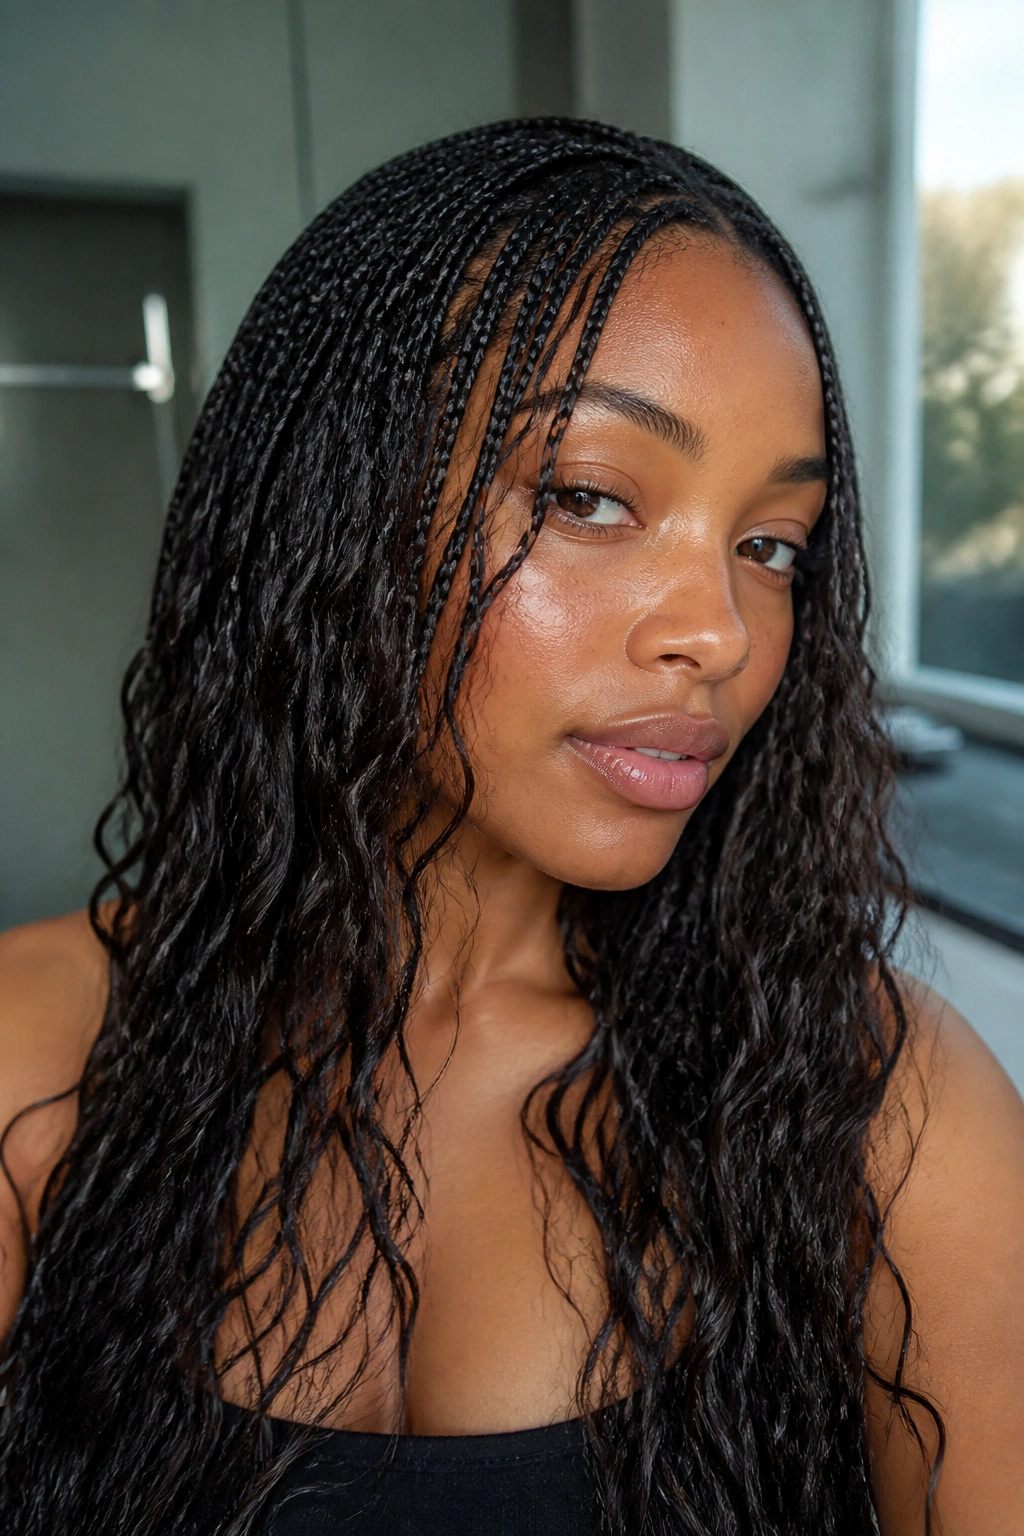
Wet and wavy hair is the ultimate “lazy girl” hack for long-term wear. This style uses hair that is straight when dry but transforms into a beautiful curl pattern when you mist it with water. It is a double-duty look that keeps things interesting. Over twelve weeks, your natural texture will start to blend into the wave pattern of the extensions, making the transition between your real hair and the braids almost invisible.
Many people find that the “messy-chic” look of wet and wavy micros actually improves as the weeks go by. The slight frizz that naturally occurs around month two just adds to the volume and realism of the style. Instead of fighting the frizz, you lean into it. By using a spray bottle with a mix of water and a tiny bit of conditioner, you can “reset” the look in about five minutes each morning. It is a low-effort way to maintain a high-impact aesthetic.
To keep this looking fresh for three months, you should avoid heavy gels. Heavy products will weigh the waves down and eventually lead to “crunchy” ends. Instead, stick to light mousses that define the curl without the stiff residue. If you are active or live in a humid climate, this style is particularly forgiving because the moisture actually helps the hair look its best.
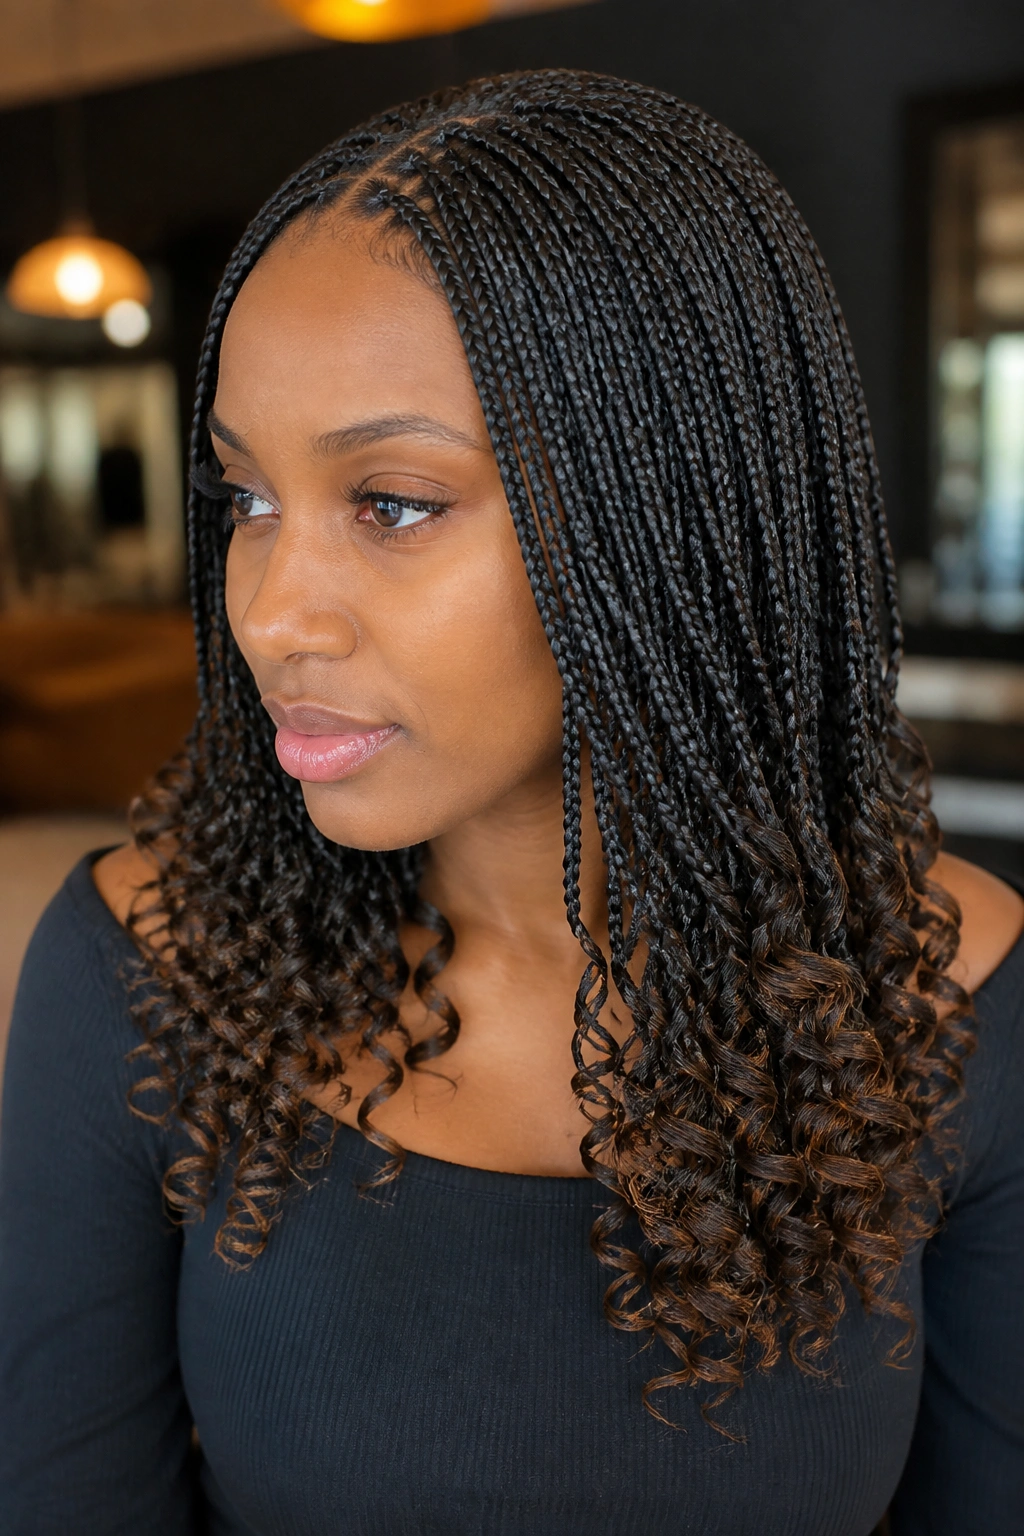
3. Bohemian Micros with Loose Ends
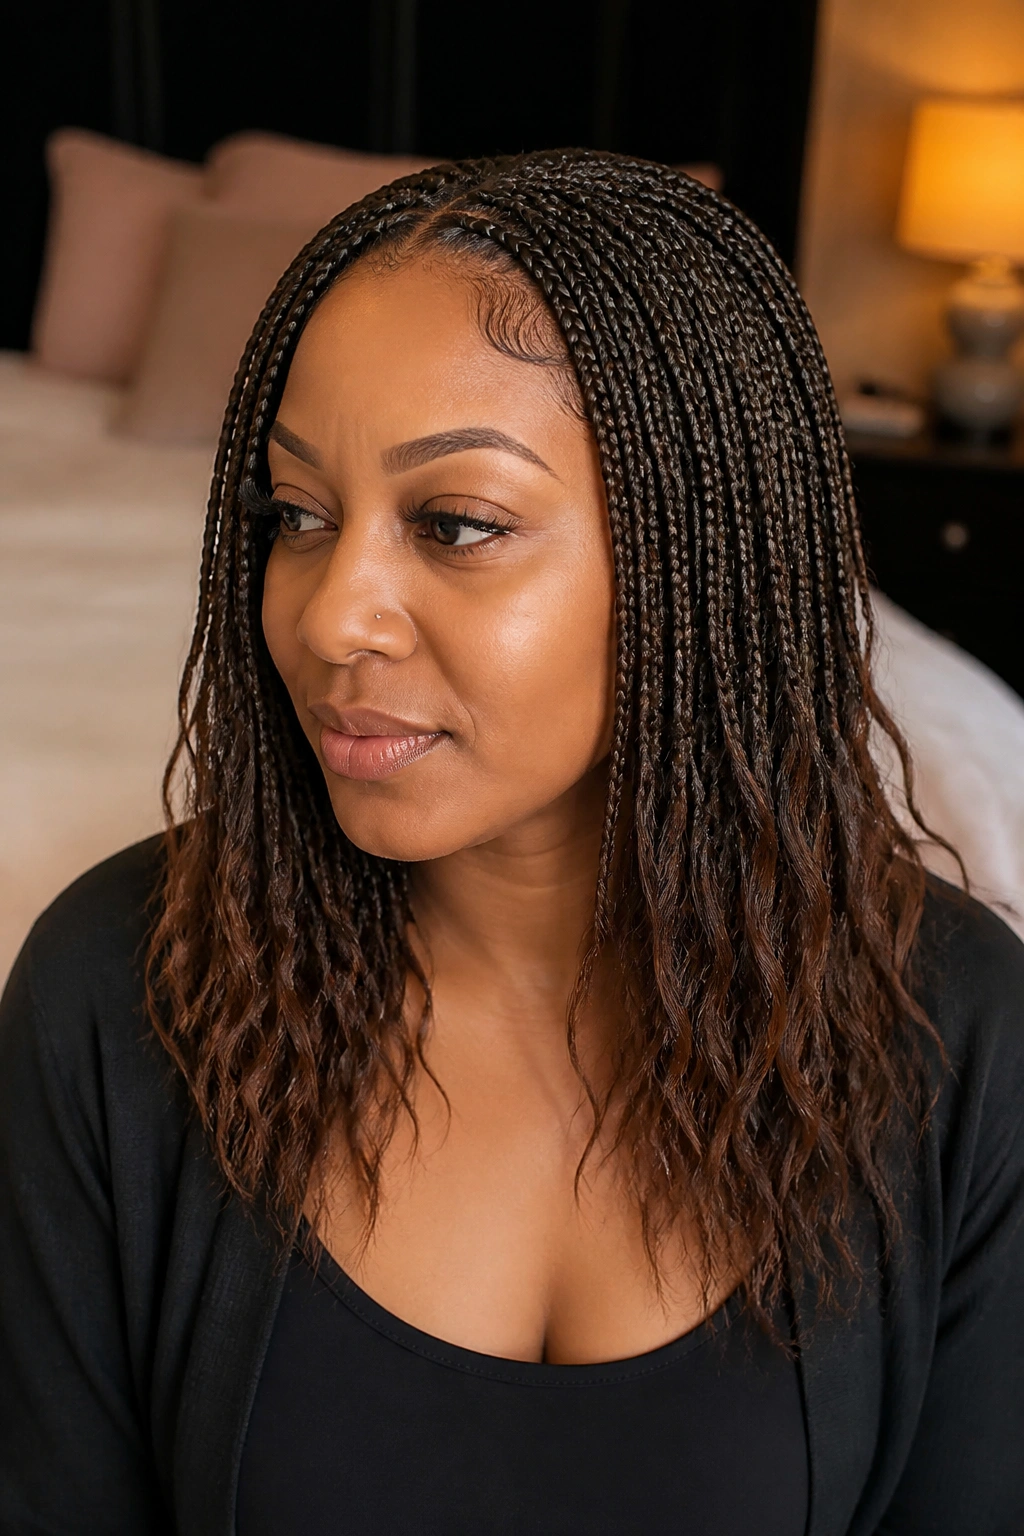
Do you want the look of a full sew-in but the versatility of braids? Bohemian micros leave the last several inches of the hair unbraided, creating a soft, voluminous finish. This is one of the most requested styles because it feels less “stiff” than traditional fully-braided micros. However, because the ends are loose, you have to be more intentional about detangling.
Why does this work for three months?
The unbraided ends provide a camouflage for any shedding or new growth that happens at the root. While the top stays secure and neat, the bottom looks like a blowout or a natural wave. This “mixed” texture is very popular because it looks more like a natural head of hair and less like a structured wig or extension.
How to handle the loose ends
- Brush the ends daily with a wide-tooth comb or a soft paddle brush.
- Braid the loose ends into 4-6 large plaits before going to bed.
- Use a tiny bit of hair oil on the very tips to prevent split ends.
- Avoid using heavy waxes near the braided section.
4. Micro Box Braids
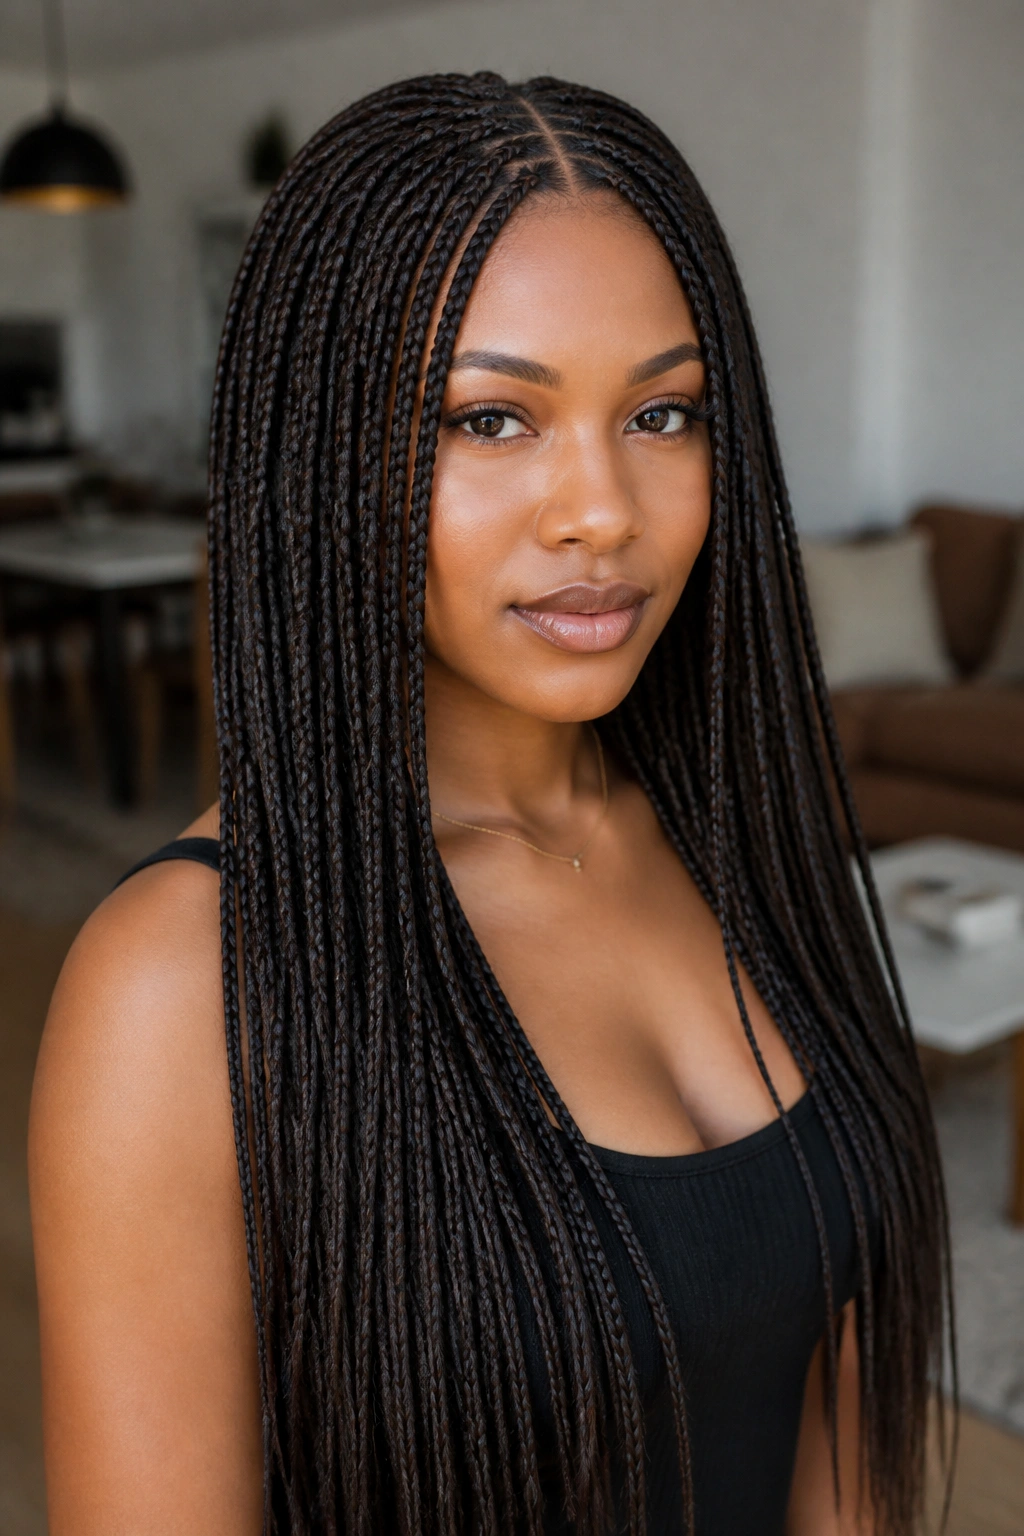
Traditional micro braids are often done with a “pick-and-drop” method, but micro box braids are braided all the way to the ends. This is the sturdiest version of the style. Because every strand is tucked away, your natural hair is completely protected from the elements. If your goal is strictly hair growth and maximum protection over twelve weeks, this is your winner.
The structure of a micro box braid is much more resilient than a loose-ended style. You don’t have to worry about the hair tangling at the bottom, and you can throw it into a high bun or a heavy ponytail without stressing the individual strands as much.
- Uniformity: Each braid is a perfect, tiny pillar of hair.
- Washing: This is the easiest micro style to wash because there is no loose hair to matted.
- Style: It creates a sleek, almost metallic sheen when done with high-quality synthetic or human hair.
- Longevity: These rarely “frizz out” as fast as bohemian styles.
Pro tip: Since these are braided to the end, they can feel a bit heavy. Make sure your braider isn’t making the sections too small on your delicate nape and temple areas to avoid tension.
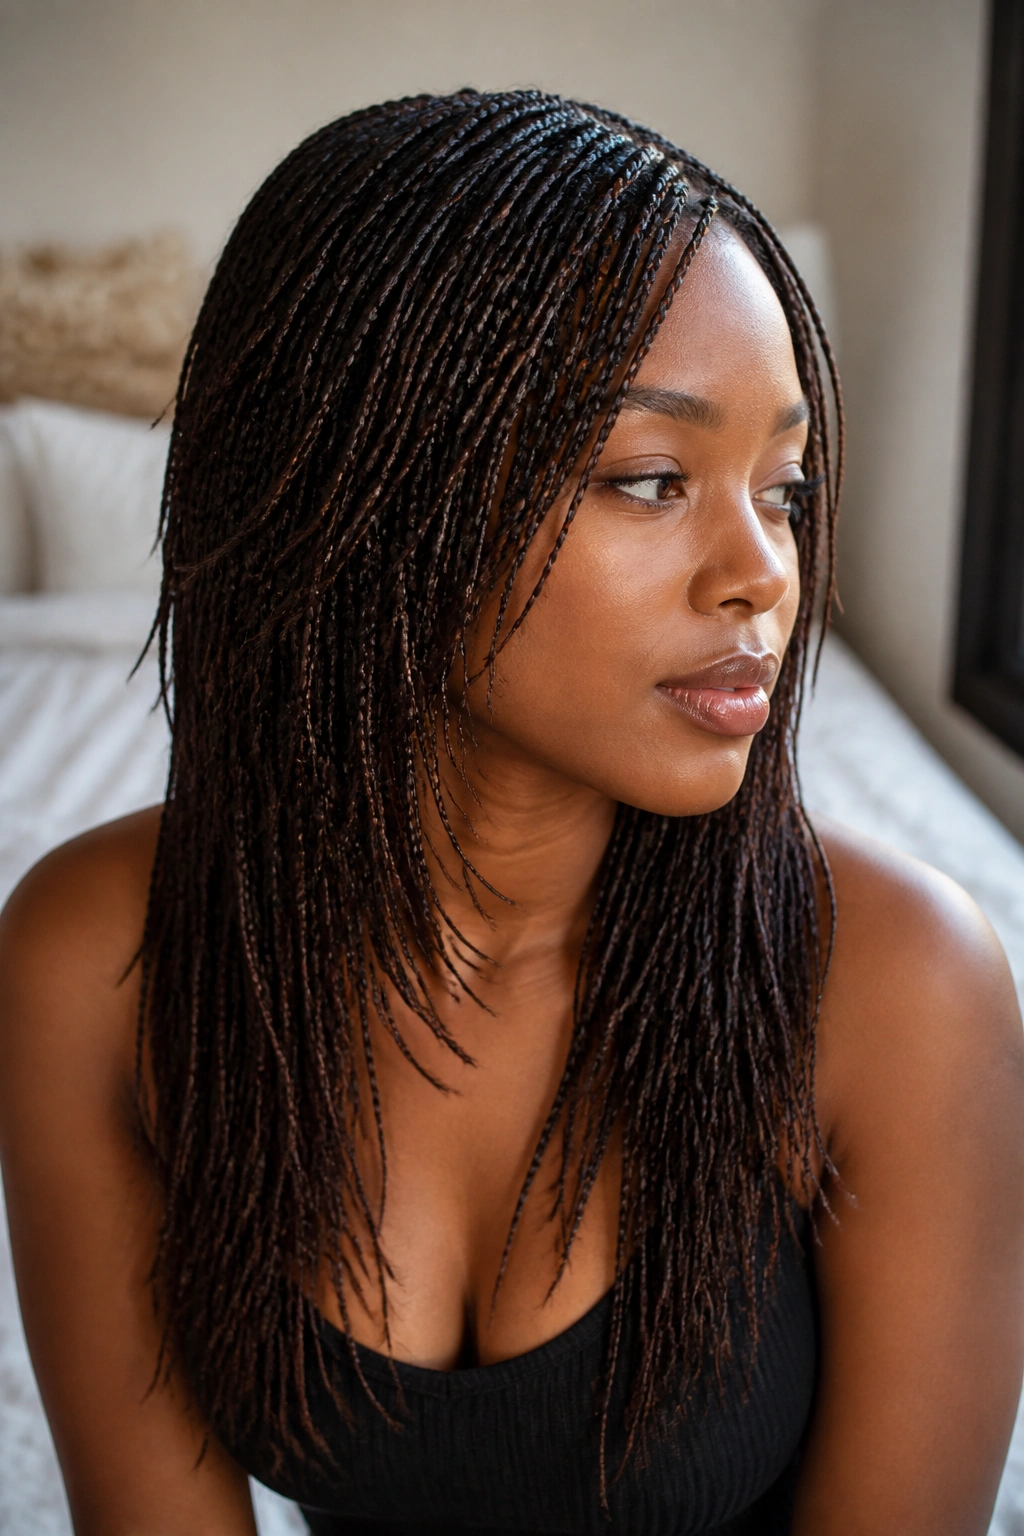
5. Deep Wave Micro Braids
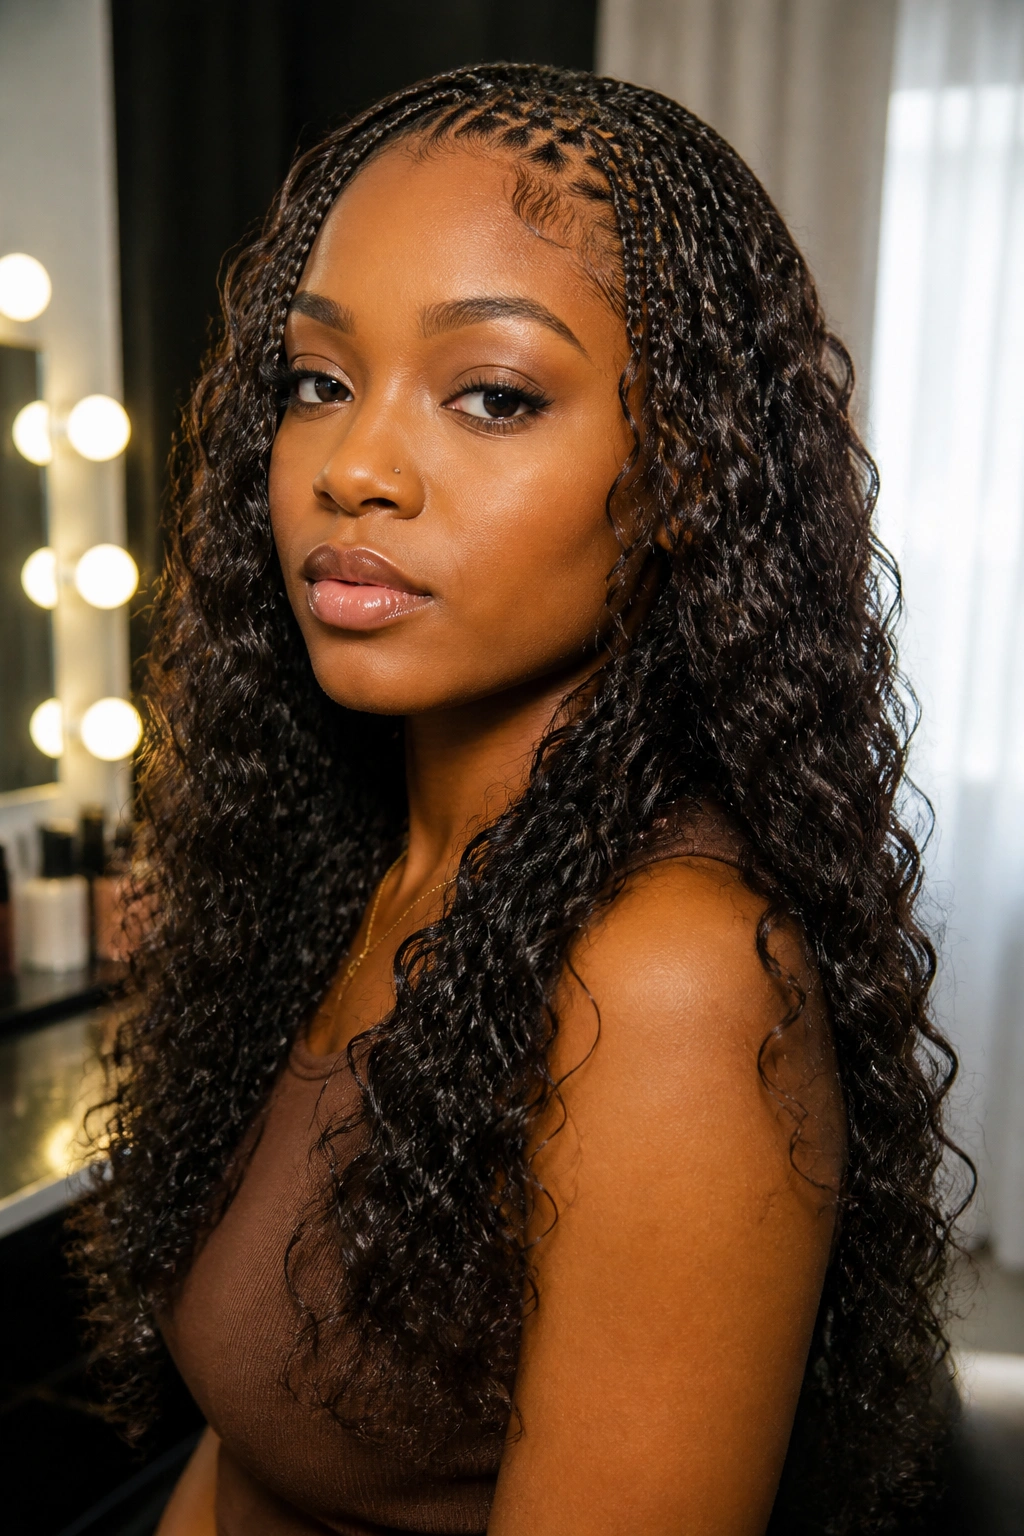
Deep wave textures provide a specific, tight curl pattern that stays consistent throughout the life of the style. Unlike wet and wavy hair, deep wave hair doesn’t need to be wet to show its texture. It is a “high-volume” look from day one. For someone with naturally thick hair, this is a fantastic option because it matches the density of your natural roots as they grow in.
Over a twelve-week span, the deep wave pattern holds its shape remarkably well. The curls are tight enough that they don’t easily snag on jewelry or clothing. It creates a very youthful, energetic vibe that works for both professional settings and vacations. If you find that your hair usually looks “flat” in braids, the deep wave texture provides the lift you are looking for.
The key to three-month success here is the “pineapple” method. At night, gather the hair loosely at the very top of your head and cover it with a large silk bonnet. This keeps the curls from being crushed while you sleep. In the morning, just shake it out, and the volume is back. It’s that simple.
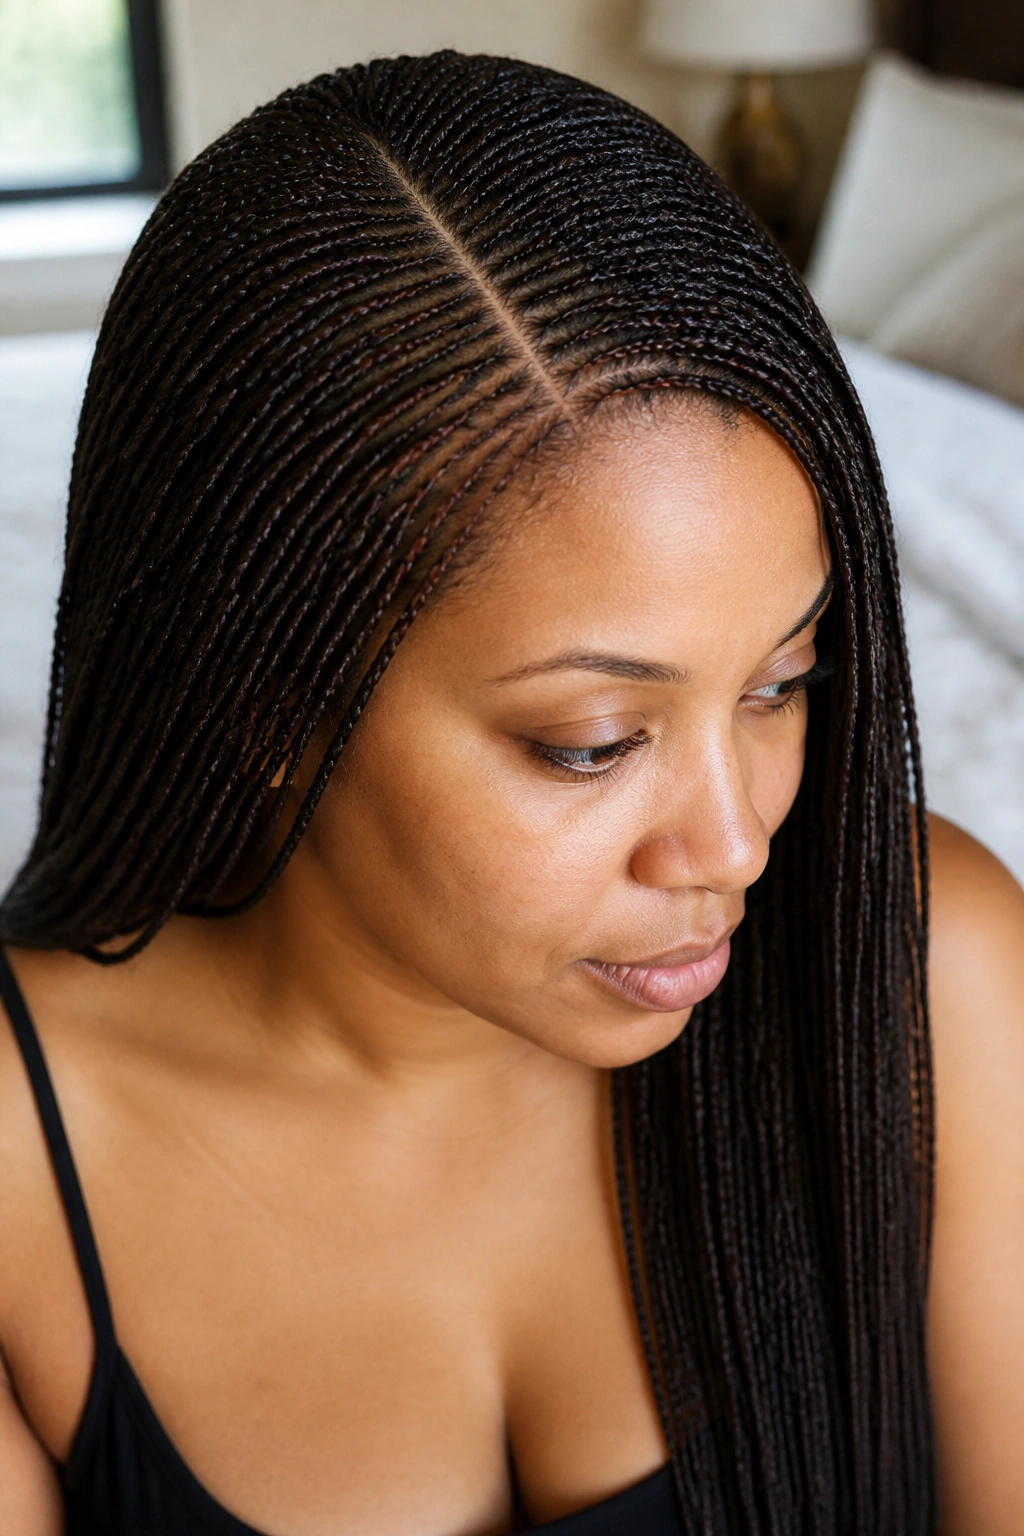
6. Shoulder-Length Micro Braids
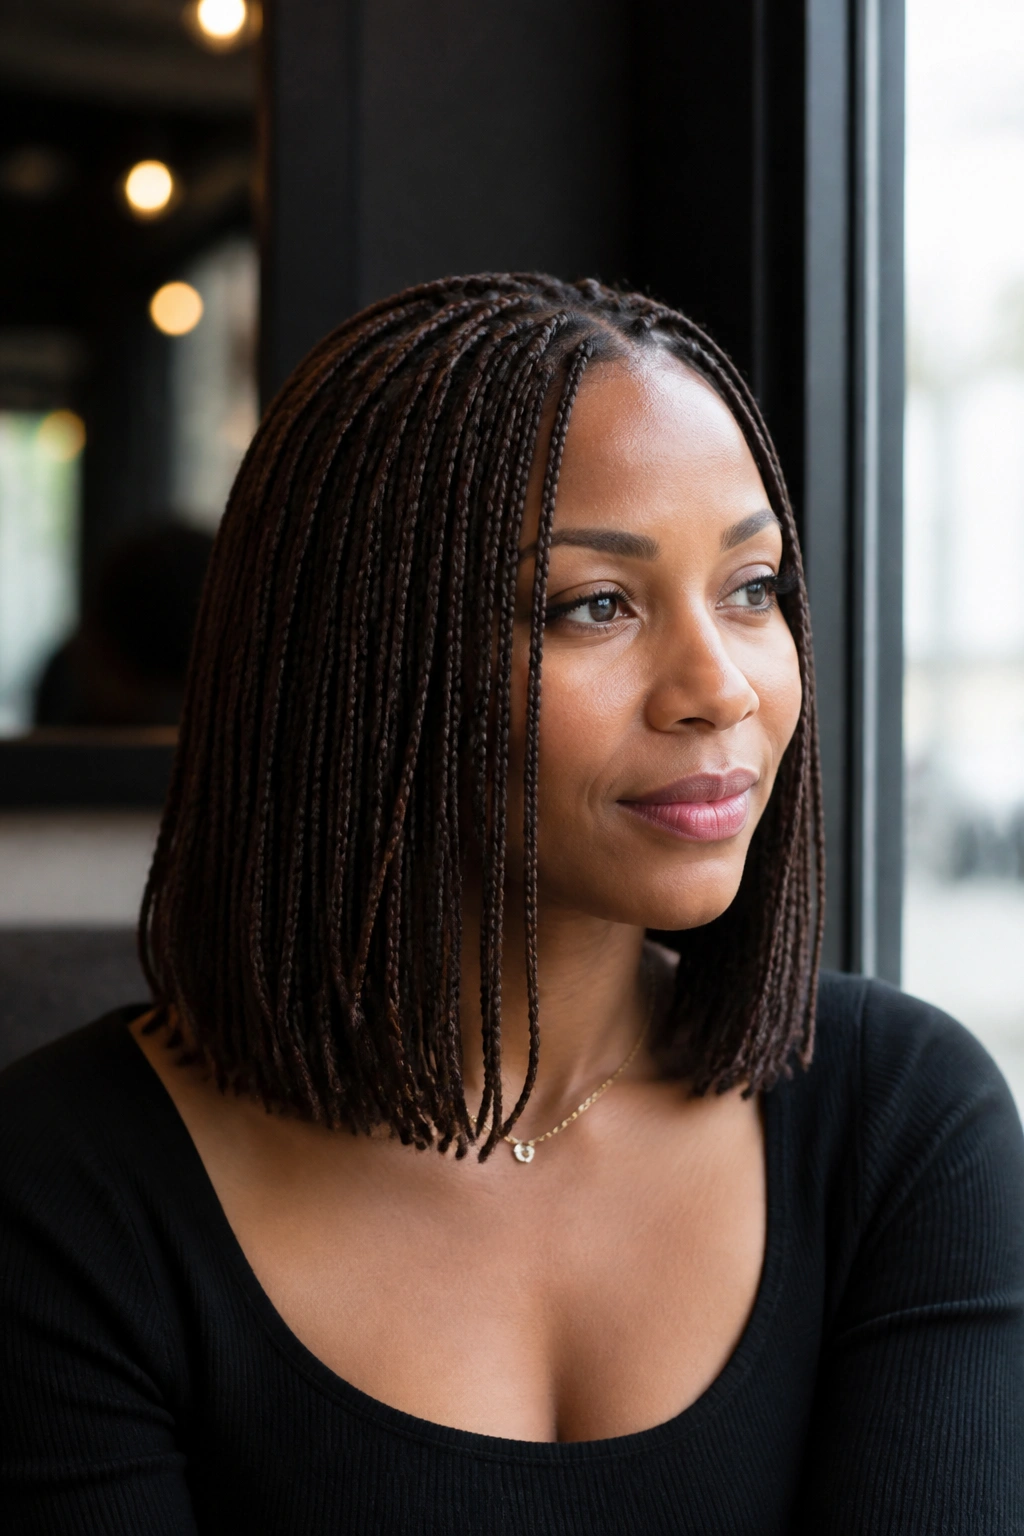
Long hair isn’t for everyone. Shoulder-length micros offer a sophisticated, bob-like feel that is much easier to manage on a daily basis. They are lighter on the scalp, which significantly reduces the risk of traction alopecia over a twelve-week period. If you have fine hair or a sensitive scalp, shortening the length is the smartest move you can make.
What Makes Them Different
Unlike waist-length braids that can pull on your follicles when you move your head, shoulder-length braids move with you. There is less “swing weight.” This means your edges stay intact much longer. It also means the total braiding time is usually chopped down by a few hours, which is a win for everyone involved.
Who It’s Best For
This is perfect for the professional who needs a neat, contained look. It frames the face beautifully and doesn’t get caught in zippers or bag straps. If you want the benefits of micros without the “maintenance of a mane,” this is your best bet.
7. Micro Knotless Braids

The knotless revolution has finally hit the micro world. Traditionally, micros were started with a small knot at the base to secure the extension. Knotless micros start with your own hair and gradually feed in the extension. This creates a flat, natural-looking root that is incredibly comfortable from the second you leave the chair.
Knotless micros are a game-changer for the twelve-week goal. Because there is no knot, there is no “anchor” pulling on your scalp. This means you can style them into a high bun on day one without any pain. As the braids grow out, they continue to lay flat against the head, whereas knotted braids can start to “twist” or “lean” as they get further from the scalp.
The only downside is that they can take even longer to install than traditional micros. But the trade-off in scalp health is worth every extra minute. You get a seamless transition that looks like the hair is growing directly out of your pores. It is the most “invisible” way to wear extensions.
8. Layered Micro Braids
If you want movement and shape, ask your braider for layers. Usually, this involves using different lengths of hair—perhaps 12-inch hair for the bottom and 18-inch for the top. This prevents the “triangle head” look that sometimes happens when all the braids are the same length and start to bulk up at the bottom.
Layers make the hair feel much lighter. When you have thousands of tiny braids, the weight adds up quickly. By layering the style, you remove some of that bulk while maintaining the appearance of a full, thick head of hair. This is especially helpful during the second and third months when the weight of the new growth starts to become a factor.
- Movement: Layers allow the hair to bounce and sway more naturally.
- Styling: It is much easier to do half-up styles when the hair is layered.
- Weight: It reduces the total amount of hair used, which is better for your neck.
- Face Framing: It allows you to customize the look to your specific face shape.
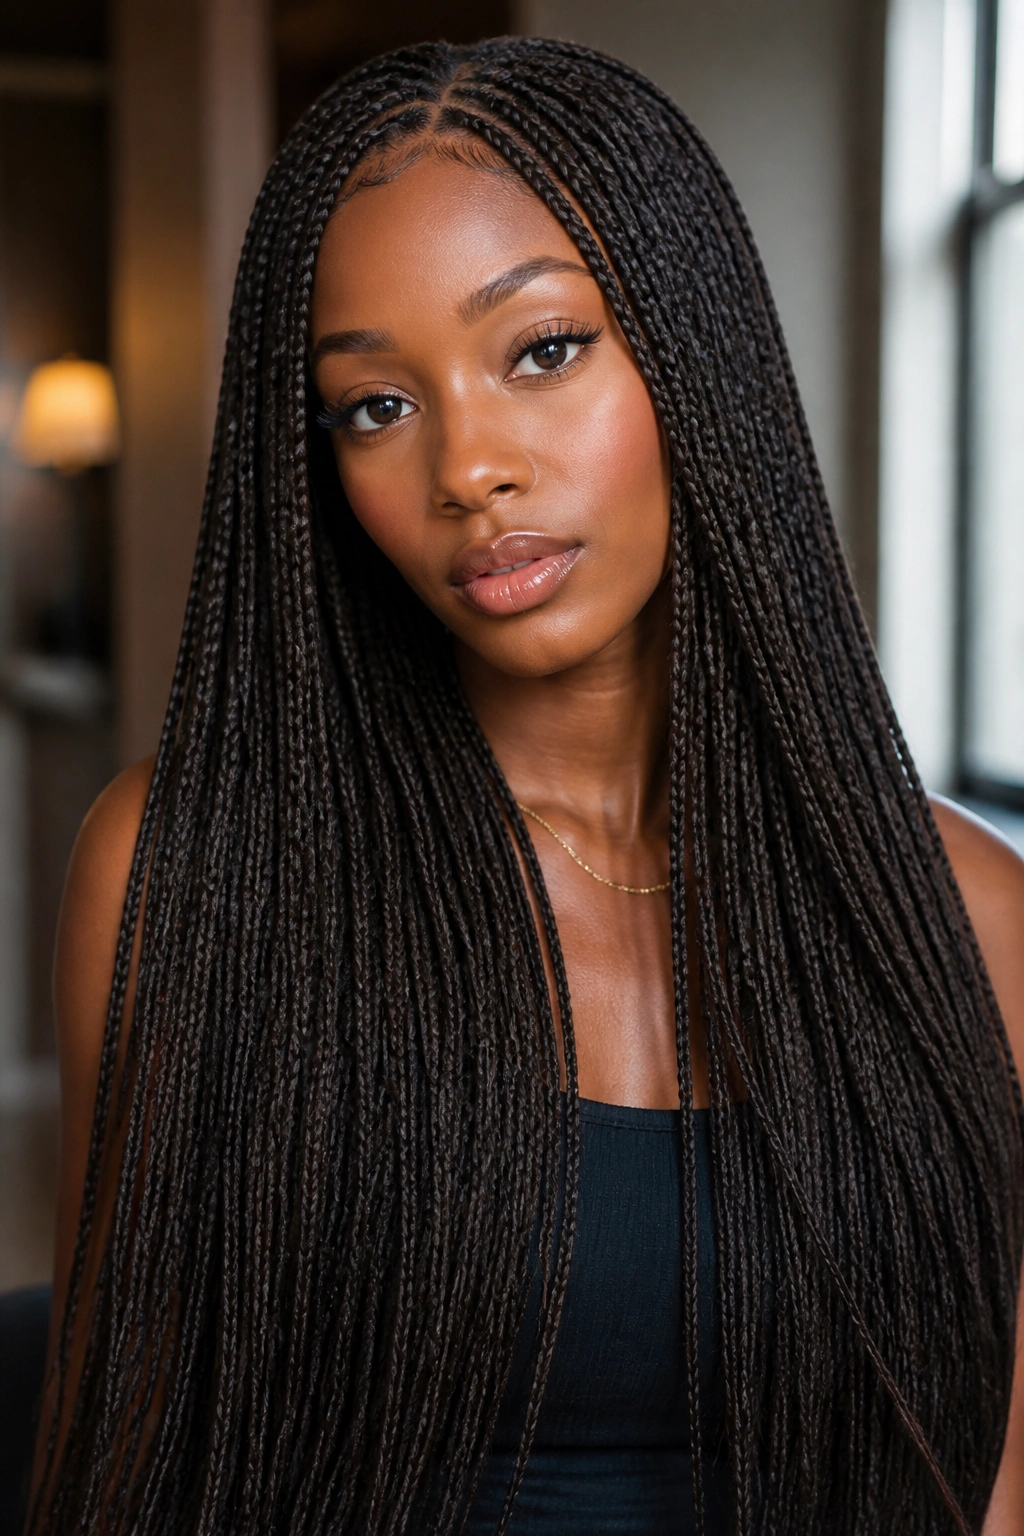
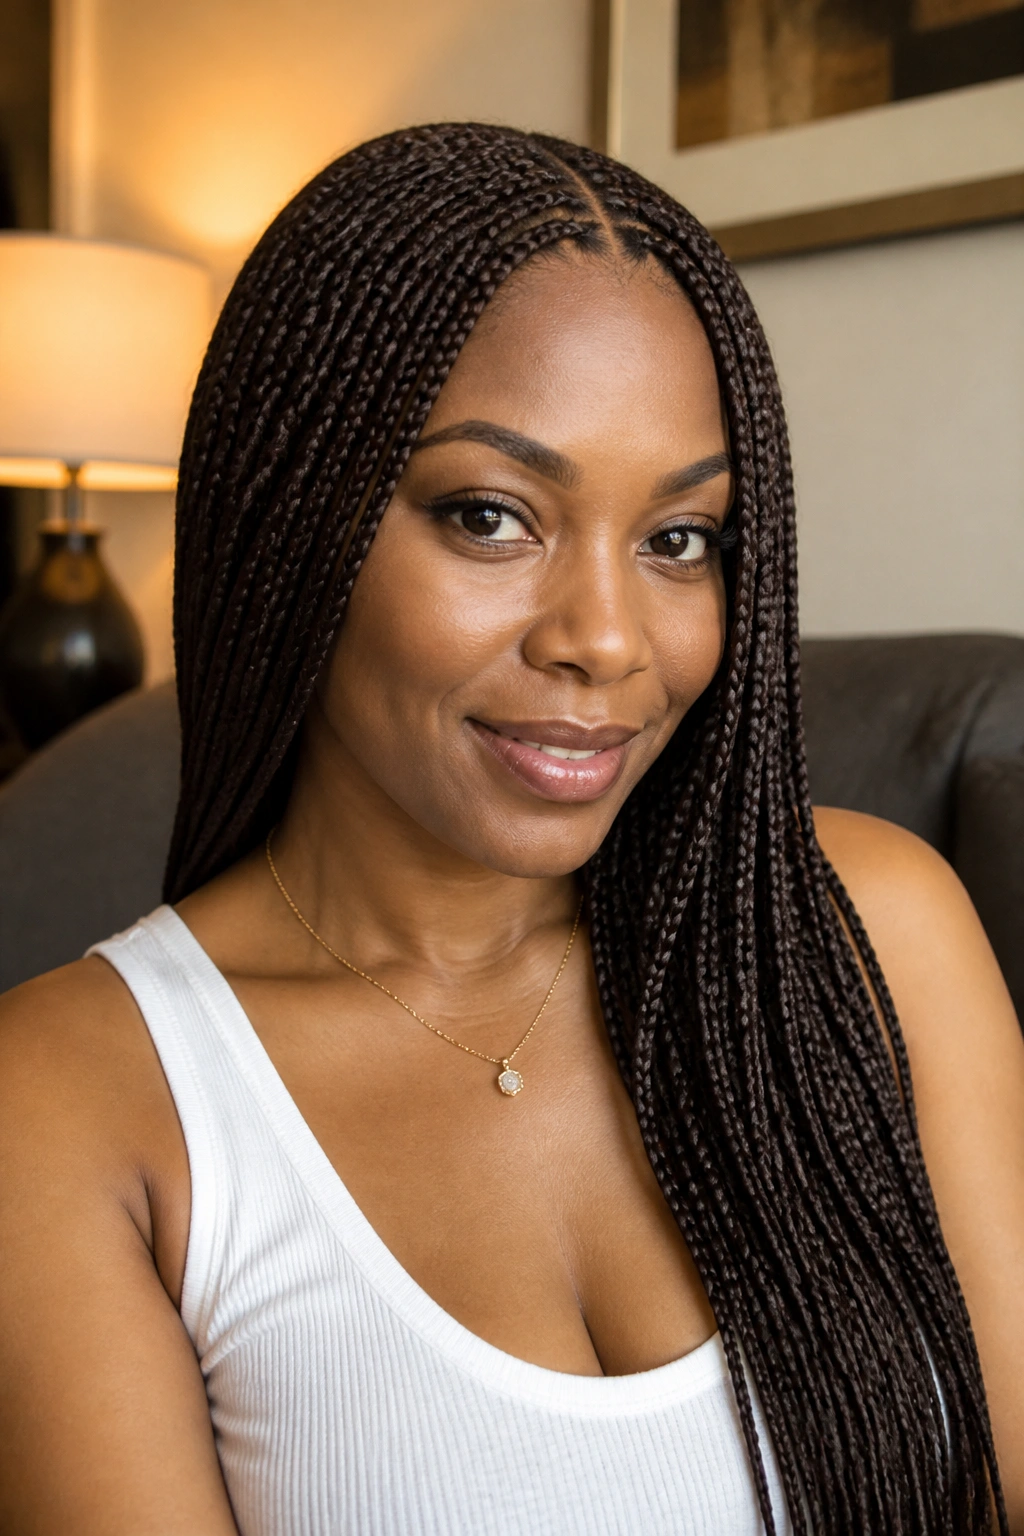
9. Jet Black Micro Braids
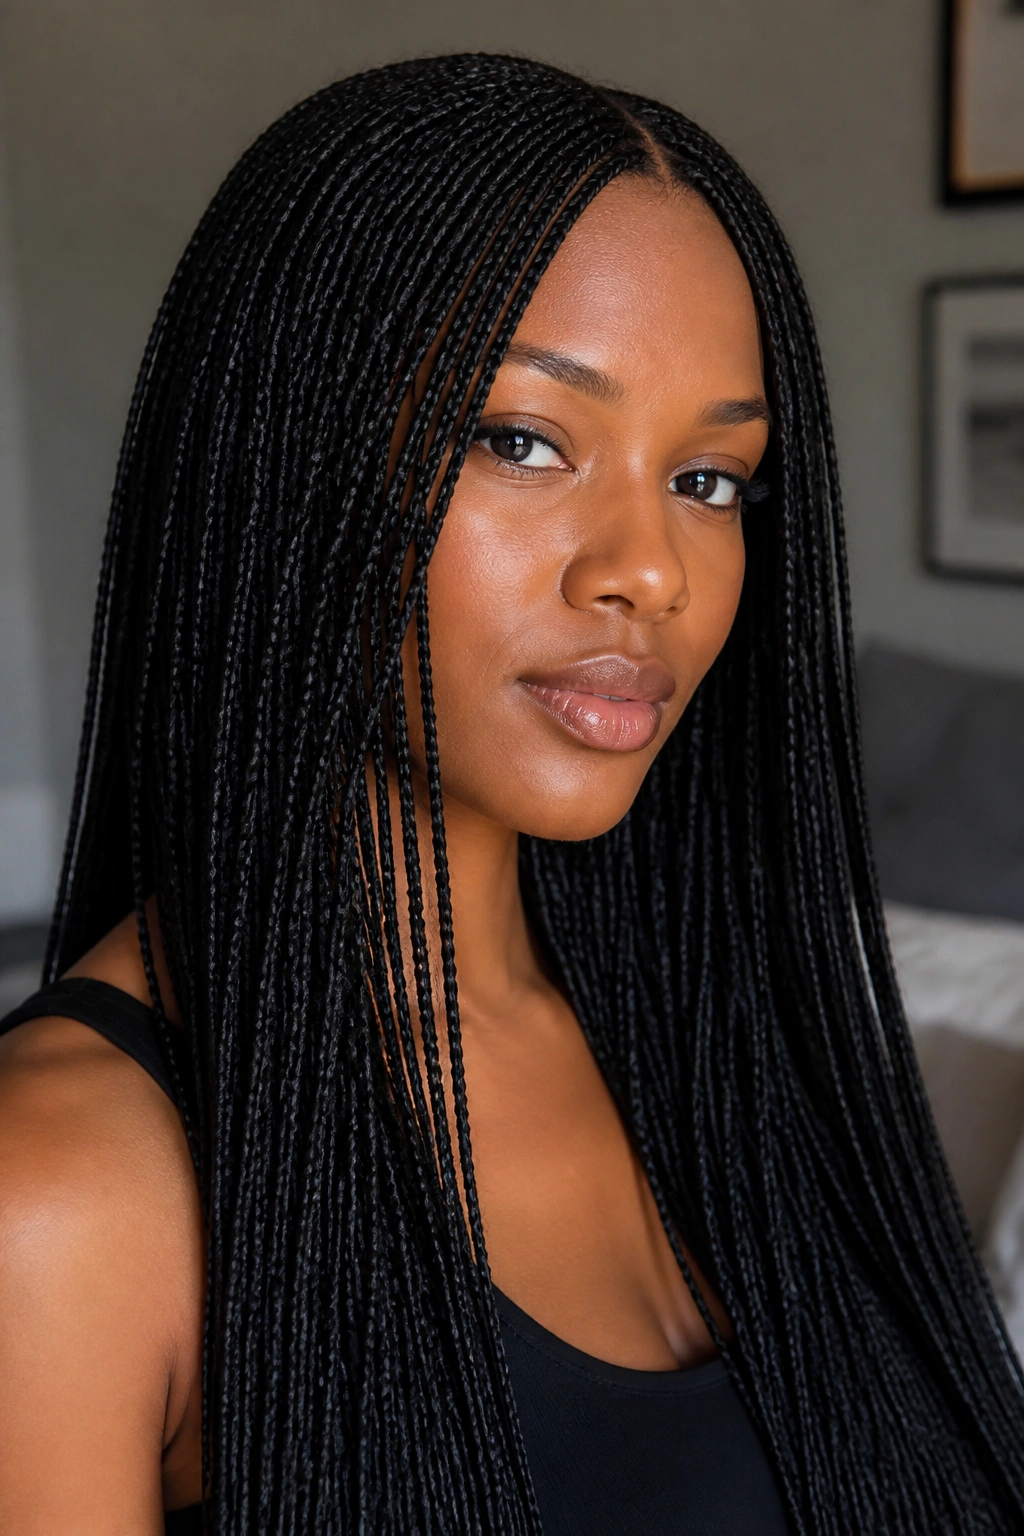
There is something timeless about a jet black set of micros. While many people love to experiment with color, a deep, dark black (often labeled as #1 or #1B) provides the cleanest look over a long period. Dark colors hide “fuzziness” better than lighter colors. If your natural hair is dark, the transition as it grows out will be completely seamless.
When you wear lighter colors, the lint that naturally accumulates in the braids becomes much more visible. With jet black braids, you can go longer between deep cleanses without the hair looking “dusty.” It also provides a high-contrast look that makes your skin tone pop and your eyes stand out.
If you are aiming for that twelve-week mark, jet black is the safest color choice. It maintains its “new” look longer than bronzes or blondes, which can start to look a bit parched after several washes. A quick spritz of oil sheen on black braids makes them look expensive and well-maintained instantly.
10. Ombre Micro Braids
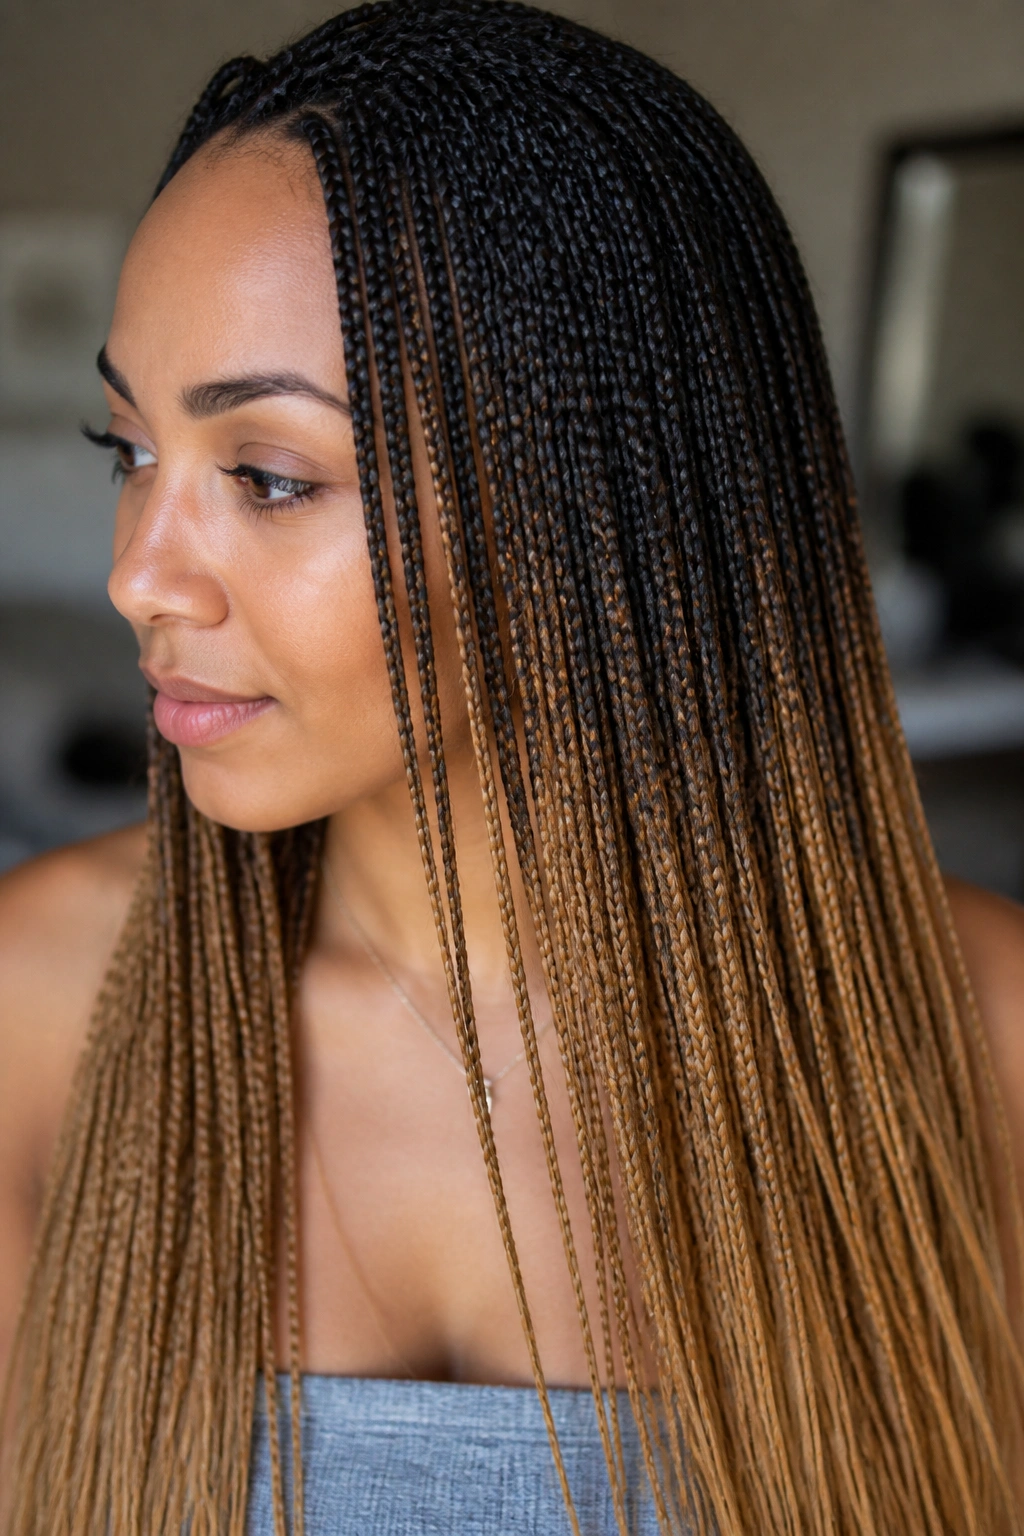
Ombre micros allow you to play with color without dyeing your own hair. Usually, the braider will start with a color that matches your roots and transition into a lighter shade toward the ends. This is a brilliant way to try out honey blonde or copper without the chemical damage.
The beauty of ombre for a three-month style is that it is built-in camouflage. As your roots grow in, they already match the top of the braid. There is no awkward “line of demarcation.” It looks like a purposeful, rooted color job. This is a great choice for people who get bored with their hair easily; the color shift keeps the look feeling fresh even when you’ve had the braids for ten weeks.
Make sure the transition between colors is gradual. A “harsh” line where the color changes can look a bit dated. A good braider will blend the two colors of hair together in the middle section of the braid to create a soft, sun-kissed gradient.
11. Micro Braids with Curly Tips
This is a variation of the pick-and-drop style but with a more defined curl at the end. Instead of leaving the hair completely loose, the ends are often set with hot water and rollers or are pre-curled extensions. It gives the braids a polished, finished look that feels very feminine and “done.”
The Maintenance Factor
The curly tips will require the most attention. To keep them from tangling, you should apply a small amount of curl-defining foam every few days. If the ends start to get matted, you can actually trim them slightly or re-curl them using the hot water method. This “refresh” can make your whole head look brand new at the eight-week mark.
Why It Stays Popular
It offers the best of both worlds: the security of a braid and the glamour of a curl. It is a very versatile look that transitions well from the office to a formal event. The curls add a softness to the face that fully-braided styles sometimes lack.
12. Waist-Length Micro Braids
For the ultimate “goddess” vibe, waist-length micros are the way to go. This is a high-glamour look that requires a significant time investment but pays off in sheer presence. When you have braids this long, you have an endless array of styling options—massive top knots, thick side braids, or just letting them hang loose.
The weight of waist-length micros is something to consider. To make these last twelve weeks without hurting your scalp, the braids must be installed with “distributive tension.” This means the sections should be large enough to support the weight of the long extension without pulling on a single follicle.
Warning: Be very careful when sitting down or using zippers. It is surprisingly easy to snag waist-length braids in a car door or a coat zipper. If you are going for this length, invest in a “jumbo” size silk bonnet to ensure the ends don’t get crushed and tangled while you sleep.
13. Micro Braids with a Side Part
Most people get their micros braided straight back or with no specific part so they can move the hair around. However, having a defined side part “burned in” during the braiding process can create a very sleek, intentional look. It mimics the way many people wear their natural hair or a high-end lace front.
A side part adds symmetry—or a pleasing asymmetry—to the face. It allows the hair to fall over one eye in a classic, “Old Hollywood” style. If you know you always wear your hair to one side, tell your braider. They can angle the braids at the crown to ensure they lay flat in that direction rather than sticking up.
As the weeks go by, you can “refresh” the part by using a tiny bit of edge control and a soft brush. Keeping that part line clean is the fastest way to make “old” braids look like they were just done yesterday. It draws the eye to the neatness of the scalp.
14. Half-Up Half-Down Micros
This isn’t just a style; it’s a strategy for longevity. By wearing your micros in a half-up, half-down configuration, you reduce the friction on the braids around your face. The “up” portion stays neat and out of the way, while the “down” portion provides the length and volume.
This is a great “transition” style for week six or seven. When the braids around the perimeter start to show some new growth, pulling the top half back into a neat ponytail or bun hides the “fuzz” while letting the fresher-looking braids in the back hang loose. It’s the perfect way to stretch the life of your style.
- Ease of Use: Takes two minutes to style in the morning.
- Versatility: Works for the gym and for dinner.
- Tension Management: Distributes the weight of the braids across the crown.
- Cuteness Factor: It is a universally flattering look.
15. Blonde Micro Braids
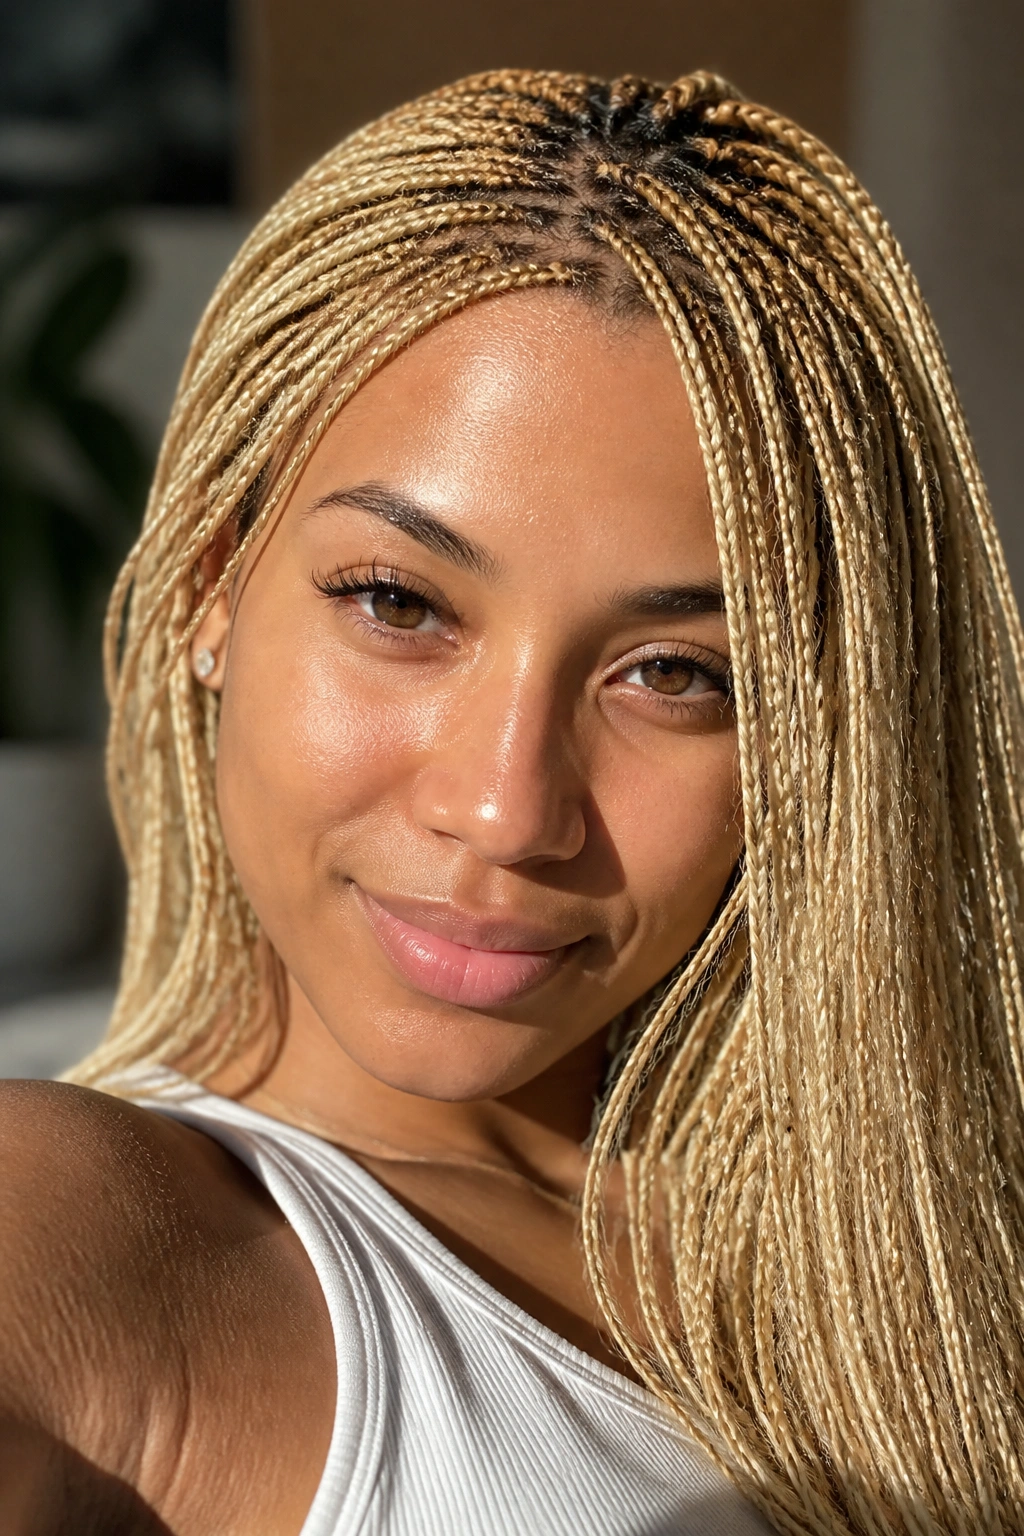
Going blonde is a bold choice, and with micros, you can do it without the bleach. Whether you choose a 613 platinum, a honey blonde, or a “dirty” blonde mix, the color brings a lot of light to the face. Blonde micros are particularly popular for vacations and warmer climates.
The trick with blonde hair is that it can look dry more easily than dark hair. You will want to be more diligent with your sheen sprays. Also, be aware that your dark roots will show more quickly against blonde braids. Some people love this high-contrast “rooted” look, but if you don’t, you might find yourself wanting a touch-up around the ten-week mark.
How to keep blonde looking bright
- Use “clear” oils rather than yellow-tinted ones to avoid staining the hair.
- Rinse your hair thoroughly if you go in a pool; chlorine can turn blonde extensions a greenish tint.
- Use a purple-tinted dry shampoo if you need to clean the roots without water.
16. Micro Braids Bun Style
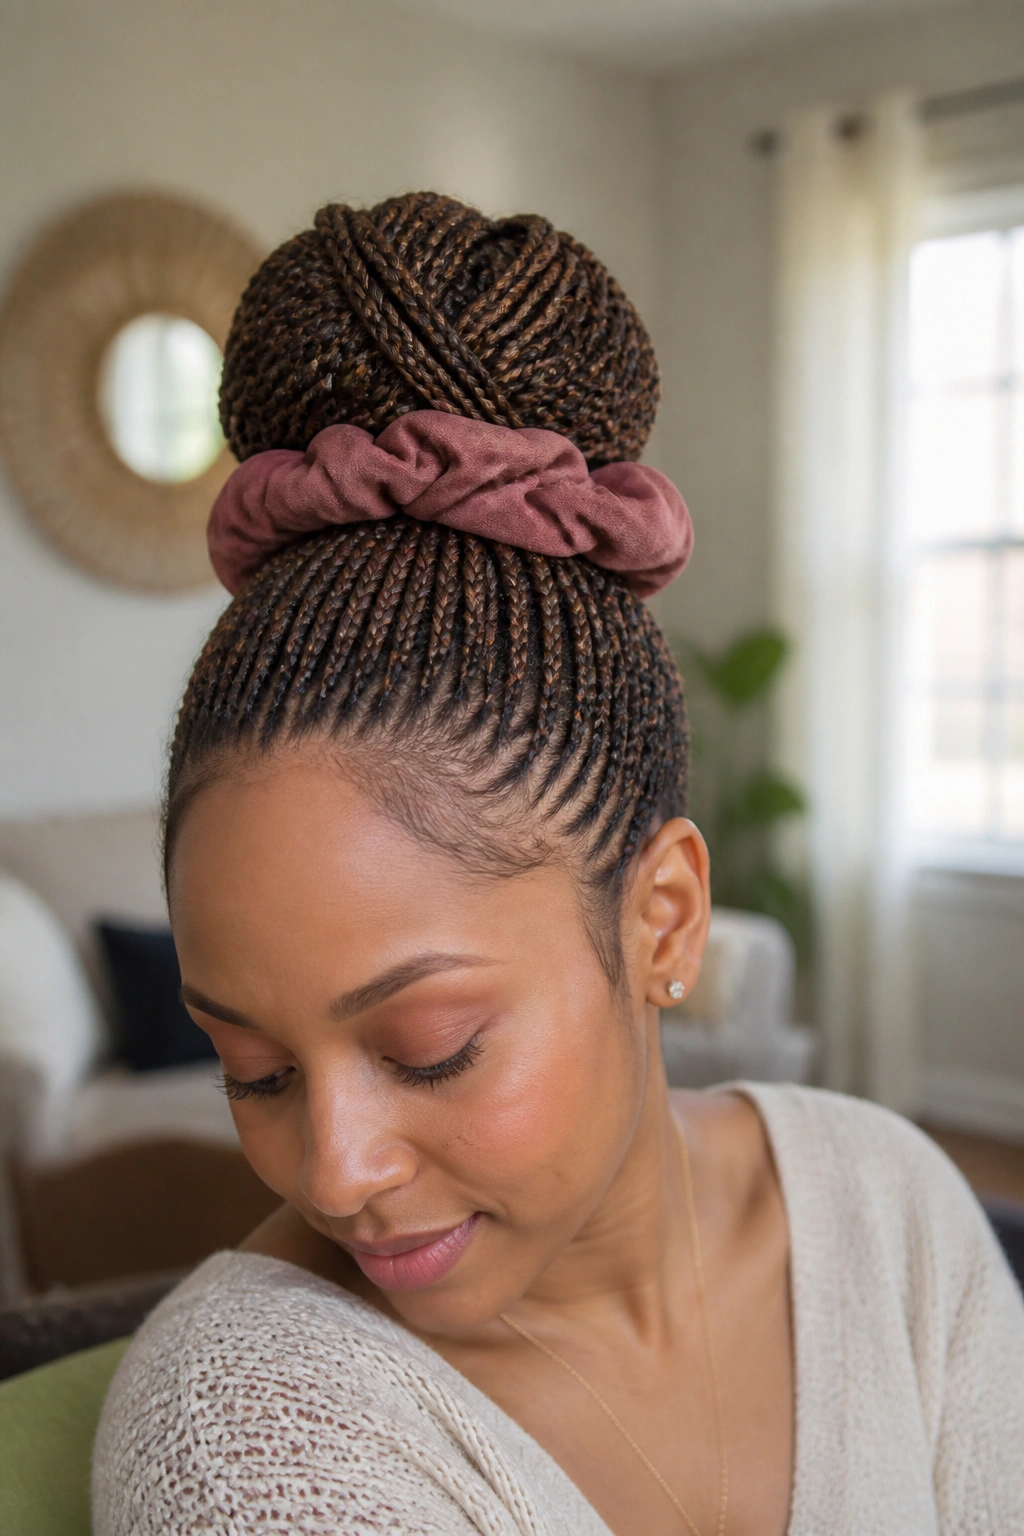
If you work in a very conservative environment or just hate hair touching your neck, the high bun is your best friend. Micro braids make for the most impressive buns because of the sheer number of individual strands. It creates a texture that you simply cannot get with a standard ponytail.
Wearing your hair in a bun for long periods can put stress on your edges. To make this work for twelve weeks, you have to be careful not to pull the bun too tight. Use a thick, fabric-covered scrunchie rather than a thin rubber band. The goal is to “nest” the hair on top of your head, not to winch it back.
A bun is also a great way to protect the ends of your braids. If you are wearing a style with loose human hair ends, keeping them tucked away in a bun for a few days a week will prevent them from rubbing against your clothes and tangling. It is a protective style within a protective style.
17. Red and Burgundy Micro Braids
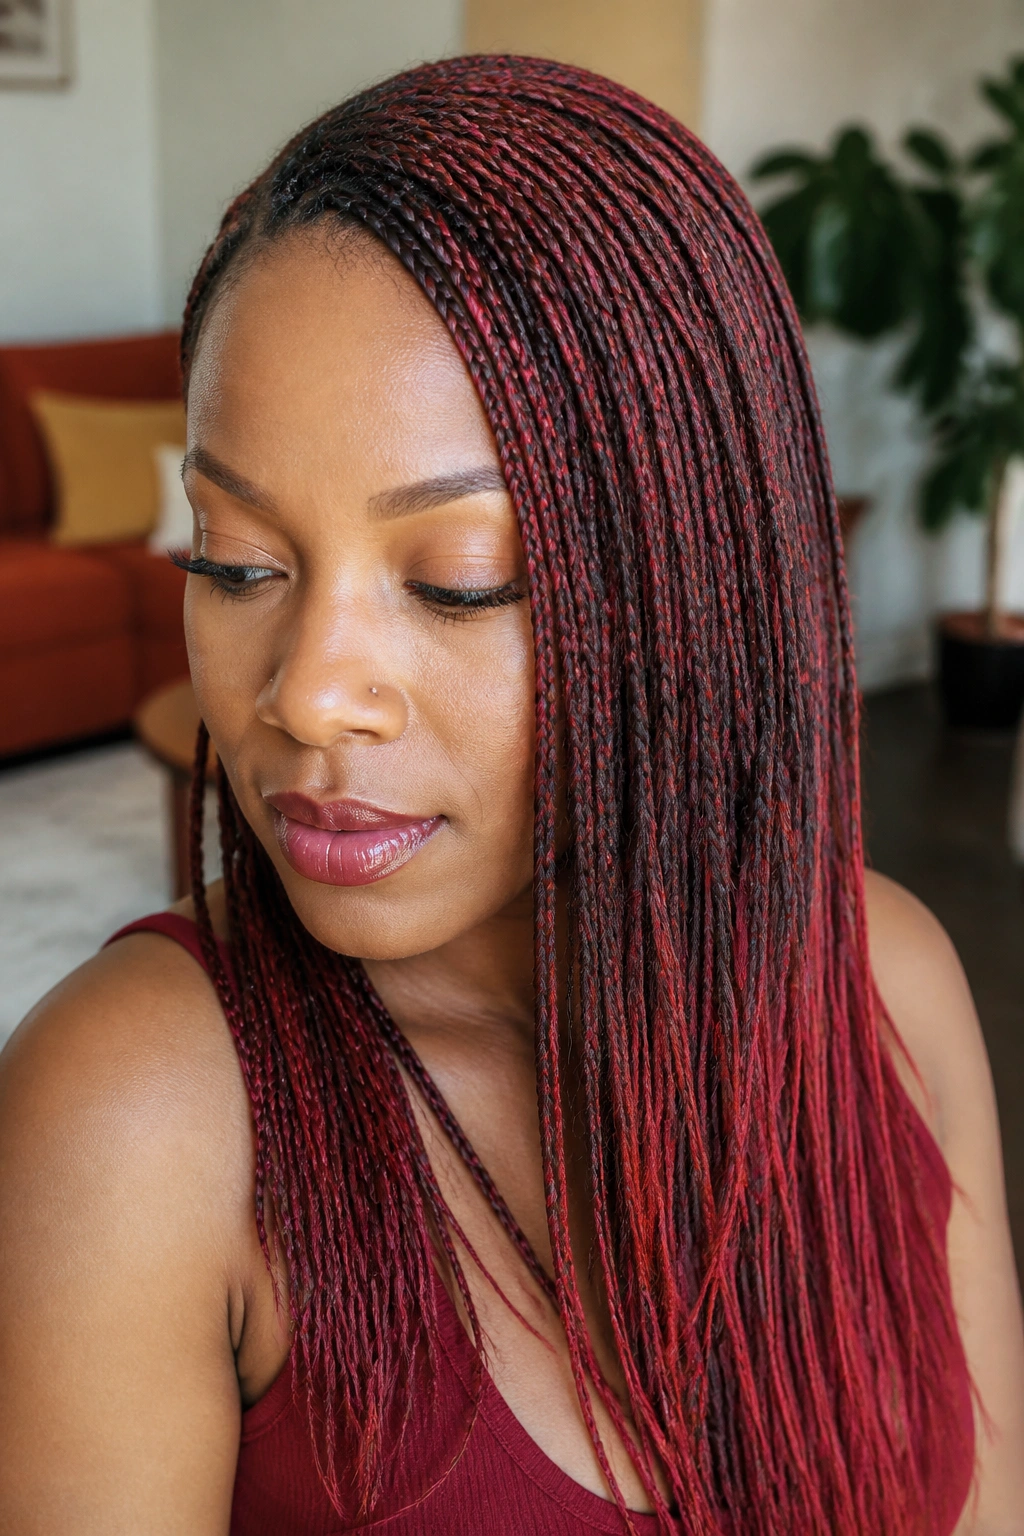
Red is a color that never goes out of style. From deep wine shades to bright copper, red micros make a statement. Burgundy is a particularly popular choice because it is subtle enough for most offices but has a beautiful glow in natural sunlight.
Red hair fibers—especially synthetic ones—can sometimes bleed color during the first wash. It’s a good idea to do a quick vinegar rinse on the hair before it is installed, or just be very careful with your white towels during the first two weeks. Once the initial “extra” pigment is gone, the color stays remarkably stable.
Because red is such a warm color, it tends to make the skin look more radiant. If you are feeling a bit “blah” or looking for a change that isn’t as drastic as blonde, burgundy is the perfect middle ground. It adds a level of sophistication to the micro braid look.
18. Micro Braids with Beads and Jewelry
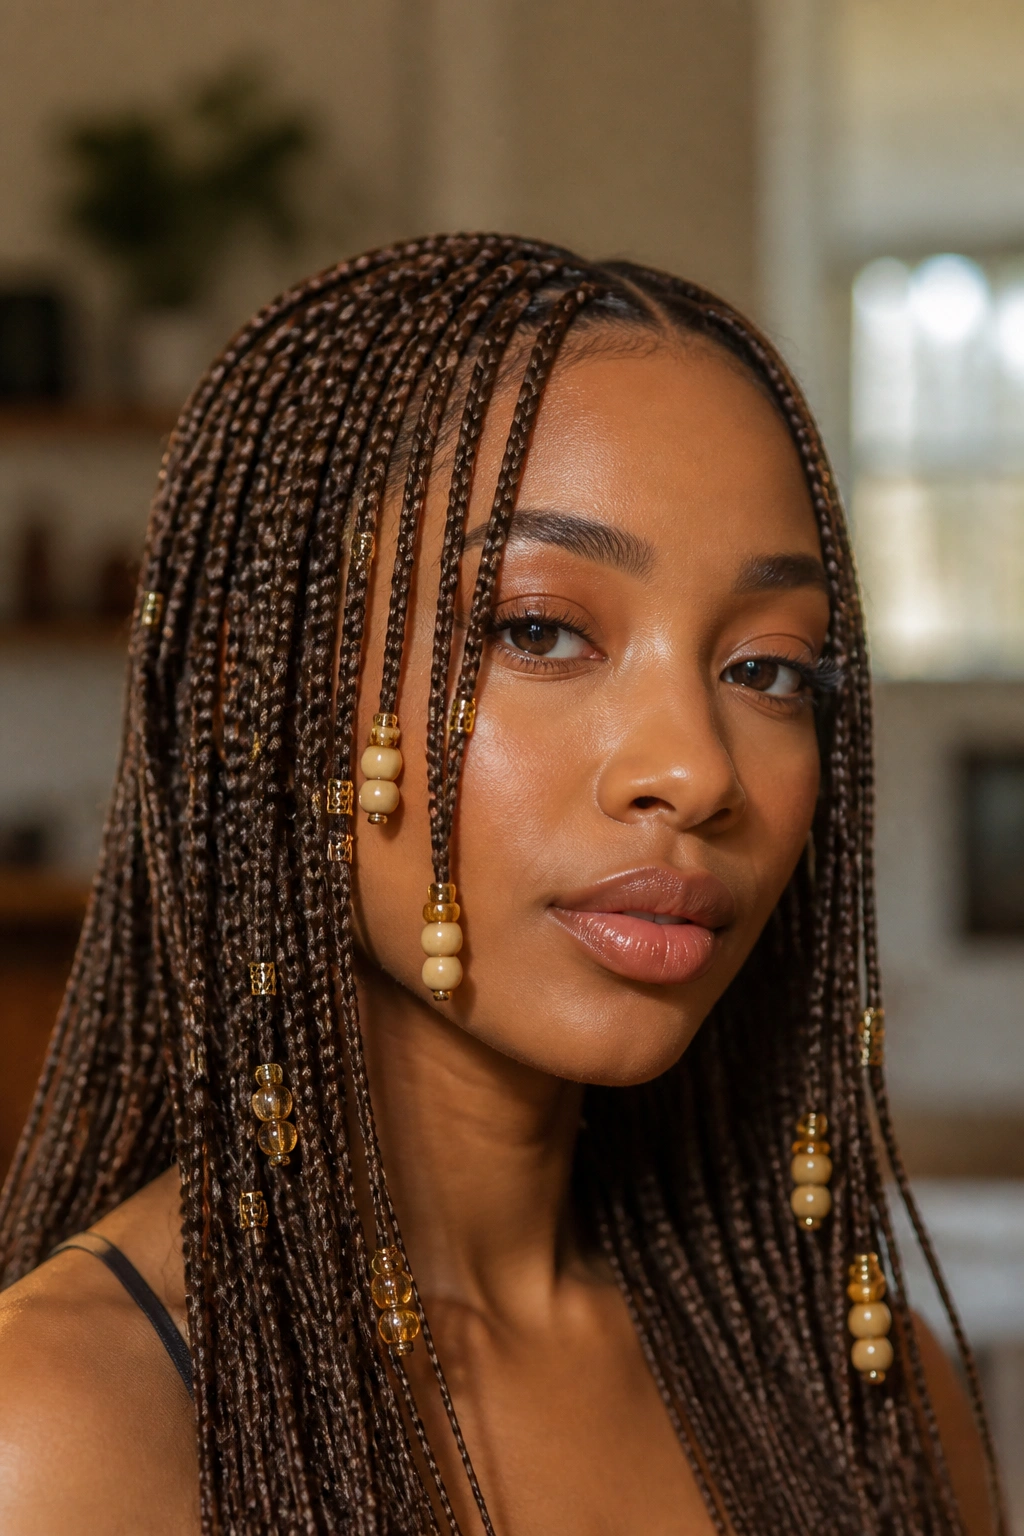
Who says micros have to be plain? Adding gold cuffs, silver wire, or even small wooden beads to a few select braids can completely change the vibe. This is a great way to “redecorate” your hair at the two-month mark when you might be getting bored with the look.
Where to Place Jewelry
- Face-framing: Add two or three cuffs to the braids right by your cheeks.
- The Ends: Small beads on the ends of the braids can add a satisfying weight and “clink.”
- The Crown: Thread a bit of gold wire through a braid at the top for a “halo” effect.
A Note on Weight
Be careful not to add too many heavy beads. Micros are thin, and if you put too much weight on the end of a single braid, it can cause the braid to slide off your natural hair or, worse, pull the hair out at the root. Keep the jewelry lightweight and sparse.
19. Bohemian Goddess Micros
The “Goddess” look usually involves adding even more loose wavy hair throughout the length of the braid, not just at the ends. It creates a very ethereal, messy, voluminous look. It is the closest a braid can get to looking like a full head of loose, wavy curls.
This is a high-maintenance “low-maintenance” look. While it looks effortless, those loose pieces of hair will want to tangle with the braids. To reach twelve weeks, you will need to “finger-detangle” the loose strands every single morning. If you are the type of person who wants to wake up and go without a second thought, this might be too much work. But if you don’t mind a five-minute morning routine, the payoff is a stunning, runway-ready look.
Pro tip: Carry a small bottle of “braid sheen” or a light oil in your bag. A quick misting during the day keeps the loose “goddess” strands from looking frizzy or parched.
20. Side-Swept Micro Braids
Similar to the side part, the side-swept look is all about drama. This involves styling the braids so they all fall over one shoulder. It is an incredibly flattering look for photos and formal events. It opens up your face on one side while providing a “curtain” of hair on the other.
To make this look natural, your braider should use the “invisible” or “knotless” start. This allows the braids to pivot in any direction without a bulky knot showing. If you try to sweep knotted braids to the side, you might see the small bumps of the knots, which can ruin the illusion of natural hair.
The side-sweep is also a great way to manage the weight. By shifting all the hair to one side, you change where the tension is sitting on your scalp. If your neck is feeling tired from a centered ponytail, sweeping the hair over a shoulder can provide a much-needed break.
21. Tucked-In Micro Braids
If you are worried about your natural hair being exposed, the “tucked” method is essential. This is where the braider ensures that your natural hair is completely encased within the extension hair. This is particularly important for people with light-colored natural hair who are using dark extensions.
Tucking takes longer and requires a more skilled braider. If your natural hair isn’t tucked in well, it will start to “poke out” of the sides of the braids as it gets dry or as you move. This not only looks messy but also leaves your hair vulnerable to breakage.
When your hair is properly tucked, you can reach that twelve-week mark with zero heat damage or environmental wear. It is the ultimate “incognito” mode for your natural curls. When you finally take the braids down, your hair will likely be softer and longer than when you started.
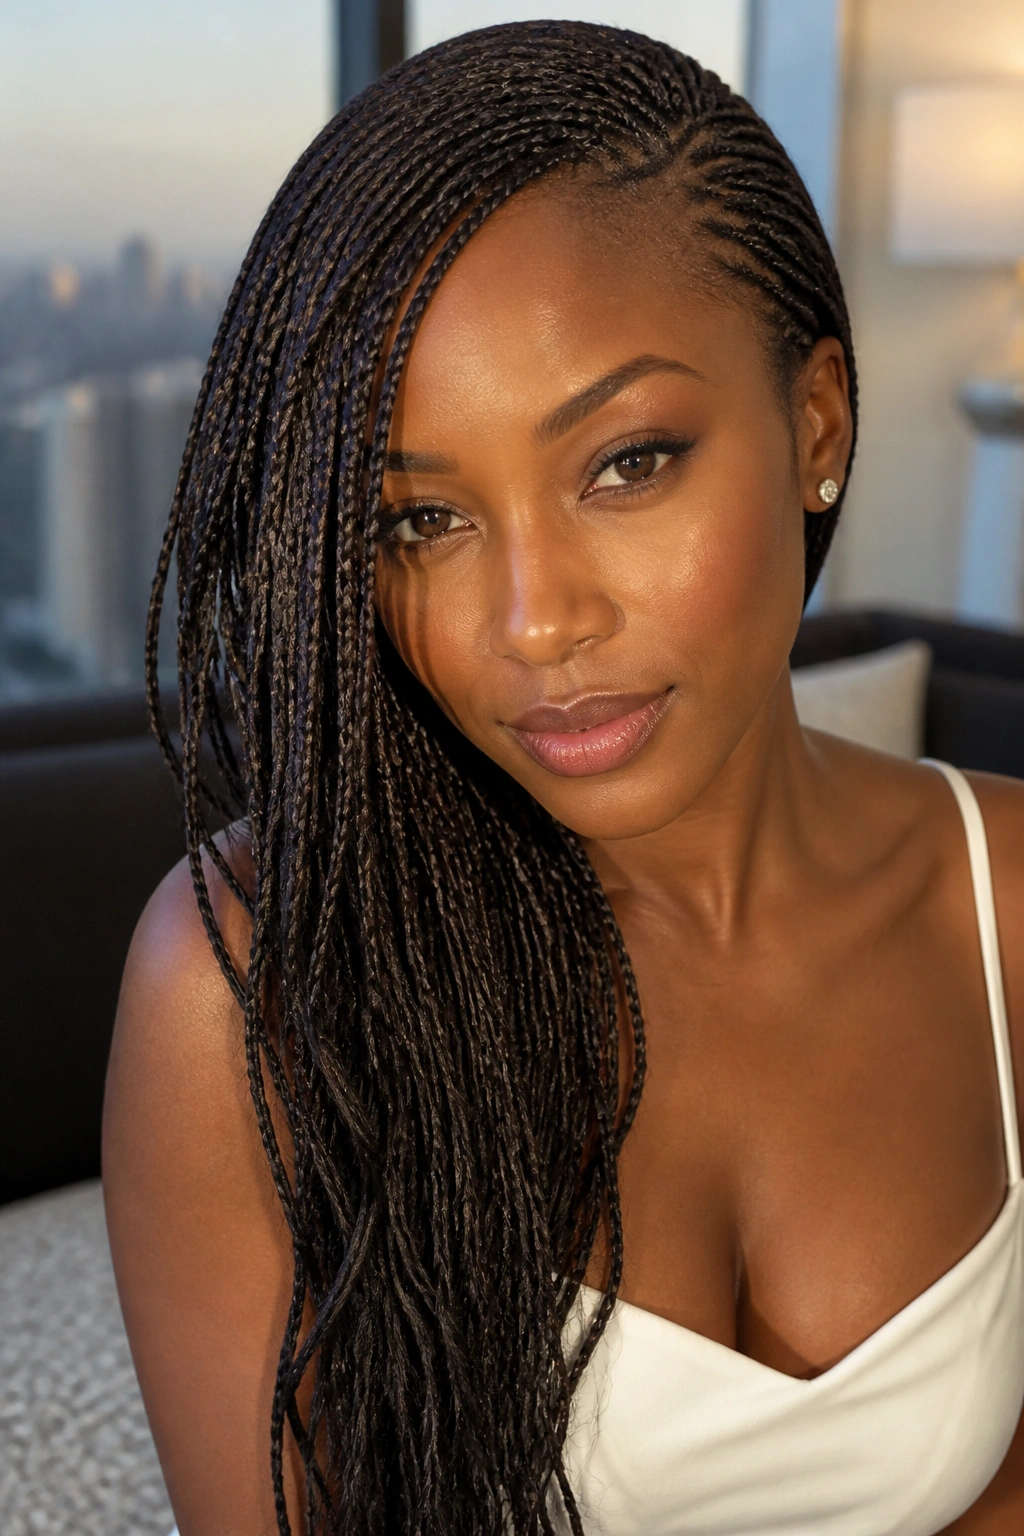
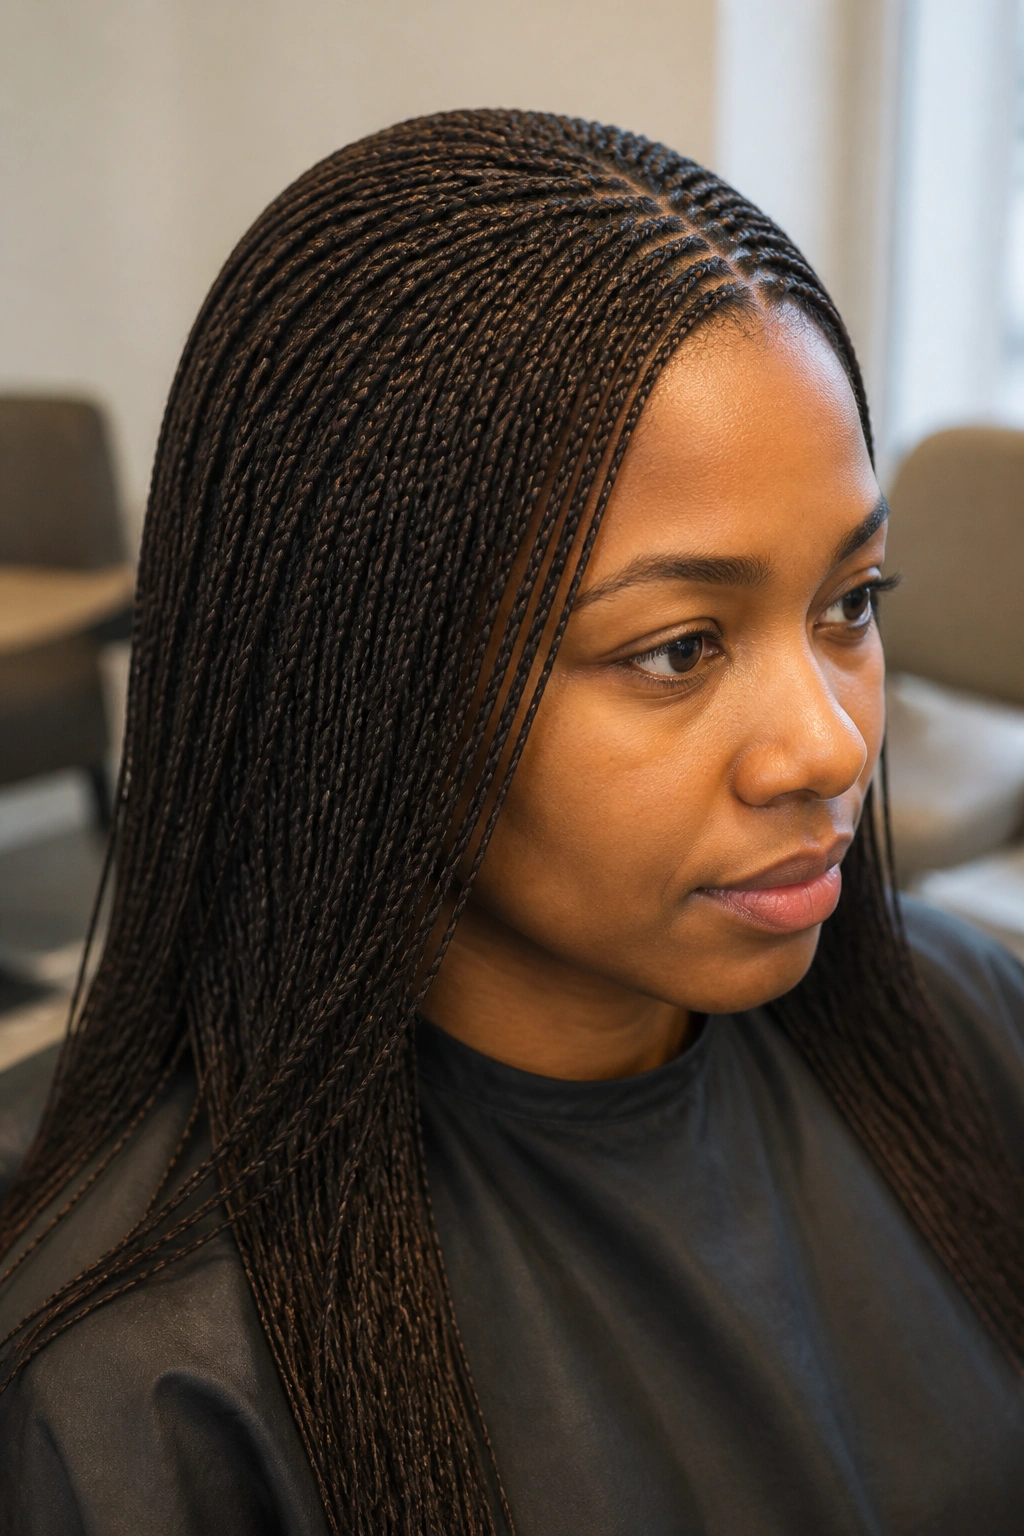
22. Micro Twists
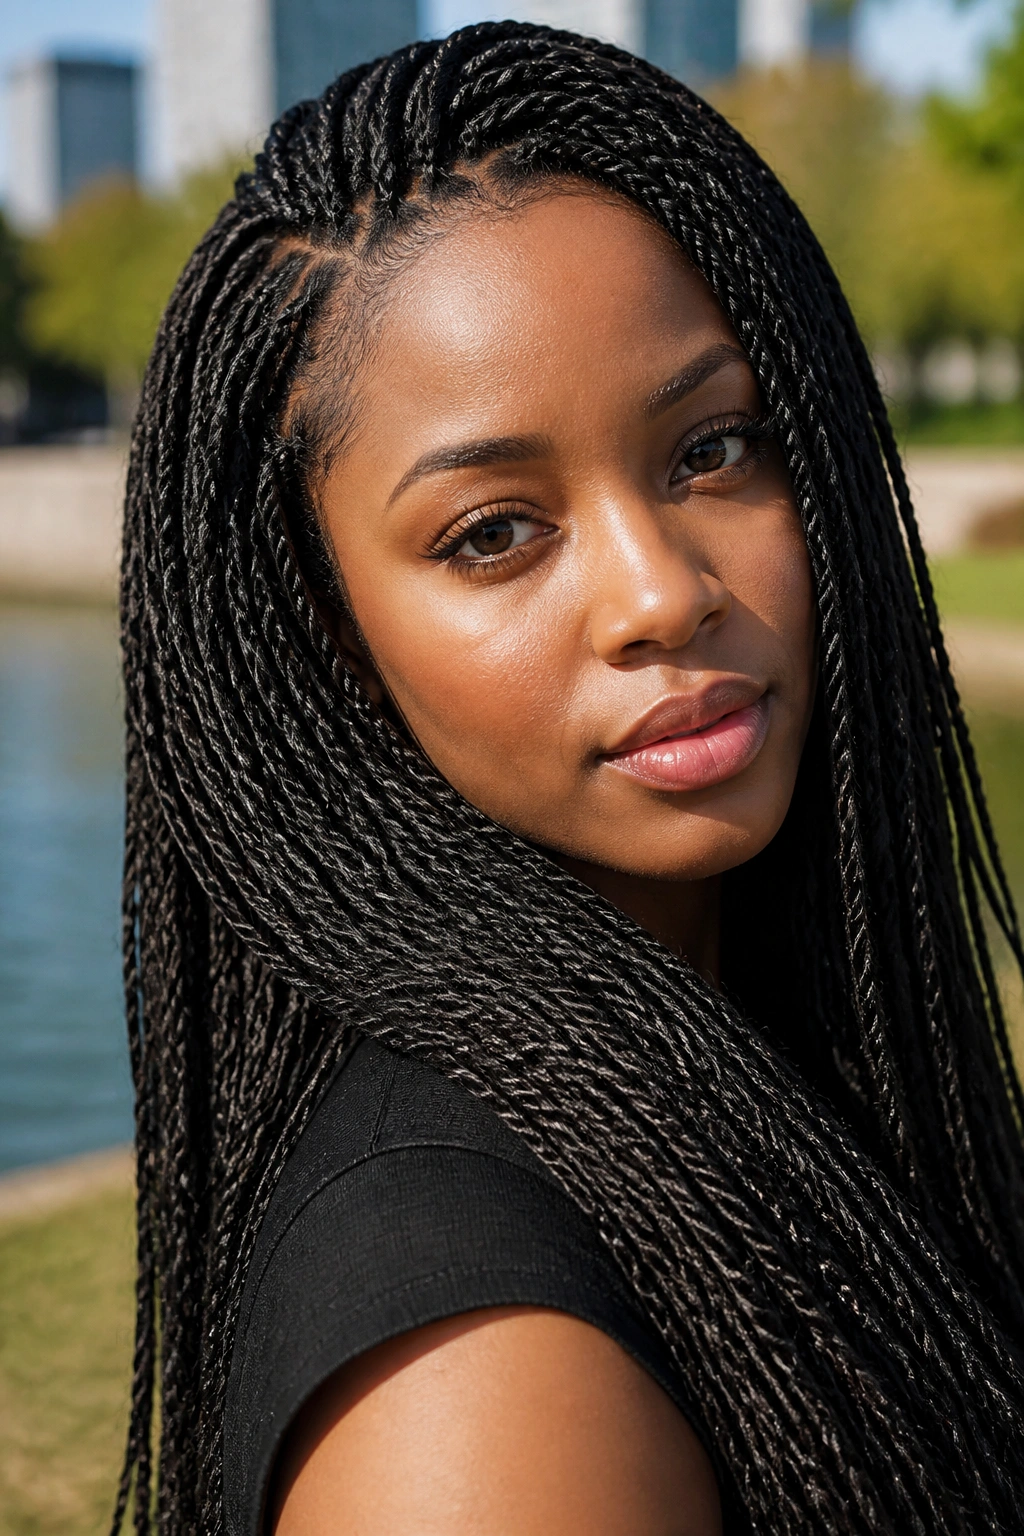
Wait, are they braids or twists? Micro twists (often called Senegalese twists when done on a small scale) offer a different aesthetic. They are smoother and have a more “rope-like” texture than three-strand braids. They are often faster to install and even faster to take down.
The challenge with twists is that they can unravel more easily than braids. To make them last twelve weeks, the ends must be sealed perfectly—usually by dipping them in boiling water. You also have to be more careful when washing. If you scrub twists too vigorously, they can start to slip or loosen at the root.
However, many people prefer the look of twists because they reflect light beautifully. They have a sleekness that braids sometimes lack. If you have a very soft hair texture that doesn’t “grip” well, you might want to stick to braids, but for those with coarser hair, micro twists are a stunning alternative.
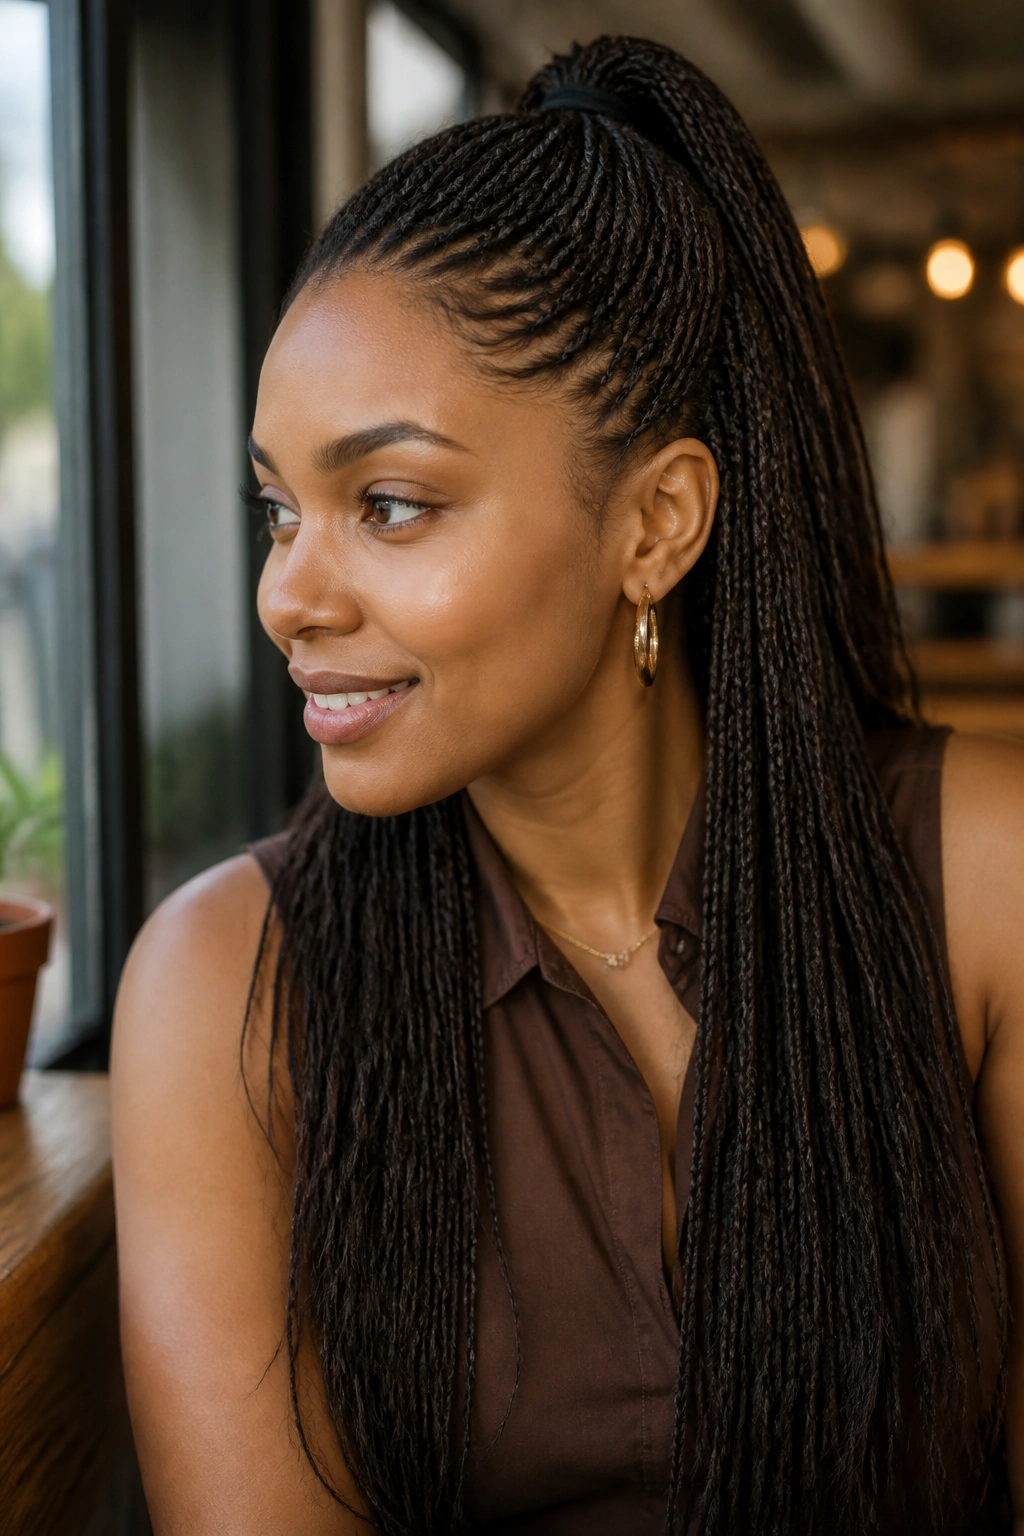
23. High Ponytail Micros
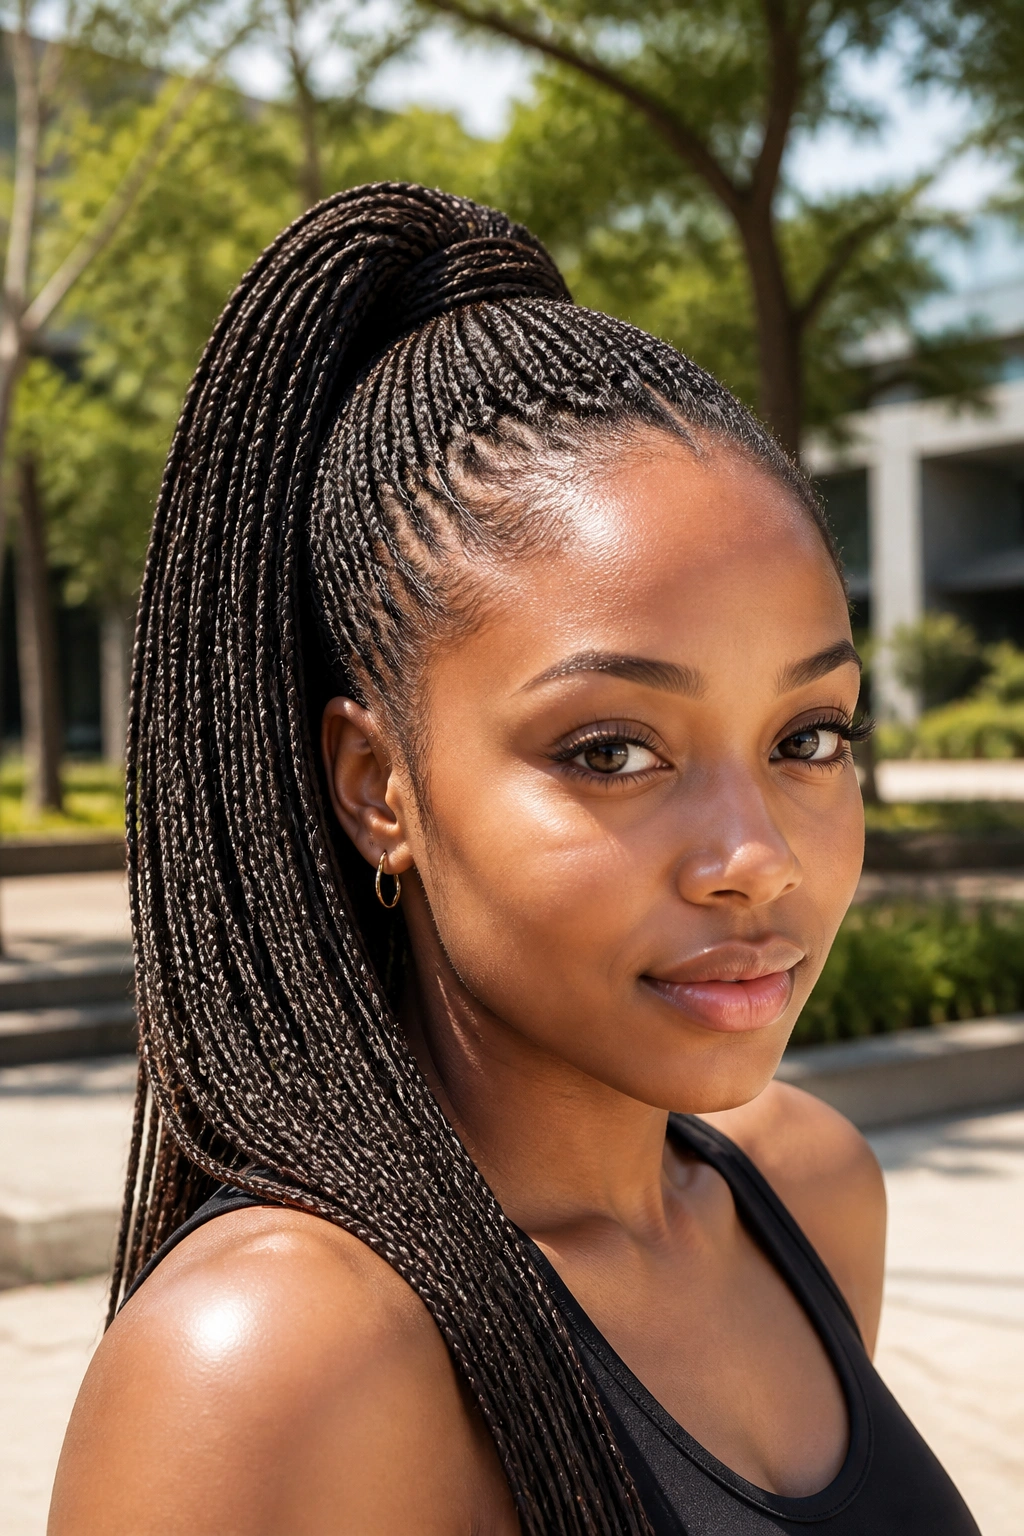
The “Ariana” look is just as popular in the braid world. A high, sleek ponytail made of thousands of micros is a power move. It’s sporty, youthful, and keeps you cool in hot weather.
Why It Works
It keeps the hair away from the face and neck, which reduces the amount of oil and sweat that gets into the braids. This can actually help your scalp stay cleaner for longer.
The Downside
Constant high ponytails are the leading cause of “thinning edges” in the braiding community. To make your micros last three months without damage:
- Never sleep in a high ponytail.
- Change the position of the ponytail slightly every day (up an inch, down an inch).
- Use a “puff cuff” or a very loose scrunchie.
24. Zig-Zag Part Micros
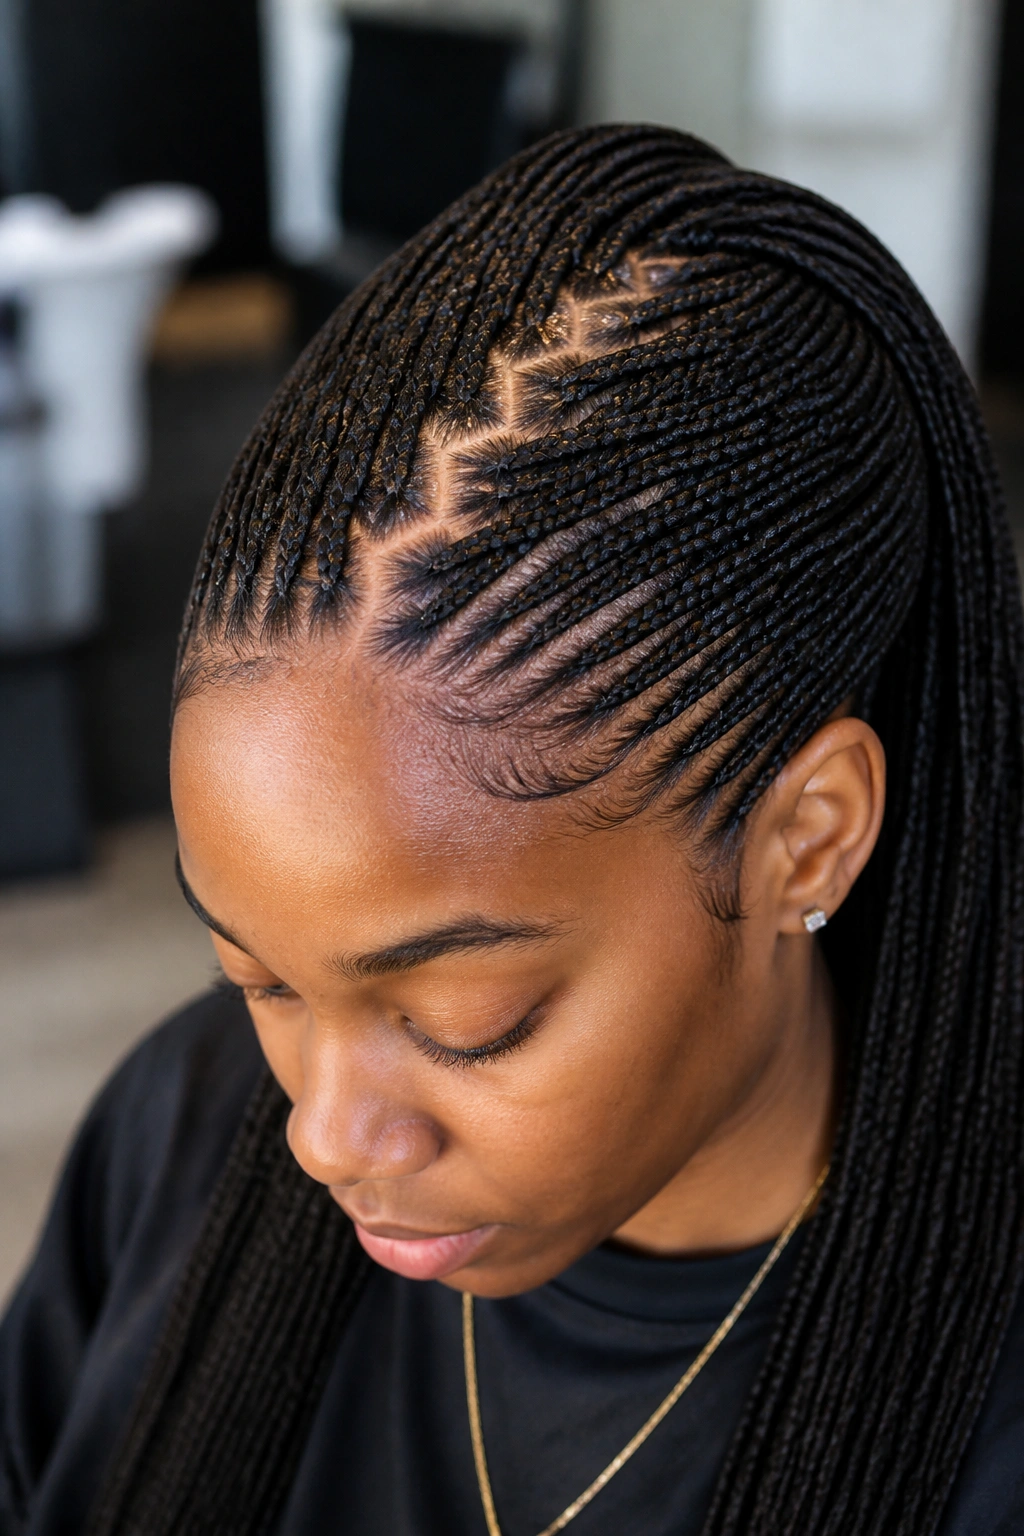
For the truly adventurous, zig-zag parting adds a geometric, artistic element to the scalp. Instead of straight lines, the braider creates a series of “Zs” across your head. This looks incredible when the hair is pulled back or styled in a way that shows the scalp.
Zig-zag parts are also functional. They help to “distribute” the hair so you don’t get those wide, obvious gaps between braids. It makes the hair look denser and fuller. As your hair grows in, the zig-zag pattern becomes less obvious, but it still helps the new growth blend in more naturally than a straight line would.
This is a “pro-level” style. You need a braider with a very steady hand and a lot of patience. If the parts aren’t crisp, the whole look will feel “off.” But when done correctly, it is a work of art that will have people stopping you in the street to ask who did your hair.
25. Skunk Stripe Micro Braids
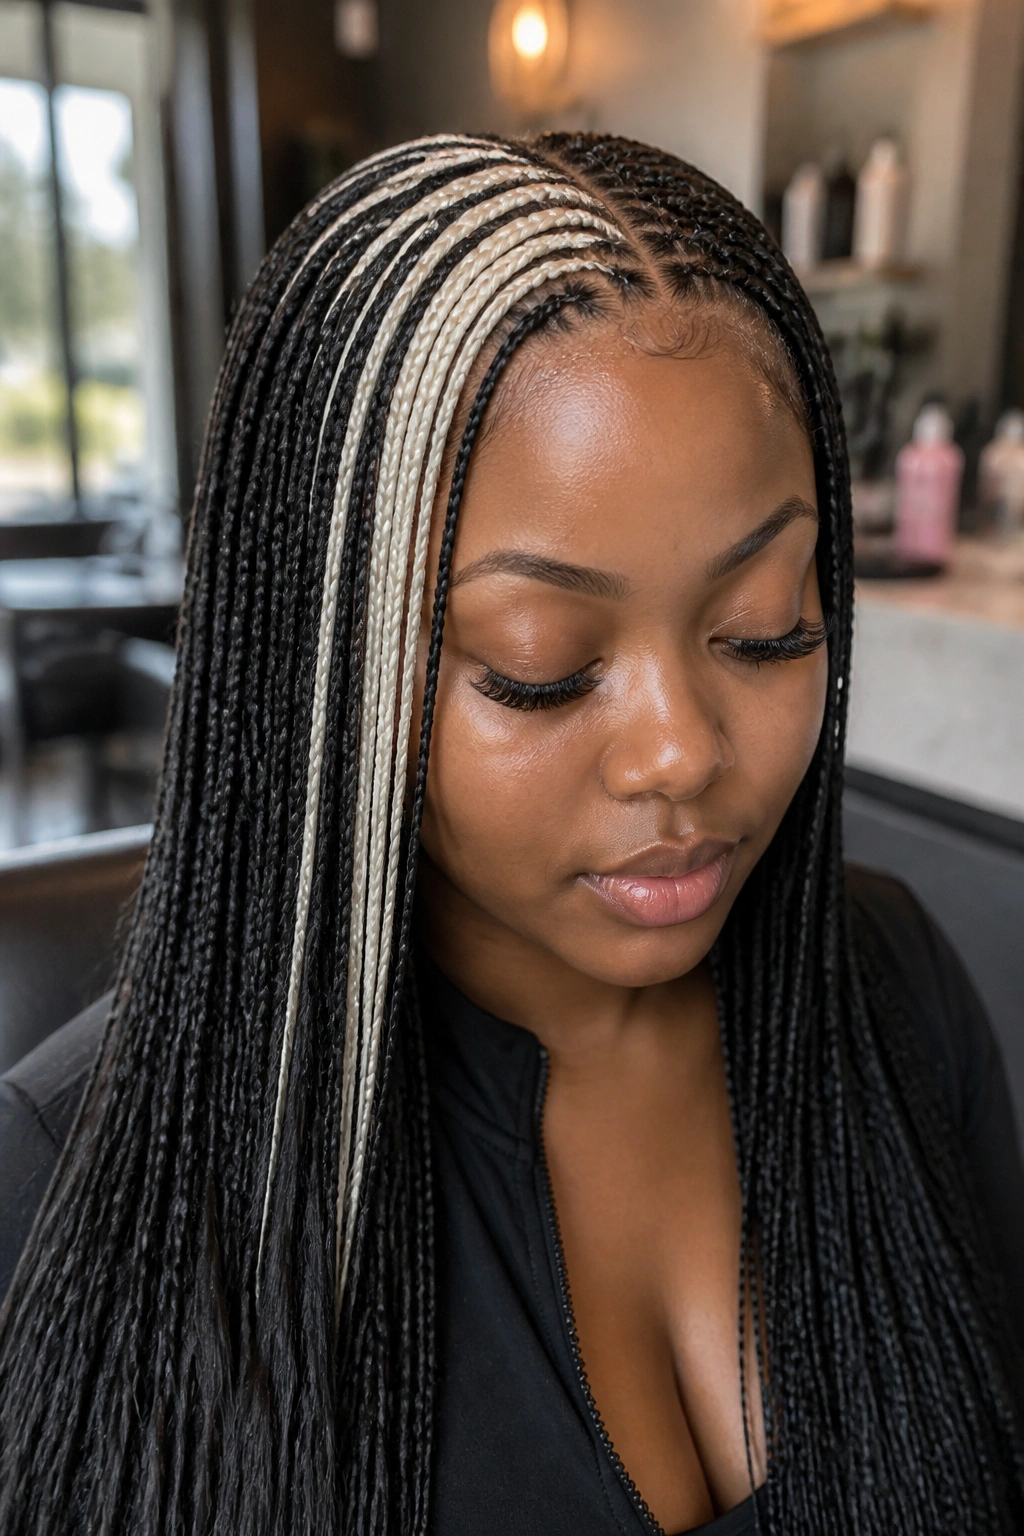
The “skunk stripe” or “money piece” trend involves having a high-contrast section of hair—usually right at the front or in one specific streak—that is a completely different color than the rest. Think jet black hair with one bright platinum or pink streak.
This is a fun way to add personality to your micros. Because the color is concentrated in one area, it’s easy to maintain. If you get tired of the color after six weeks, a skilled braider can actually “swap out” just those few braids for a new color without you having to redo your entire head.
The skunk stripe draws attention to your eyes and cheekbones. It’s a modern, edgy take on a classic style. It says, “I know the traditions, but I’m making my own rules.”
26. Micro Braids with Swoop Bangs
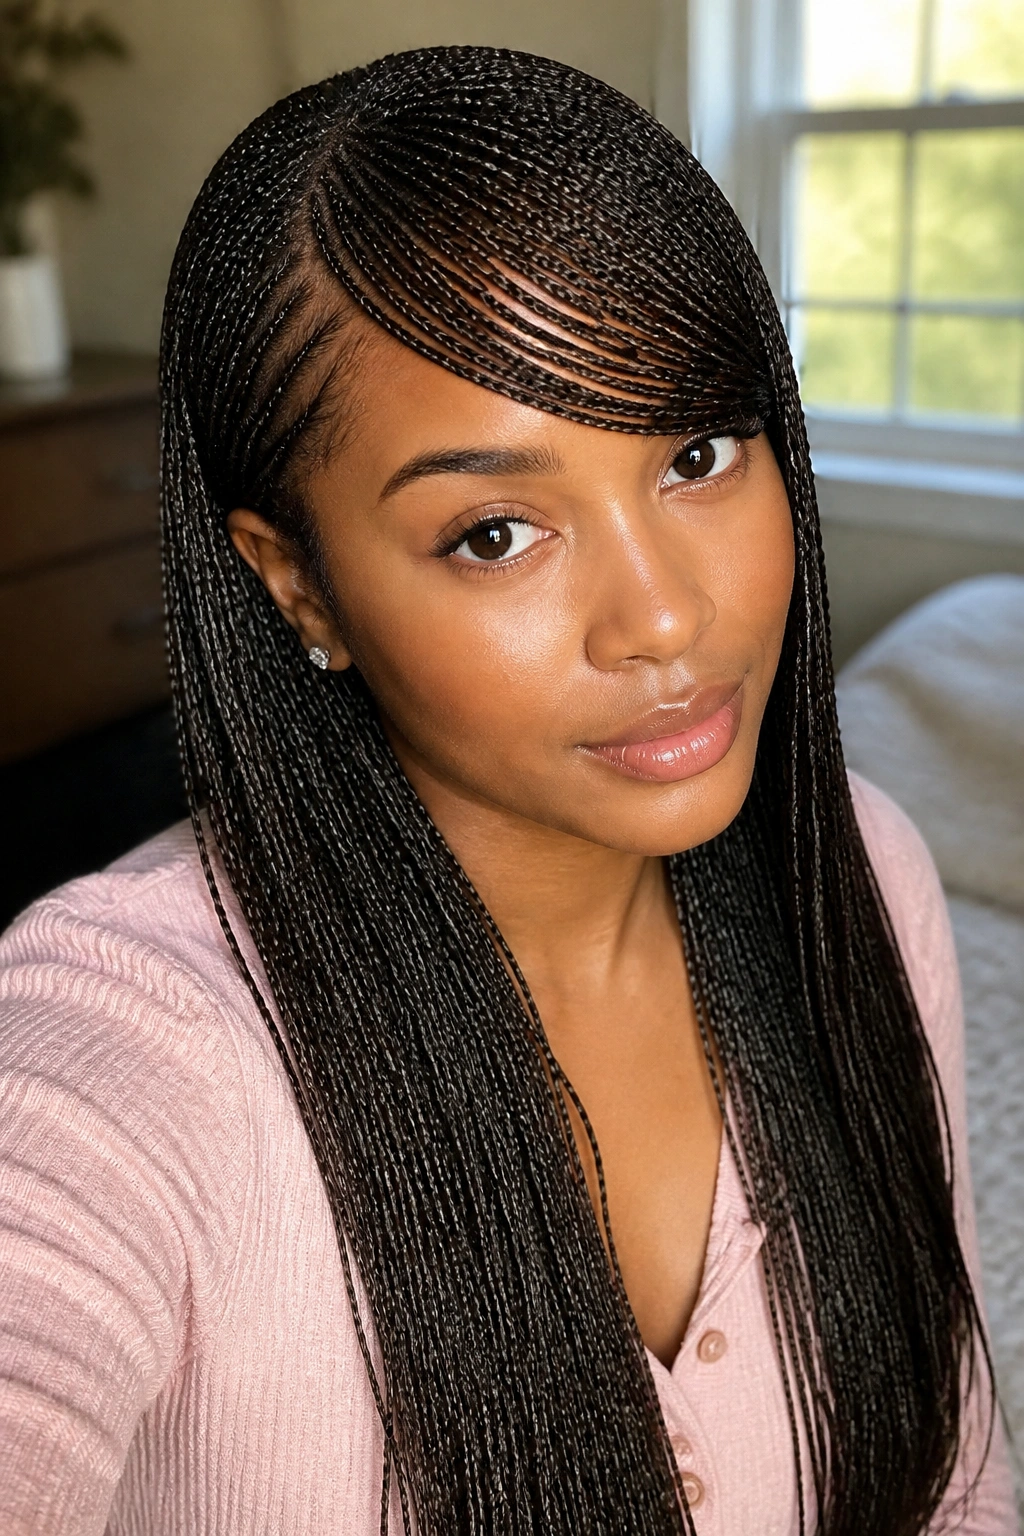
Can you have bangs with micros? Absolutely. By braiding the front section shorter and styling it to the side, you can create a “swoop” that mimics a side-swept fringe. It’s a very sophisticated look that softens the forehead and adds a bit of mystery.
Bangs require a bit of “training.” You may need to pin the front section down at night to ensure the braids “learn” to lay flat against your forehead. After a week or two, they will naturally fall into that swoop shape.
This is a great option for people who feel that a full head of long braids makes their face look too “long.” The horizontal element of the bang breaks up the vertical lines of the braids, creating a more balanced, harmonious look.
How to Reach the Twelve-Week Finish Line
Installing the braids is only half the battle. If you want to actually make it to month three, you need to master the “mid-way” refresh. Around week six, your edges will likely be looking a bit fuzzy. This is normal. A common trick is to go back to your braider and have just the “perimeter” (the two rows of braids all around your head) redone. This takes about two hours but makes the whole style look brand new.
Scalp hygiene is the other non-negotiable. You should use a pointed-tip bottle to apply a mixture of witch hazel and water to your scalp every two weeks. This removes excess oil and itchiness without you having to fully soak the braids. If you do wash your hair, make sure you sit under a hooded dryer or use a blow dryer on a cool setting. If the “cores” of your braids stay damp, they can develop a “mildew” smell—and that is the one thing that will force you to take them down early.
The Bottom Line
Micro braids are a commitment, but they are also one of the most rewarding styles you can choose. They offer a level of detail and “flow” that larger braids simply cannot match. Whether you go for the classic human hair look or experiment with “skunk stripes” and zig-zag parts, the key is to respect your scalp. Use high-quality hair, manage your tension, and don’t be afraid to redo your edges halfway through. If you follow these rules, you won’t just be wearing braids; you’ll be wearing a masterpiece that stays stunning from the first day to the ninety-second.