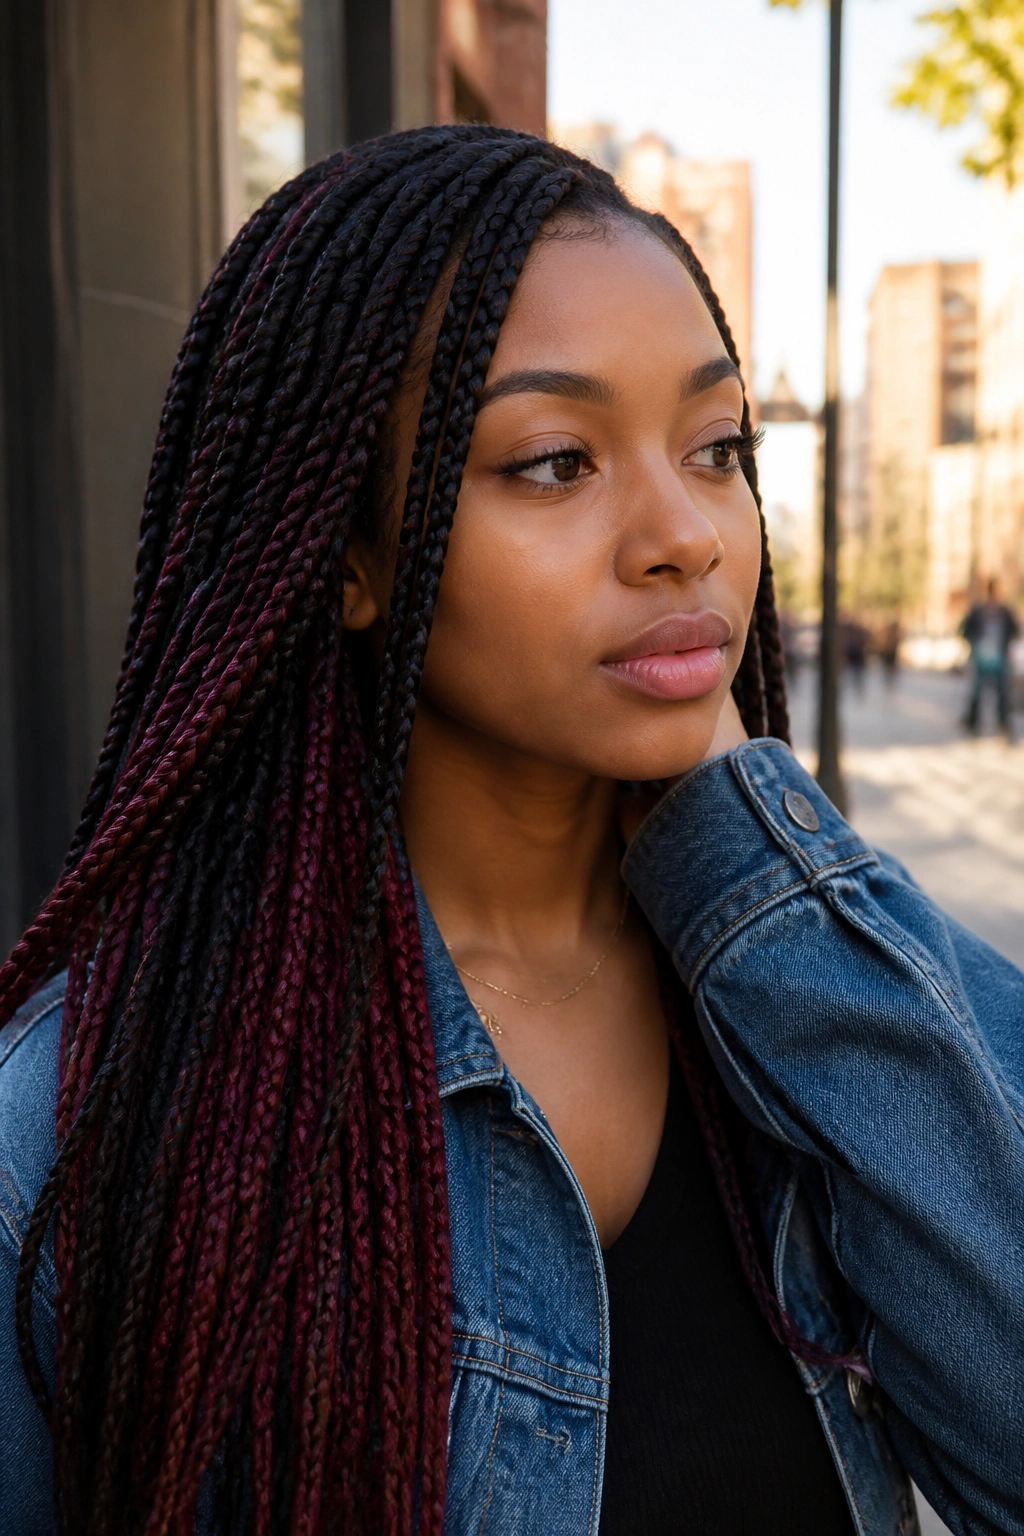
The throbbing at your temples after a fresh set of traditional box braids isn’t a rite of passage; it’s a warning sign. For decades, the “beauty is pain” mantra led many of us to ignore that sharp, stinging tension at the hairline, only to face thinning edges and traction alopecia later. Traditional braids use a heavy knot at the scalp to anchor the extension hair, creating a literal tug-of-war with your most delicate strands. Knotless braids changed that entire dynamic by starting with your natural hair and gradually feeding in the extensions, distributing the weight along the shaft rather than dumping it all on the root.
If you have fine hair or a sensitive scalp, the shift to knotless isn’t just a trend—it’s a survival strategy for your hairline. Because the hair is added as you go, the braid sits flat, moves naturally, and lacks that anchor-heavy knot that usually spells disaster for the perimeter of your head. You can actually pull your hair into a ponytail on day one without feeling like your scalp is being peeled back. It’s the kind of relief that makes you wonder why we ever did it the old way.
Choosing the right variation of knotless braids is about more than just picking a pretty color. The size of the parts, the length of the extensions, and even the way the ends are finished all play a role in how much stress you’re putting on your follicles. A massive, waist-length jumbo braid might look incredible, but if the part is too small to support that weight, you’re back to square one with tension issues. We’re looking for the sweet spot: styles that offer maximum impact with minimum strain.
Why Knotless Technology Protects the Hairline
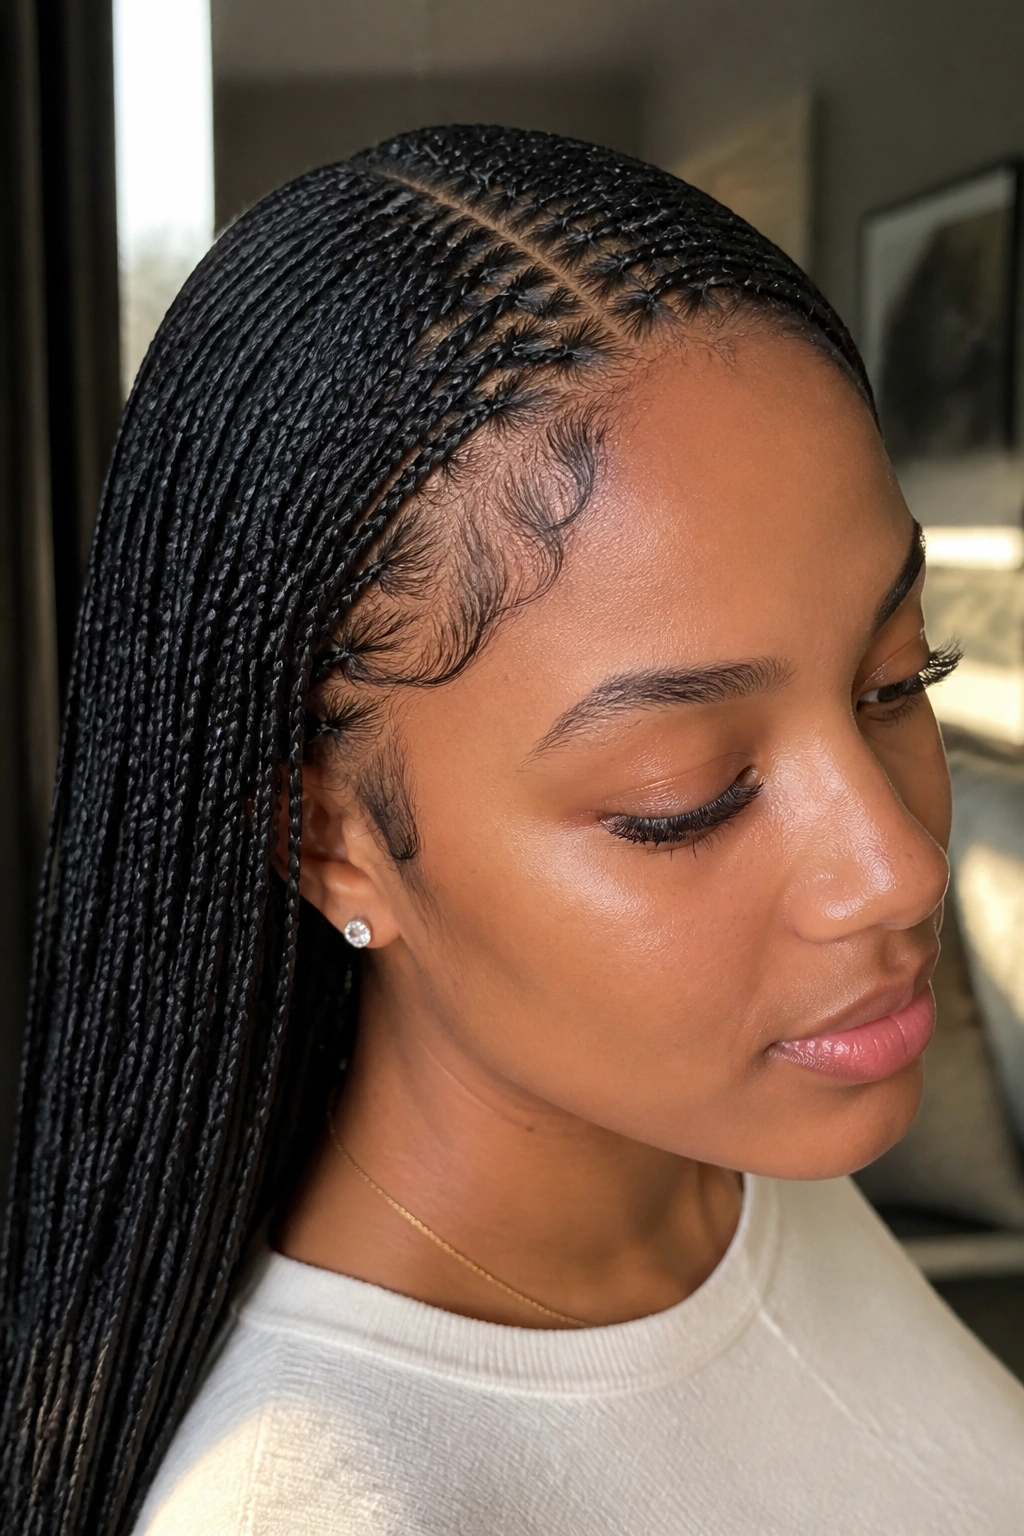
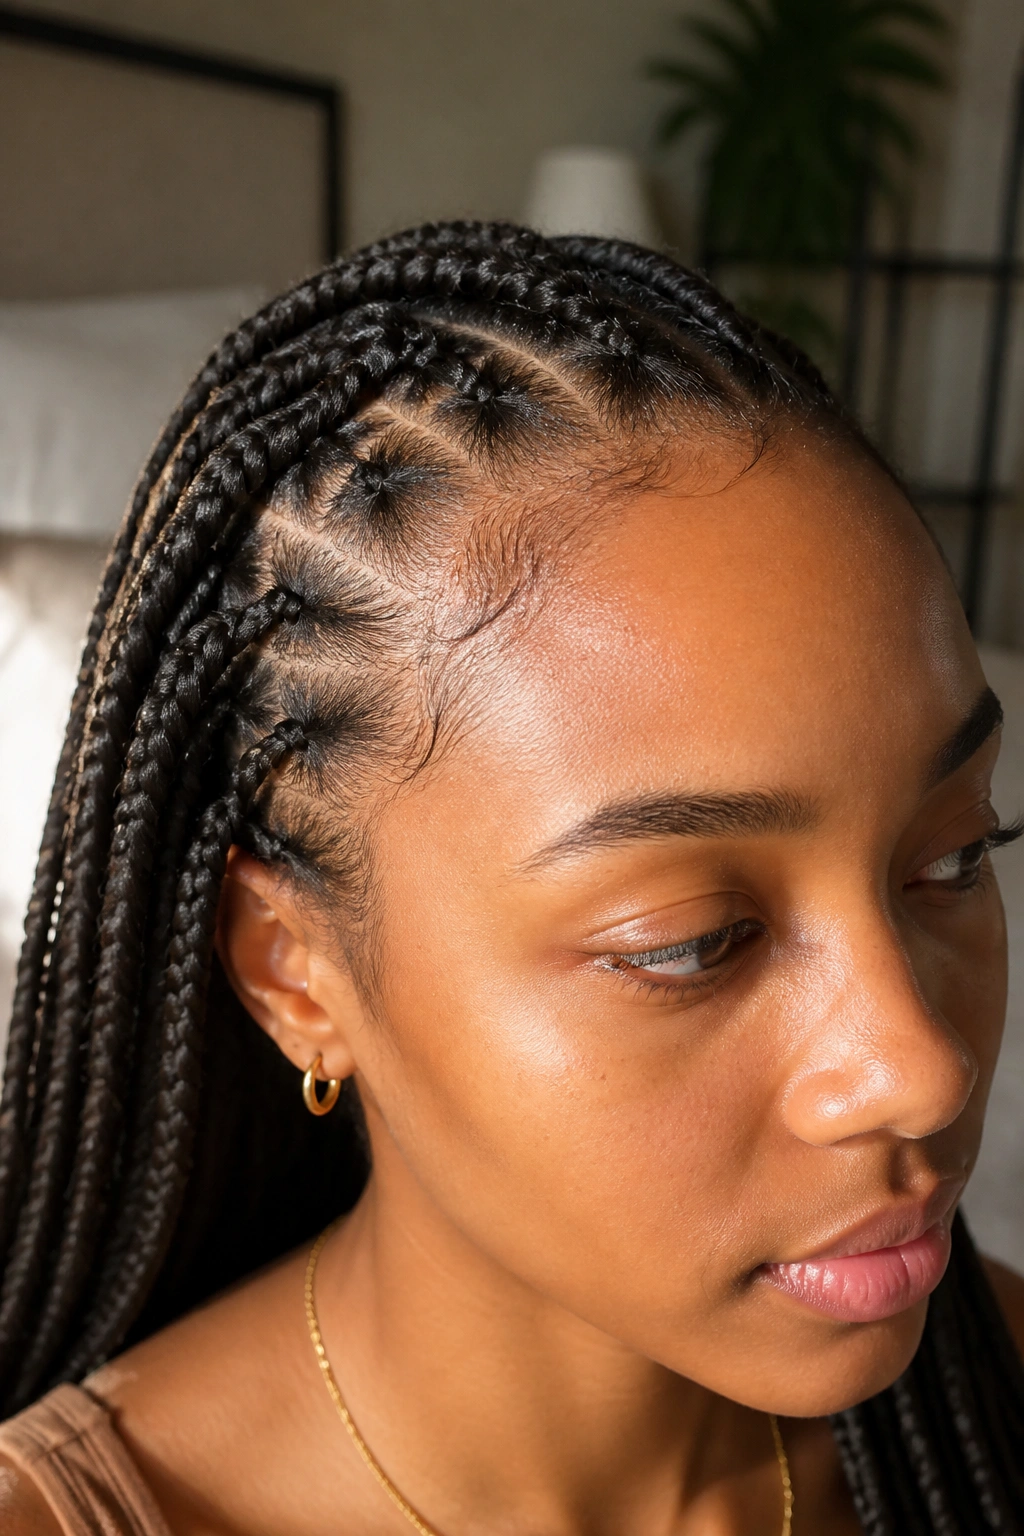
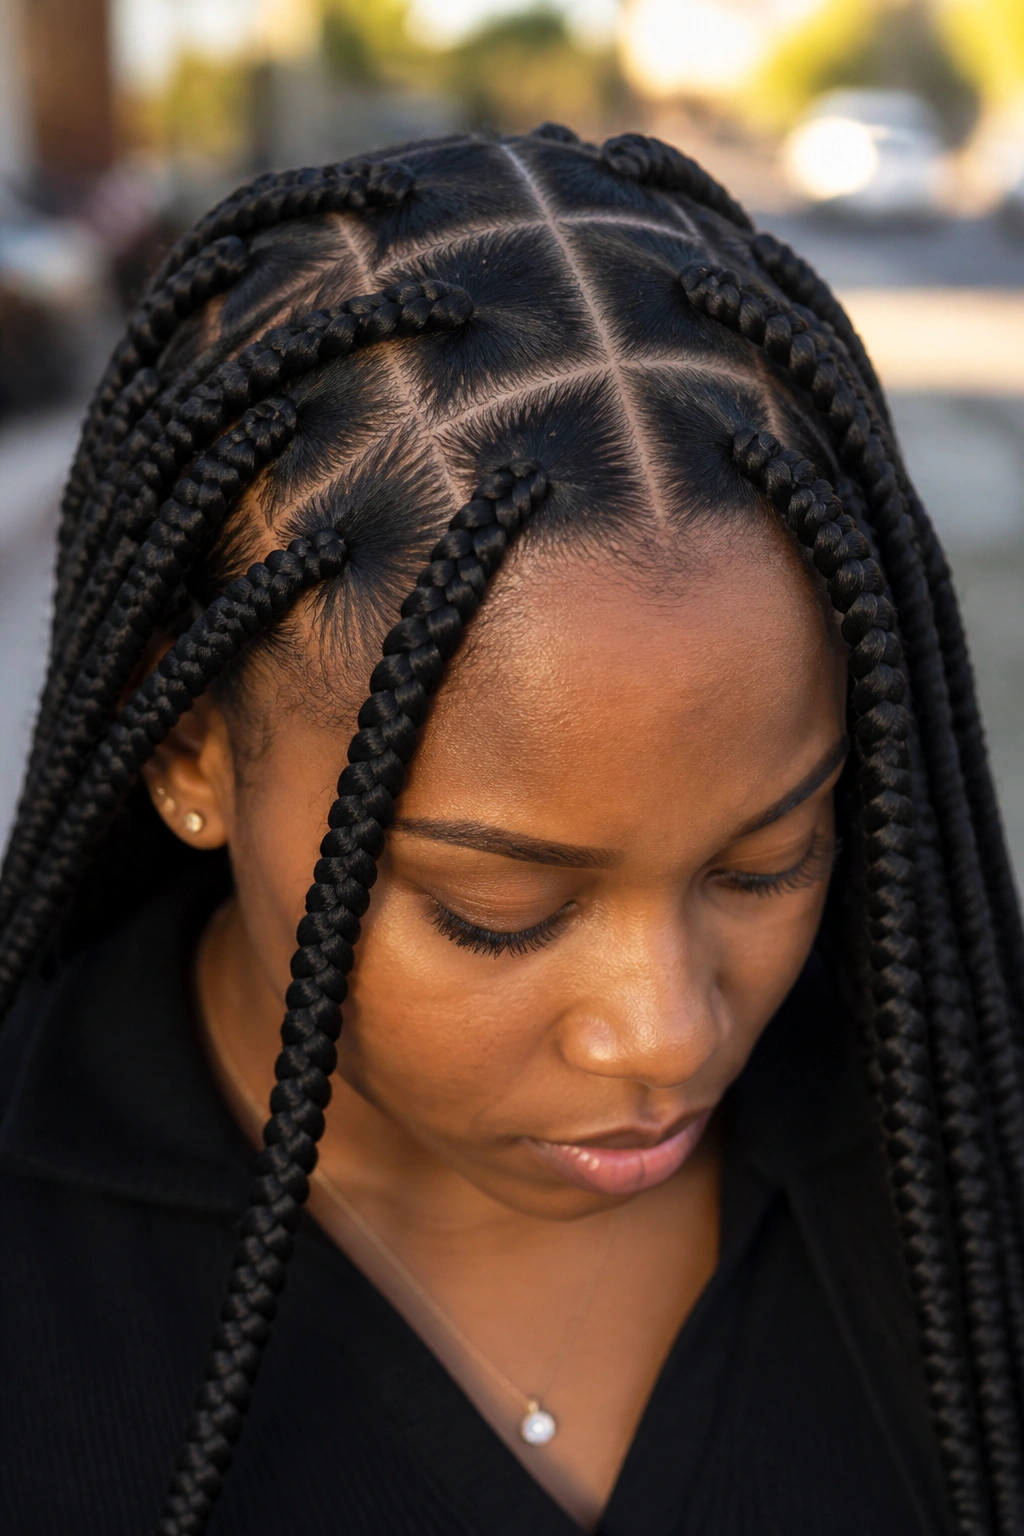
The mechanical difference between a knotted braid and a knotless one is night and day. In a traditional box braid, the stylist loops the synthetic hair around the base of your natural hair, creating a bulky knot. This knot acts as a lever. Every time you move your head or sleep on your side, that lever pulls directly on the root. Over time, this constant tension can damage the follicle permanently. Knotless braids eliminate this lever entirely.
The Feed-In Mechanism
- Natural Start: The braid begins with three strands of your own hair, allowing the root to settle into its natural direction.
- Gradual Tension: Extensions are added about half an inch down the braid, meaning the weight is supported by the mid-shaft of the hair.
- Scalp Access: Without a bulky knot covering the base, you can actually reach your scalp to apply oils or cleansers.
- Weight Distribution: The absence of the knot means the braid is lighter and more flexible from the very first second.
Pro tip: Ask your stylist to use the “stitch” method sparingly around the edges, as the tight pulling required for those crisp lines can sometimes counteract the benefits of going knotless.
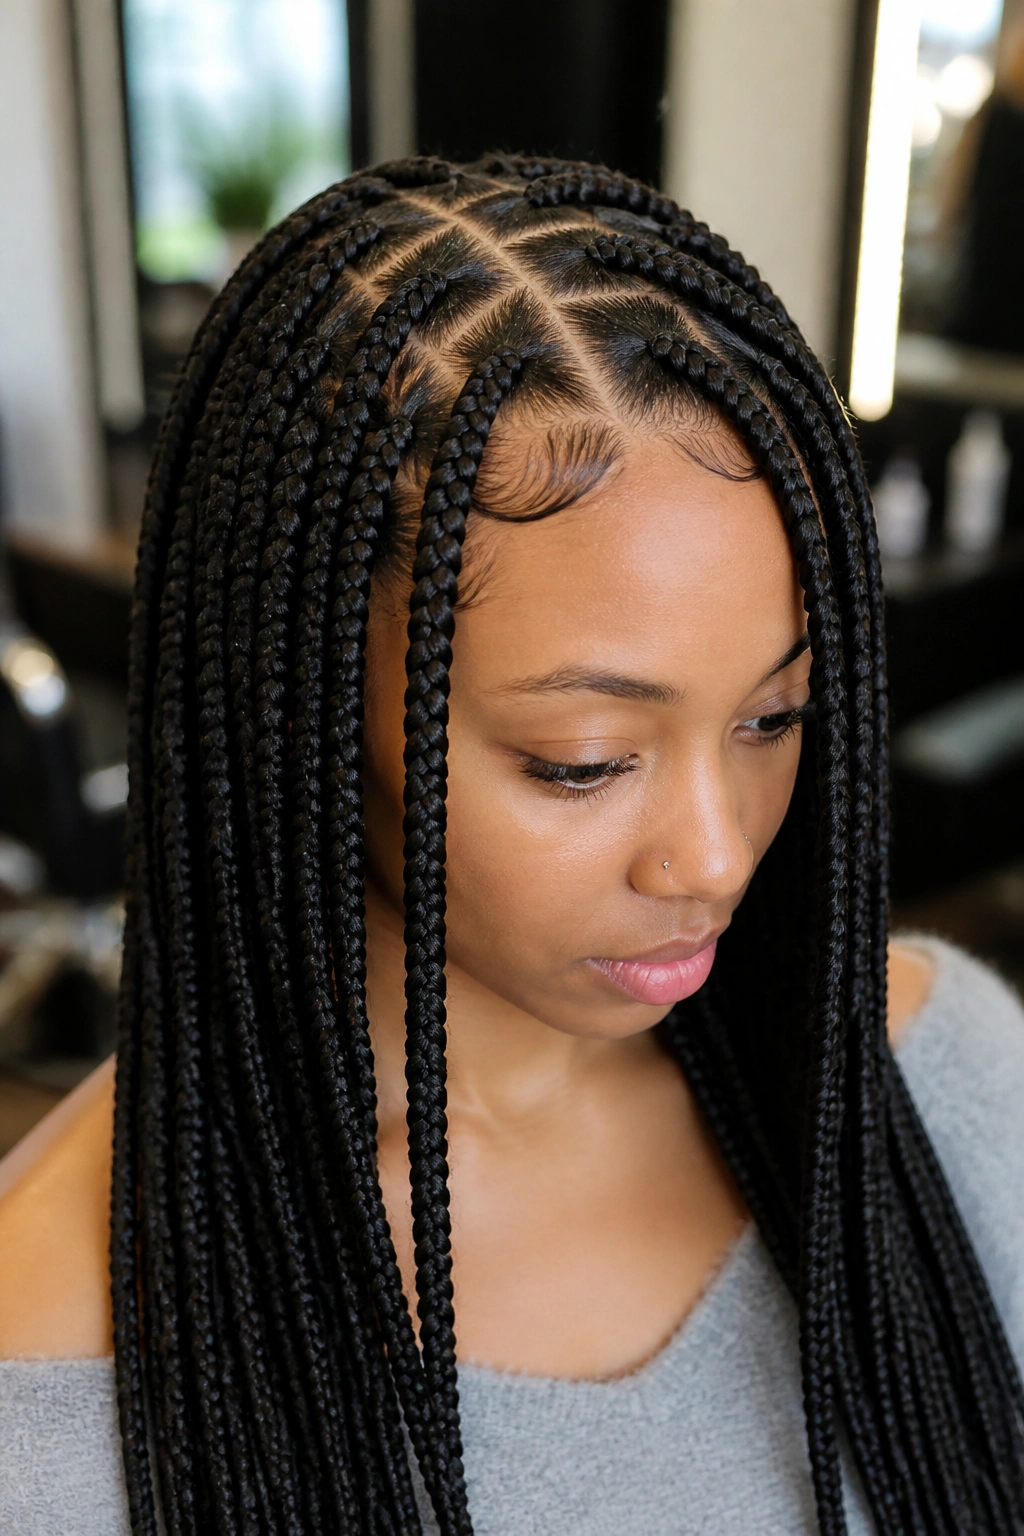
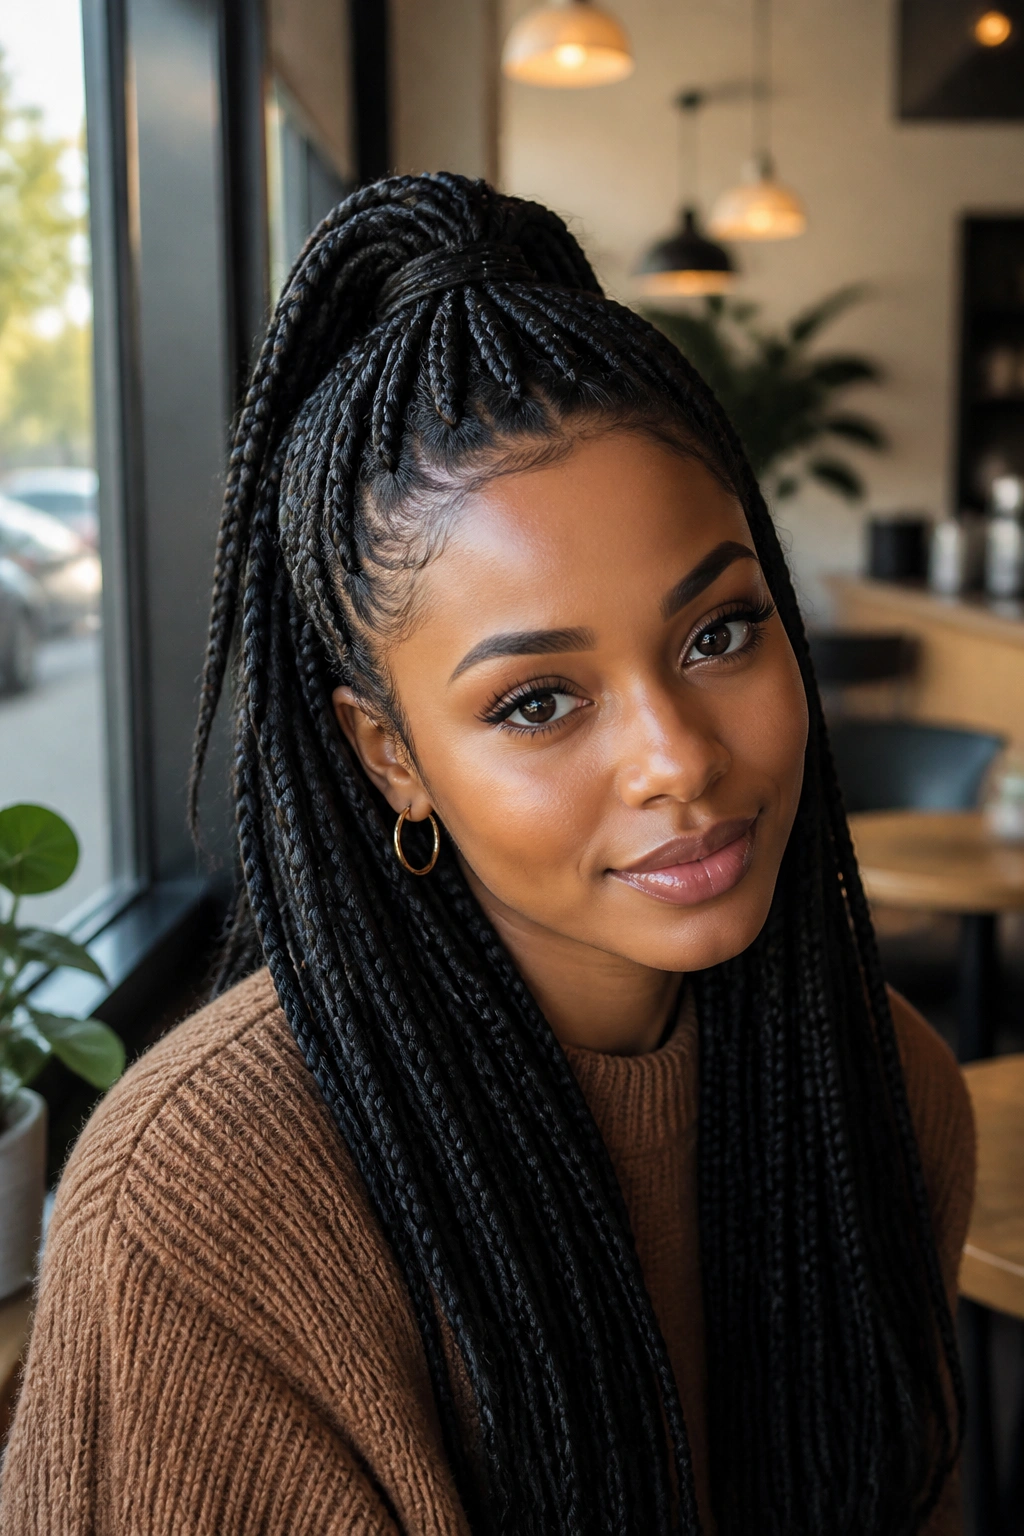
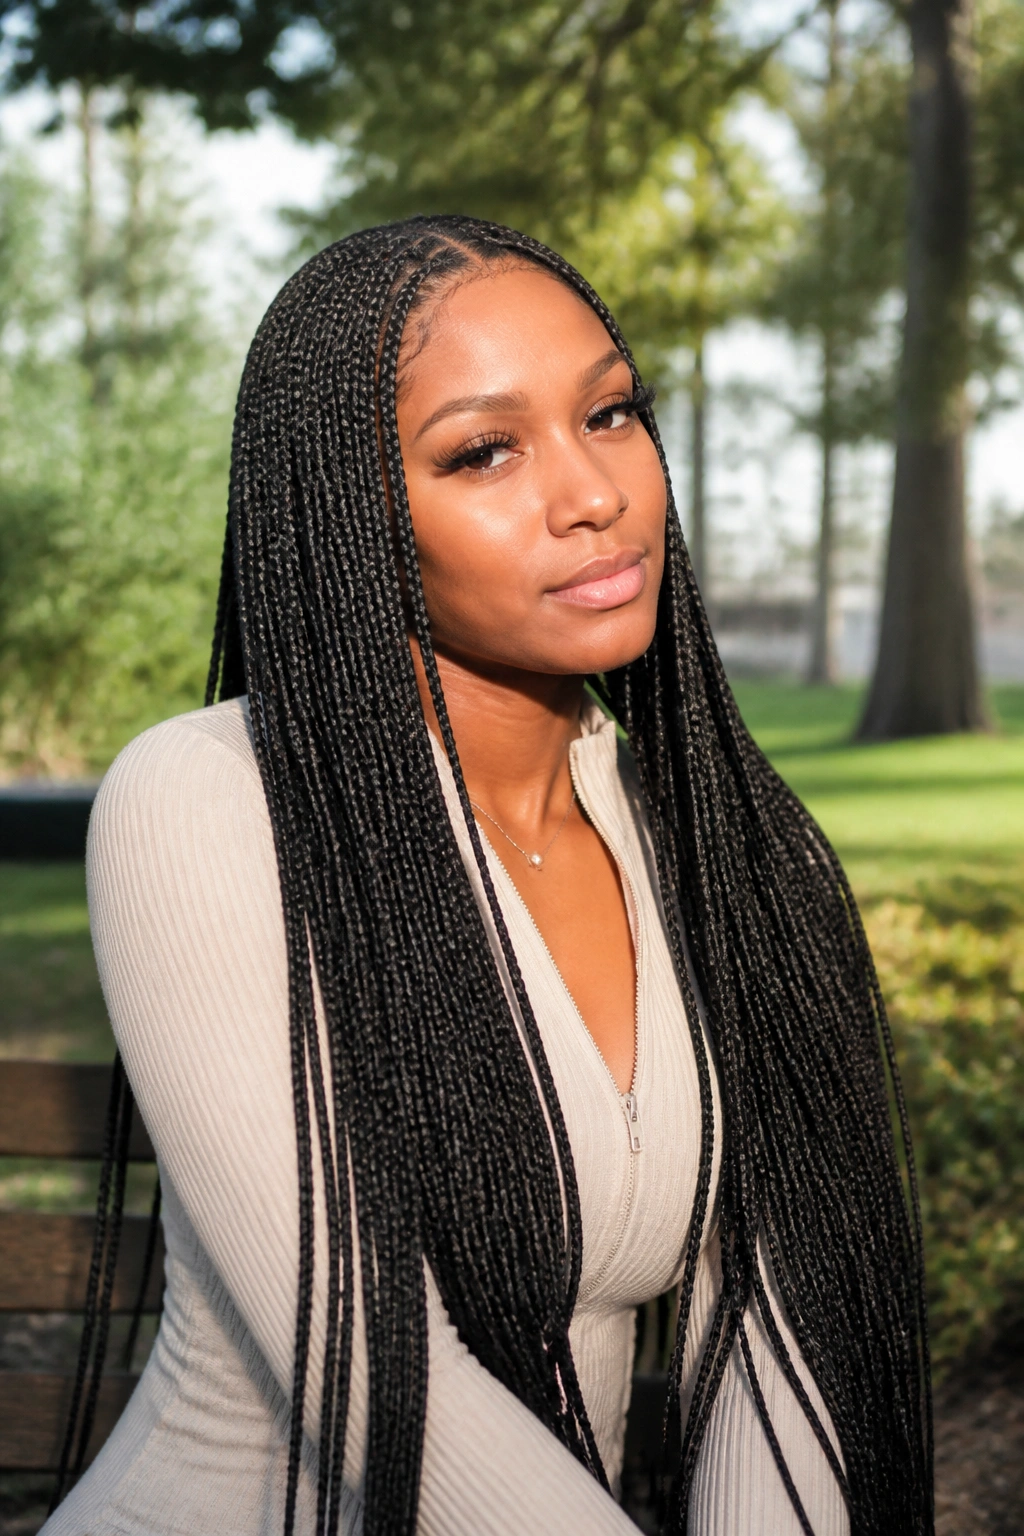
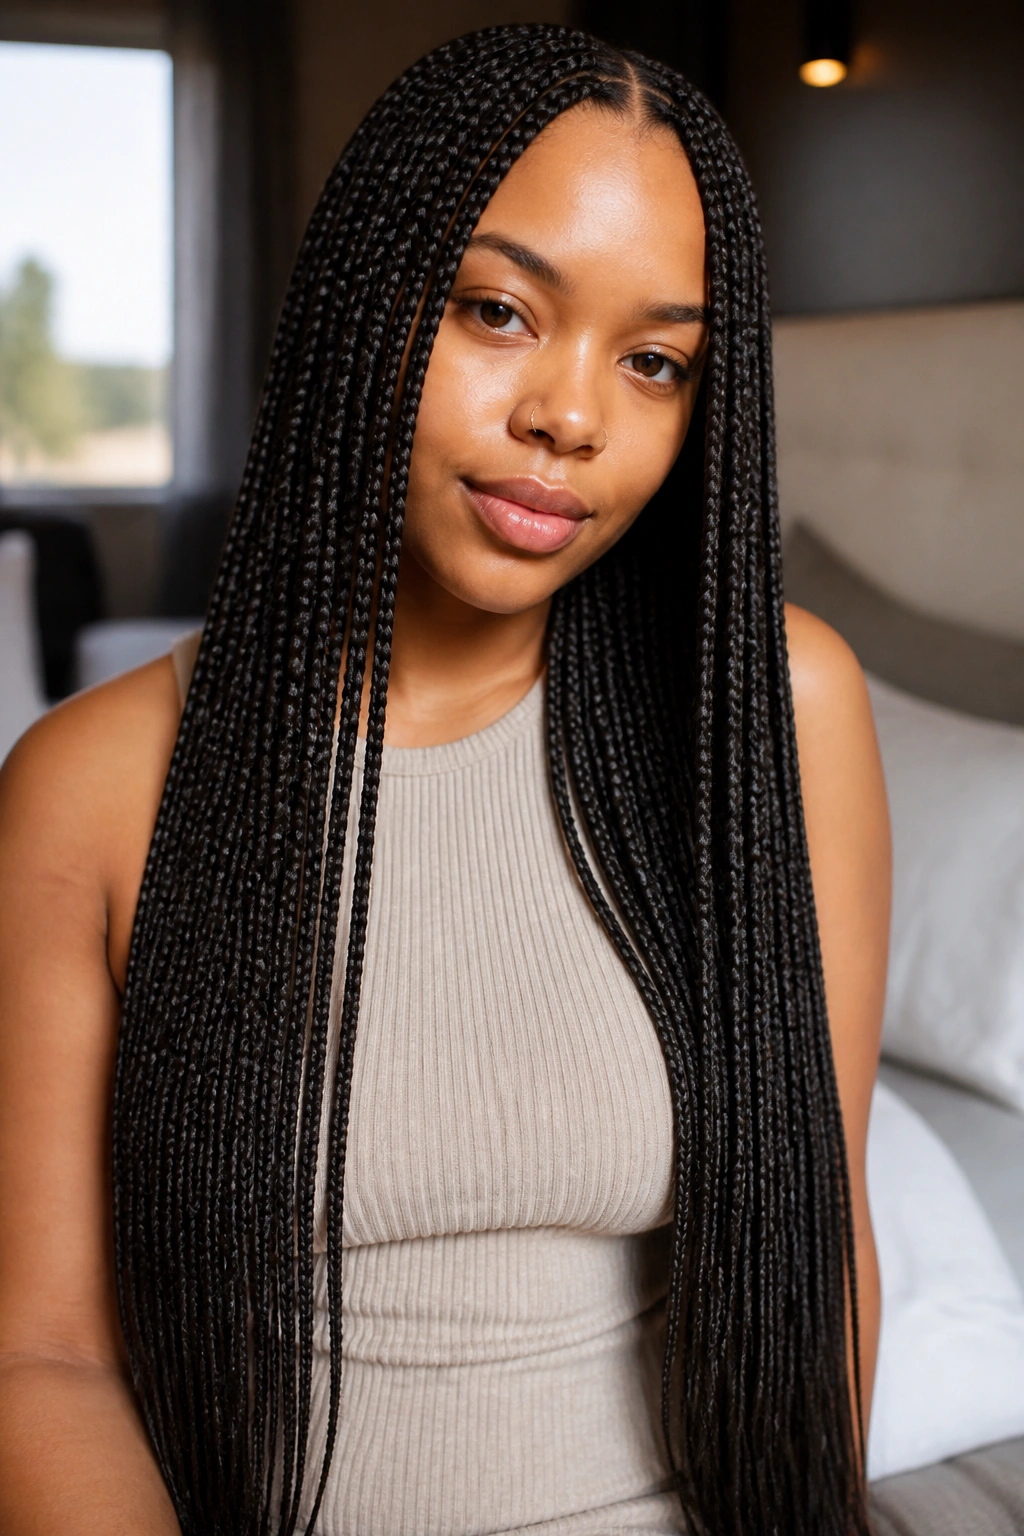
1. Classic Medium Knotless Braids
Medium-sized braids are the undisputed champions of the knotless world because they offer the perfect balance between longevity and weight. Unlike small braids, which can take eight hours to install, or jumbo braids, which can feel heavy after a week, medium braids give you a manageable amount of extension hair per section. This size usually features parts about an inch wide, which provides a sturdy base for the braid without being so large that the hair becomes uncomfortable.
The Science of the Medium Part
When the part is roughly the size of a postage stamp, it anchors enough of your natural hair to support the weight of the extension without “strangling” the strands. It’s about the ratio of natural hair to synthetic hair. In a medium knotless style, that ratio is usually 1:2 or 1:3, which is well within the safety zone for most hair types. You get a full look that doesn’t feel like a heavy helmet on your head.
How to Style Them Daily
- Wear them down for a classic, weight-distributed look.
- Use a silk scrunchie for low puffs to avoid snapping the hair at the nape.
- Mist the parts with a light rosewater spray to keep the scalp hydrated.
- Avoid tight buns for at least the first three days to let the follicles settle.
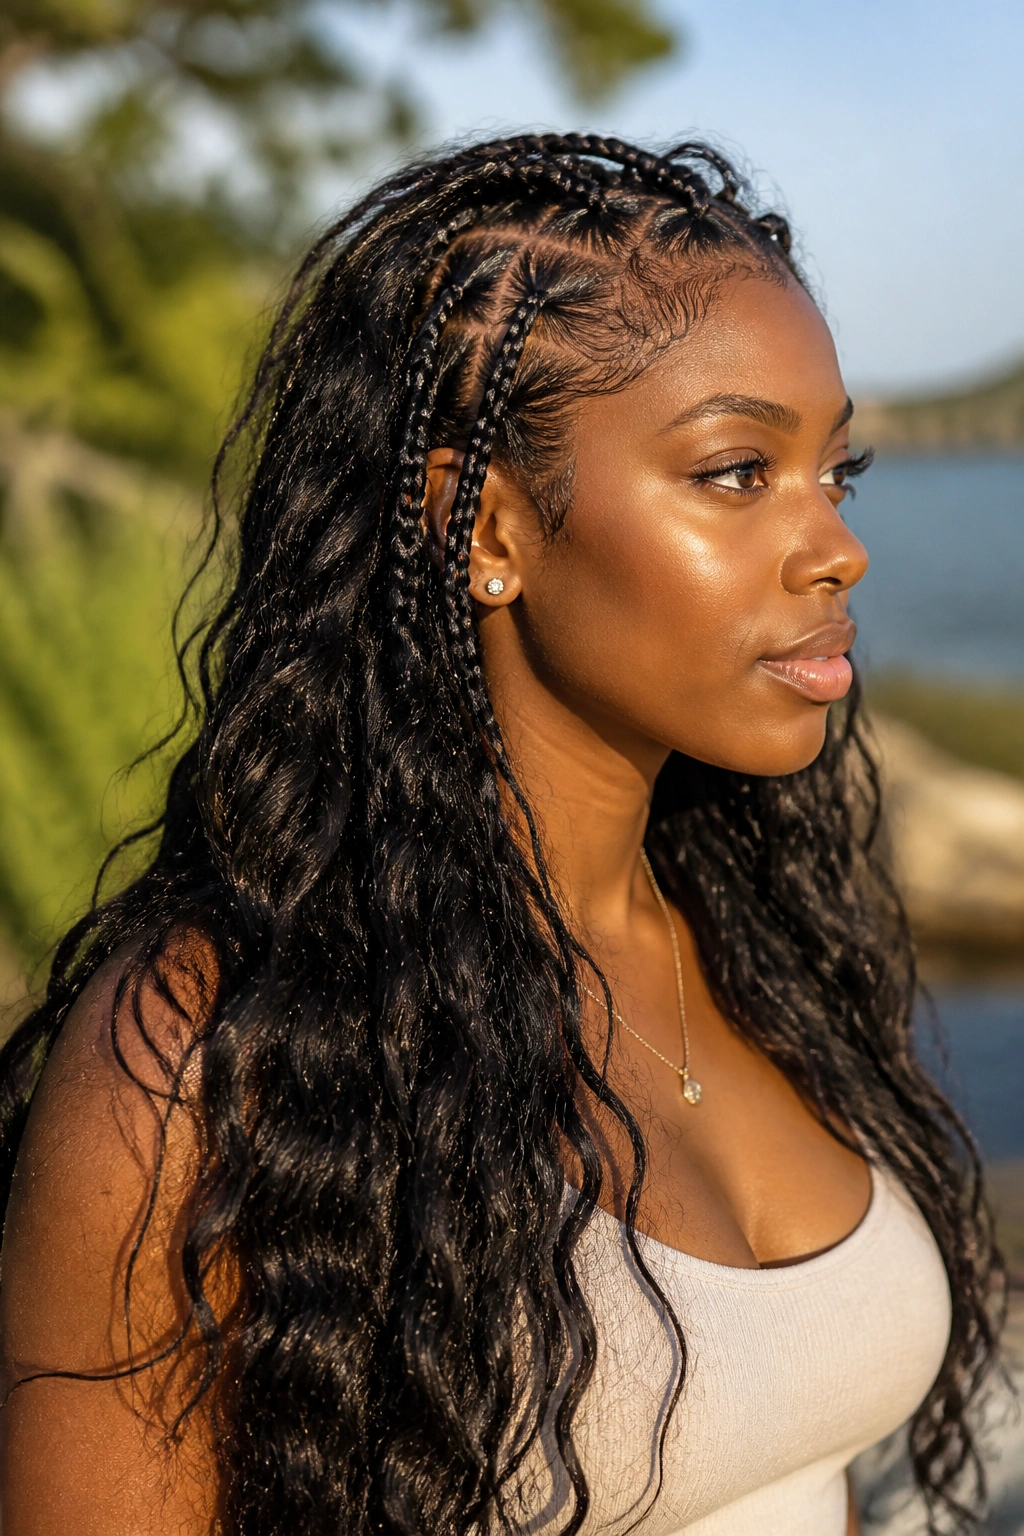
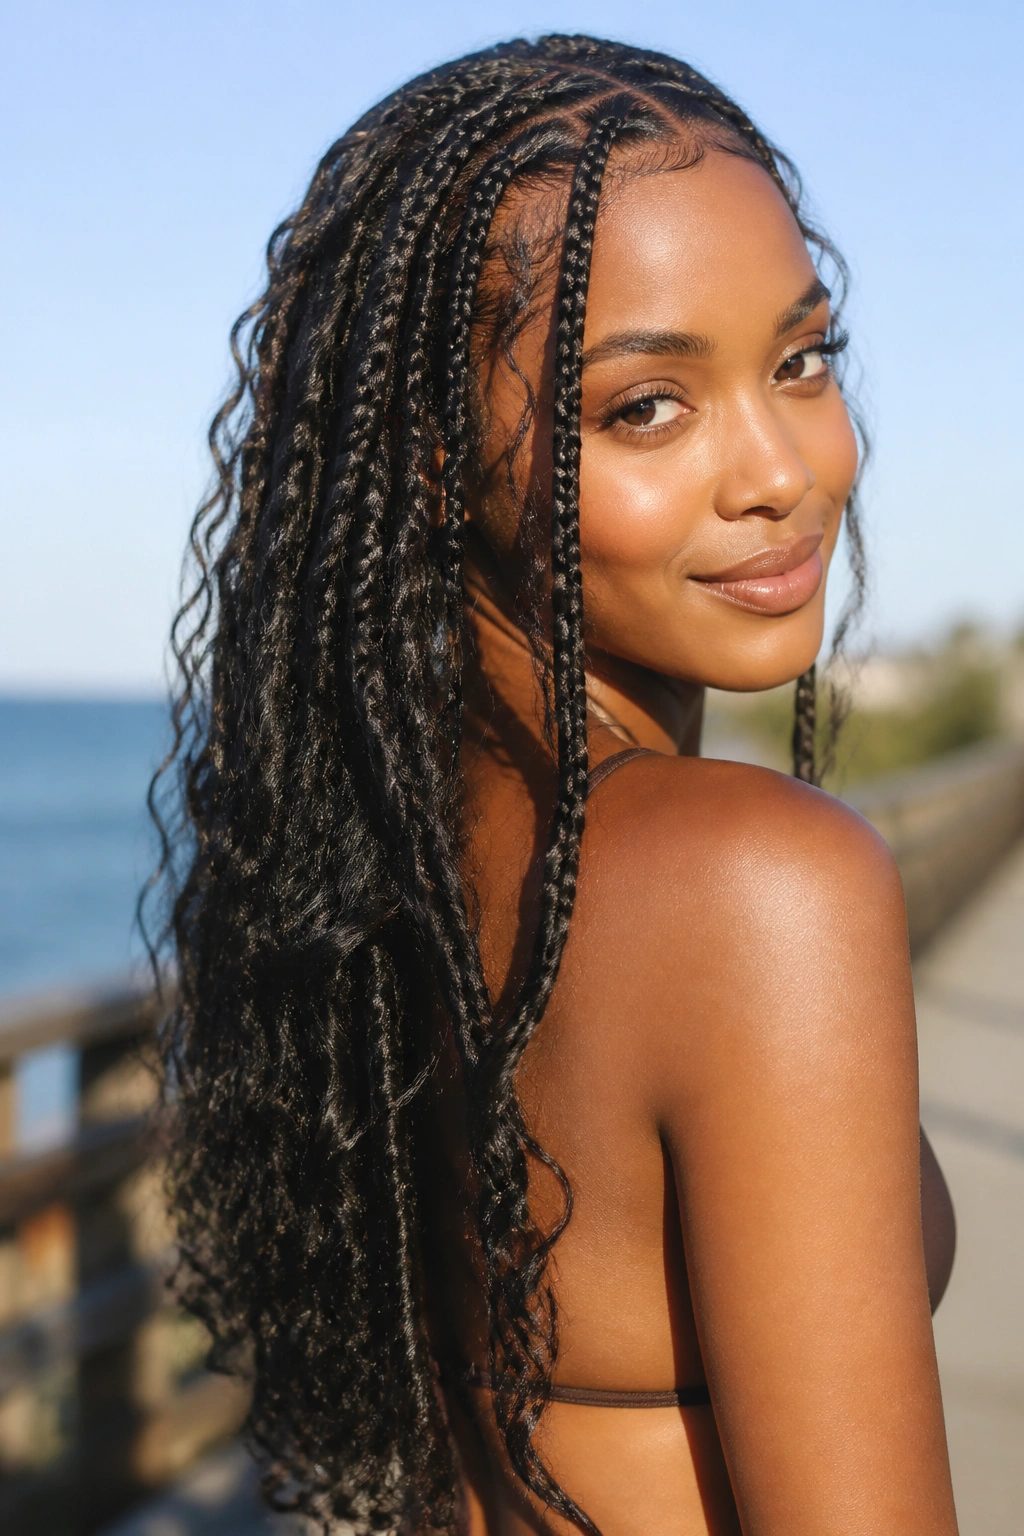
2. Bohemian Knotless with Human Hair Curls
The Bohemian look is all about that ethereal, “just stepped off a beach” vibe, but it’s secretly a great way to reduce tension. By incorporating loose curls throughout the braid and at the ends, you’re actually using less hair than you would for a solid, dense braid of the same volume. However, the catch is the hair quality. If you use cheap synthetic curls for the loose bits, they will tangle within 48 hours, causing you to pull and tug at the braids—exactly what we want to avoid for our edges.
Human hair curls are non-negotiable here. They stay soft, they don’t mat, and they allow the braids to move with much more fluidity. This lack of friction means the braids don’t “catch” on your clothes or each other, reducing the accidental yanking that often happens with all-synthetic styles. It’s a softer, lighter approach that feels as airy as it looks.
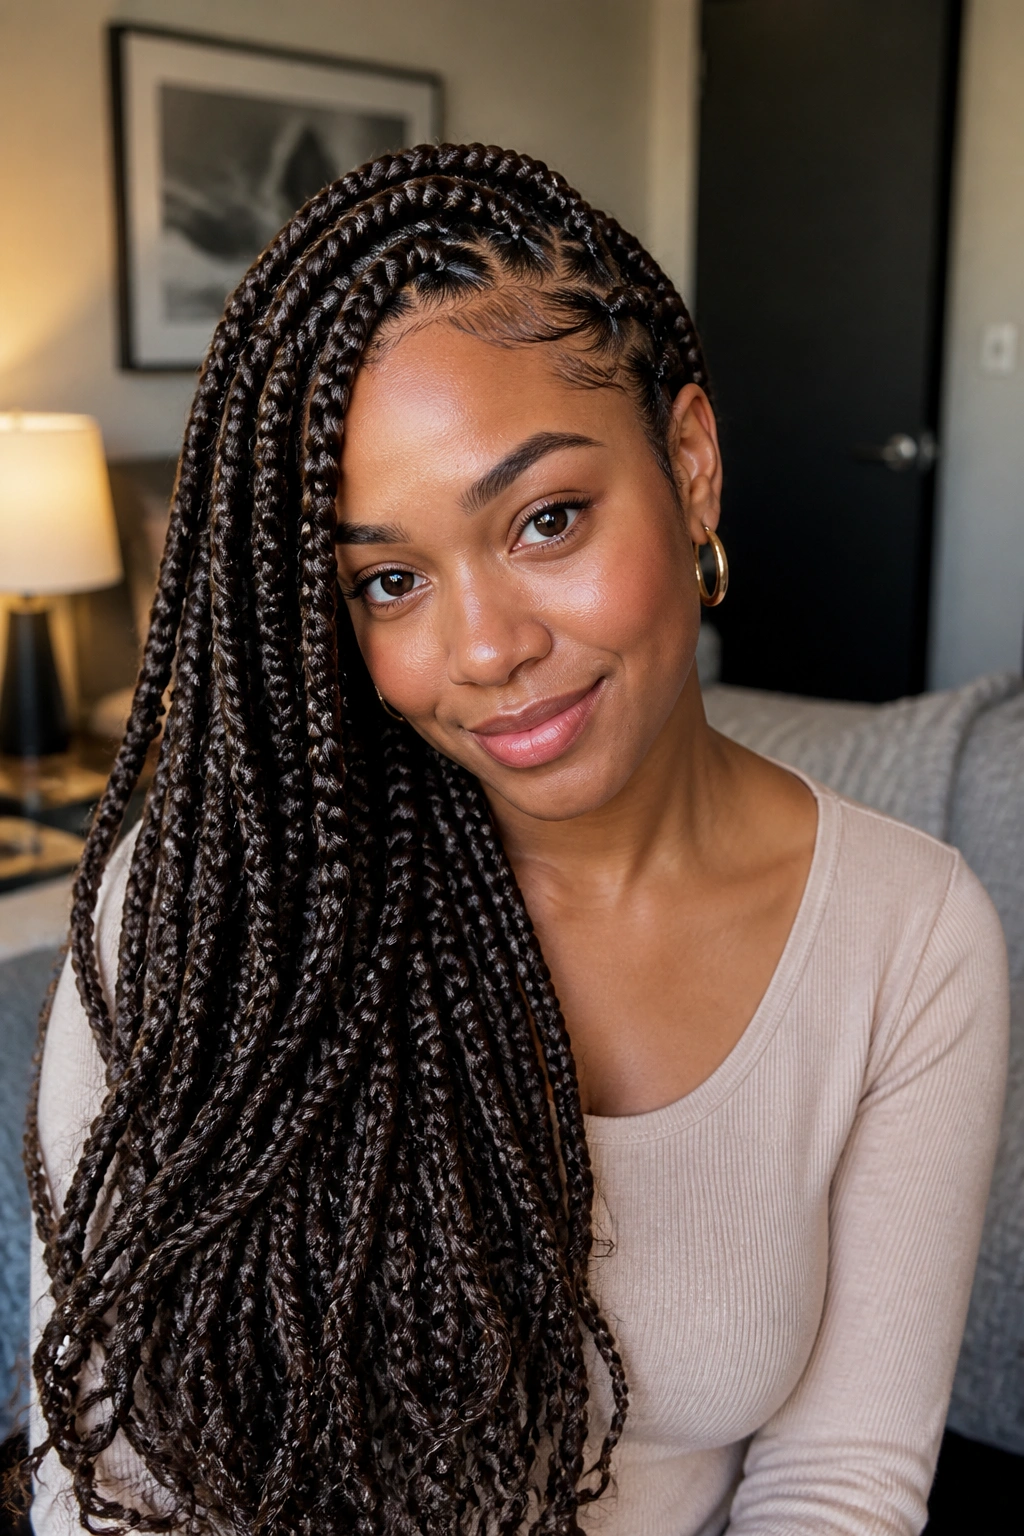
3. Waist-Length Small Knotless Braids
Small braids are often feared by the “edges-conscious” crowd, but when done knotless, they can actually be safer than larger sizes. Because the parts are tiny, the amount of extension hair added to each braid is also very small. The result is a set of braids that feels almost like thick strands of yarn rather than heavy ropes. They offer the most versatility for styling—think intricate updos or side-swept looks—without the bulk.
Why Small Parts Work
- Increased Scalp Coverage: More parts mean the weight is distributed across more “anchor points” on your head.
- Less Leverage: A thin braid has a shorter “pull radius” than a thick one.
- Longevity: Because they are small, they don’t look “fuzzy” as quickly, meaning you don’t have to redo them as often.
Pro tip: Ensure your stylist isn’t making the parts too small; if the section of natural hair is thinner than a pencil, it shouldn’t be holding a waist-length extension.
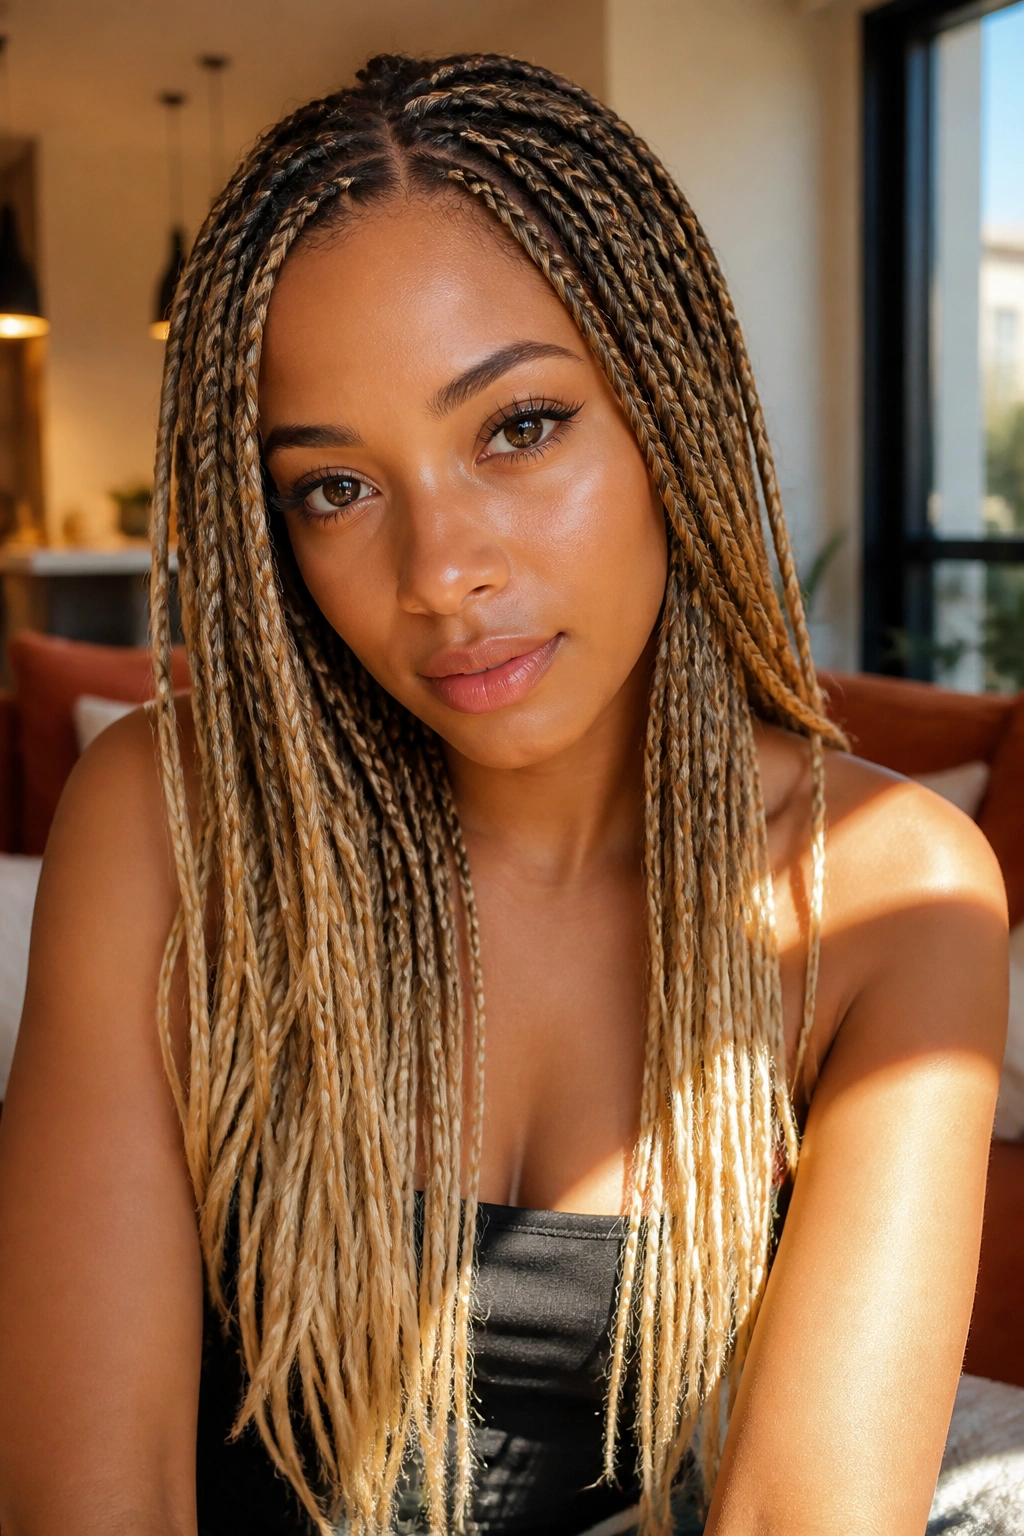
4. Ombre Honey Blonde Knotless
Color is a fantastic way to add dimension without adding weight. A honey blonde ombre transition draws the eye downward, creating the illusion of more volume and length without needing extra packs of hair. When you use pre-stretched ombre hair, the ends are naturally tapered, which makes the bottom of the braids lighter. This reduction in “bottom-heavy” weight is a secret blessing for your hairline.
If you’re worried about the chemicals in colored synthetic hair causing scalp itchiness (which leads to scratching and edge damage), give the hair an ACV (apple cider vinegar) soak before the install. Many people find that blonde hair, in particular, has a coating that can be irritating. A clean, itch-free scalp is the first line of defense in keeping your edges intact.
5. Jumbo Knotless with Large Square Parts
Wait, aren’t jumbo braids heavy? Usually, yes. But the knotless version is the exception to the rule. By using the feed-in method, the heavy “bulk” of a jumbo braid is moved away from the scalp. The key to making jumbo braids easy on your edges is the part size. Large square parts ensure that a substantial amount of your natural hair is supporting the braid.
Think of it like a bridge: a wider base can support a heavier load. If you do jumbo braids with small parts, you’ll see those dreaded “white bulbs” at the root within days—that’s your hair being pulled out. But with large, clean sections, the weight is comfortably held. These are perfect for a “vacation hair” look that you only plan to keep in for two or three weeks.
6. Triangle Part Medium Knotless
Geometric parting isn’t just about the aesthetic; it’s about changing the direction of the pull. Triangle parts create a different tension pattern on the scalp than traditional squares. Because the base of the braid is a triangle, the hair is being pulled from three distinct corners toward a center point. For some people, this actually feels more secure and less “stiff” than square parts.
The Aesthetic Advantage
Triangle parts give the hair more “swing.” When you move your head, the braids shift more easily because of the angled lines of the parts. This mobility is great for the hairline because the braids aren’t constantly fighting against a rigid, square grid. Plus, they look incredibly modern and look great in a high-top bun.
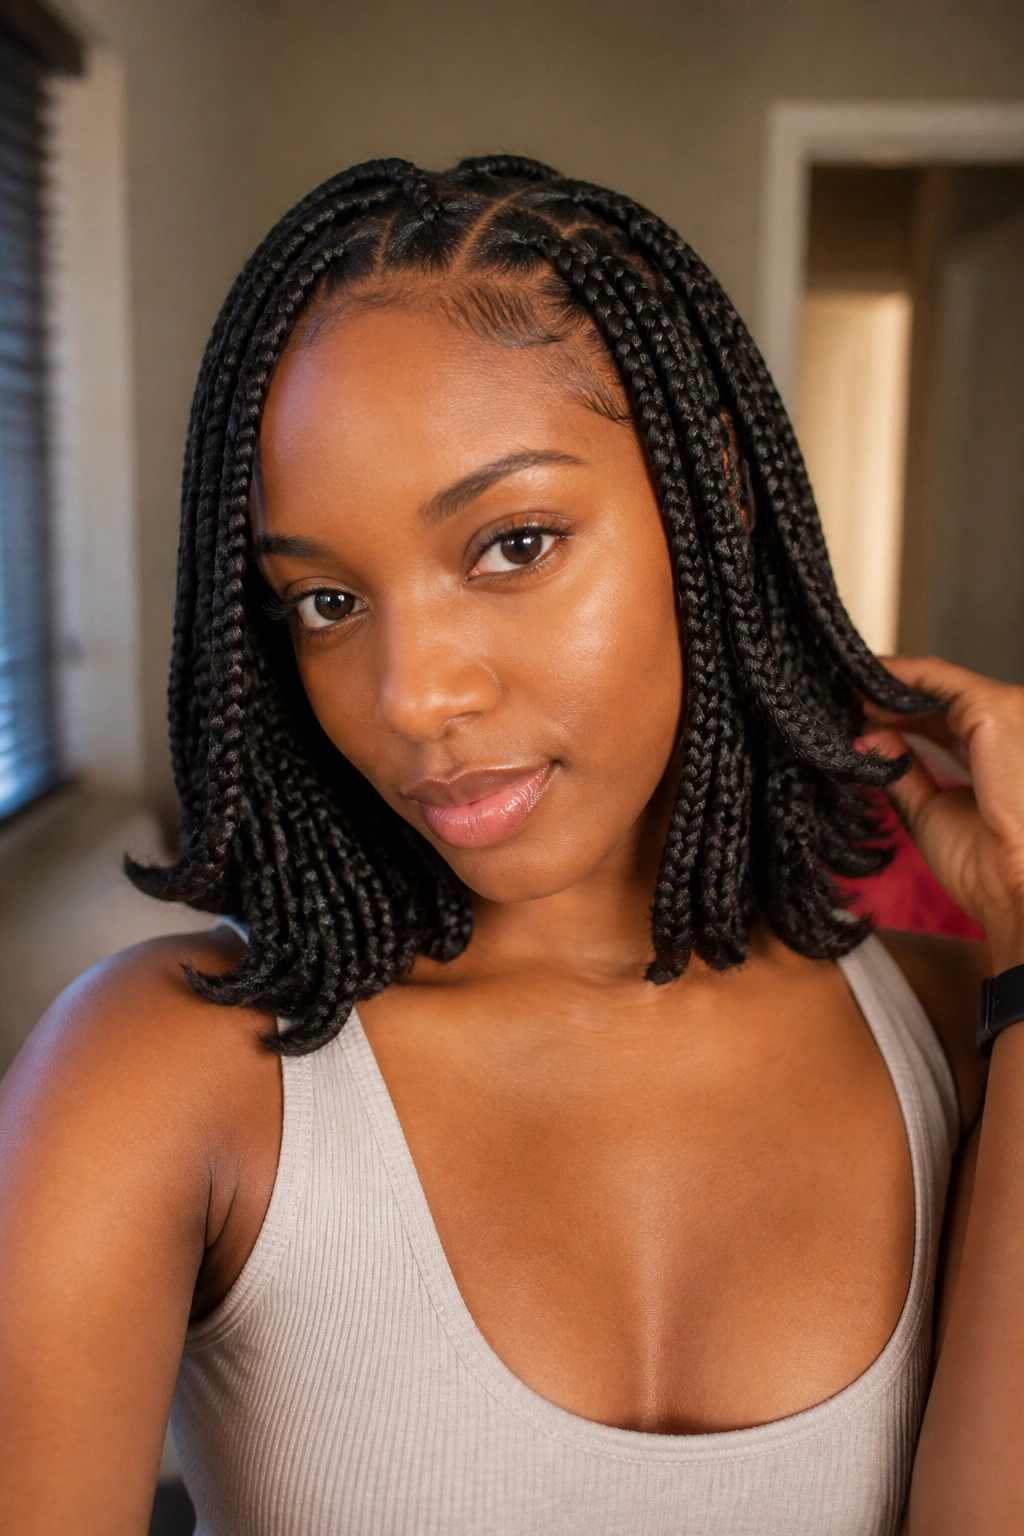
7. Short Bob Knotless Braids
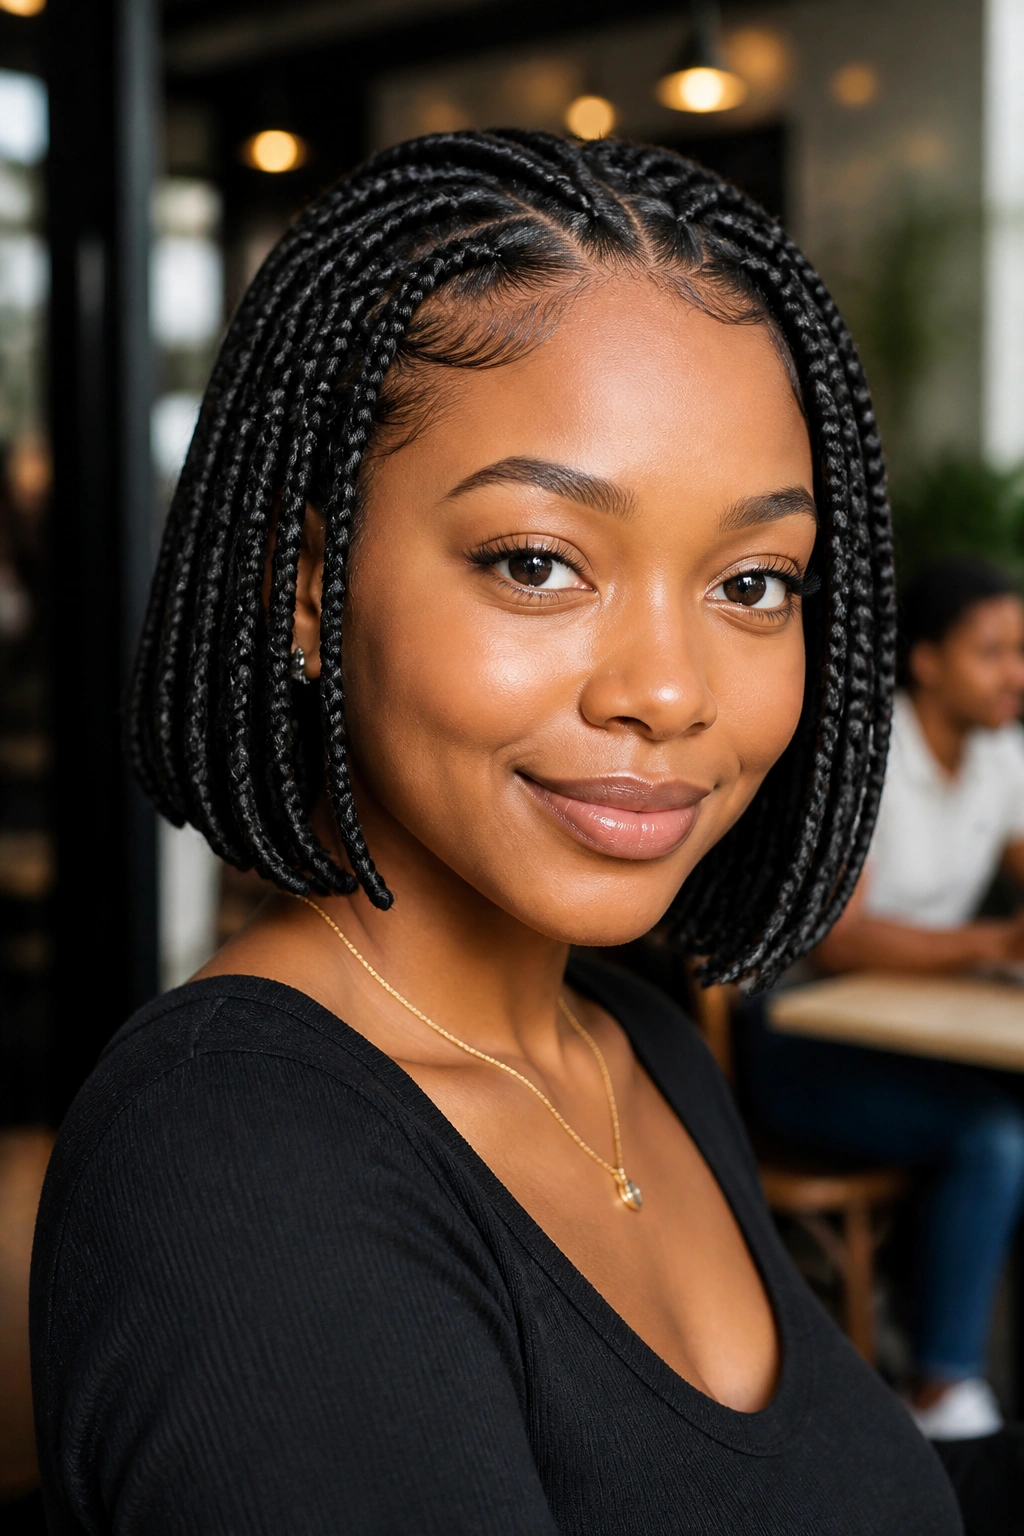
If you want to give your edges a total vacation, the bob-length knotless braid is the way to go. By cutting the length to the chin or shoulders, you’re removing roughly 60-70% of the weight of a standard waist-length style. This is the ultimate “protective” style because there is virtually zero downward pull on the follicles. It’s light, it’s bouncy, and it’s incredibly chic.
Why Bobs are Edge-Friendly
- Zero Drag: No long braids to get caught in zippers, bag straps, or chair backs.
- Fast Install: Less time in the chair means less time your scalp is being manipulated.
- Cooler Scalp: Better airflow to the skin helps prevent the sweat and buildup that can weaken the hair roots.
8. Heart-Shaped Parting Accents
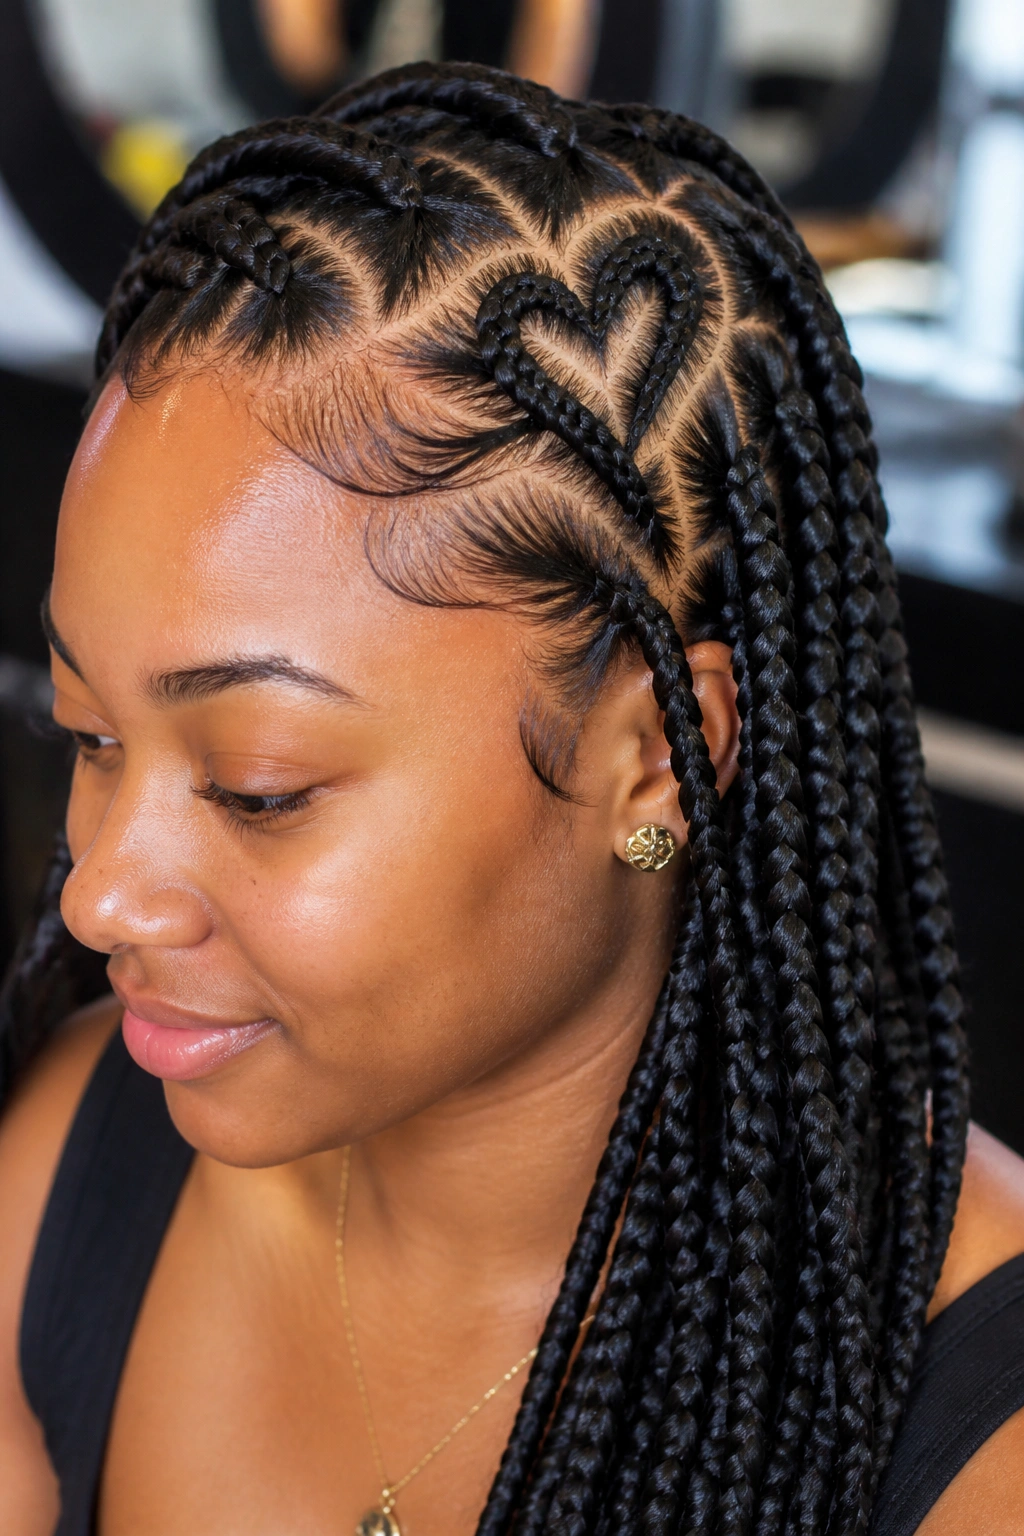
Sometimes, the best way to protect your edges is to distract from them. Adding one or two heart-shaped parts on the side of the head is a popular way to customize knotless braids. From a hair health perspective, these decorative parts often use slightly larger sections of hair to create the shape, which means those specific braids are very well-anchored.
Creating the Design
The stylist uses a rat-tail comb to carve out the heart shape before braiding. It’s important that the hair within the heart isn’t pulled too tight to maintain the “crispness” of the design. A good stylist will use a bit of soft-hold pomade rather than extreme-hold gel to map out the heart. This keeps the hair flexible.
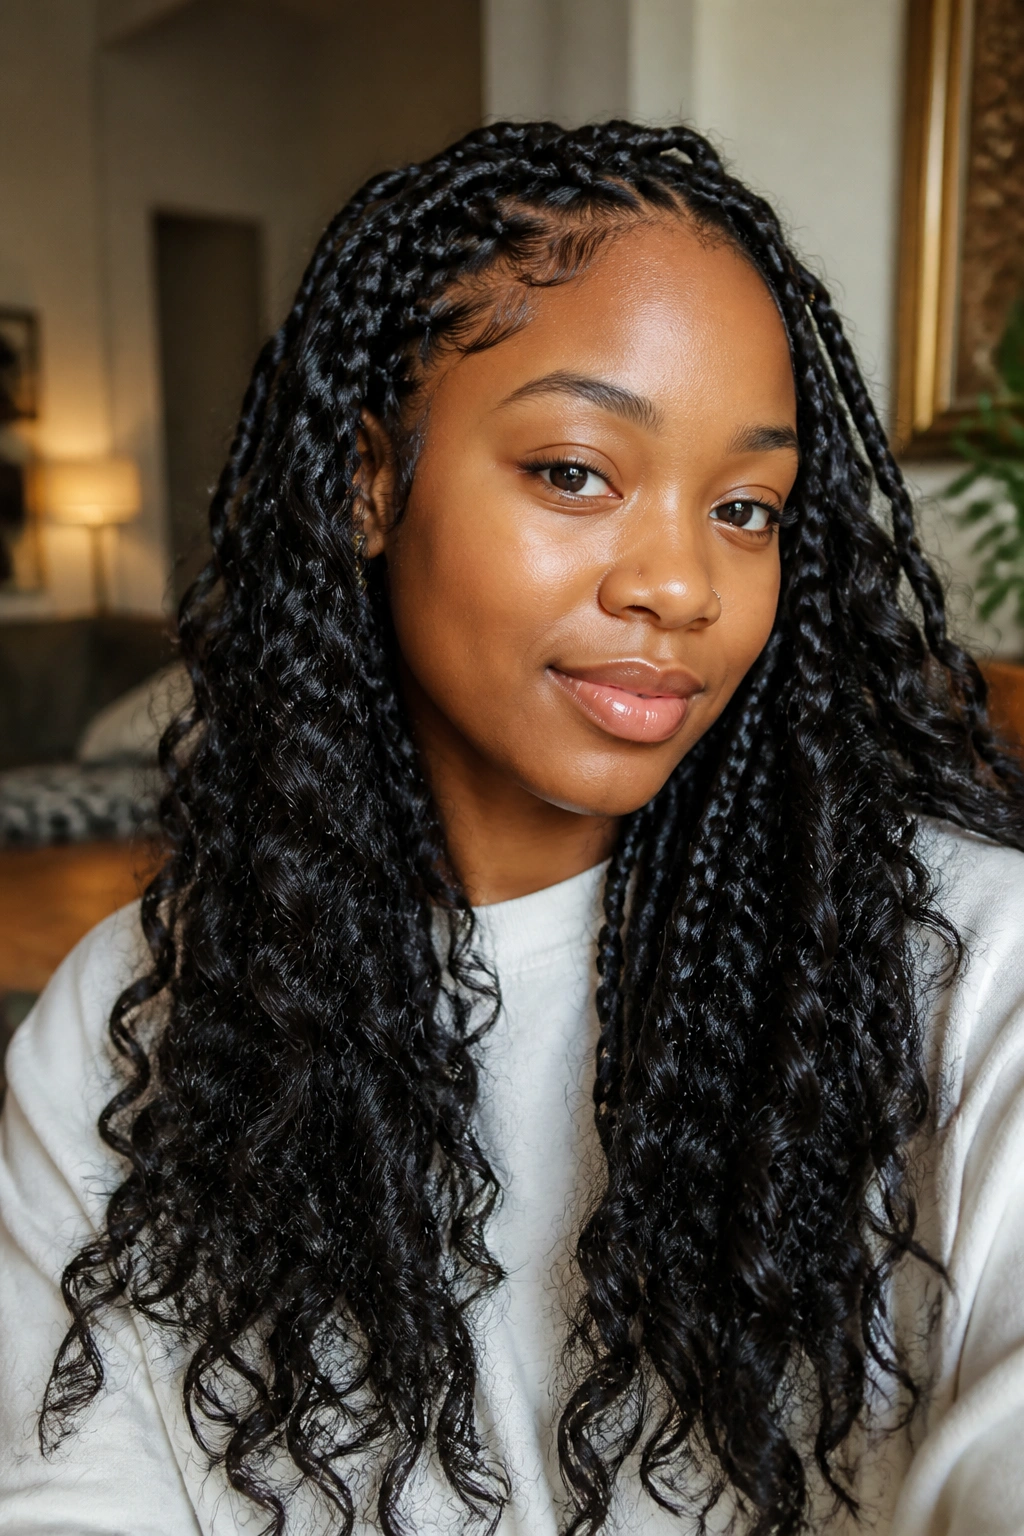
9. Knotless Braids with Curly French Ends
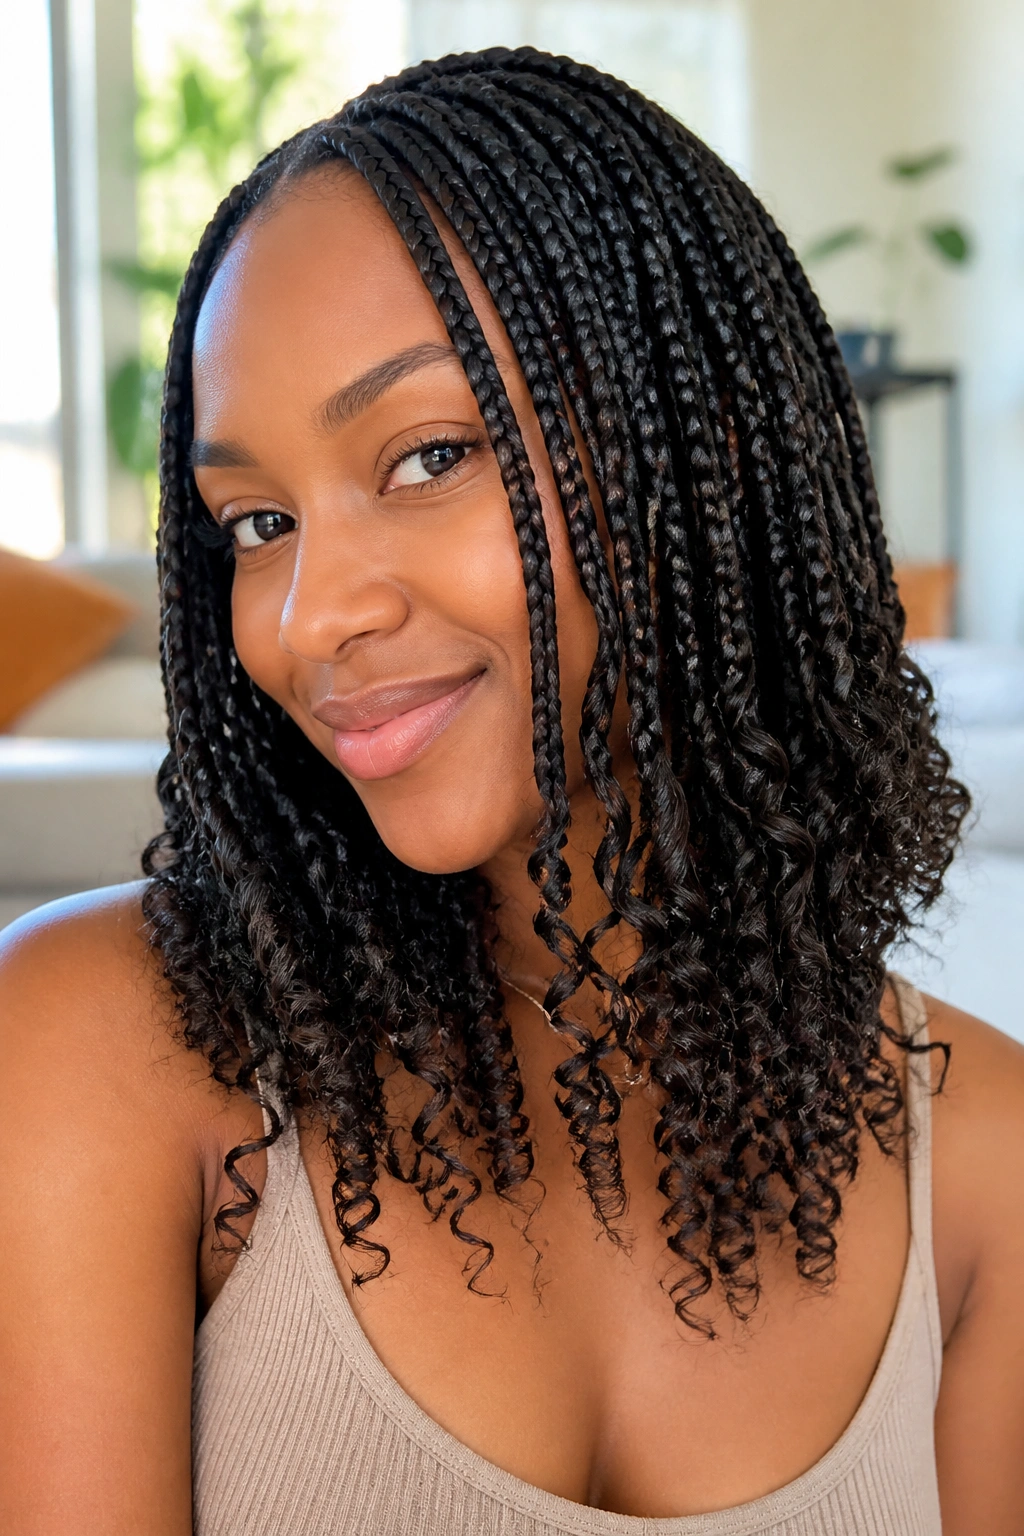
French curl braids are having a major moment. Instead of braiding the hair all the way to the tip and sealing it with hot water, the braid stops halfway or two-thirds of the way down, leaving long, bouncy curls. This is a brilliant weight-saving hack. Curls are mostly air and volume, whereas a tight braid is dense and heavy.
By switching the bottom half of the style to curls, you’re significantly lightening the load on your scalp. It gives you the look of very long, full hair without the physical weight of long, full braids. Just be sure to use a light hair oil on the curls daily to prevent them from tangling into a single “mat” that would pull on the roots.
10. Half-Up Half-Down Knotless
This isn’t just a style; it’s a tension-management technique. By wearng the front half of your braids in a loose ponytail or bun and leaving the back down, you’re splitting the weight. The braids in the back hang naturally, while the ones at the front (where the edges are) are held up.
How to Execute This Safely
- Don’t Use Elastic Bands: Use a silk scrunchie or even one of the braids themselves to tie the hair back.
- Keep it Loose: The “up” part should be high on the head, not pulled tight toward the back.
- Vary the Height: Don’t put the ponytail in the exact same spot every day to avoid creating a “tension line.”
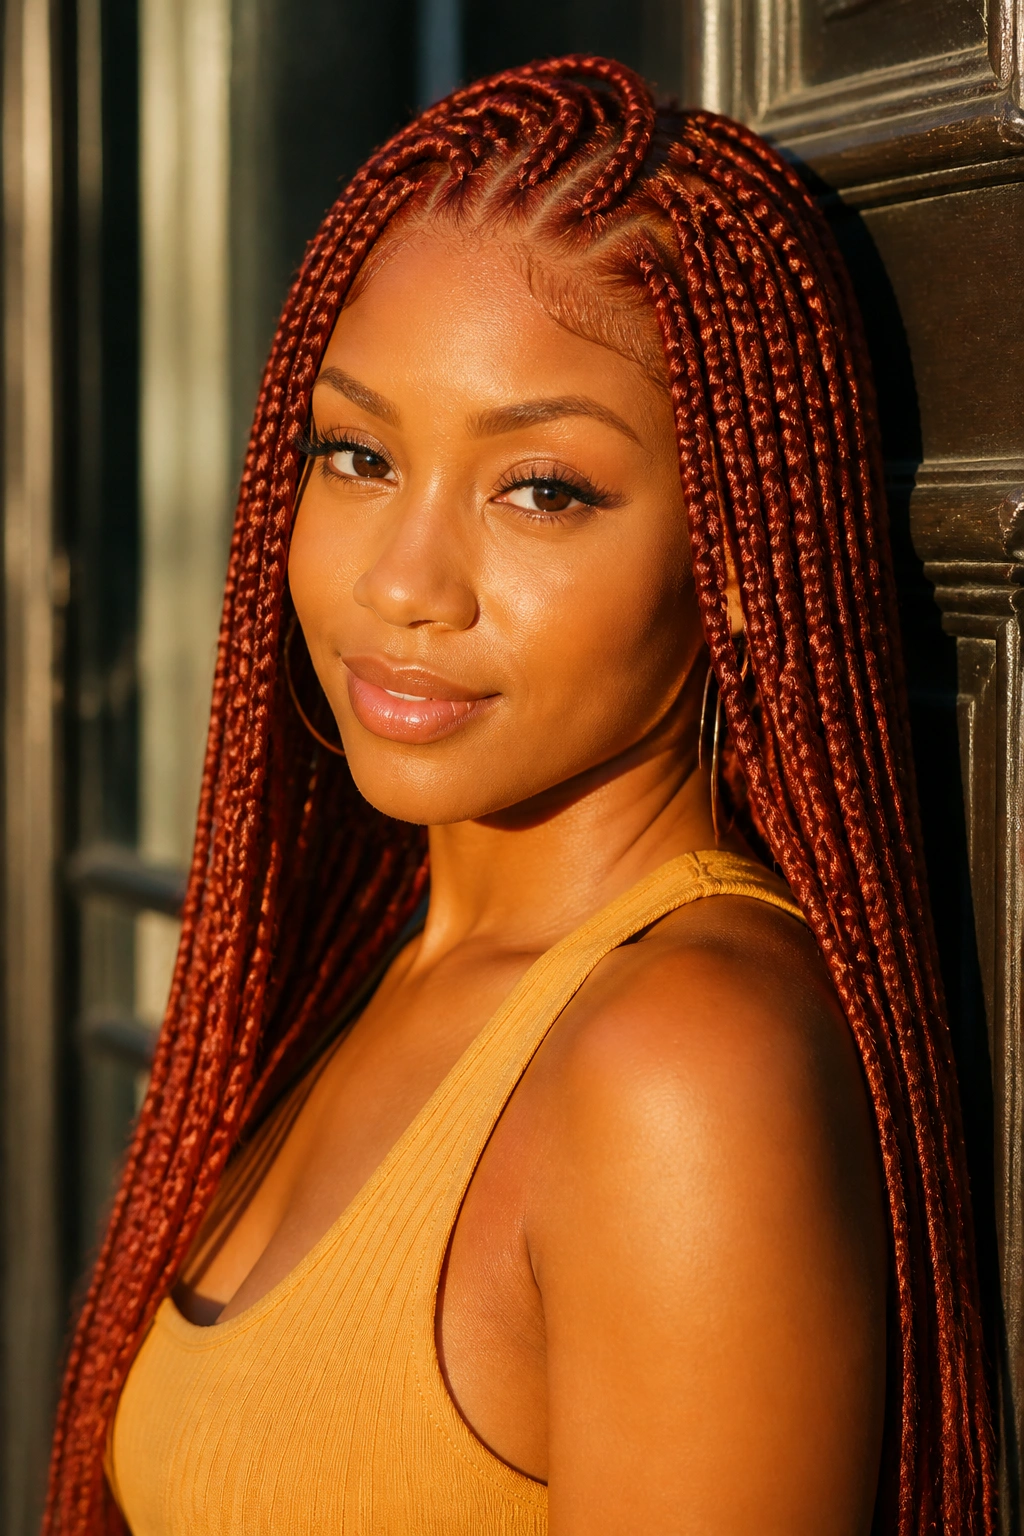
11. Red-Toned (Copper) Knotless
Copper and ginger tones are incredibly flattering on melanin-rich skin. Using colored hair allows you to play with your look without the damage of bleaching your natural hair. For your edges, the benefit is psychological: when you love the color of your braids, you’re more likely to take better care of them. You’ll be more diligent with your silk scarf and your scalp oil because you want the style to last.
Make sure the colored hair you buy is “pre-stretched.” This means the ends are already thinned out, preventing the “blunt end” look that can make braids feel heavy and stiff. Copper tones also tend to blend beautifully with natural hair, making the “knotless” transition at the root look even more seamless.
12. Zig-Zag Parted Knotless
Zig-zag parts are a fun throwback to the 90s, but they serve a functional purpose too. By avoiding straight lines, you’re distributing the tension across a wider area of the scalp. A straight part creates a “hinge” where the hair is most likely to pull. A zig-zag part breaks that hinge up, making the style more flexible in multiple directions.
It’s a bit like the way a serrated knife has more surface area than a flat one. The zig-zag pattern means that no single point along the part is bearing the full weight of the braid’s movement. It’s a smart way to get a unique look while being kind to your skin.
13. Goddess Knotless with Deep Twist Hair
Goddess braids are similar to Bohemian braids but usually feature more loose hair throughout the length. Using a “deep twist” texture for the loose bits creates a lot of visual volume. If you use a high-quality synthetic or human hair blend for the twists, the style remains very light.
Managing the Goddess Look
- Daily Finger Combing: Gently run your fingers through the loose curls to keep them from knotting.
- Trimming: Don’t be afraid to snip any frizzy ends of the loose hair after a week or two.
- Mousse: A lightweight foam mousse is your best friend for keeping the “Goddess” parts looking fresh without weighing them down.
14. Skunk Stripe (High Contrast) Knotless
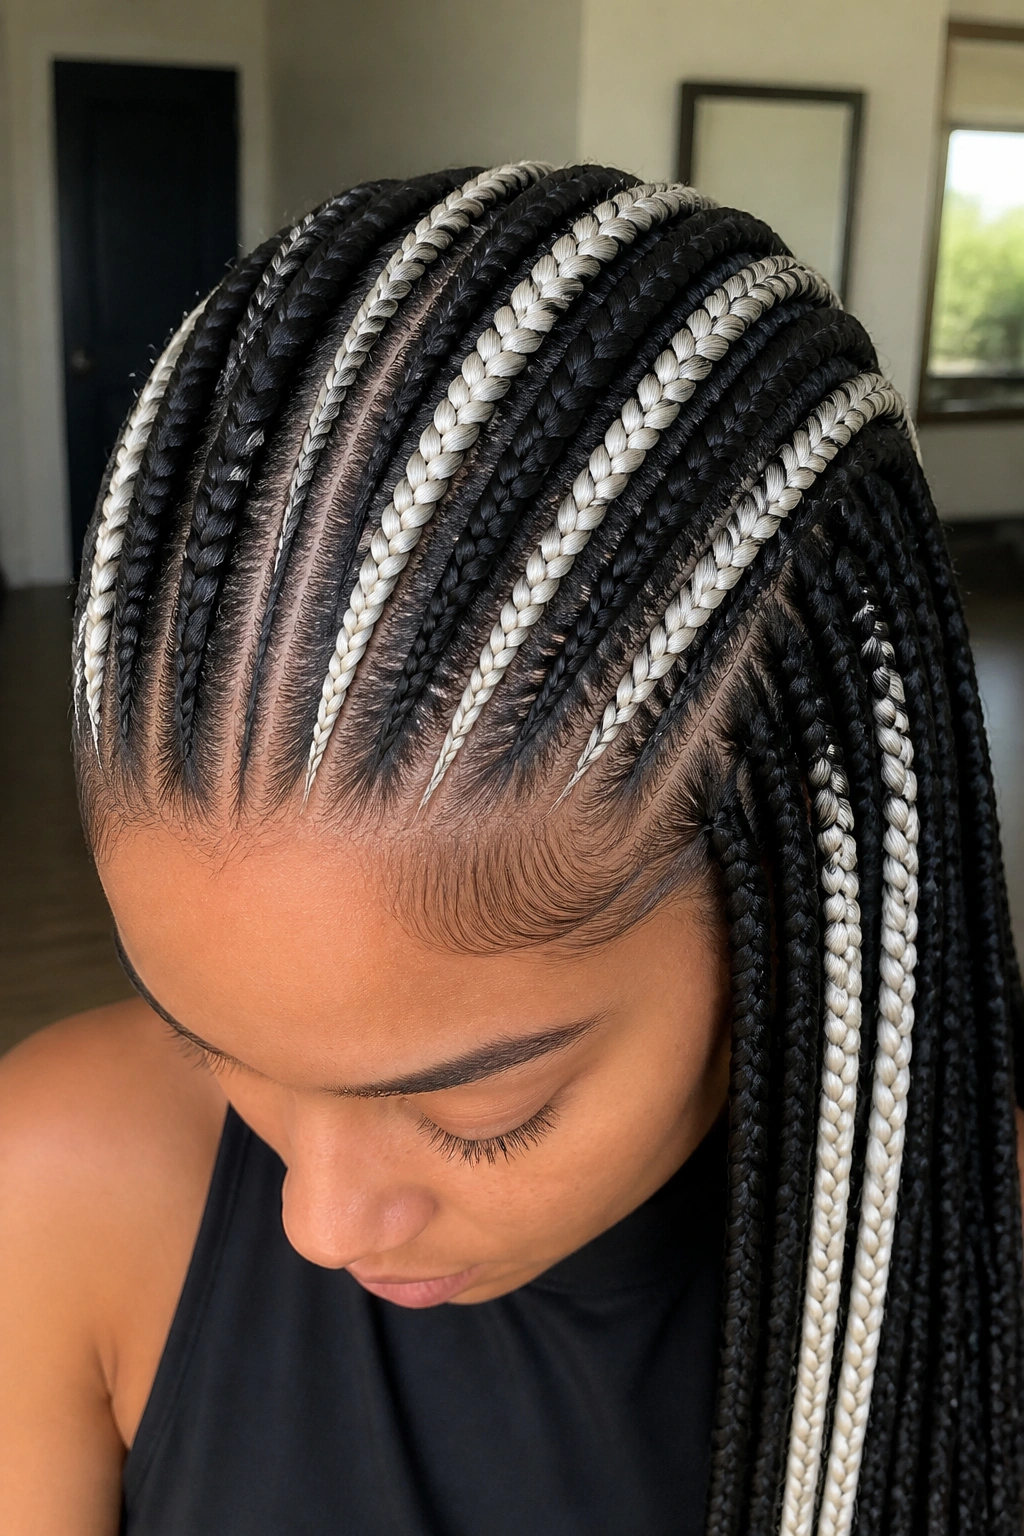
The “skunk stripe”—a single section of high-contrast color (like platinum blonde against black)—is a bold choice. This style is great for people who want to experiment with color but have a very sensitive scalp. You can place the colored braids in an area where your hair is strongest (like the crown) and keep the natural-colored braids around your more fragile edges.
This strategic placement allows you to have the “edgy” look you want without putting the processed, colored synthetic hair right up against your hairline. It’s a compromise that looks intentional and stylish.
15. Side-Swept Goddess Braids
Directing all your braids to one side is a sophisticated look that also gives your “off-side” edges a complete break. By letting the braids hang to the left, for example, the follicles on the right side of your head are essentially resting.
The Swap Technique
- Switch sides every few days.
- Use a large claw clip to loosely hold the hair to the side rather than a tight hair tie.
- Be mindful of your “baby hairs”—don’t let the side-sweep pull them into the wrong direction.
16. Platinum Blonde Mini Knotless
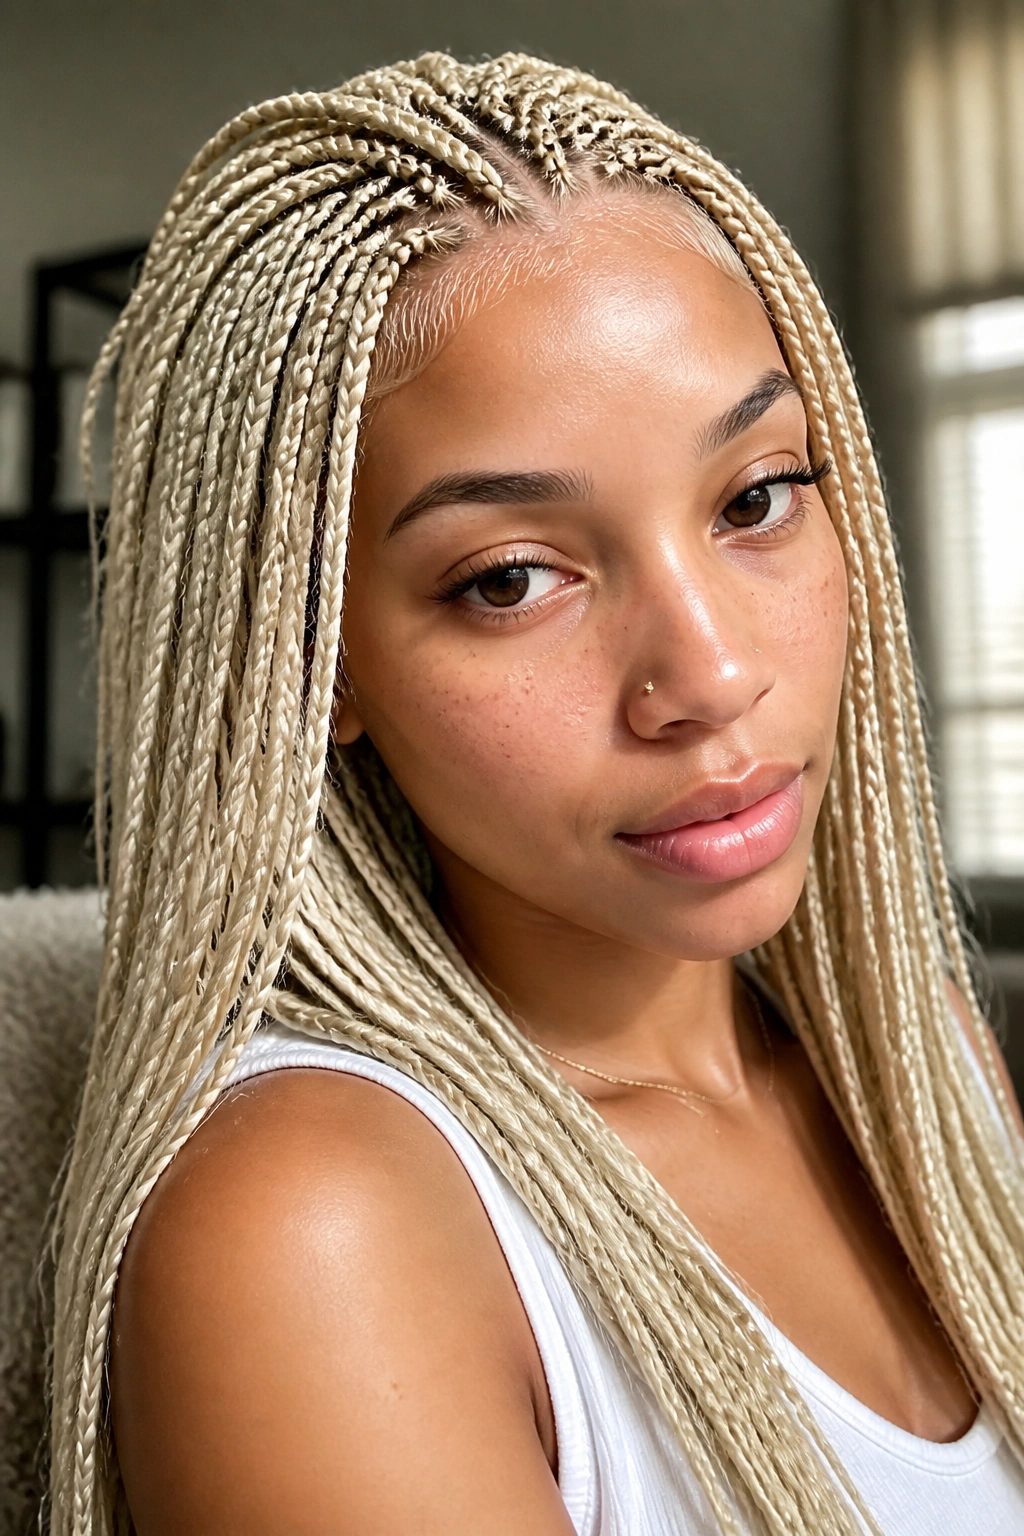
Mini knotless braids are even smaller than “small” braids. They look almost like micro-braids but without the devastating tension. When done in platinum blonde, they create a stunning, bright look. Because the braids are so tiny, the amount of hair in each one is negligible.
The weight of a full head of mini knotless is often less than a standard head of medium box braids. The only downside is the time it takes to install and remove. You must be extremely patient during the takedown to avoid snapping your natural hair.
17. Knotless with Soft Brown Tones
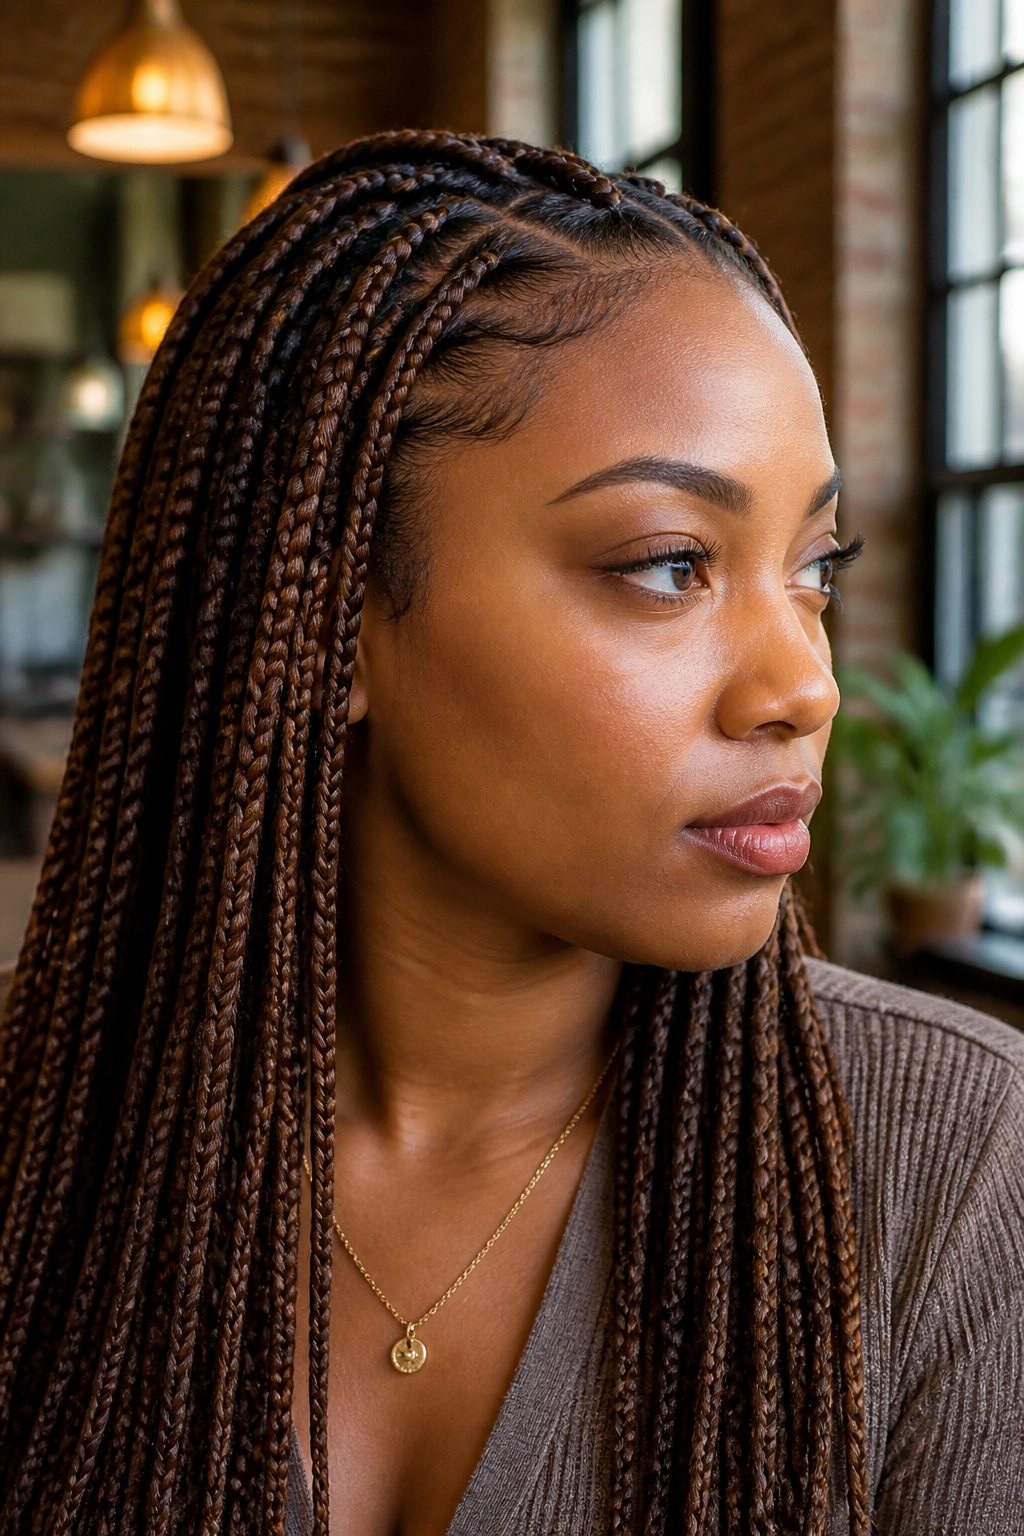
If black feels too harsh and blonde feels too bright, soft brown (like a Level 2 or 4) is a perfect middle ground. These tones look incredibly natural and “soften” the appearance of the parts. When the parts look softer, any slight tension or “pulling” is less visible, which can be less stressful for the wearer.
Brown hair also doesn’t show “scalp shine” as much as jet black hair does, which is great if you use a lot of oils or serums to keep your edges healthy. It’s a low-maintenance color that stays looking fresh for weeks.
18. Extra-Long “Rapunzel” Knotless
We’ve talked a lot about short braids being better for edges, but you can do long braids if you do them right. For “Rapunzel” length (thigh or knee-length), the braids MUST be knotless. A knotted braid at this length would be a nightmare for your neck and your hairline.
The trick here is to braid very thinly. The braids themselves should be small or S-medium. Because they are so long, they will naturally be heavy, so you should wear them down as much as possible. Avoid high buns at all costs—the weight of 40-inch braids pulled into a single point on top of your head is a recipe for edge loss.
19. Shoulder-Length Knotless with Flipped Ends
This is a variation of the bob that has a bit more “swing.” By stopping the braids at the shoulder, you hit a sweet spot of length and lightness. Flipping the ends (by dipping them in hot water with rollers) adds a bit of personality.
The Maintenance Routine
- Use a satin pillowcase to keep the flipped ends from frizzing.
- Lightly oil the ends to keep them flexible.
- This length is perfect for those who work out regularly, as it’s easy to tie back into a low, loose ponytail that doesn’t tug on the hairline.
20. Knotless Braids with Beads and Shells
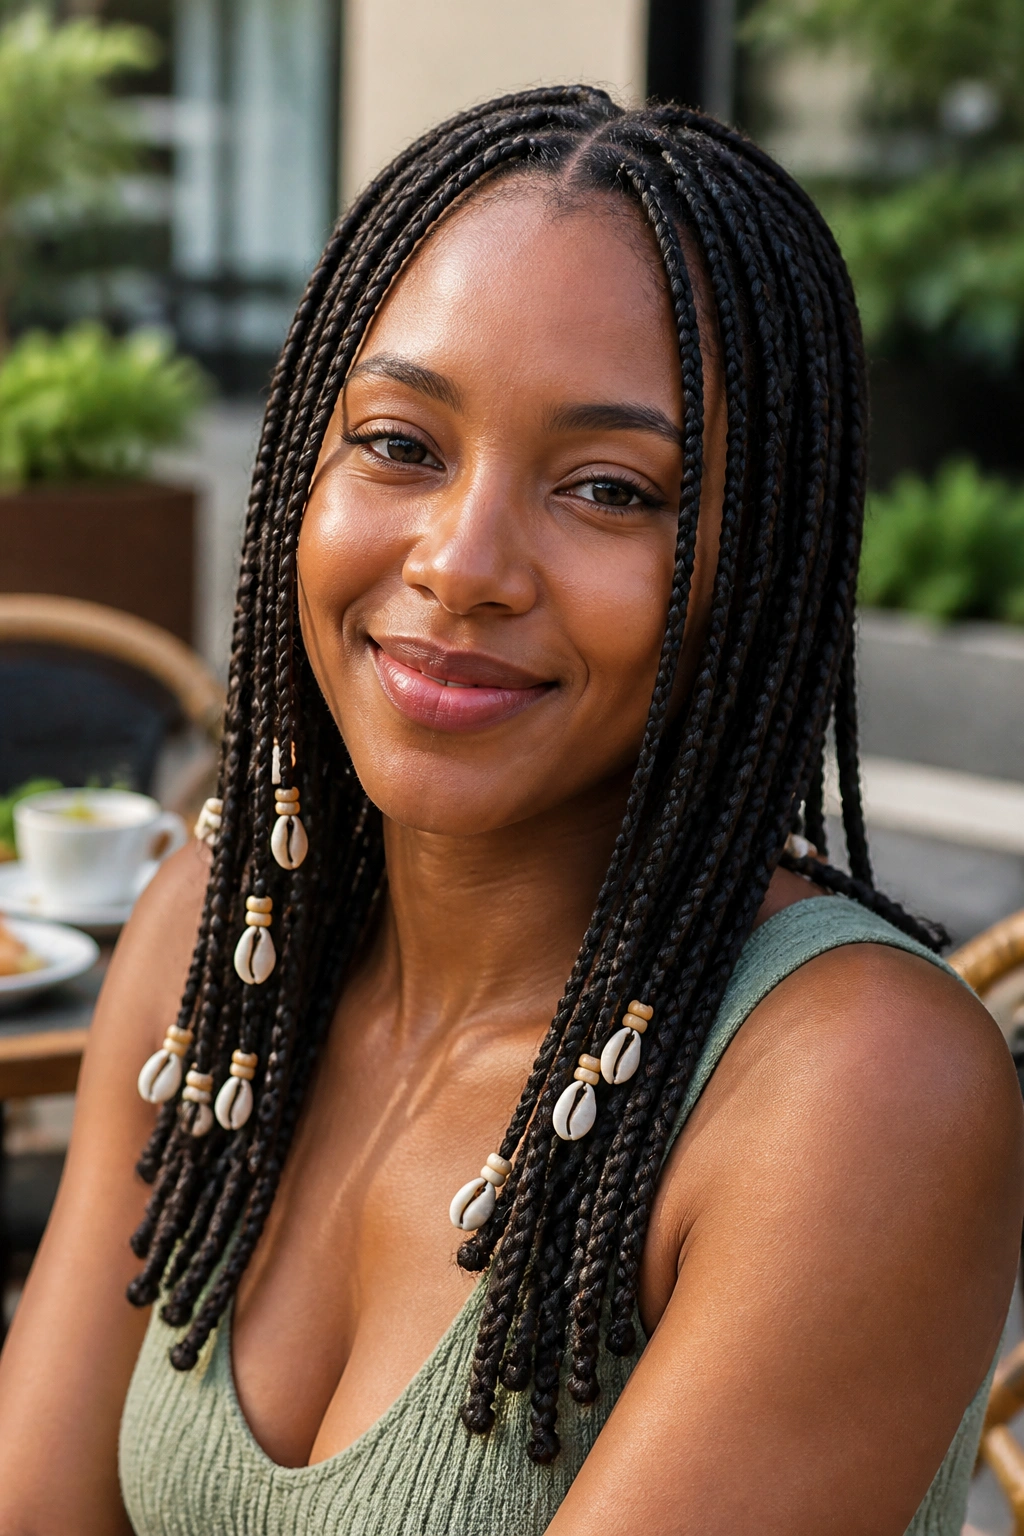
Adding accessories like clear beads or cowrie shells is a great way to “weight” the ends of the braids. While this sounds counterintuitive, a little bit of weight at the very tip can actually help the braids hang straighter, preventing them from tangling and pulling at the root.
Just don’t overdo it. Three or four beads per braid is plenty. If you add twenty beads to every braid, you’re back to a high-tension situation. Use them as accents—maybe just on the front two braids—to frame the face without stressing the scalp.
21. Mixed Texture Knotless (Wavy and Braided)
This style involves braiding the hair for a few inches and then leaving the rest of the extension hair wavy. It’s the ultimate “low-tension” long style. Since most of the “length” is actually loose wavy hair, the total weight is incredibly low.
It’s essentially a “half-braid” look. It’s perfect for the summer months when you want the look of long hair but don’t want the heat or weight of full braids. It’s airy, breathable, and very kind to the perimeter of your head.
22. Peek-a-boo Color Knotless
If you want color but need to be “professional” or just want something subtle, peek-a-boo color places the bright tones in the bottom layers of the braids. This is excellent for hair health because the colored hair (which can sometimes be coarser or more irritating) is kept away from the sensitive skin of the hairline and temples.
The top layer of braids is your natural color, providing a “buffer” for the more experimental colors underneath. When you pull your hair up, the color “peeks” through. It’s the best of both worlds.
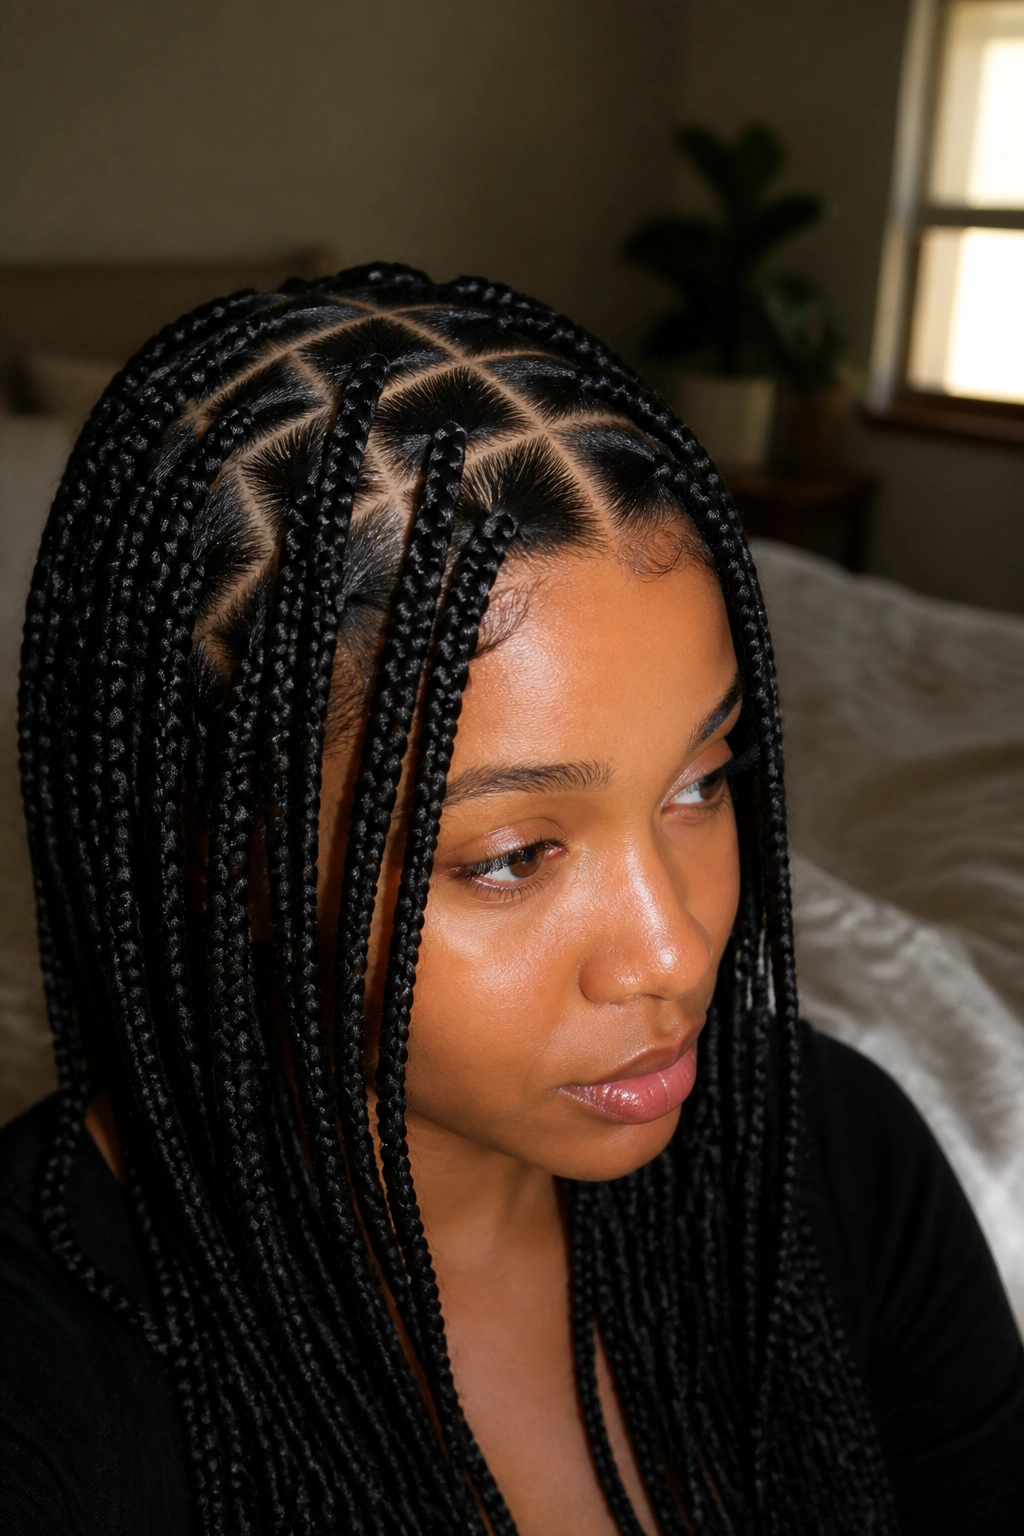
23. Micro-Knotless with Soft Baby Hair Focus
Micro-knotless are for the patient. They take a long time to do, but the results are indistinguishable from natural hair. By keeping the braids incredibly thin and leaving out a generous amount of “baby hair” around the perimeter, you ensure that the most fragile hairs are never even touched by the braiding process.
The “No-Braid” Zone
A skilled stylist will leave a 2-3 millimeter “buffer zone” of hair around your face. These hairs are too weak to be braided anyway. By leaving them out and styling them with a soft edge control (one without drying alcohol), you get a polished look that actually protects your hairline.
Preparing Your Scalp for the Install
Before you even sit in the stylist’s chair, your hair needs to be in peak condition. A protective style is only “protective” if the hair underneath is strong enough to handle it. Start with a clarifying shampoo to remove any old product buildup, followed by a deep conditioning treatment rich in protein and moisture.
The Prep Checklist
- Clarify: Get the scalp squeaky clean.
- Strengthen: Use a light protein treatment to prevent breakage.
- Moisturize: A leave-in conditioner should be applied to damp hair.
- Stretch: Gently blow-dry the hair on low heat to stretch it out. This prevents the stylist from having to “tug” during the braiding process to get a smooth finish.
Pro tip: Avoid using heavy oils or butters on the day of your appointment. They can make the hair too “slippery,” causing the stylist to pull tighter to maintain their grip—exactly the opposite of what we want.
Maintenance: The First Seven Days

The first week of knotless braids is the most critical for your edges. Even though they are “knotless,” your scalp is still adjusting to a new weight. This is when most people make the mistake of styling too early.
Handling the New Growth
As your hair grows, the braids will naturally loosen. This is a good thing! Don’t be tempted to “tighten” them or redo the edges too soon. Let that new growth be. If the fuzziness bothers you, use a bit of mousse and a silk scarf to lay the hair down.
Sleep Routine
- Silk or Satin Scarf: This is non-negotiable. It keeps the braids from rubbing against your pillow, which causes friction and tension.
- Bonnet: If your braids are long, a “long bonnet” or “braid bag” keeps them from getting tangled while you sleep.
- Loose Scrunchie: If you must tie them back to sleep, do it very loosely at the base of the neck.
Scalp Care Without the Tug
You still need to wash your hair while it’s in braids, but the “scrubbing” method is a disaster for edges. Instead, use a spray bottle with a mix of water and a little bit of sulfate-free shampoo. Spray it directly onto the parts, let it sit for a minute, and then rinse by letting the water run down the braids in the shower.
Itch Relief
If your scalp starts to itch, don’t scratch! Scratching causes micro-tears in the skin and can weaken the hair follicles. Instead, use a scalp serum with peppermint or tea tree oil. These provide a “cooling” sensation that kills the itch without you having to touch your hair.
When to Take Them Down
The biggest mistake people make with knotless braids is leaving them in too long. Just because they can last ten weeks doesn’t mean they should. As the braid moves further away from the scalp due to new growth, it starts to “hang” on fewer and fewer strands of hair.
The Six-Week Rule
For most hair types, six to eight weeks is the limit. Beyond that, the weight of the extension starts to become a liability. If you see your braids starting to “droop” or if you can see a significant gap between the scalp and the start of the braid, it’s time for them to come out.
The Safe Removal Process
Takedown is where most edge damage actually happens. People get tired, they start rushing, and they end up snapping their hair. Take your time. This should be a two-day process if necessary.
Takedown Steps
- Cut the Ends: Cut the extension hair a few inches below where your natural hair ends.
- Oil Everything: Apply a cheap, “slippery” oil (like coconut or jojoba) to the length of the braid as you unweave it.
- Finger Detangle: As soon as a braid is out, gently pull apart any “lint” or buildup at the root with your fingers. Do NOT go straight in with a comb.
- Section and Wash: Wash your hair in sections to prevent it from matting together.
The Bottom Line
Knotless braids are a gift to the natural hair community, but they aren’t a magic “get out of jail free” card. They still require a skilled stylist, high-quality hair, and a wearer who understands the limits of their own hairline. By choosing styles that prioritize weight distribution—like bobs, medium-sized parts, or curly ends—you can enjoy the beauty of braids without the heartbreak of thinning edges.
Listen to your scalp. If a braid feels too tight the moment it’s finished, tell your stylist. If your edges feel “sore” after a day, you need to loosen the style. Your hair is an investment, and the goal of any protective style should always be to leave your hair in better condition than you found it. Keep it light, keep it moisturized, and most importantly, keep it knotless.## Wrapping Up
The move toward knotless braiding is more than just a passing fad; it’s a fundamental shift in how we approach protective styling. For years, we accepted the idea that a tight, heavy braid was the only way to achieve a “neat” look, often at the expense of our hairlines. Now, with the feed-in technique and a better understanding of scalp health, we’ve proven that you can have length, color, and intricate designs without sacrificing your edges. Whether you opt for a chic bob or ethereal goddess curls, the focus remains the same: reducing tension and prioritizing the longevity of your natural hair.
Ultimately, the best “edge-friendly” style is one that you feel comfortable in from the very first day. If you aren’t reaching for the Ibuprofen after leaving the salon, you’ve already won half the battle. Remember that your hair’s health is a long-term game, and the choices you make during each install—from the size of the parts to the quality of the extensions—will dictate how your hairline looks years from now. Stay diligent with your maintenance, be gentle during your takedowns, and don’t be afraid to give your hair a “breathing” period between installs. Your edges will thank you for the extra care.